
Hello to all lovers homemade. In this article I will tell you how to do metal detector do it yourself, the collection of which will help the kit kit, a link to which will be at the end of the article. This kit kit is useful both for gaining experience in working with a soldering iron, as well as for purposes such as detecting wiring or metal parts in the wall.
Before proceeding to read the article, I propose to watch a video with the complete assembly process of this kit kit, as well as its performance test.
In order to make a metal detector with your own hands, you will need:
* Kit
* Soldering iron, solder, flux
* Side cutters
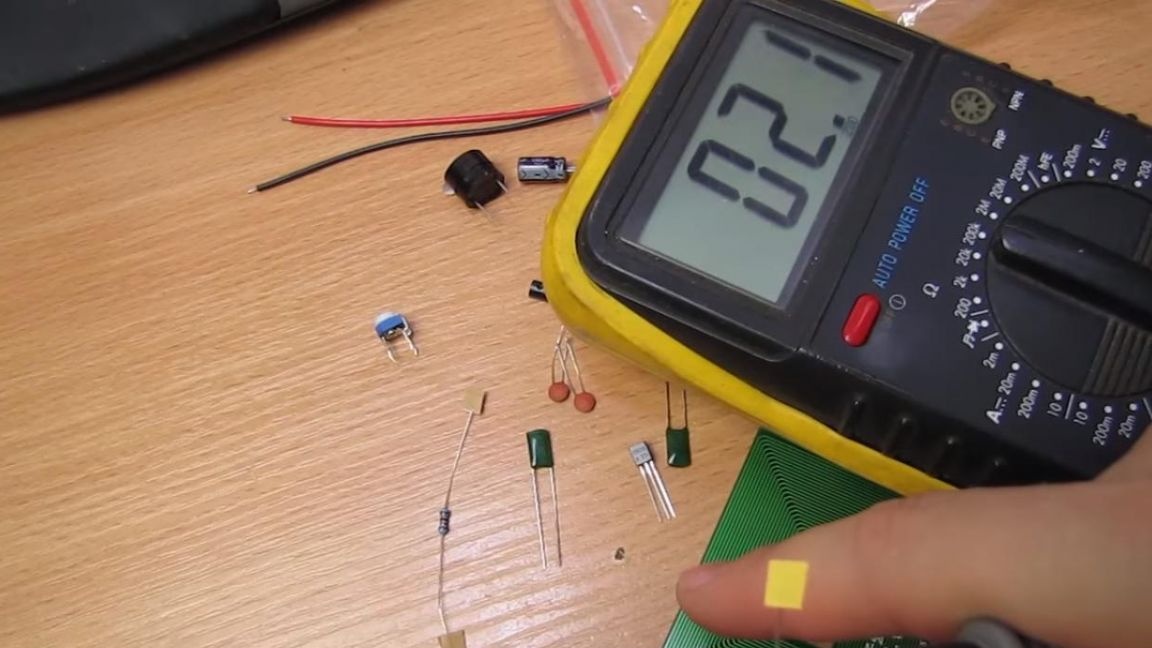
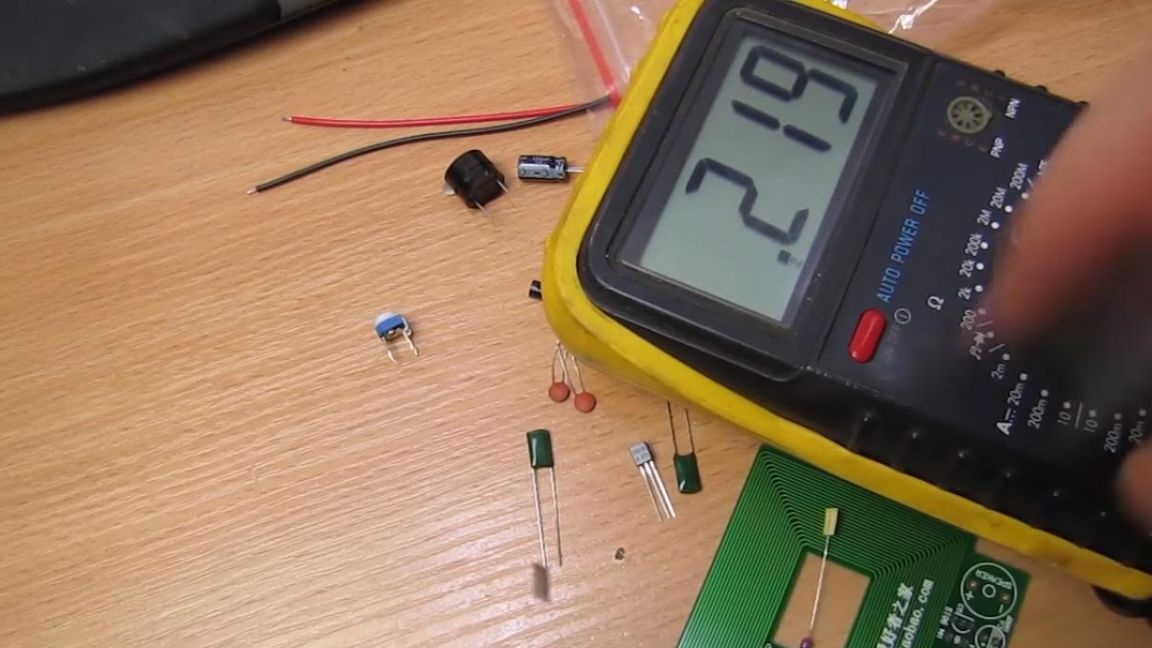
* Multimeter
* Battery or 5 volt power supply
Step one.
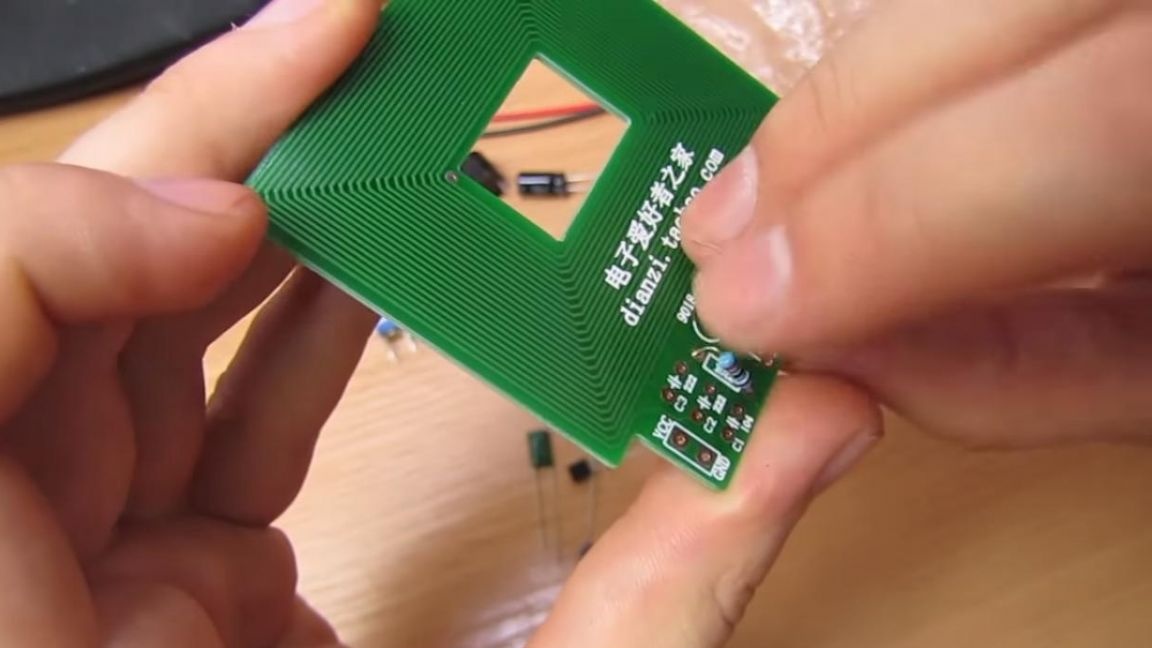
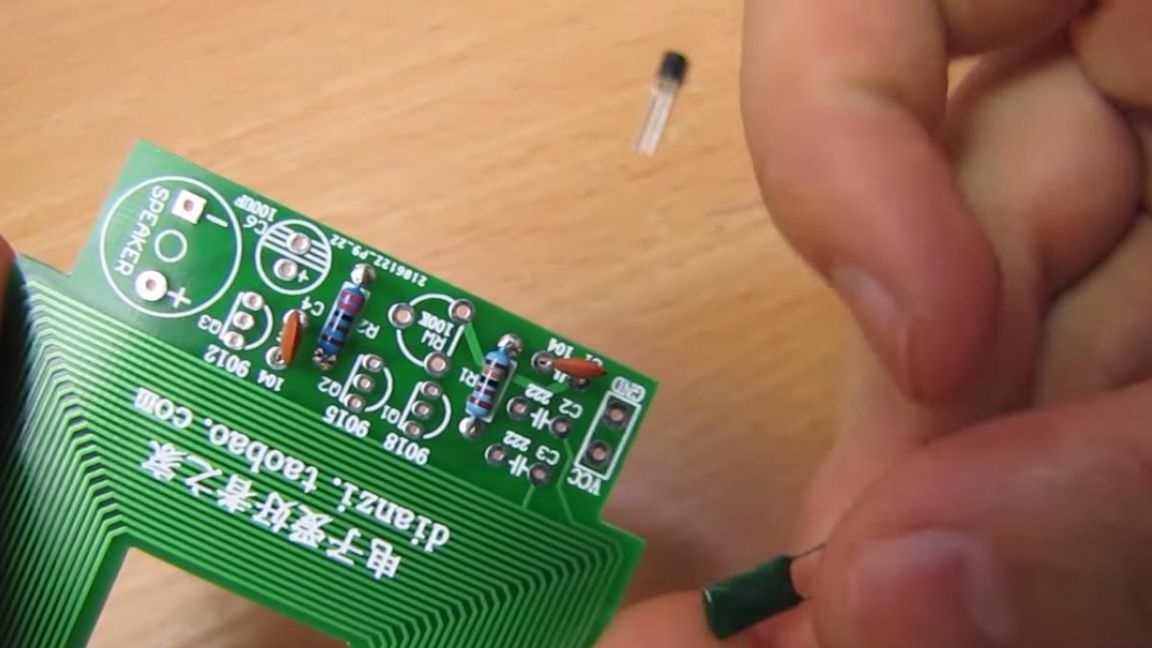
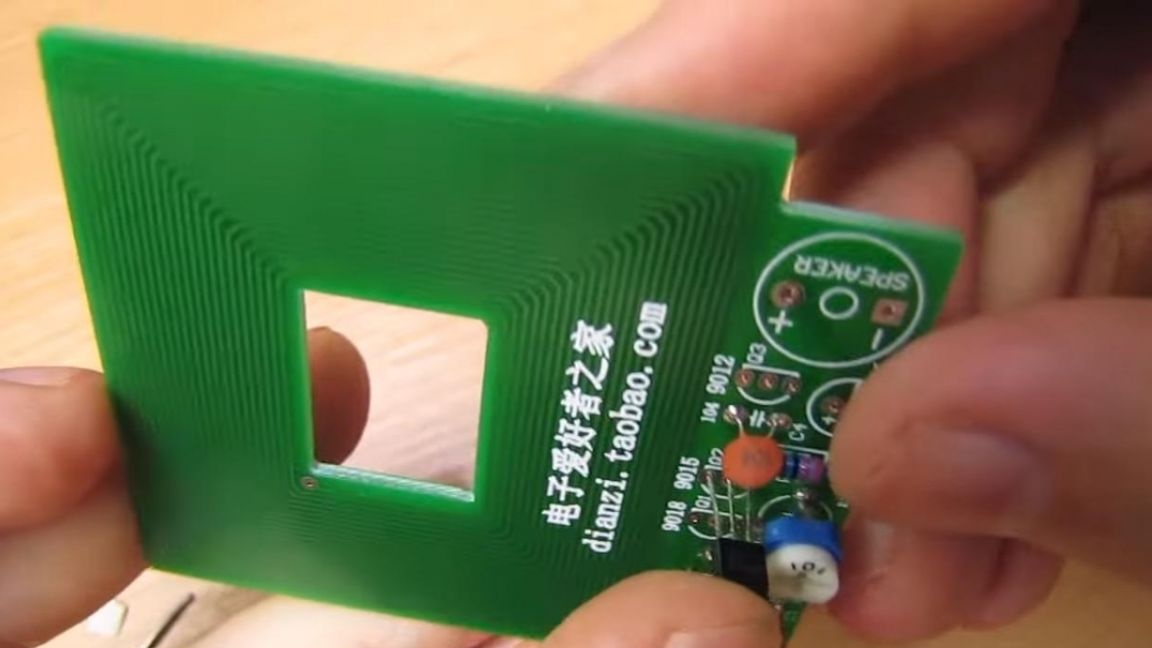
The printed circuit board of the kit kit is made with sufficient quality with metallized contacts and marking for all components, which is very convenient, since there are no instructions in the kit.
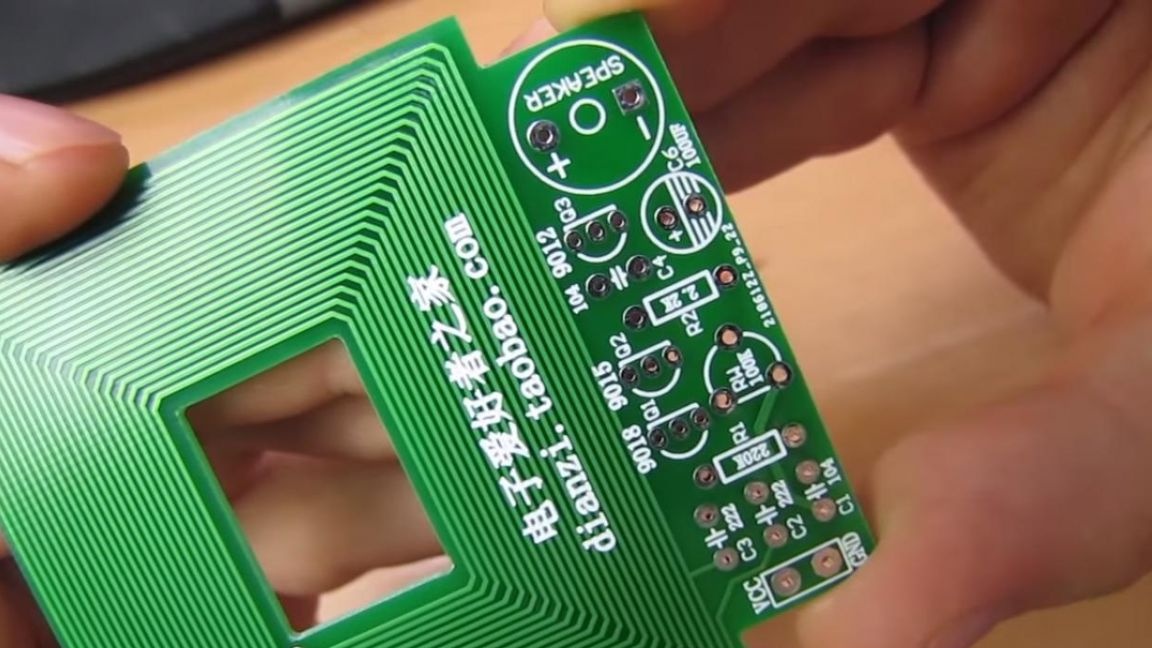
Two wires are provided for power, and with the help of a buzzer it will be heard when there is metal near the device.
First install the resistors. Their values are signed on the board, and there are several ways to determine the resistance of resistors. Determining the value with a multimeter is the fastest and easiest way, but if you don’t have it, you can find the resistance by the color marking on the resistor housing and the table, there is also an online calculator for these purposes.
We insert resistors into the holes on the board, according to the ratings, and on the back of the board we bend the leads so that the radio components do not fall out when soldering.
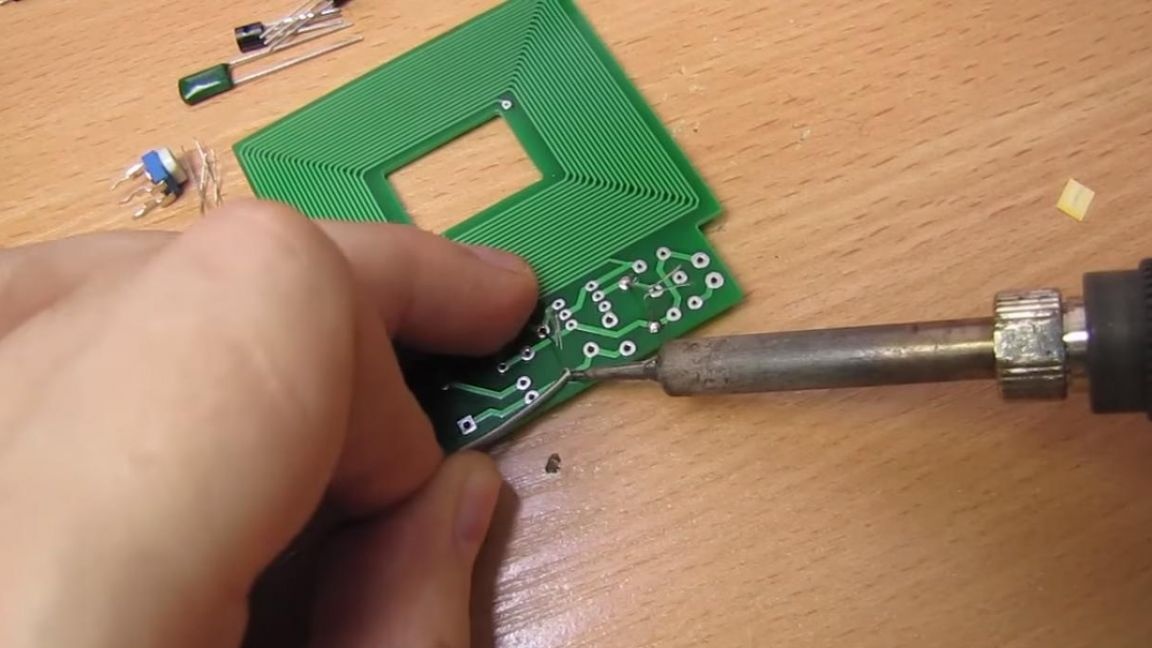
We apply flux to the contacts of the resistors and solder the contacts with a soldering iron. For the convenience of soldering, it is better to use a soldering iron with a thin tip.
Step Two
Next, we insert non-polar ceramic capacitors onto the board, two of them are digitally marked 104, and the other two are 222 in a green case.
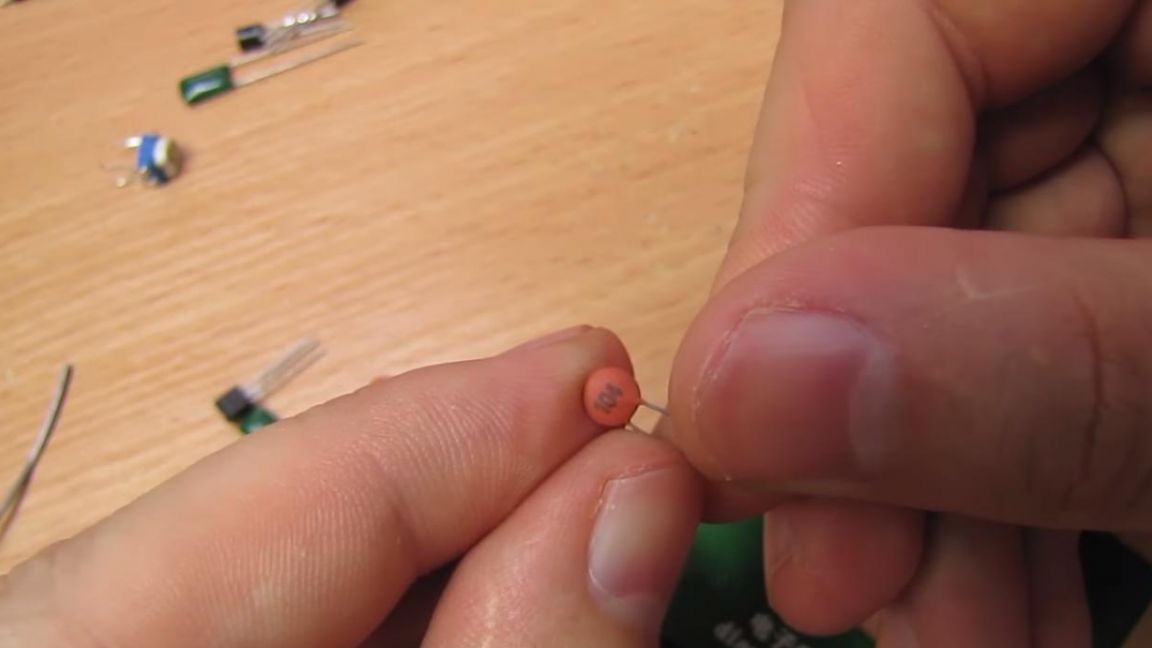
Solder their contacts, before applying a little flux for better soldering.
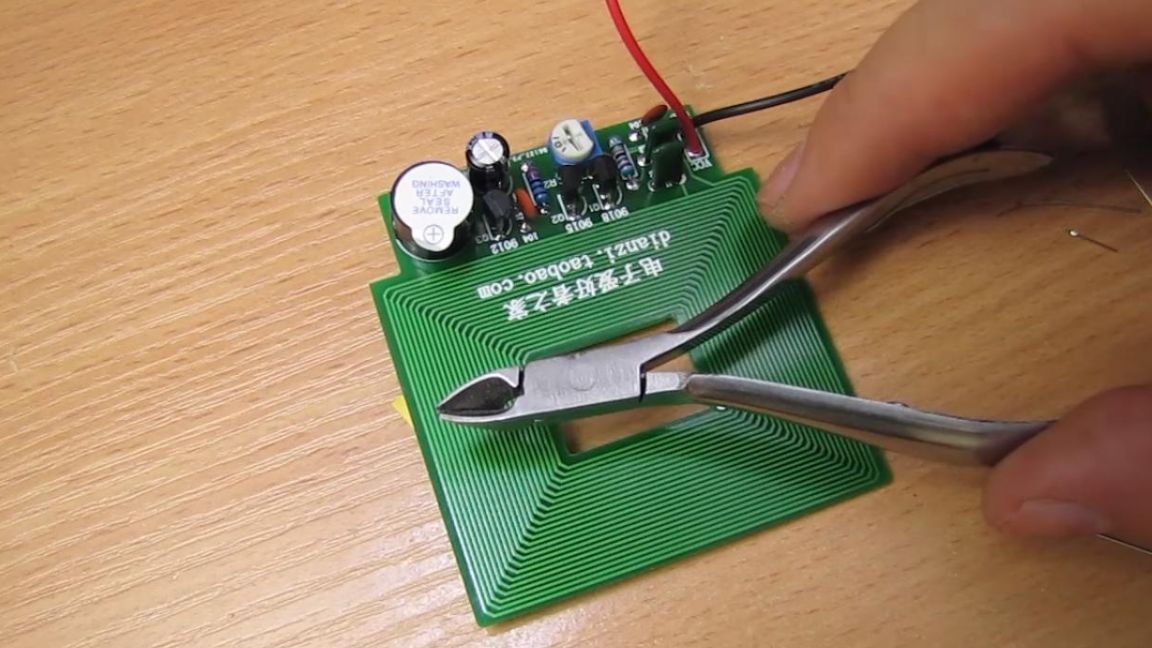
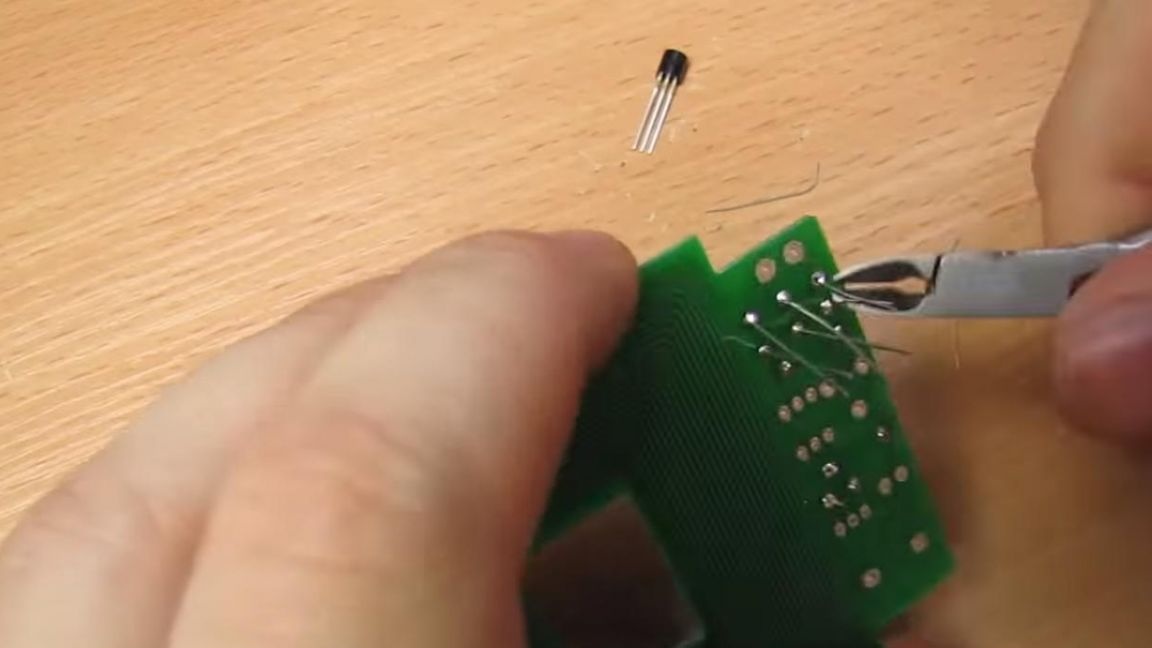
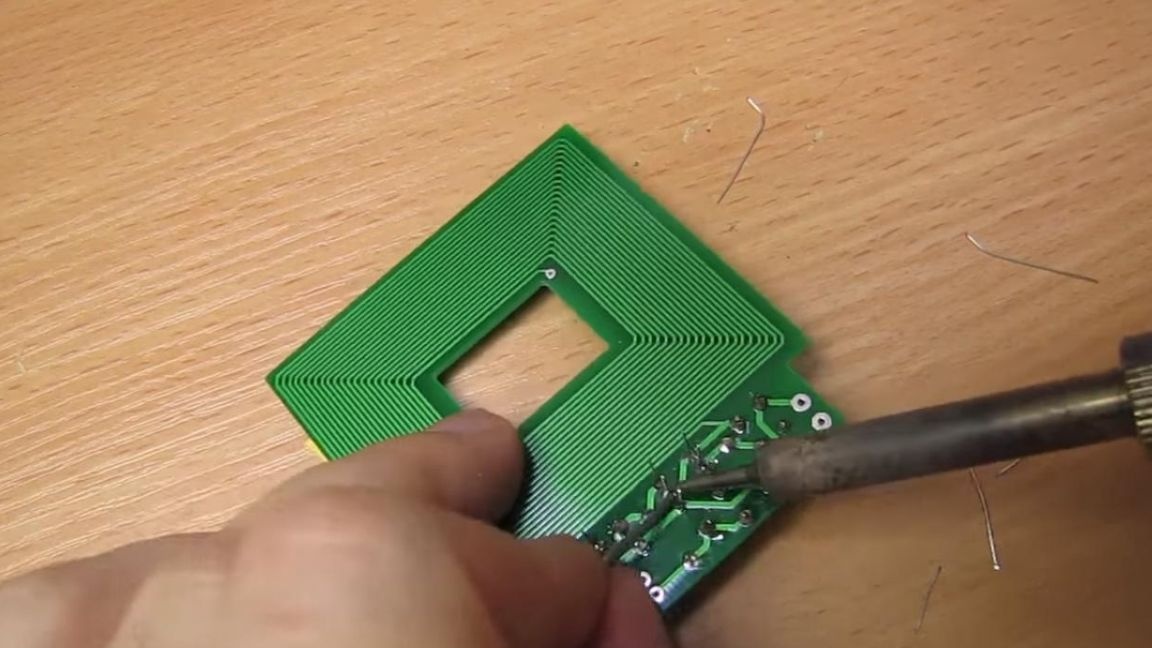
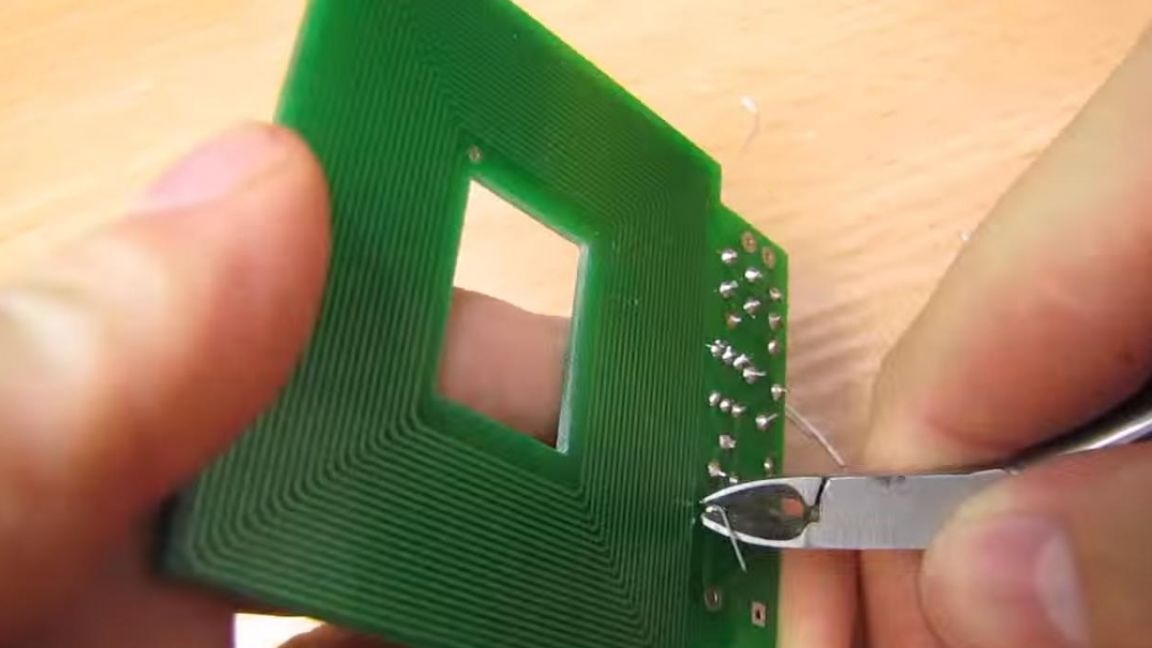
The remnants of the conclusions are removed using side cutters. When biting off the legs with side cutters, be careful, as there is a risk of tearing the track from the board.
Step Three
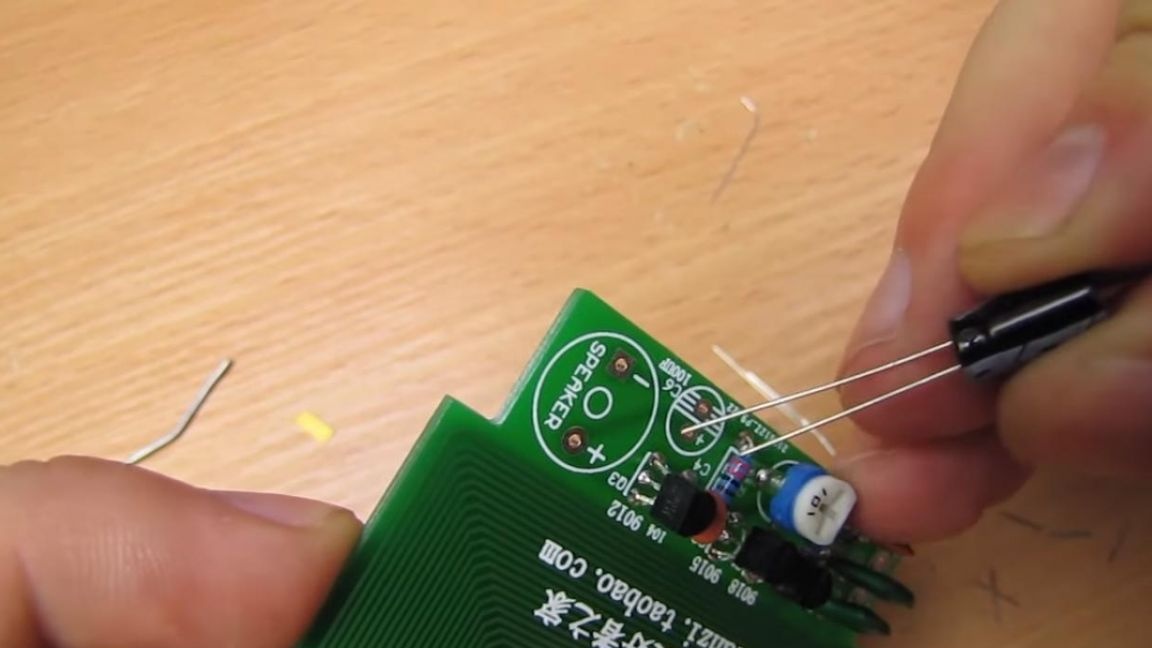
To adjust the sensitivity of the device, a place is provided on the board for installing a tuning resistor, insert it into its place and solder the contacts on the back side.

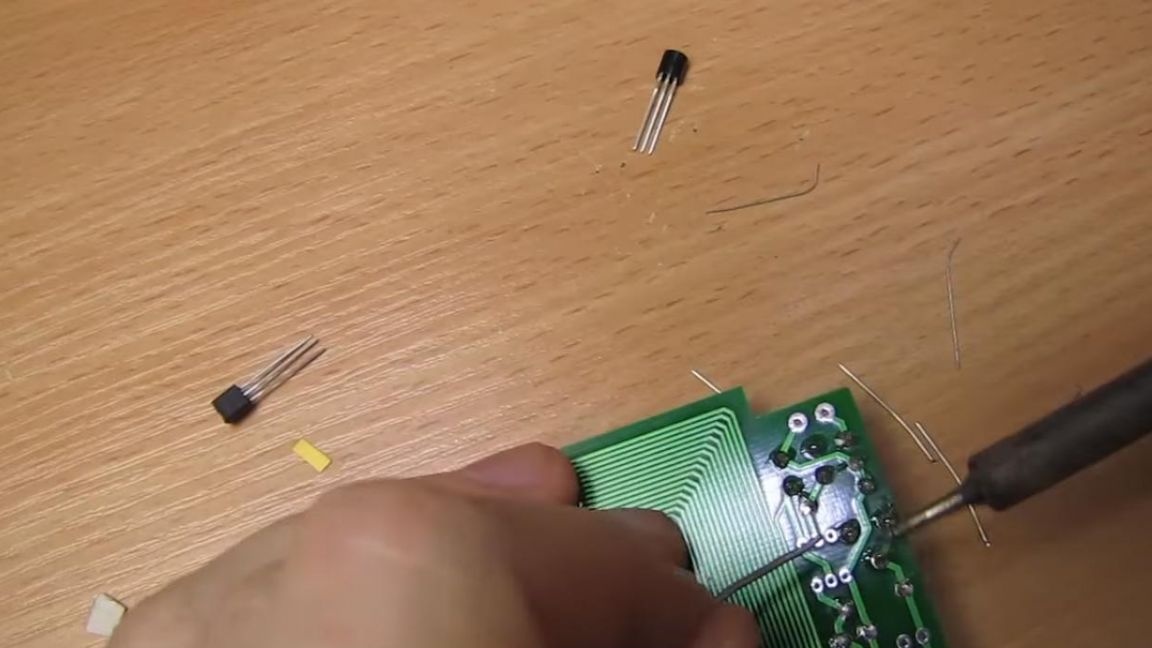
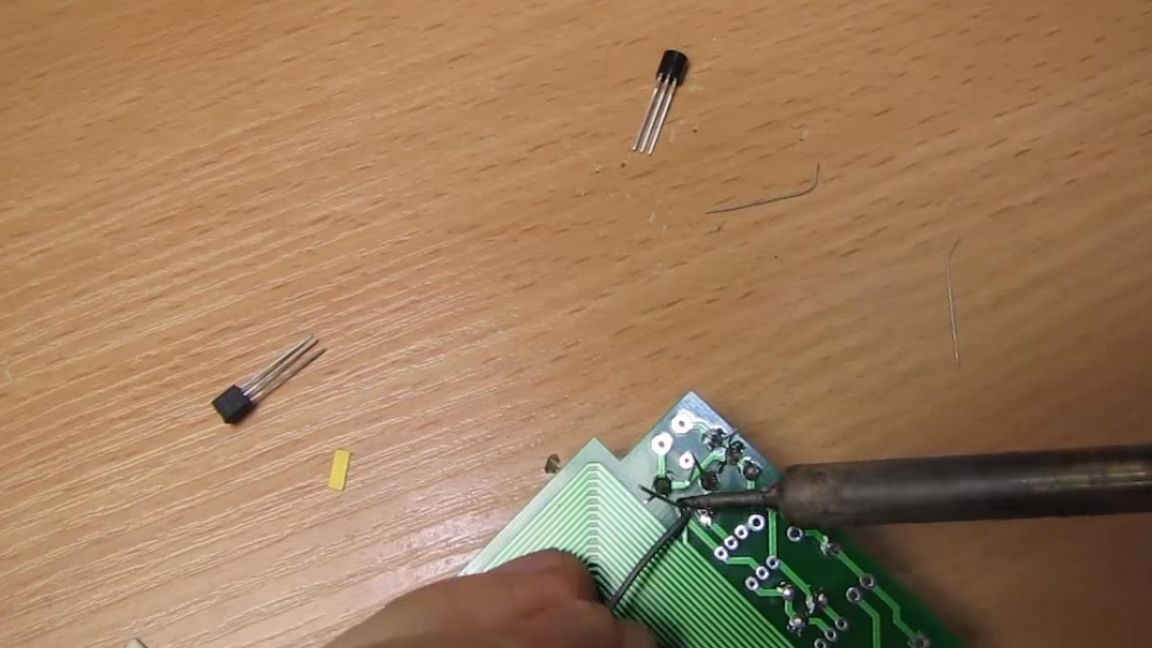
Next, we arrange the transistors, according to their marking on the case and the board, as well as during installation, we focus on the beveled edge, which is also shown on the board. Similarly, insert two transistors and solder them.
After that, we also remove the remnants of the findings with side cutters.
Step Four
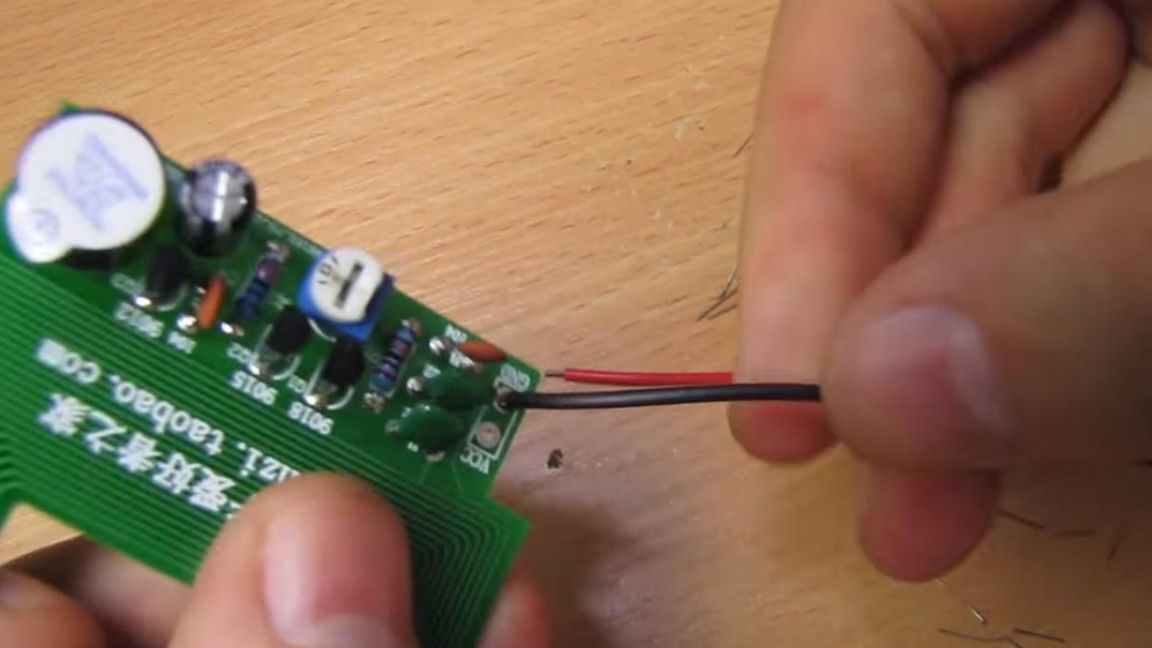
Now the time has come for the electrolytic capacitor, we put it on the board, observing the polarity, the long leg is a plus, a short minus. On the board itself, the minus is indicated by a shaded semicircle.
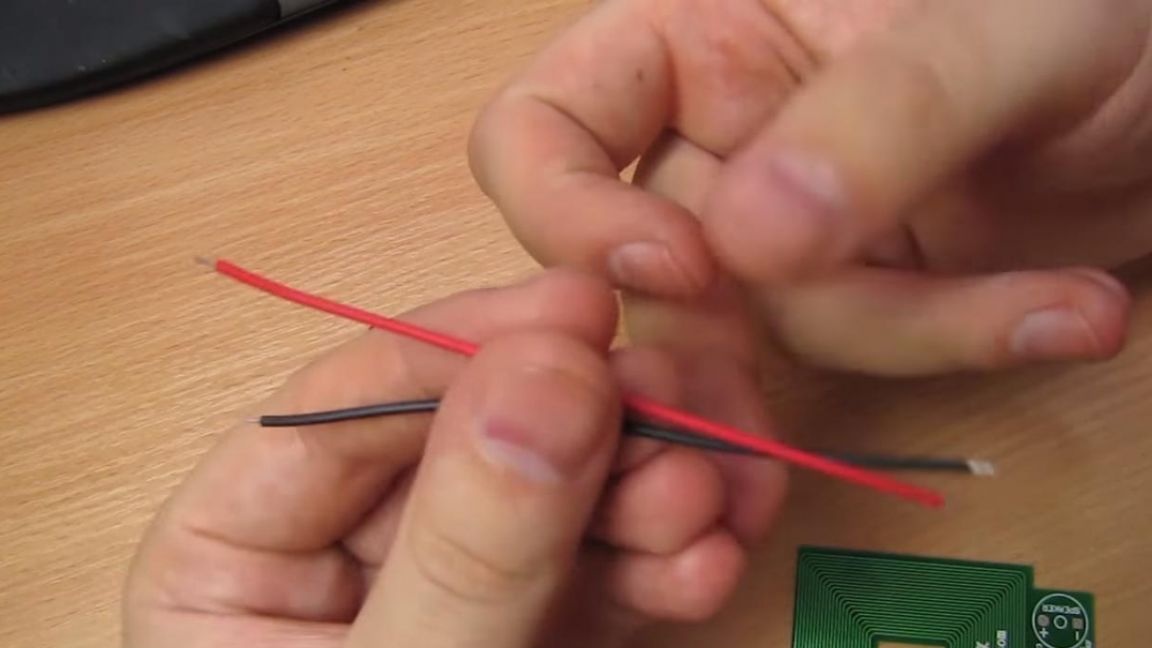
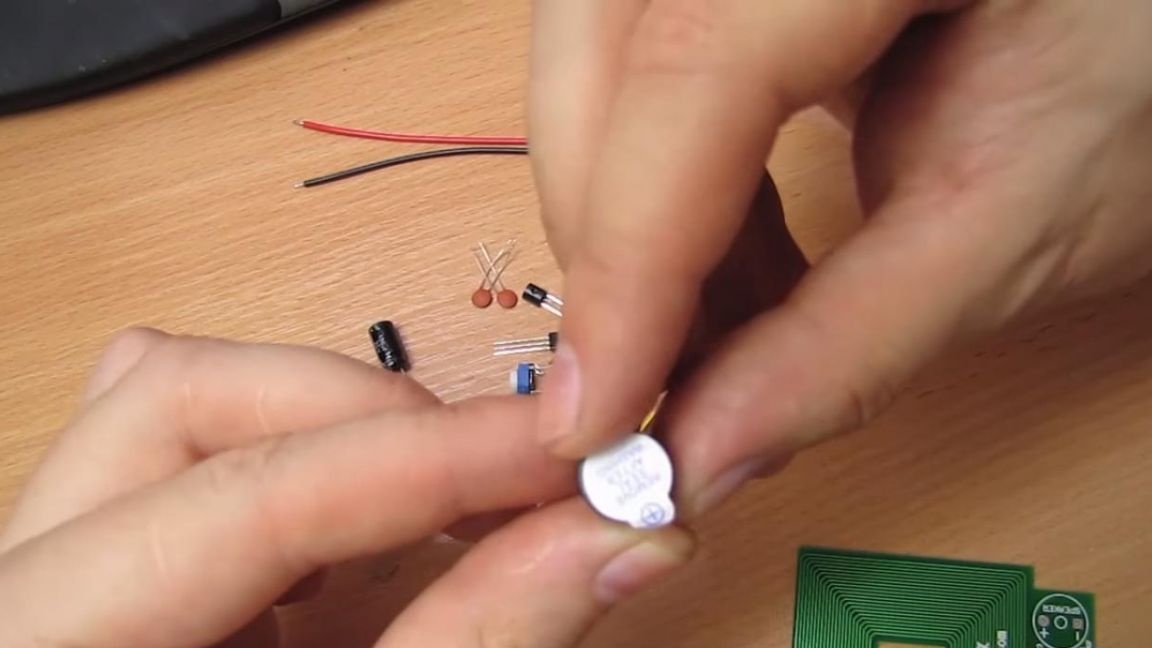
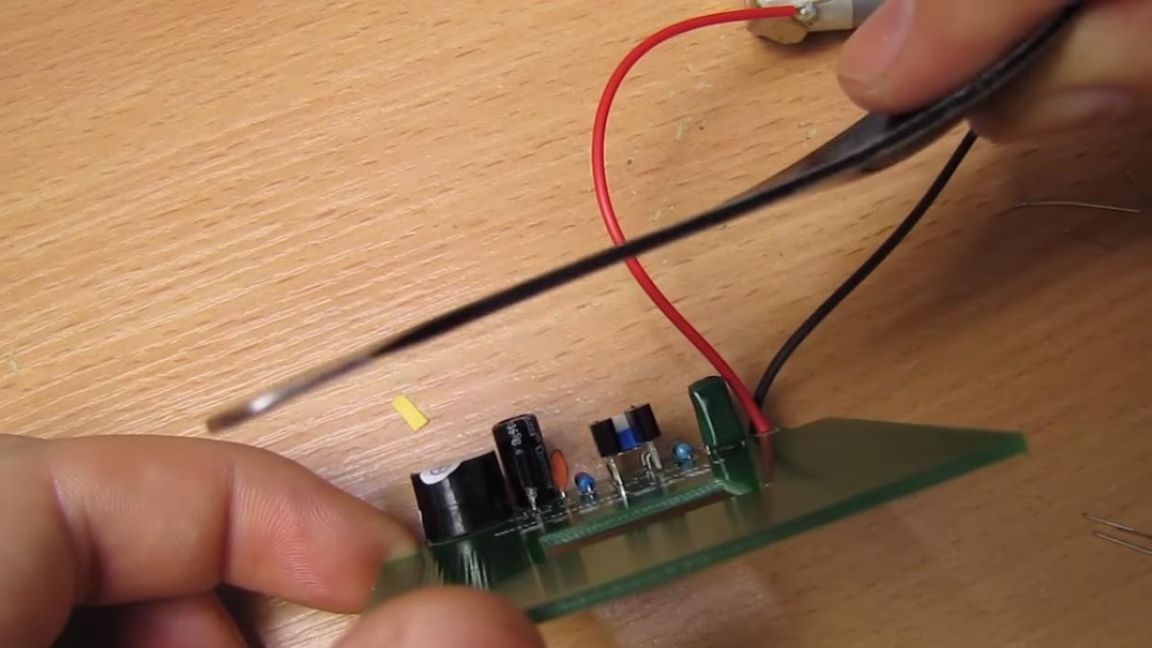
We solder the capacitor and buzzer, on which the polarity is also indicated, as on the board. After that, solder the wires to connect the power.
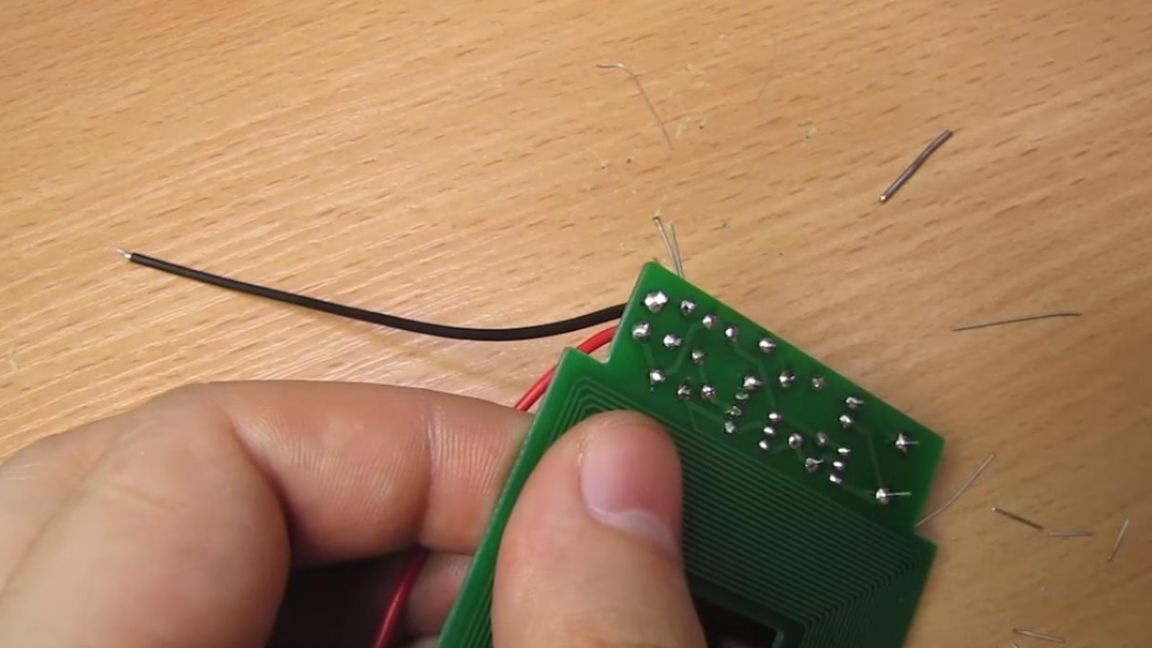
For the best operation of the device, we remove the flux residues from the board; for this, a brush with galosh gasoline or acetone is perfect. We connect the metal detector to the battery, the voltage should be in the region of 3-5 volts.
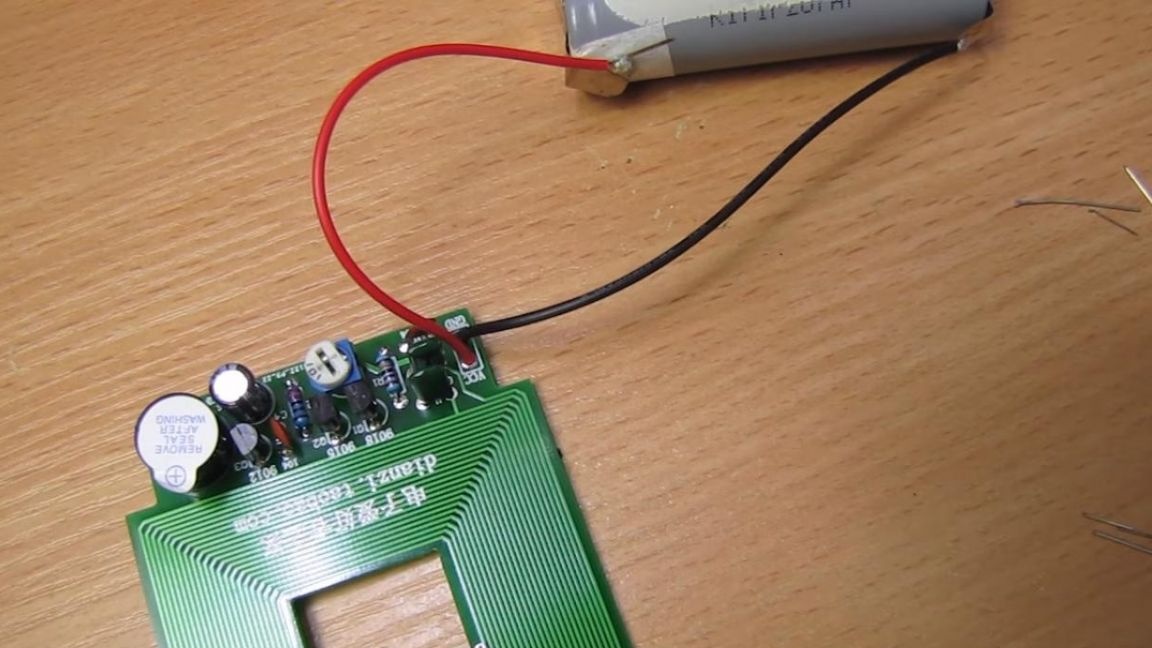
We bring the device to a metal part, while starting from a distance of a couple of centimeters the buzzer beeps, which means that the kit kit is fully operational and determines the presence of metal at a distance, albeit not large.
That's all for me, thank you all for your attention and creative success.