Today we will work as a puncher and at the same time compare the good and bad drill, and what it is capable of. And of course, from this we’ll make a cool homemade product that many people should like, especially if you summer resident or sometimes go to a country house, well, or you are just the same garage master, like the author, love to work do it yourself.
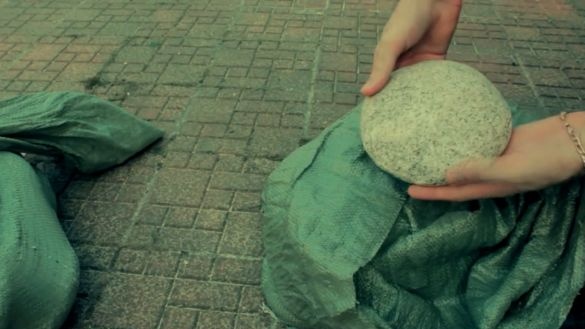
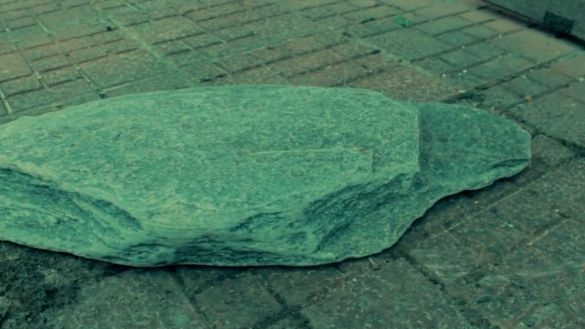
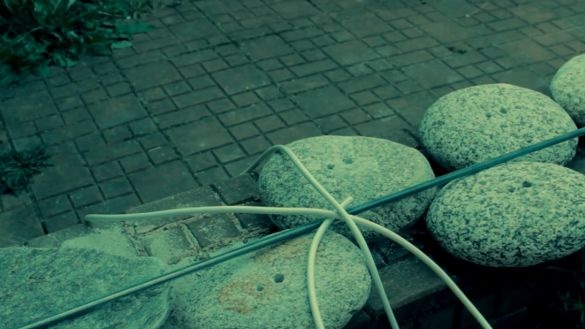
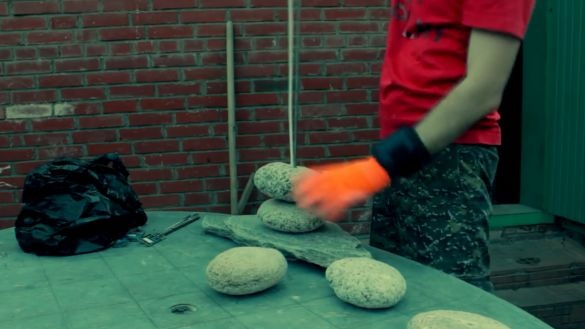
Well, for today's homemade work, the author went to the local market and purchased 52 kg of rounded stone.
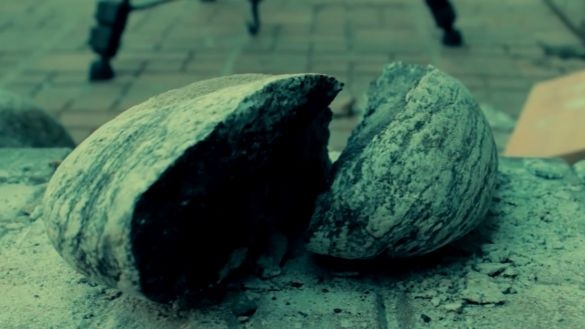
Looking ahead, it should be noted that not every stone is suitable for this procedure, the sample on which the master trained, safely breaks from the punch.
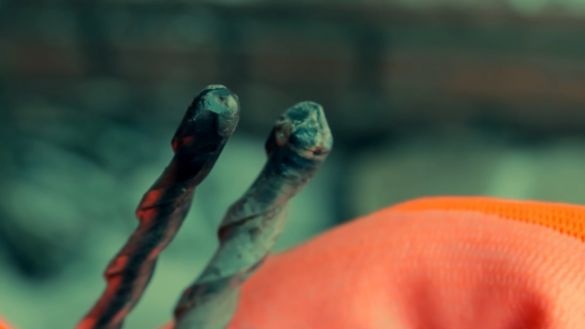
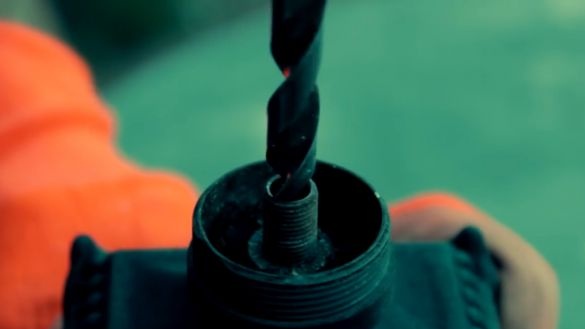
The other day, the author bought a fairly budget model puncher bort. The drills included in the kit were staggered when drilling the first stone.
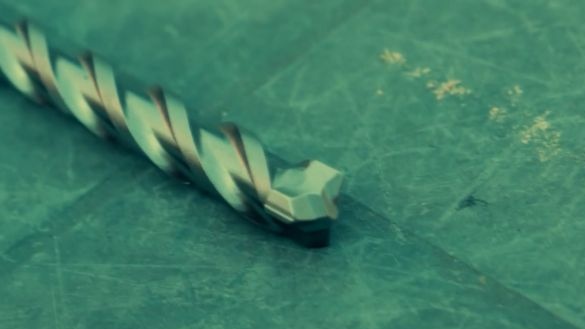
In principle, this is not surprising, and it always happens when you buy an inexpensive tool. But as always there is a way out, drive to the local market and buy quite high-quality drills.
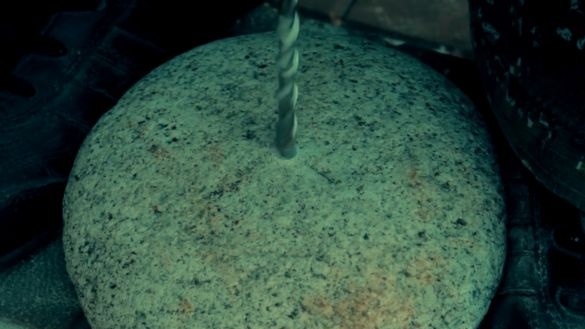
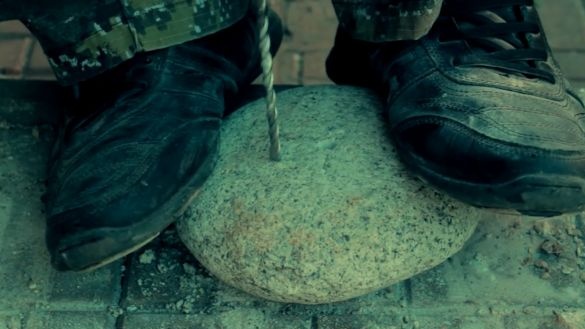
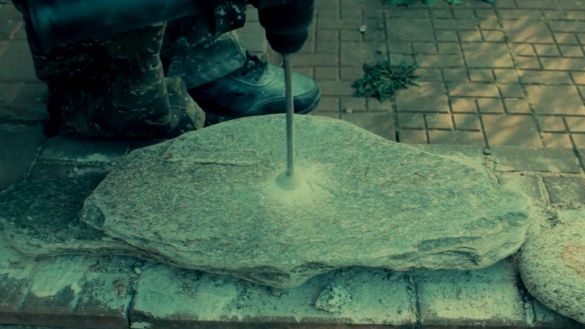
We dare to assume that now the matter is trampled, and looking ahead I will tell you that it was so. We lay the first pebble on the work surface and begin to drill.
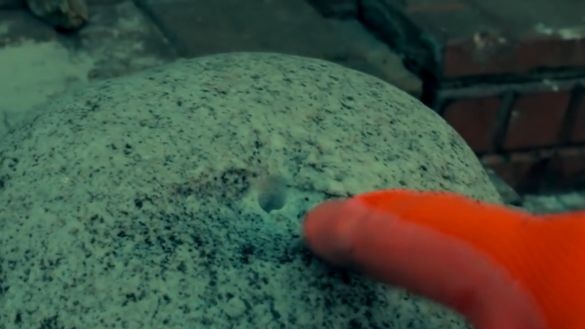
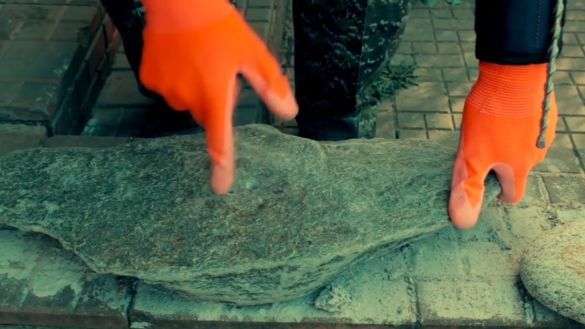
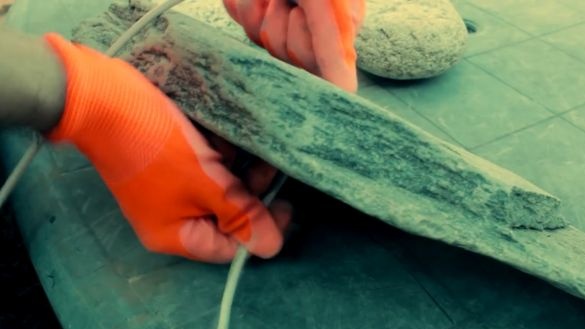
The drill quite confidently passes through the stone, but on the reverse side we get just such a chip.
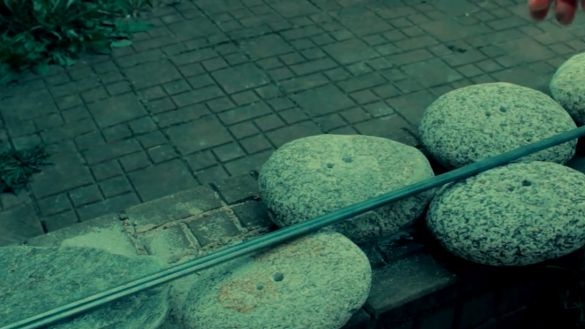
In principle, for this homemade product, this is not critical, but for the future, if you do something else, you will need to somehow avoid this problem. In each stone, we need to drill 2 holes, one in the center with a diameter of 8 mm and one with the edge with a diameter slightly smaller - 6 mm. To save time, the master constantly alternated 2 drills to allow one of them to cool and not to overheat it.
Continuing to drill stones, there were not very successful moments. Such striped stones flatly refused to drill and simply cracked.
Having drilled a sufficiently large number of stones, and this is about 15-16 pieces, it was necessary to drill such a large stone for the base.
Surprisingly, this type of stone was drilled quite well, and surprisingly, practically no chips were formed on the reverse side.
I think in the future you need to look at this type of stones.
In the next step, we need an M8 pin and a piece of 2x0.75 PVA wire.
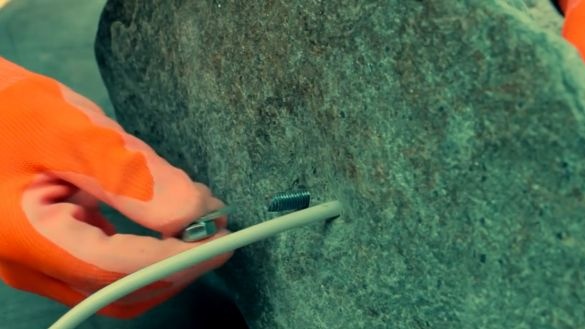
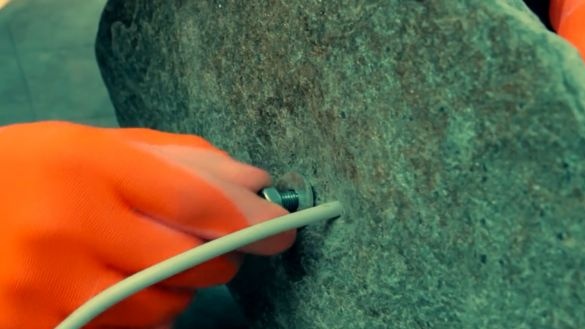
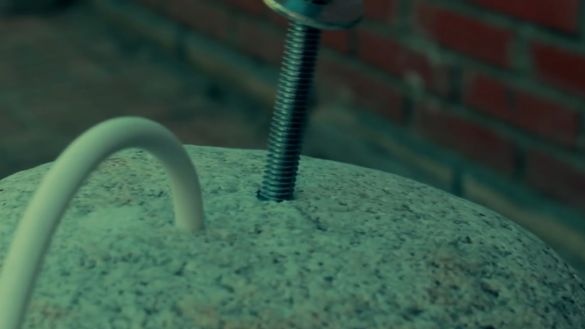
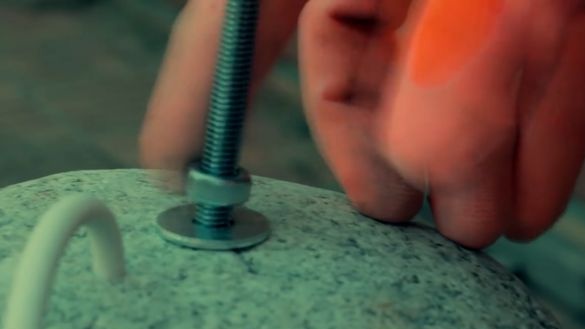
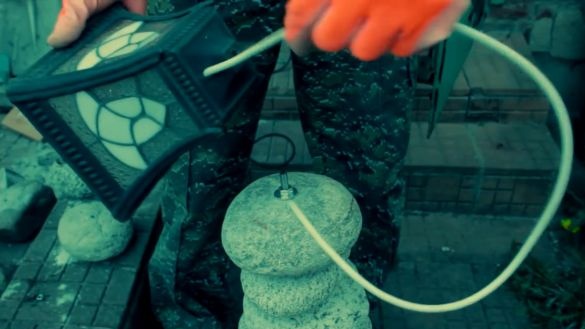
We pass the PVA wire through the six-mm hole, and insert the pin into the 8-mm hole, put on the washer and tighten with the nut.
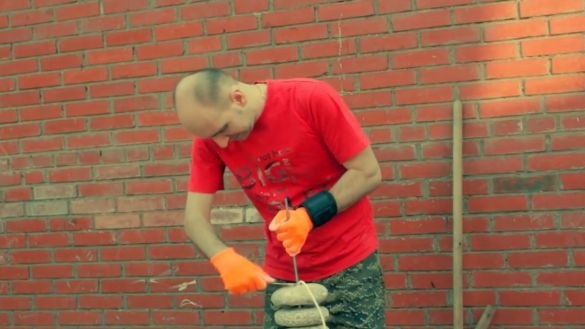
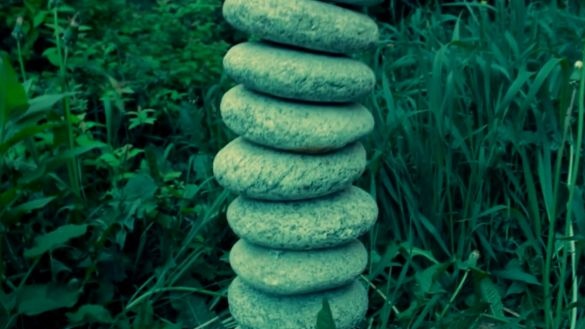
Next, we begin to string the stones on this entire structure, while not forgetting to insert the wire into the hole with a diameter of 6 mm.
Having set 16 stones, we put the washer on the free end of the stud and tighten the nut.
According to the author’s calculations, strong tightening with the help of a nut of installed stones was supposed to give rigidity to the whole structure, it had to stand strictly upright, but the master was a little mistaken. The fact is that the small flat area of the semicircular stones did not give sufficient rigidity. Therefore, it was necessary to reduce the design to about 8 stones.
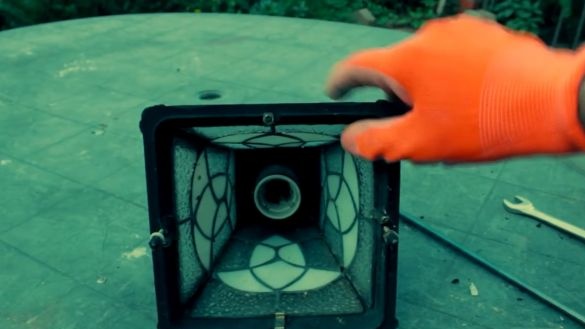
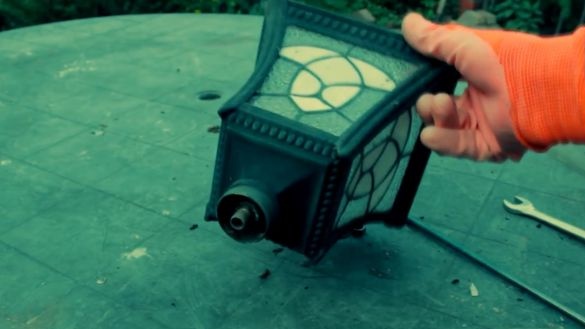
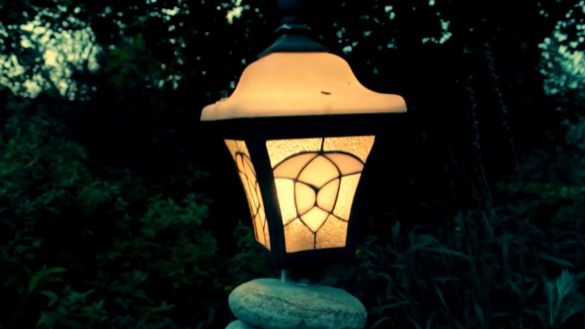
At the next stage, we need just such an old lit up lamp, which has no leg.
This lamp is really very old and dirty, all over the web.
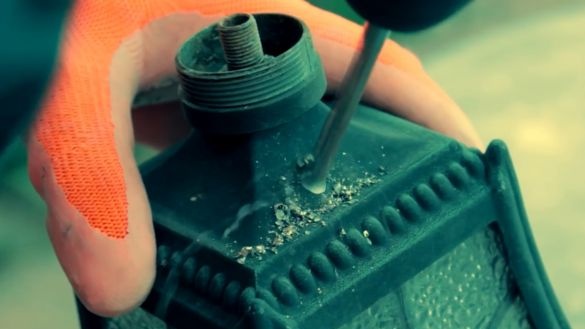
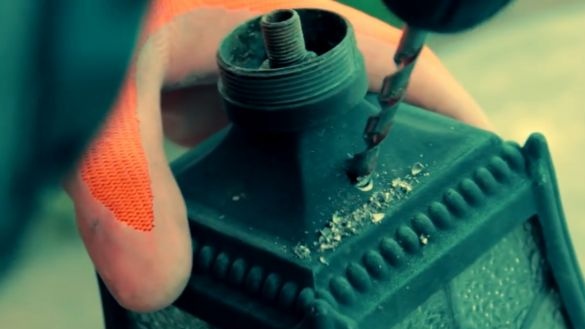
We release the cartridge from the seat, and on the lamp housing we drill a hole for the wire.
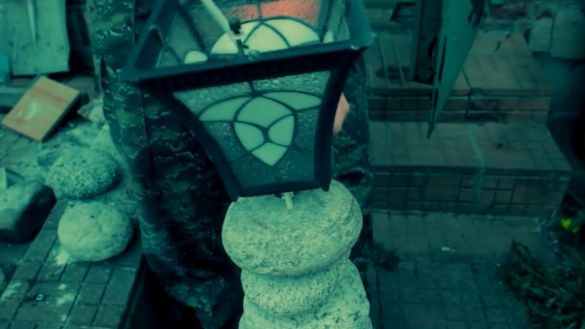
We drill the lamp’s landing hole under the m8 pin, install the lamp on our design, while stretching the wire and securing it from the inside with another nut.
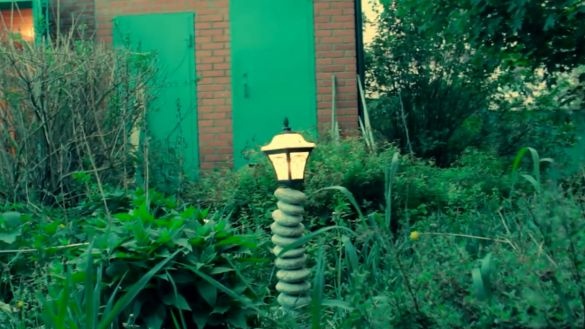
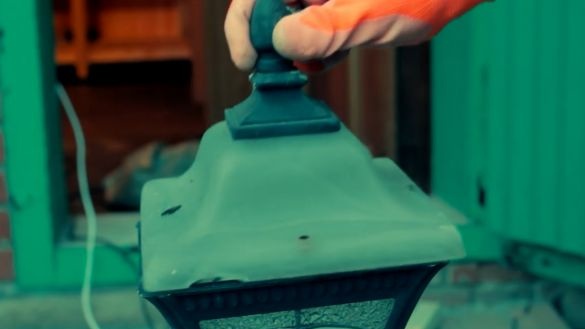
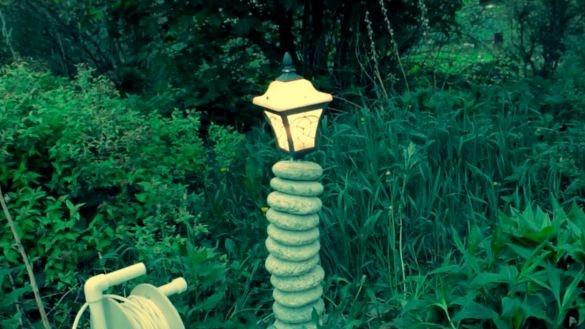
Do not forget to screw in the bulb, put a protective cover on top and get this:
Yes, in such a fairly simple and fairly quick way, we got a cool creative and decorative lamp for a summer house or a private house. Of course, you definitely won’t buy such a lamp in a store. And its weight is about 40 kg, but it seems to have turned out very worthy, given the fact that we gave the old ceiling a second life.
In general, for the future, the author has an idea to make a taller lamp made of flat stones. At the same time, it will be more convenient to drill thin flat stones with a diamond-coated crown and put a thick pipe in the center to get a lamp about 2 meters high.
Thank you for attention. See you soon!
Author's video:

