
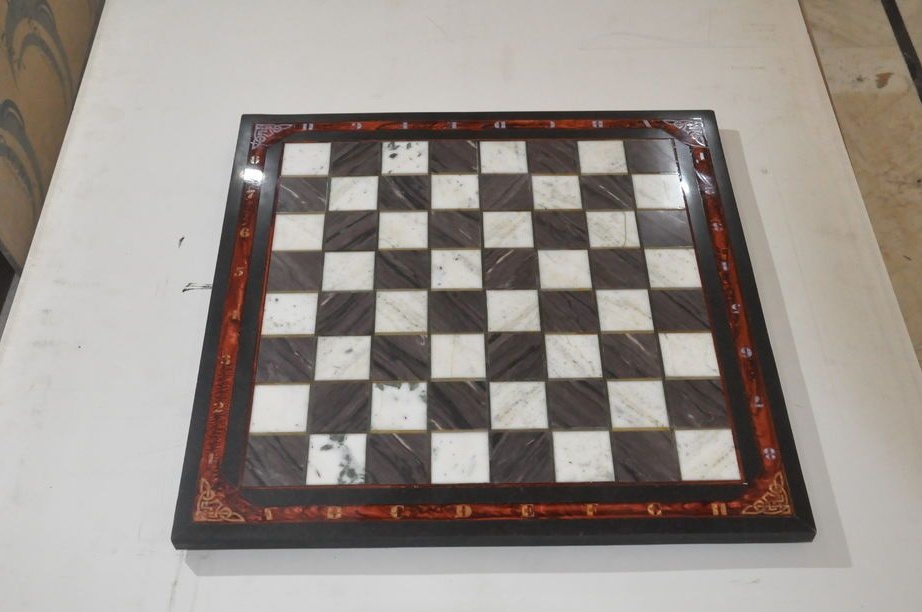

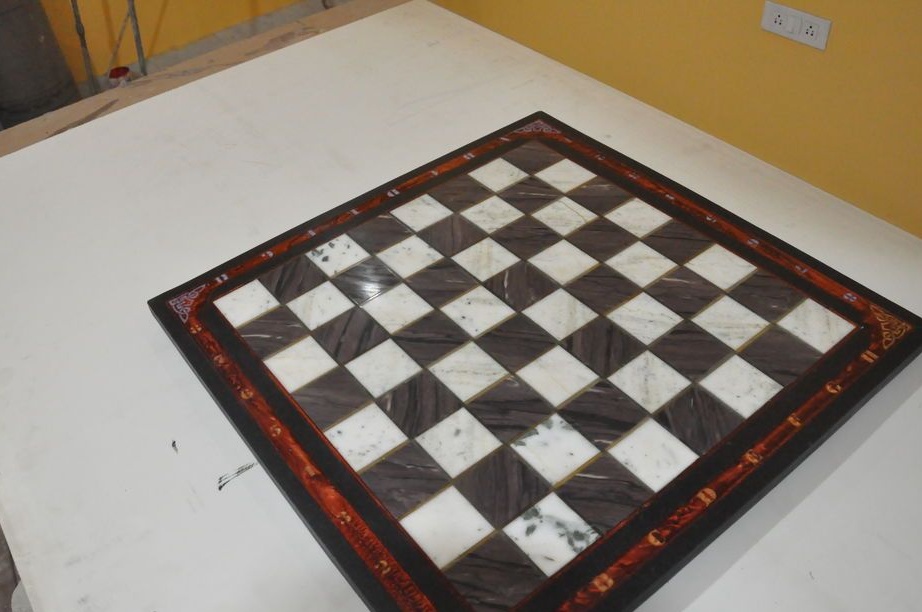

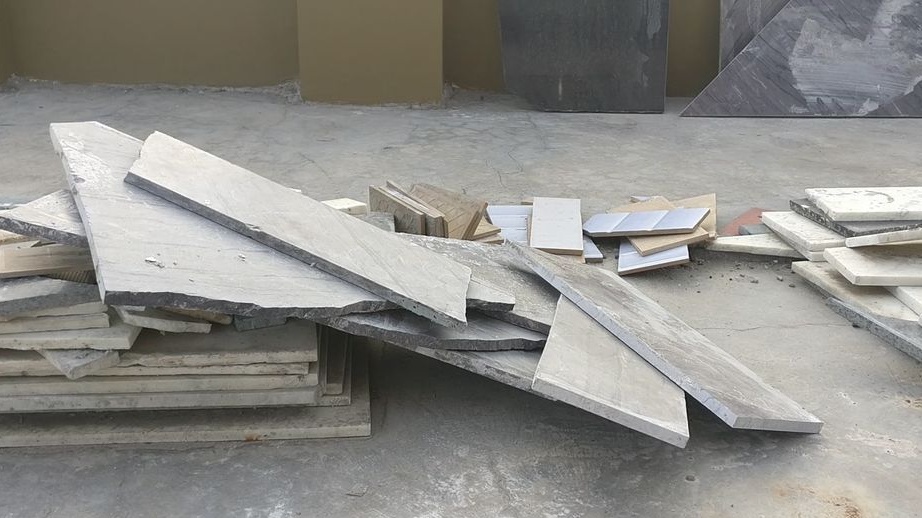
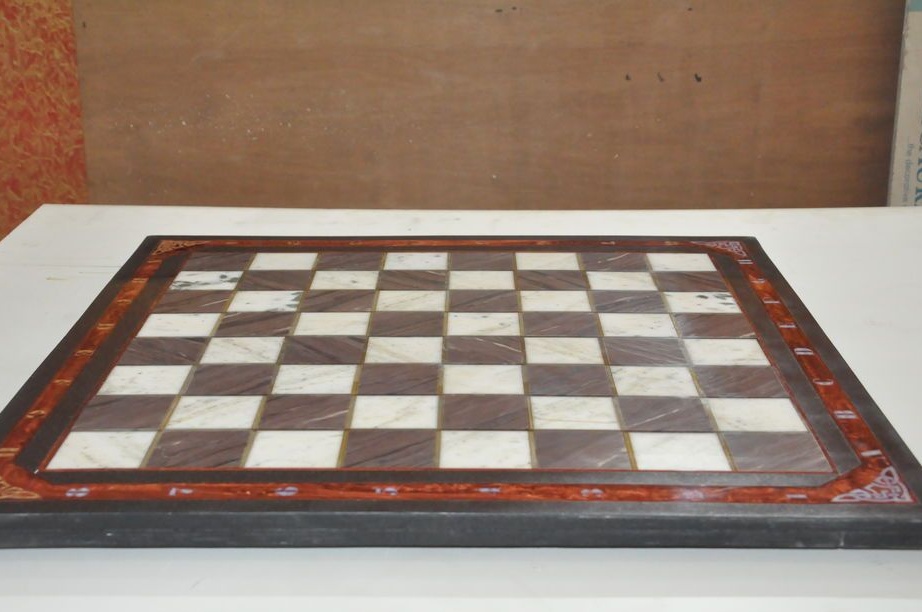
The master made this chessboard from marble remaining after repair.
Board size 762 * 762 mm. To make the board, the master used white, black and brown marble.
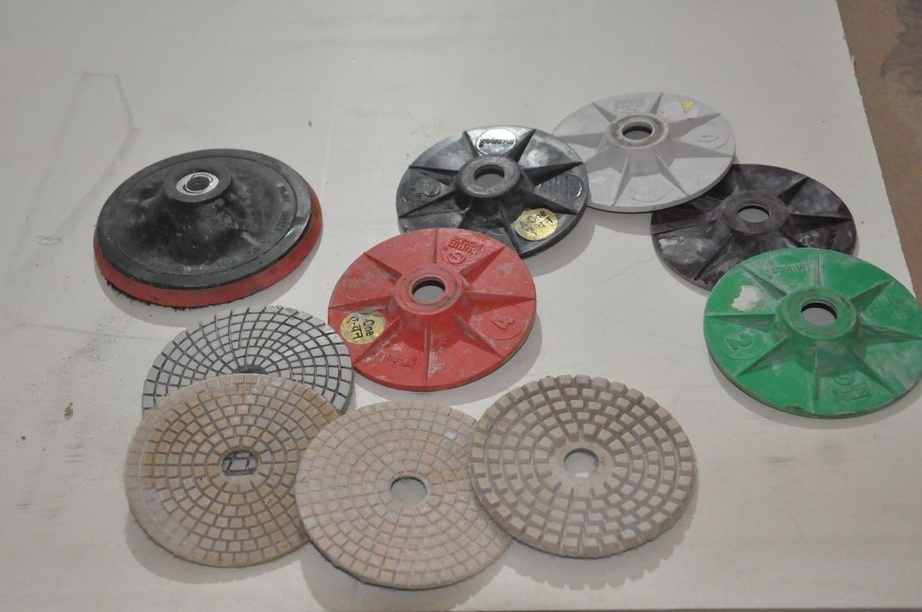
Tools and materials:
-Marble;
Epoxy resin;
-Pearl powder;
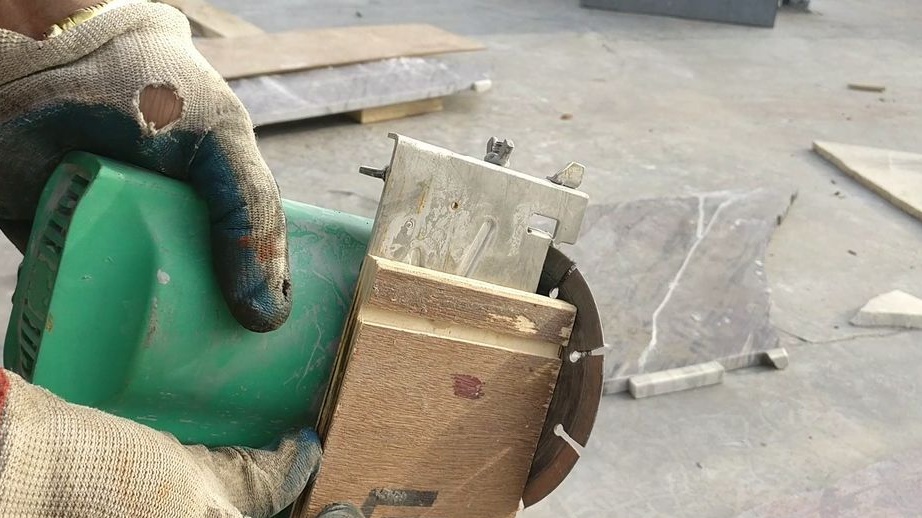
-USHM;
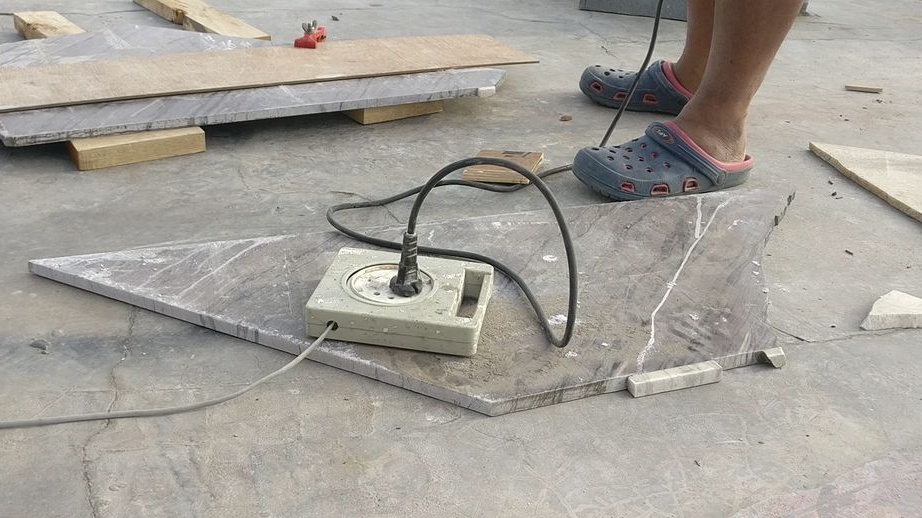
- Stone cutting saw;
-Grinding discs;
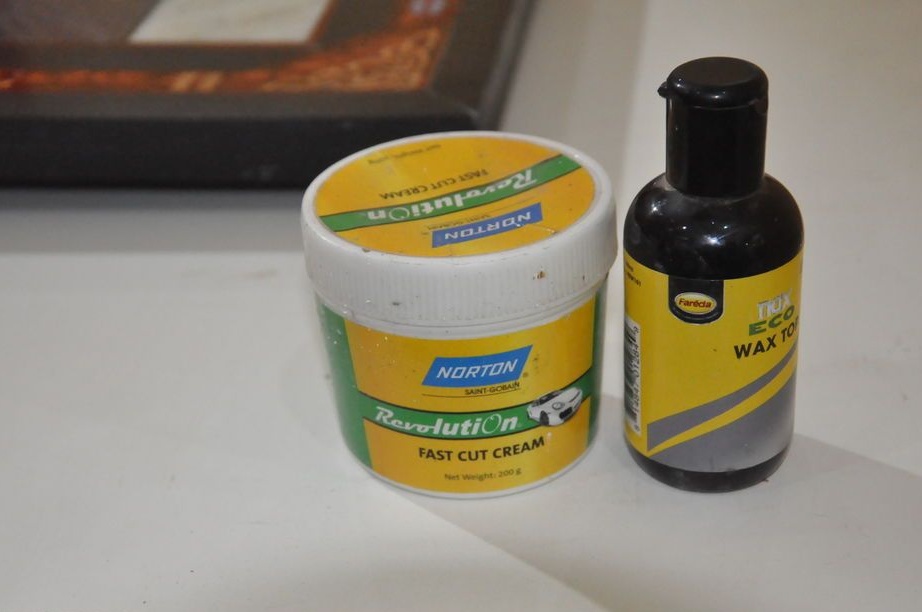
-Polishing paste;
-CNC machine;
- Clamps;
-Marker;
-Sandpaper;
-Board;
-Paint;
-Brush;
-Aluminium foil;
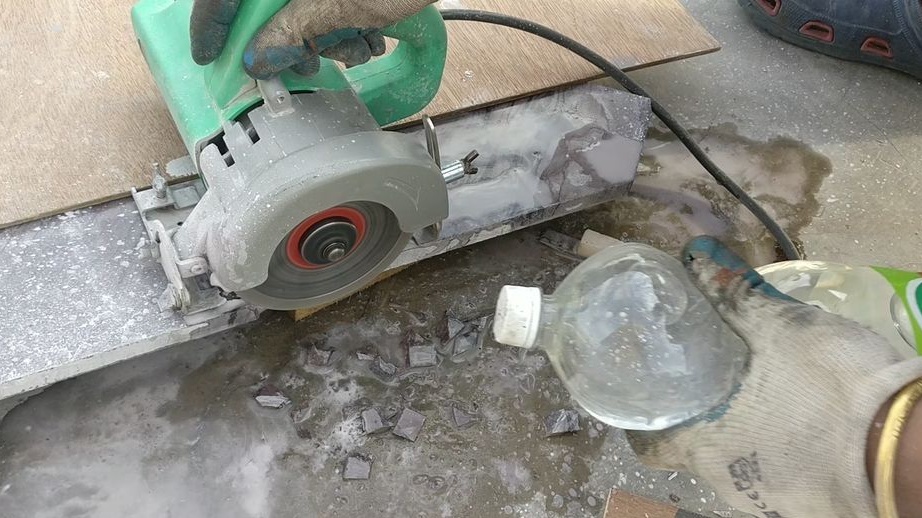
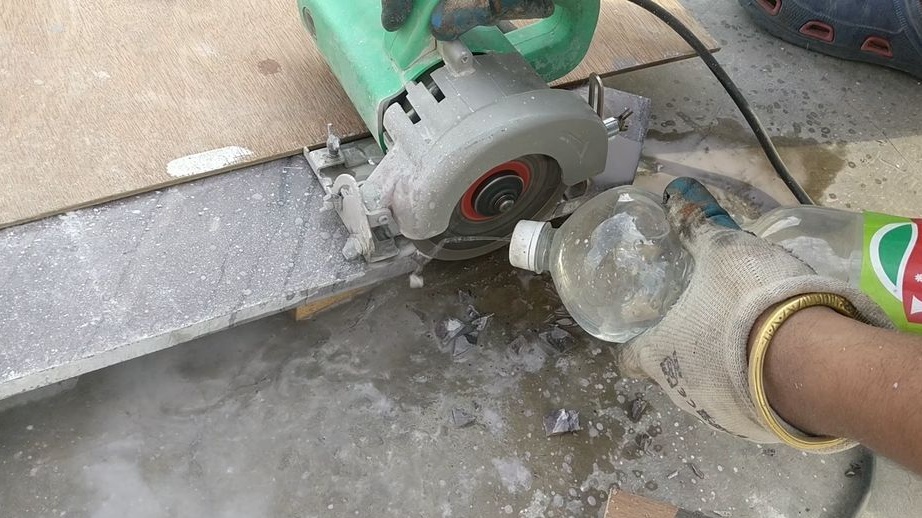
Step One: Cutting
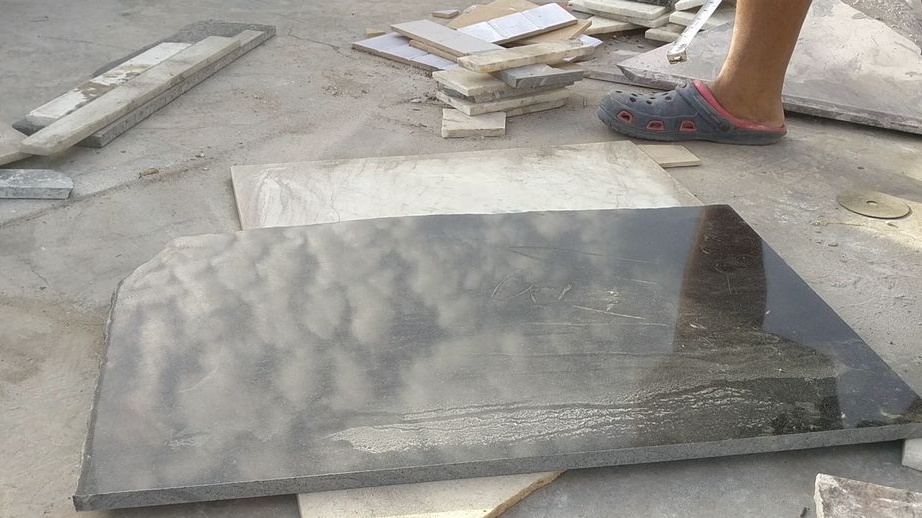
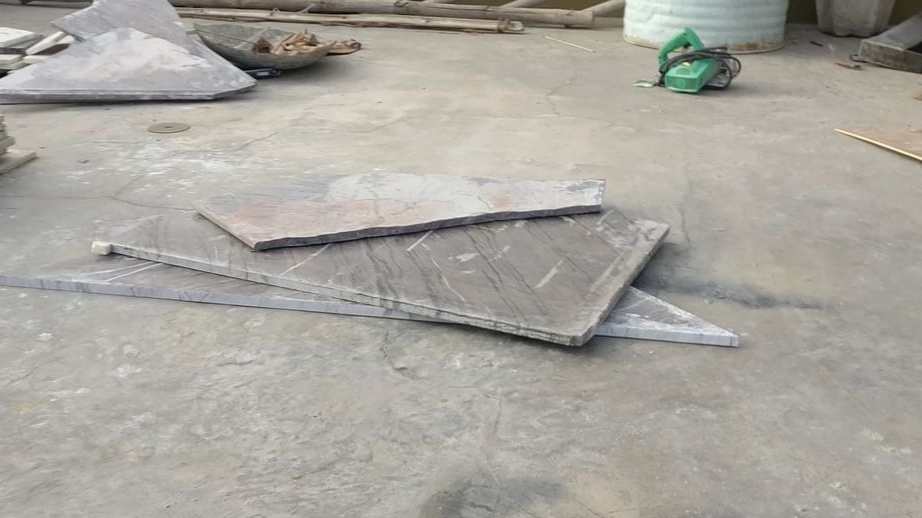
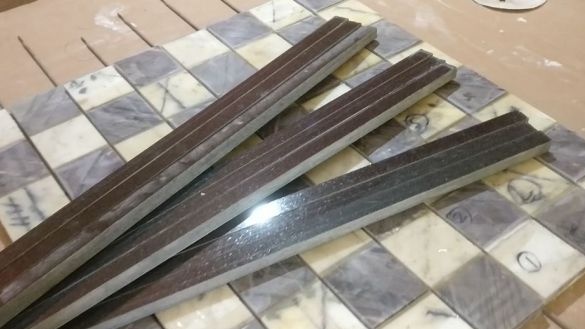
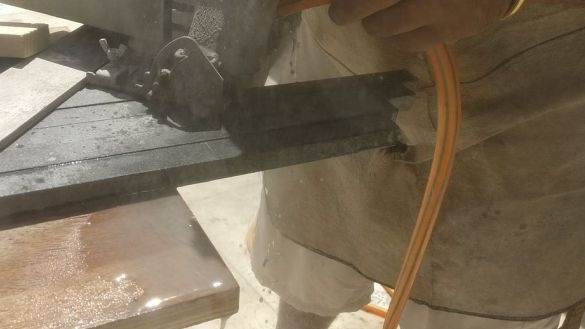
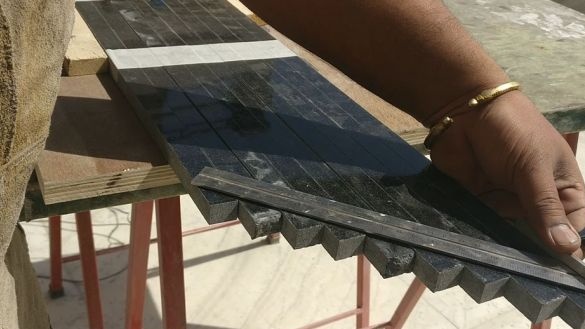
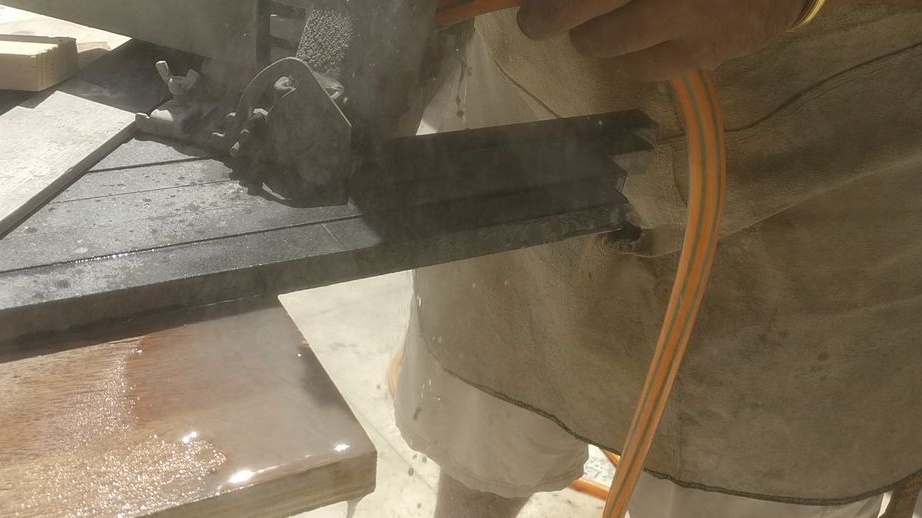
First, the master selects pieces of suitable size from the scrap of marble. Then it evens out the edges. For a chess field, cuts out four brown and four white stripes 7.5 cm wide. Then they trim them in length. Strip length 61 cm.
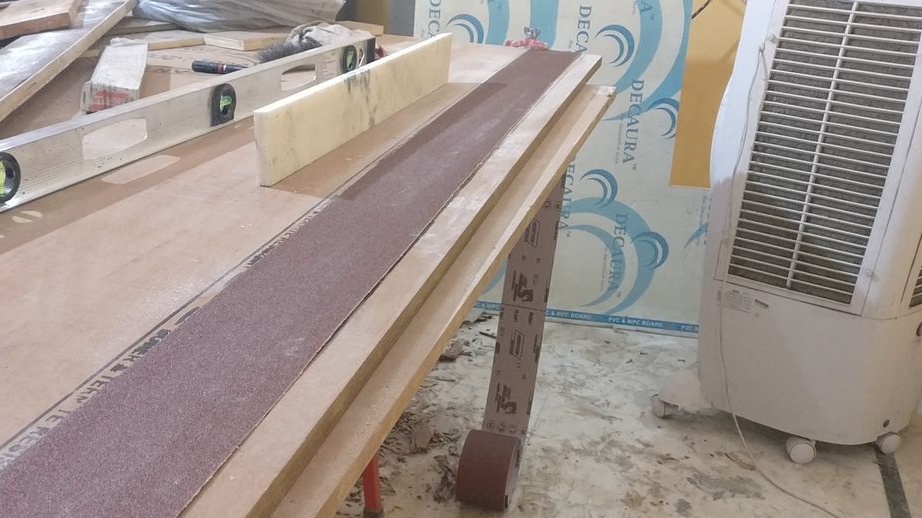
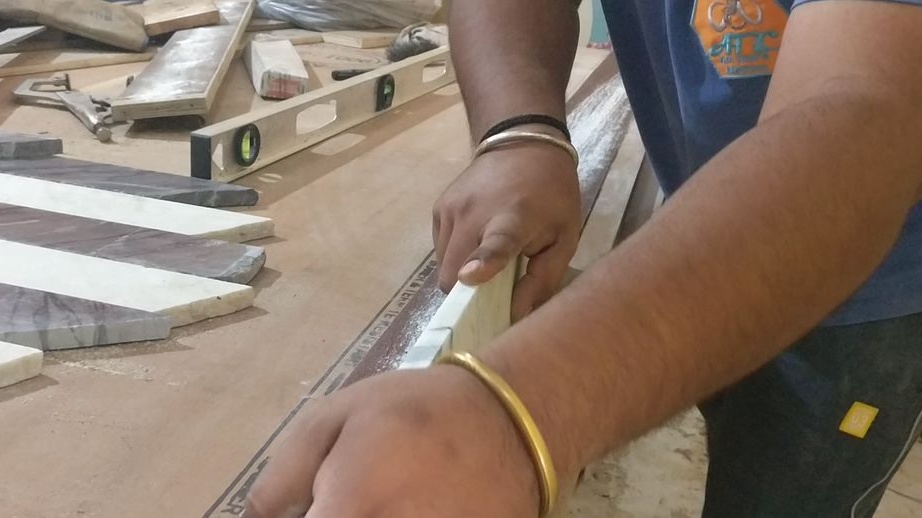
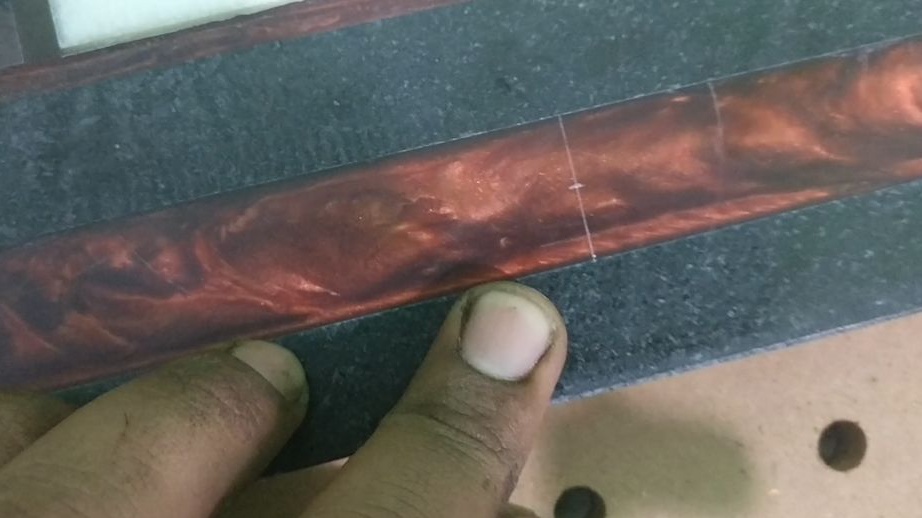
Step Two: End Grinding
The next step is to trim the side surface of the cut strips. Fastens a strip of sandpaper on the table. Paints the side surfaces of marble stripes with a marker. By grinding, it achieves a smooth lateral surface of marble strips.


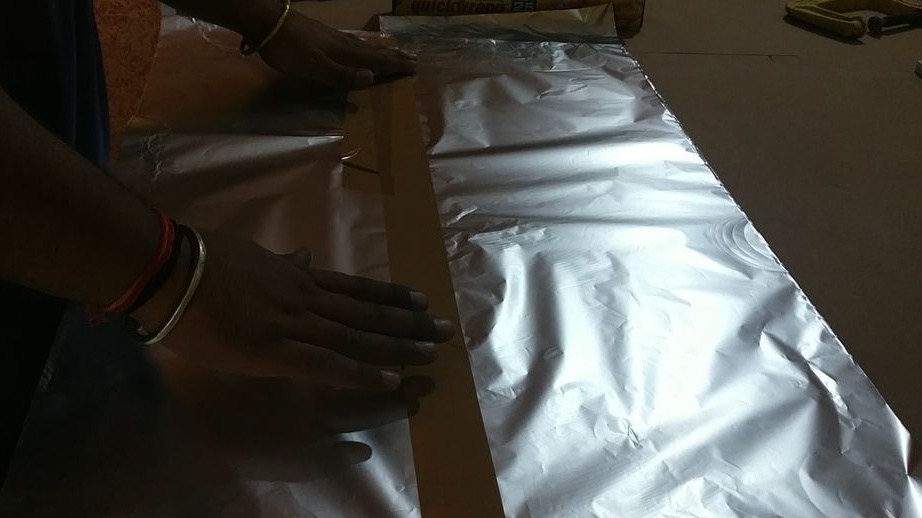
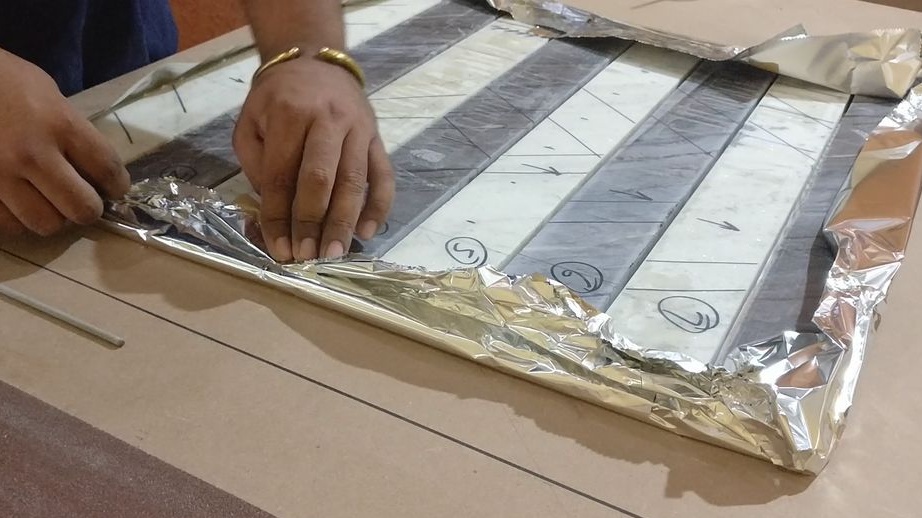
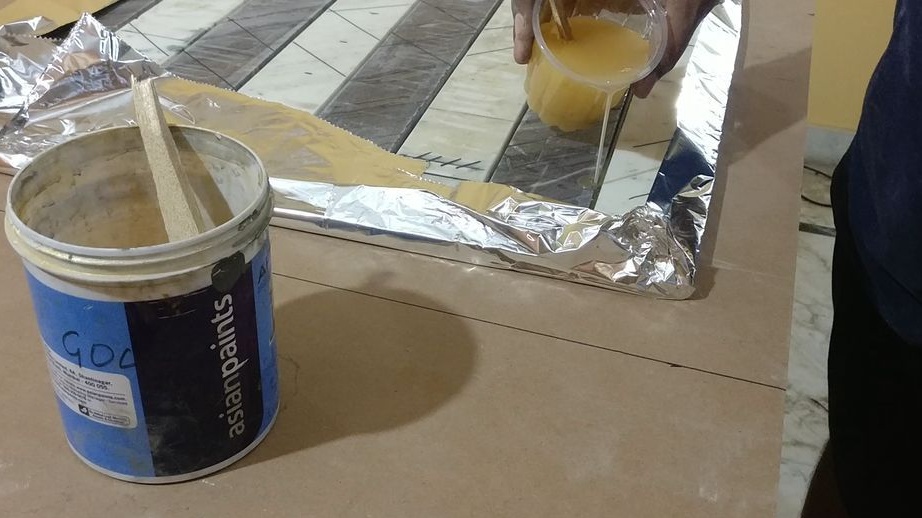
Step Four: Bonding Parts
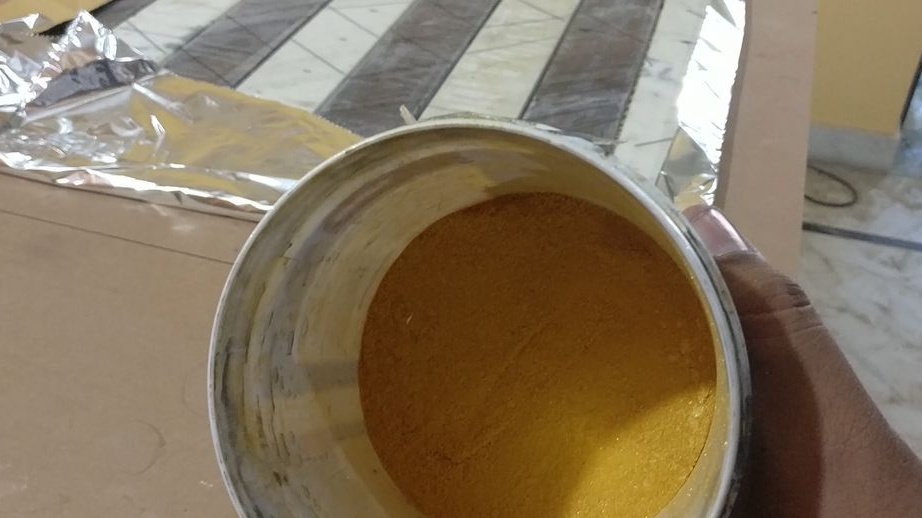
On a flat surface, the master spreads a piece of aluminum foil. Lays marble stripes on it. Aligns the strips with an electrode (the distance between the strips is equal to the thickness of the electrode). Stir the epoxy. Adds pearl powder to it. Fills marble with resin. After the resin dries, it turns the board over and removes any remaining foil.


Step Five: Making Chess Cages
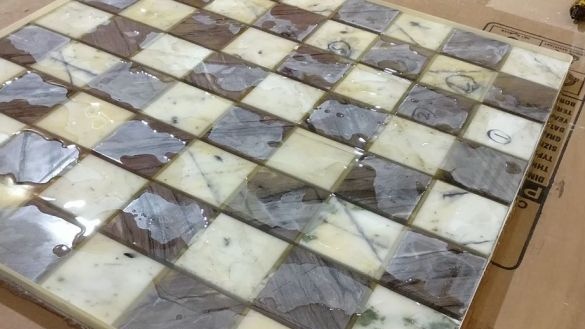
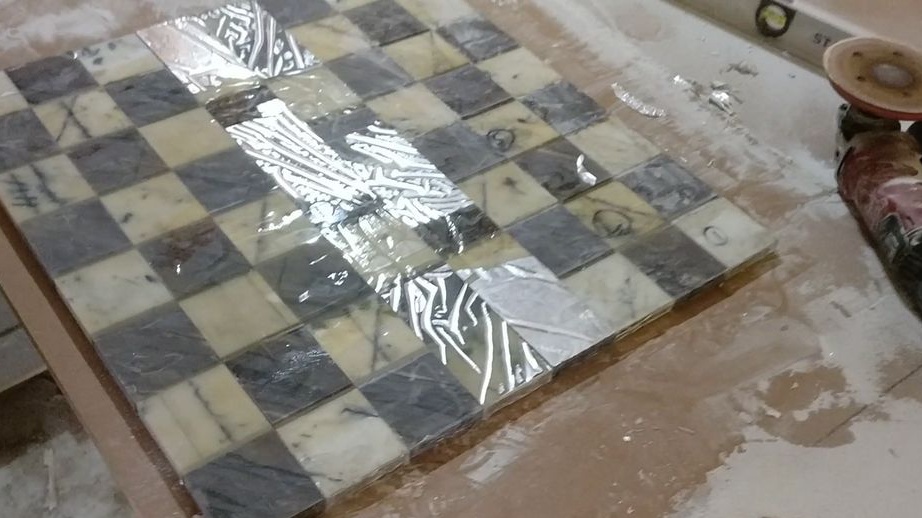
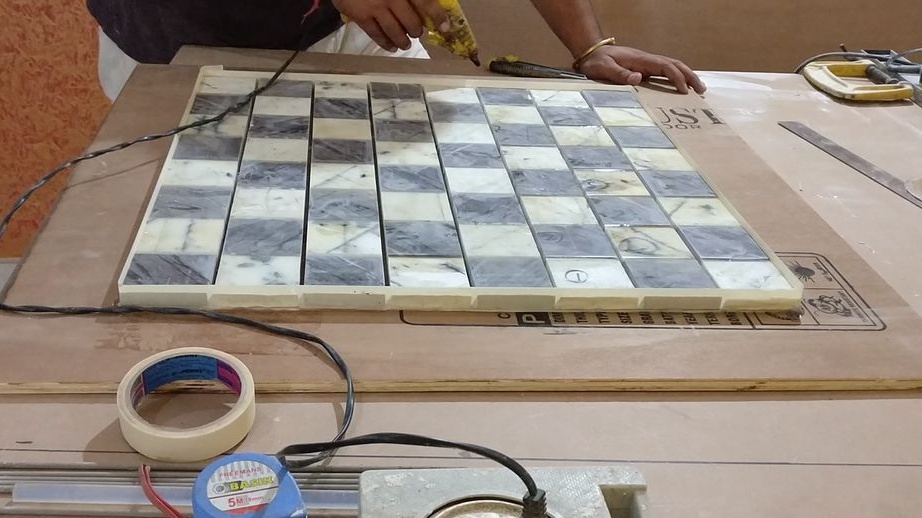
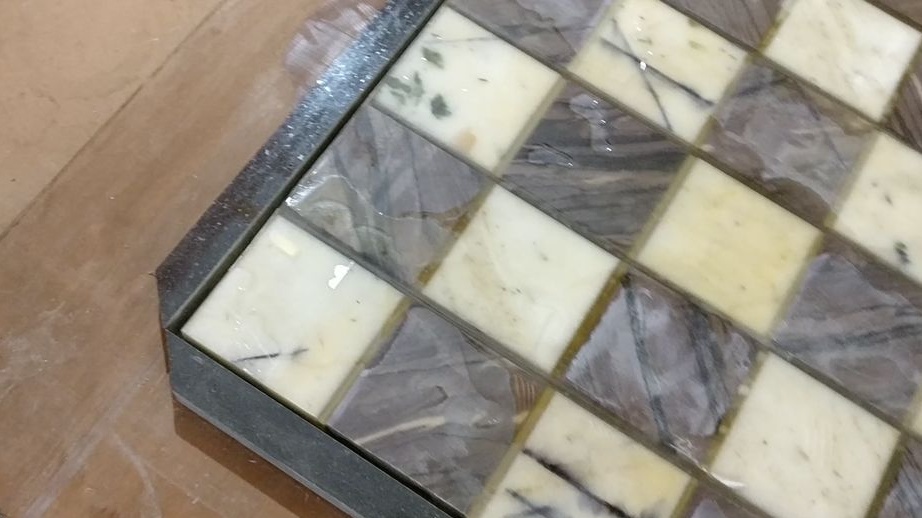
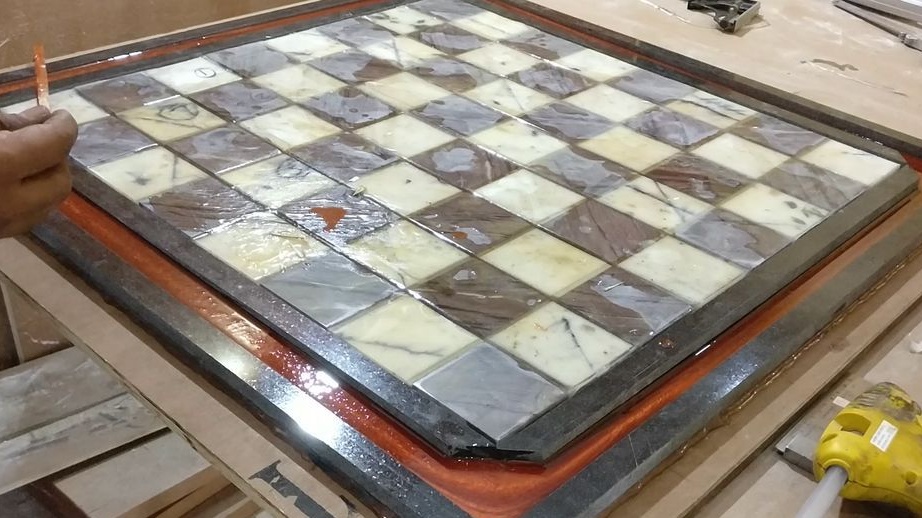
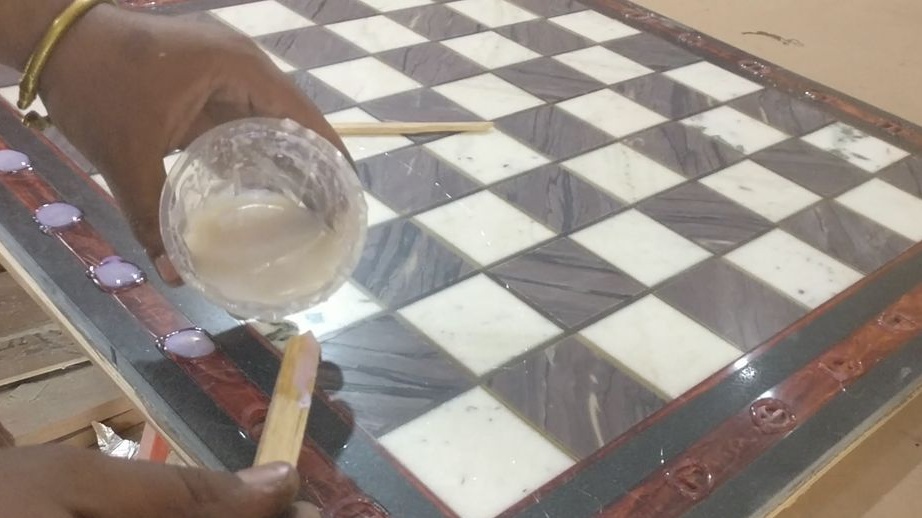
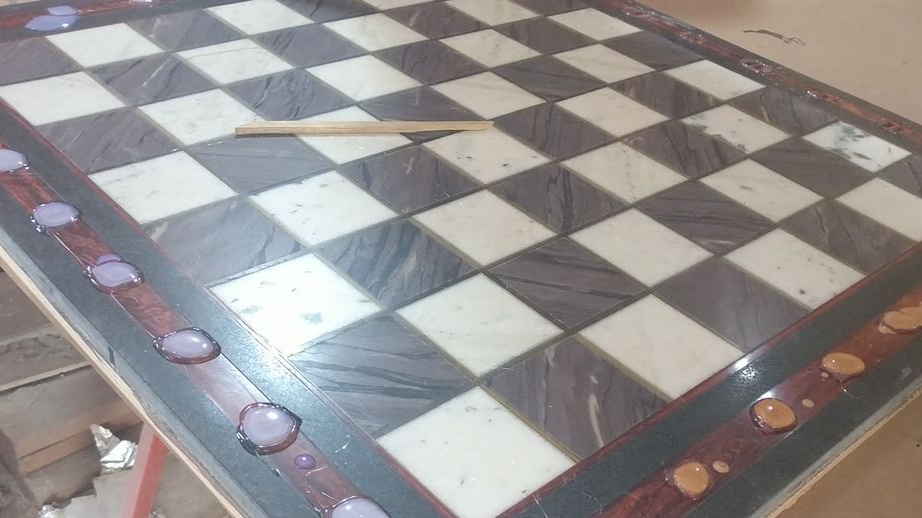
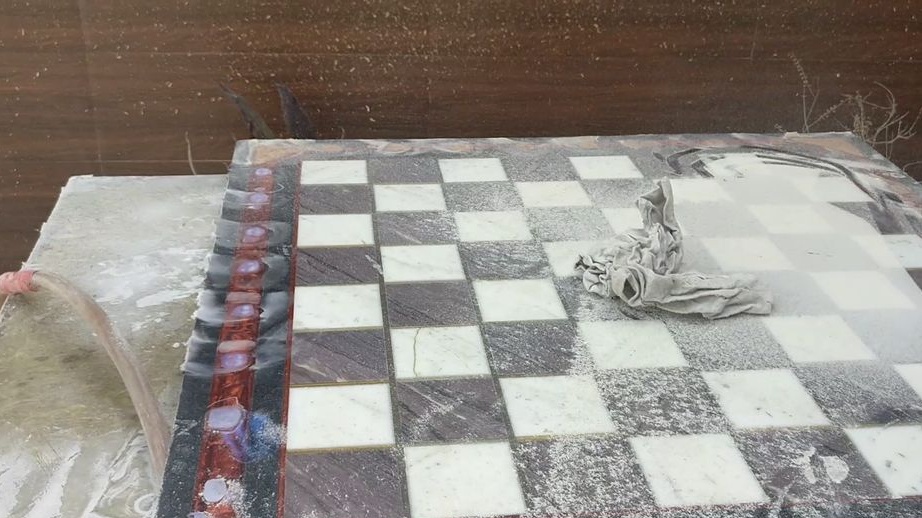
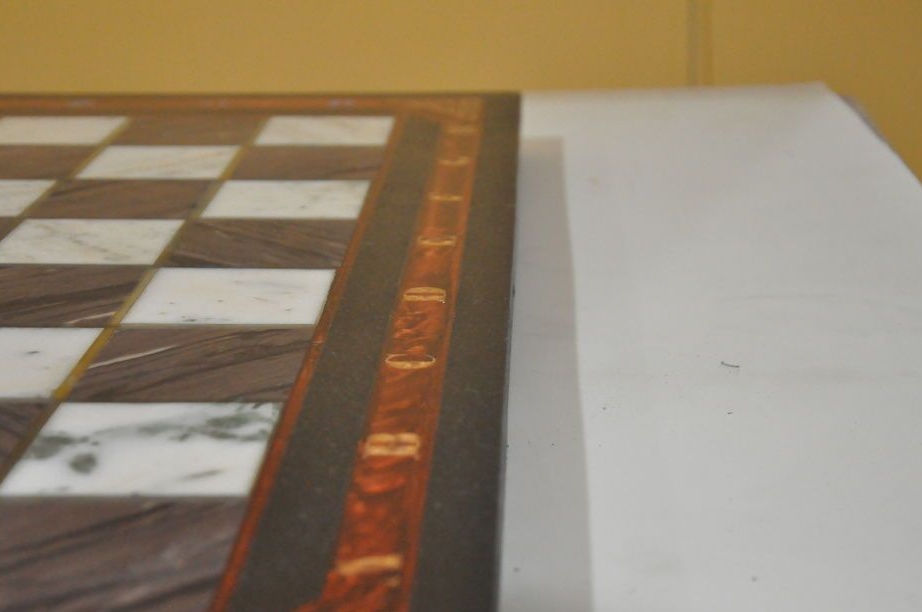
Further, the master cuts the board into 8 strips across the marble strips. On one strip, white and brown squares are obtained. From the board cuts the base. Lay strips on the board and align them with an electrode. Along the perimeter of the strips, a strip of black marble with an angular cut is laid. Stepping back framing the board with another black marble strip. Fills everything with pitch.
[/ center]
[center]


[center]


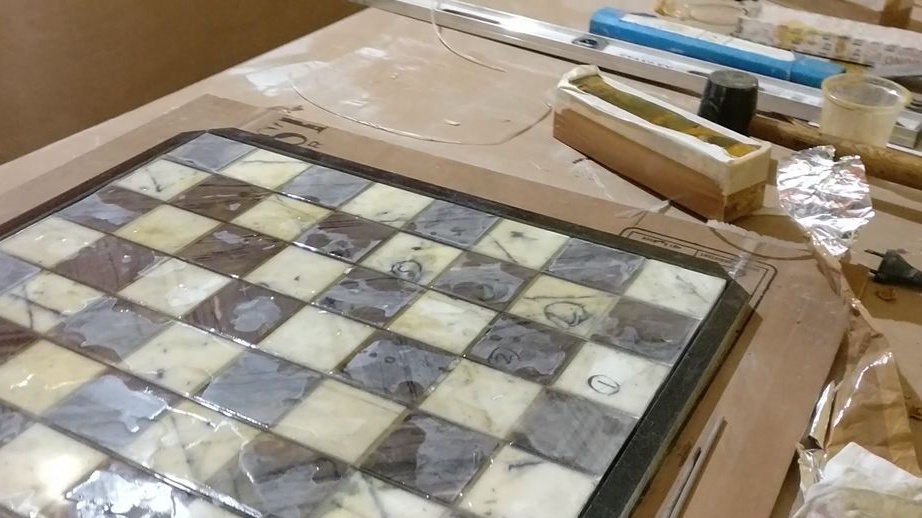
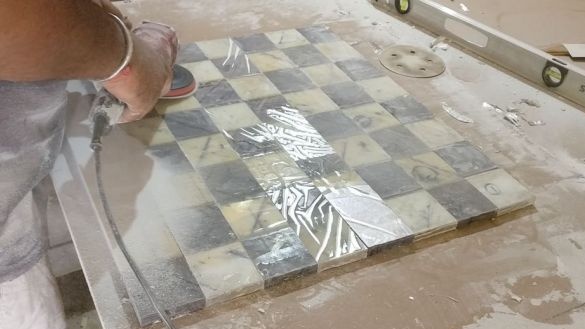
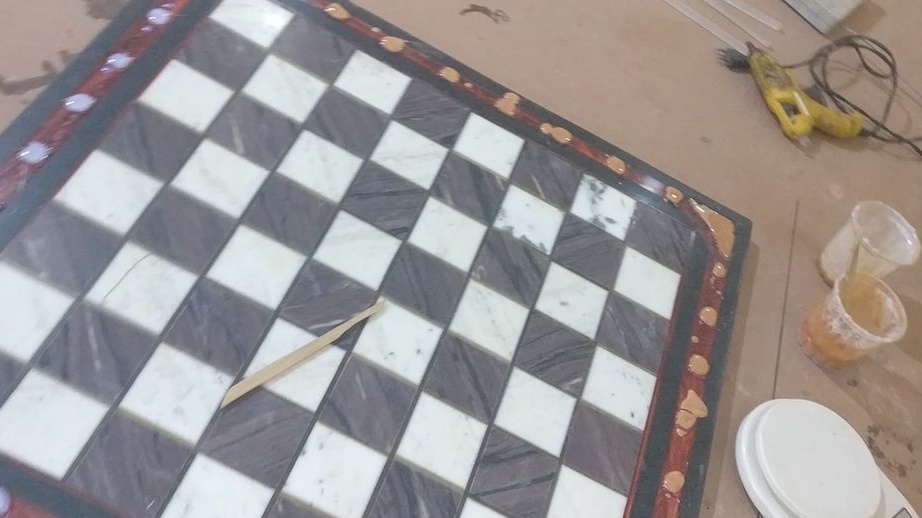
Step Six: Pre-Grinding
After the resin hardens, the master glues the lower part with a film and polishes the front part.
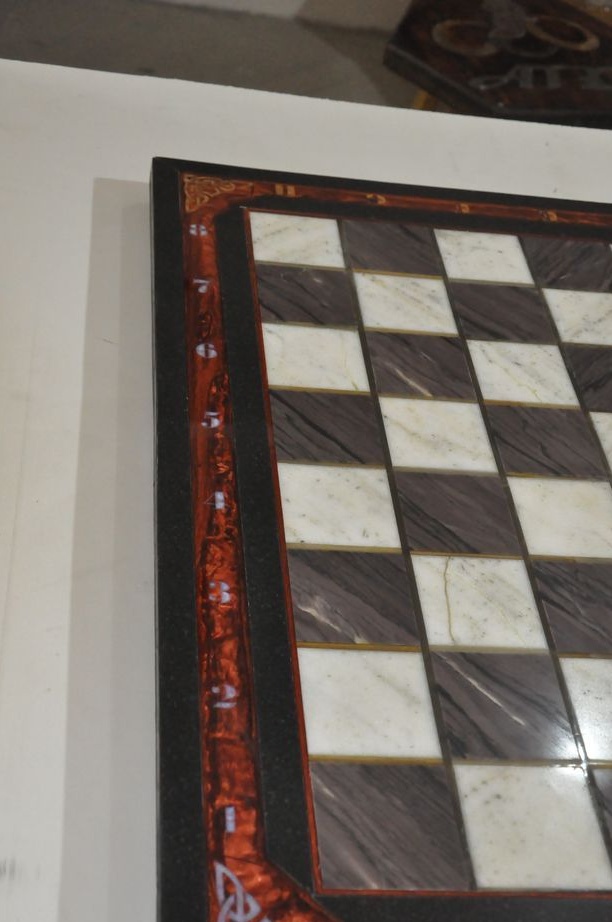
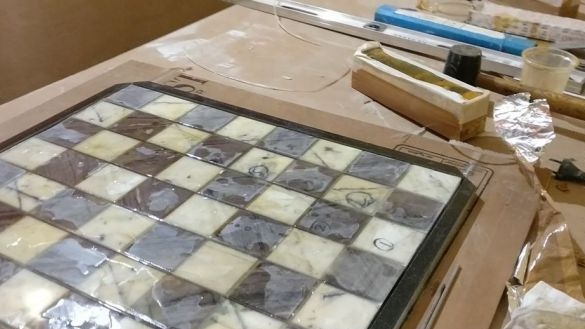
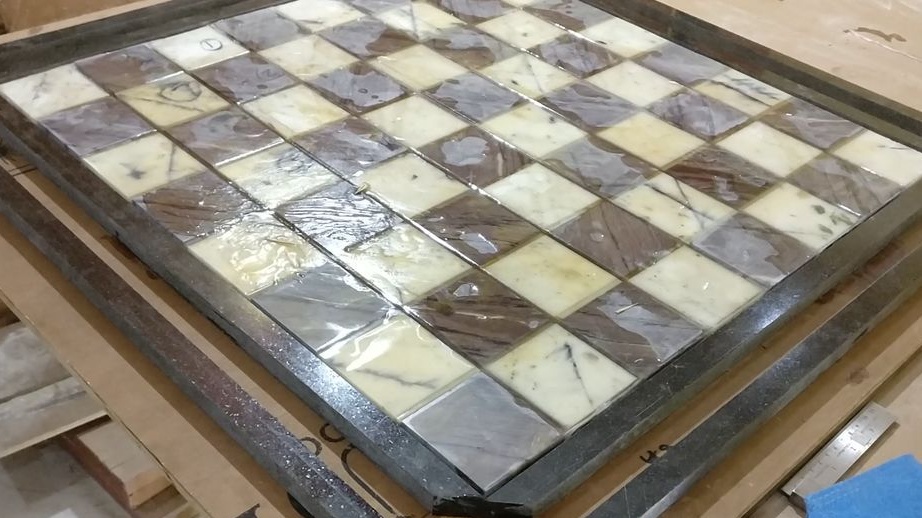
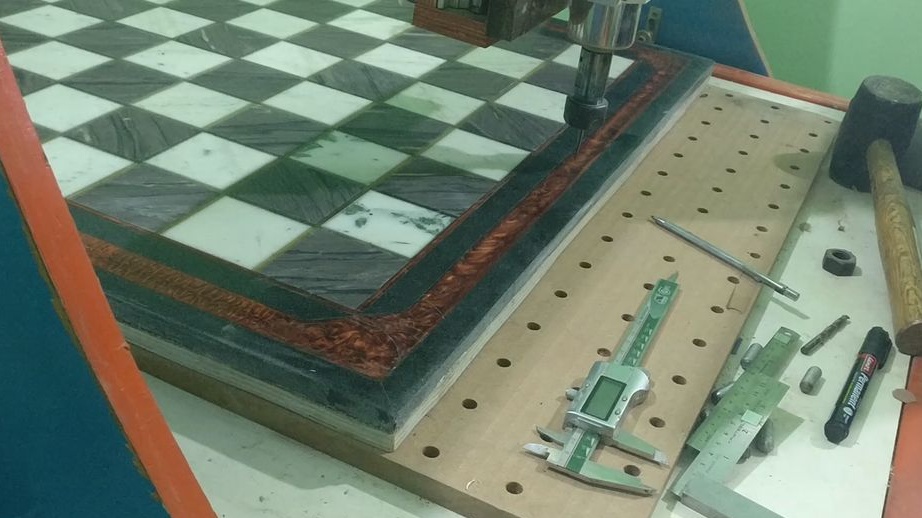
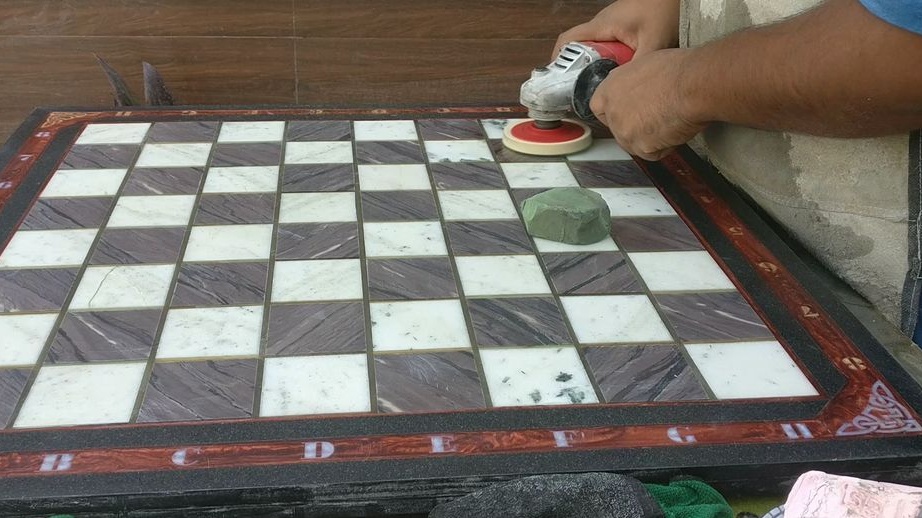
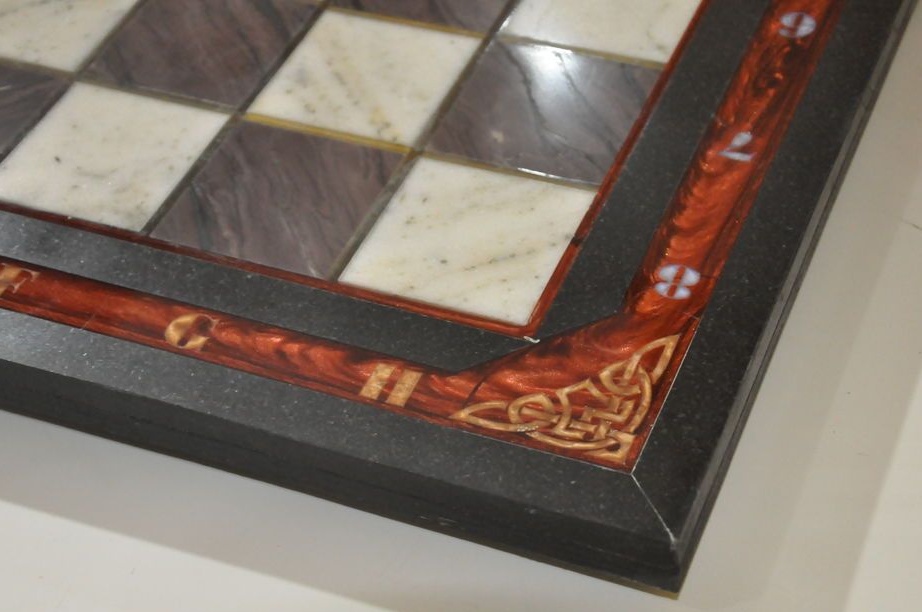
Step Seven: Cell Labeling
Using the machine, the master engraves every cell. On one side are numbers, perpendicular to them letters. At the corners of the board makes a Celtic pattern.After engraving, it removes chips and fills the engraving with epoxy resin.
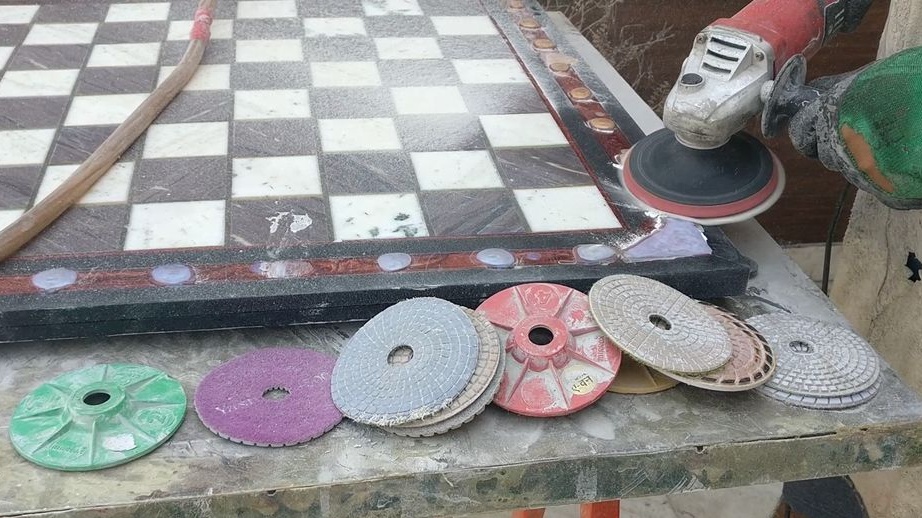
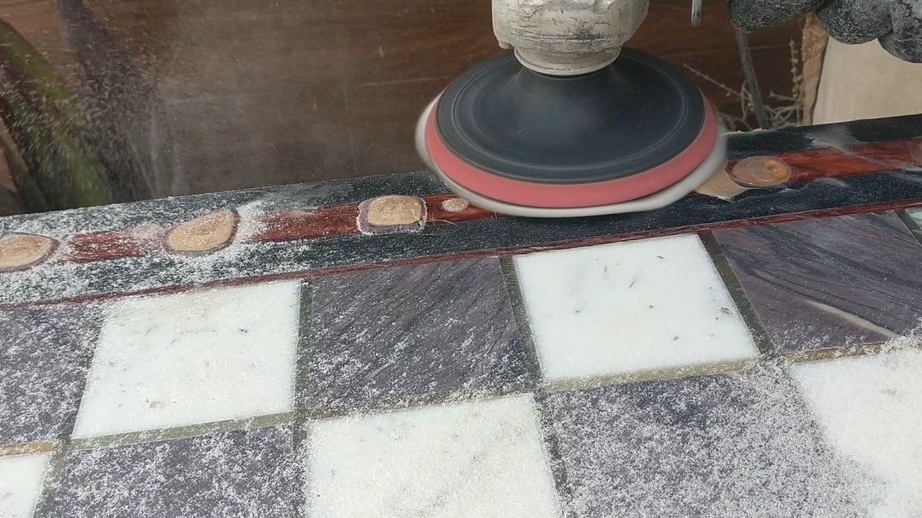
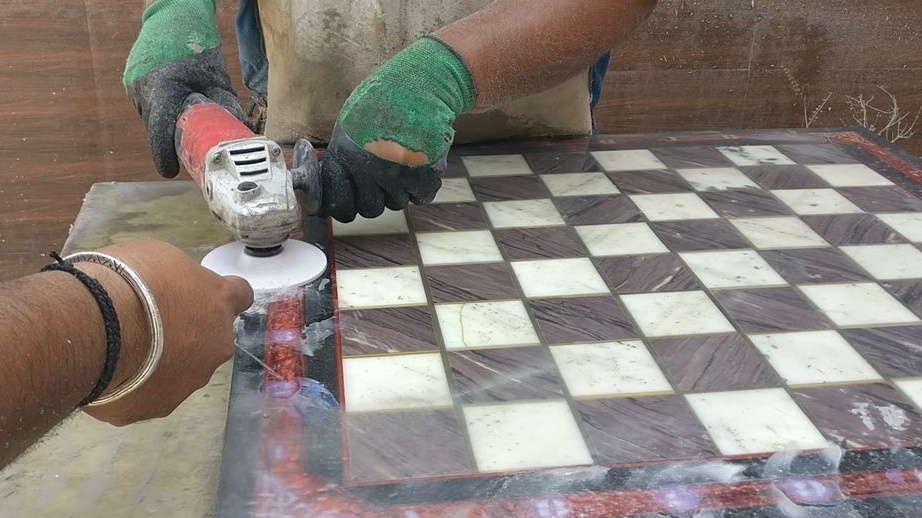
Step Eight: Final Grinding
After the resin hardens, the Master finally polishes the surface of the chessboard. The bottom of the board is stained.


The chessboard is ready. In the future, the master will make figures for her.


The whole process of making boards can be seen in the video.