
Hello to all lovers homemade. We all love to listen to music on headphones, as it is not always possible to turn it on in columns, especially at a later time of day or in public transport. But the sound quality itself is not always good enough, one of the signs of this is the built-in amplifier in the playback device, whether it be a phone or a computer, a laptop. In this article I will tell you how to make a headphone amplifier do it yourself, in the assembly of which the kit kit will help, you can order it by the link at the end of the article.
Before you read the article, I suggest you watch a video in which the entire assembly process and verification of the amplifier in operation are shown in detail.
In order to make a headphone amplifier with your own hands, you will need:
* Soldering iron, flux, solder
* Device for soldering "third hand"
* Side cutters
* Solvent 646 or galosh gasoline
* Power supply with an output voltage of 12 V
* Headphones, phone or other playback device
Step one.
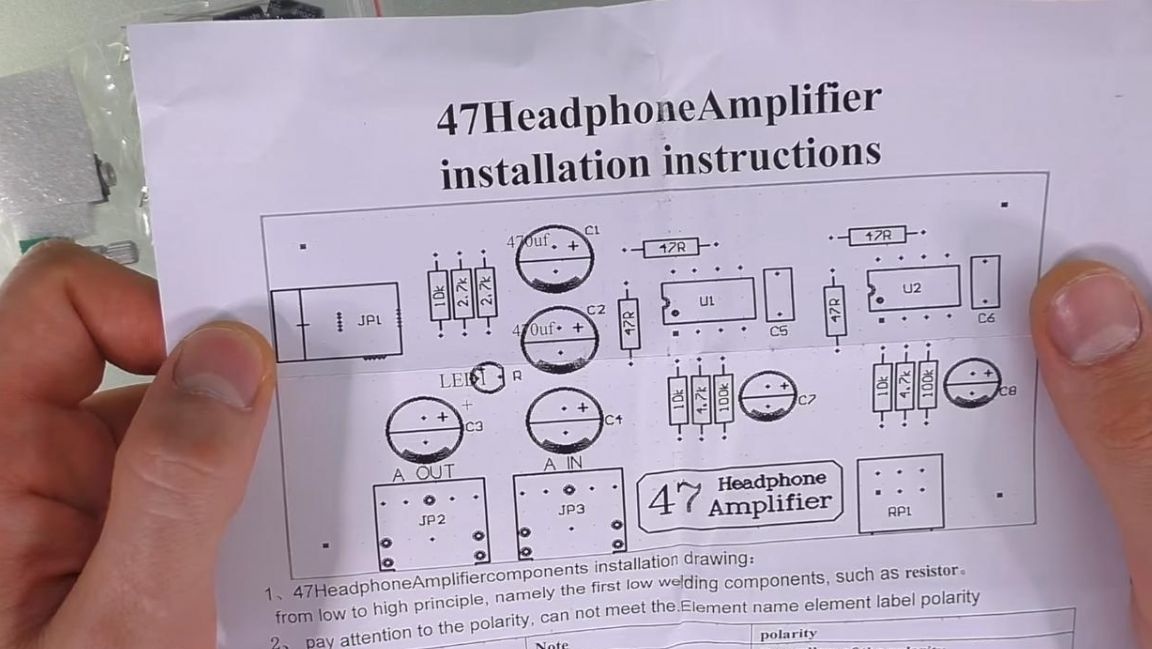
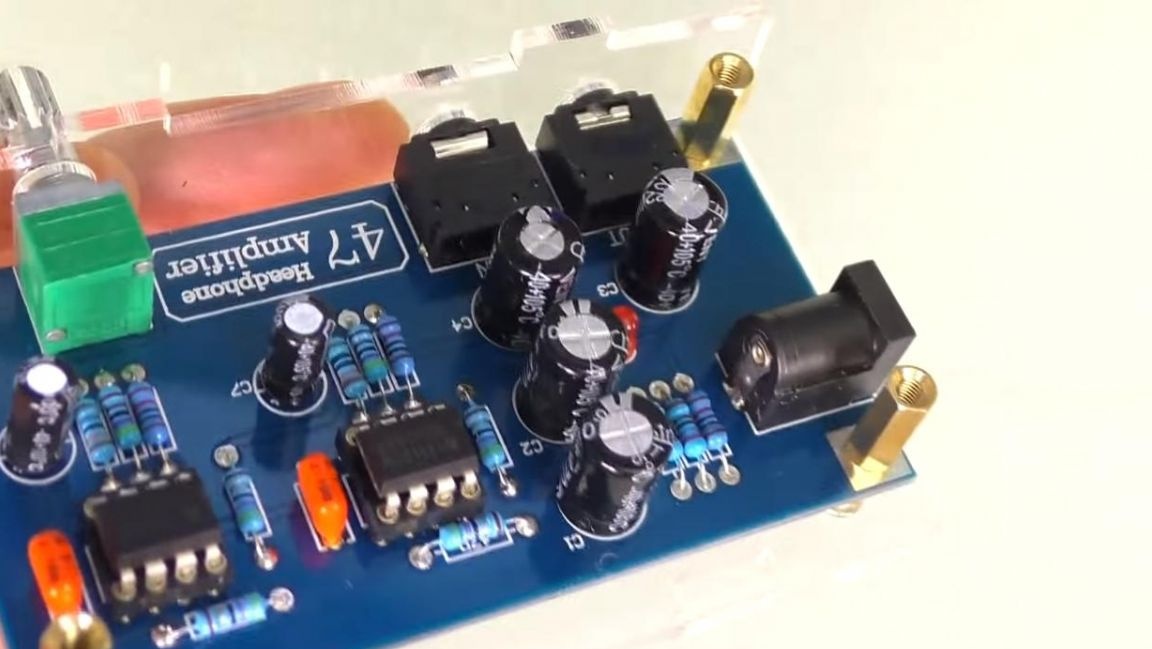
This kit kit comes with a double-sided printed circuit board, its quality is very good and has metallized holes. Also, for ease of assembly, an instruction is provided where the amplifier circuit and component ratings are shown for proper installation on the board.
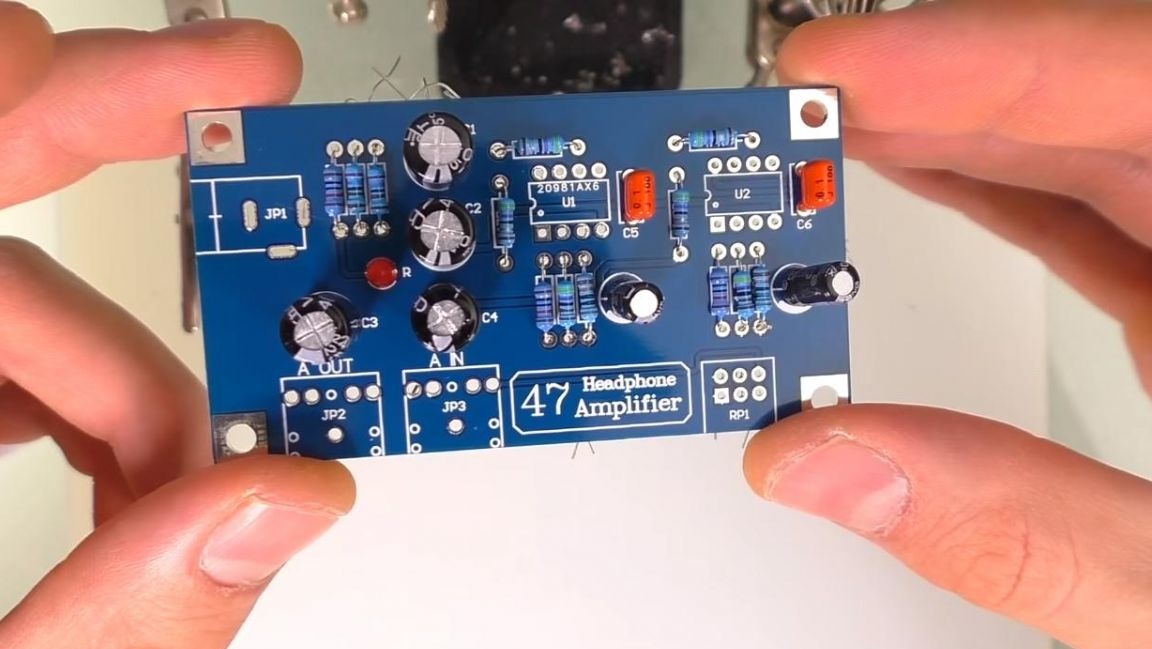
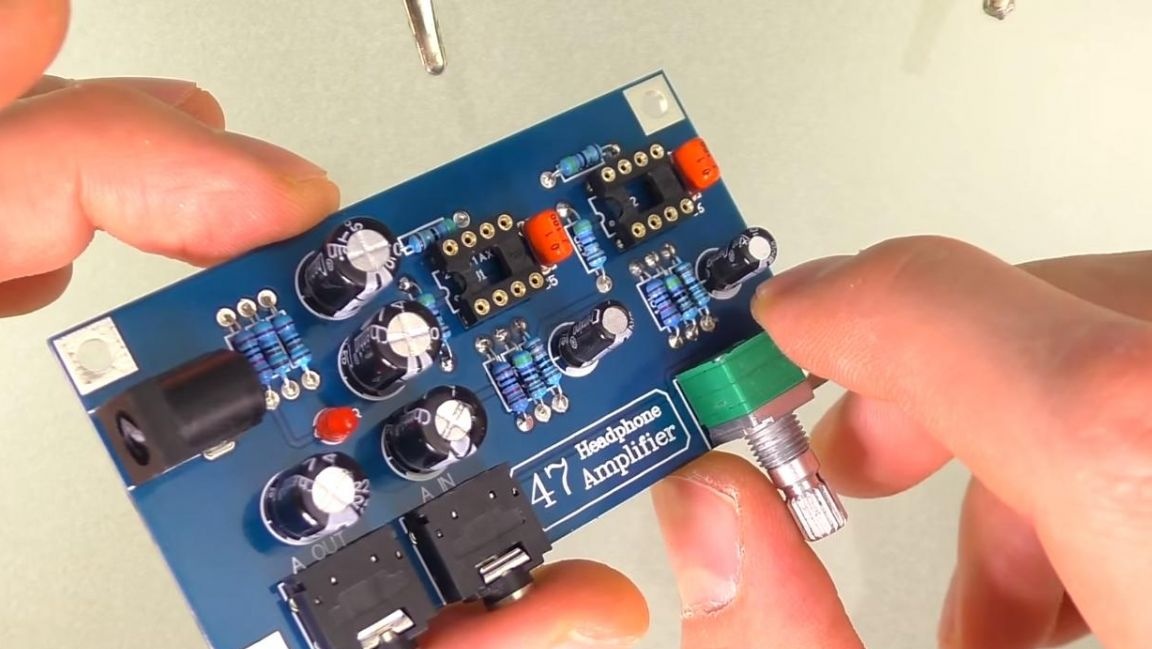
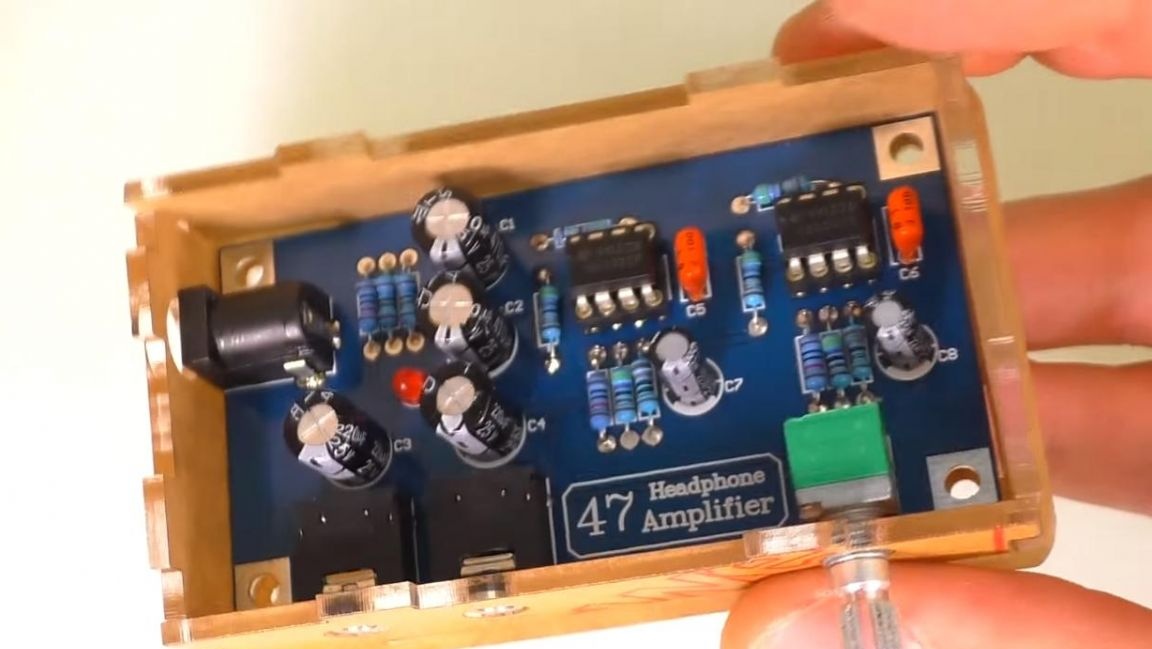
First of all, we install resistors on the board, their ratings do not need to be determined, since they are signed on a piece of paper glued to them. After that, we insert non-polar ceramic capacitors, and then polar electrolytic capacitors, observing the nominal and polarity, the plus is the long output, and the minus the contact opposite the white strip on the case, the minus contact on the board is indicated by a shaded semicircle. To indicate the operation of the amplifier, a place for a red LED is provided on the board, we install the long leg in the place indicated by the triangle, and the minus-short leg in the hole with the strip next to it.
Step Two
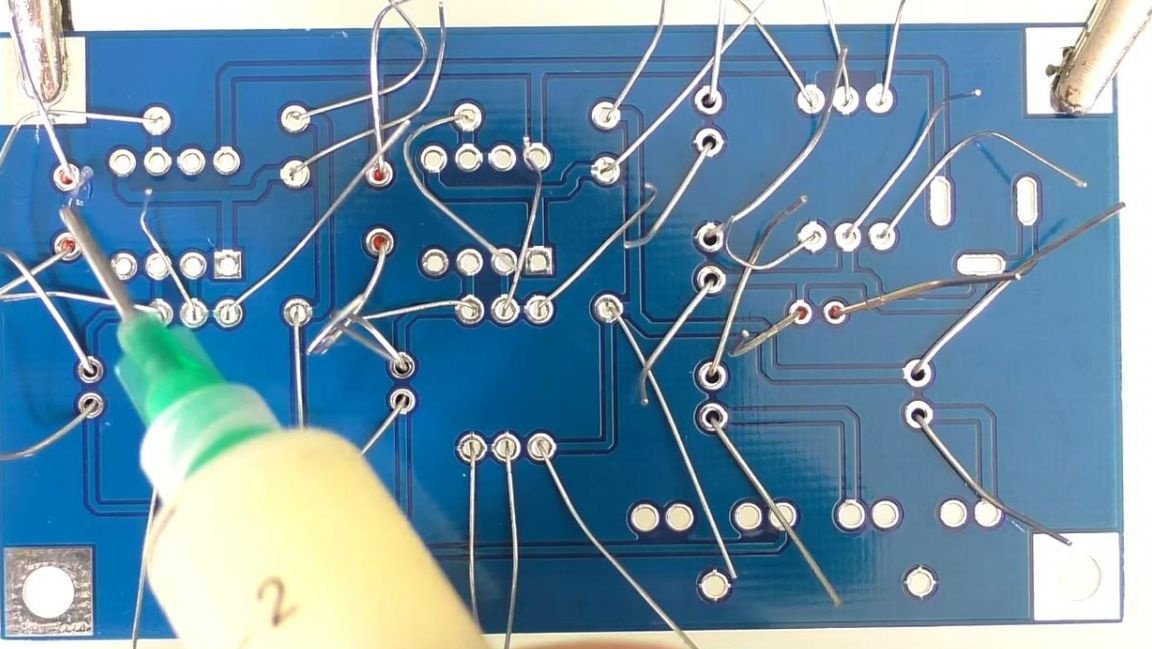
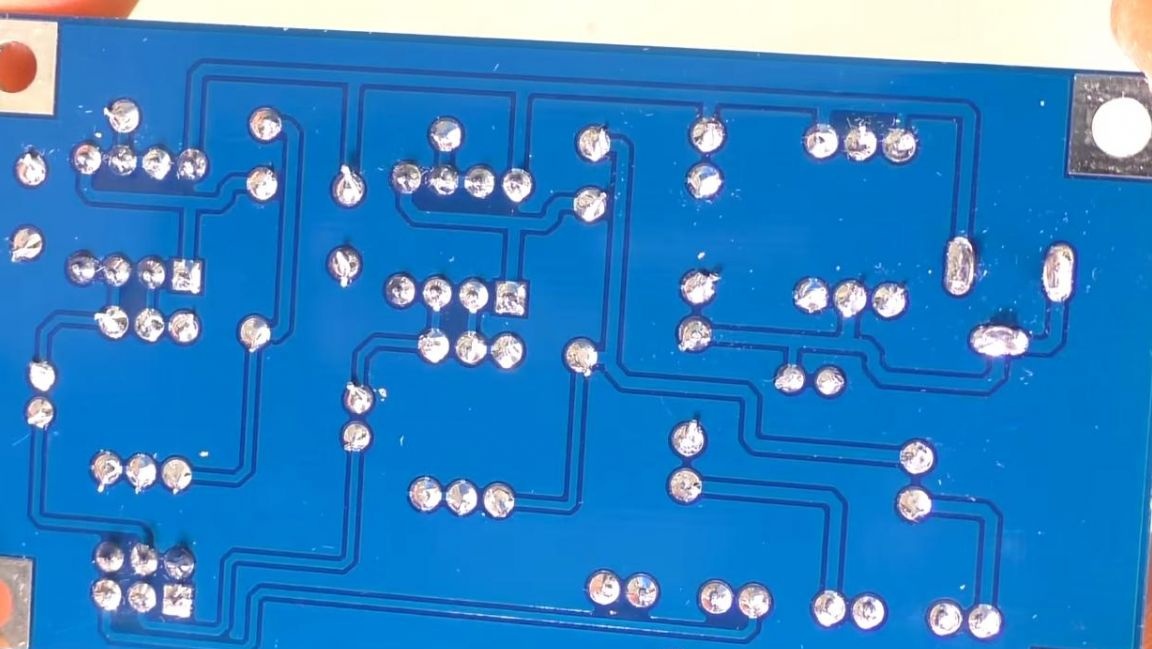
In order to prevent radio components from falling out during soldering, we bend their conclusions from the back of the board.Next, we fix the board in the “third hand” soldering device and apply the flux to the contacts, after which we solder the conclusions with a soldering iron and solder. We remove excess conclusions using side cutters. When removing pins with side cutters, be careful because you can accidentally remove a track from the board.

Then we install the remaining components, namely a variable resistor, a power connection socket, two panels for microcircuits, focusing on the key on the case and the board in the form of a notch, as well as a socket for connecting audio input and output.
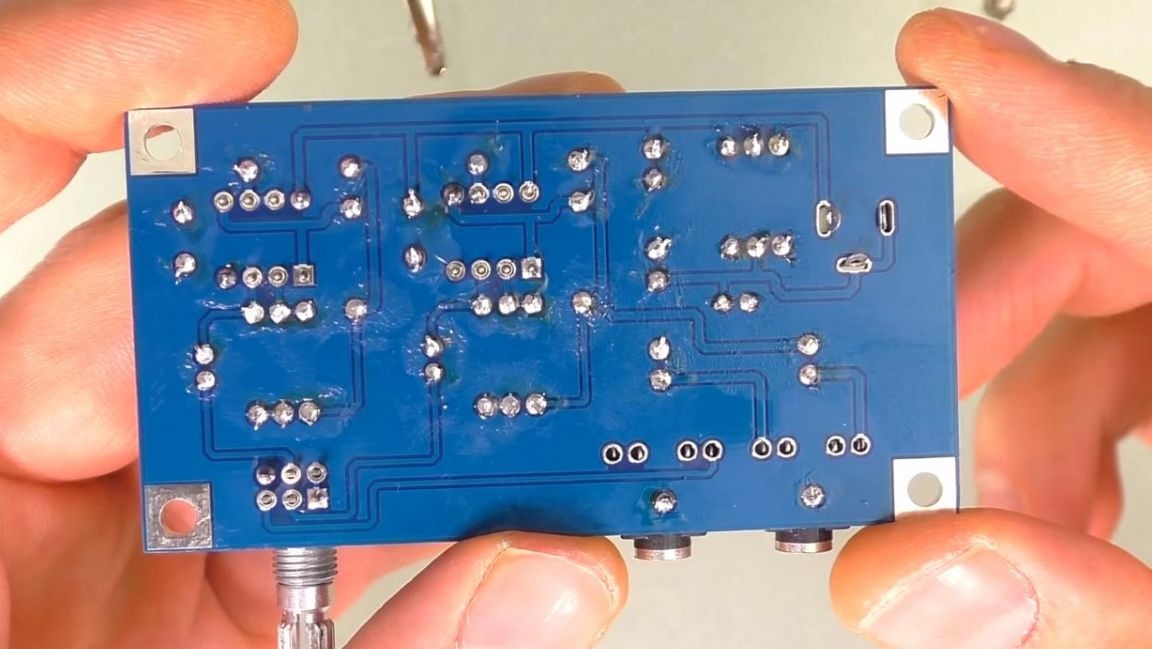
Solder components, apply flux for better soldering. We also remove the extra part of the findings with side cutters.
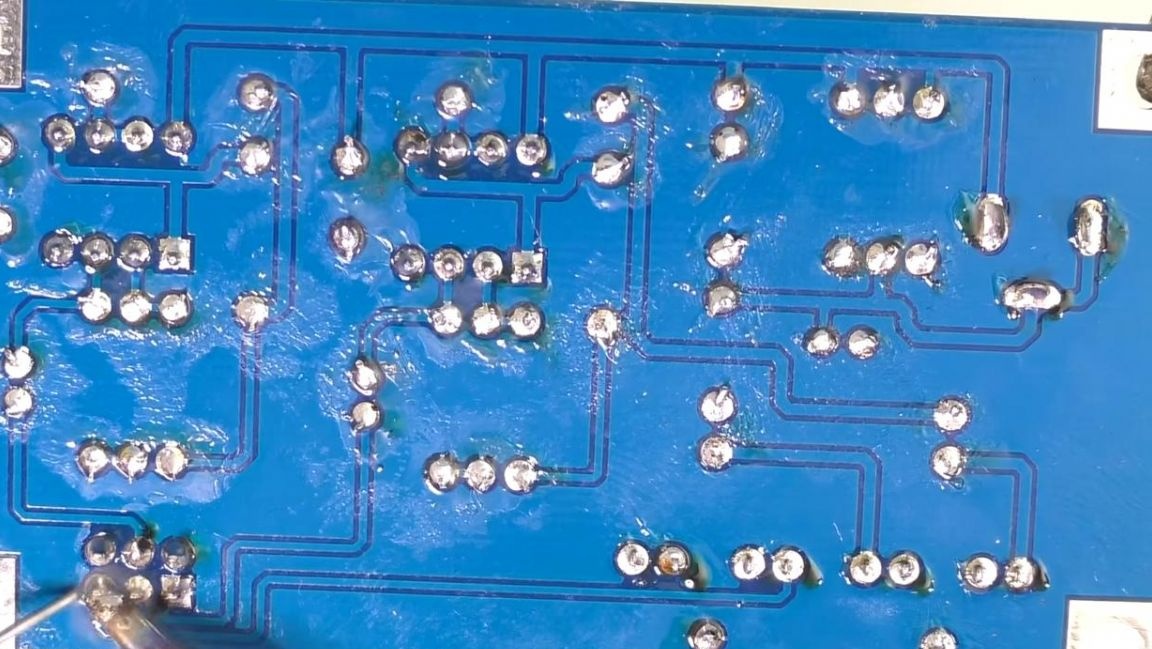
After soldering, such a board is obtained.
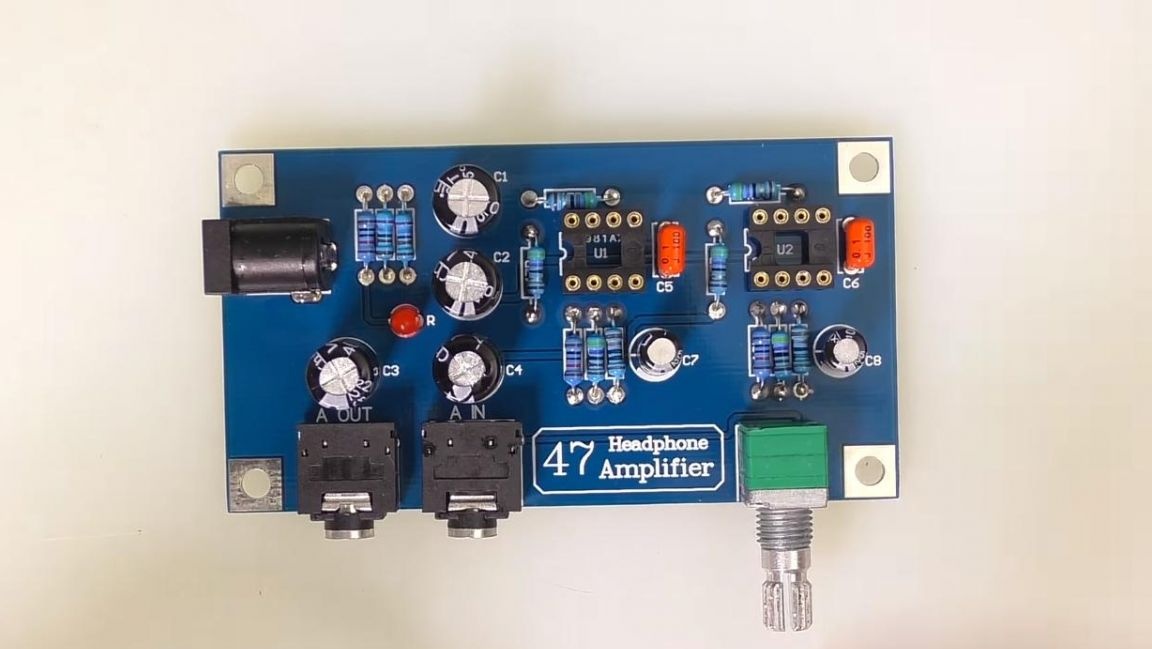
We remove the flux residues from the circuit board using a brush and solvent 646 or galosh gasoline. This is what the net board looks like.
Step Three
Now we install microcircuits in special socket panels according to the key on the case and the board.

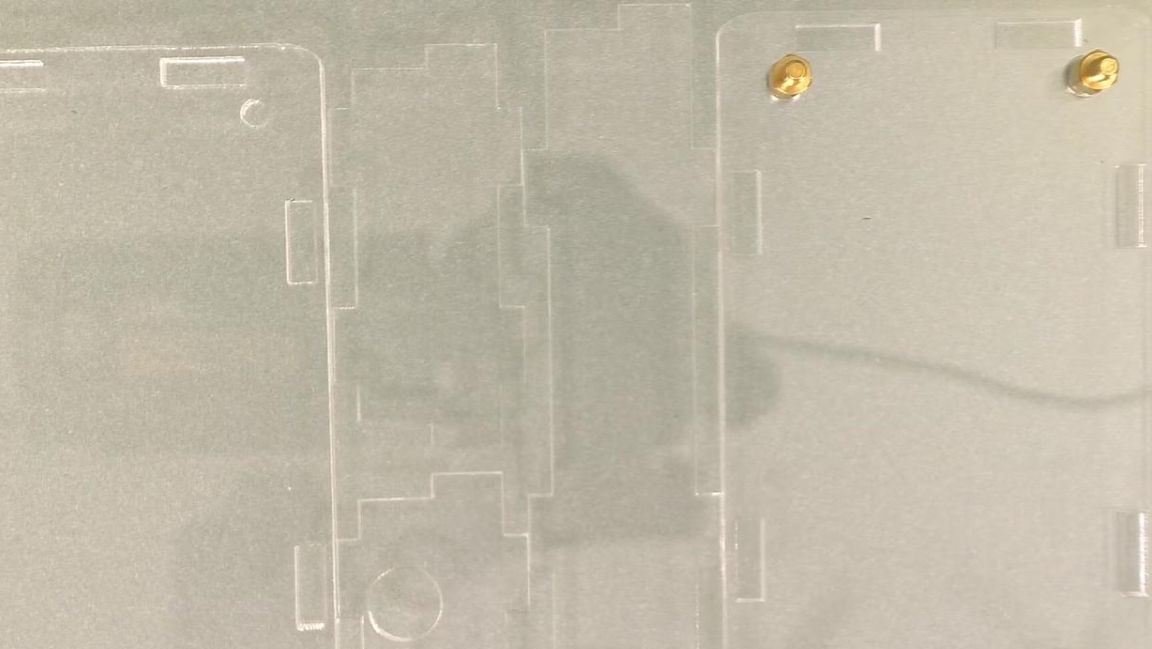
Next, we proceed to the assembly of the case, first we try it on the board and remove the protective films from the parts of the case. We fasten the four-hole threaded rods to the bottom with a Phillips screwdriver.
Next, we install on the racks a board with a side panel with holes for connection sockets.
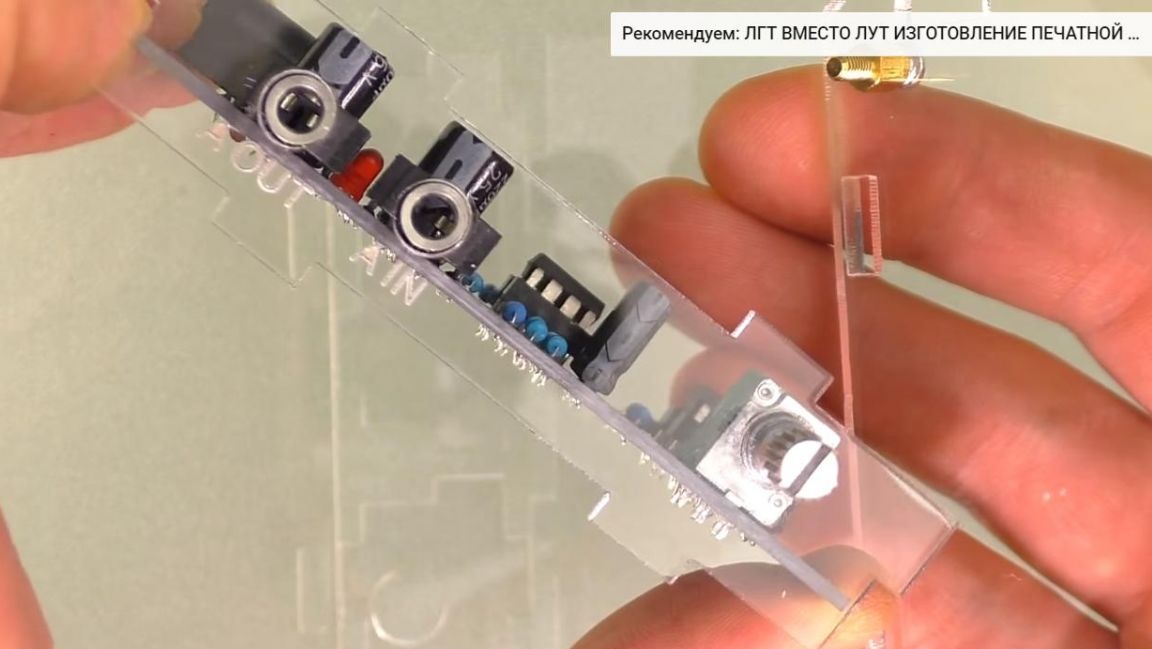
After that, collect the remaining parts and fasten the top cover with screws.
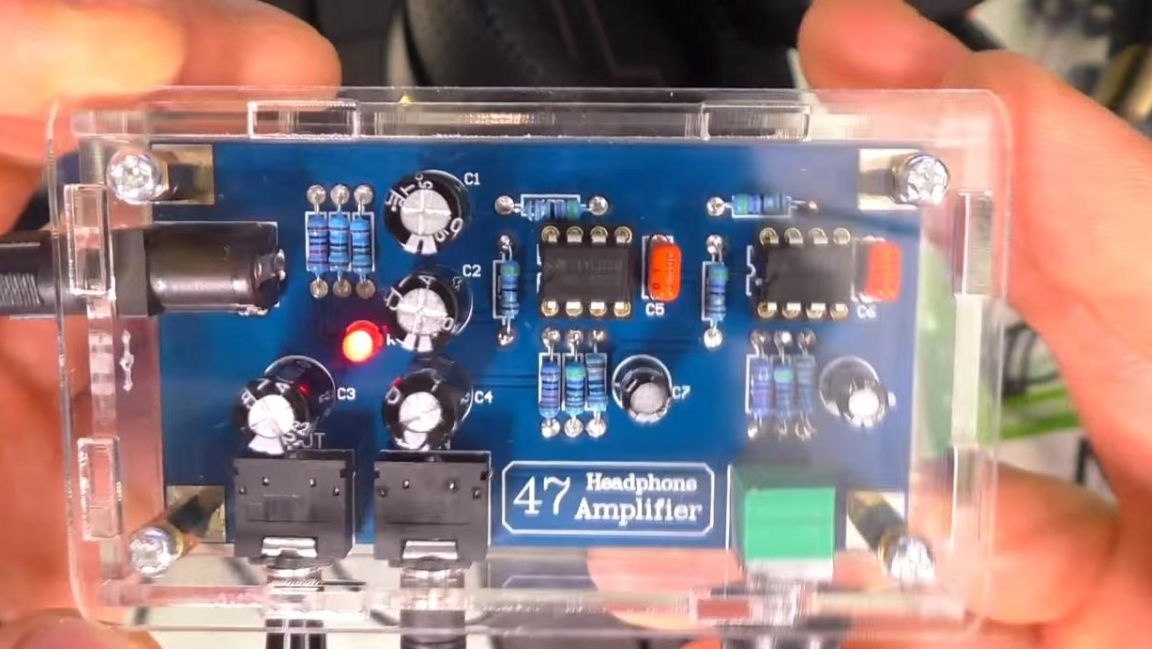
On this, the headphone amplifier can be considered ready, it remains to test it.
Step Four
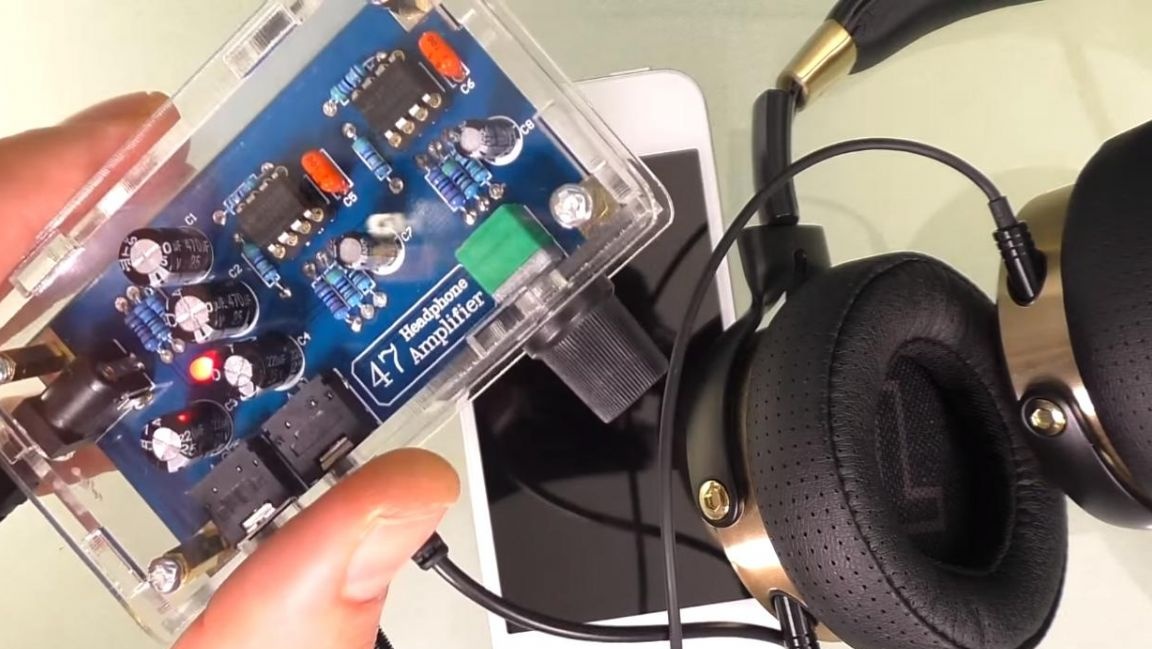
For the amplifier to work properly, a 12 V power supply is required. We connect the power supply through the plug to the jack and insert the 3.5 mm Jack plug from two sides, one goes to the phone, the other into the amplifier, we insert the plug from the headphones into the jack with the word OUT and enjoy high-quality sound. Volume control is performed by turning the variable resistor knob.
That's all for me, this kit kit will be useful for those who want to amplify the sound in their headphones if the device’s native preamp is not enough, and also gives a little experience in assembling radio constructors.
Thank you all for your attention and creative success.