

In this article, we will look at how to make do it yourself clamps. The clamps made by the craftsman are durable and easy to use. To make them, you need the following
Tools and materials:
-A metal sheet;
-Gon;
-Marker;
-Ushm;
- Clamps;
-Board;
-Tape grinding machine;
-Hammer;
-Breakdown;
-Vise;
-Drilling machine;
-Drill;
-Drill;
Cutting machine;
-Profile;
- Hacksaw for metal;
-Nuts;
-Welding machine;
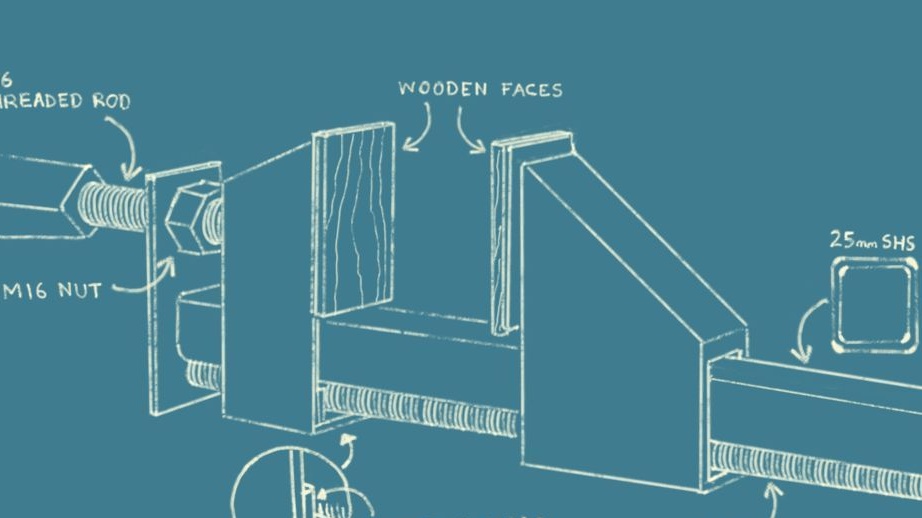
-Threaded rods;
-Glue gun;
-Magnetic squares;
- Spray can with paint;
-A circular saw;
-Wax;
-Glue;
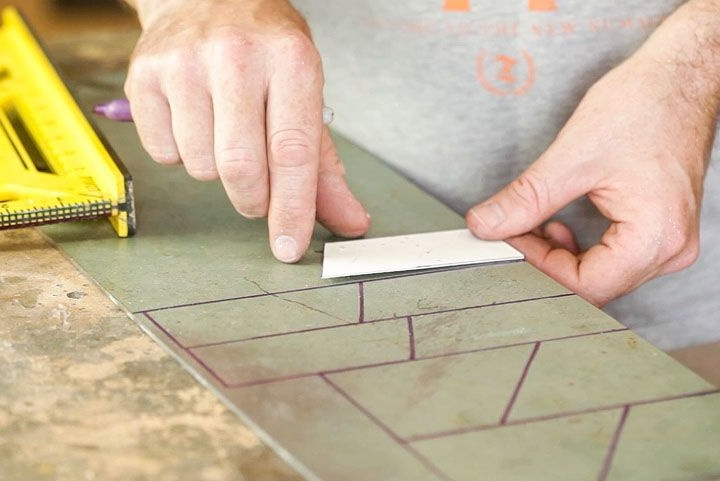
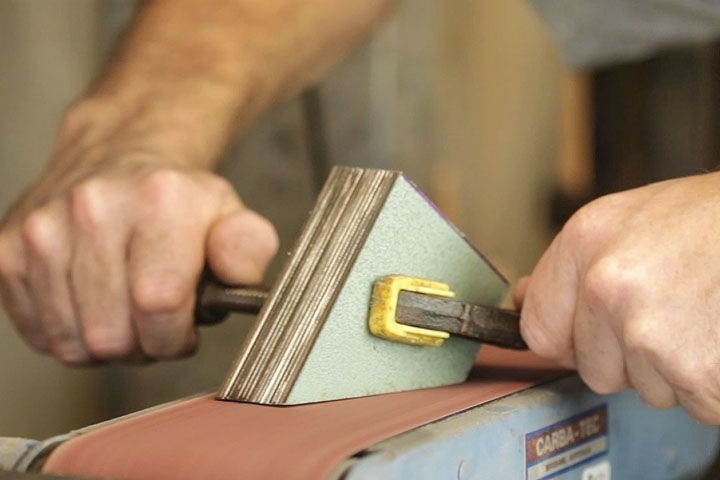
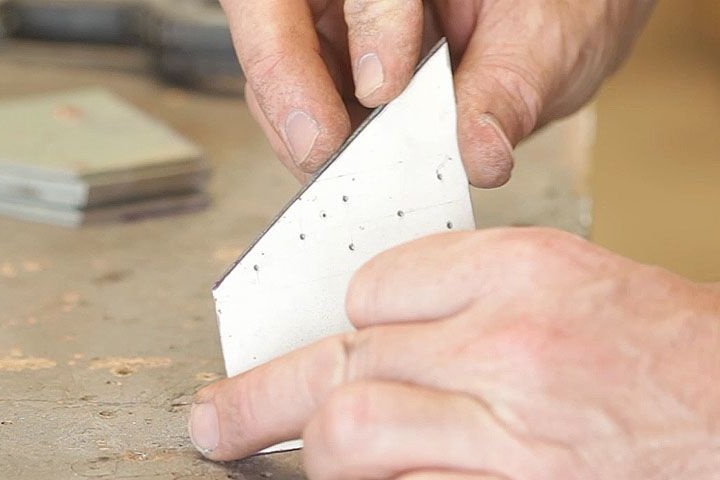
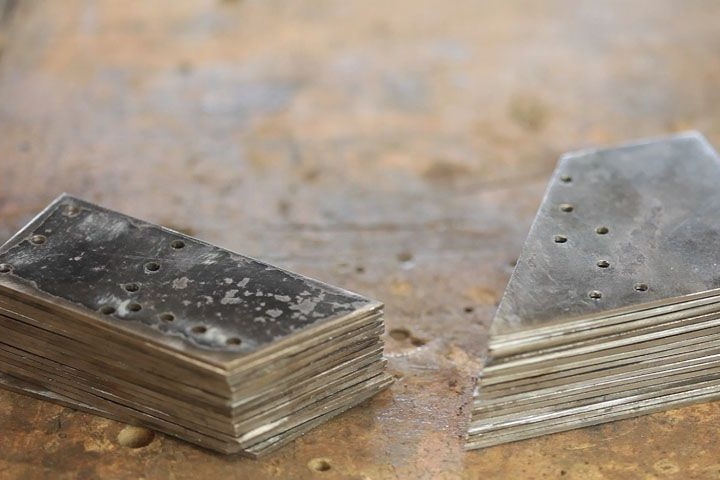
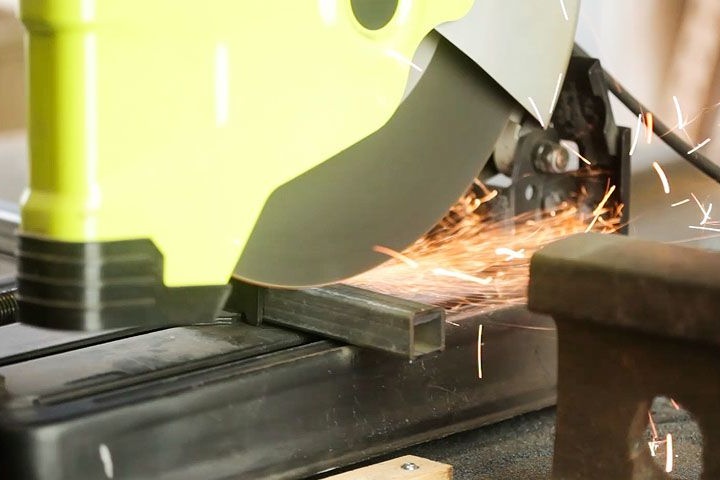
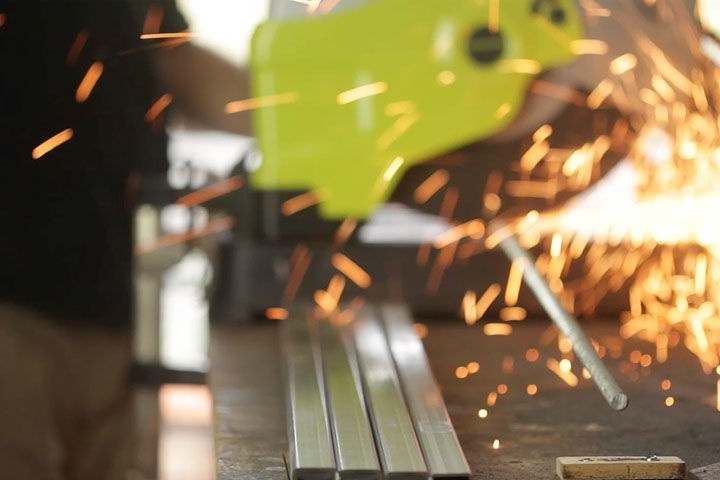
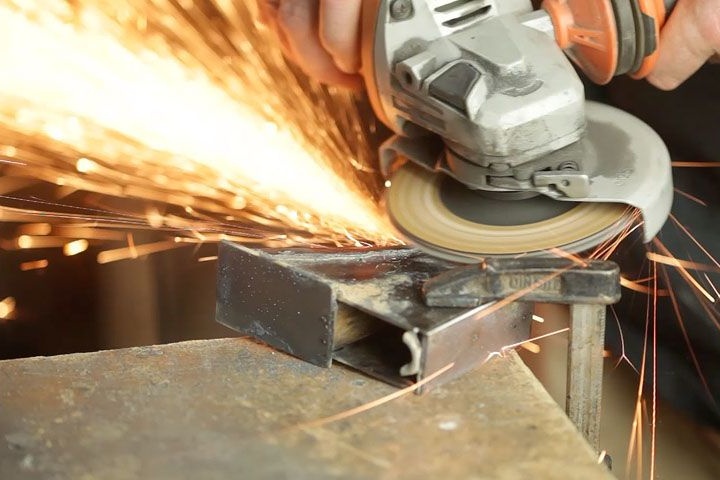
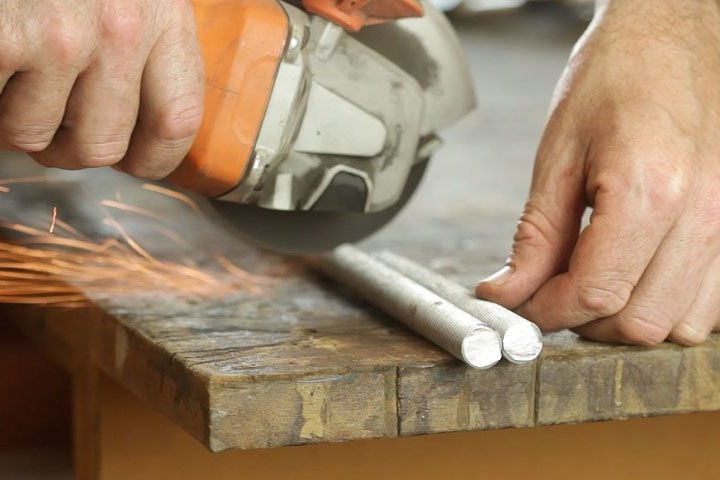
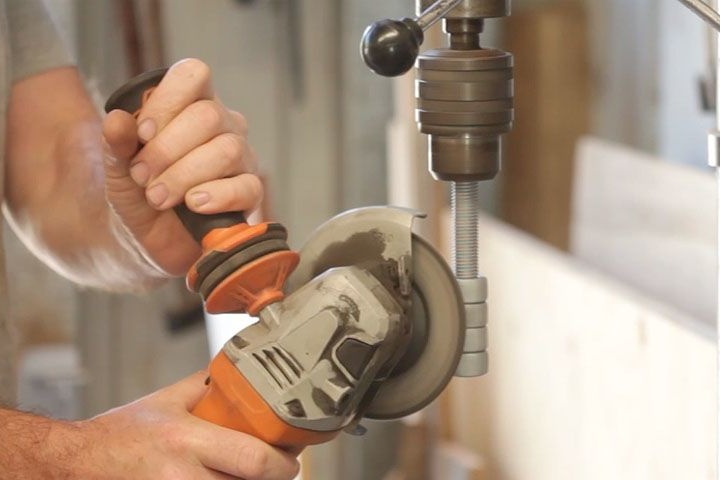
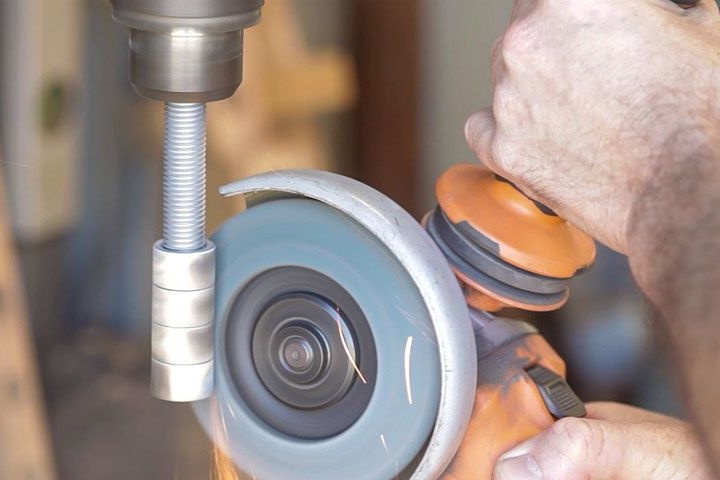
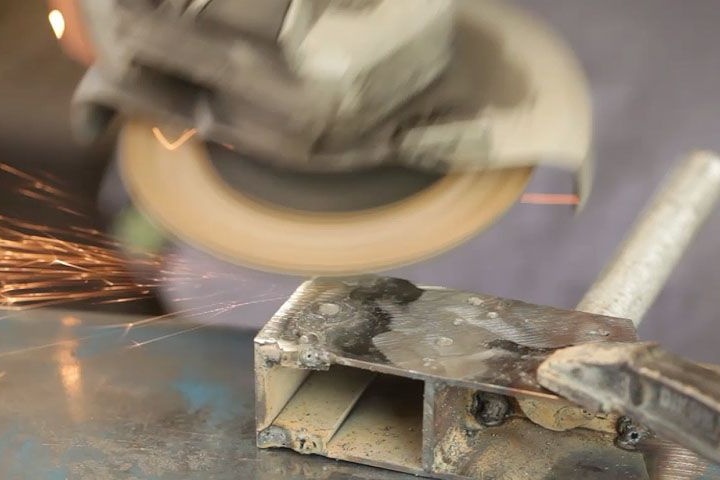
Step one: procurement of parts
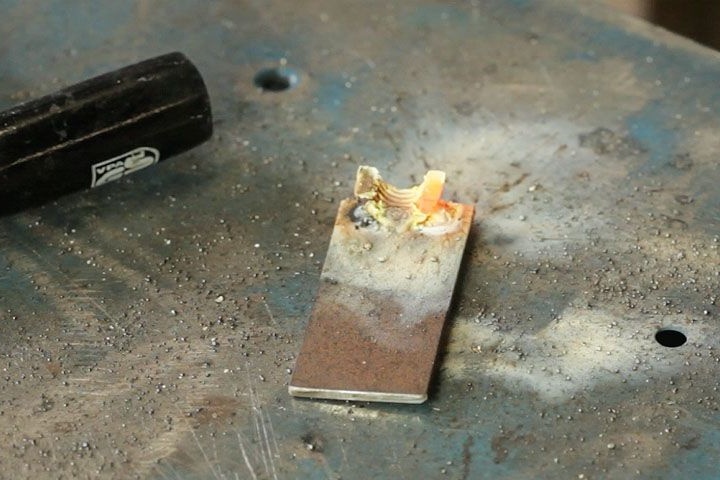
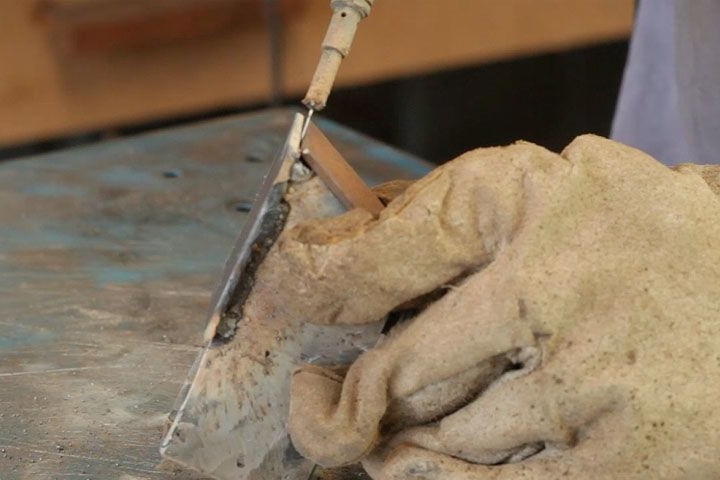
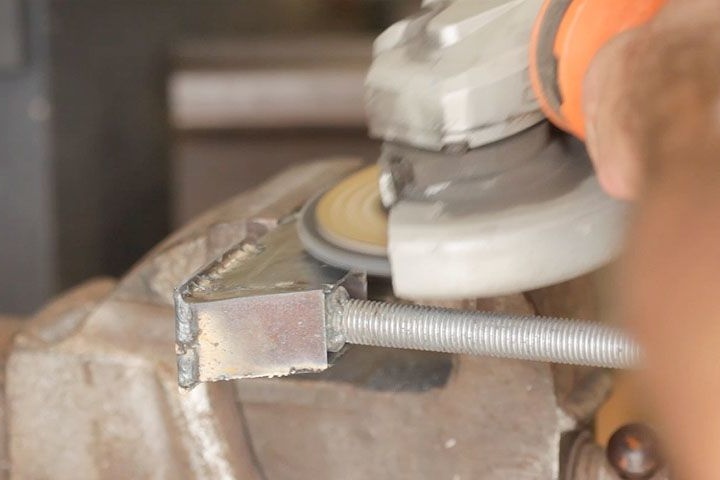
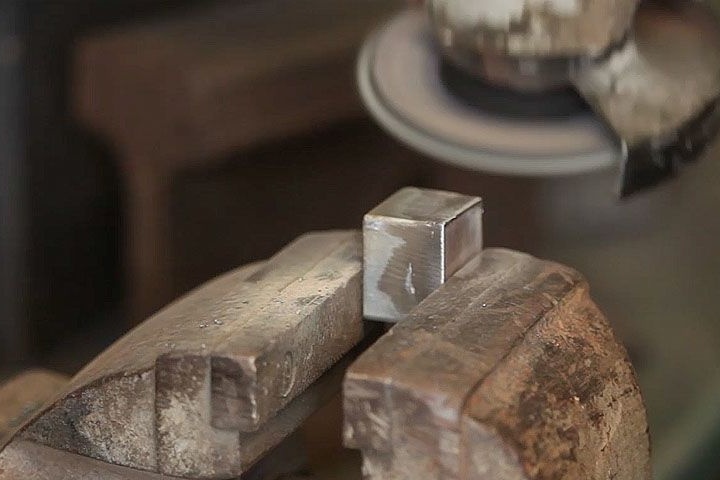
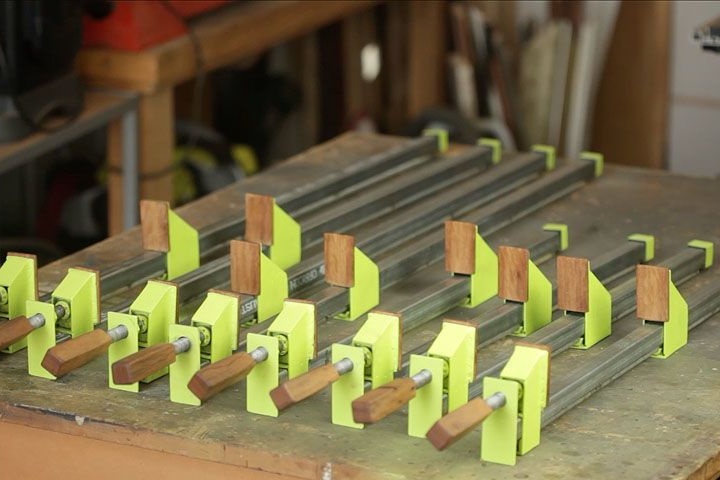
The master decided to make eight clamps, respectively, for eight and blanks were made. Using a template on a metal plate makes a markup. Cuts parts. Then it strips the edges of the workpieces.

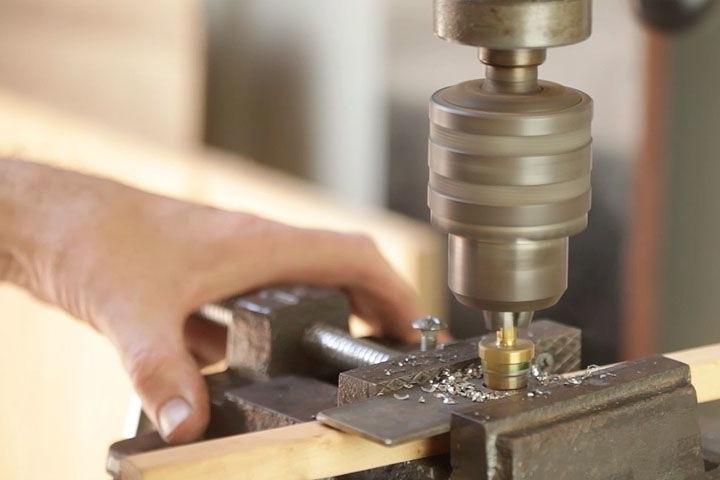
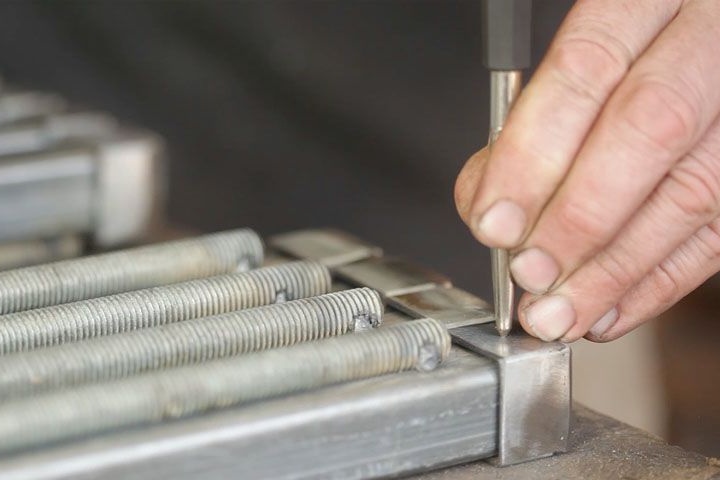
With the help of the template marks on the plates places for holes.
Cuts the profile.
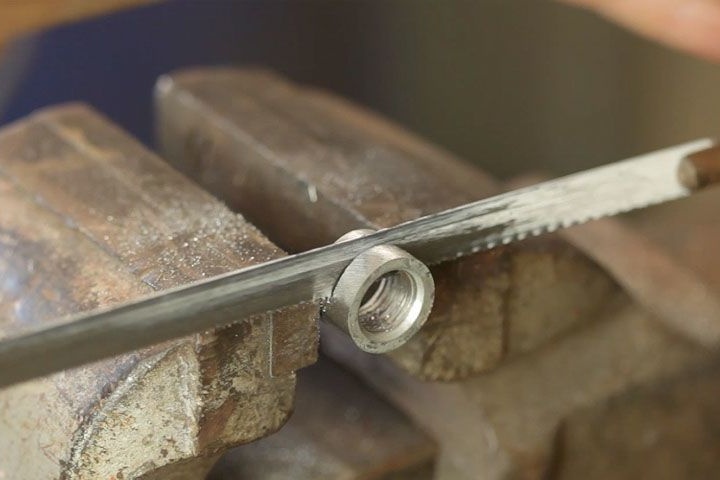
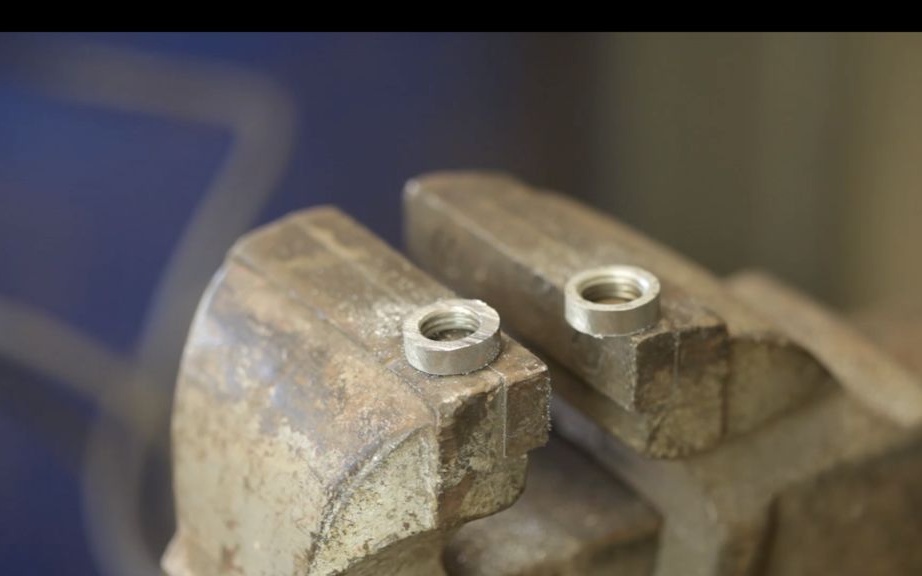
Cut into two halves, across, nuts.

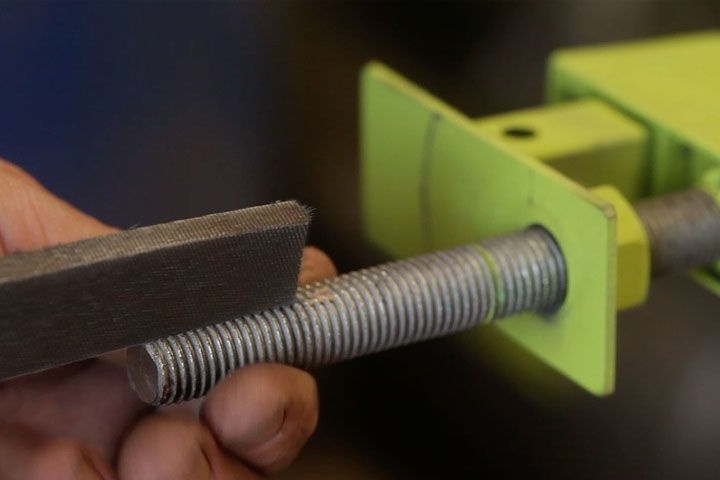
Cuts threaded rods.
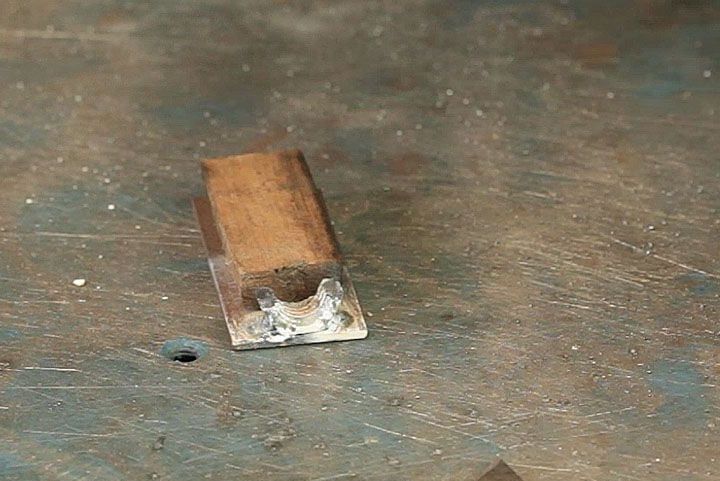
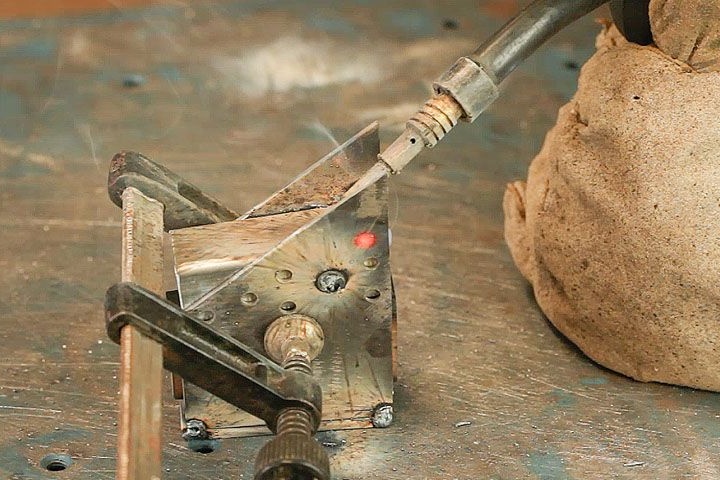
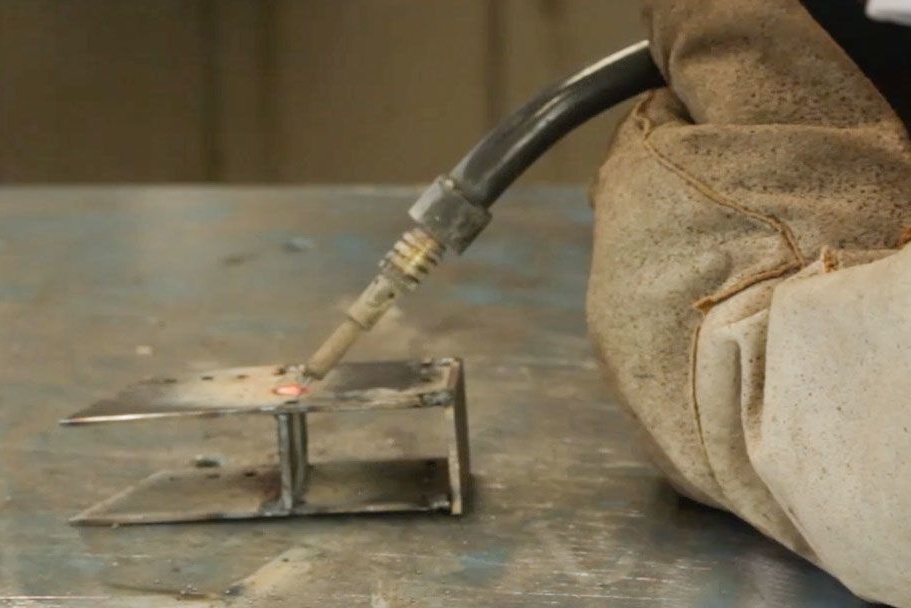
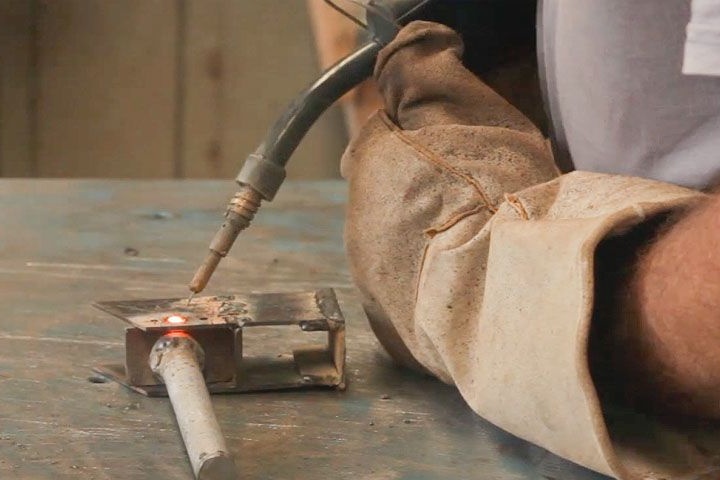
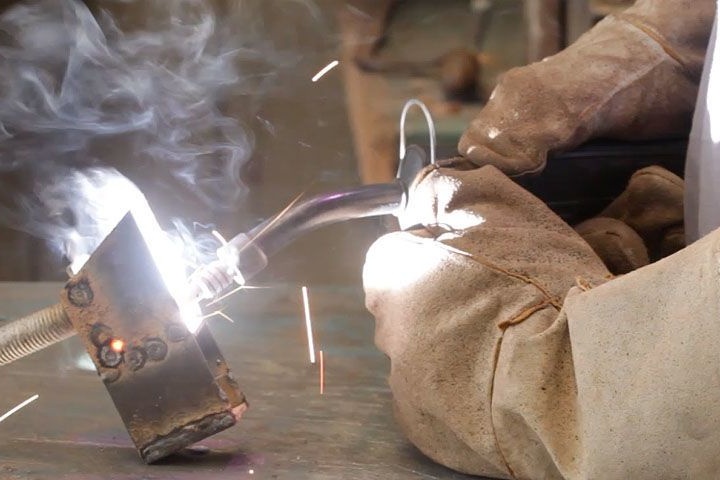
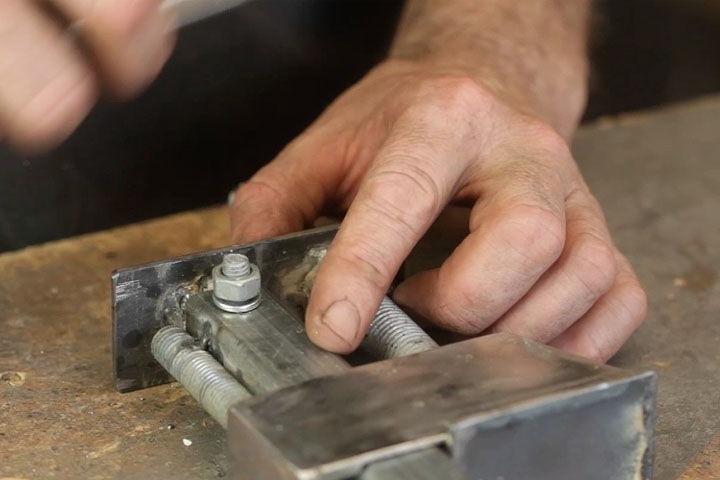
Step Two: Lower Sponge
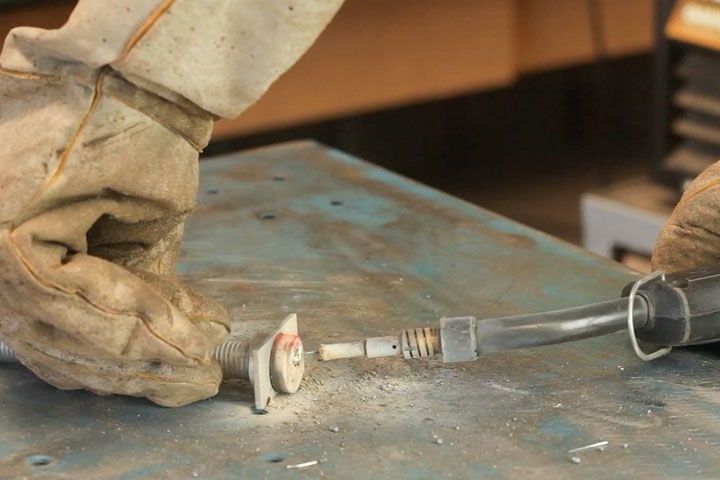
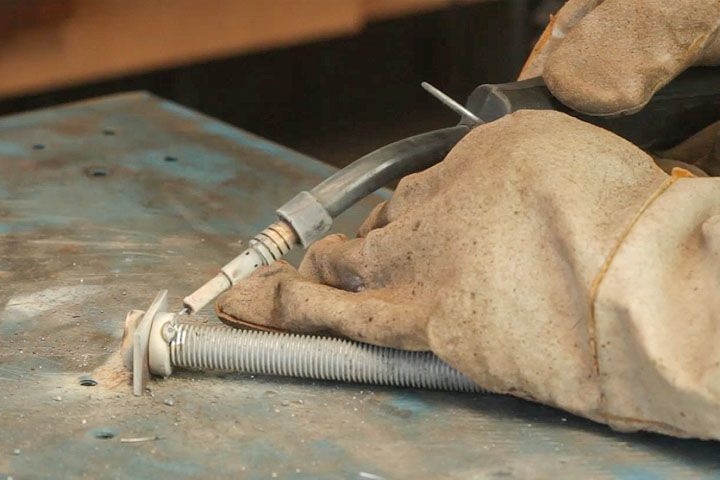
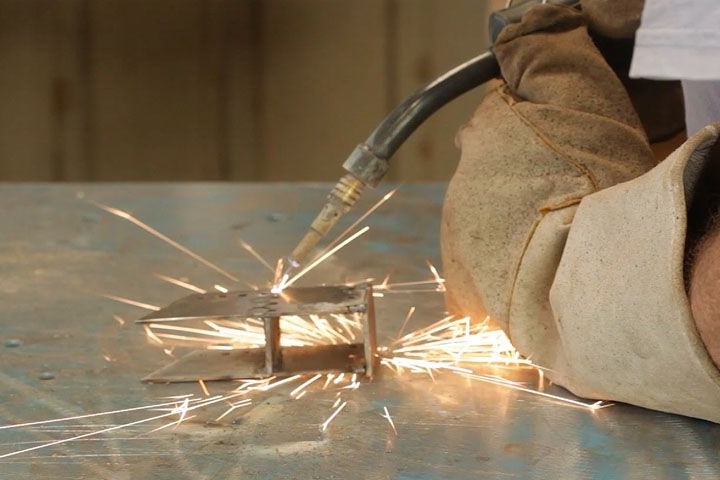
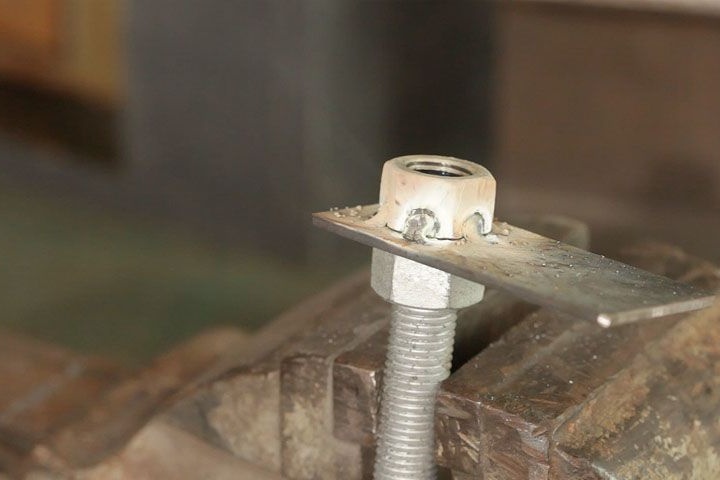
Next, the master proceeds with welding. Before welding the lower sponge, the master welds a cut nut to one of the plates. When clamping a part, the sponge will warp and abut against the threaded rod with a nut.

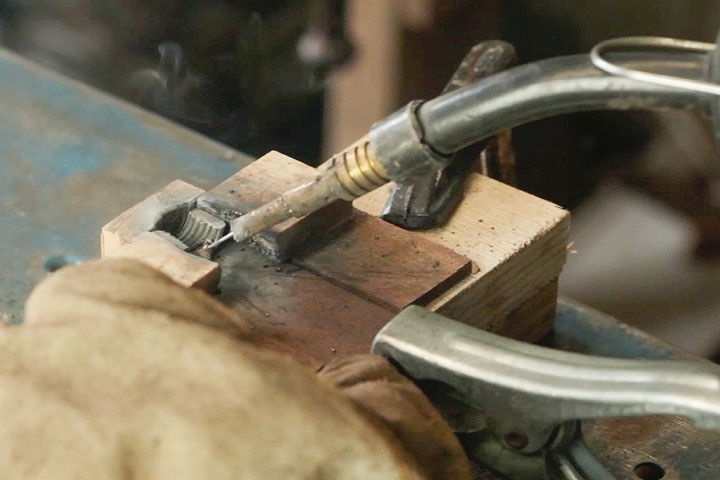


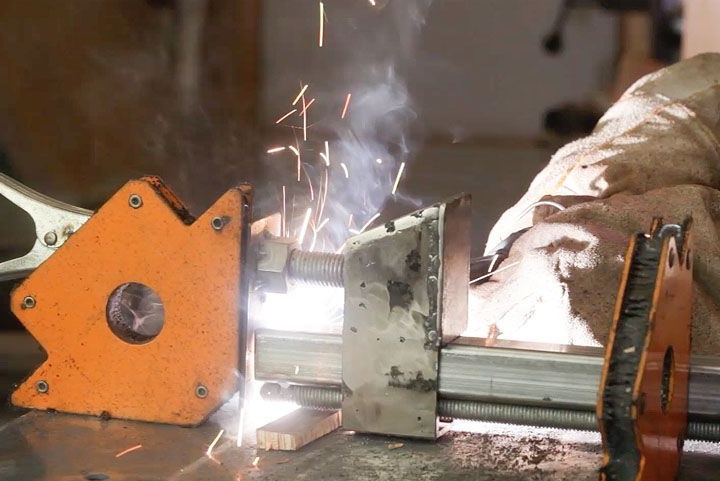
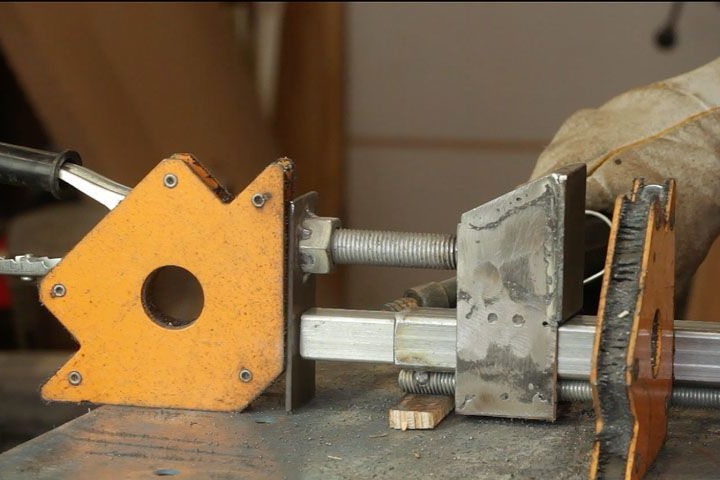
Step Three: Clamp Screw
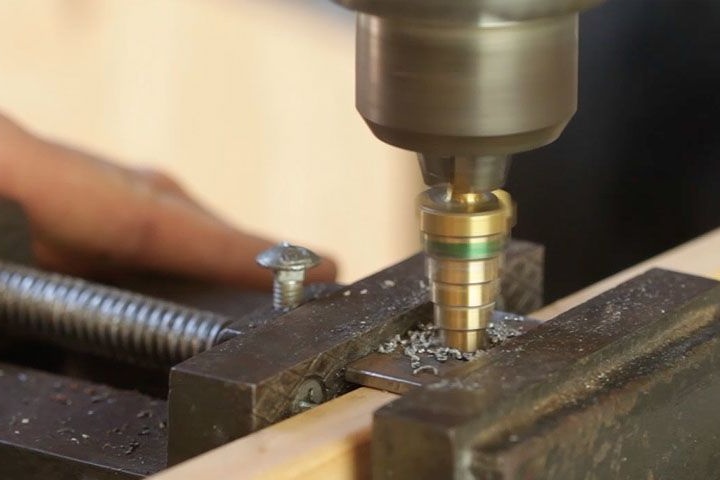
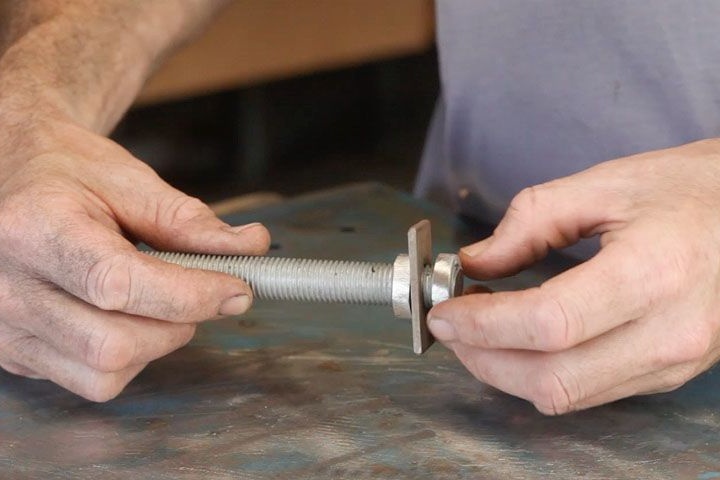
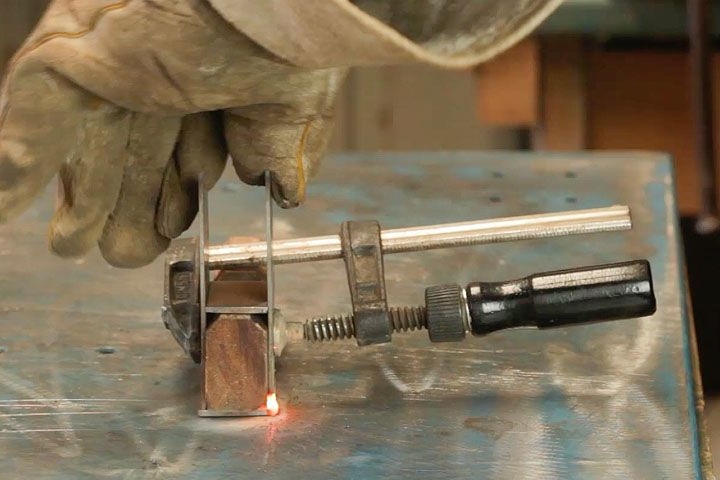
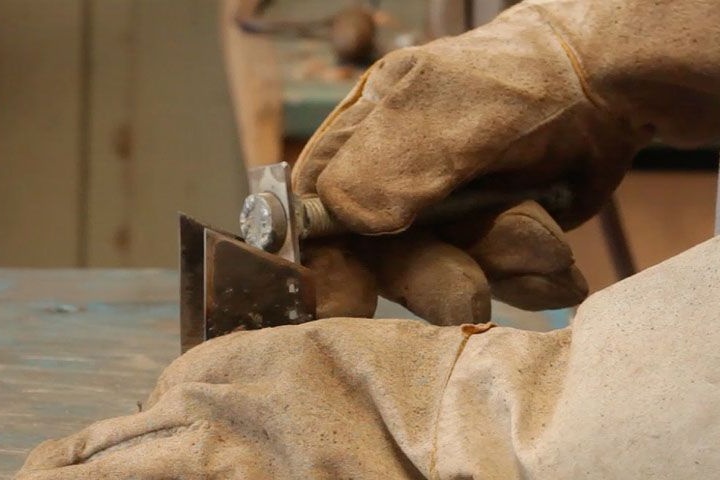
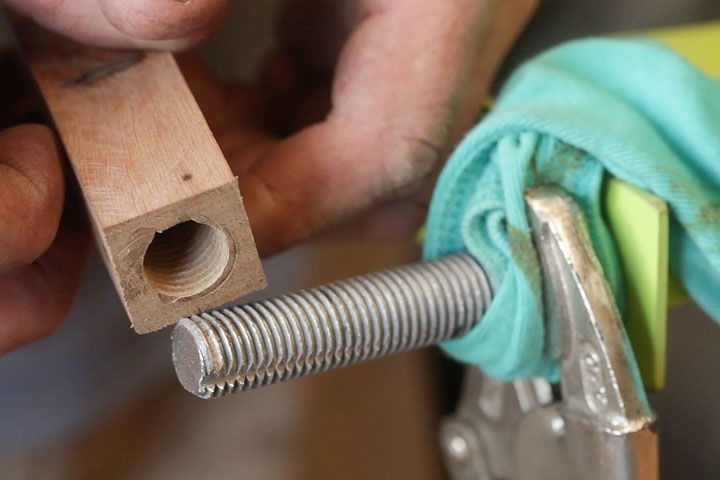
Now you need to make a clamping screw. Cuts off part of a threaded rod. Screws nuts on it and clamps it in the drill chuck. Then he grinds the edges of the nuts. Cut the turned nuts into two halves, lengthwise. A hole is drilled in a metal plate. Screws half the nut onto the thread. He puts on a plate. Screws the second nut. Now the nuts need to be welded to the shaft so that the plate rotates freely.

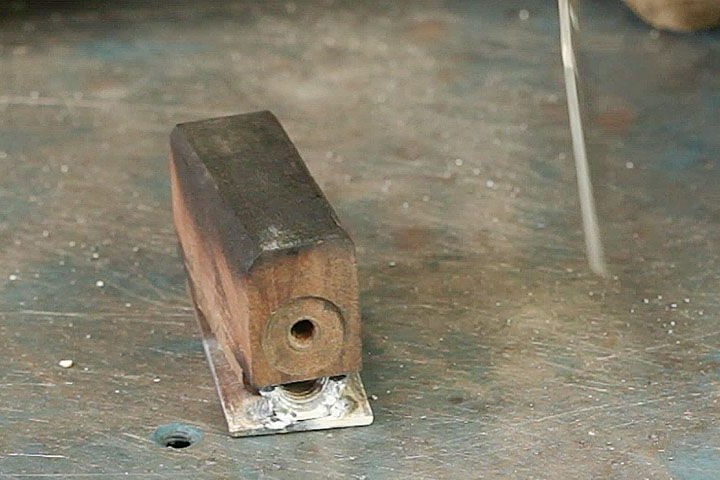
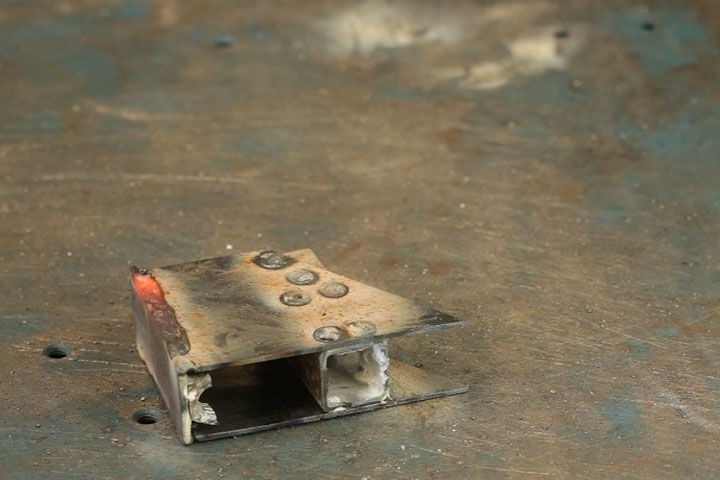
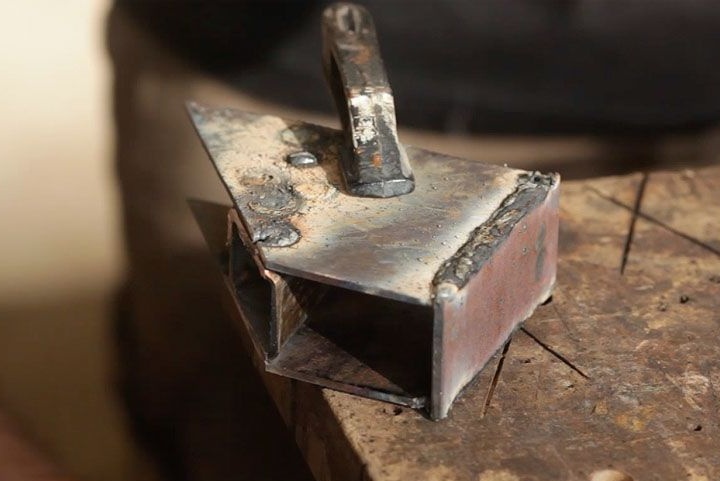
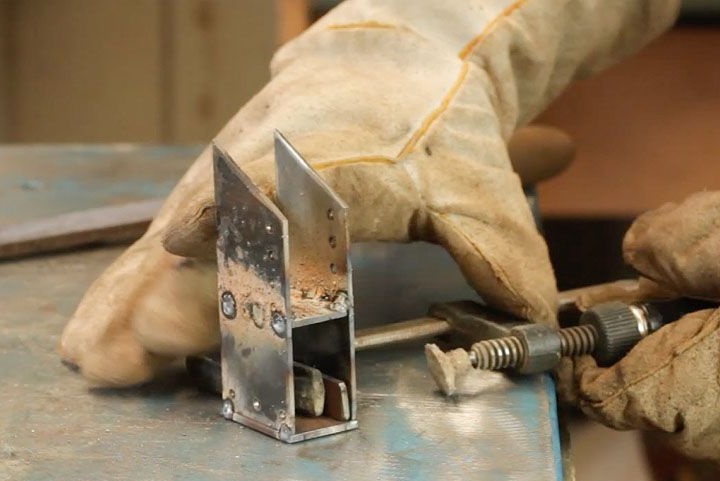
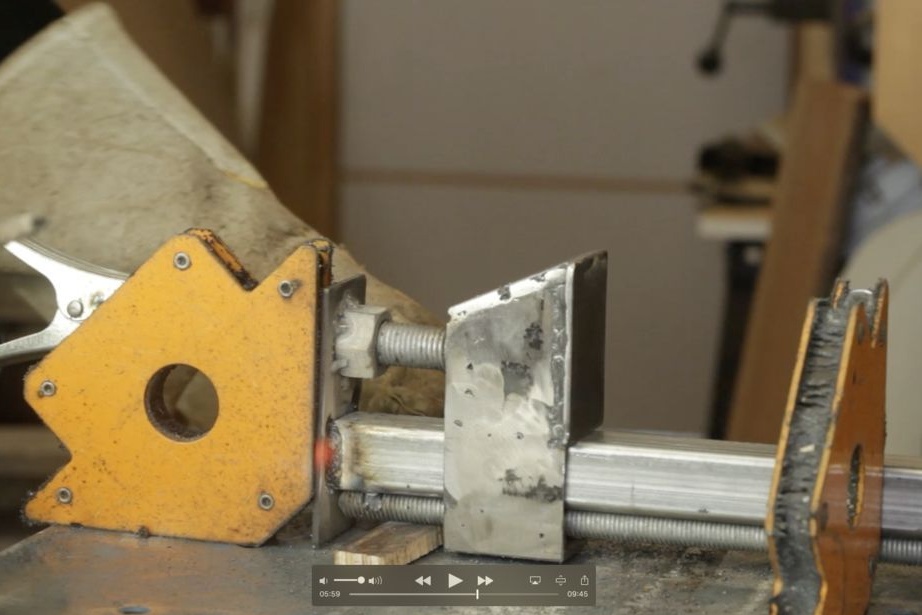
Step Four: Upper Sponge
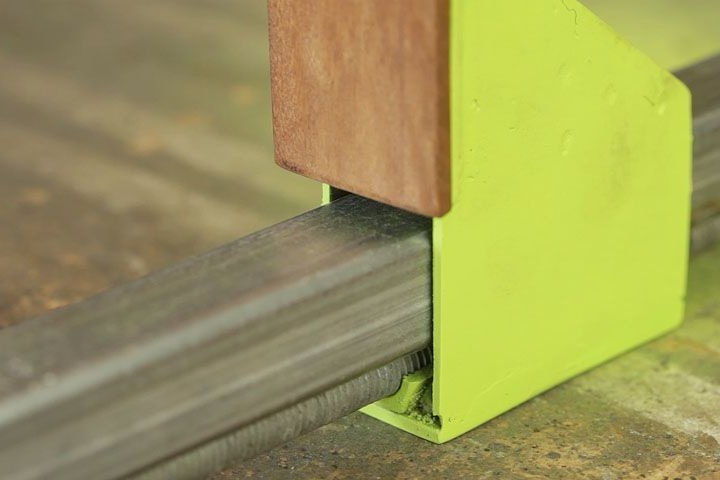
Welds the upper sponge. Welds the clamping screw plate to it. A guide plate is welded at the bottom.


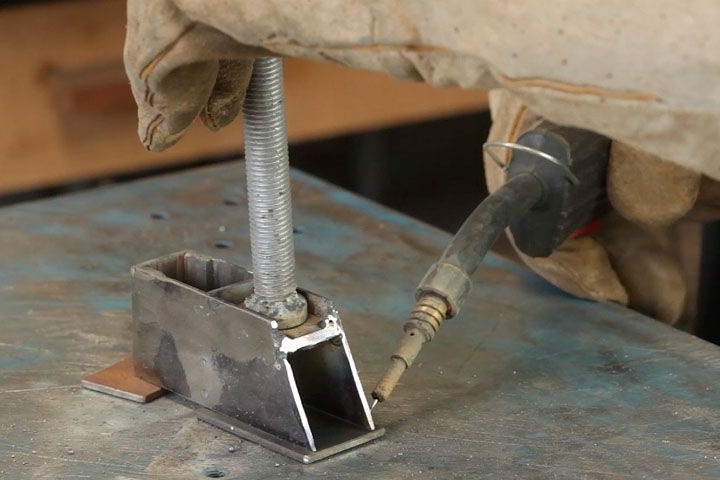
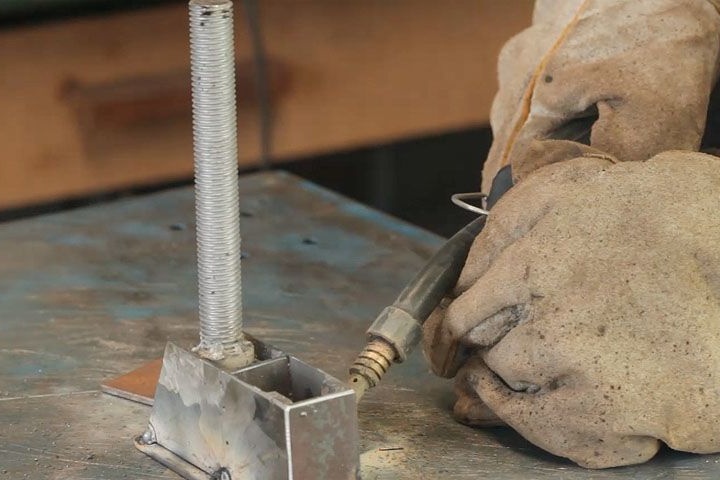


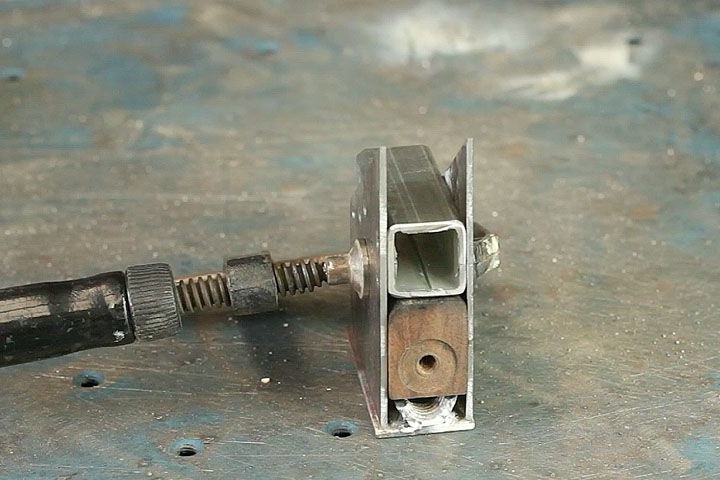
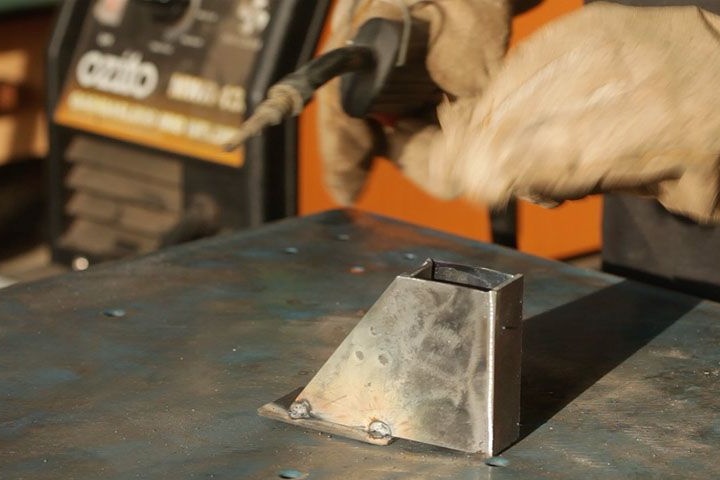
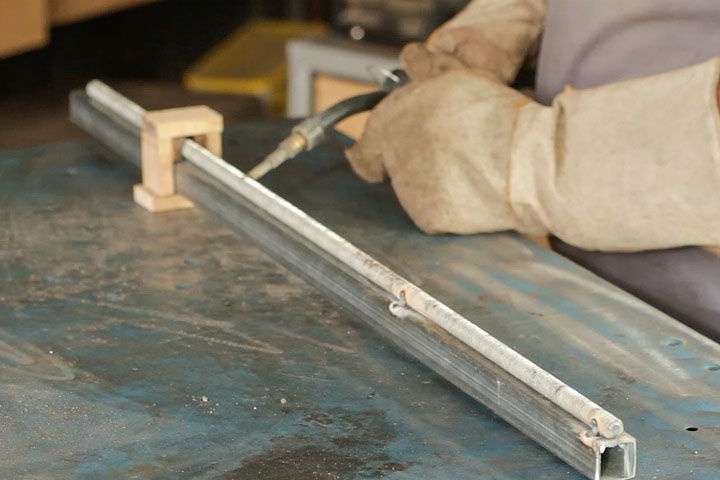
Step Five: Guide
A threaded rod is welded to the profile pipe.
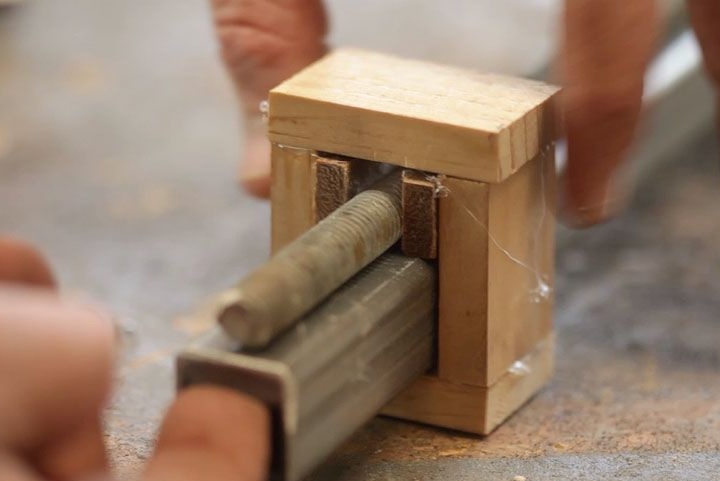
In the upper part of the profile, a plate with a nut is welded. The nut must first be screwed onto the clamping screw.


Step Six: Painting
Next, the master applies paint to the clamps.

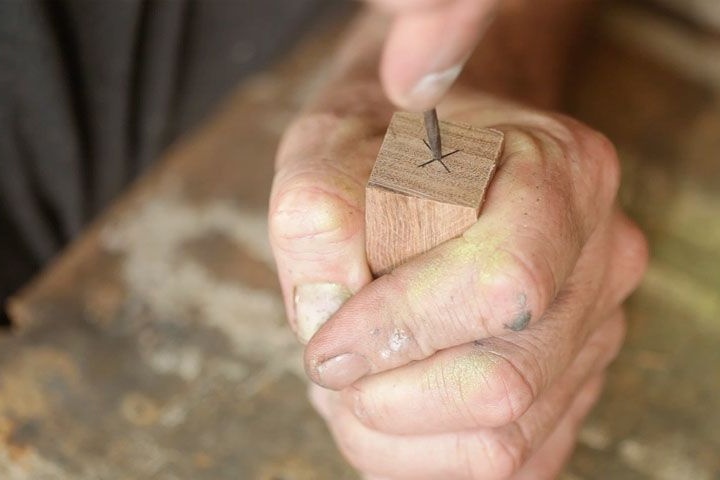
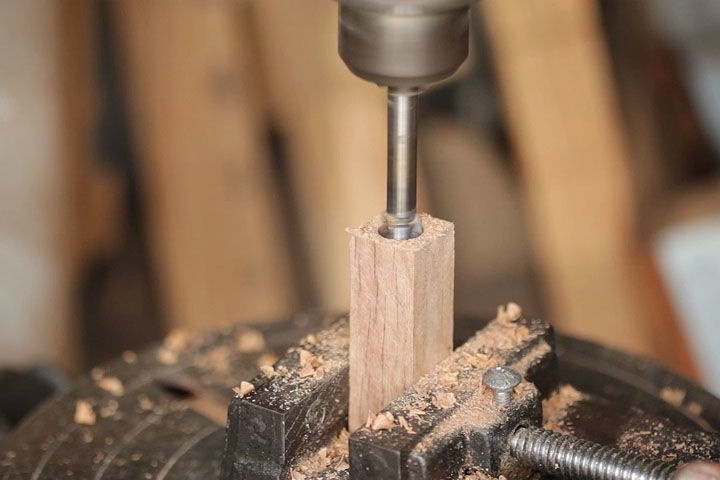
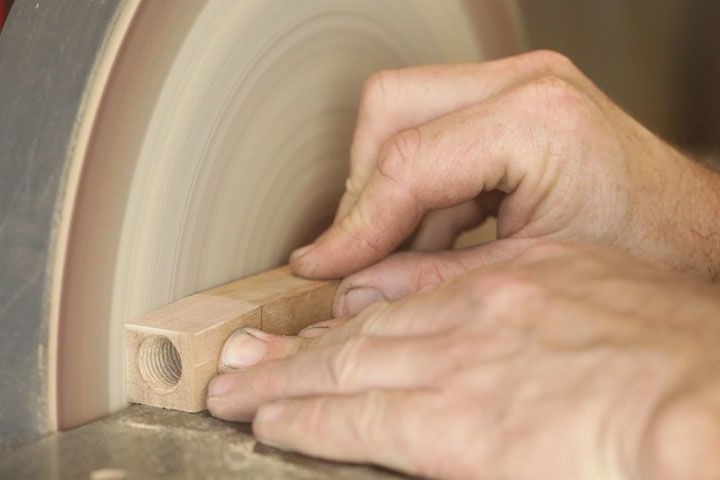
Seventh step: handles
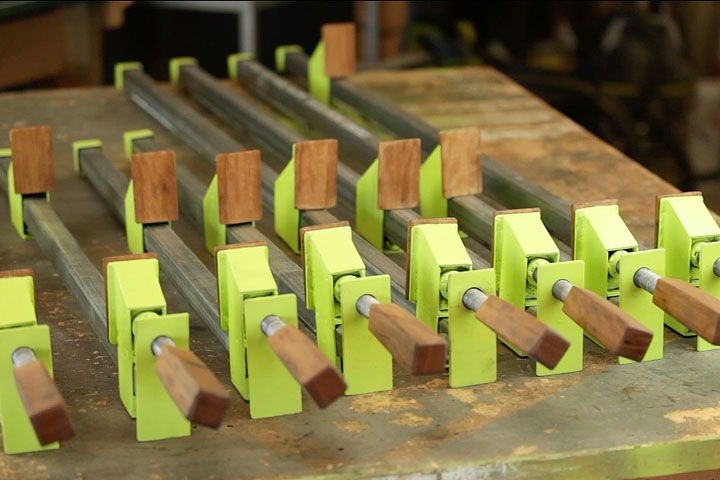
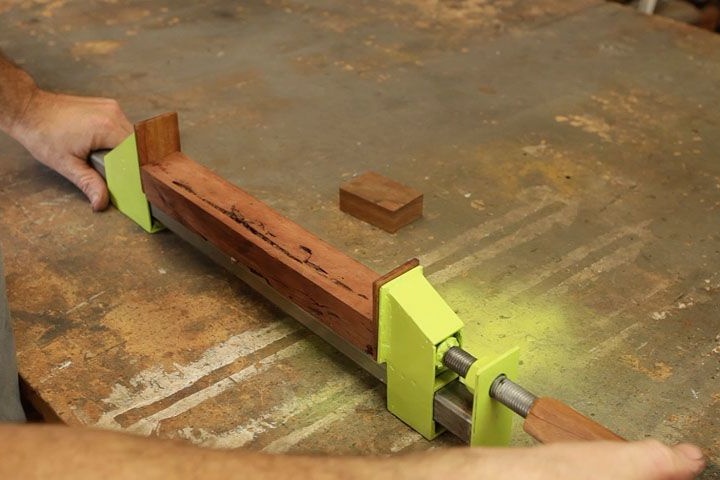
Makes a wooden handle and installs on a clamping screw.


Step Eight: Lining and End Cap
From a profile pipe makes a cap on a clamp.

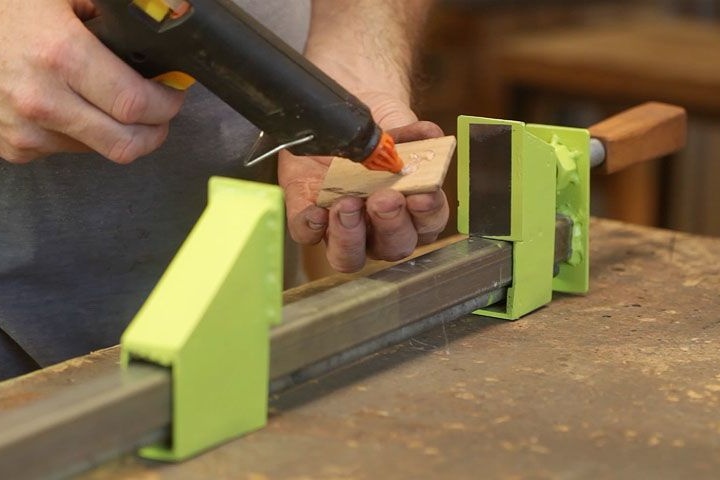
Wood pads are glued to the lips.
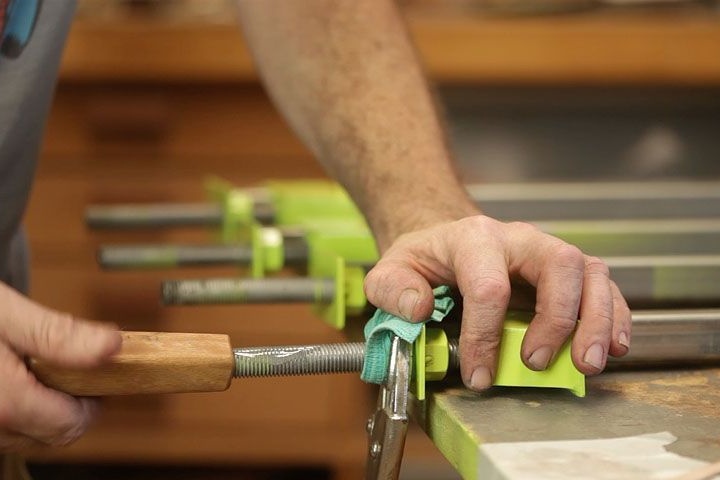
The clamps are ready.

The whole process for making clamps can be seen in the video.