
Good day to all dear friends! In today's article, I would like to show you a very interesting and useful idea homemade.
I think many now know that in recent years it has become fashionable to do something from ordinary corrugated cardboard that they just don’t do, from food processors to real car models. Indeed, cardboard is a very practical material and if you have a little skill and desire, then I think a lot can be done.
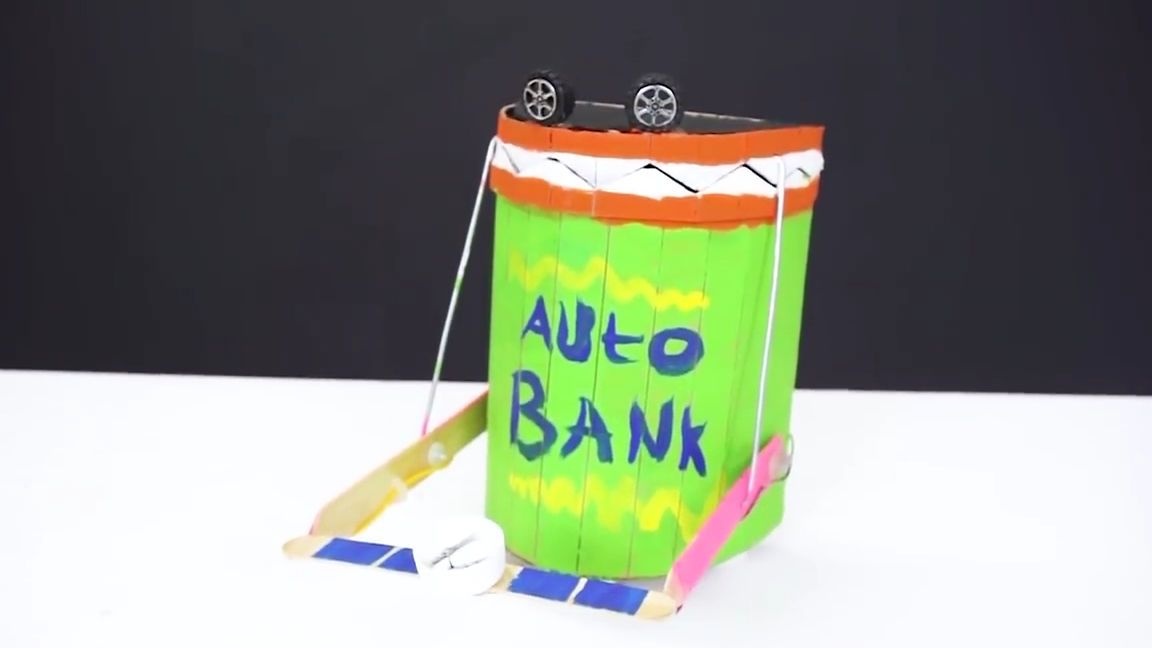
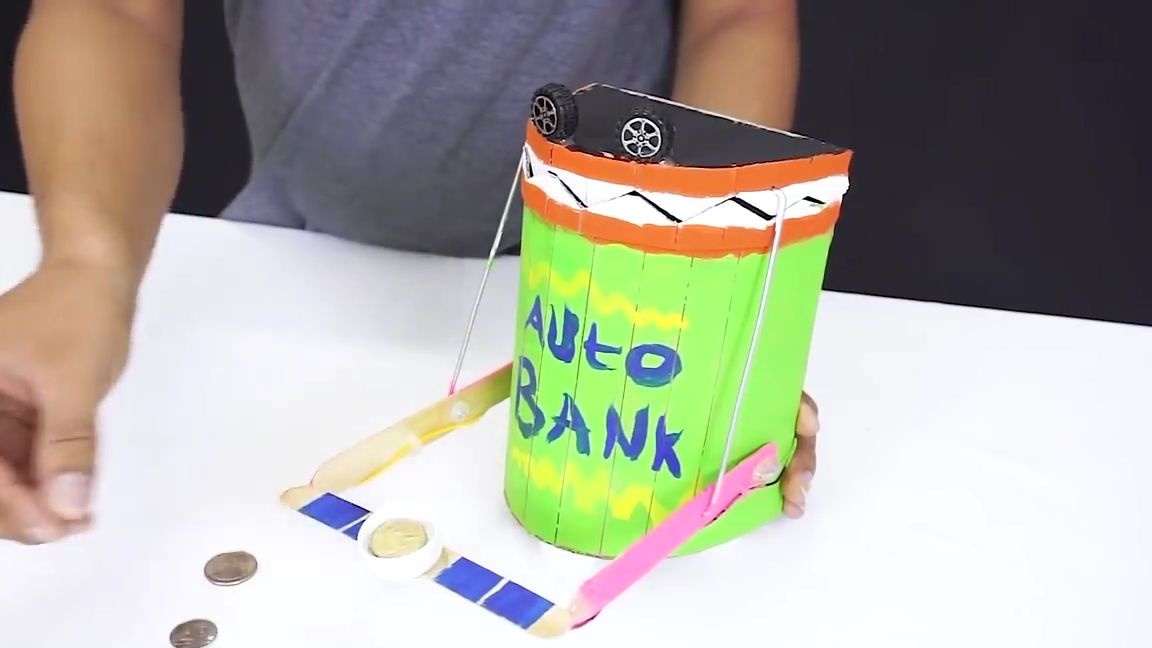
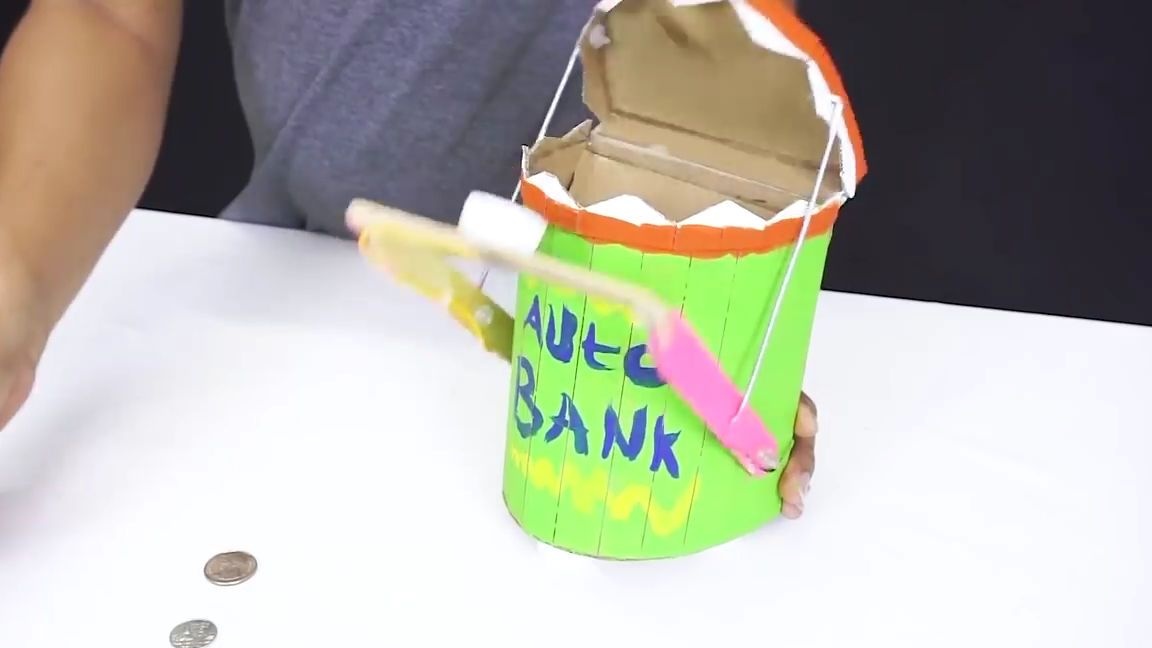
Today's home-made is made of corrugated cardboard and serves as an automatic piggy bank. In order for the piggy bank to “eat” the coin, simply put it on a special platform made from the lid of a plastic bottle, after which this platform will drop the coin sharply into the newly opened “mouth” of the piggy bank. I would like to say right away that this piggy bank will only work with metal coins, it will not work with paper.
Well, let's not talk a lot, let's go!
And so, in order to make this automatic piggy bank, we need:
-corrugated cardboard
medical wooden spatula
thick metal wire
-crown battery
-kanector for "crown" at 9 volts
plastic bottles with caps
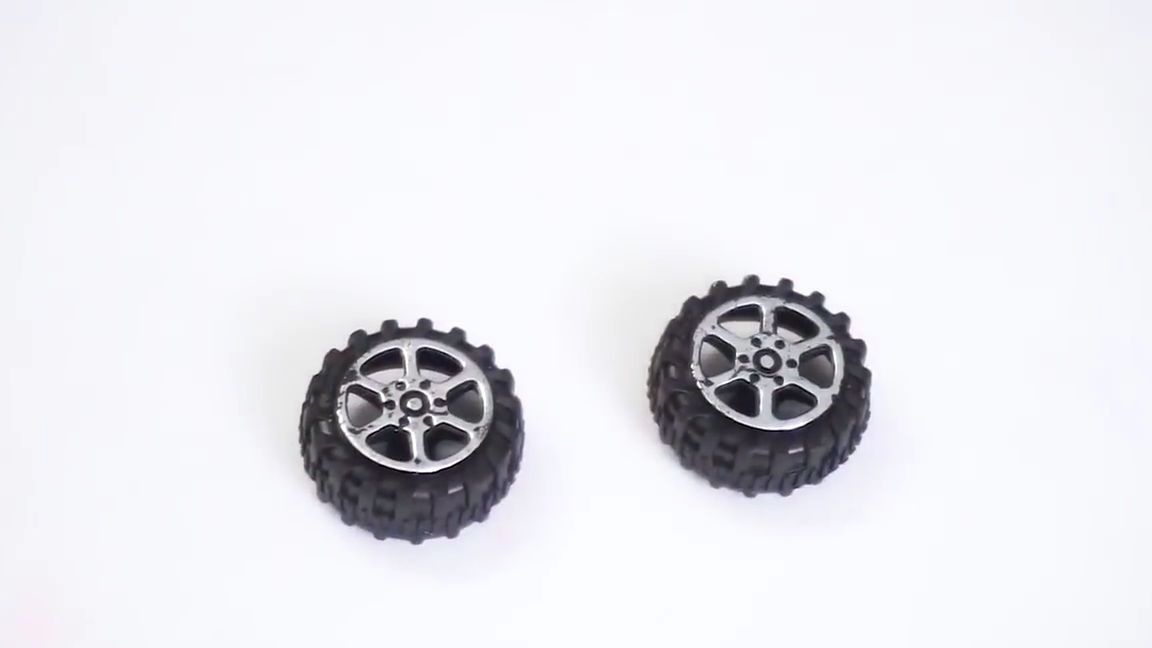
-wheels from the baby car
-paints
electric motor
wire
Of the tools we will also need:
soldering iron
hotmelt
-stationery knife
-scissors
-pencil
- paint brush
screwdriver or world electric drill
-thin wood drill
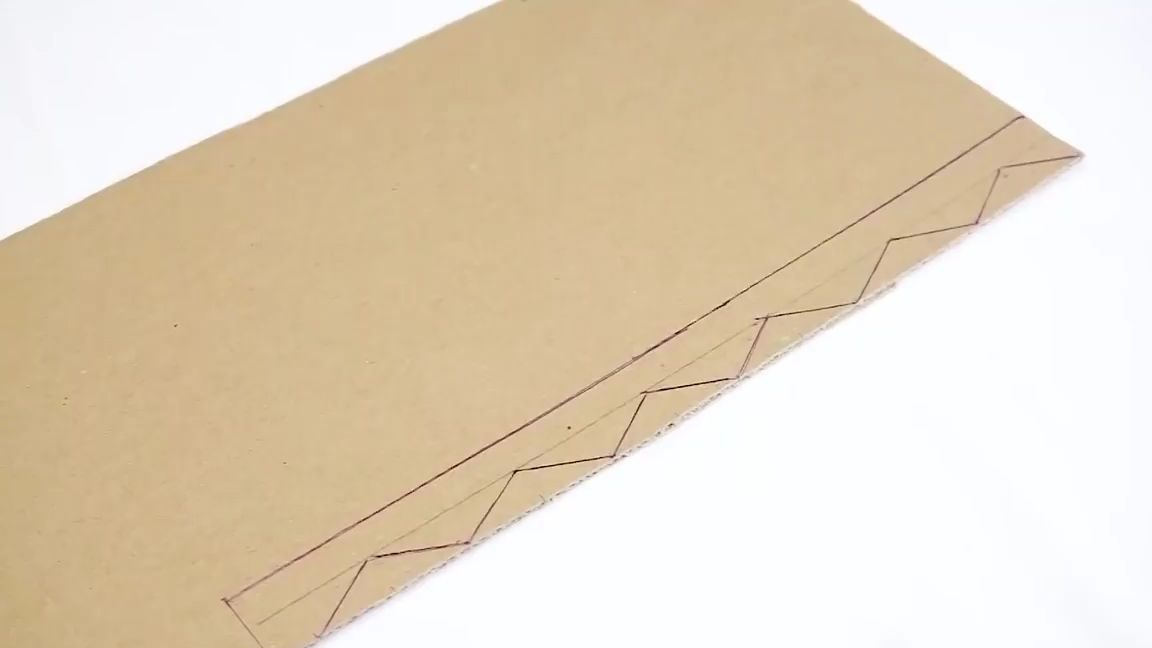
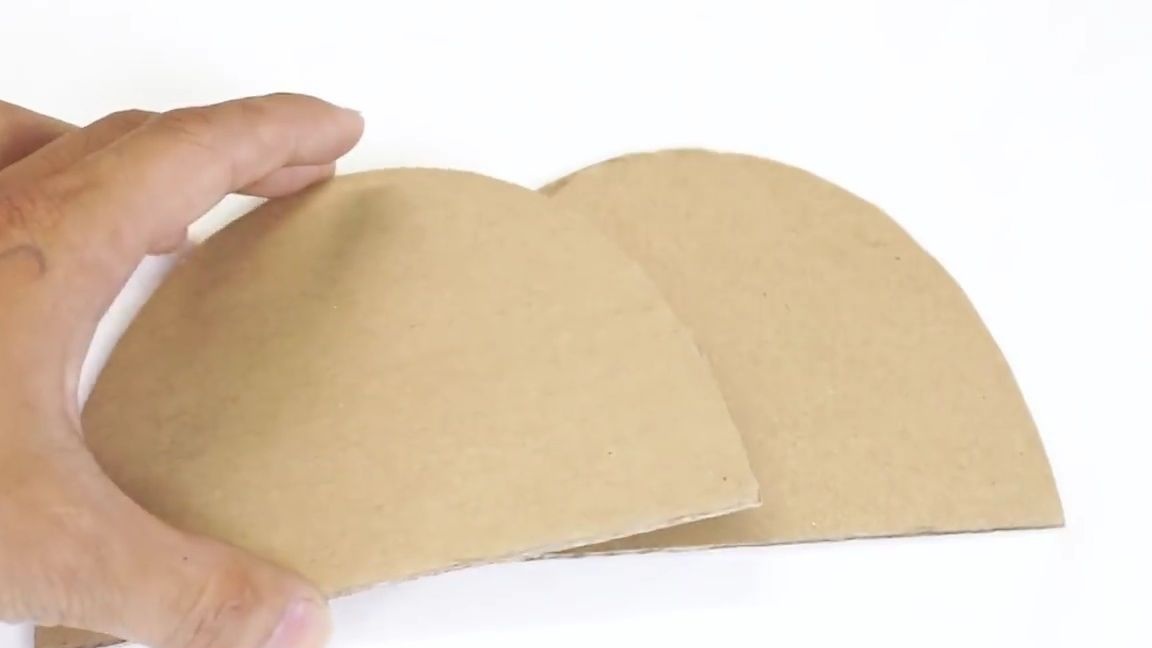
First of all, you need to draw “teeth” for the piggy bank on corrugated cardboard, so as not to make a mistake, just do everything as shown in the photo below.
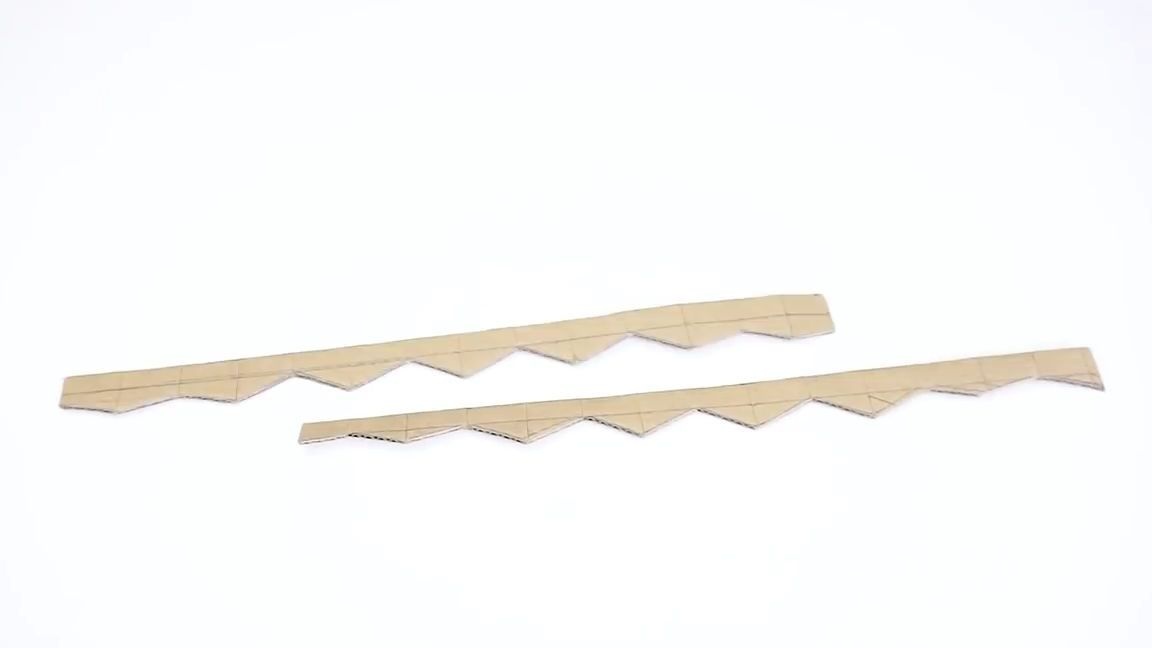
After you draw this detail, it must be cut with scissors or a clerical knife. In total, you need two such details:
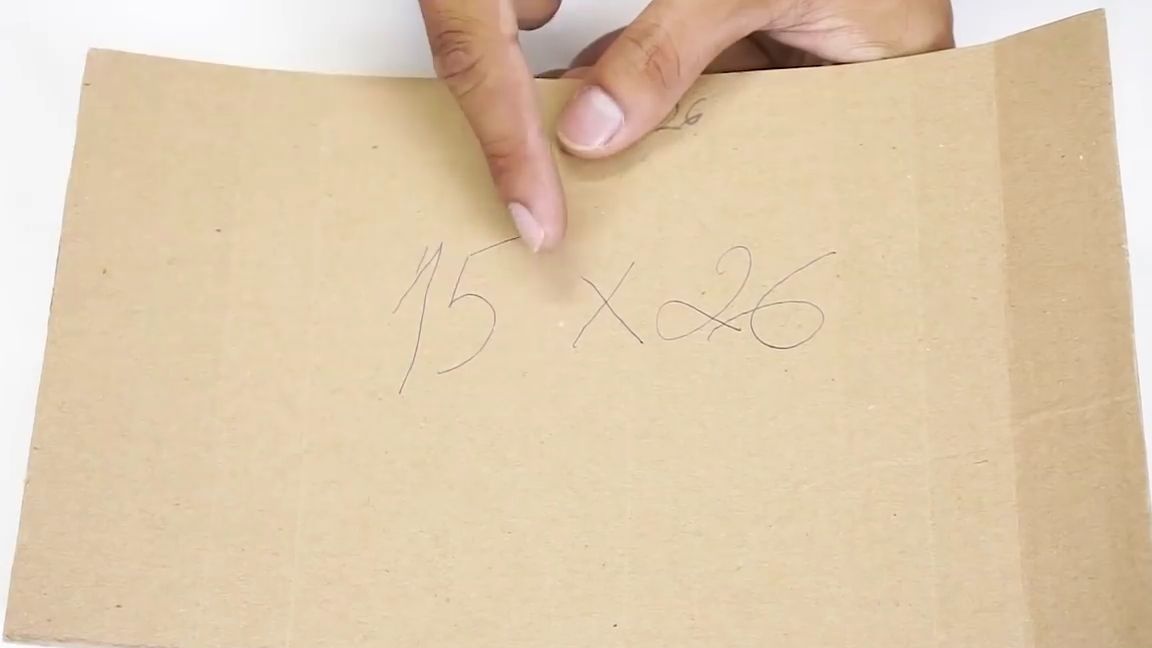
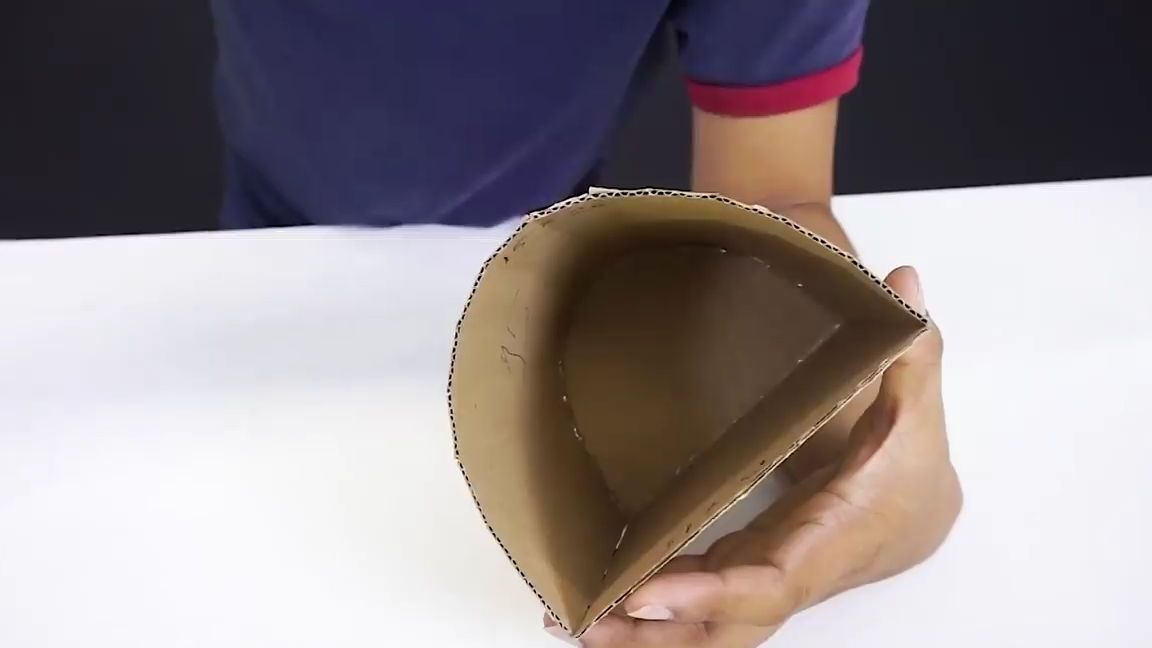
From a sheet of corrugated cardboard we cut a rectangle with dimensions of 15 by 26 cm and two half ovals of equal size.
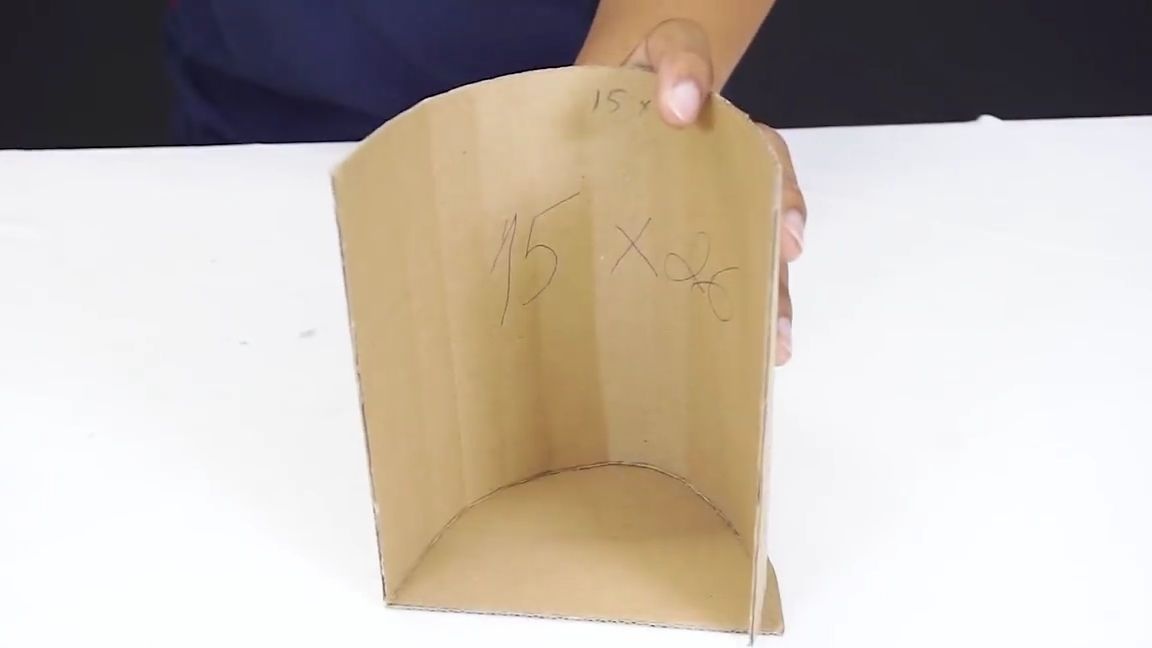
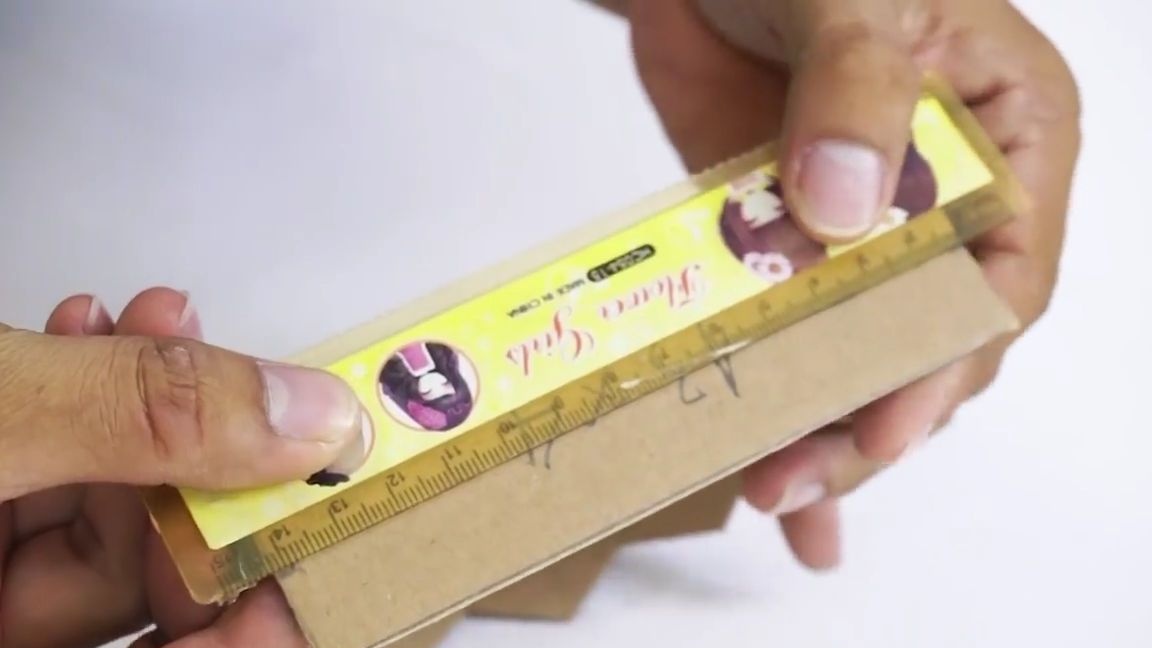
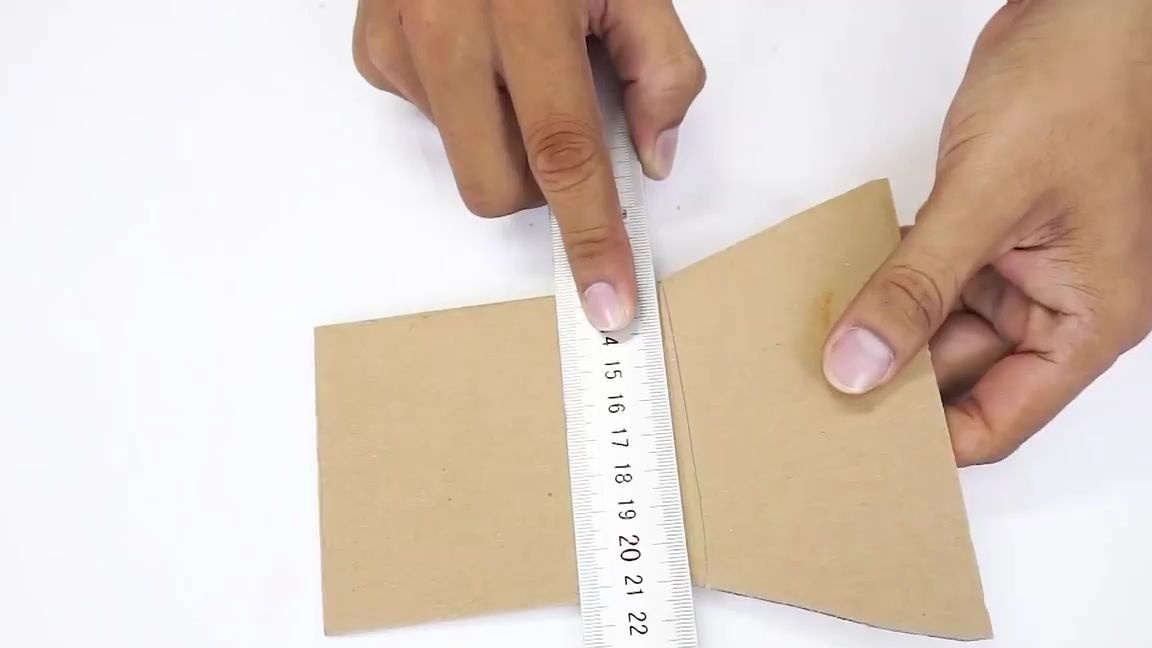
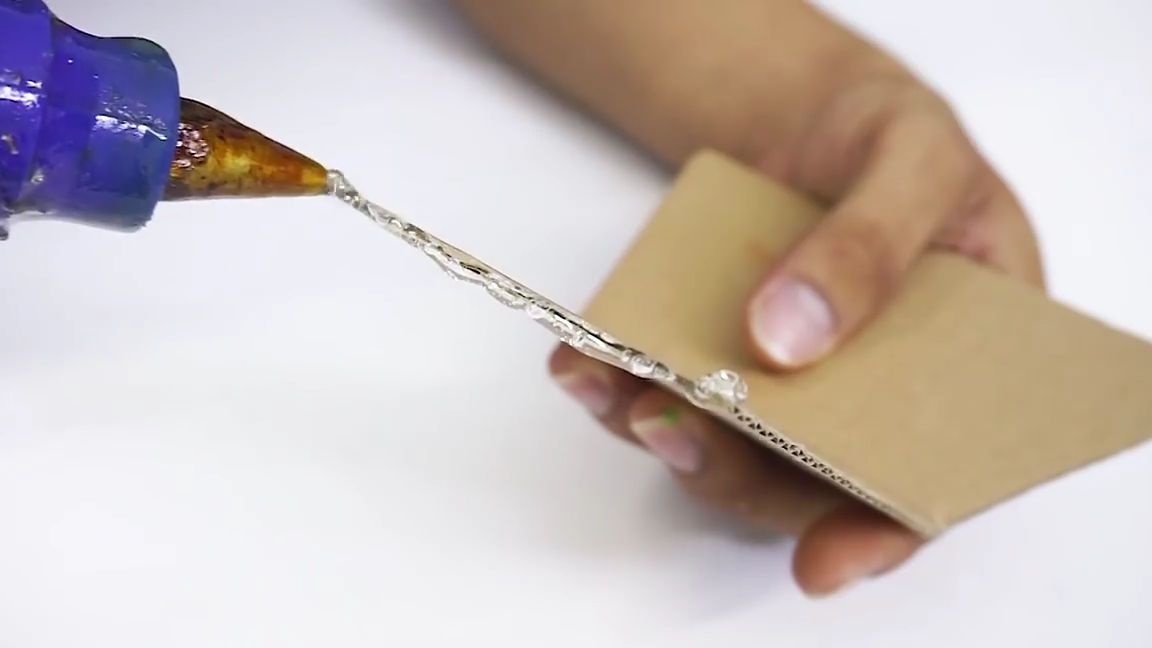
After that, you need to glue the corrugated cardboard rectangle to one of the oval floors, after making several not-through cuts of the top layer of the cardboard on it and how much bending with the help of the ruler along these cuts is necessary to make the rectangle more elastic:
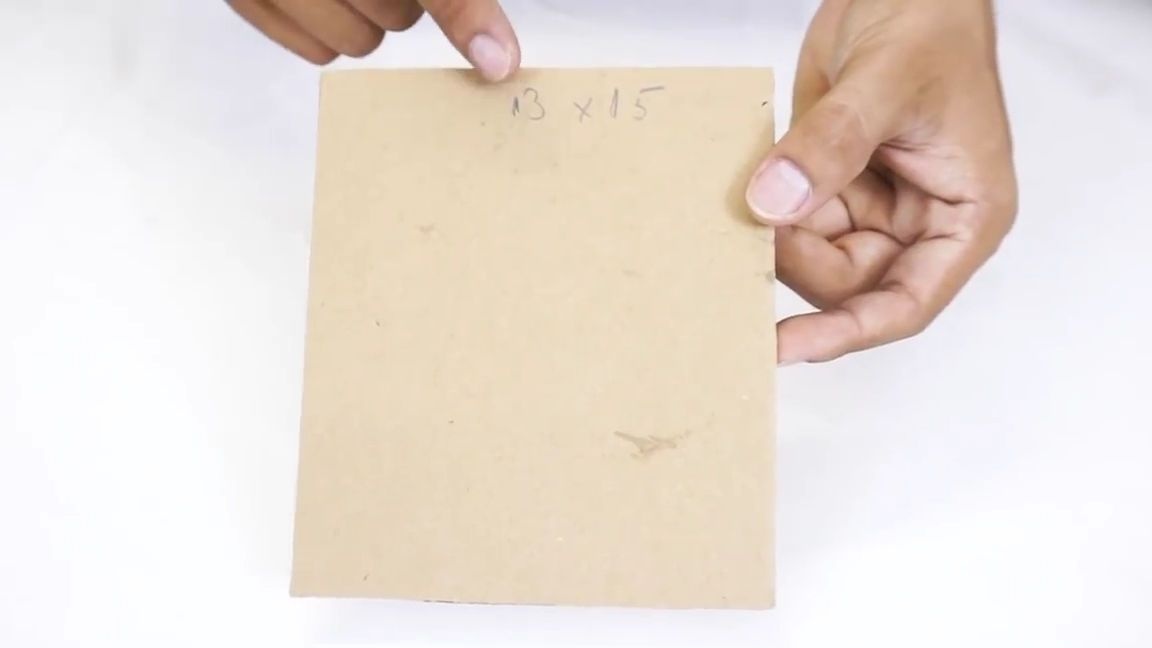
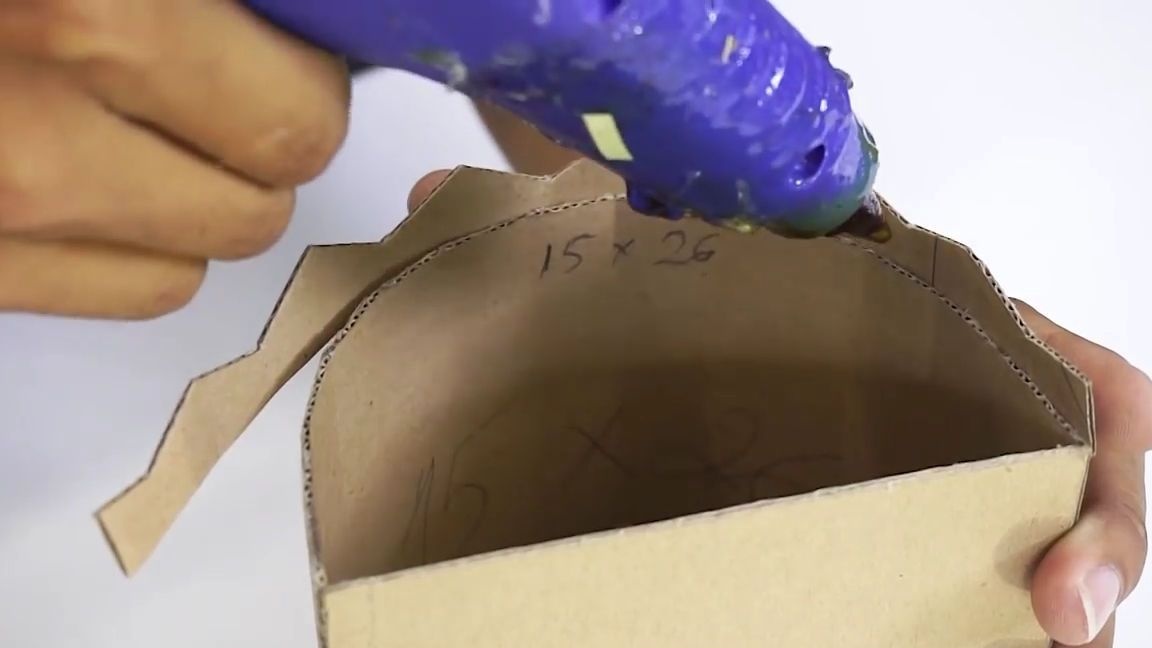

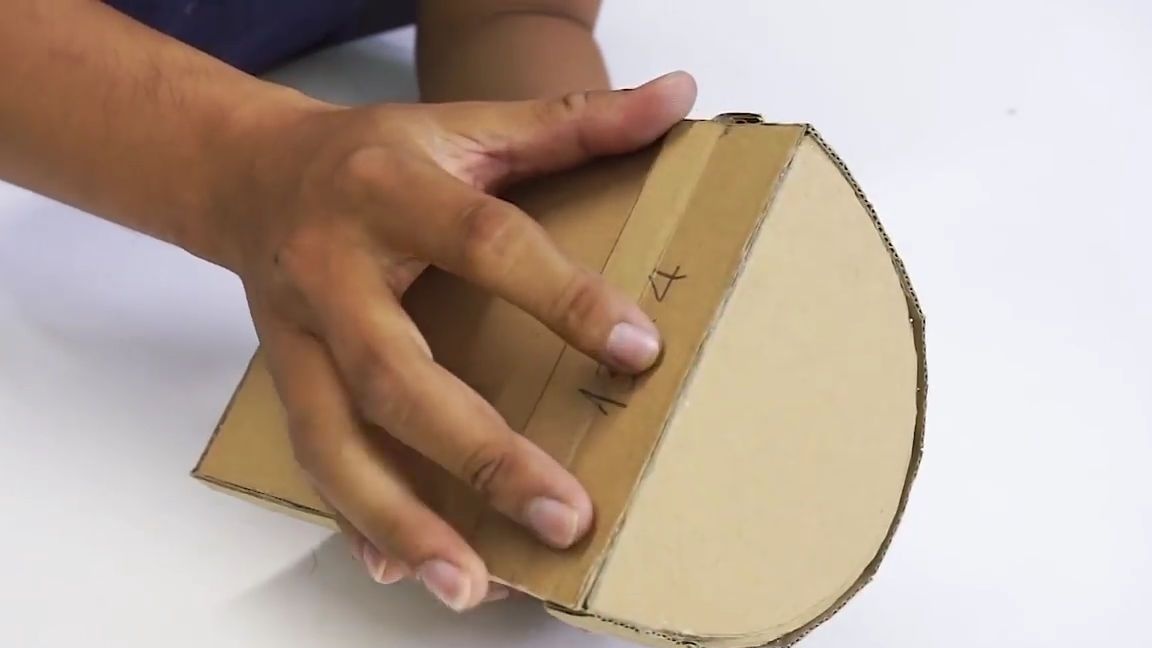
From the same corrugated cardboard we cut out another rectangle, the dimensions of which can be seen in the photo below. It must be glued with a glue term to the back of the workpiece, which we did earlier:
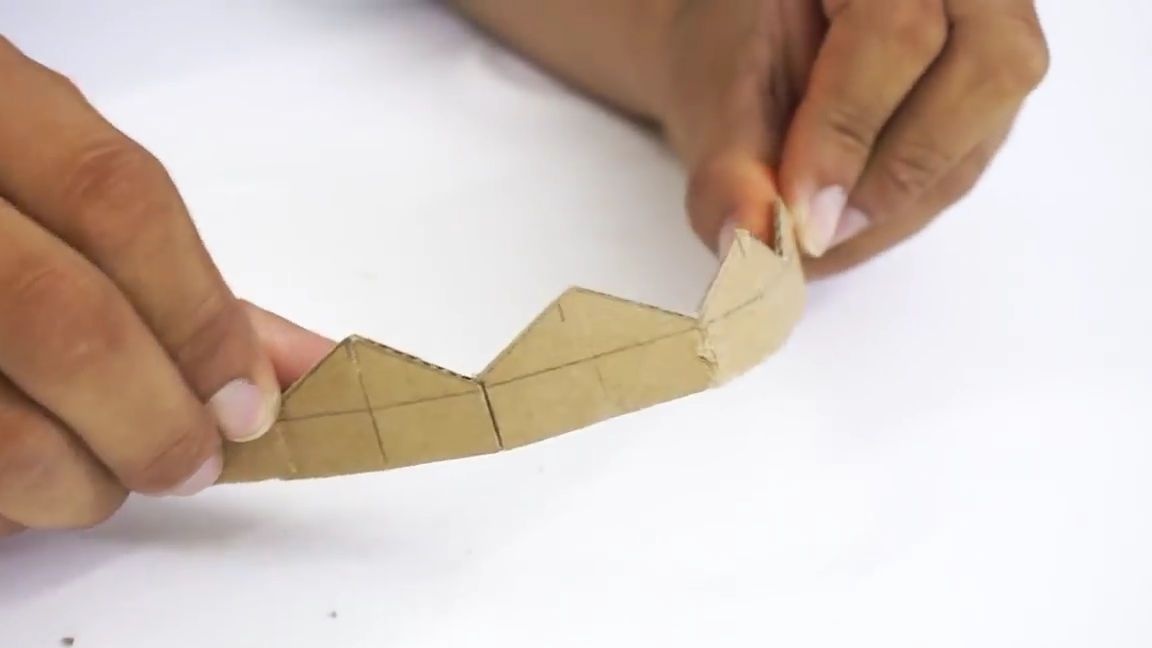
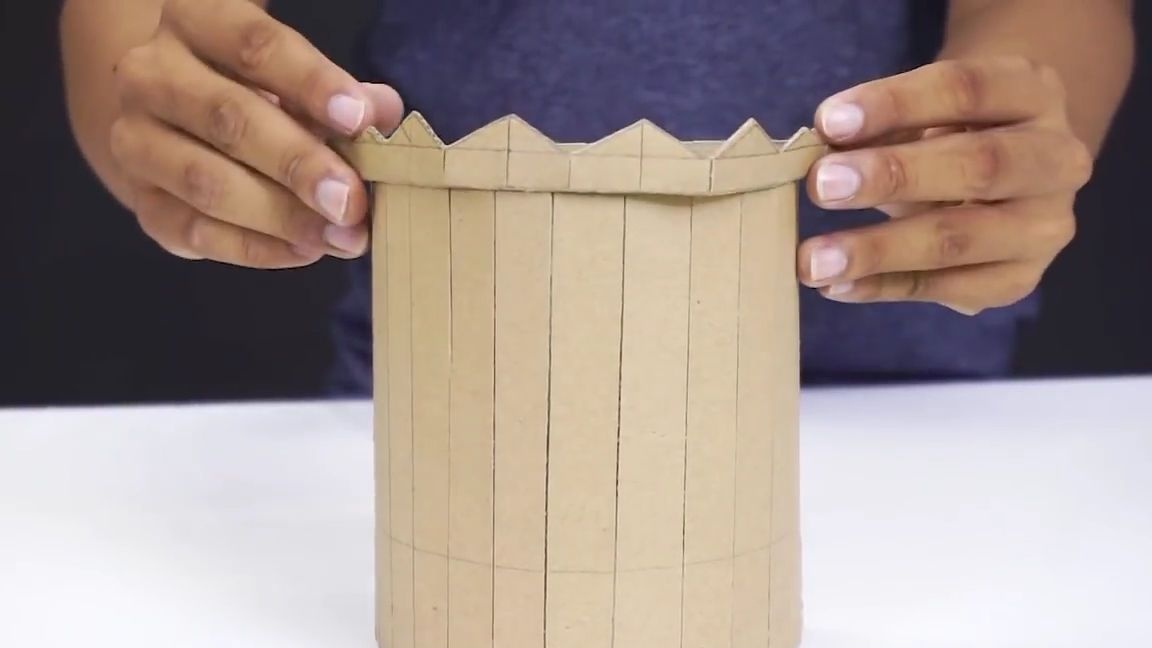
On the top of this workpiece you need to glue the "teeth" of the piggy bank. In order to make it easier to bend the “teeth” during gluing, it is also possible to make incisions in the top layer of cardboard with a clerical knife, with a periodicity of one “tooth”:
On the remaining floor, the oval must be glued with hot glue the upper part of the piggy bank “teeth”, in exactly the same way as the lower part was glued:
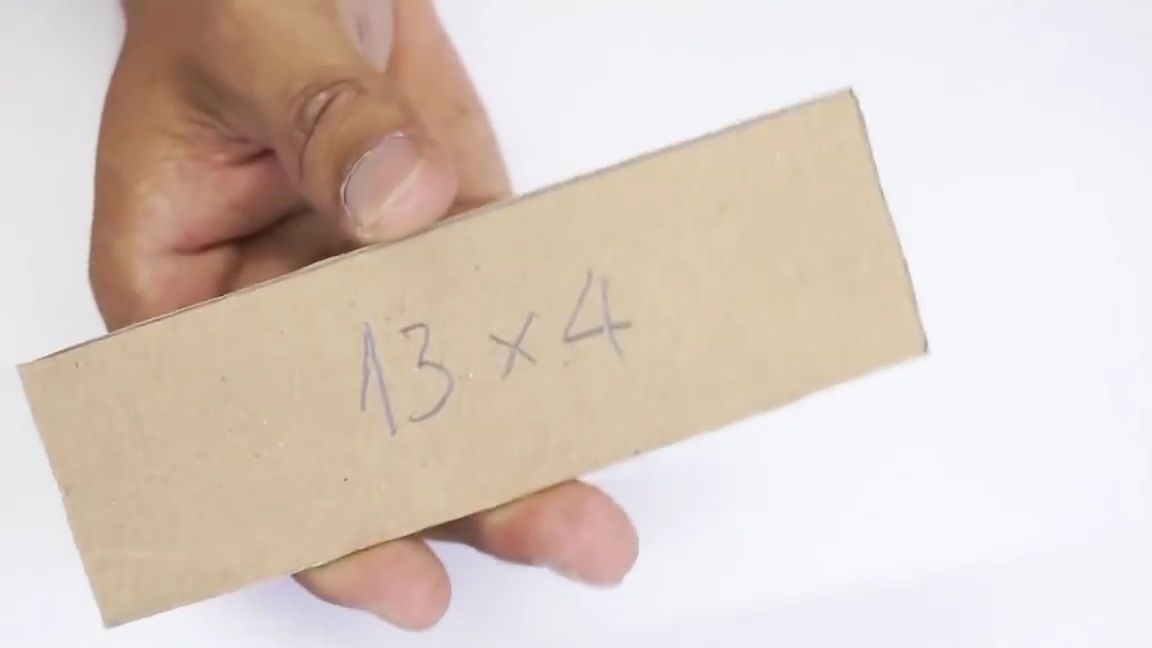
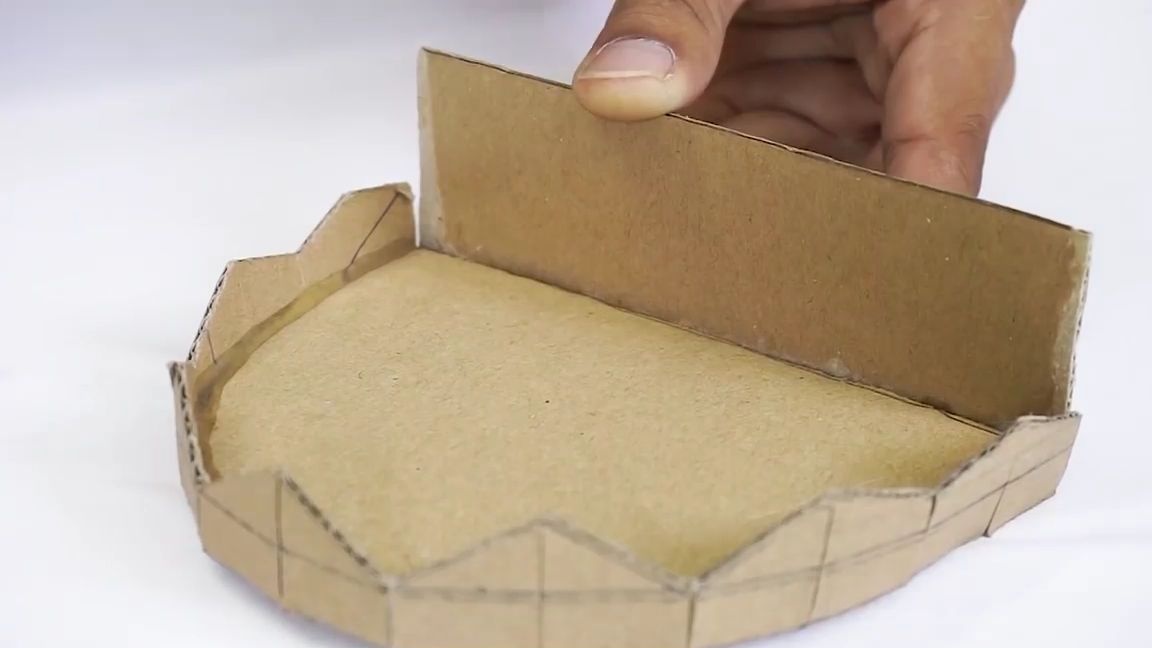
Then we cut out a small rectangle from corrugated cardboard, the dimensions of which are shown in the photo below.
It must be glued to the top of the cardboard “jaw” of the piggy bank, it should be noted that this part is almost two times higher than the height of the “teeth”. This is necessary so that this part can be glued to the entire structure. To do this, using an ordinary ruler, bend this part at the border with the beginning of the difference in height as shown in the photo below. Then glue to the general design of the term with glue:
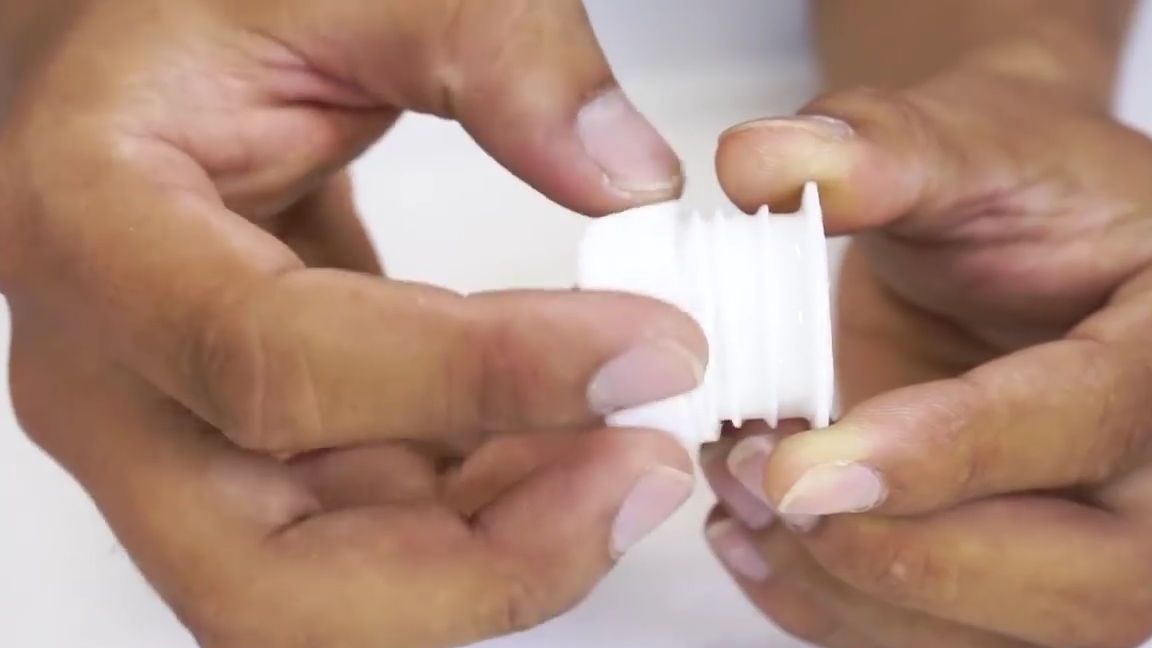
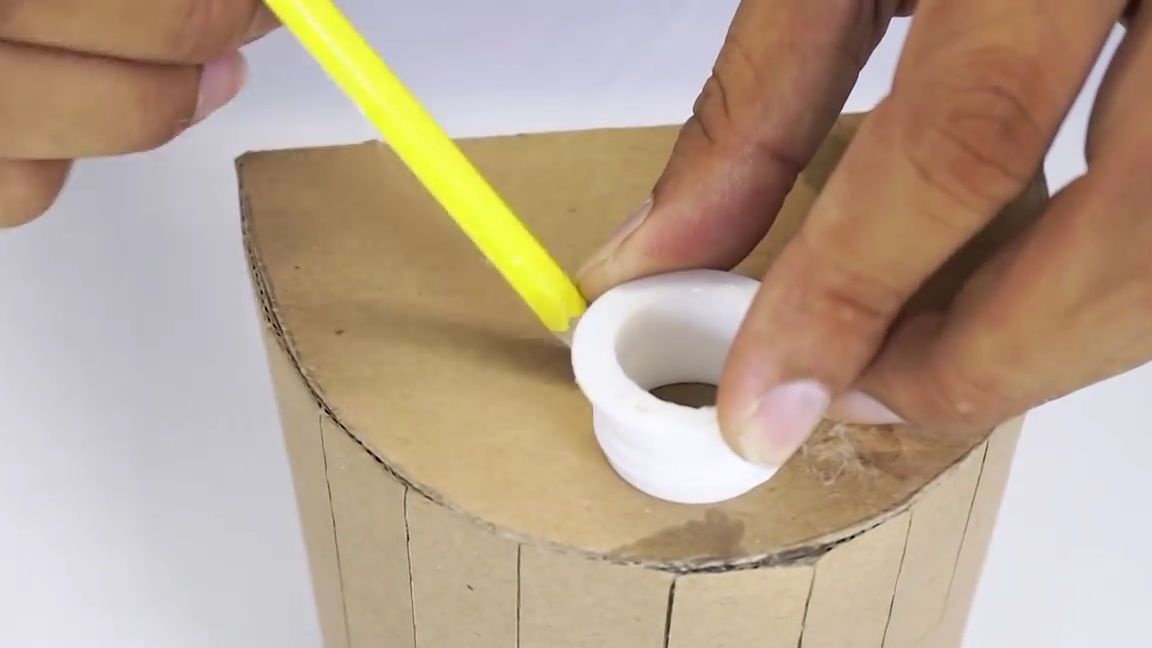
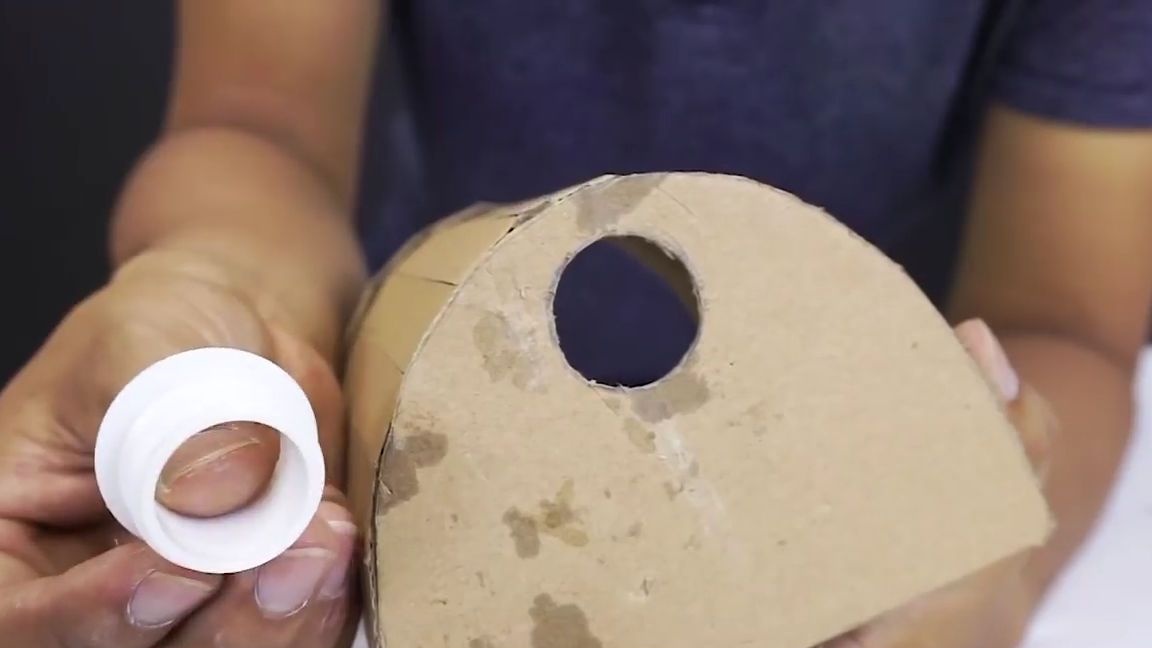
Now we take a plastic bottle and cut off the neck from it along with the cap. After that, we apply the neck to the bottom of the whole structure, circle it with a pencil, marker or pen and cut out the resulting circle. Then, from the inside, insert the neck of the bottle into this hole, fix it with hot glue and screw the cap back:
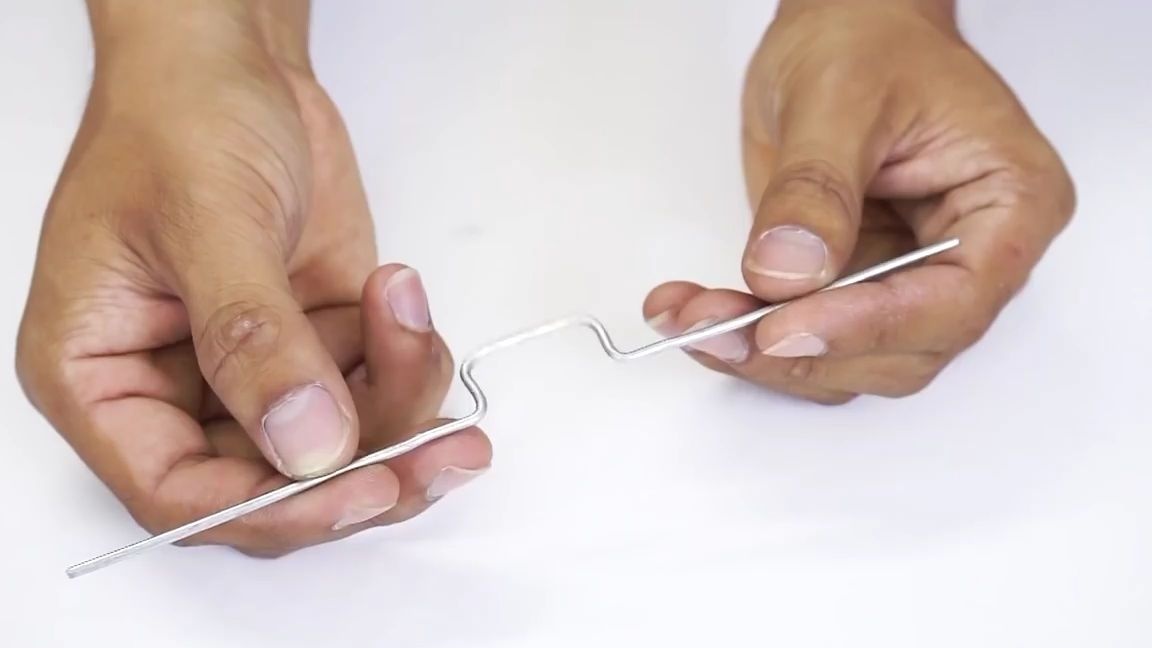
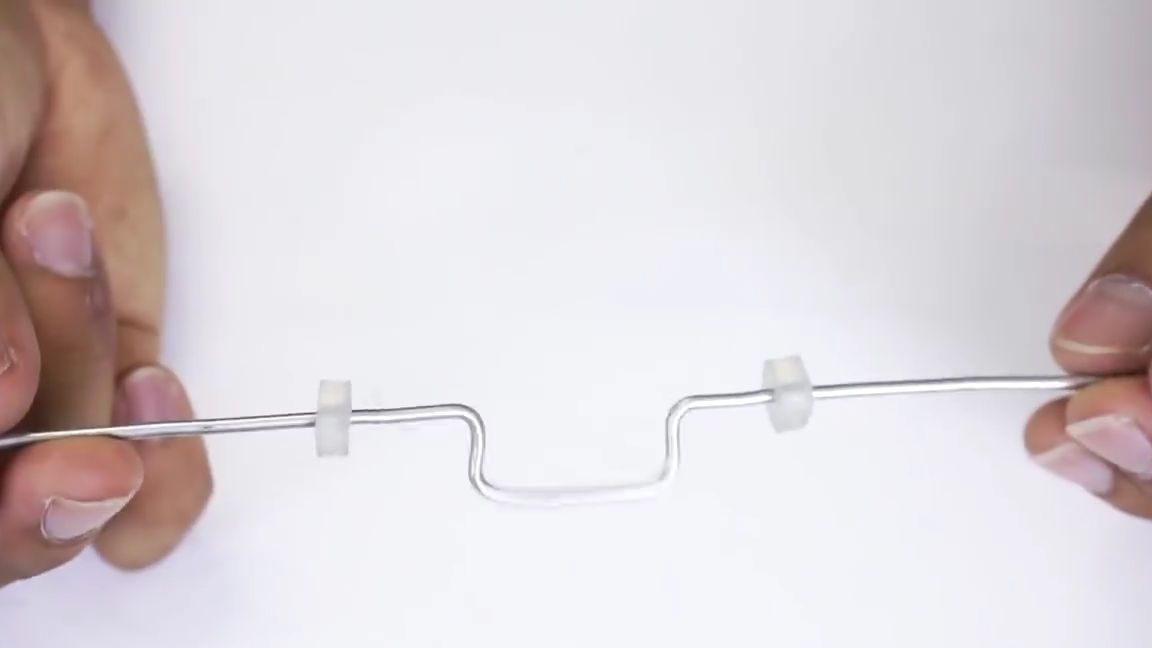
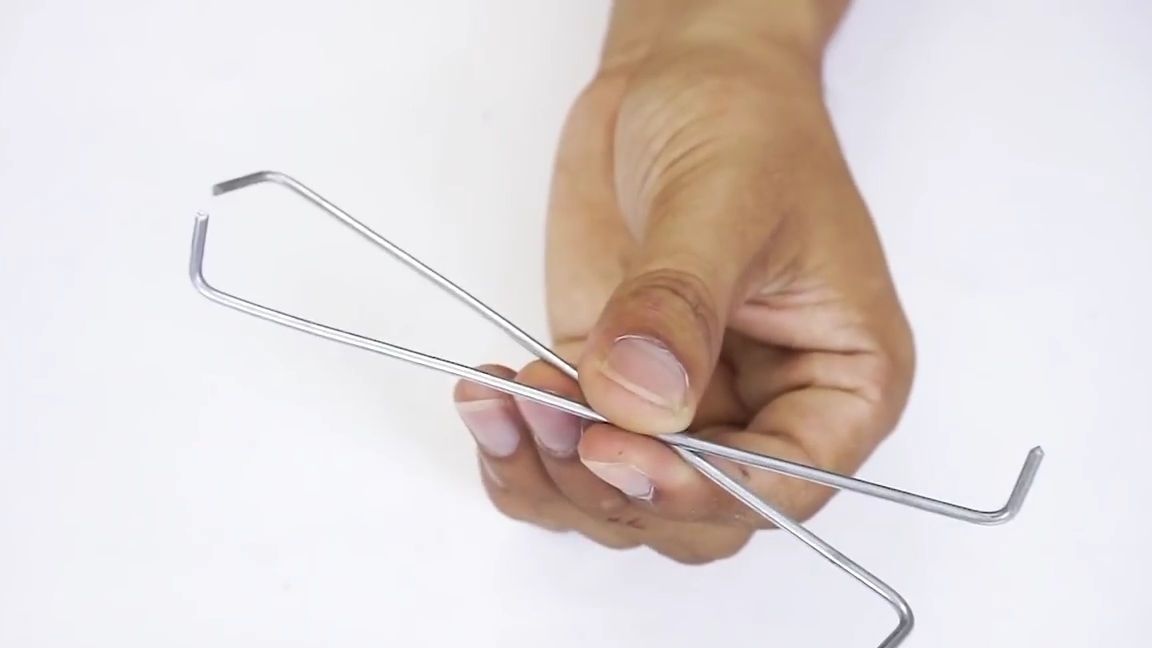
Take a piece of metal wire and bend it as shown in the photo below. It should be something like a knee shaft:
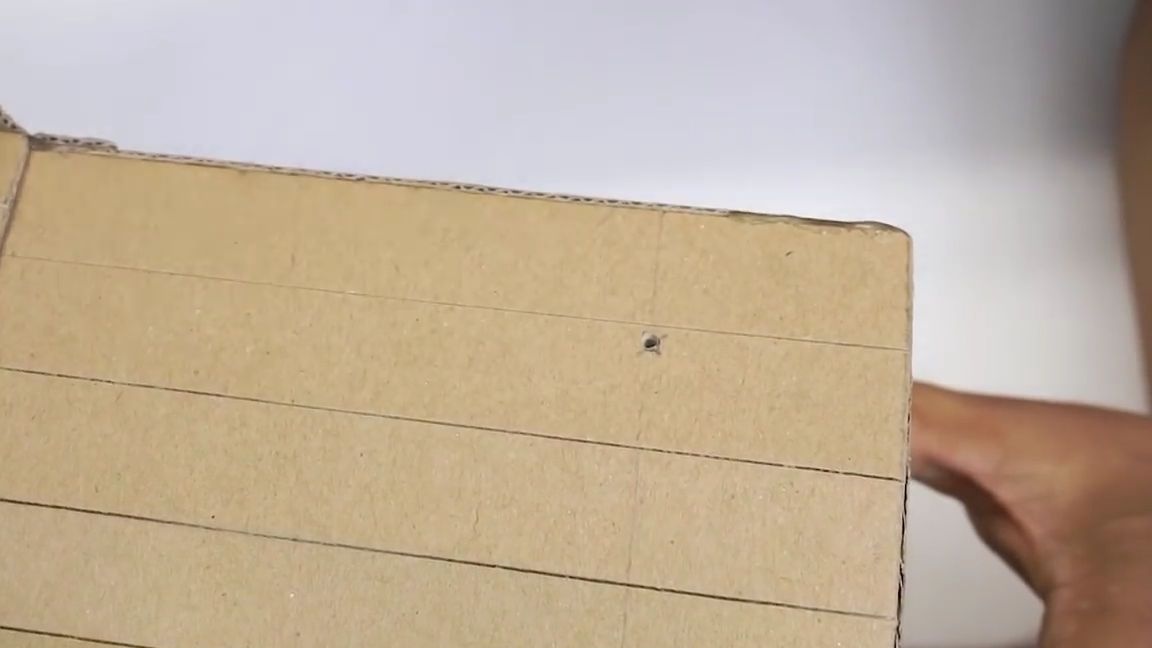
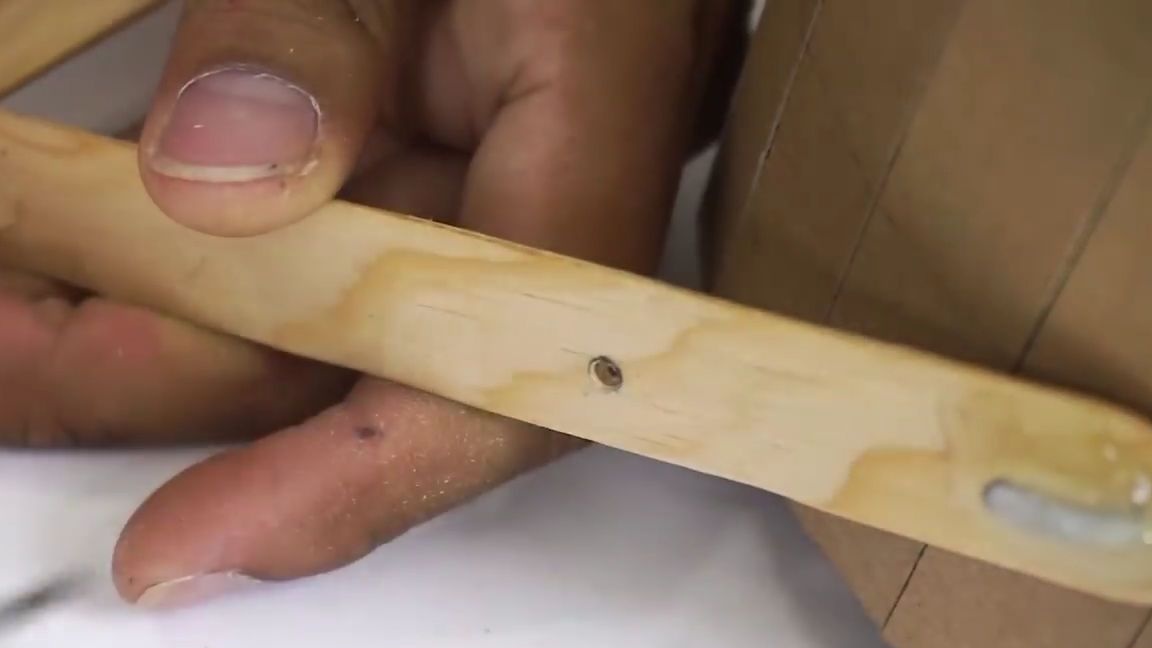
From each side of the structure, it is necessary to drill one through hole so that they are opposite to each other:
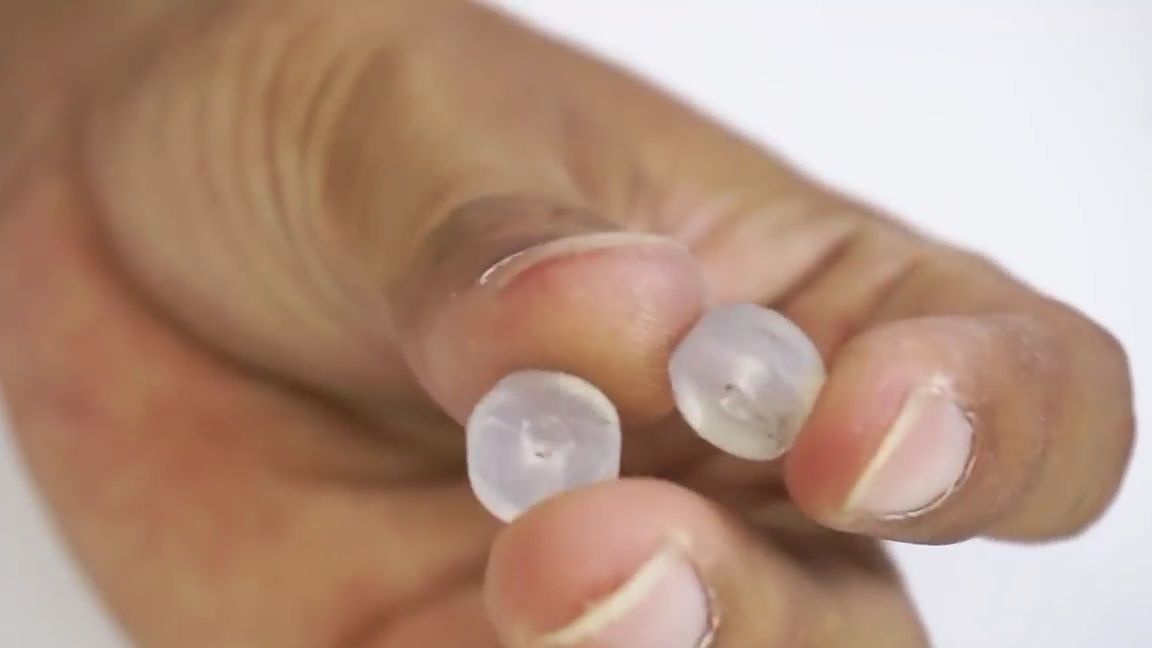
Then take the most ordinary stick with hot-melt glue and cut a couple of washers from it. Then they must be made through the through hole exactly in the center.
After making the washers, they naturally need to be put on the sides of the shaft elbow, so that they are equally spaced from the extreme bends of the shaft:
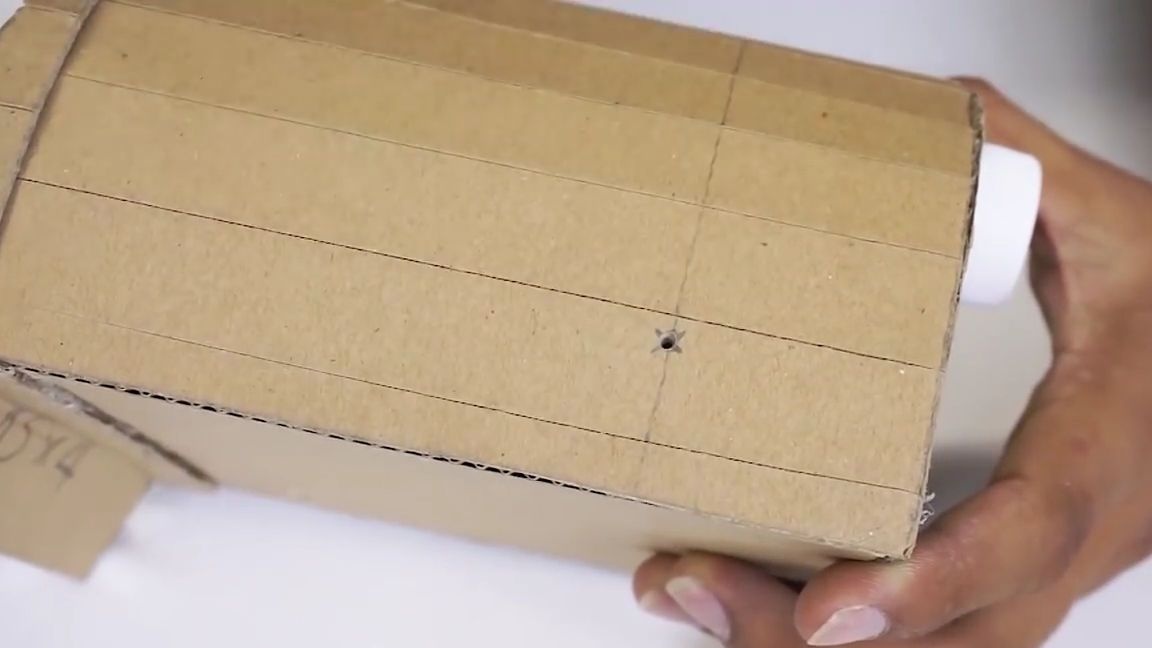
We install this workpiece in the previously made holes. Install so that the shaft is exactly in the center. In general, we do everything as shown in the photo:
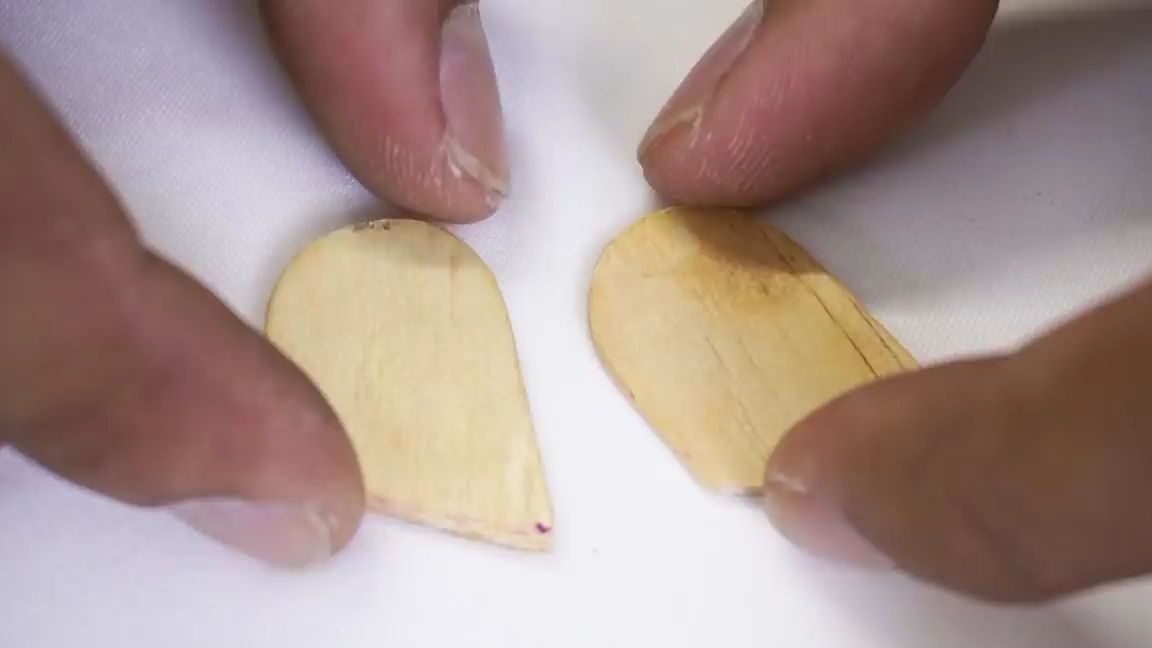
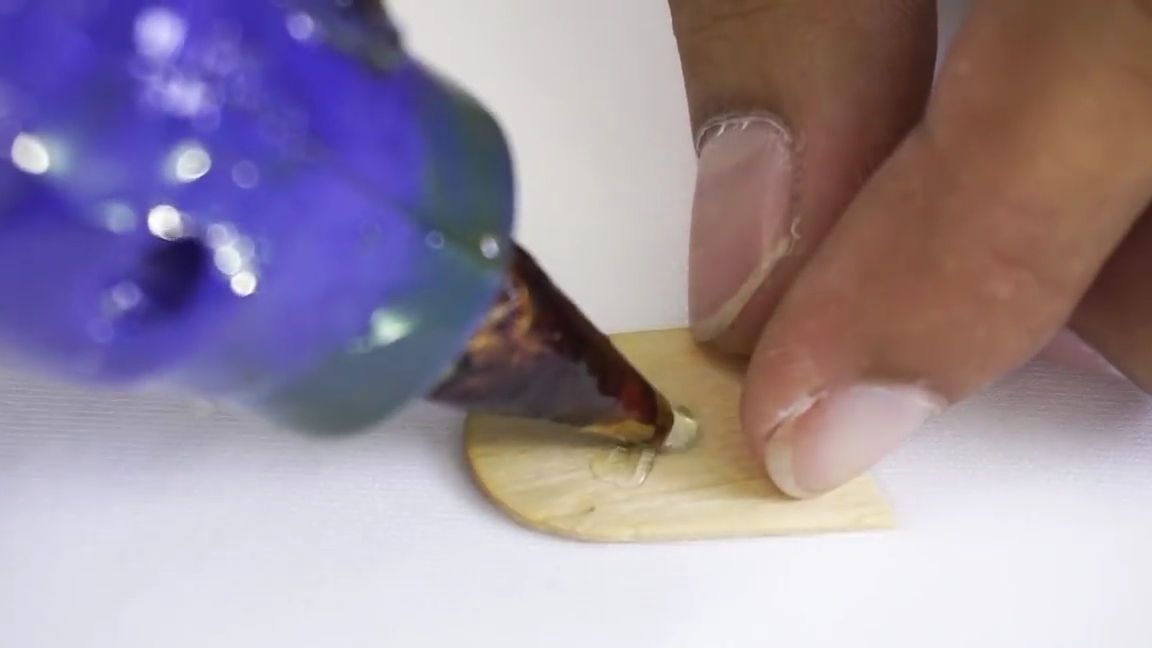
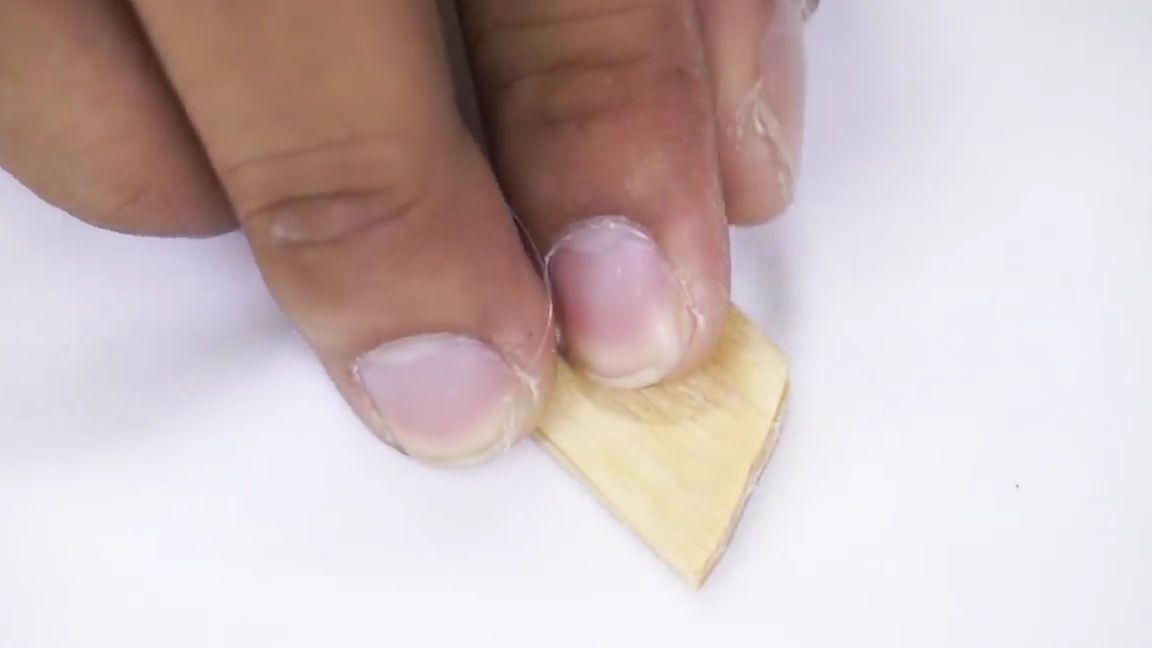
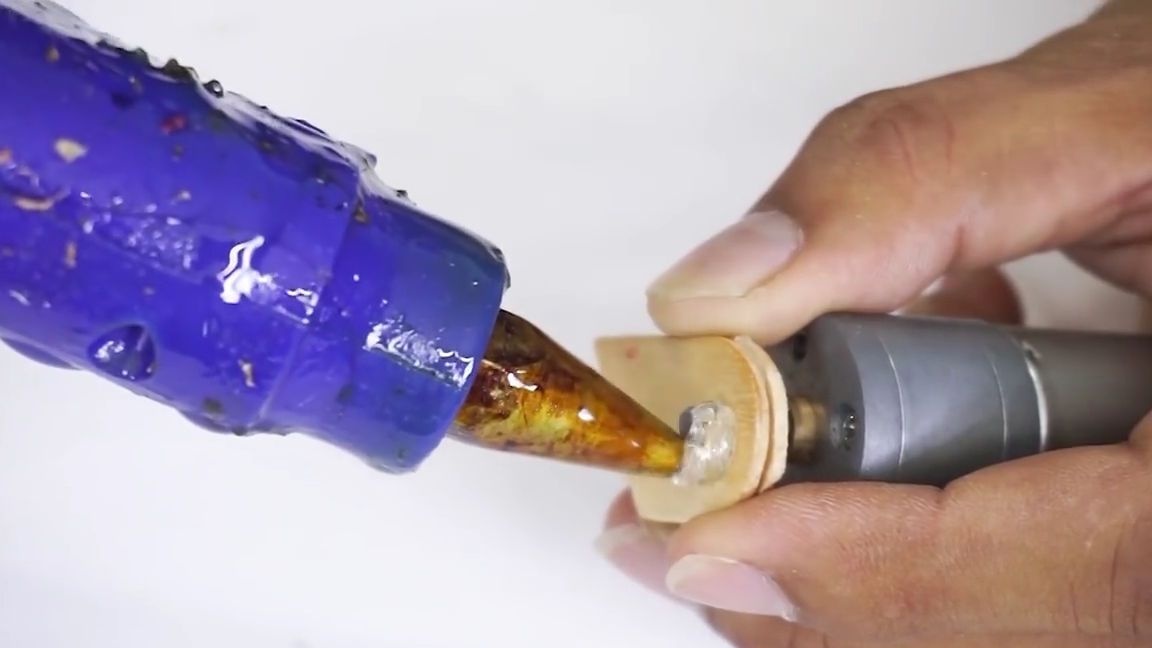
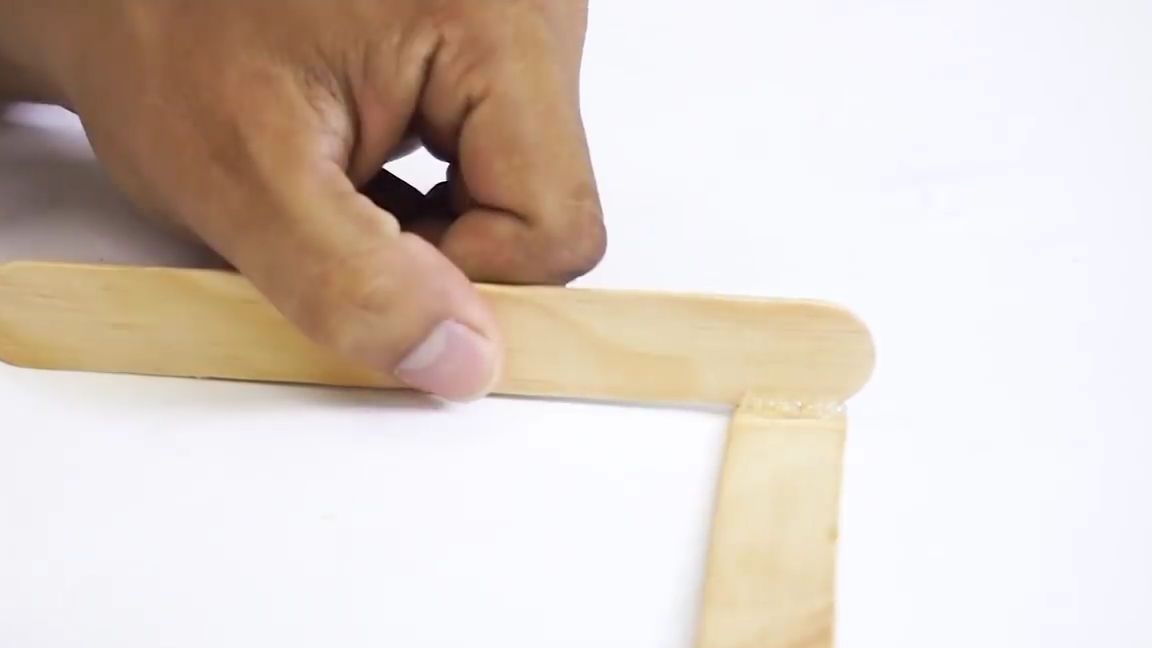
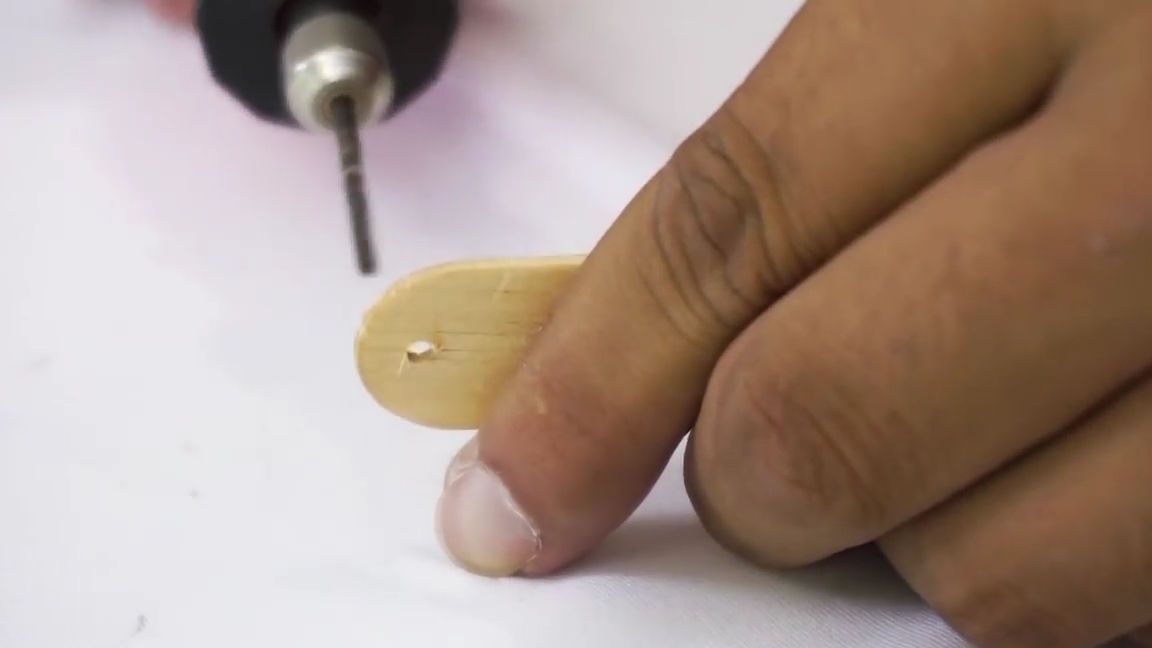
We cut off the edges from wooden spatulas, but so that a slight bias is obtained. Then we apply a little hot glue to one of the parts and glue both parts together as shown in the photo below. Then, we drill a through hole at the edge of the workpiece:
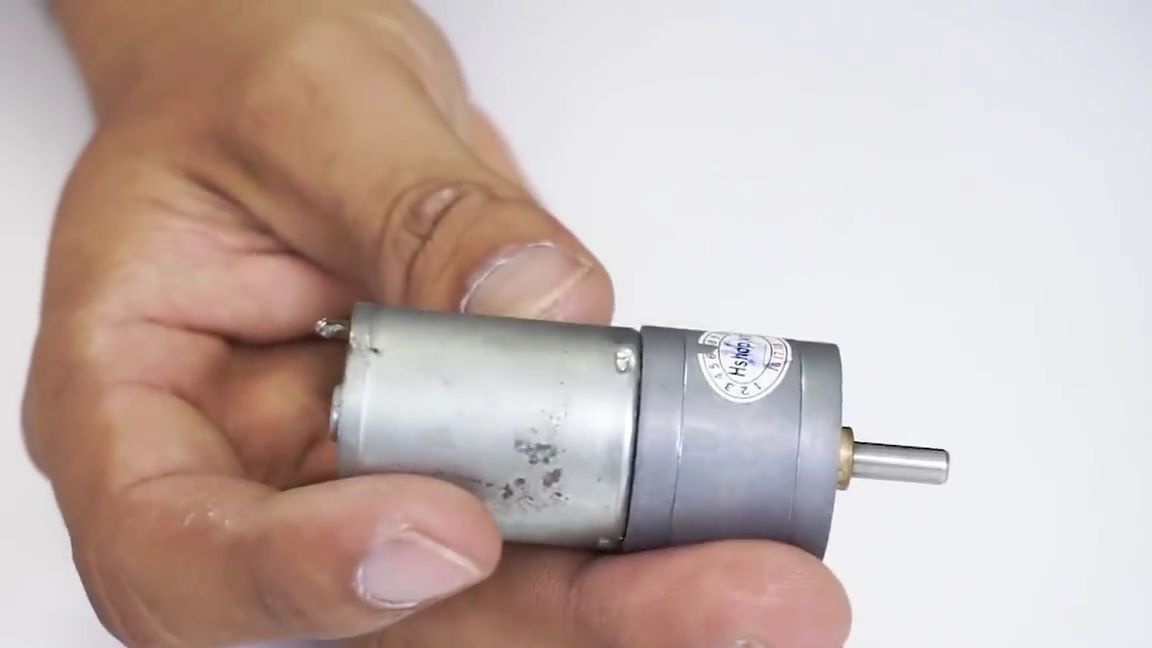
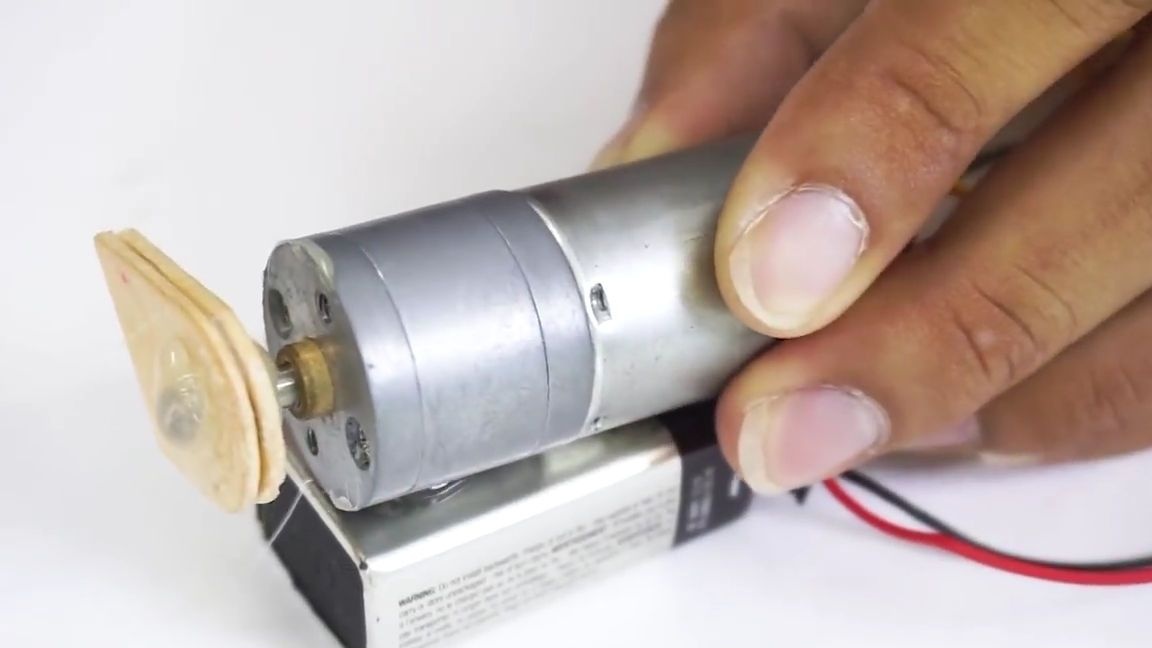
We take an electric motor (preferably with an integrated gearbox) and put on and glue the previous workpiece on its shaft:
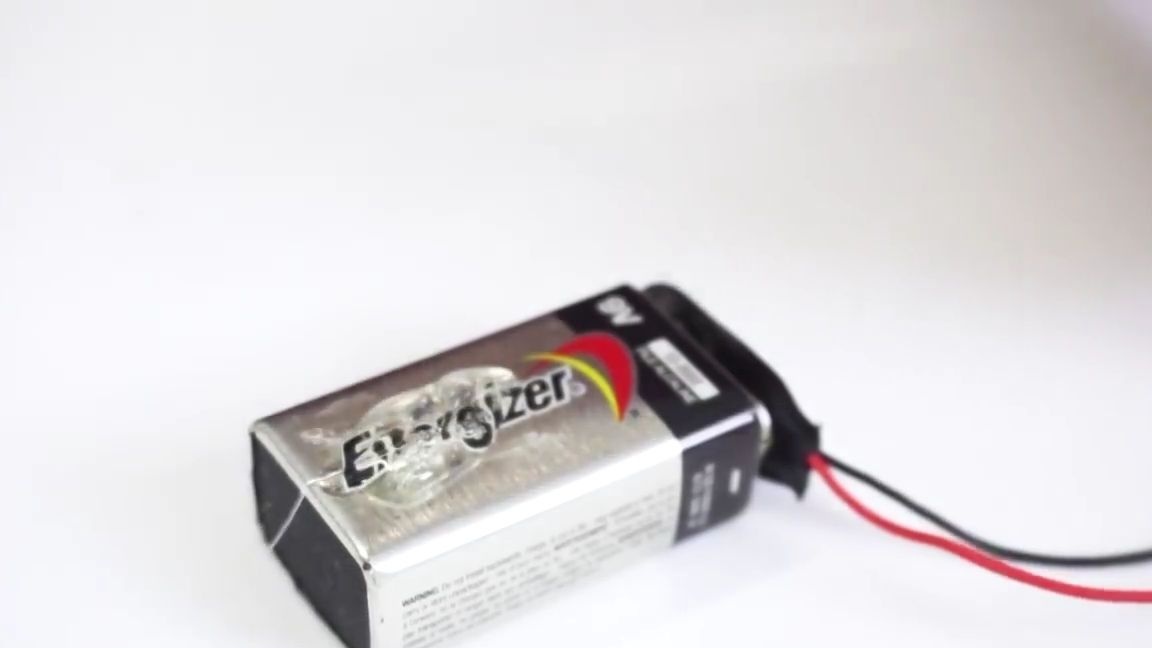
We take the battery of the "crown" type and put the connector on it observing the polarity. After these steps, it is necessary to glue the electric motor to the crown:
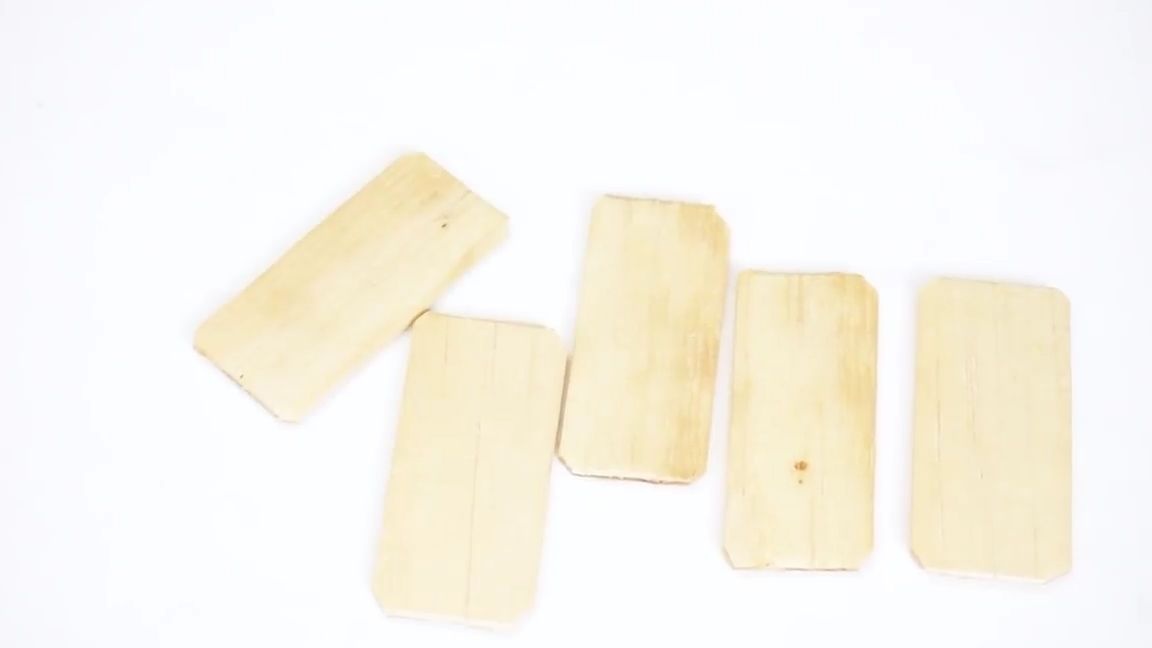
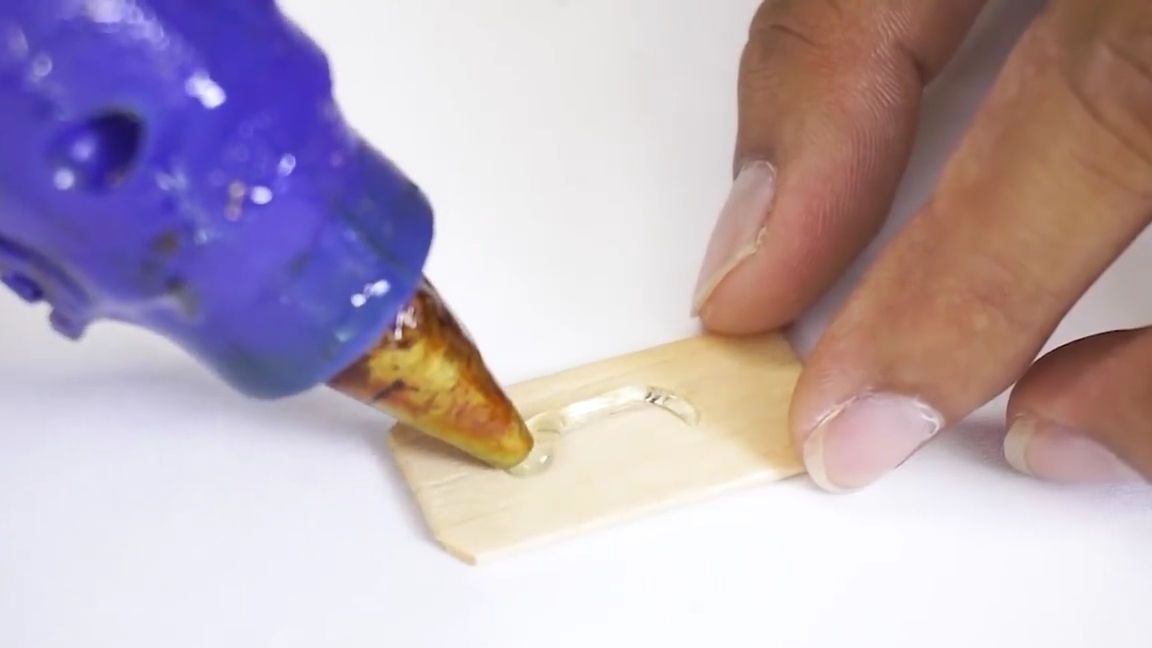
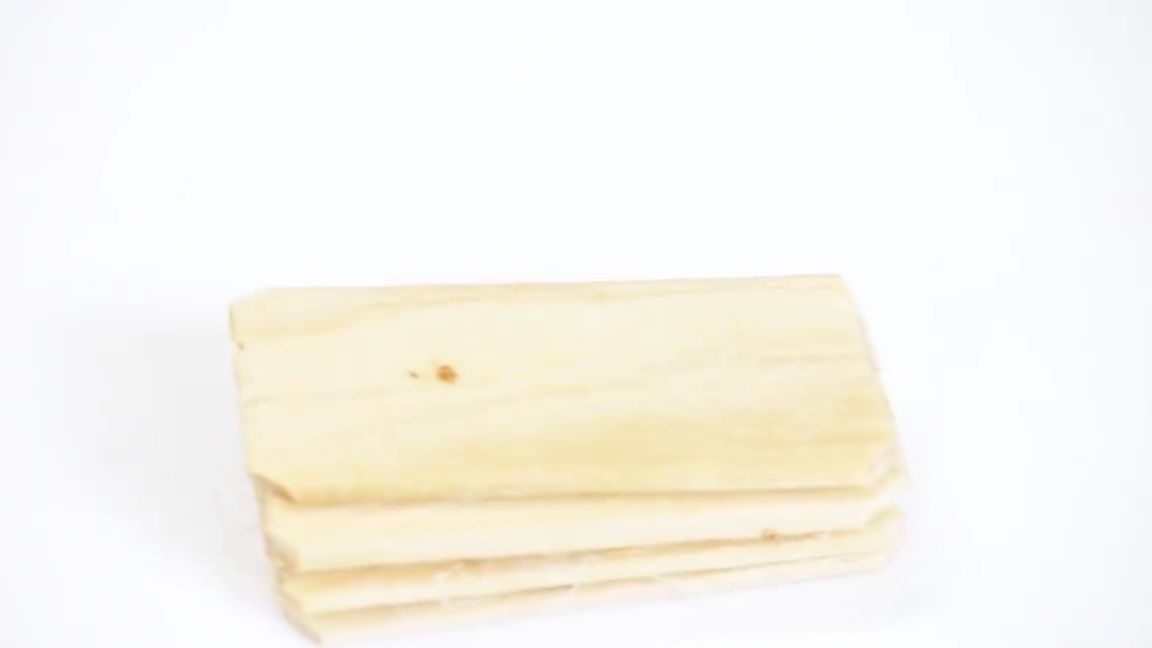
From wooden spatulas we make five equal rectangles, after which they must be glued to each other. Glue this blank on the opposite side of the crown battery as follows:
We solder one of the wires from the connector to one of the contacts of the electric motor. Then we lower and glue the whole structure to the bottom of the piggy bank:
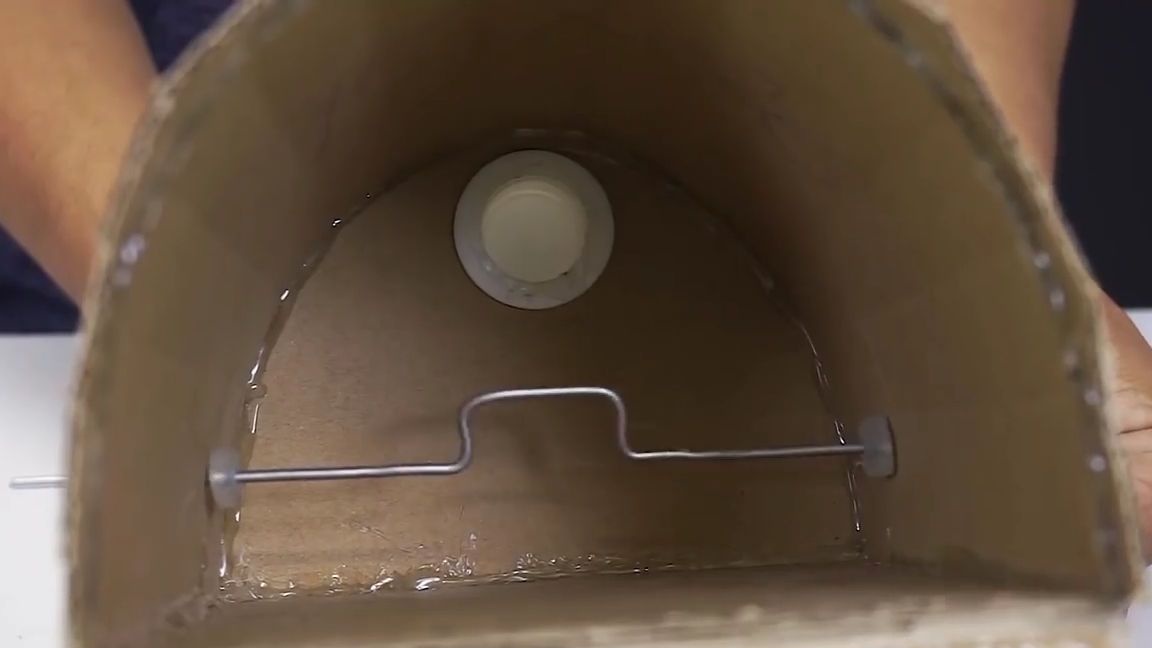
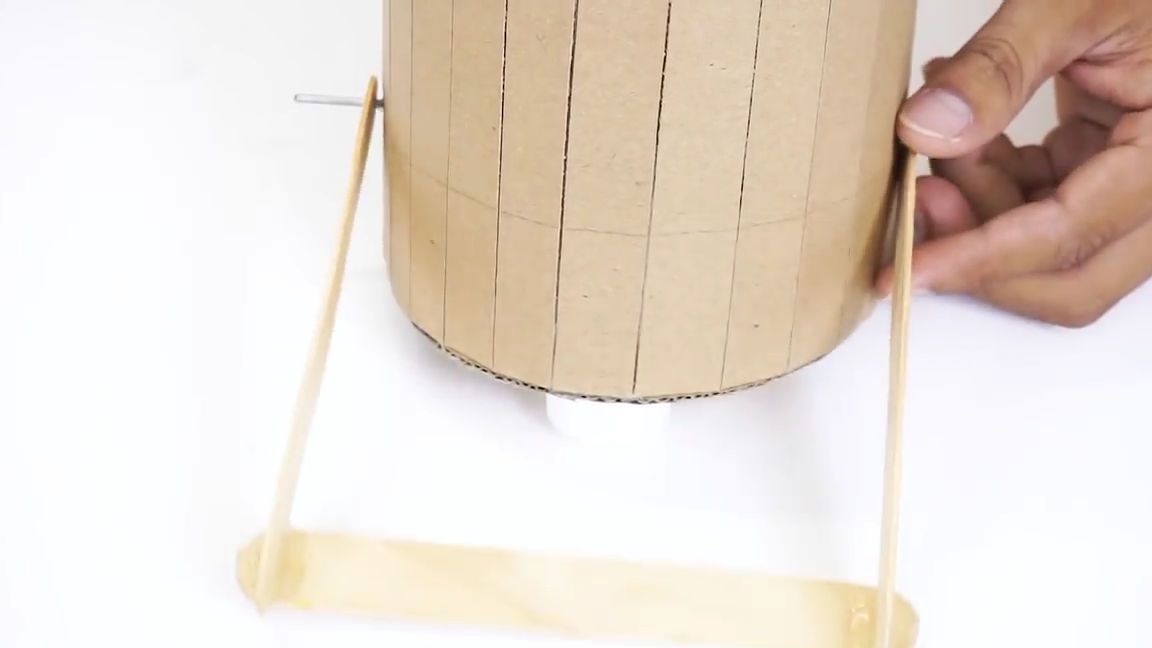
Take three more spatulas and glue them together into a single structure with hot-melt adhesive. Then, on each edge of the structure, opposite each other, you need to drill one through hole. Outgoing edges of the shaft elbow from the general structure must be inserted into these holes. Then we bend these edges and fix with hot glue.In general, you need to do everything as shown in the photo below:

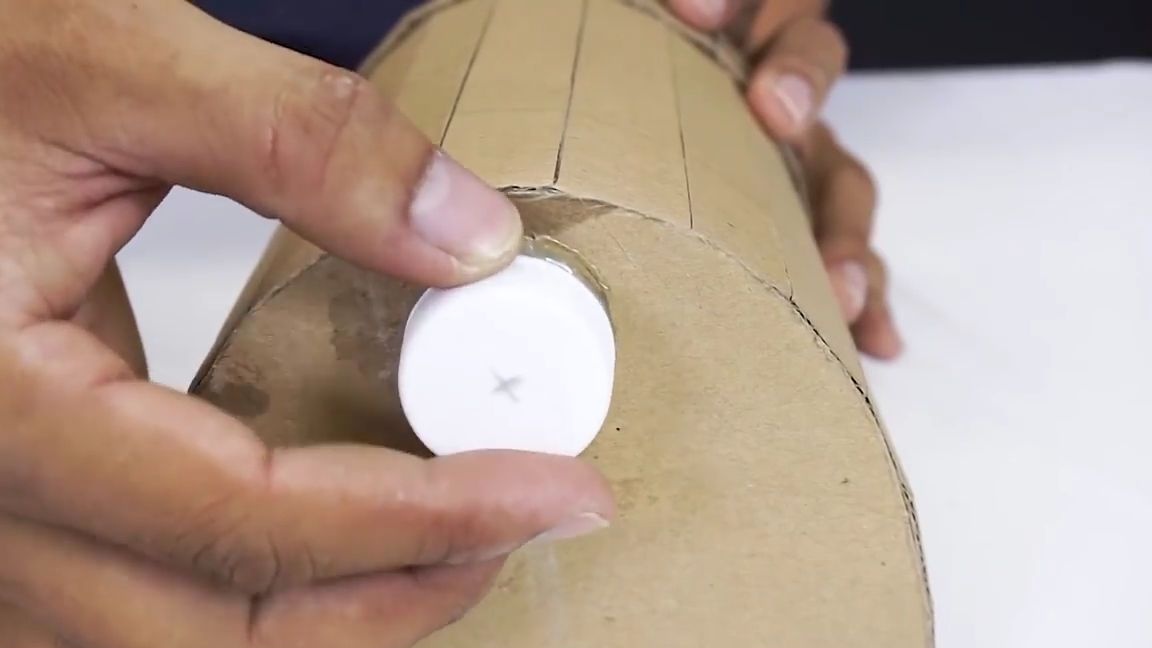
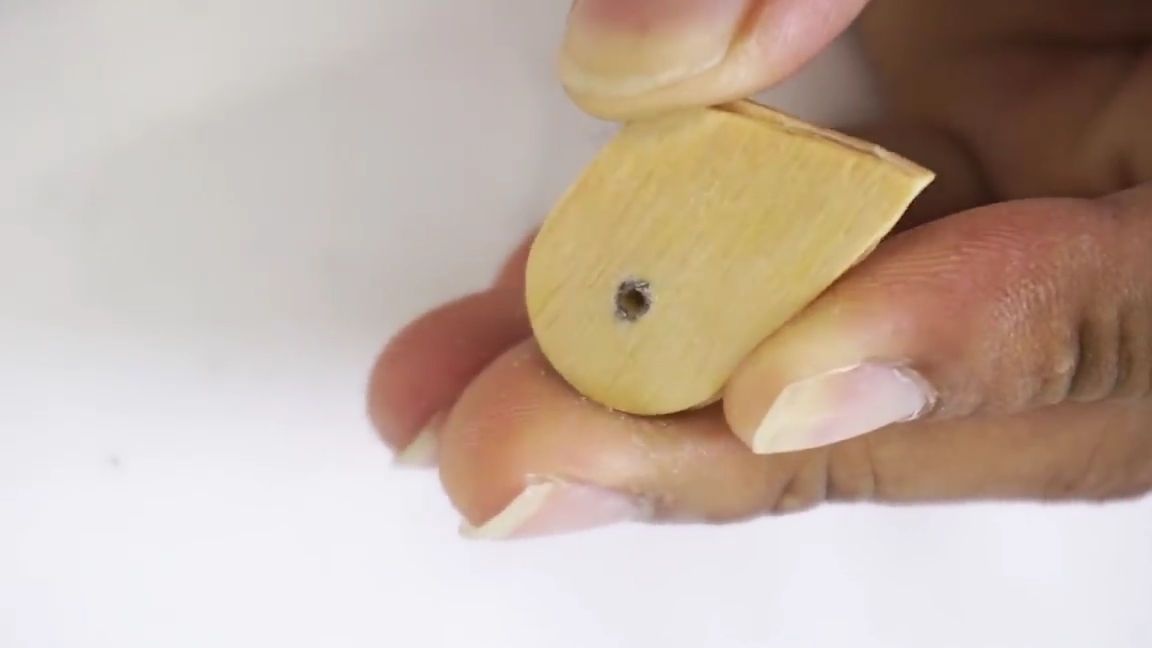
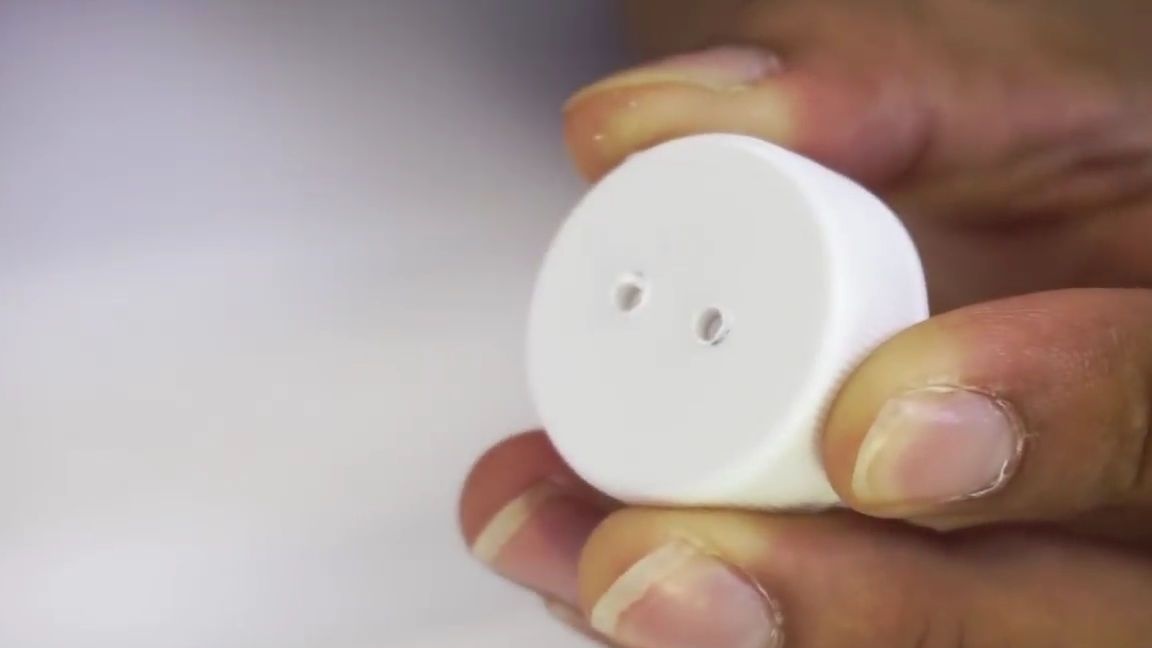
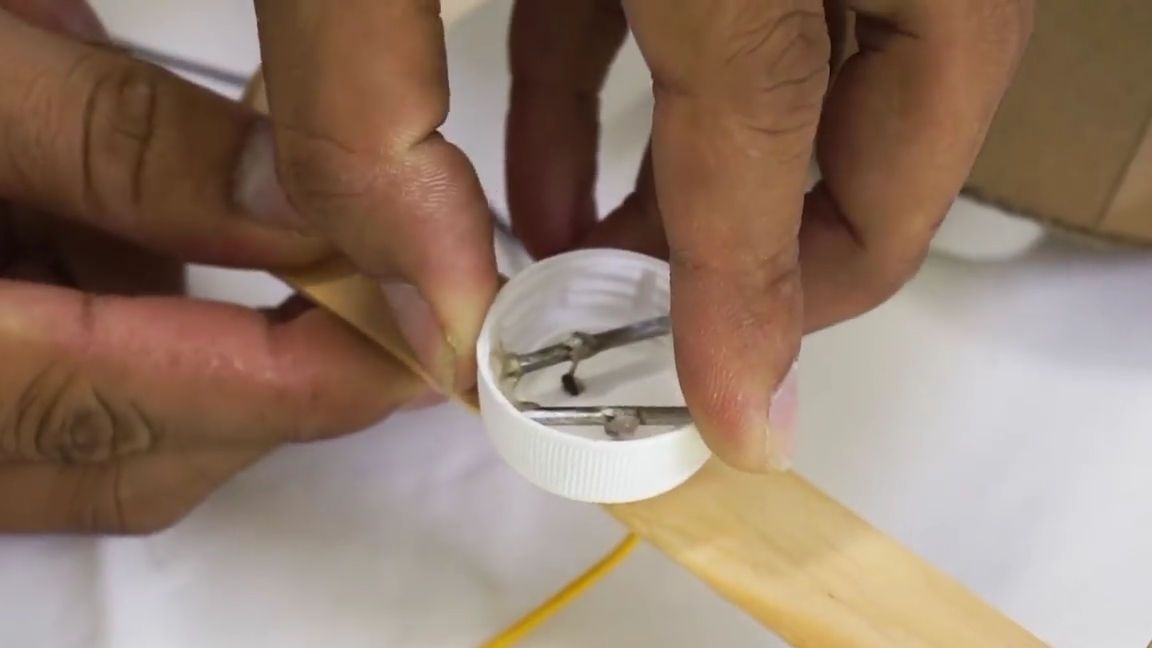
We remove the cap from the plastic bottle and then drill two through holes in it.
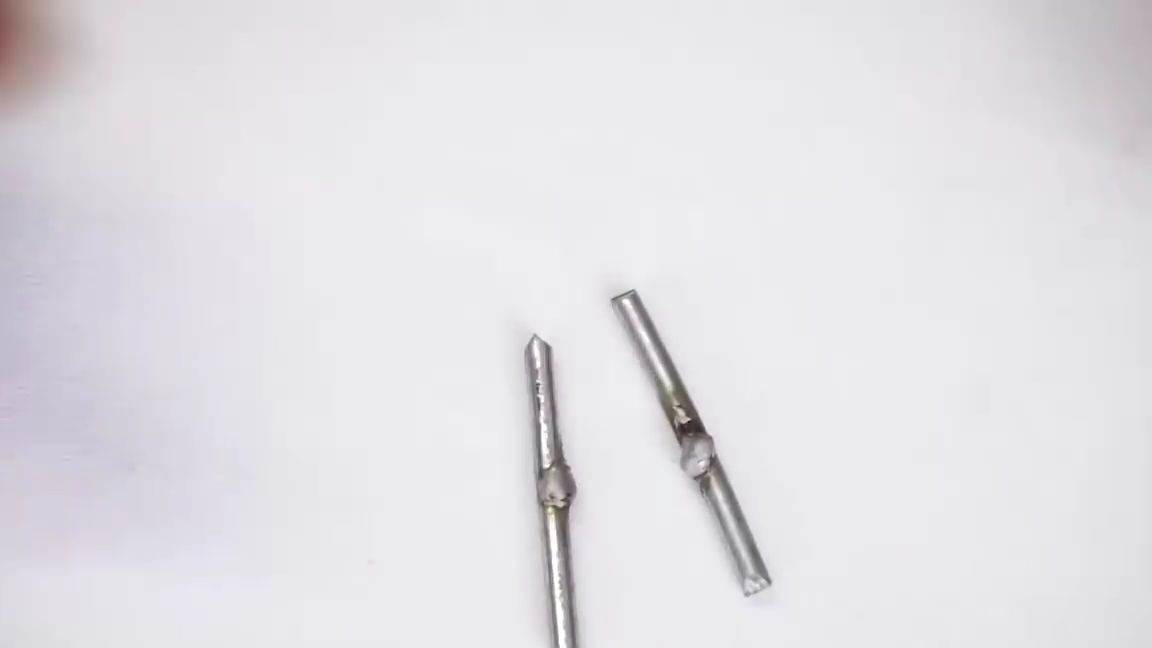
From the metal wire we cut two equal segments, of such a size that they can fit inside the lid.
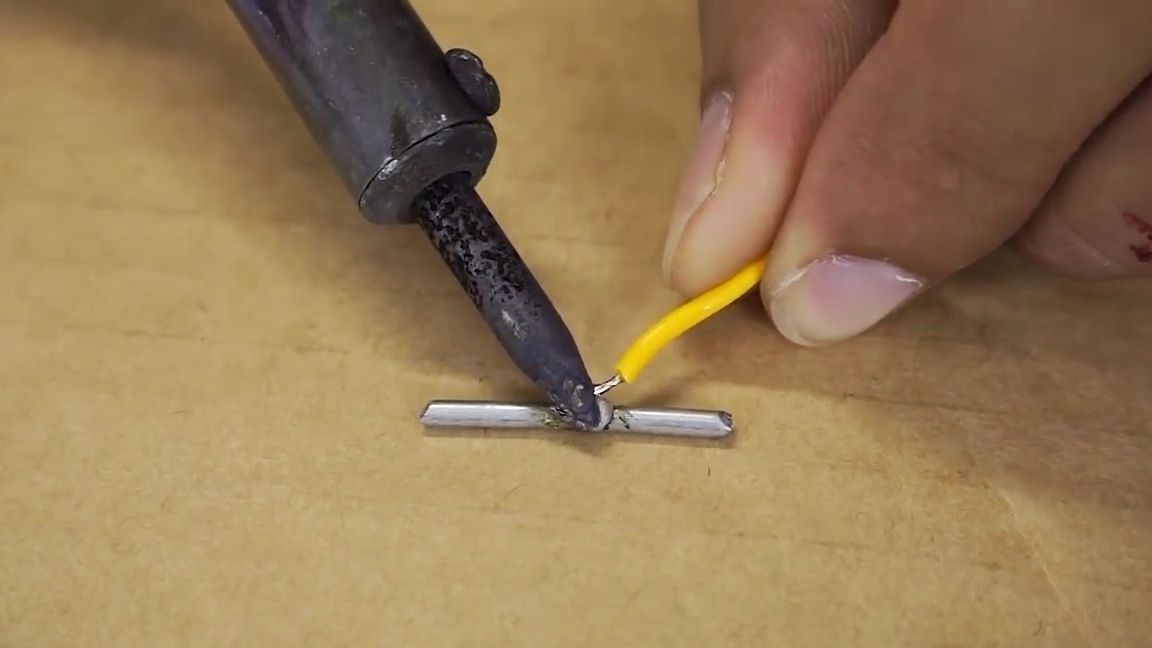
We solder to each segment along the wire, the main thing is not to take aluminum wire, otherwise you will be tormented to solder, due to the fact that an oxide film forms on aluminum almost instantly with oxygen.
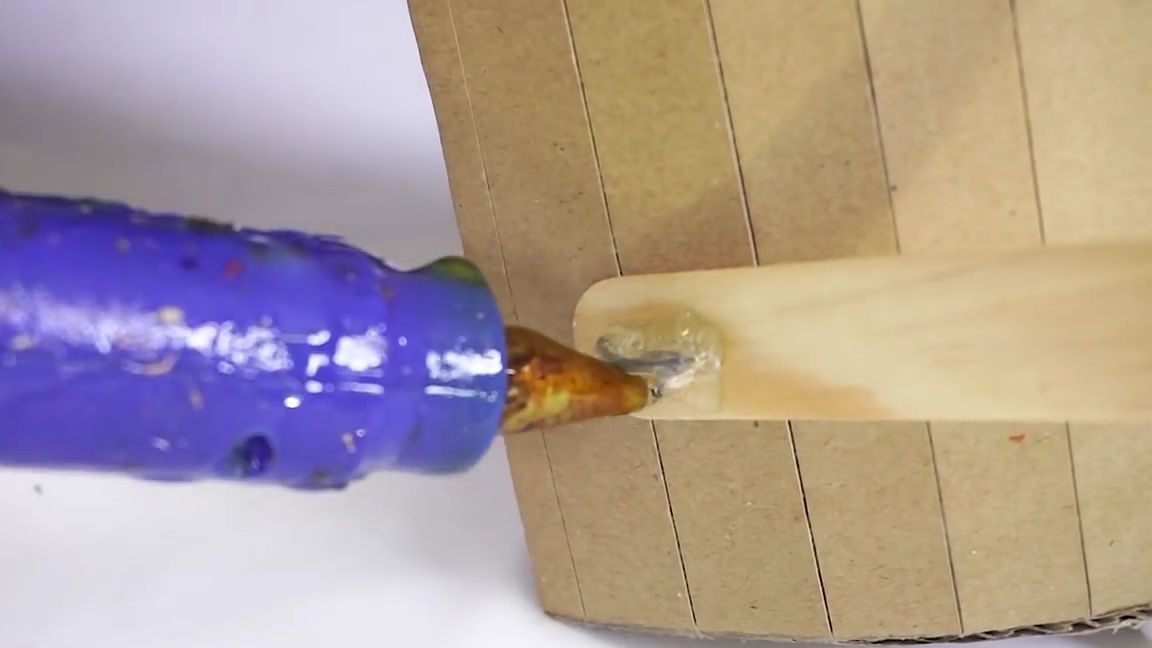
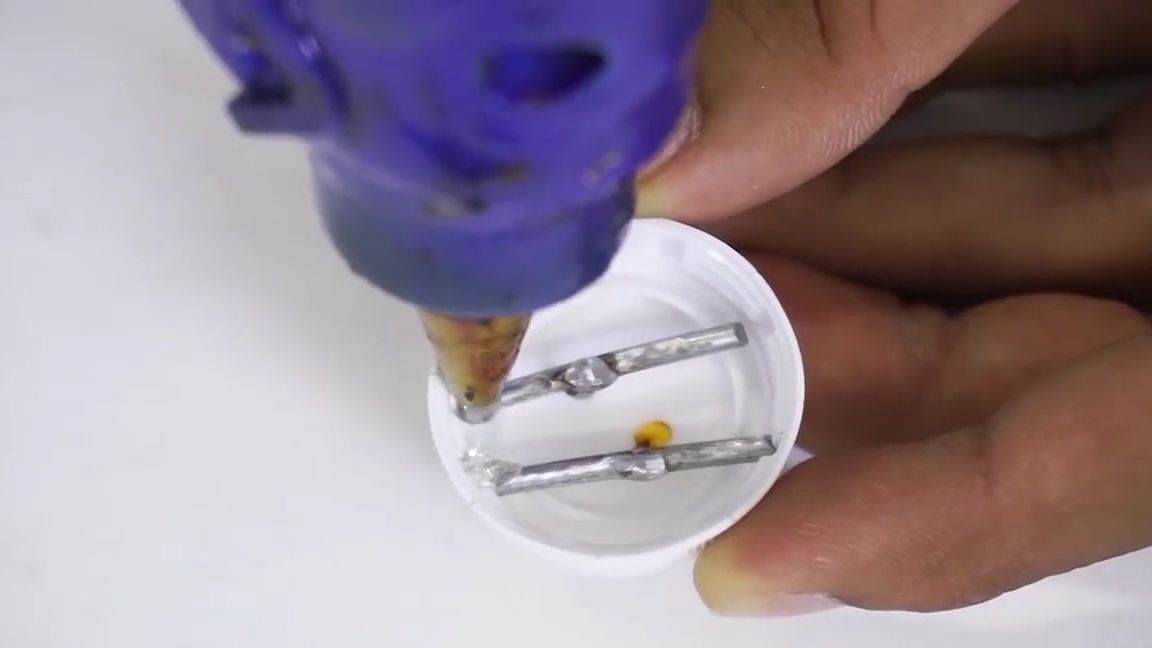
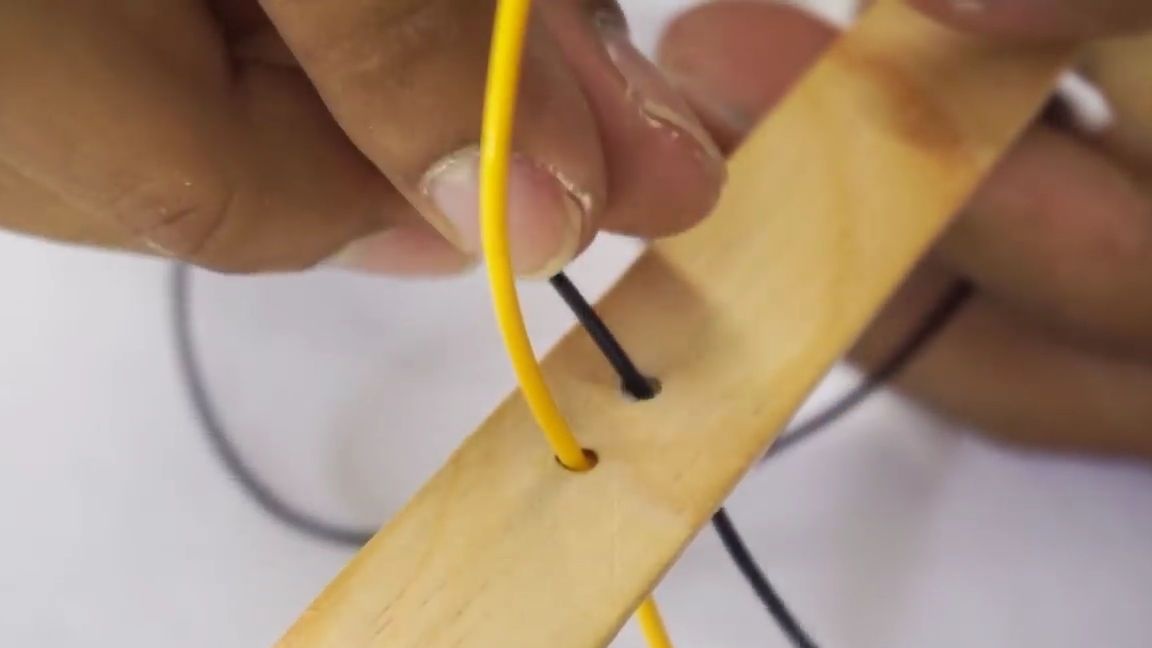
We put the wires through the holes in the bottle cap and fix them there with hot melt adhesive, but look, do not fill the contacts of the metal segments completely with hot melt adhesive. Then in the front of the structure of wooden spatulas we drill two through holes, insert wires from the cover into these holes, and then we glue the cover itself:

From the edges of the spatula structure that was made earlier, you need to make another through hole, after which we make two exactly the same holes on the sides of the upper "jaw" of the piggy bank:

Two parts need to be made of wire, you can see their shape in the photo below:
We insert these metal fasteners on each side into the previously made holes on each side of the piggy bank.
We cut several washers again from the hot-melt glue sticks and use them to fix the wire parts on the back of the structure. It should be something like in the photo below.
We are testing.
Raise and lower the construction of the spatulas up and down, if the upper "jaw" is also full and lowered, then everything is done correctly:
Solder one of the wires from the cover to the remaining wire from the "crown", and solder the second wire from the cover to the wire coming from the motor. Then we isolate the soldering places with the help of electrical tape or the term of shrinkage:
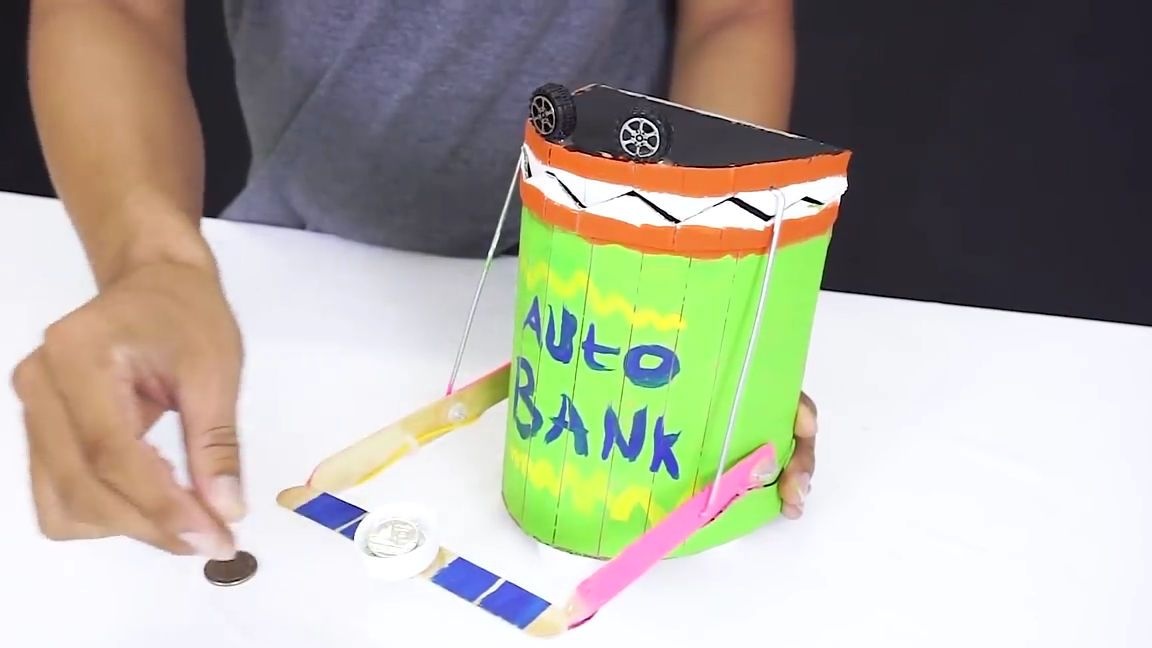
We take two more caps from plastic bottles and glue them to the bottom of the piggy bank.
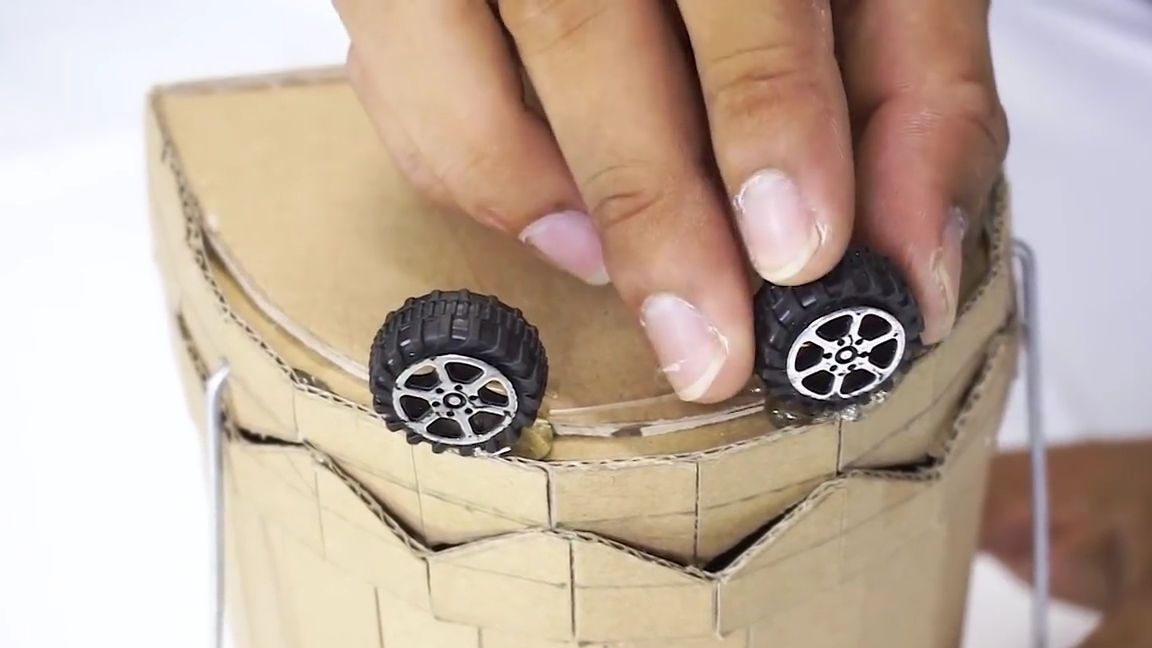
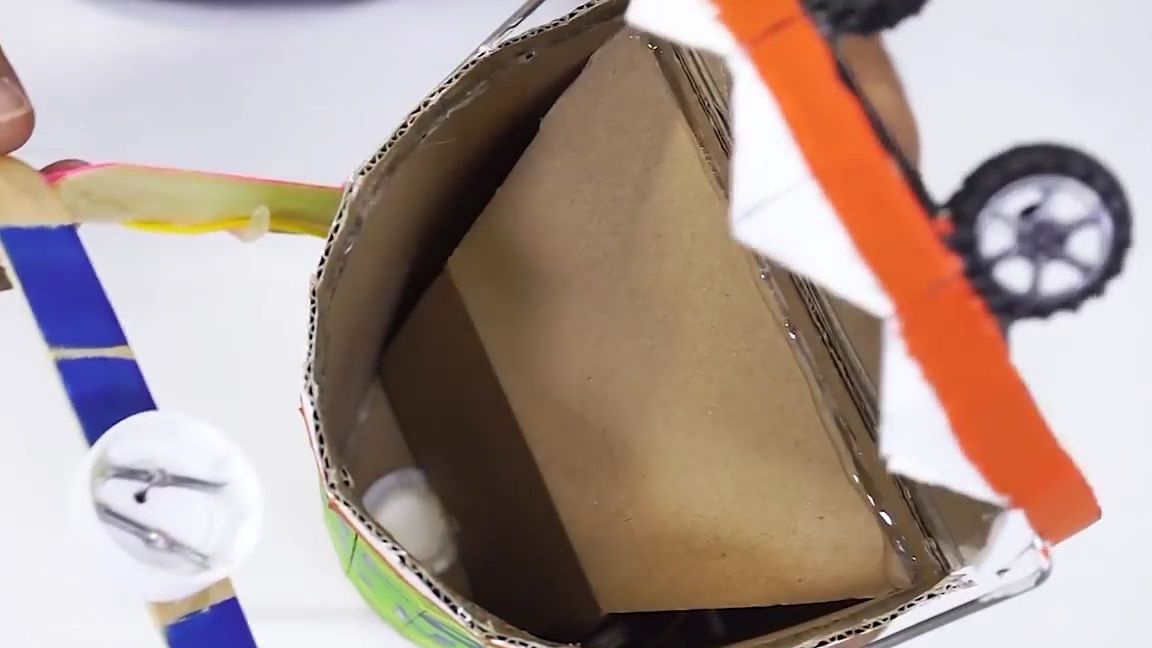
Then we take two more wheels from the toy car and glue them on the upper jaw as shown in the photo below:
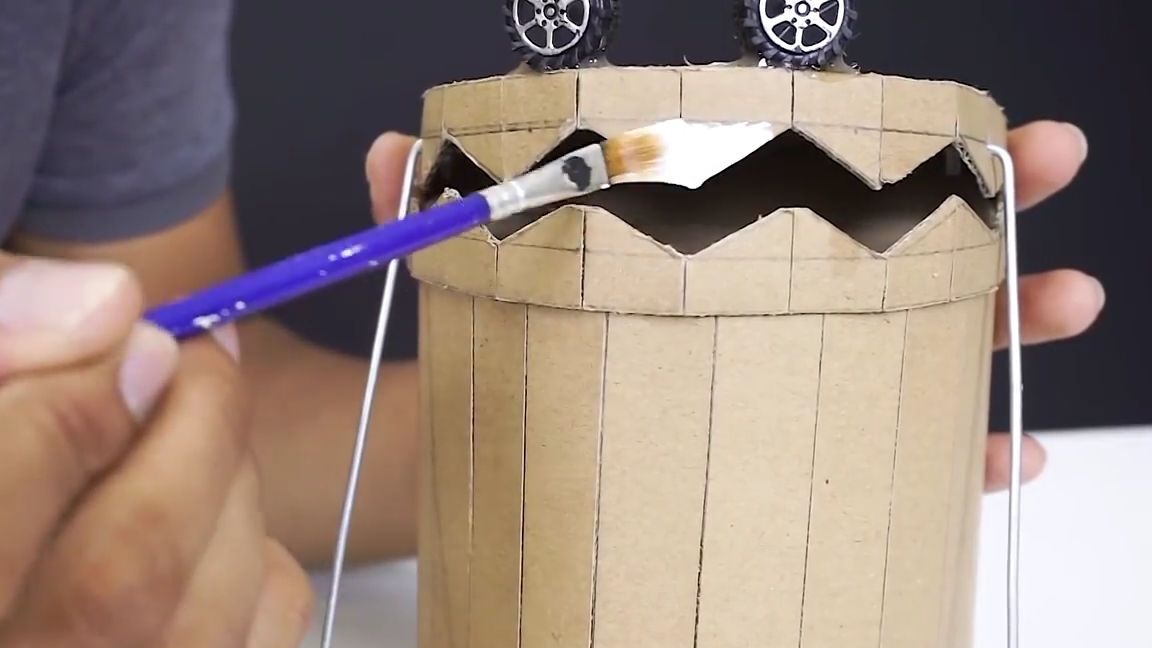
Decorate a piggy bank:
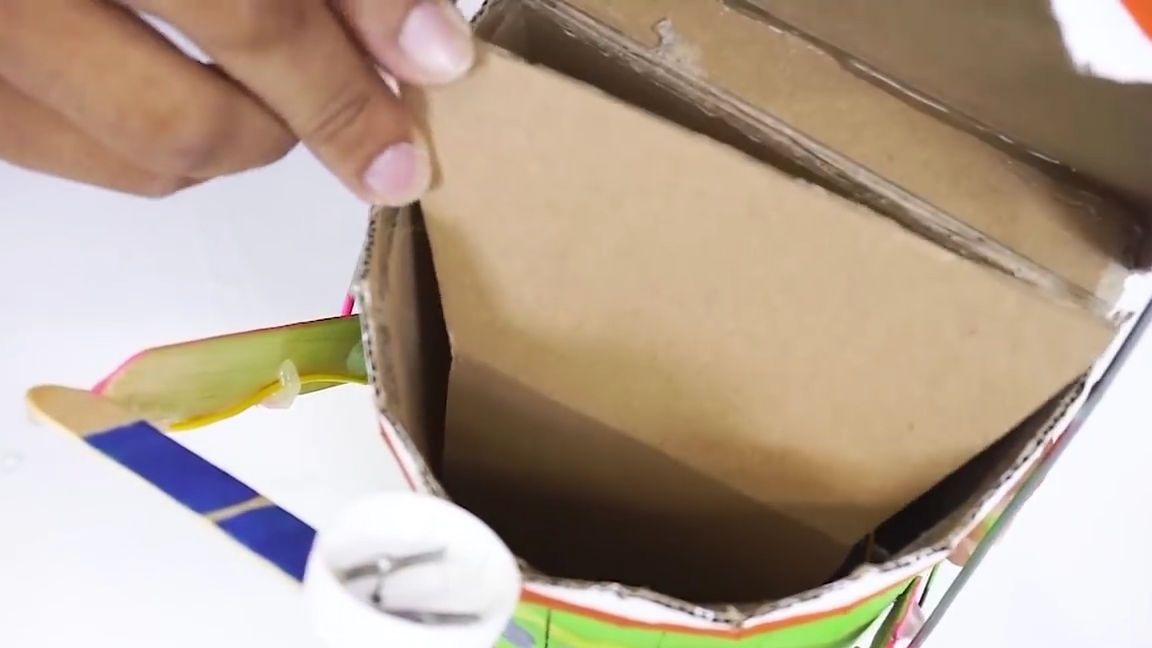
From corrugated cardboard we cut out another detail whose shape can be seen in the photo below. Using a ruler, bend it, and then insert and glue it inside the piggy bank, thereby closing the working part of the piggy bank.
That's it! A simple automatic piggy bank is ready and it remains only to test it. To do this, simply put a coin in the lid with contacts, after this action the piggy bank will throw the coin into the air sharply, while it will open the “mouth” and “eat” the coin. I think this homemade product may appeal to many and surprise many, moreover, it makes the process of accumulating coins more interesting.
Here is a video from the author with a detailed assembly and testing of this homemade product:
Well, thank you all for your attention and good luck in future projects!