
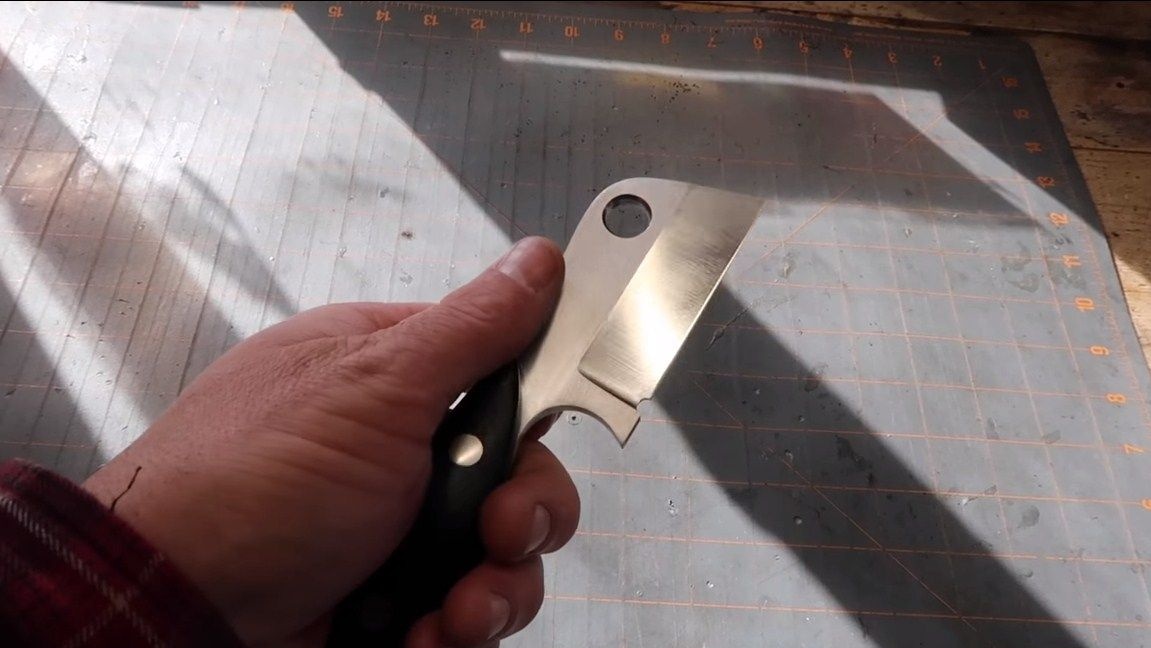
Hello everyone, I propose to consider an interesting small knife-hatchet. With the help of such a knife it will be convenient to plan, chop or just cut something. The knife is made of quality steel and sharpened to the state of the blade. In the manufacture homemade The author used a fairly wide range of tools, but their availability will only speed up the process and make it easier. Similar work can be done with simpler tools, but it will take more time and effort.
Much attention should be paid to the choice of source material. Not every steel is suitable for a knife. If you want the metal to harden, the blade to be sharp and well-hardened, you will need high carbon steel. Such steel is usually used in the manufacture of various tools. Alternatively, an old saw blade is a good source of good steel, and even with the purchase of a new disk, the source material will be inexpensive. Three or more knives can be made from a large saw blade. So, we will consider in more detail how to make such a knife!
Materials and tools used by the author:
Material List:
- good steel;
- wood or other lining material;
- steel, brass or other rods (for pins);
- epoxy adhesive;
- plywood or thick cardboard for making a template.
Tool List:
- belt sander;
- drill (preferably);
- drilling machine;
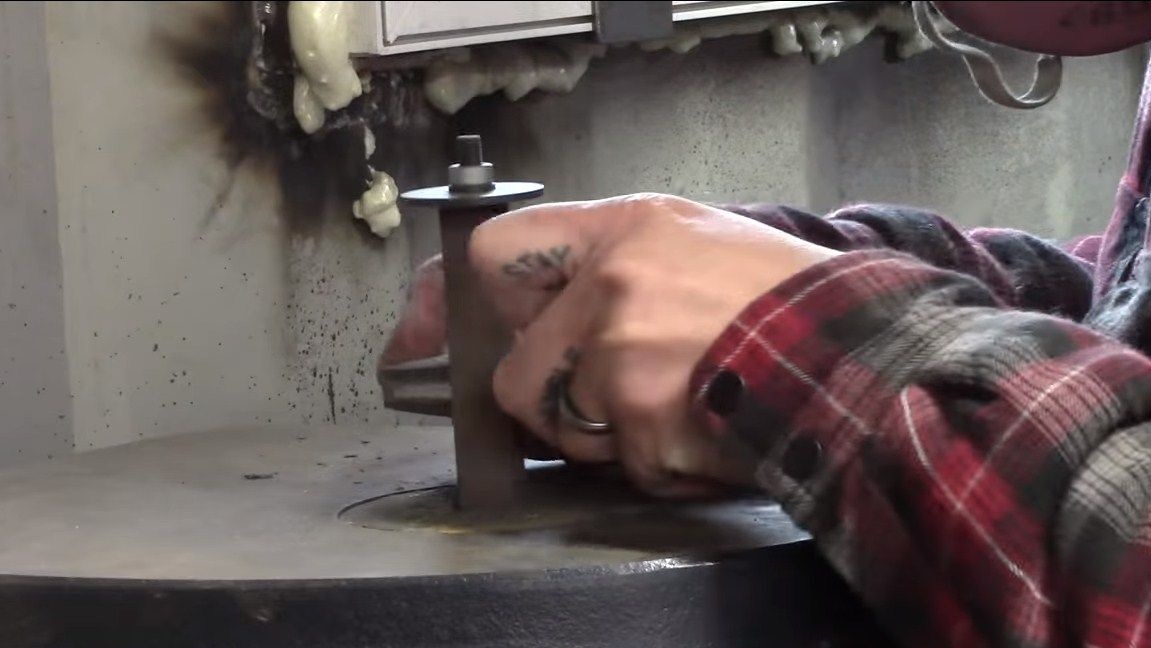
- polishing machine;
- tape cutting machine (you can handle the grinder);
- sandpaper;
- hammer;
- vise;
- files;
- blacksmith's oven and domestic oven.
The process of making a knife:
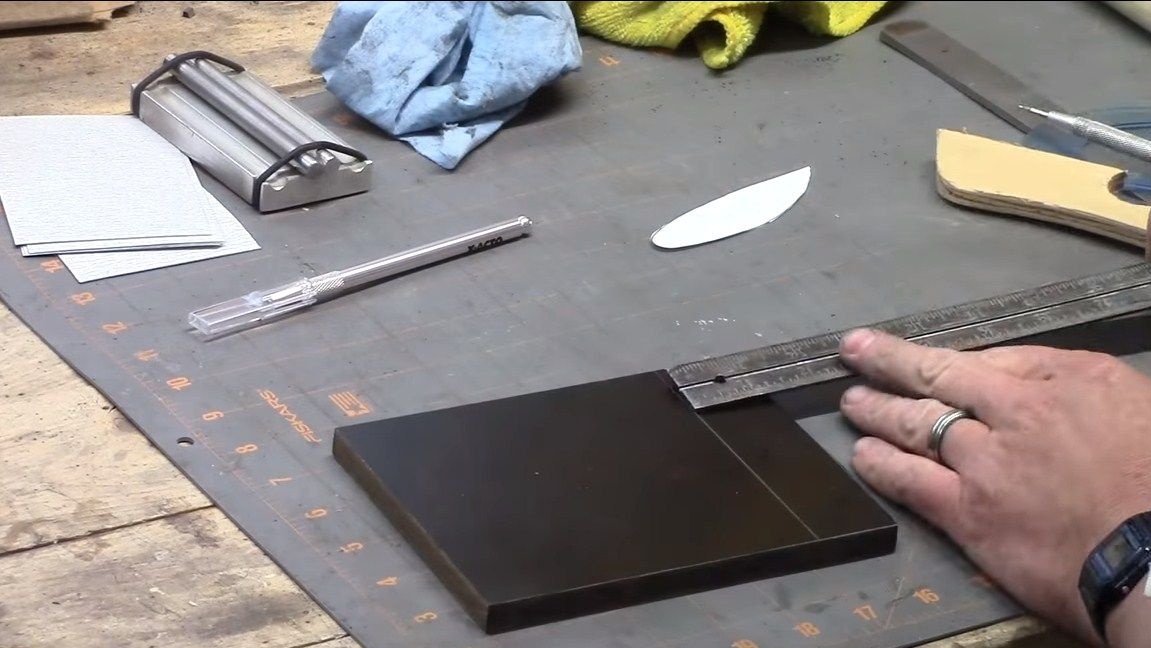
Step one. Let's start with the template.
First, we’ll make a knife template. You can draw it by hand or search the Internet already ready and print it on a printer. We cut out the template from thick cardboard, and you can also use plywood or fiberboard. As a result, you will get a durable template, and you can hold the future knife in your hands to understand whether it will be convenient.
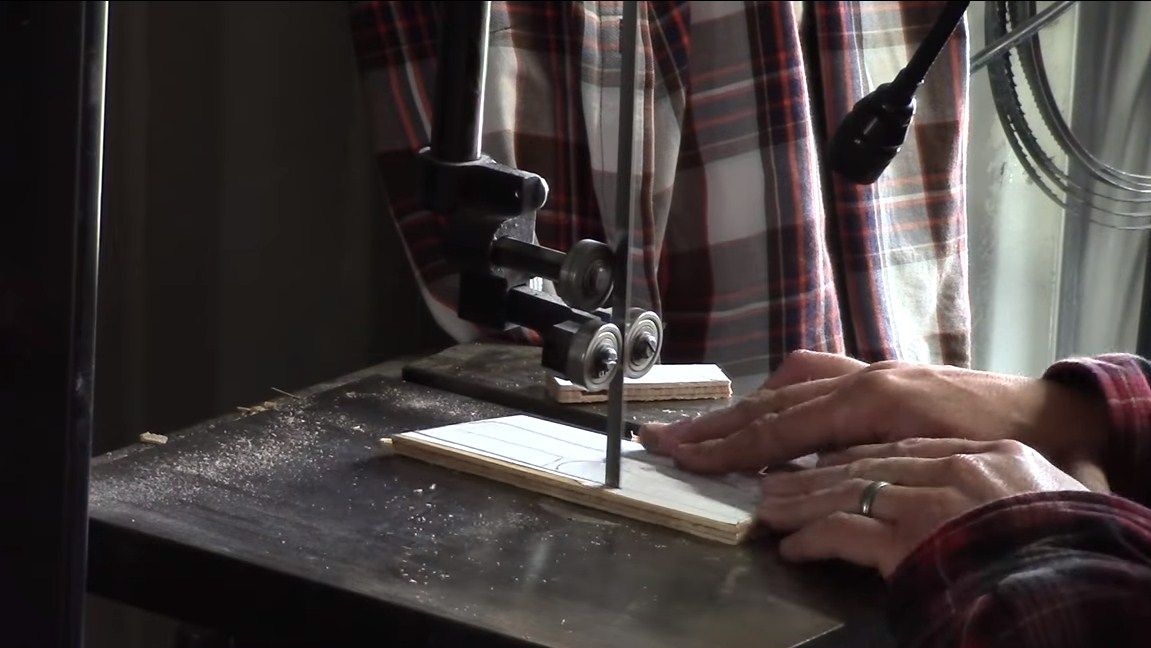
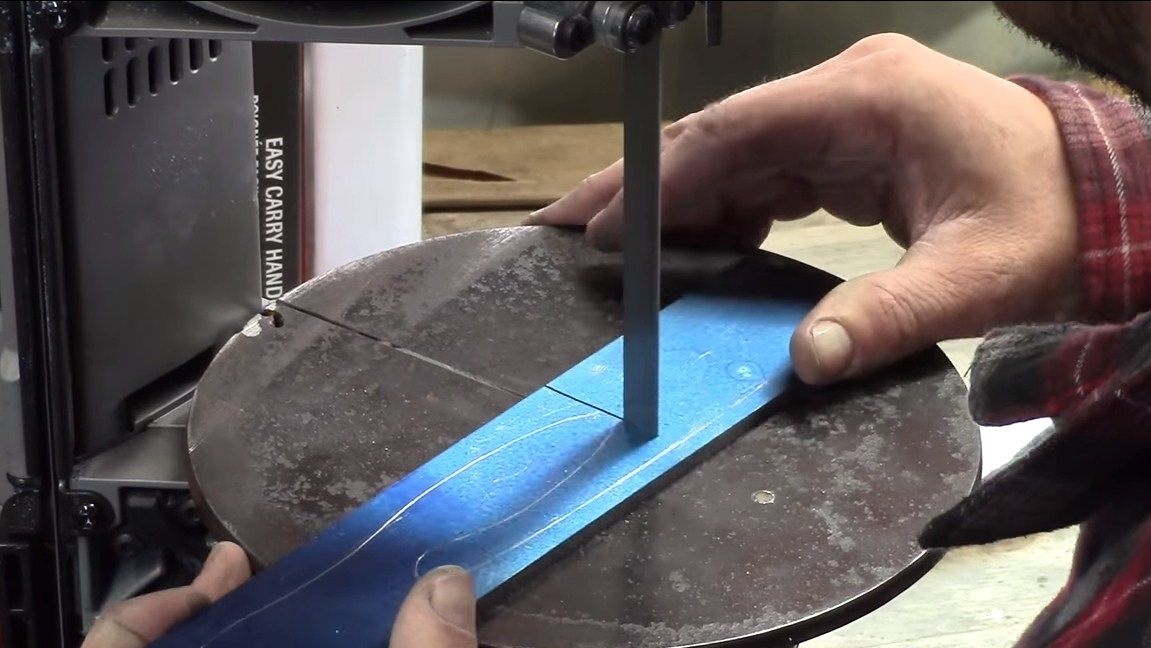
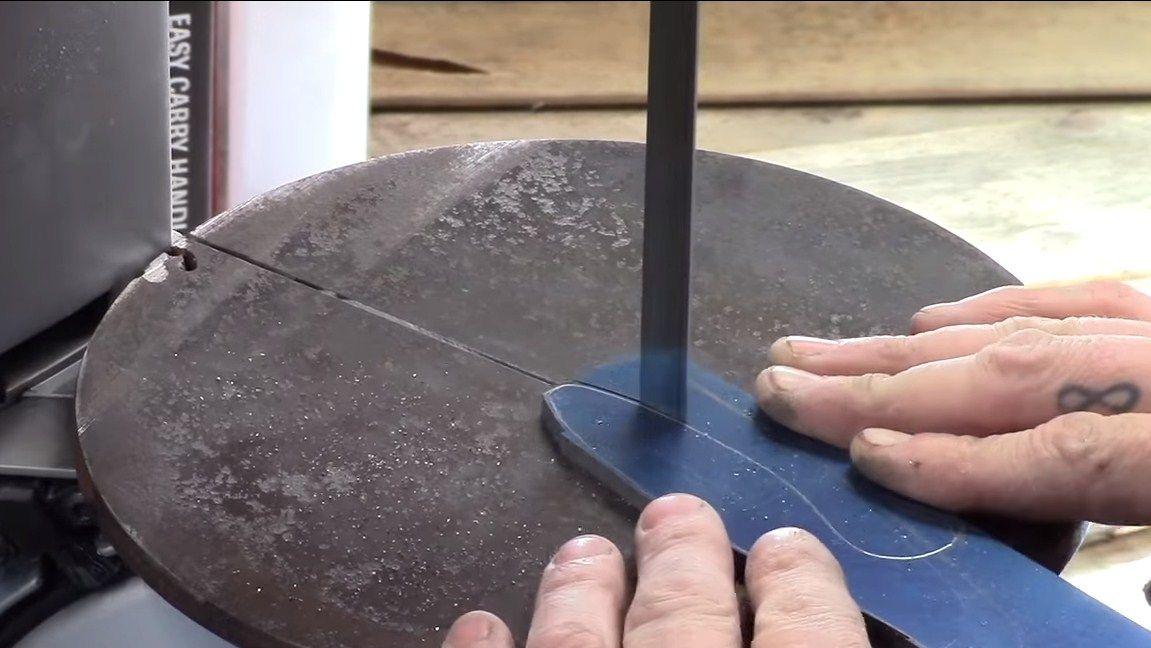
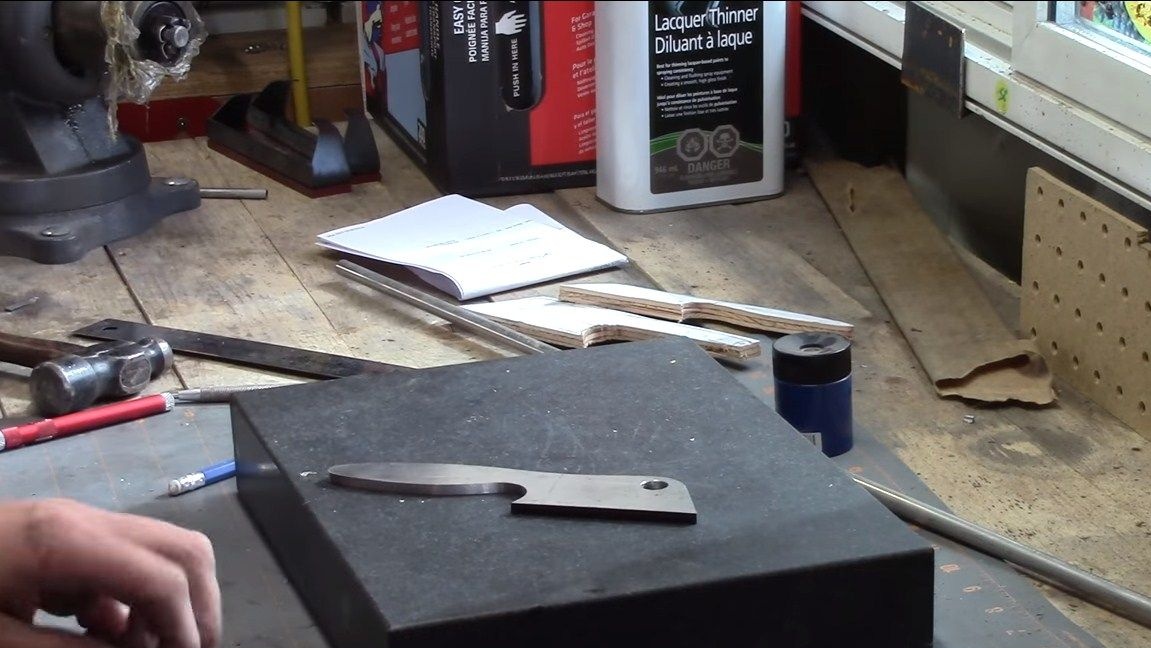
Step Two Cut the main knife profile
The profile is ready, apply it to the workpiece and circle it with a marker or just a sharp object. The resulting drawing is cut out. The easiest way to cope with this task, having a tape cutting machine. But many craftsmen cope with this task using an ordinary grinder. Where the lines are straight, we cut in a straight line, and where there are bends and other complex sections, there you can cut a grinder.Then this business is polished and its quality is in no way inferior to the cutting machine.
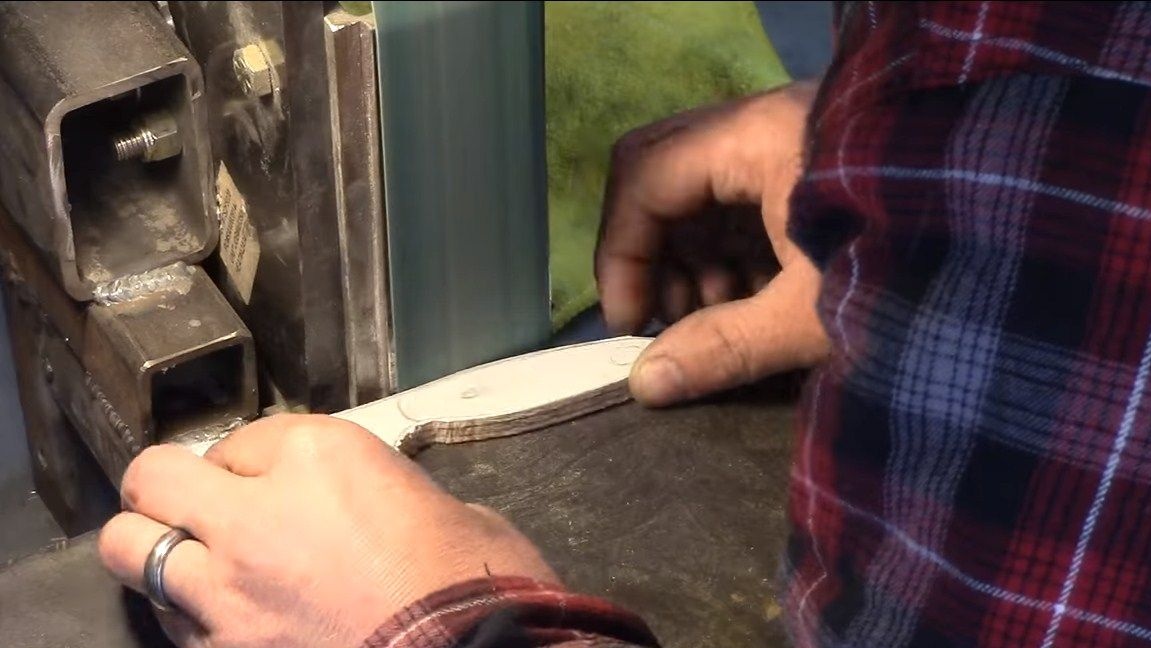
Step Three We are developing a profile
After cutting, the profile will be processed along the contour. For these purposes, you can use different tools. As for the manual ones, these are files and sandpaper. Of power tools, a grinder with a grinding disc is used. For finer processing, we use a belt grinder, a drill and so on.
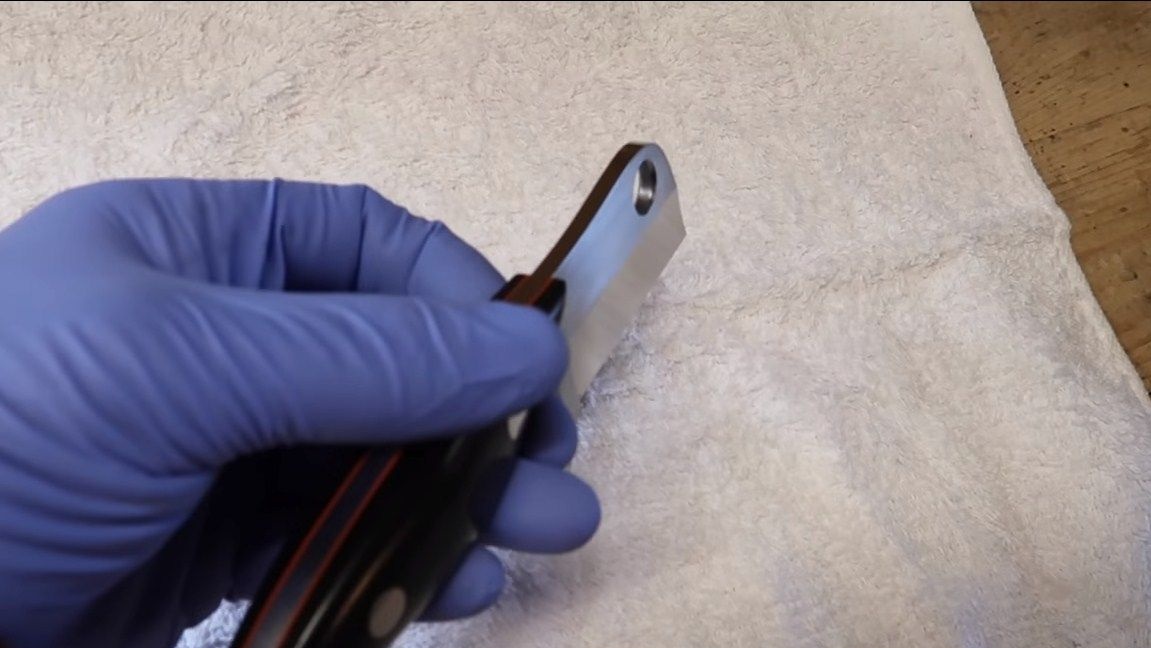
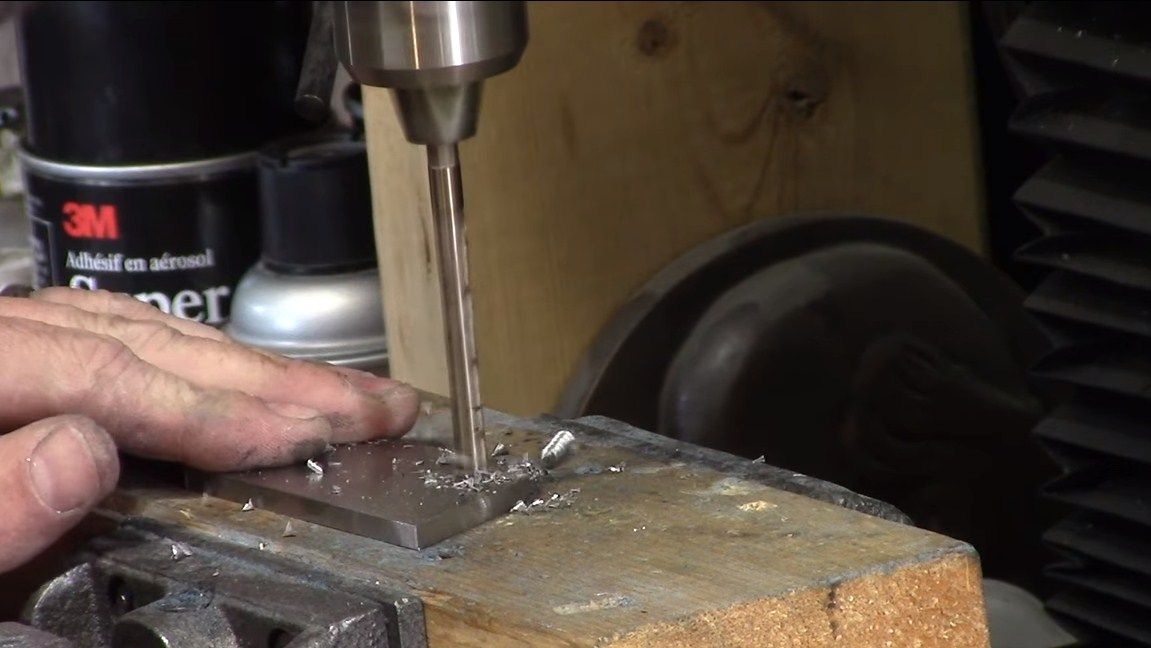
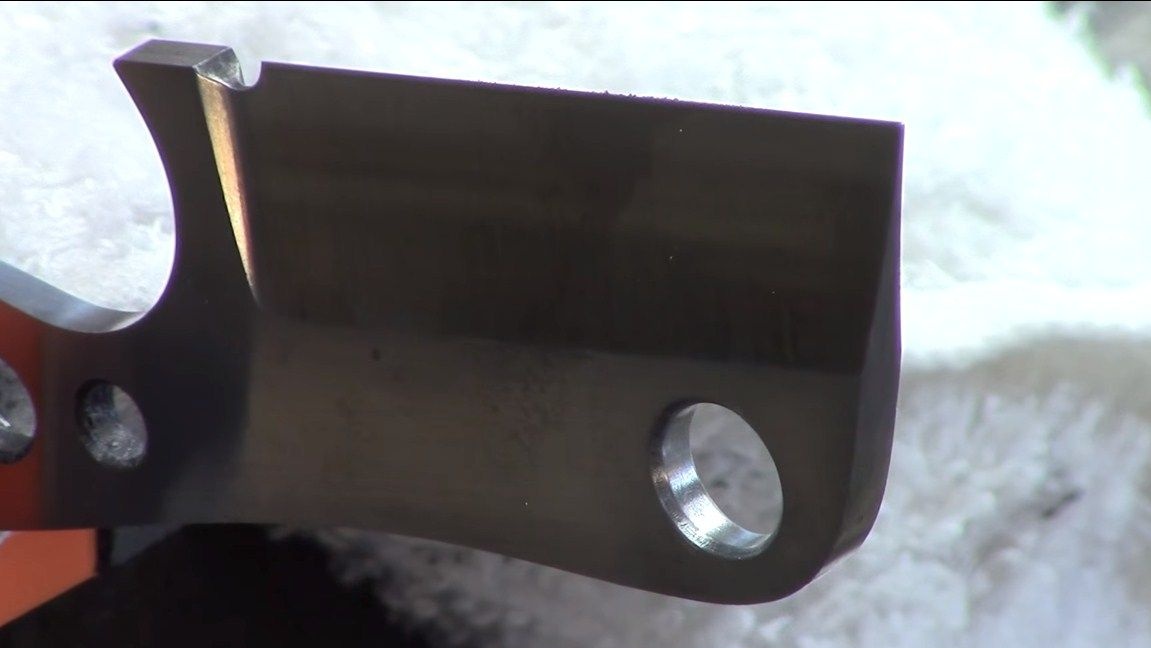
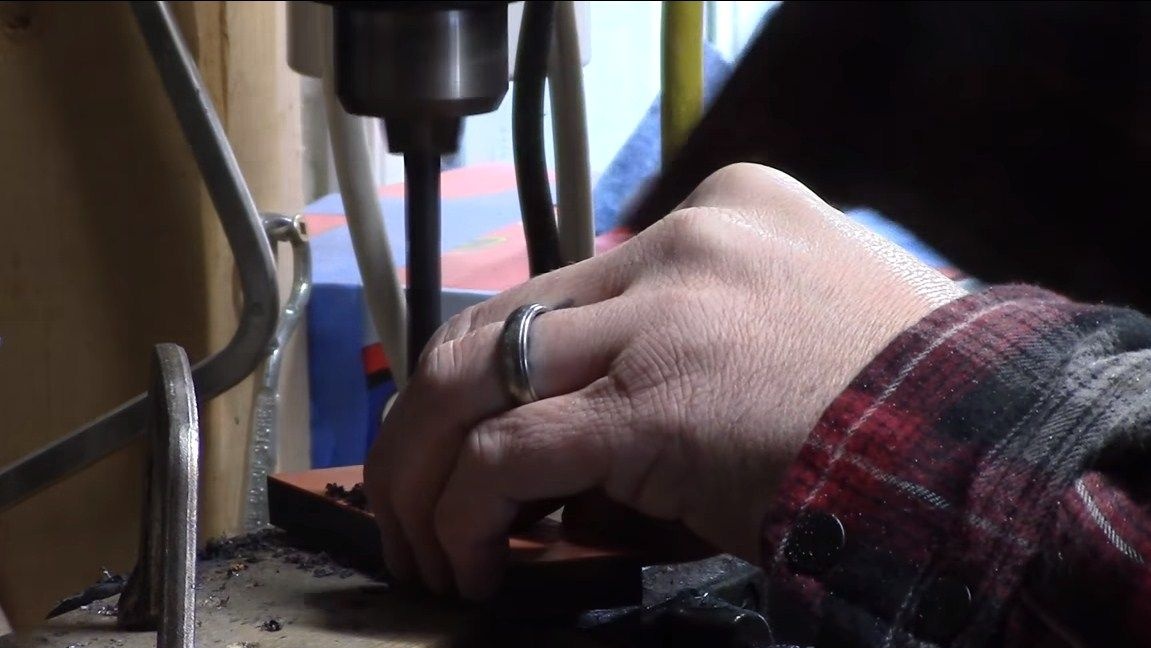
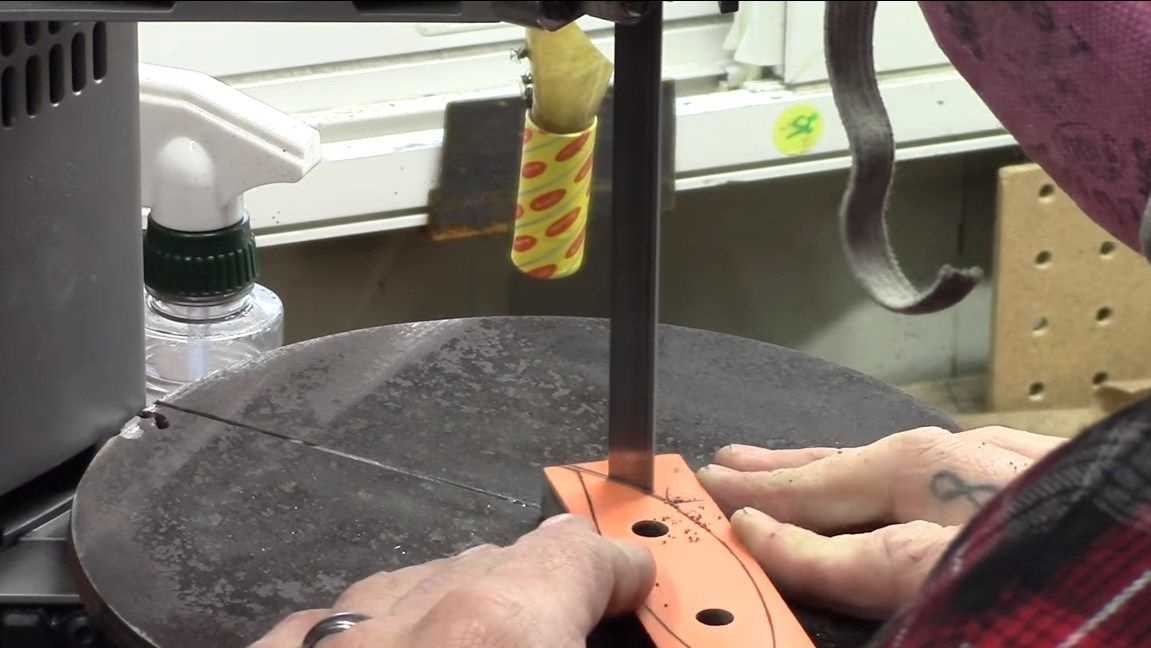
Step Four Blade hole
A hole has been drilled in the nose of the blade. With it, it will be convenient for you to hang your knife on a carnation, hook and so on. We plan a place for him and drill. First you can drill with a small diameter drill, and then drill to the desired one.
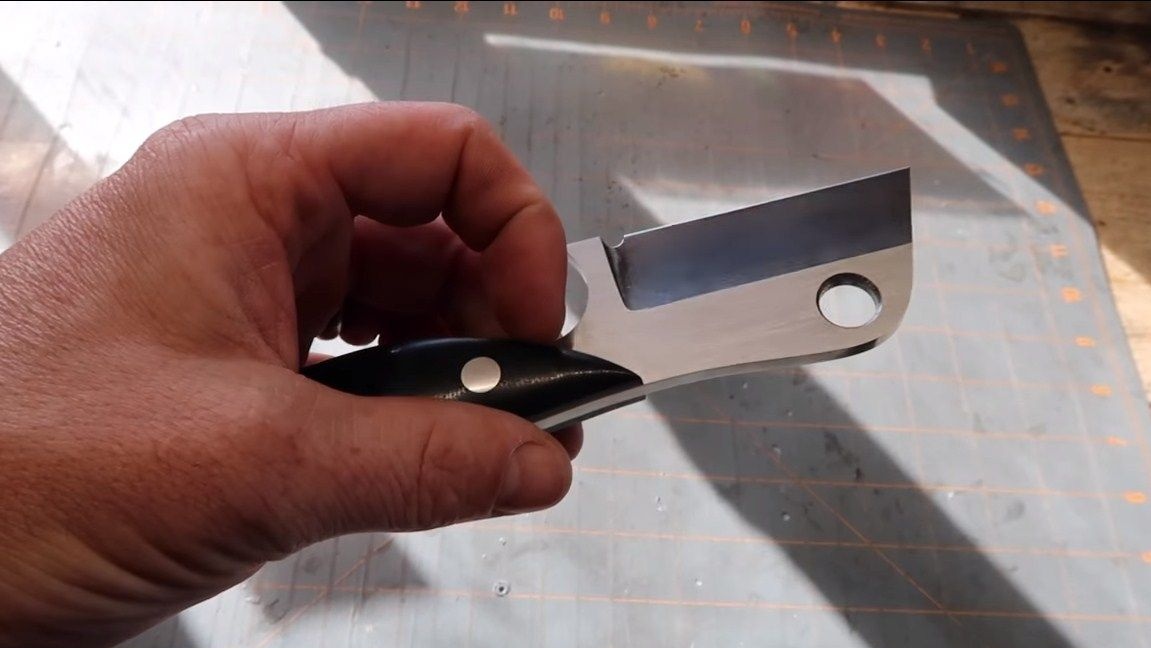
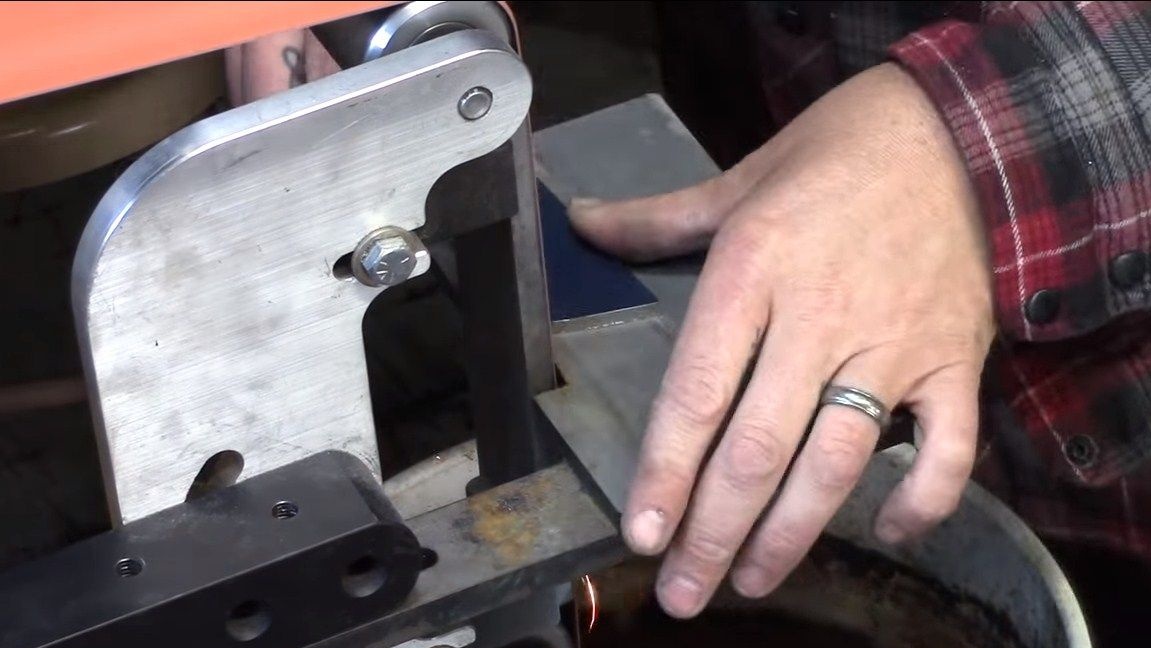
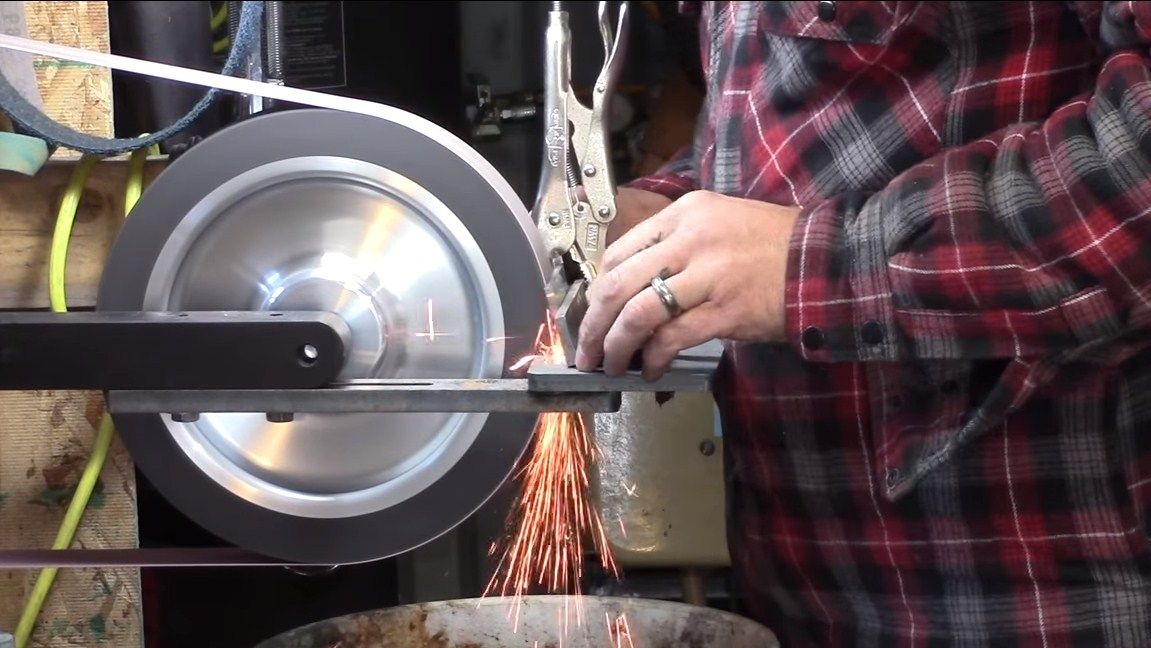
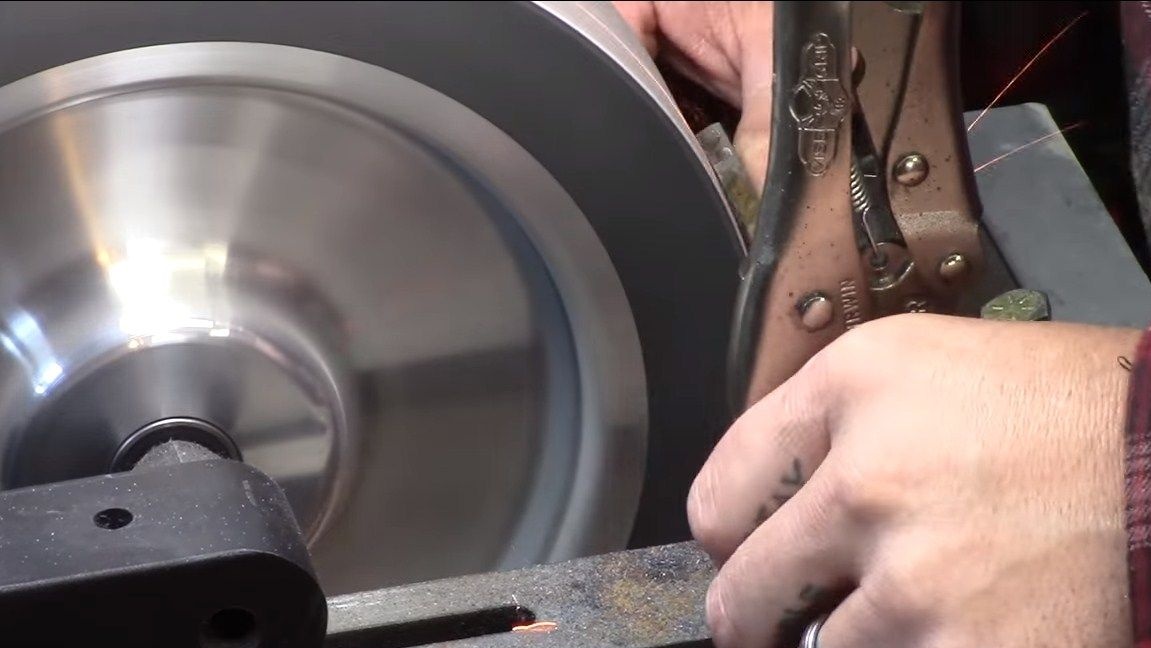
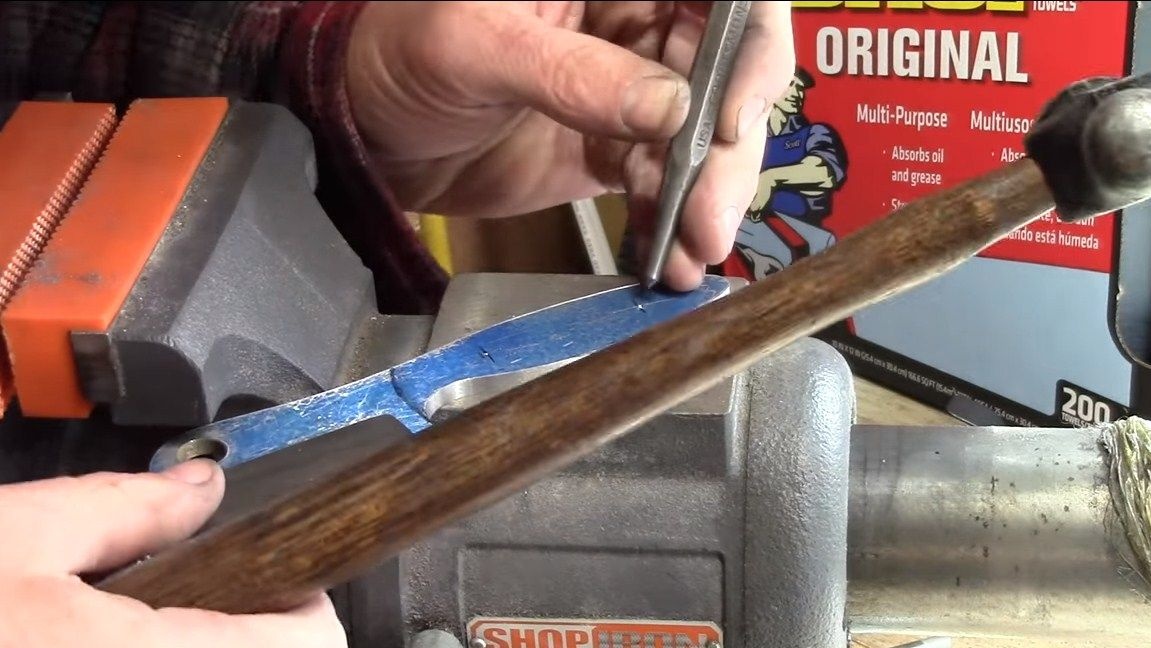
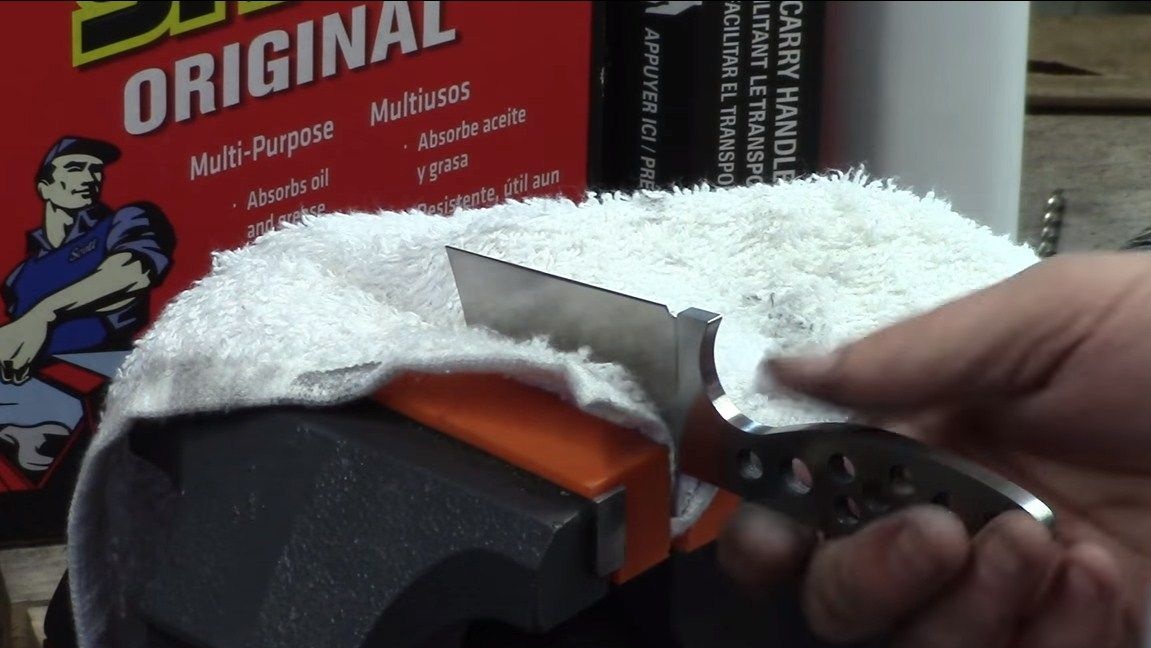
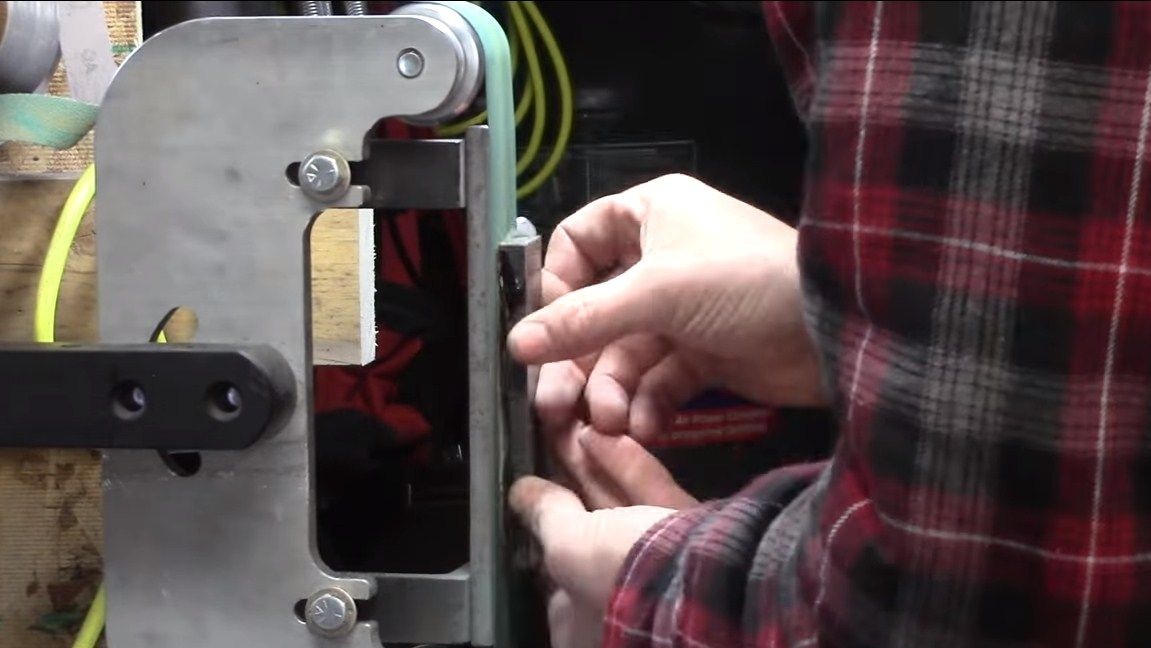
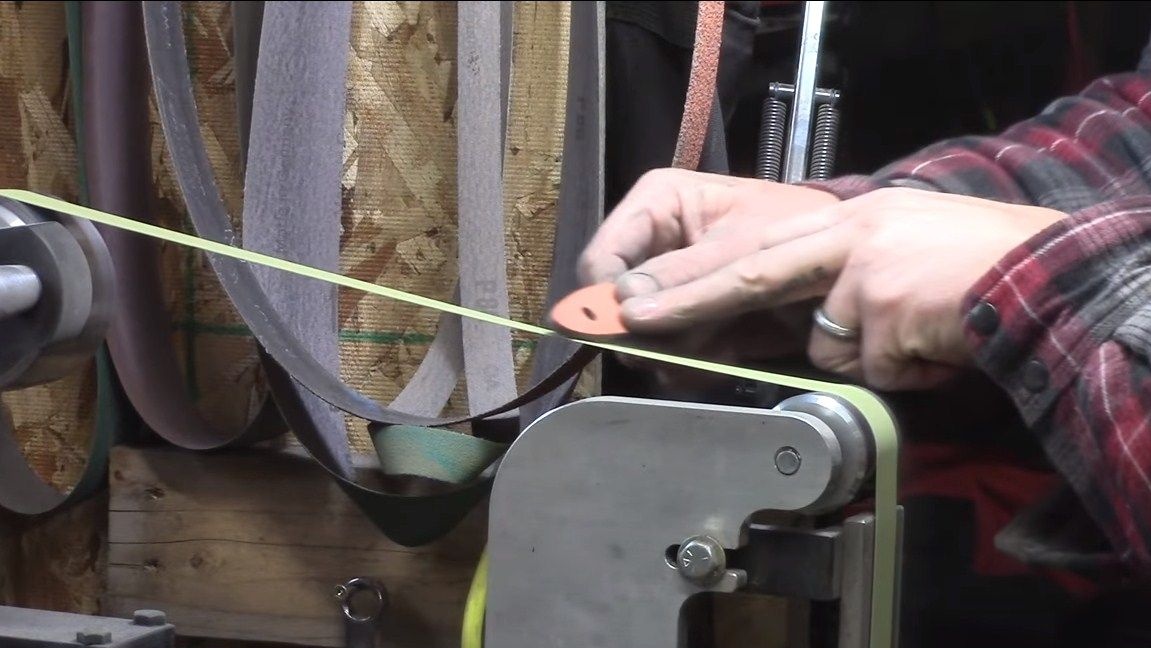
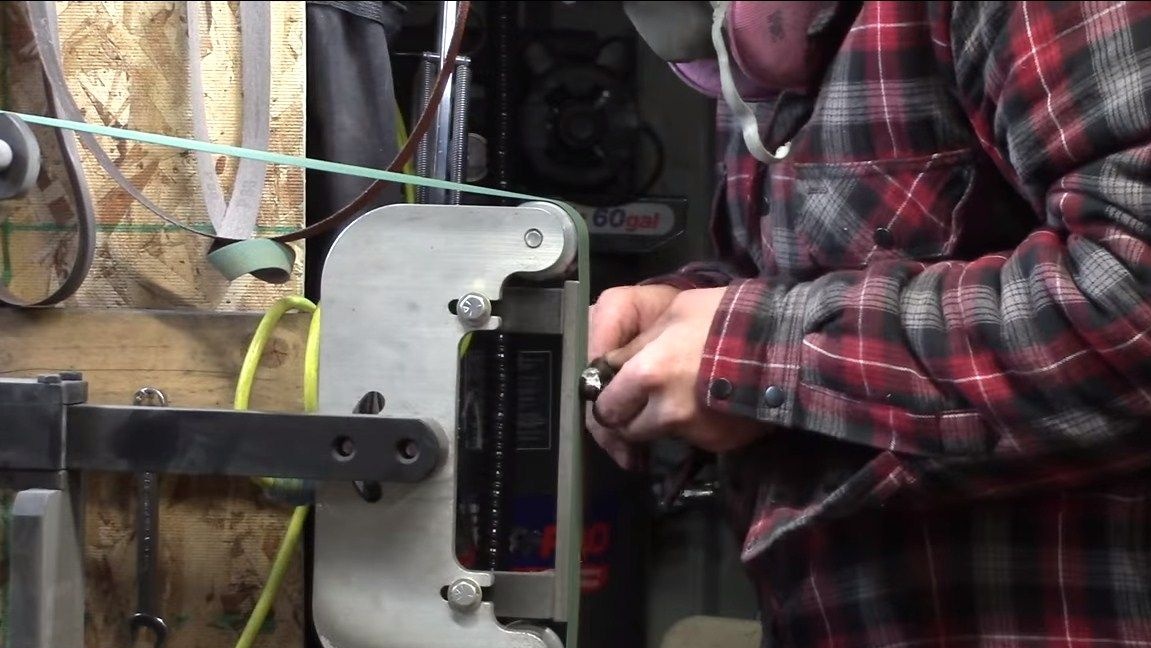
Step Five We form bevels
Bevels need to be formed on the knife, they are quite wide here. This suggests that our blade is quite thin and slowly gaining thickness. It will be very easy to cut with such a knife, and it will also be perfectly sharpened. We outline the places for bevels, and then mark the future blade into two halves. It is important for us to draw a centering line, it will allow you to remove an equal amount of metal from both sides. To draw this line, you can pick up a drill of the same diameter as the thickness of the workpiece.
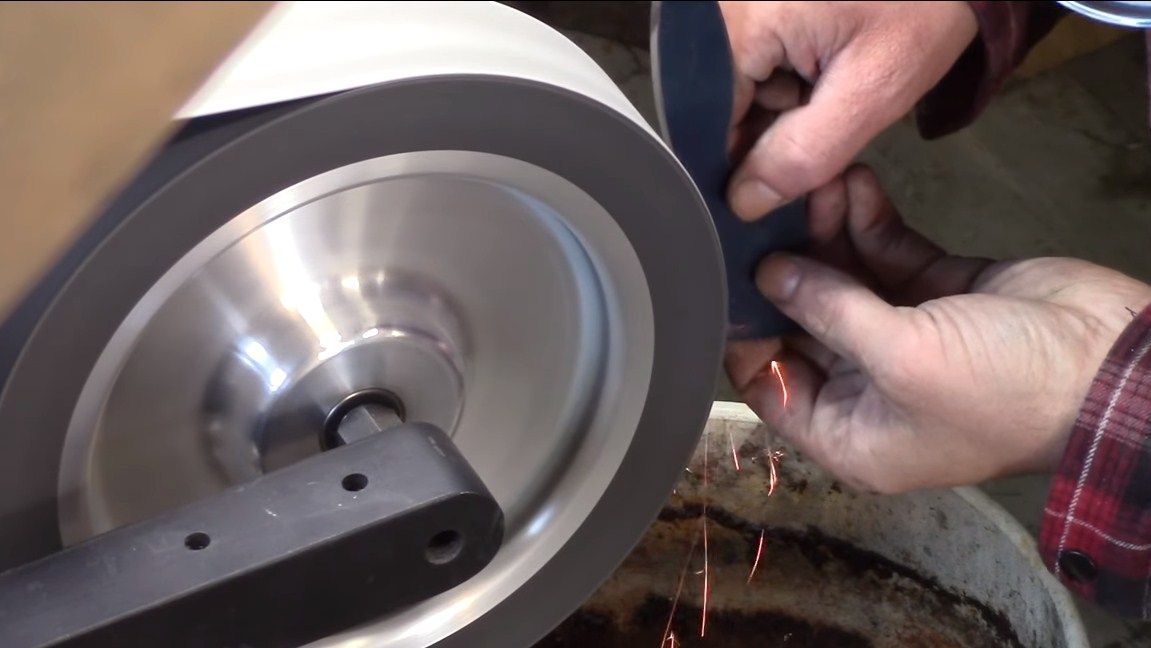
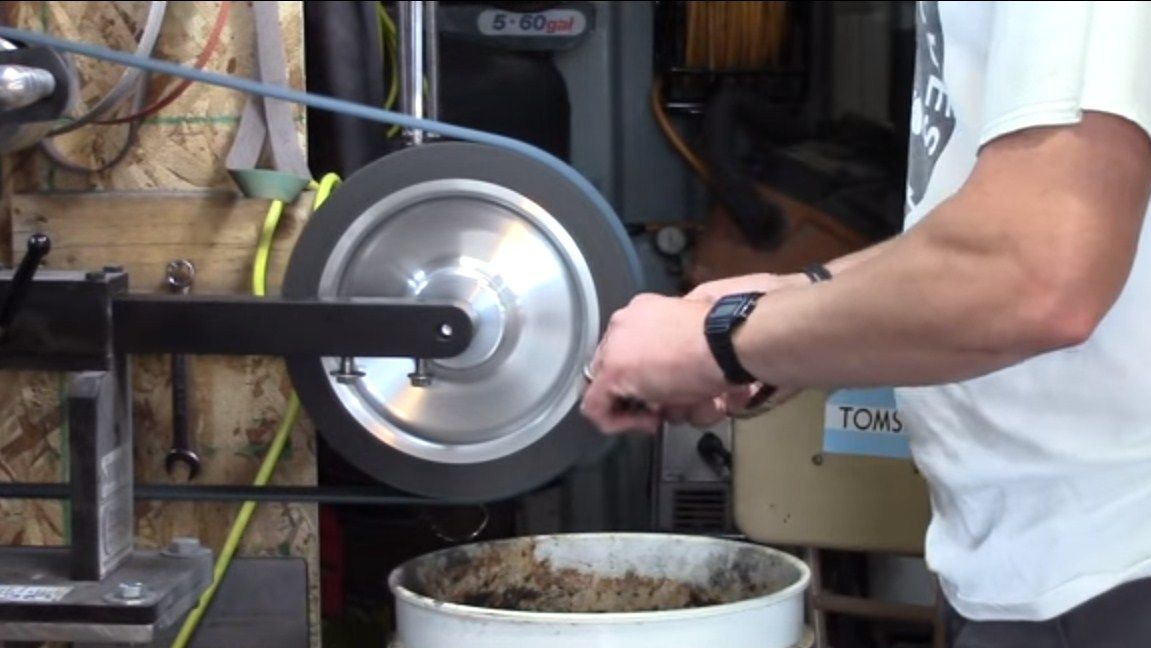
Well, then we form the bevels. For this work, the author used a belt sander. If you don’t have such a machine, you can handle files as well.
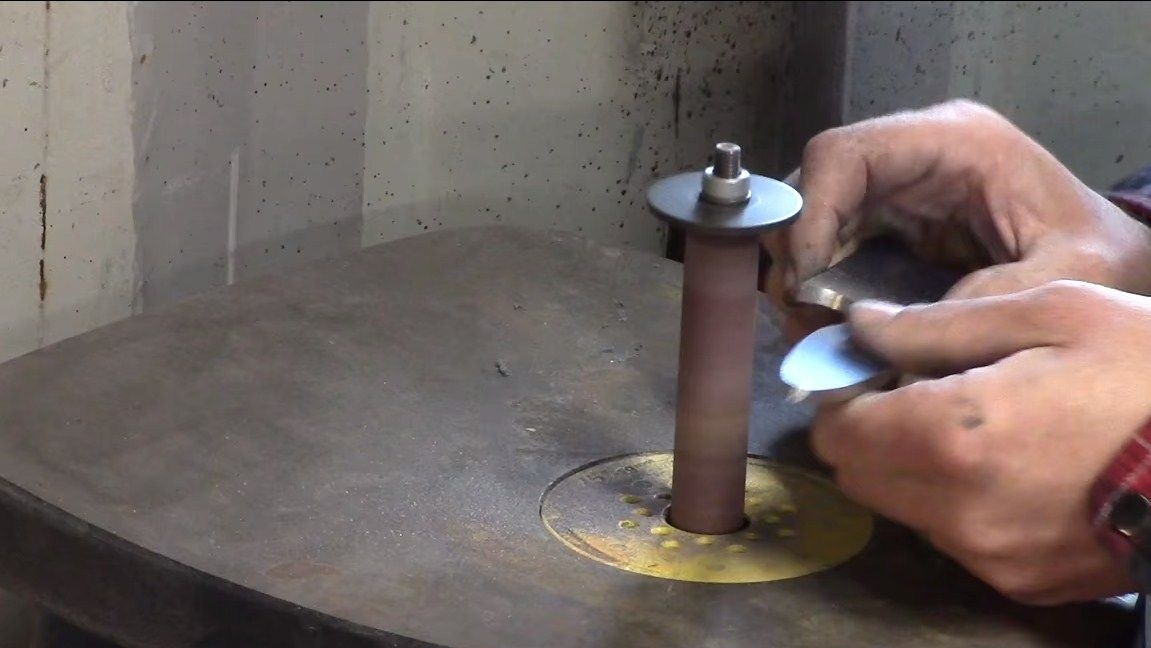
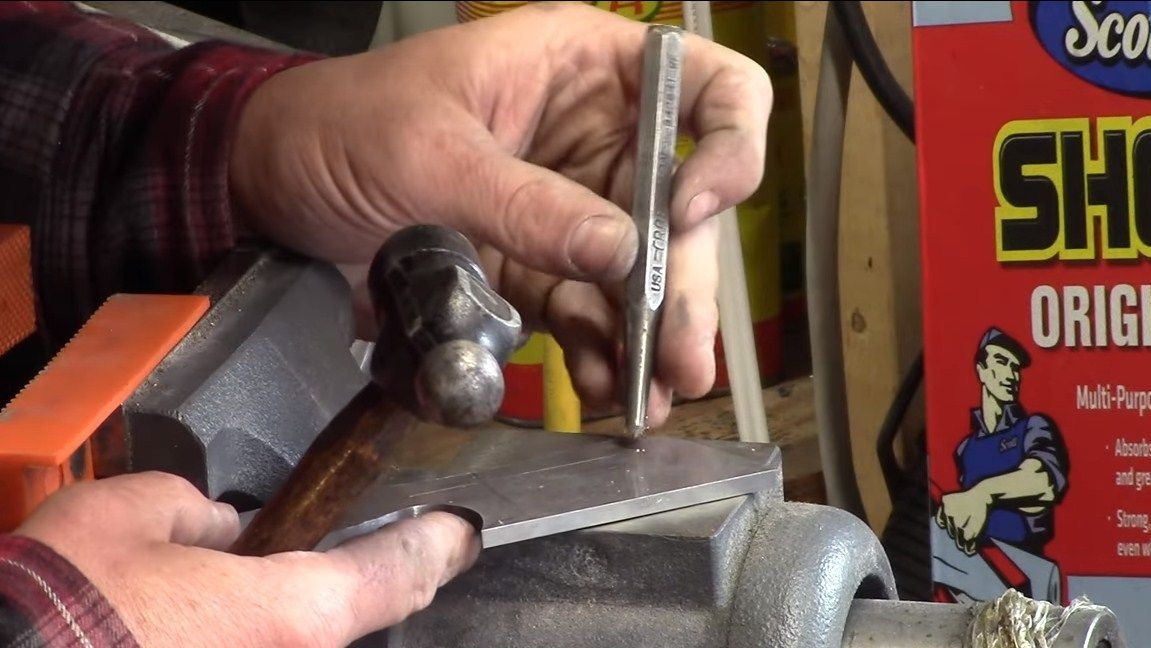
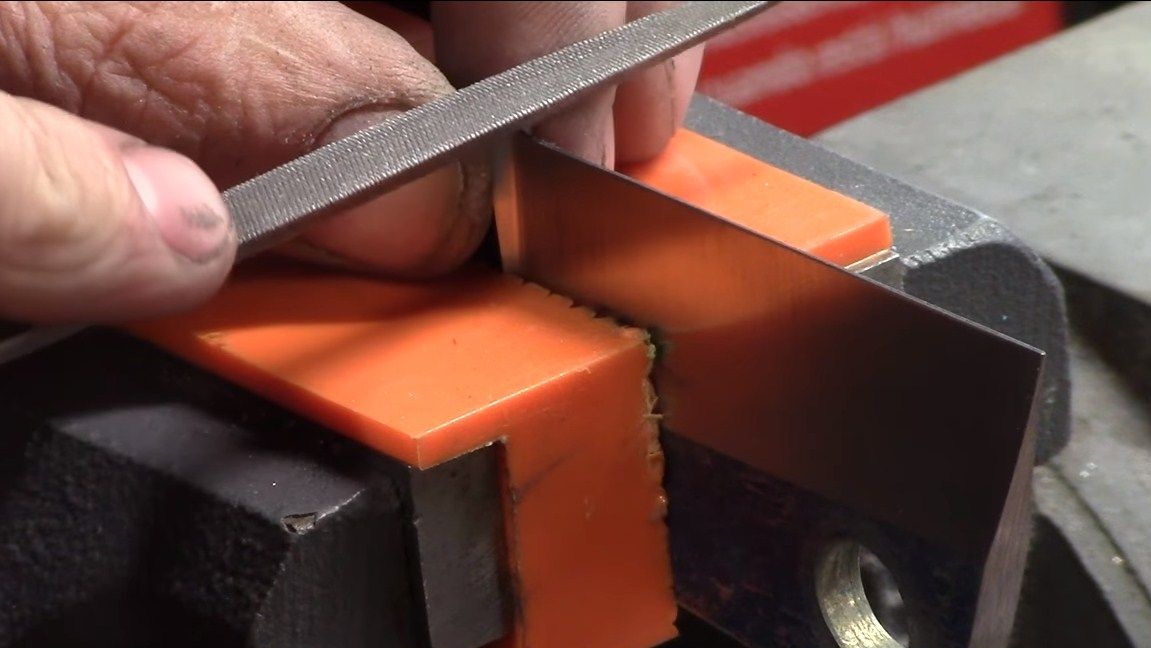
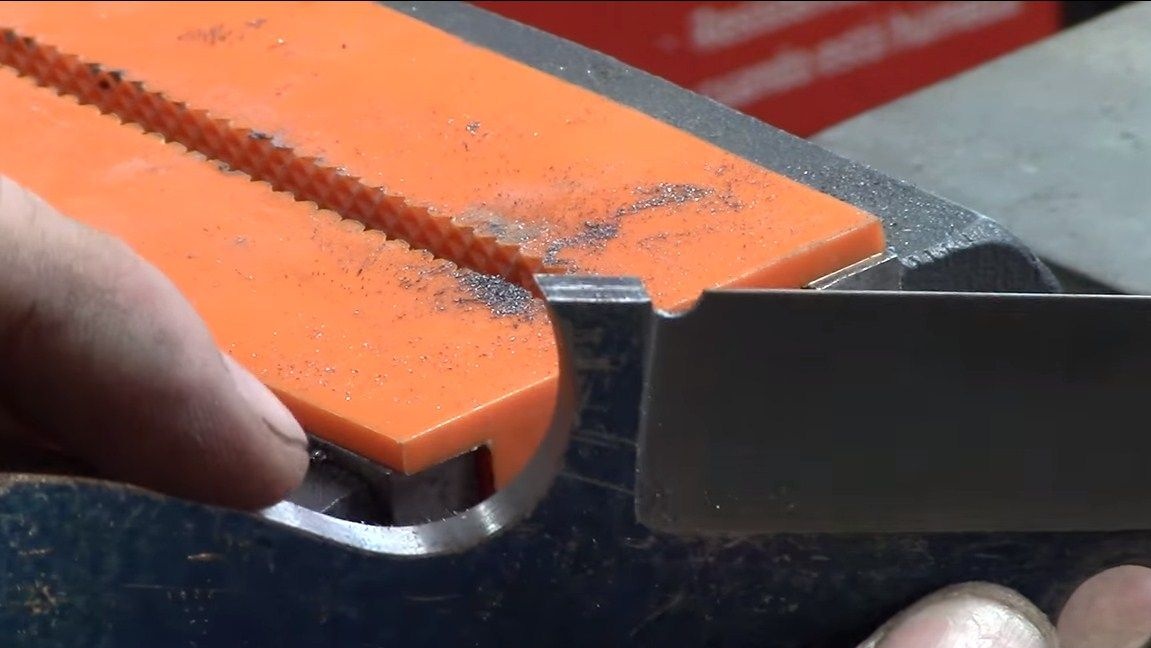
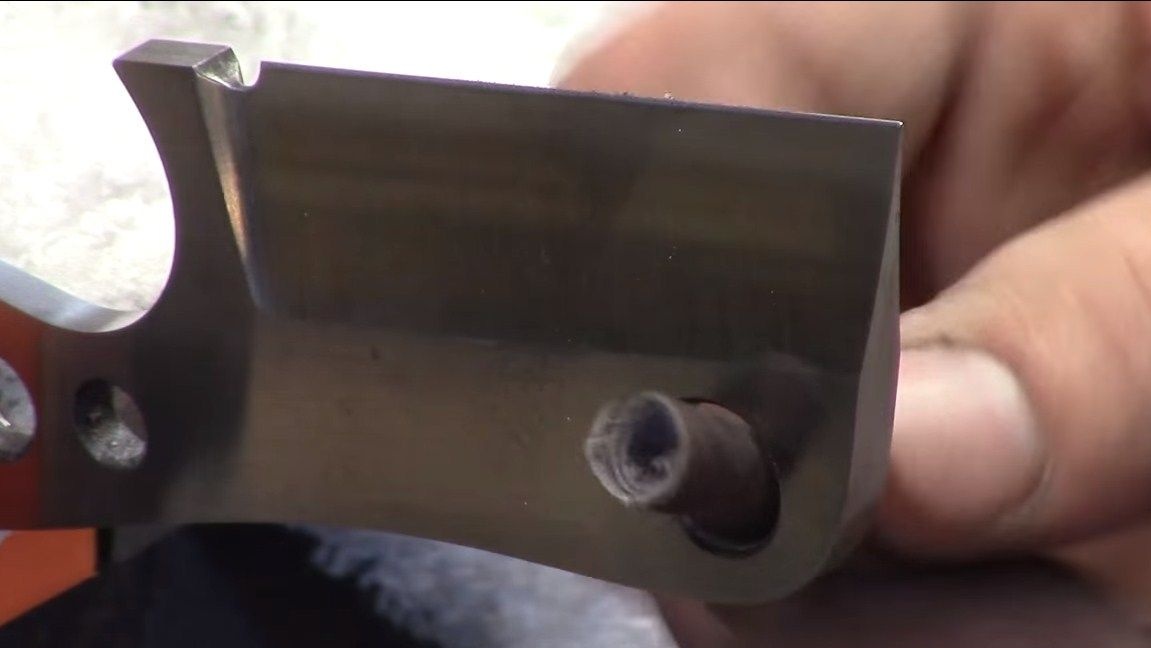
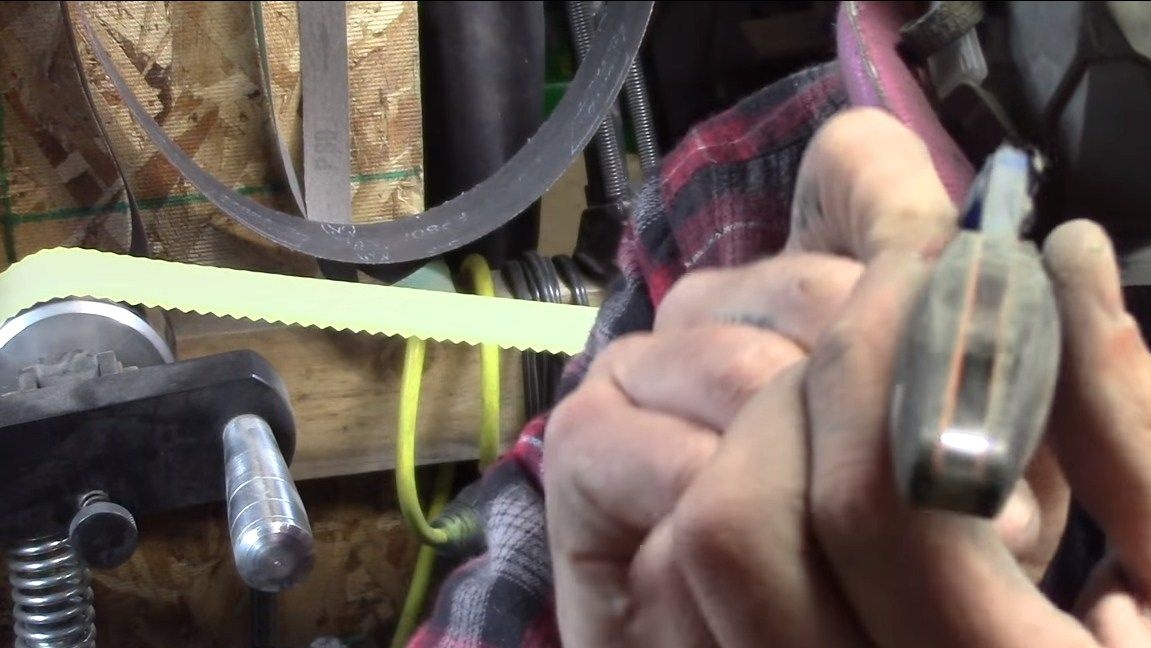
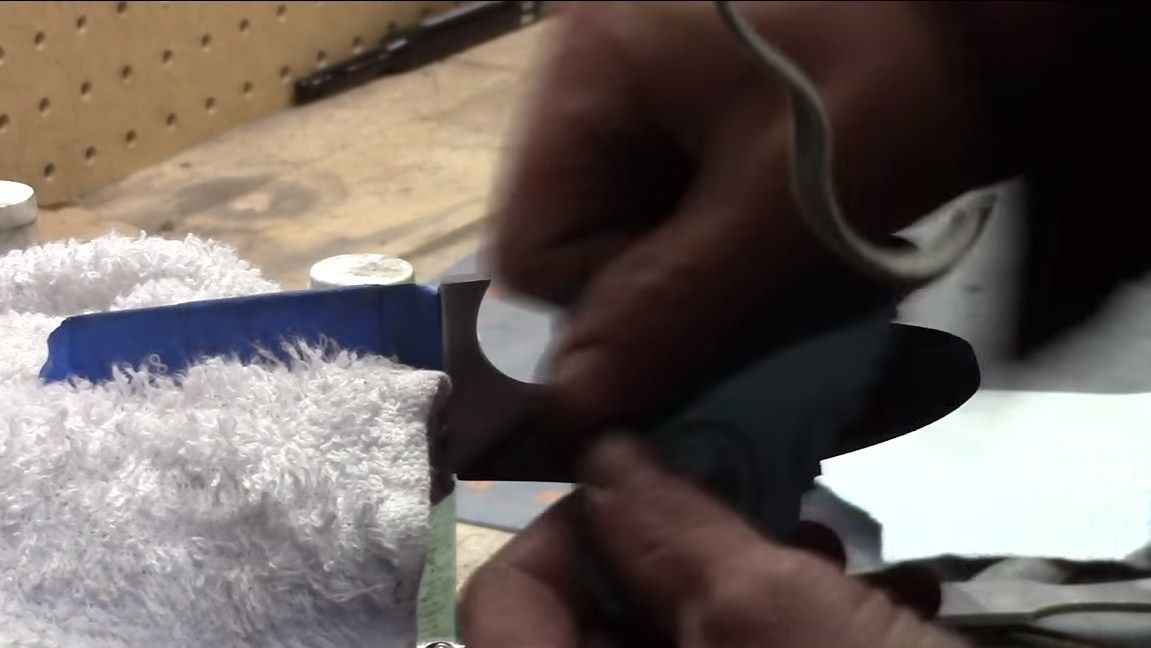
Step Six Recess on the blade
Many craftsmen make a notch at the end of the blade. It decorates the knife, and also works as a defense, the knife stops when cutting in this place, and you will not hurt your hand. To begin, we grind the notch with a triangular file. Well, then we take a round file and form the final shape.
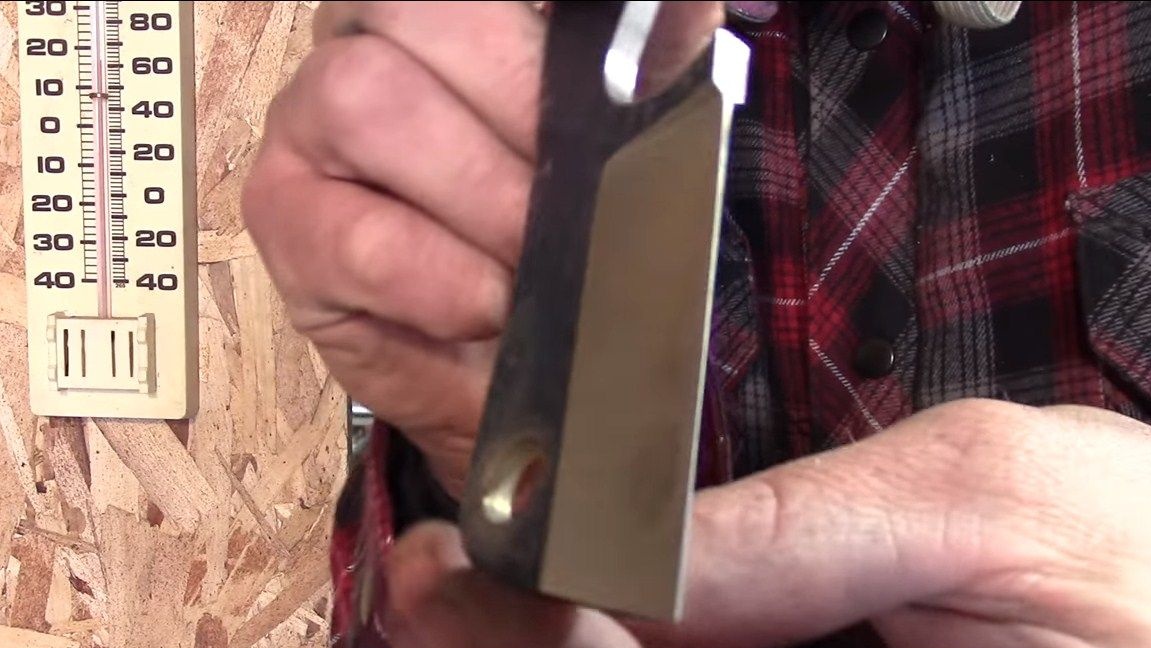
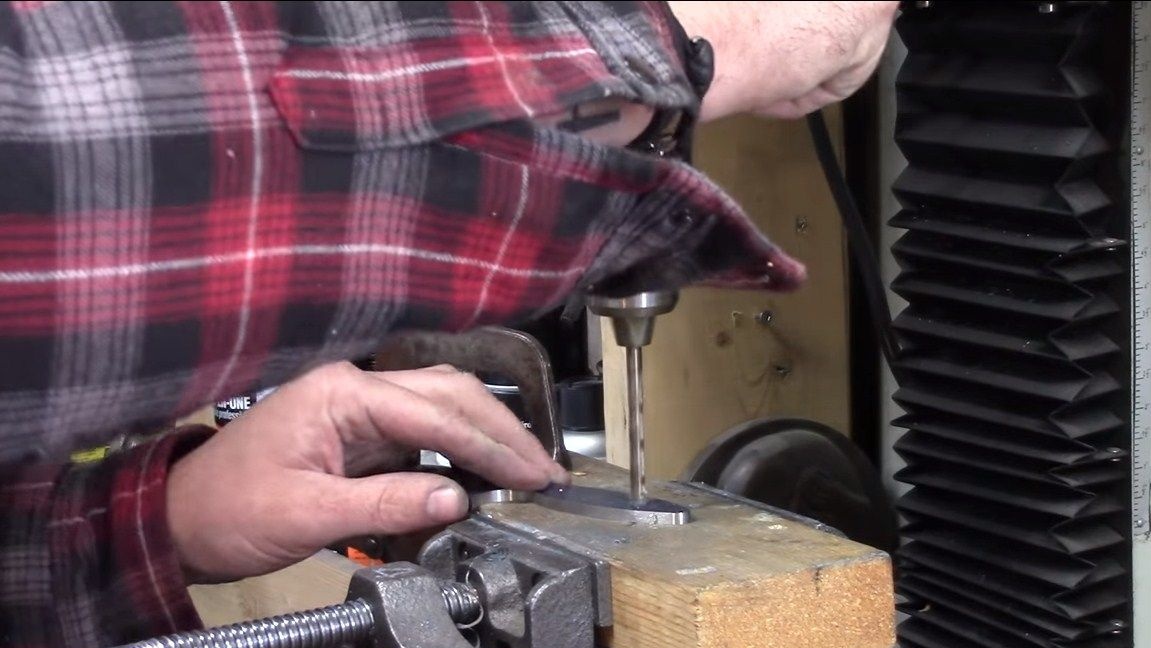
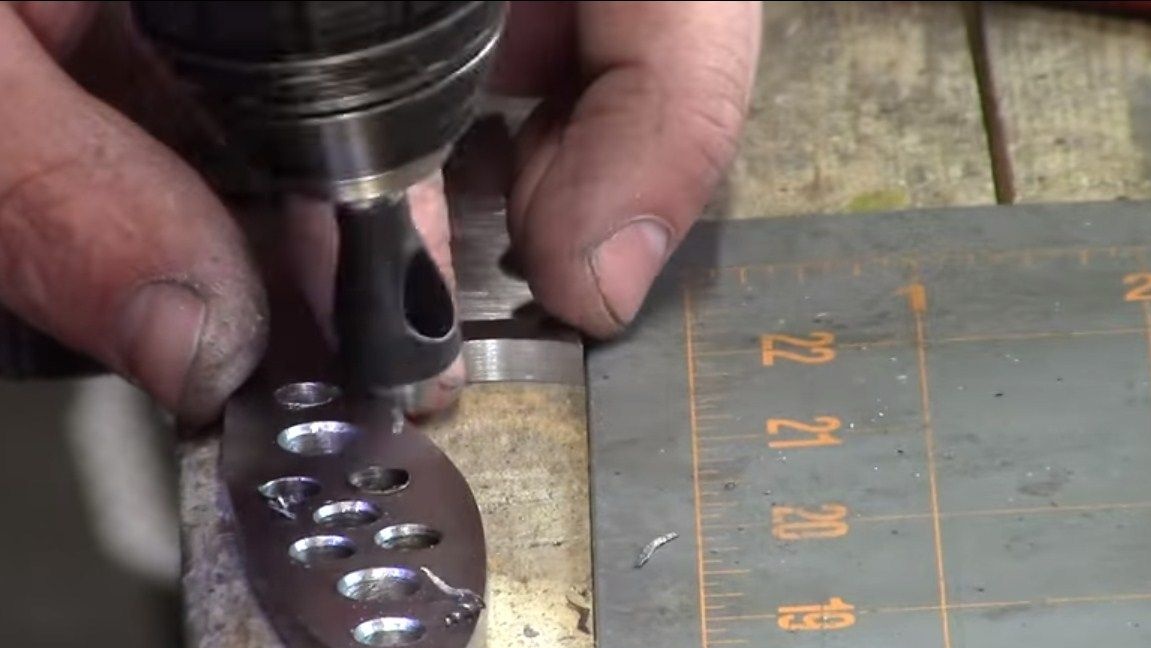
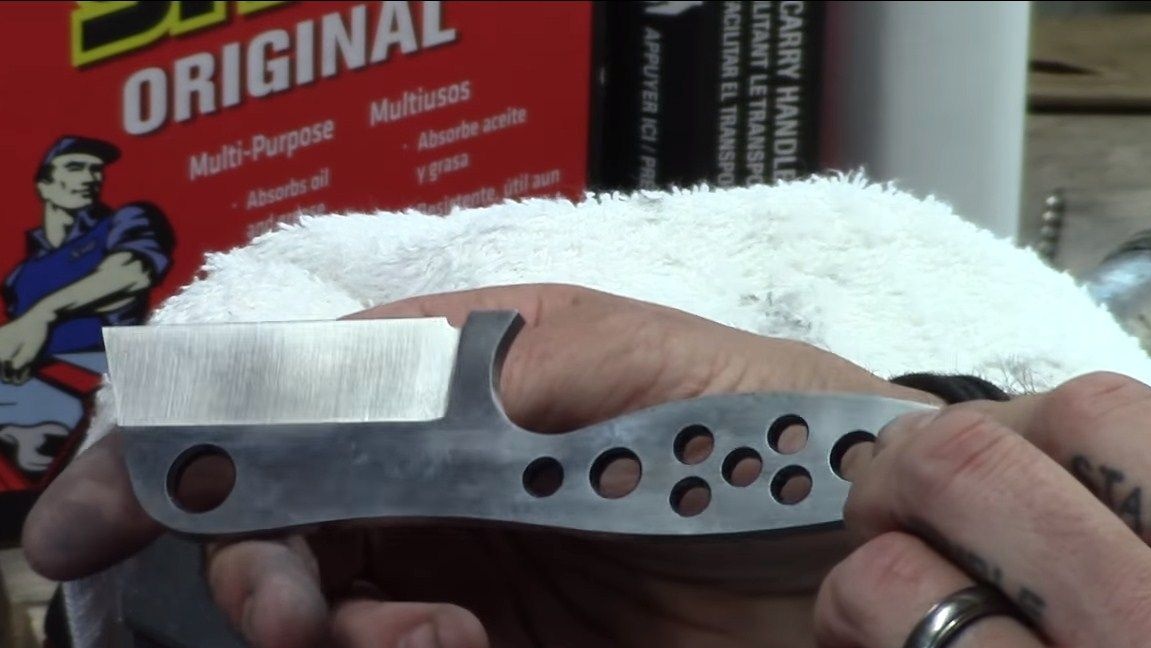
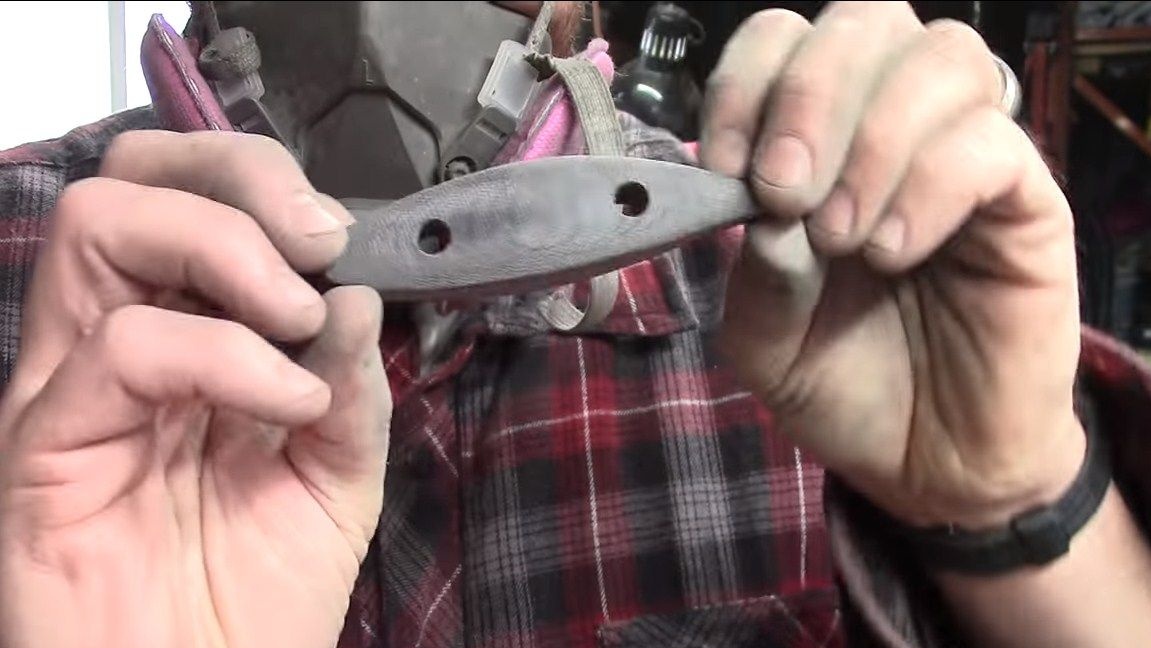
Seventh step. Holes in the handle
It is not clear for what purpose the author drilled a lot of holes in the handle area. Two of them will be used to install the pins. As for the rest, it is quite possible they are needed for better bonding of the handle. It is important to drill holes before hardening the metal, since then this will be extremely problematic.
Step Eight. Heat treatment
Heat treatment is a very important and crucial step in the manufacture of a knife. It consists of two stages, this is hardening and vacation. The essence of hardening is to make the metal as strong as possible, for this we need a forge furnace. We warm the blade to a yellowish glow and dip in oil. If the steel is heated to the desired temperature, a permanent magnet will no longer be attracted to it. Of course, the hardening conditions for each brand have become individual, this must be remembered.
Check the metal after quenching; if it is successful, steel should not be taken with a file.

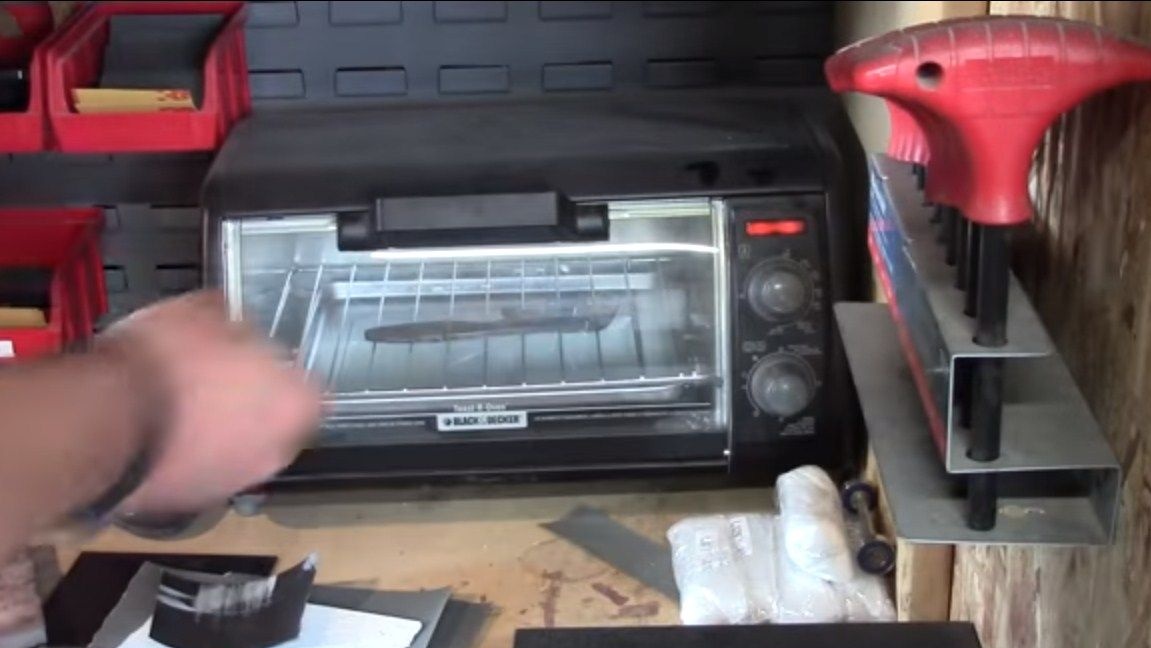
After hardening, the steel must be let go. This is done in order to make the metal more elastic, it will cease to be brittle and will spring under load. For this procedure, we take a domestic oven and heat the blade in it for about an hour at a temperature of 200 degrees Celsius. If the holiday was successful, the steel should turn straw-colored. That's all, now we have a blade of excellent quality.
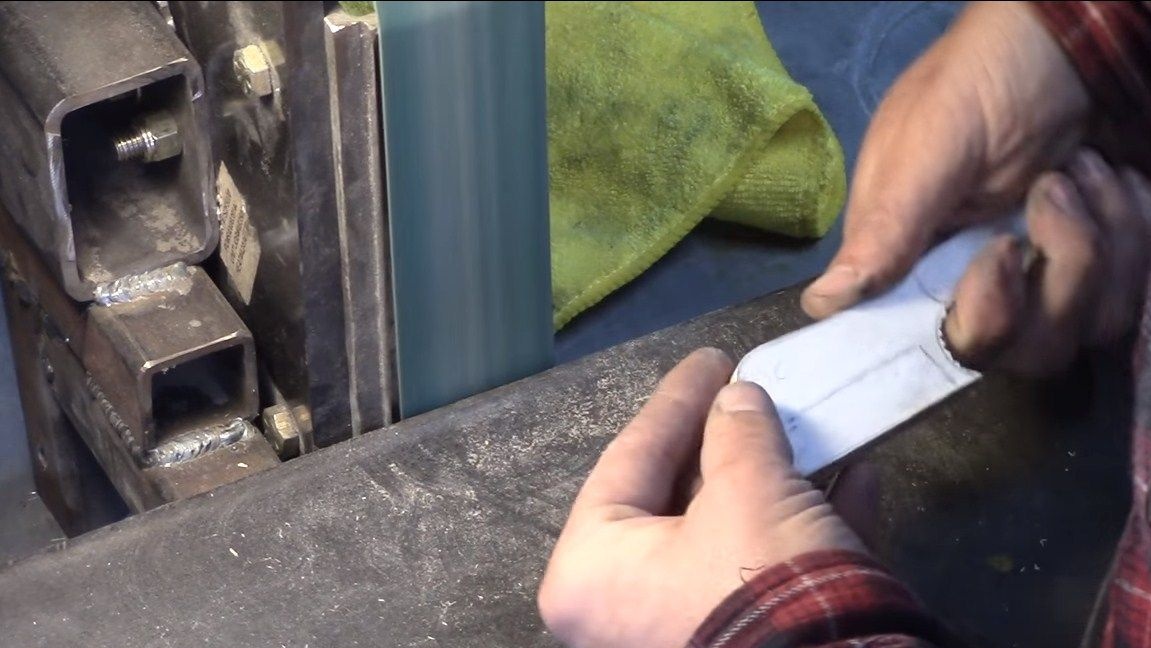
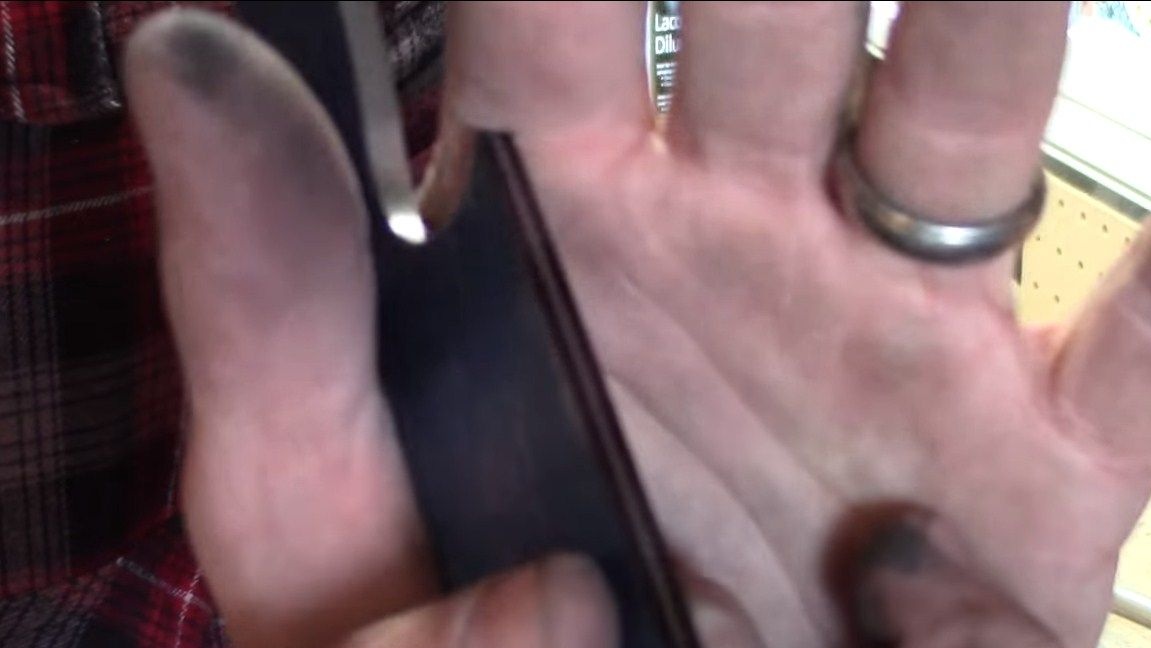
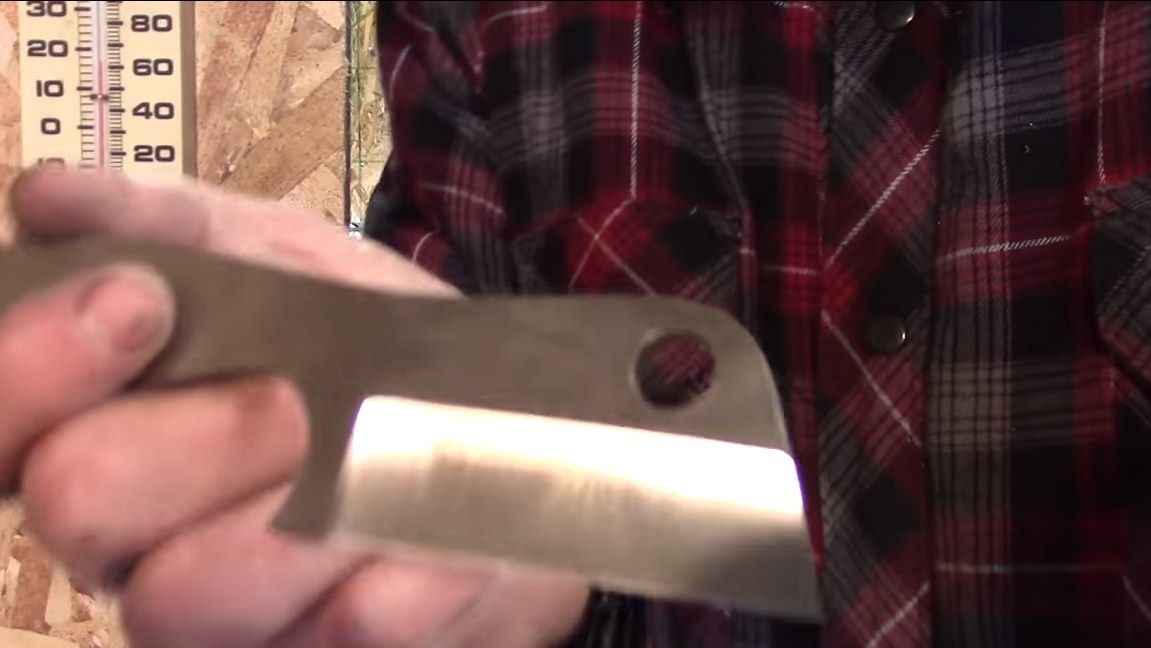
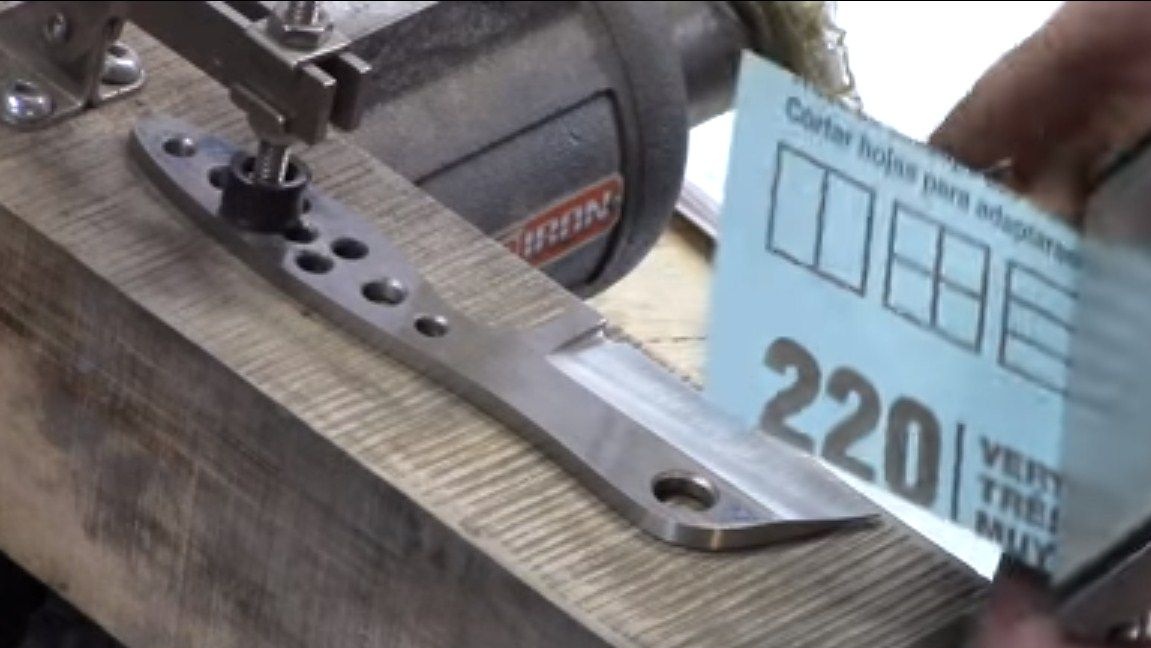
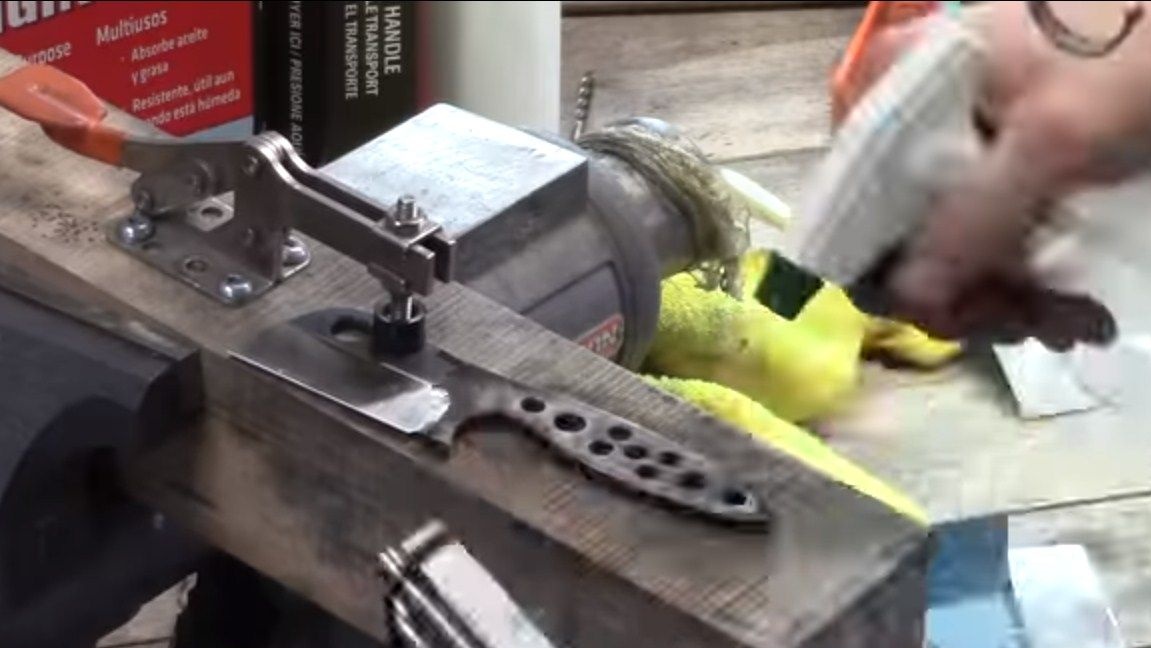
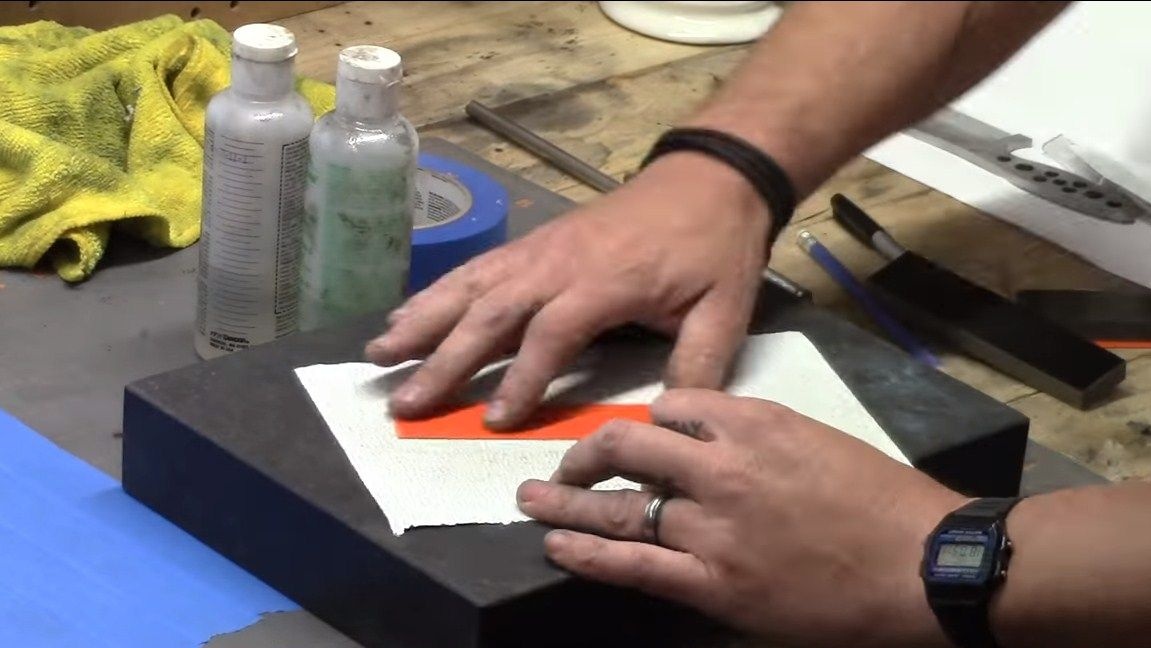
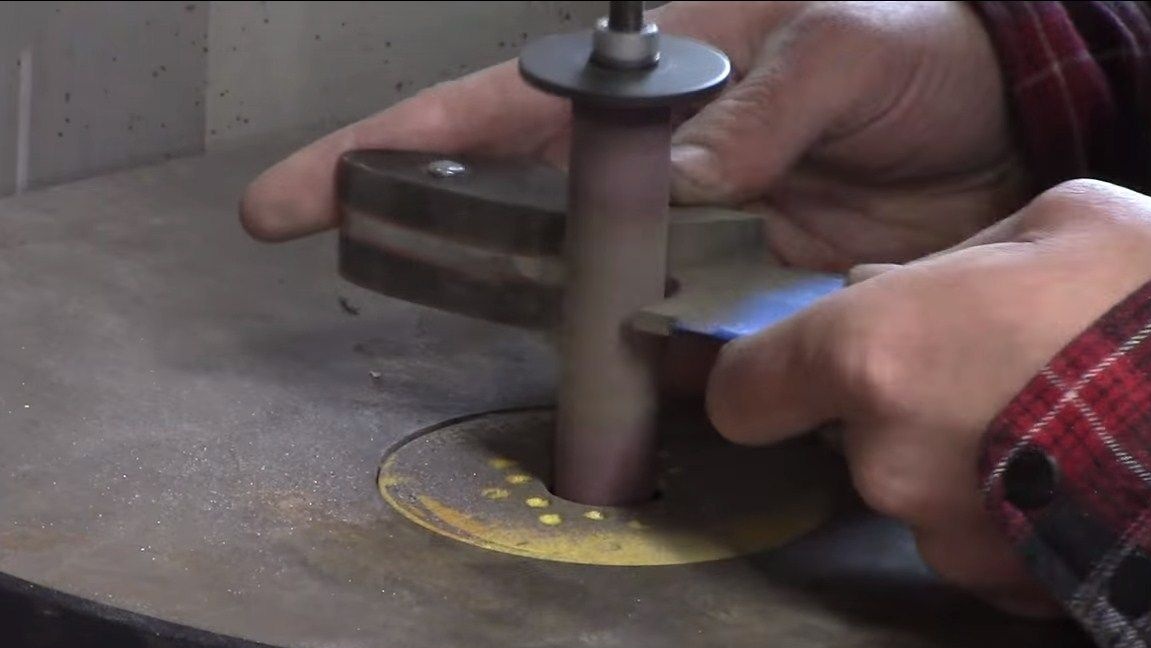
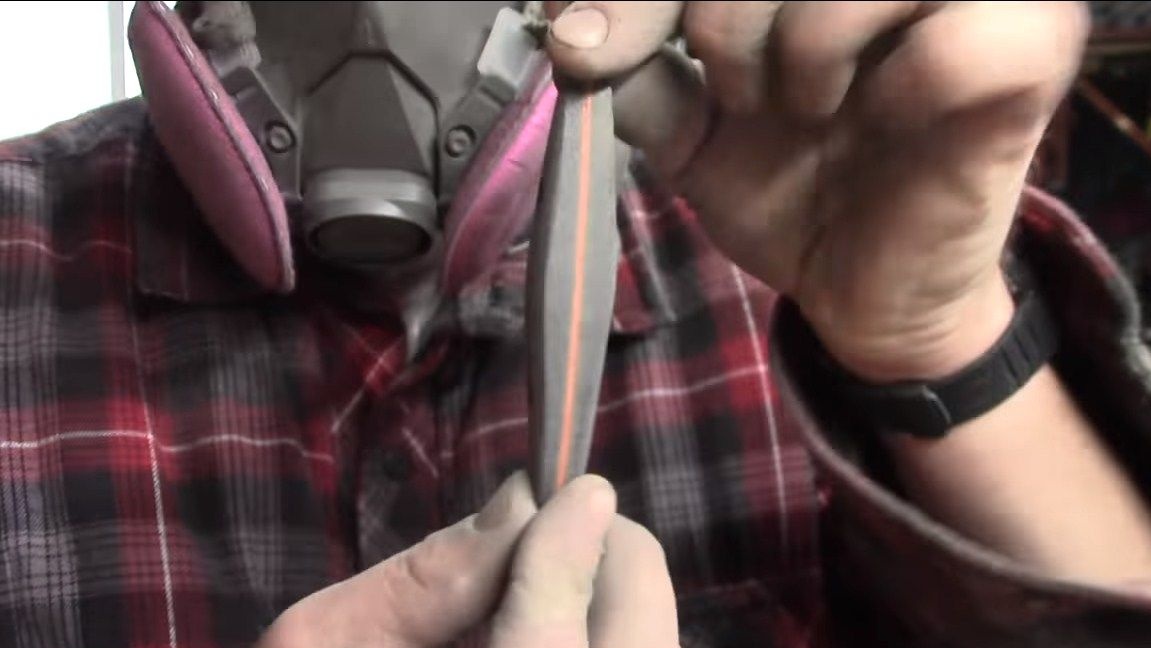
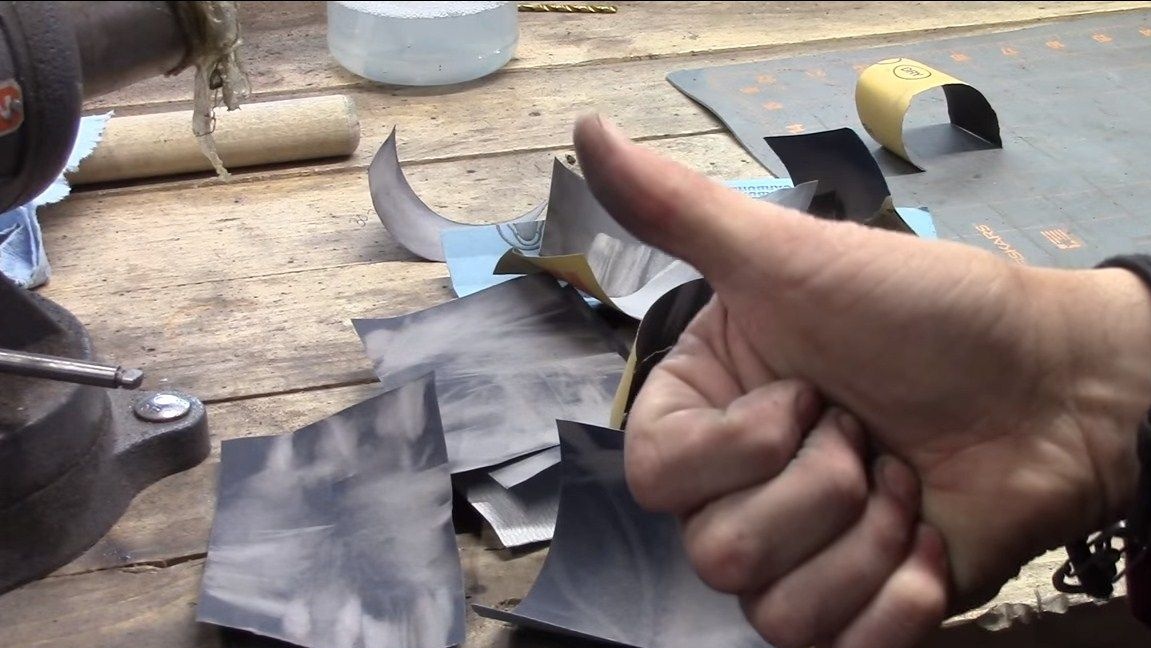
Step Nine. Finishing metalworking
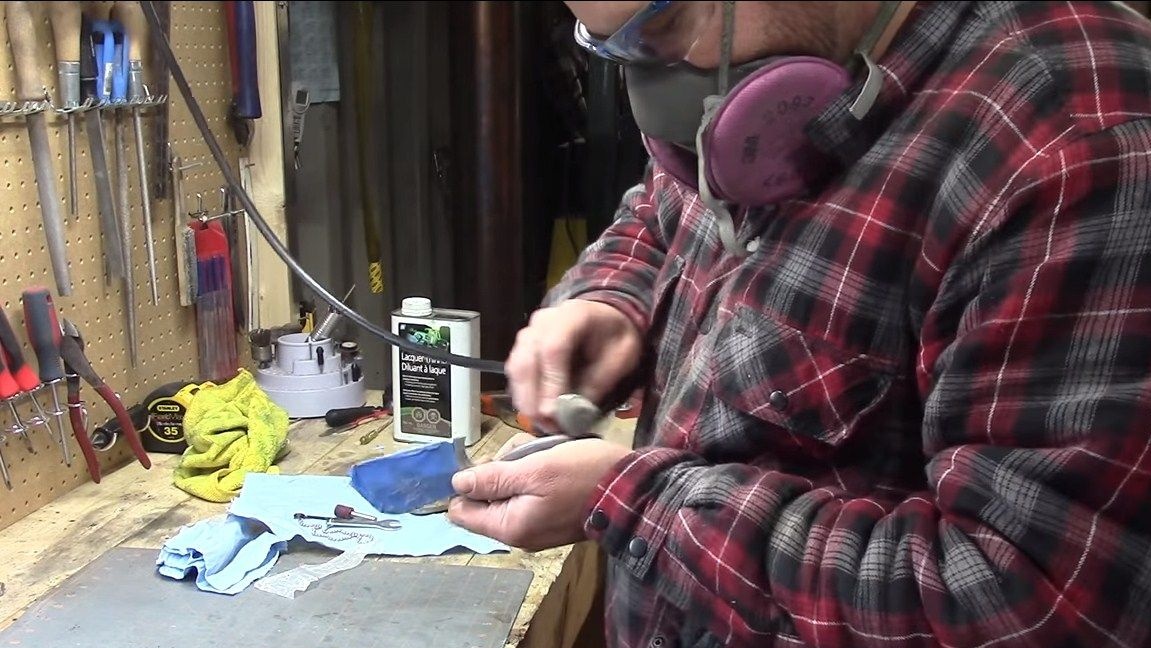
After quenching, the metal darkens, this coating can be cleaned, but can be used as protection, it will not allow steel to rust. We clean the metal WD-40 and work with fine sandpaper. The blade can be polished to a mirror finish as desired. But it’s better not to sharpen it yet, since we still have to assemble the handle.
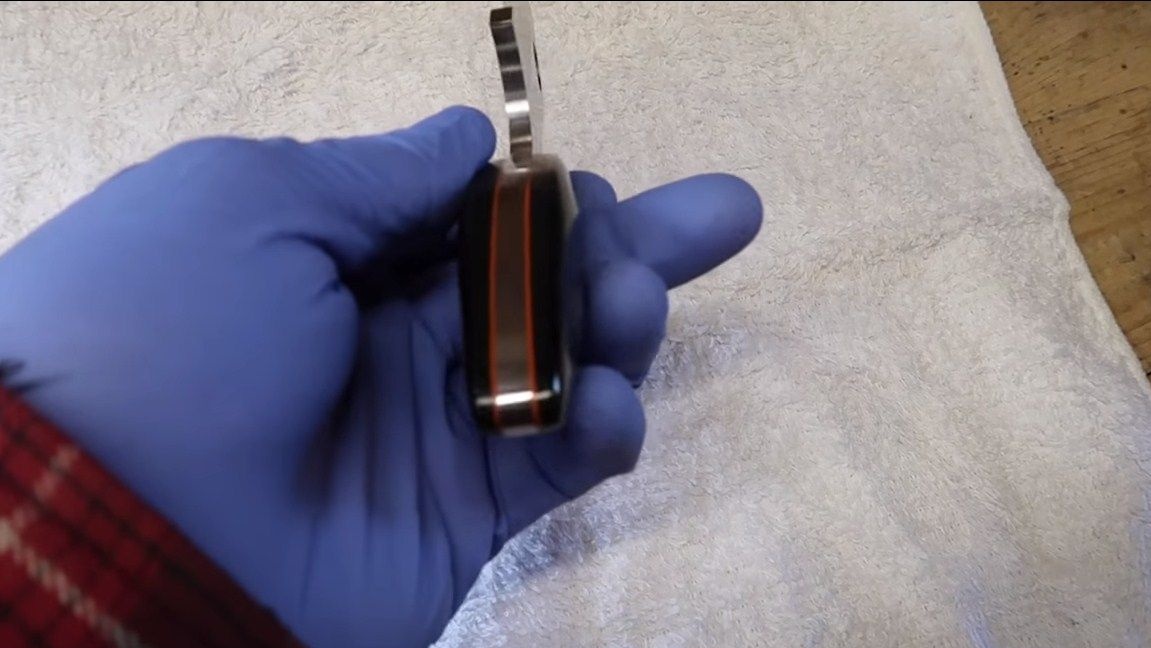
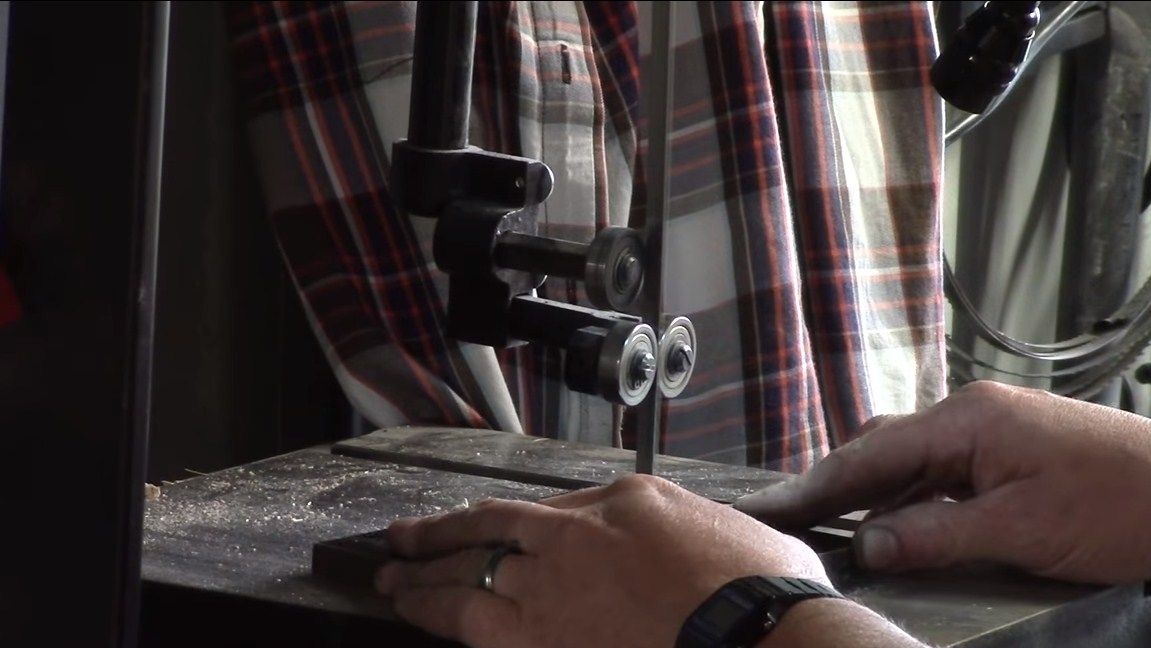
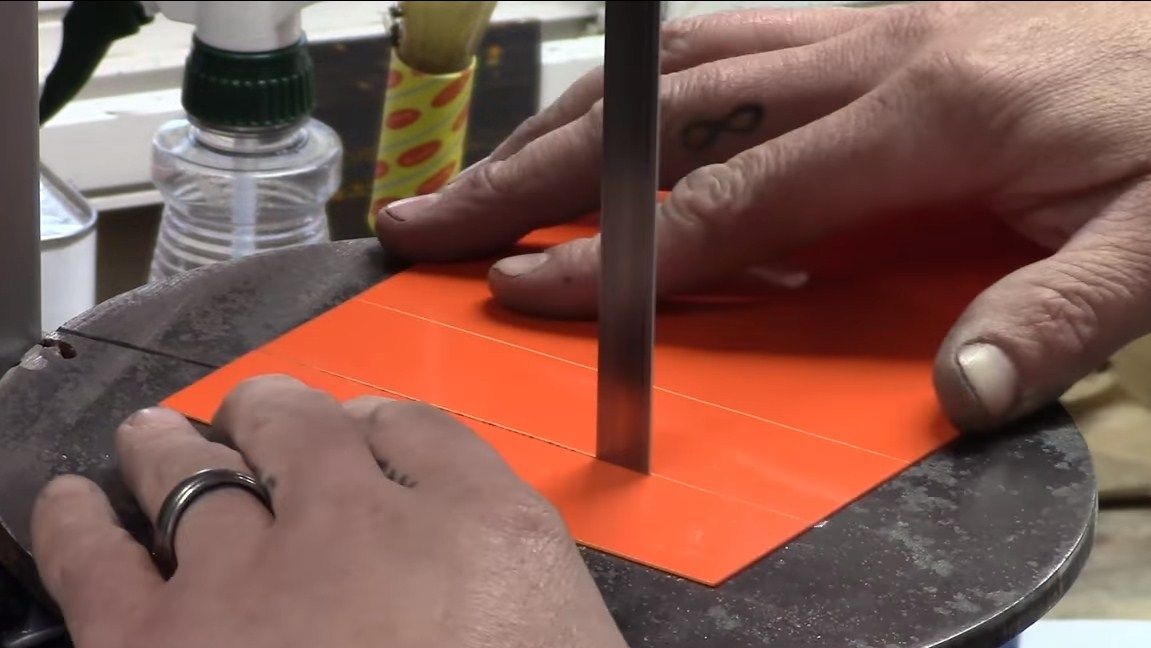
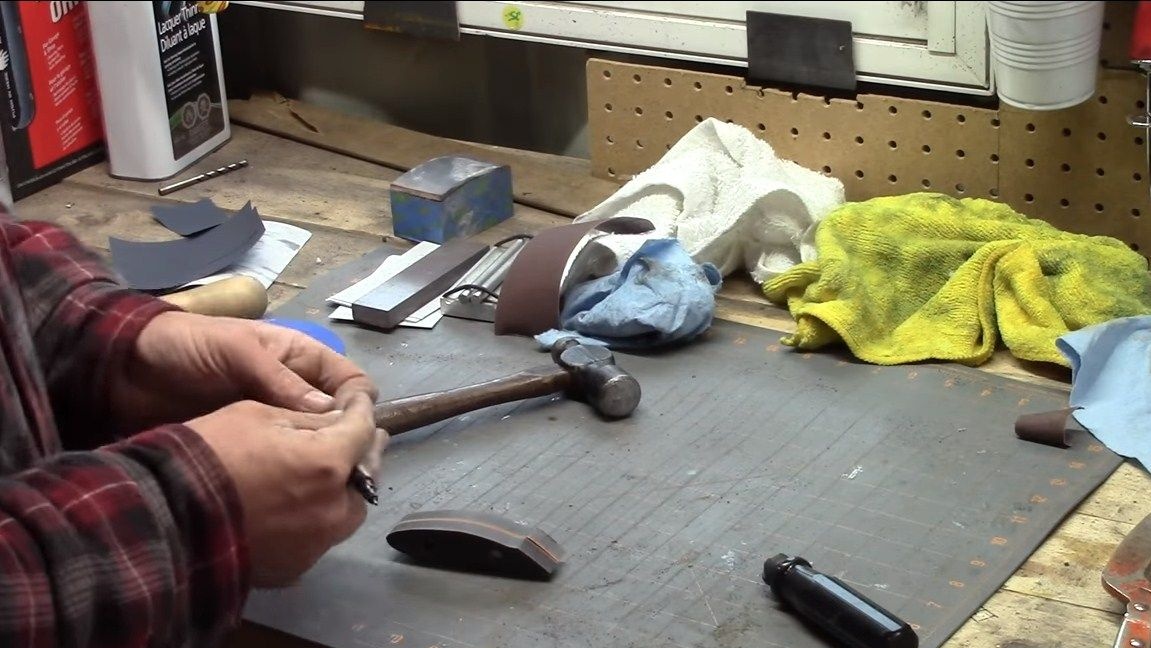
Step Ten Lining
The overlays can be made of wood, but the author chose a textolite or something similar, moreover, he got a combined handle. First, cut out the main profile of the pads using a jigsaw machine or a band saw. Next, glue the second part to these parts and leave to dry.
When the blanks for the pads are dry, we customize them to the profile of the knife handle, grind.
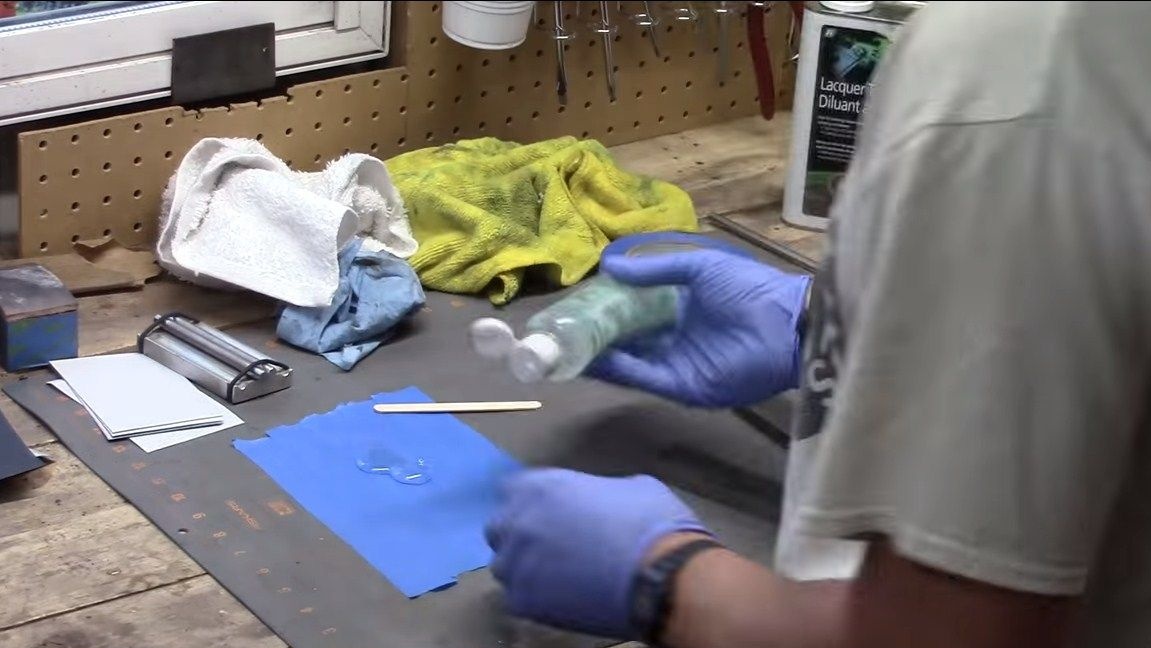

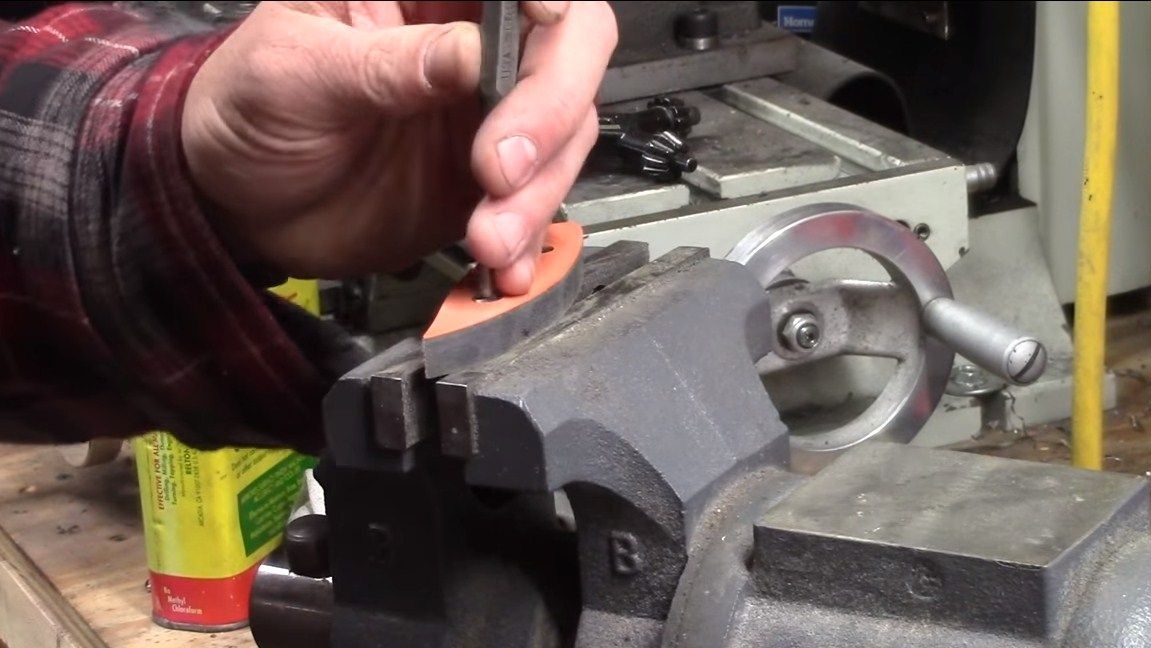
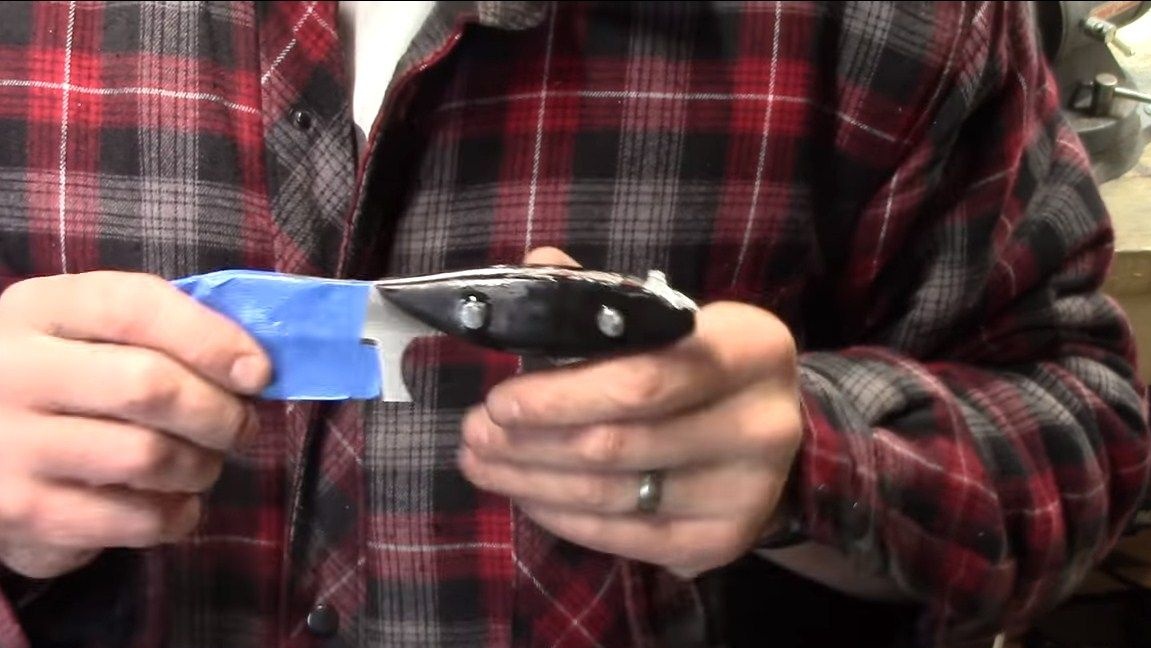

The overlays do not have to be brought to the ideal, it can be done right on the knife. To install the linings you will need epoxy glue, as well as two pins. It is customary to use brass pins, but steel ones in this knife will also look good. Gently on the glue and pins we collect the handle and clamp it with clamps. Now we need to wait for the whole thing to dry.
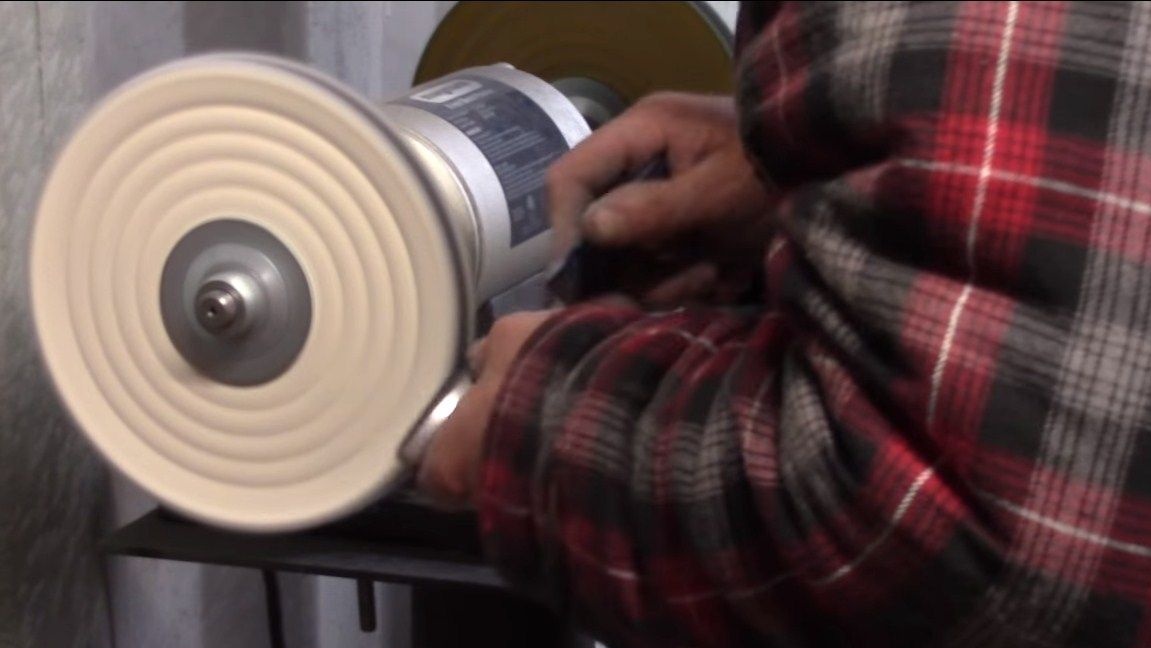
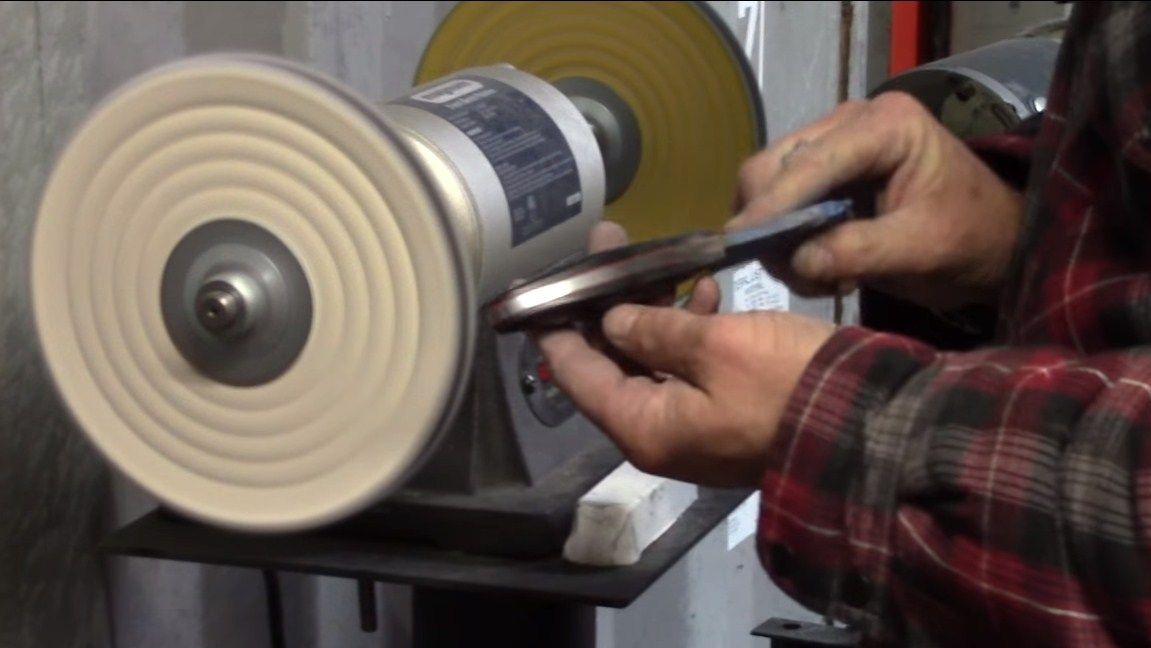
When the glue dries, we polish the handle and then polish it. Depending on the material used, apply oil or varnish, especially wood, as it is afraid of moisture.
That's all, the knife is ready, sharpen it to the state of the blade! I hope you liked the homemade product, and you found useful information for yourself. Good luck and creative inspiration, if you want to repeat it! Do not forget to share your best practices with us!