Greetings to fans to craft. I bring to your attention a home-made belt sander, which you can assemble do it yourself. Homemade It is quite easy to build and it requires little investment. A conventional drill is used as the main power element, but you can also replace it with a motor that is suitable for power and speed.
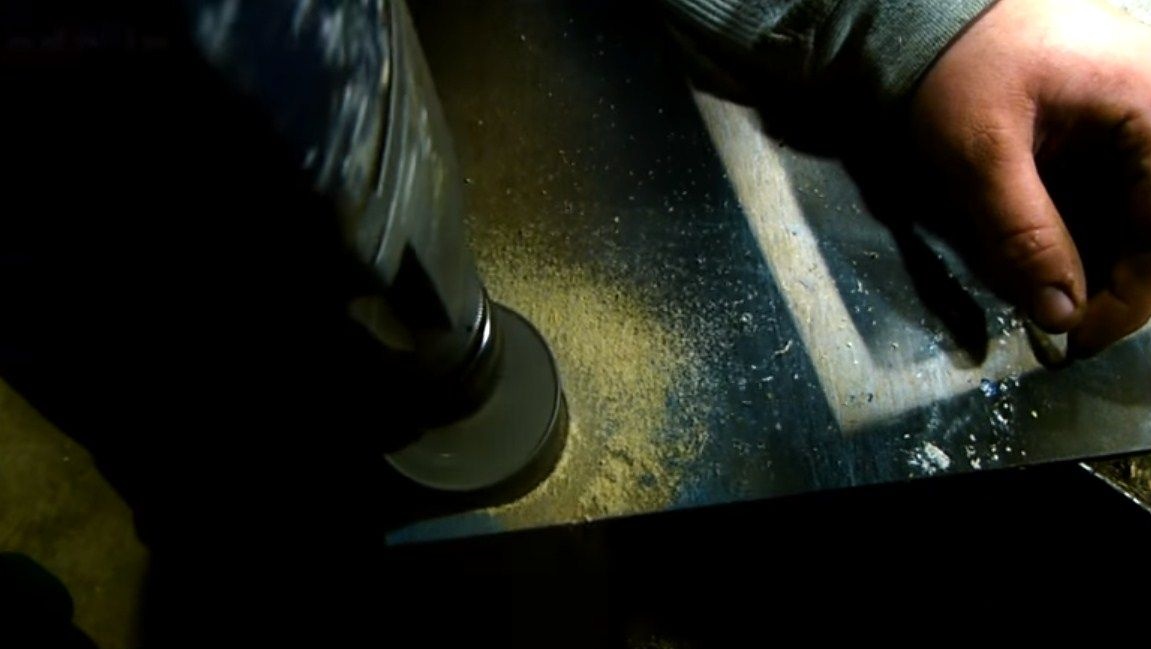
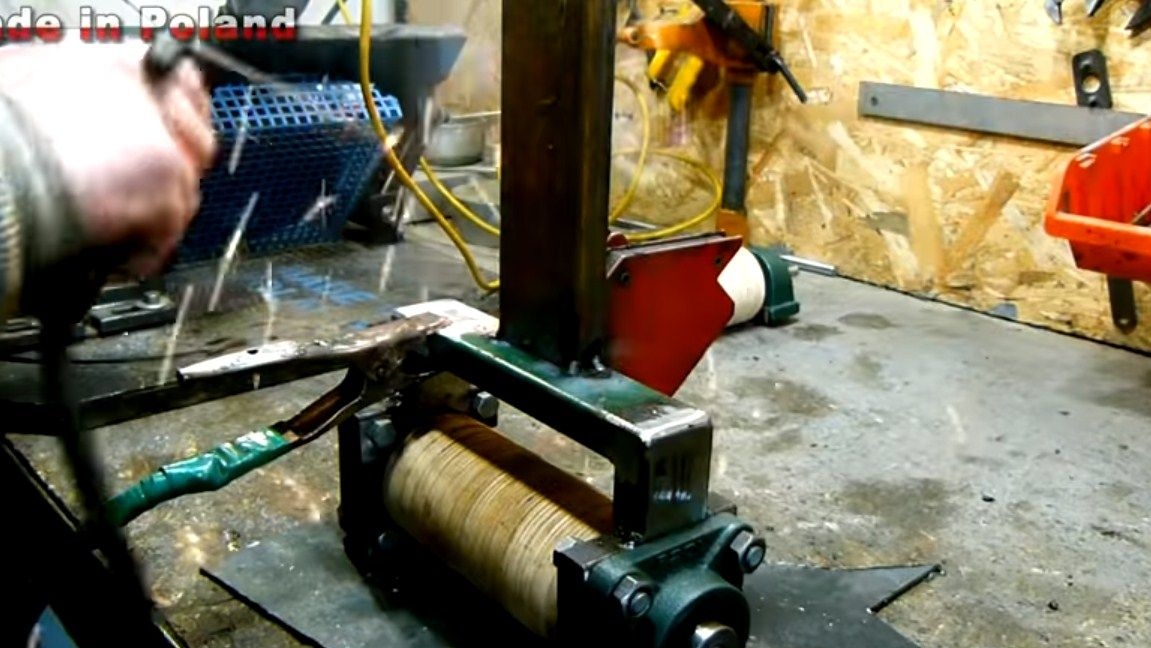
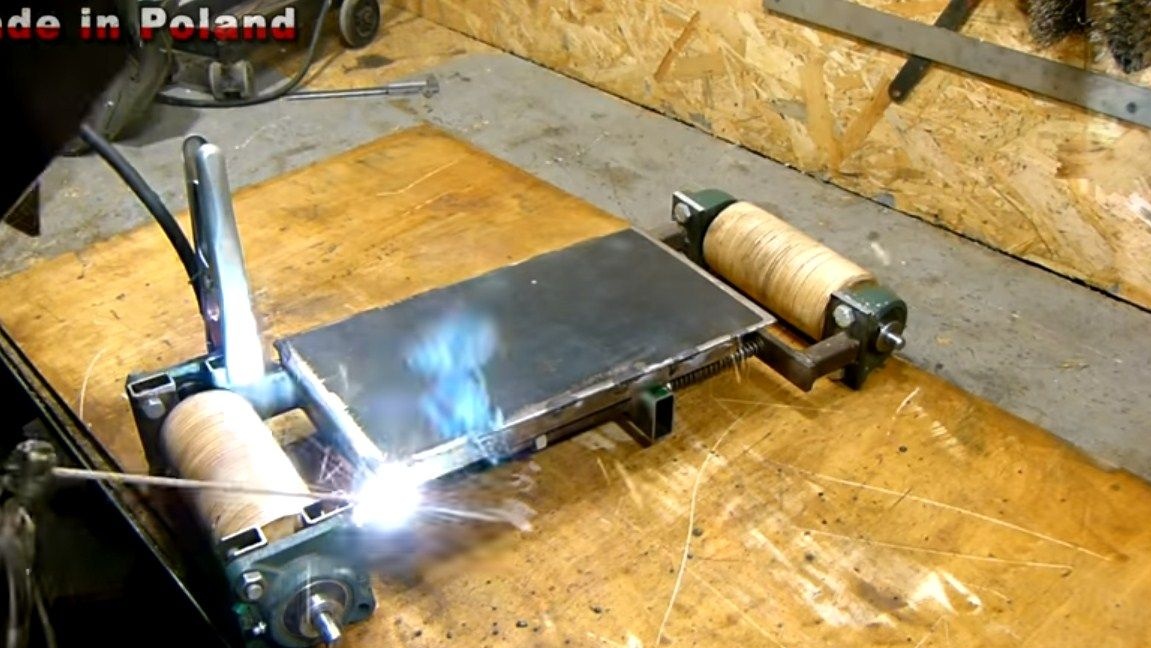
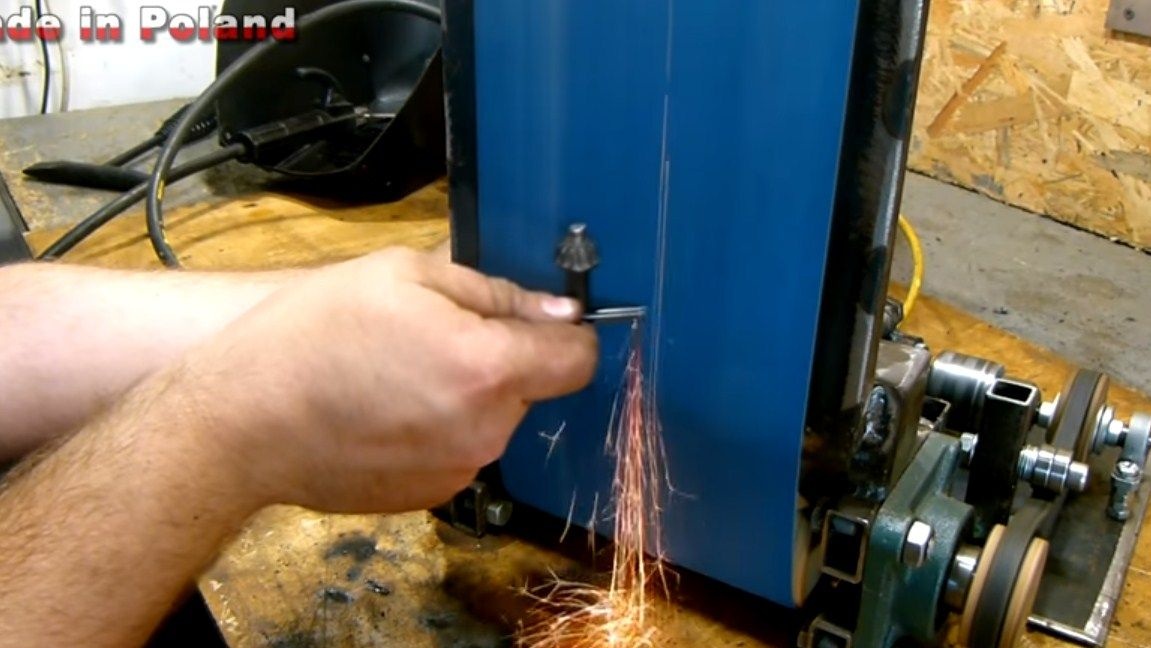
With the help of this home-made machine, you can easily do all the work that is done on purchased machines. This is the grinding of various materials, such as wood, plywood, plastic and so on. And the machine easily polishes steel, as evidenced by thick sparks during testing. So, we will consider in more detail how to assemble such a machine.
Materials and tools used by the author:
Material List:
- steel rods (with and without thread);
- square steel pipes;
- drill;
- plywood;
- Sheet steel;
- nuts, bolts, washers, bearings, etc.
Tool List:
- a tool for cutting metal (tape cutting saw, pendulum, Bulgarian);
- welding machine;
- wrenches, squares and more;
- paint.
The process of manufacturing a belt sander:
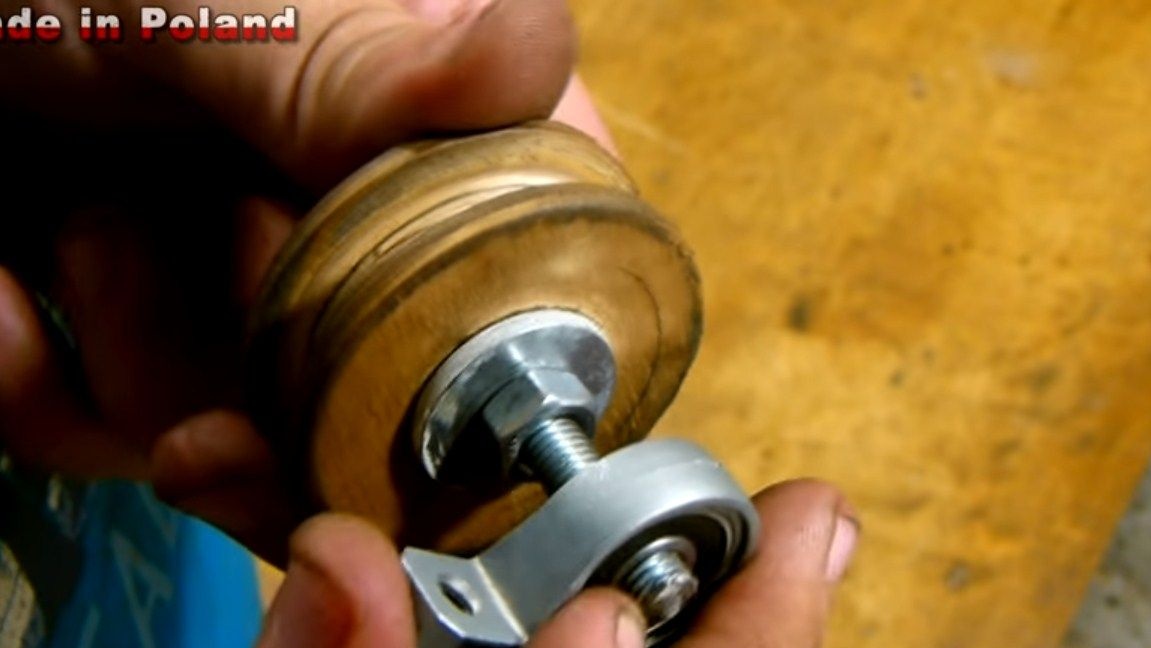
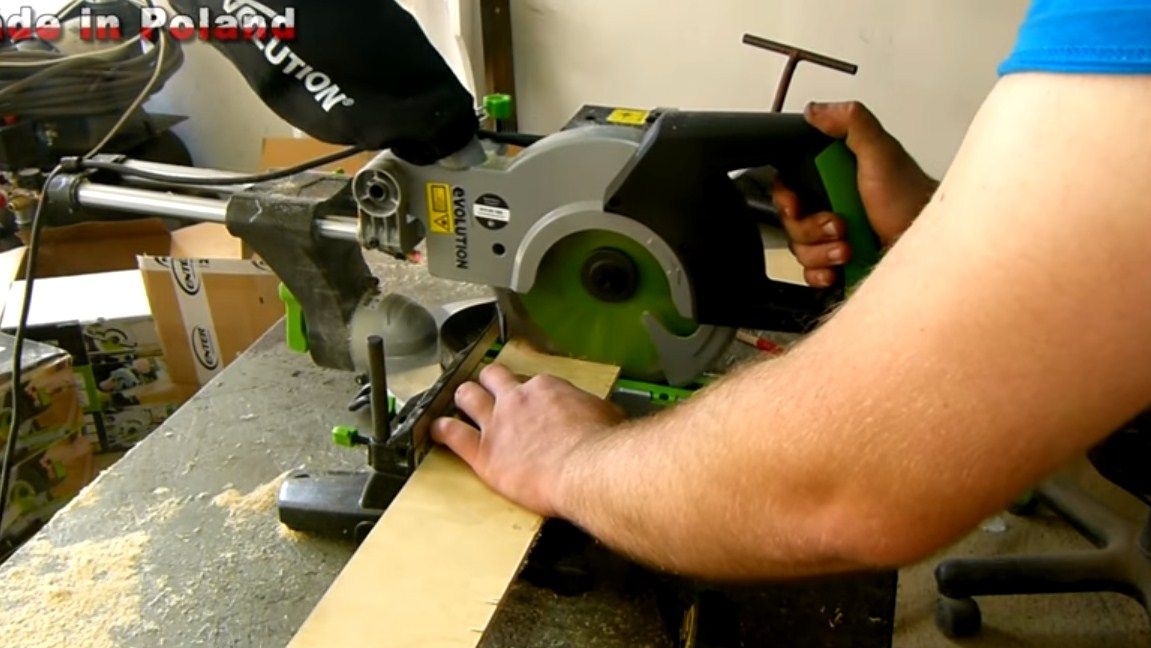
Step one. We make pulleys
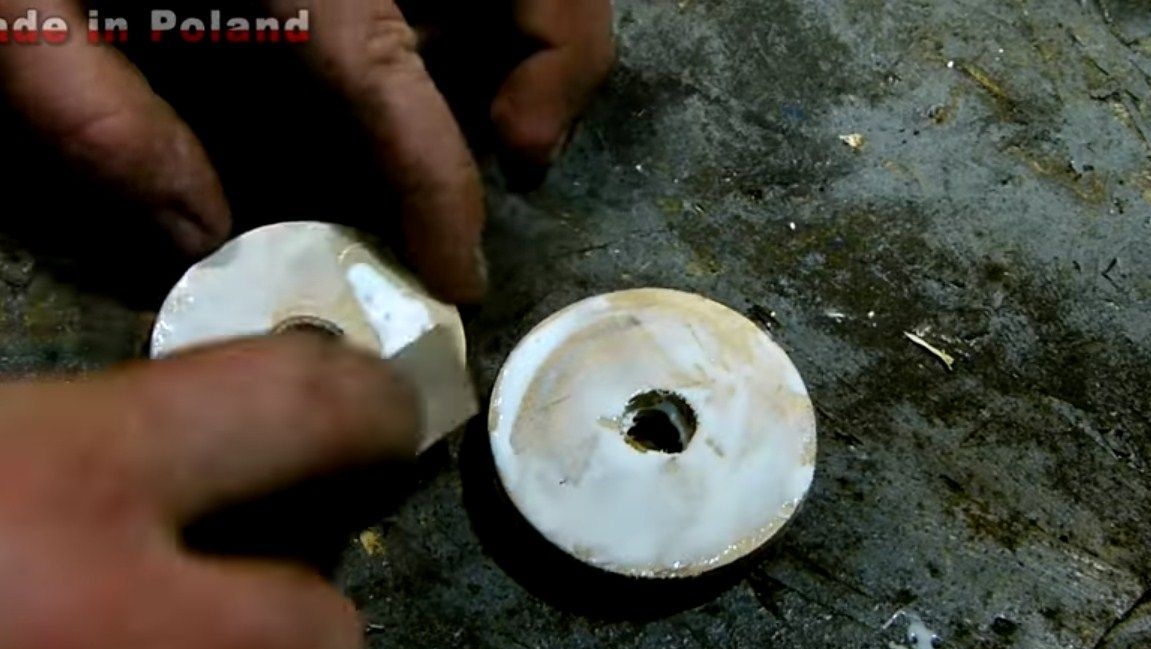
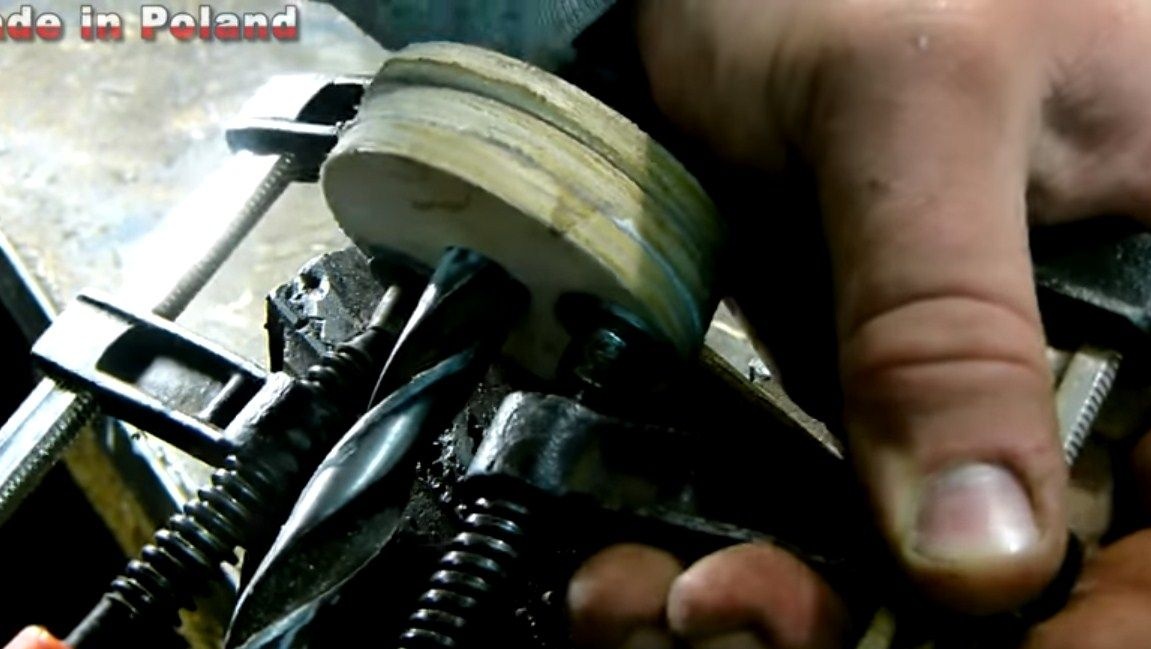
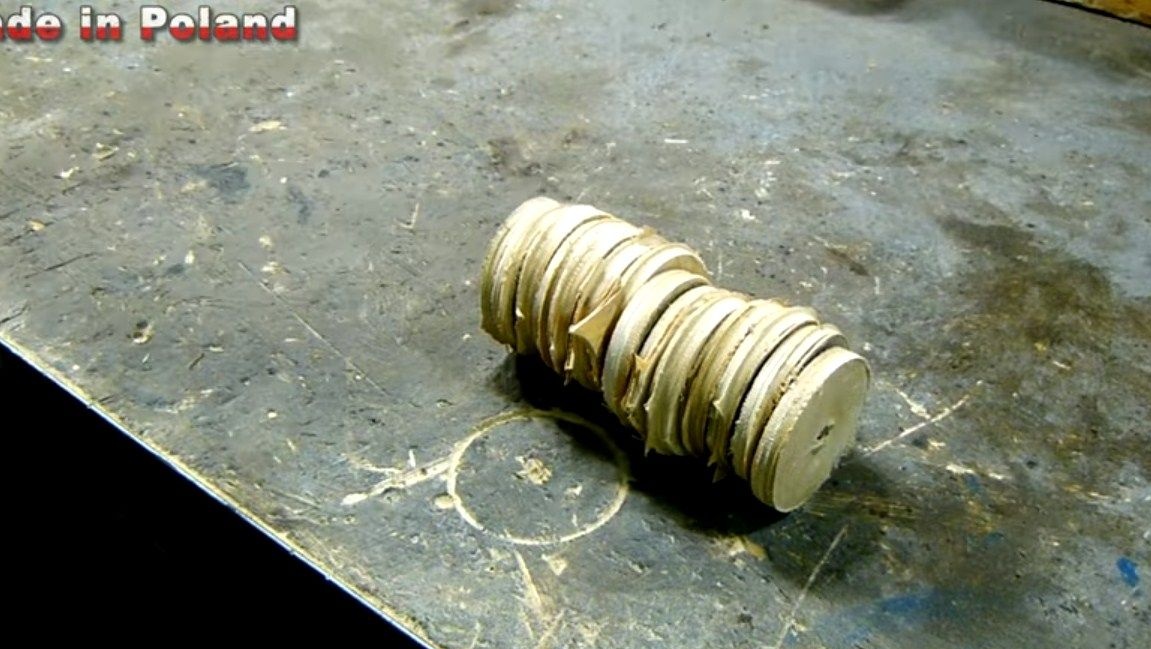
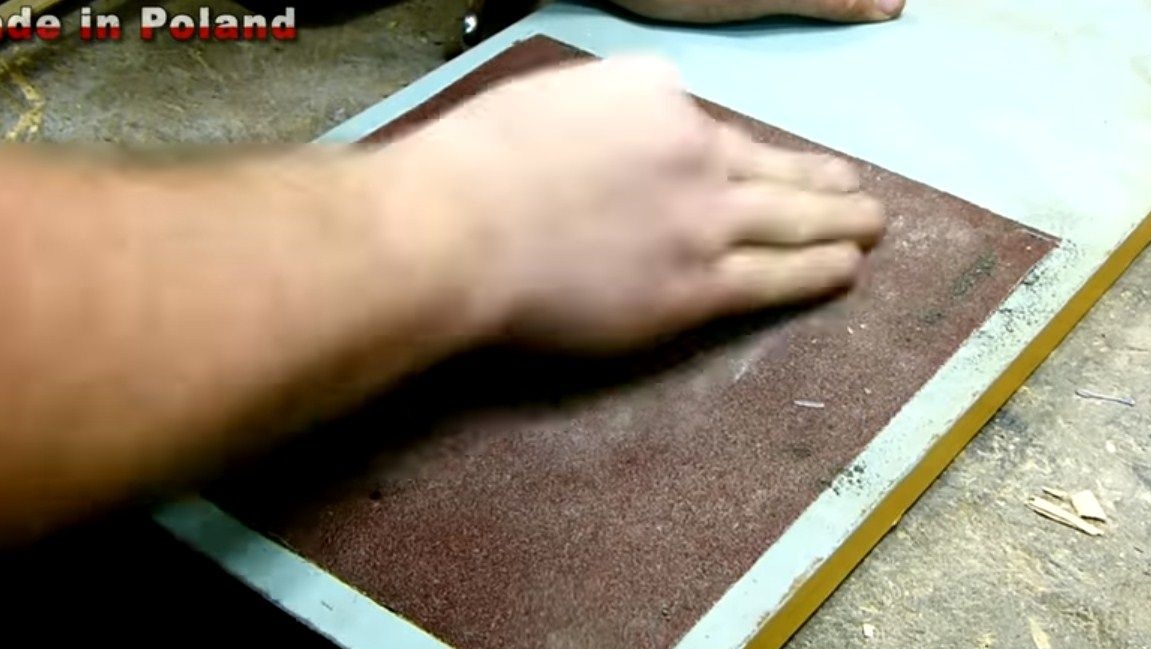
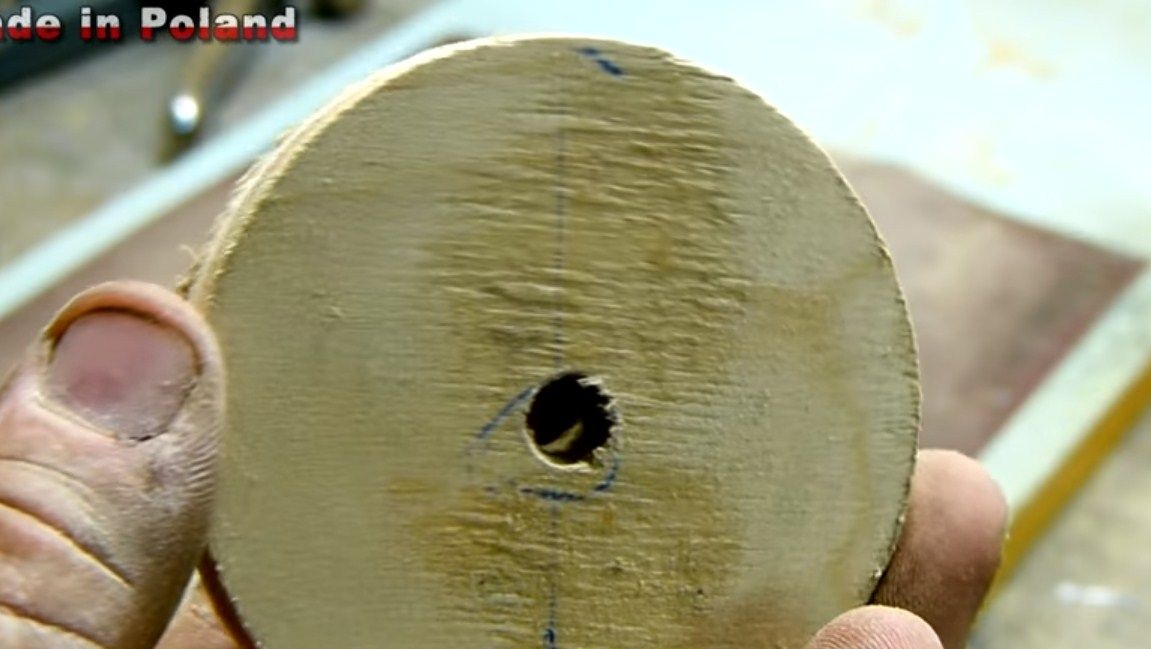
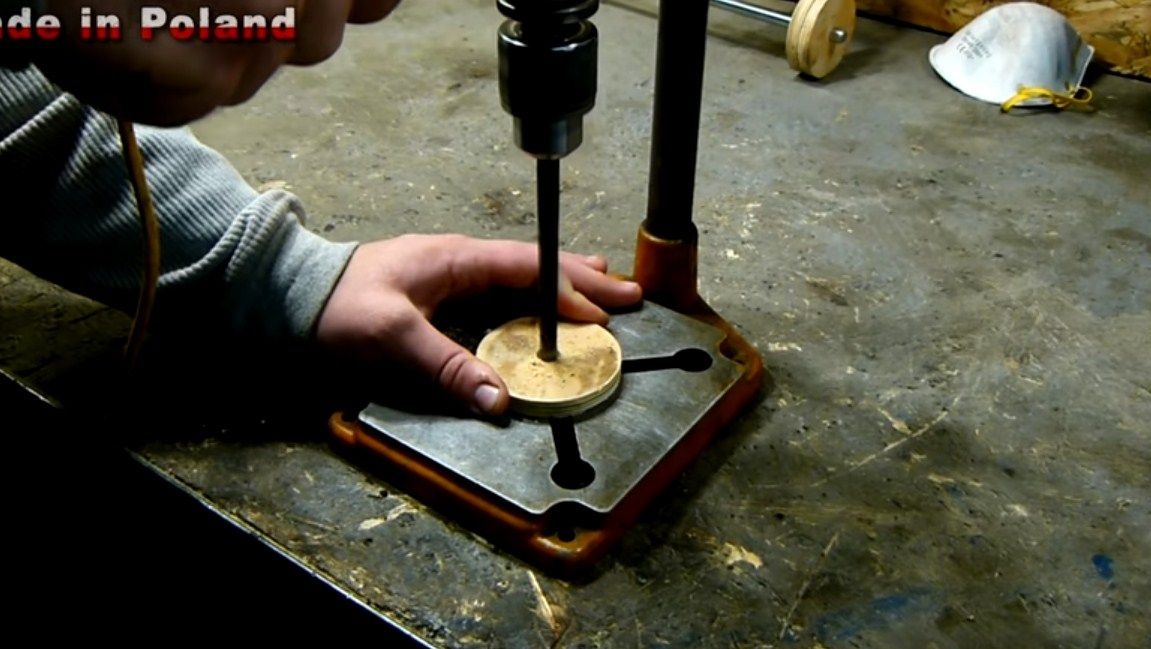
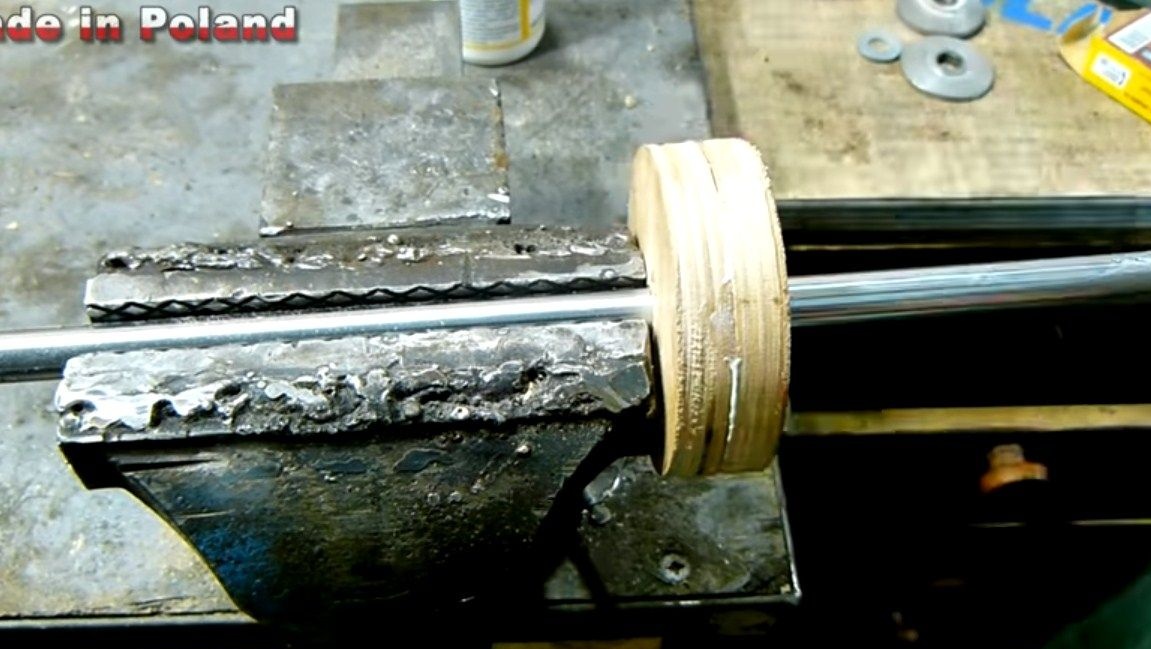
In order to transmit torque from the drill to the machine, we need pulleys, driving and driven. The author made them the same in size, but to get the right torque or rpm, they can be made different. For the manufacture of pulleys we need plywood, each pulley consists of three layers. That is, in the end we need six round logs, which then stick together. Before gluing, we drill holes in them, and we carefully grind the planes so that everything fits snugly. As glue, PVA or other carpentry is suitable.
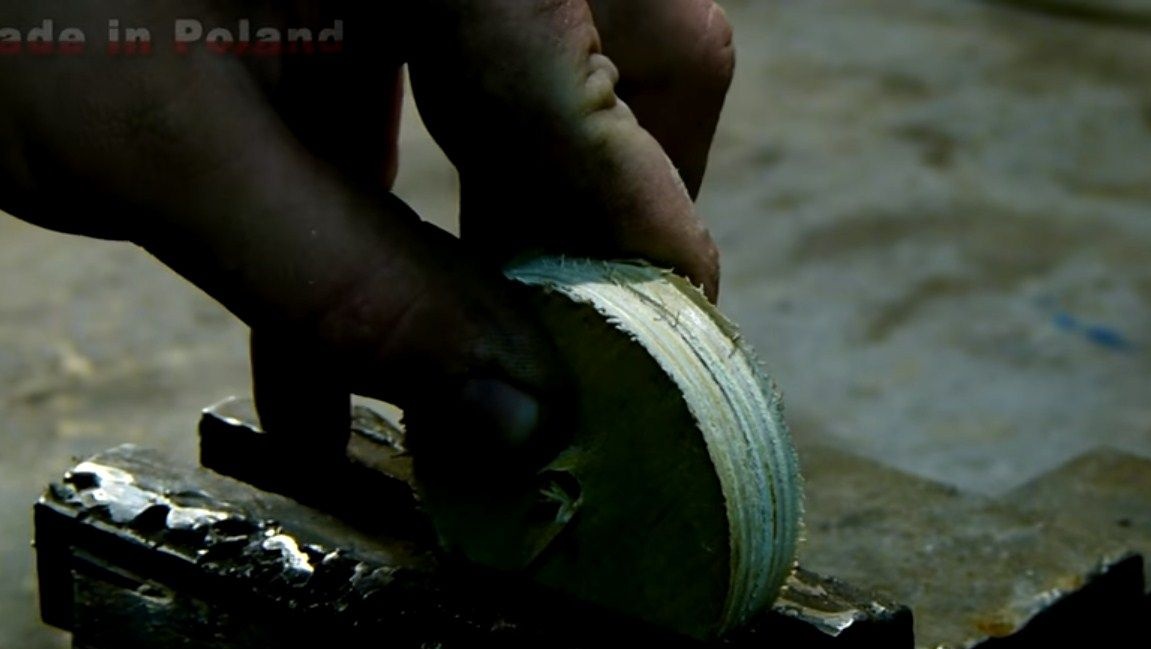
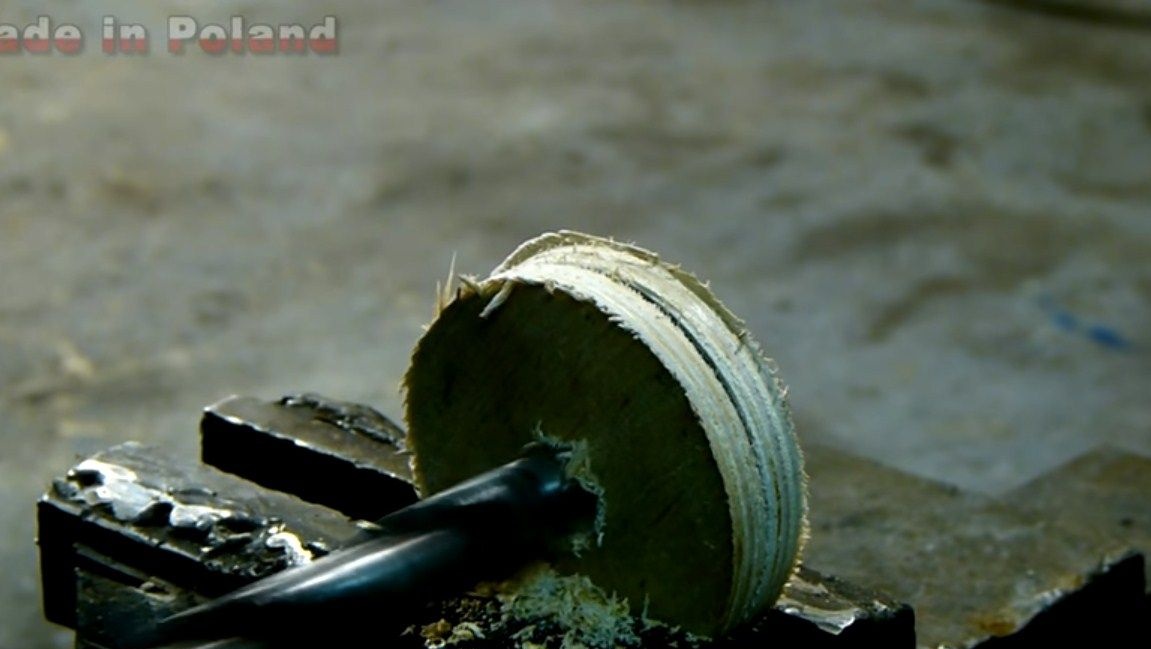
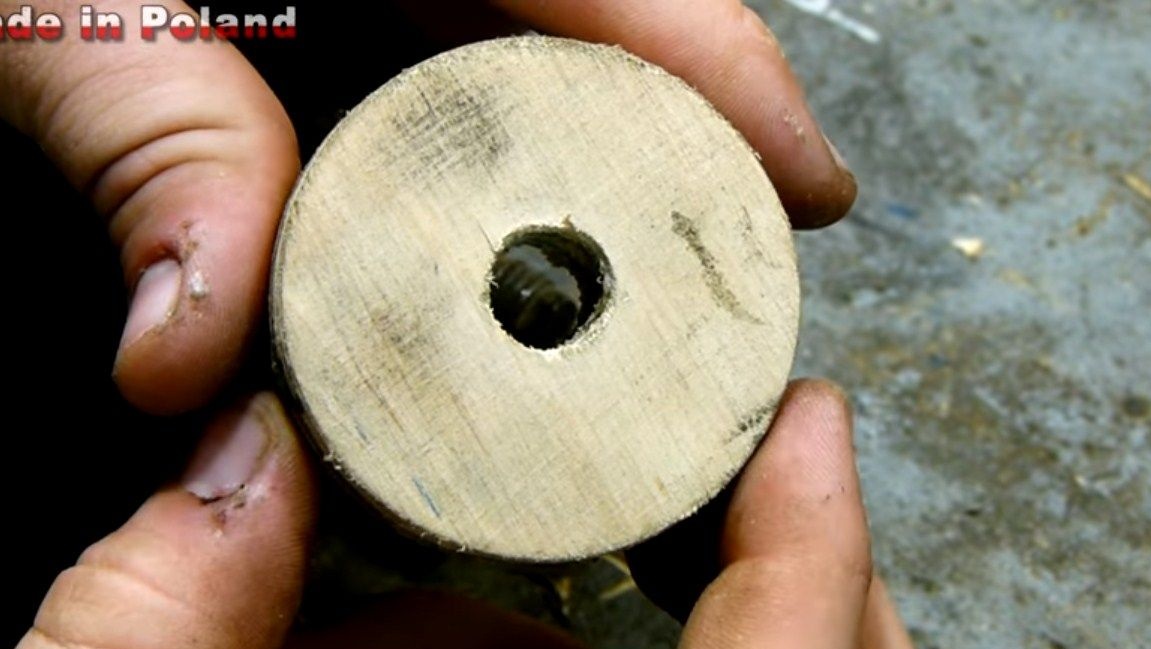
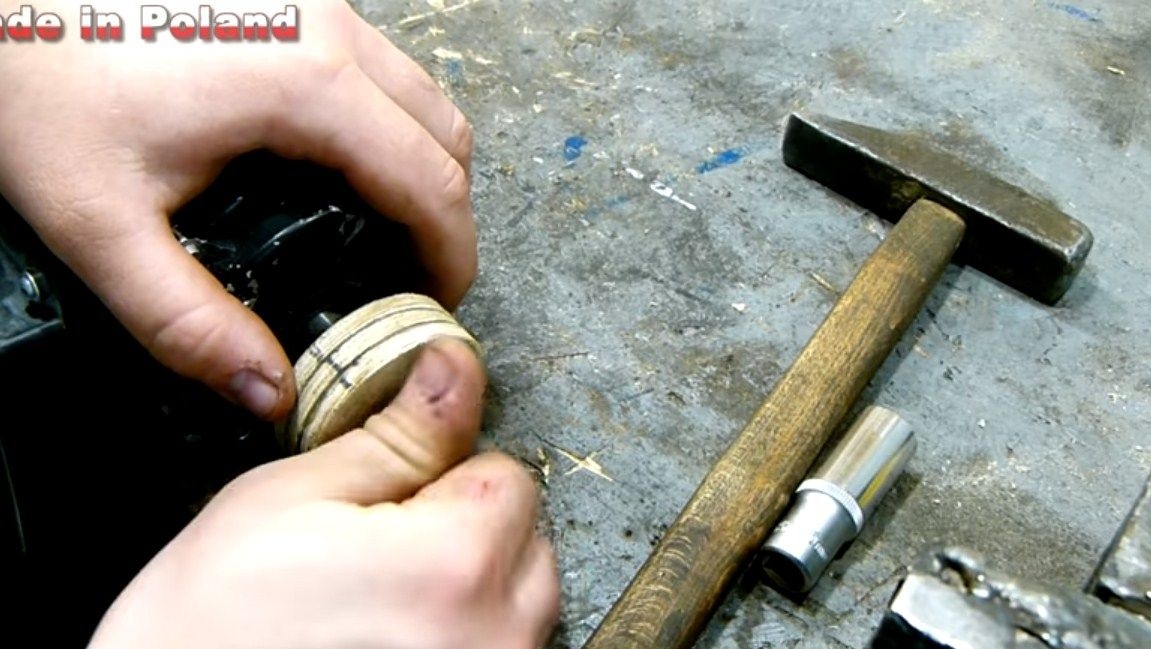
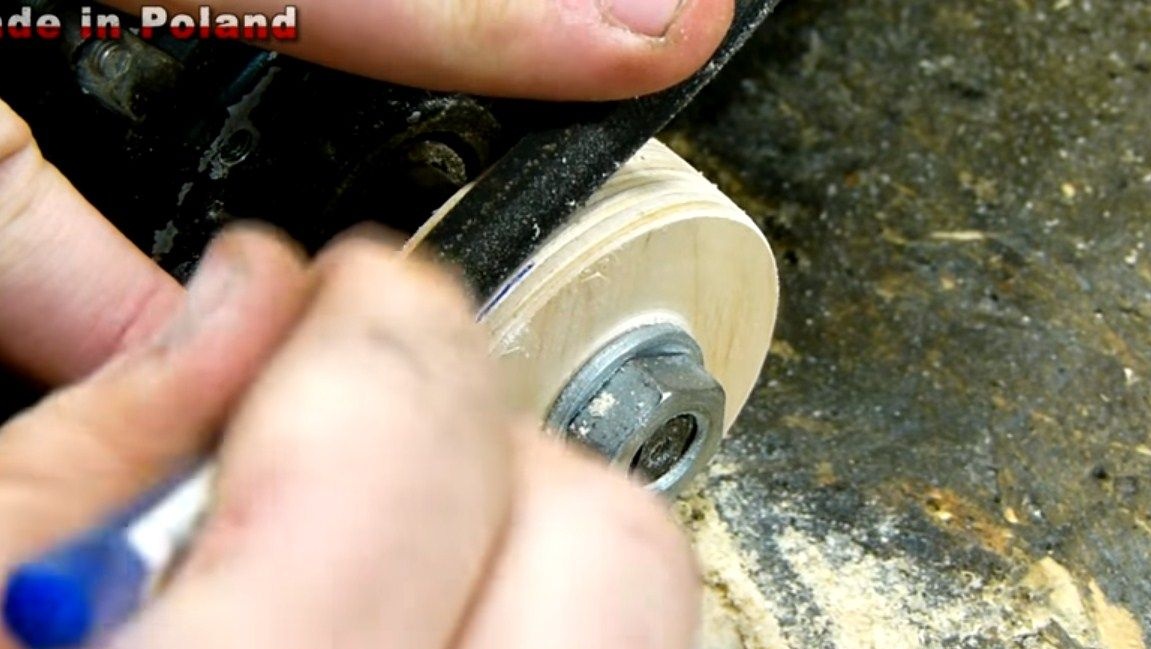
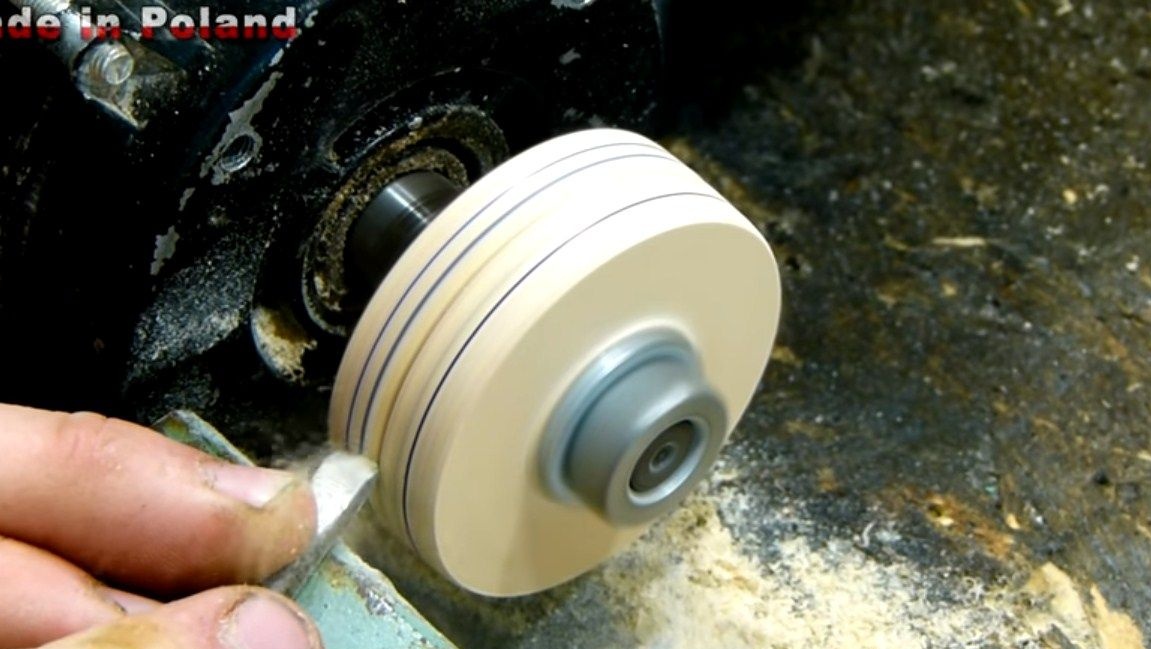
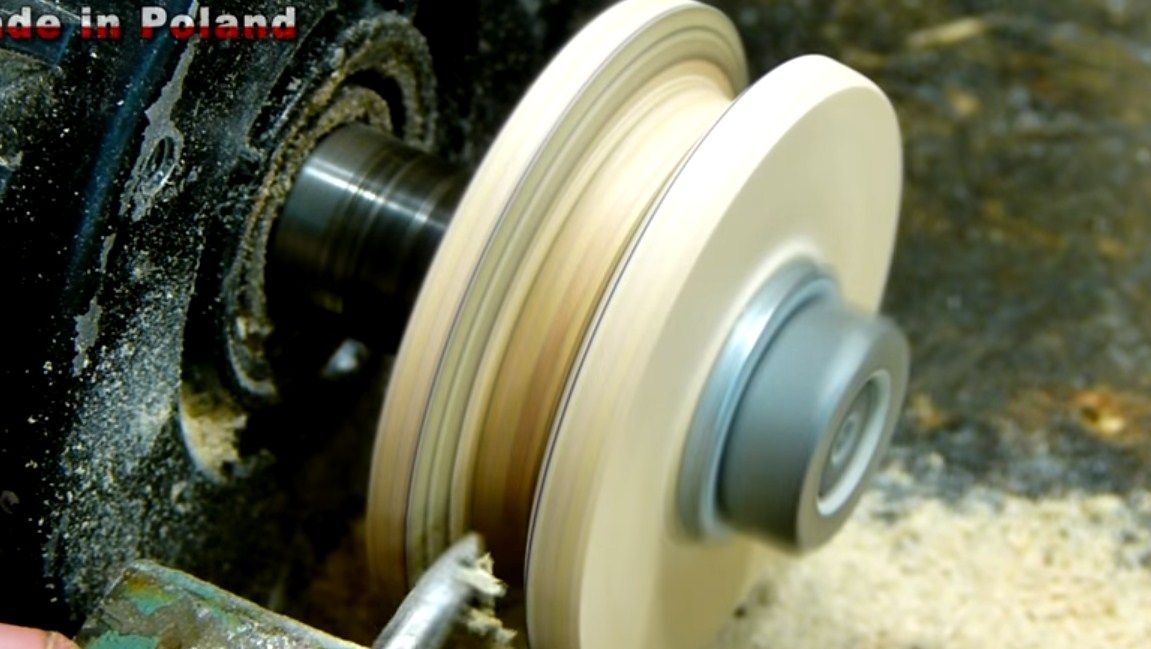
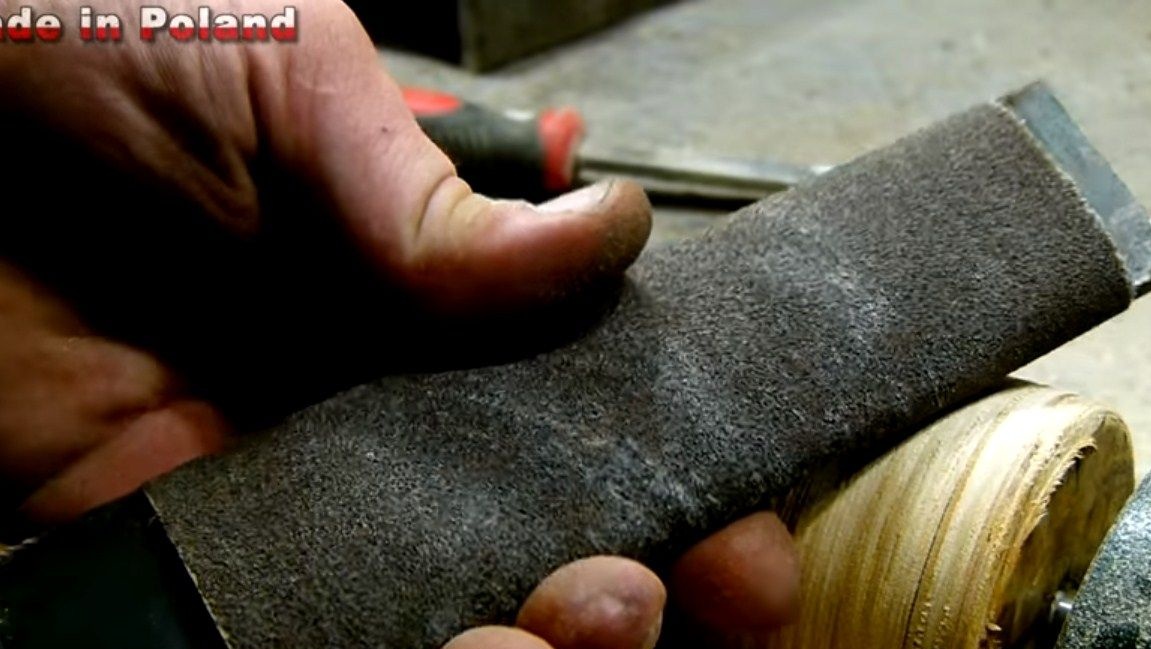
When the glue dries, it is time to turn our wheels into pulleys. To do this, install them on the motor shaft or in the drill chuck and work as a lathe. The width of the grooves is selected depending on the width of the used belt. At the end, you can grind the pulleys with sandpaper.
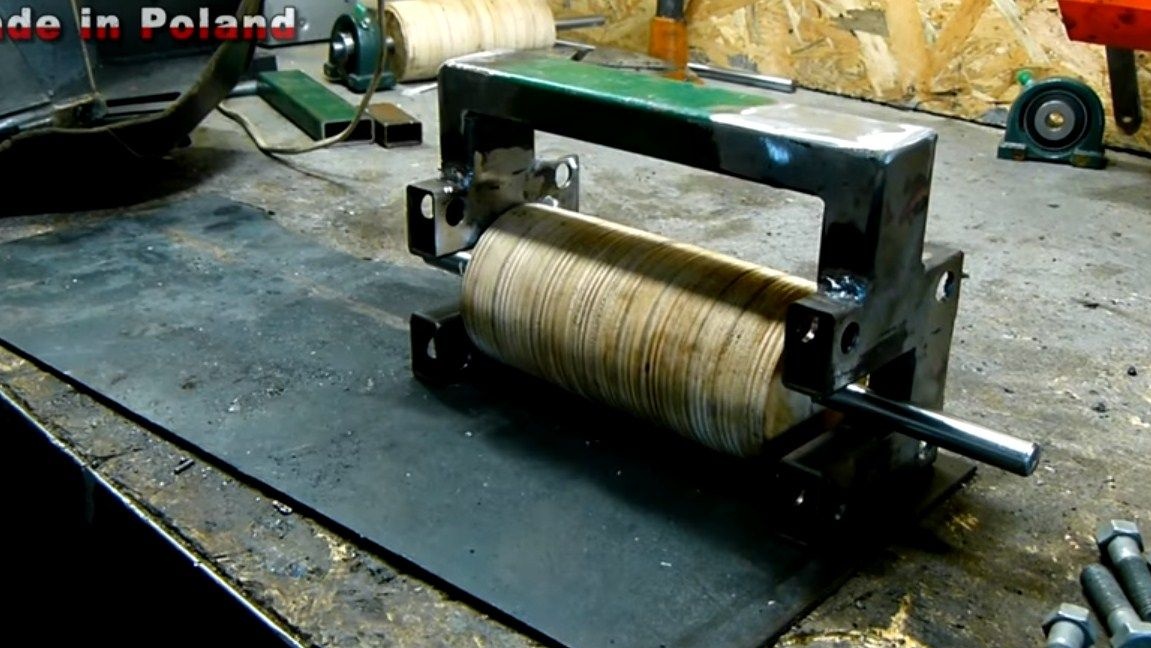
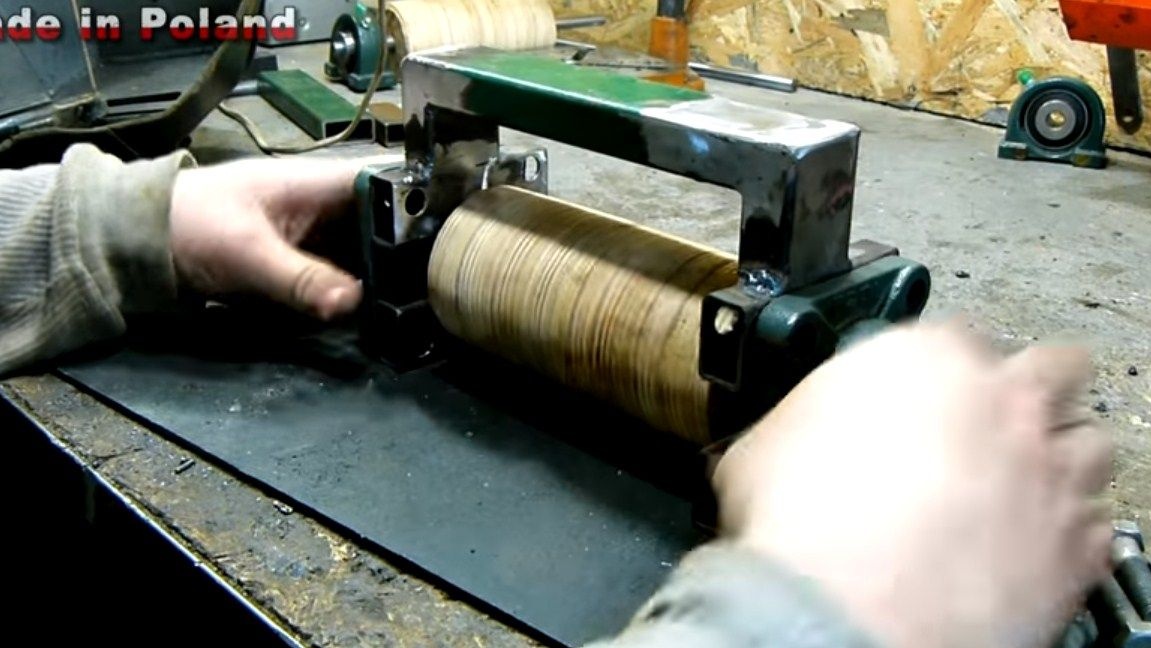
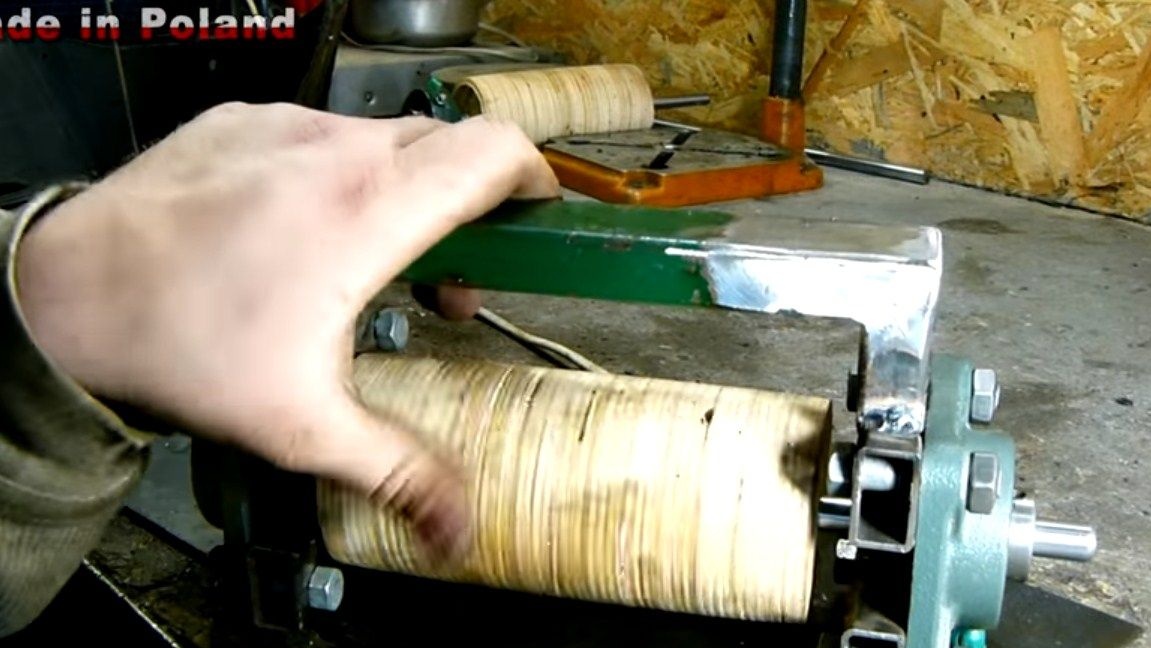
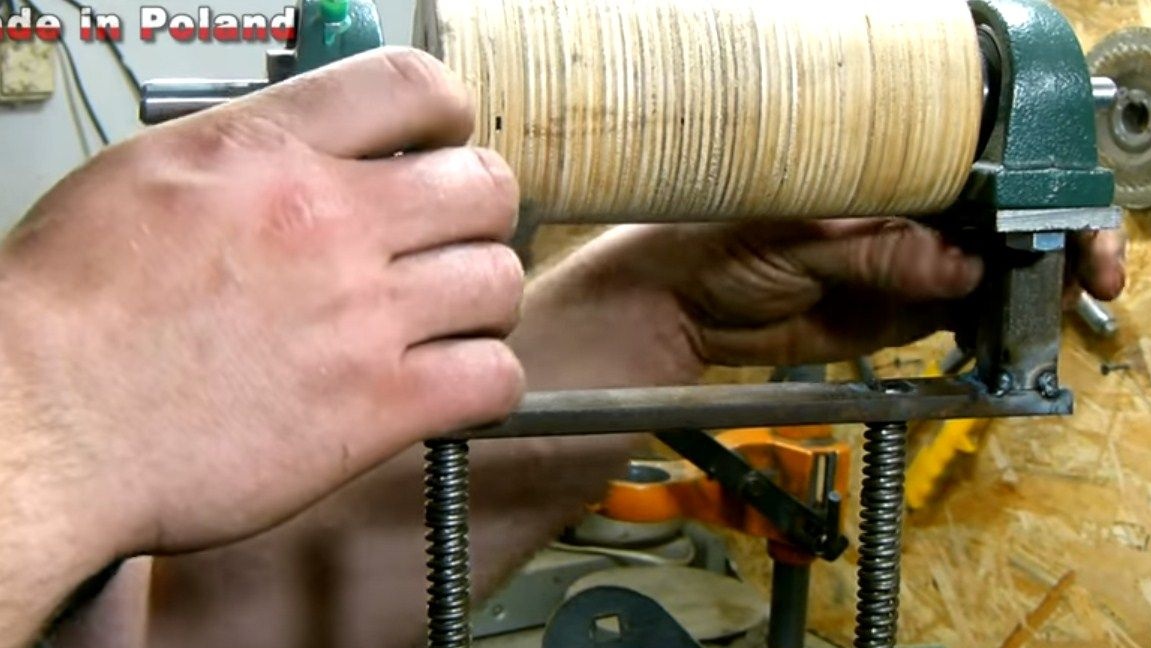
Step Two Grinder driven and drive shaft
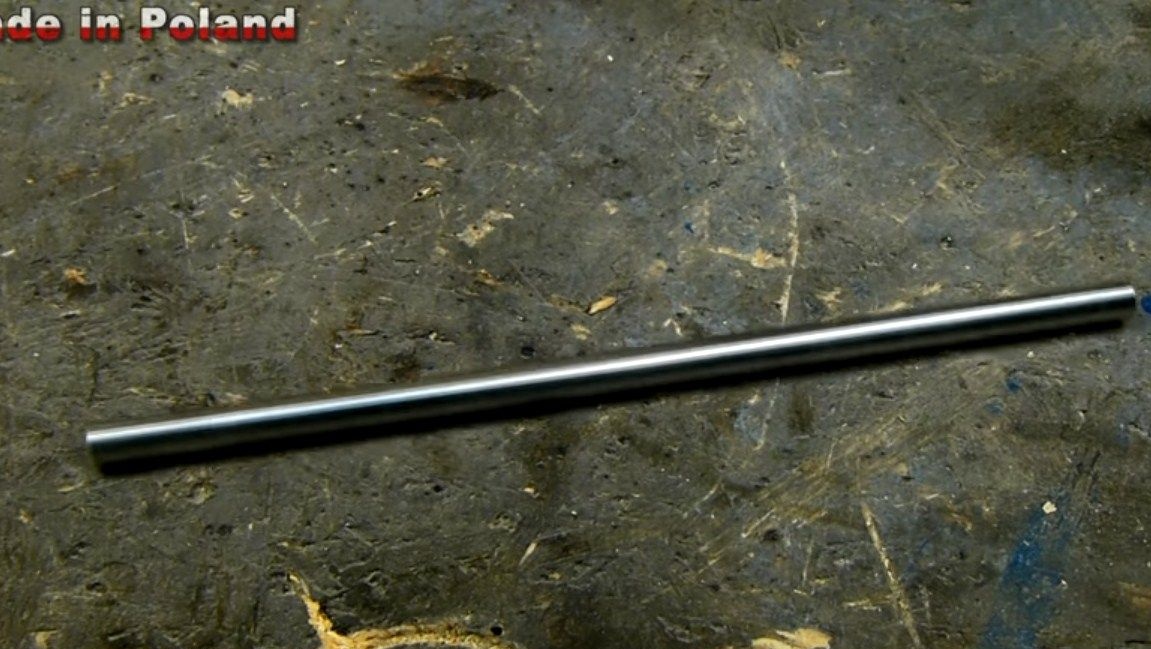
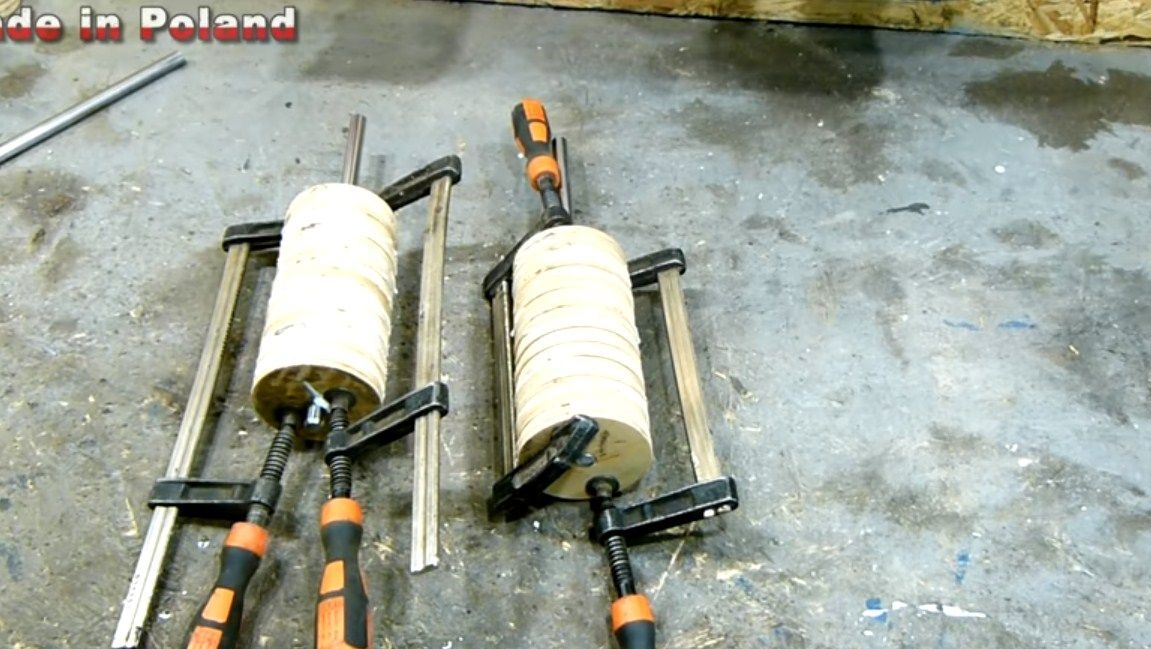
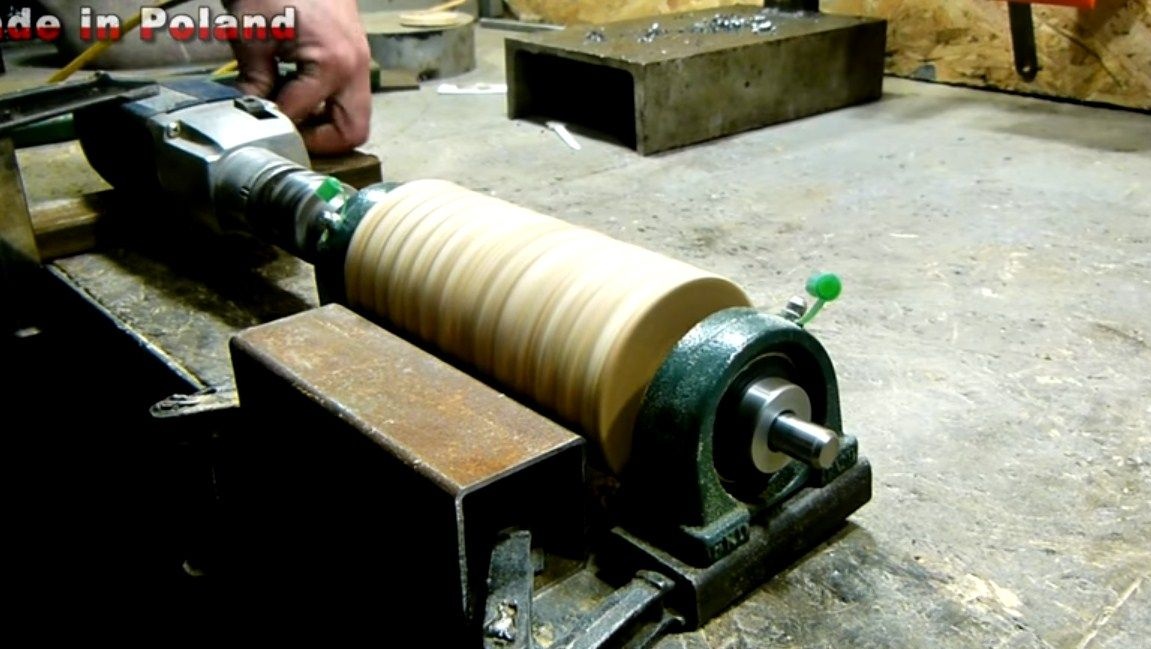
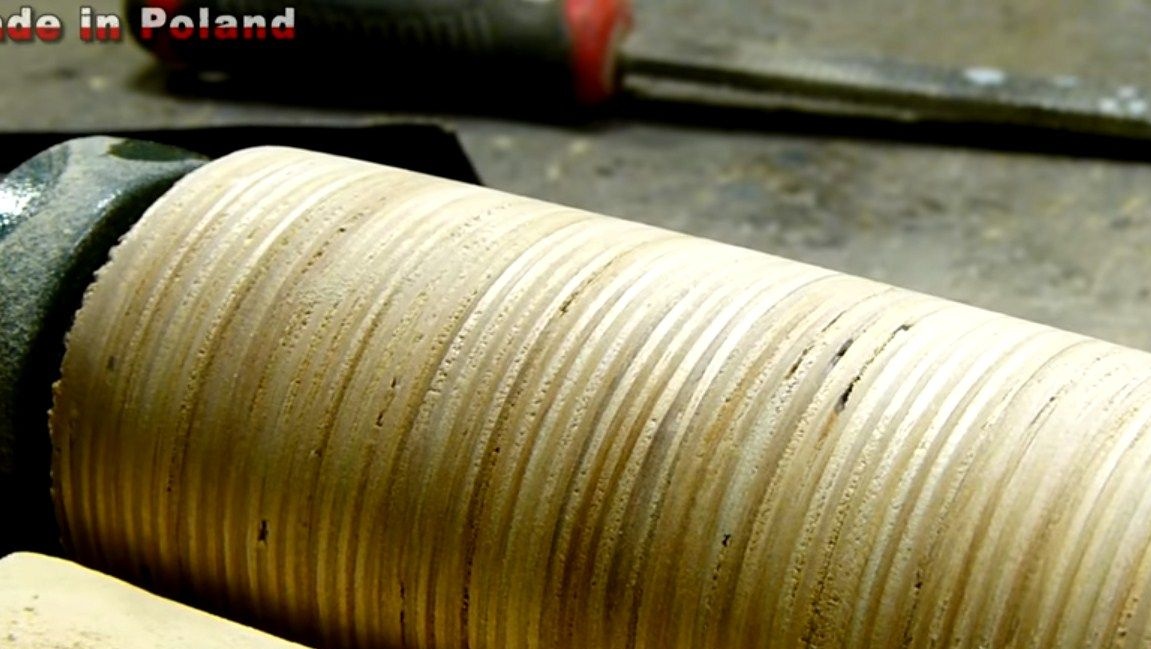
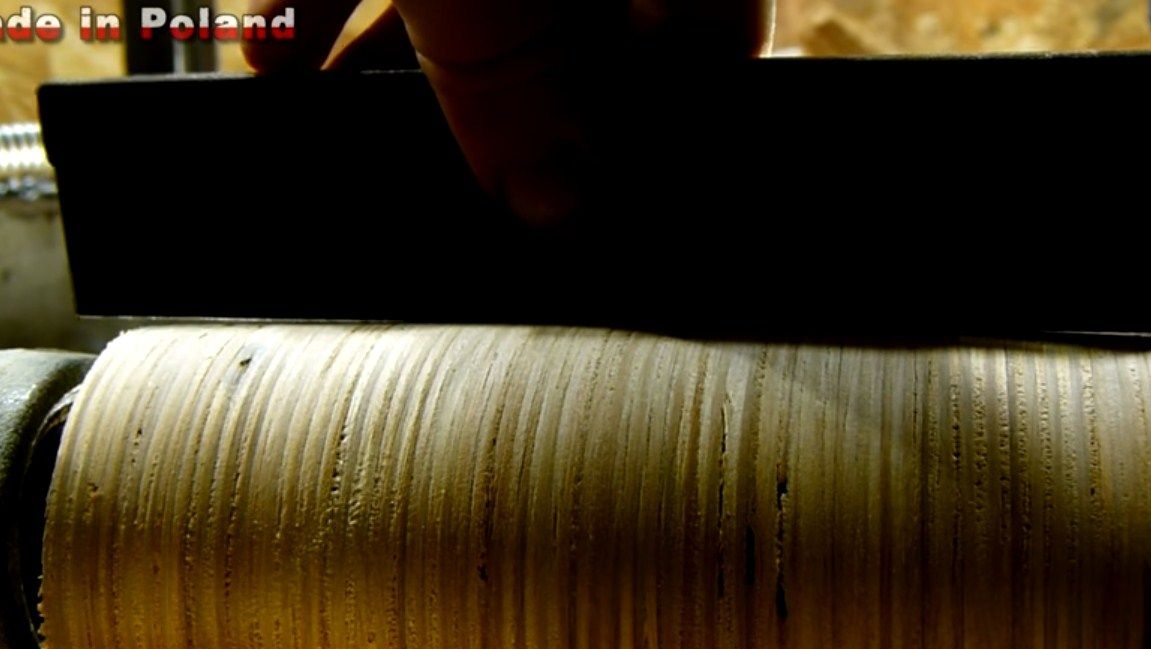
These machine parts are also made of plywood. This time we need to cut a lot more round logs, then they are all similarly ground and assembled into blocks by gluing. We collect everything on steel rods, then there will be axes.
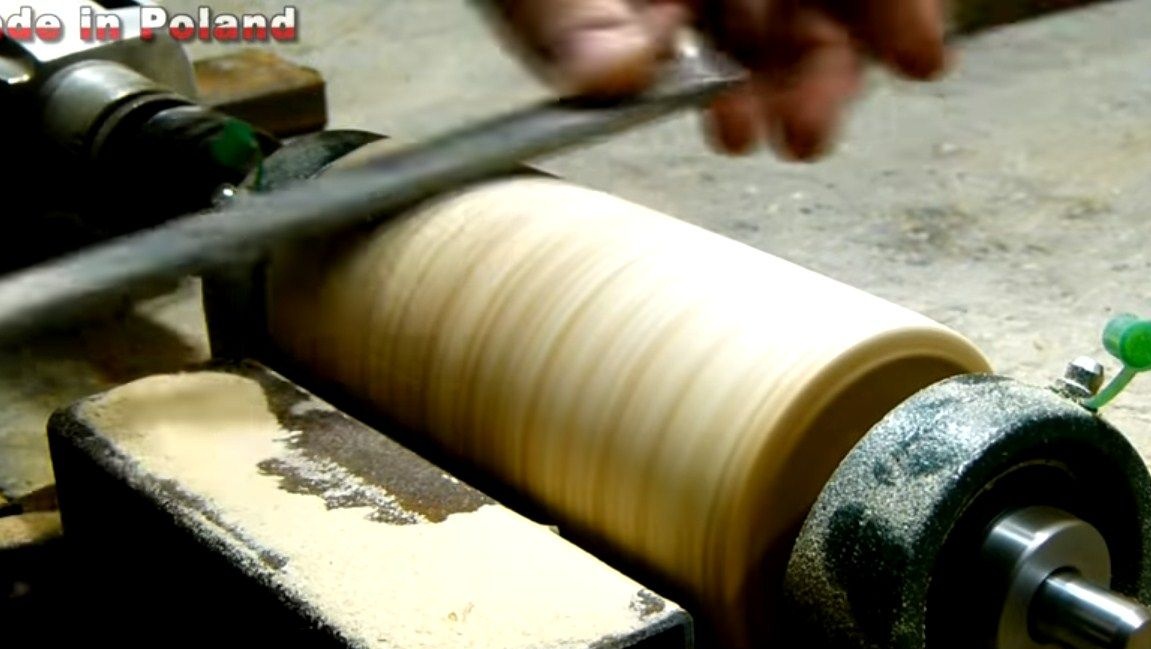
When the glue dries, we rotate each shaft with a drill and first process it with files, and then with sandpaper. In the center, the shafts should be slightly thicker. Than around the edges, this will make it possible to center the tape. That's all, we figured it out, move on.


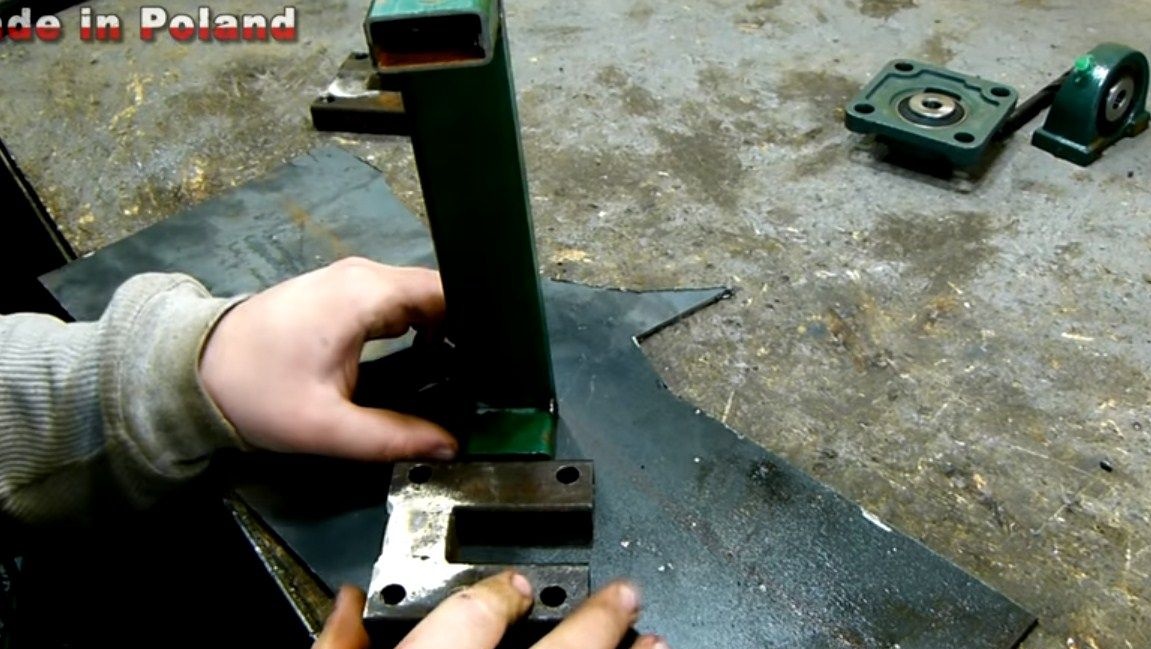
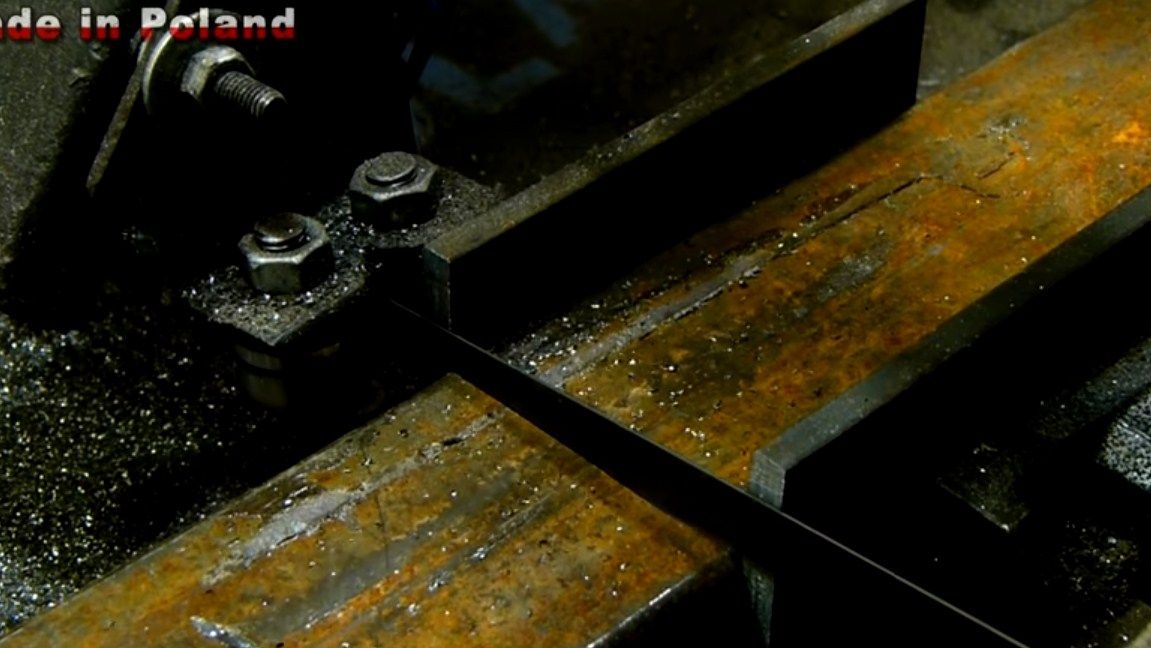
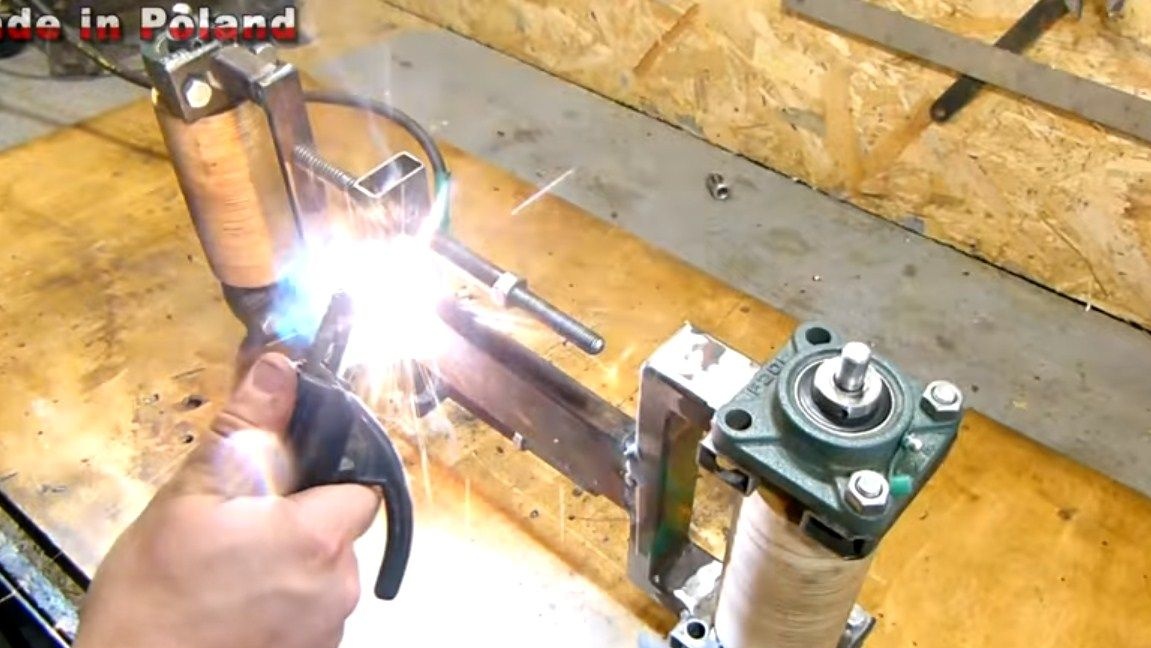
Step Three Bottom fork assembly
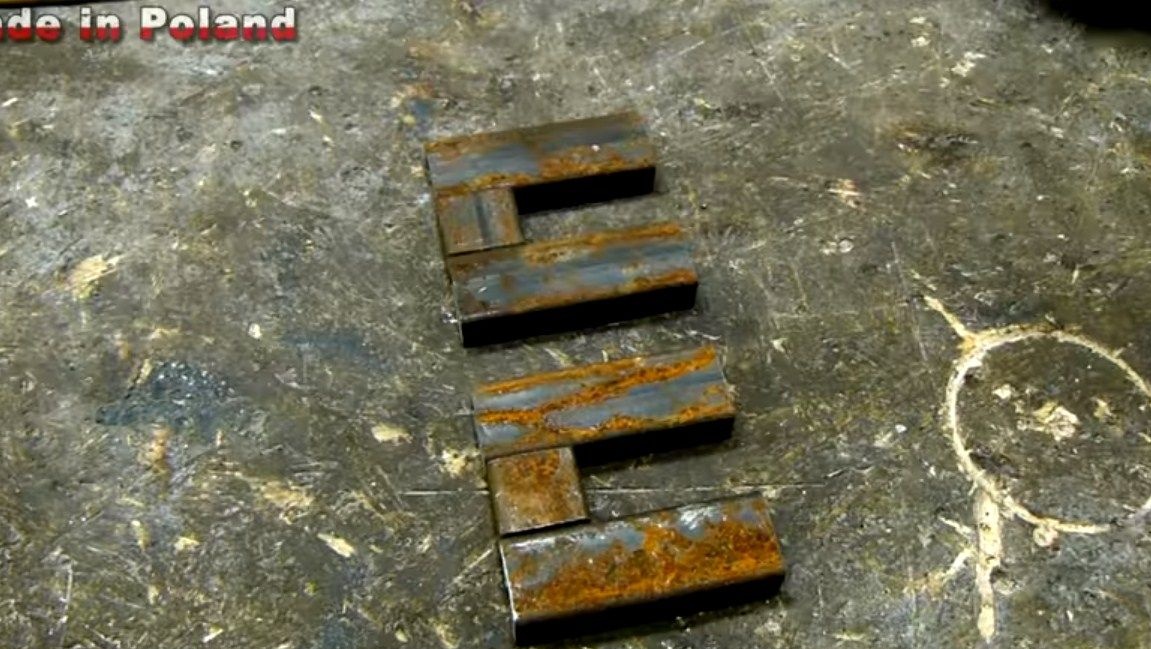
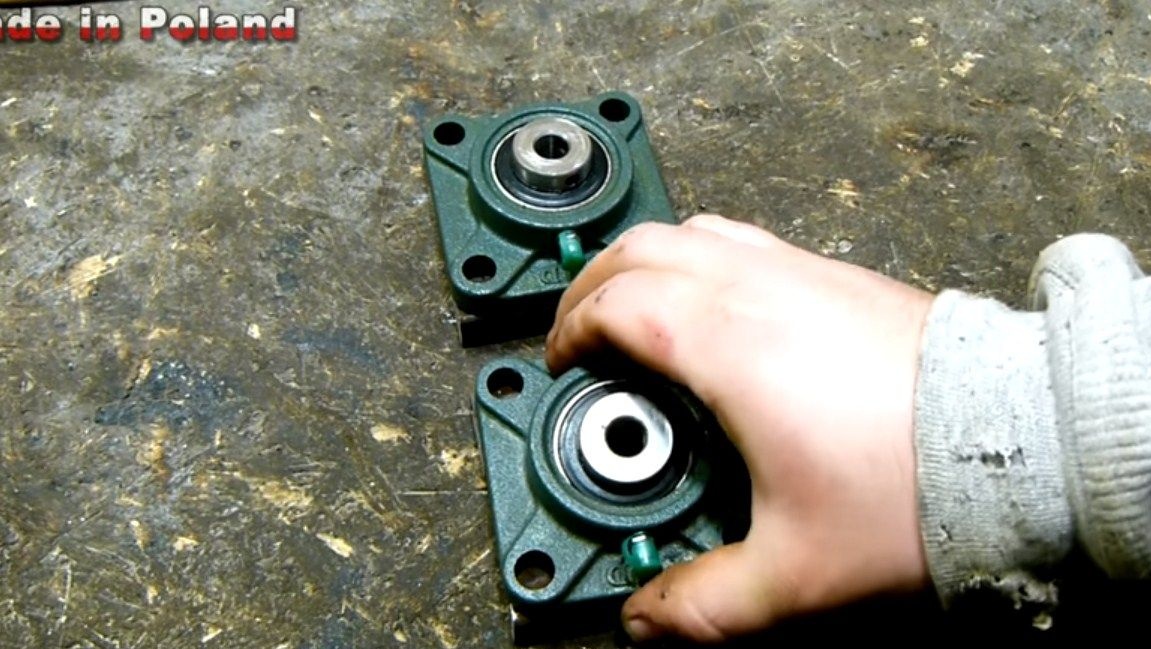
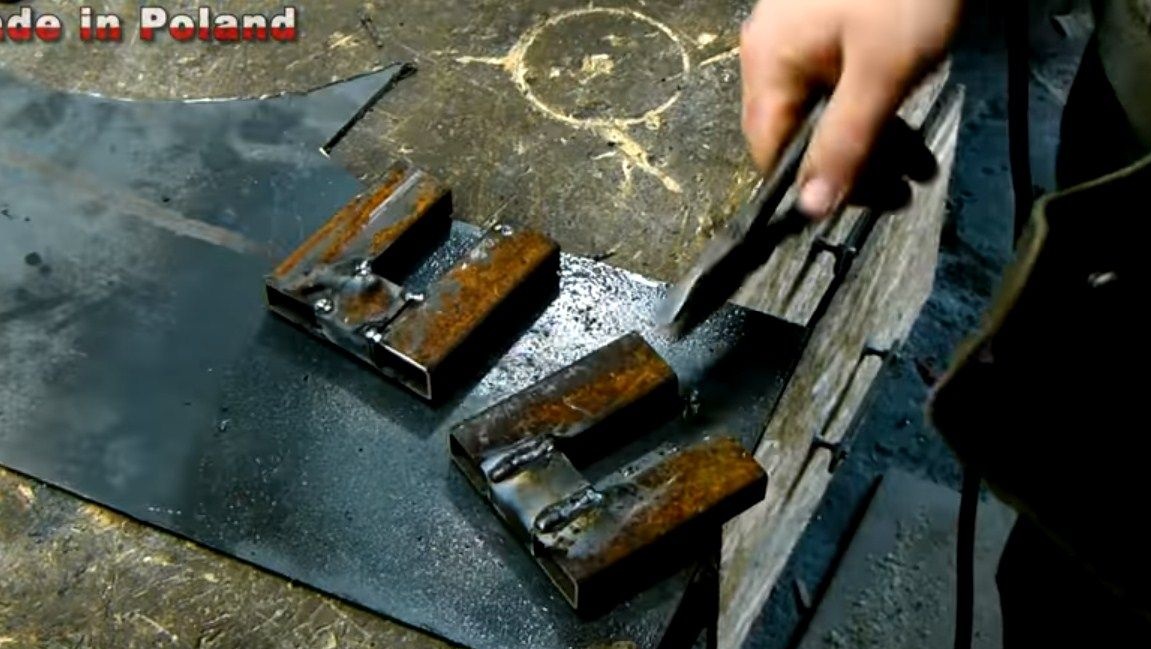
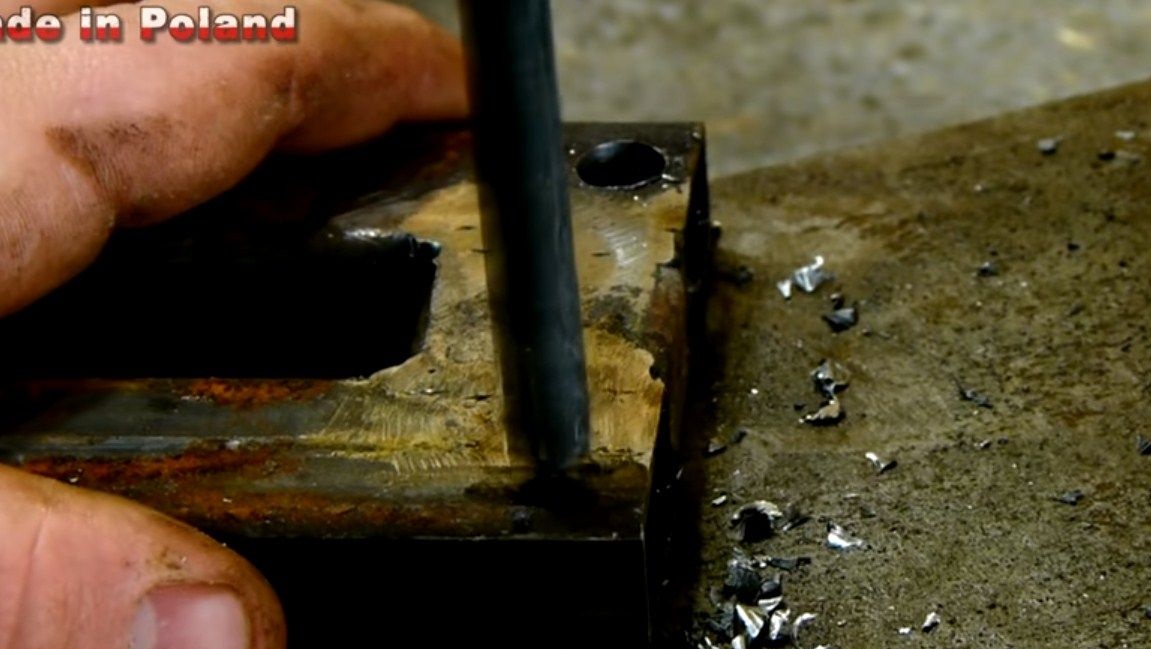
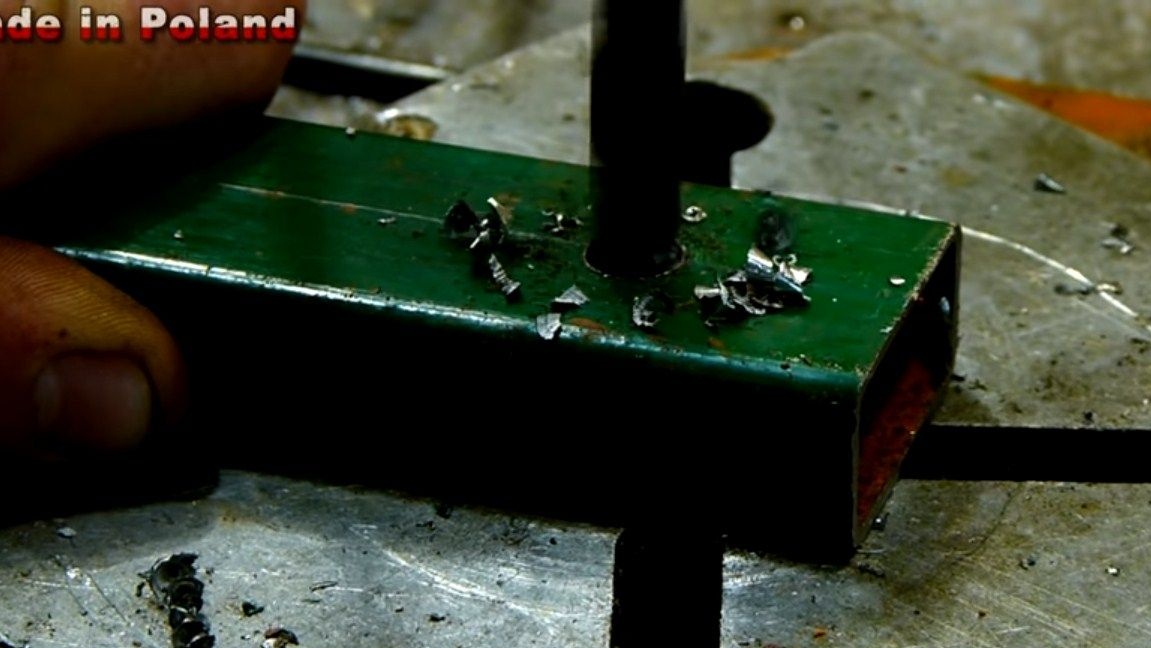
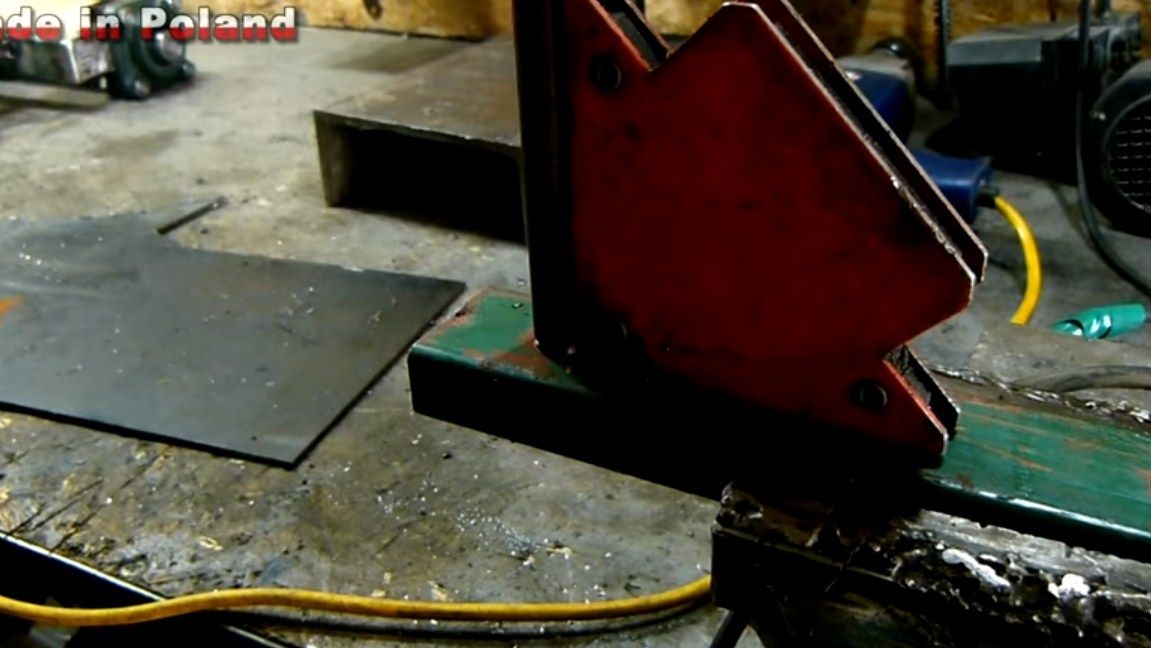
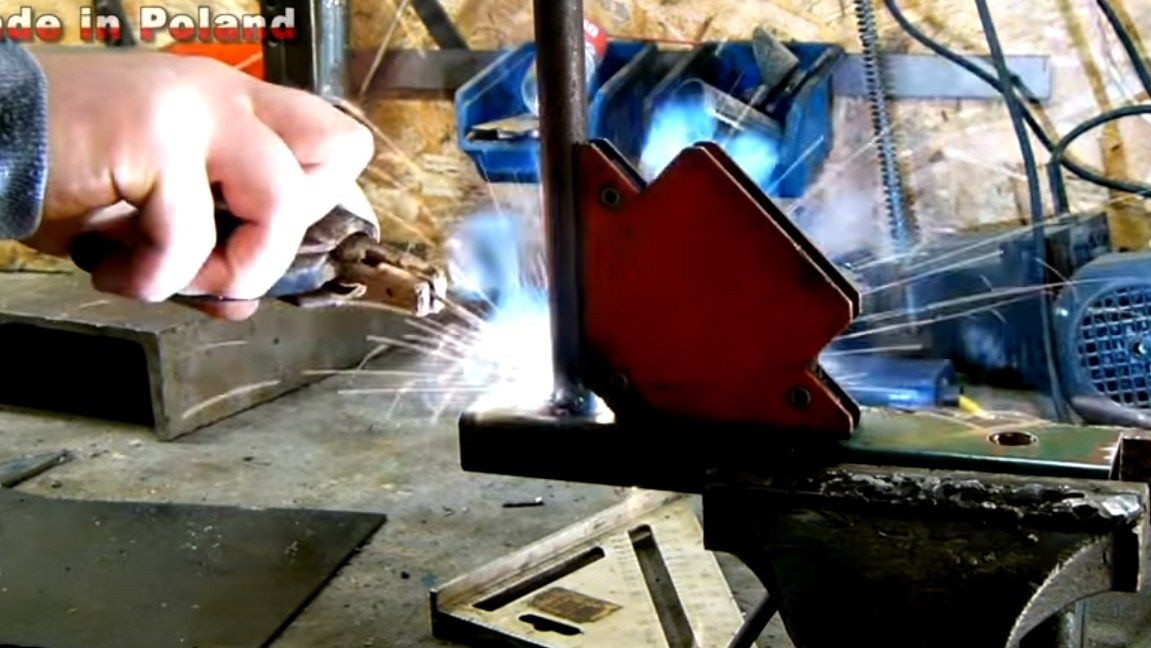
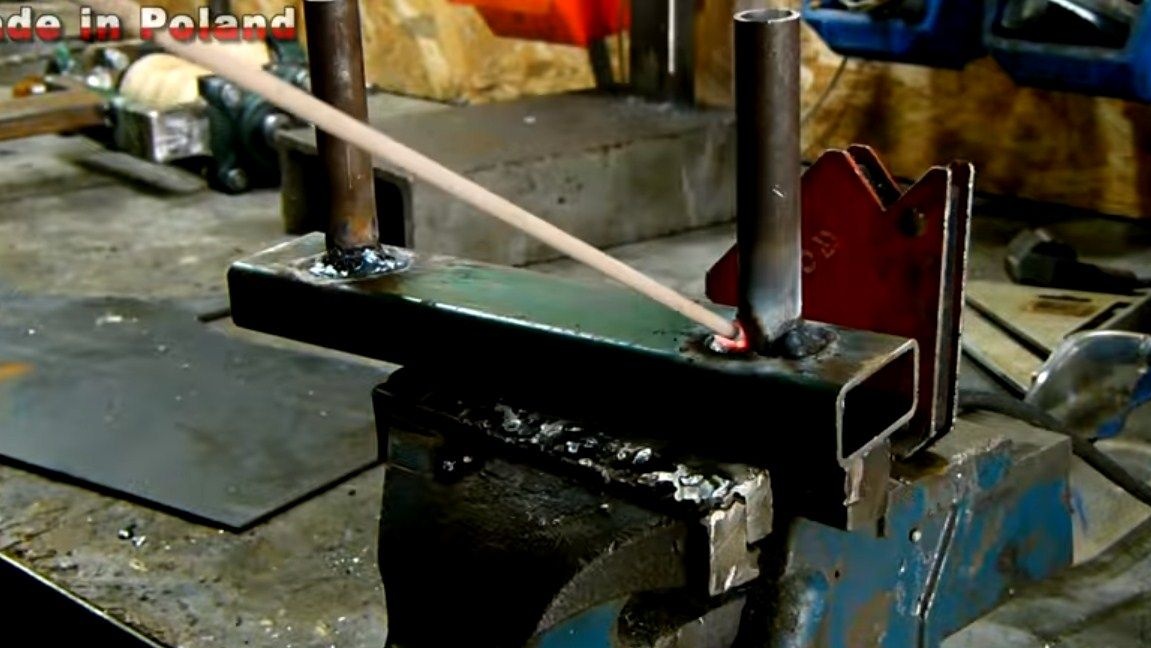
We proceed to the assembly of the lower fork, everything is made of steel pipes of square section. First of all, we weld fasteners for bearings, then we connect them together. We drill holes for the bearings and screw them into place with bolts and nuts, setting the lower working shaft. That's all, the lower part is almost assembled, we weld to it a vertical piece of pipe, which will act as a rack.
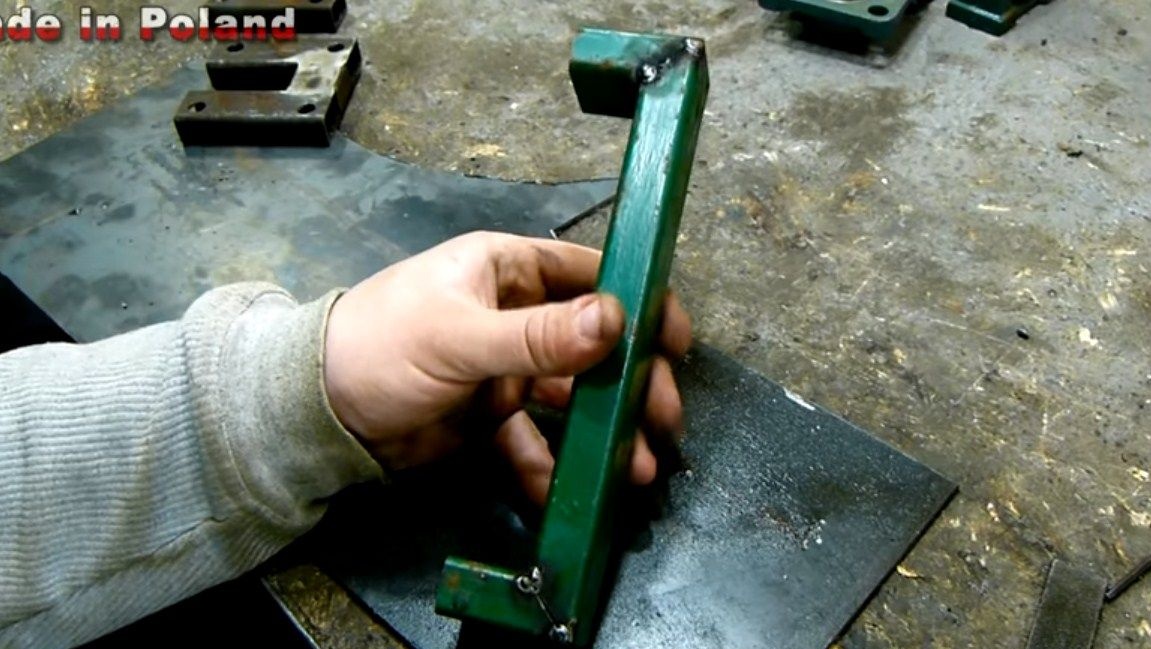


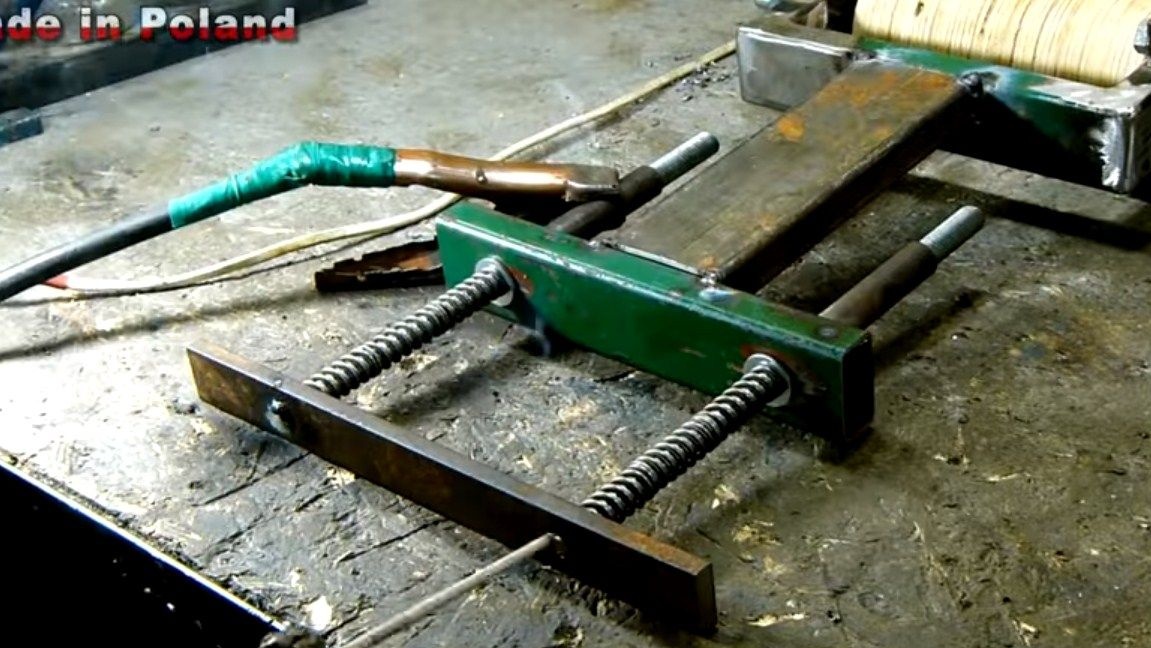
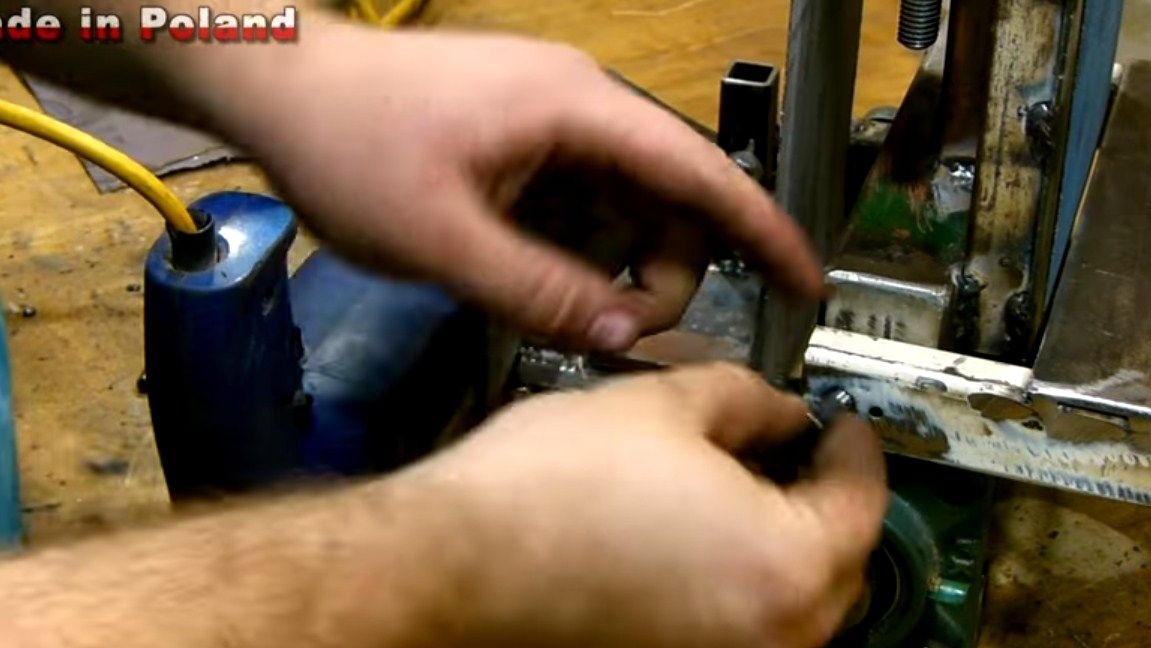
Step Four We make the top fork
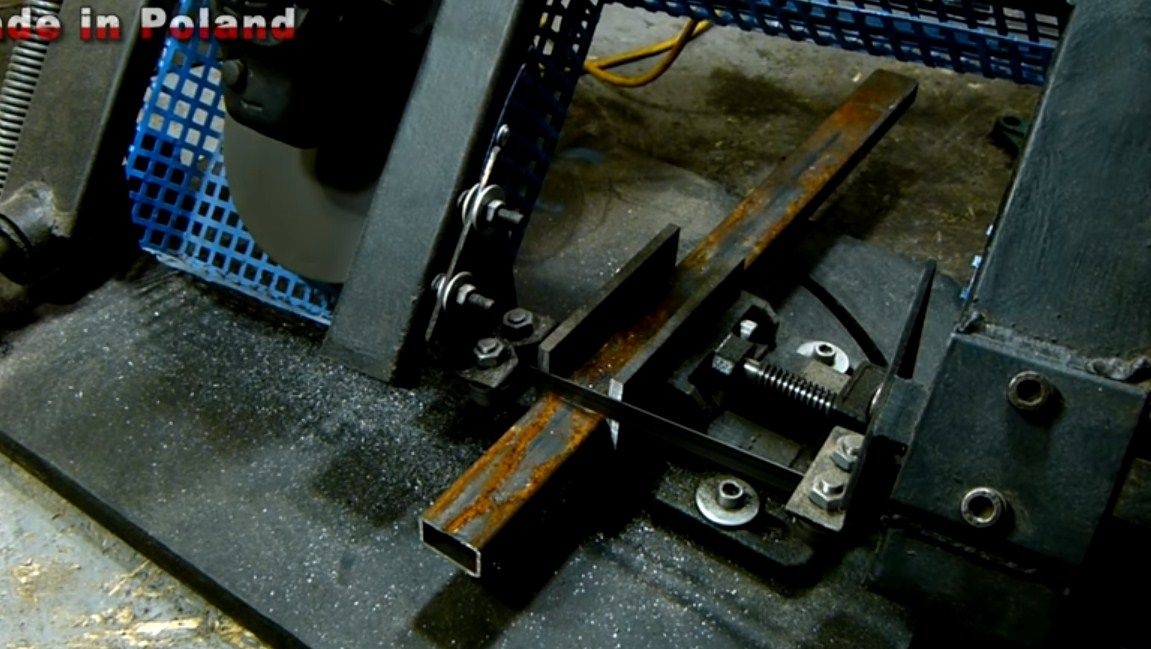
Our upper fork differs from the lower one, but the difference is that there is a tensioning mechanism. Another piece of a square pipe is horizontally welded to the stand and we drill holes in it.
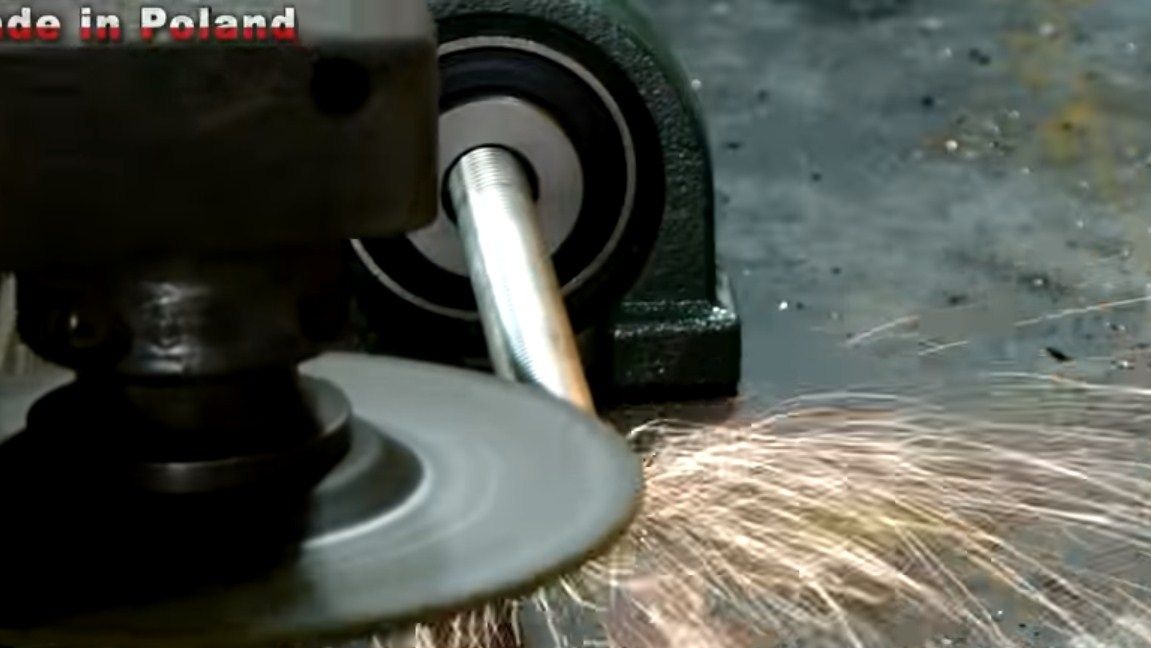
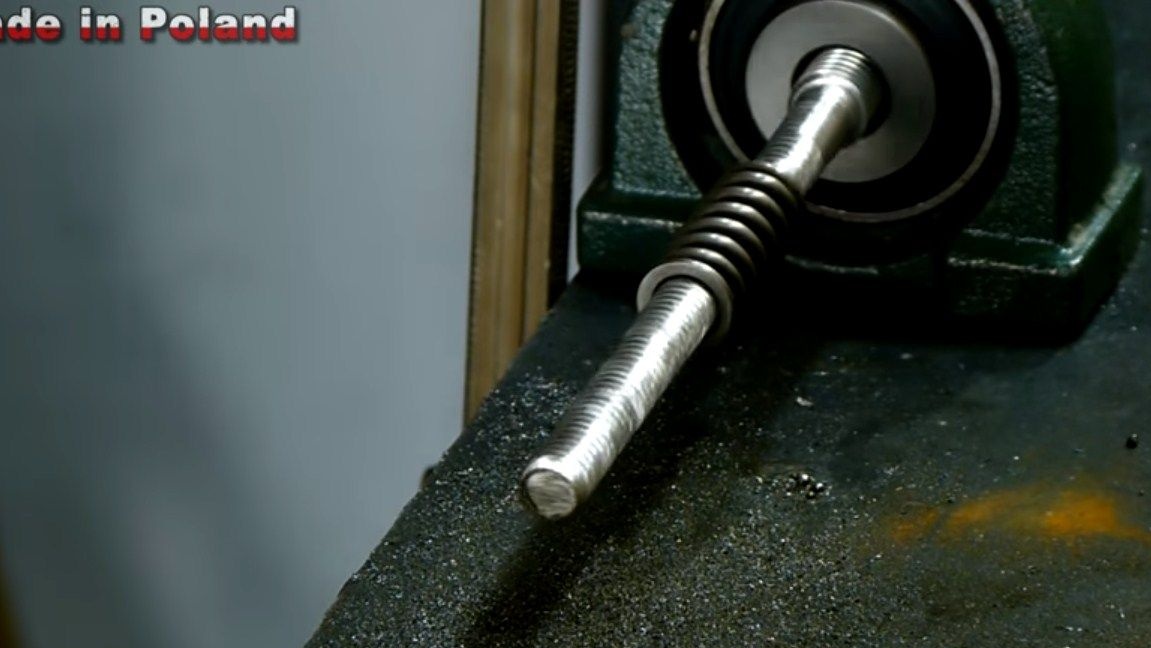
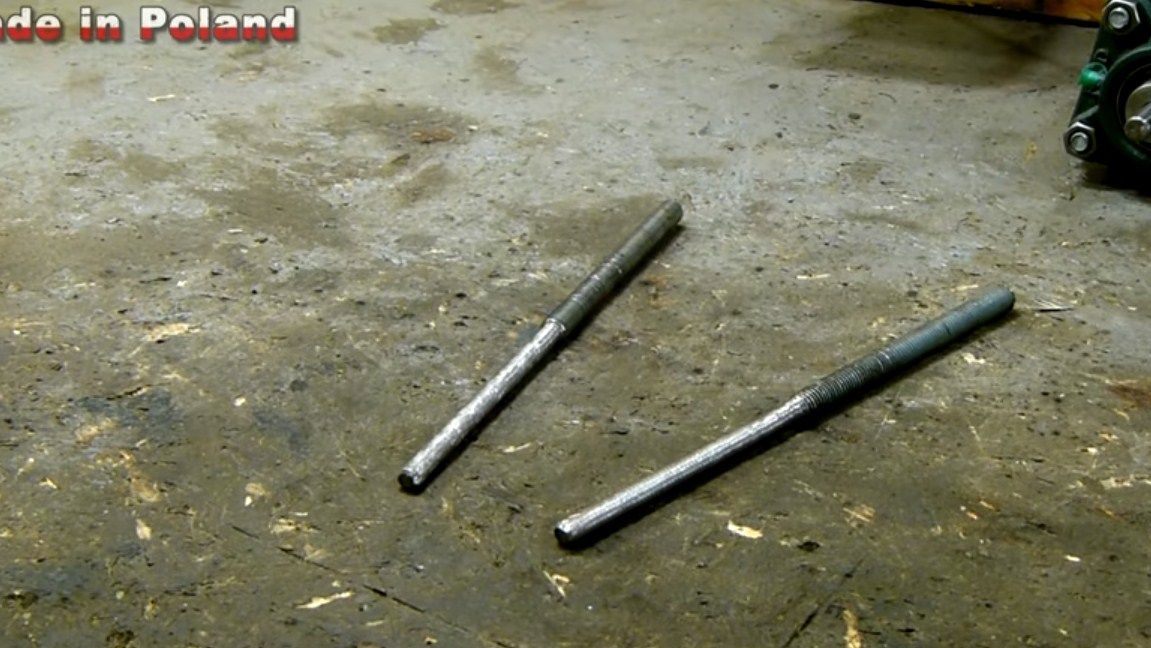
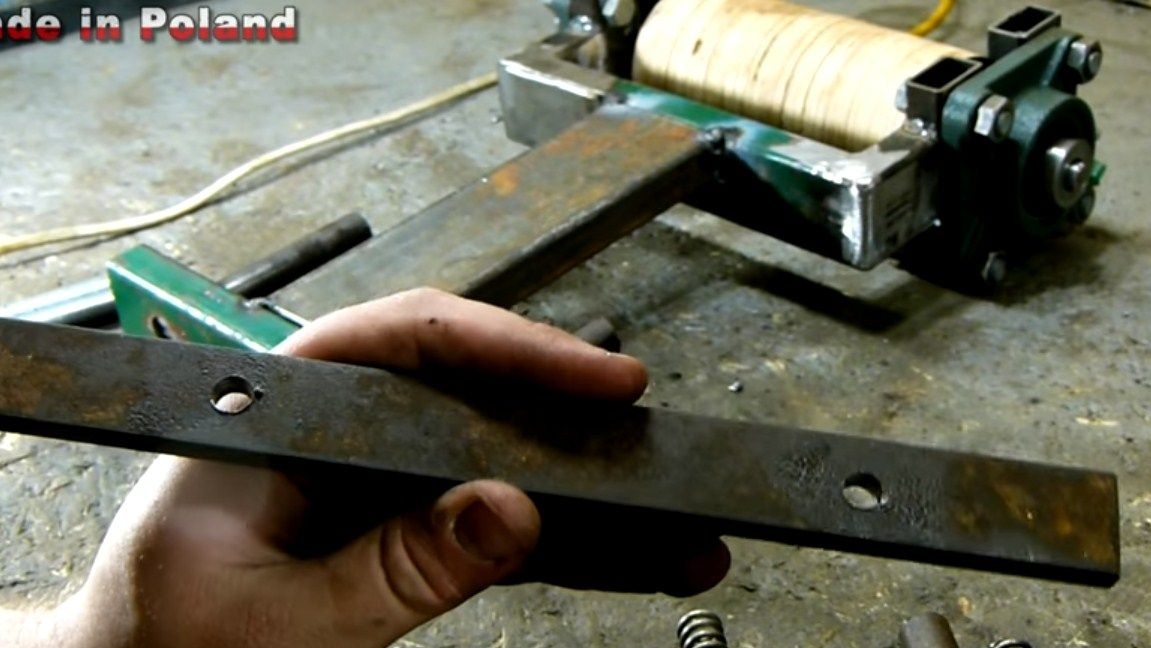
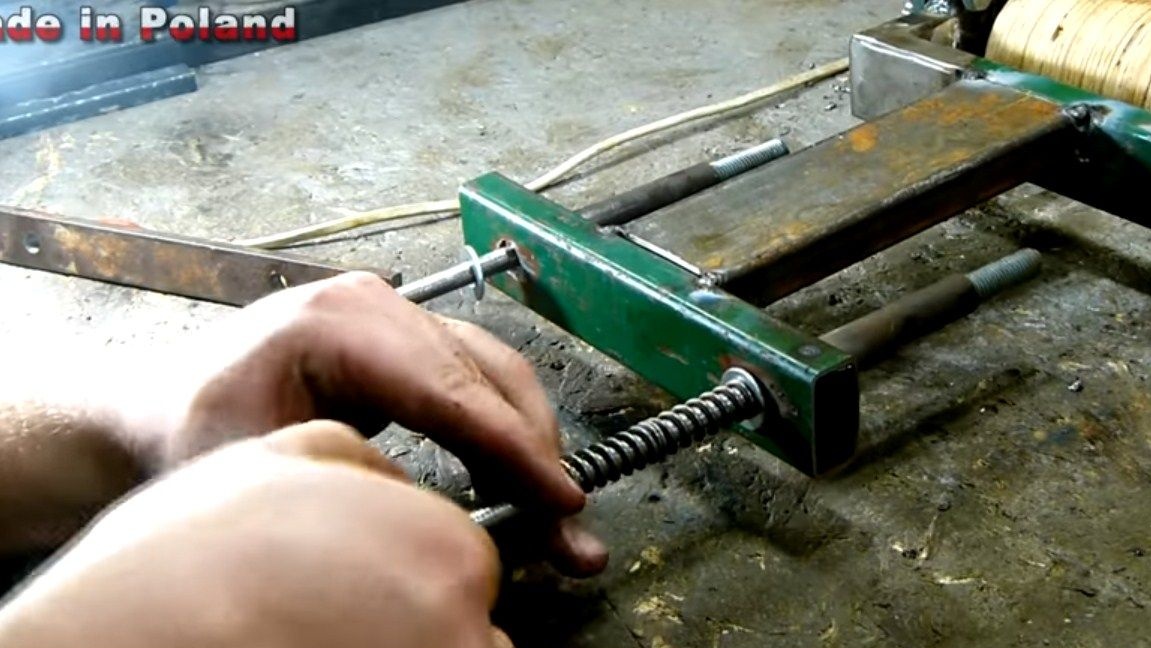
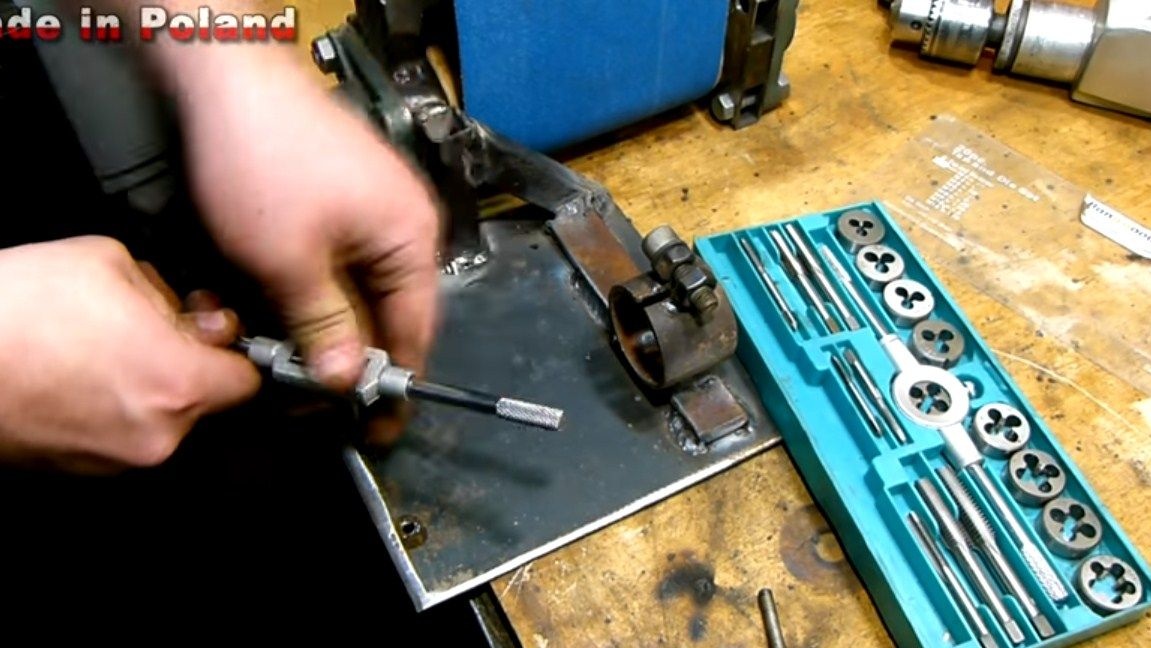
Next, we need two threaded rods, from them the author grinds a thread of a certain length. Where there is no thread, the springs will be located, they will push the fork up, thereby pulling the belt. These rods are welded to a piece of steel plate. Conventional round steel tubes are welded to a previously welded piece of a square pipe opposite the holes, they will work as guides. That's all, now we assemble this structure, put on the springs, insert the rods into the tubes, and on the other hand we fix the structure with nuts.
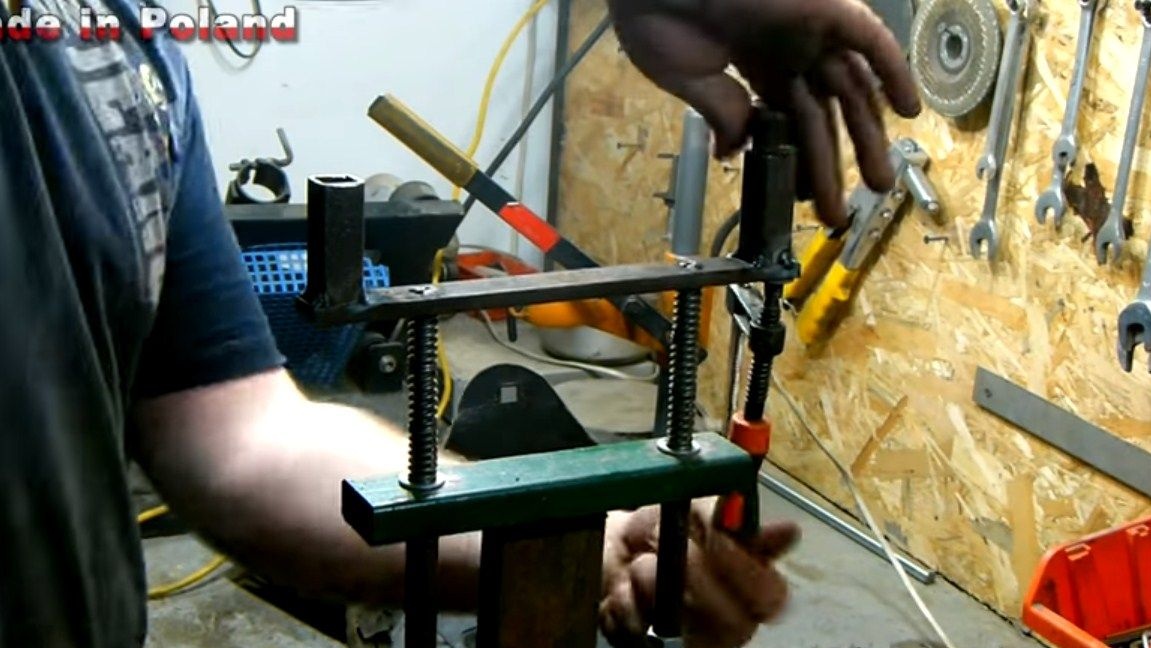
That's all, the tensioning mechanism is ready, we just have to assemble the top fork on it. We weld square pipes to the steel plate, drill holes and fasten the bearings by installing the upper shaft. We weld the whole structure thoroughly and grind the welds.
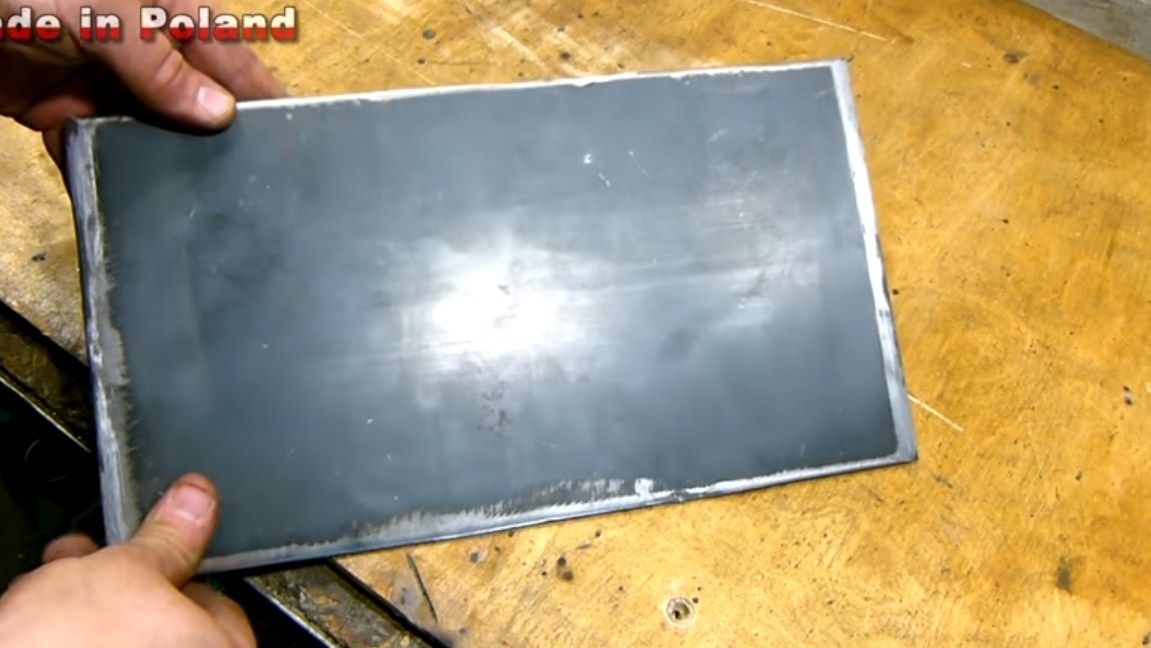
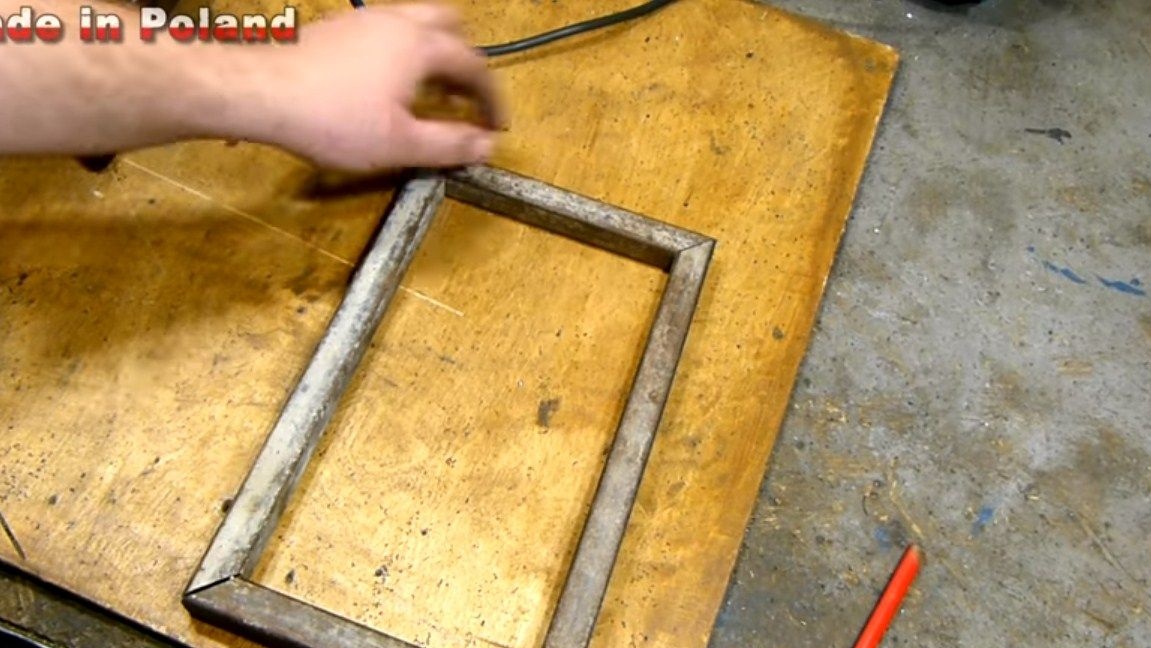
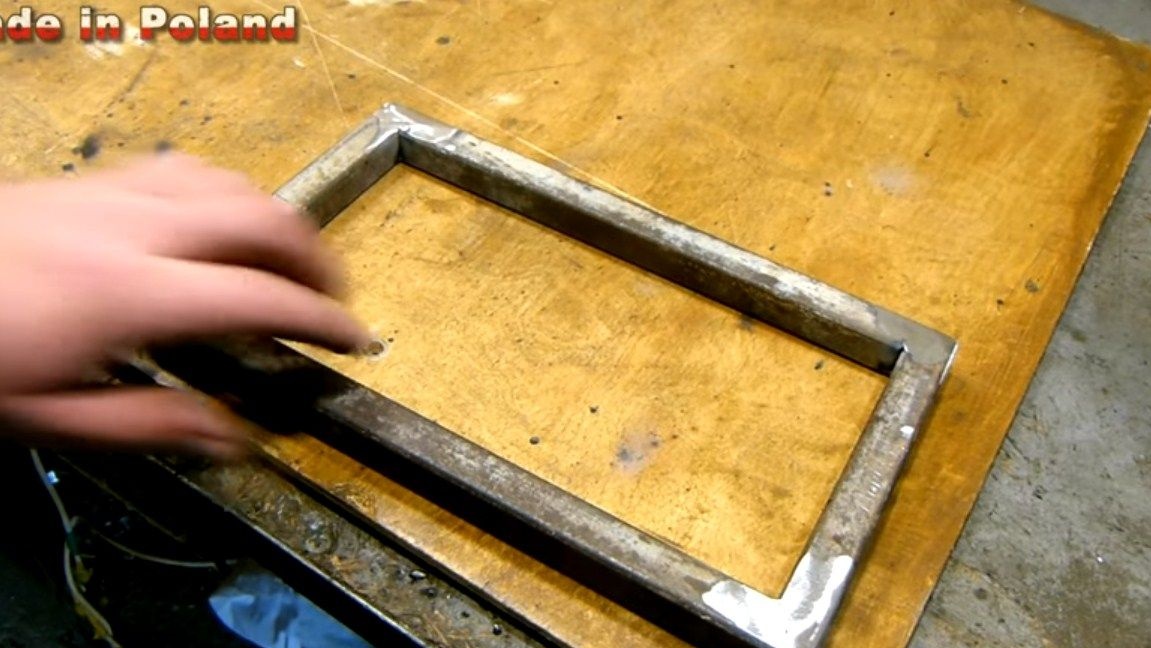
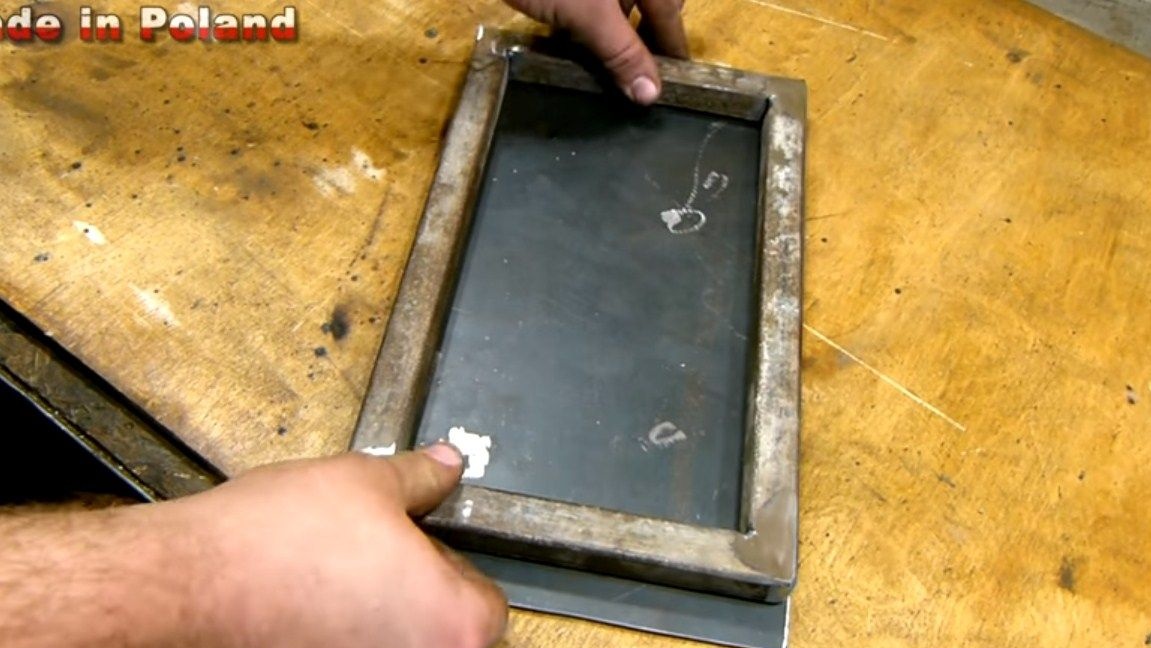
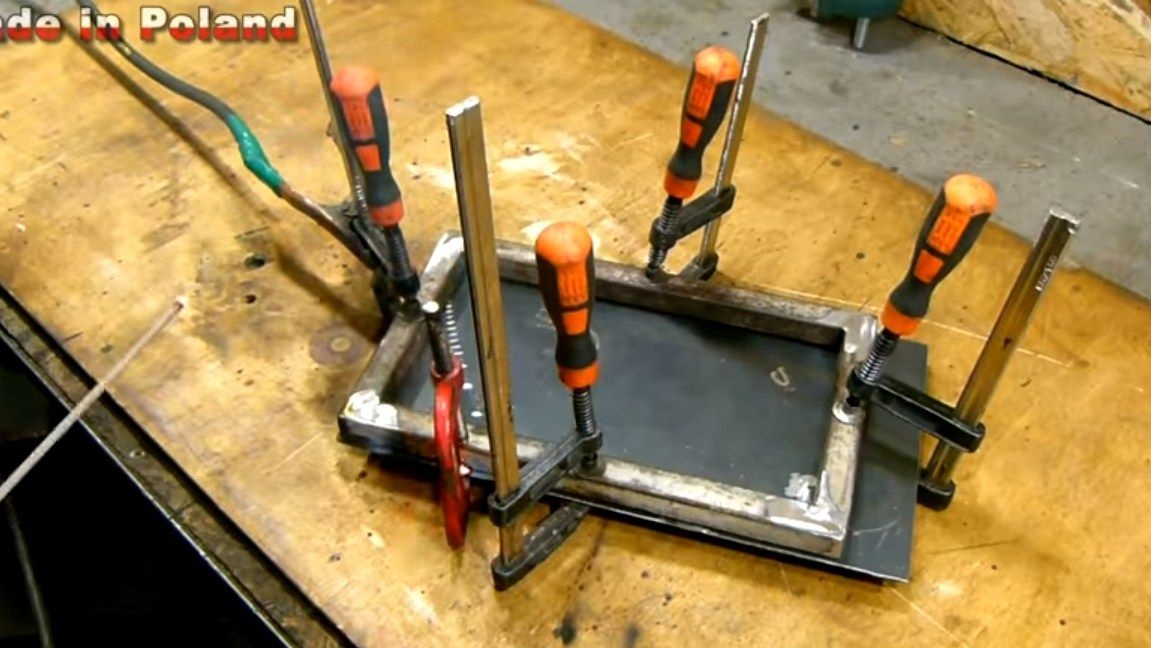
Step Five Thrust platform
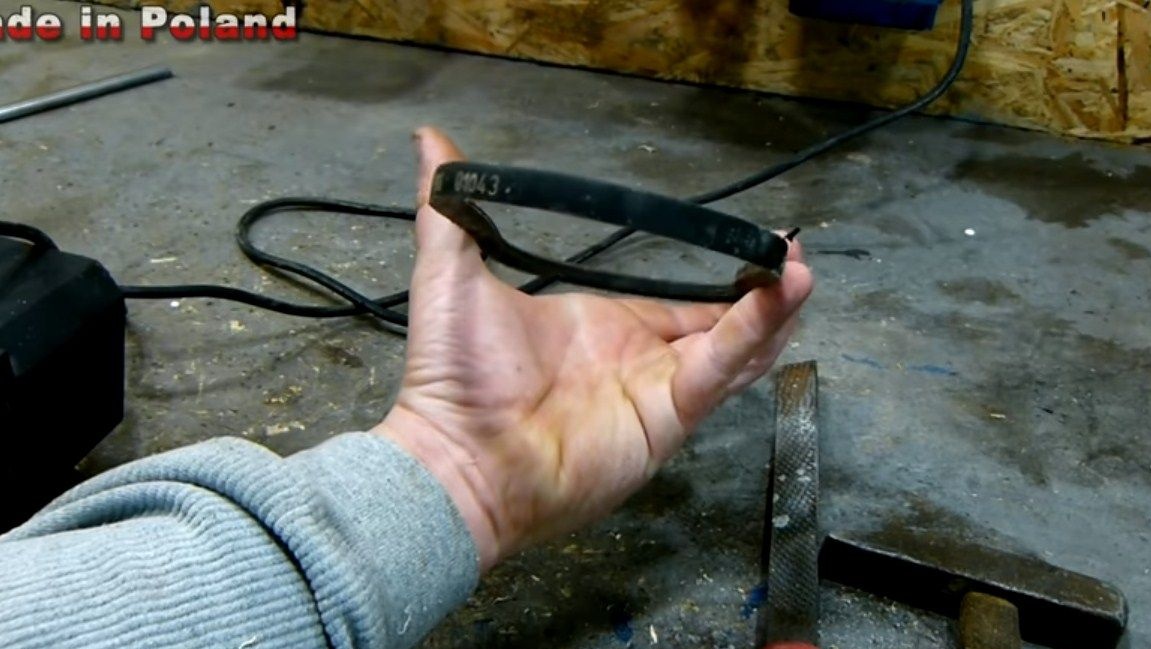
During grinding work we need to rest on something, a persistent platform is made for this. To make it, you need square pipes, we weld them into a rectangle. Further, on top of this design, a sheet of steel of a similar shape is welded. That's all, now this whole thing is welded to the frame of the machine. At this step, you can immediately install the grinding belt.
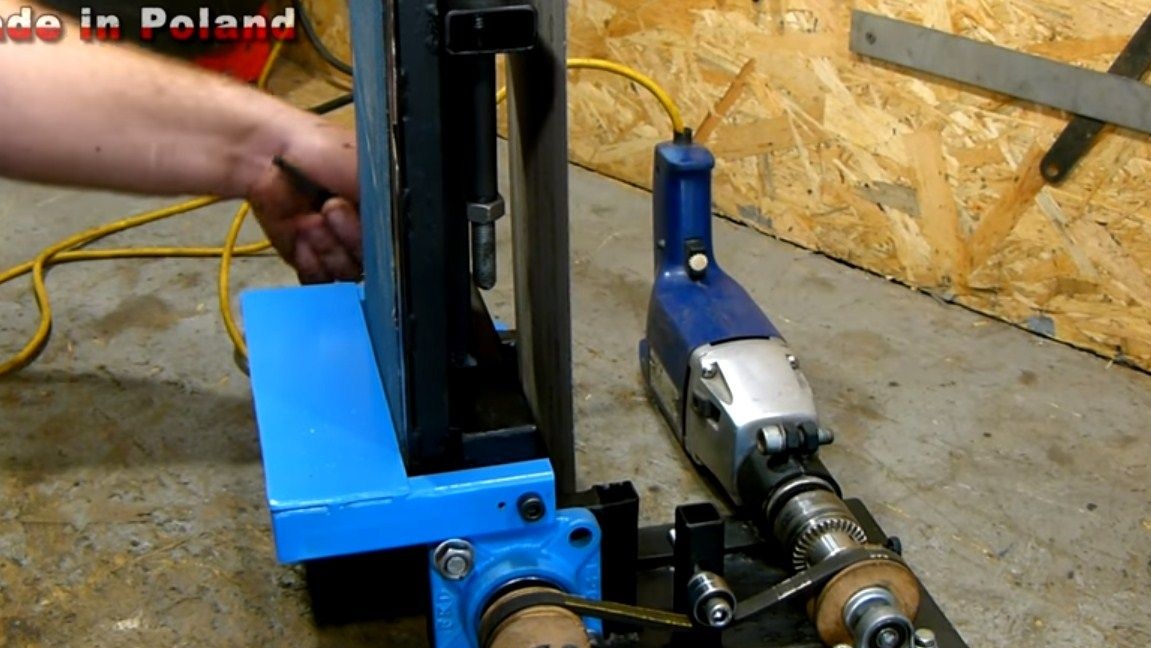
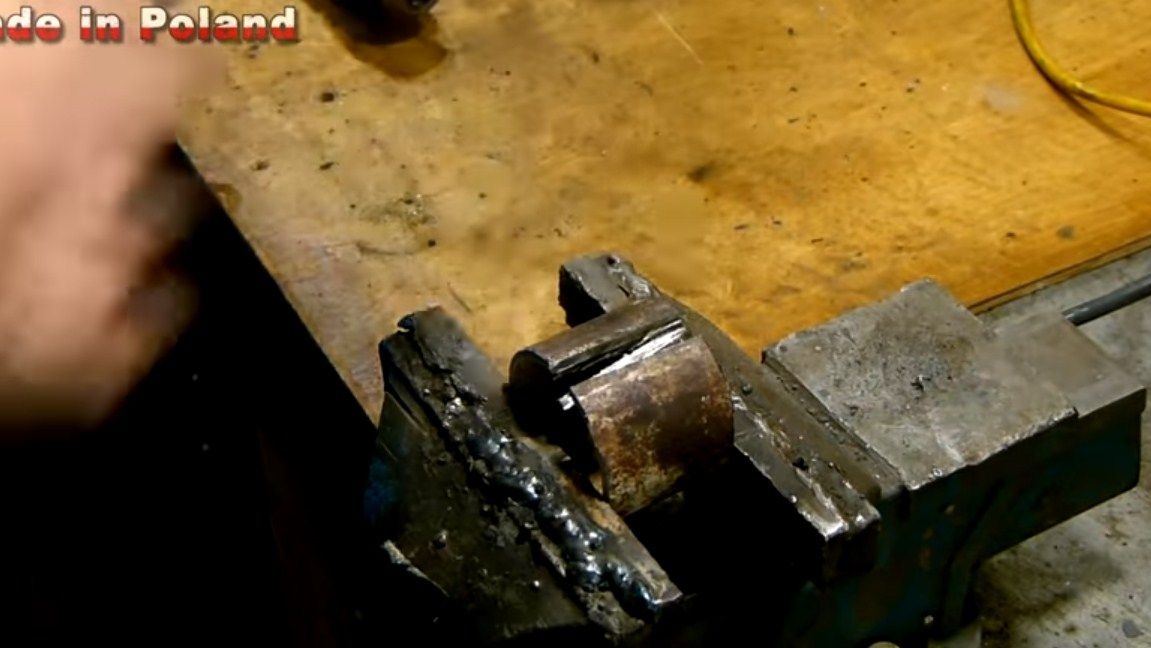
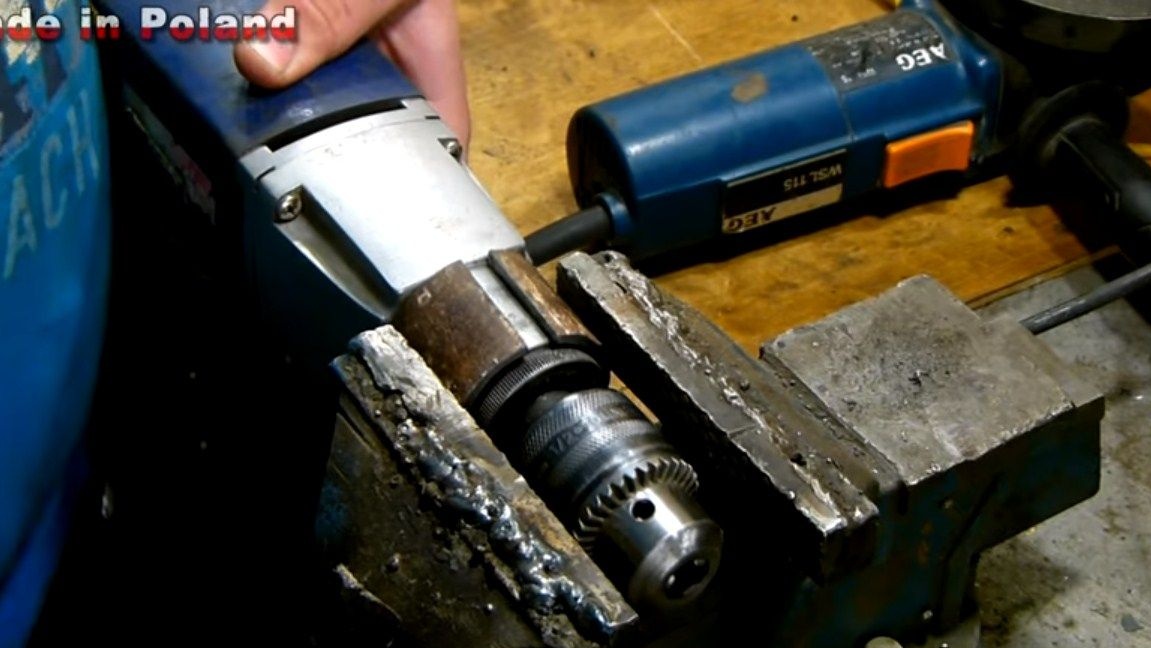
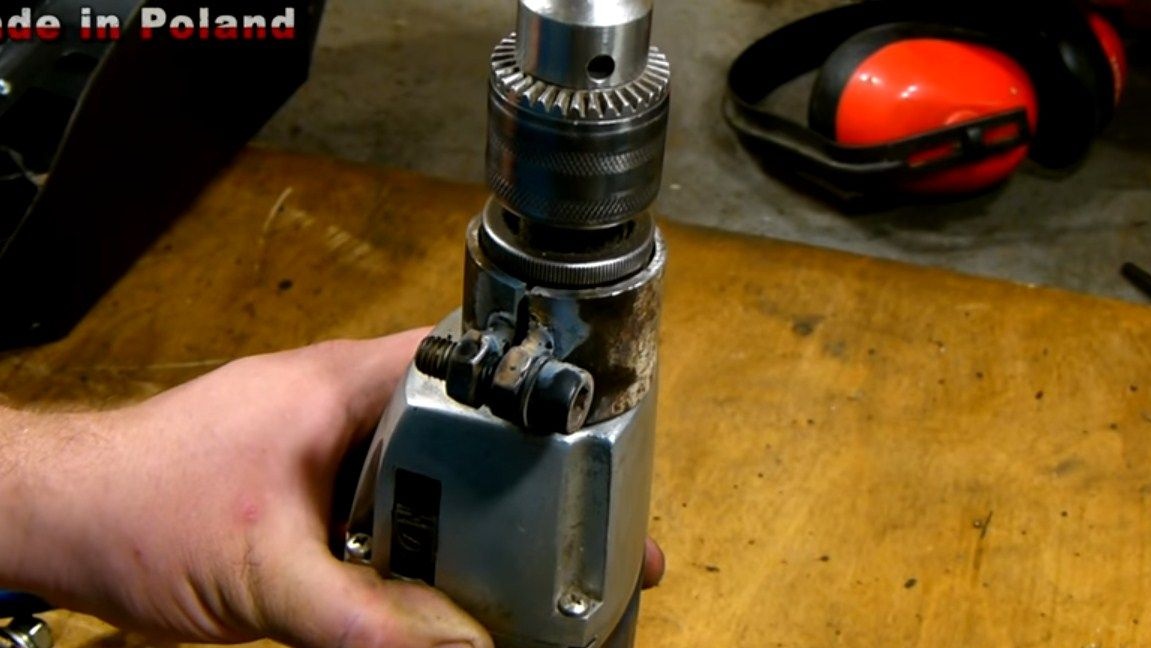
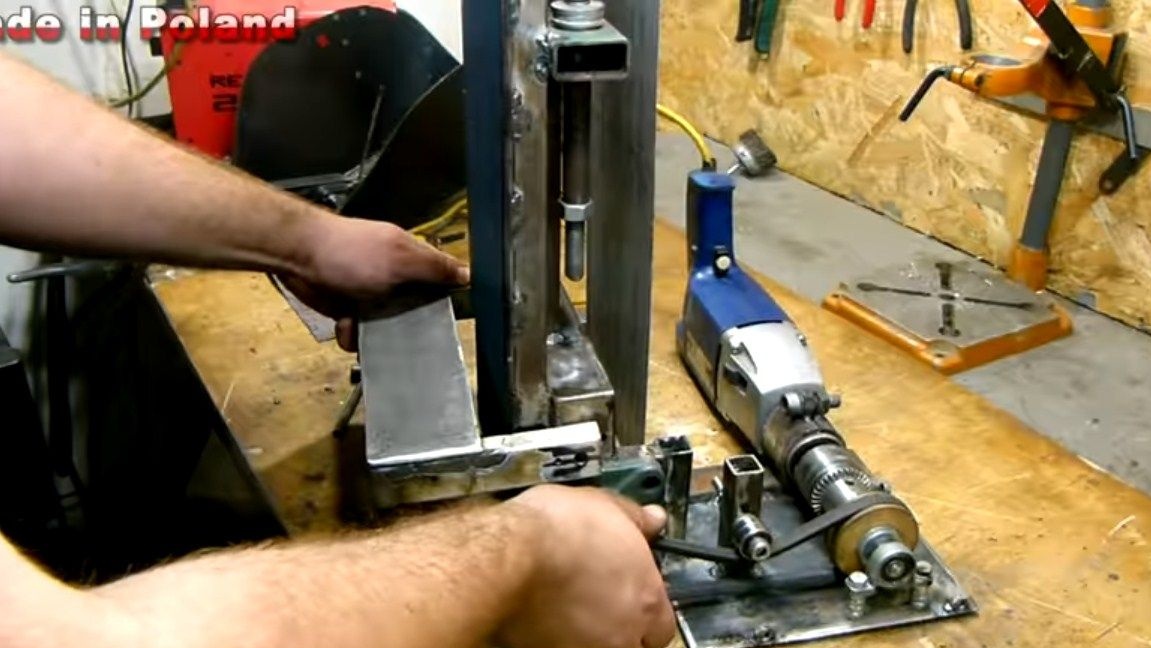
Step Six Install a drill
The heart of the machine is a drill, so it should be quite powerful. To install a drill, we first assemble the base. We weld a piece of sheet steel to the machine, using square pipes as brackets.
The drill must be removed from us, therefore, for it should be made a kind of retainer. We are looking for a piece of a round pipe of suitable diameter, it should be in diameter such as that part of the drill where the handle is attached. We cut the pipe along, make a cut on a wider so that the clamp is compressed. We weld the nuts, and the bracket itself is welded to the base in the right place.
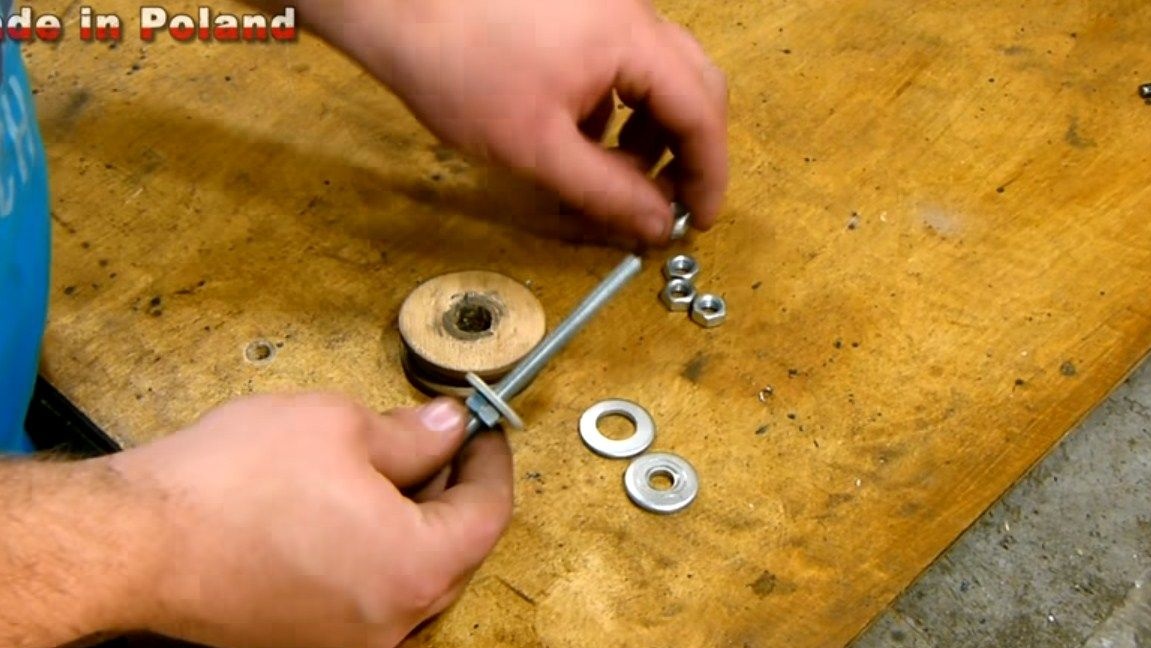
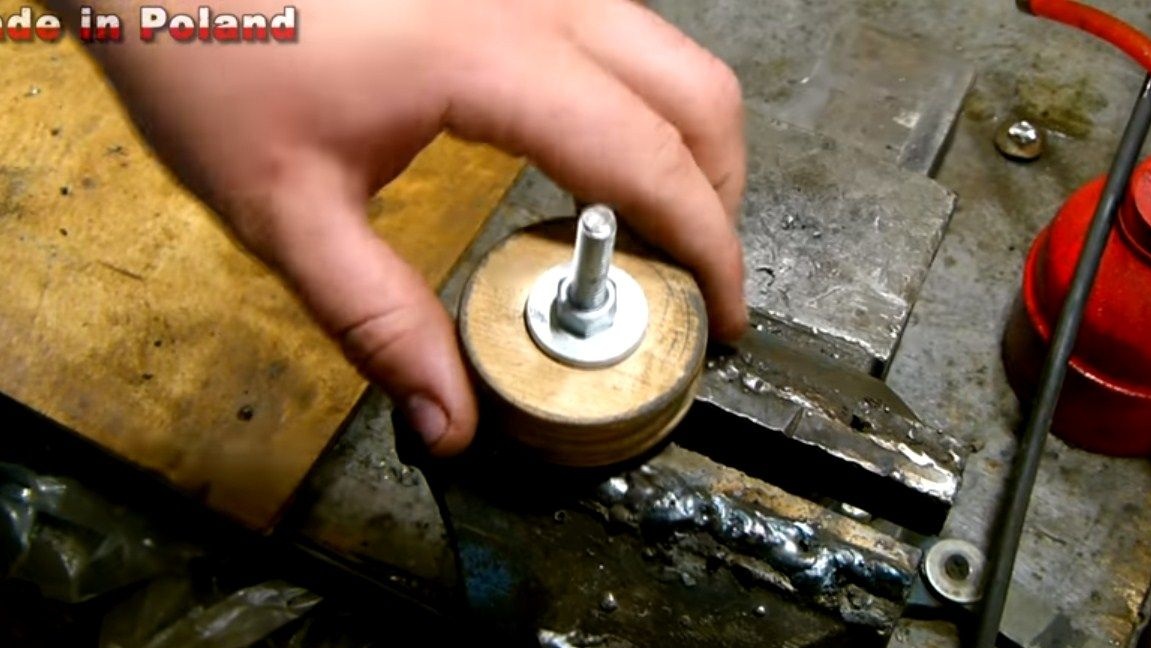
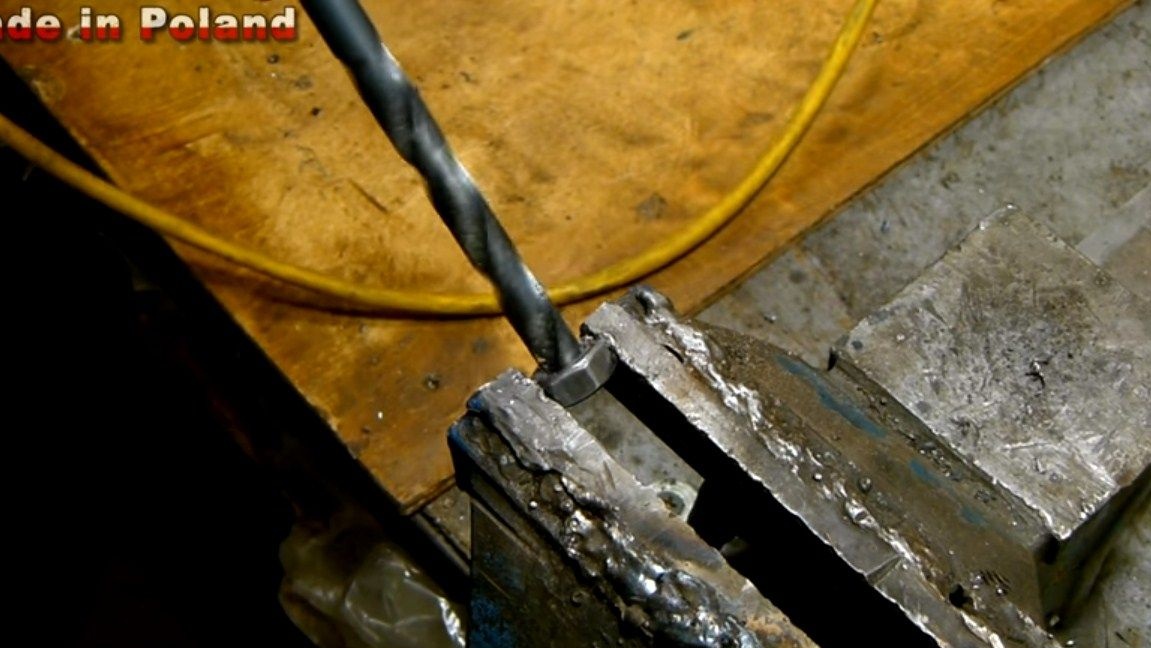
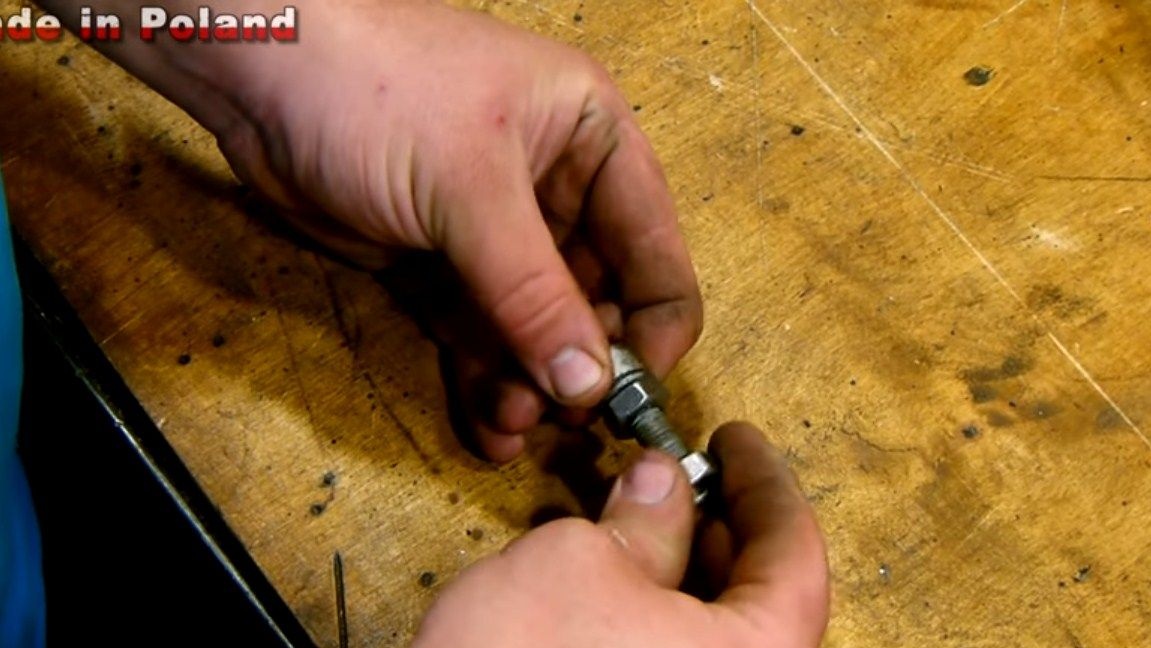
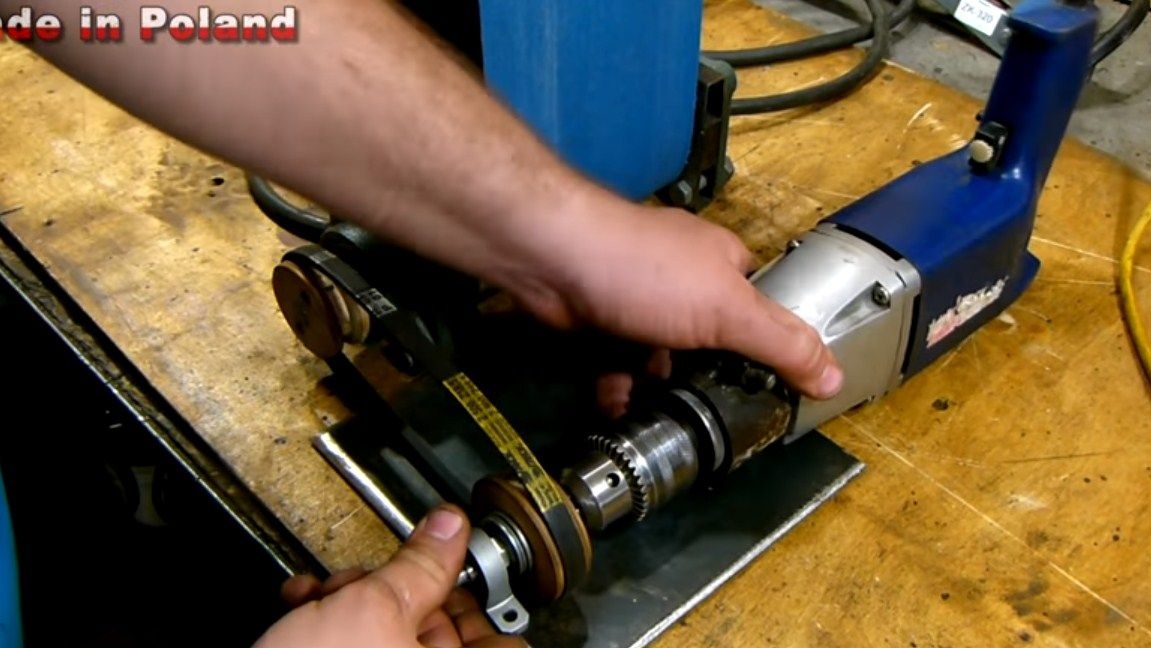

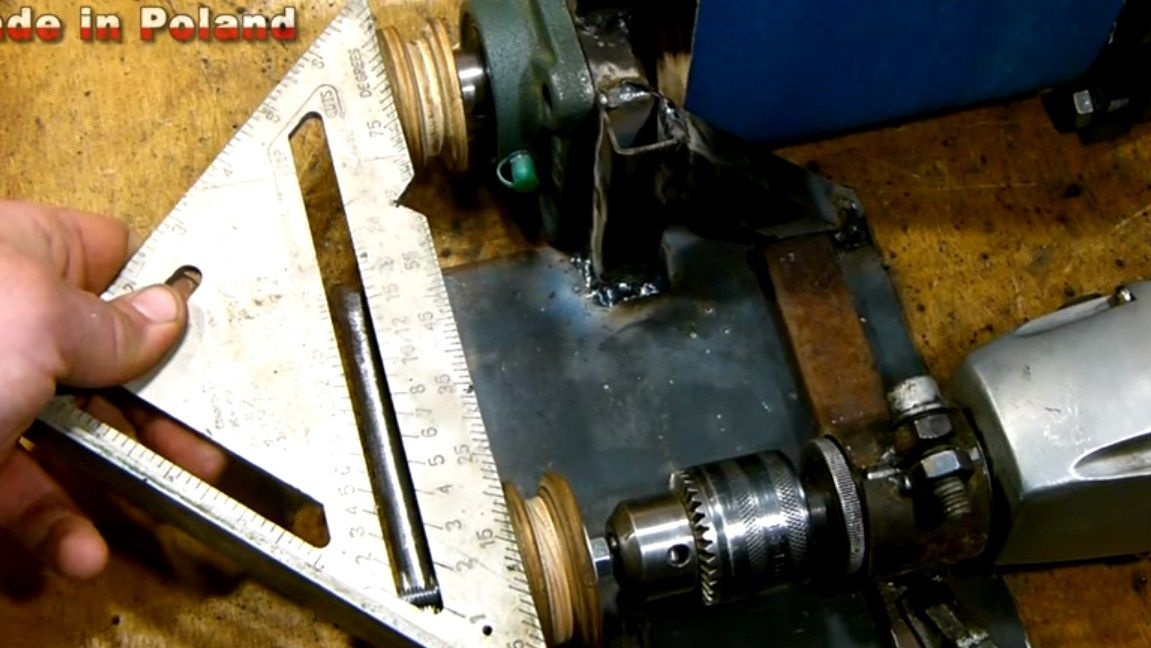
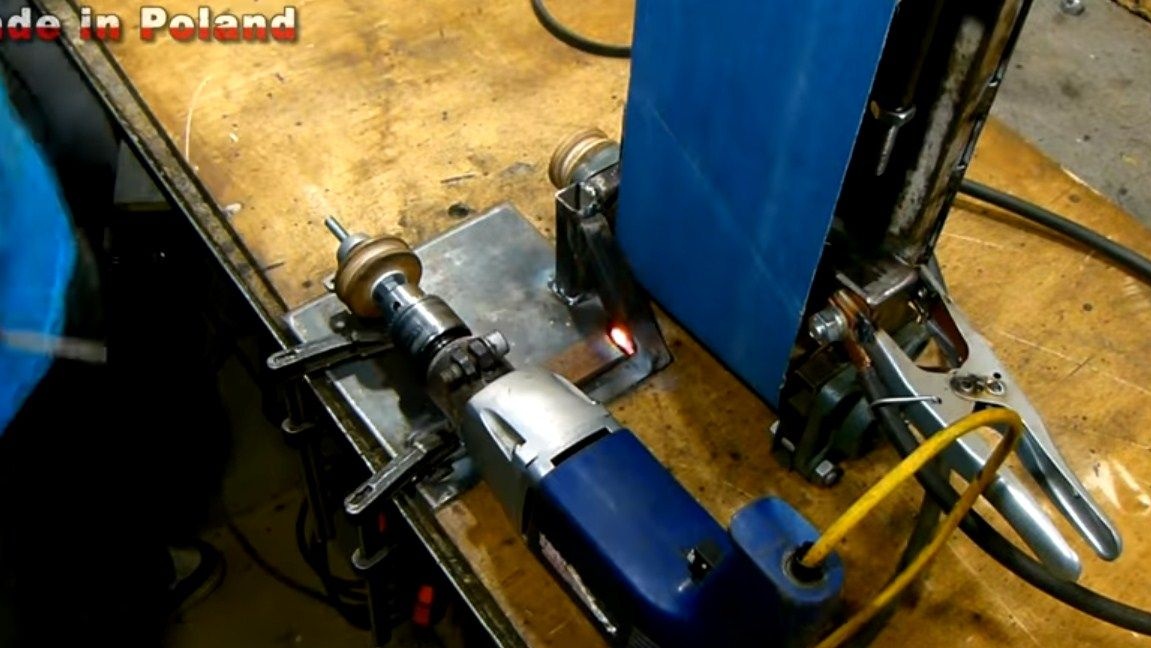
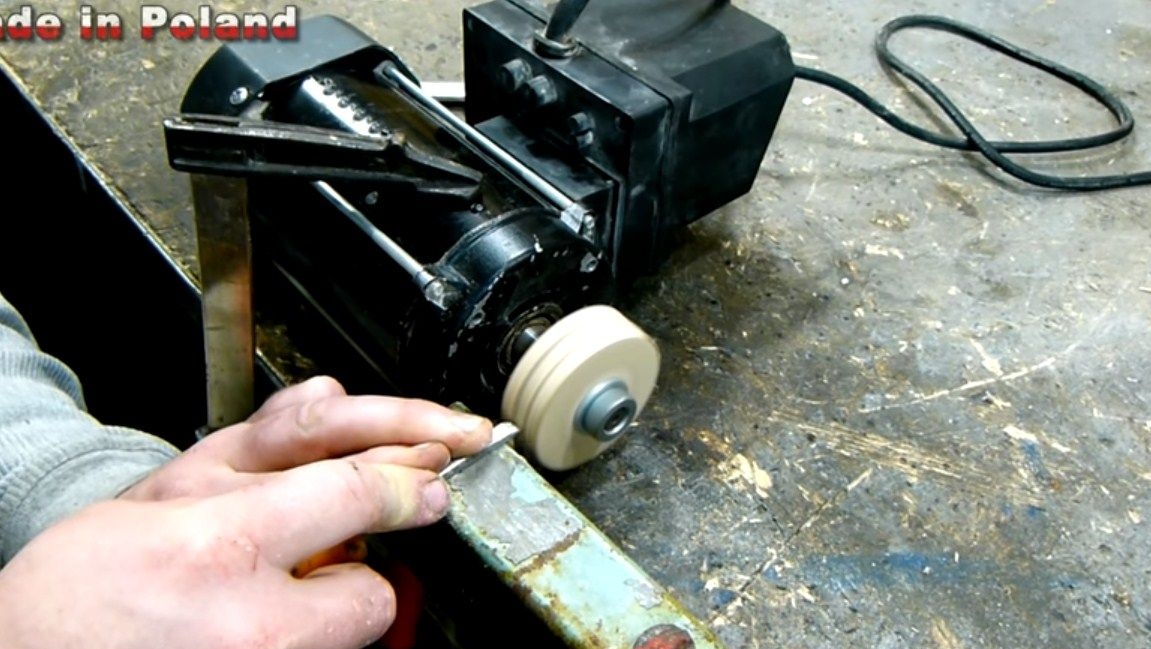
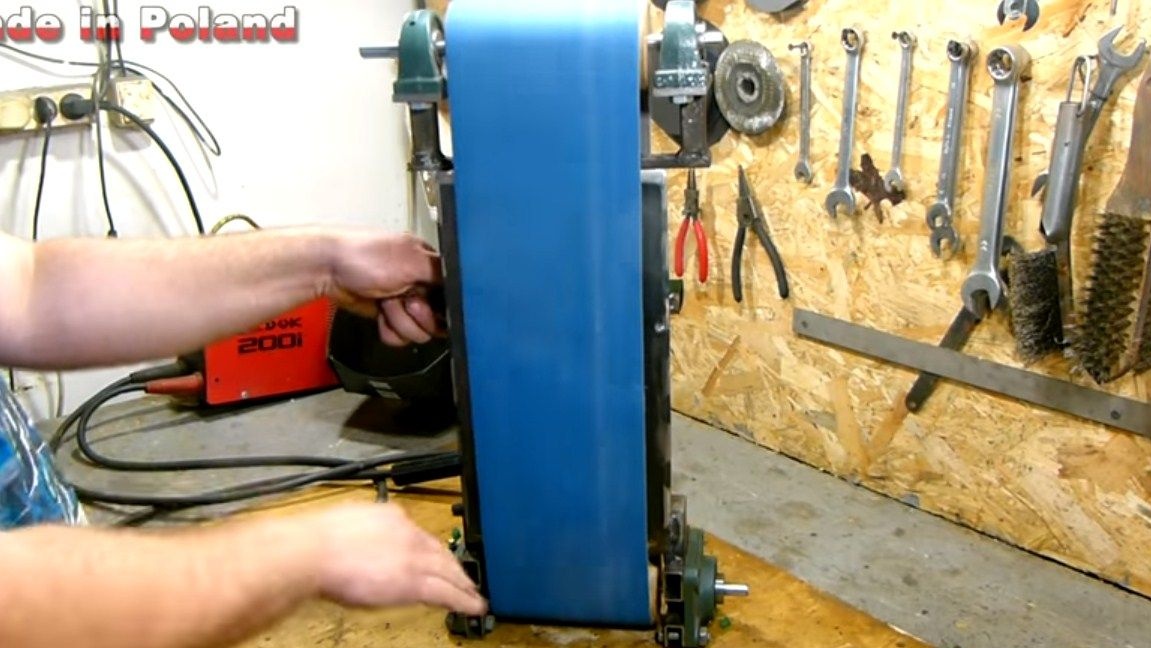
It remains to install the pulleys and tighten the belt. The driven pulley is attached to the shaft of the lower drive shaft, and the drive we need to install on the drill. To do this, insert a bolt into the pulley bore and tighten the whole thing with nuts and washers. We install the drill in its place and install the belt. To tighten the belt, the author has adapted a special tensioner, the roller of which is made of two bearings. That's all, right after that you can start the car and test it in practice.
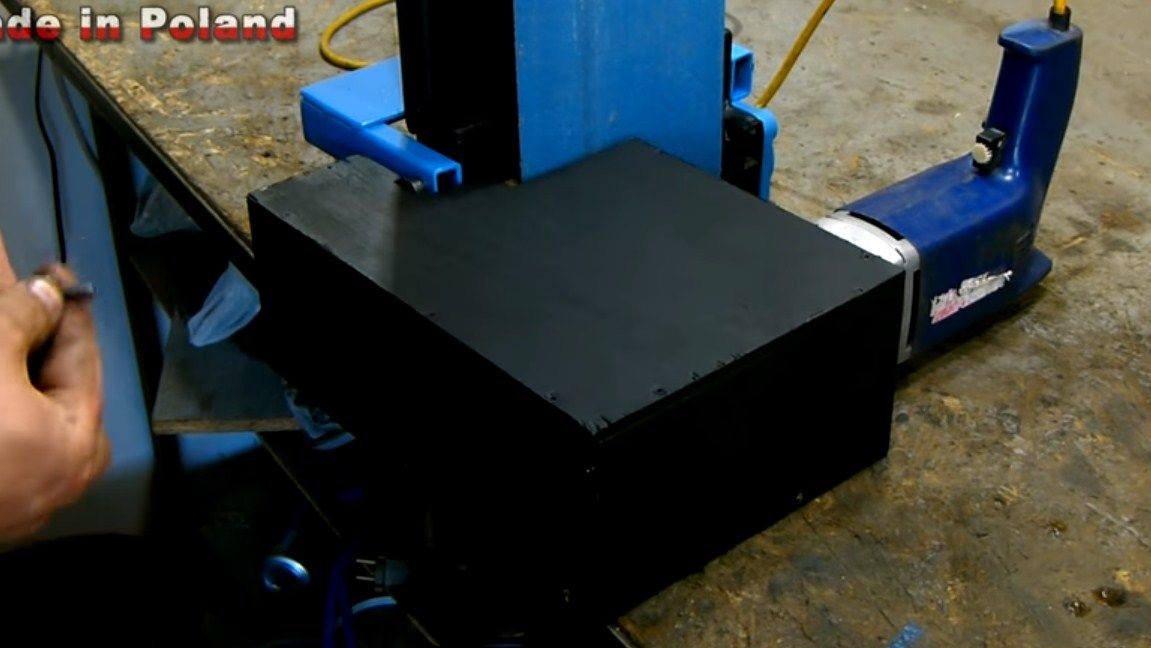
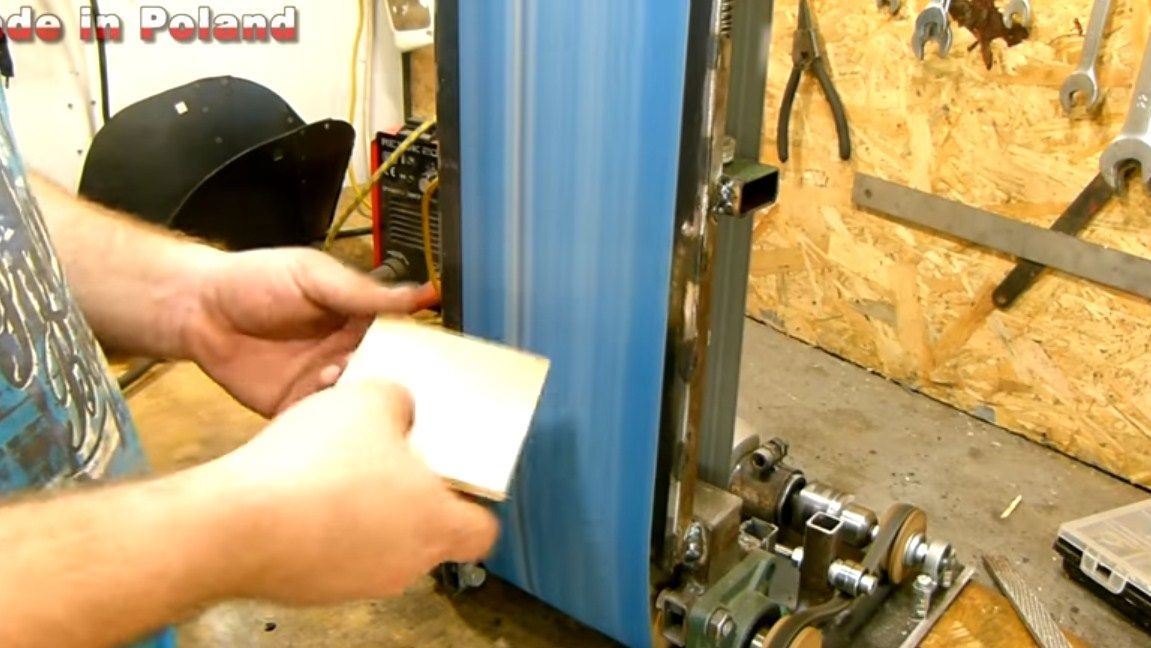
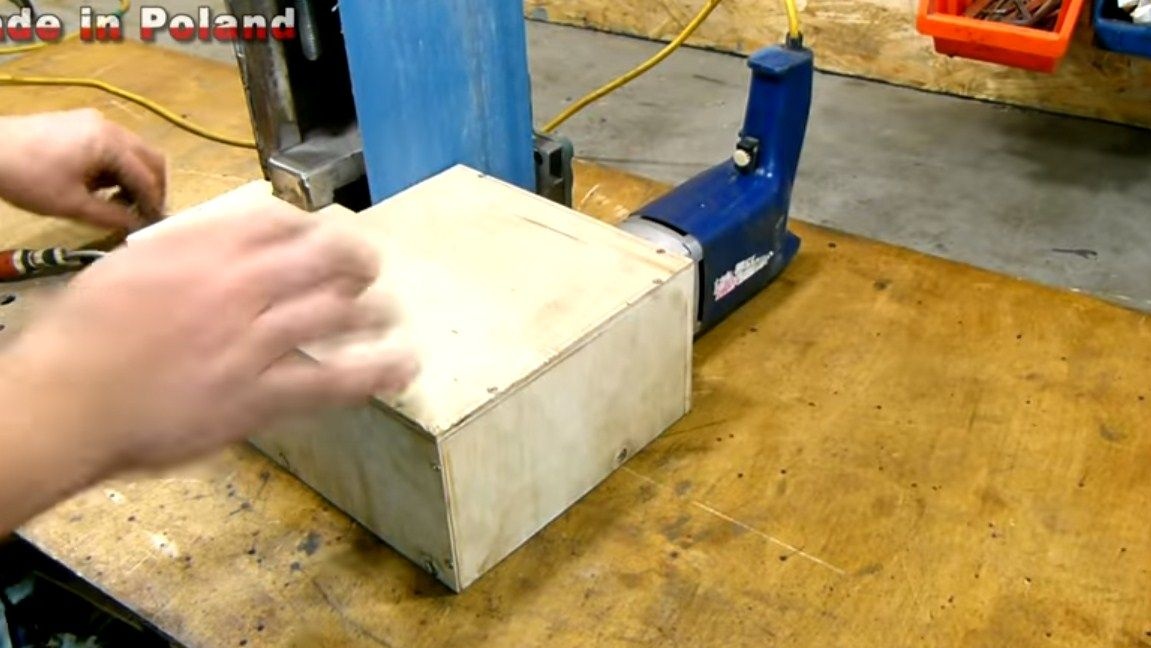
Seventh step. We collect protection
So that nothing is jammed in the belt, and dust does not pour on the work units, we will close this unit with a shield. We assemble the protective box from plywood, cut into the necessary pieces and twist it with screws. Fasten it with screws so that if necessary this part can be quickly removed.
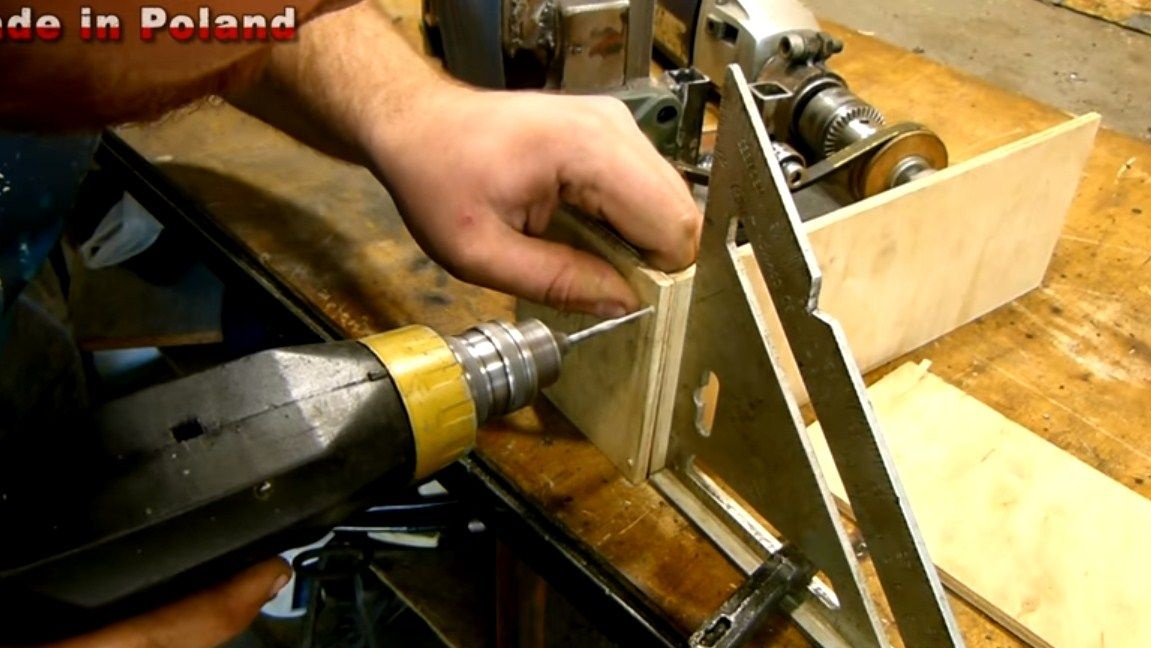
Step Eight. Work table
Such a machine should have a working table, it will be useful when grinding small products and not only here we will rely. To make it, you will need square pipes and sheet steel.We fasten the table with the help of screws so that it can be removed if necessary.
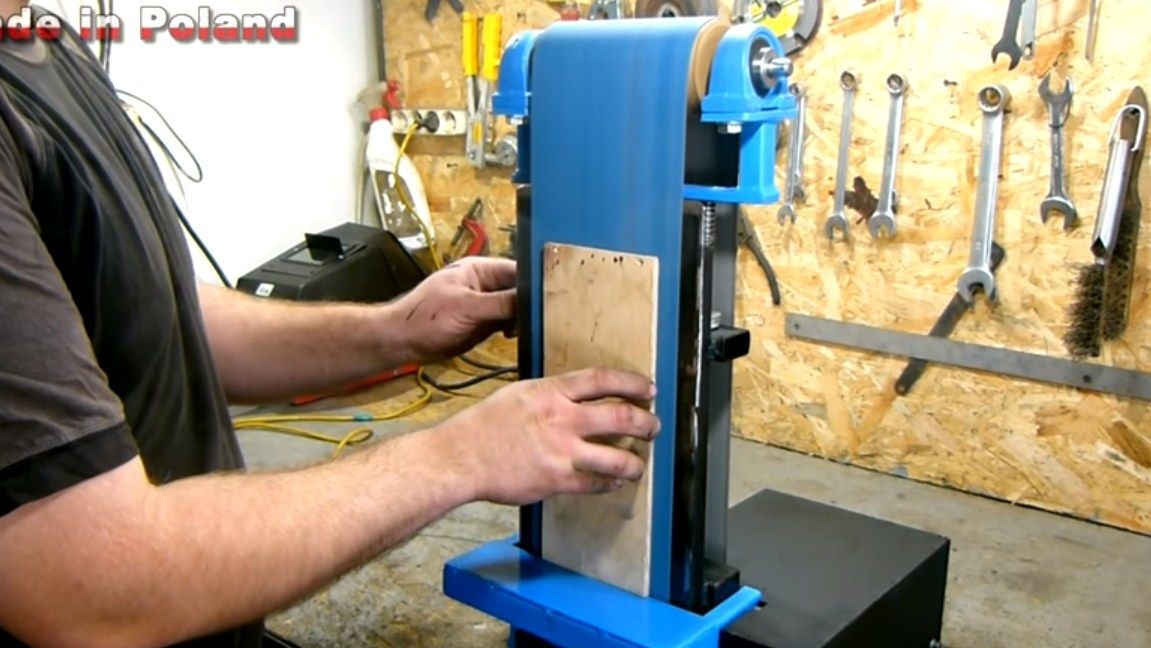
Step nine Done!
That's all, the marvelous grinder is ready. In conclusion, we need to paint all the parts so that they do not rust. After painting, the machine looks like it was bought in a store. In work, he showed himself perfectly.
The project is completed, good luck and inspiration, if you decide to repeat it. Do not forget to share your homemade products with us.