
In this article, Andrei Yarmolkevich, on the "Works of Masters" channel, will show the process of making marking planes.
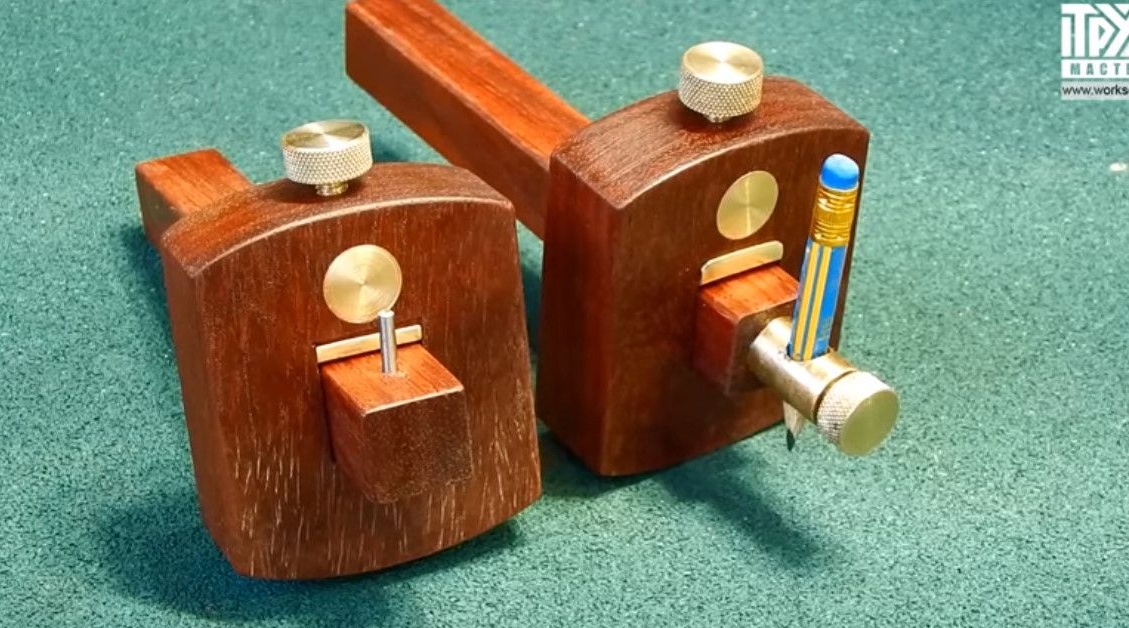
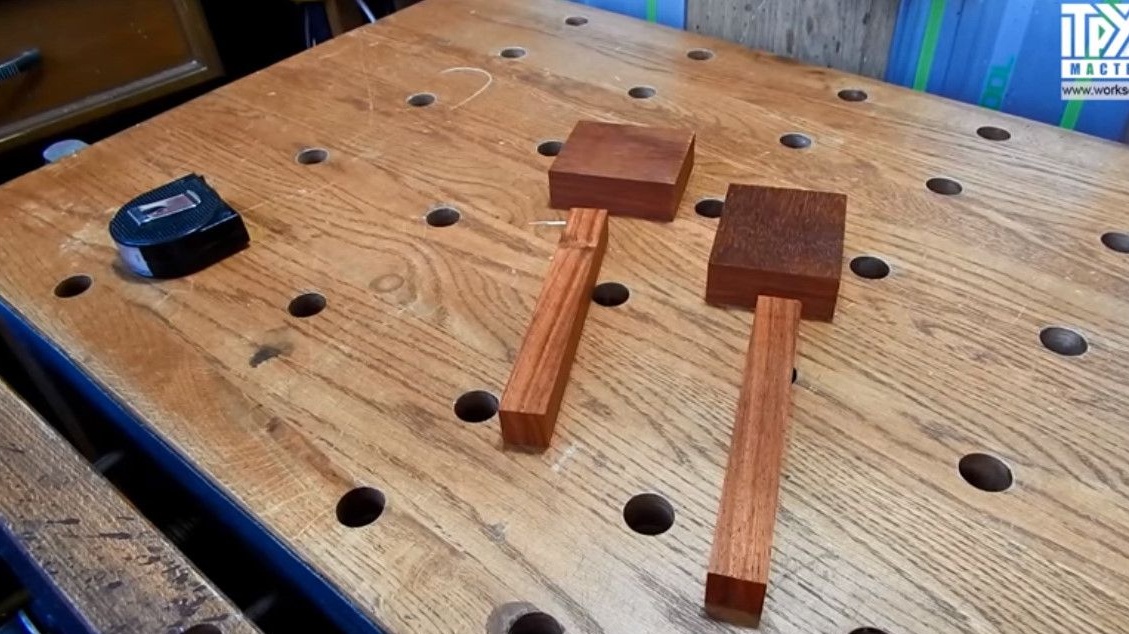
Andrey has these 4 trimming padukas, of which he wants to make two marking planes.
One of them will be under the pencil, the second will be with a needle.
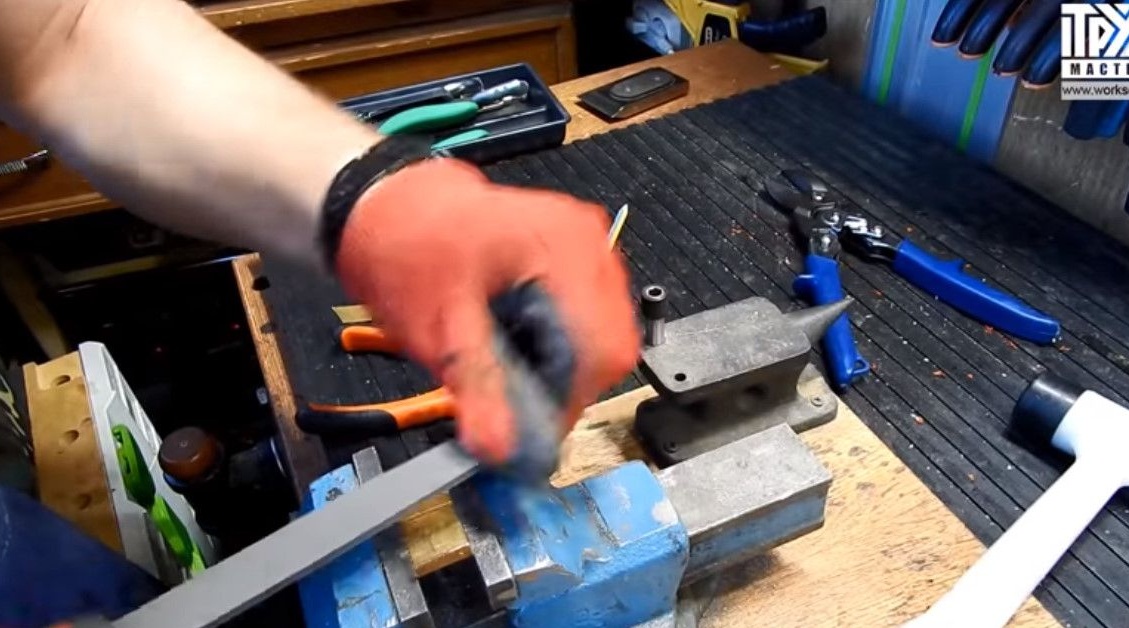
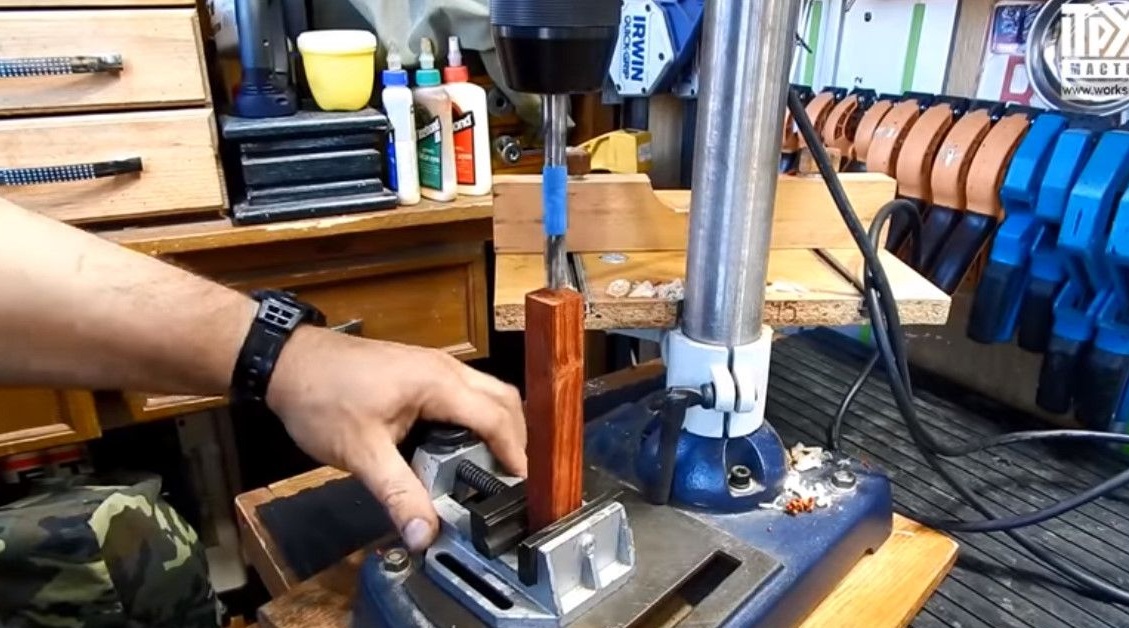
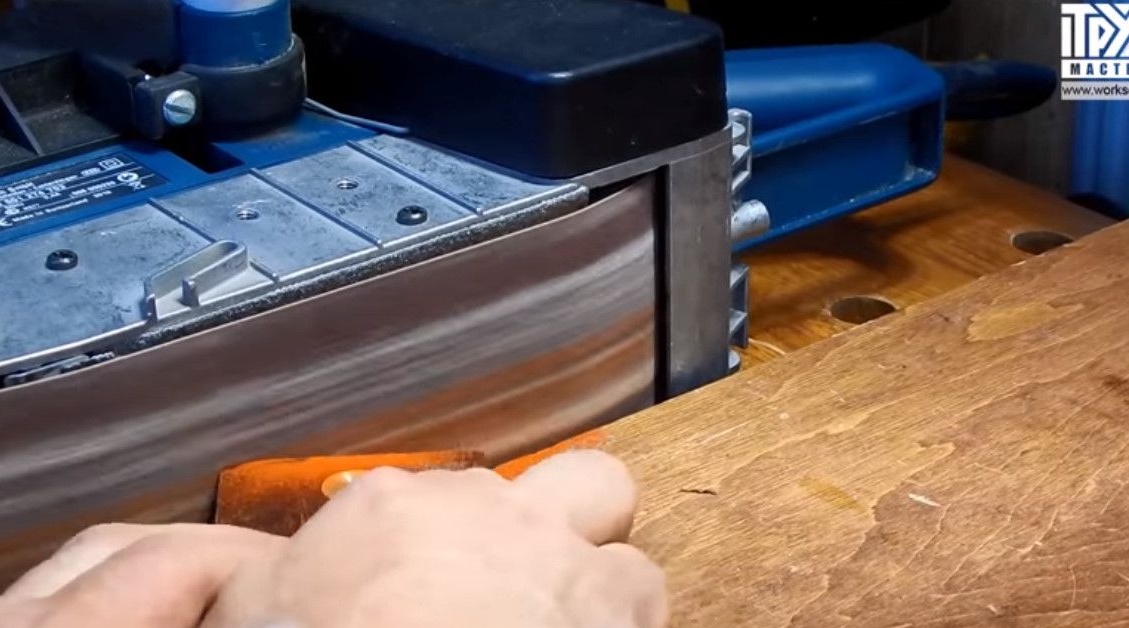
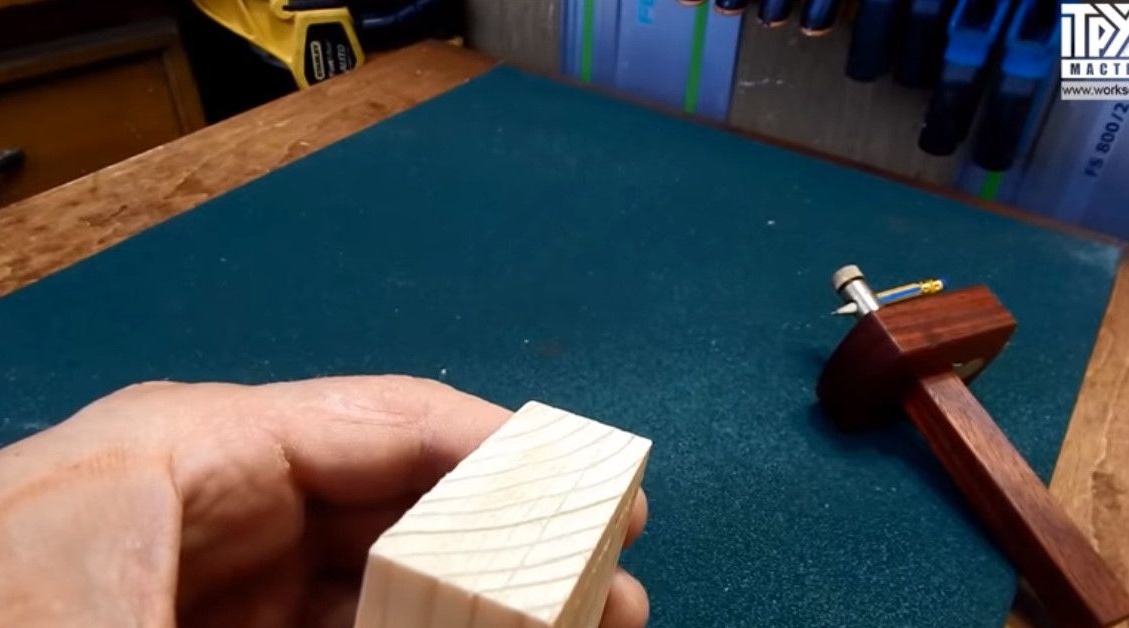
Previously, he already brought out the base, cut it off, we must remove these traces of the saw.
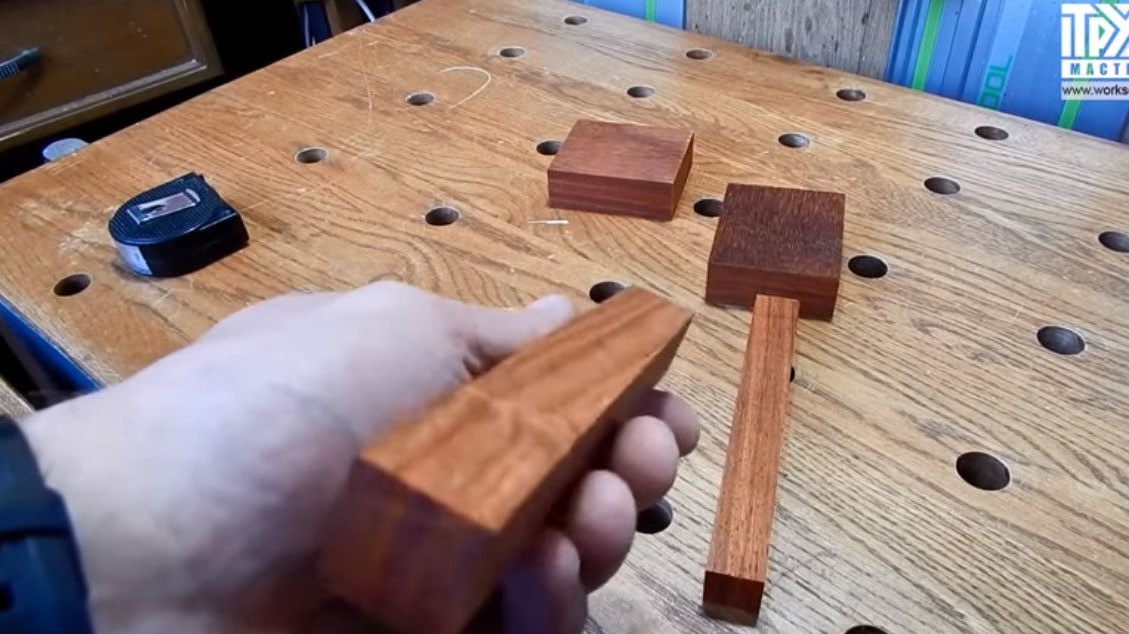
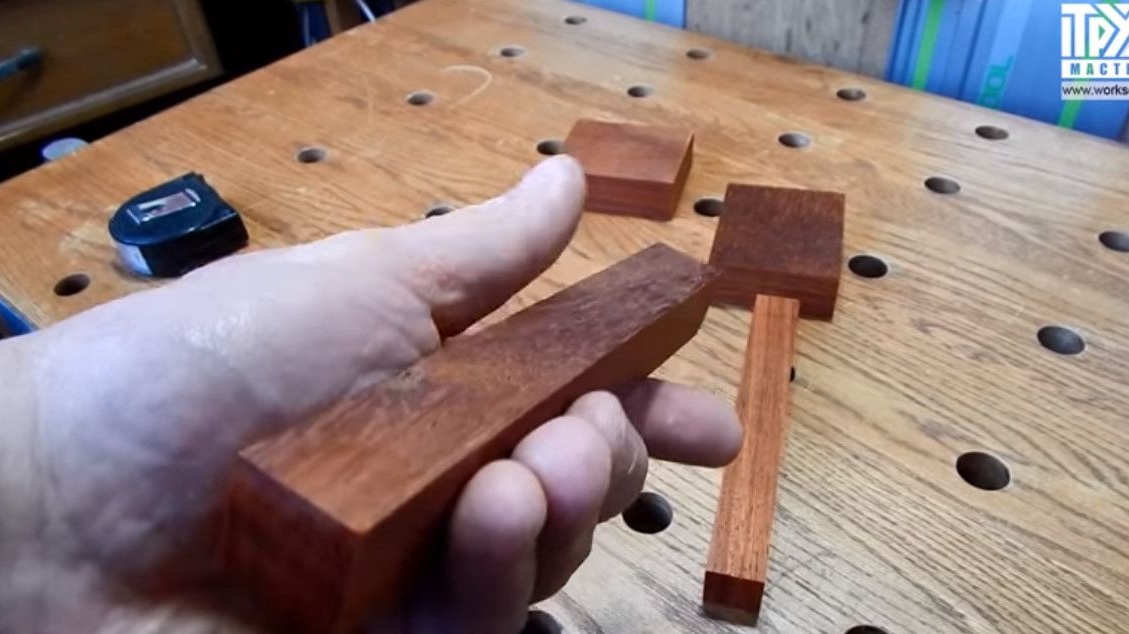
Does this with a manual planer.
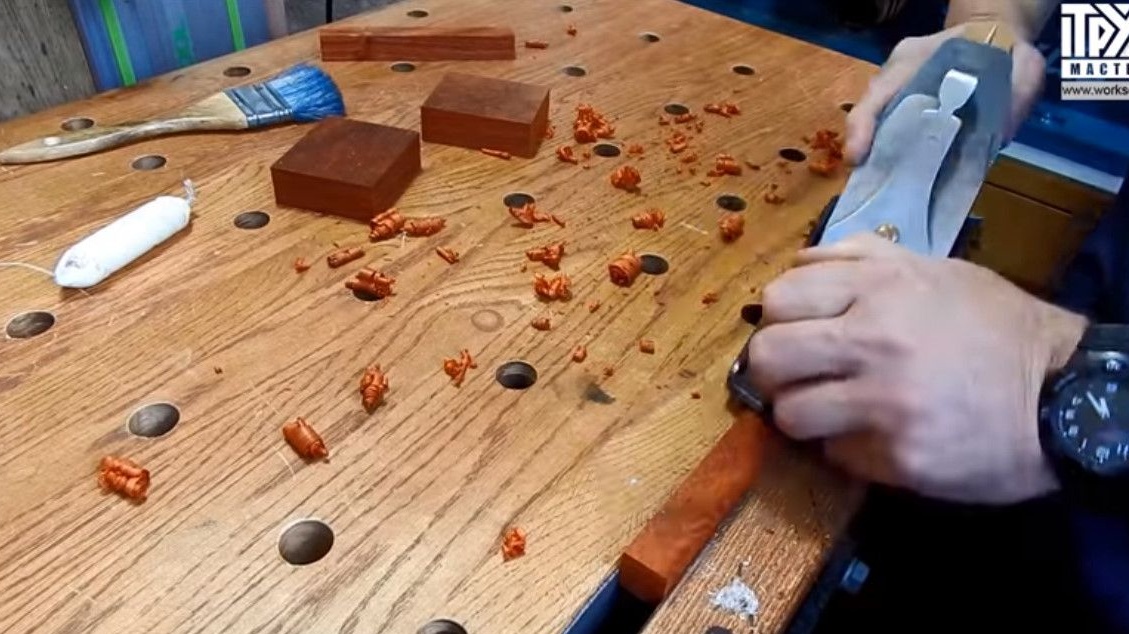
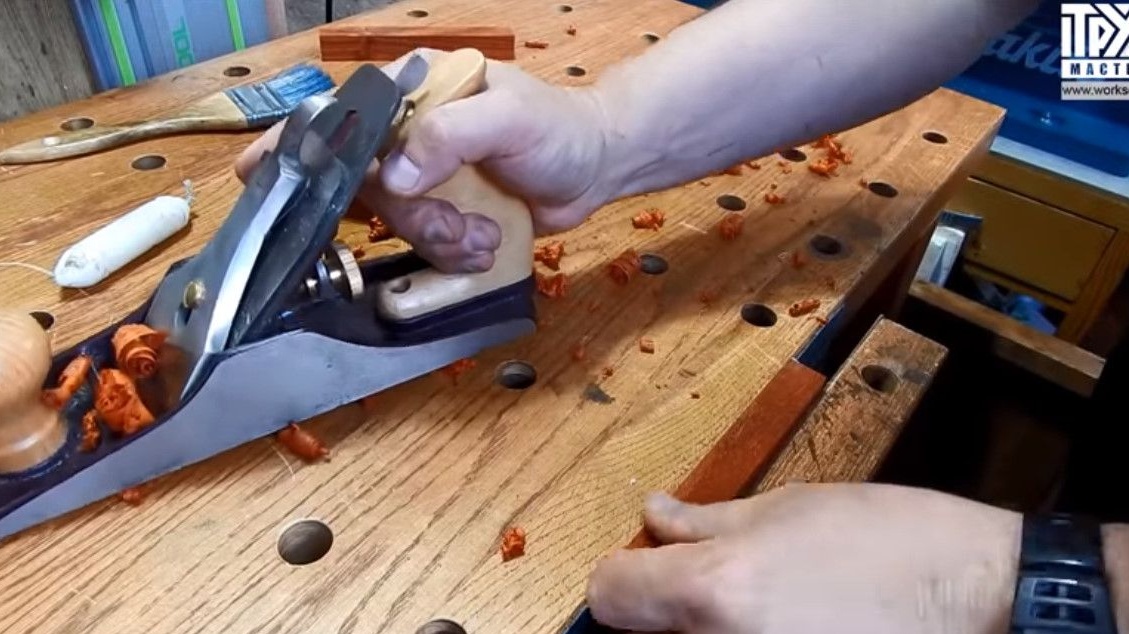
At the same time dull sharp edges.

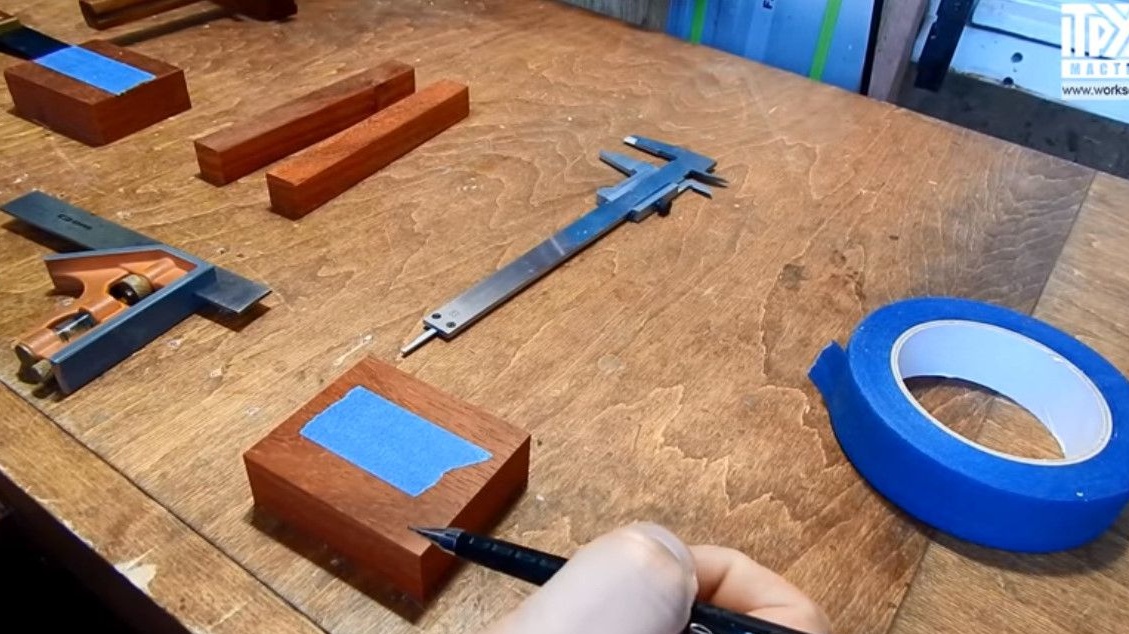
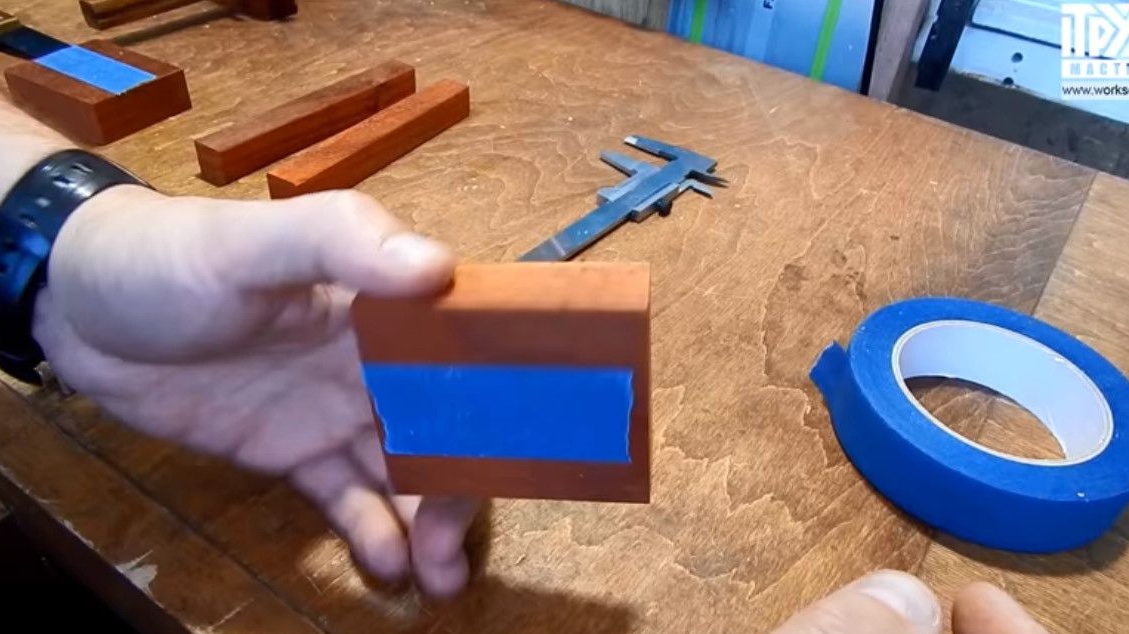
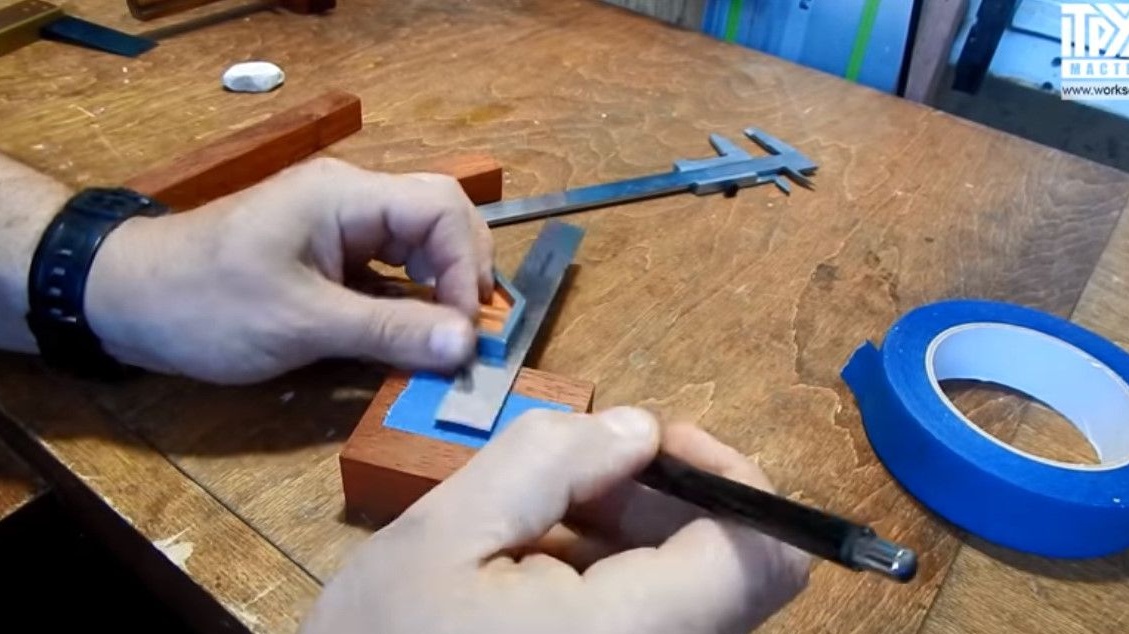
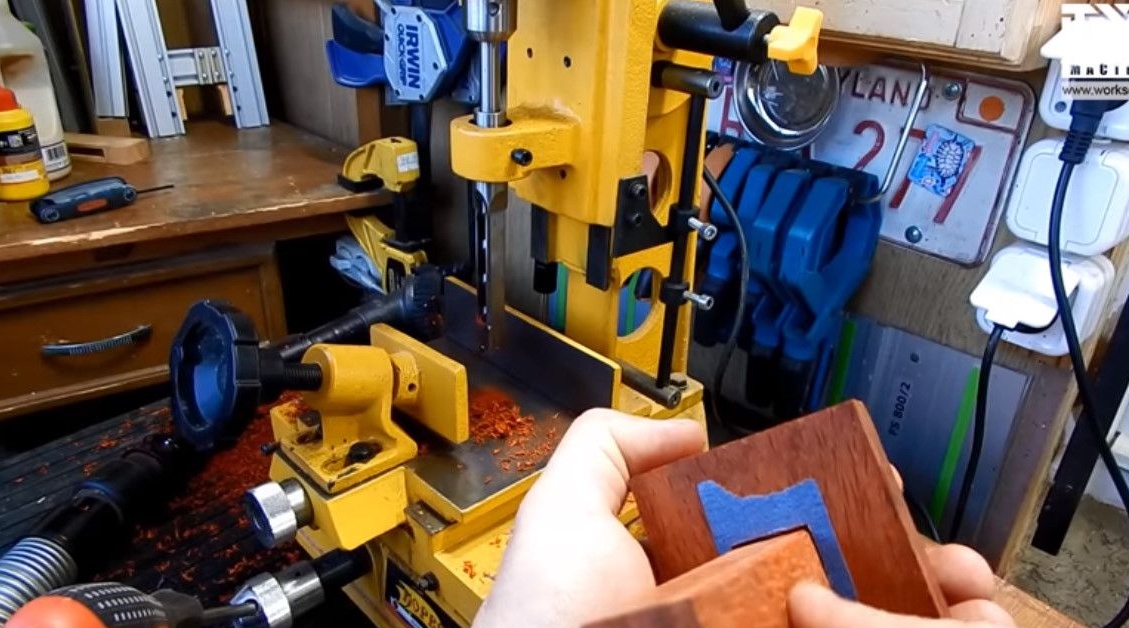
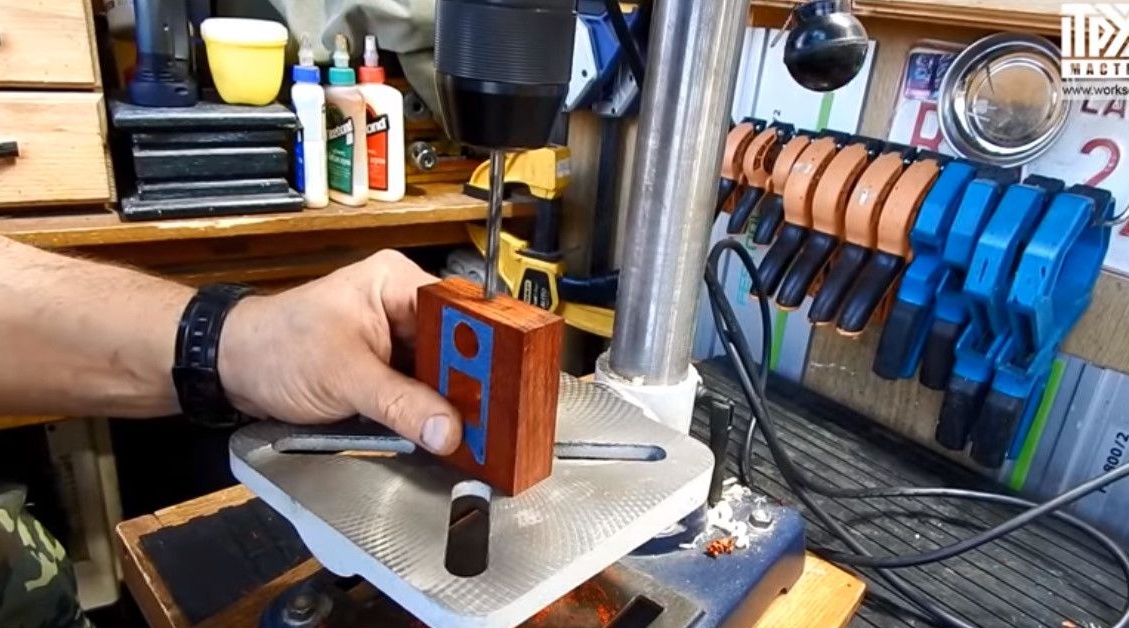
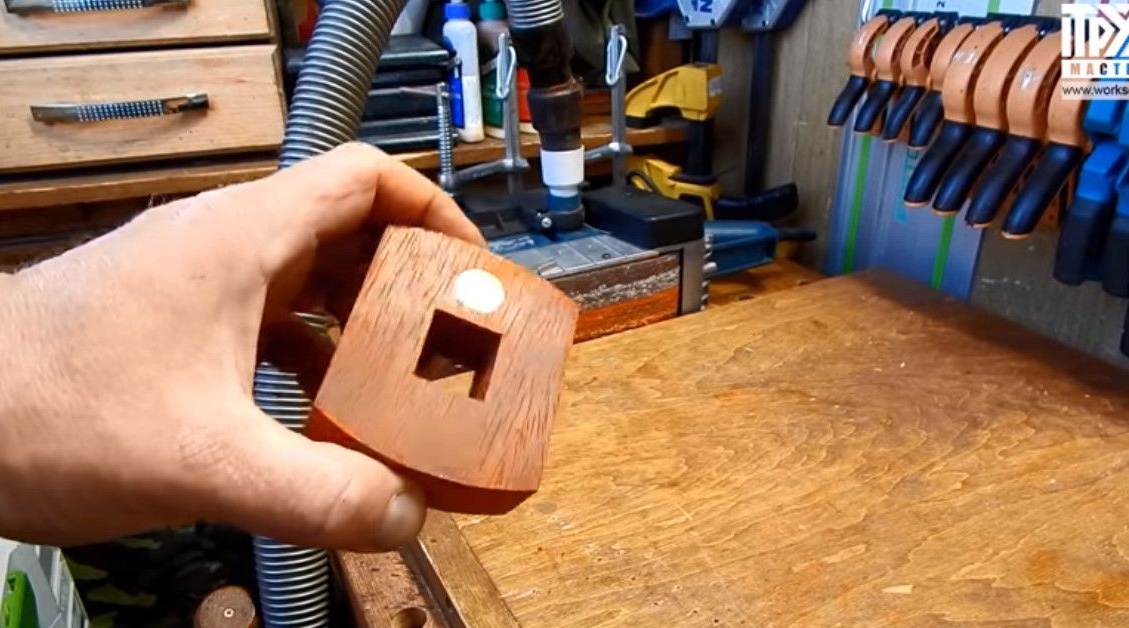
He begins to mark out in which place the socket will be hollowed, where the hole for the nut will be drilled.
In order to better see the markings, pasted on both sides of masking tape.
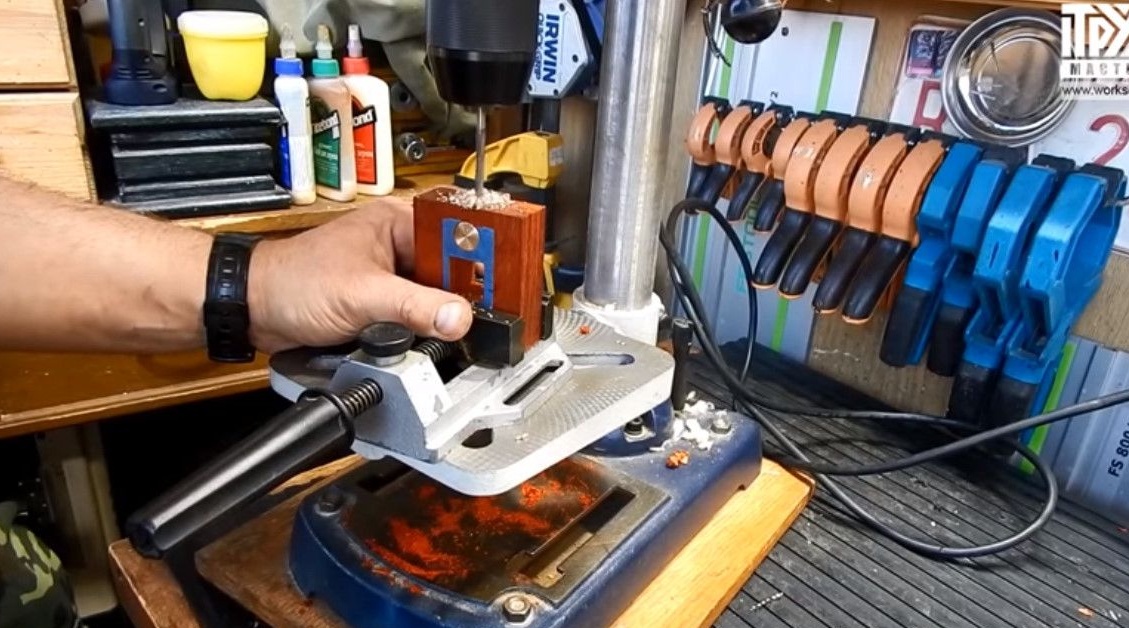
He will make nests on his mortising machine. In principle, it could be done with hands, but Andrey has a mortising machine. Smart people advise taking it for lovers of classical carpentry with a second machine after the thickness gauge.
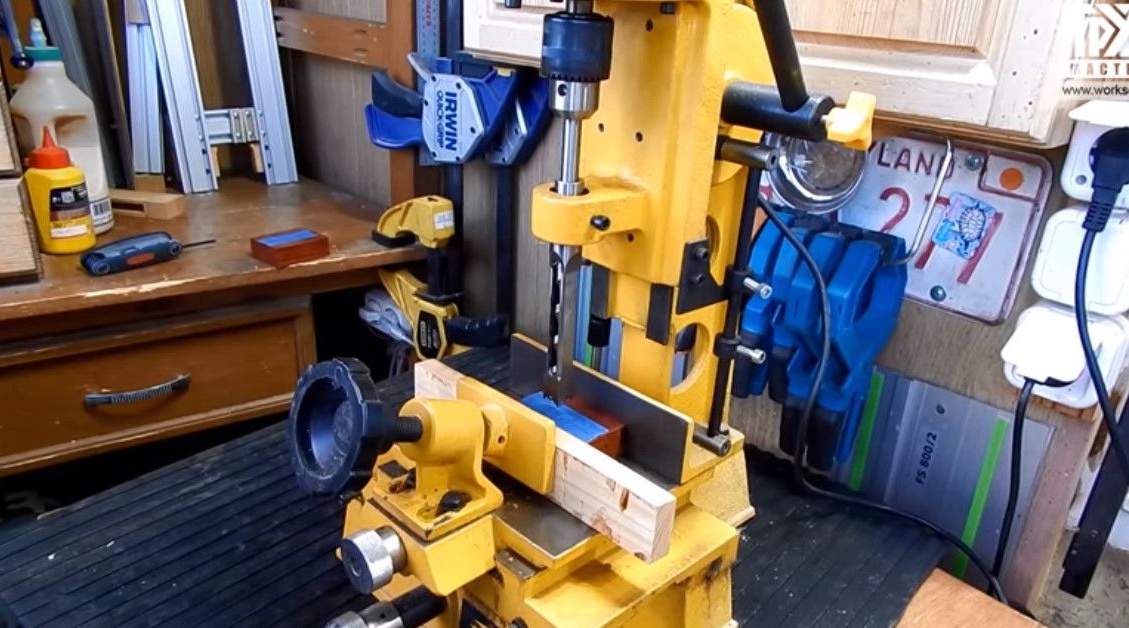
It will hammer in two steps, in the sense of a coup. Because paduk is a sticky material. At first one side will be hollowed, then turn over, and on the other.
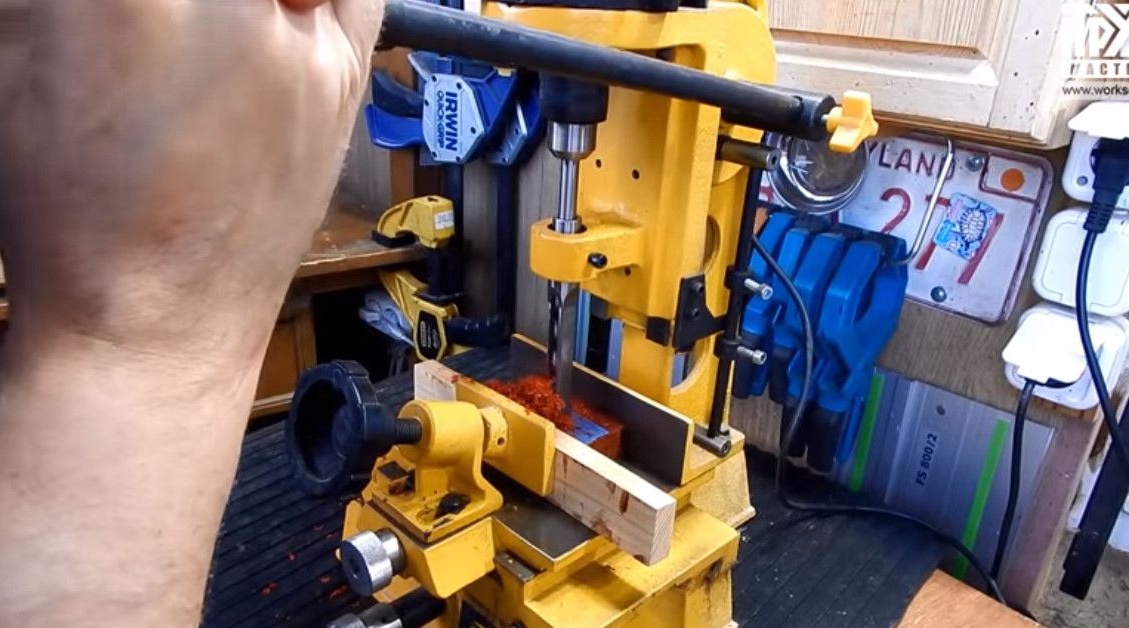
Yes, of course, the paduk is beaten in a completely different way than the pine. The pine tree turns out such prickly shavings, but here it’s so soft.
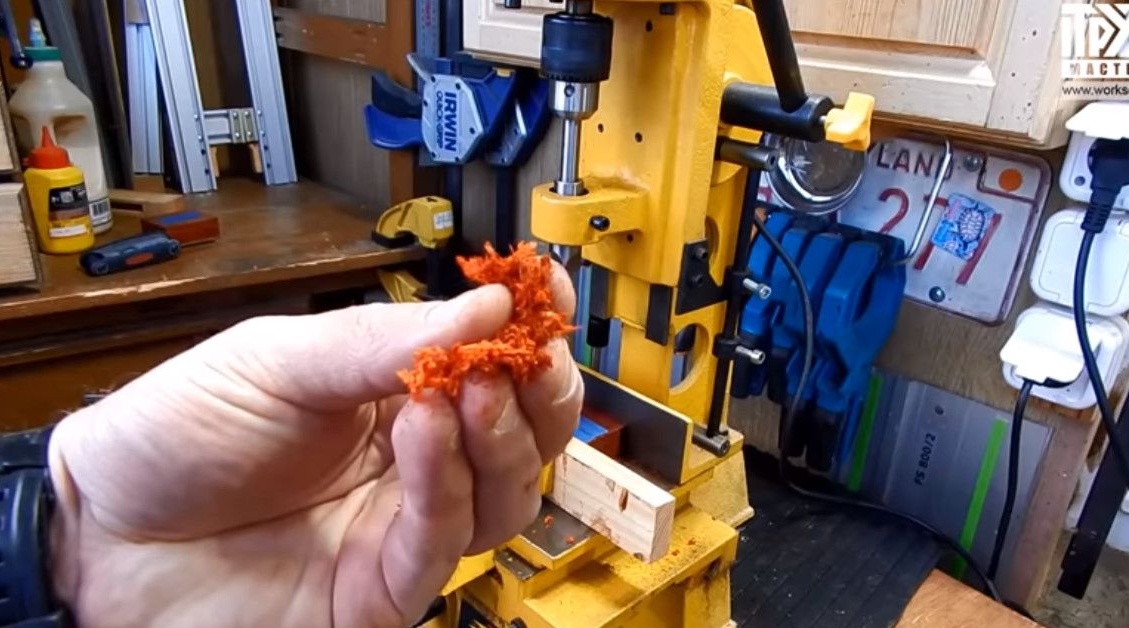
In general, even a little wood burns, but the machine has one speed, nothing can be done. We'll have to peck at intervals.
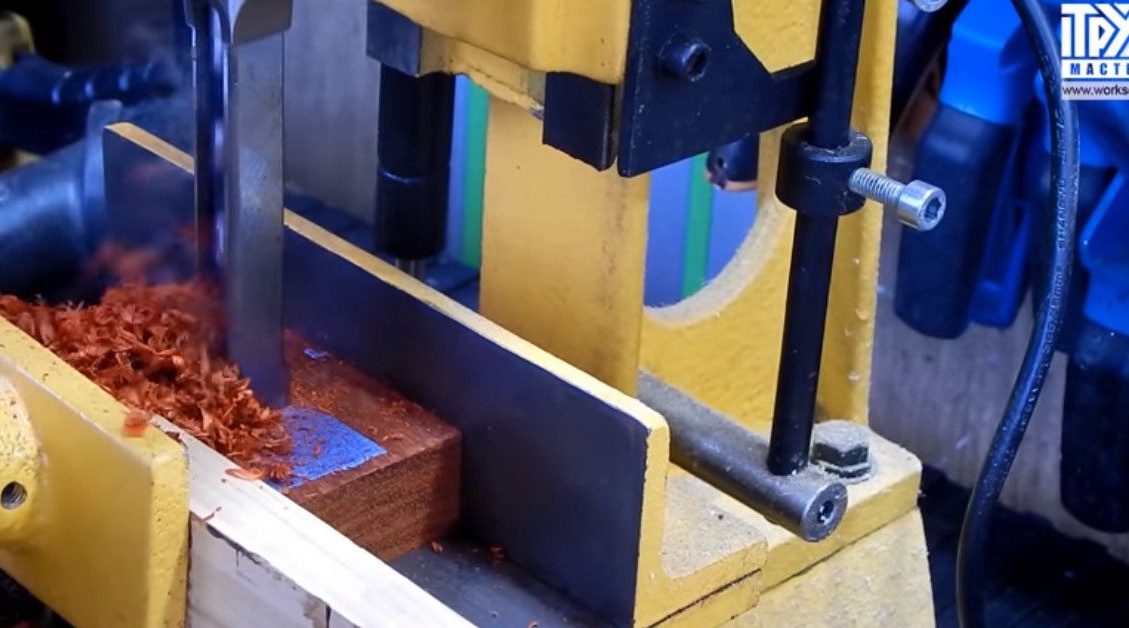
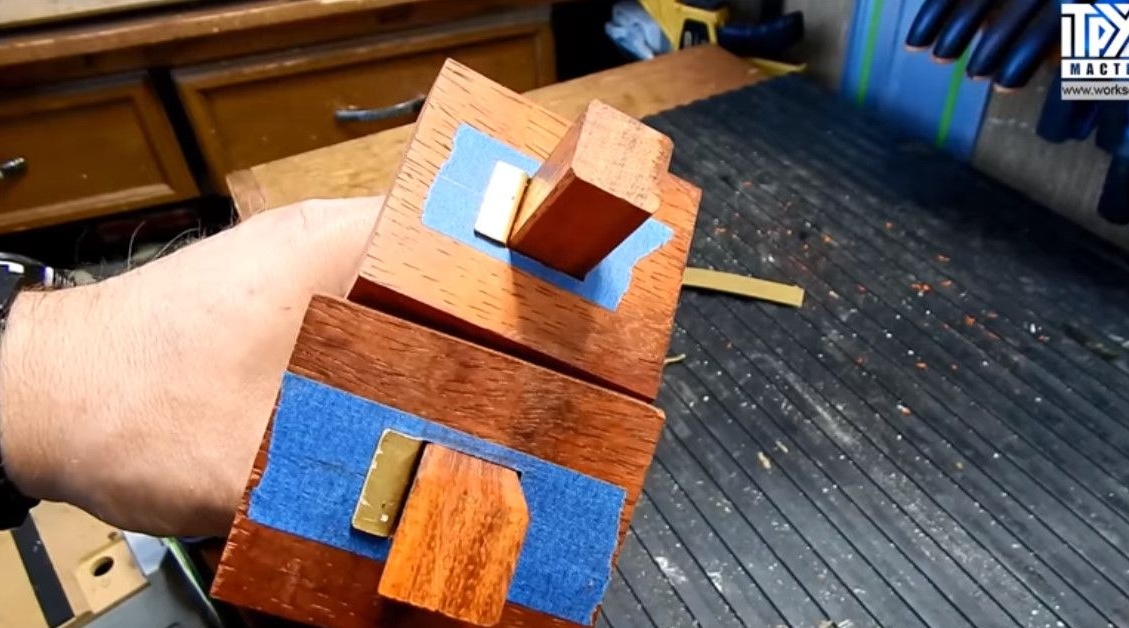
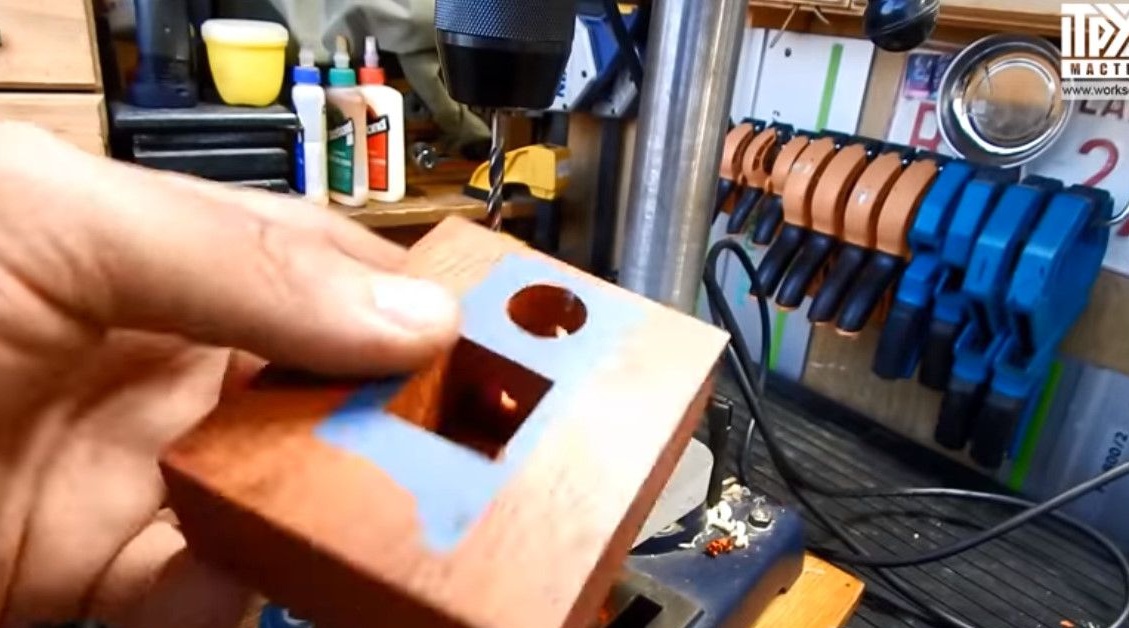
These nests are obtained after processing on the machine. You can still slightly clean them with a chisel.
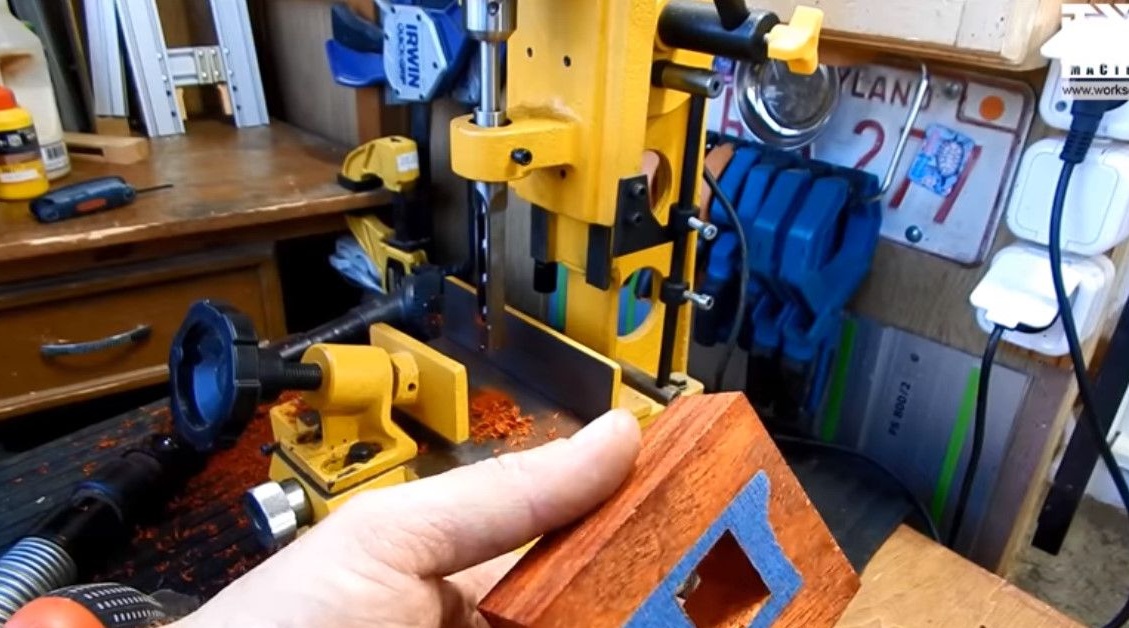
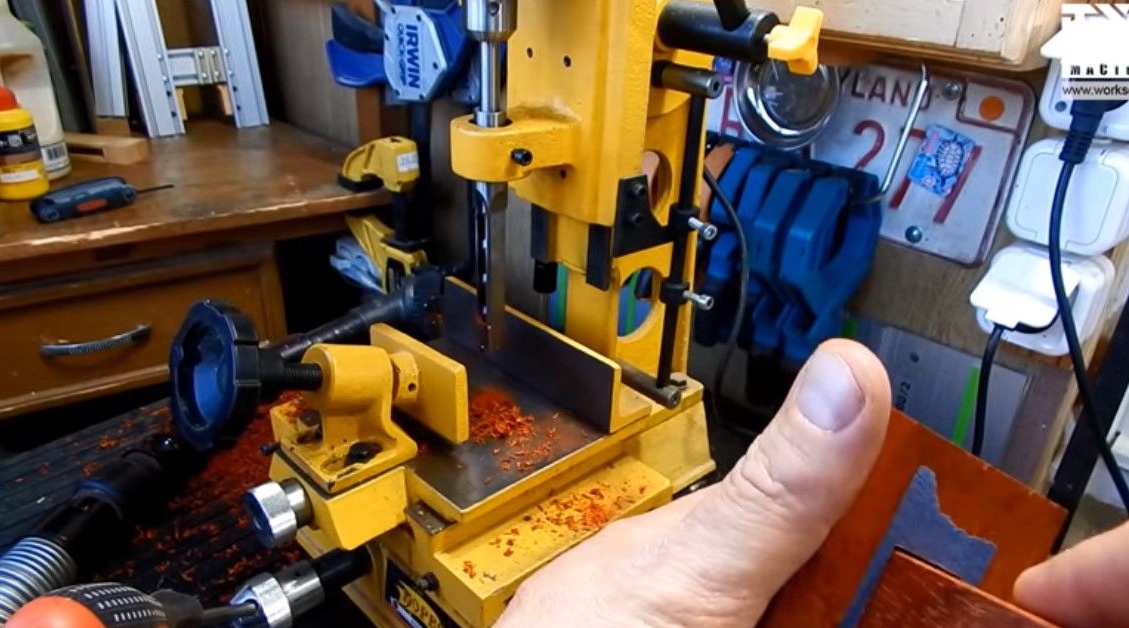
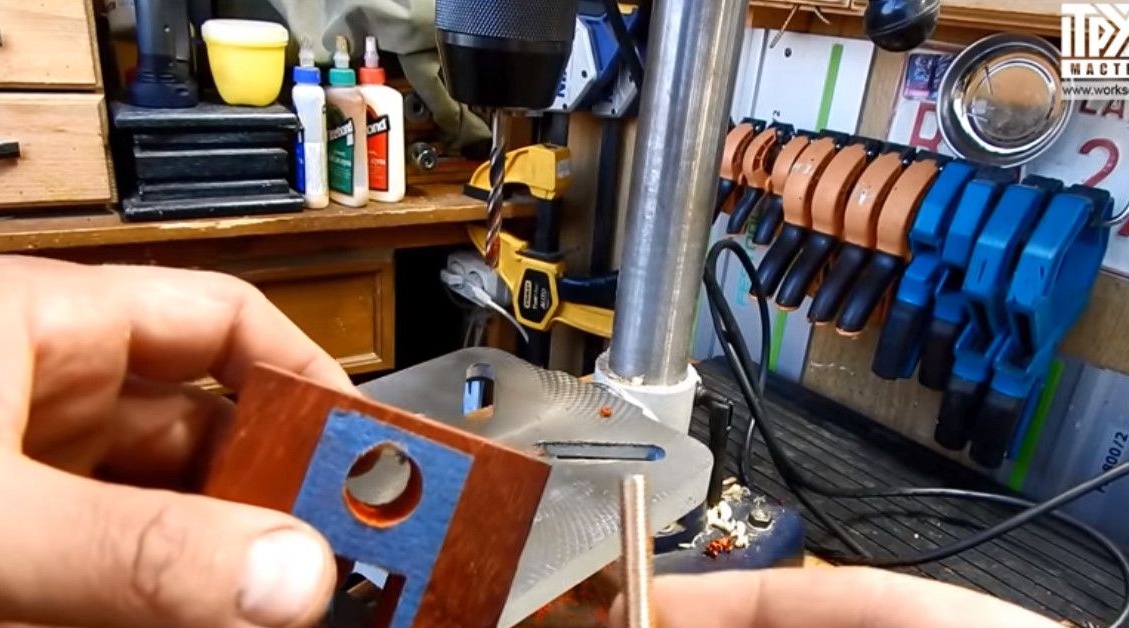
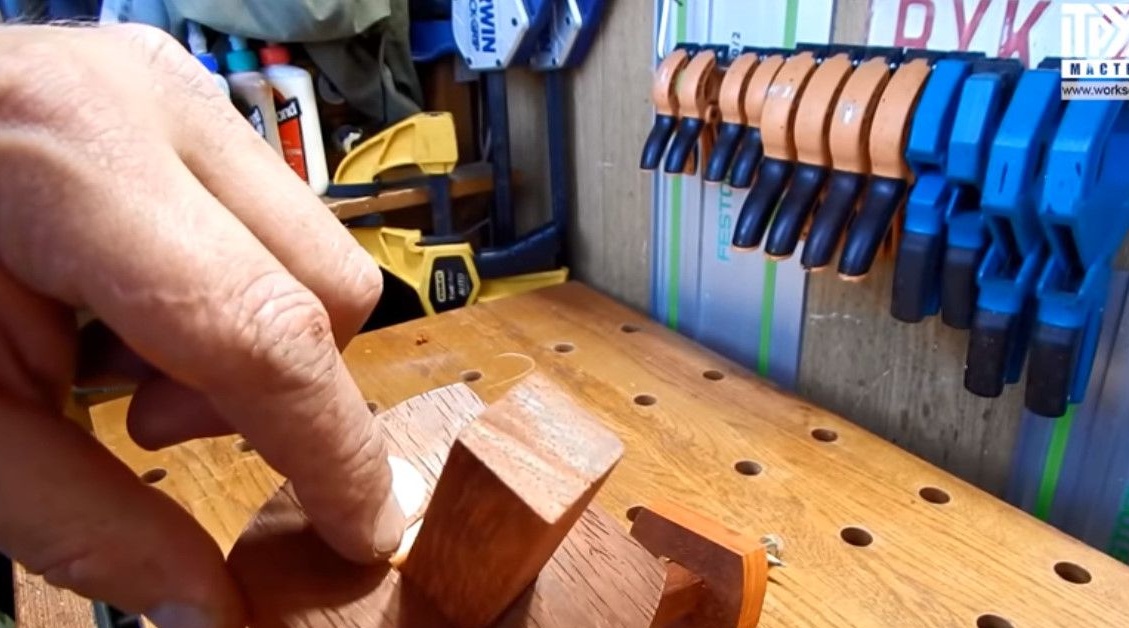
There’s such a gap made above
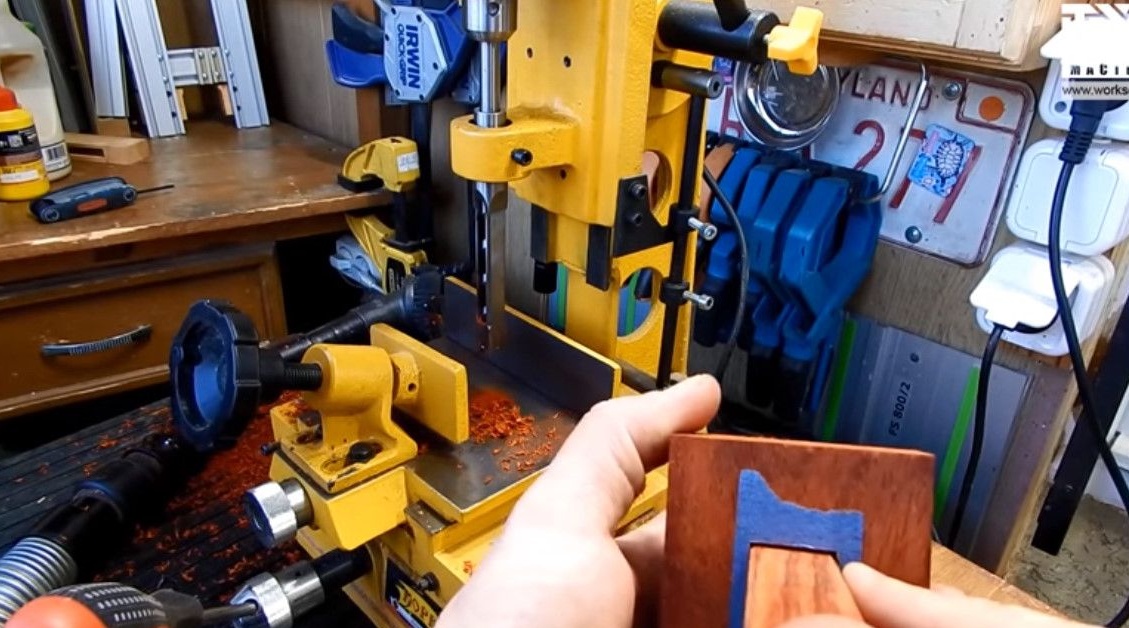
about a millimeter and a half, from the sides there is none. It is made intentionally. Brass gasket will be installed here.
Bends the brass sheet. First, the sheet clamps in a vice, and bends with a plastic hammer.
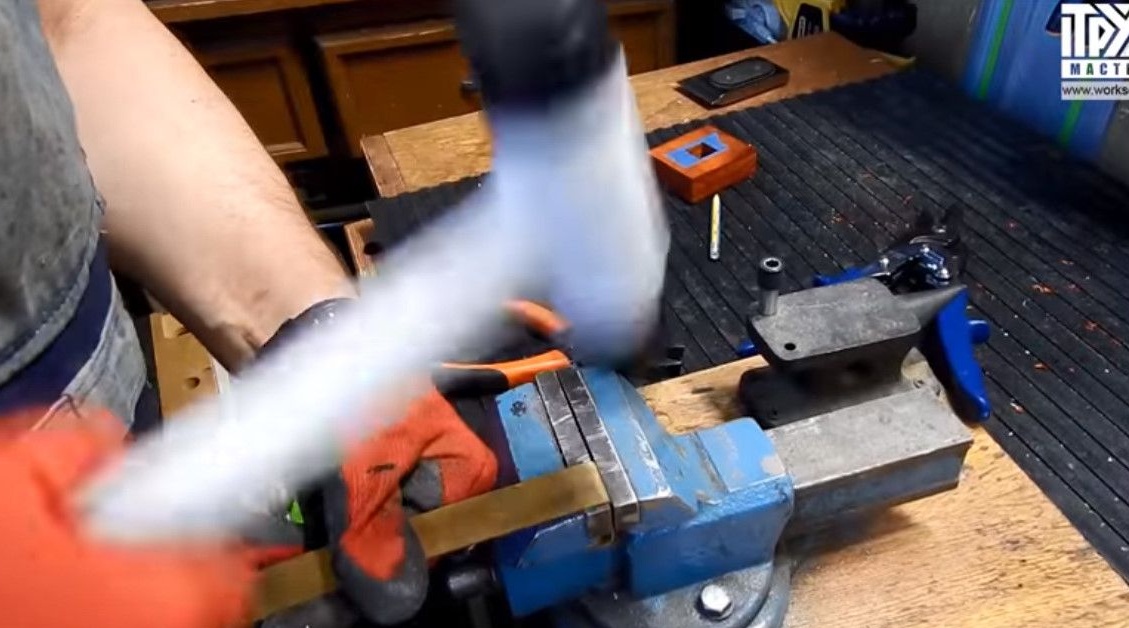
And cuts with scissors for metal.
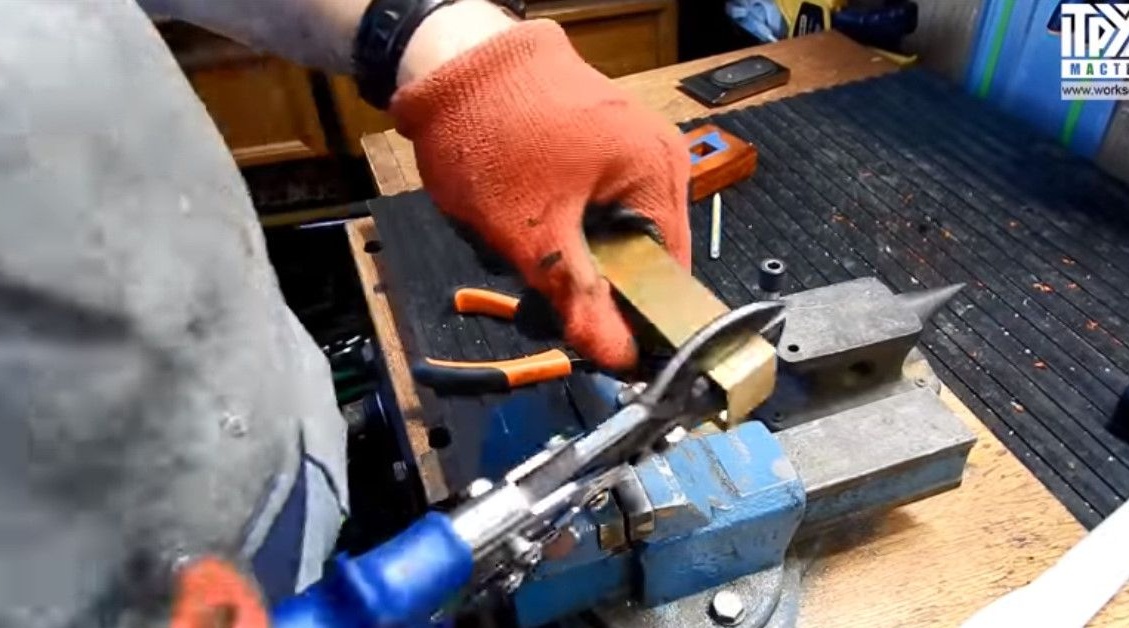
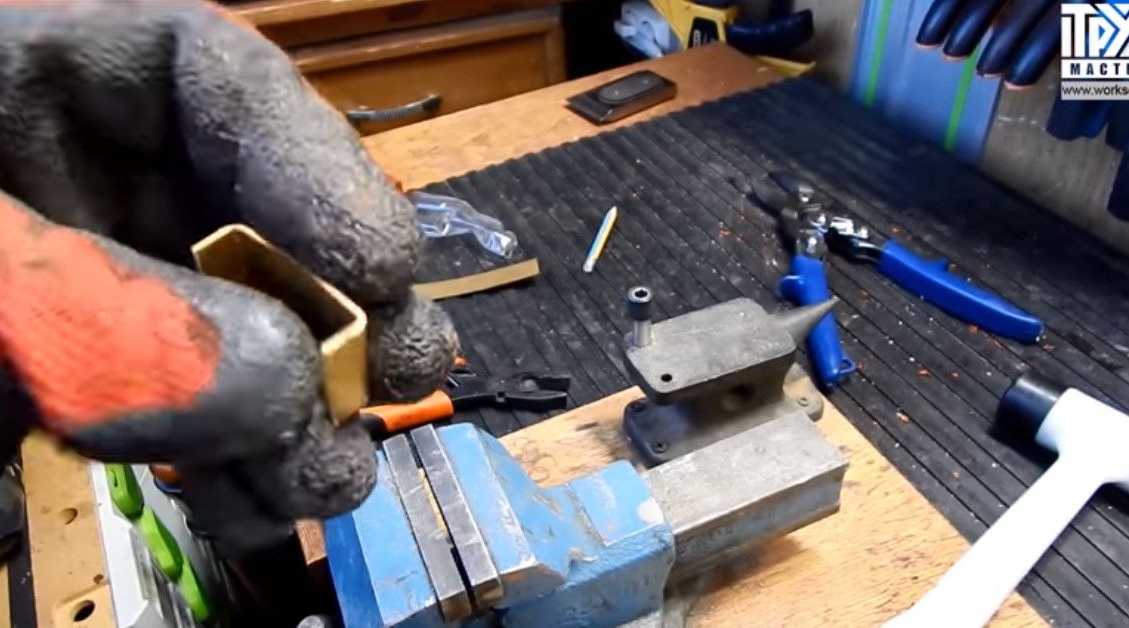
With the help of a file a little ennobles them.
These are the gaskets.
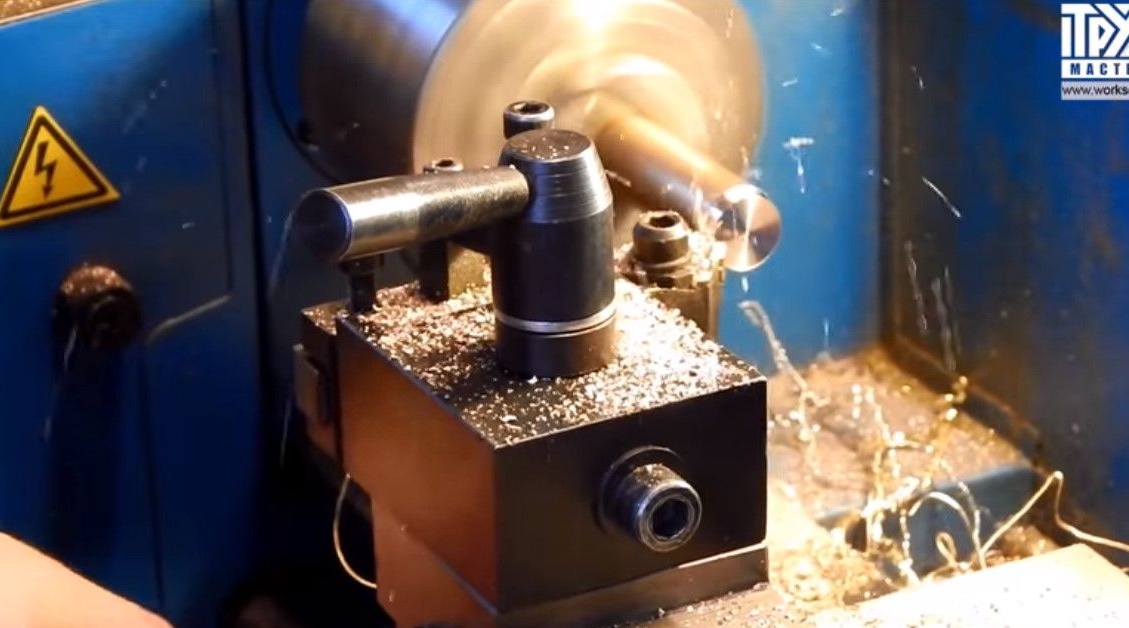
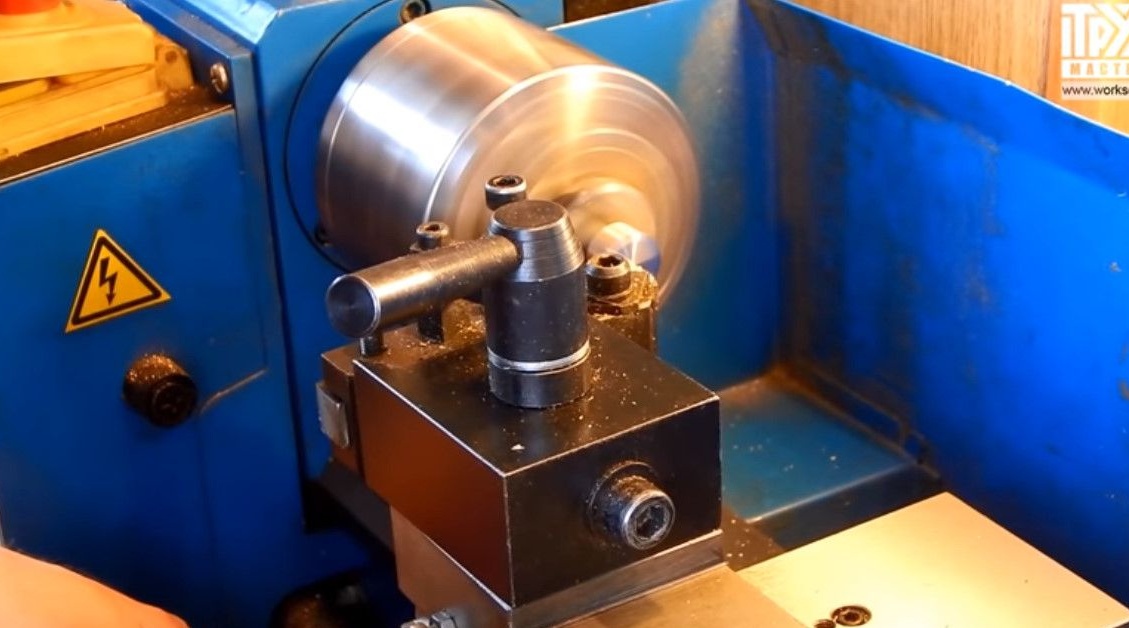
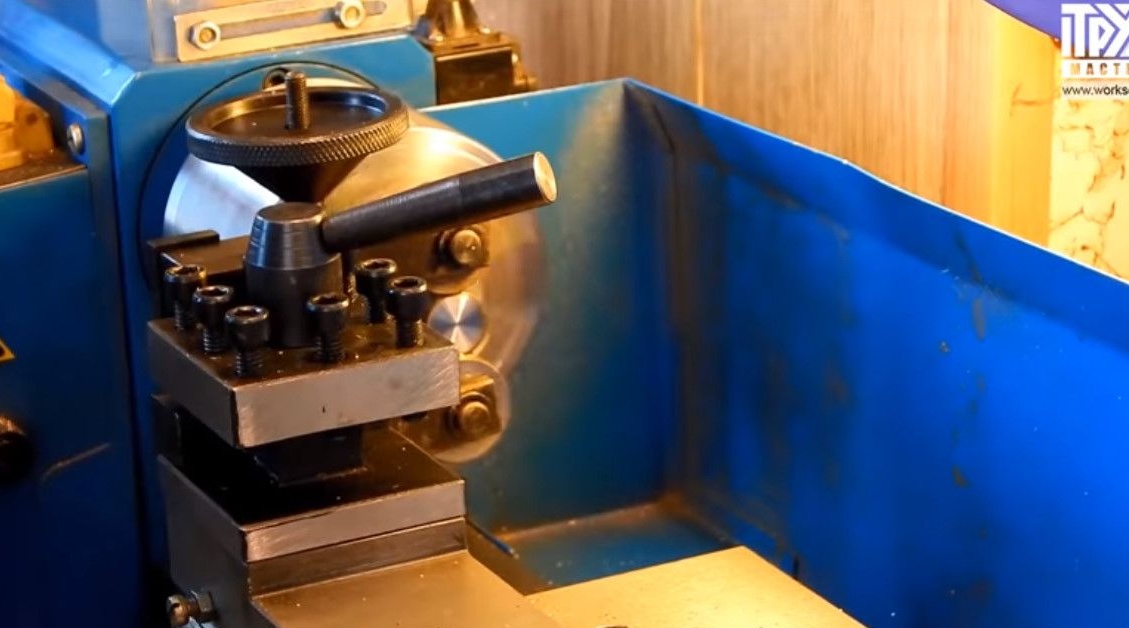
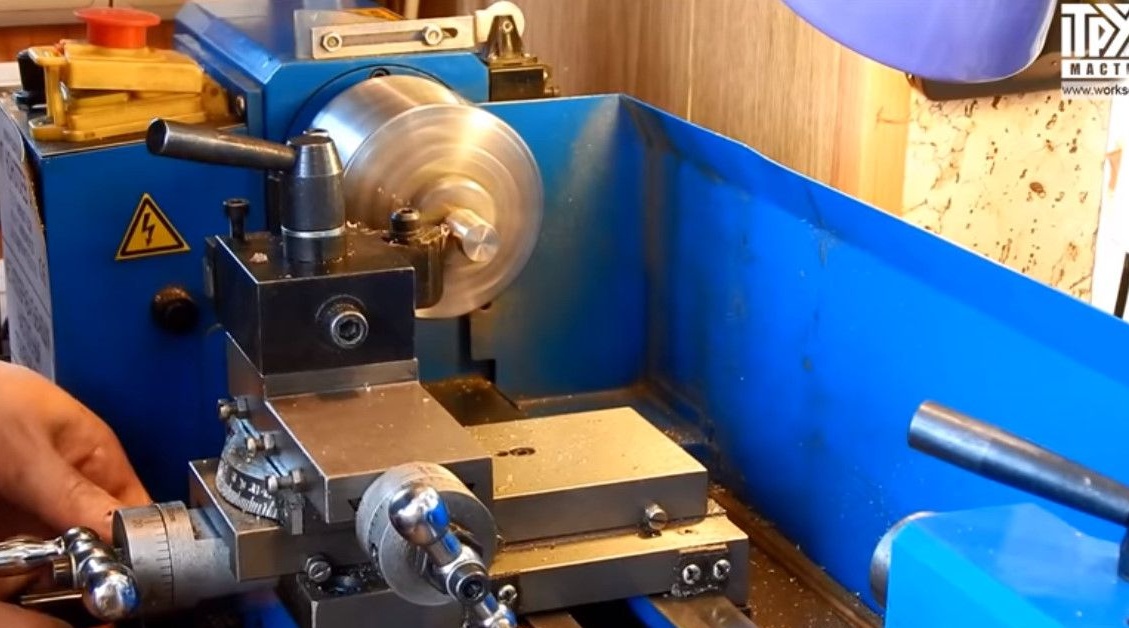
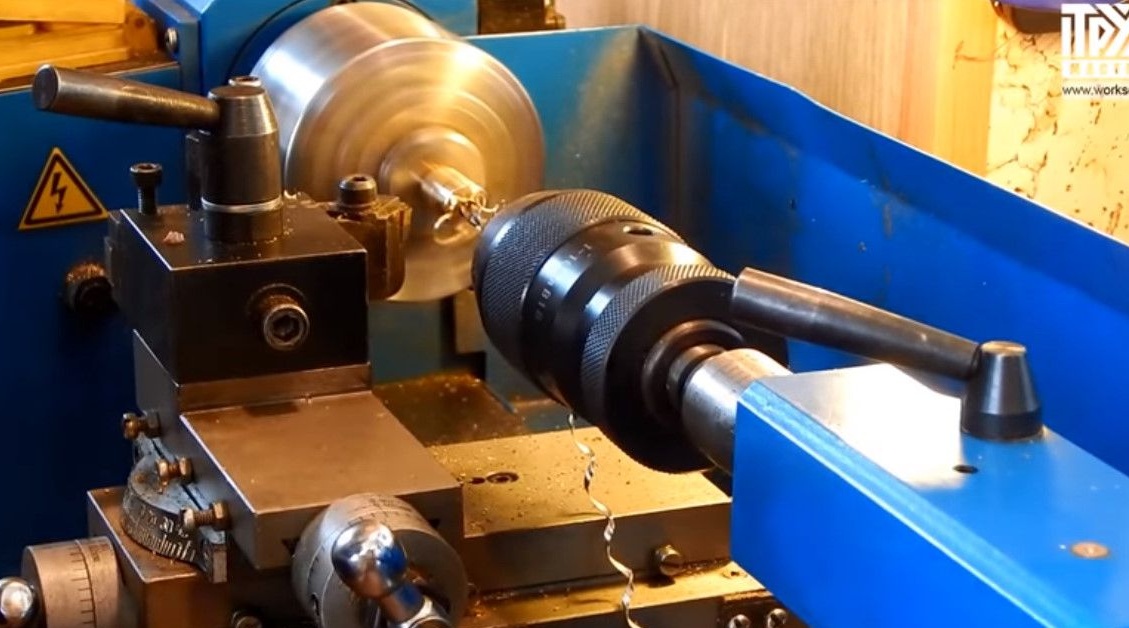
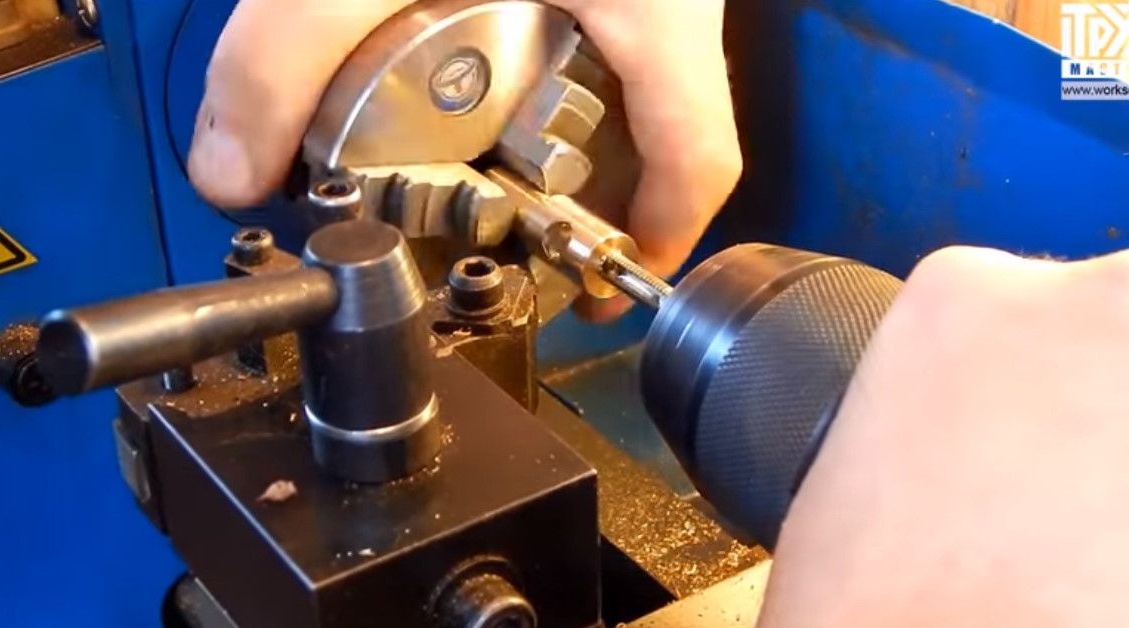
The final beauty will bring already in the end, and now proceeds to turning work. Especially they do not need comments, all details are recognizable in the following photos.
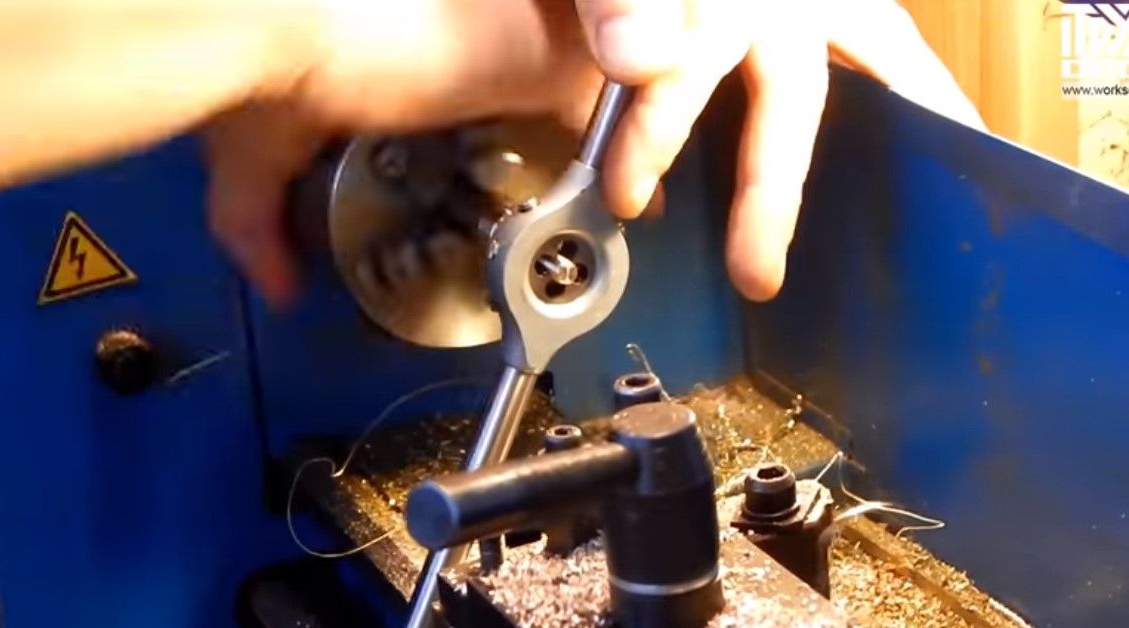
Makes a clamping screw.
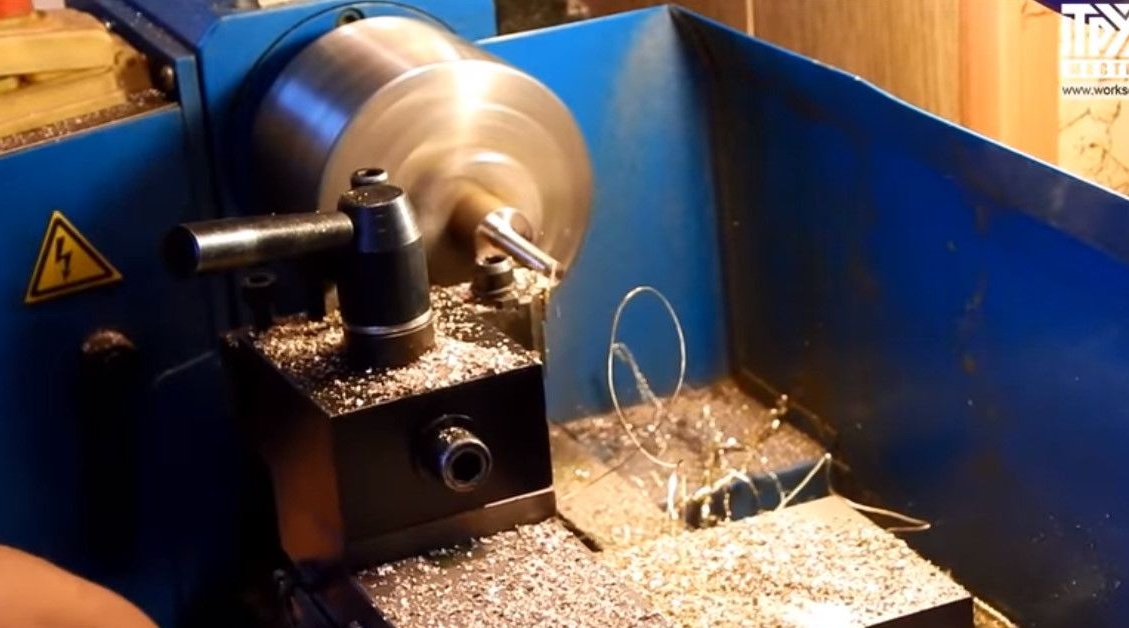
Cuts the thread.
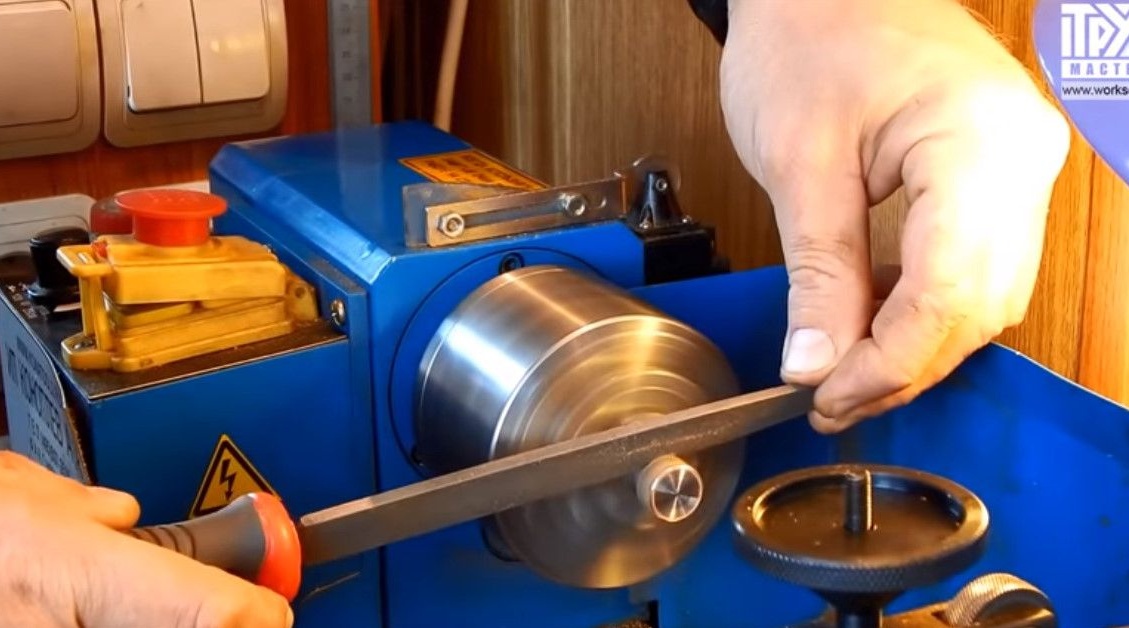
Chamfers the hat.
Makes knurling.
Modifies the file.
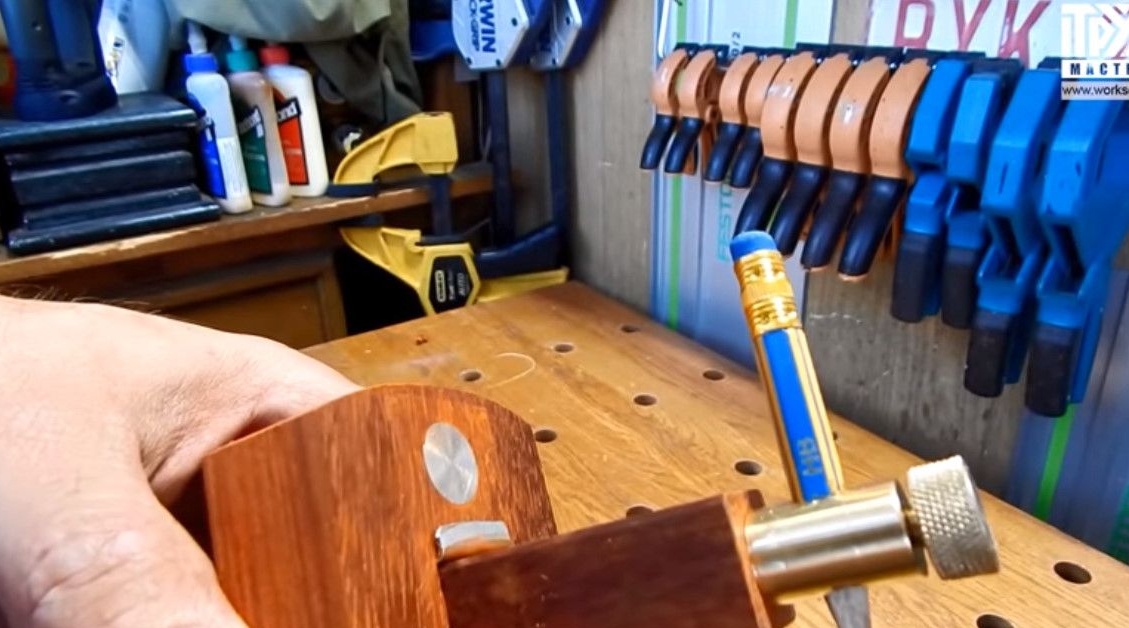
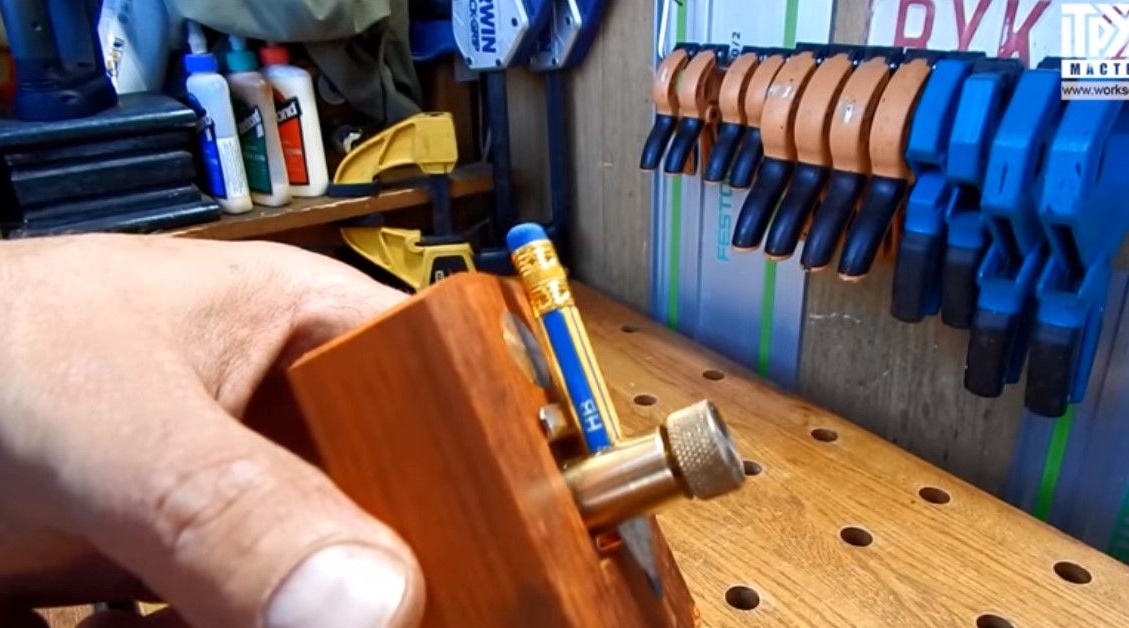
Makes a mount for a pencil.
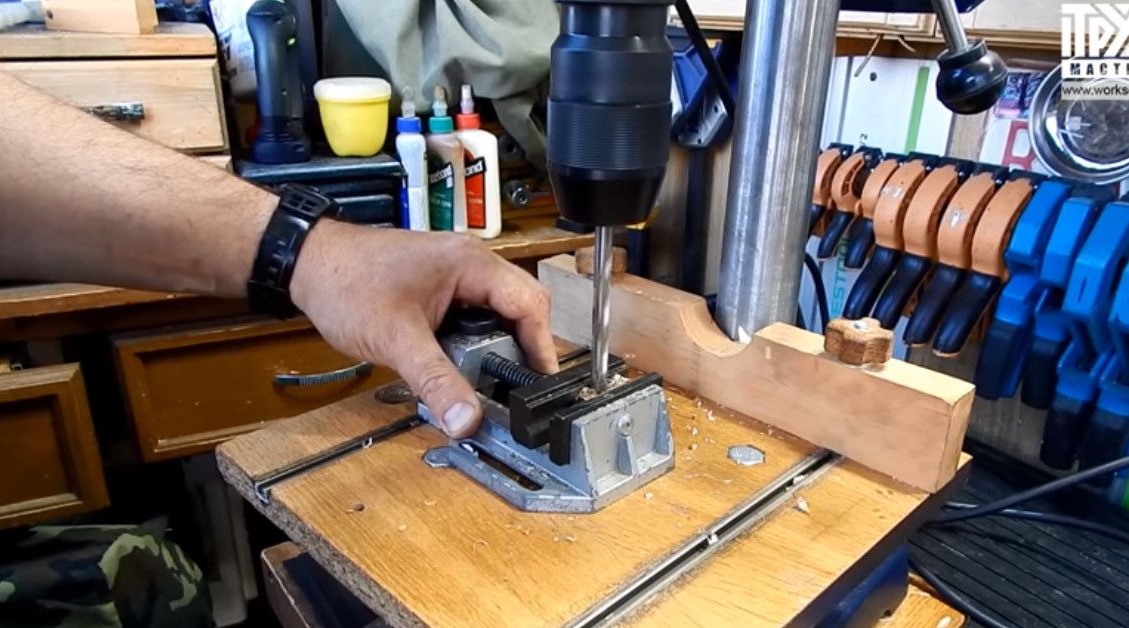
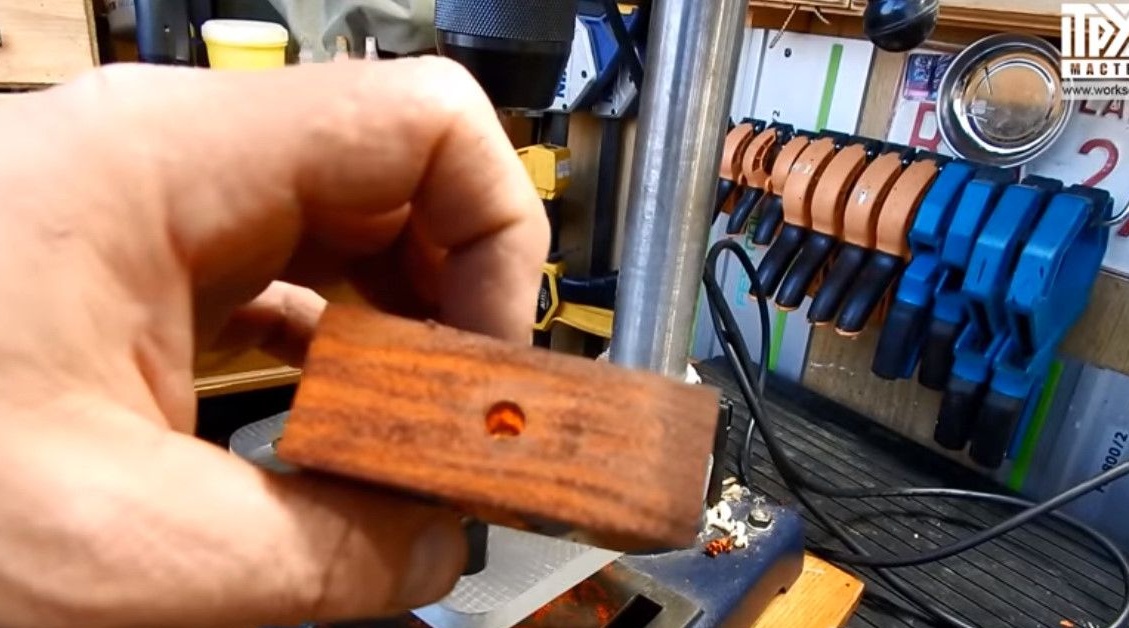
A forstner drill makes a hole in the bottom of the surface gage.
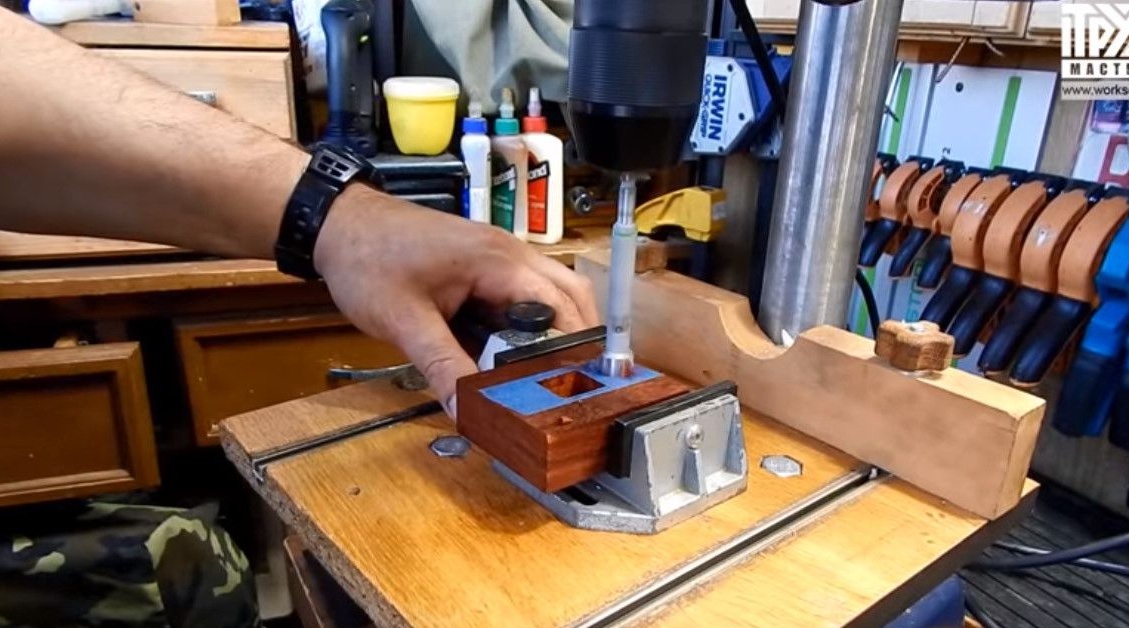
Also drills the remaining necessary holes.
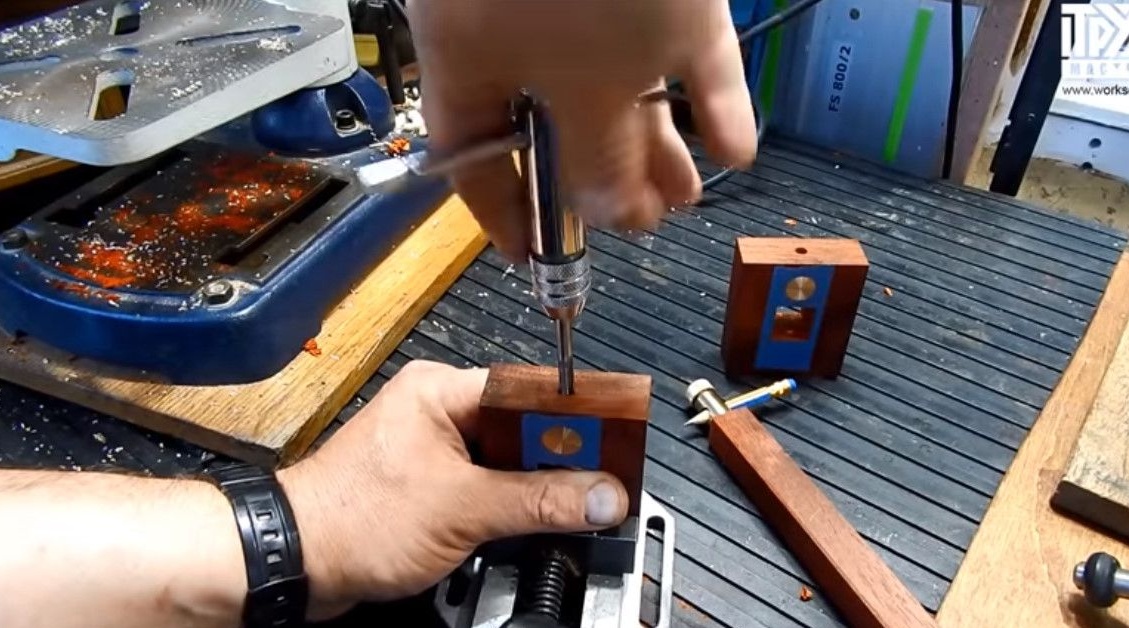
Drilled holes in the block of the thickness gauge with a diameter of 6 mm.
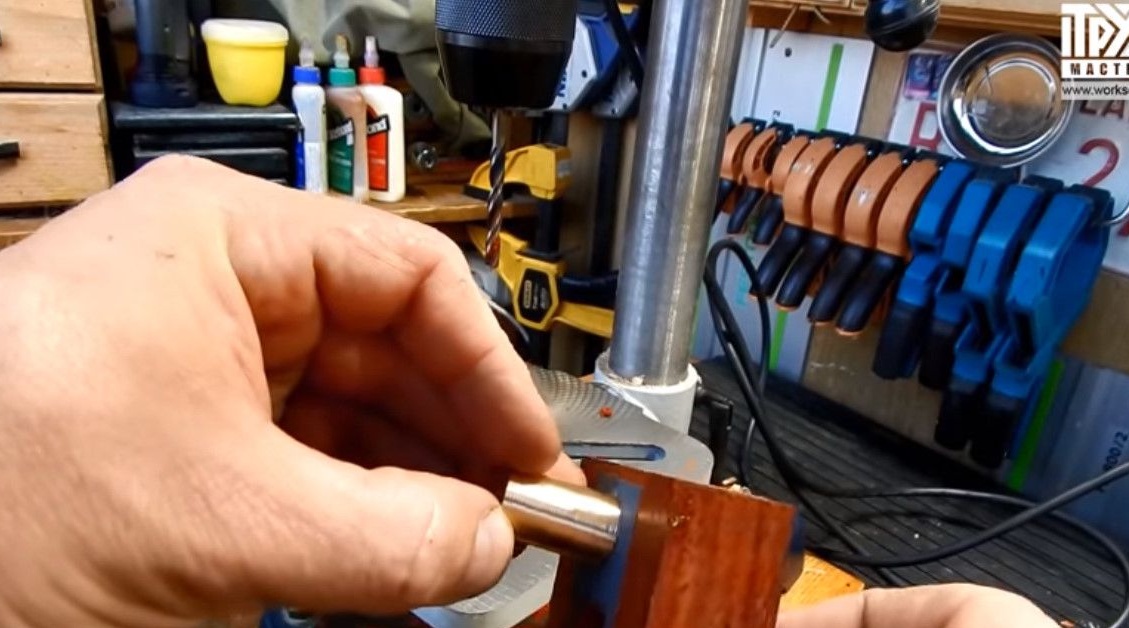
Screws for Andrey M6.
Now the future nuts from brass will score here.
Drill a hole with a diameter of 5mm.
And cuts the thread.
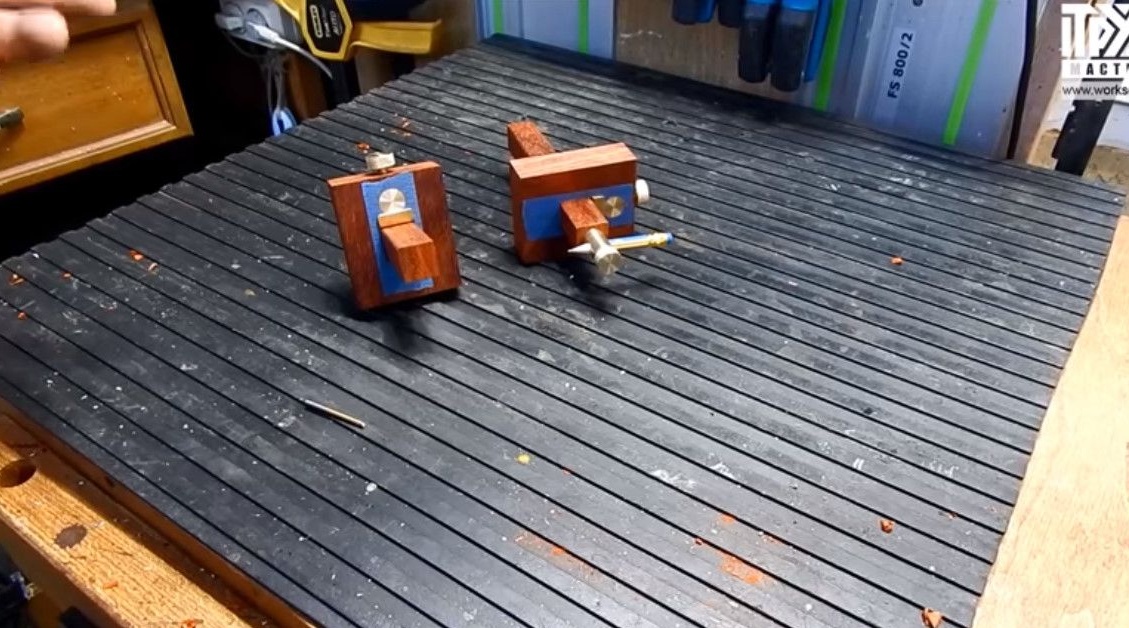
Thicknesses, from a mechanical point of view, are almost ready.
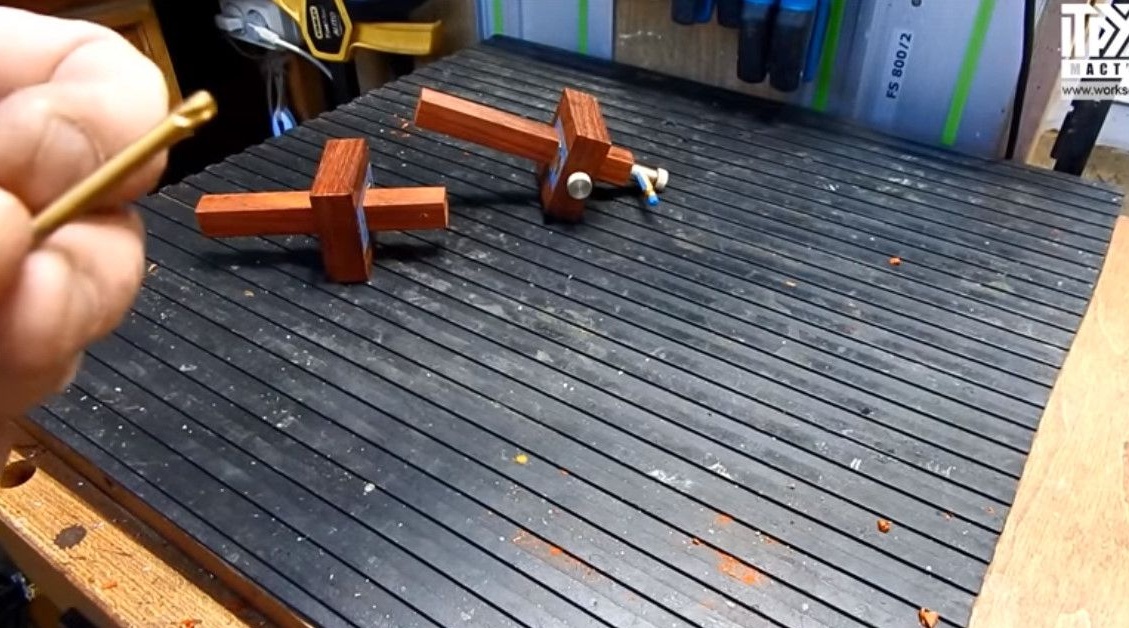
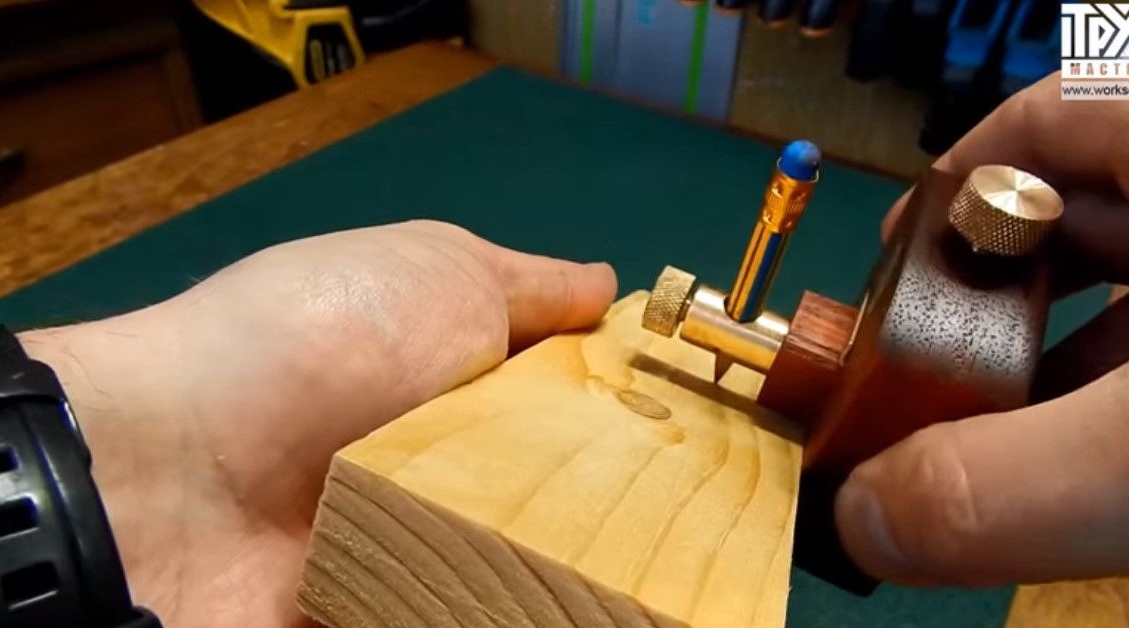
I fixed this pencil holder here.
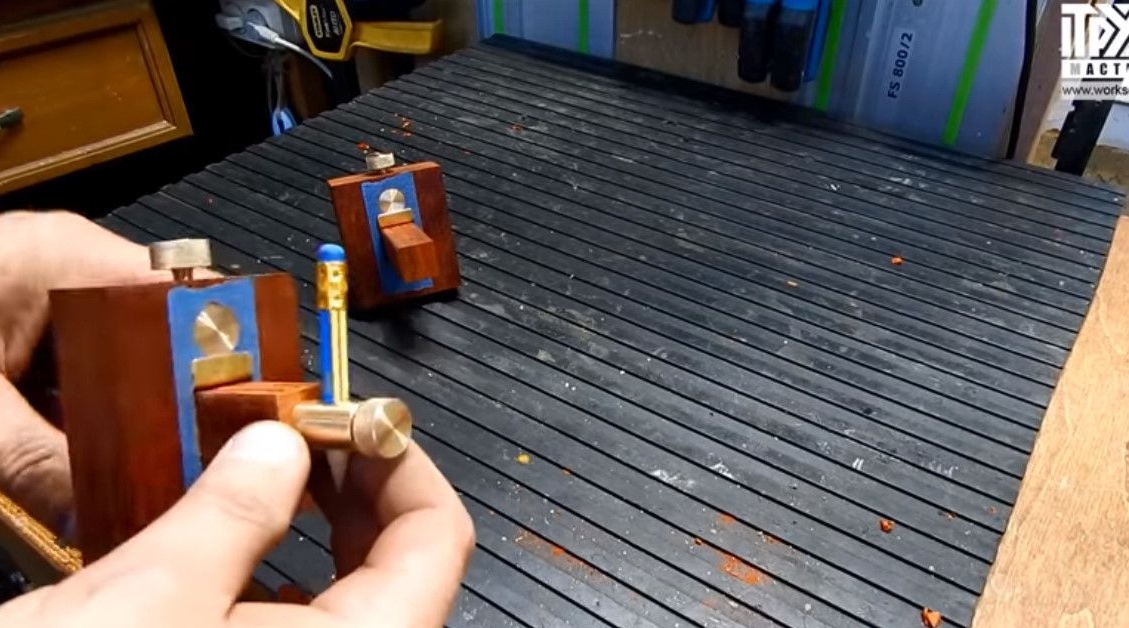
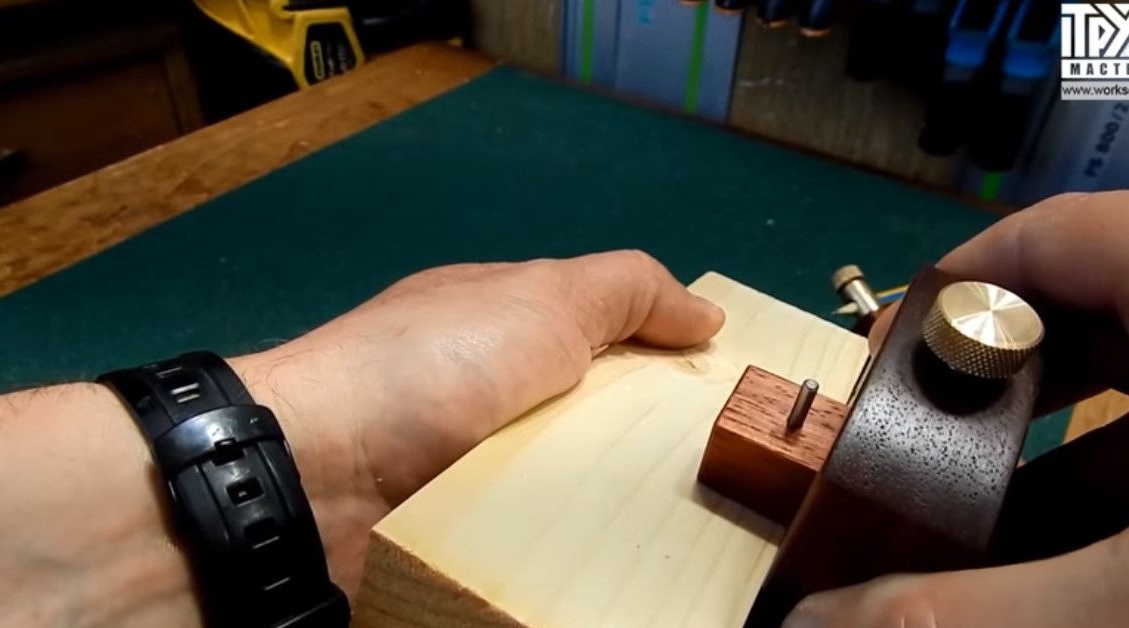
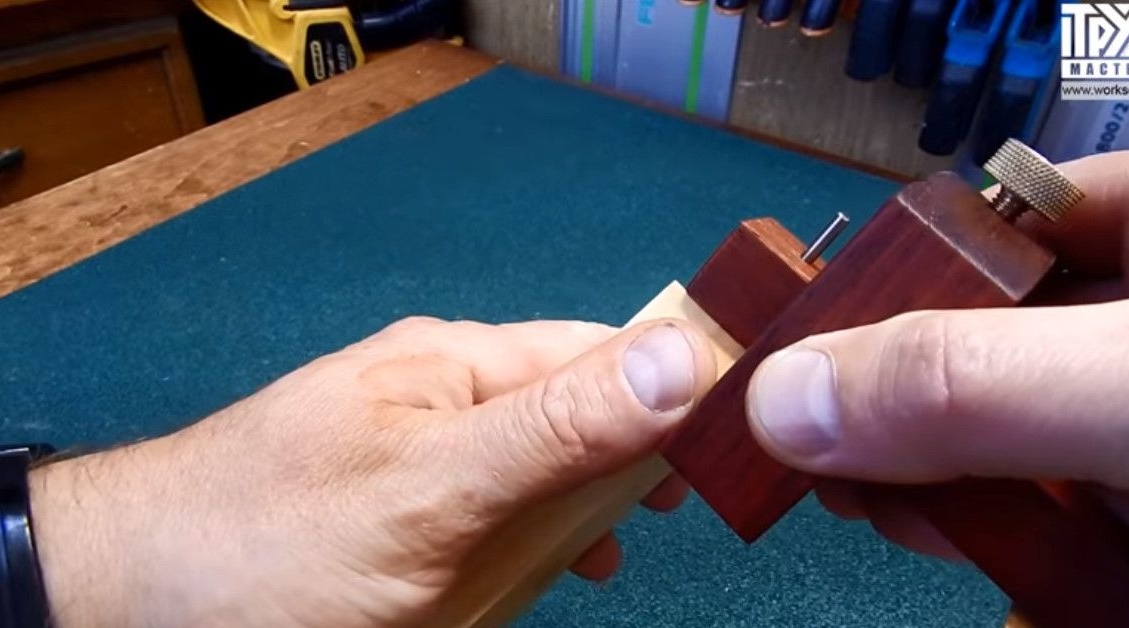
And in this thickness gauge I drilled a hole under the needle.
The needle will be made from a fragment of a 3mm drill, using a screwdriver and a grinding machine.
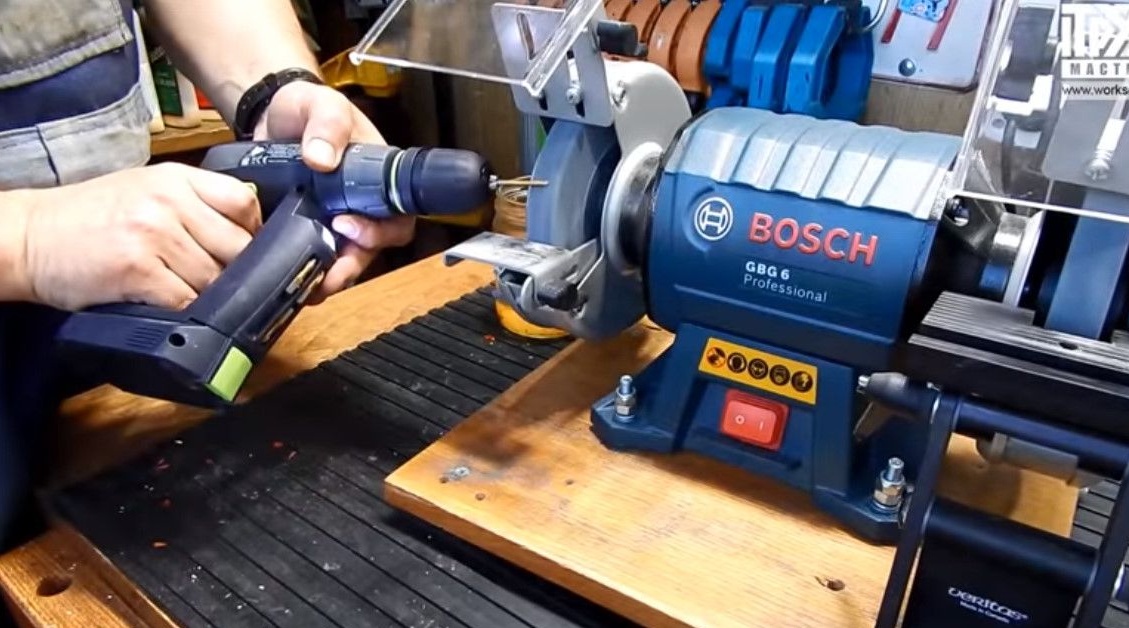
In order not to overheat the metal, it periodically cools it.
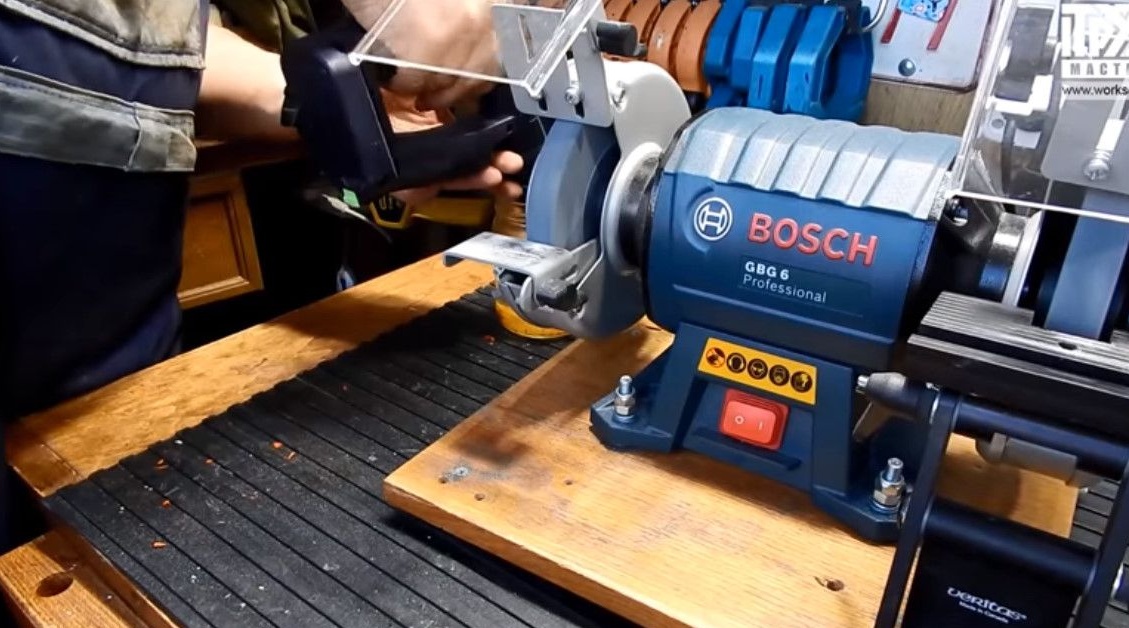
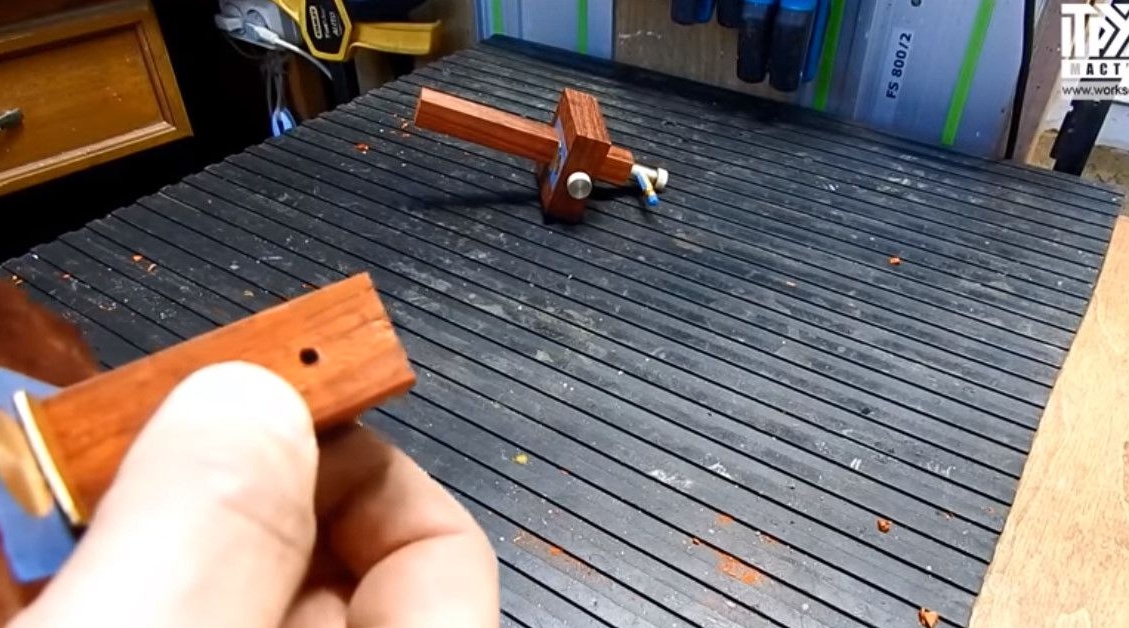
The needle is ready, insert it into the thicknesser after finishing.
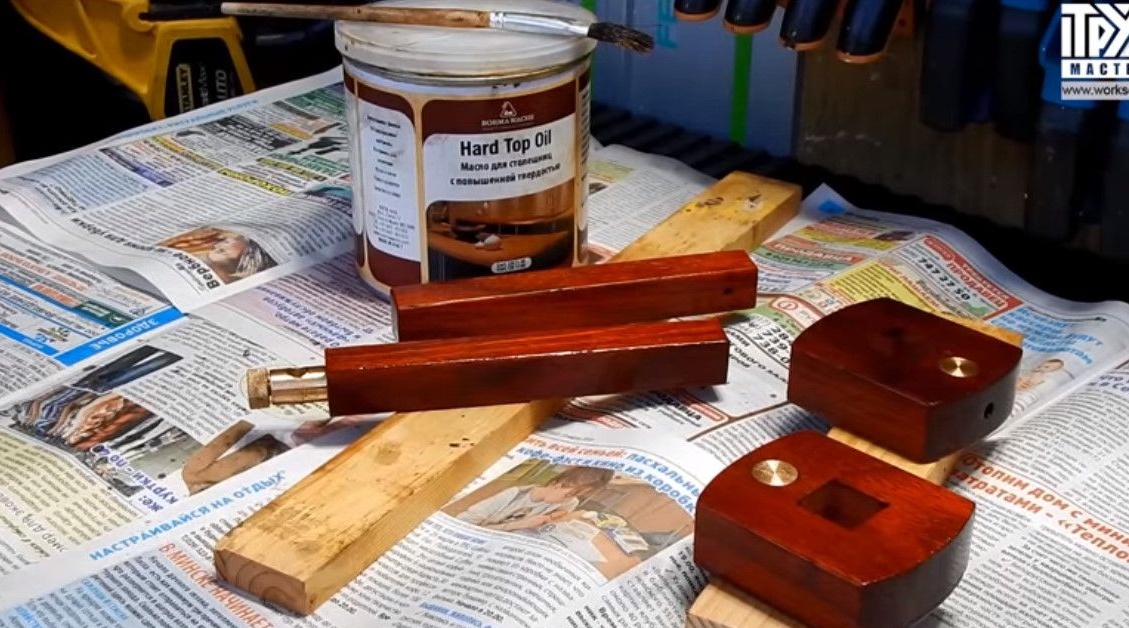
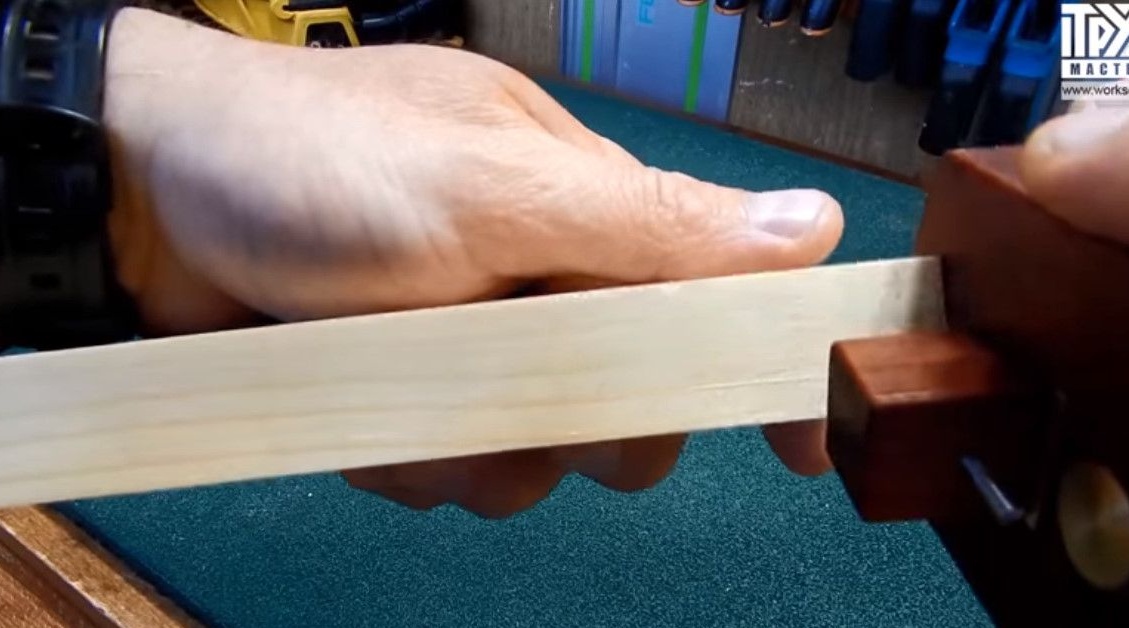
And before finishing, you need to somehow refine these thicknesses, and ask them a form. Using a stationary belt sander, he gave a slightly less rectangular shape.
But there were still sharp edges that would be polished, but by hand.
There is one more nuance. In the block of the thicknessing gage, which will be with the needle, he made a small depression to drown this gasket flush.

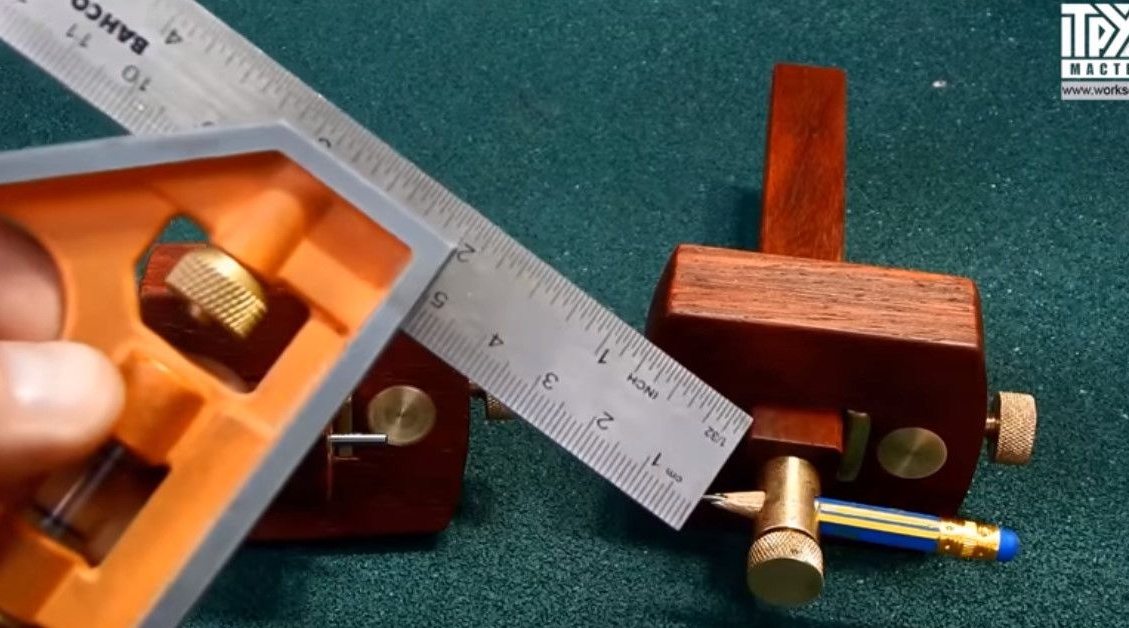
The fact is that sometimes, for example, when inserting loops, it is necessary that the surface gage can note a rather small distance. It turns out, if you leave it in pencil, then the needle rests against this gasket.
And it’s impossible to mark a small distance. With a pencil, such needs never arose.
Andrew here is such a distance for a pencil is quite enough.
I covered the surface gage with oil for the countertop, 10 minutes will pass - and it will be wiped. Then they will dry, then the second layer will be applied.
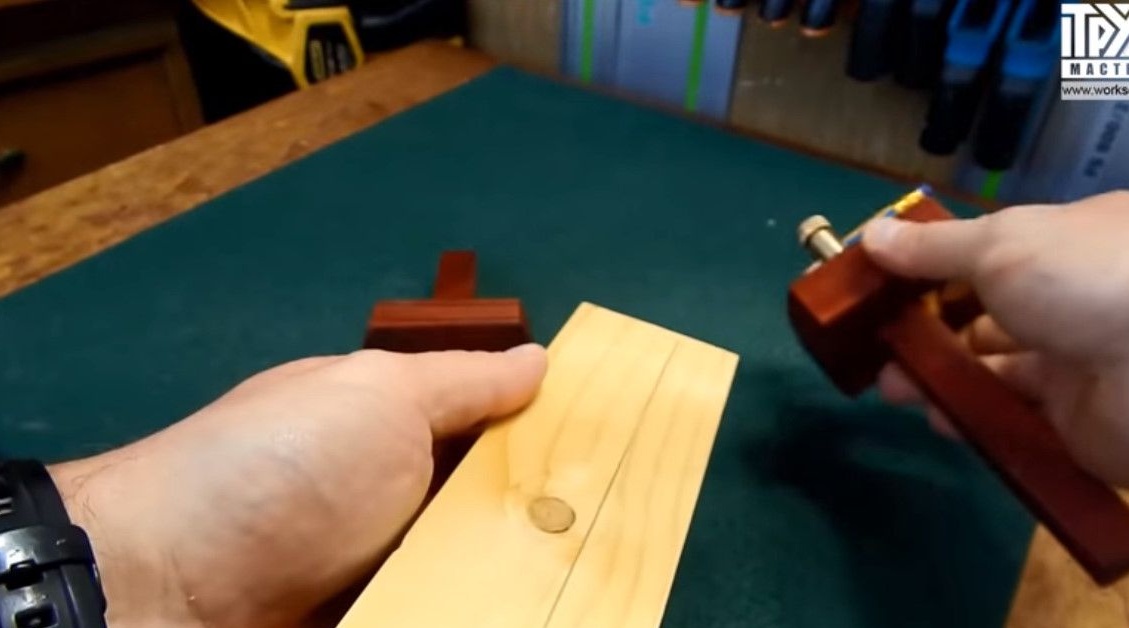
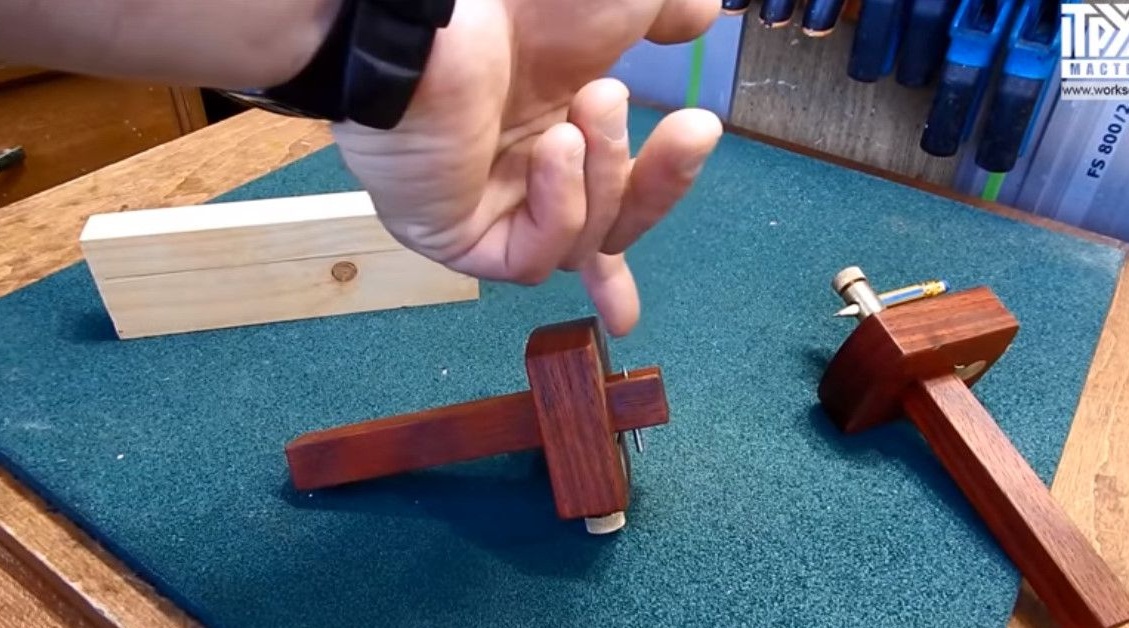
So, the finished result. Here are two such surface gauges.
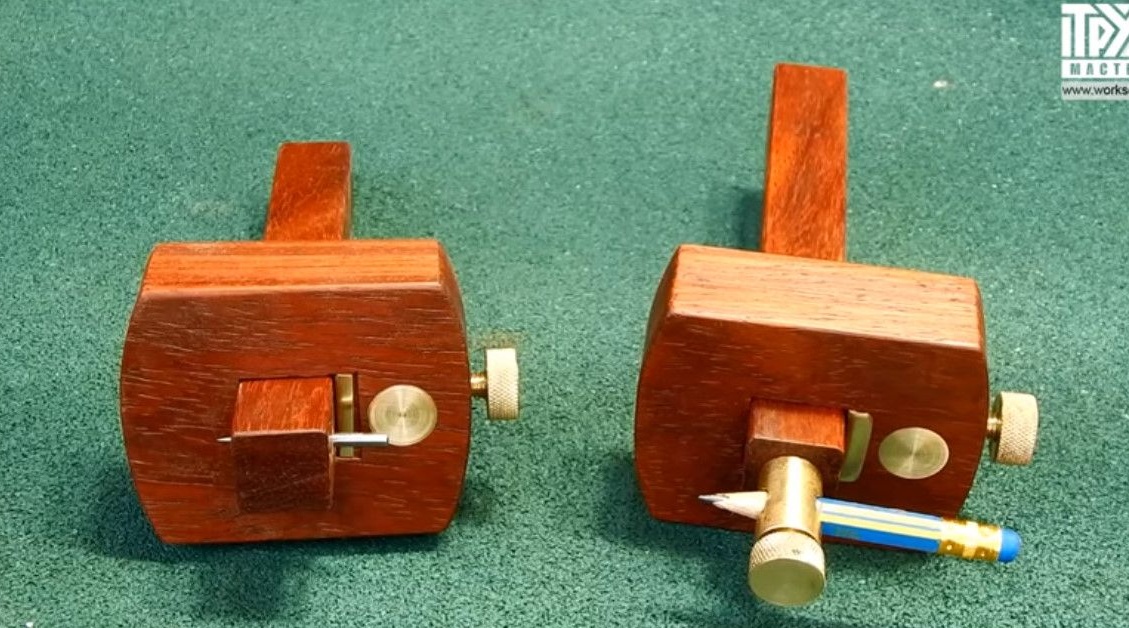
The gage with a pencil seems more convenient to the author than just using such a combined square and pencil. Because in the case of a surface gage, one hand is enough. And with a square and a pencil, both hands are busy.
And now some tests.
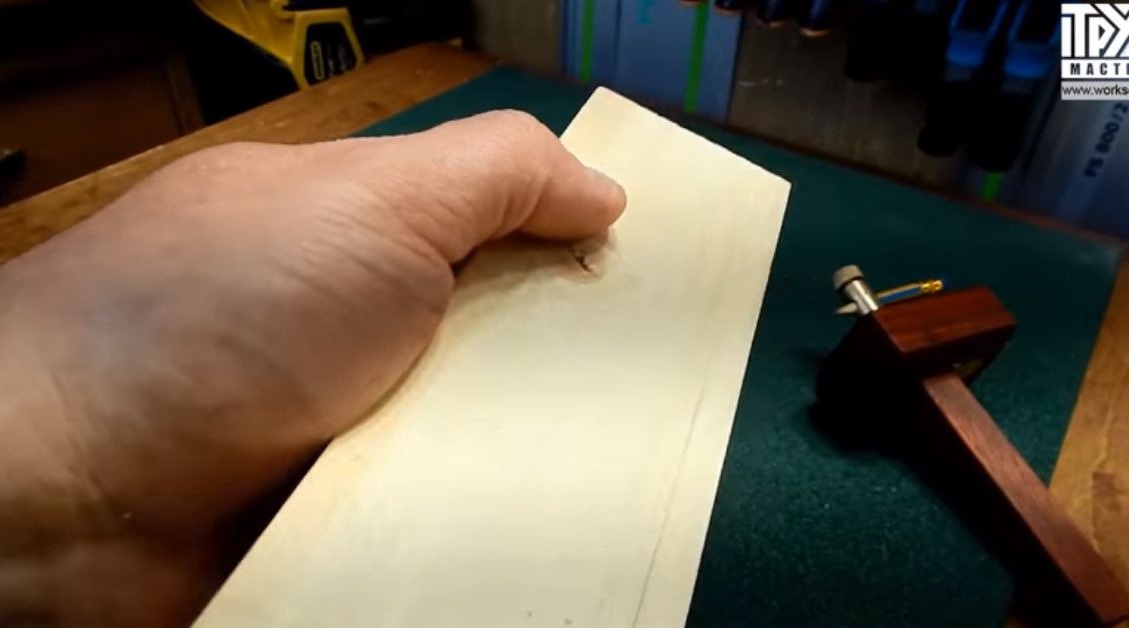
Here is a result with a pencil thicknesser.
And this is the result of a surface gage with a needle.
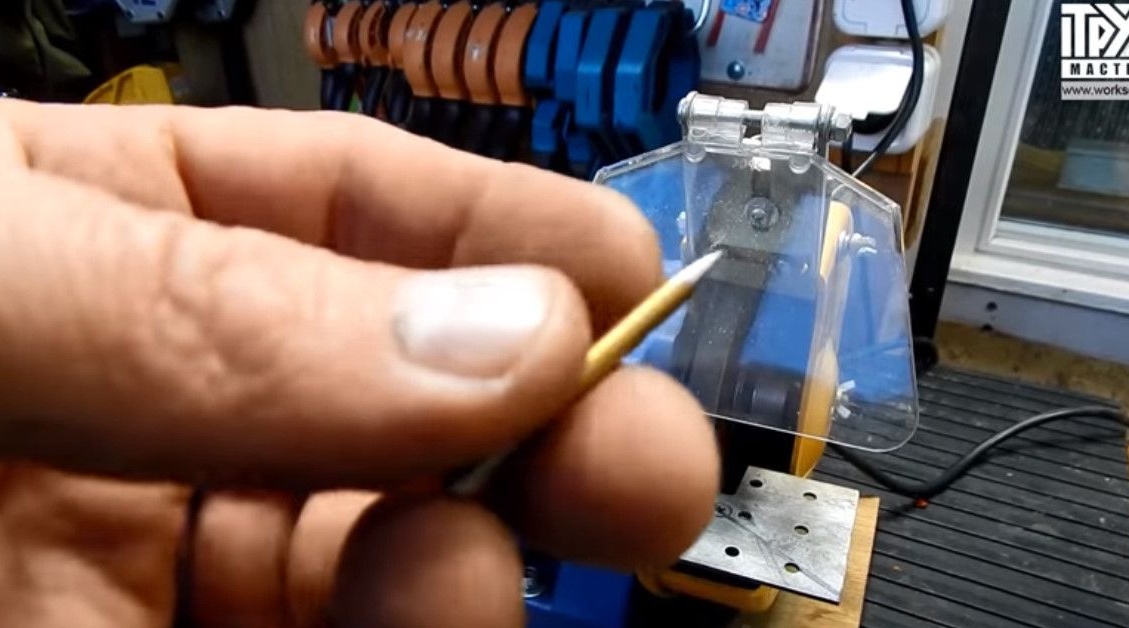
When the needle becomes dull, the author will grind it with a diamond file on this side.
And, probably, it will give a shape closer to a sharpened spatula so that the cut is a little cleaner.
Thanks to Andrei Yarmolkevich for excellent instructions!
All good homemade products.