
In this article, Kirill Shvalev, the author of the channel "Good Joiner", will tell you how to make advanced protection for the jointer.
Materials
Thick cardboard or fiberboard for patterns.
Plywood 6mm or more.
PVA glue, carpentry ...
Adhesive-based plastic tape.
Paint.
Spring.
M8 bolt, nuts, washers.
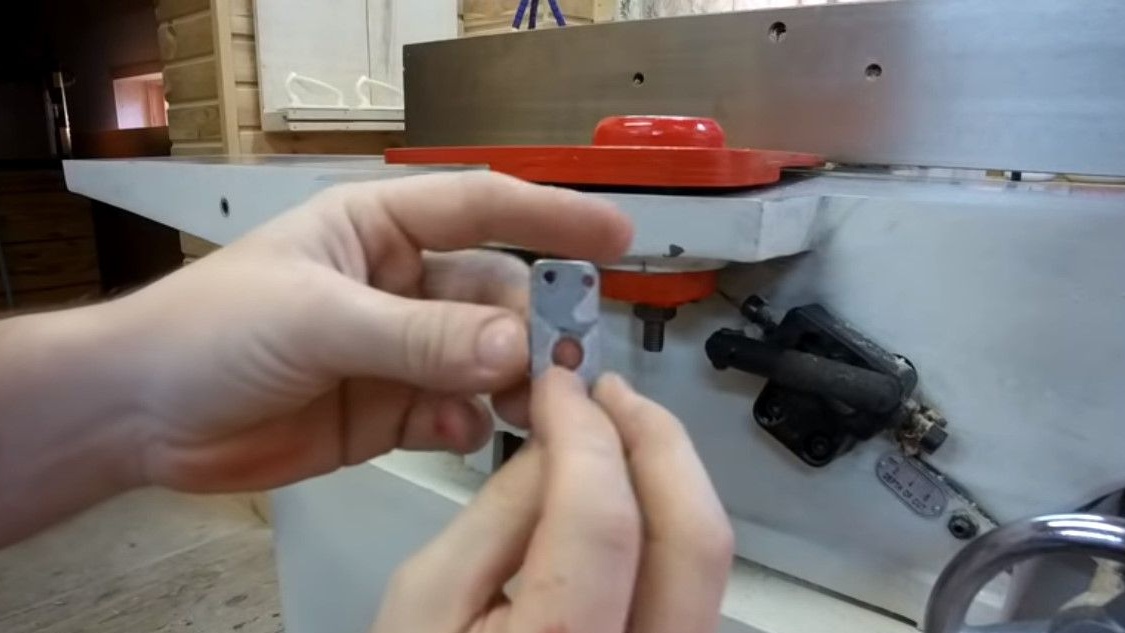
A small metal plate for the spring lever.
Bearing.
A sleeve (tube) with an inner diameter of 8mm and a length of about 40mm.
A minimum of tools. (Maximum of the author in the following photos)
Drill or screwdriver.
Clamps.
Spanners.
Jigsaw on wood.
To begin with, Cyril gets rid of the standard factory protection by dismantling it.

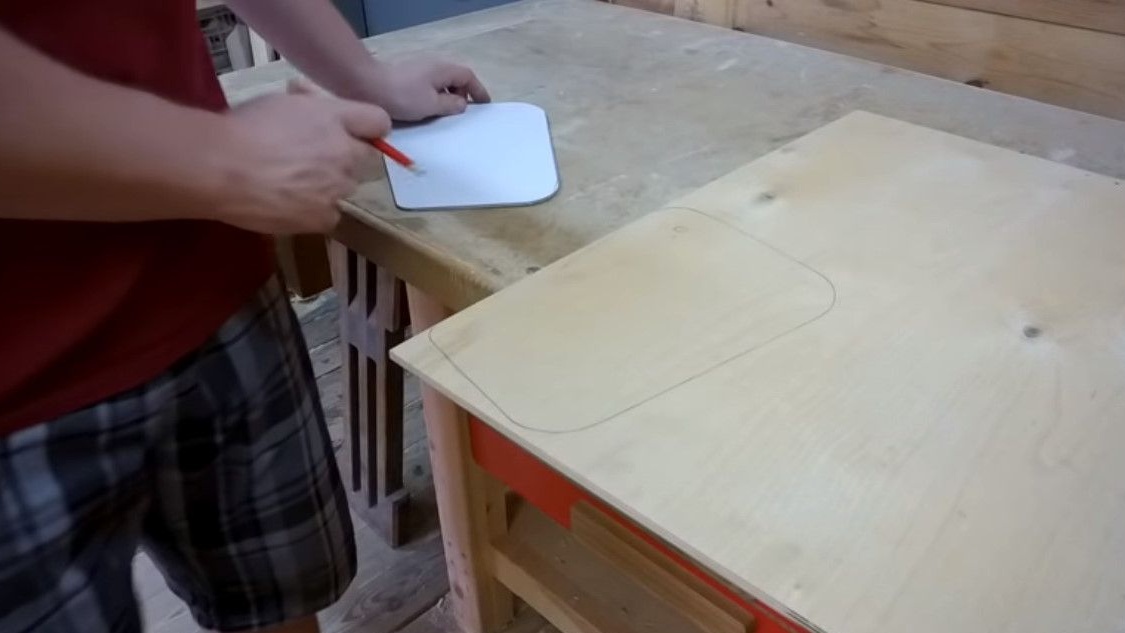
Now he makes a pattern on which he will cut the workpiece.
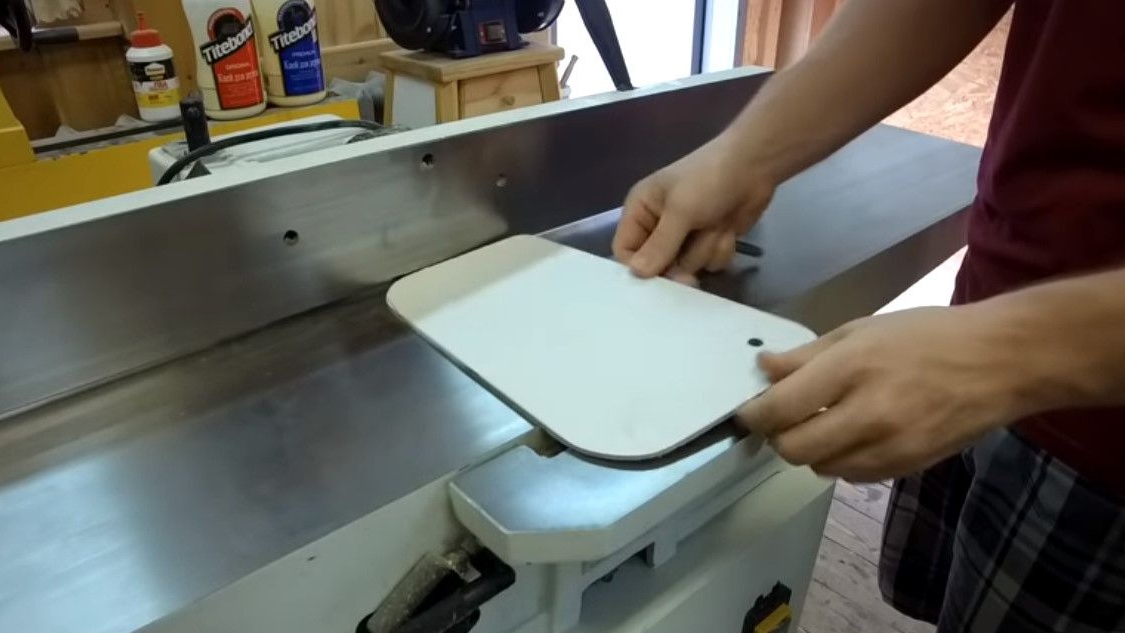
Trying it on, cuts off the excess.
Rounds, achieving ergonomics.
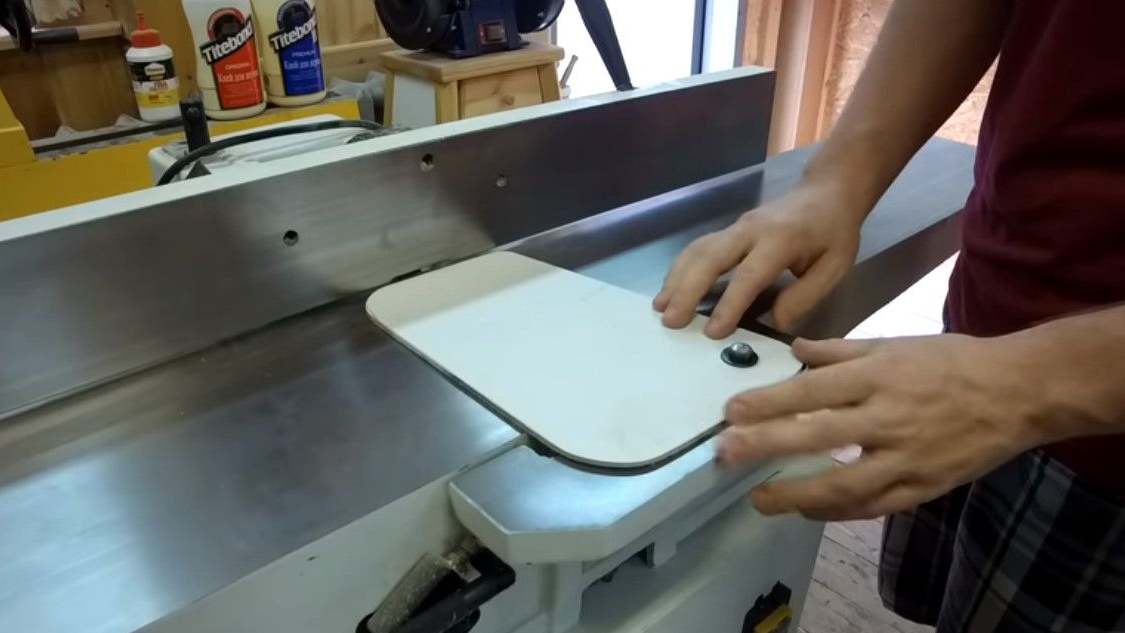
Checks how it will look on the machine.

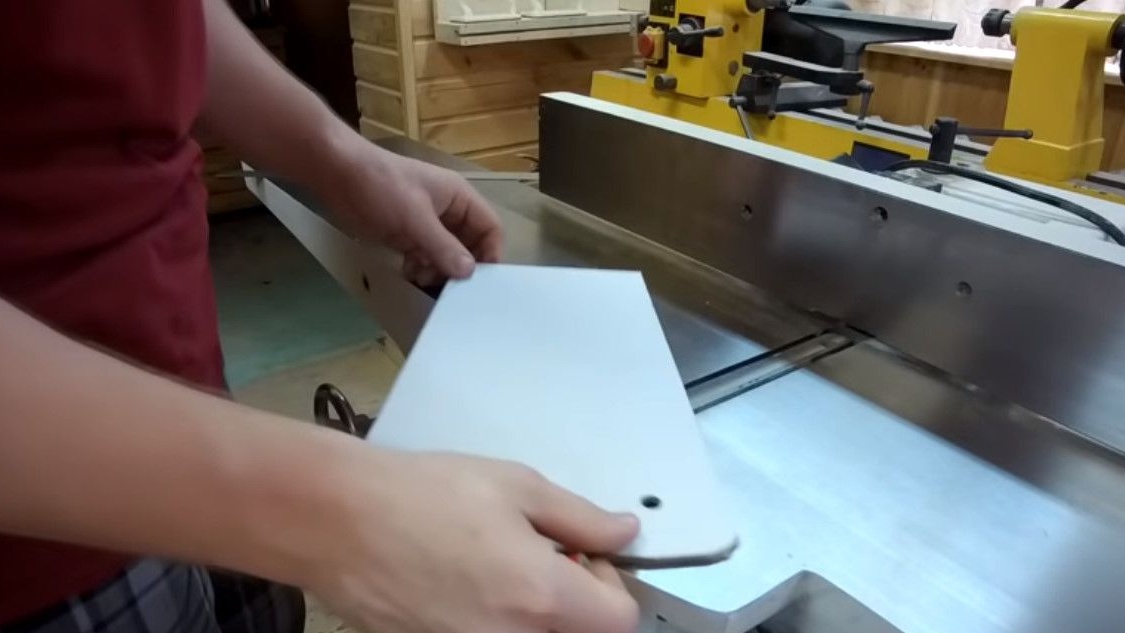
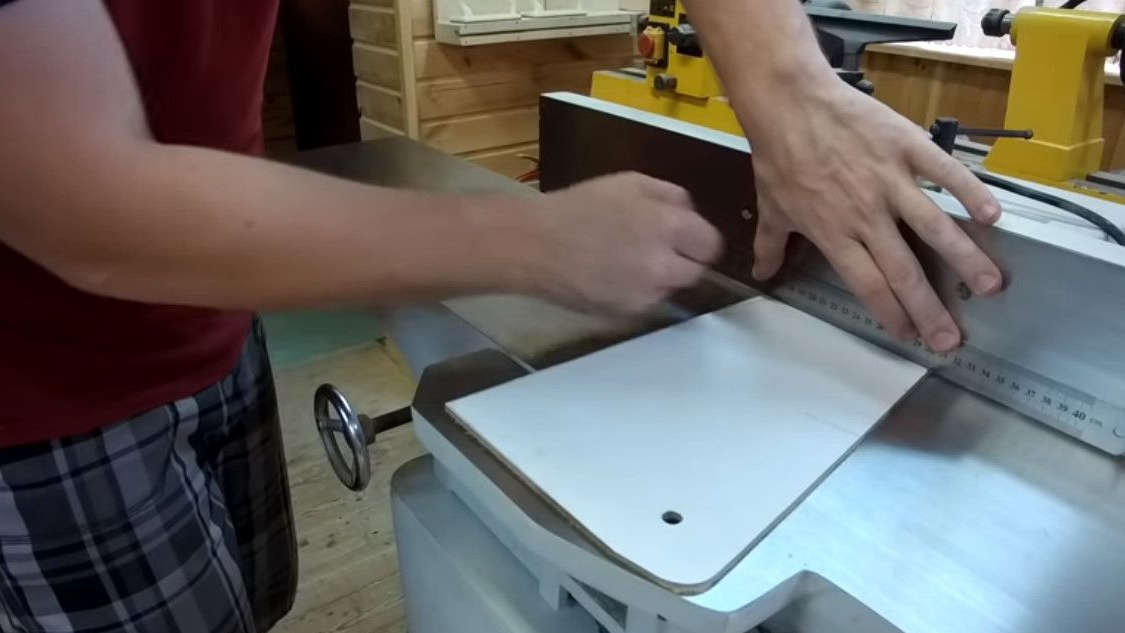
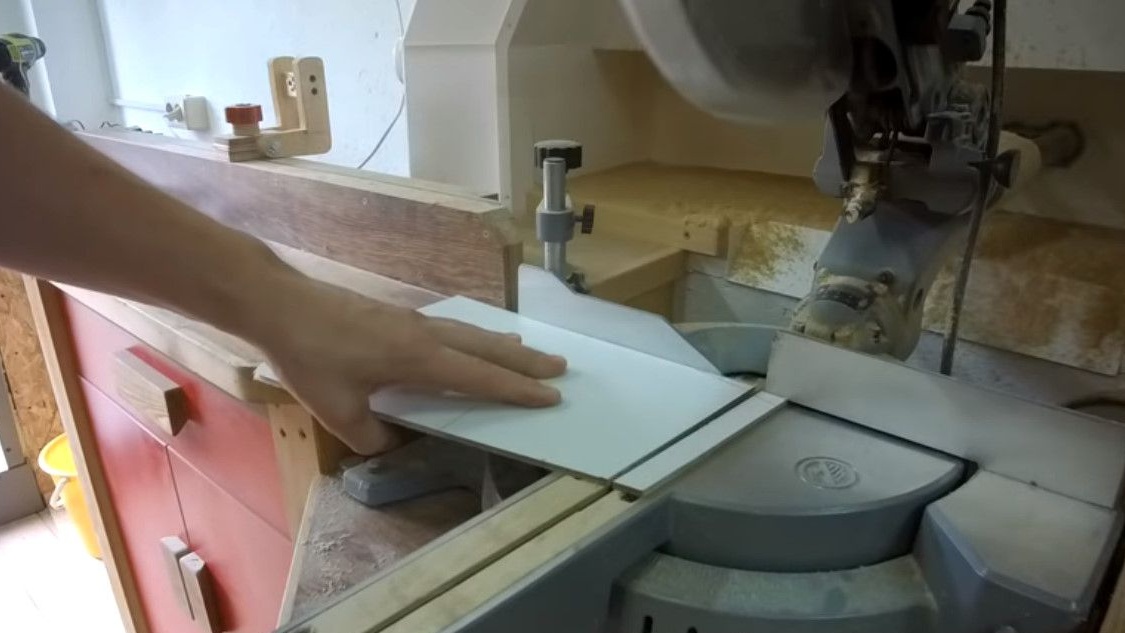
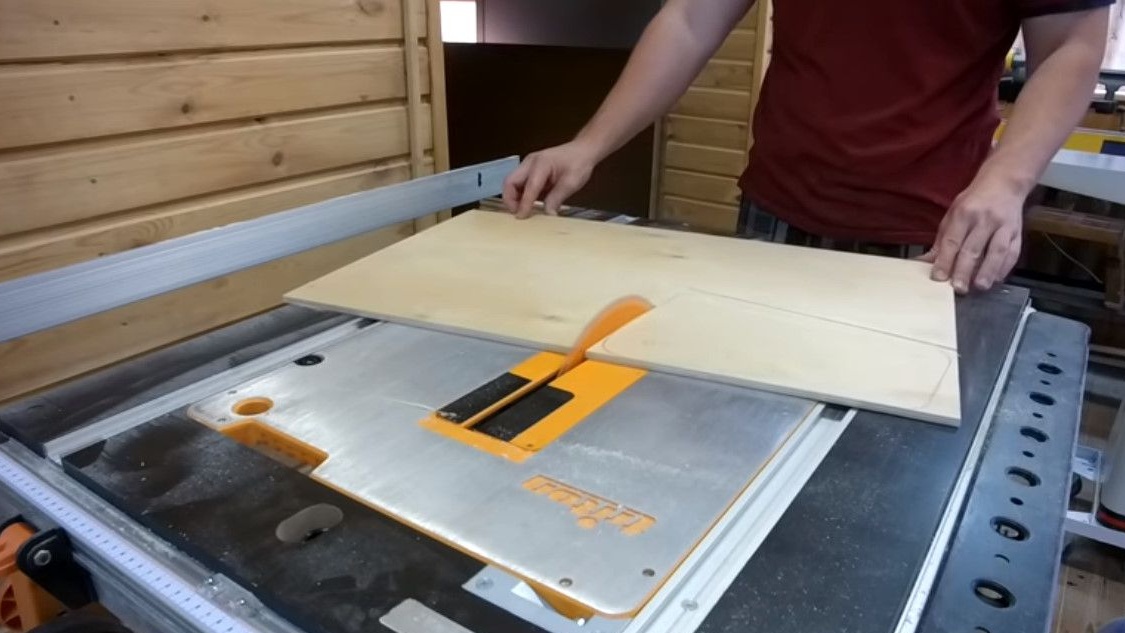
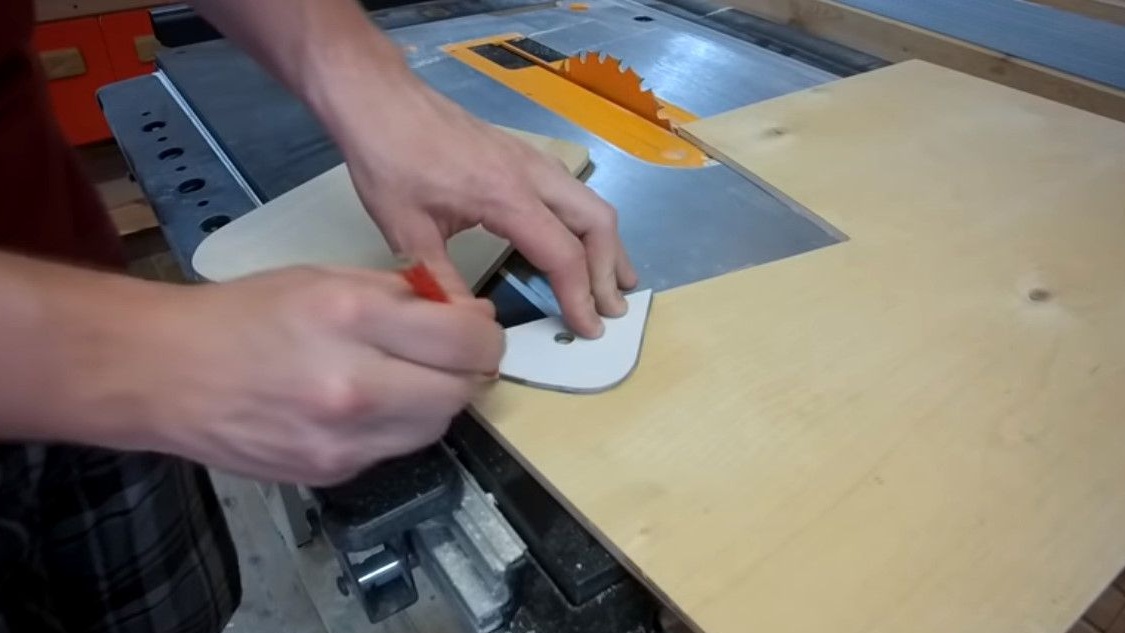
It transfers the marking to plywood, from which the protection will already be made.

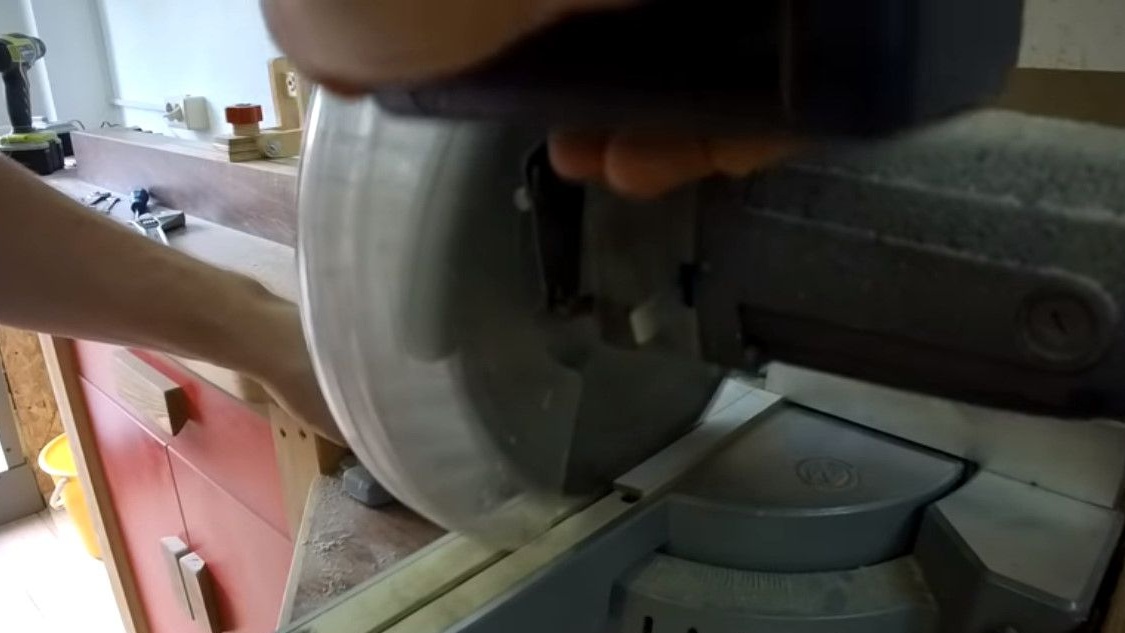
Cuts a workpiece at a sawing site.
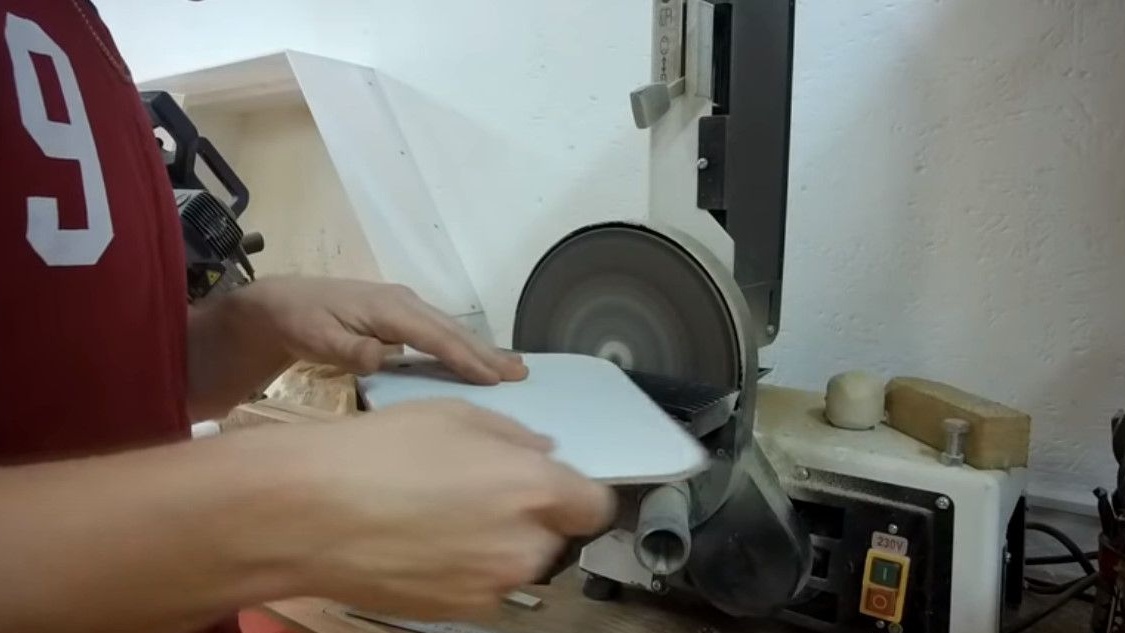
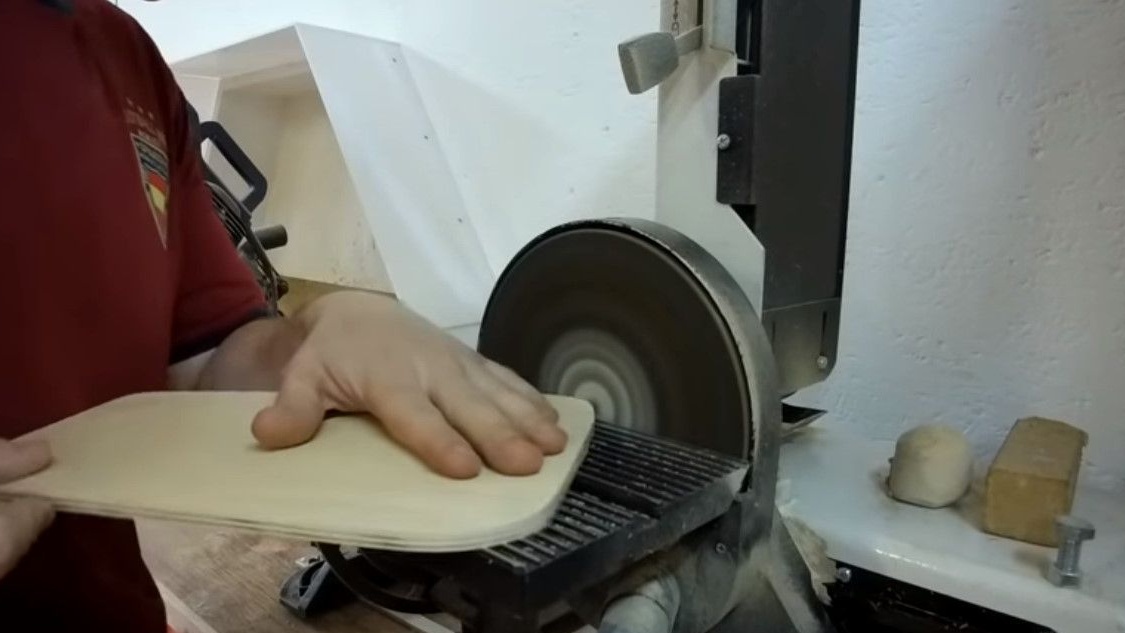
And rounds corners, removes burrs.
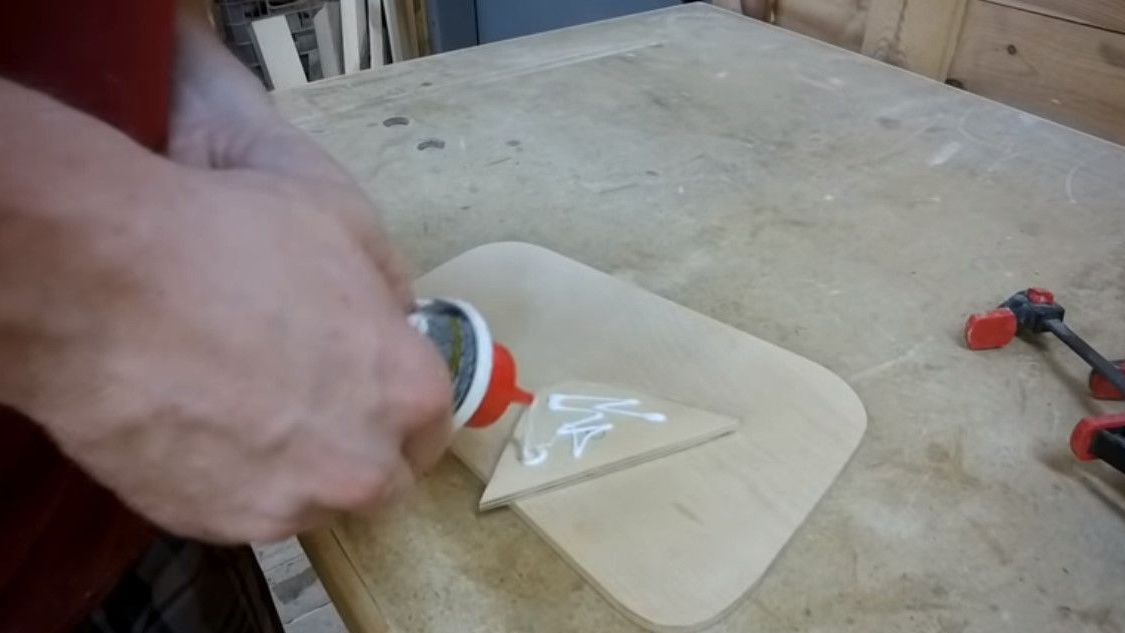
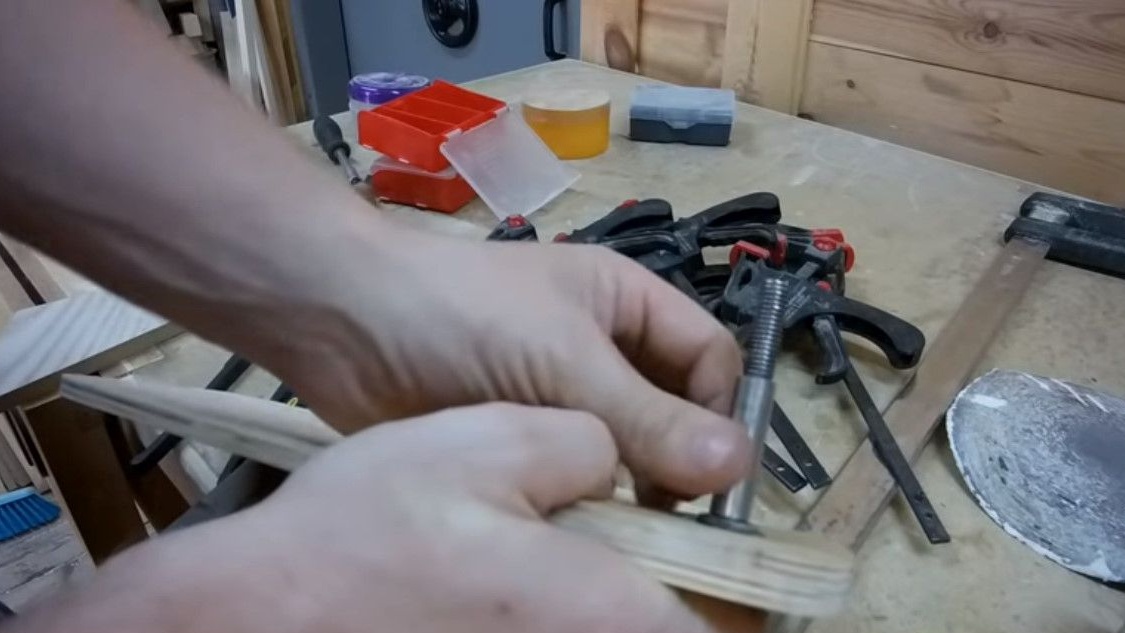
In order for the main protection panel not to touch the blades of the jointer, you need to make a lining, which will create a small gap between the blade and the plate.
Applies glue and clamps both parts with clamps.

Drills a hole for the mounting bolt. The author has no comments on the size. Judging by everything, the M8 bolt.
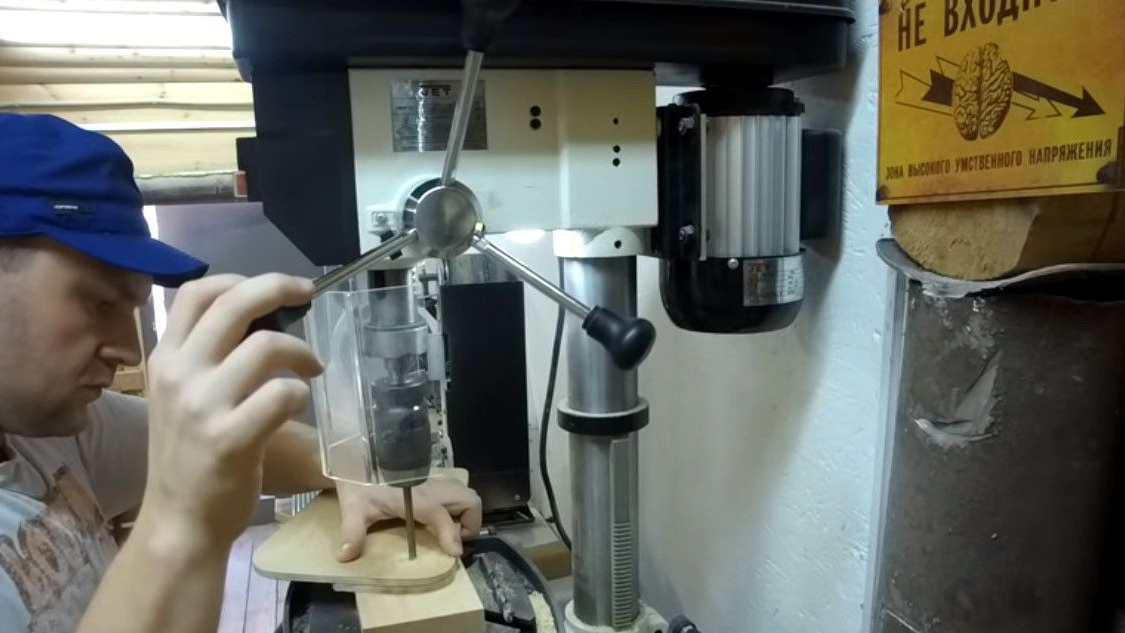
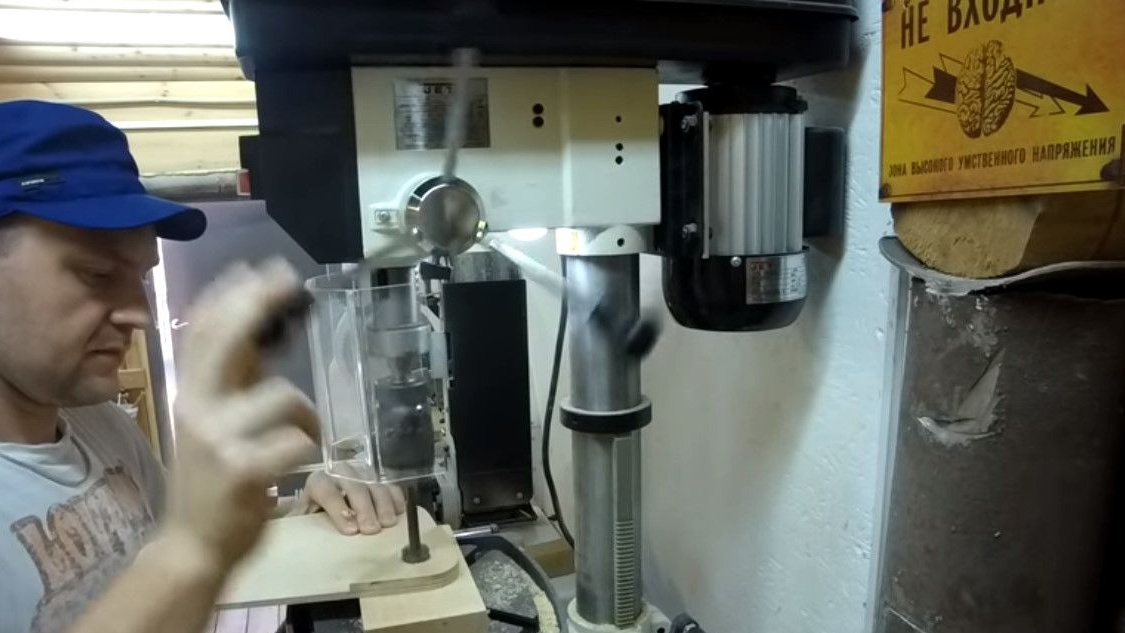
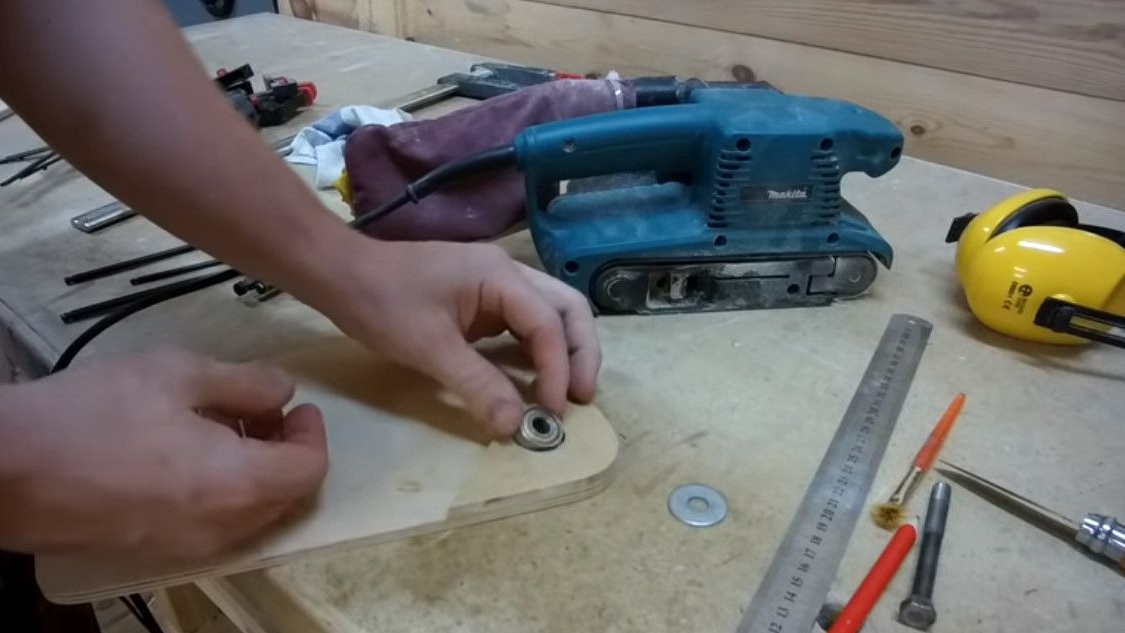
A Forstner drill makes a bearing seat.
Pressing the bearing in its place with a clamp, laying plywood.
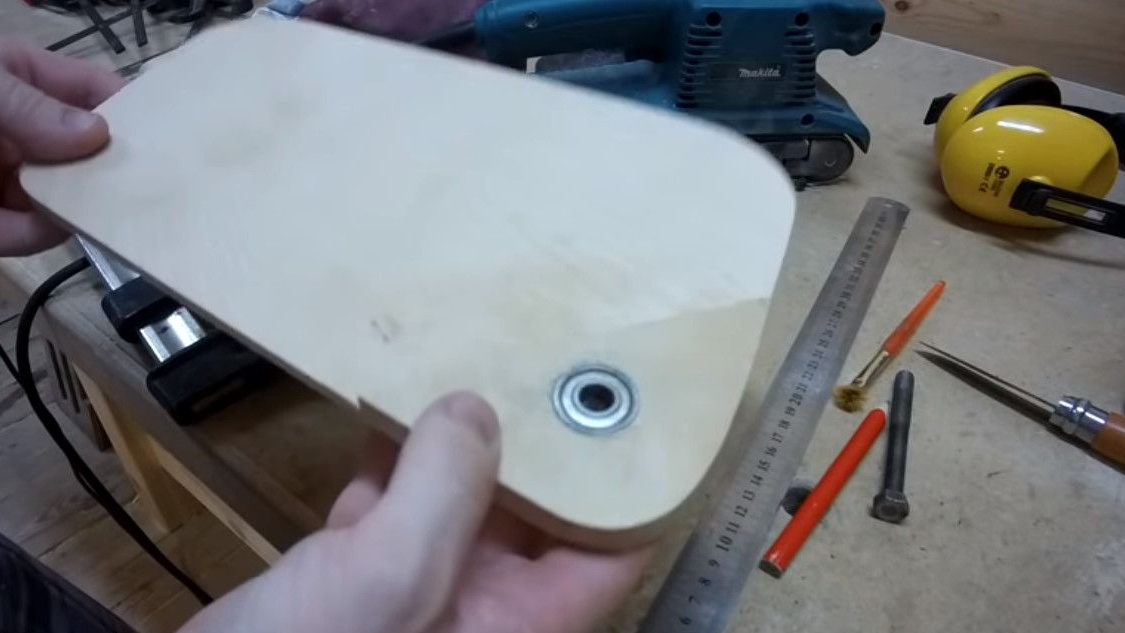
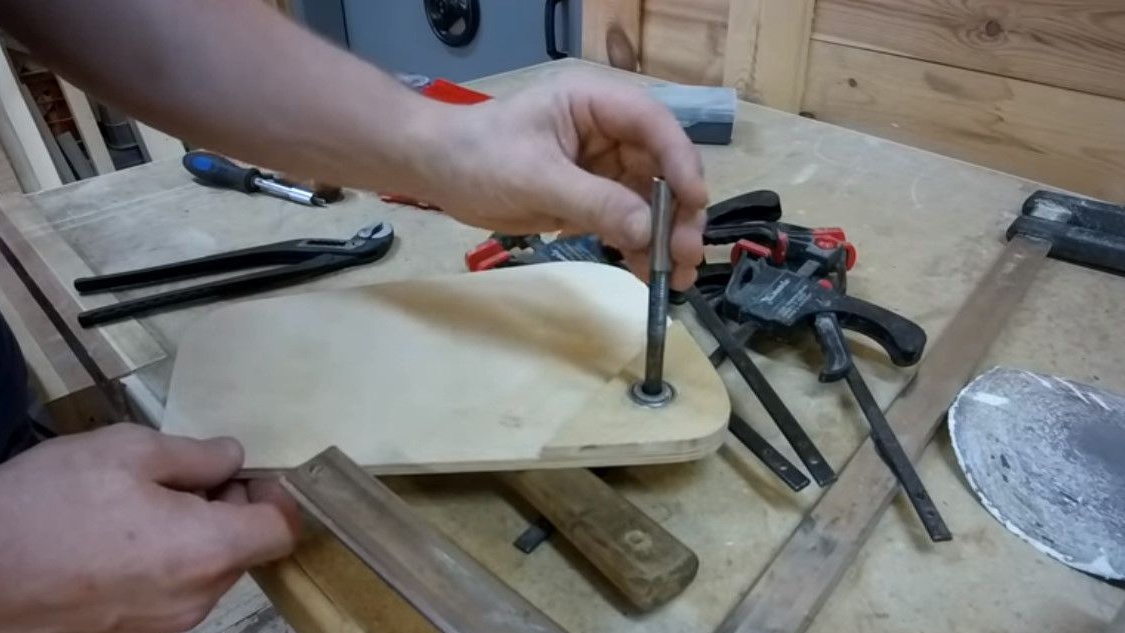
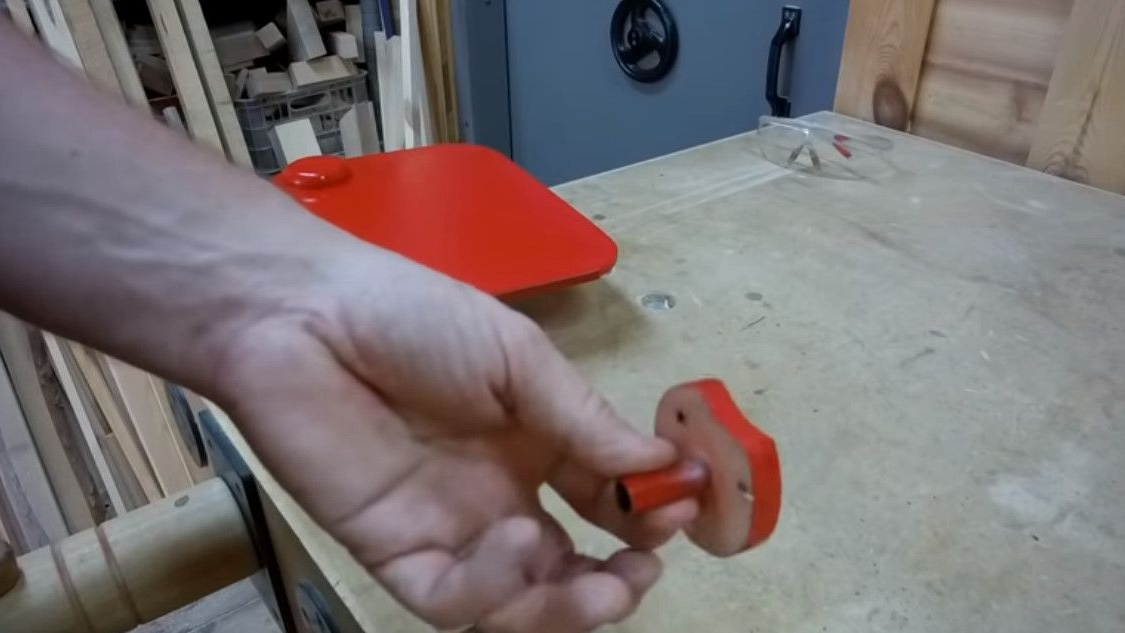
Inserts a bolt, puts on a sleeve.
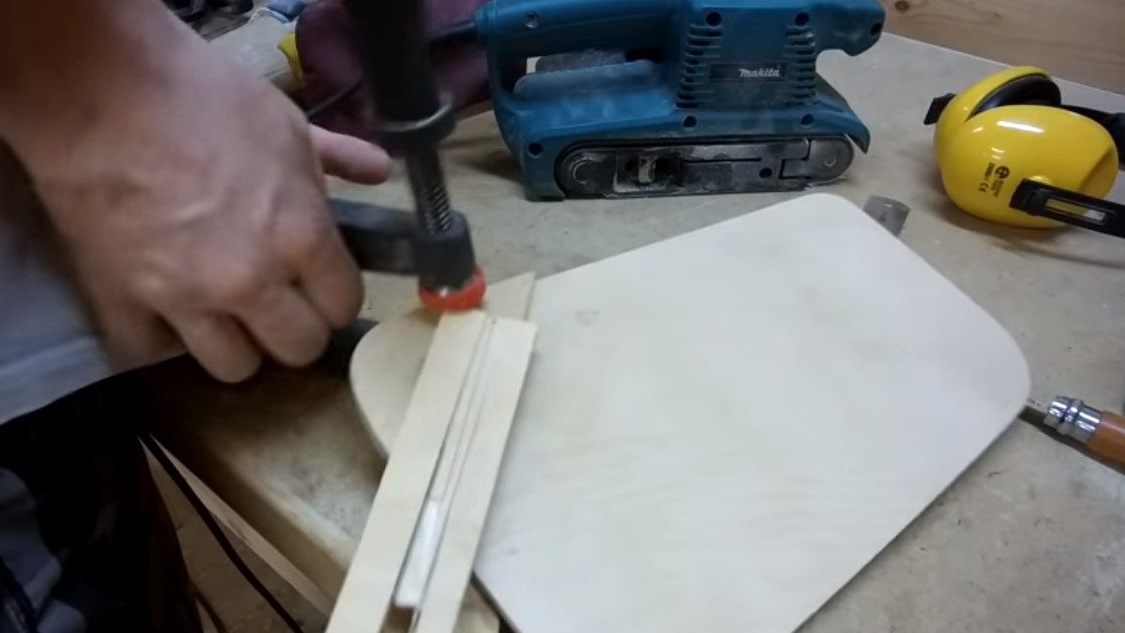
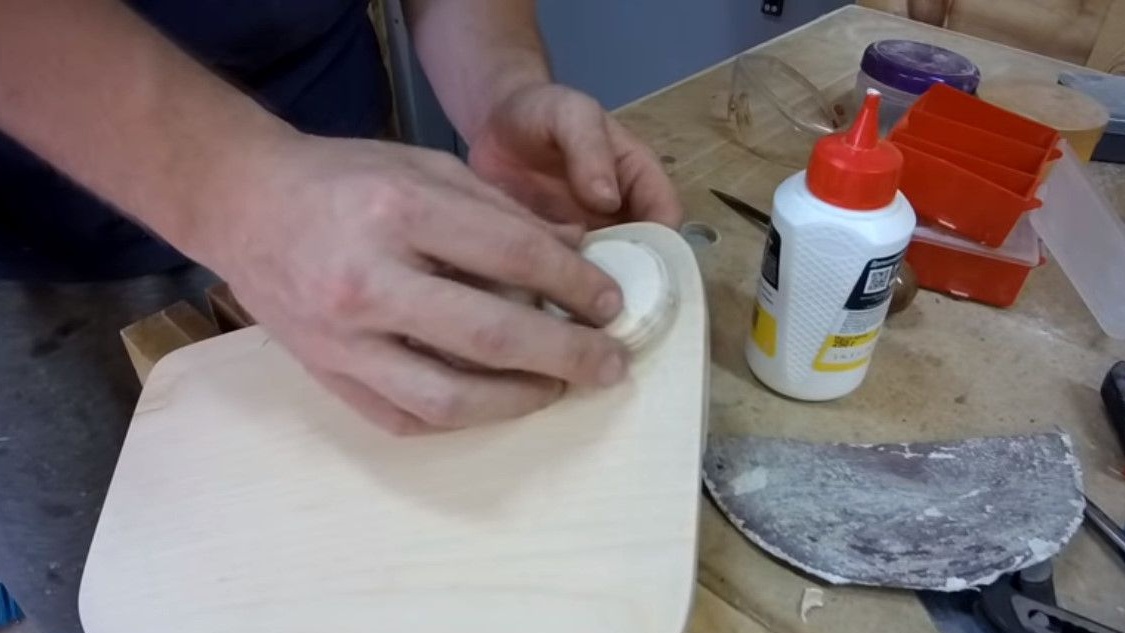
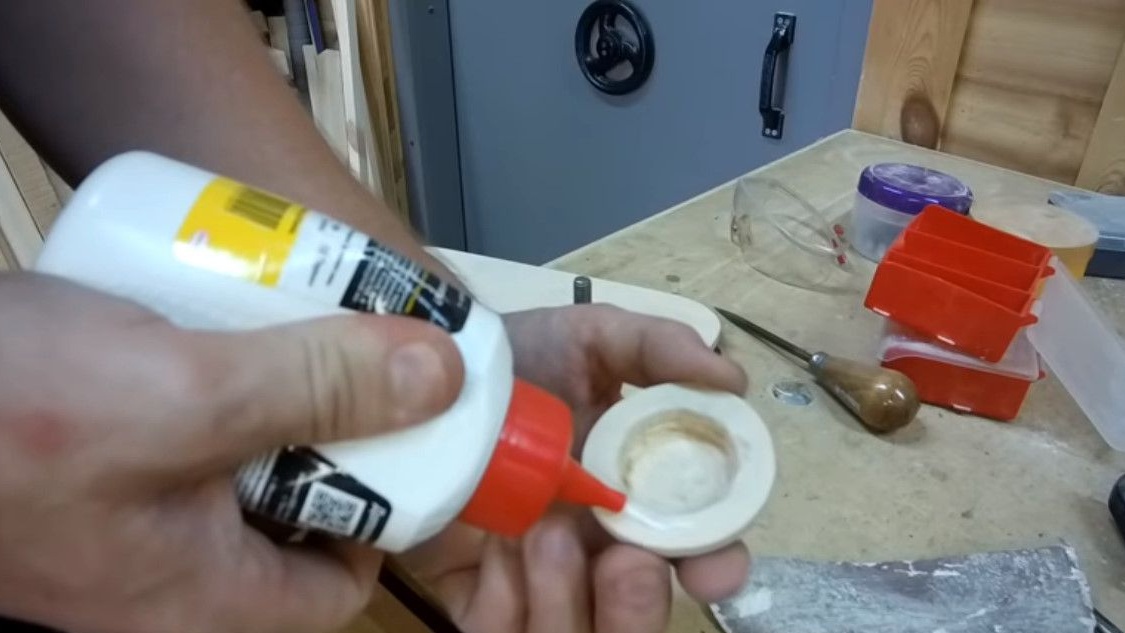
For greater ergonomics and beauty, it closes the bolt head with a round lining.
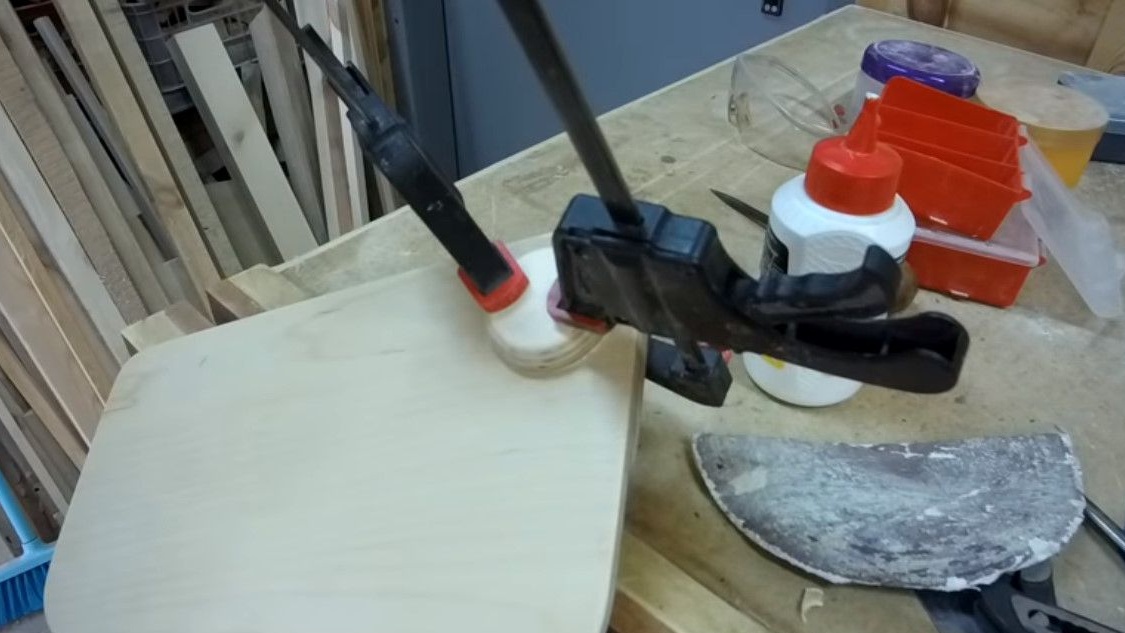
Coats with glue, and also clamps with clamps.

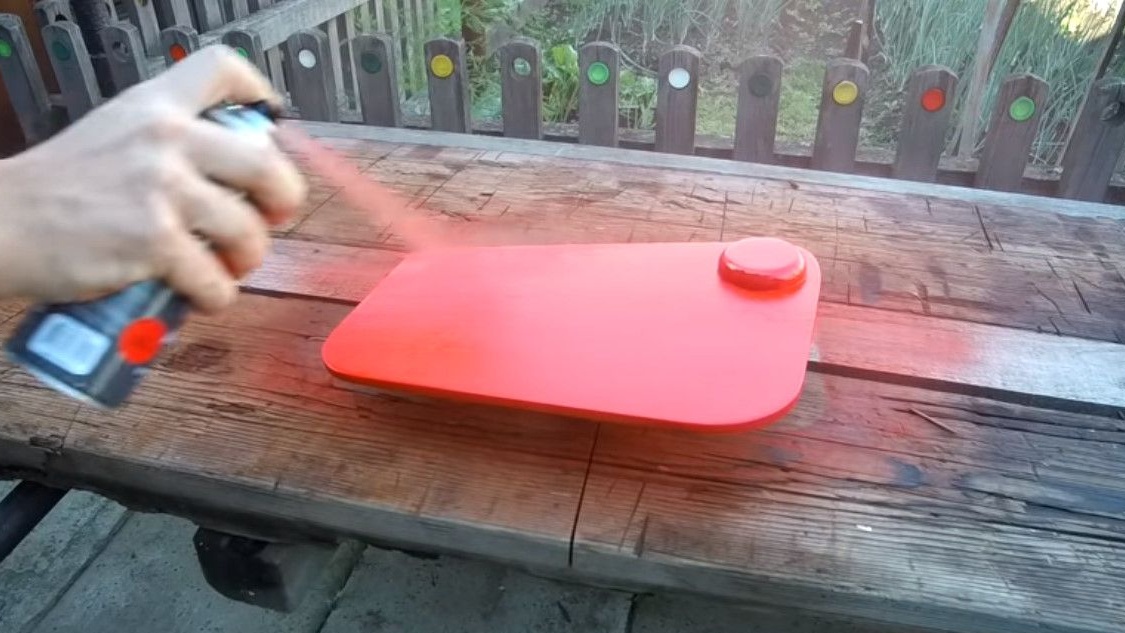
Details are ready, Cyril starts painting. Ordinary spray paint.
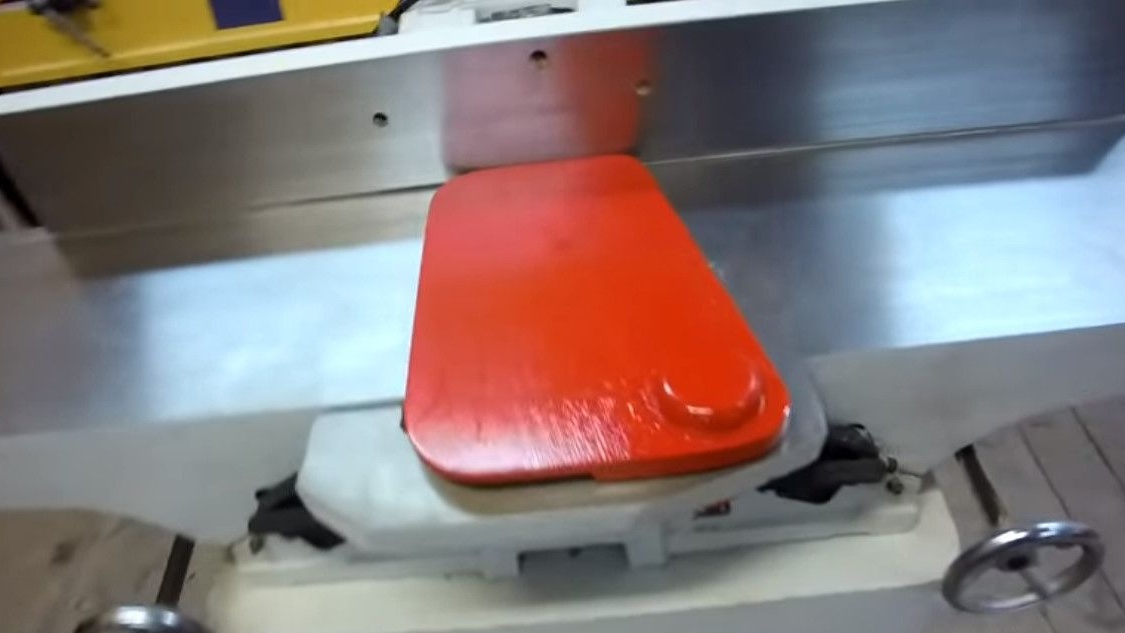
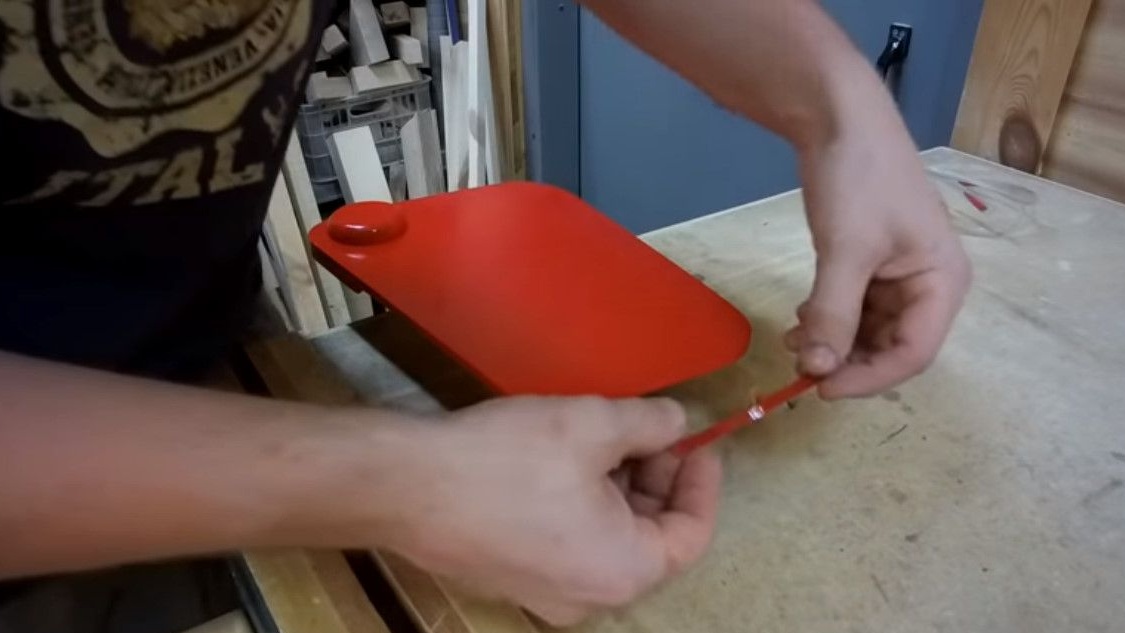
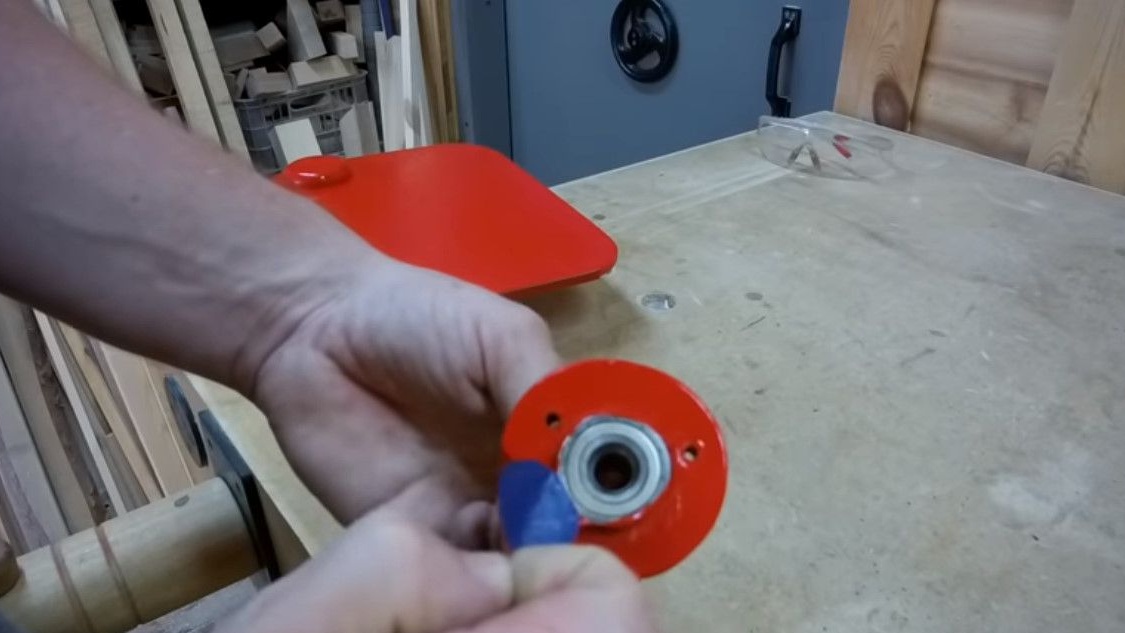
A plastic tape is glued to the edge of the protection in order to reduce friction between the protection and the workpiece.
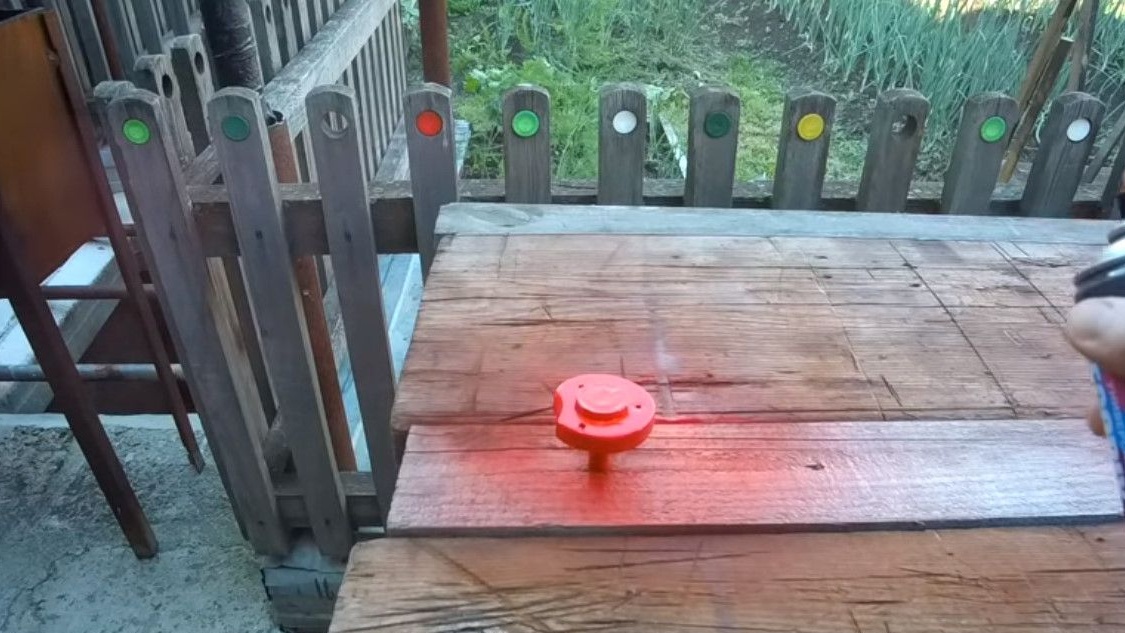
Yes, before painting, he sealed the bearing so that the paint did not get.
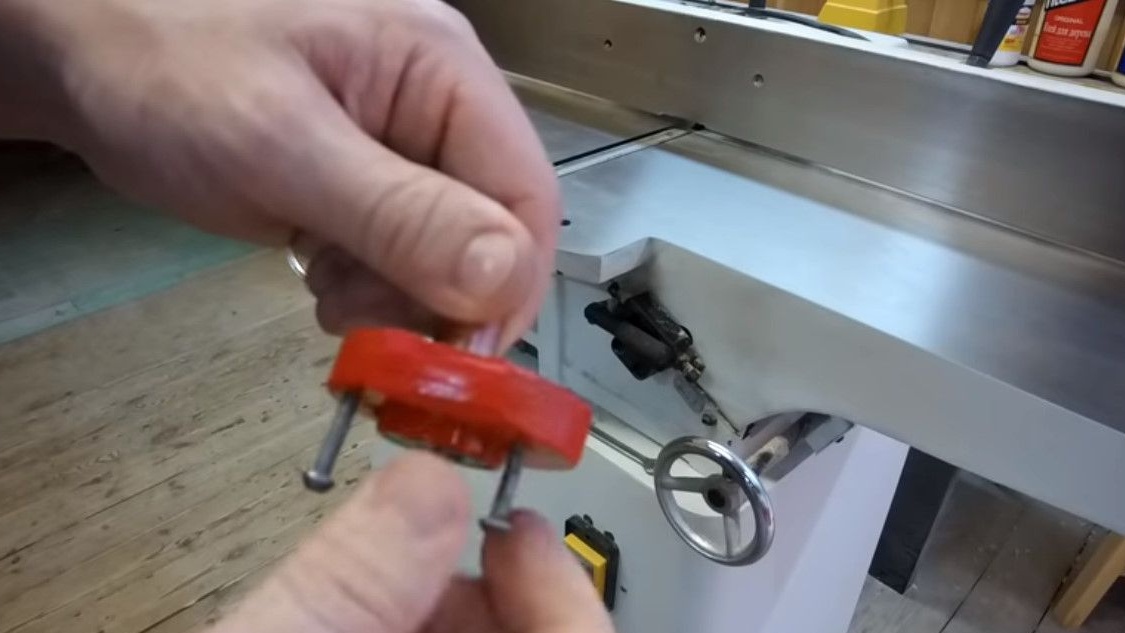
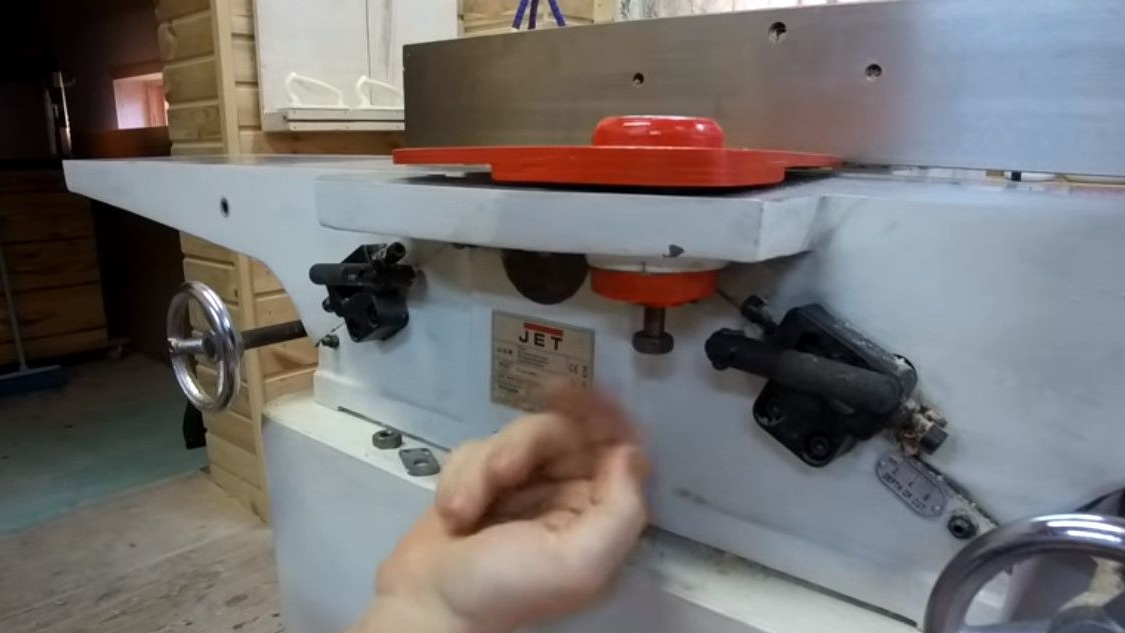
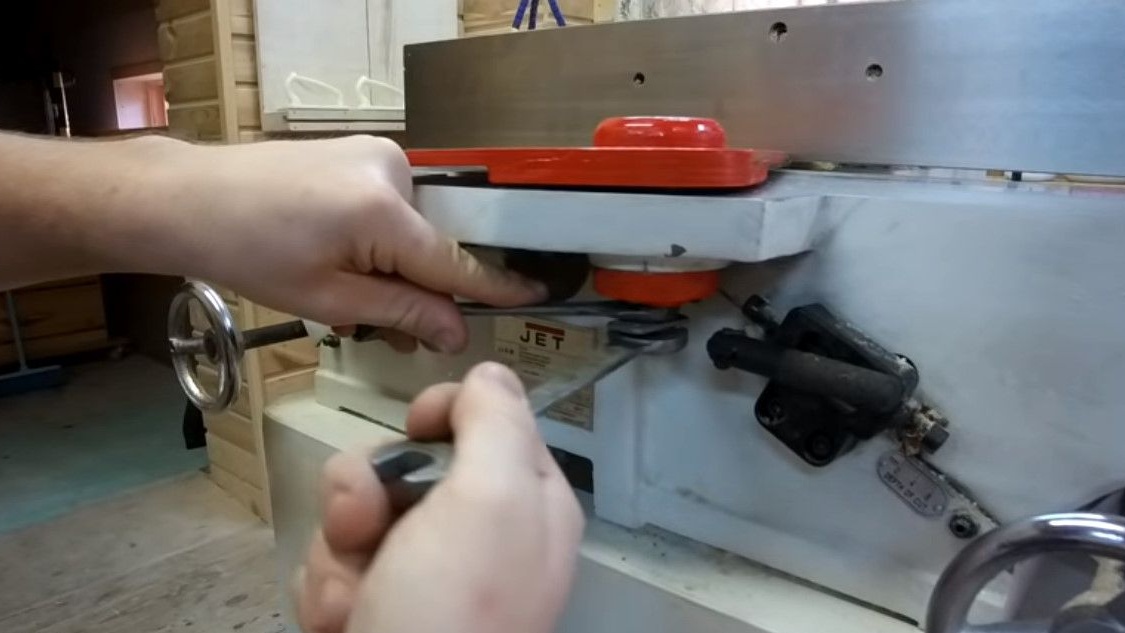
Now this part is fastening (the process of its creation was left overs) with regular bolts from the native protection of the jointer.
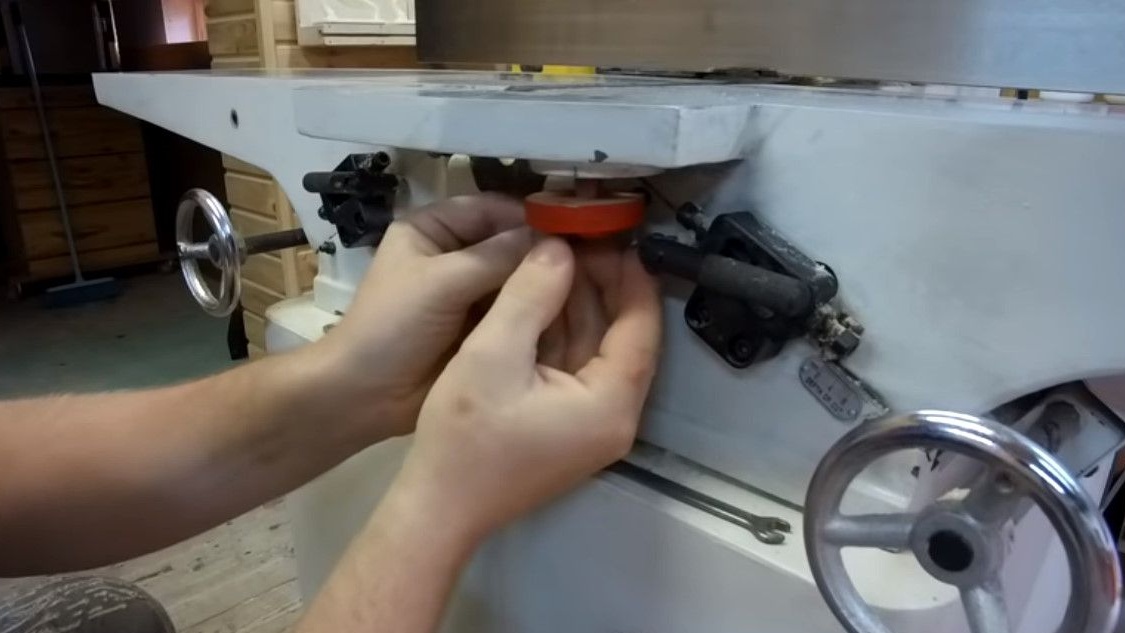
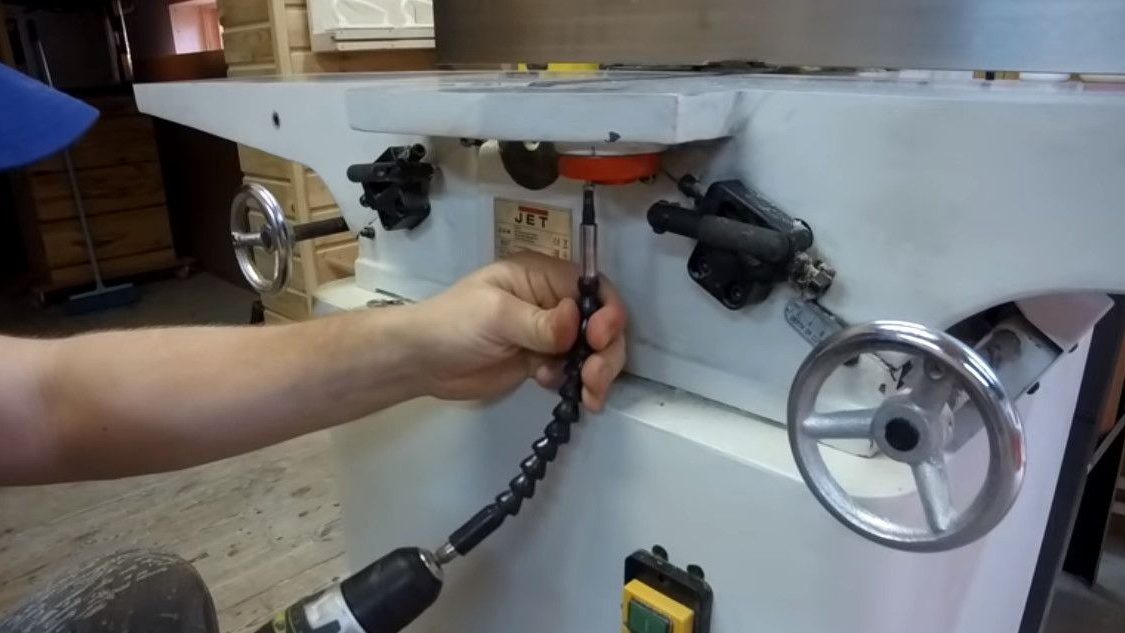
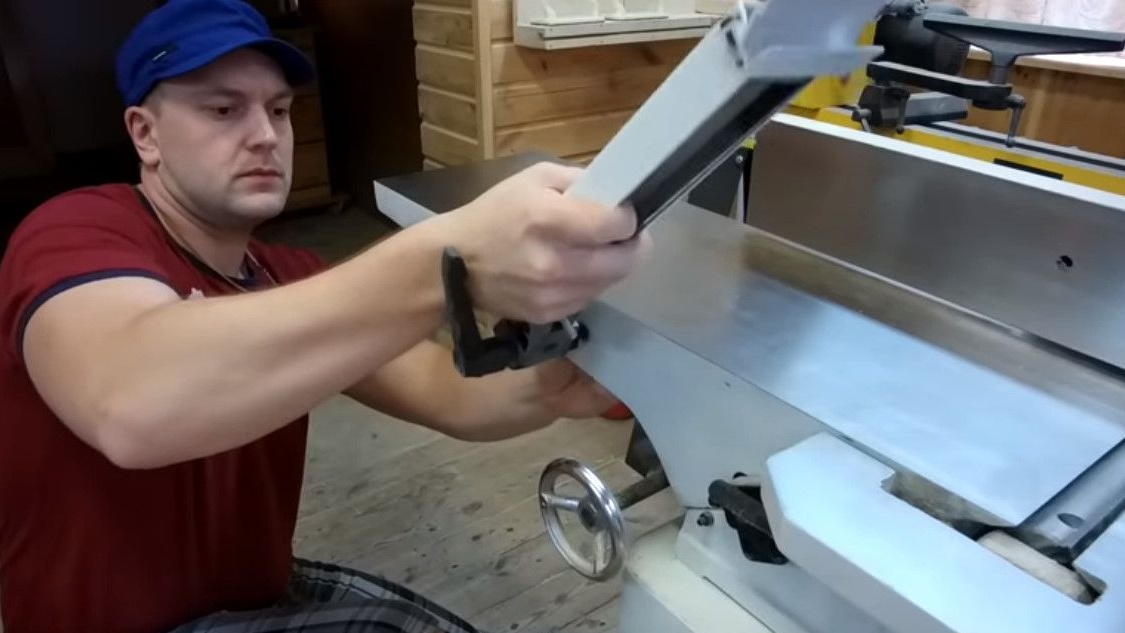
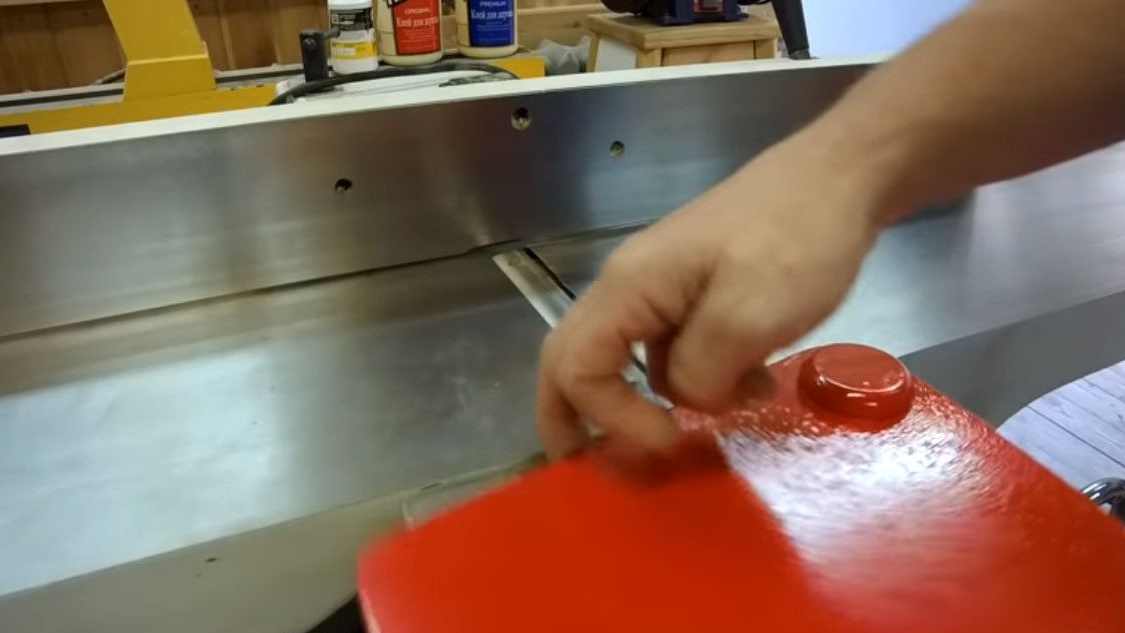
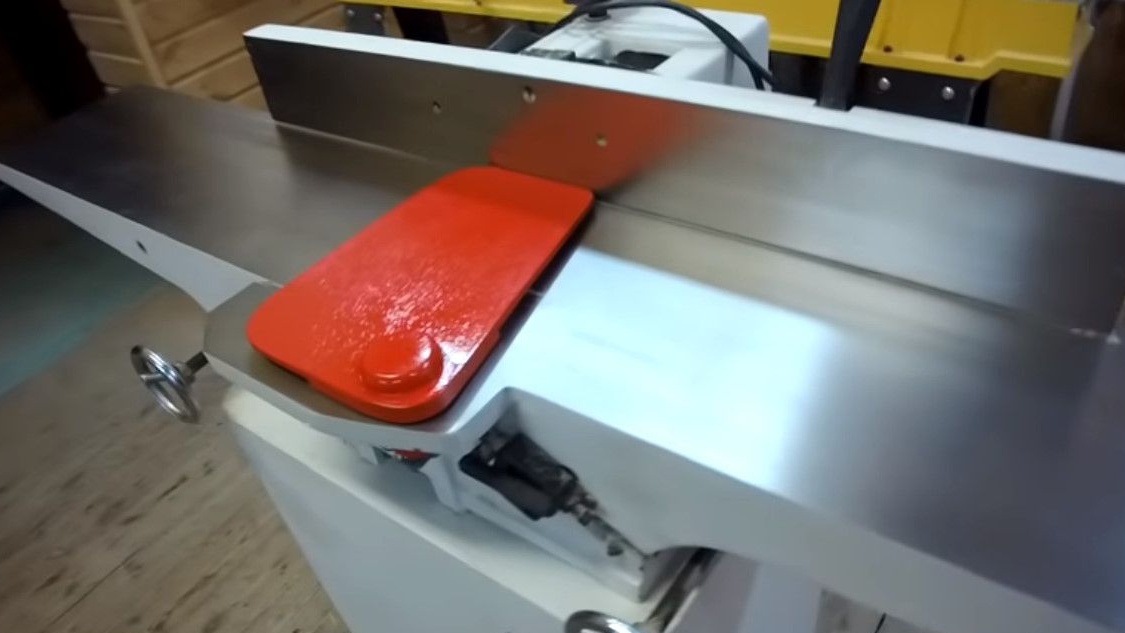
Sets the protection itself to the jointer.
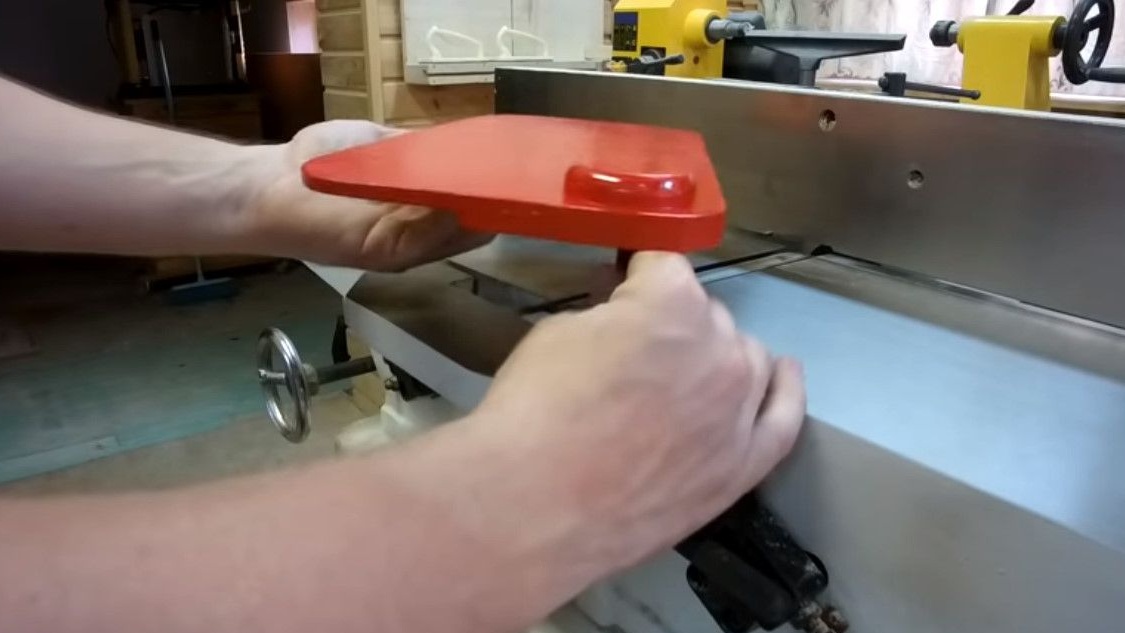
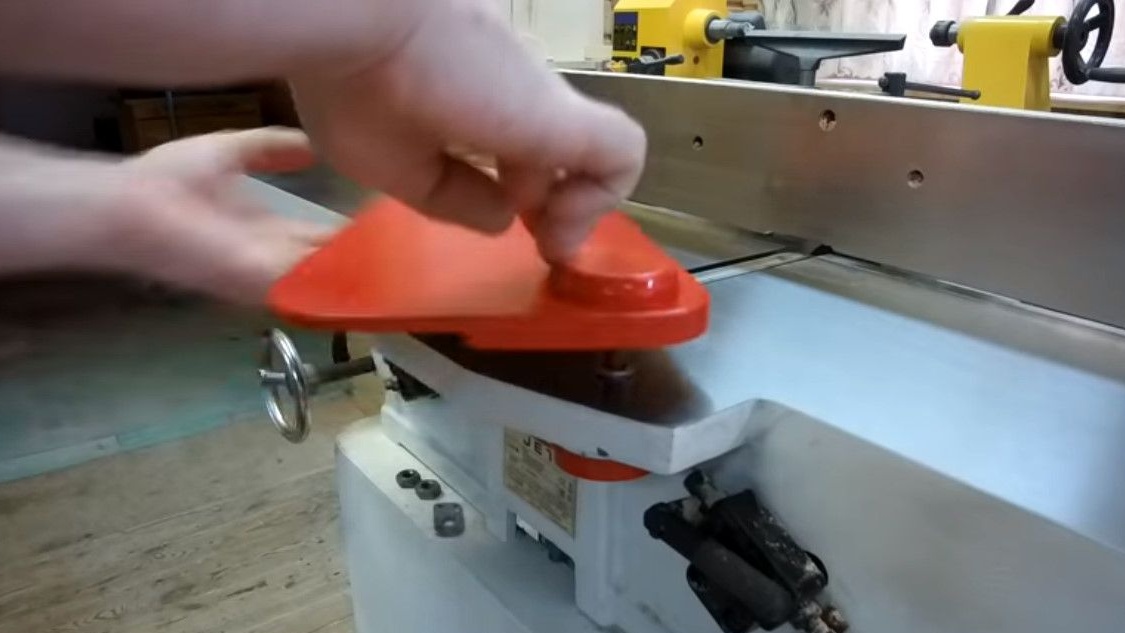
Tightens the first nut, then sets the plate - lever, and clamps it with the second nut.
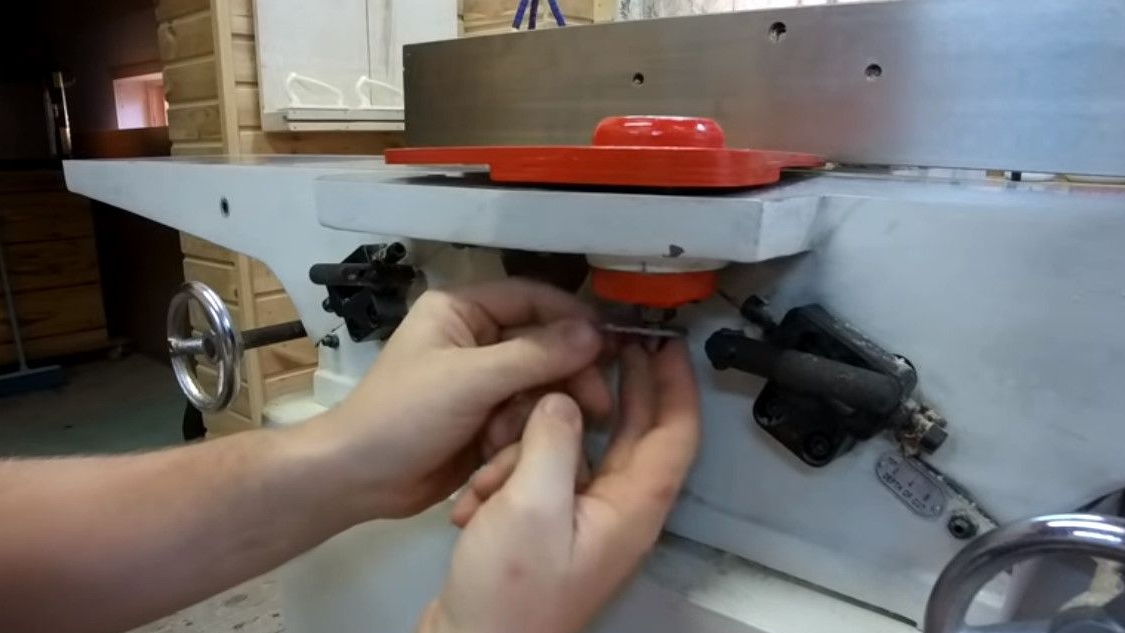
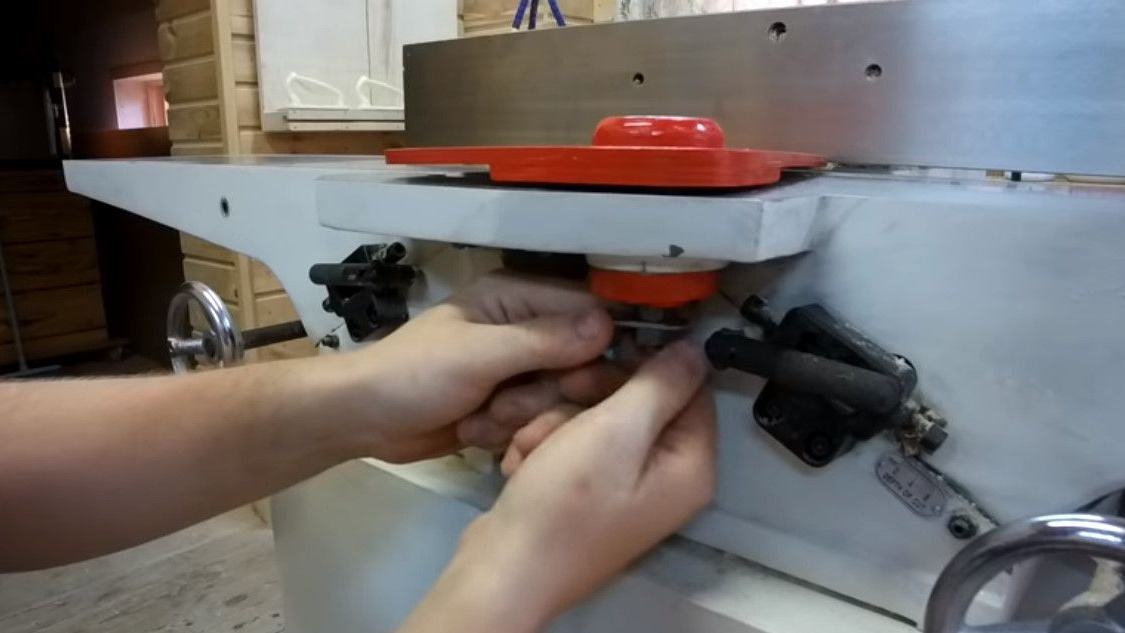
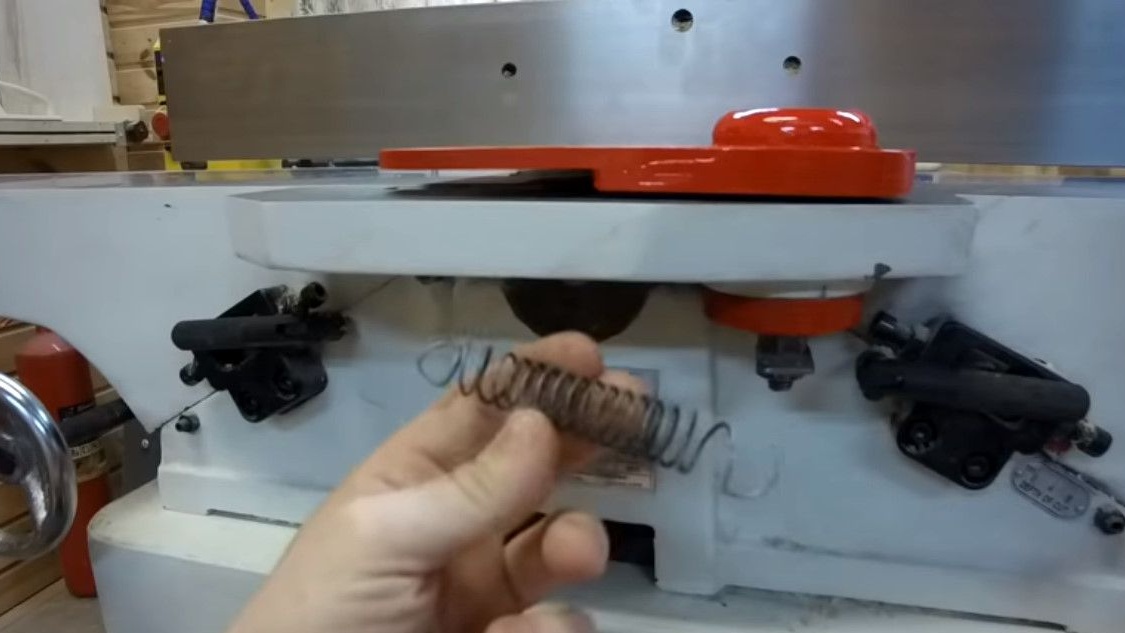
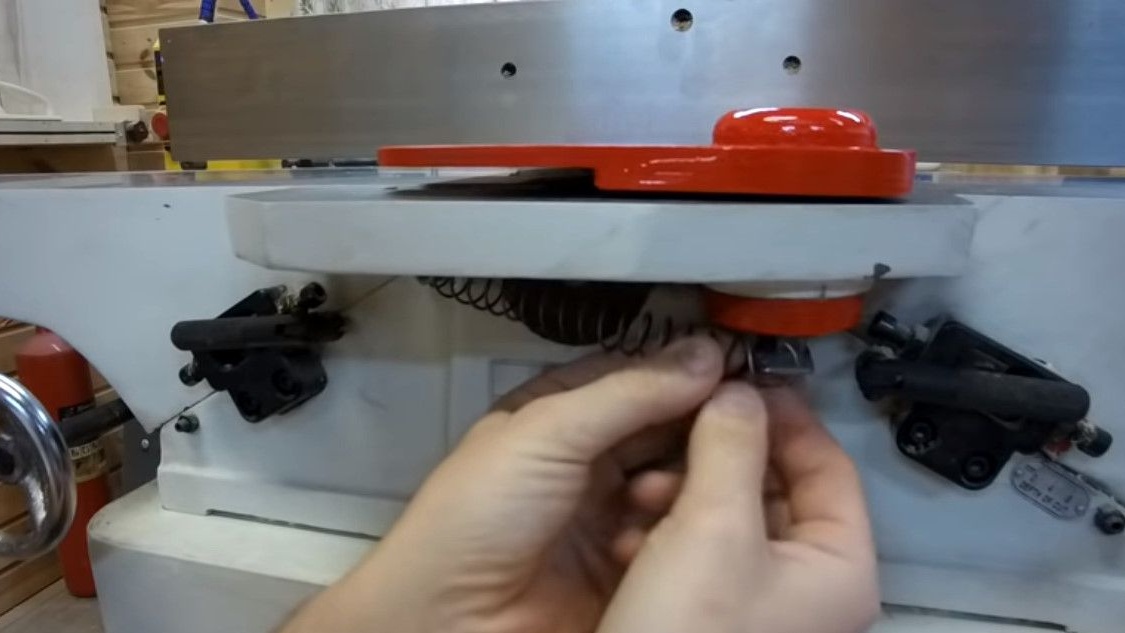
All that remains is to hook the spring to the machine and the lever.
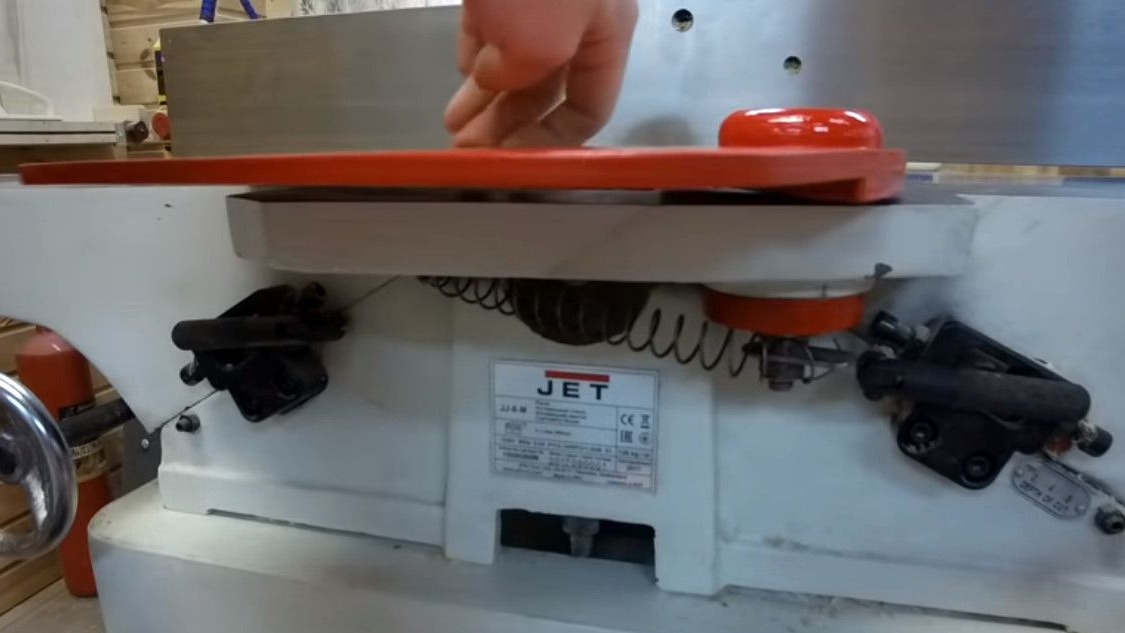
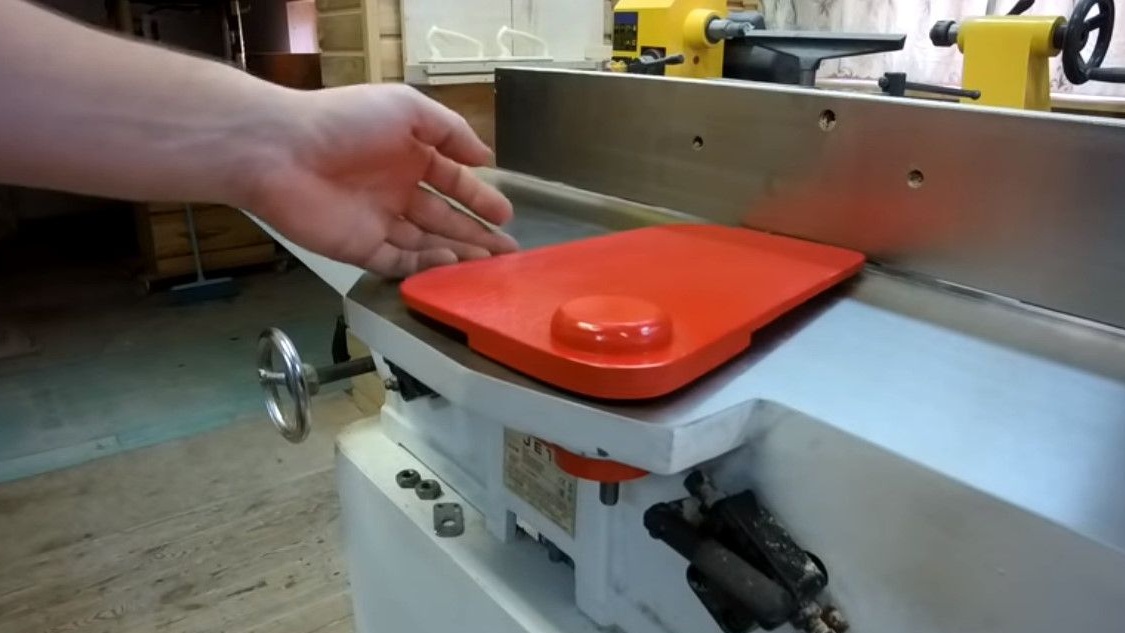
A few standard parts will drive through the jointer to test the operation of the device.
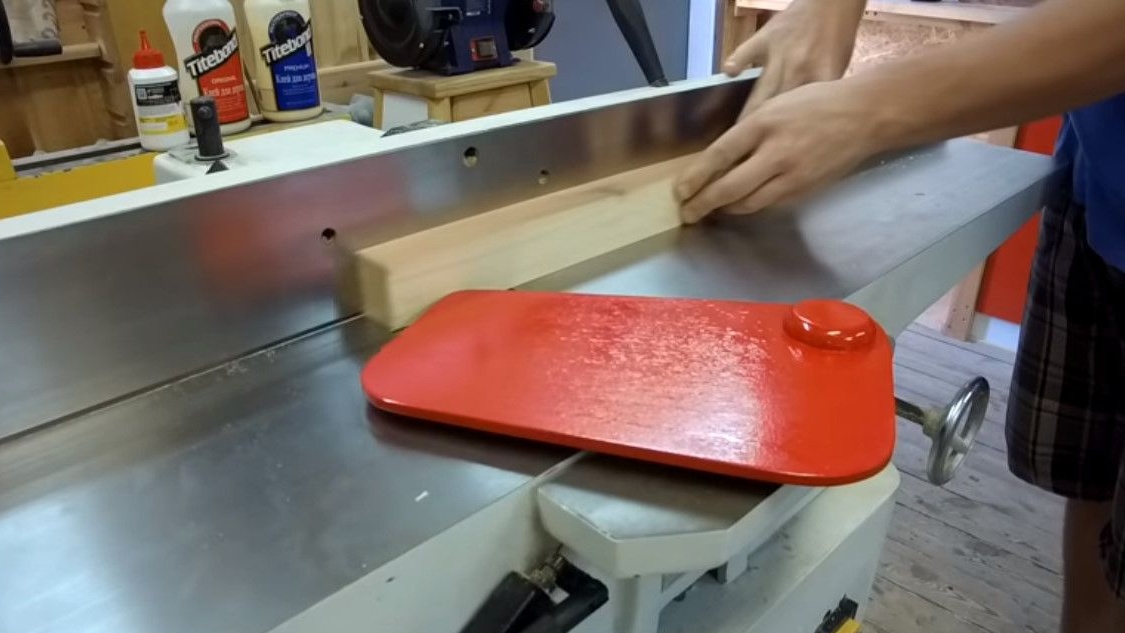
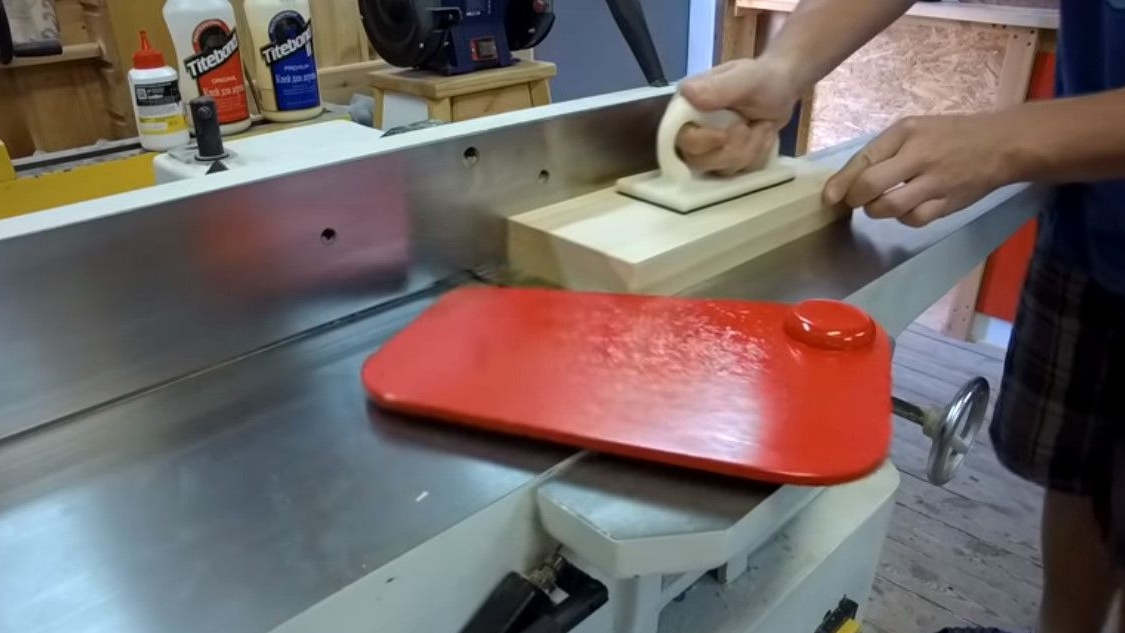
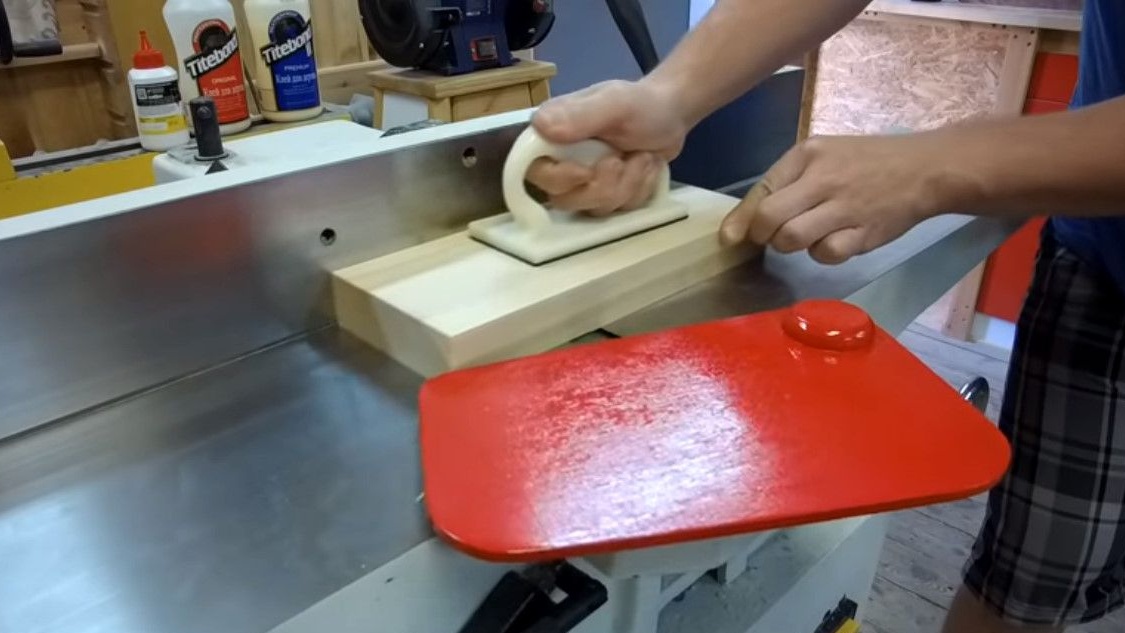
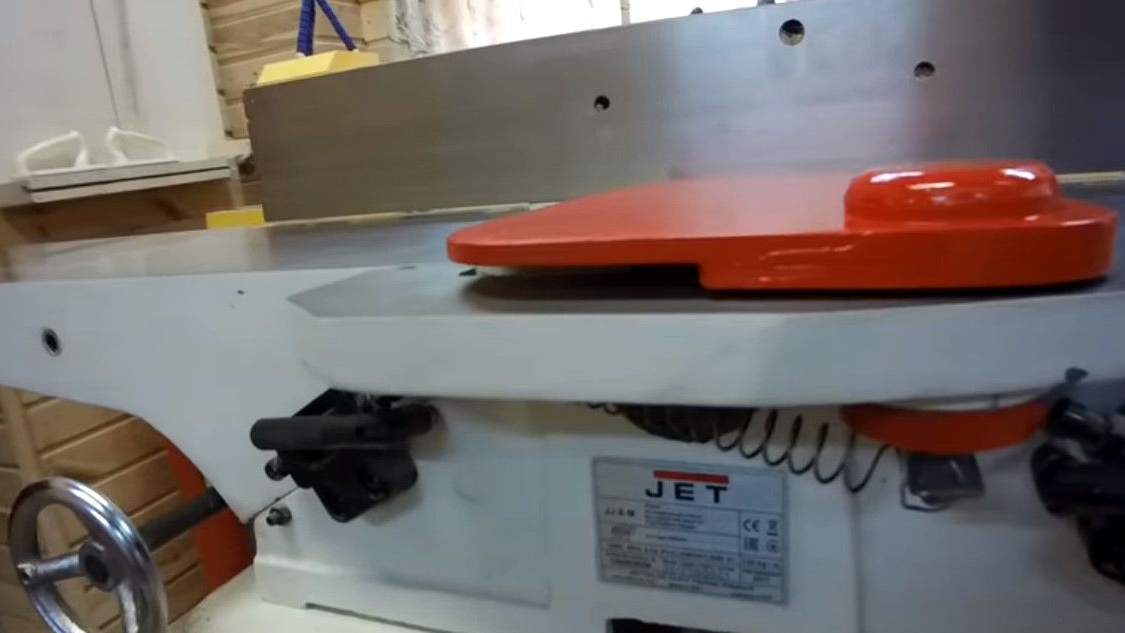
Protection works great!
Thanks to Kirill Shvalev for a great idea and its demonstration!
Follow safety procedures, the inhabitants of our site! Good luck to all!