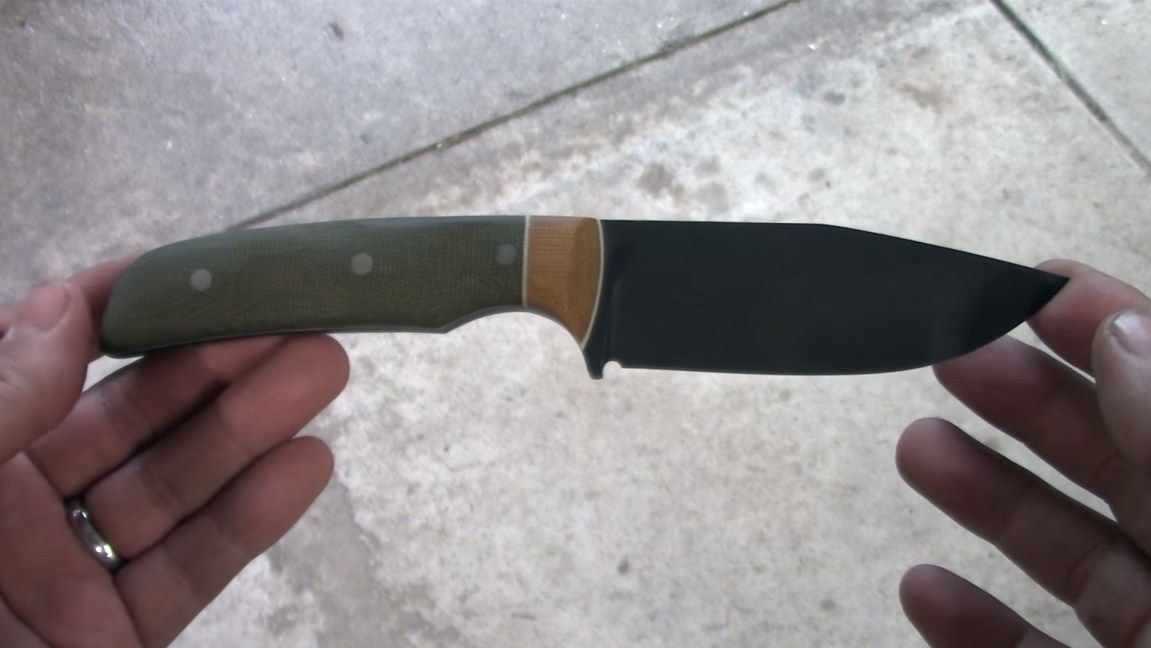

If you are engaged in tourism, hunting, fishing or in general sometimes travel to the wild world, you just need a tool like a knife. With it, you can fight off enemies, hunt, carve game and much more. The most important requirement for such a knife is reliability. Hunting knives are made of high-quality steel, they are hardened and the blade turns out to be very strong, such knives do not blunt for a long time.
As for the pen, in the classic version it is made of wood. Of course, a tree can serve quite a long time and looks beautiful, but this is not an ideal material for a hunting knife. For such purposes, you can use textolite, plastic or something like that. Such material is strong, durable, it is not afraid of moisture and other aggressive influences, which are afraid of wood. So, we will consider in more detail how to do do it yourself high-quality hunting knife.
Materials and tools used by the author:
Material List:
- high-quality knife steel;
- textolite, wood (or other material for overlays);
- steel rods or similar (for pins);
- epoxy adhesive.
Tool List:
- paper, drawing accessories and other for the manufacture of the template;
- sandblasting machine;
- grinder;
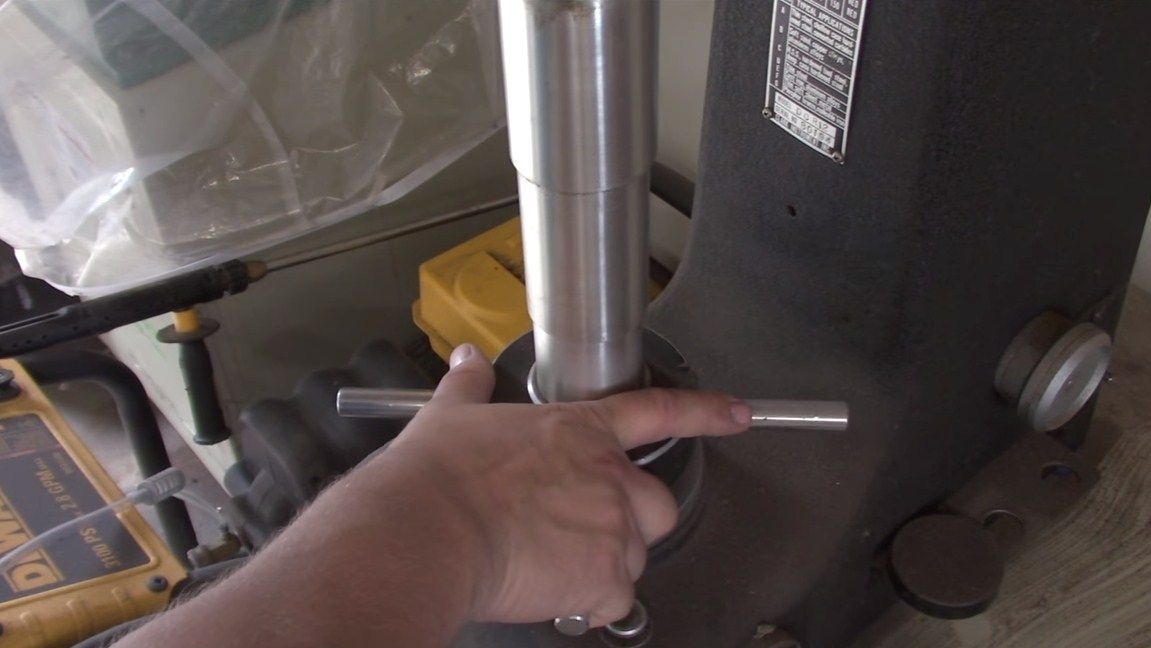
- drill or drilling machine;
- sandpaper;
- belt sander;
- clamps;
- forging furnace and hardening oil.
The process of making a hunting knife with your own hands:
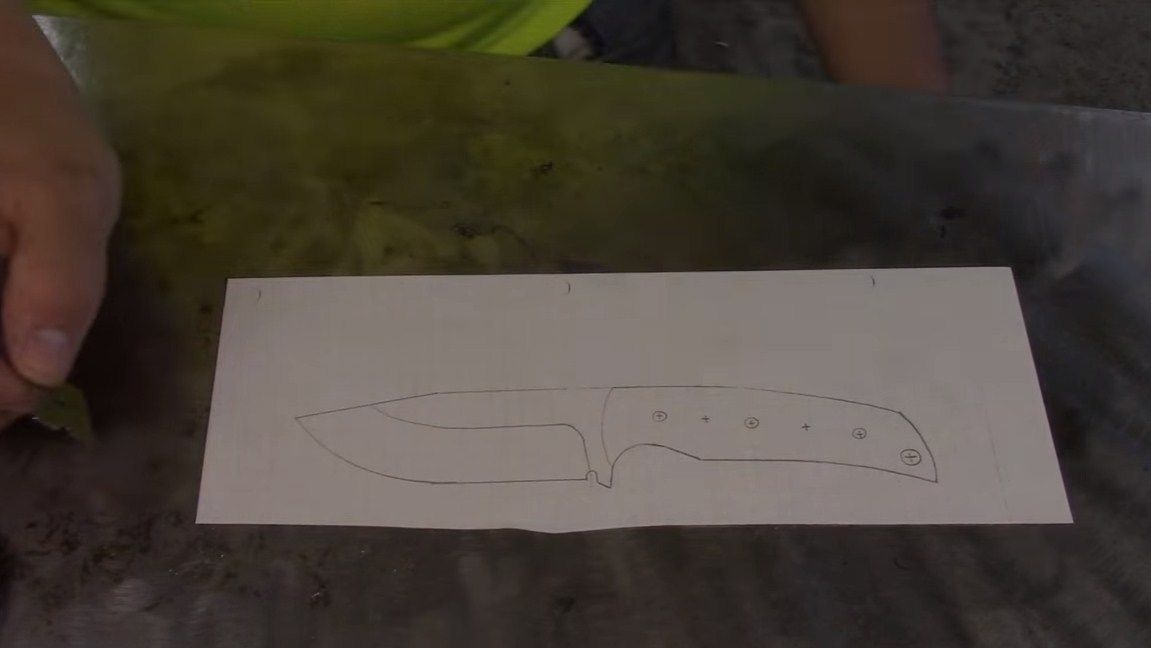
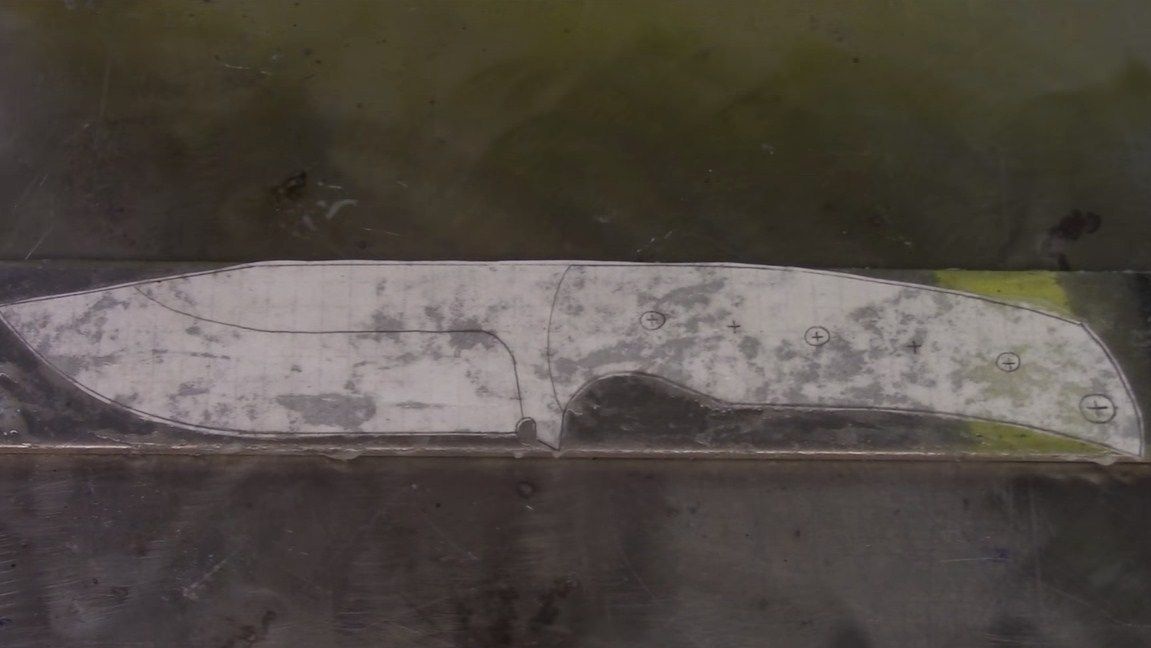
Step one. We make a template
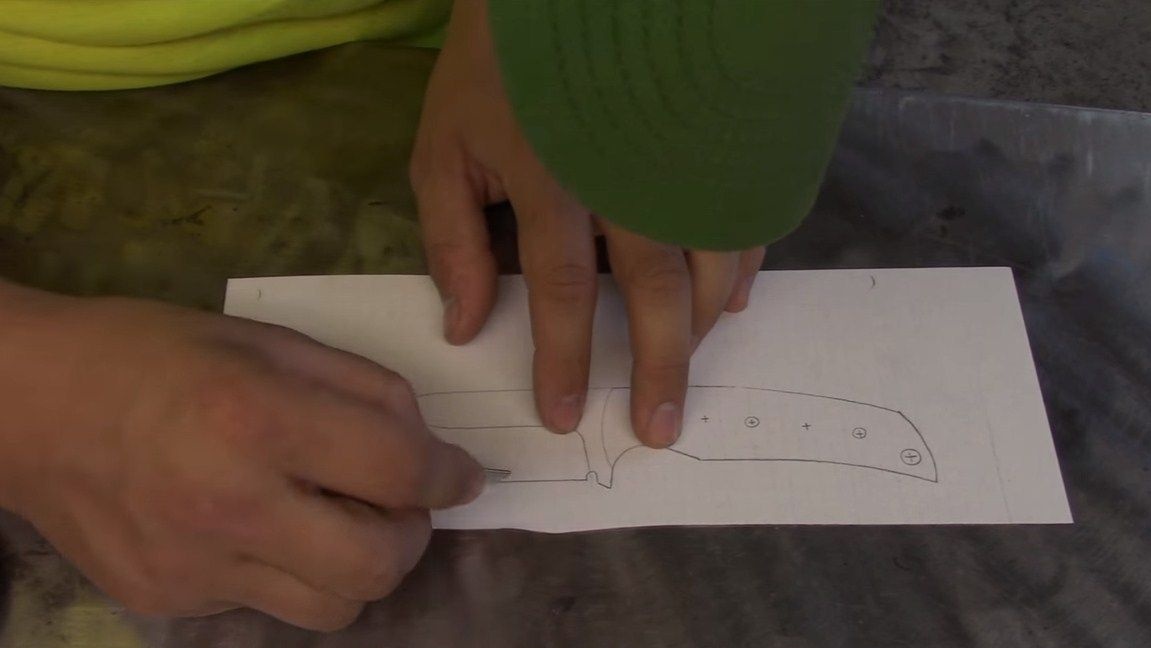
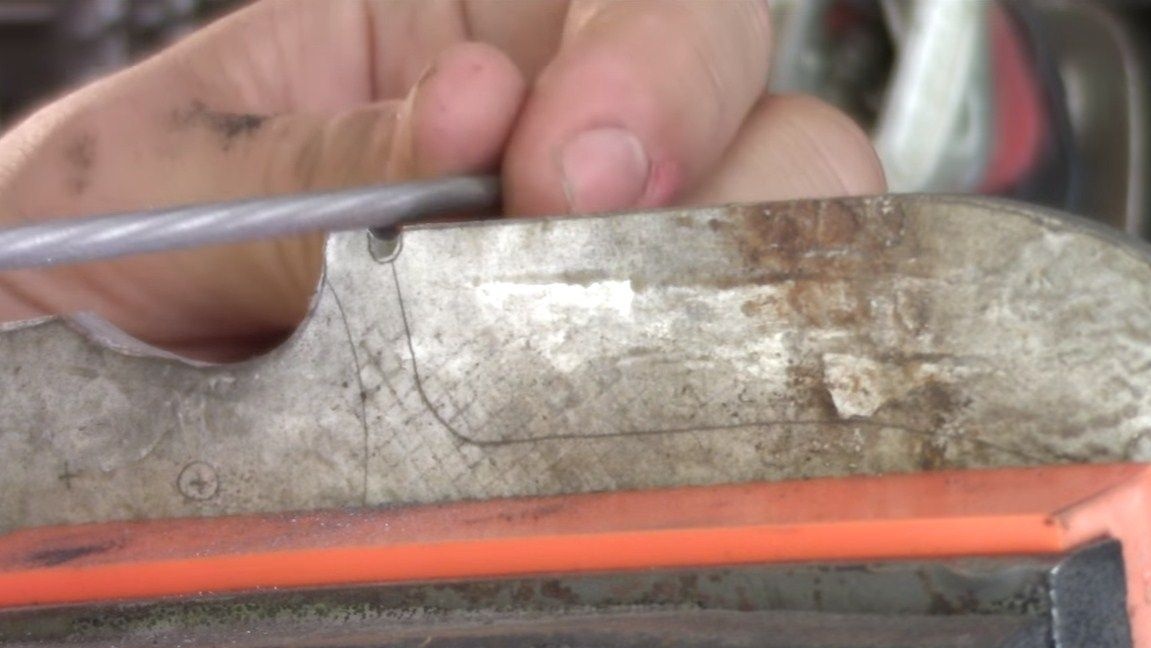
We begin the manufacture of any knife with a template, as a result you will get a high-quality knife that you planned in advance. We draw the template on paper or print it on a printer. If you are too lazy to draw it yourself, we look for ready-made templates on the Internet and print on a printer, there are enough of these. Cut the paper template with scissors or a blade.
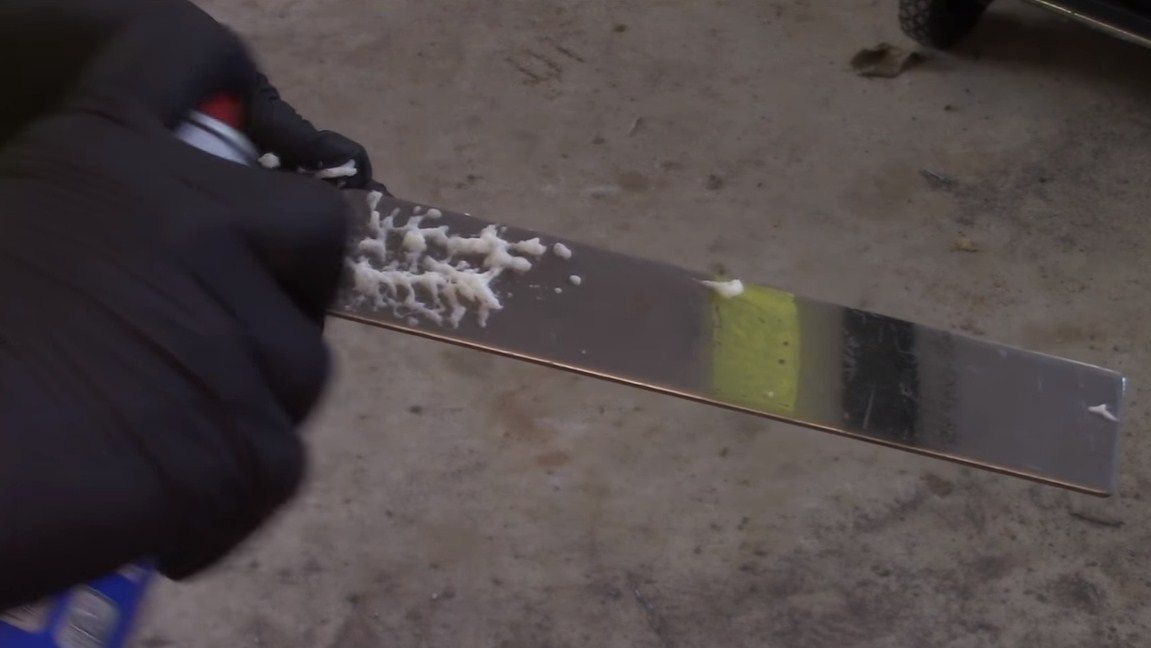
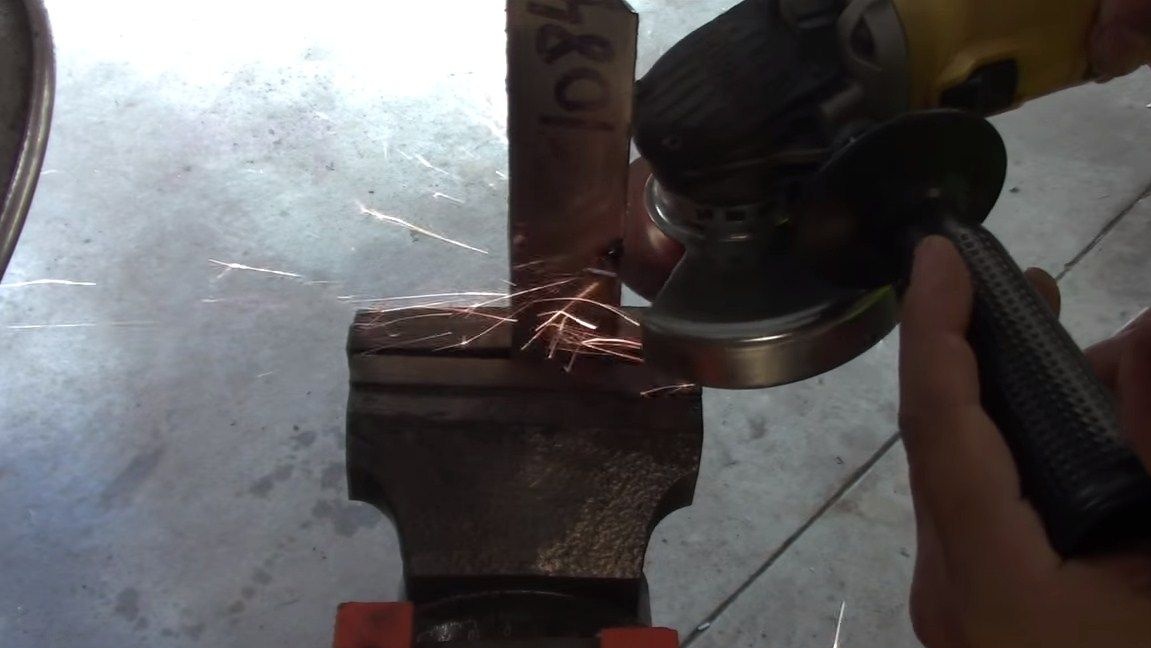
That's all, it remains to glue the template to the workpiece, from which we will cut the blade. Use steel knife or tool, it must have in its composition a sufficient amount of carbon for hardening. Usually good steel forms thick sparks.
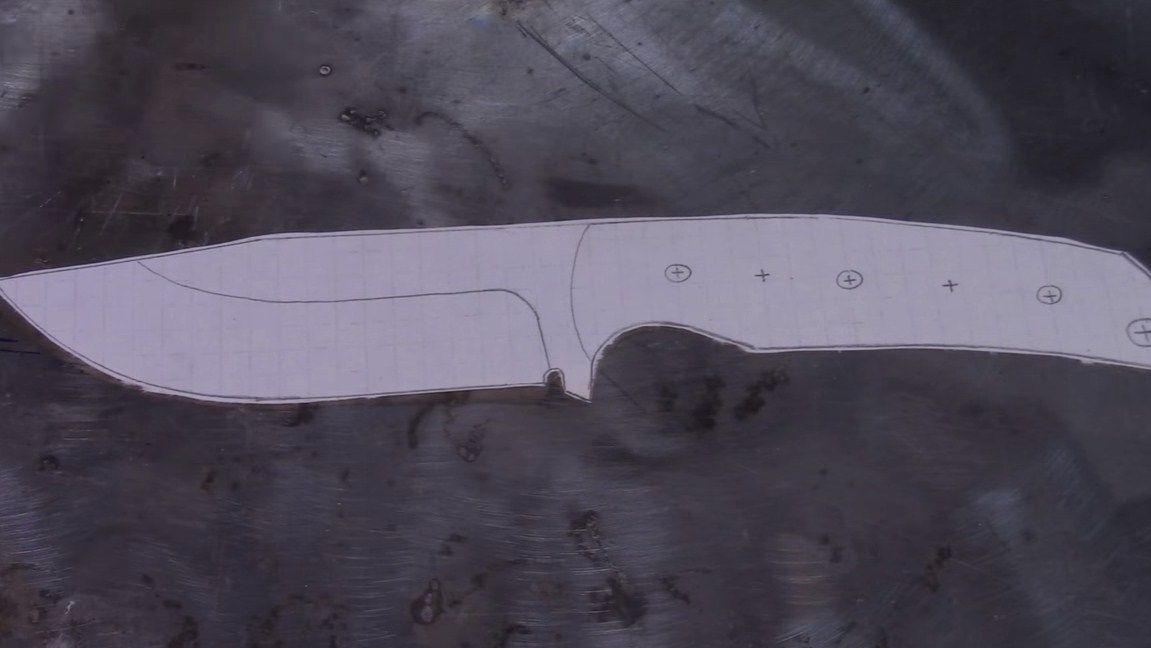
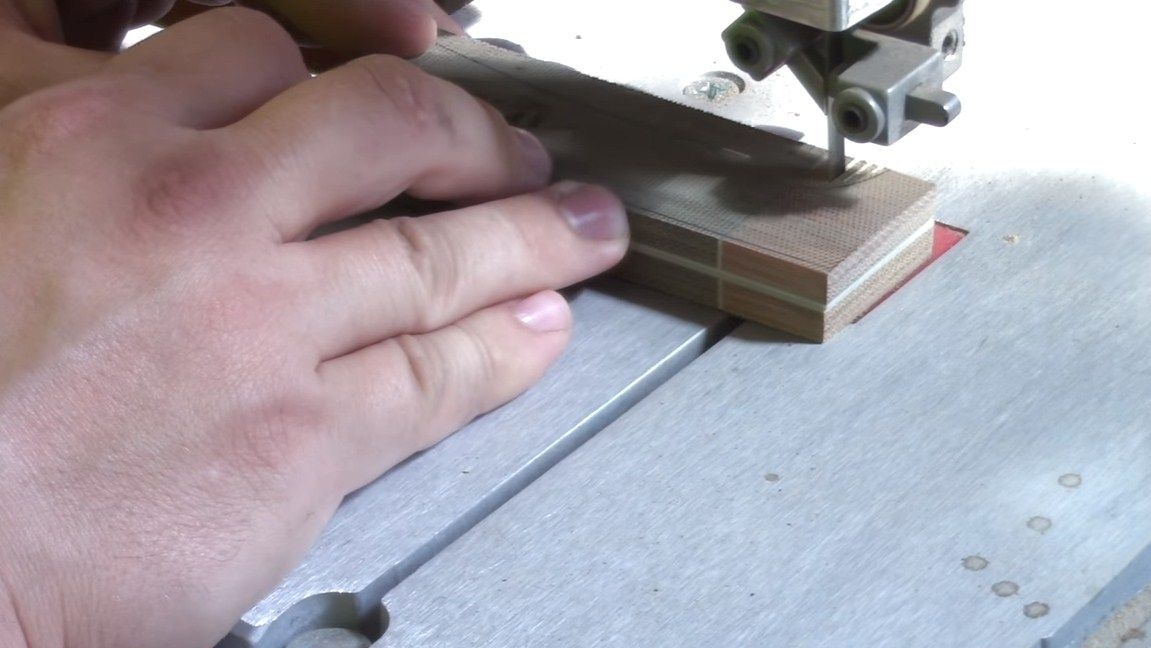
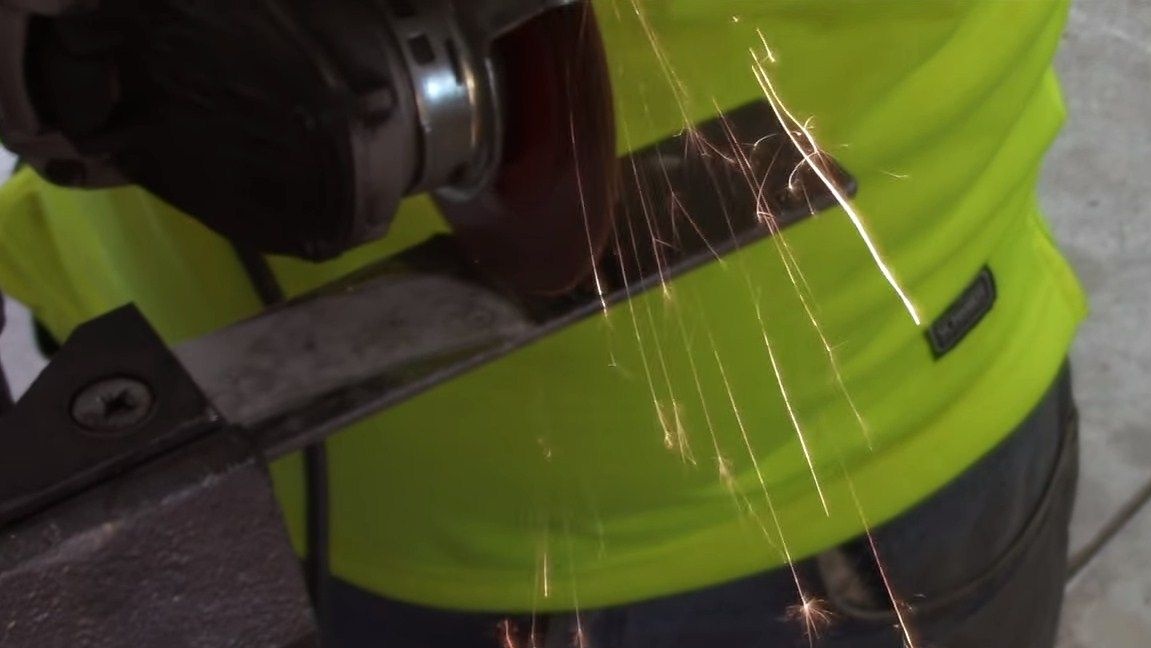
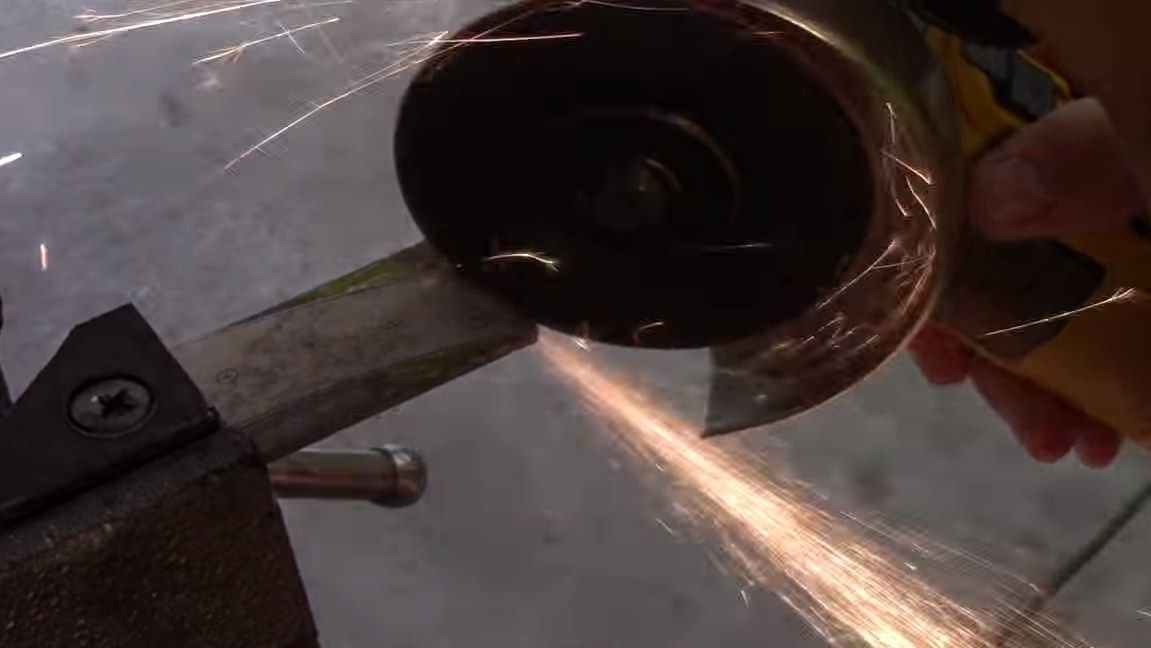
Step Two Cut the main profile
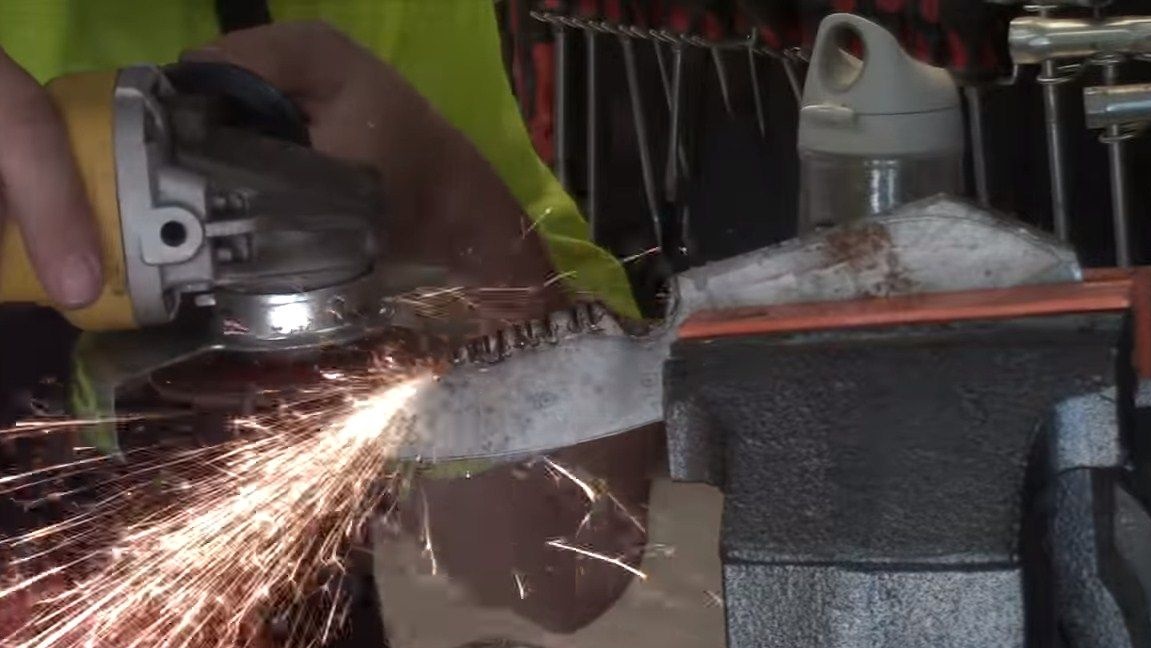
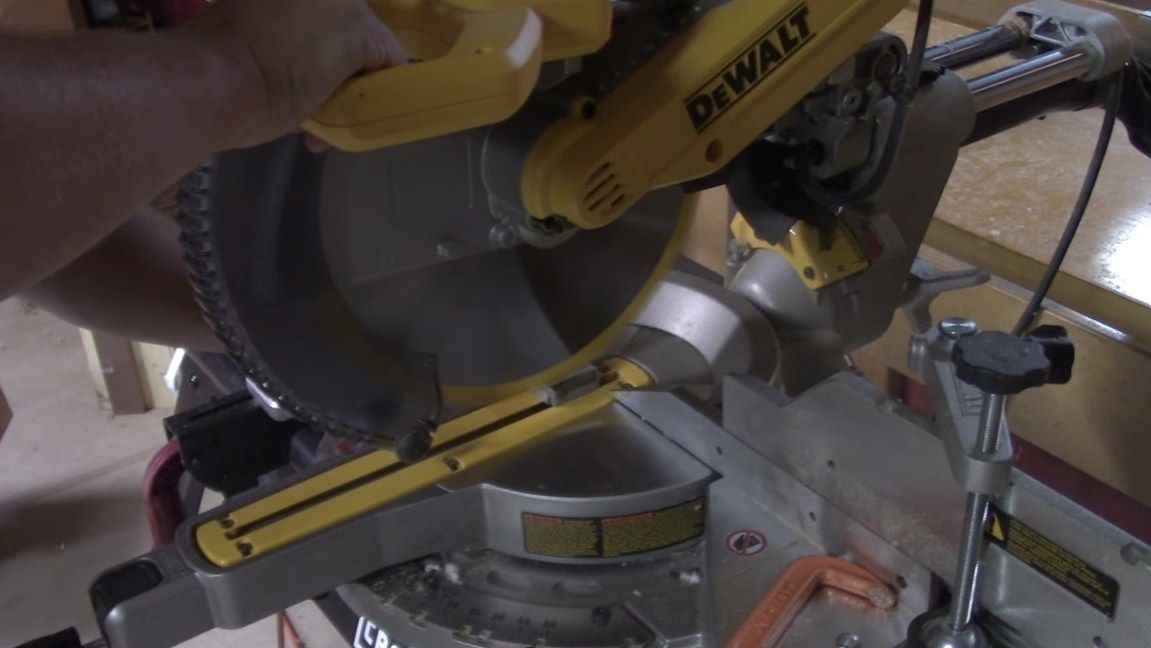
That's all, now you can cut the main profile. The most common tool that does this is the grinder. Of course, it would be possible to do it better and faster on a tape cutting saw. Some craftsmen even work with a hacksaw for metal. The problem areas on the blade are cut out in parts.
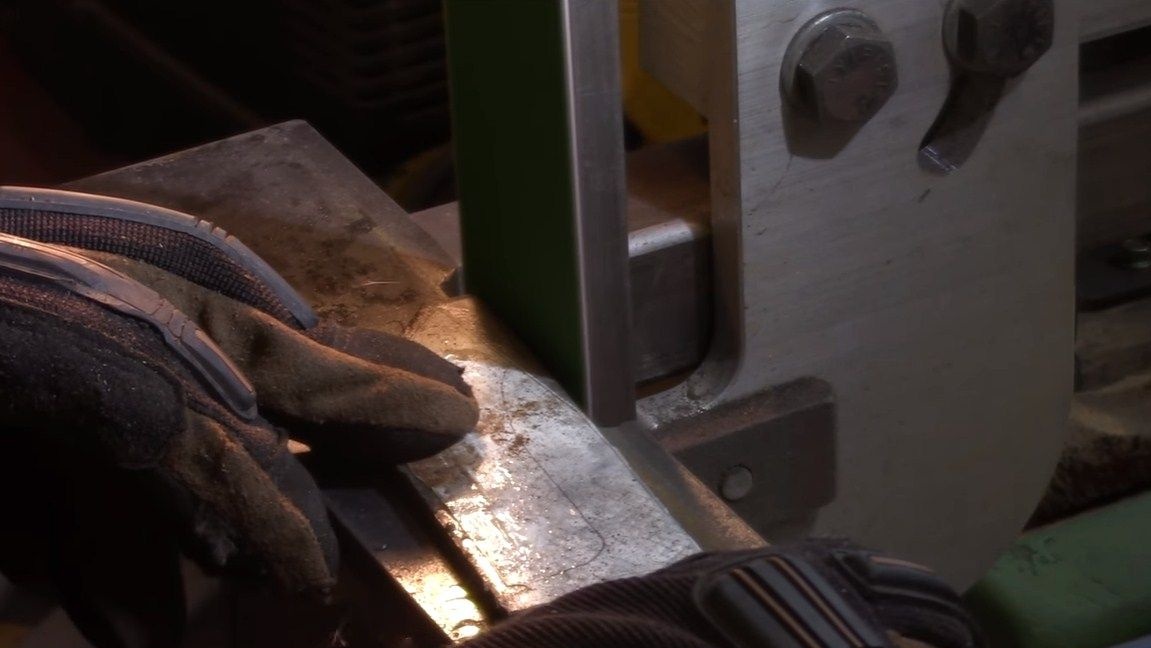
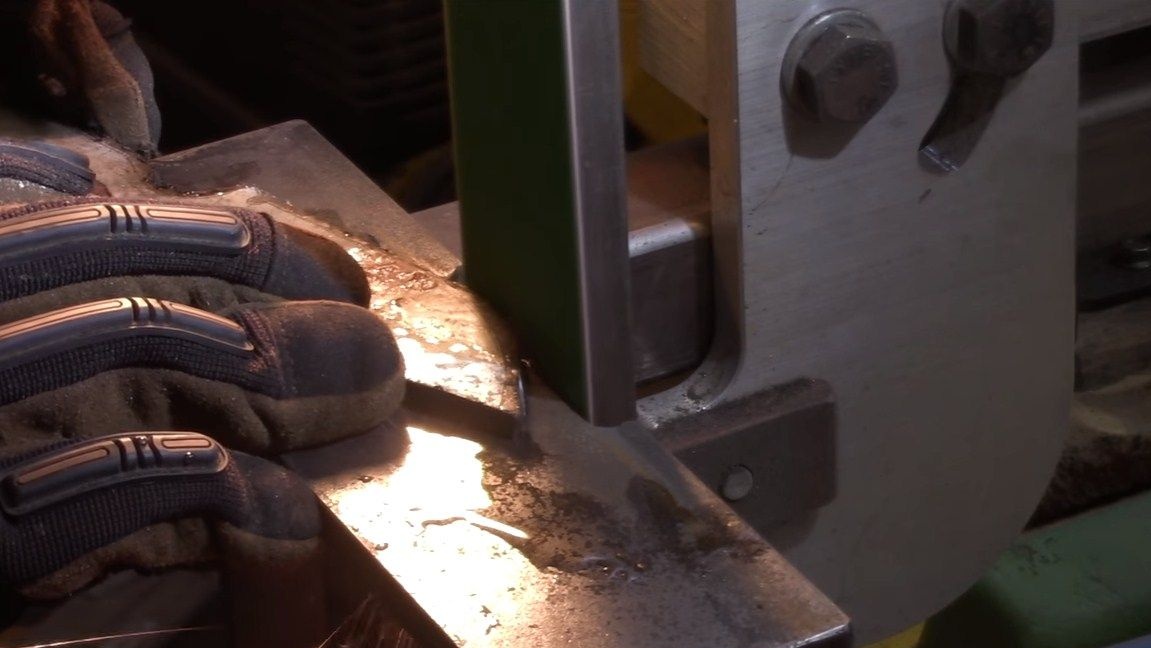
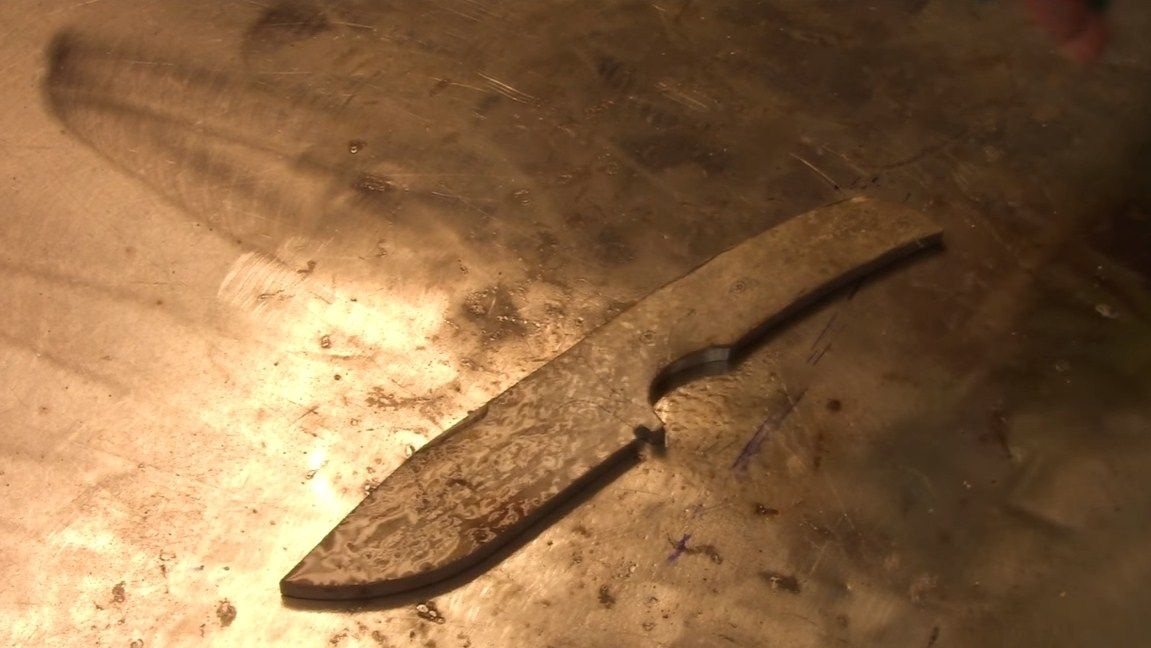
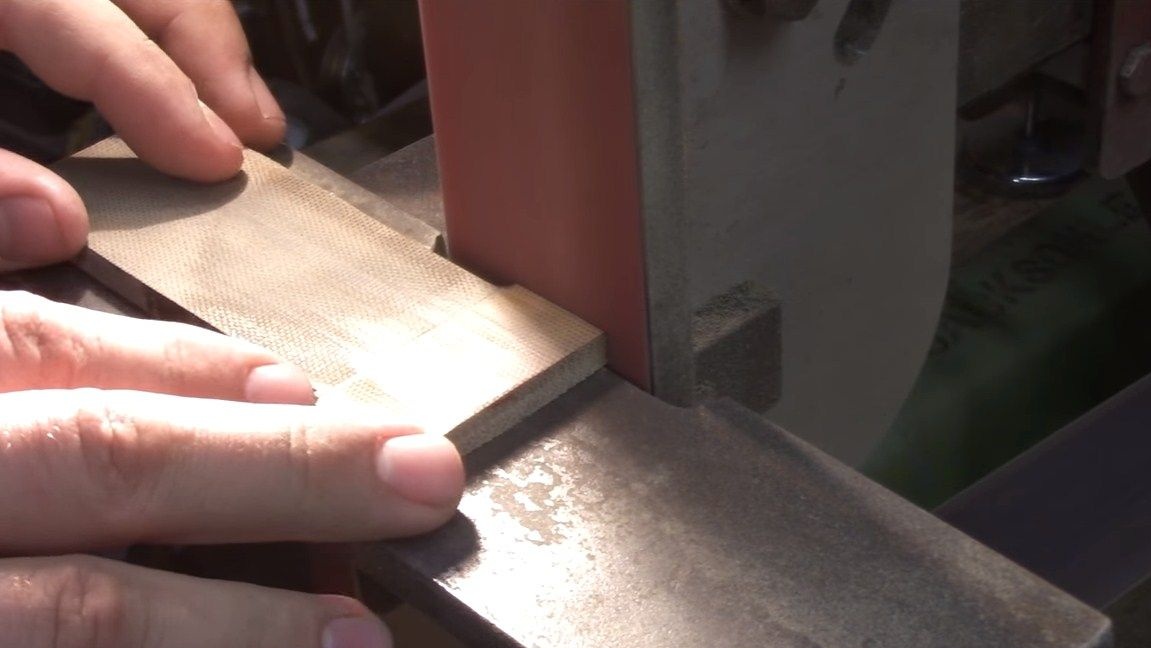
Step Three Grinding
After cutting, the profile of the blade will not be even, since the tool we used is rather rough. To remove all the irregularities, we go to the belt sander. We grind the product along the contour, we achieve the desired result. If it’s not possible to creep into some places, they can be finished with files or a piece of sandpaper.
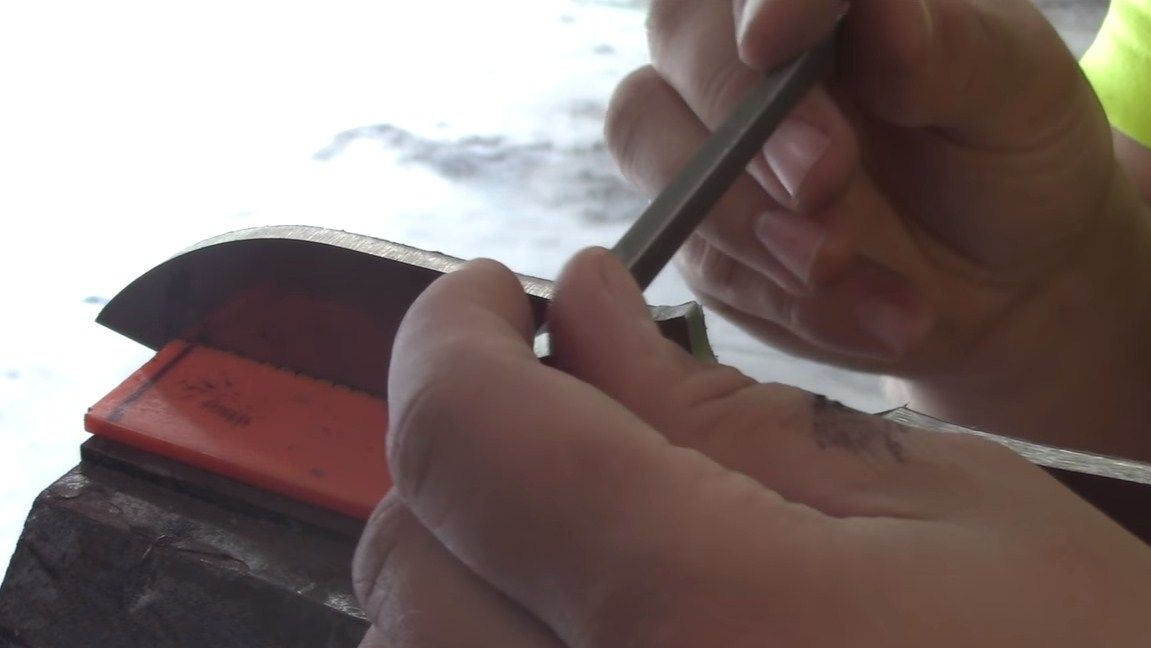
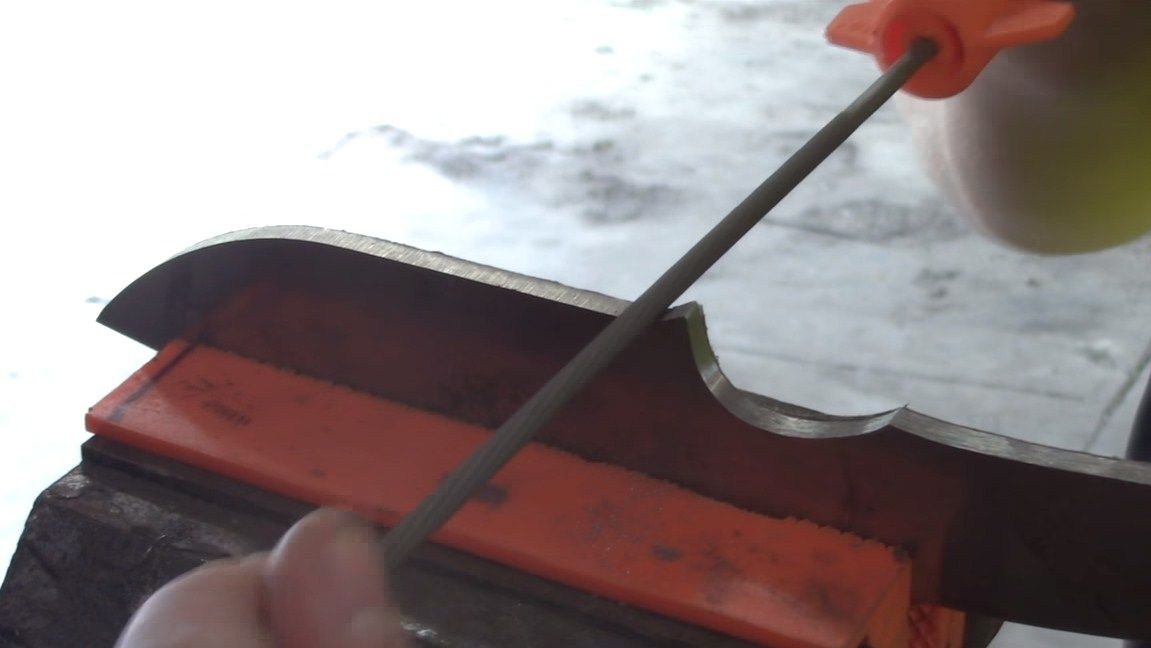
Step Four Manual processing
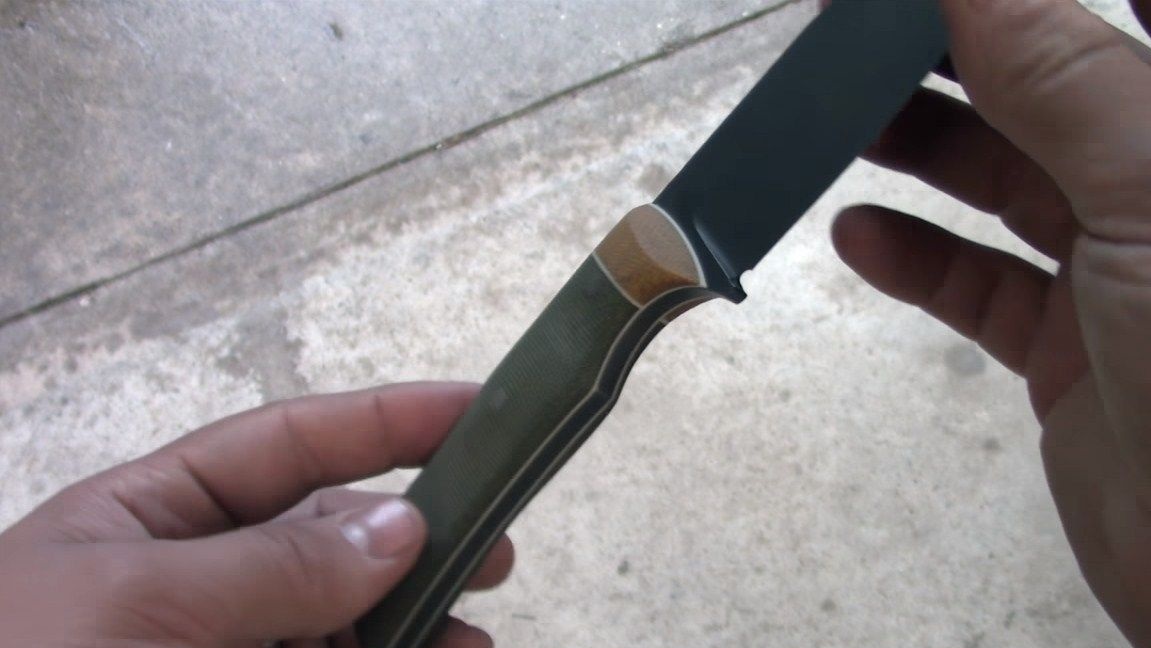
At the end, we go around the contour with a file. The author also makes a characteristic notch on the blade, with it the knife looks better, and it also has strategic importance. First we bore it with a triangular file, and then we set the final shape with a round file.
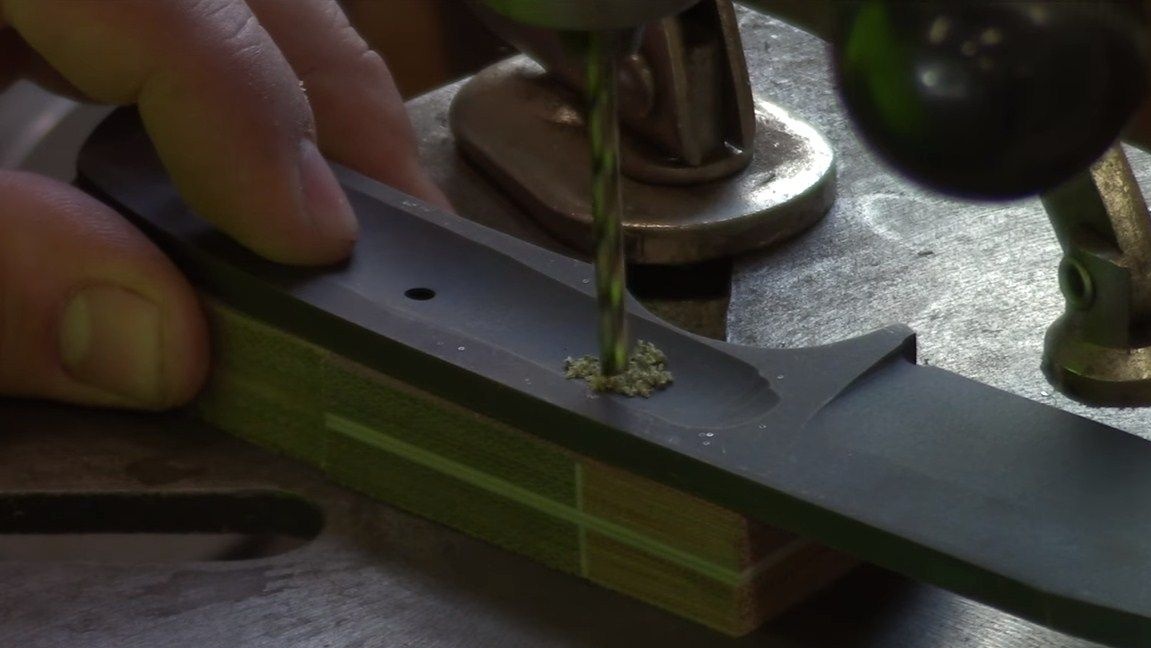
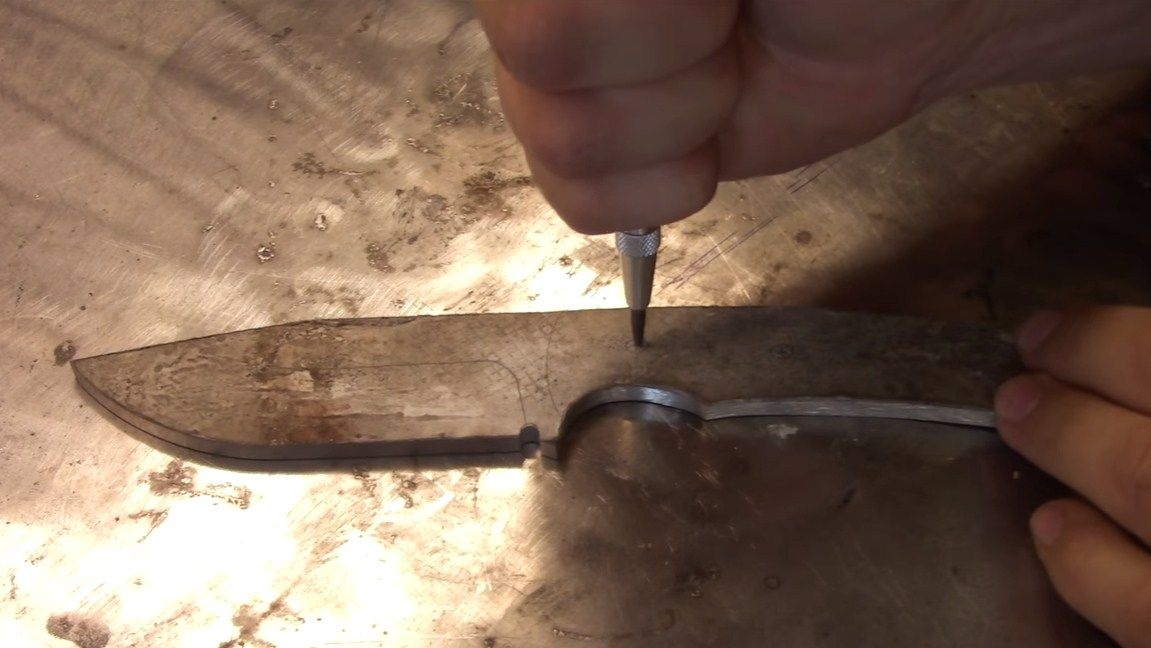
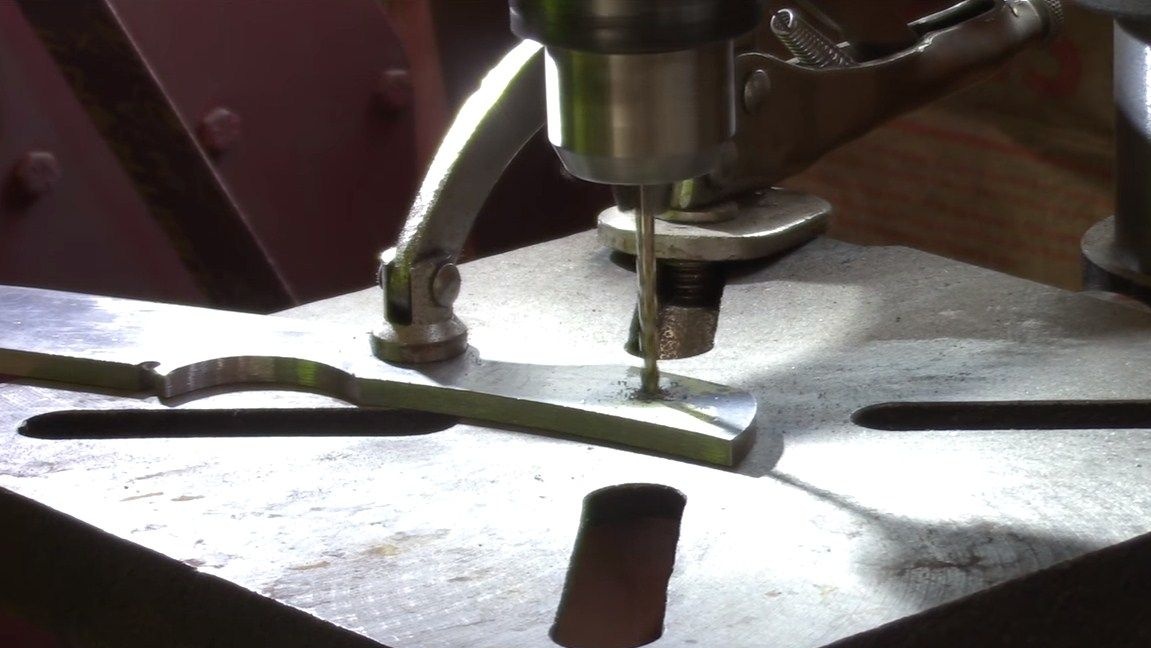
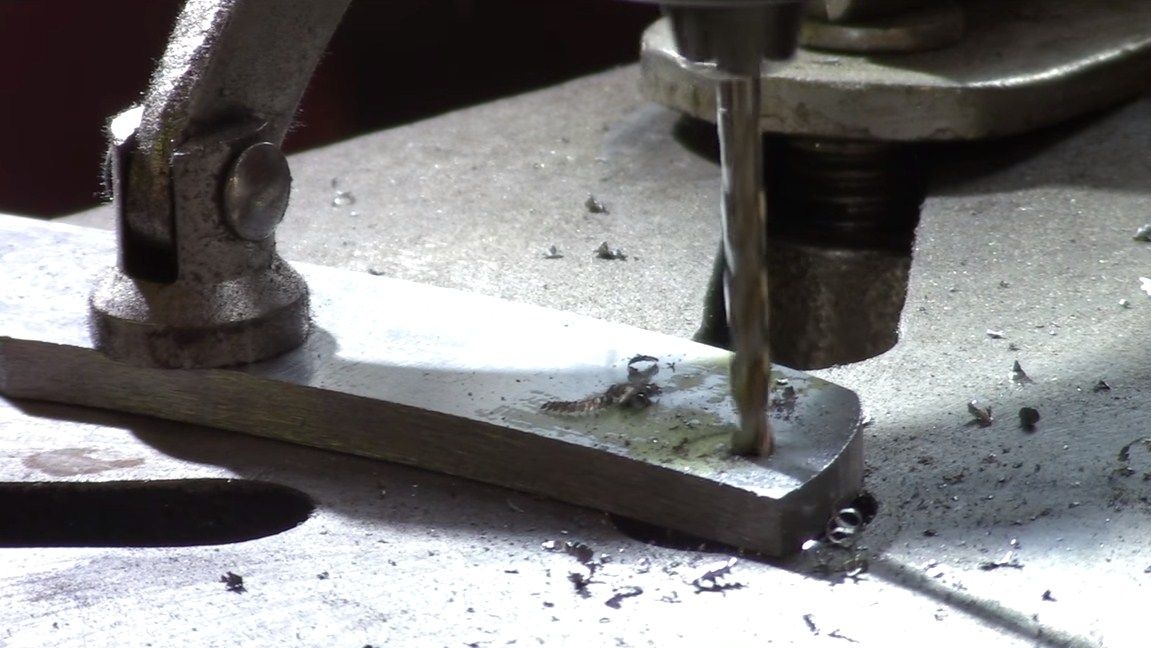
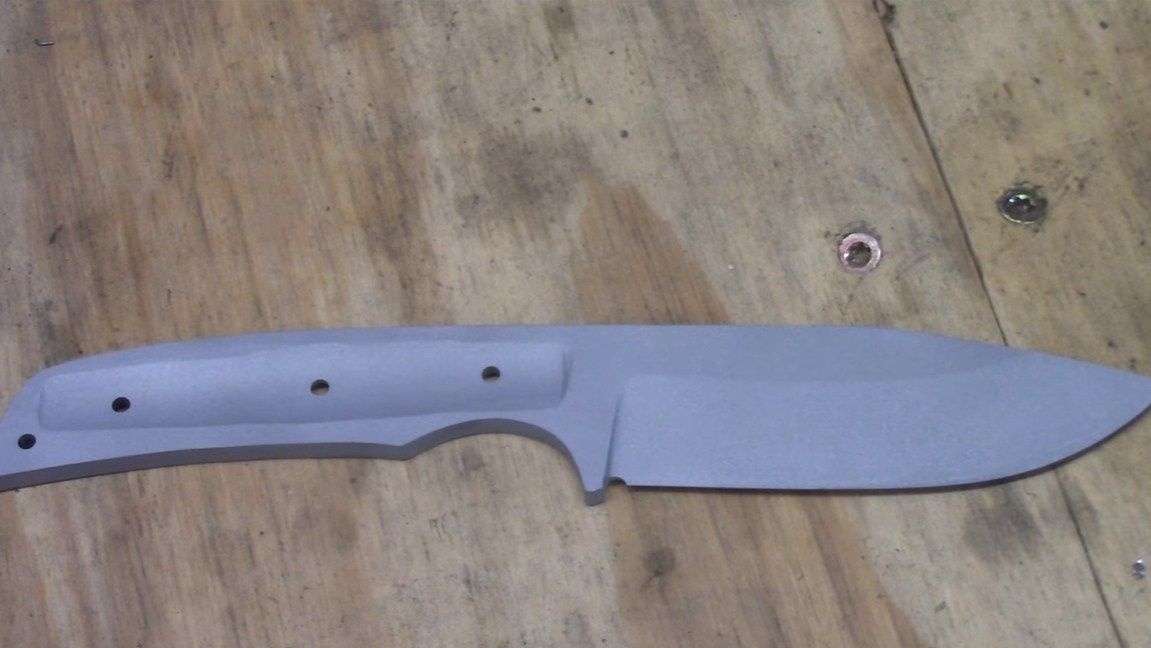
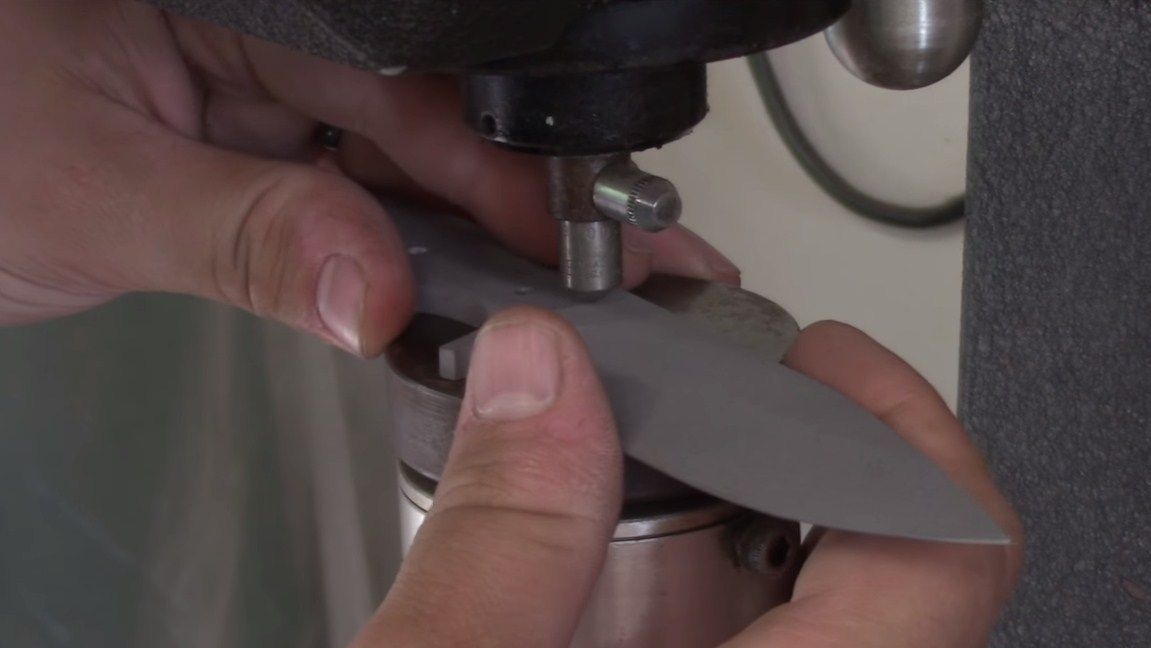
Step Five Pin holes
To securely attach the pads, you will need to install the pins. In total, the author decided to install three pins, this is enough to securely attach the pads. The pins can be made from ordinary nails, or brass rods, tubes, and so on can be used. We punch under them and drill holes. We also clean the blade from the previously glued template.
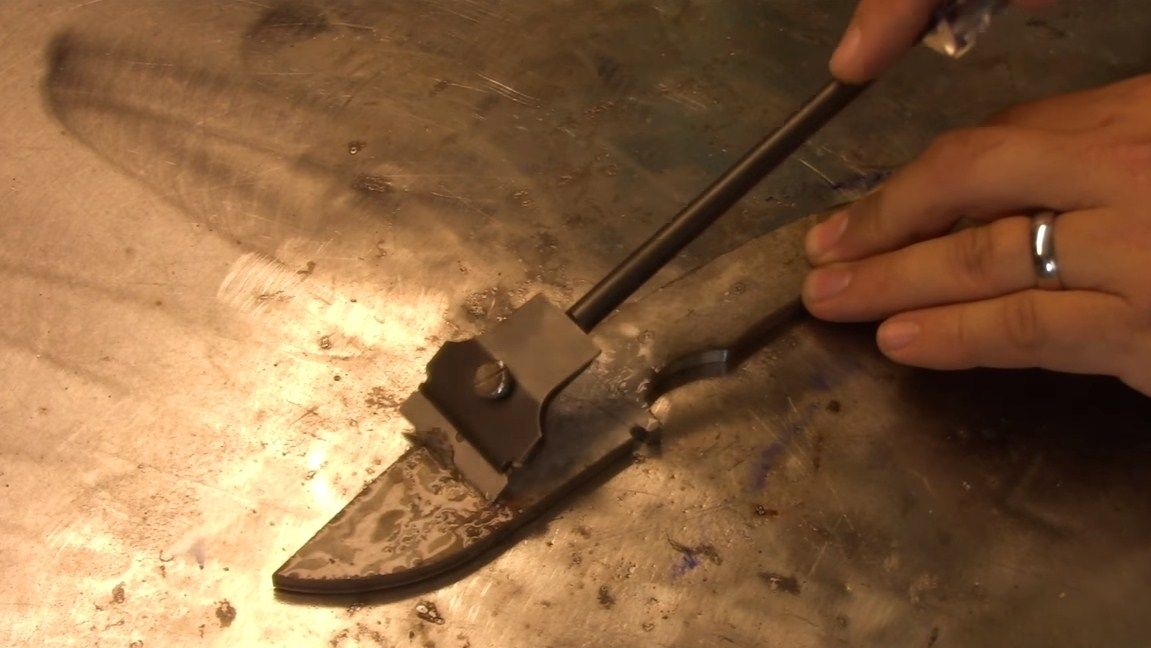
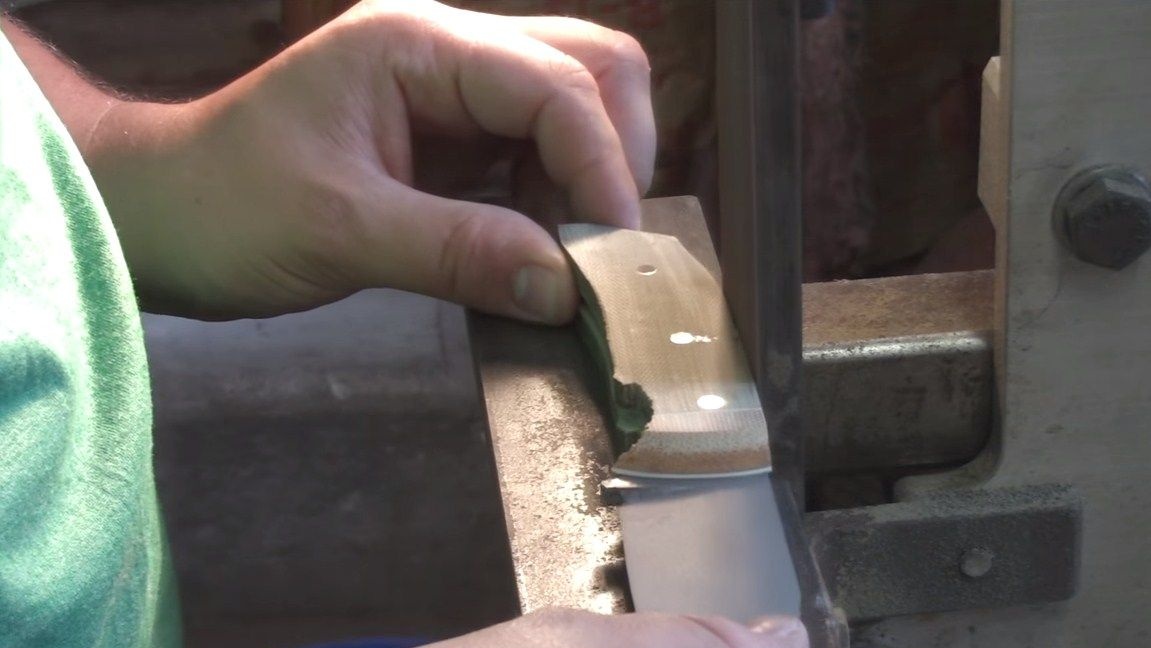
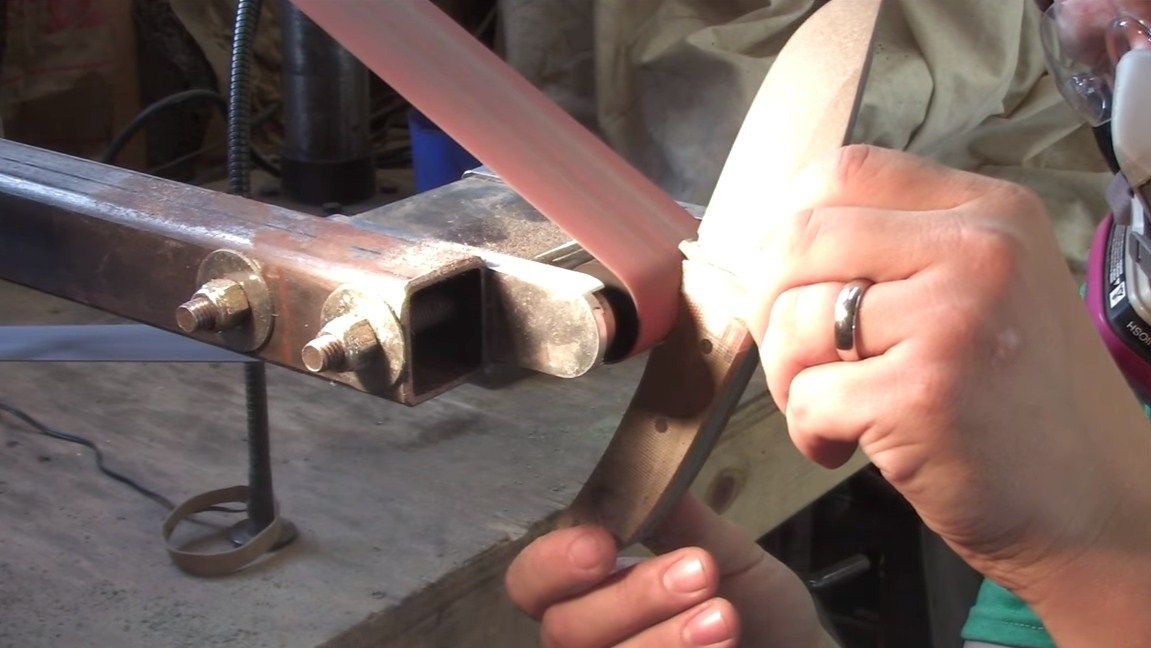
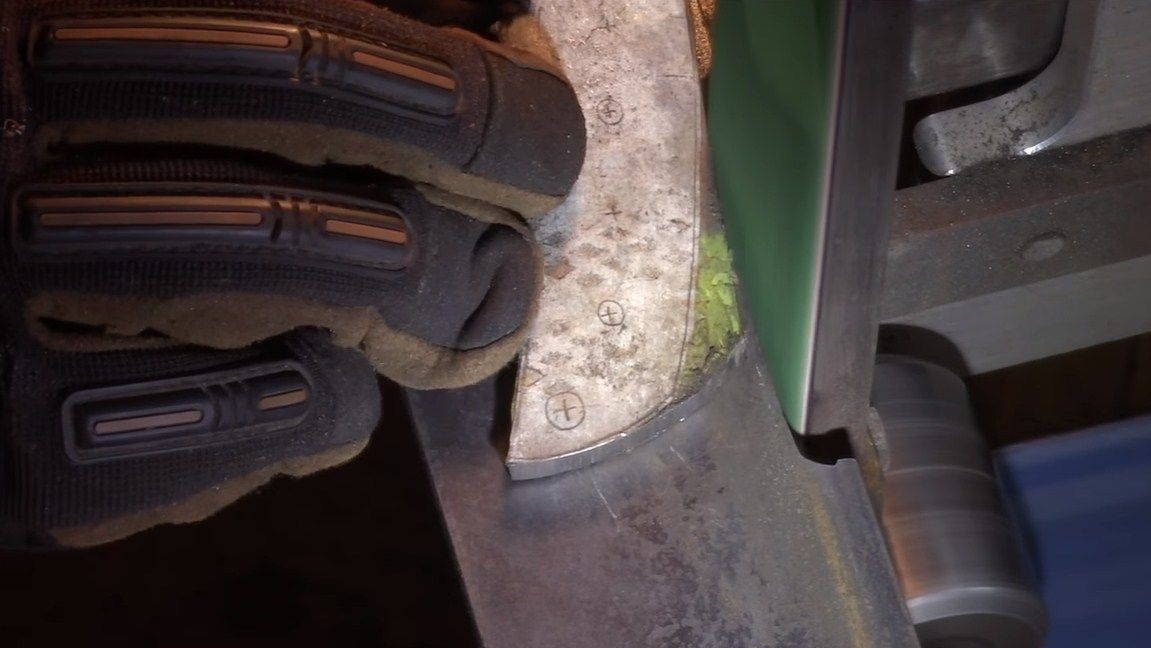
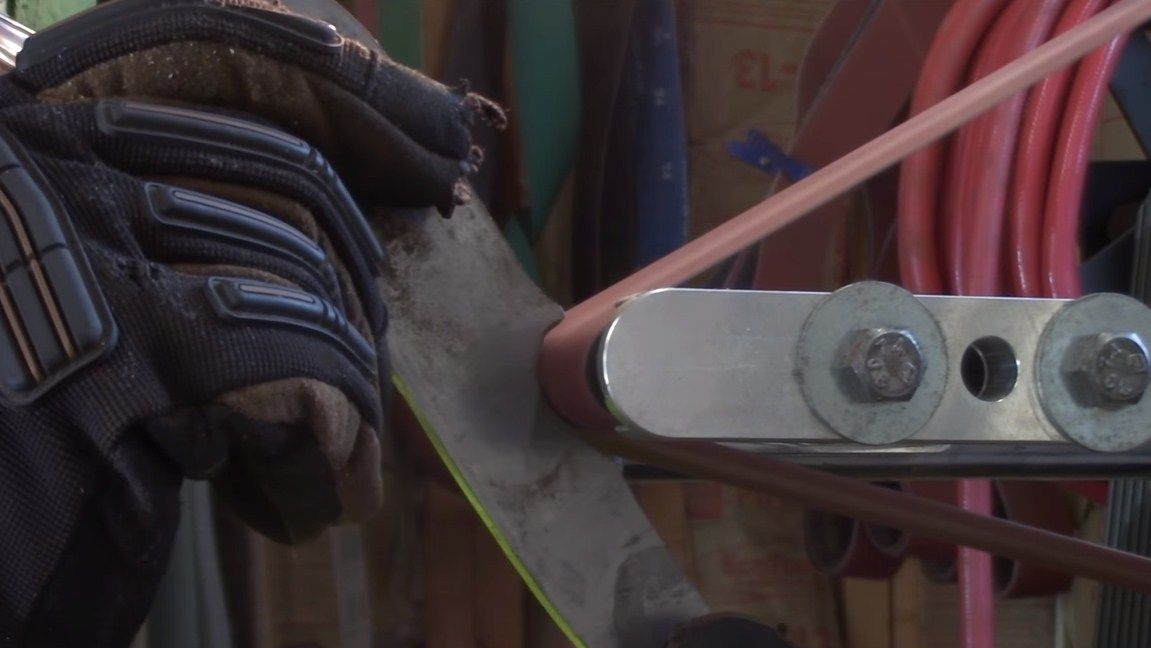
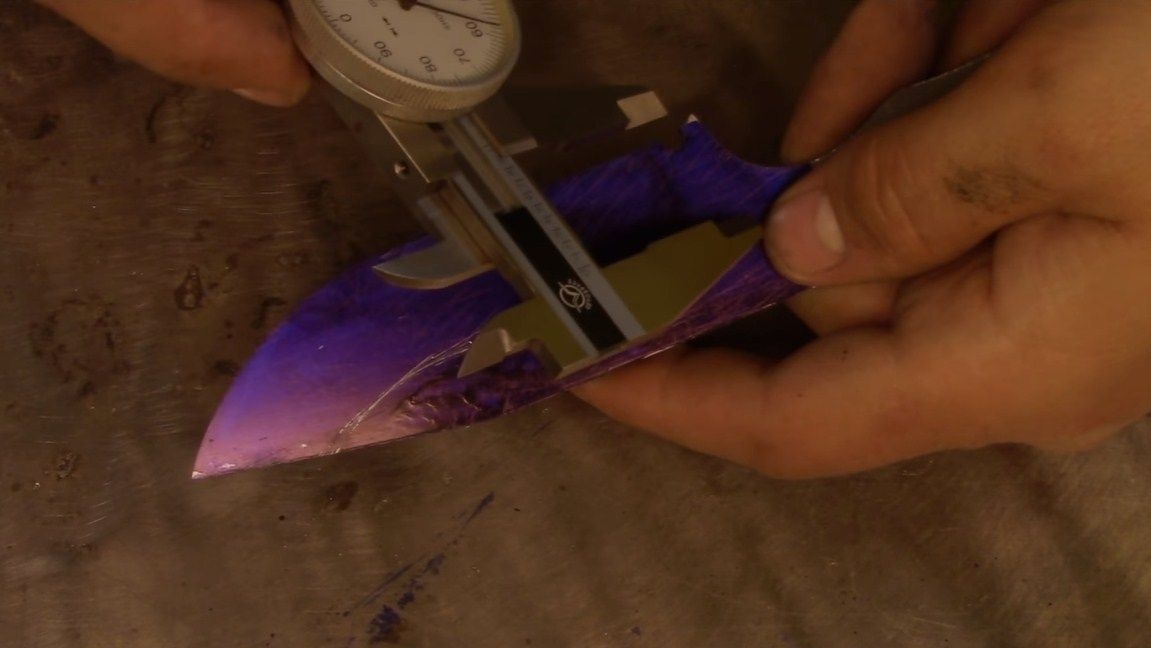
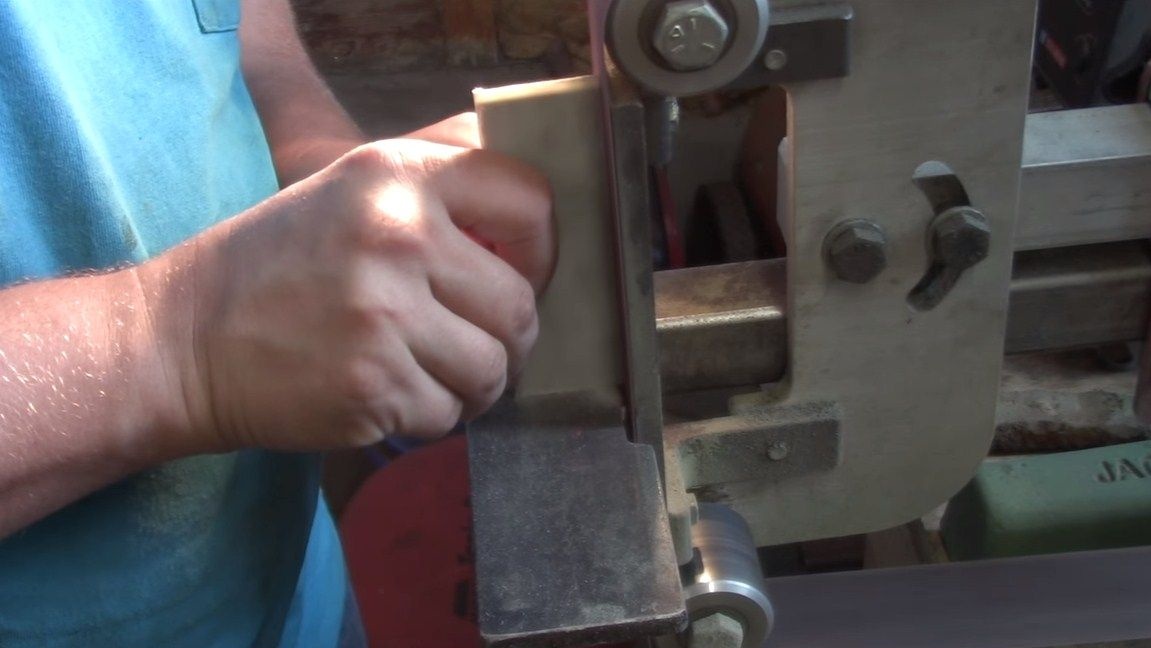
Step Six Bevels and handle
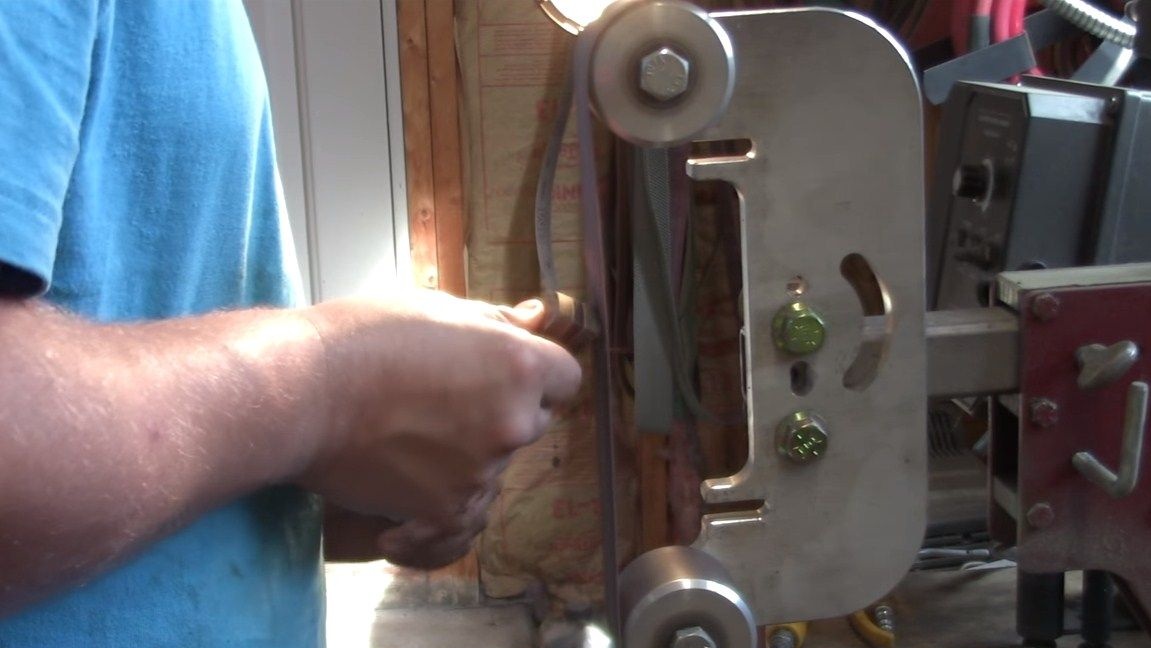
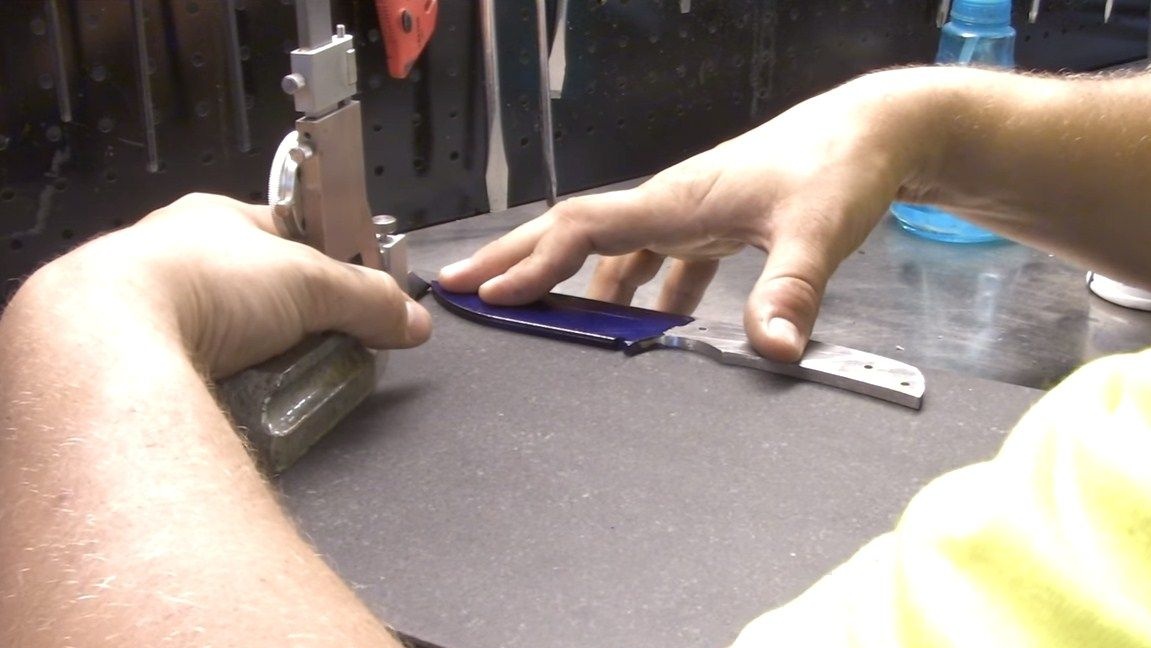
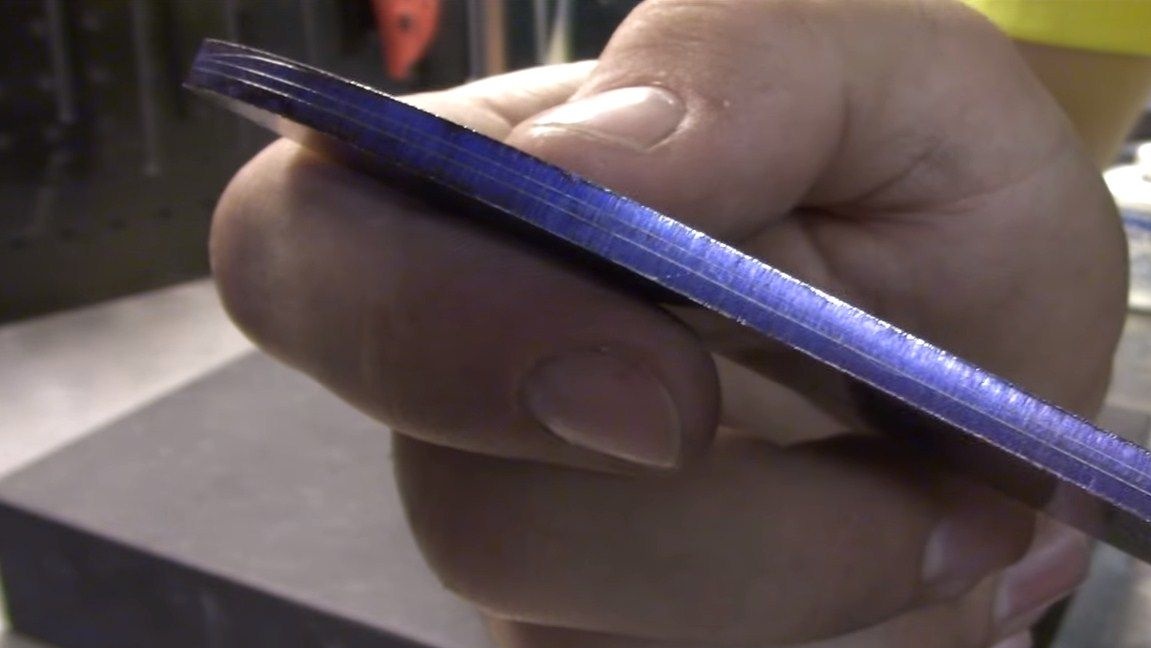
We proceed to the formation of bevels on the blade. In order for everything to work out qualitatively, you must first mark everything up. To make the drawings clearly visible, paint over the blade with a marker or other paint. Well, then we determine the width of the bevels and draw them with a caliper. In addition, you need to divide the future blade into two halves, and the author divides it into three parts. The central part - it will be directly, and we need to remove the two side parts. These lines are very convenient to navigate when grinding. Grinding is performed on a belt grinder, this is the most professional approach.

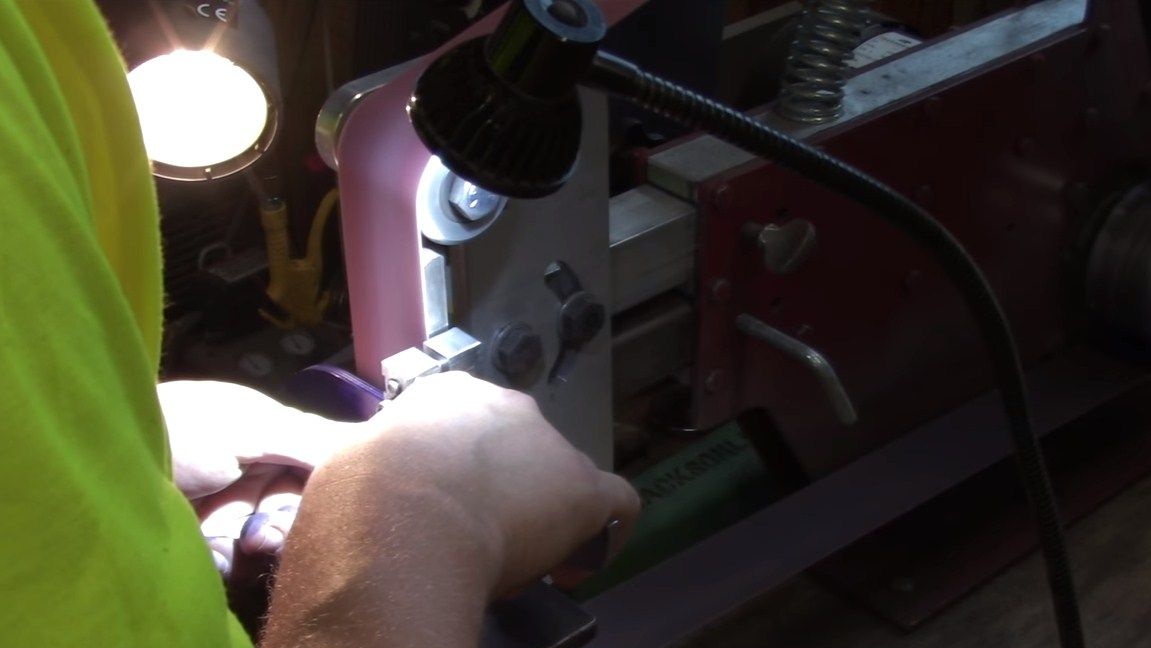

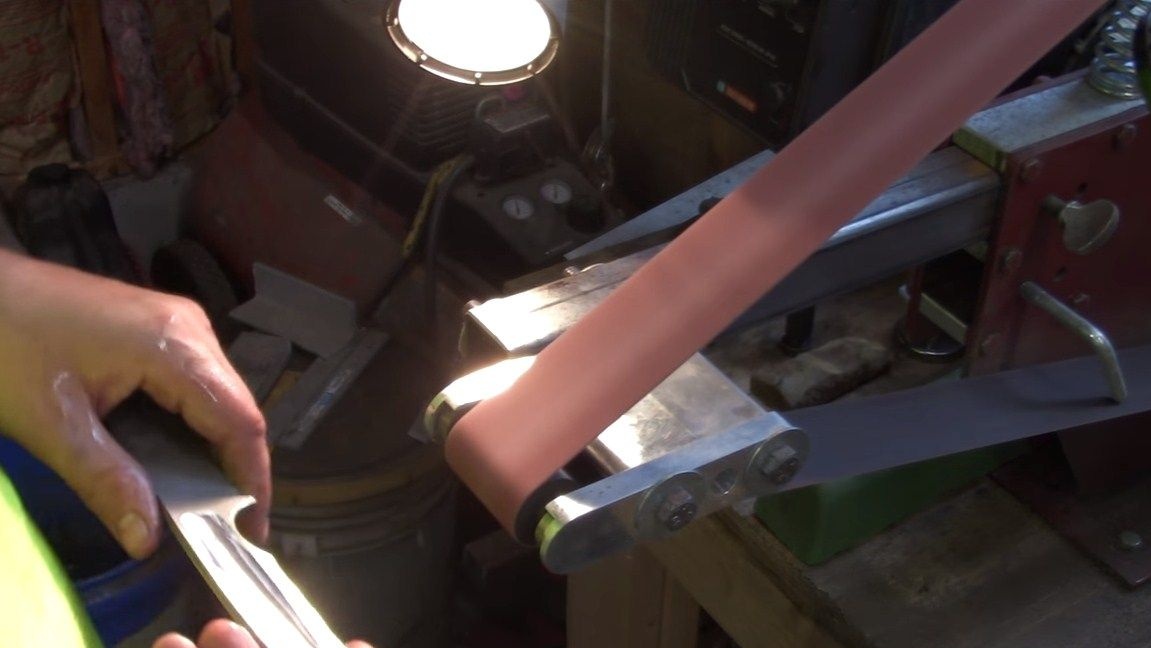
In addition to this, we need to refine the handle, the point is that it is easier than the blade. In this case, the knife will be very convenient to use, especially something to chop and so on. The author made grooves in the handles on a belt sander. At this step, you must complete all the basic work with metal, as further quenching awaits us.
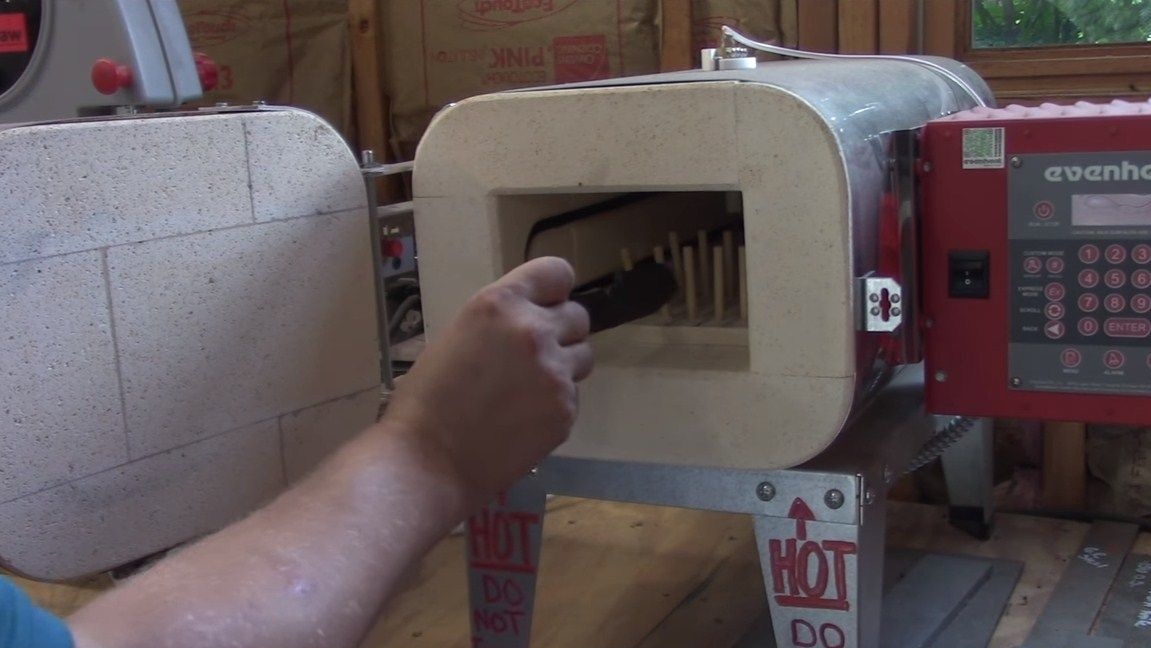
Seventh step. Blade Heat Treatment
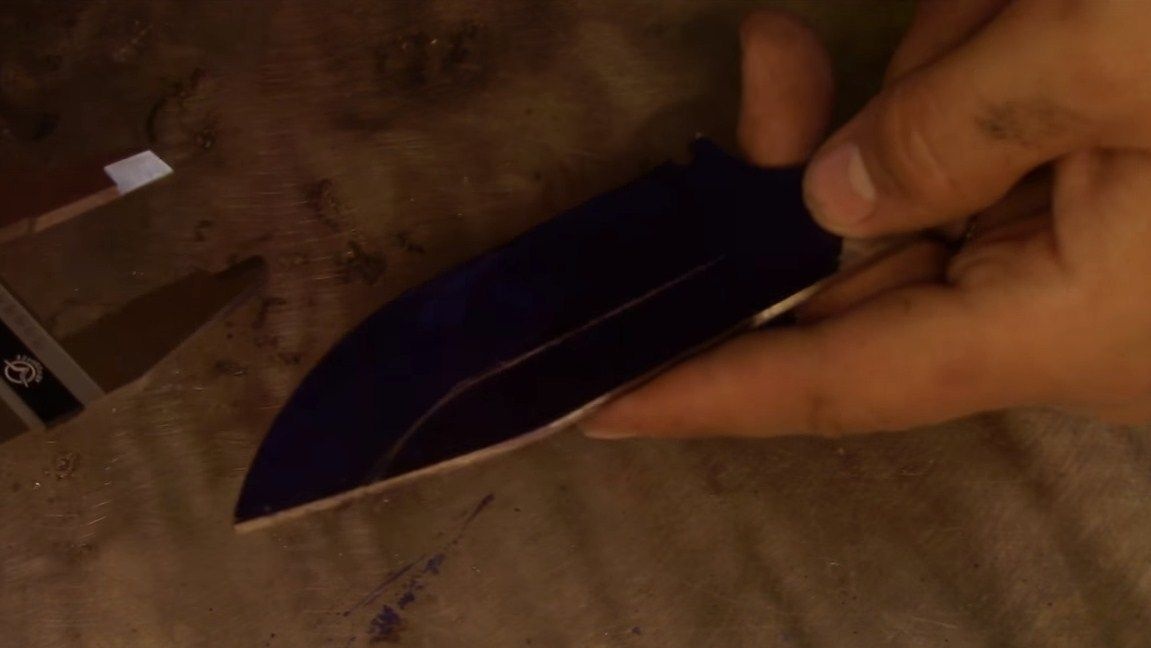
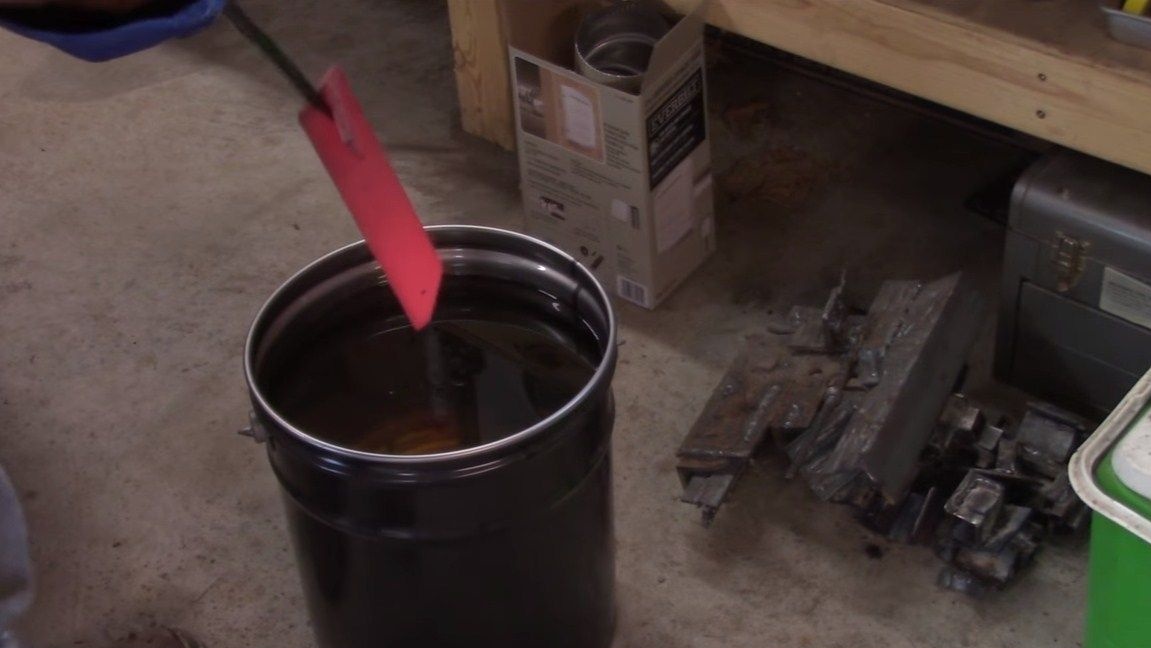
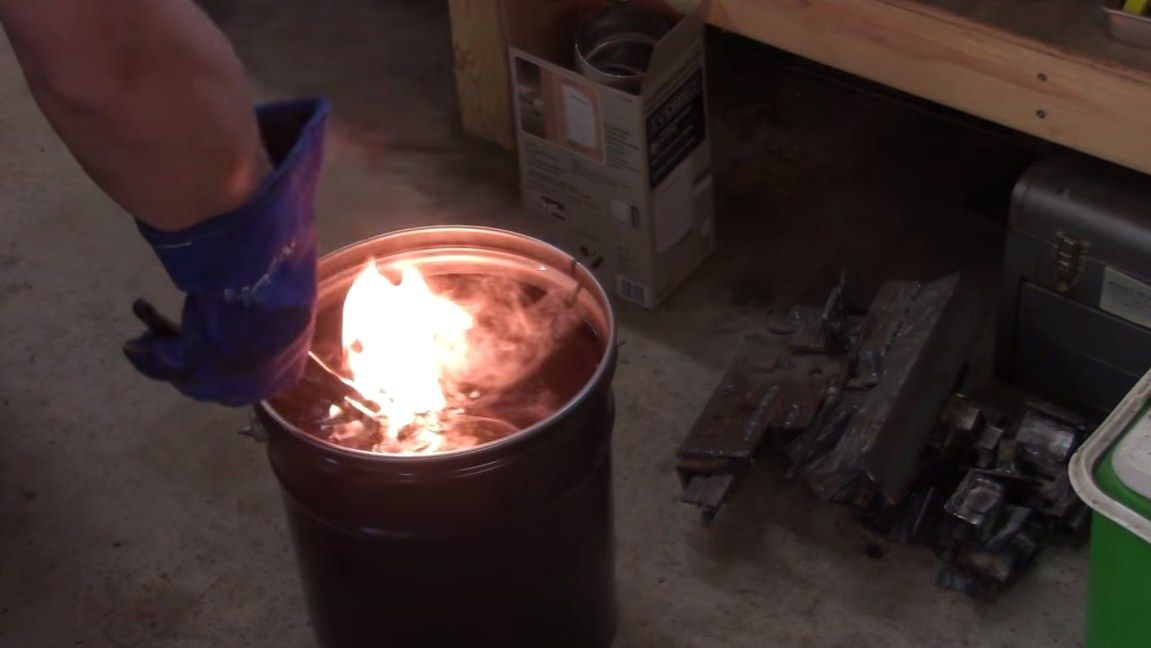
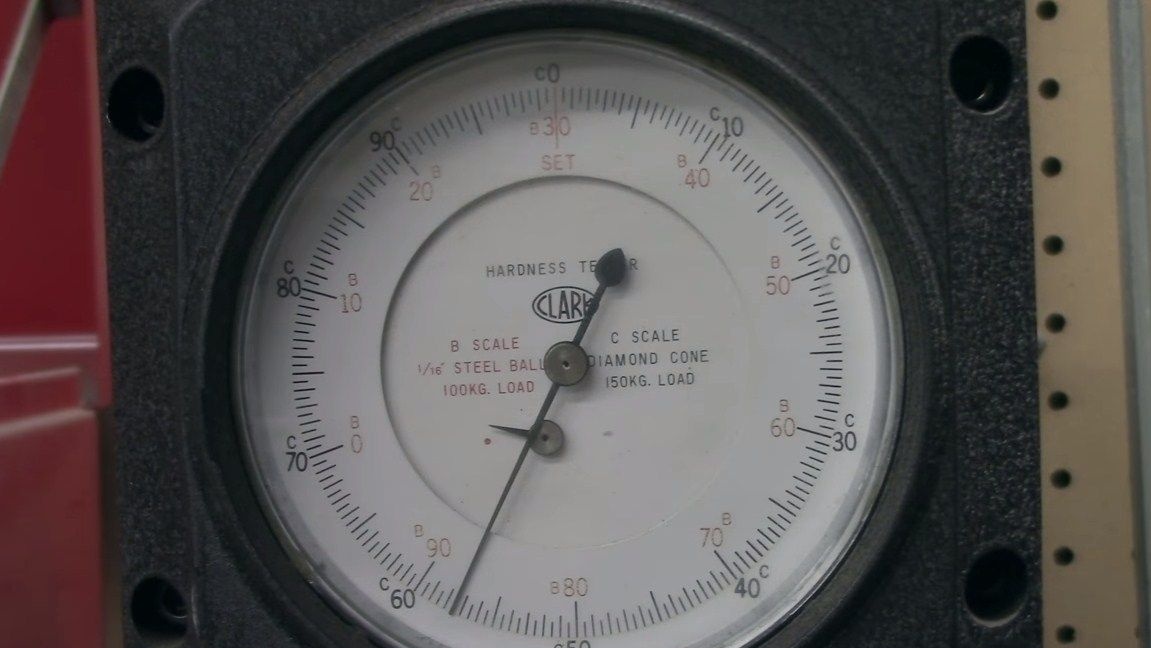
In order for our knife to serve us for a long and long time holding a sharpening, the metal must be hardened. For these purposes, you need a blacksmith furnace, the author has an electric furnace. Calim steel, depending on the brand. The quenching medium also depends on the grade of steel. Most knife steels are oil hardened. We heat the blade to the desired temperature and immerse it in oil until it ceases to boil. After hardening, we check the blade with a file, if metal is not taken, it means that hardening was successful.
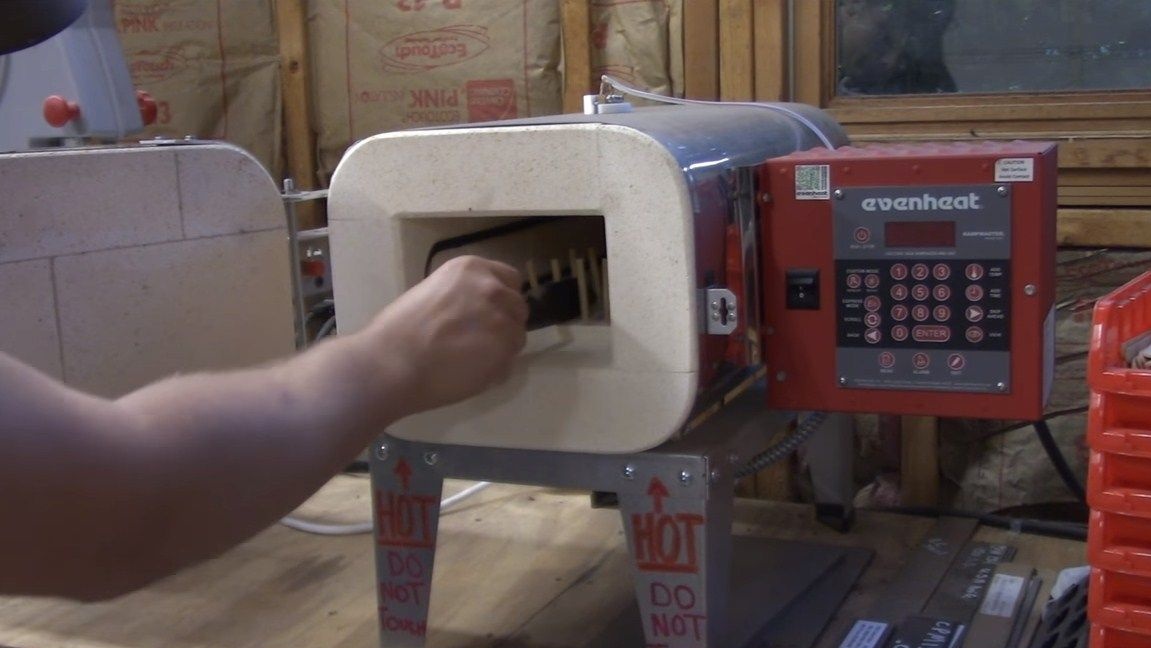
After hardening, we definitely make metal tempering, since the steel will be very brittle, this is fraught with cracking of the blade or the blade will break at all. For vacation you can use the same electric oven or oven. Temperature and tempering conditions are also selected depending on the steel grade. On average, the metal is heated to about 200 degrees for an hour, depending on the size of the knife. It turned out vacation or not, you can understand by color, the metal should become a straw color.
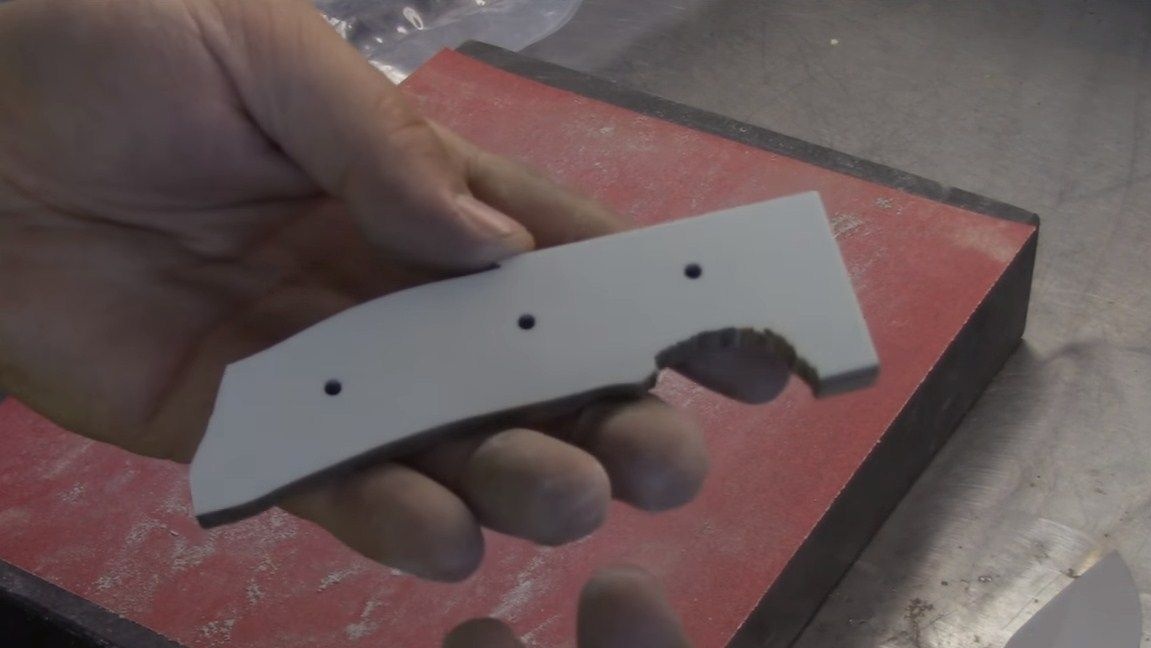
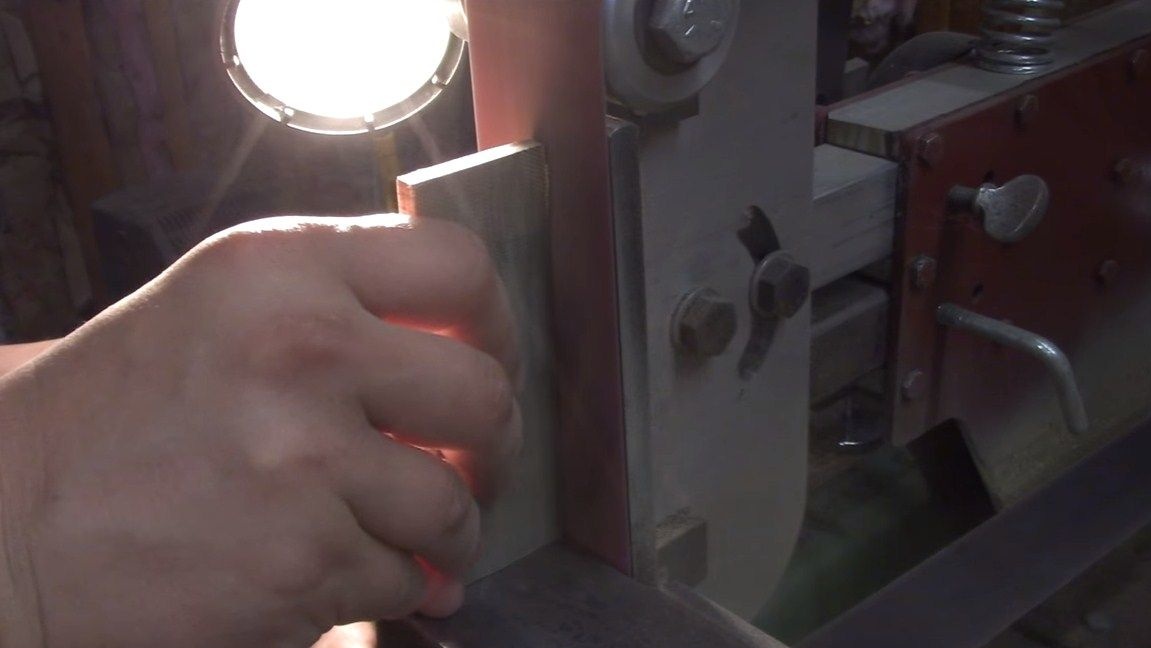
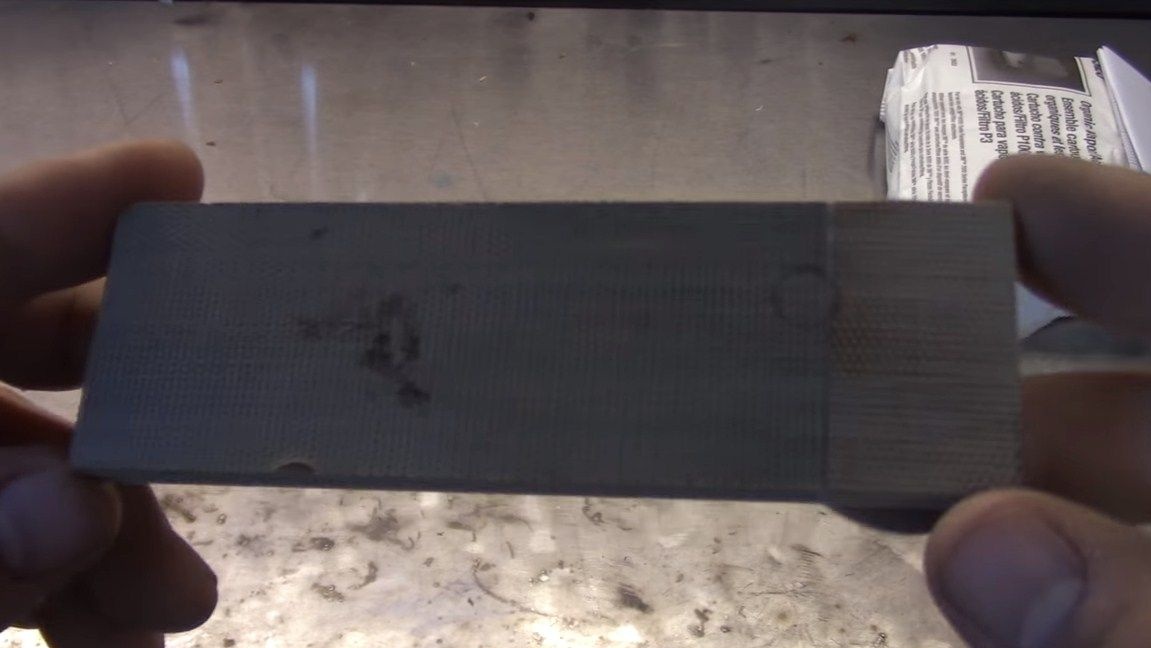
Step Eight. Cleaning
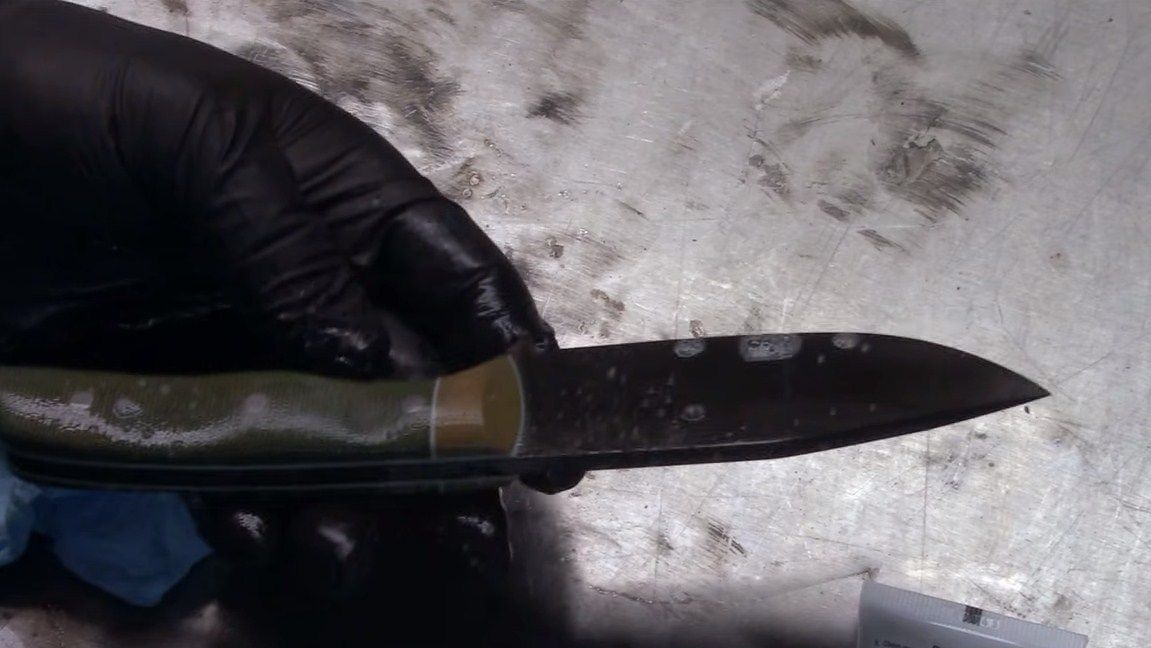
After heat treatment, there will be scale on the metal, we need to clean it. It is very easy and simple to do this with a sandblast. But if there is no such device, we work manually using sandpaper dipped in water.
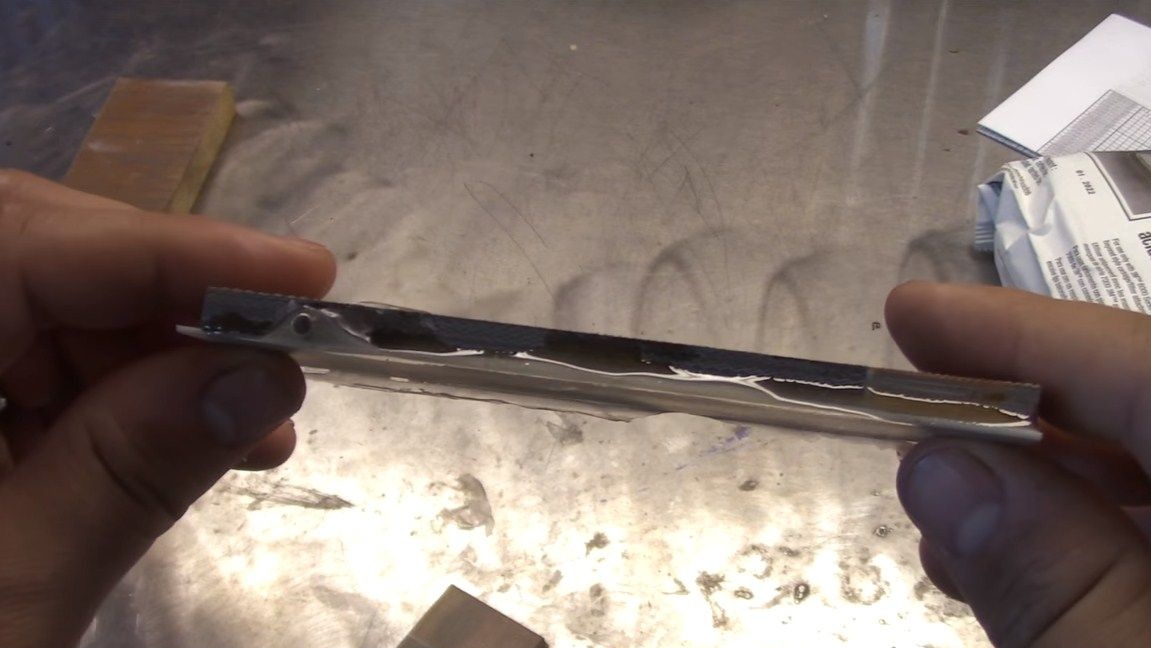
In addition, the author decided to check the strength of the metal.
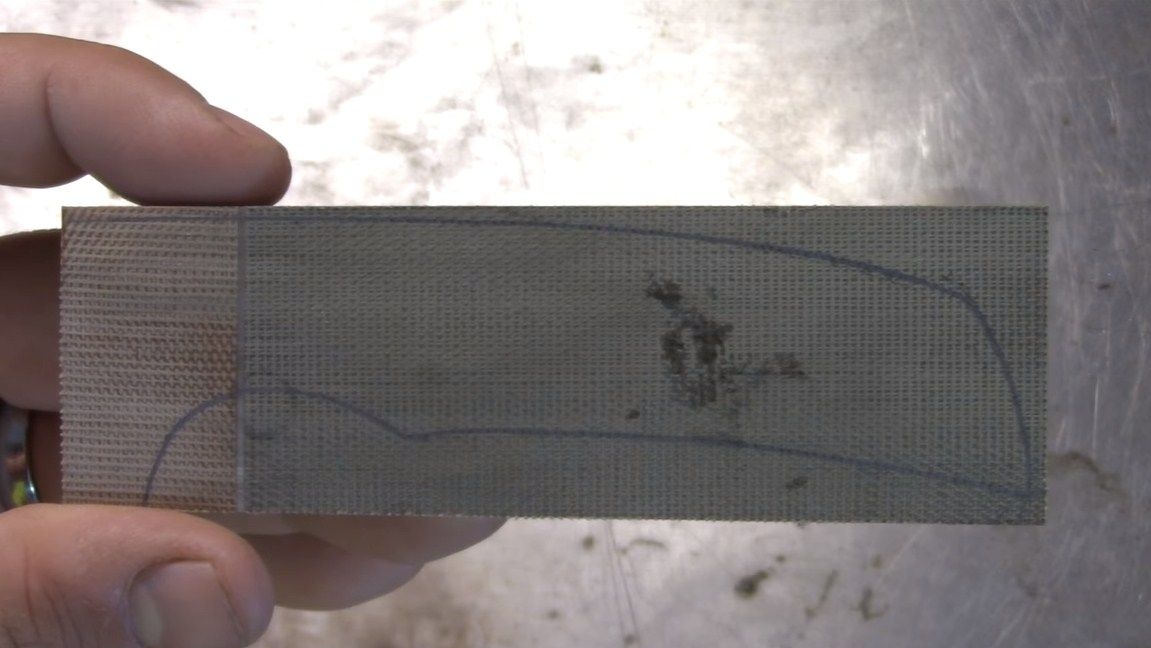
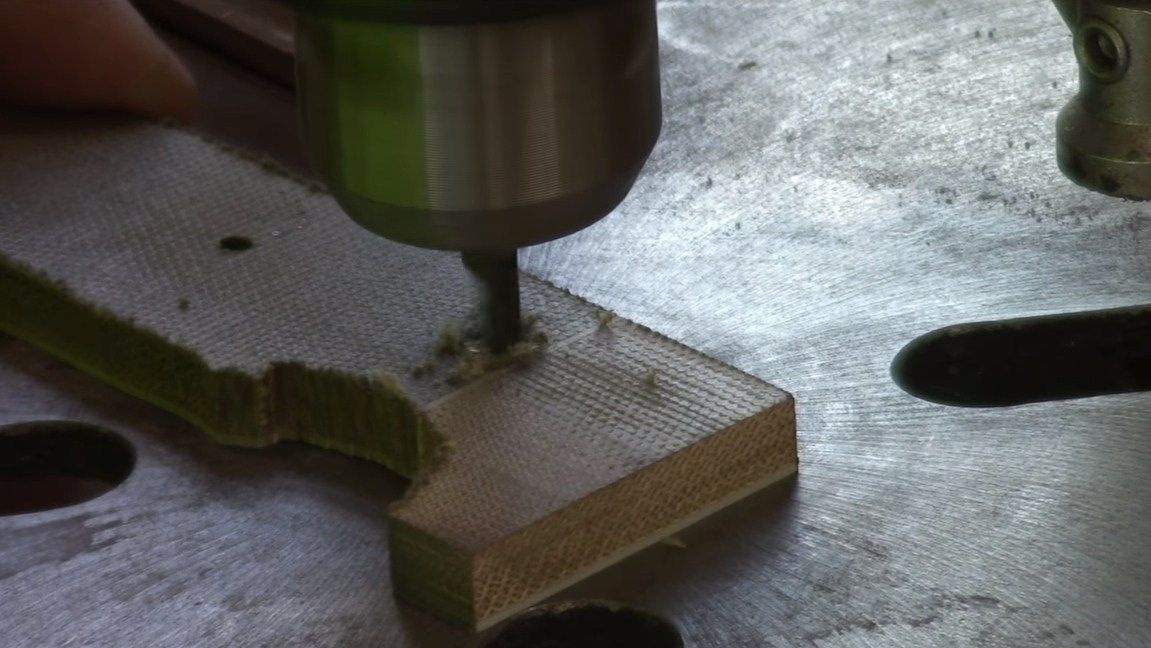
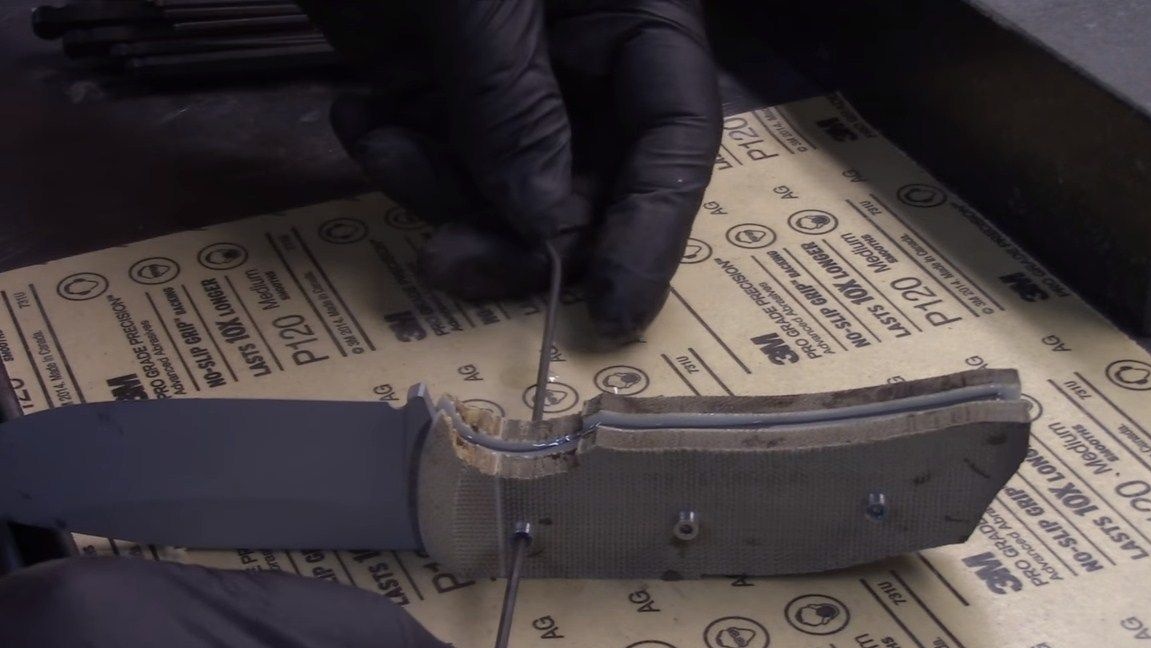
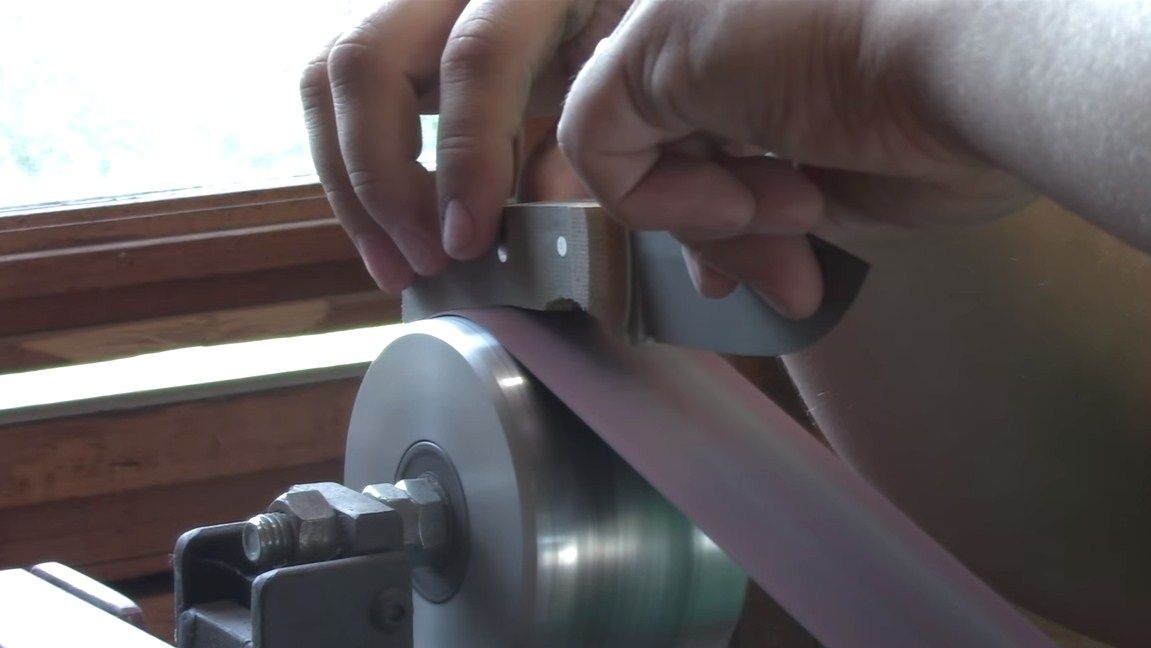
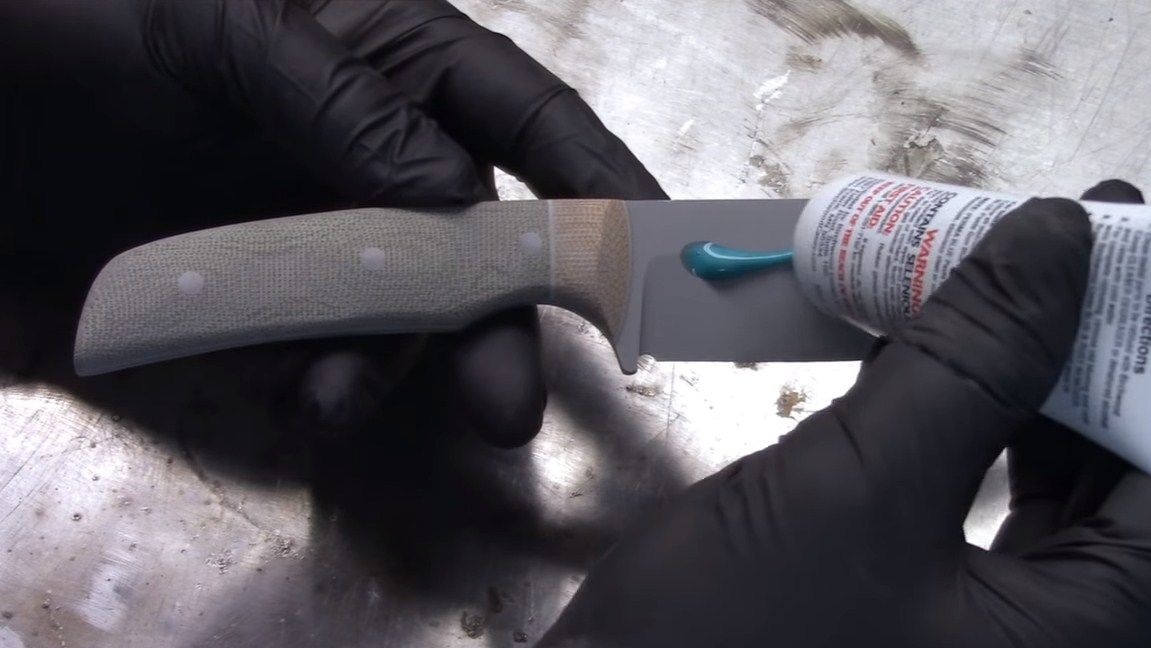
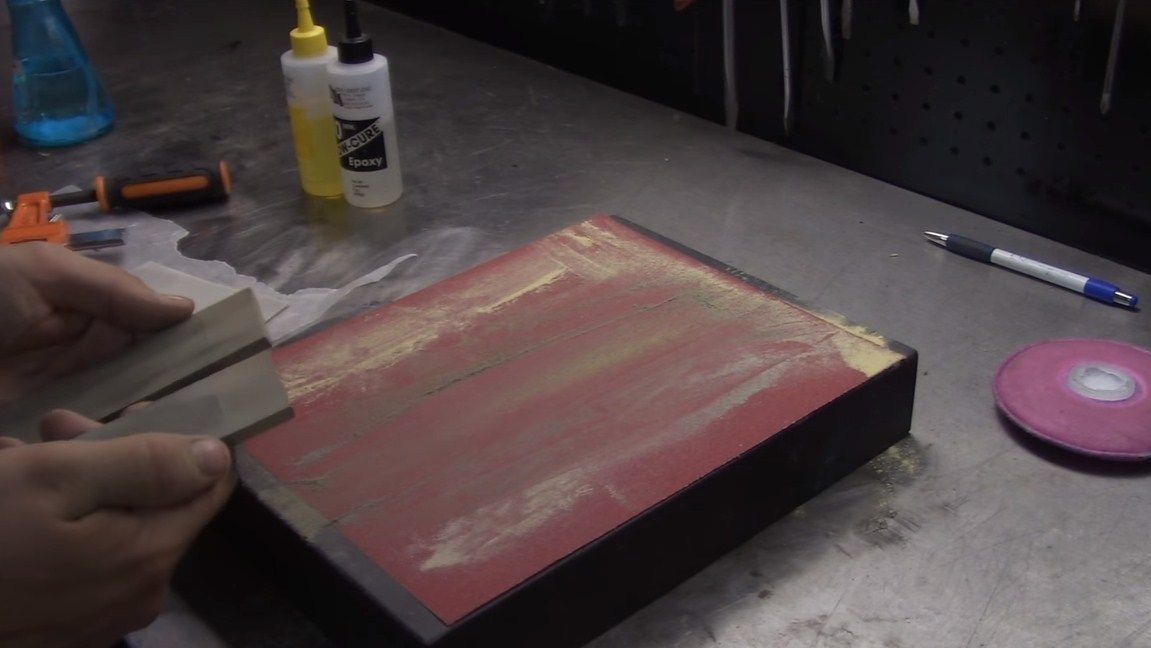
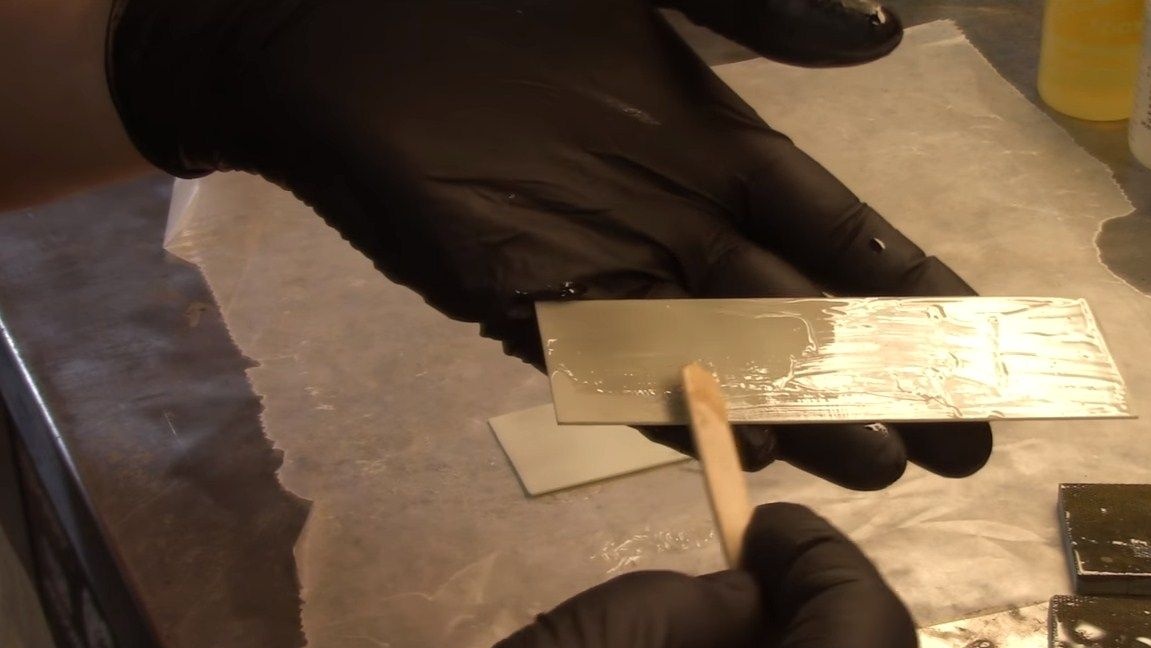
Step Nine. Lining
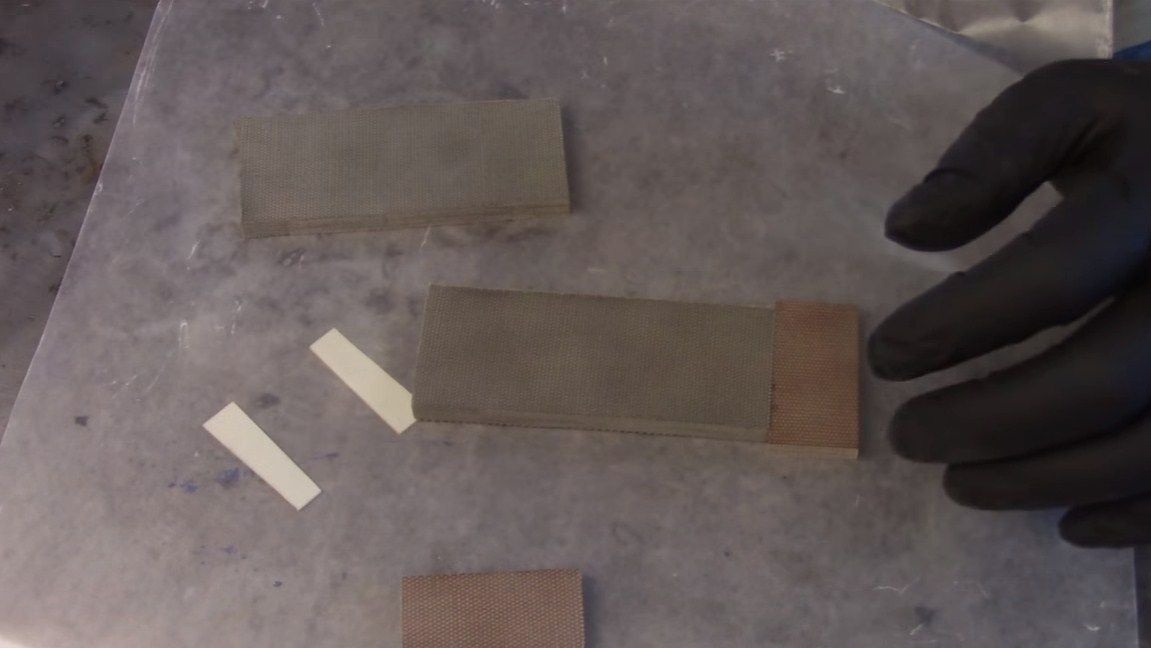
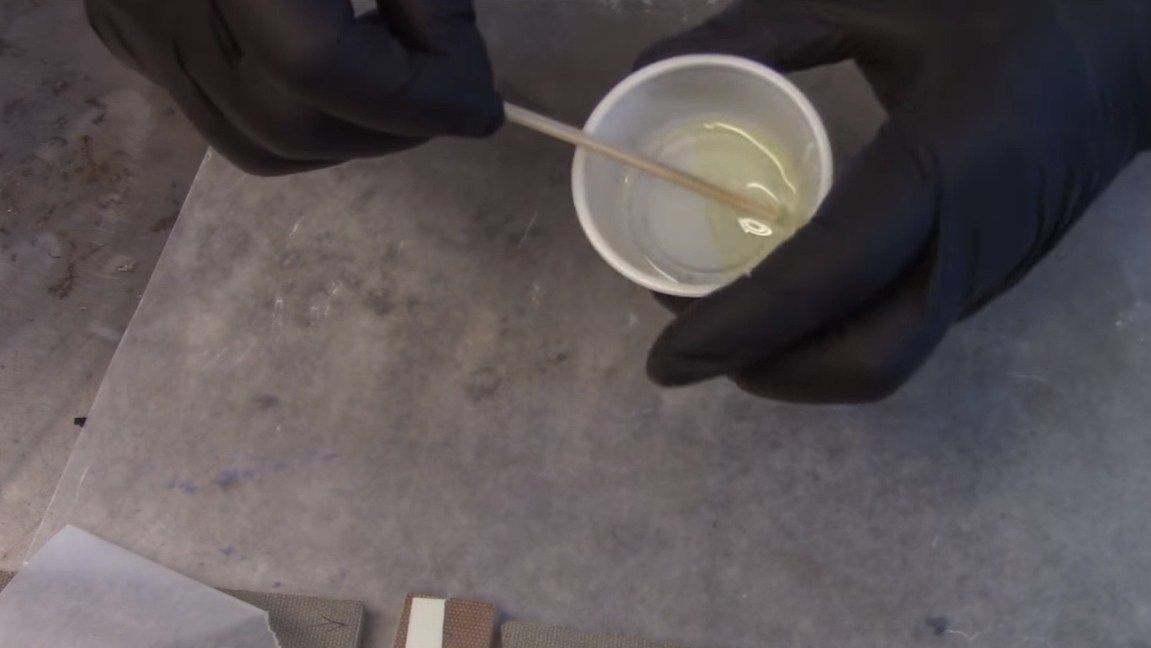
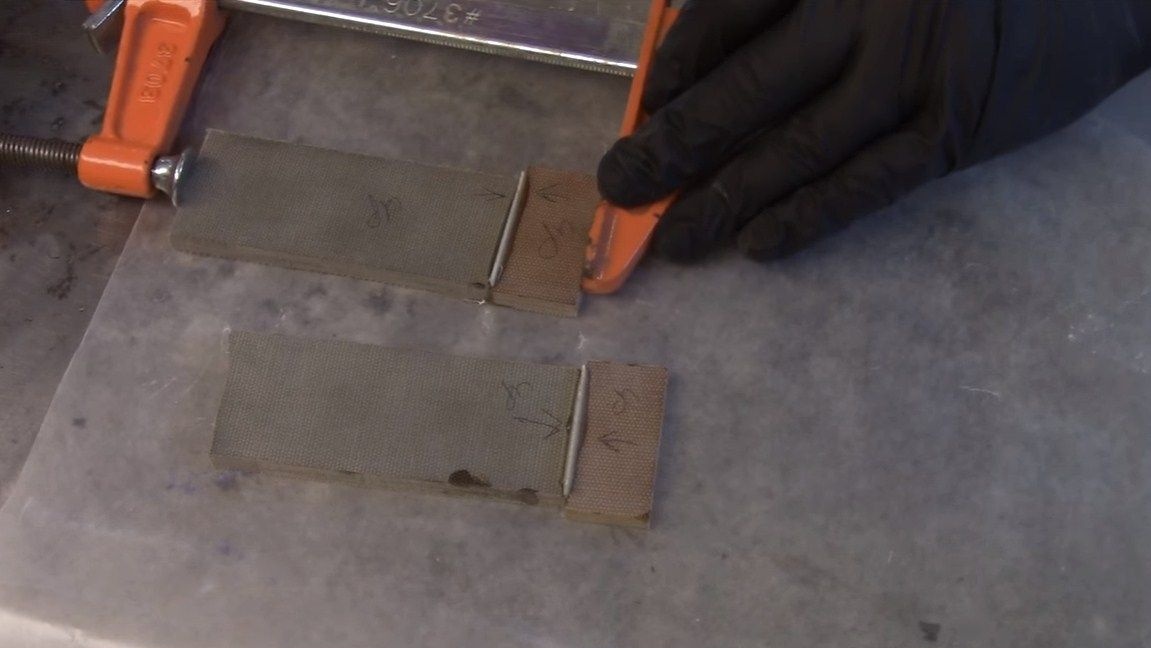
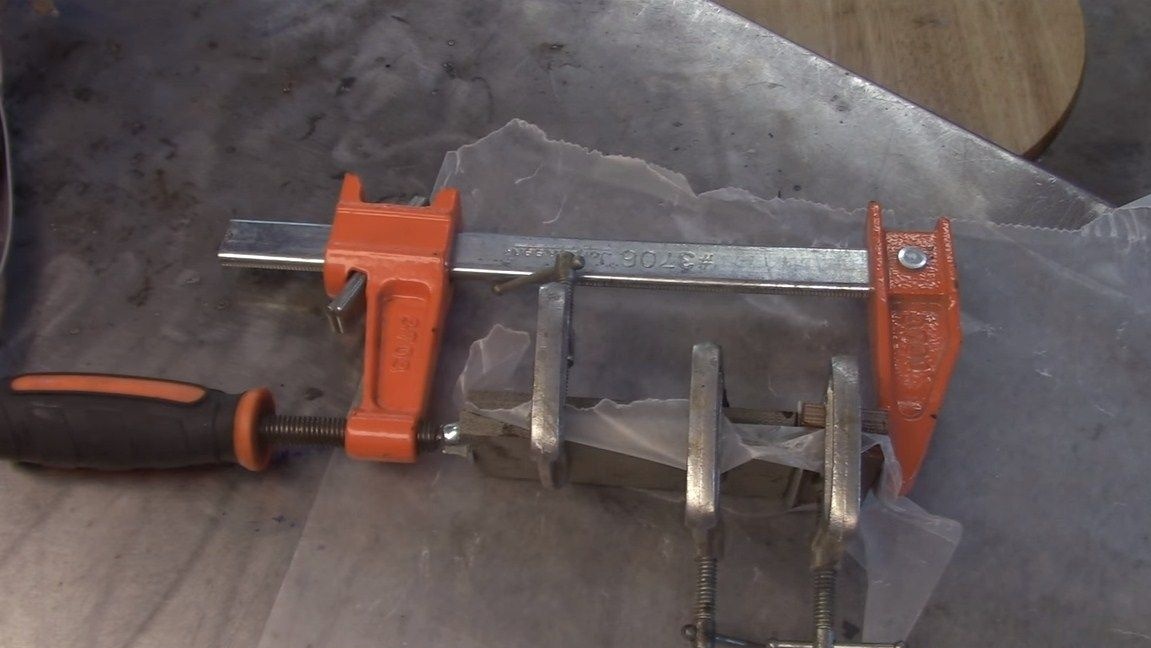
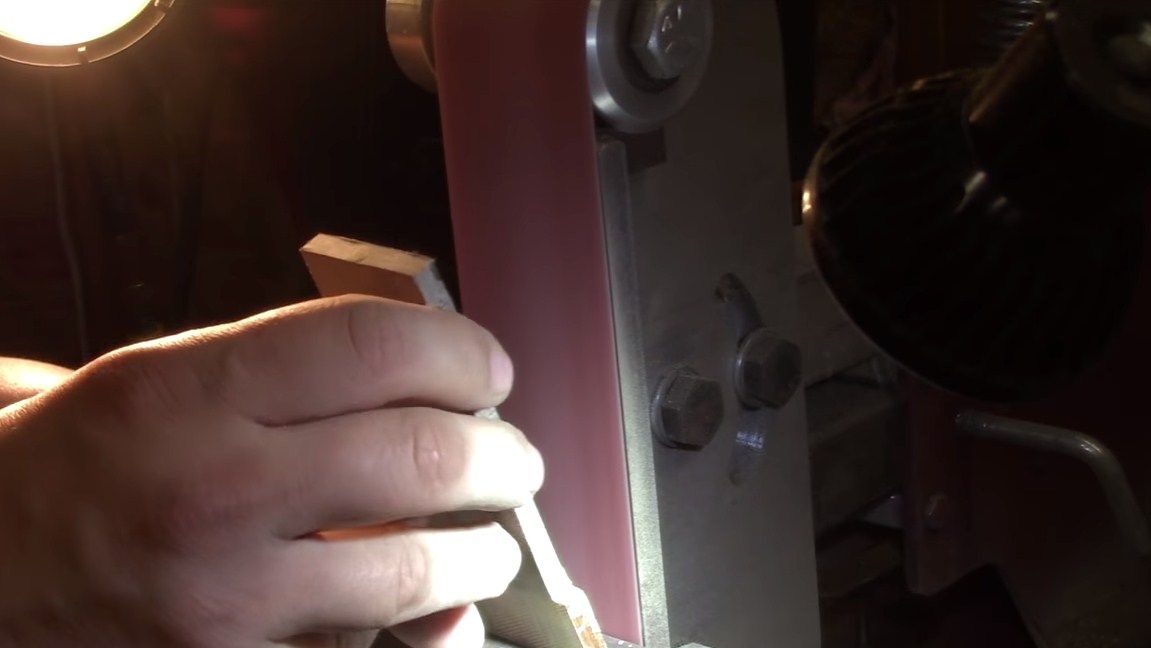
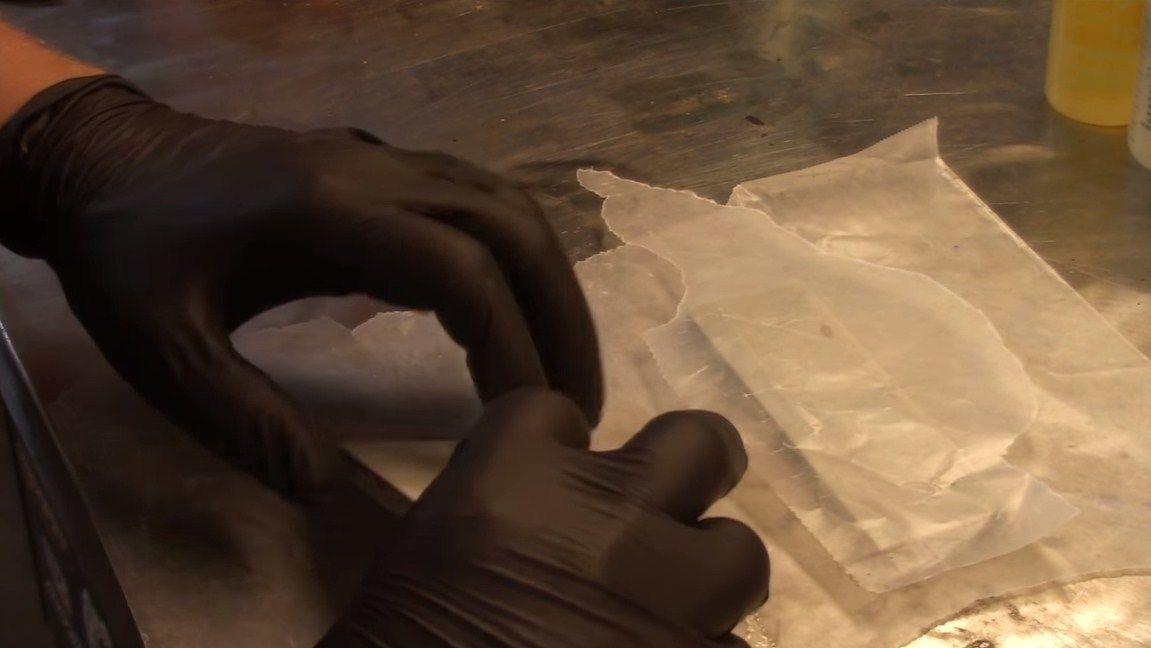
Pads are made of PCB or similar material as desired. The author has overlays combined, they consist of four materials. The whole thing is glued together with epoxy glue and then polished on a belt grinder. When the pads are ready, cut them in the shape of a handle and grind to an almost finished state.
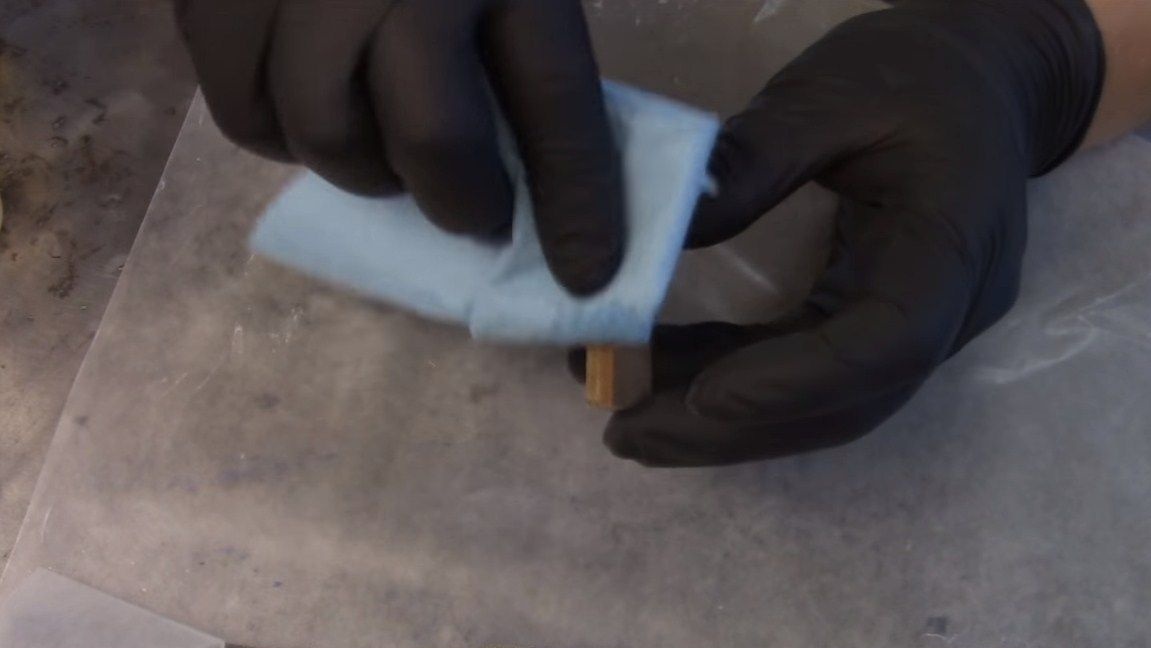

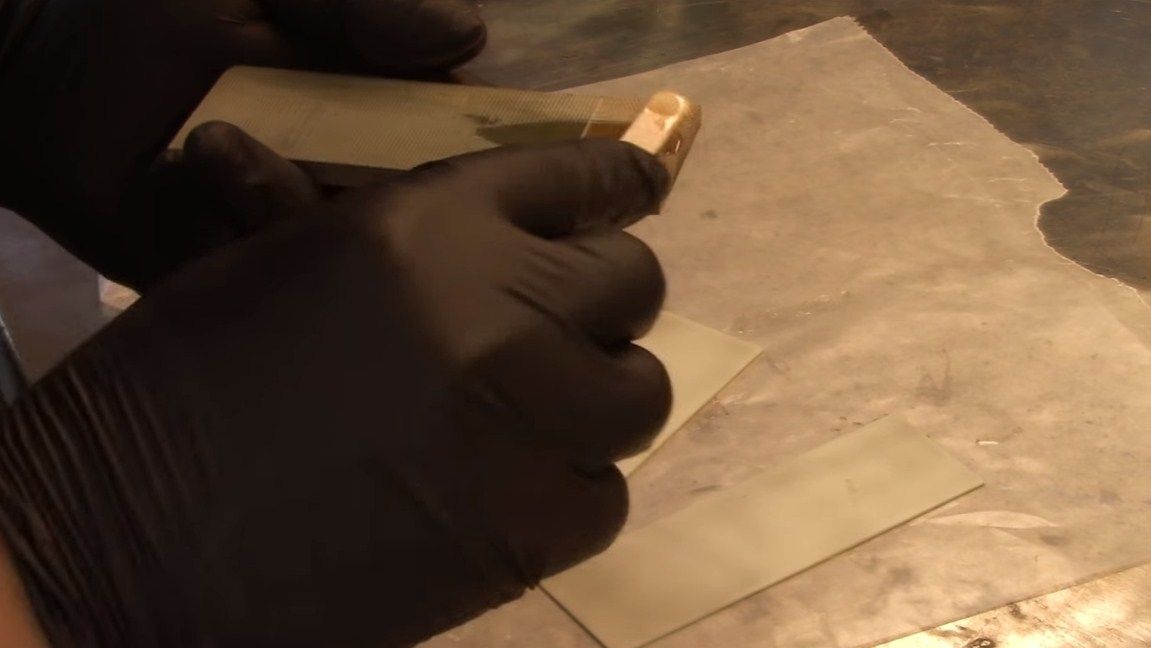
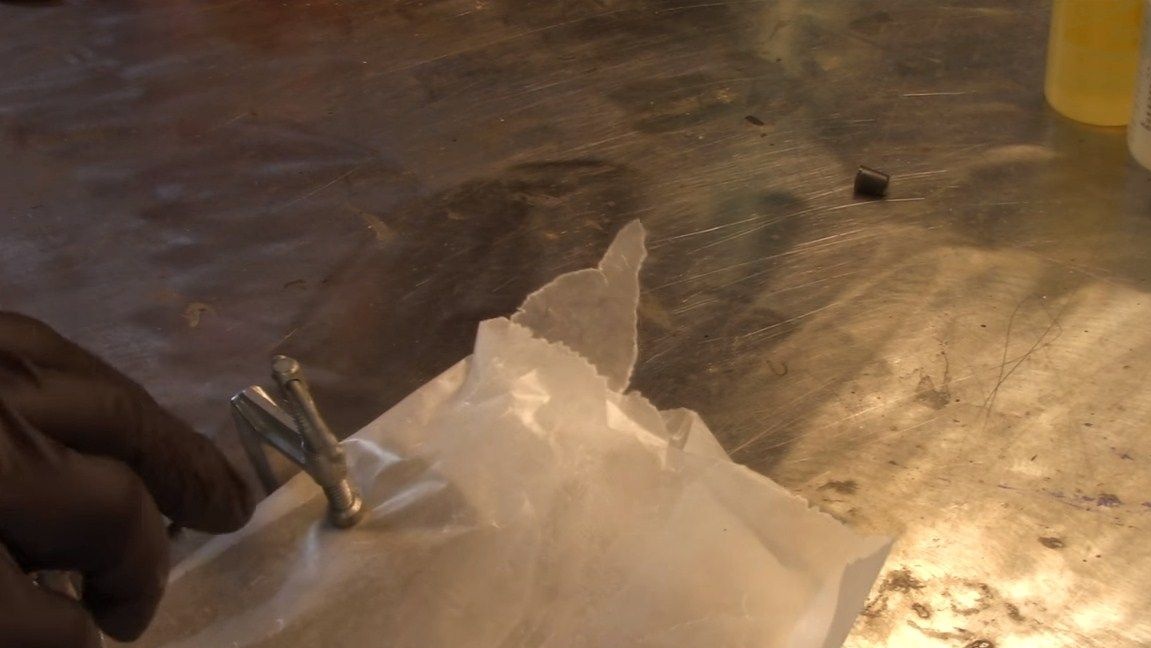
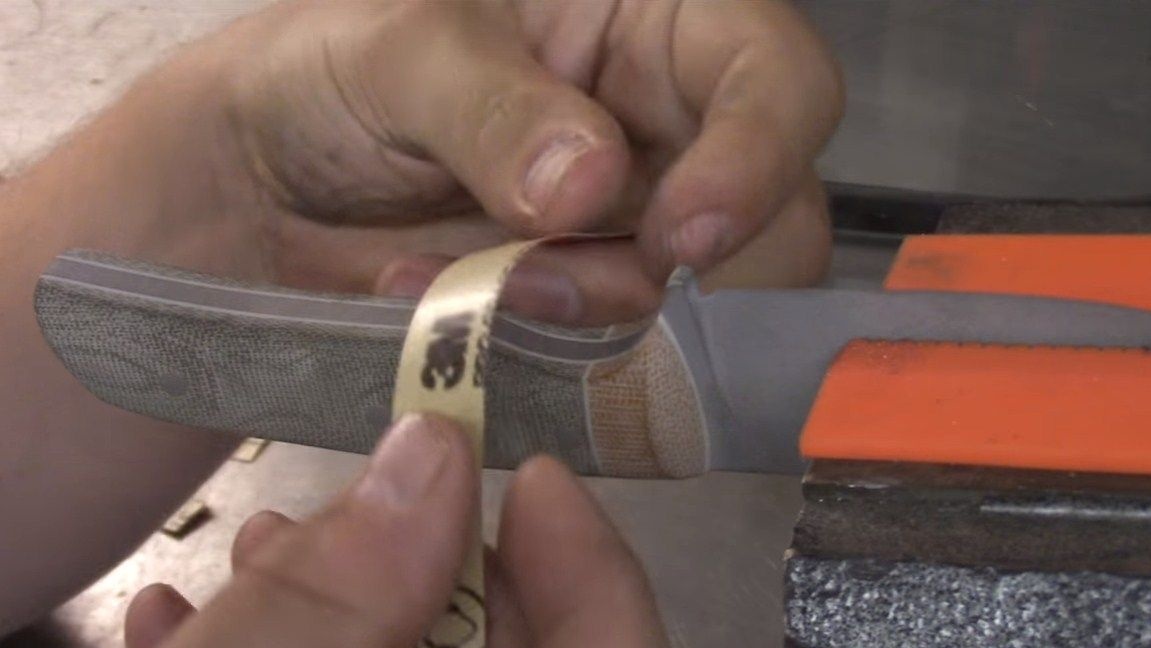
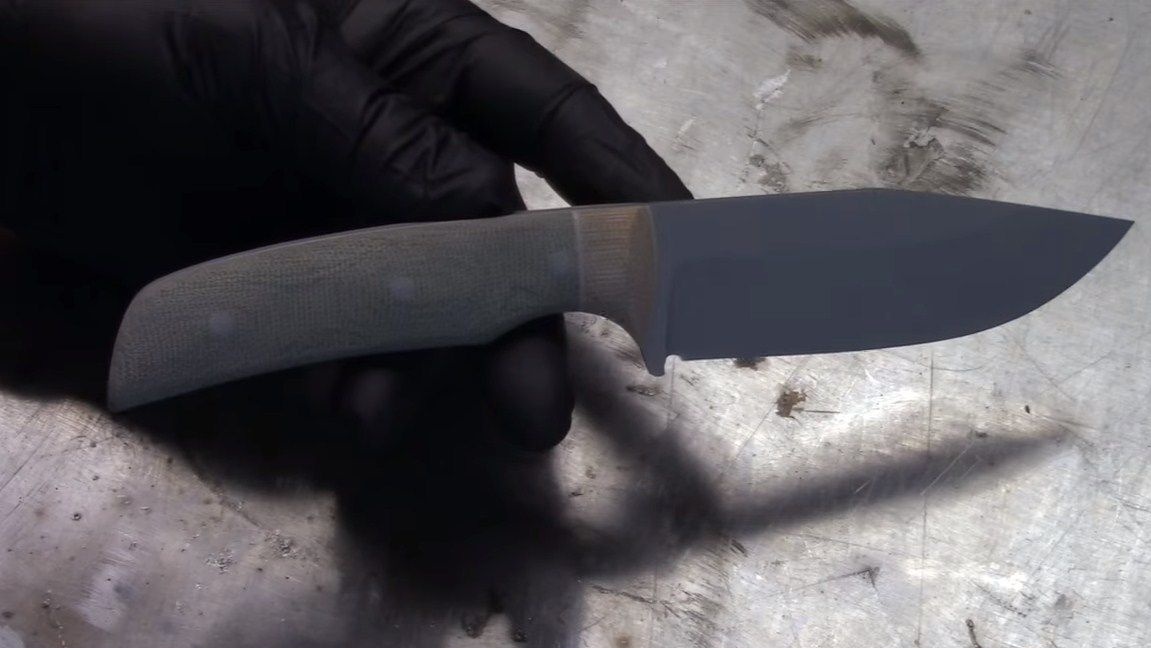
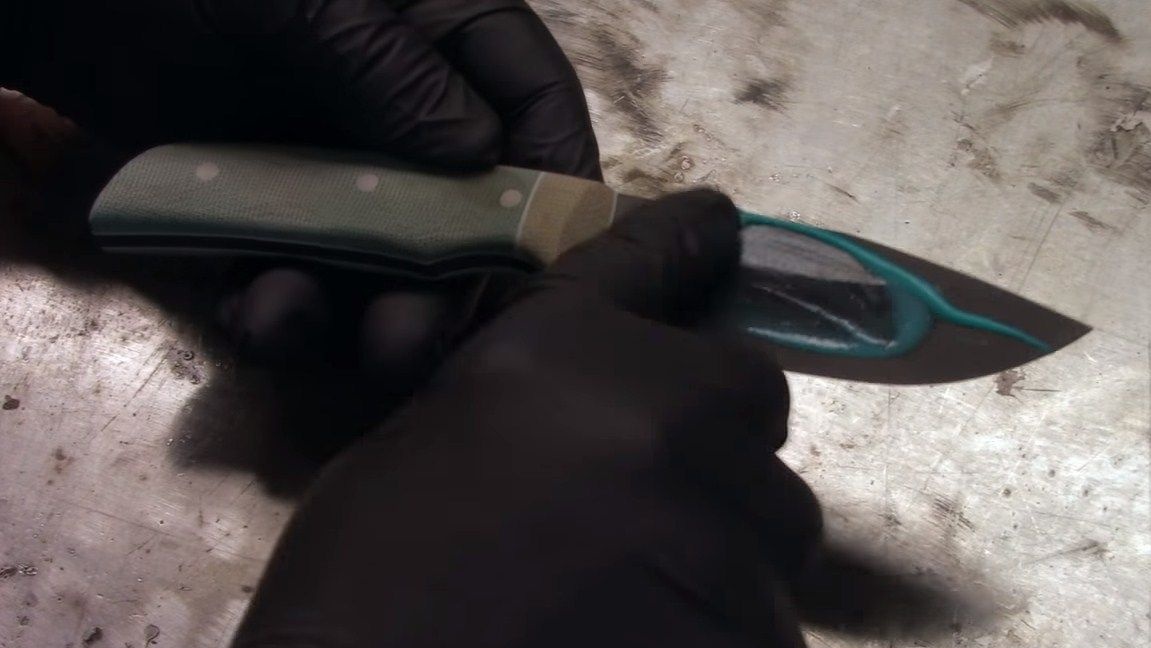
Well, then glue the pads on the knife using the pins. When everything dries, we make the final grinding of the handle on the grinder.The blade can be made dark by leaving a patina on it, so it will not rust. And you can polish to a shine if your metal is resistant to rust. In the end, you only need to sharpen the knife to a blade state. We use special grinding stones and fixtures for sharpening. That's all, the knife is ready, everything turned out pretty nicely and reliably.
I hope you enjoyed the project and found useful information for yourself. Good luck and creative inspiration! Do not forget to share your homemade with us!