

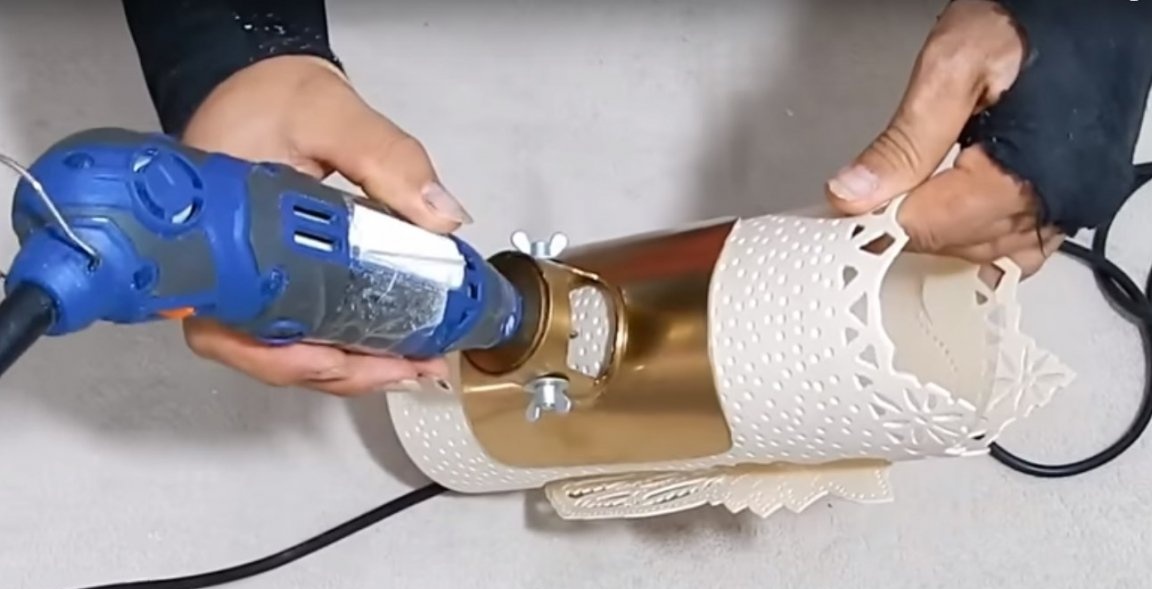
Good day to all. The author of the “YouTube” channel “DIY Alexandra Luiza” and the heroine of our article today, is engaged in the manufacture of handmade lamps from PVC pipes. And in her work, she often uses a power tool such as a drill. To draw some contours on the fixtures, the author has to be of the same depth, for a realistic picture and a more elegant look of the lamp itself. But to do it by eye, it’s not always possible, and so she decided to make it, such device for a drill. With the help of this nozzle, it has become much more convenient, enjoyable and faster to work, and most importantly, with this device, good accuracy appears in the work. And this is very important in the work of the master.
And in order to make such a nozzle. The author needed such materials.
Wing nut 2 pcs.

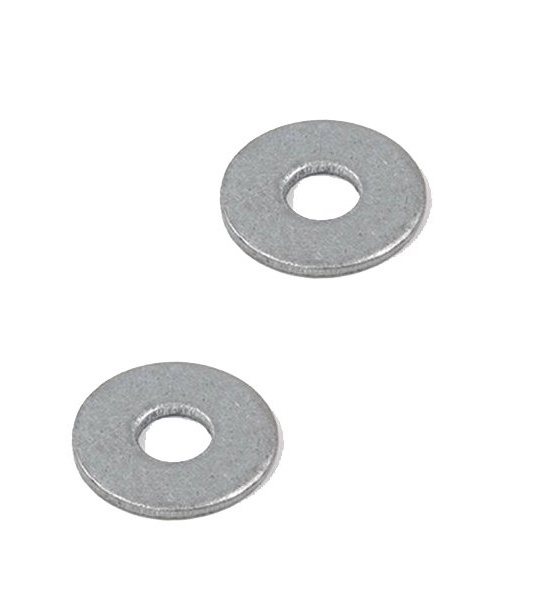
Washer 2 pcs.
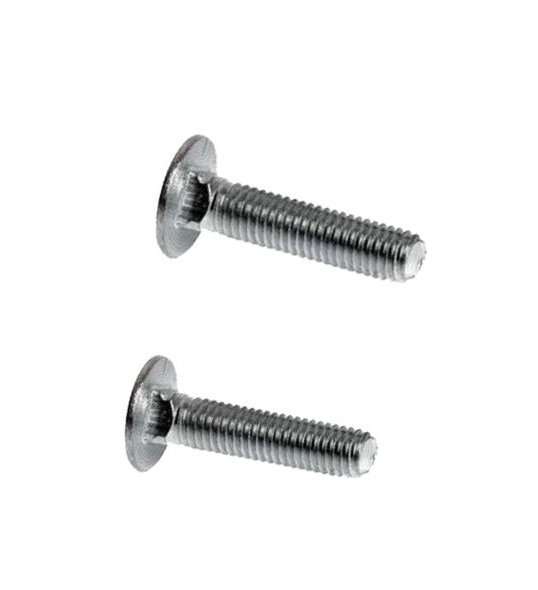
Bolt 2 pcs.
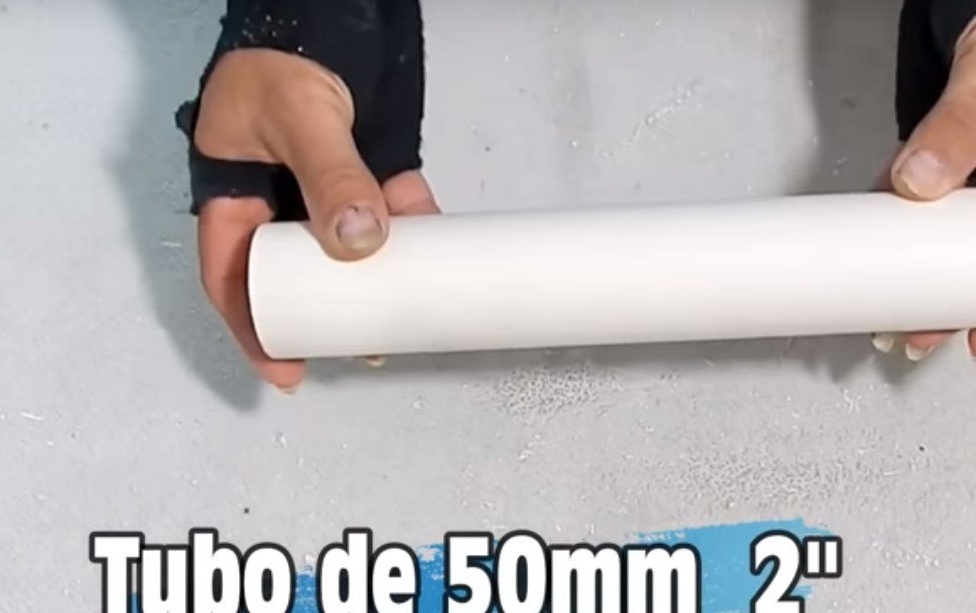
PVC pipe 50 mm in diameter.
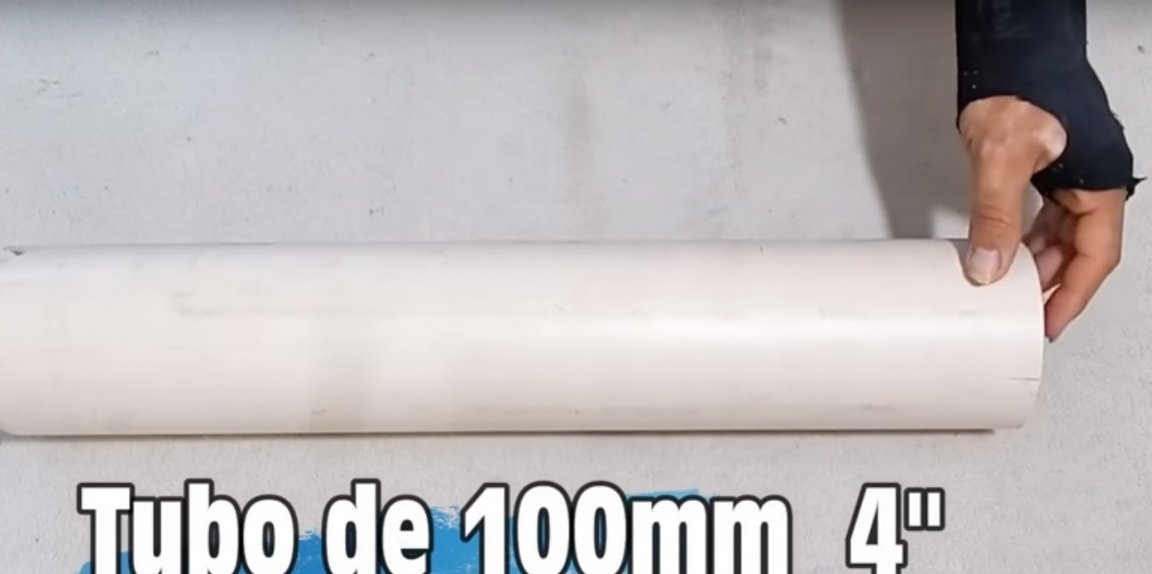
And the PVC pipe is 100 mm in diameter.
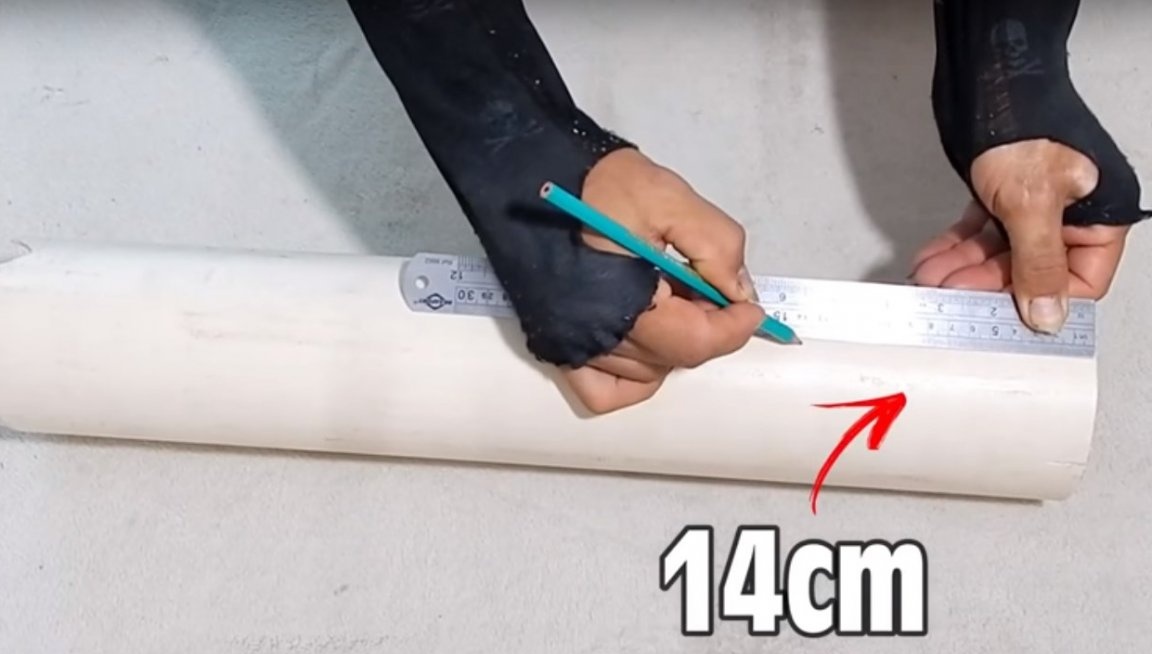
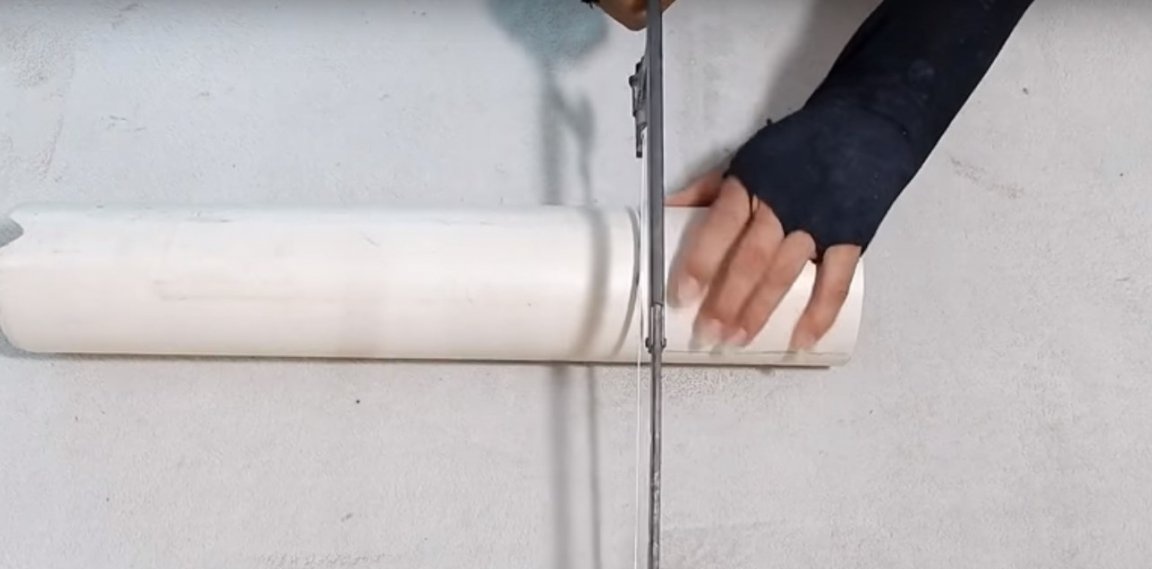
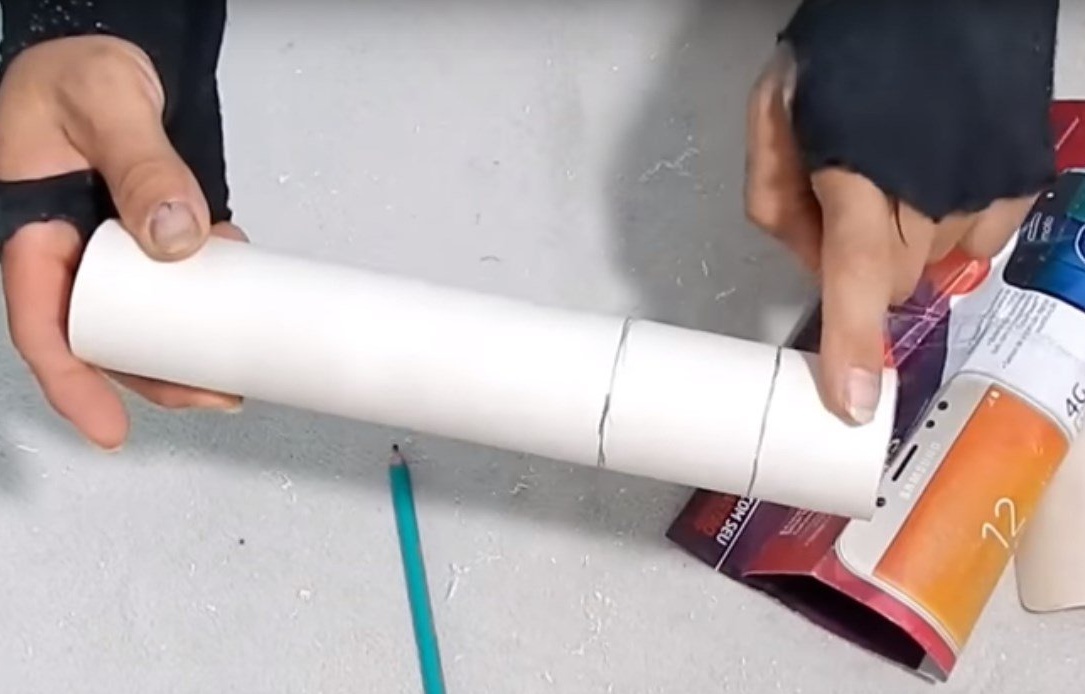
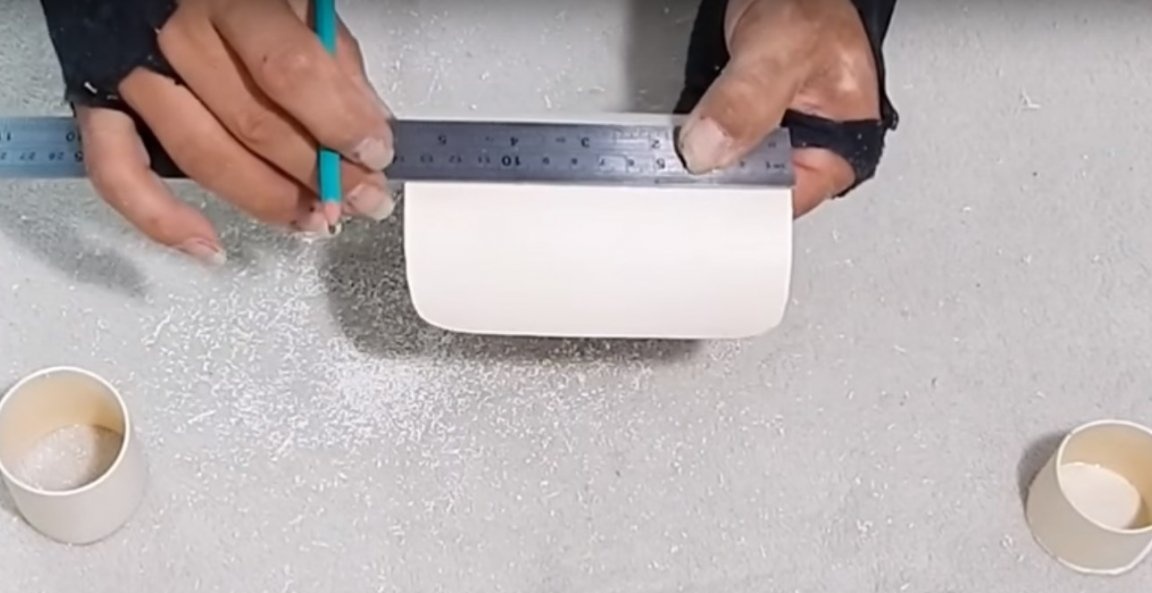
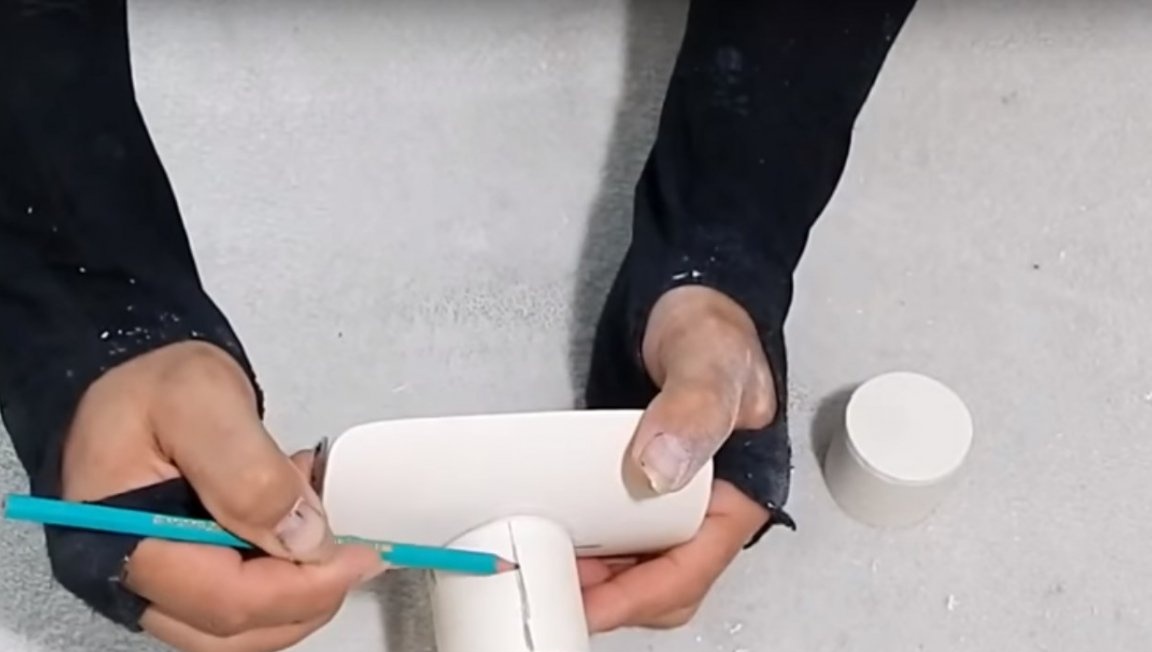
The master will make the first part from 100 mm pipes. Having made markings on it, the length is 140 mm.
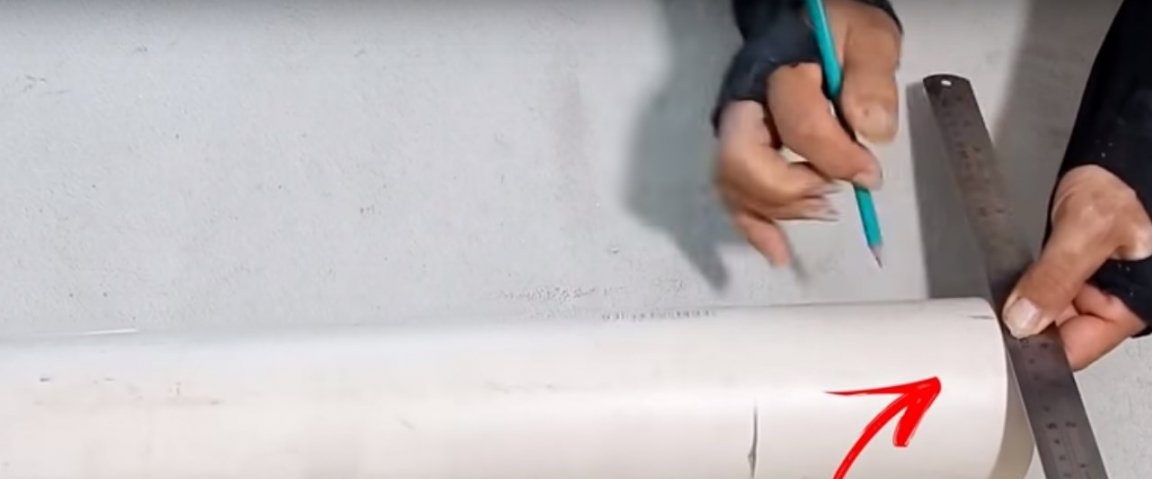
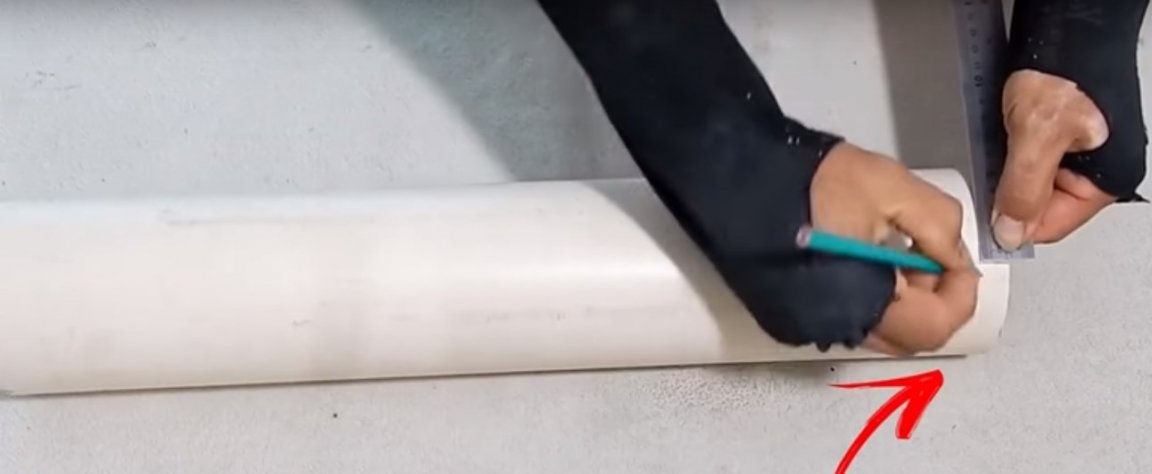
Width 120 mm.
After marking, the author will cut the workpiece with a metal file.
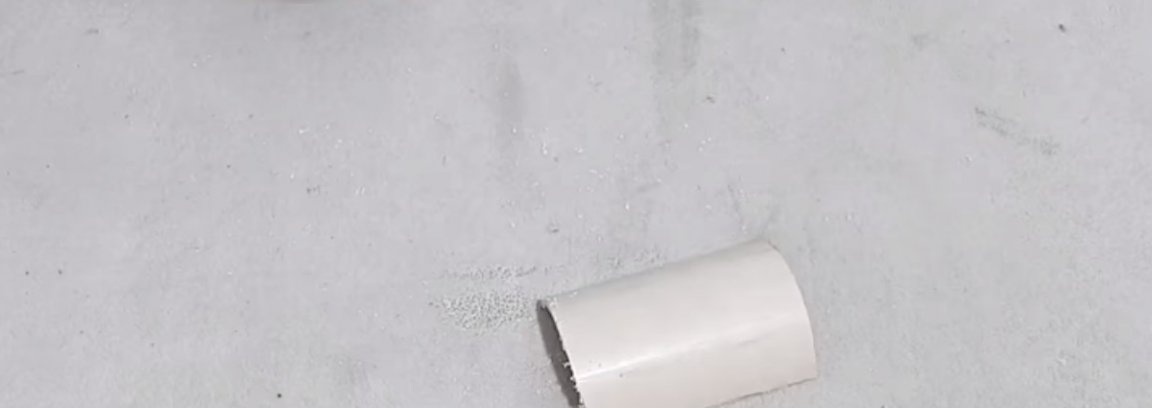
Such is the workpiece.
Then with a sharp knife he will remove all the burrs.

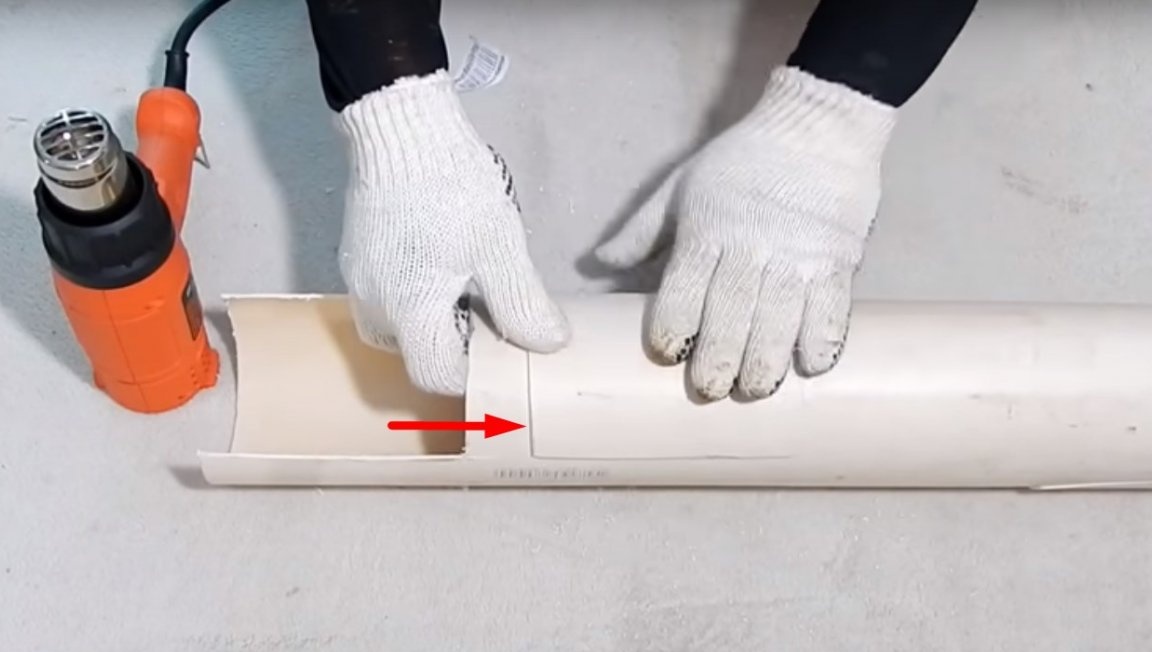
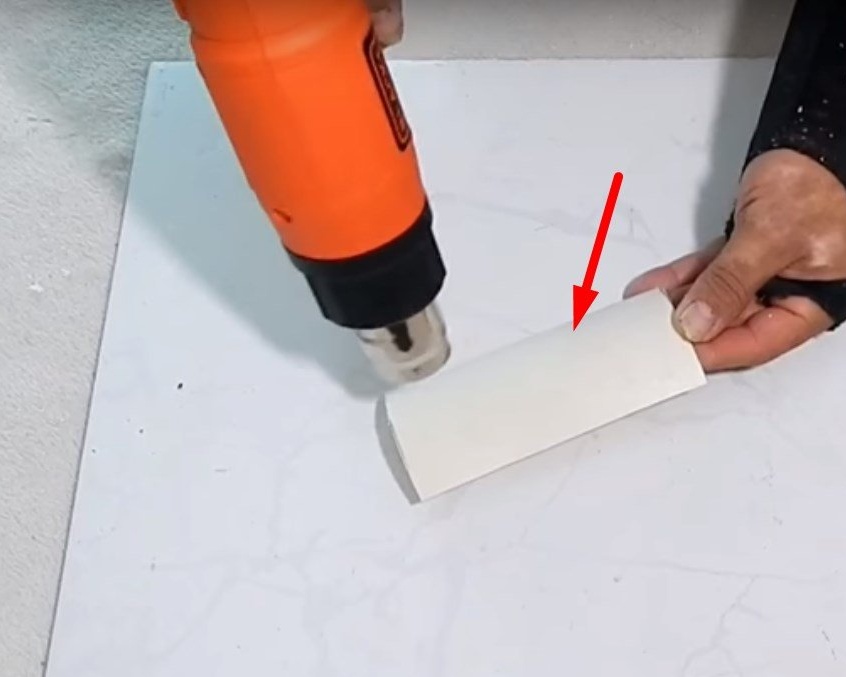
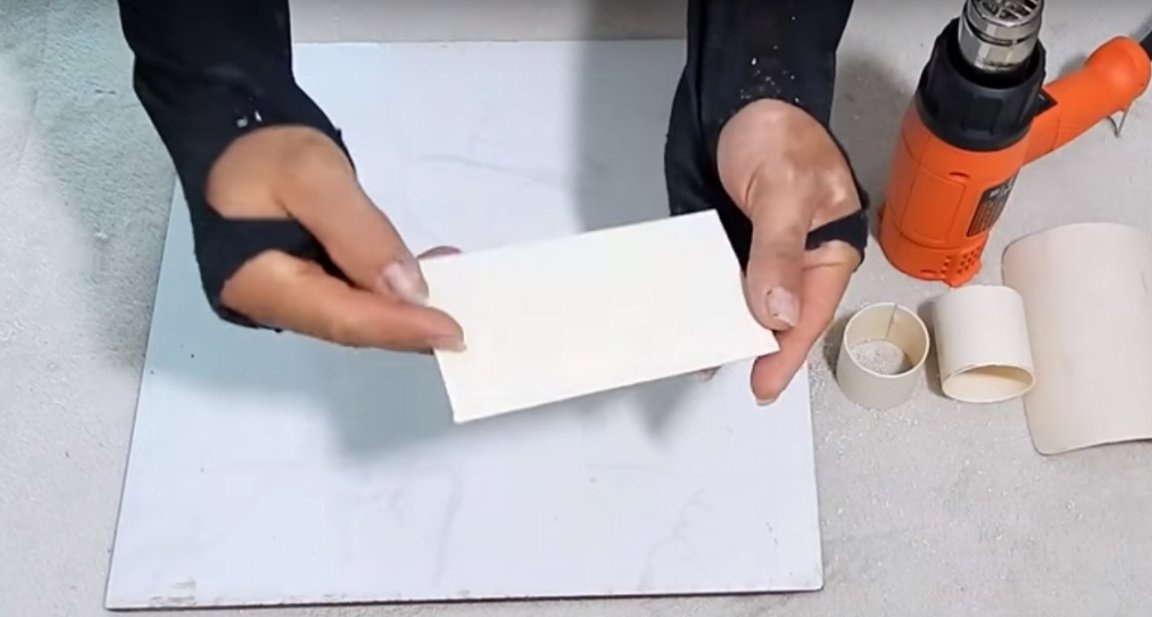
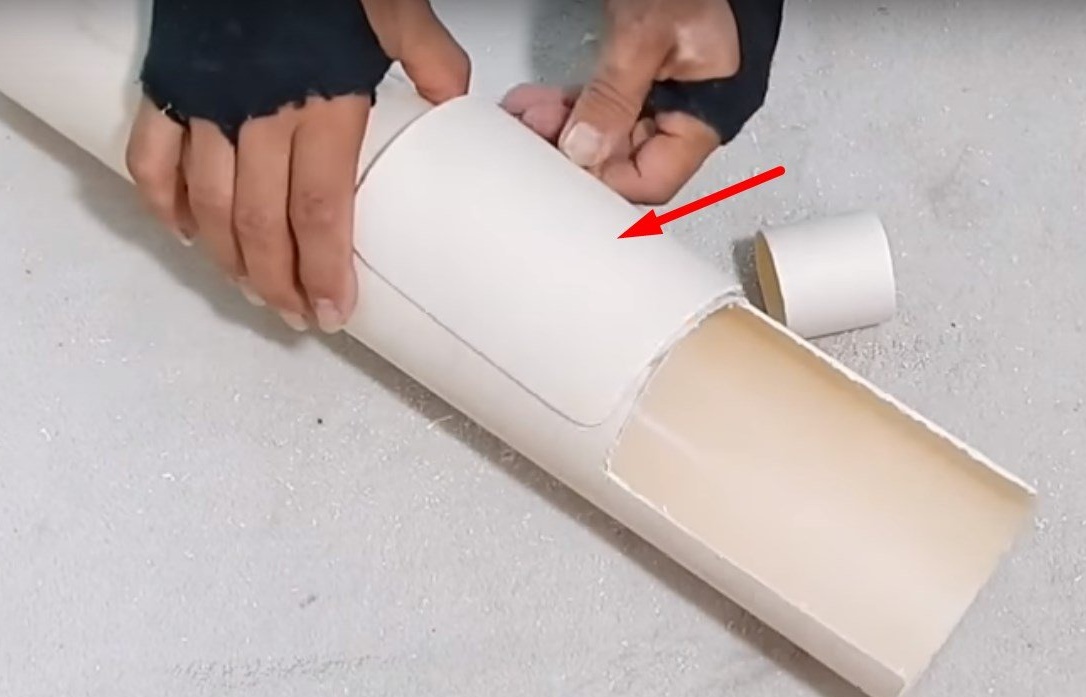
Then not much, warming up this workpiece with a construction hairdryer.
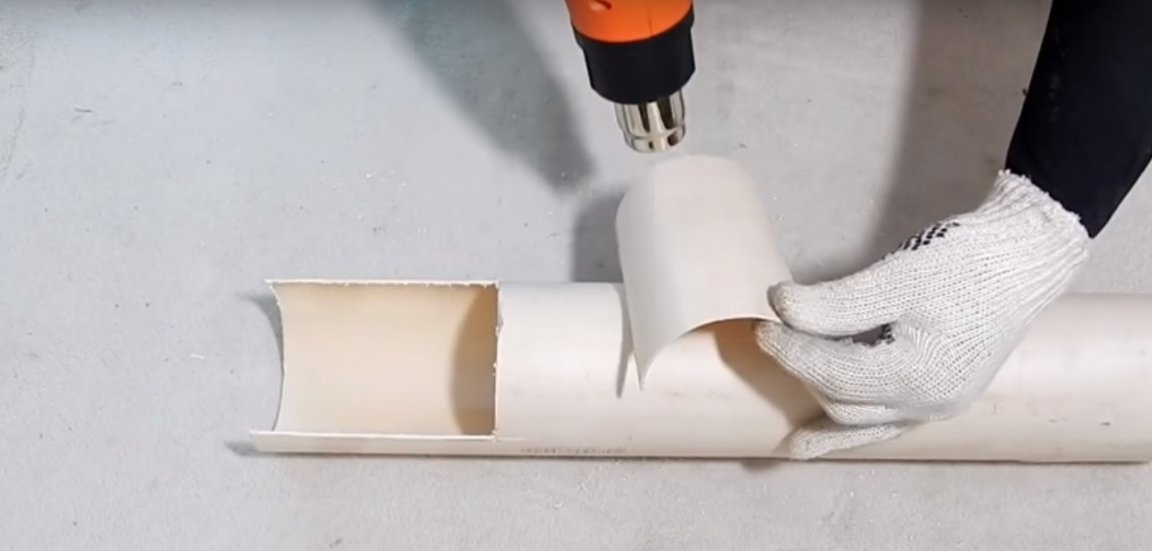
And it will press it to a 100 mm pipe until it cools completely. Thus, slightly bending the workpiece.
After rounding the edges of the workpiece.
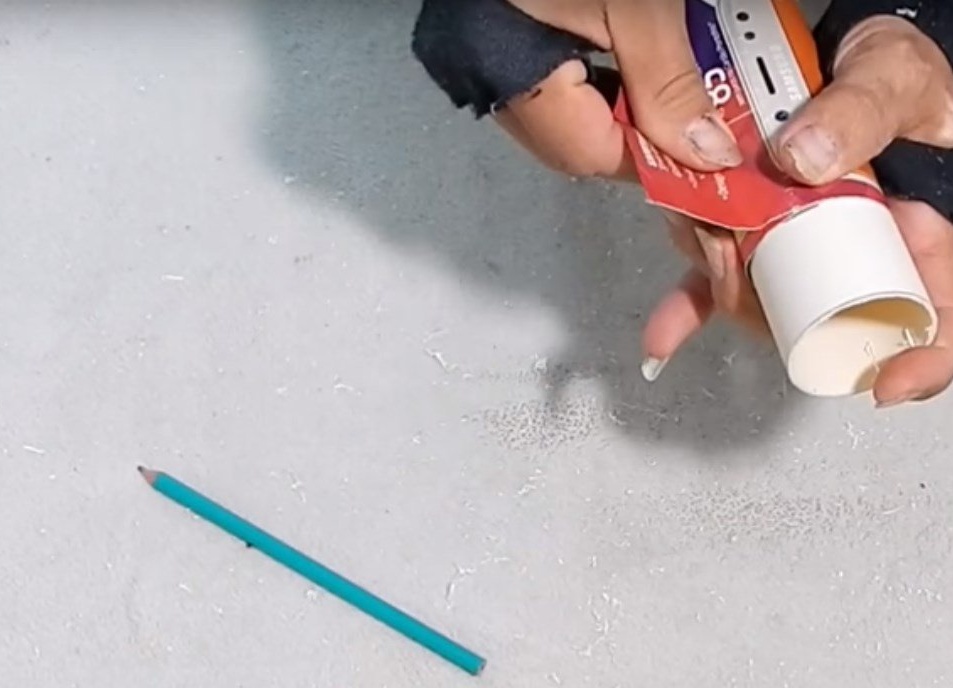
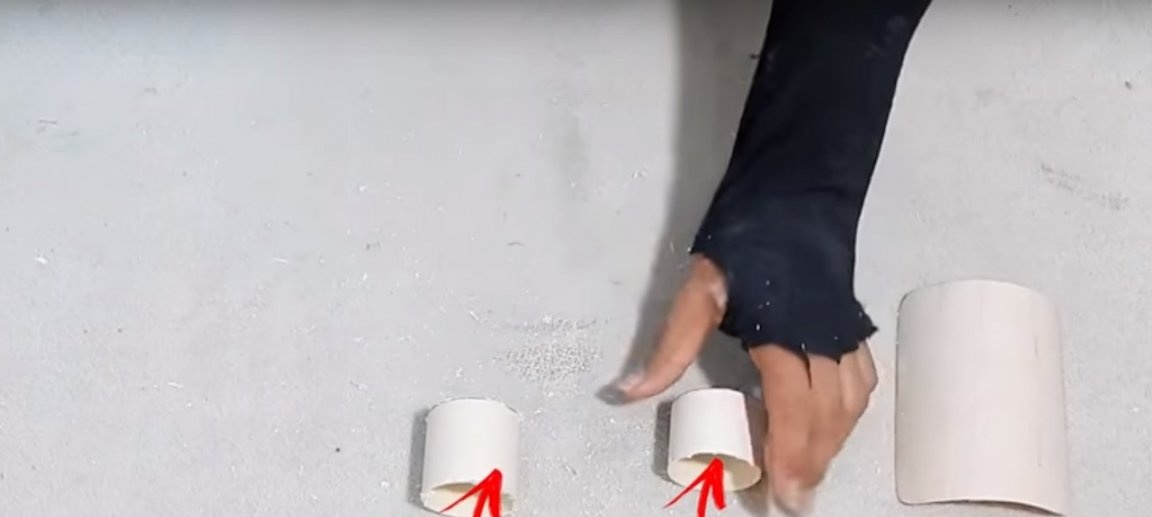
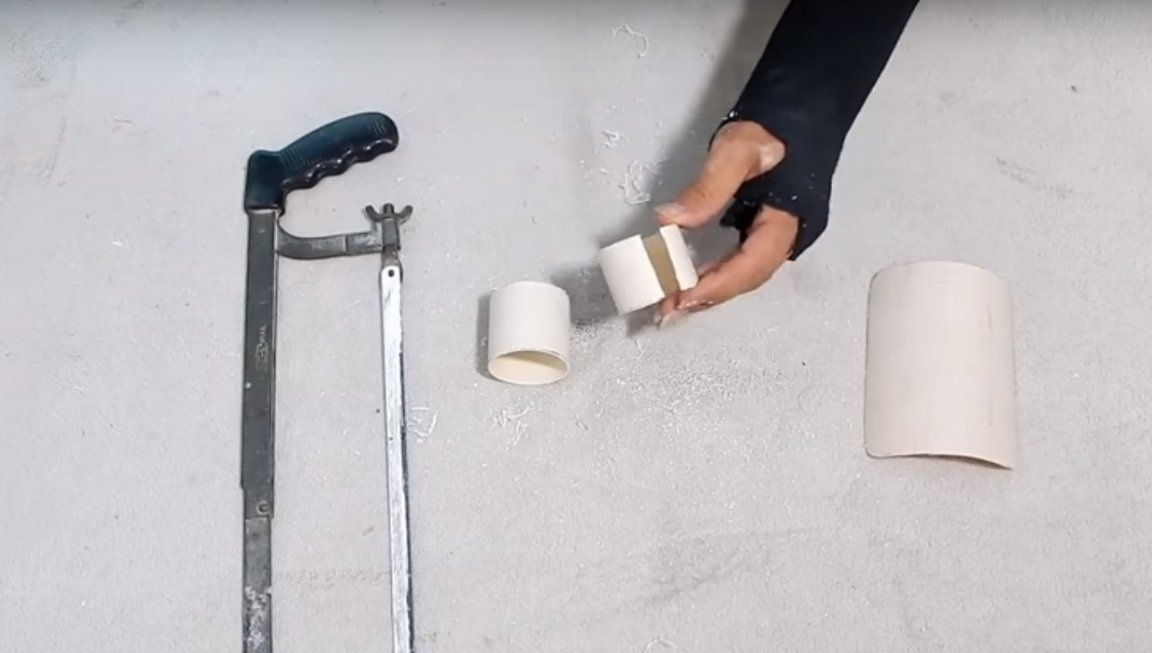
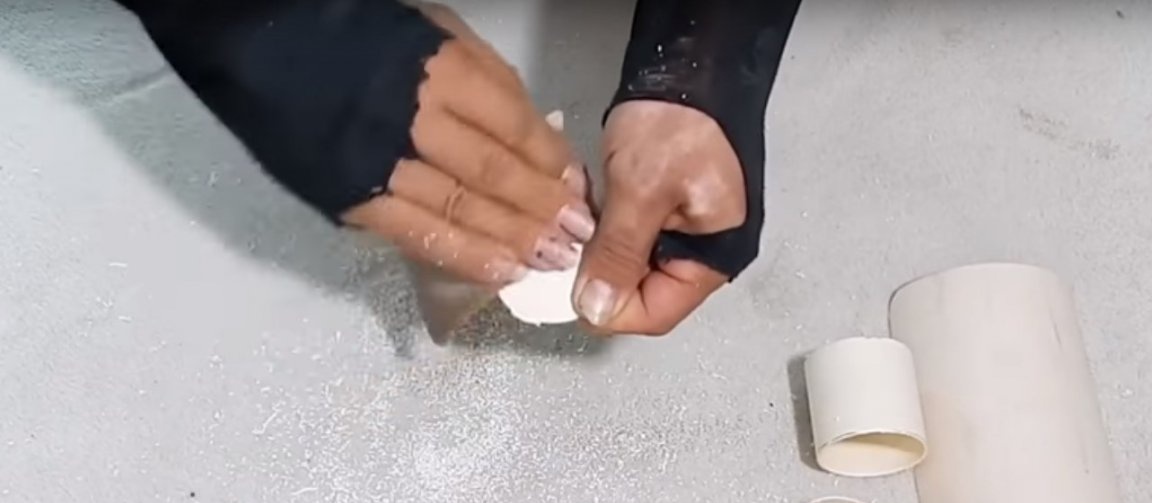
The author will make blanks for the second and third parts from 50 mm pipes. To do this, she will need two pieces. One is 40 mm long, the other is 50 mm.
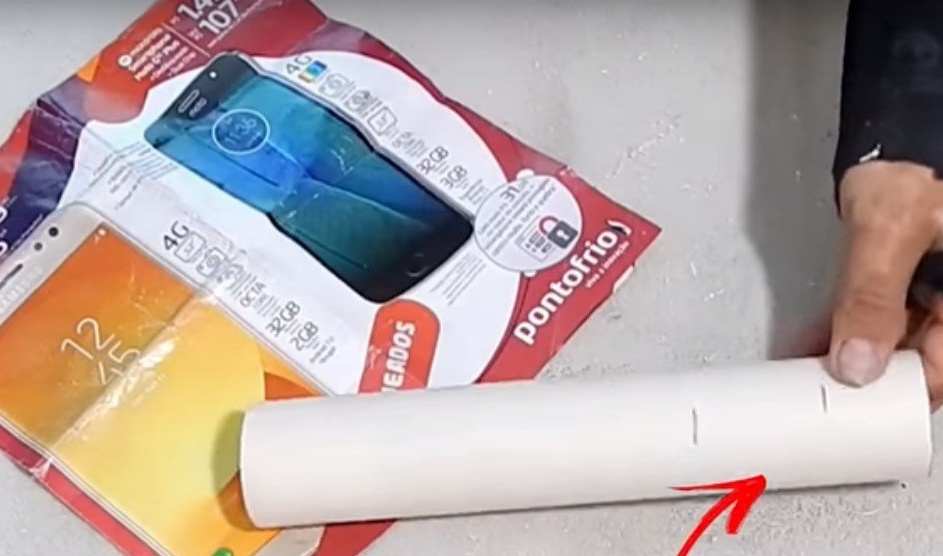
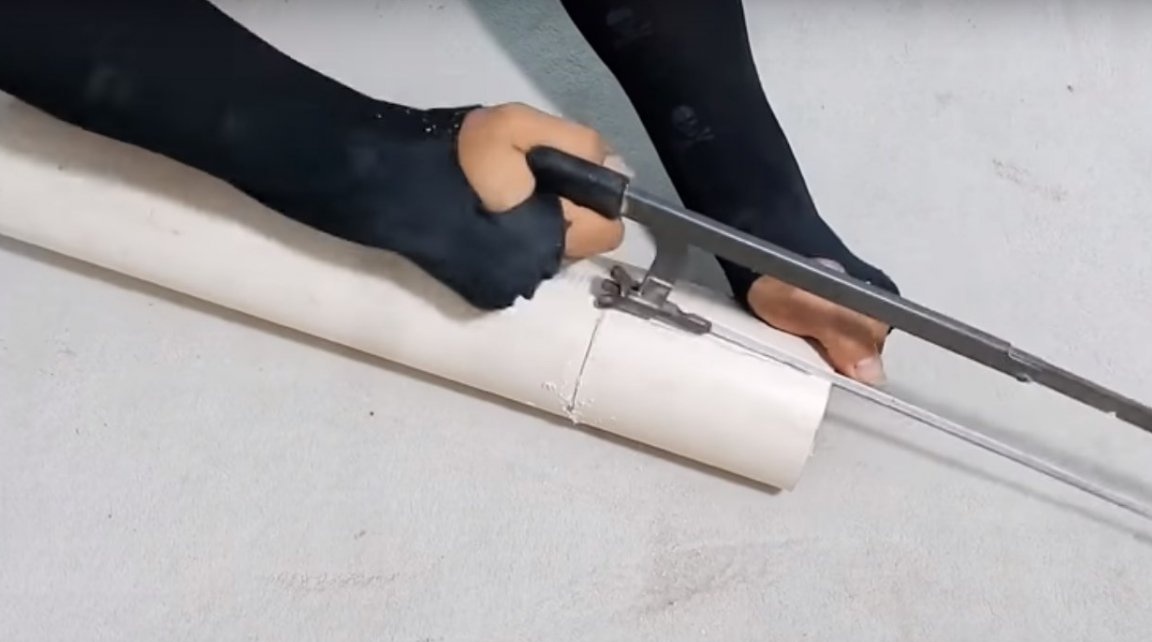
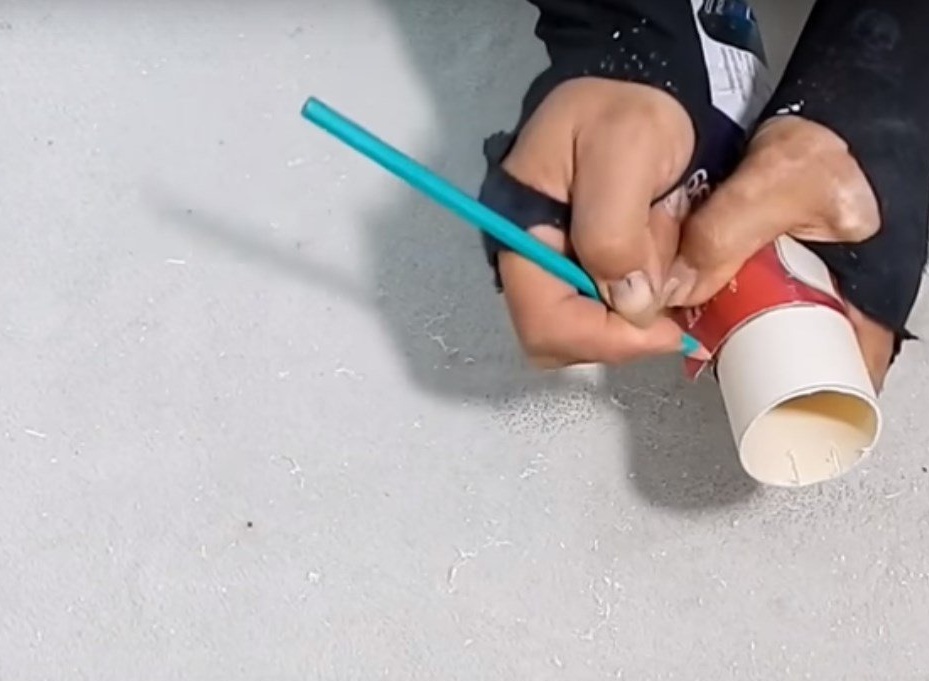
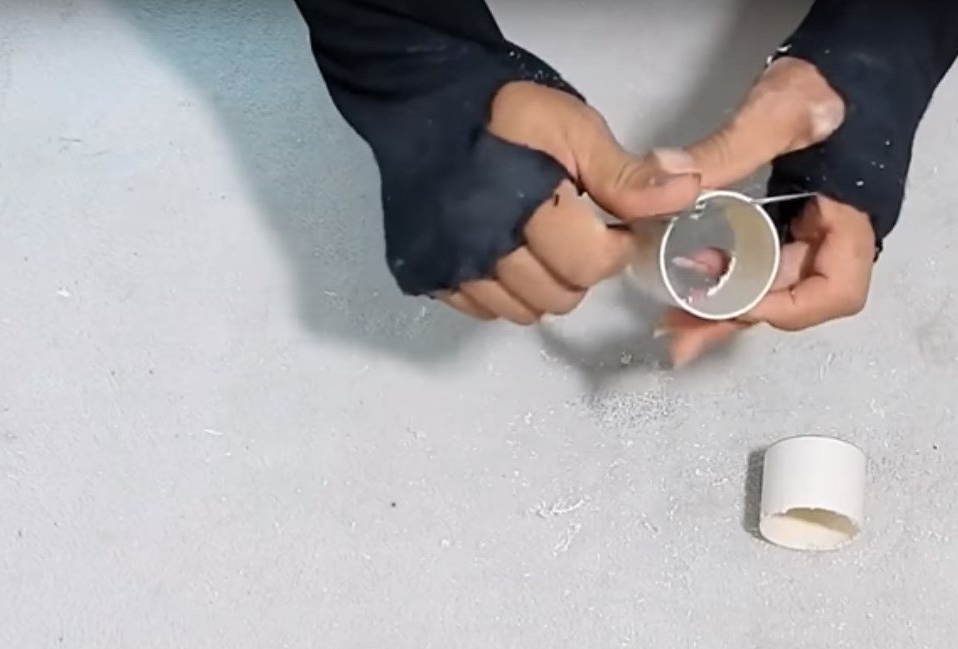
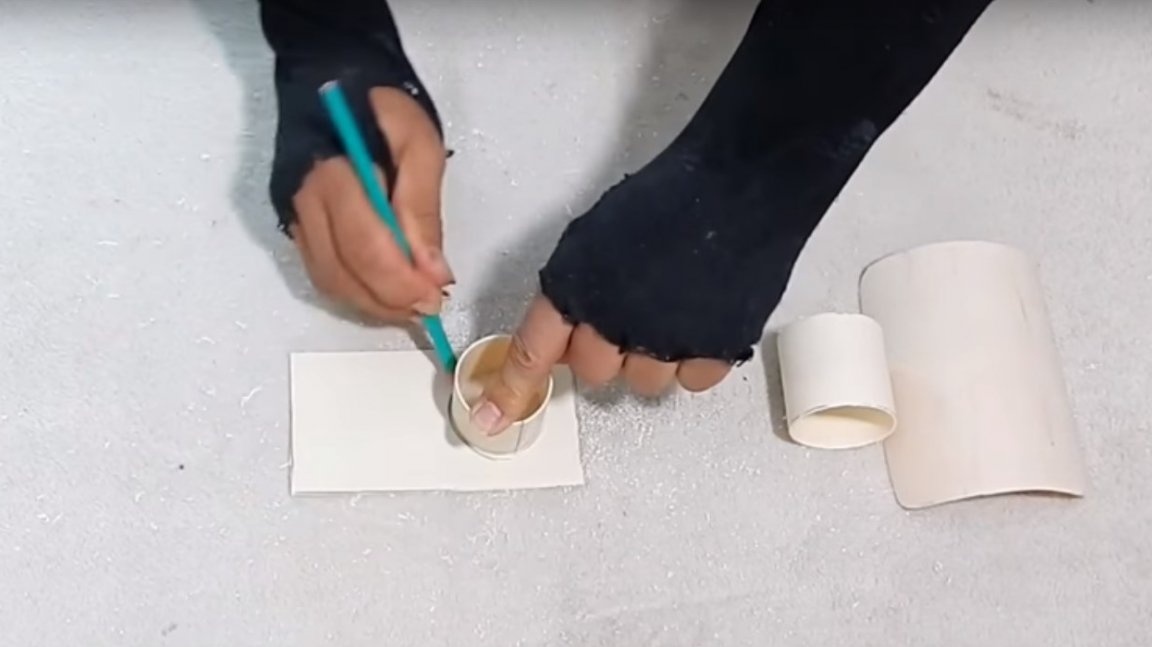
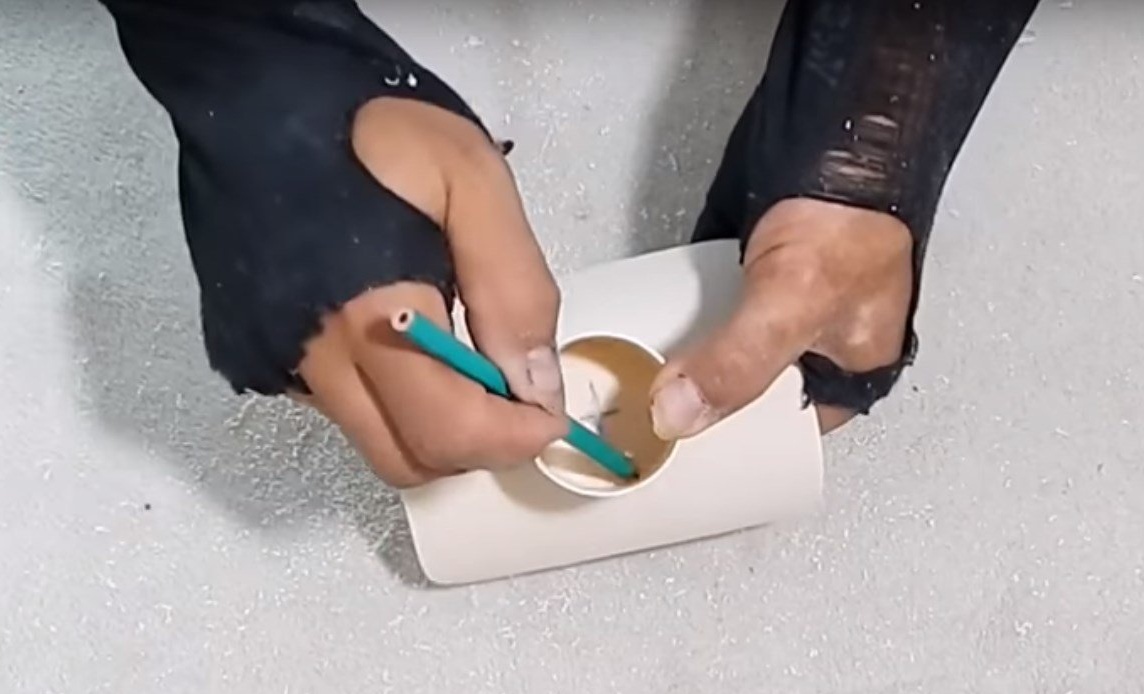
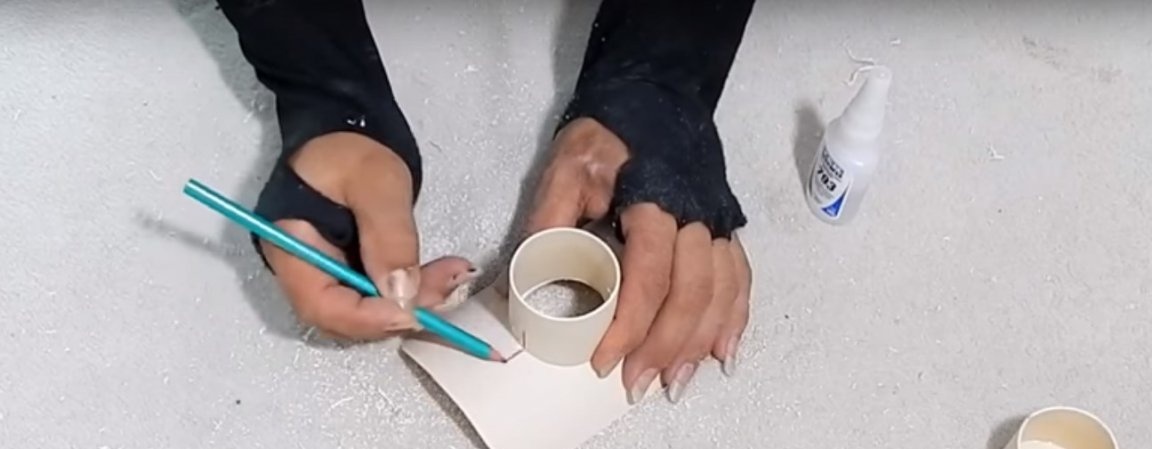
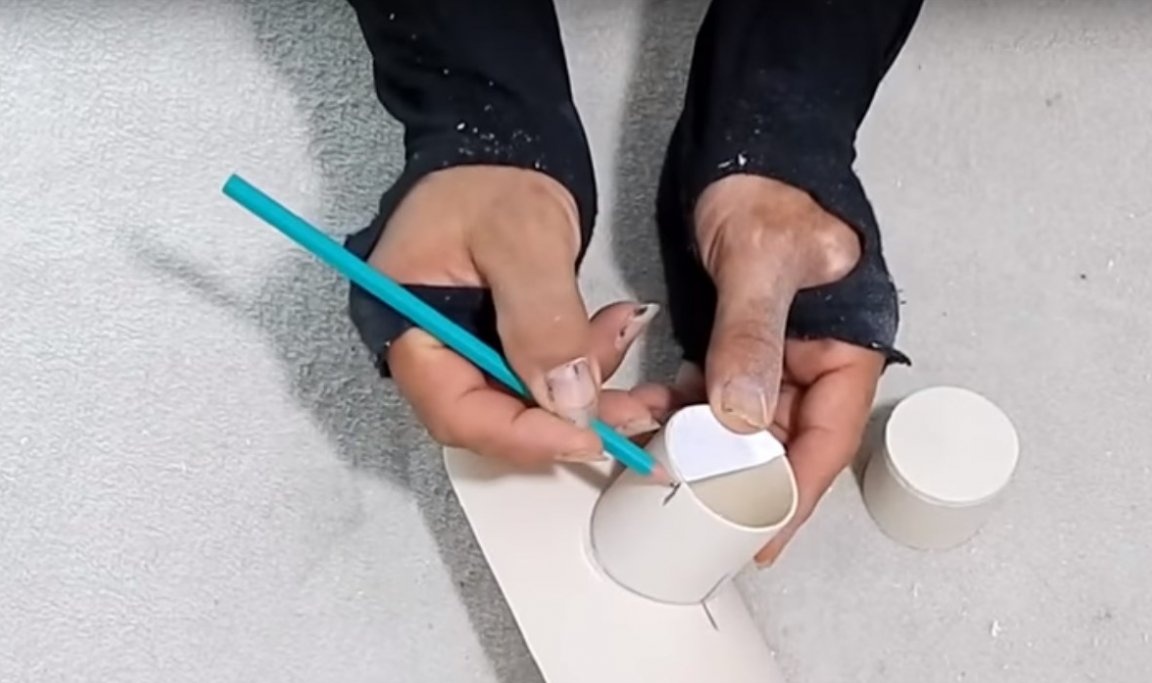
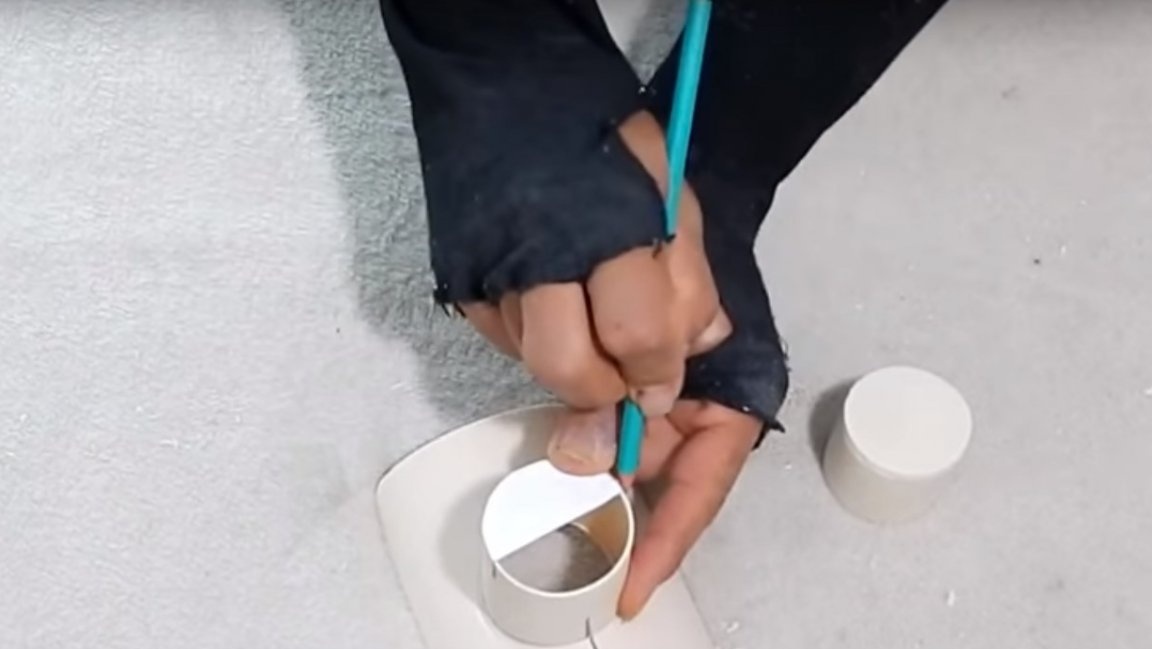
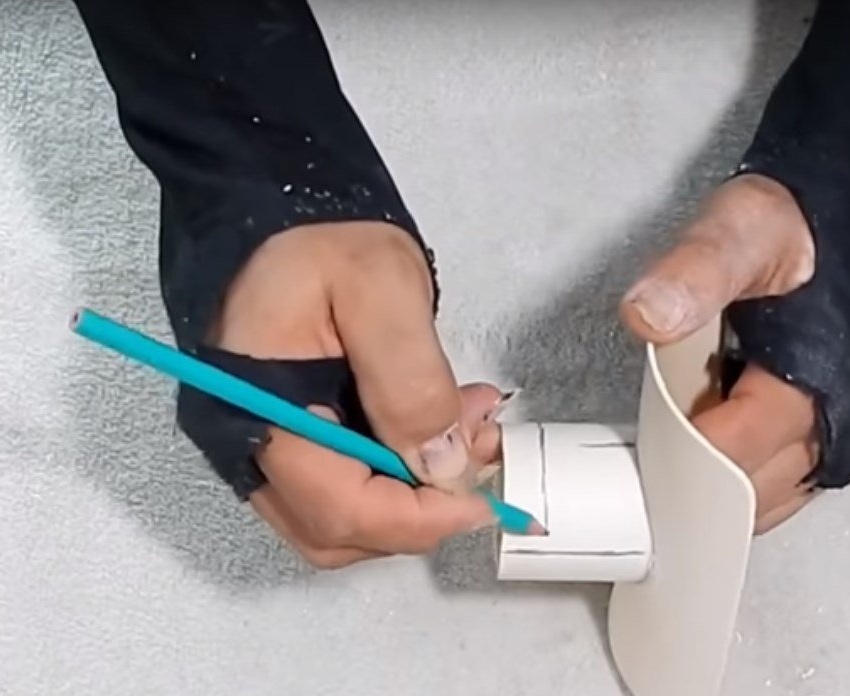
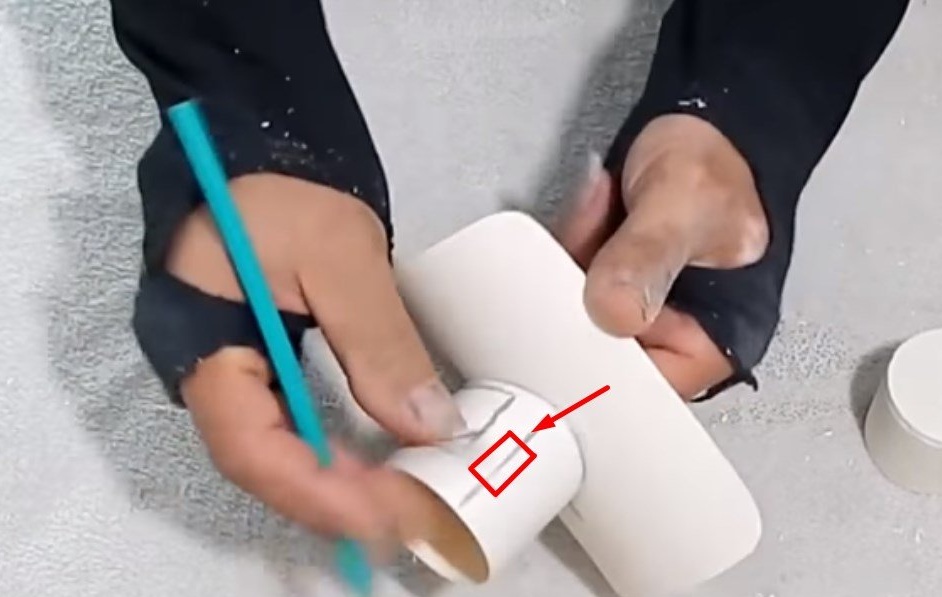
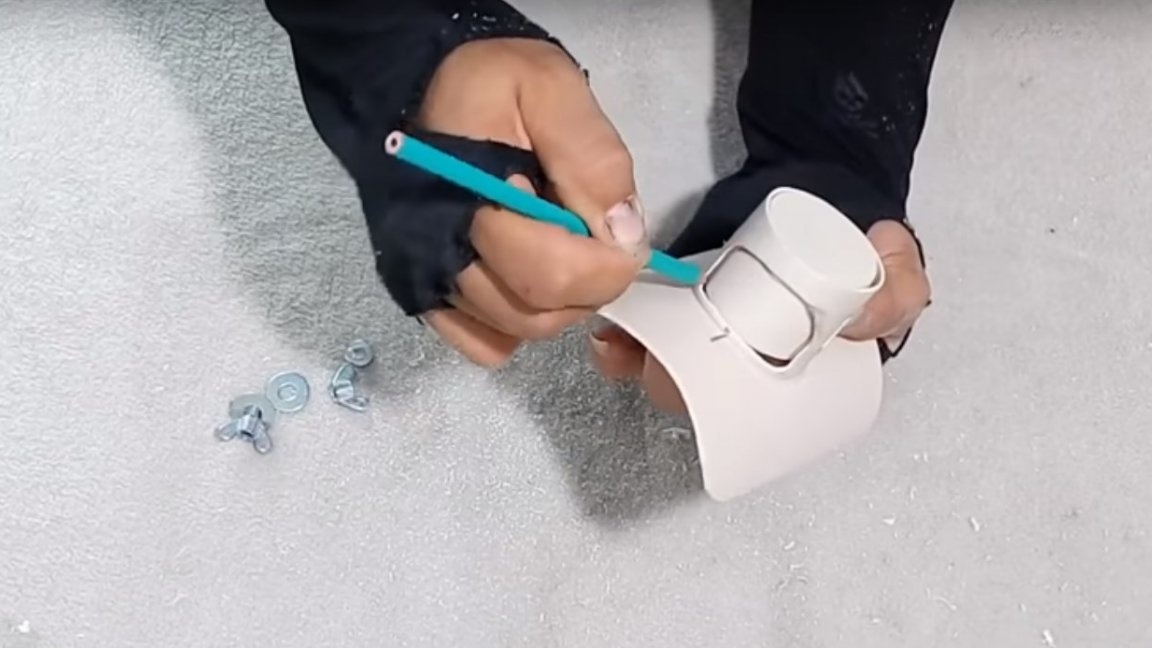
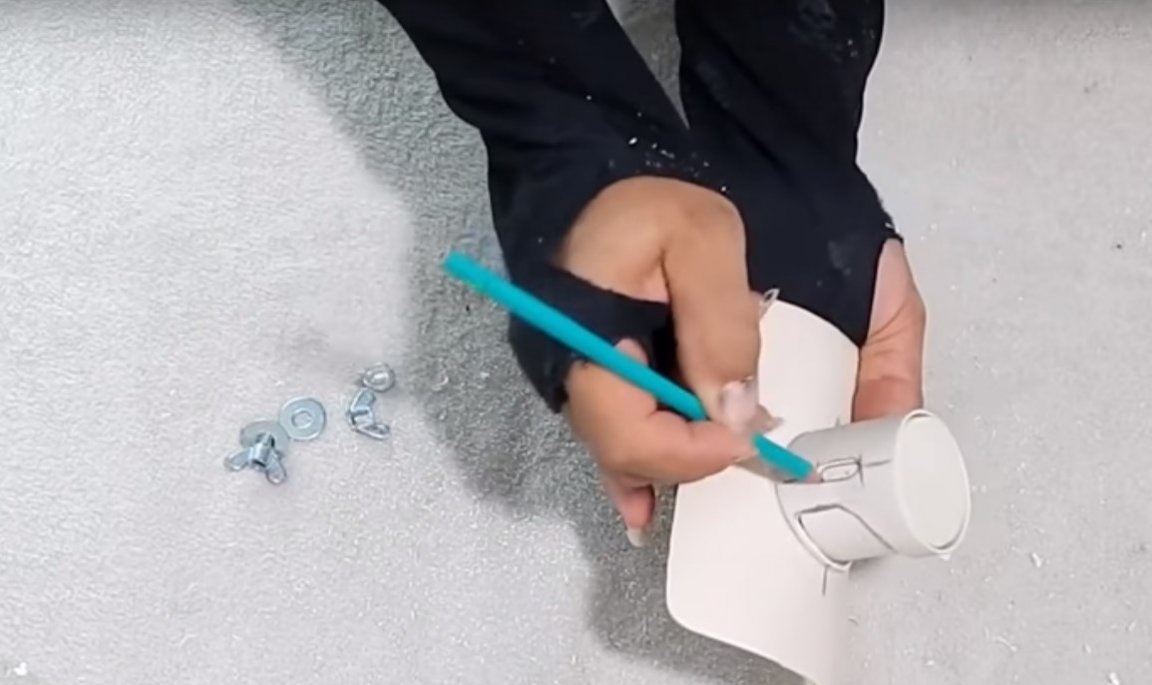
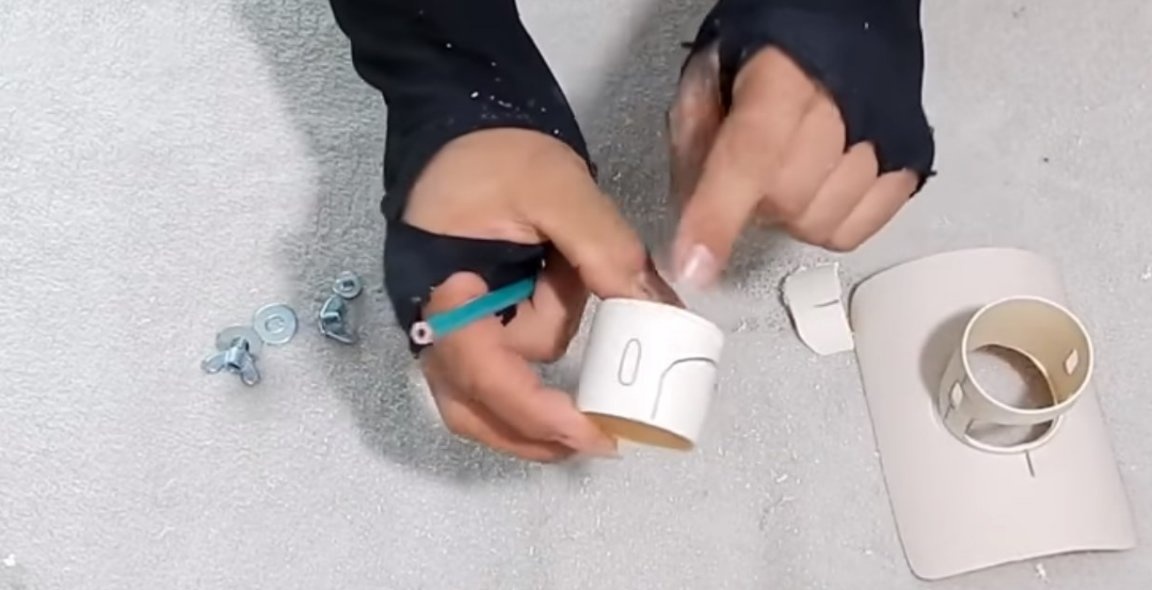
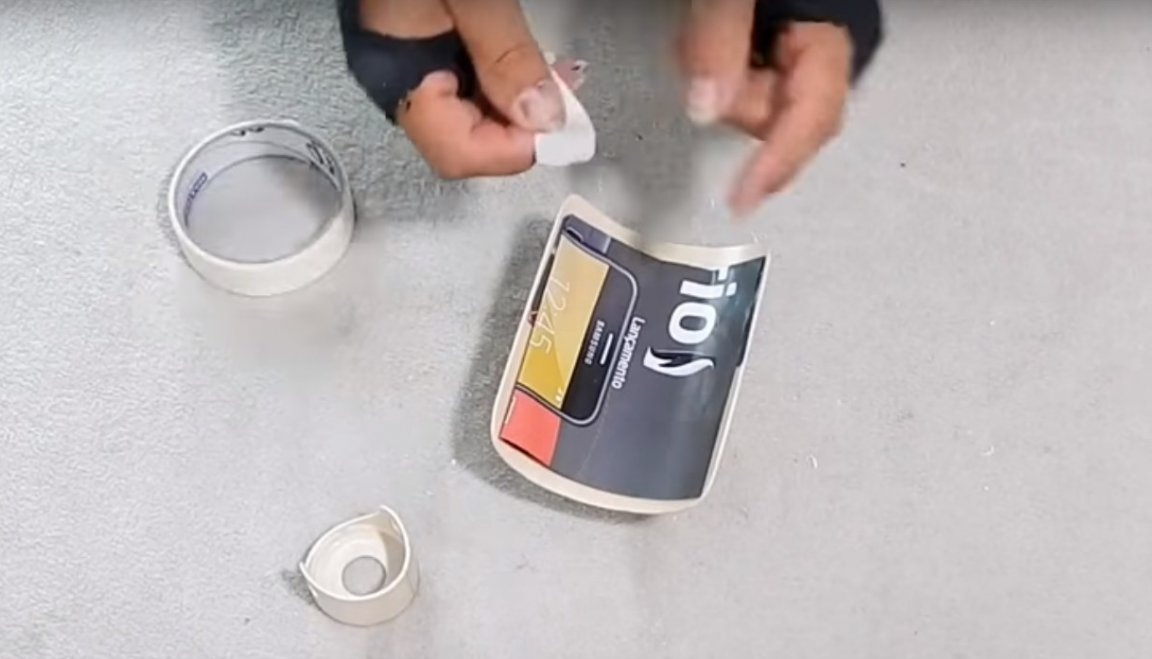
The master will wrap the marking place with a sheet of paper, and draw a pencil around the pipe along the sheet. Thus, he will get a straight line for the cut.
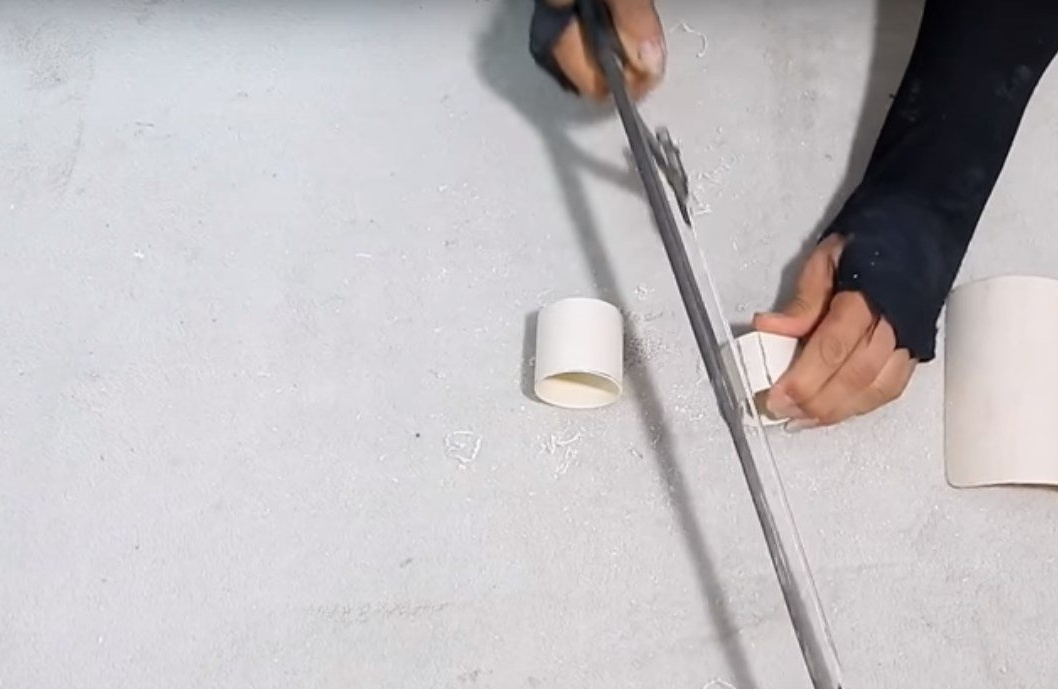
After cut off these two blanks for marking.
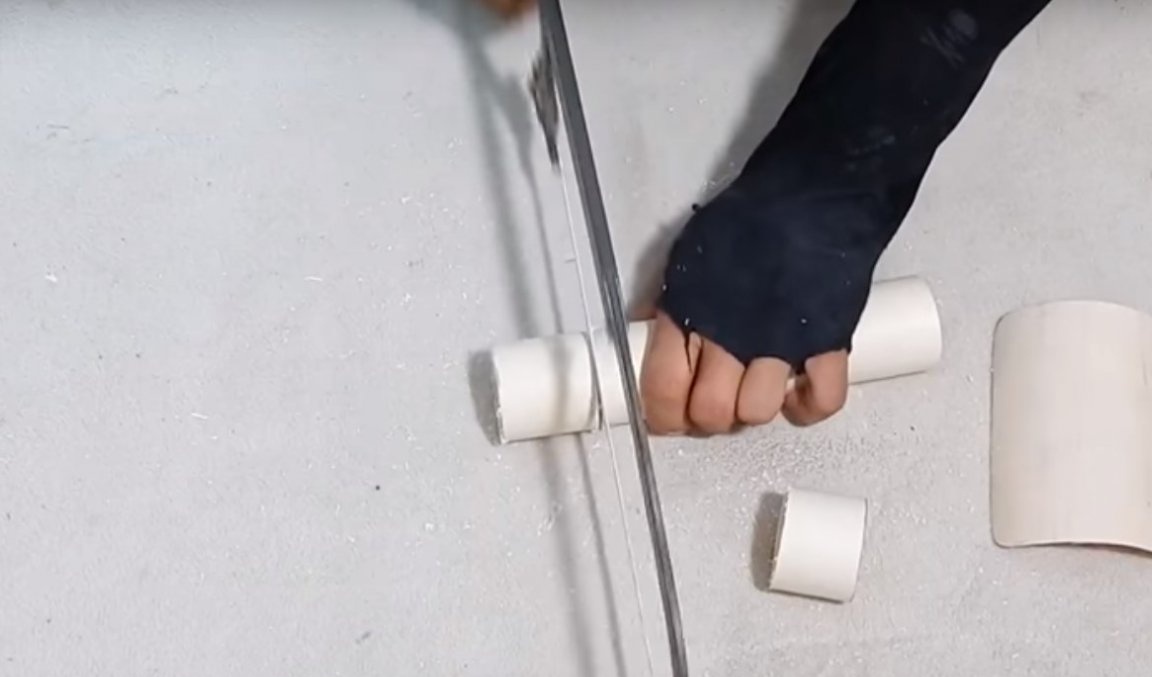
Also cleans cut points.
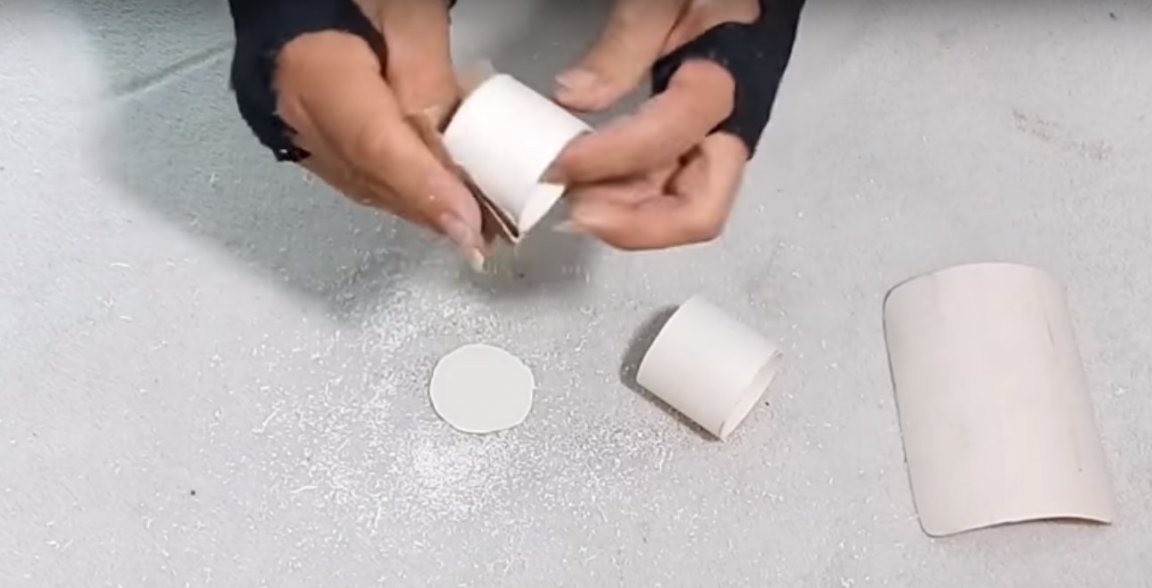
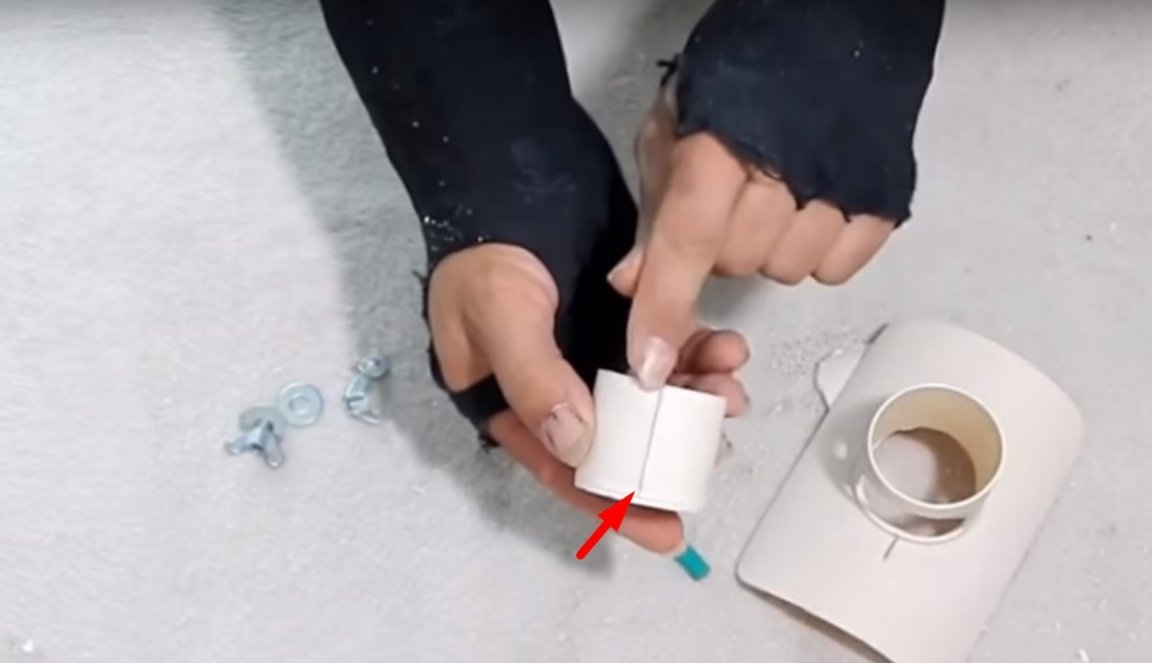
Further, on a blank of 40 mm long, the author will make two marks at a distance of 13 mm from each other.
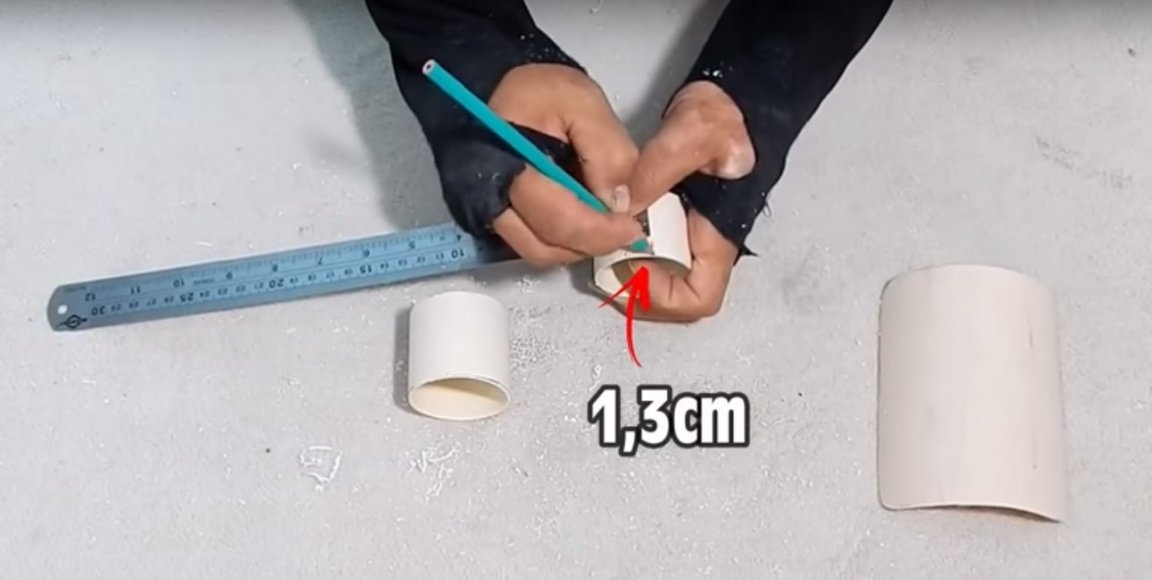

And remove that unnecessary item.
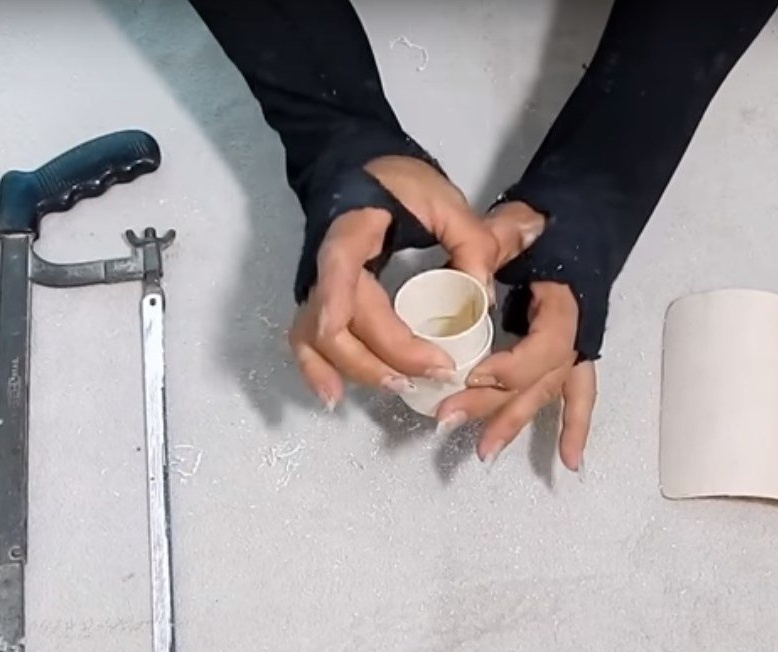
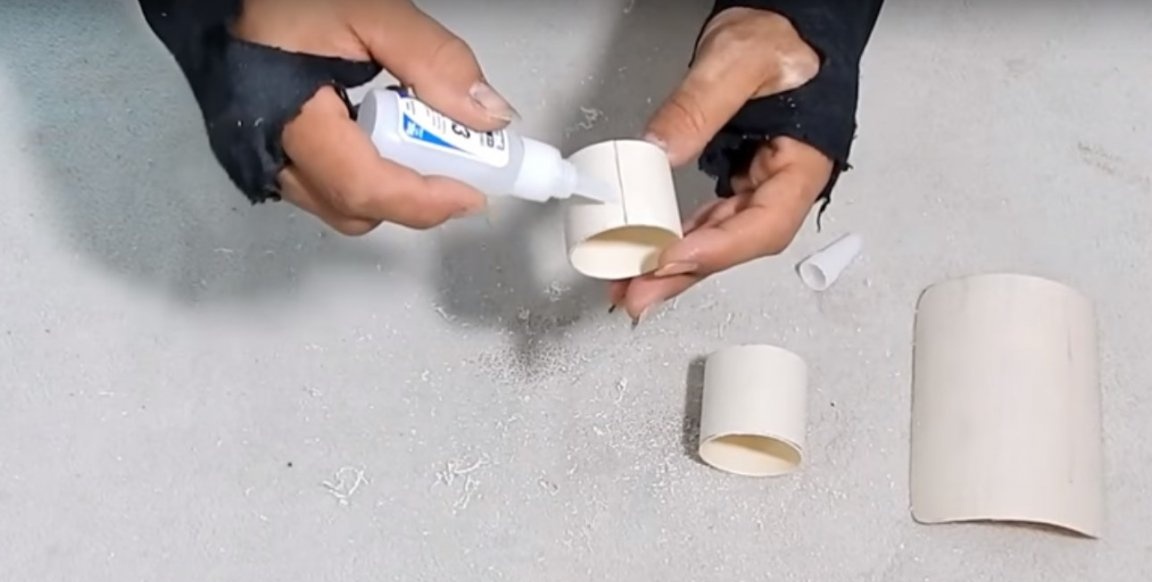
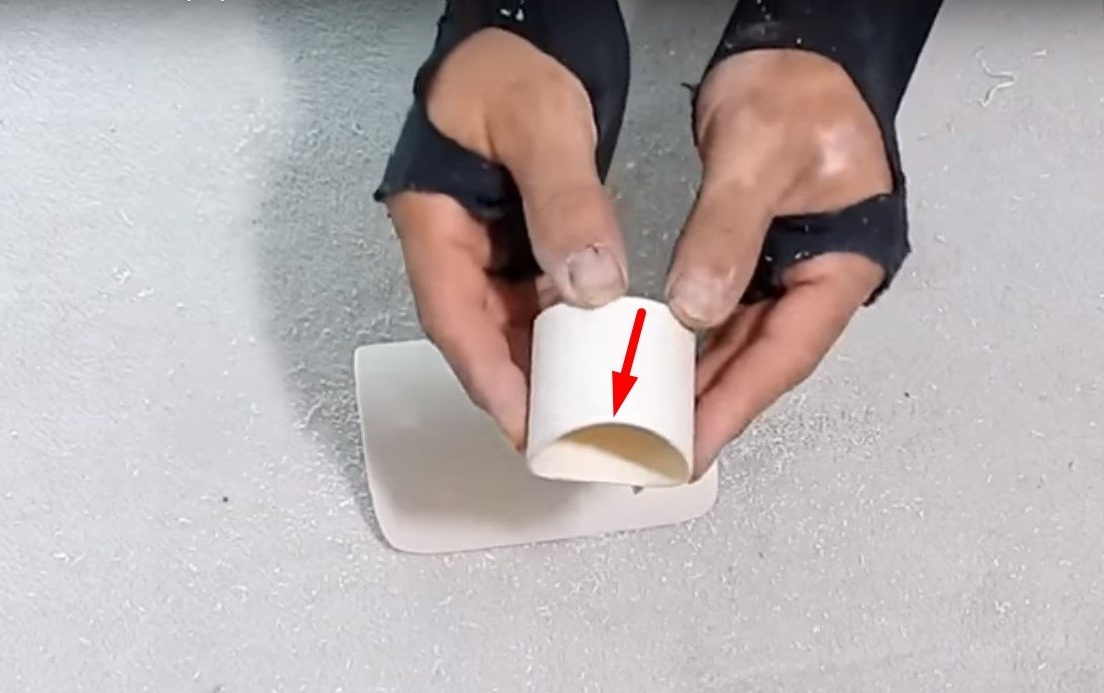
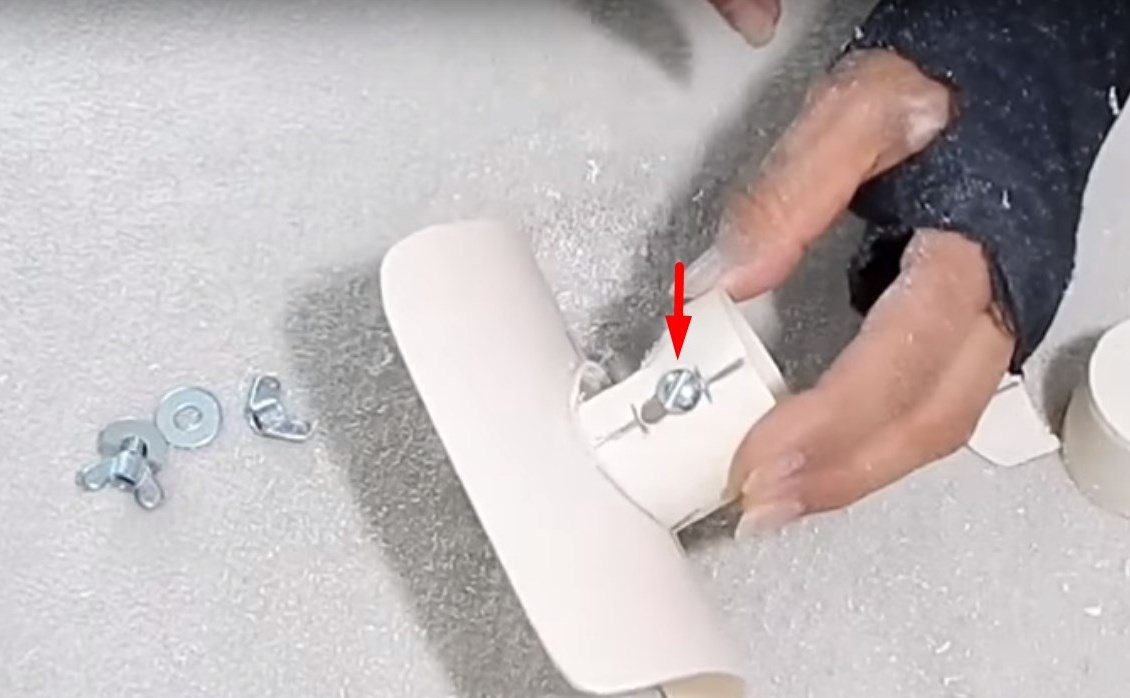
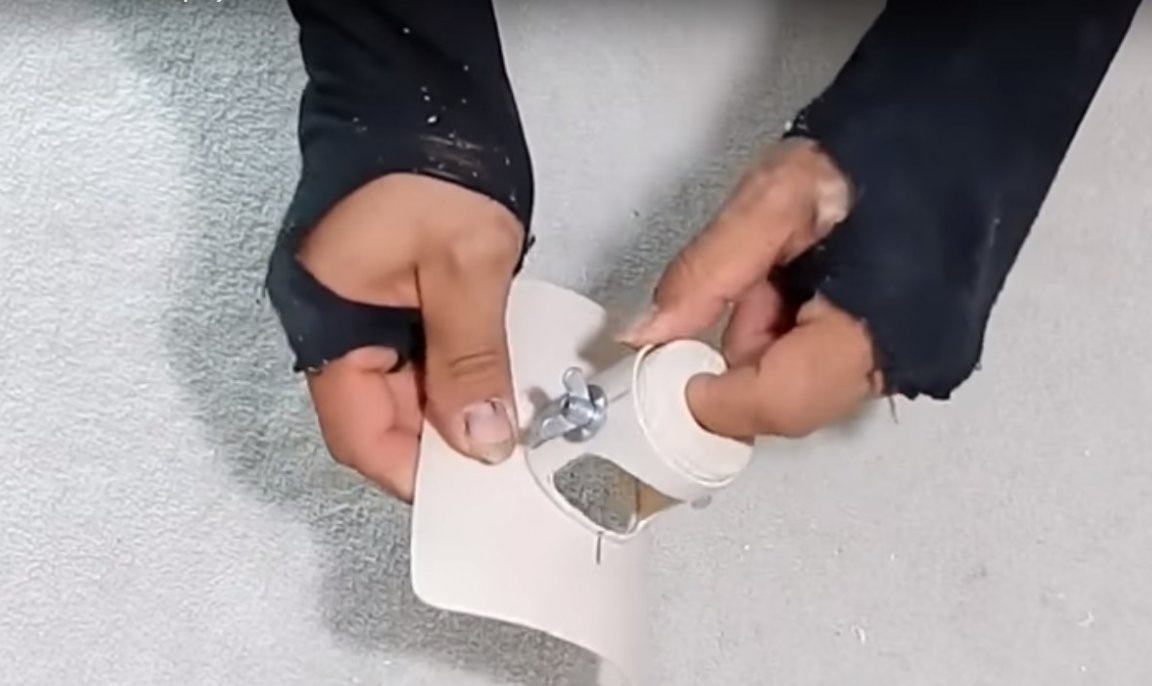
After compressing the workpiece (second part), install it in a workpiece 50 mm long (third part).

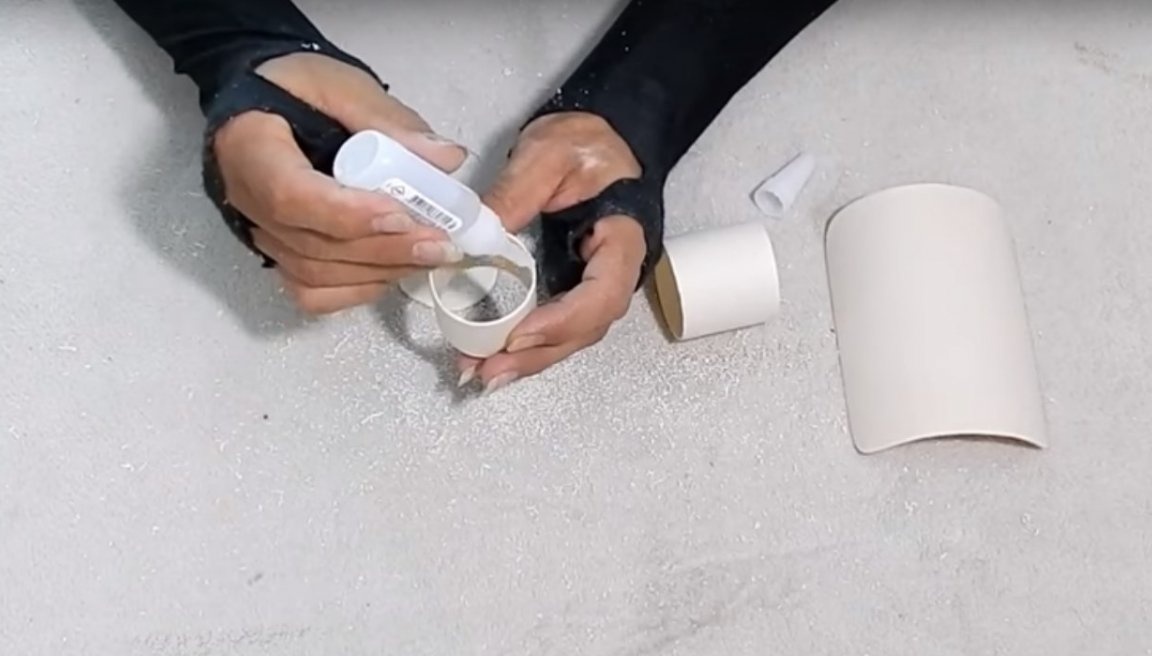
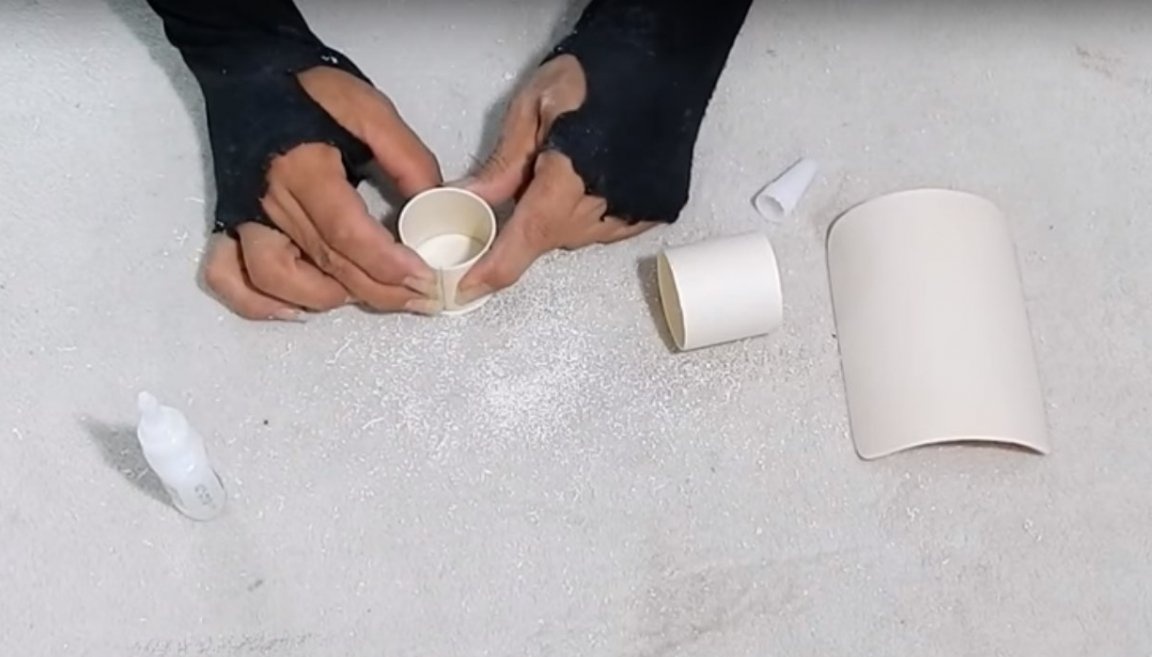
After making sure that the second part moves freely in the third part without undue play.
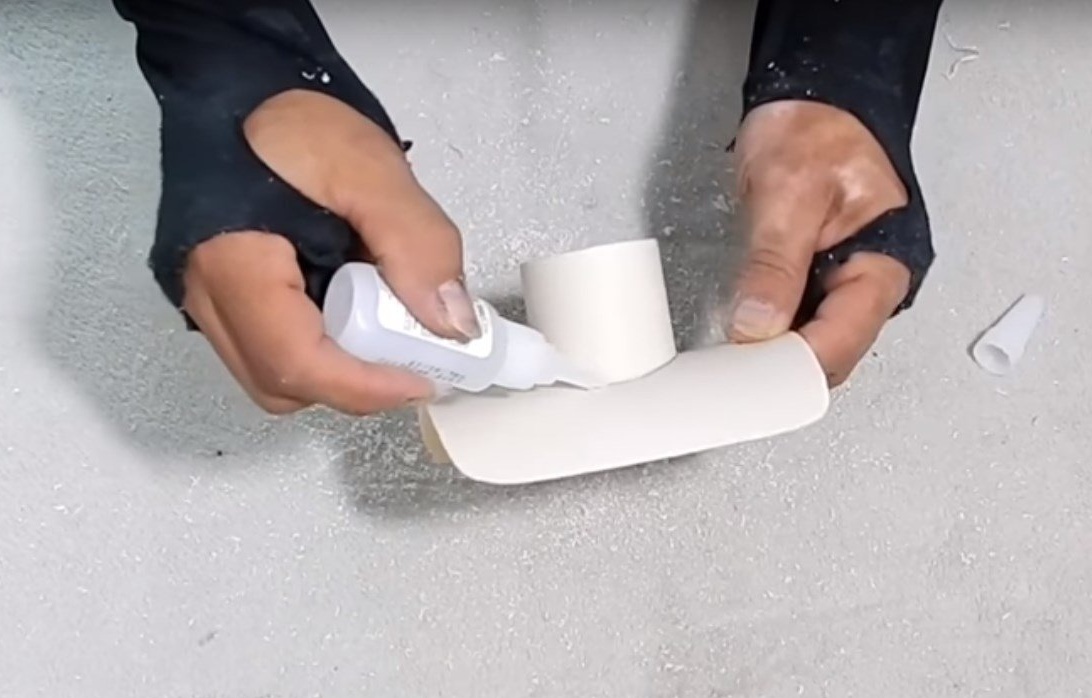
The author glues the workpiece with super glue.
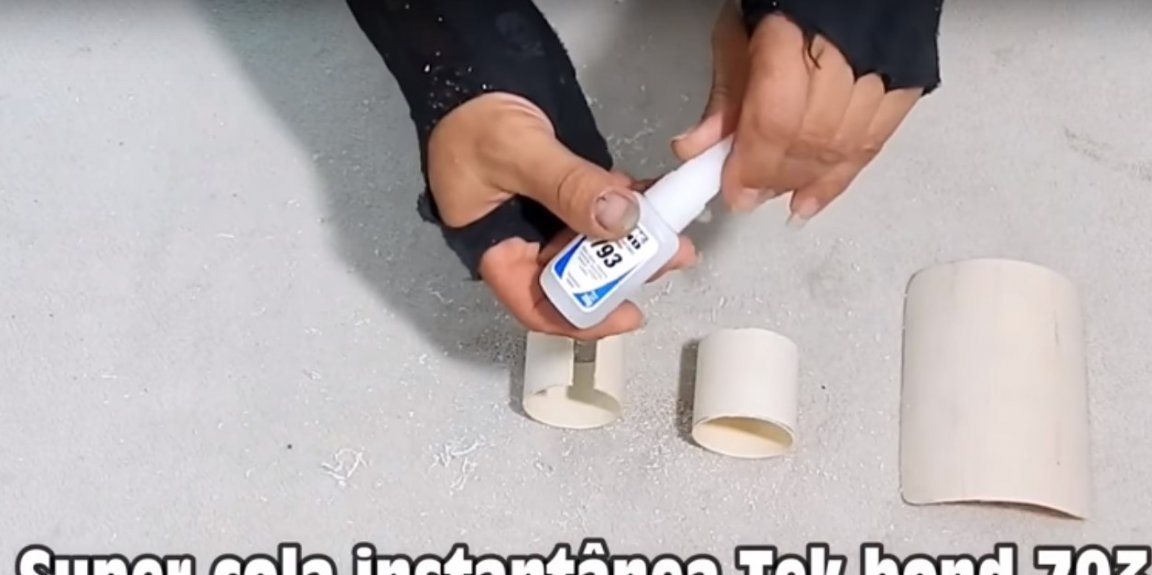
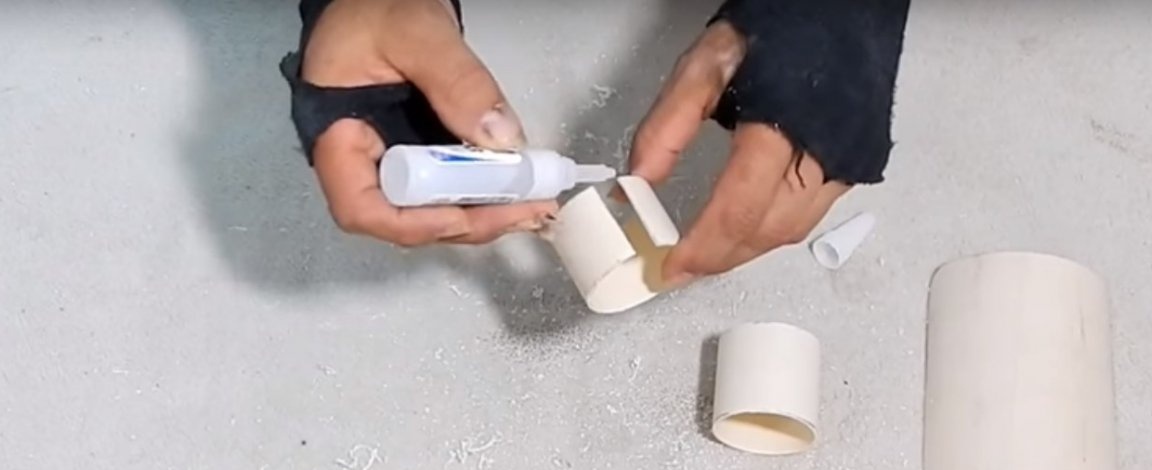

Having well missed the seam with glue from all sides.
Then the author will make a stub for the second part. To do this, the master cut off another small piece from the pipe, and heated it with a construction hairdryer.
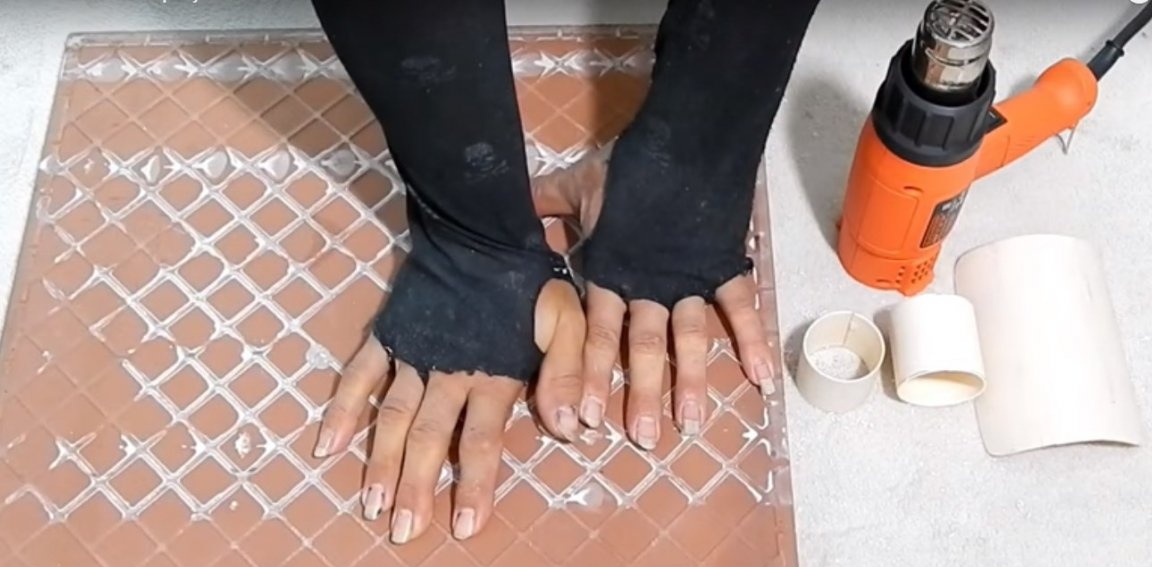
He laid it on a flat surface, and on top, crushed it with tiles until the part cools completely.
It turned out like this.
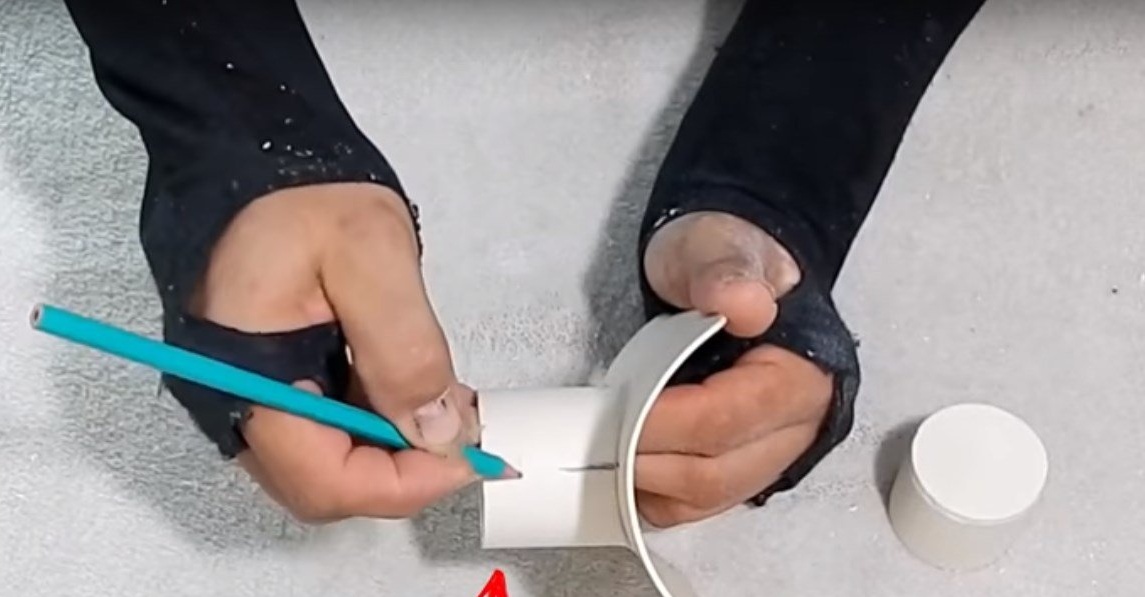
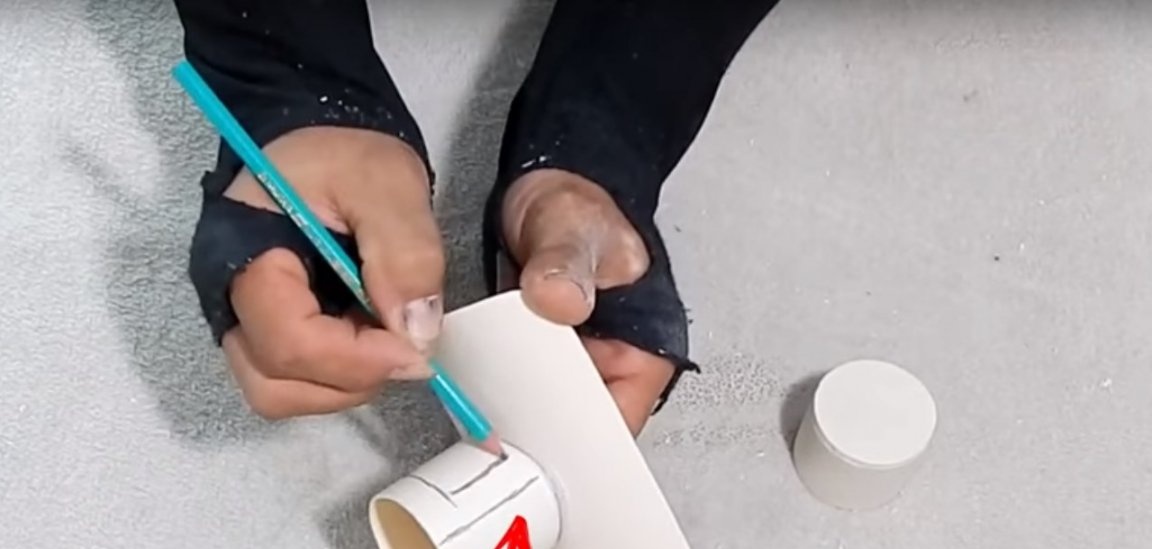
After that, the author installed the second part on this piece, and made markings on the outside of the part.
Then he cut out a future stub.
Processed all parts 120 with sandpaper.
And after processing, he put glue on the second part and glued it to the plug.
After the glue passed the seam inside and out.

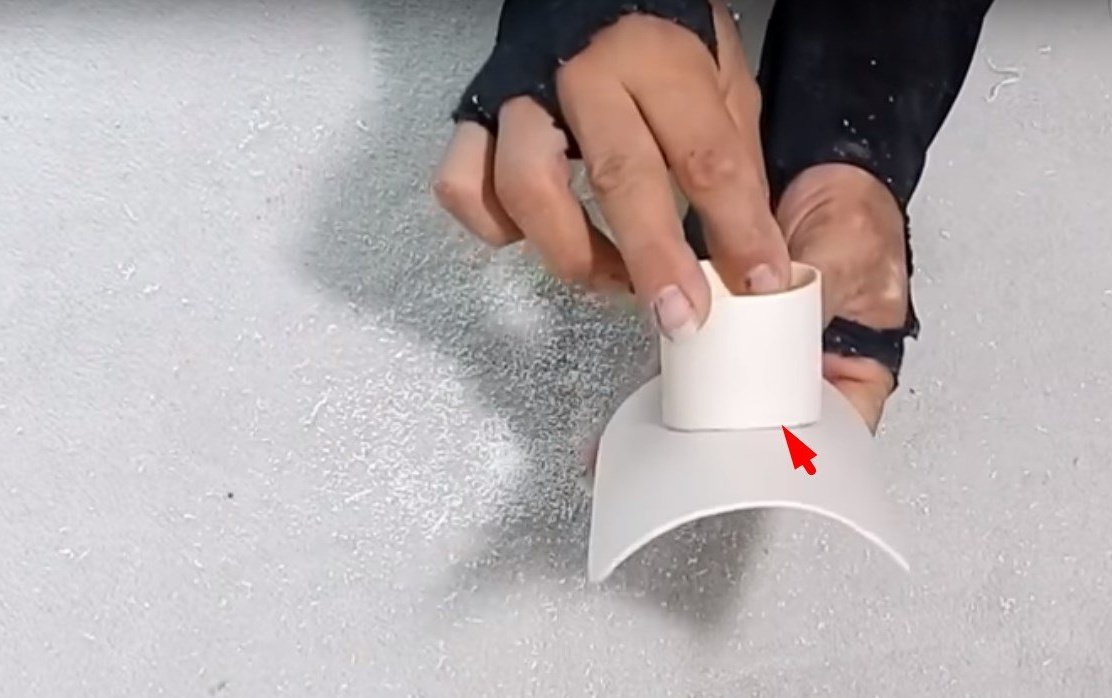
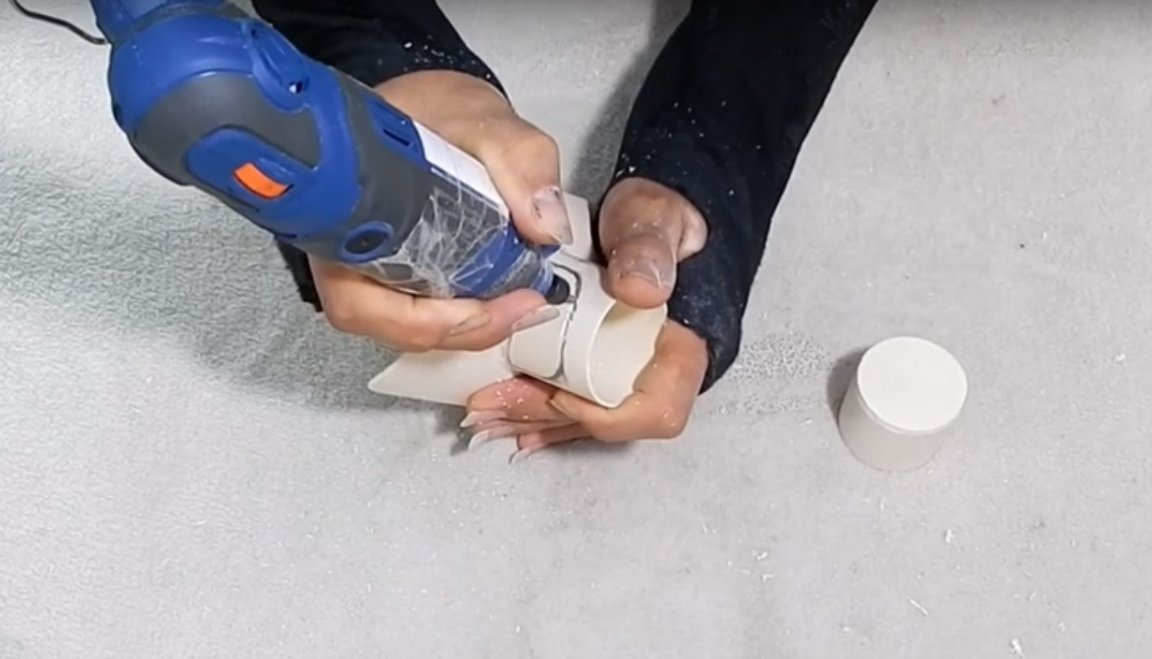
Then the master installed the first part on a 100 mm pipe, put 80 sandpaper on top.
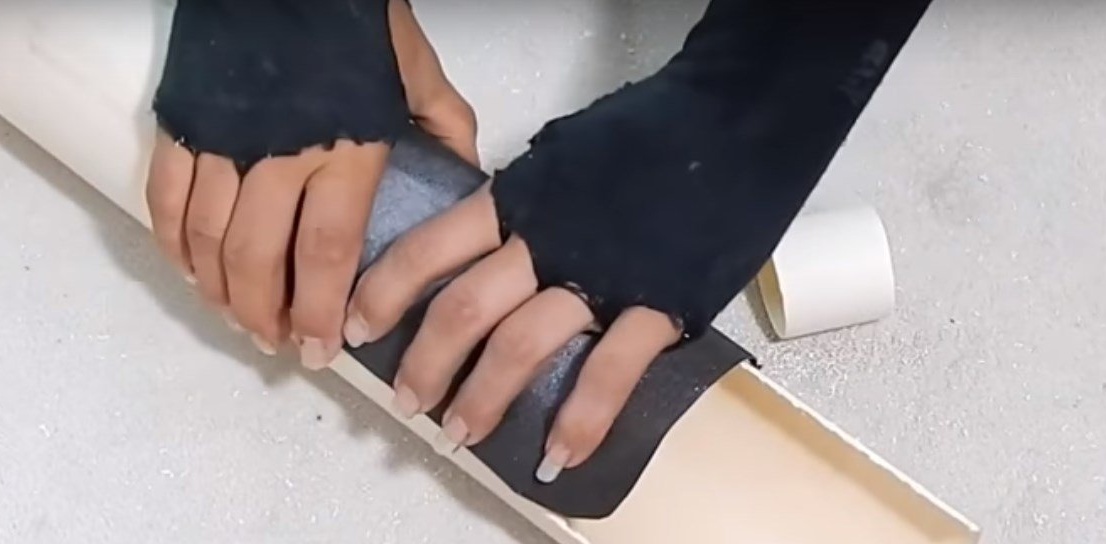
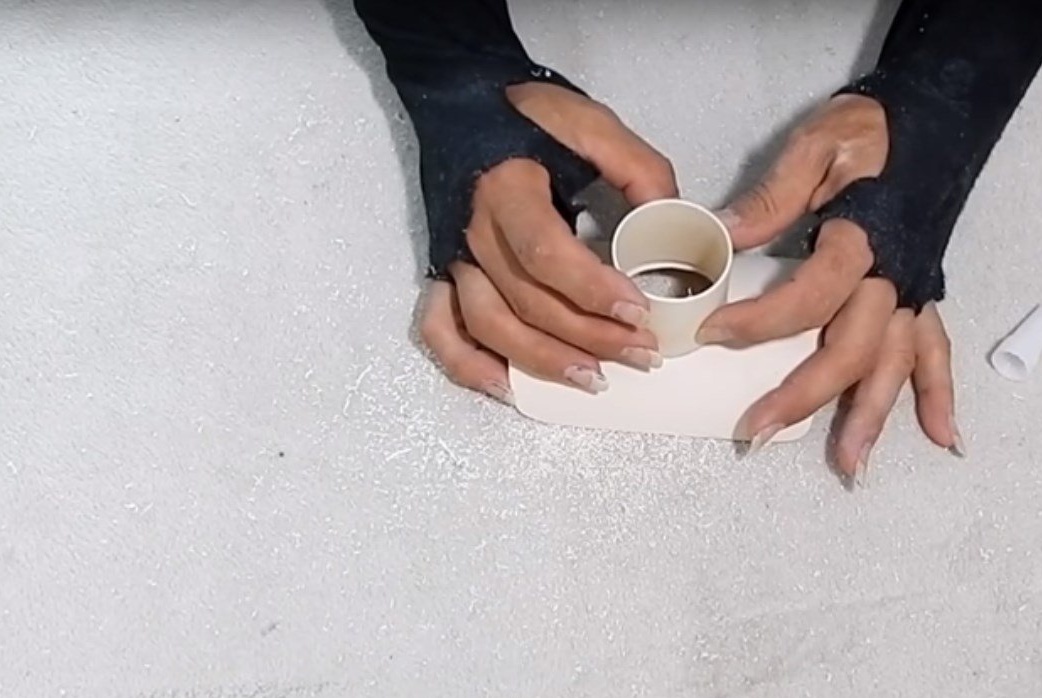
And setting the third part in the center.
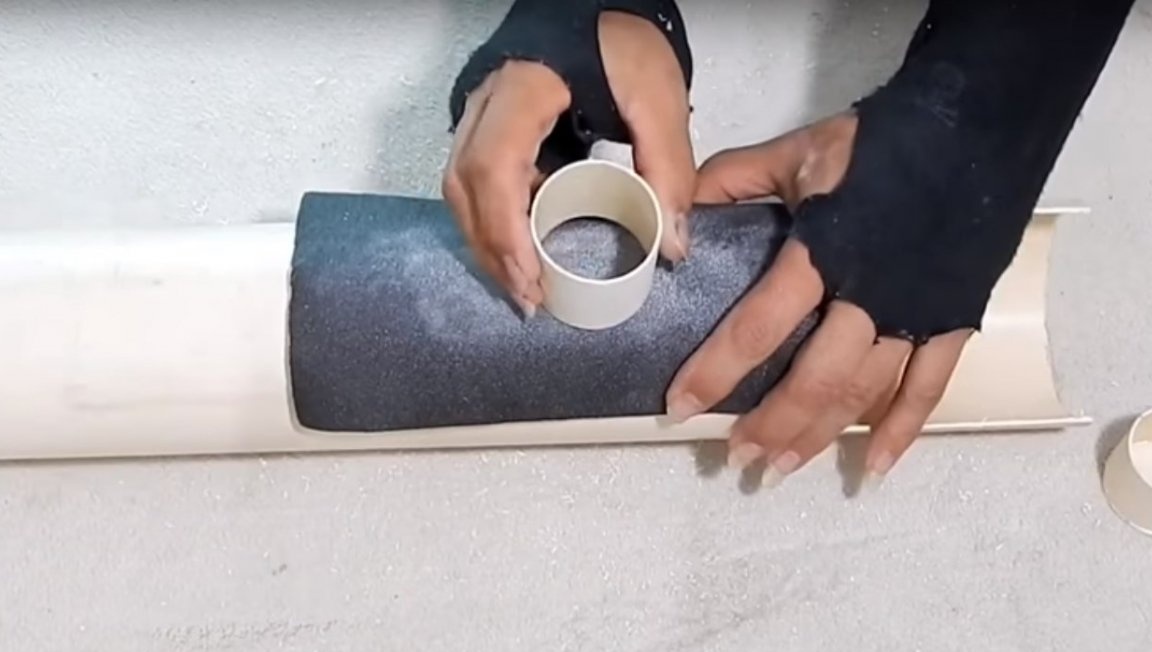
He began to move the part on sandpaper as in the photo below.
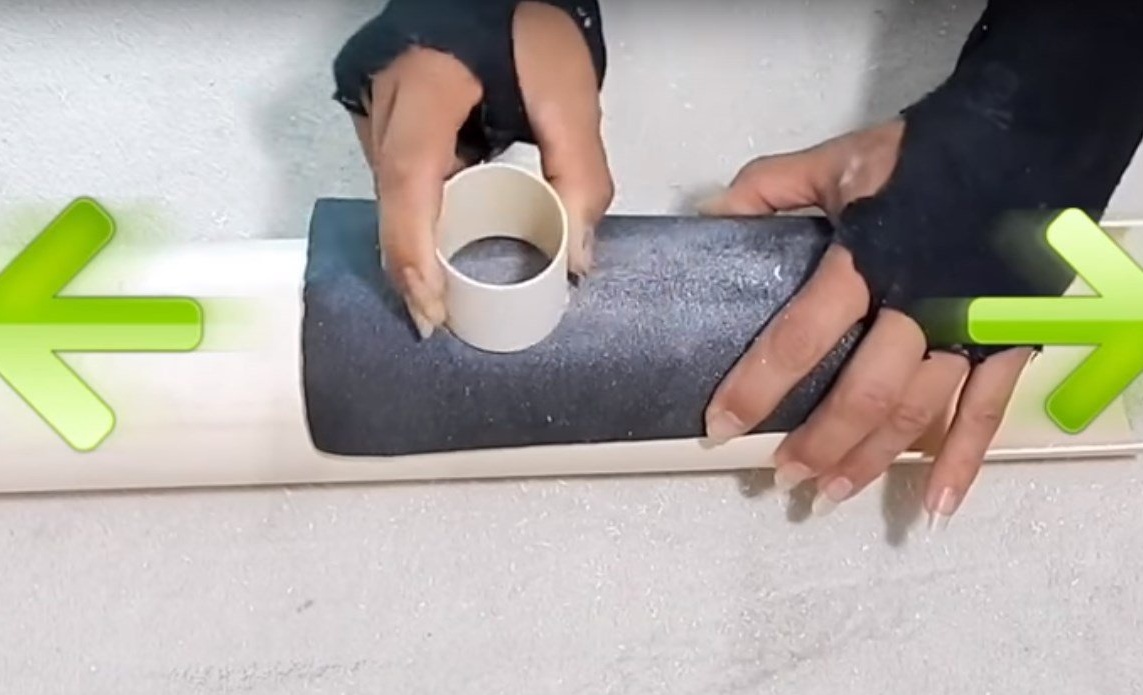
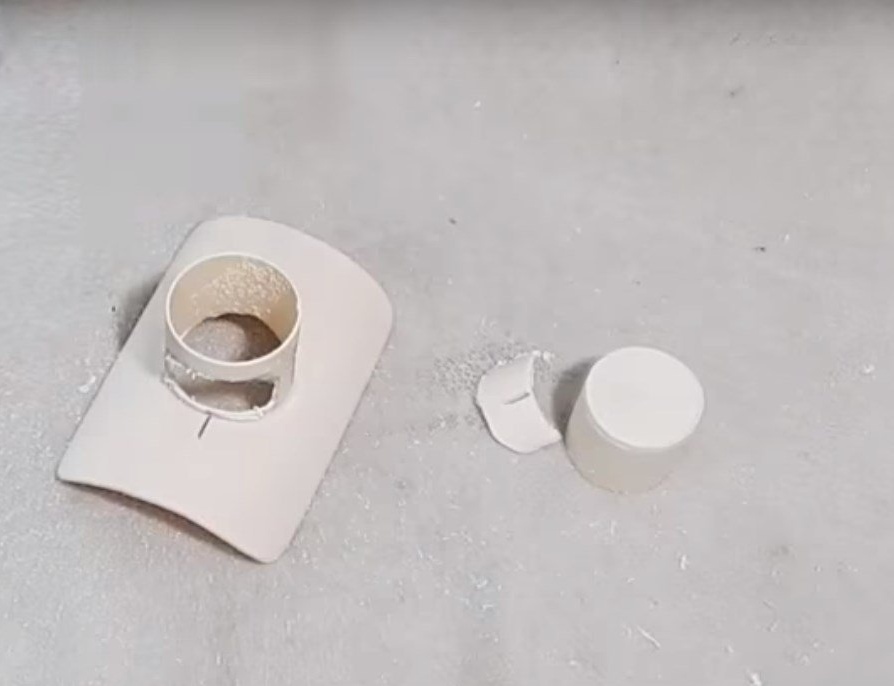
Thus, the author removed the excess from the third part.
Fitting.
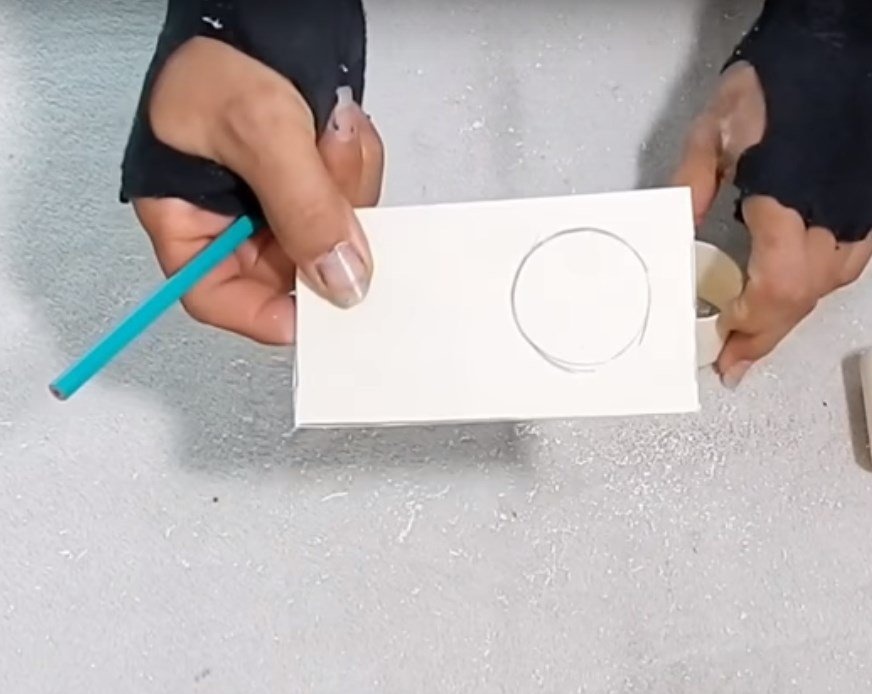
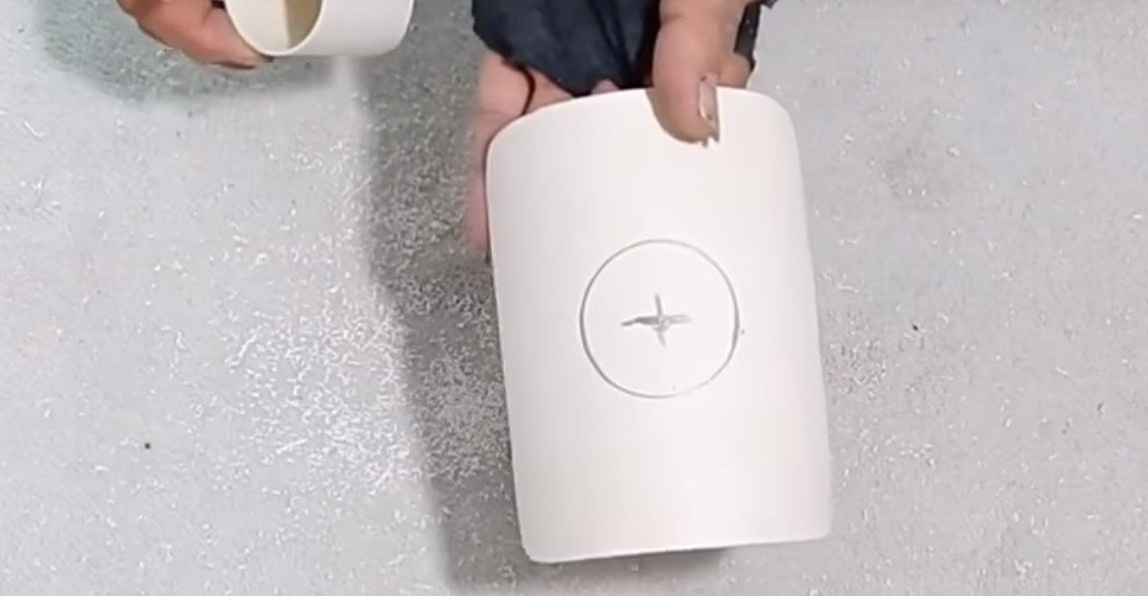
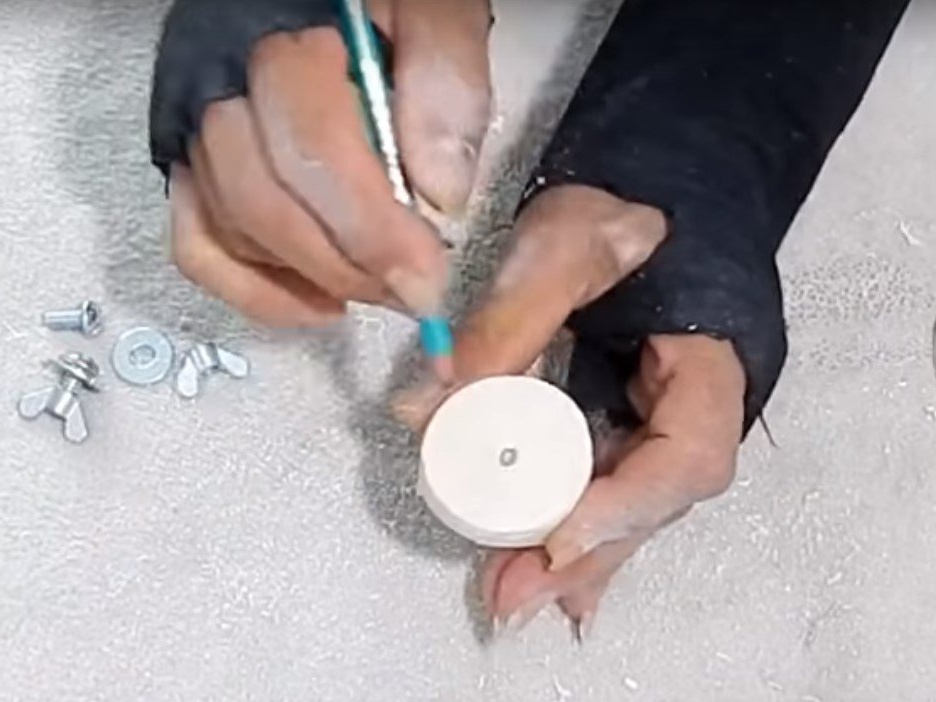
After he found the center on the first part.
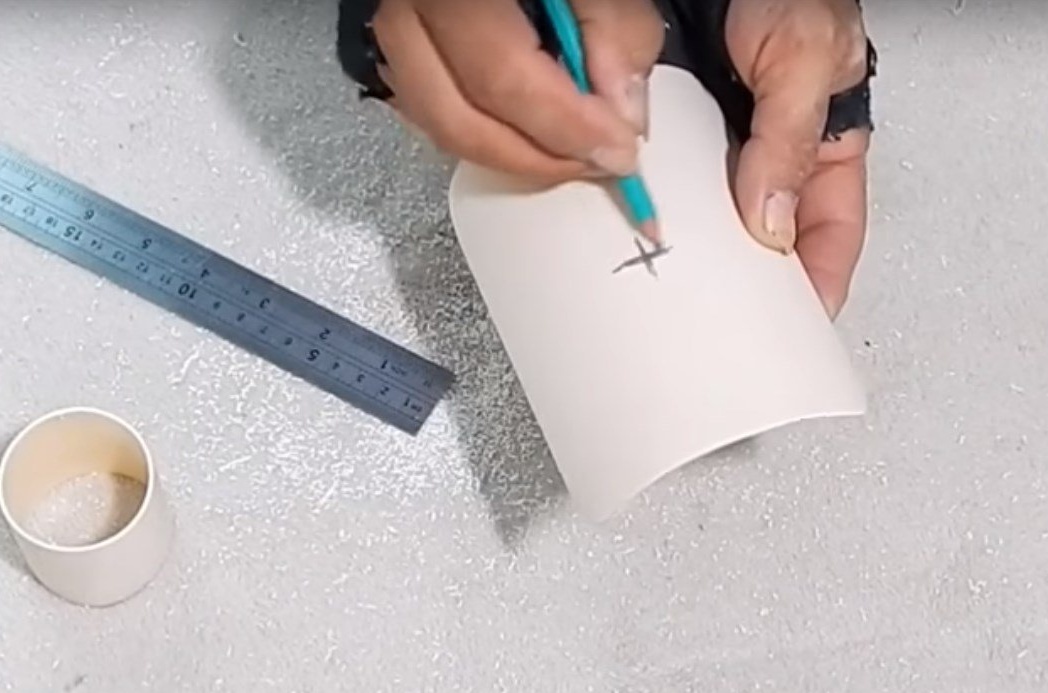
Installing the third part as in the photo.
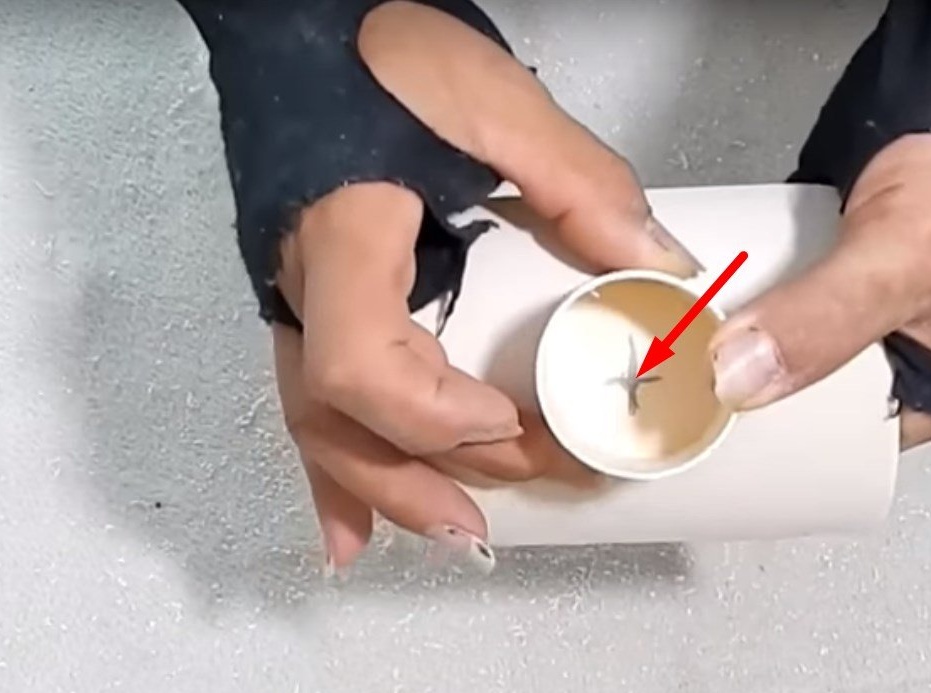
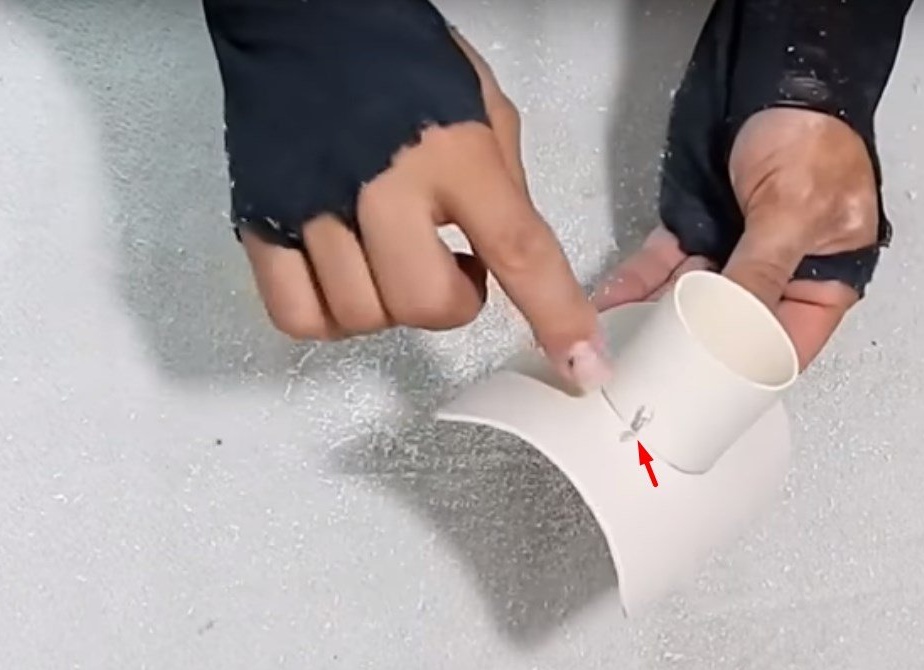
He noted the place of the future hole.
After deleted the excess.
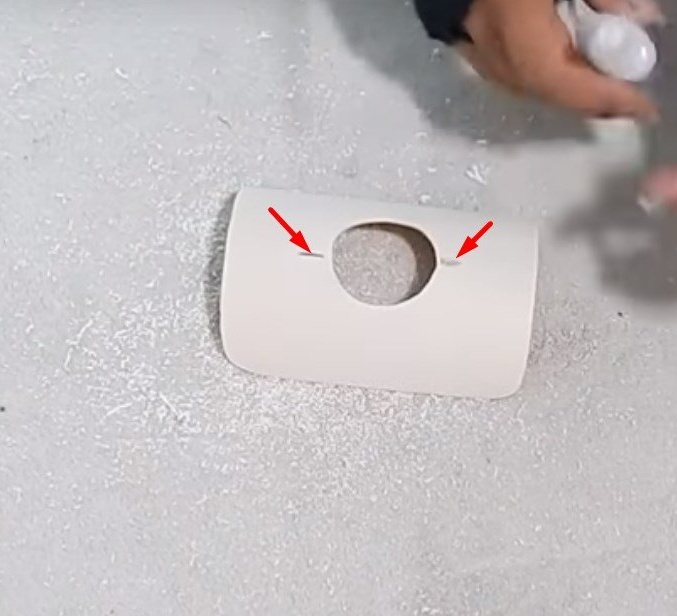
Then he set the part at number 3 and made two marks opposite each other.
Then he applied glue and glued these parts.
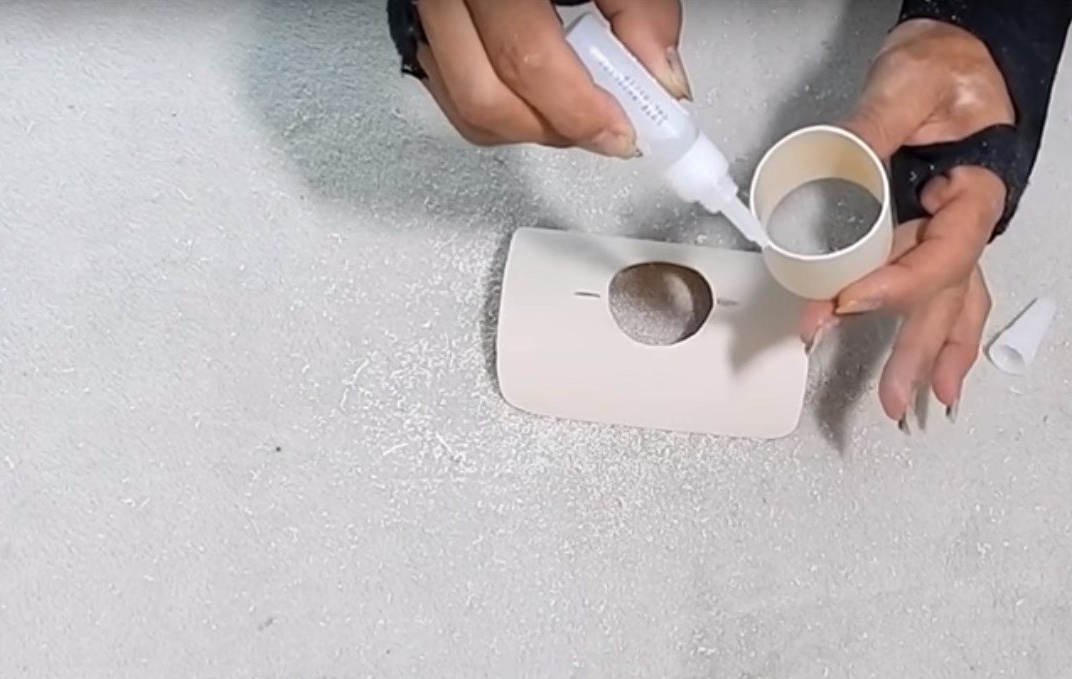
And again there was a seam on both sides with glue.
Then he removed the protruding part of the plug on the second part.
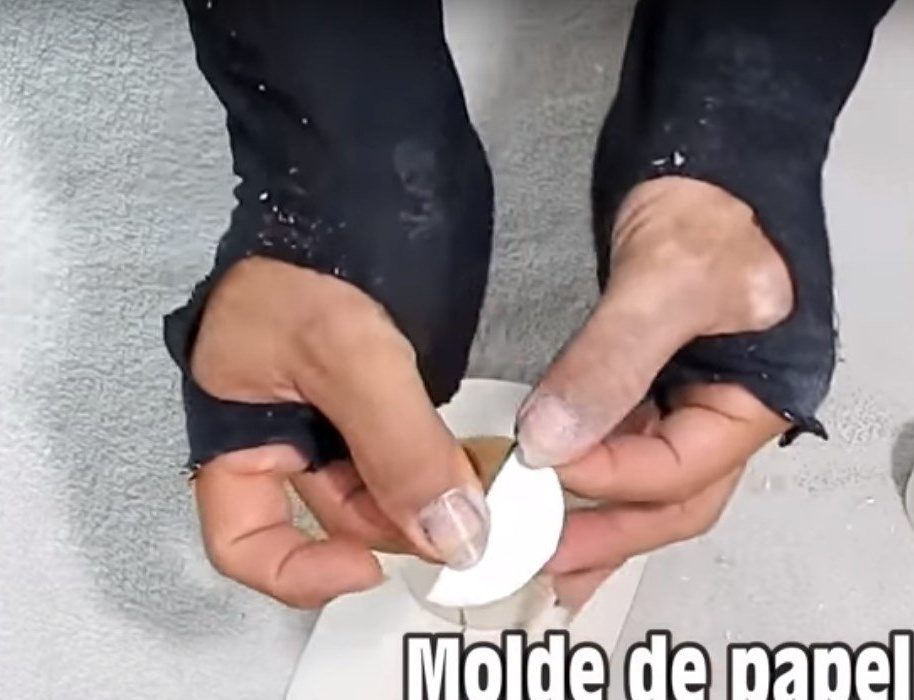
After that, I made a stub out of ordinary paper.

And folding it in half.
Made two more tags.
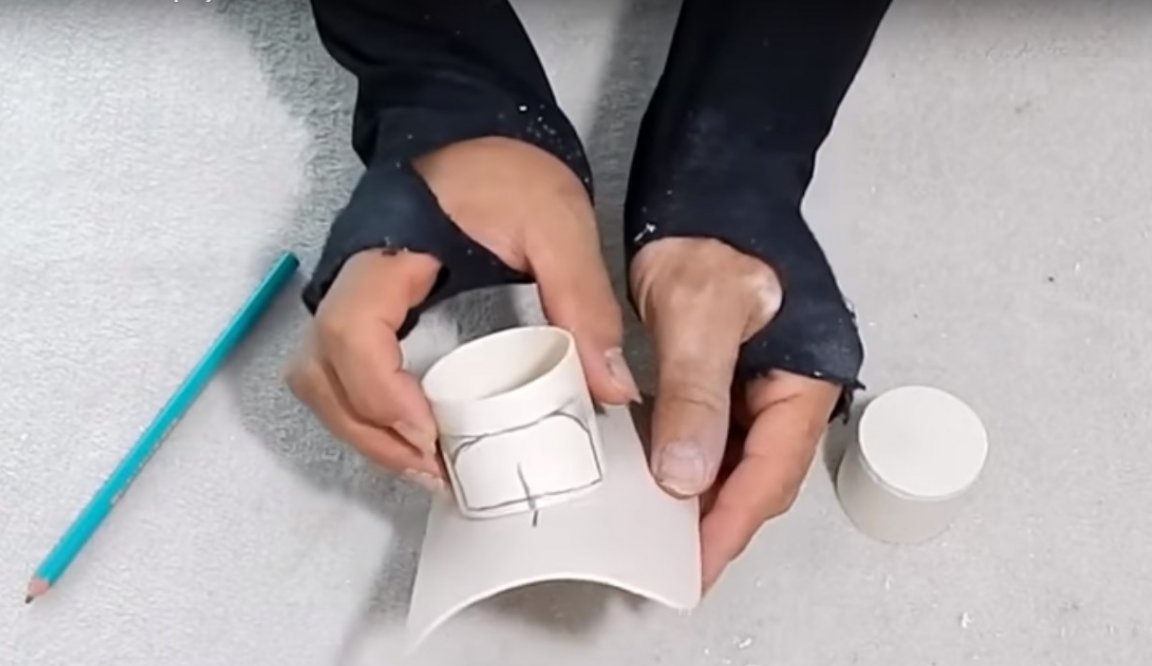
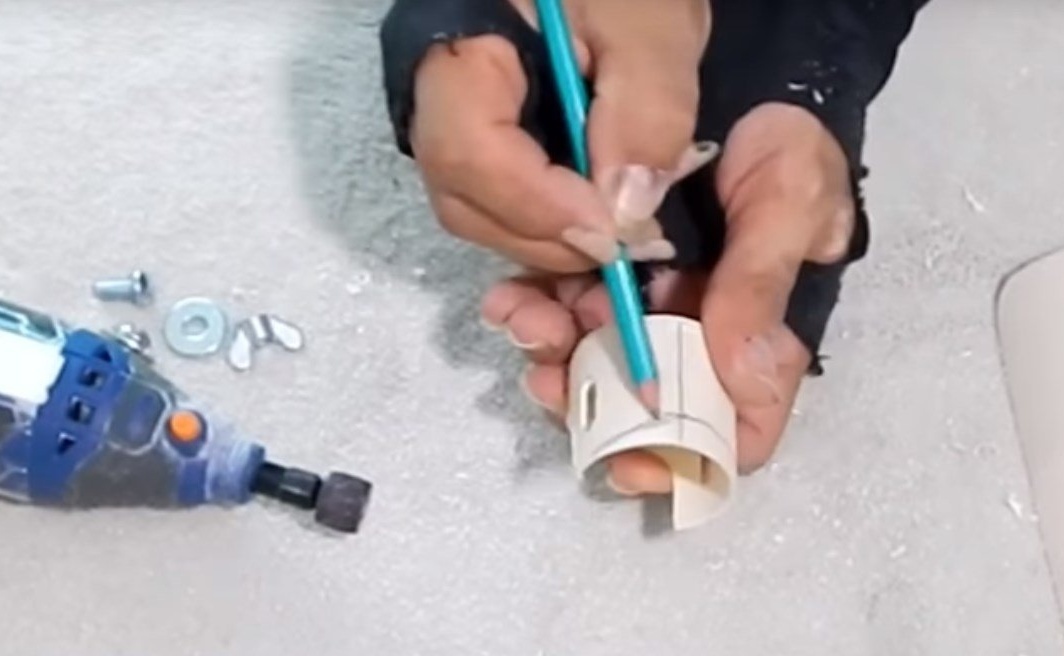
Then step back 10 mm from the top of the part and the previous marks.
He made the marking of the future cut.
A little rounding the edges. As shown in the photo.
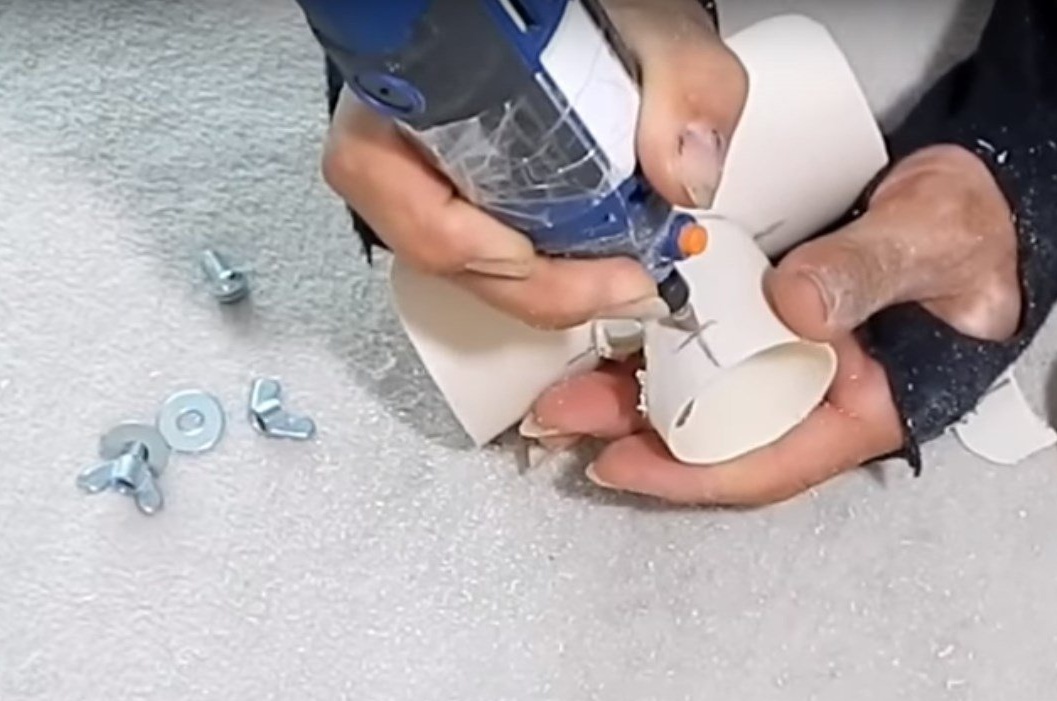
On the side markings, the master will also mark the places of the cut.
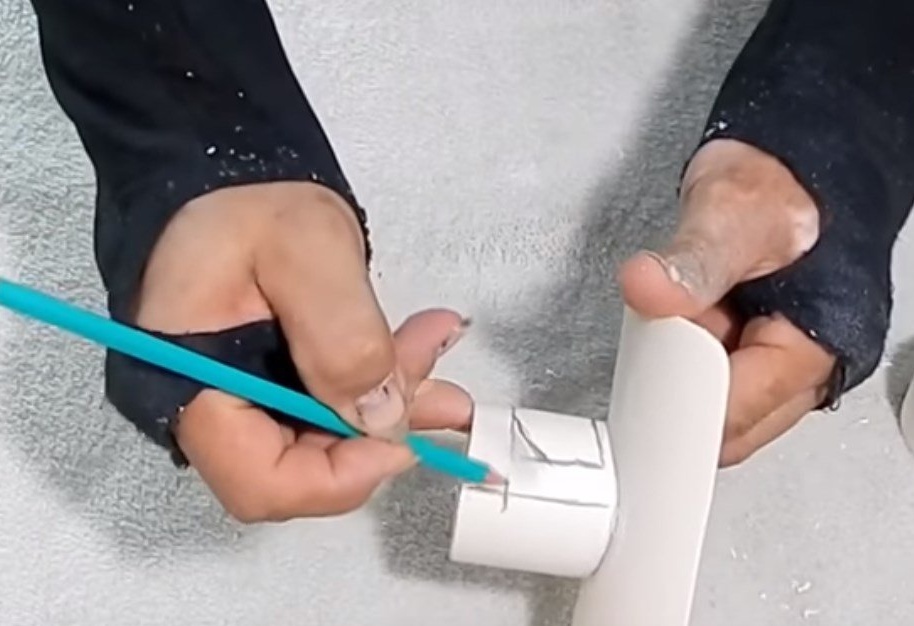
These will be the grooves for the bolts.
Then the author cut out all the excess.
Then he worked the edges.
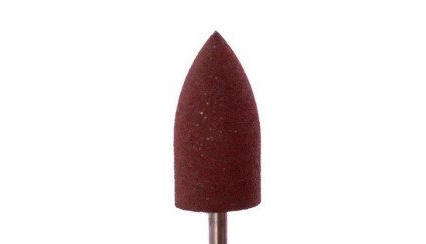
Abrasive mini cone.
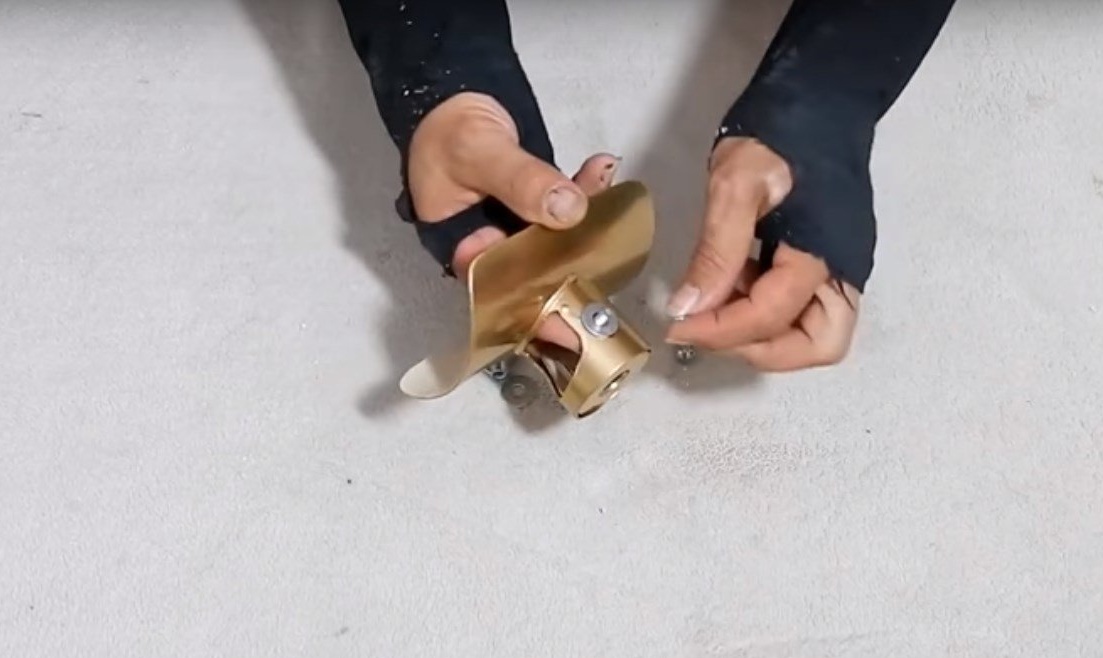
Fitting bolts.
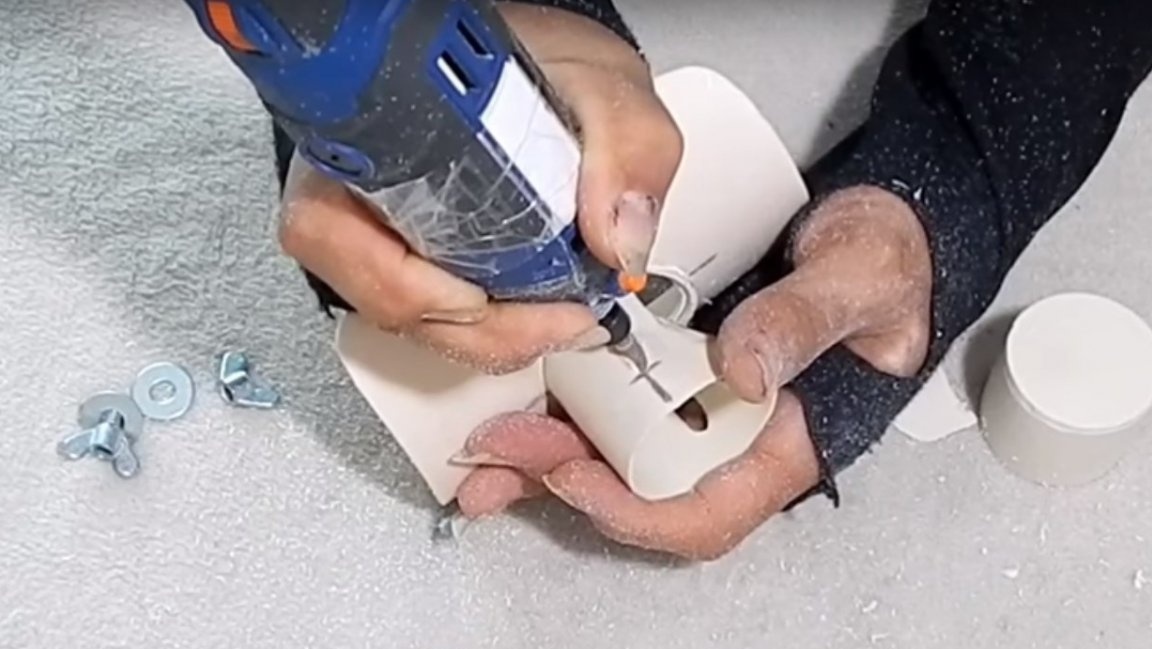
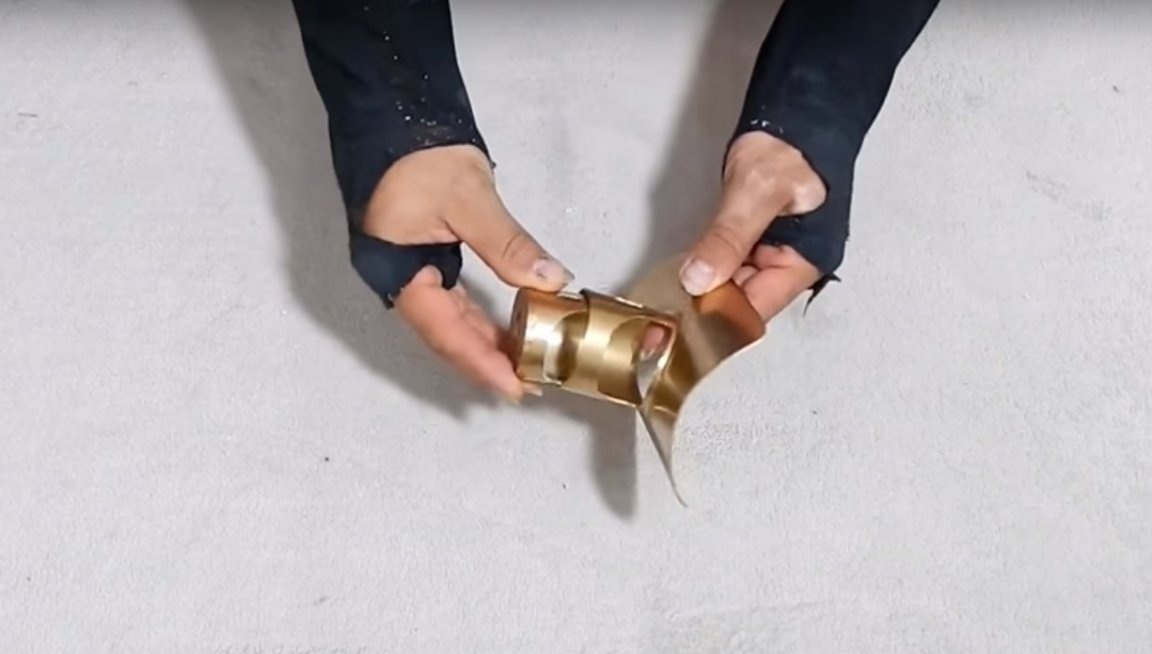
Then the author will install the last part in its place. A seam on the back of the fixture.

And he will make markup similar to the previous one on this part.
After, it will also remove all unnecessary on this part.
It also drains the back of the part a little.
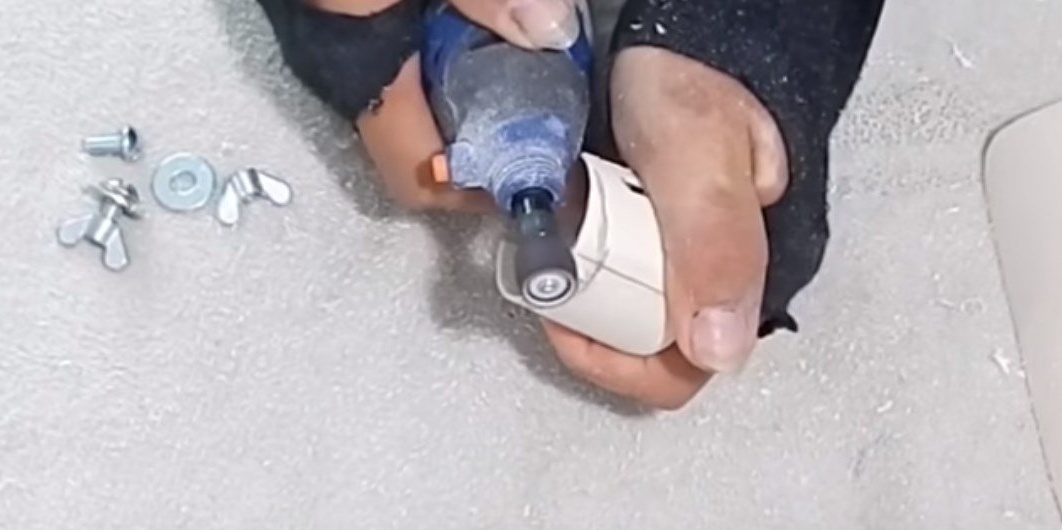
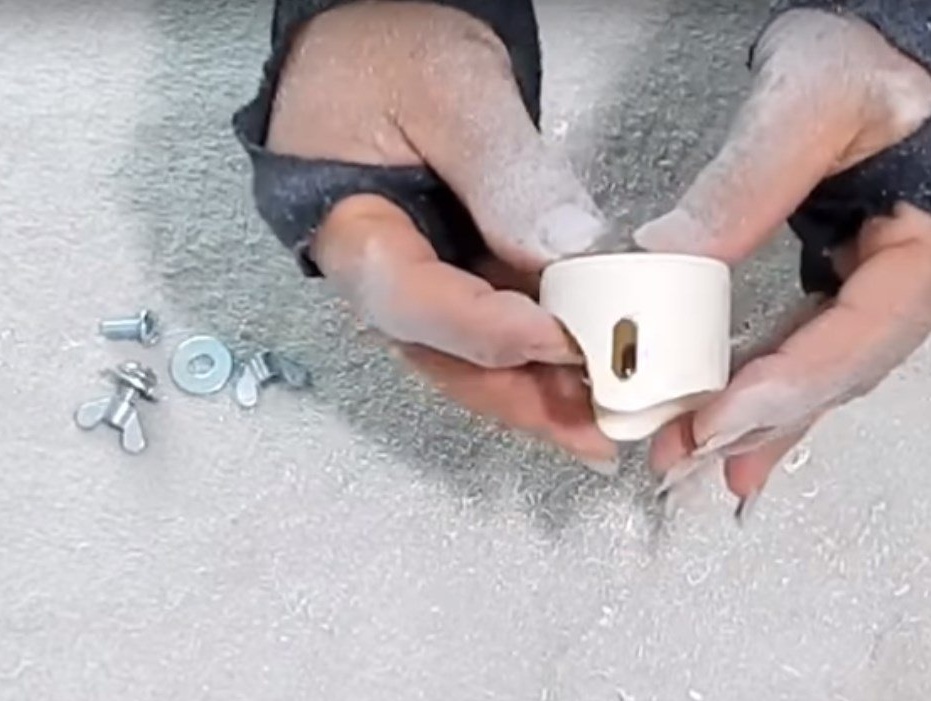
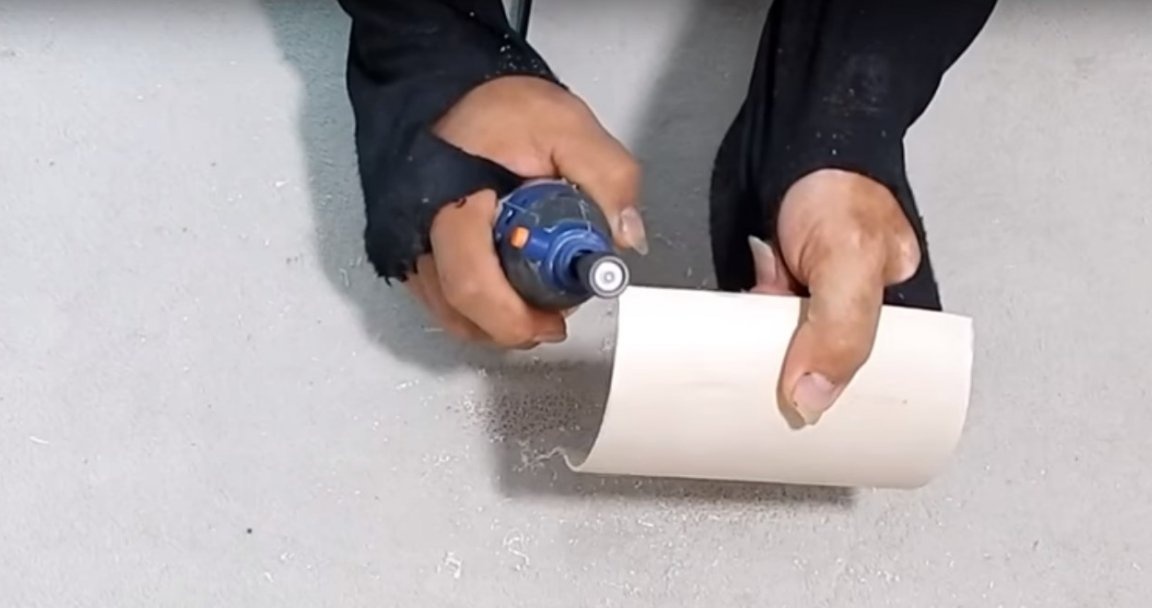
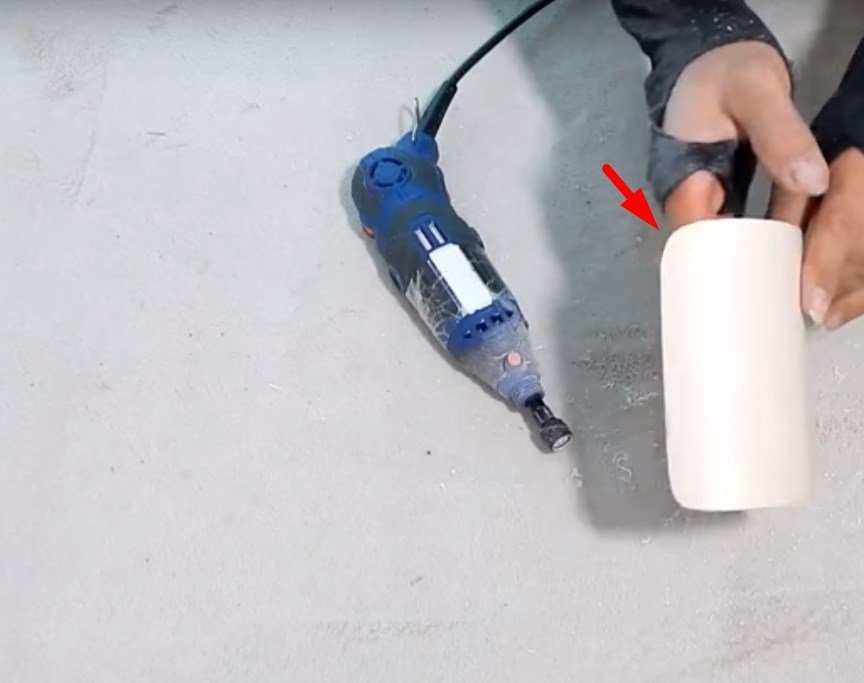
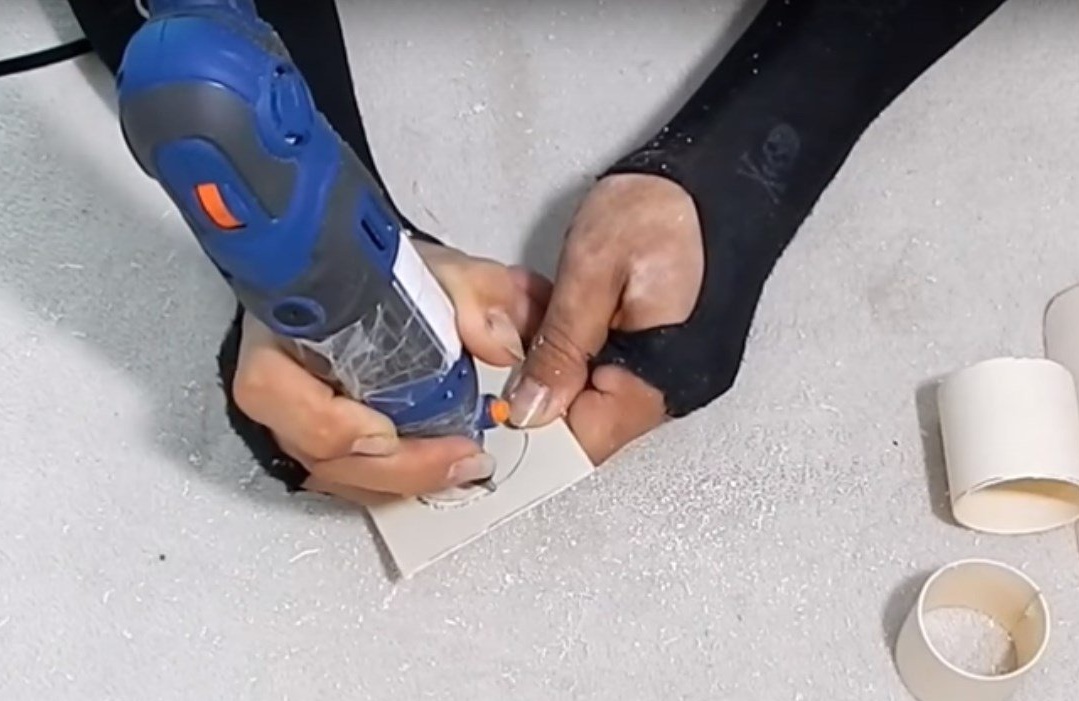
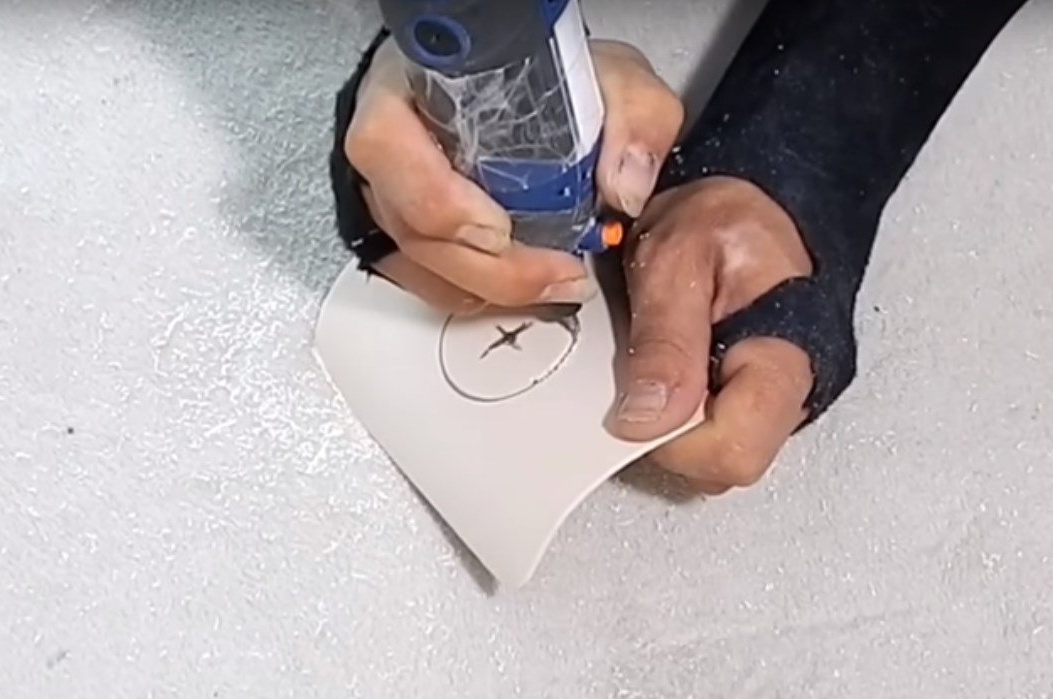
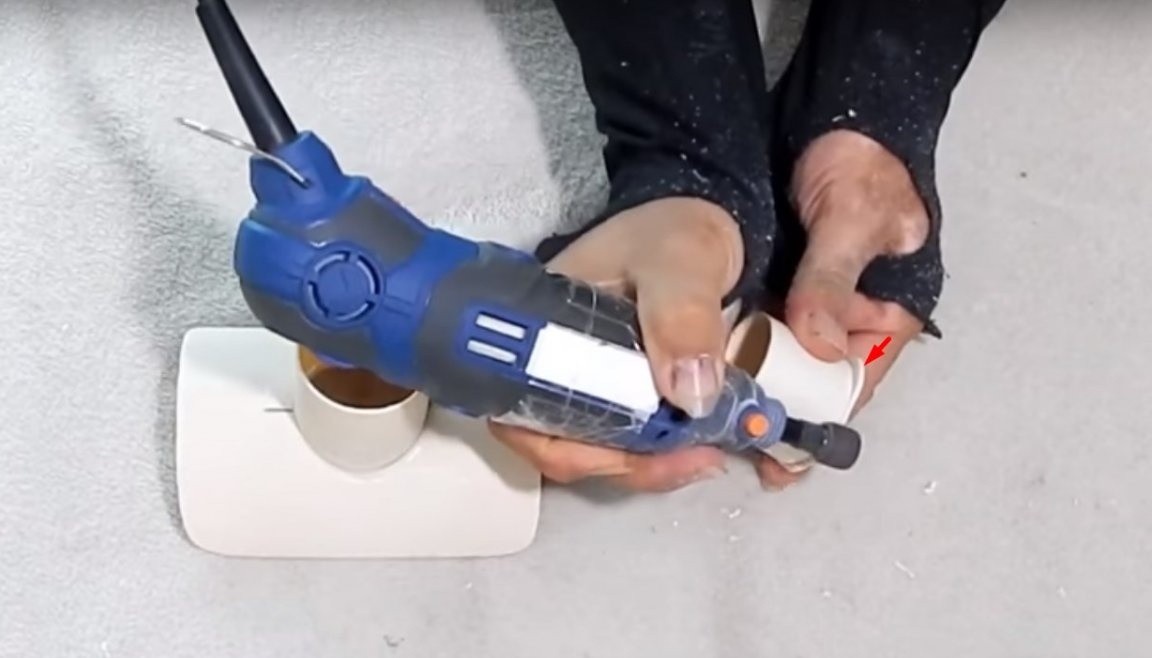
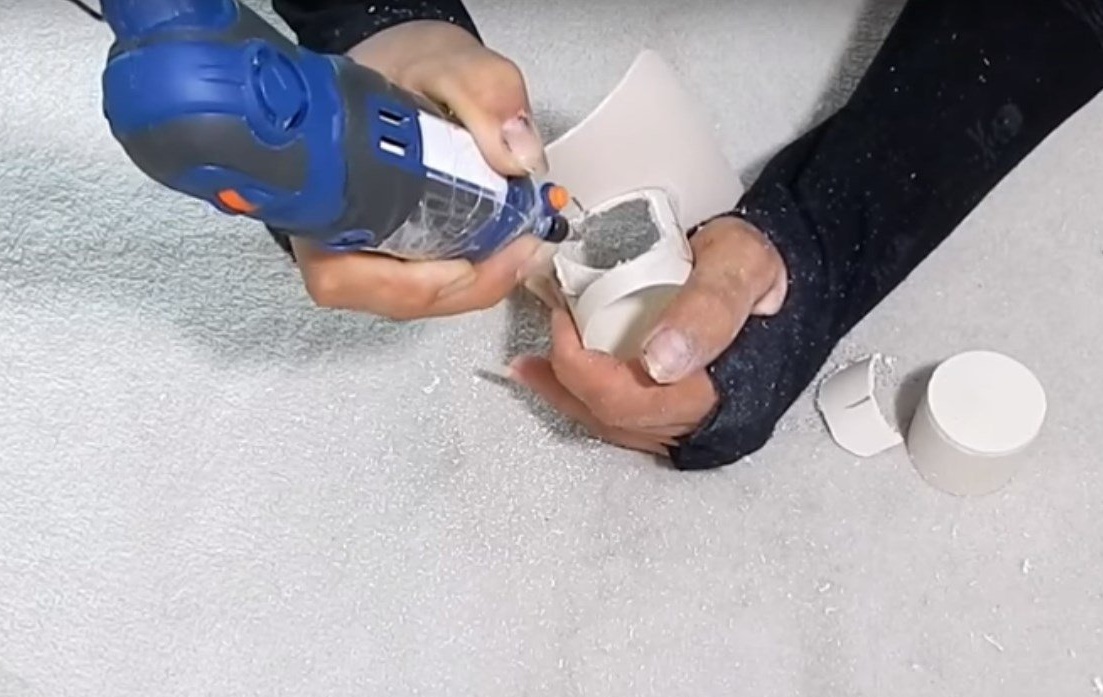
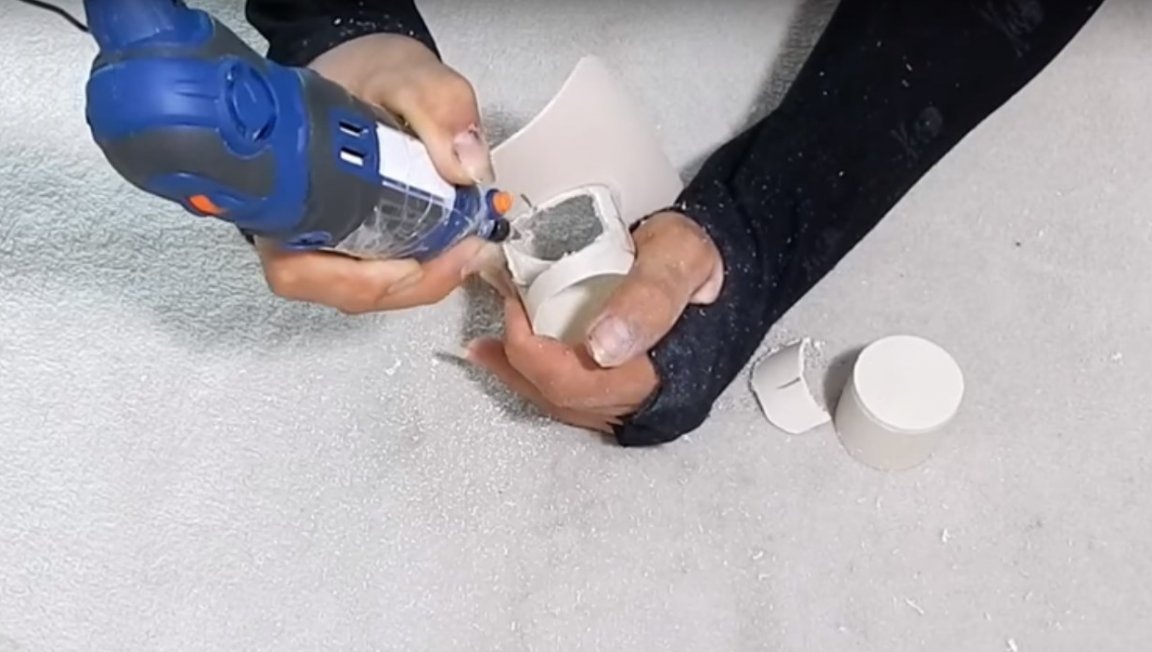
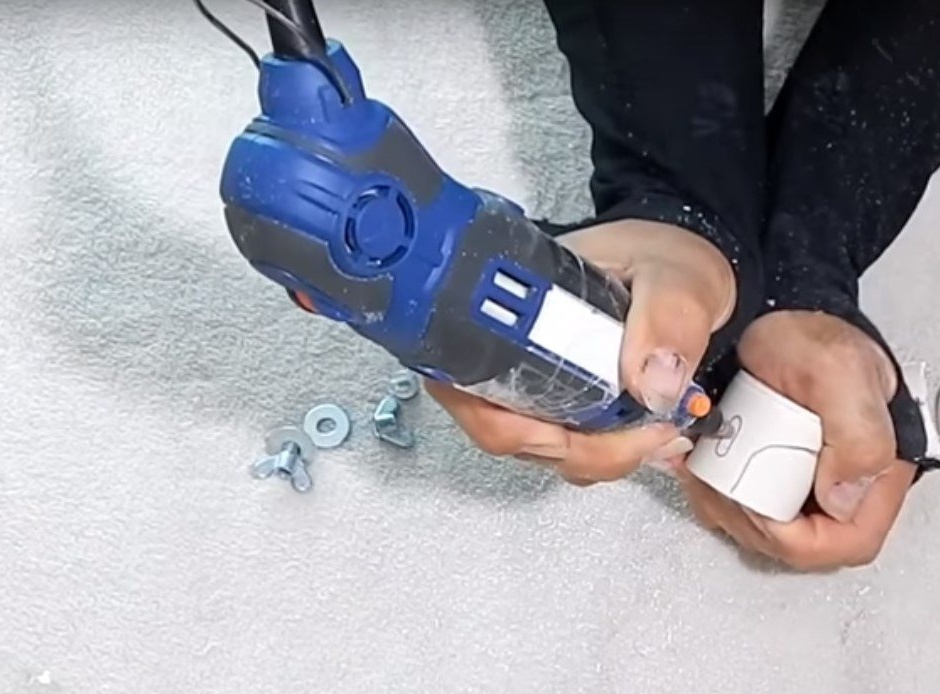
The master will make a hole in the center of the plug.
The diameter, which should be slightly larger than this part of the engraver.
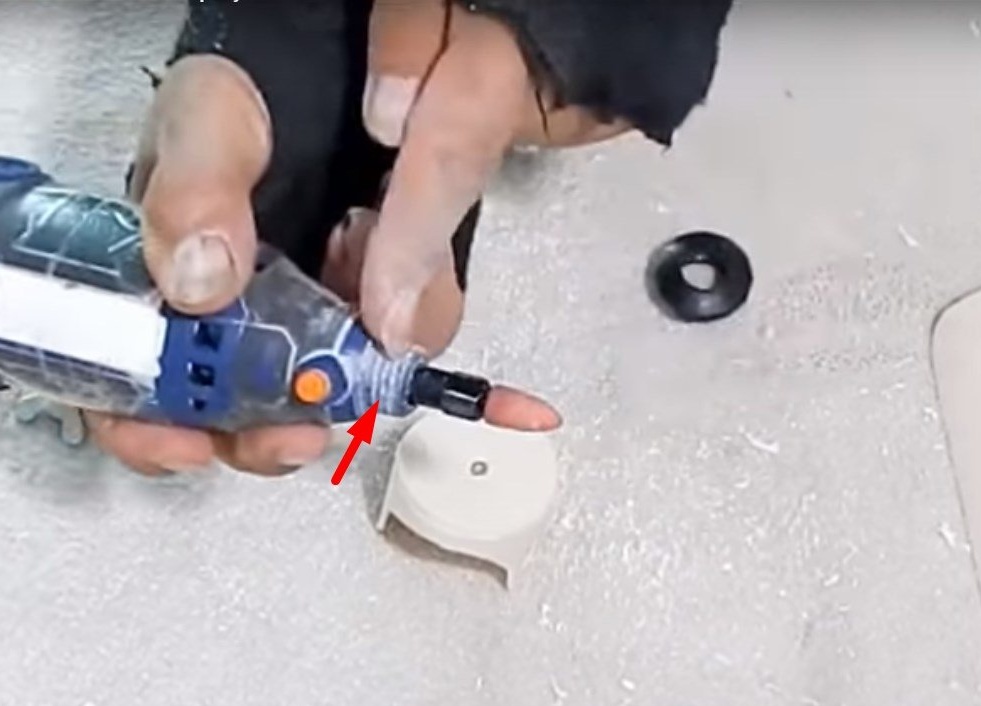
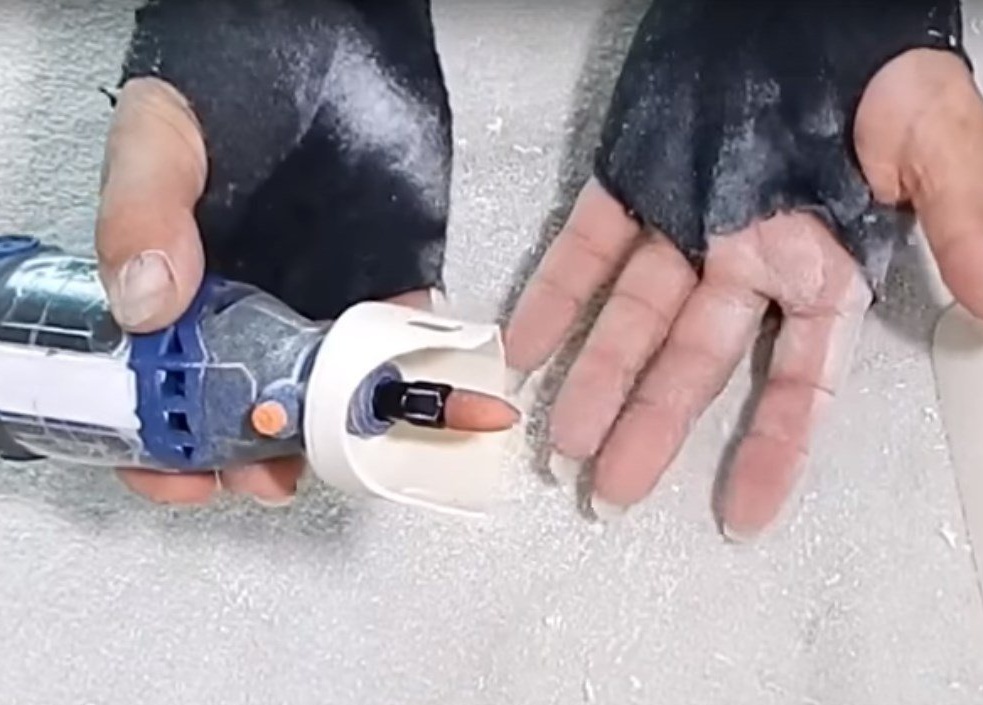
By not increasing the hole much, the author tries on an engraver.

After checking all the parts assembly. Everything is fine.
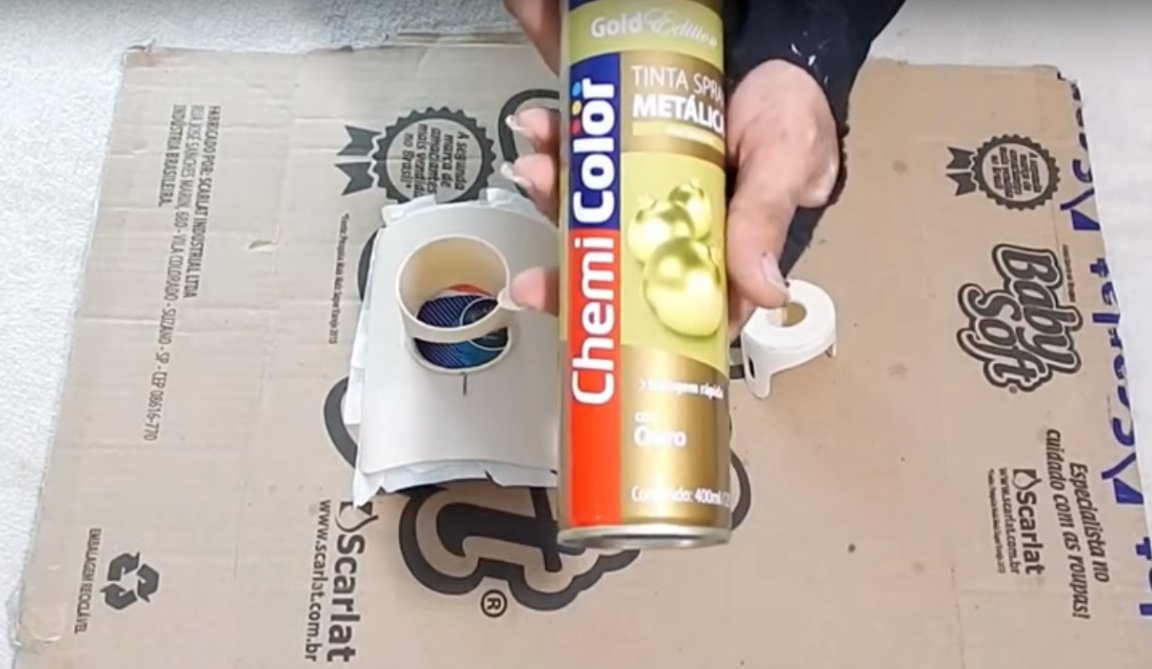
Then the master will color the finished homemadeby pre-covering parts that do not require painting.
He paints the nozzle, the master will, from the spray can.
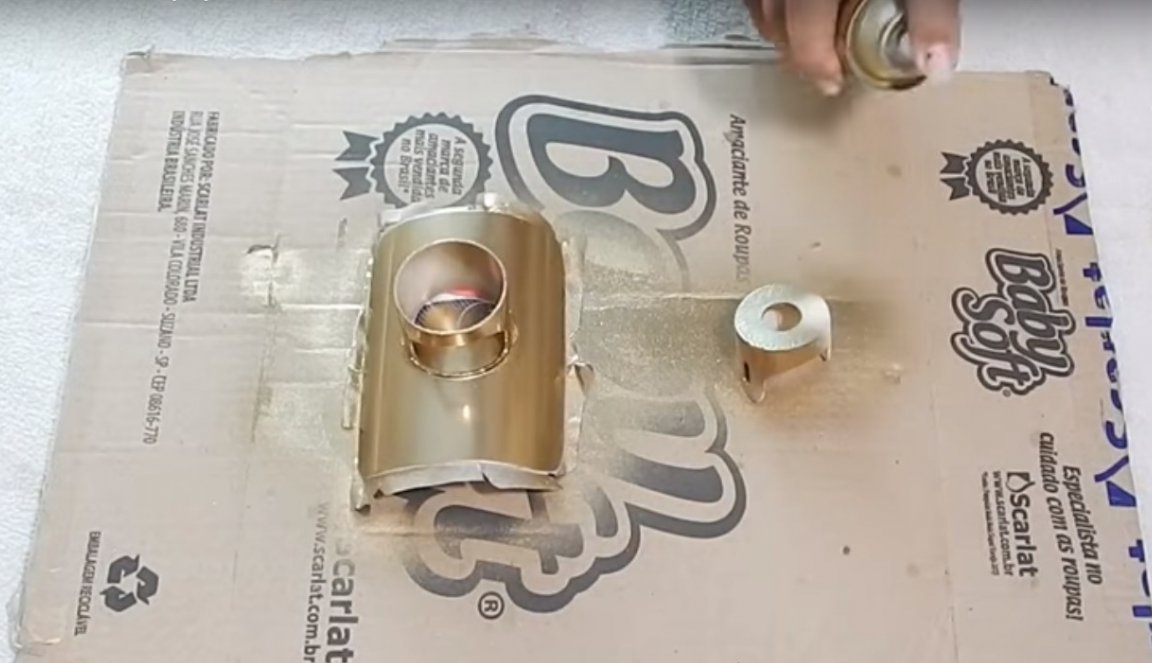
After the paint dries, the author will assemble home-made.
This is not complicated, and at the same time, a useful device today has turned out from our master.
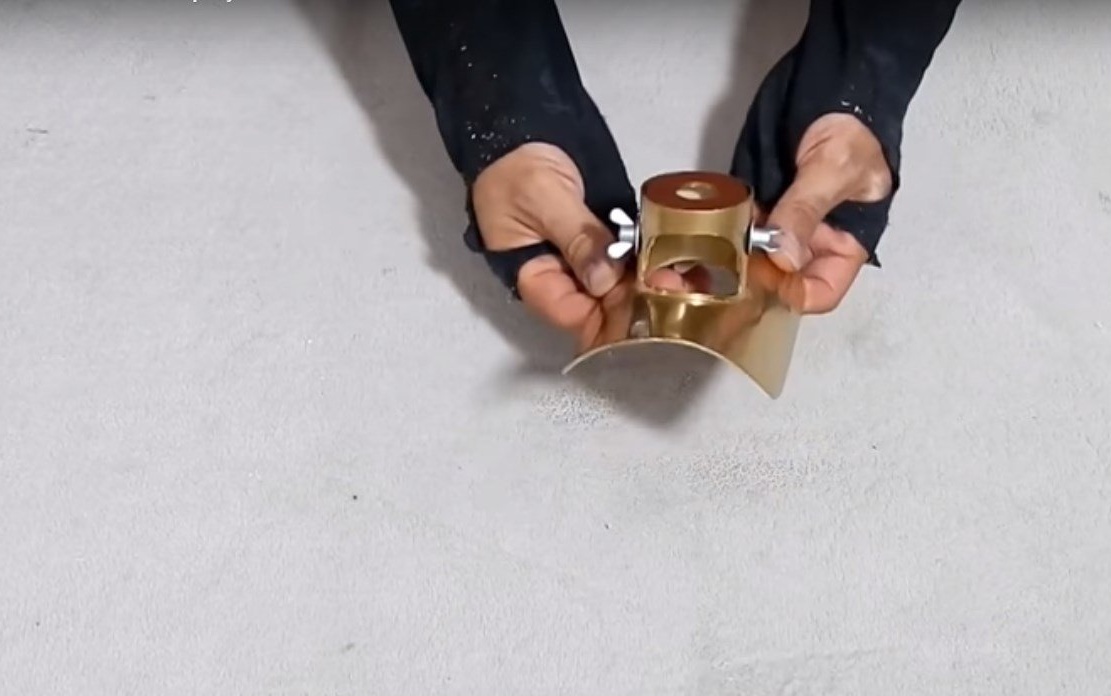
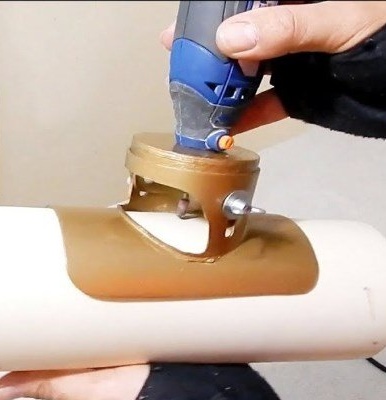
Can be installed on an engraver and work.
And that’s all for me. I hope this article was useful to many lovers of homemade products and not only. Thanks to all! Good luck and see you soon!
Video clip: