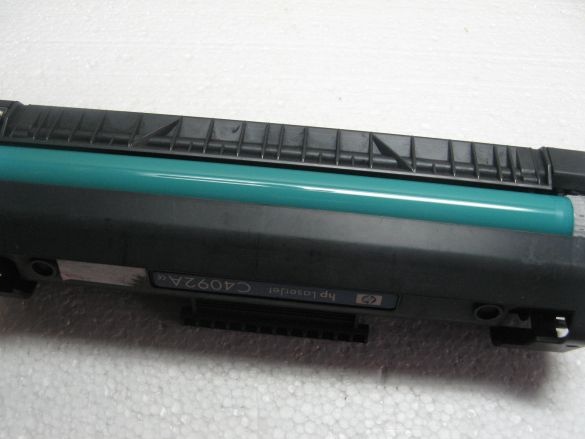
We often have to recharge the phone in the "field" conditions. There is a wide variety of portable batteries on the market. Portable batteries, aka Powerbank, are sold in any size and shape. I decided to build Powerbank myself. The case chose a very unusual one, as for me. I had an old laser printer cartridge lying around. Something in it does not work, but there is no point in repairing it.
For homemade we will need:
- a cartridge from a laser printer;
- with USB;
- for Li-ion;
- 18650 format batteries;
- micro switch;
- sheet plastic;
- instruments.
About accessories.
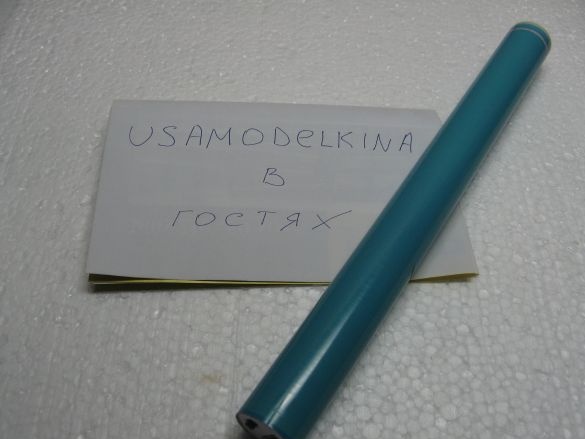
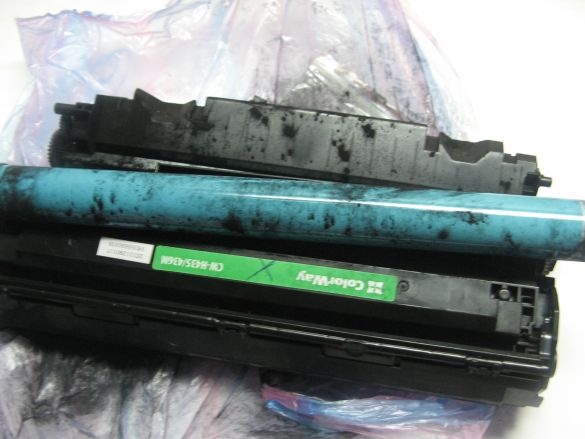
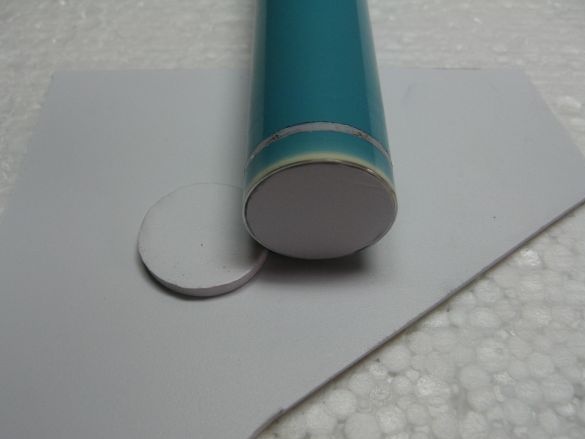
From the cartridge we need only a drum. We throw out the rest. You need to disassemble carefully, otherwise everything will be in toner.
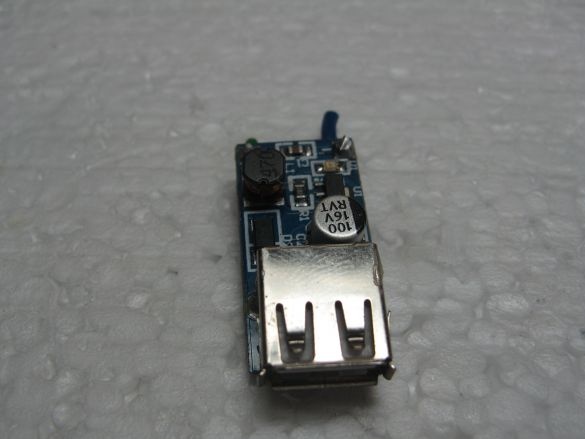
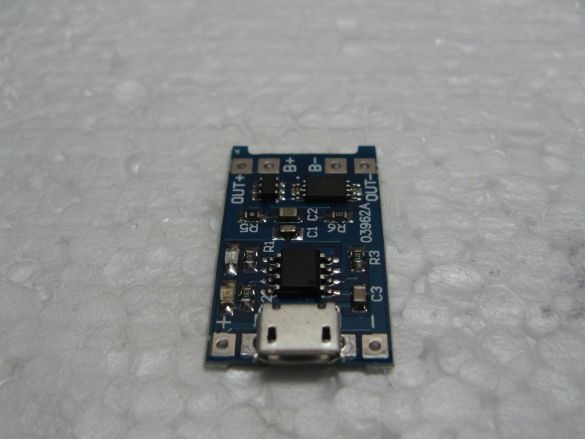
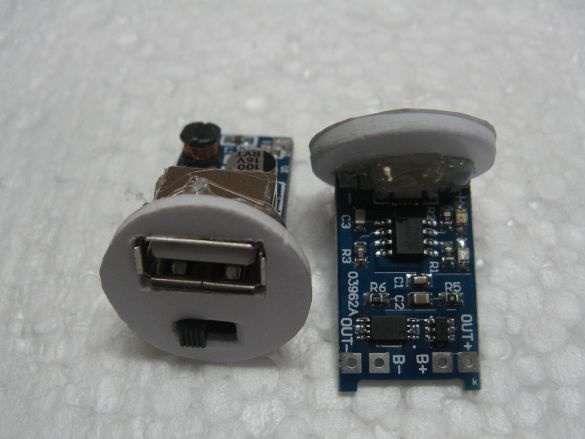
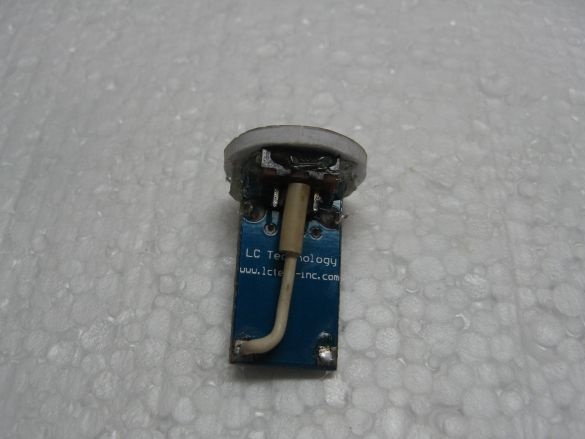
Boost module ready with USB. There are boost modules without a connector, then you will also need a connector.
I will charge the batteries with a charge controller board with protection. If not, you can apply the board without protection. In the latter option, you can take the protection board from the battery of the mobile phone.
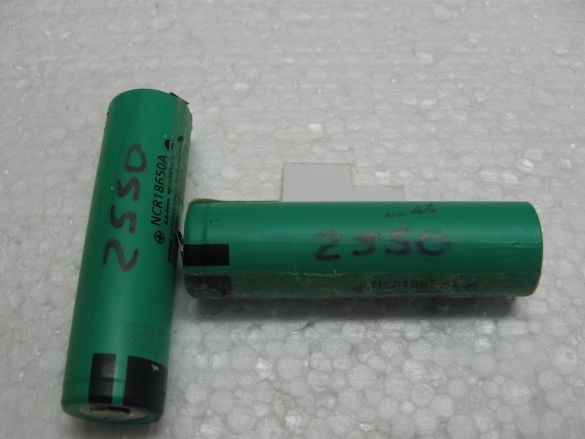
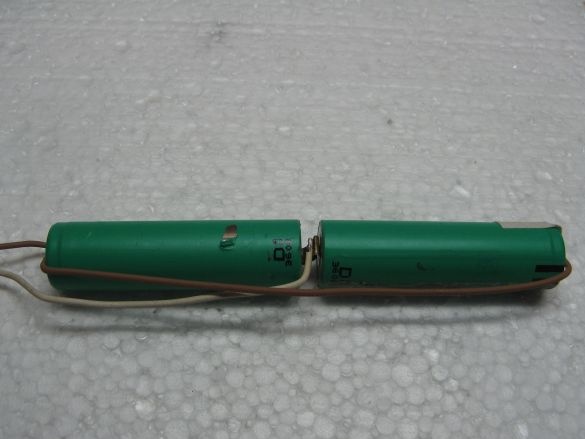
18650 Li-ion batteries. They fit perfectly into our case. I got into 2 pieces. You can try 3 pieces, but then you need other modules.
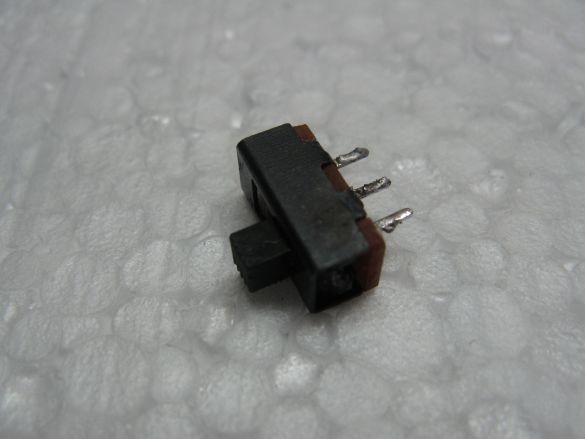
I will turn off the power of the boost module by a micro toggle switch. He took it off a children's toy.
Assembly.
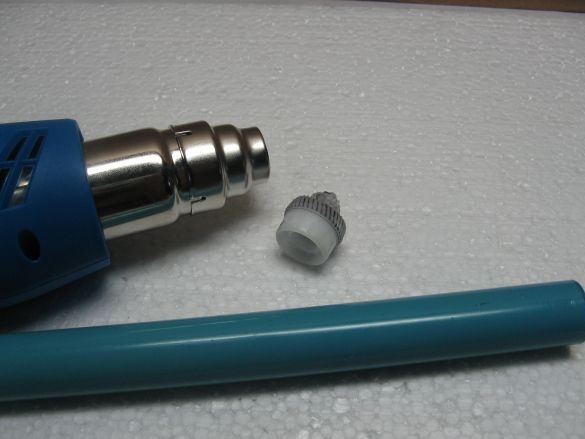
The drum unit is clean and the guides need to be removed. This is very easy to do with a hot air gun. We heat the metal and remove the guides with pliers.
From plastic sheet you need to make two stubs. I have PVC plastic, I liked it very much at work.
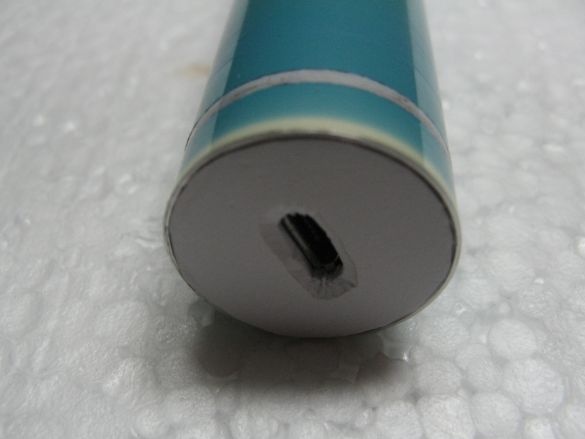
In the plugs, cut out the windows for the connectors. On the plug with a step-up module also under the switch. I also made small indentations, so our connectors and the switch engine will be closer to the outer surface.
I fix the modules and the switch to thermo glue.
Batteries need to be soldered in parallel. In one direction, lead wires, positive and negative.
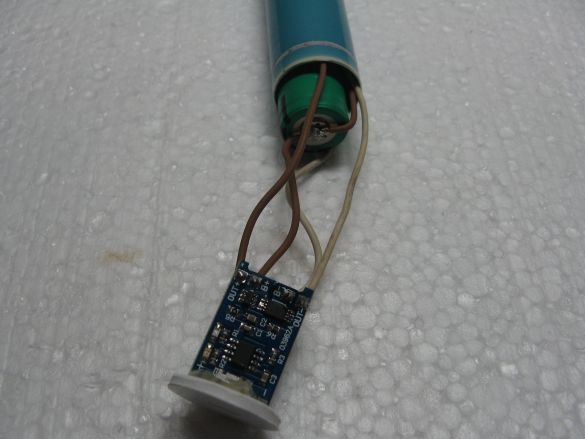
Solder wires from the batteries to the charge controller board. From the controller of the wire we conduct through the body. For sealing, I installed pieces of wine cork (they didn’t get on the photo).I seal the batteries on both sides with a stopper.
The positive wire from the charge controller is soldered to the switch. We solder the second contact from the switch to the boost module. Minus goes directly from the controller to the boost module.
Dummy panels are tightly installed in the housing. This is how Powerbank looks from the charging side.
It looks like from the side of the connector for connecting our gadgets.
For my Asus background, this external battery comes in handy.
In general, I consider this case very good and strong enough.
Assembly video attached.


