
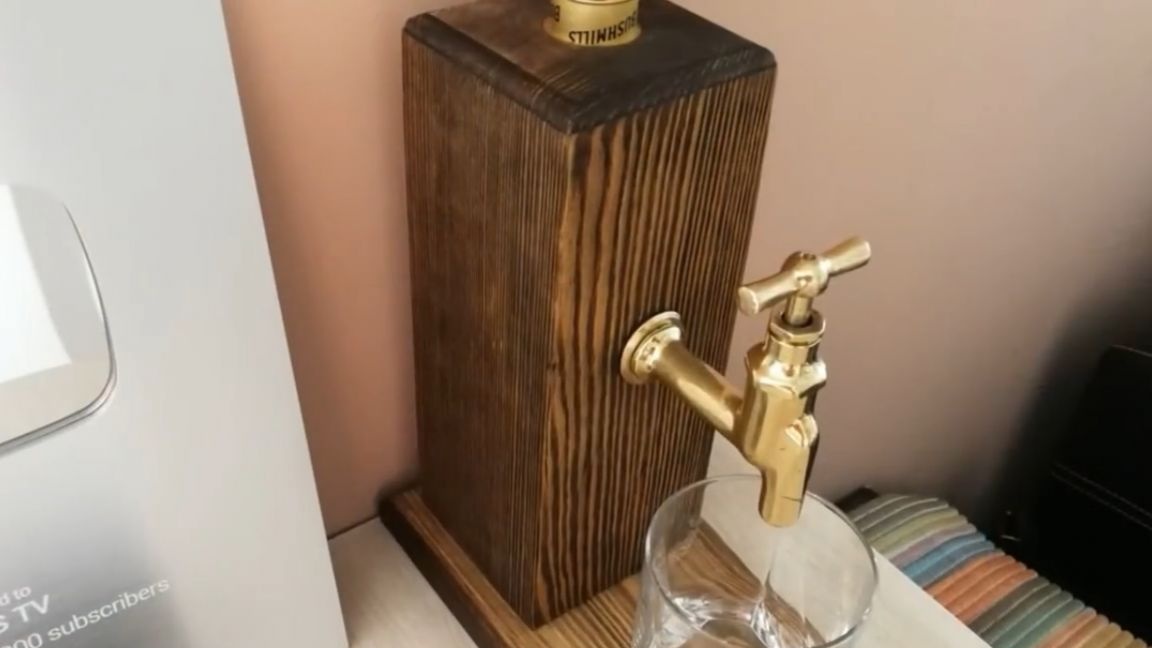
Today we will make a homemade product that will combine several materials, such as wood, non-ferrous metal, glass and even liquid. So, my friends, I think today's homemade work will definitely not leave you indifferent.
The author of this homemade product is Andrei Mashkov (YouTube channel TEXaS TV).
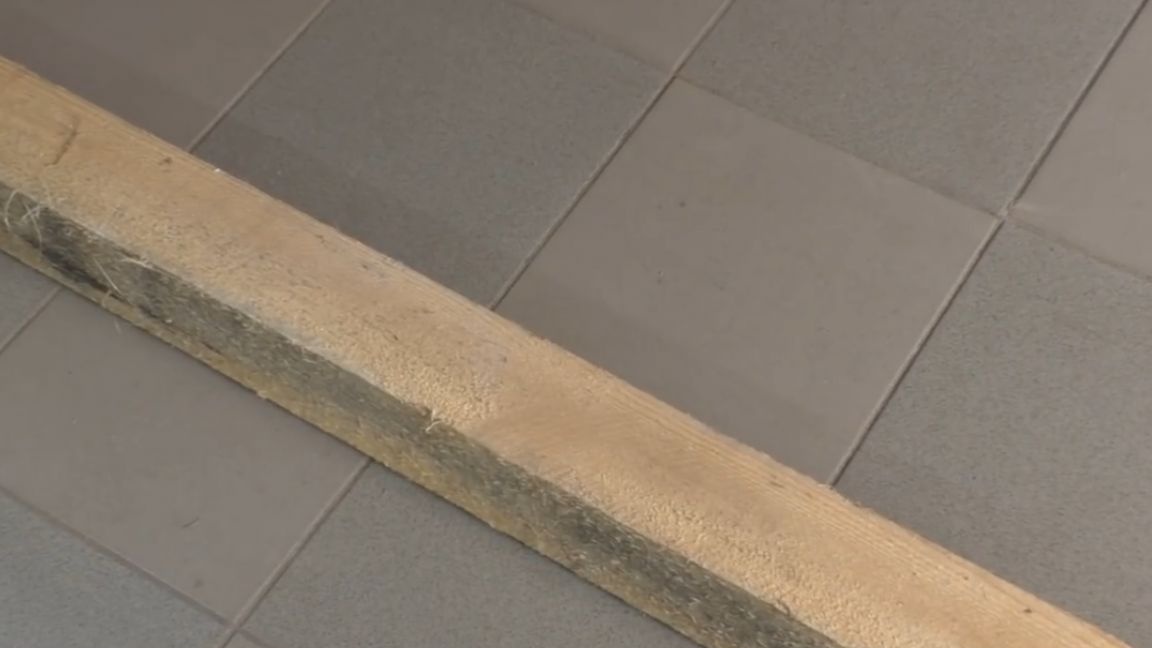
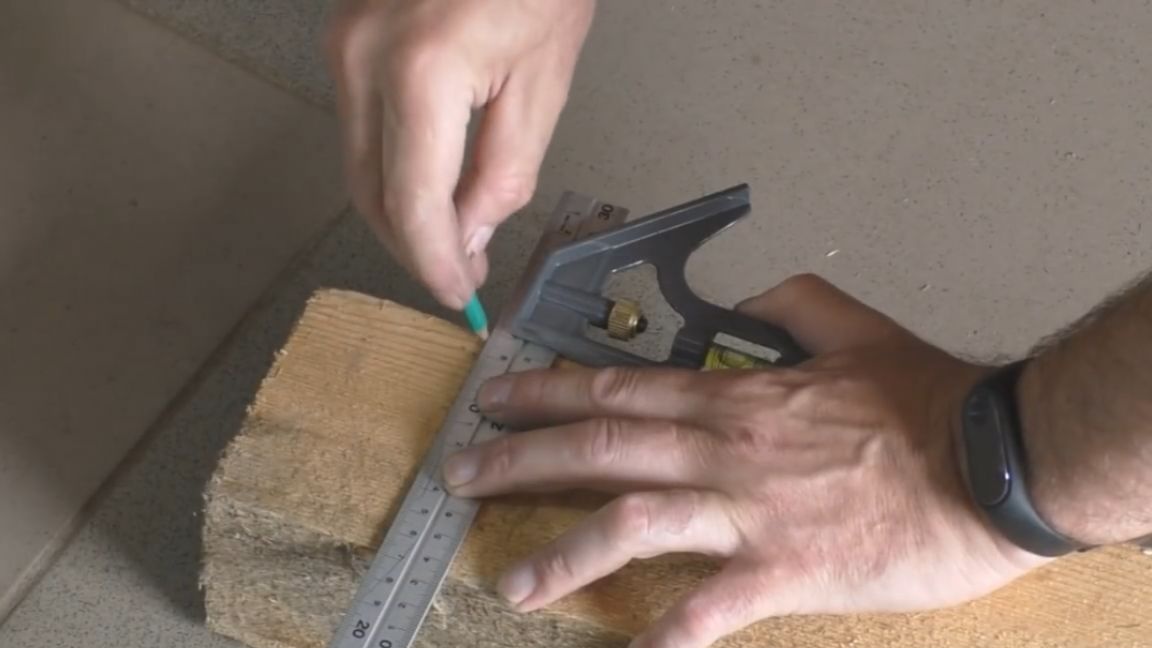
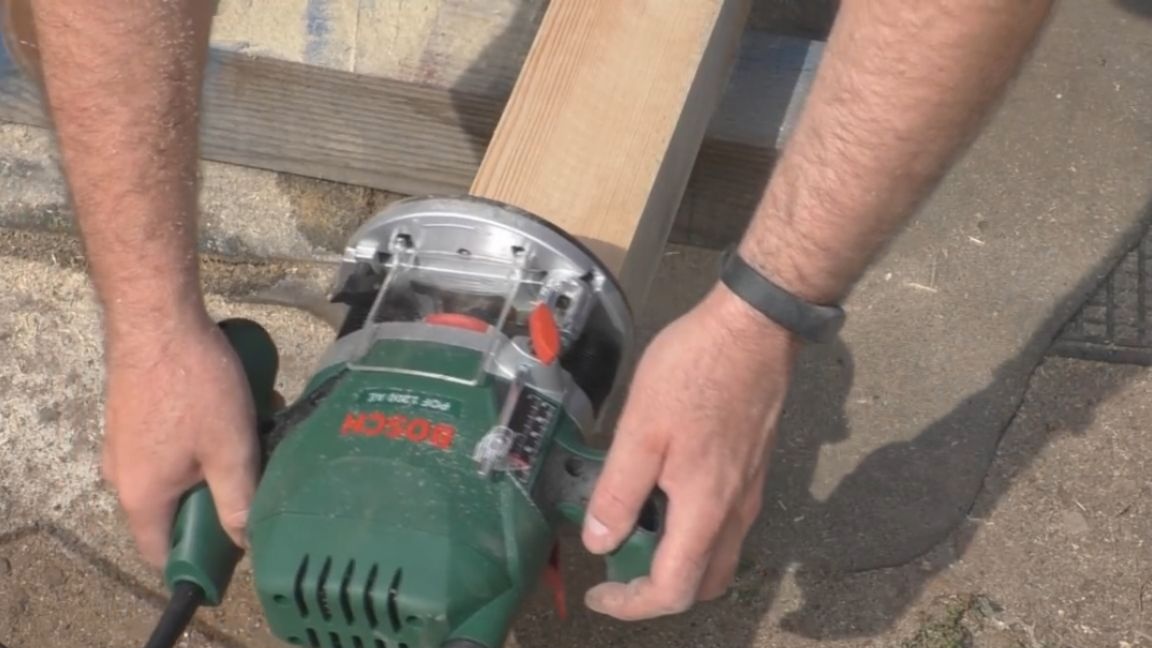
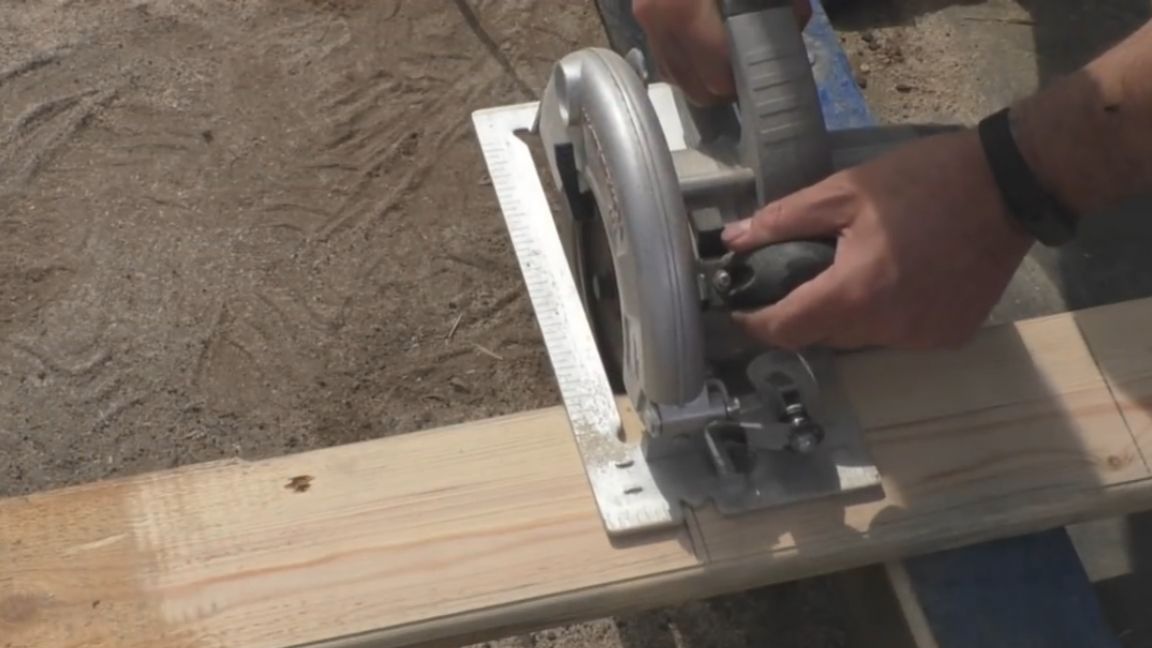
So let's get started. For the basis of today's homemade product, we take a bar with a size of 100 by 100 mm. But first you need to twist it, since it has a rather uneven edge. We mark and start trimming. For this process, the author used a circular saw.
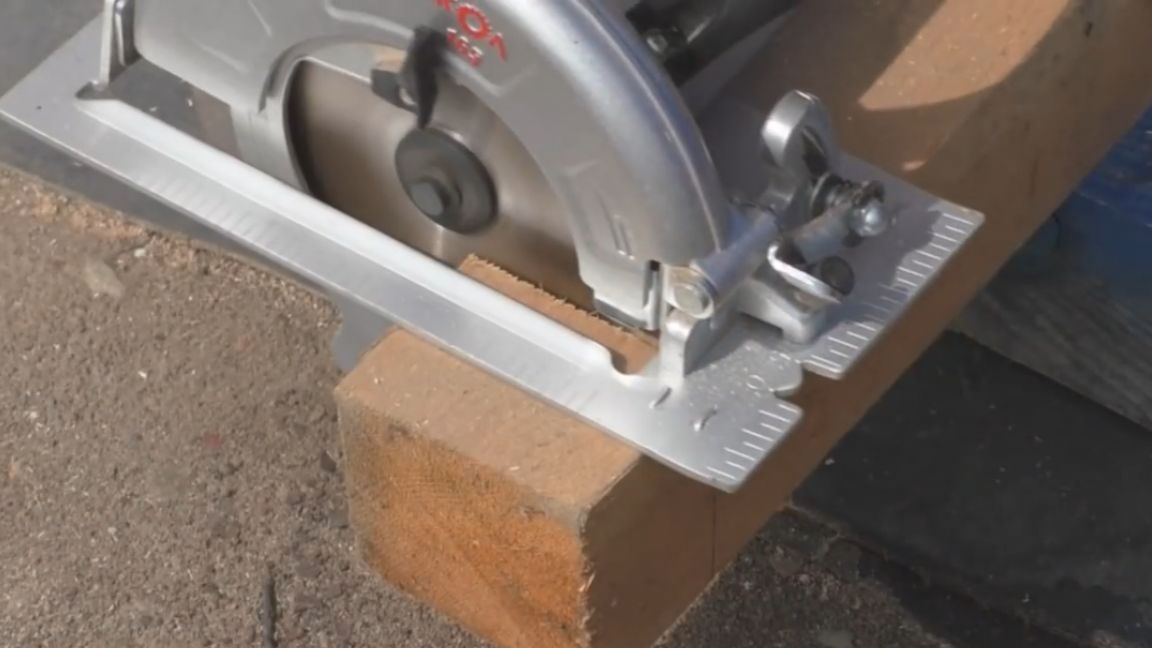
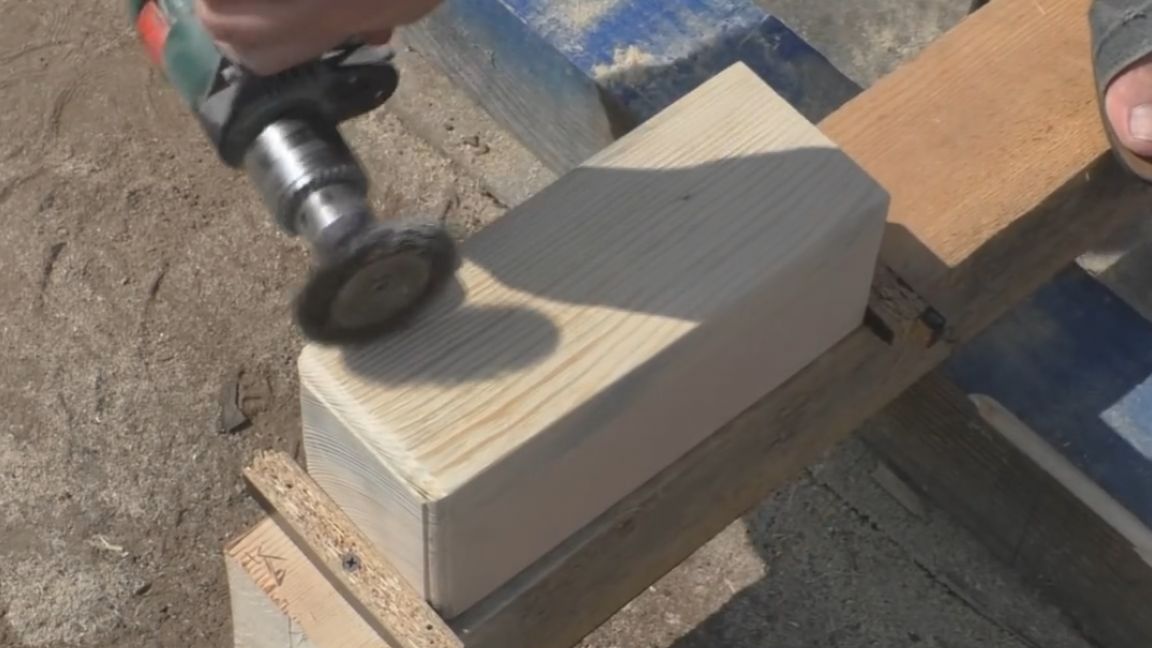
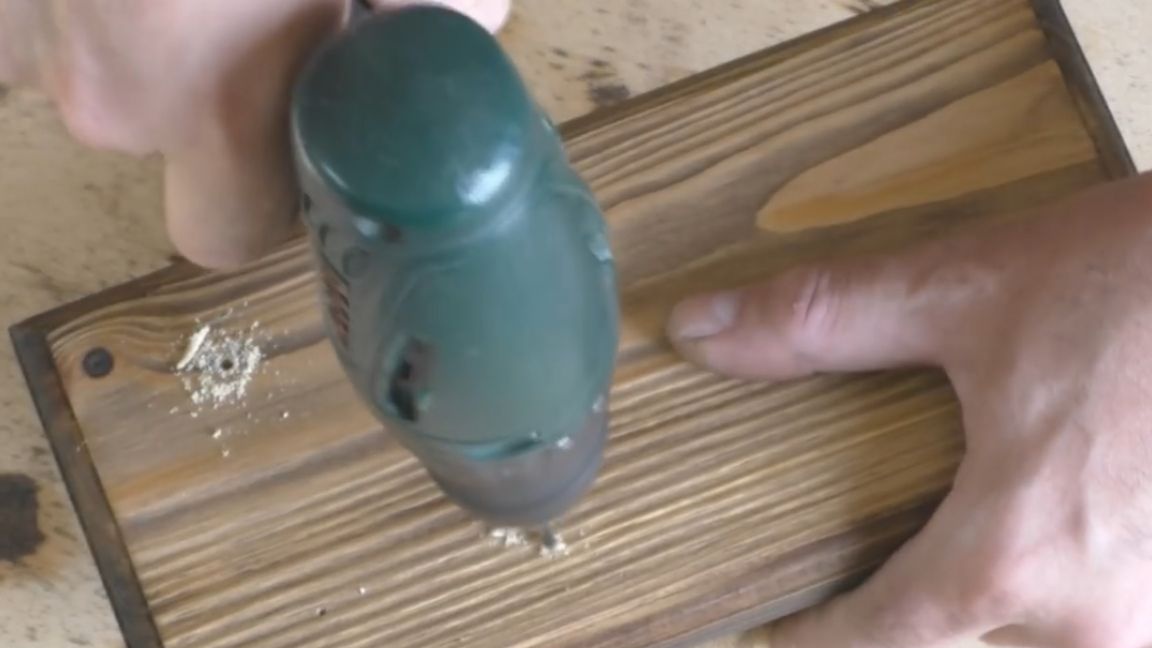
The author sawed in two passes, because the saw blade is not so large, therefore, it was not perfect, because the timber had to be sawed first on one side, then turned over and sawed off to the end. Well this is not scary. Sandpaper, well, or a drill with a special nozzle for grinding will help us fix this.
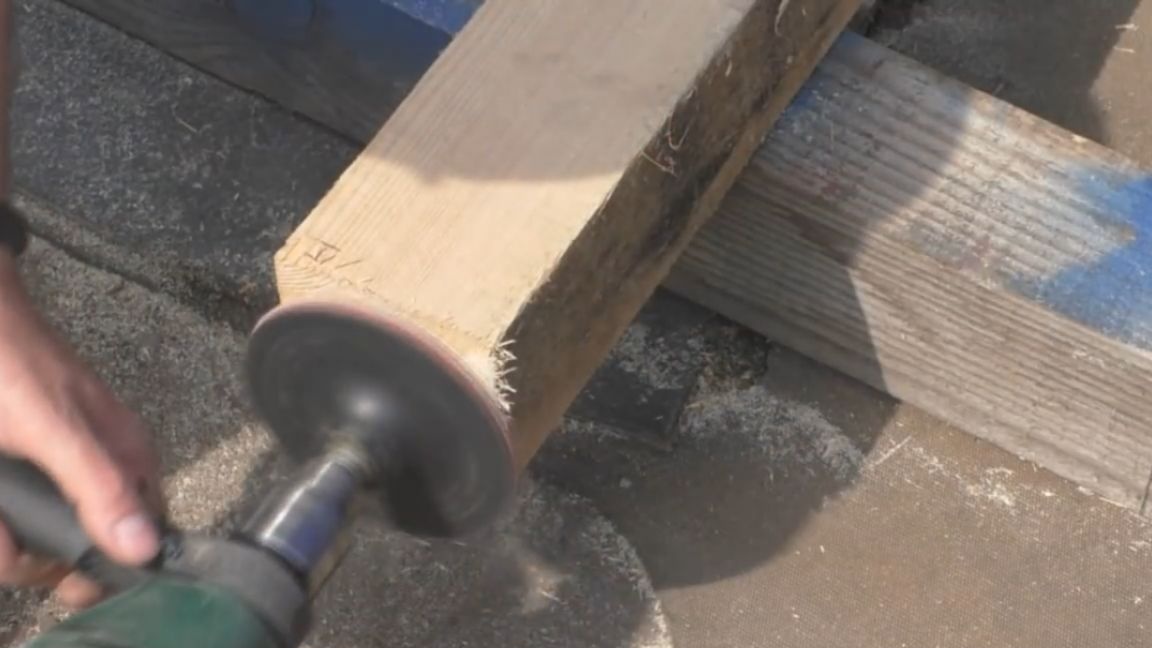
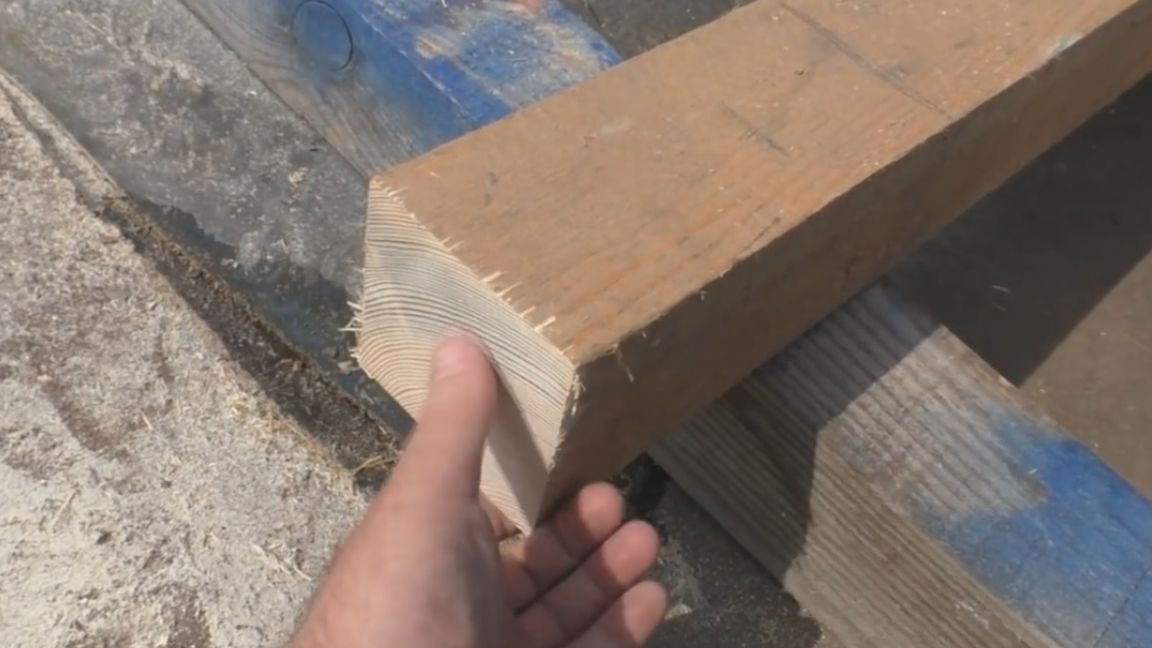
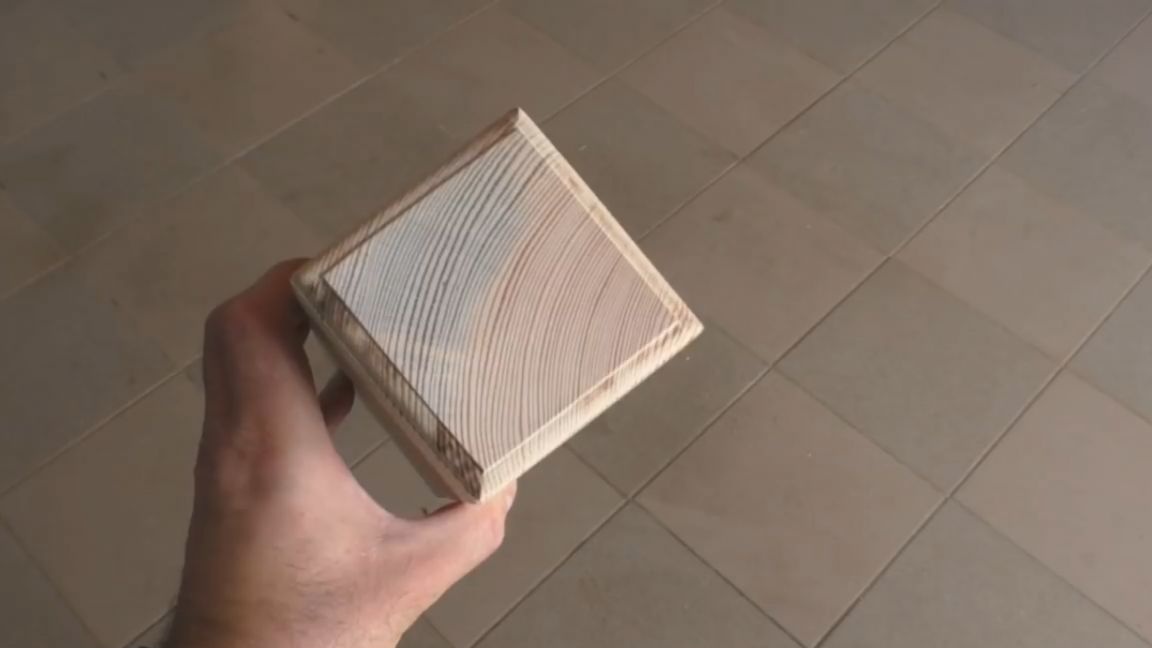
And after grinding we get a great smooth end. We also grind those parts of the beam that we will need in the future. To give a more aesthetic appearance, the author decides to mill the end of the beam.
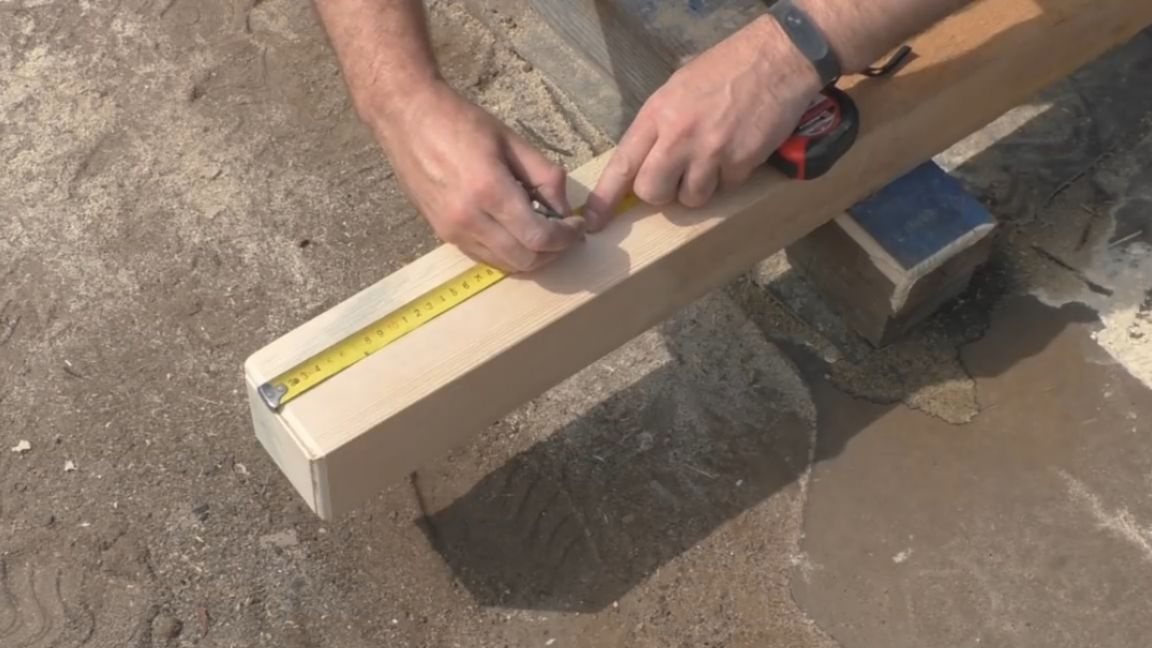
Now this workpiece can be finally sawn off. We measure the distance of 250 mm and saw.
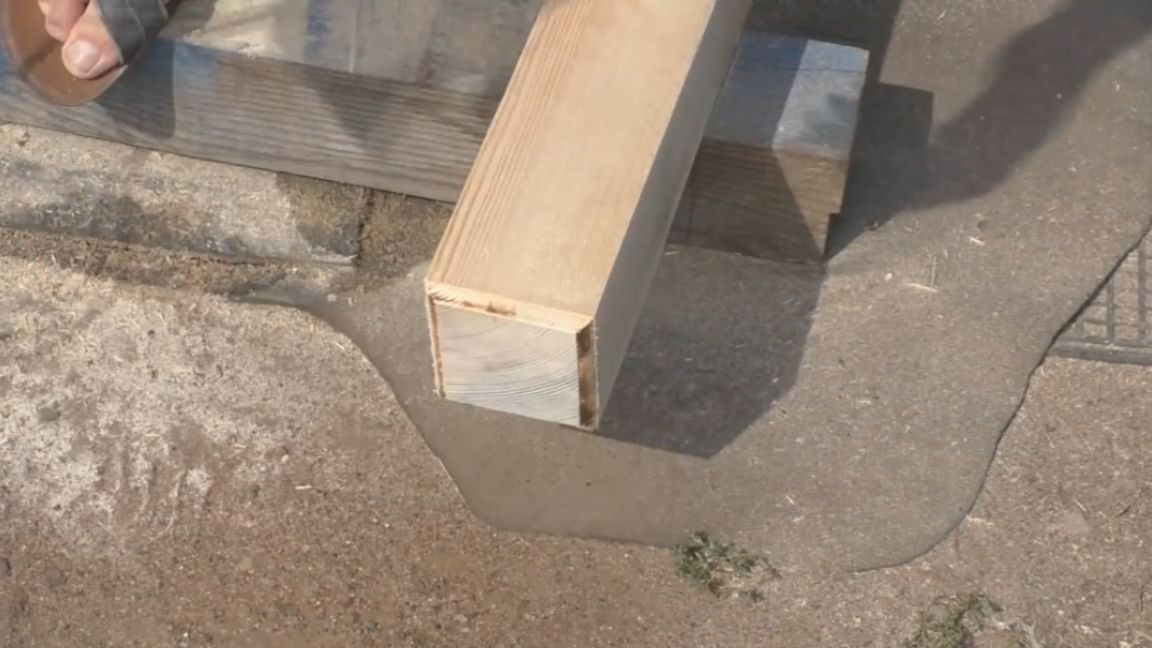
The beam is certainly not a standard, it is a bit of a propeller, but this one will do for this homemade product.
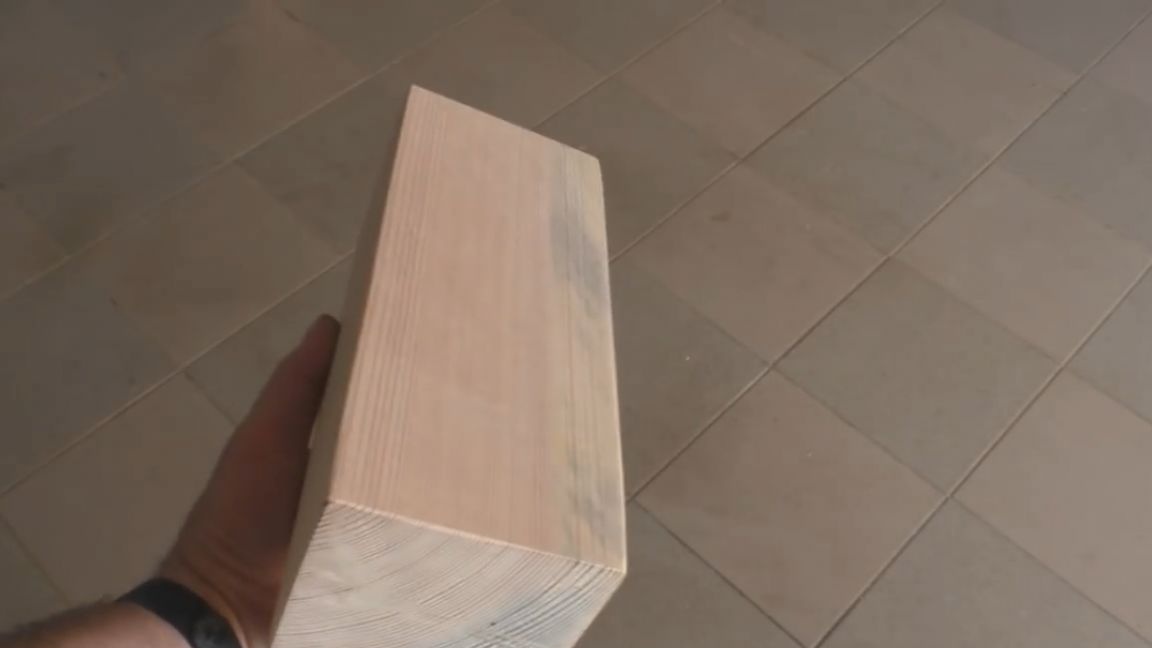
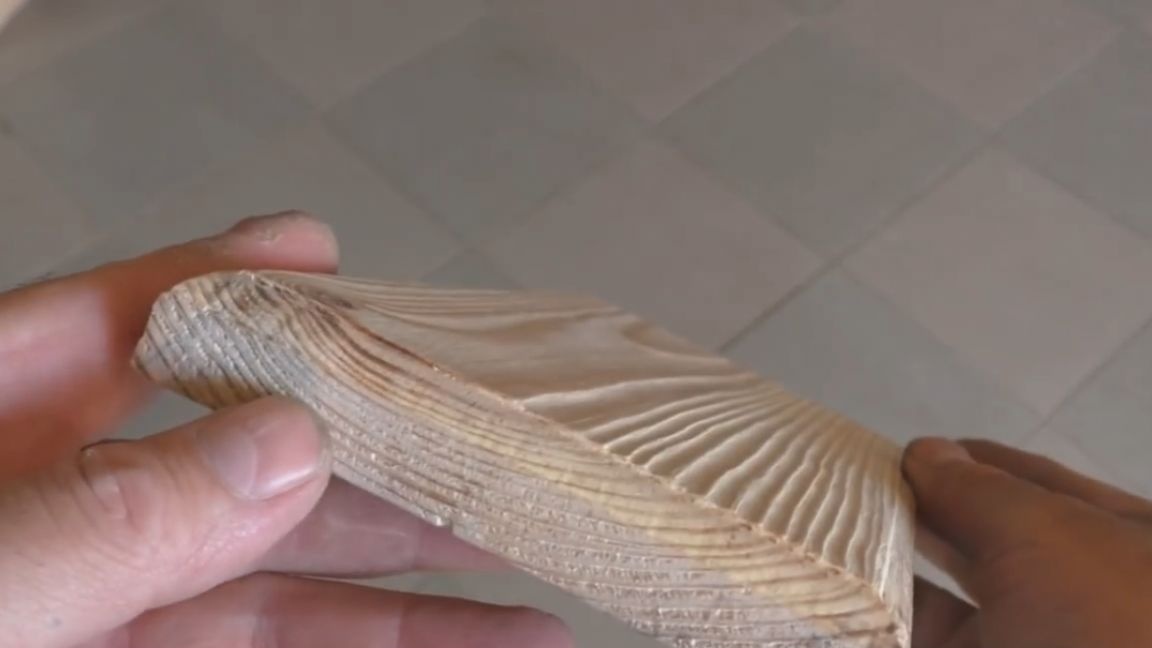
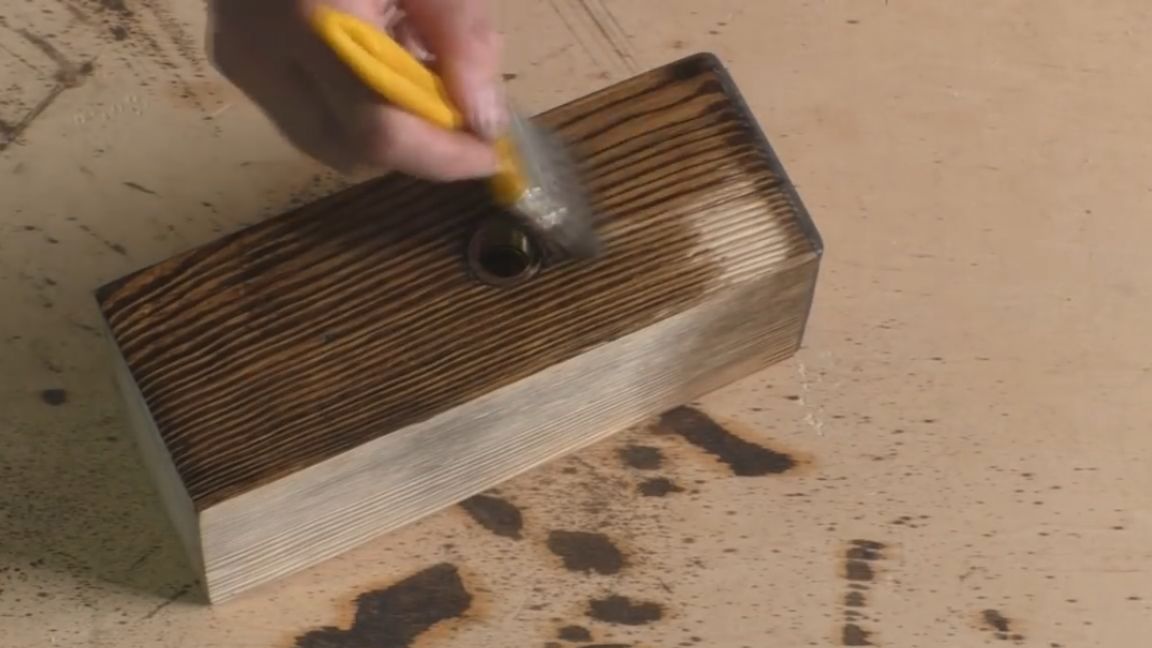
And in order to give him (the timber) a more solid look, the author decided to brush the wood. We will do this with the help of such a metal brush and a drill.
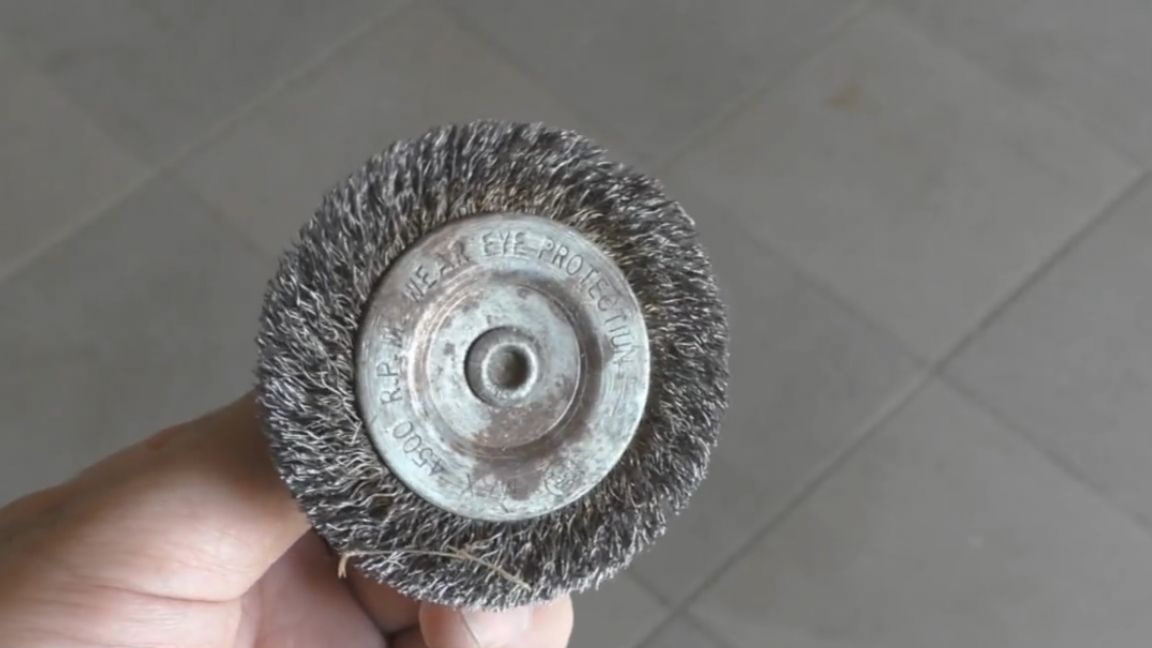
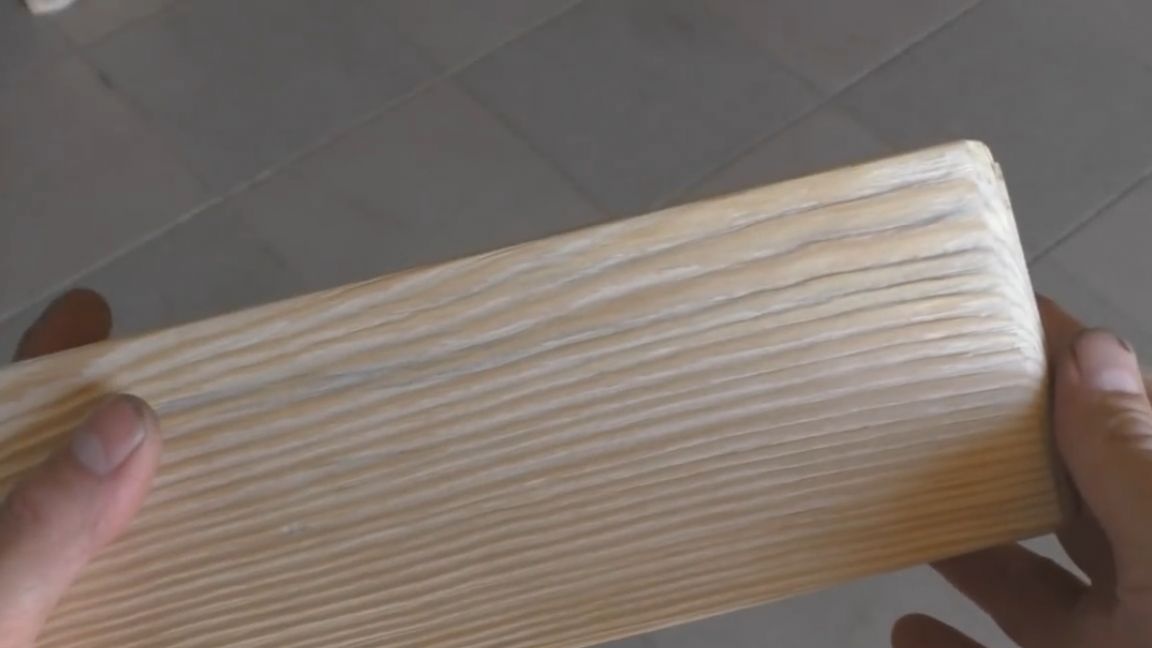
We choose the soft structure of wood, which gives our blank a more prominent and voluminous look. Of course, do not forget to then go for a plastic brush with an abrasive to smooth out all the bumps and sharp edges. And we got such a cool beam here, which for now we put aside and move on to the manufacture of the next part, which we will make from an ordinary board 20 mm thick, 130 mm wide.
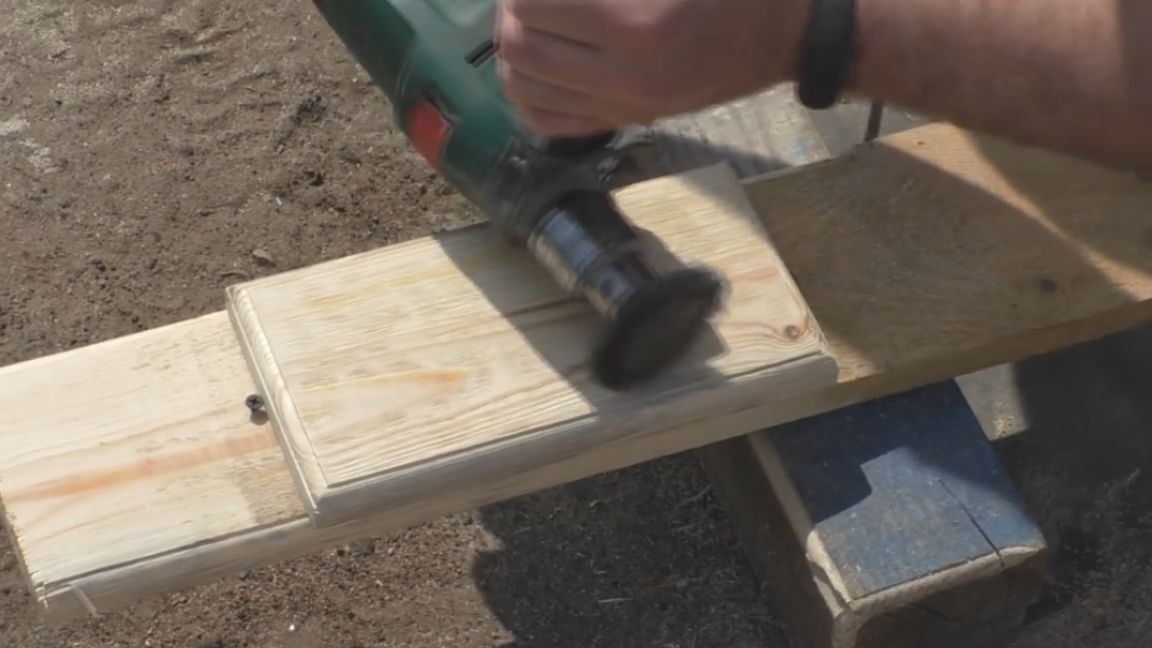
We do the same milling as on a bar and grind the workpiece. After grinding, cut it to the desired size (in this case, 250 mm) and perform the same operation with brushing the wood.
As a result, we get just such a nice stand:
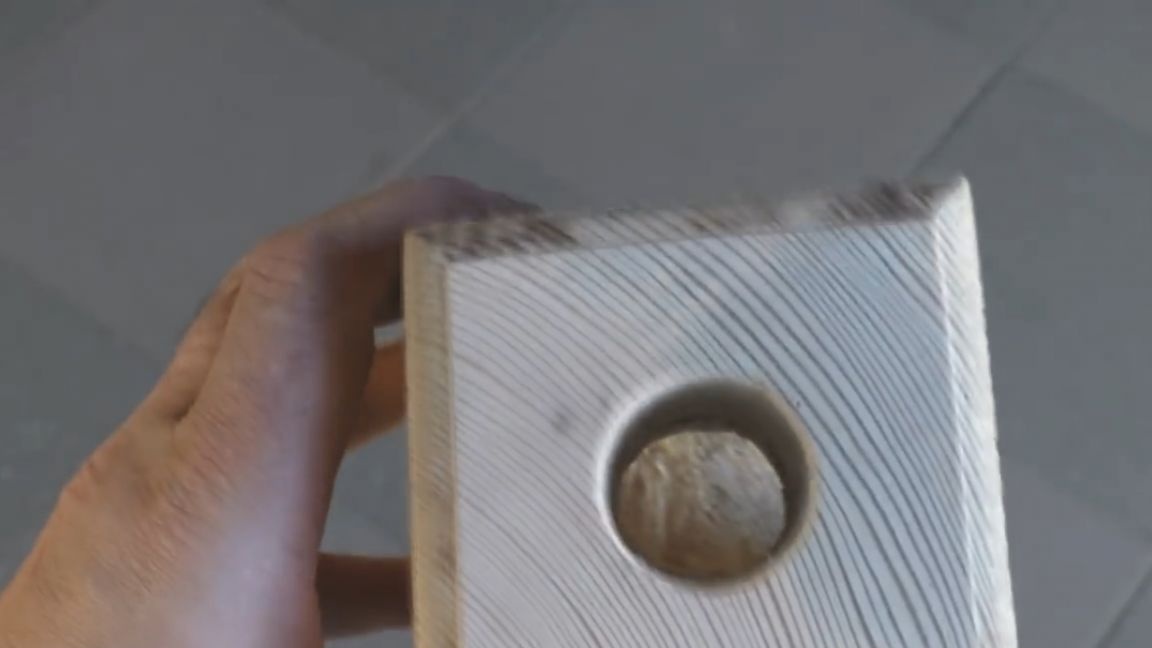
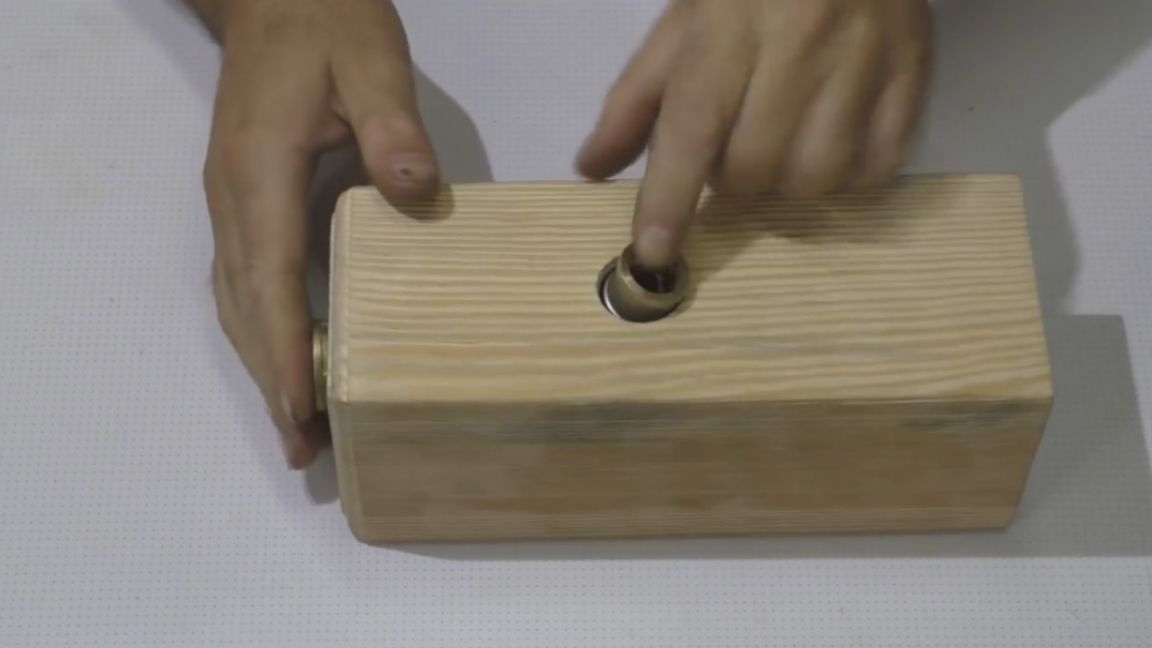
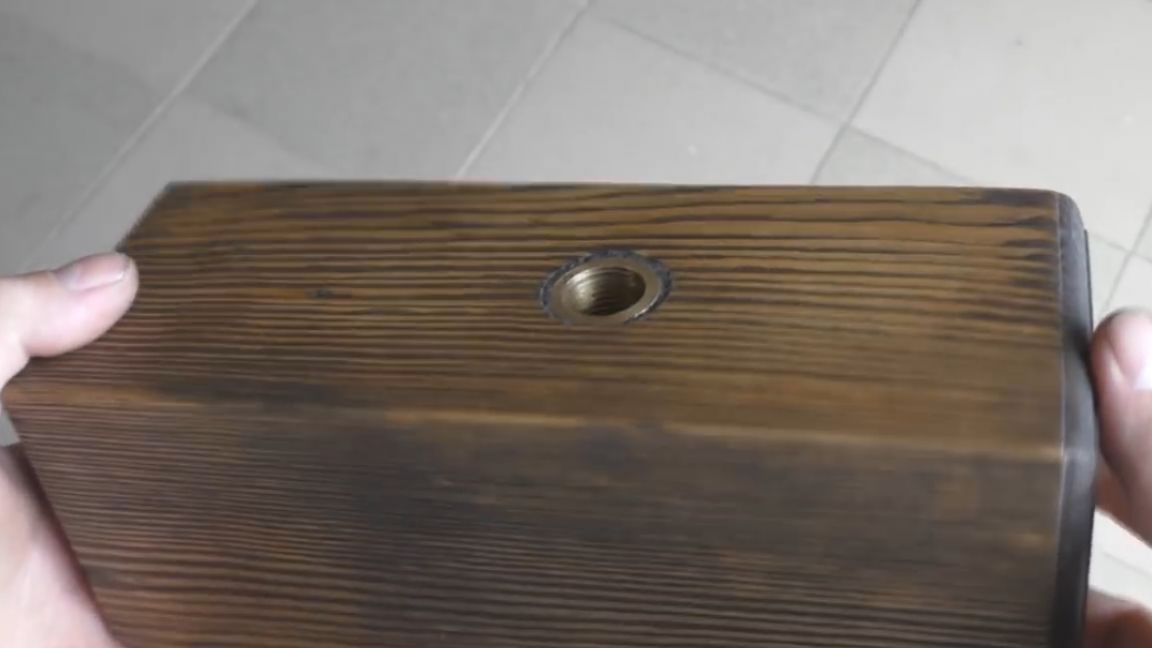
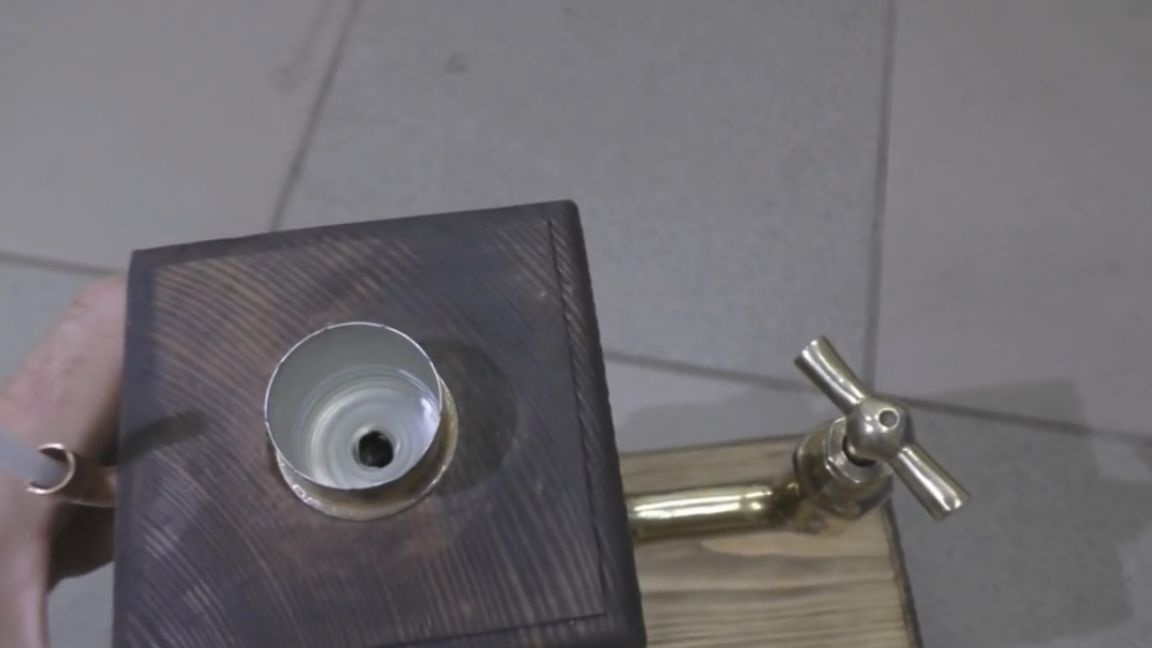
Put it aside and return to our beam. From the bottom of the beam where there is no milling, measure the distance of 140 mm and drill a blind hole. We drill a hole with a drill with a diameter of 29 mm.To do this, you can use a feather, a crown, well, in principle, what anyone has at hand. The author drills the crown, so you have to periodically break out the drilled fragments from the bar itself.
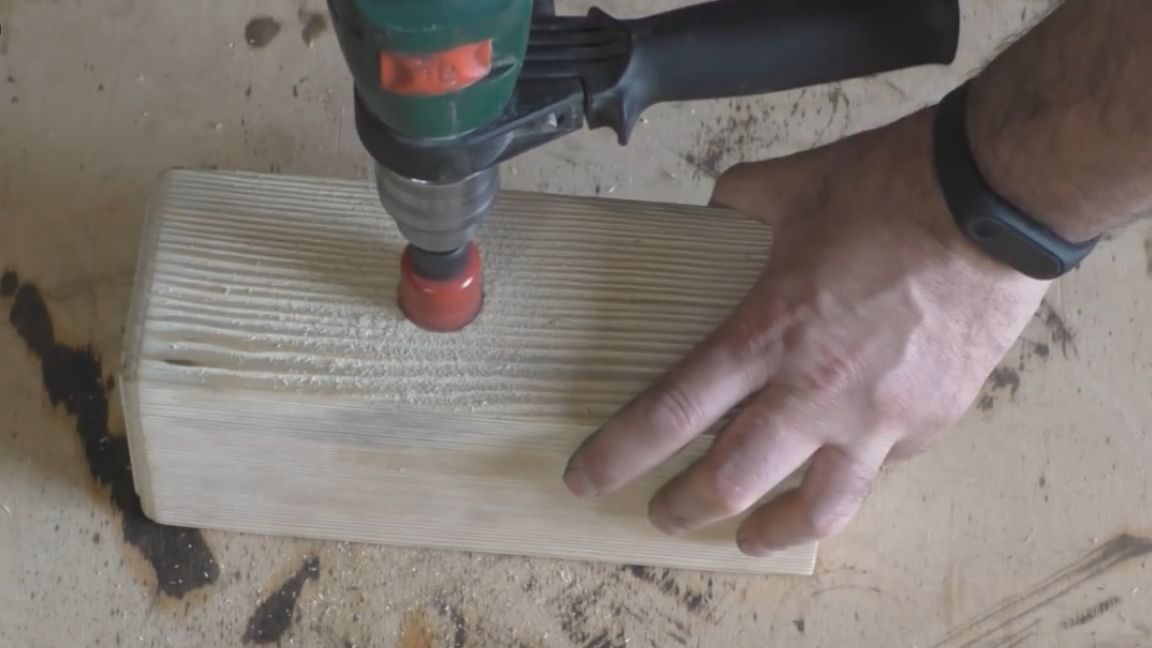
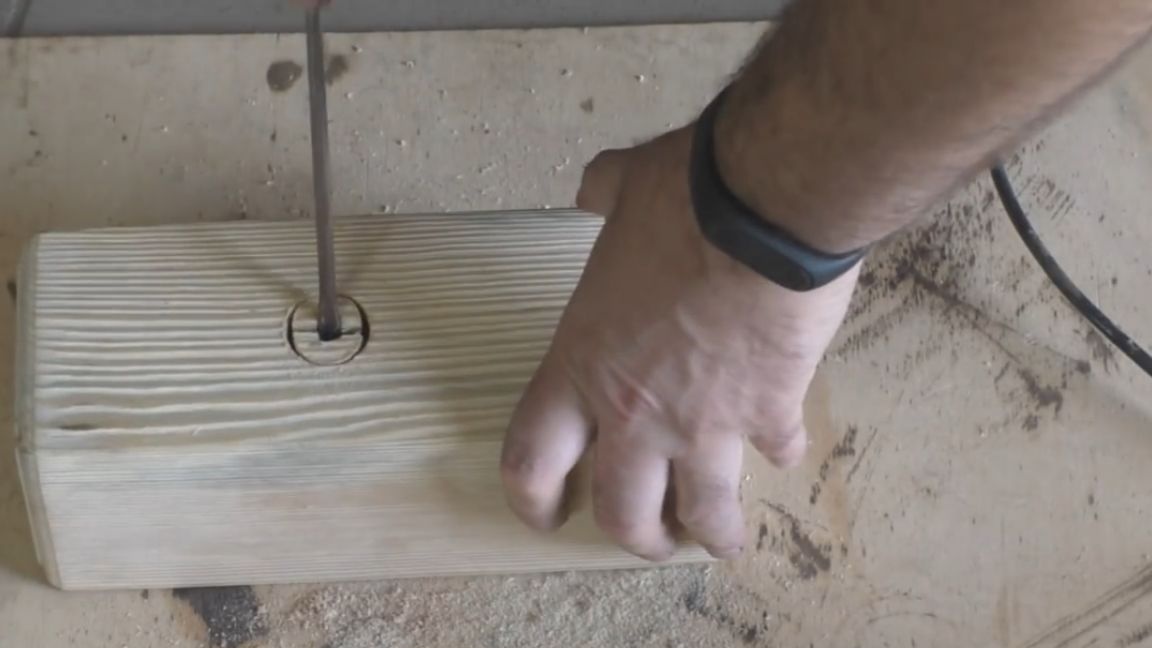
We perform exactly the same drilling operation with the upper part of the timber. Here, we drill a hole strictly in the center, but already with a diameter of 32 mm. Drill until the holes intersect.
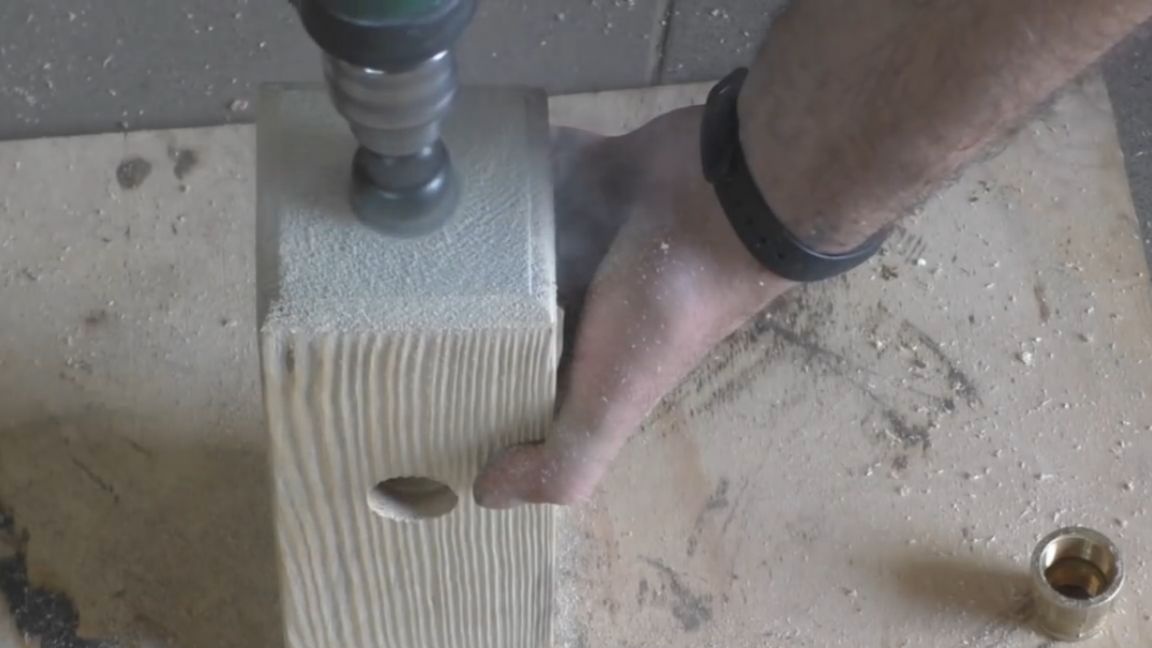
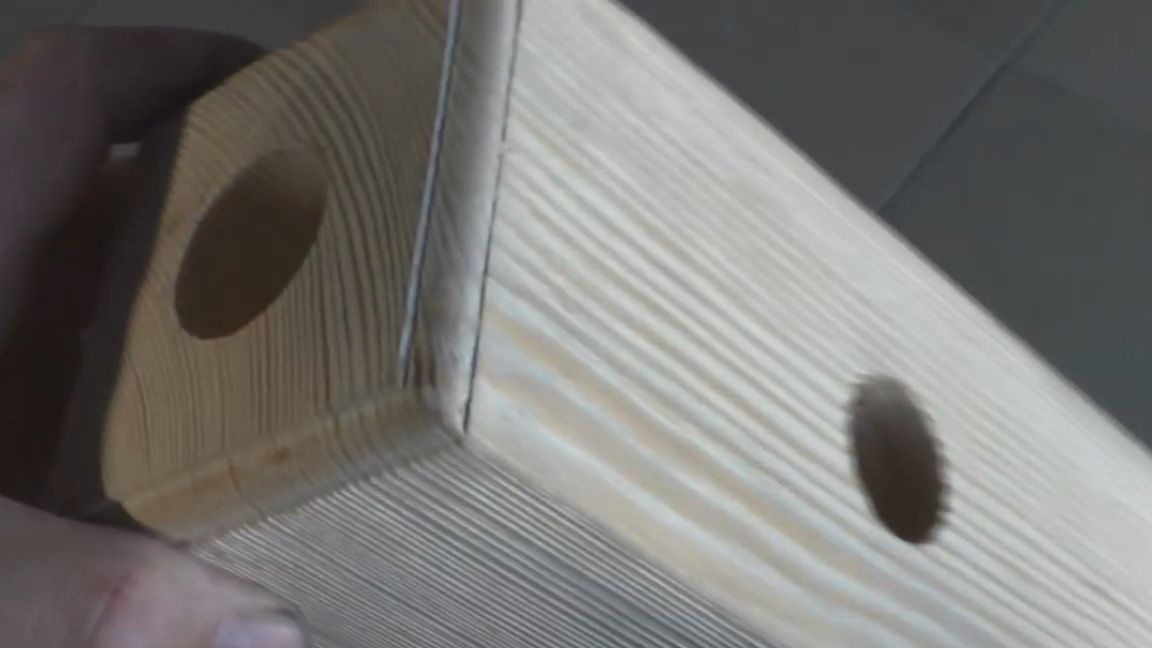
Along the fibers, drilling with a crown is more problematic, the tree does not chip, so you have to clean it with a feather drill. We get such a workpiece with two holes that intersect inside the beam and form such a l-shaped hole.
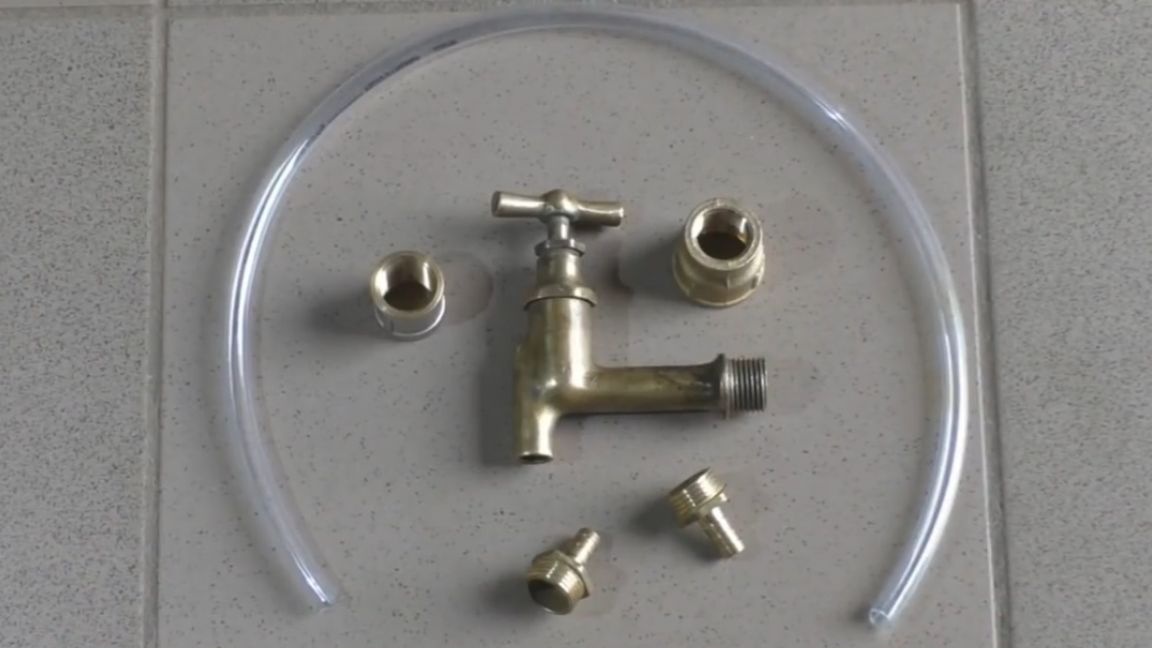
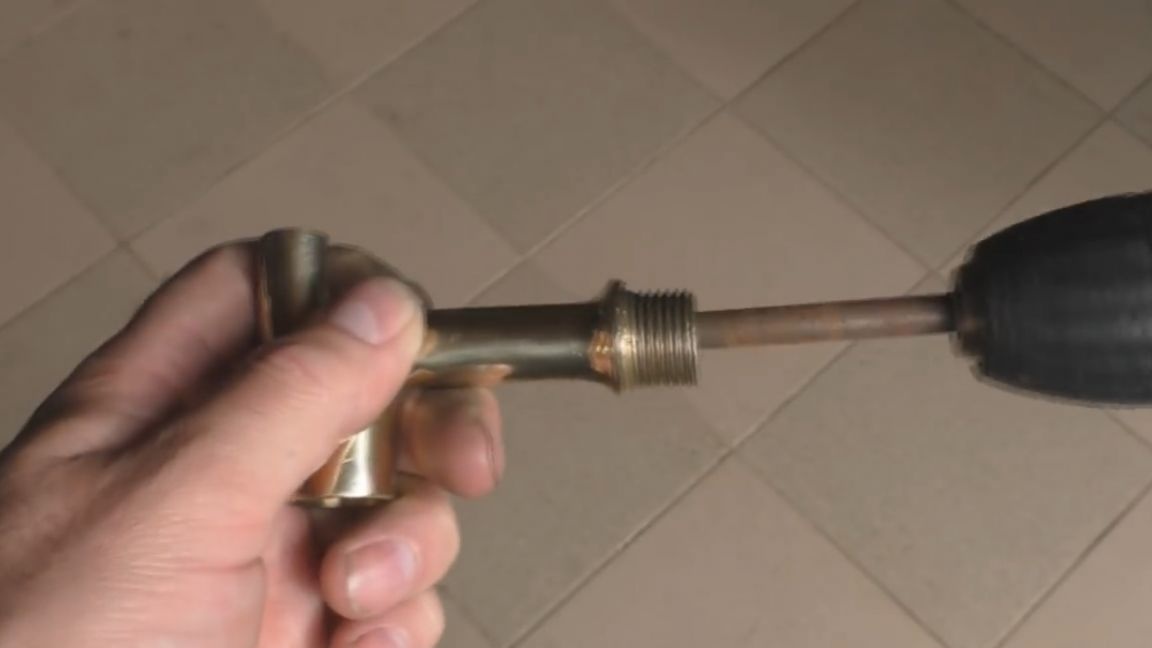
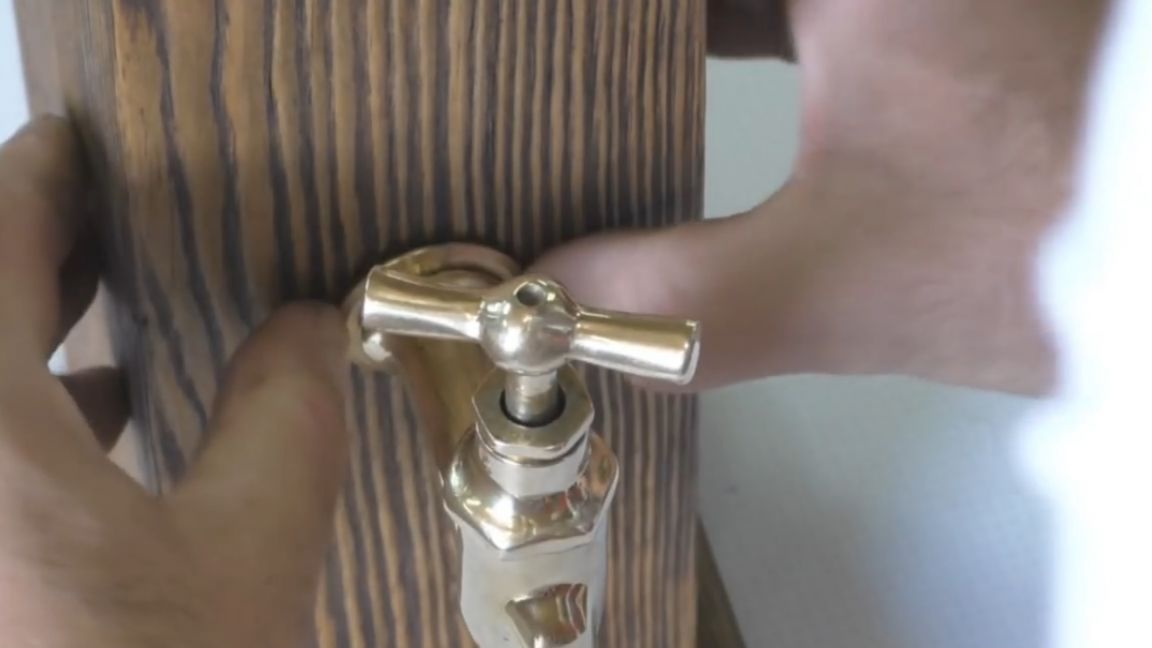
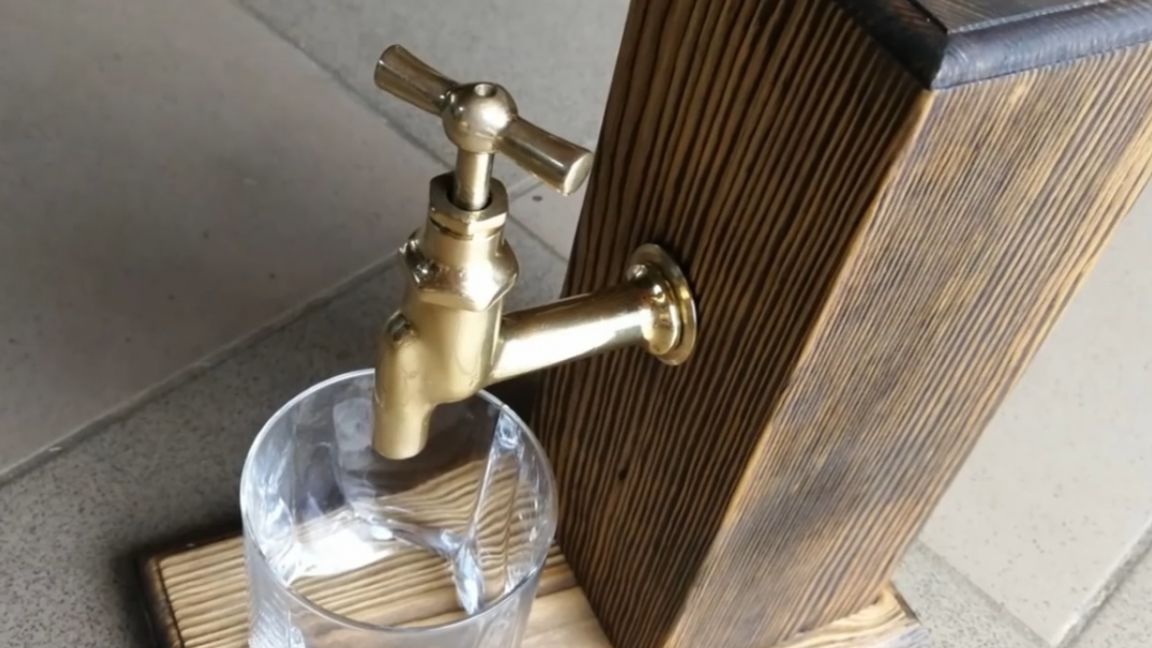
And also, especially for today's homemade work, the author at a flea market purchased such a cool old faucet and several plumbing elements.

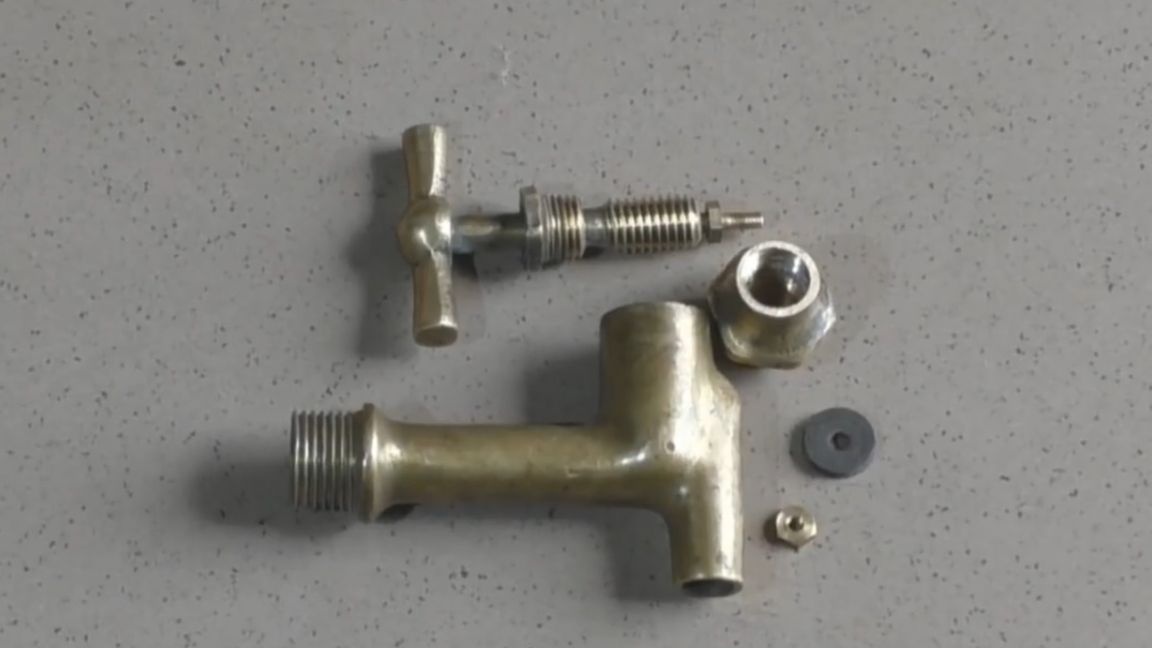
First you need to disassemble the crane and make an audit. The author decided to polish the tap and see what happens in the end. This work is not fast and rather painstaking, especially polishing small parts. Also, the author decided to clean the internal cavity of the crane, in general, he approached the audit thoroughly.
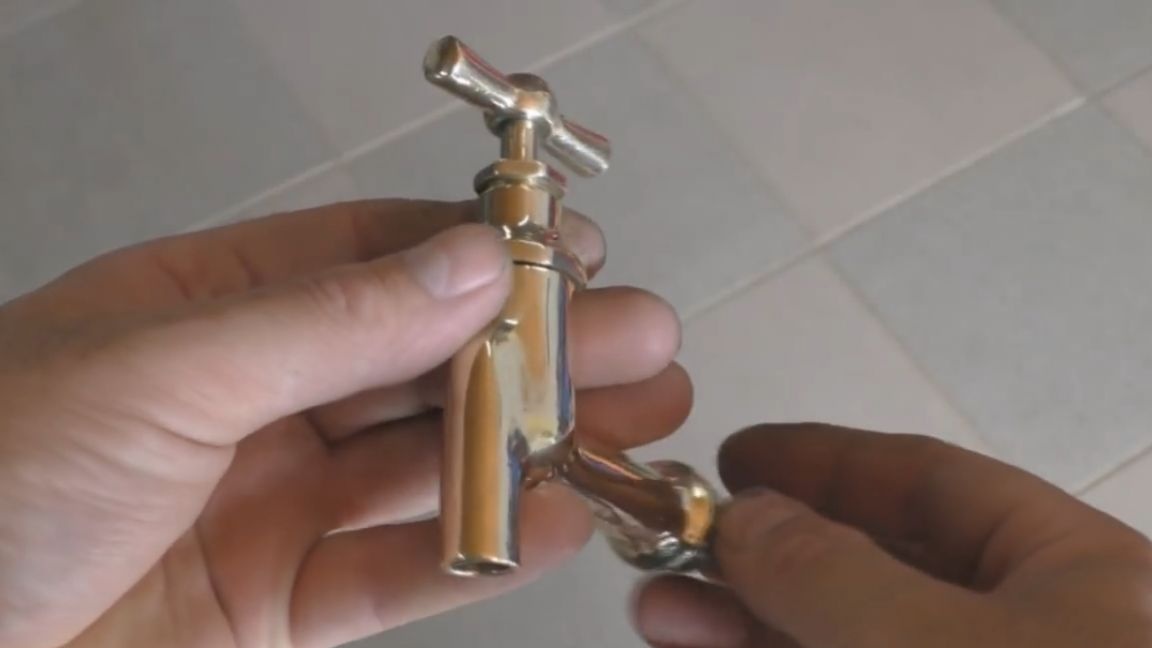
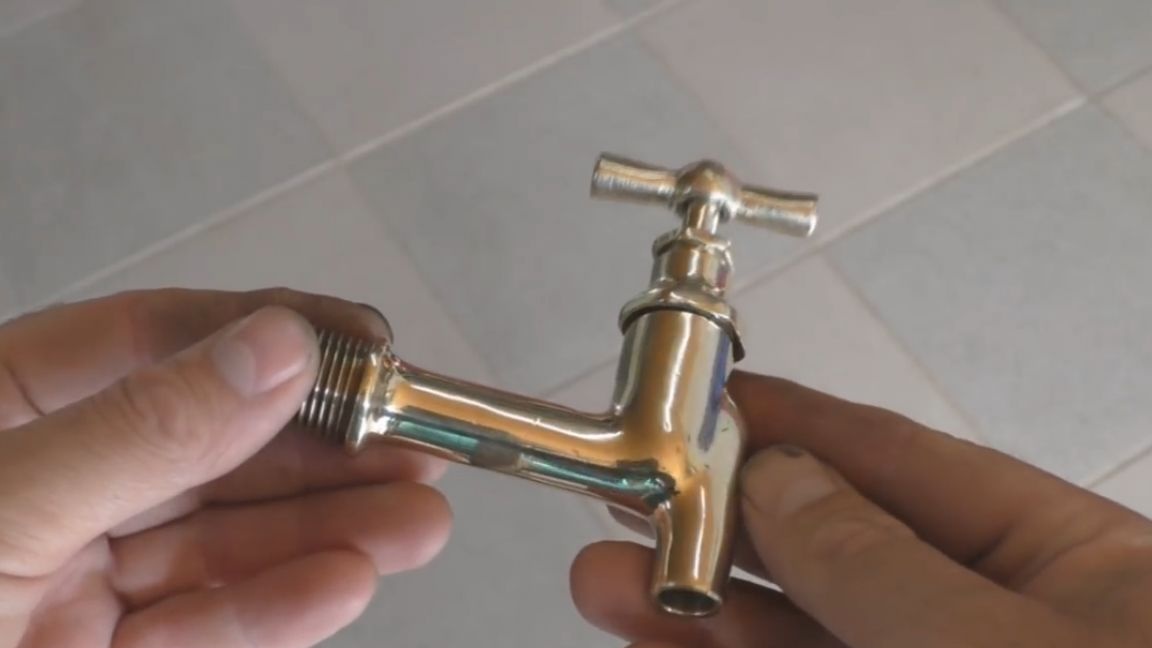
After polishing and assembling the crane, the author was simply in shock. See for yourself, it feels like holding just a piece of gold, it shone so much.
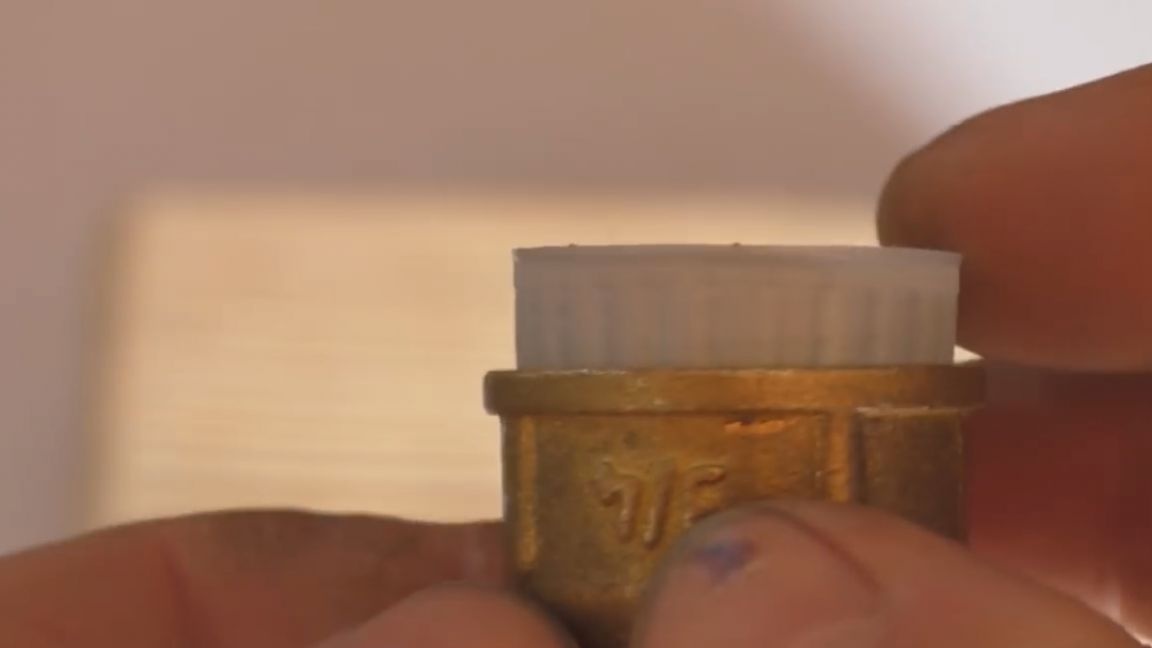
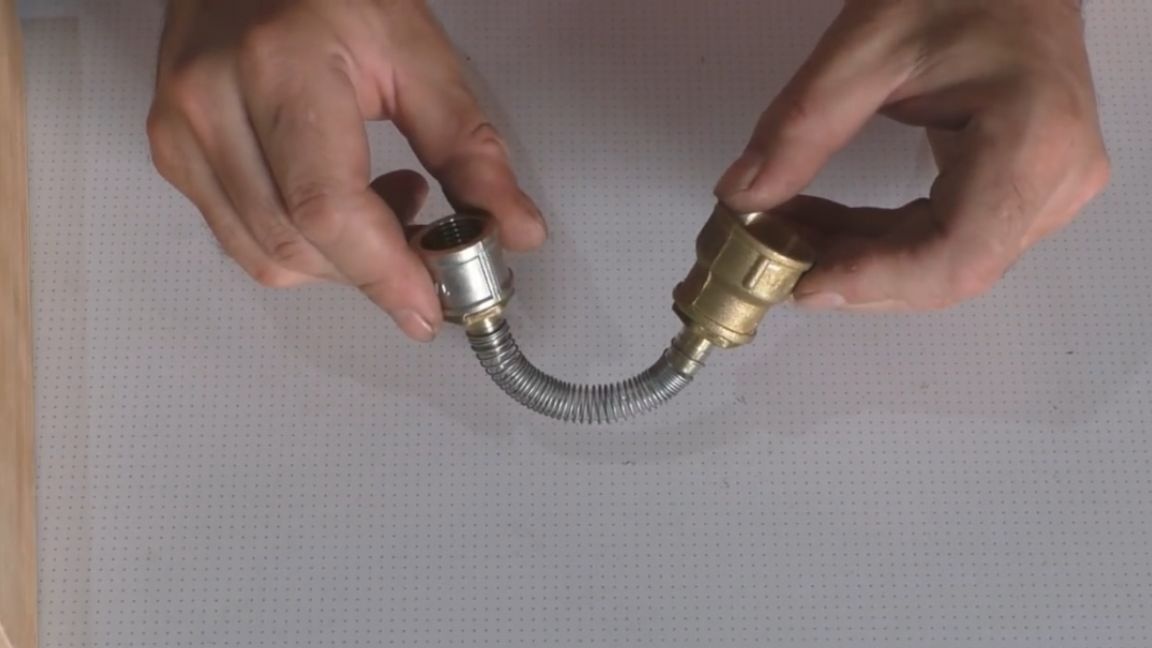
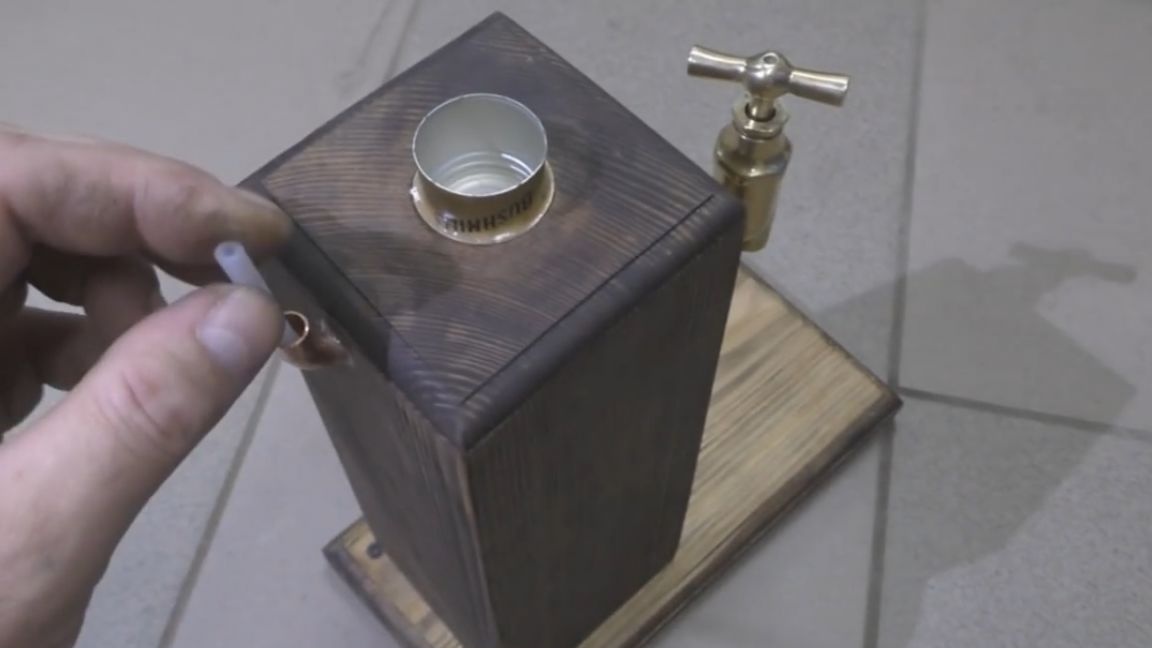
Admired and that's enough. Now in the adapter sleeve we need to install the bottle cap.
But she doesn’t want to get up there, so she will have to work a little on the lathe. We take off just a couple of millimeters, and the lid safely fits into place.


Well that's it, now you can start assembling by connecting the couplings to each other through the nozzle using a silicone hose. We put on such a makeshift spring for ourselves, which the master made of ordinary knitting wire. The spring is needed so that the hose does not break when bent.
Then the resulting workpiece is installed inside the timber. Now this blank must be properly fixed inside. We will do this with the usual two-component epoxy-based adhesive. We thoroughly lubricate the parts with glue and install them in their places.
Well, now painting. We will impregnate the wood with oil. This oil dries quickly enough, but the smell lasts for several days and you need to leave the finished part somewhere in a well-ventilated room so that it remains there until the smell completely disappears.
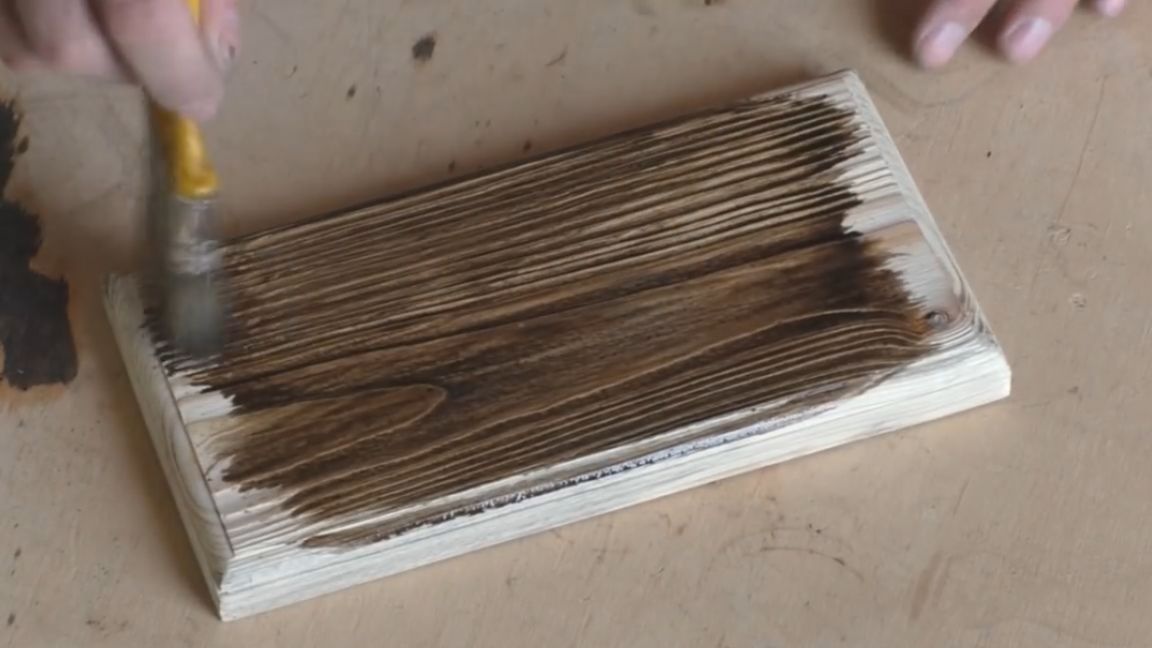
After impregnation, the wood looks pretty good. She has such a matte shade that looks pretty noble. In general, it turned out cool.

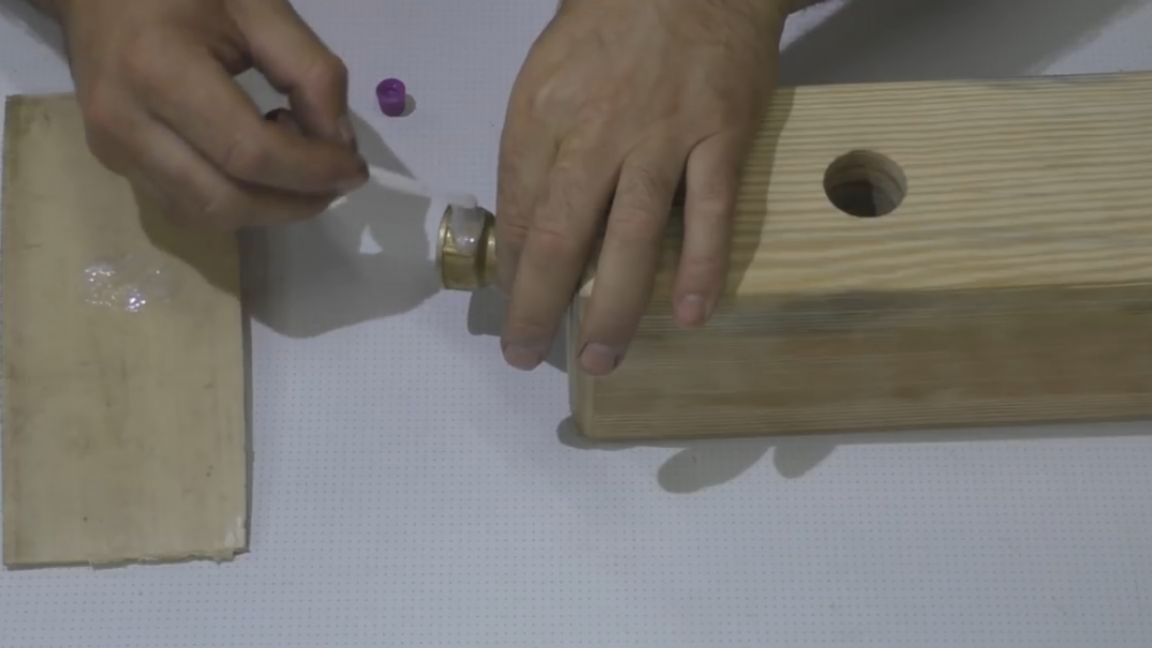
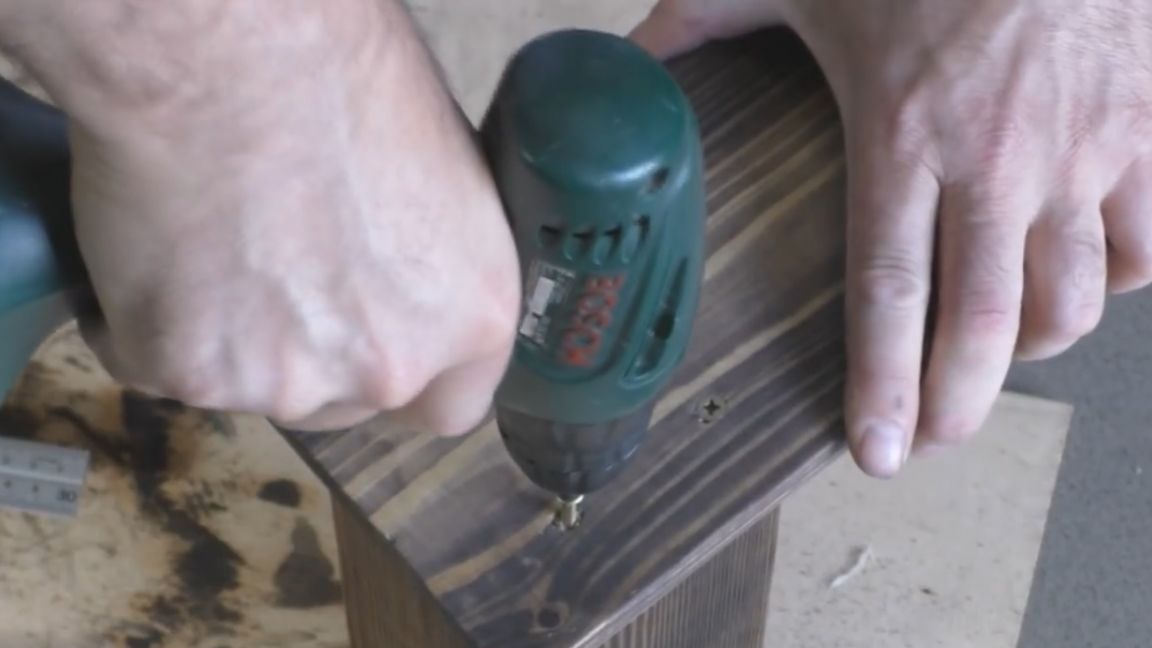
Now these two blanks need to be "married." To do this, in the lower platform we drill 4 holes and put everything on the screws. Then we turn the crane in place and see what we got in the end.
And most importantly, in order for the stand for hot drinks to fully function, you need to make an air tube from the back of the stand. To do this, drill a hole in the upper flange and insert the tube there. It is better to put the tube on glue, of course. It looks like this:
Now everything should work without problems. Now this homemade product will take pride of place, for example, in the living room. Such an original device will not leave anyone indifferent and will cause a smile. And the most basic: Do not abuse! As a result, we get such an improvised alcohol cooler.
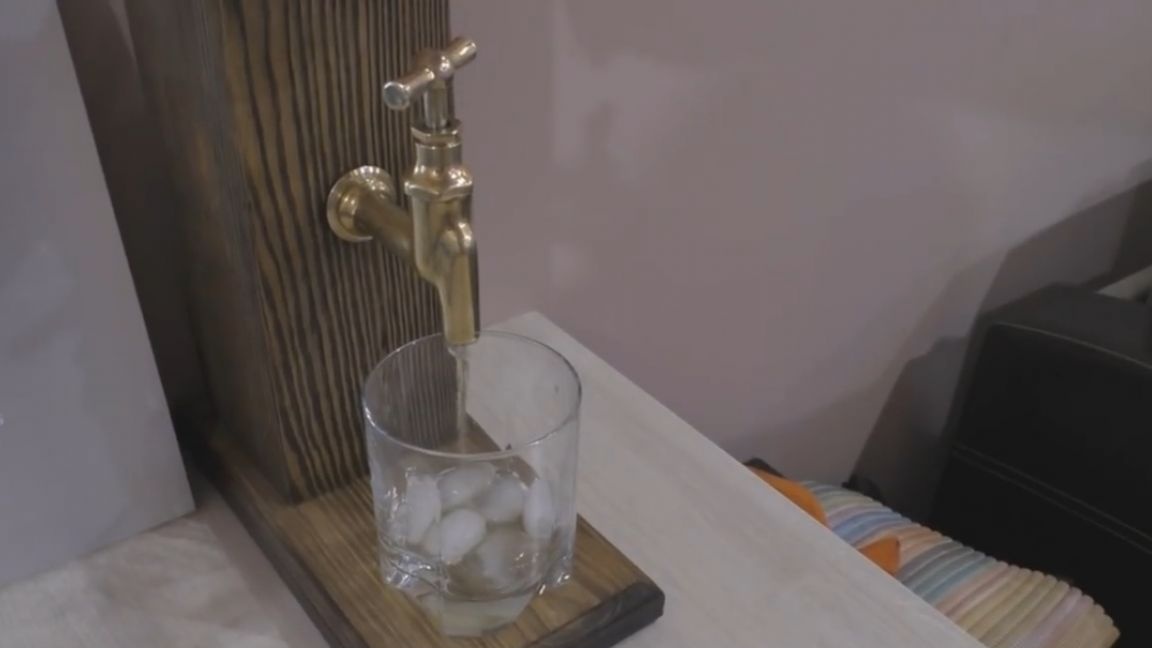
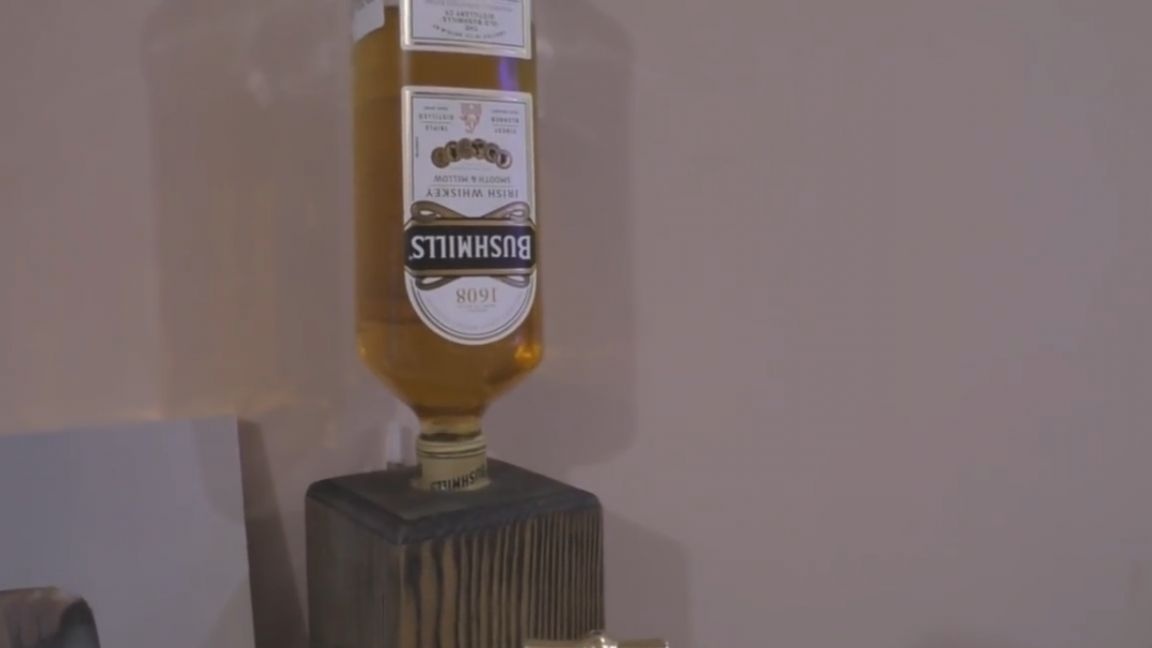

This homemade product can decorate almost any room and will be a great gift to your friends and relatives. Well, that’s all. Thank you for attention. See you soon!
Video: