» Electronics » Sound and Acoustics »Radio from built-in panel M011

Built-in radio cassette player M011


This article describes how do it yourself to make a radio with Bluetooth, MP3, SD, USB, FM from the built-in module. This unit can be made in one free evening.

To do this, you need the following details - built-in module with Aliexpress M011 (), a pair of VLF amplifiers TDA2030 (), two loudspeakers, a transformer 220 \ 15V, a rectifier bridge, a lowering board or a 12 volt stabilizer, suitable housing for speakers.

This type M011 socket is a ready-made module with the function of an FM radio receiver that plays mp3 and WMA files from flash drives, memory cards or external hard drives. She has a linear AUX input, bass output to the amplifier. In bluetooth mode, the module plays the audio signal from the phone. Management is carried out by buttons from the remote control or on the front panel.

On the front panel of the module are located: LED display, which indicates the track number or frequency of the radio station and additional data on the operating mode; USB connector for connecting media; slot for an SD memory card and control buttons. The panel circuit board has audio input, output, 12V power connectors and a contact for soldering the radio antenna.

Since this design is a kind of ready-made constructor electronic modules can be quickly and inexpensively assembled even by a beginner amateur radio amateur.

You can use this radio at least at home, in the country or build modules in car or music center. If necessary, you can add batteries with a charge controller, then get a mobile version of the radio.

See the entire manufacturing process in the video:


The list of tools and materials
- built-in module M011 ();
- two amplifiers VLF TDA2030 ();
- two loudspeakers with a power of 3-5W;
- transformer 220 \ 15V;
- rectifier bridge or four diodes on 1A;
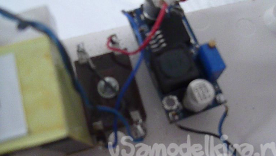
- lowering board or stabilizer for 12 volts;
- any suitable housing for speakers;
- screwdriver;
- scissors;
- soldering iron;
- cambric;
- tester;
- connecting wires.

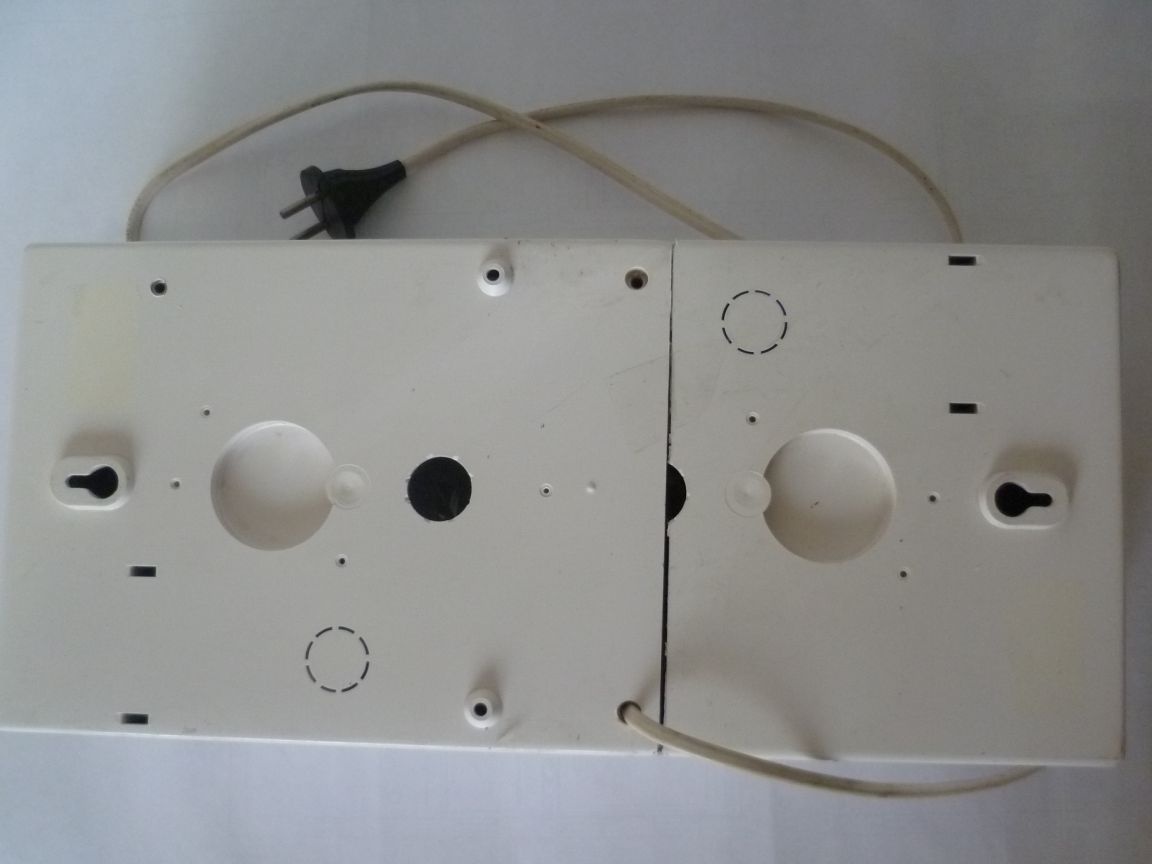
Step one. Making a case for the radio.

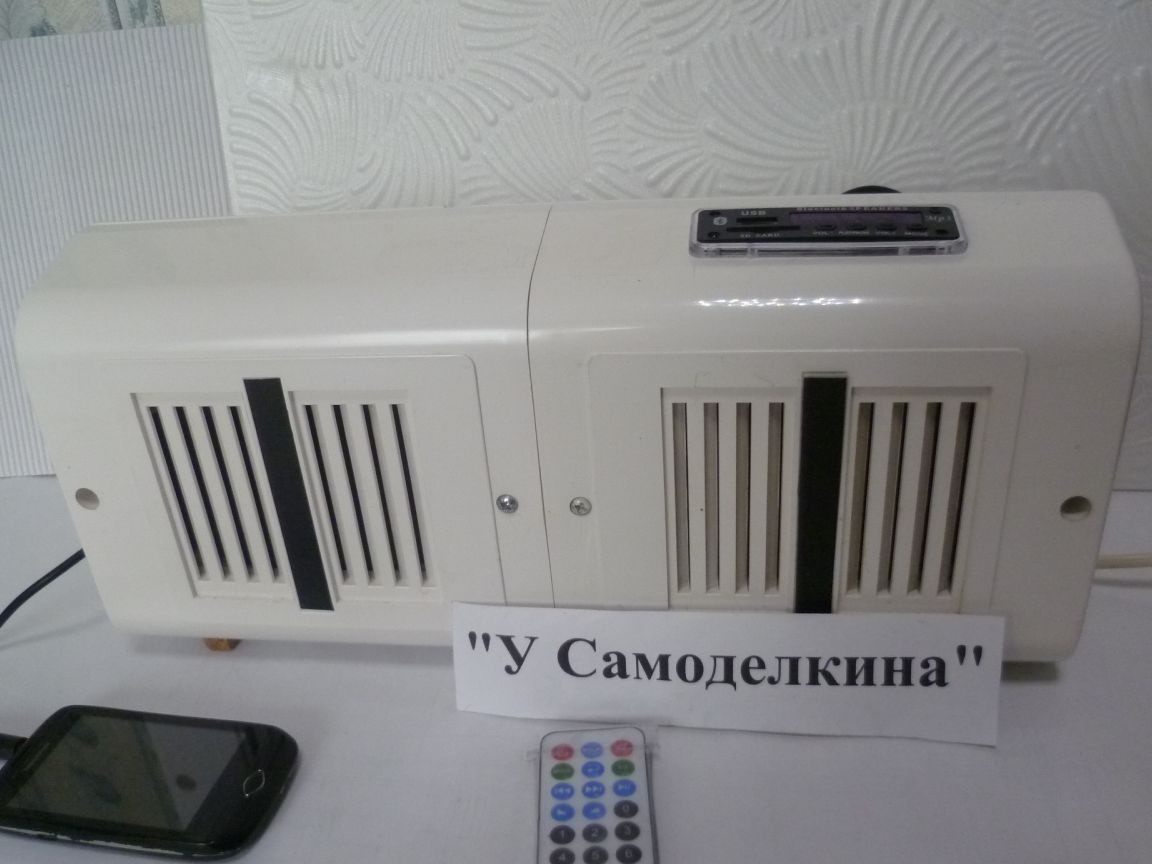
I had two plastic speakers with 6W speakers. I decided to make a radio casing based on them. The front parts were left without alterations, and one rear cover was cut to size. He glued the front parts with pieces of plastic and screwed them with screws. It turned out one whole front cover. It has speakers installed and a window has been cut for installing the M011 module.


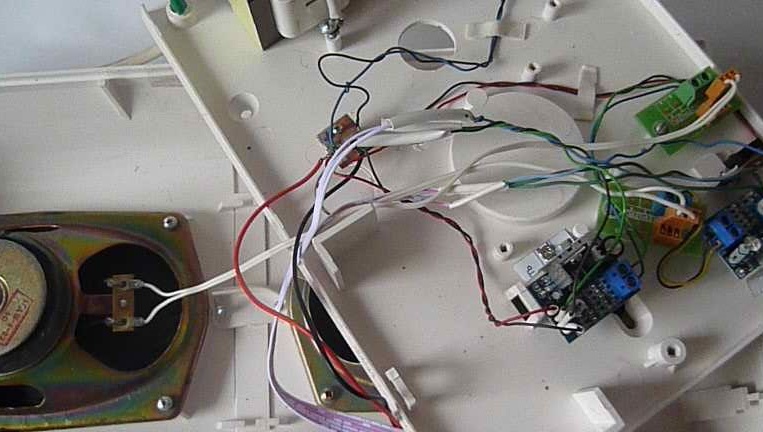
Next, we mount all the components on the back wall - a transformer, a rectifier bridge, a lowering board, low-frequency amplifiers, a jack for 3.5 for the AUX input.
Built-in radio cassette player M011

I didn’t install the telescopic antenna because it was enough for the 35 cm length of the mounting wire (I glued it with tape inside the radio case. The quality of the reception of radio stations is similar to that of a telescopic antenna.

Step Two Wiring the radio circuit.
All that is needed next is to solder the radio components according to the scheme. The M011 built-in module is equipped with wires with connectors for audio input, output and 12I power. We extend these wires with a mounting wire and, accordingly, connect to the TDA2030 ULF amplifiers and to the AUX connector.

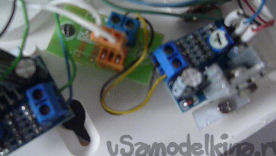
We connect power from the lowering board (first we set the variable resistor 12V according to the tester). Solder the antenna wire.
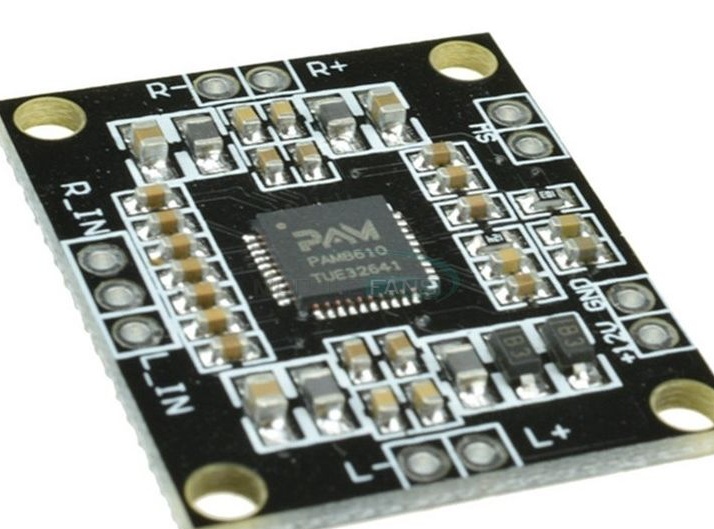
As a power amplifier, you can use other ready-made or home-made amplifiers. I had an amplifier RAM8610. It is a class D amplifier, power 2x15W. But by ear I didn’t like him as much as the TDA2030, the distortions are more noticeable and not so soft sound.

When I turned on for the first time, the radio circuit immediately worked for me. .Now it has become possible to listen to the radio, listen to music via Bluetooth or AUX audio input from a phone or tablet. In general, we got a good radio with all the modern functions.

This is the design of the weekend. It was interesting to make a useful and inexpensive device with your own hands. It’s up to the beginner to make such a radio receiver with modern bells and whistles without much time and money. The scope is extensive - the house, in the car, in the country, etc.

All the work went two or three days off and 390 rubles (module M011-250r., two amplifiers 2x45 = 90r. lowering board DC \ DC 50r. all Aliexpress). The rest of the components I had were in stock.

I wish you all good luck and success in life and work!
0
0
0

Add a comment

    • smilesmilesxaxaokdontknowyahoonea
      bossscratchfoolyesyes-yesaggressivesecret
      sorrydancedance2dance3pardonhelpdrinks
      stopfriendsgoodgoodgoodwhistleswoontongue
      smokeclappingcraydeclarederisivedon-t_mentiondownload
      heatirefullaugh1mdameetingmoskingnegative
      not_ipopcornpunishreadscarescaressearch
      tauntthank_youthisto_clueumnikacuteagree
      badbeeeblack_eyeblum3blushboastboredom
      censoredpleasantrysecret2threatenvictoryyusun_bespectacled
      shokrespektlolprevedwelcomekrutoyya_za
      ya_dobryihelperne_huliganne_othodifludbanclose
16 comments
vitus138, I’ll ask again: how many microfarads are at the input of the module? 100?
And I hit such a car ... I have an old minivan for construction and "nature." There is a “radio tape recorder”, which reads nothing except disks. And on the driver's door, I accidentally broke the lining. Above, under the glass itself .. Well, in the place of this hole I crashed directly into the door.)))) Of course, I used the radio itself as an amplifier.))) Mine without bluetooth - I don’t need it. The little language on the card in it. But more often - I stick a flash drive with an audio book. The flash drive sticks up, does not interfere .... Somehow I take a picture on the occasion when I go on it ...
Author
They have this: lm2596 LM2596S DC-DC 3-40 V adjustable step-down power supply module voltage regulator 3A. And at the input of 18 volts, at the output of 12v. What is the difference, you can set the Krenk, or the voltage regulator, the main thing is to get 12v.
Maybe I do not understand something? I think they just do different in appearance. In terms of functionality, I think they are all the same, for the money.
By your link
Your video socket.
Quote: vitus138
The link in the video is the first real one, the socket I used here. And I set the electrolyte capacity experimentally, added 2000mF, no difference. And I clicked on your first link, this is another socket! The Chinese have many modifications to these modules.


The Chinese are all on one face, "for themselves" and do. In panels, the difference is only in the presence / absence of bluetooth. And by type (I mean by your and my link) it’s one to one.
Quote: vitus138
And I set the electrolyte capacity experimentally, added 2000mF, no difference.


Then don't bother yes
I’m used to lowering banks, and always filter.
Electrolytes are in a lowering board

vitus138how much at the entrance? And what is the lowering module itself?
Author
The link in the video is the first real one, the socket I used here. And I set the electrolyte capacity experimentally, added 2000mF, no difference. And I clicked on your first link, this is another socket! The Chinese have many modifications to these modules.


Link clumsily inserted, this should be normal!
Author
Electrolytes are in the lowering board - at its entrance and at the output, there are plenty of capacities !!!
You have a link to another socket. That is, the panels differ, one on the link, and another in the craft.

By link I took a socket cheaper, I plan to make acoustics in the garage.
Bought for two bucks. Now friendship is tormenting me and asking to order and make it to him. Now this seller has already raised the price a little and wants to sell all the remaining ones for sale.

https://en.aliexpress.com/item/Smart-Black-Remote-MP3-Player-ZTV-M011-Remote-Co
ntroller-Module-FM-USB-2-0-3-5mm / 32628738024.html? spm = 2114.14010208.99999999.26
2.FdMUtM

The electrolyte filter should be in any way, it is better to take our network “ironing” the condo with a margin of voltage, and not to munch on microfarads.
And without a circuit, the description and photographs show that there is no electrolyte after the bridge. Somehow, the converter manages to operate on a pulsating voltage. And the neglect is that the PAM8610 datasheet lists the power requirements that are not met here.
Author
And what neglect to the scheme ?? !! And what kind of surprise? And what did I give the inclusion circuit?
amplifier PAM8610. ... But by ear I didn’t like him as much as TDA2030,
Still would! With this neglect of the switching circuit, it will not work normally. I wonder how the TDA2030 works. Study the materiel, read the datasheet.

We advise you to read:

Hand it for the smartphone ...