
In this article, Vladimir Natynchik, the author of the channel of the same name, will tell us about how he made a USB floor lamp based on an address colored LED strip.
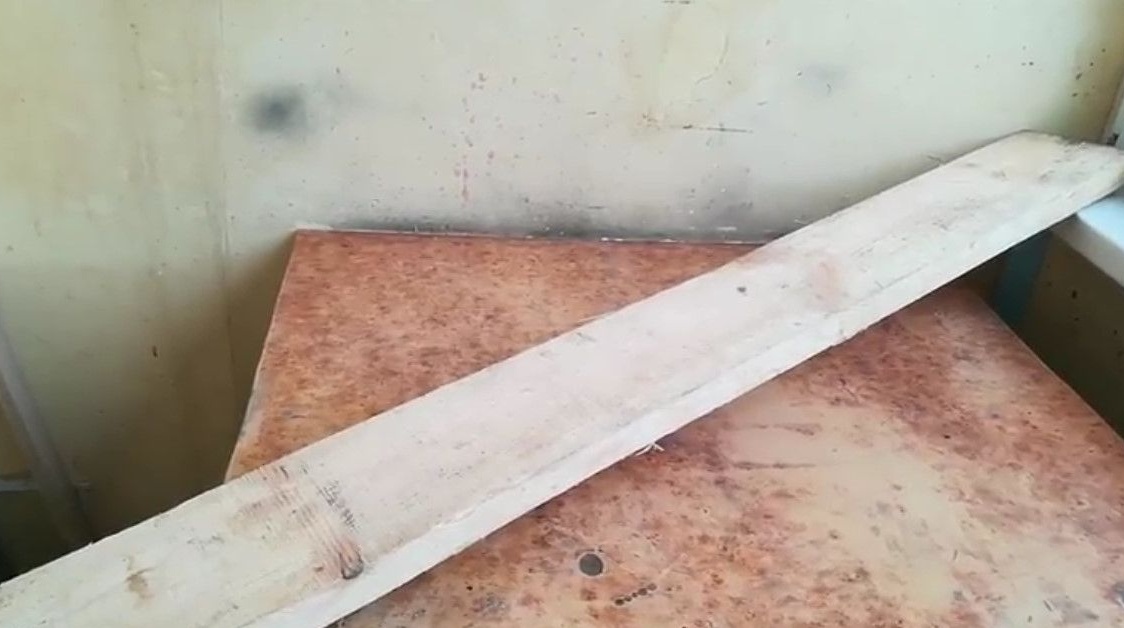
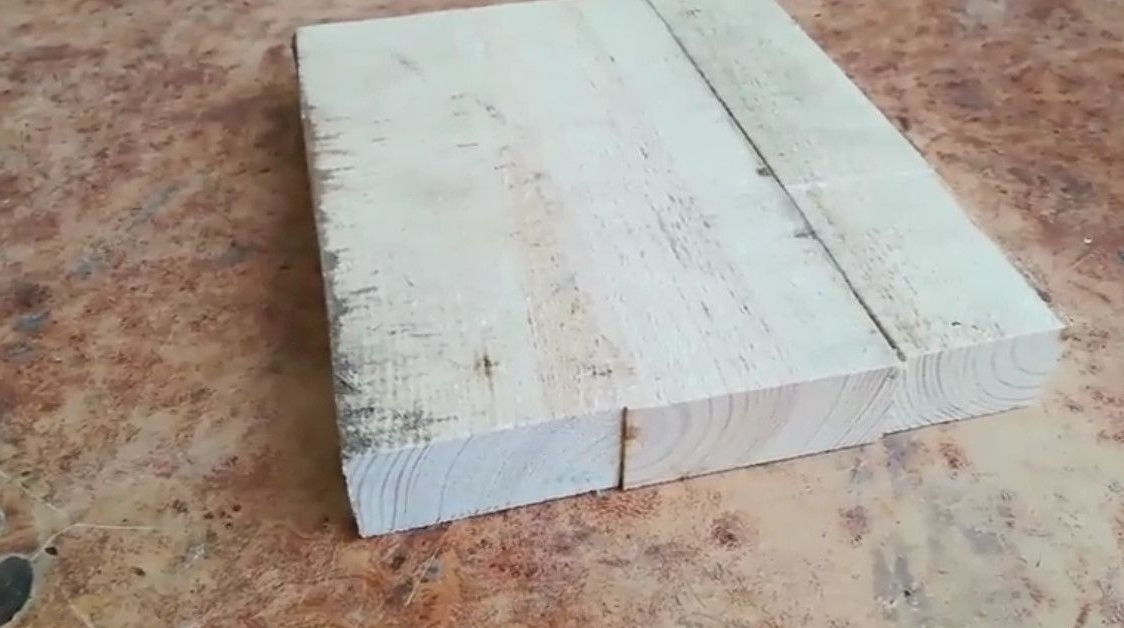
So, before you there is only a board 125 mm thick and 350 mm wide from it Vladimir will make a small decorative floor lamp.
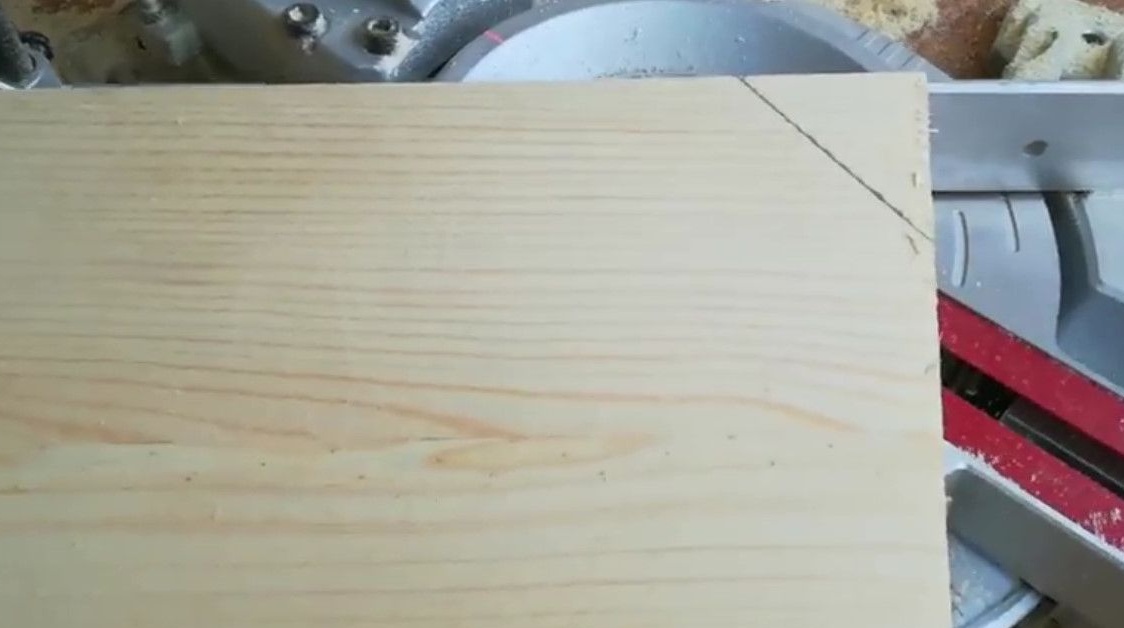
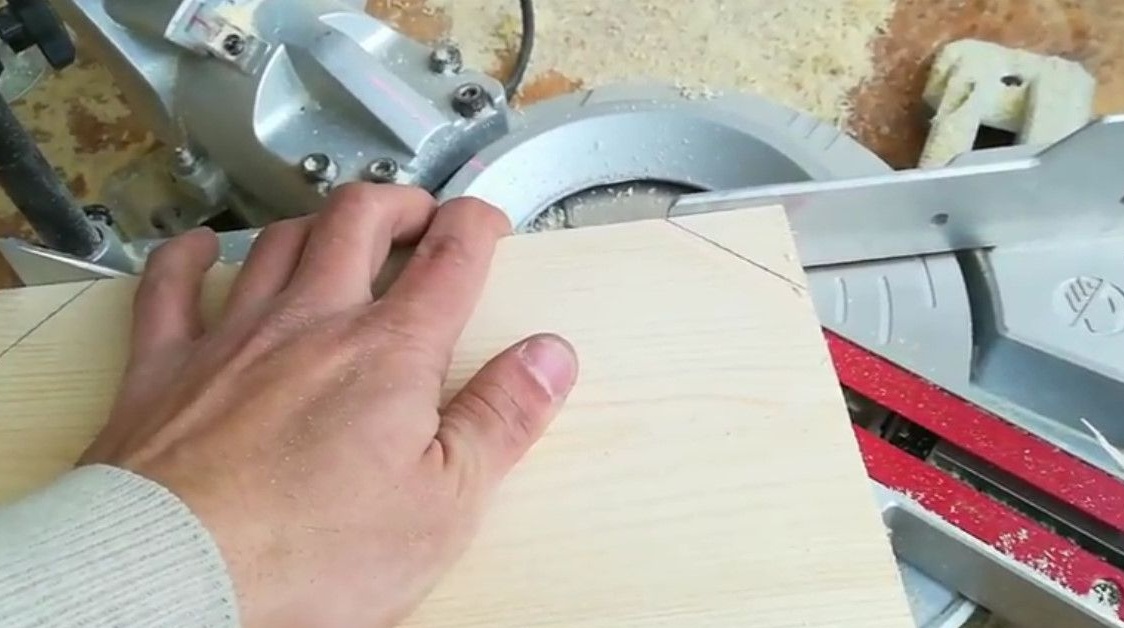
It starts, as always, with trimming on the miter saw.
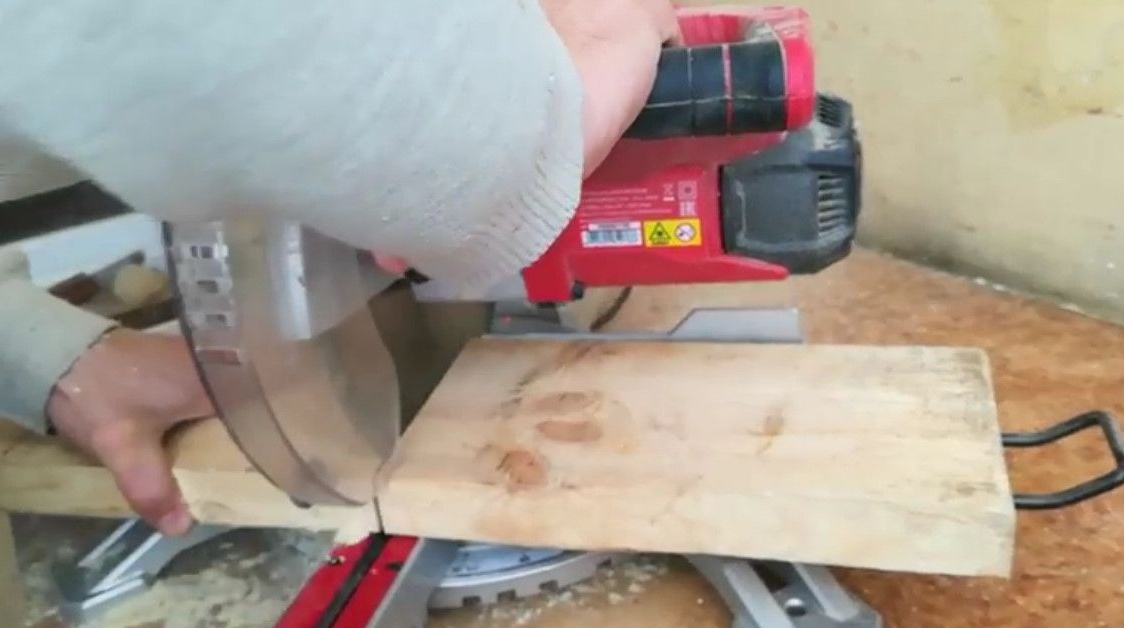
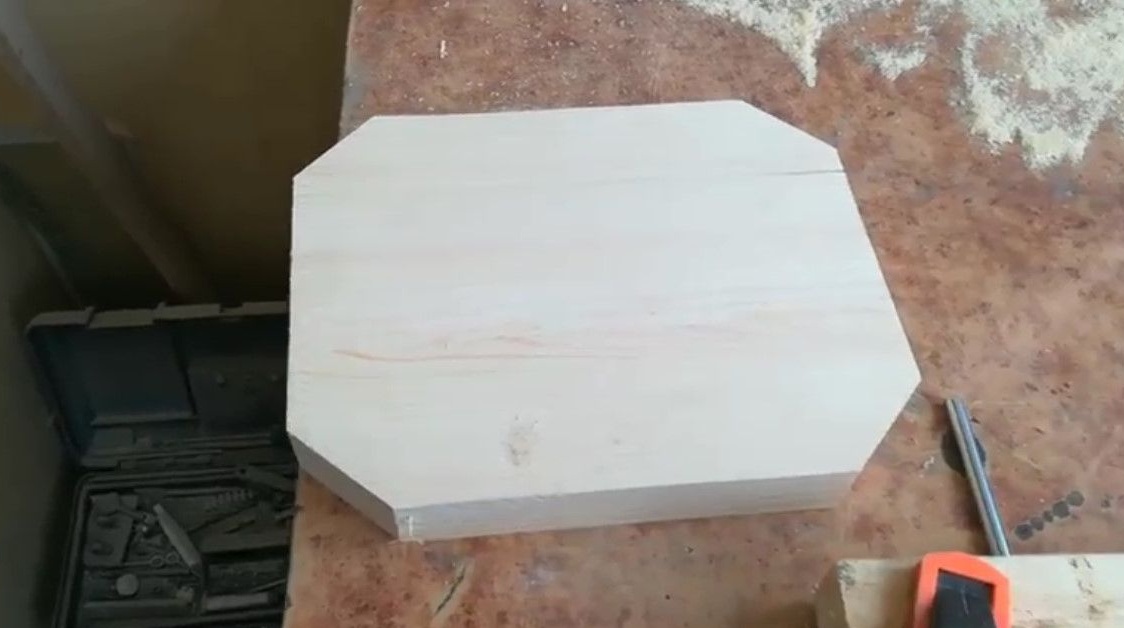
The size of the workpiece is cut, now proceeds to grinding.

The board is polished with a vibration grinder. Of course, changing sandpaper from the rough 60th to the shallow 240th.
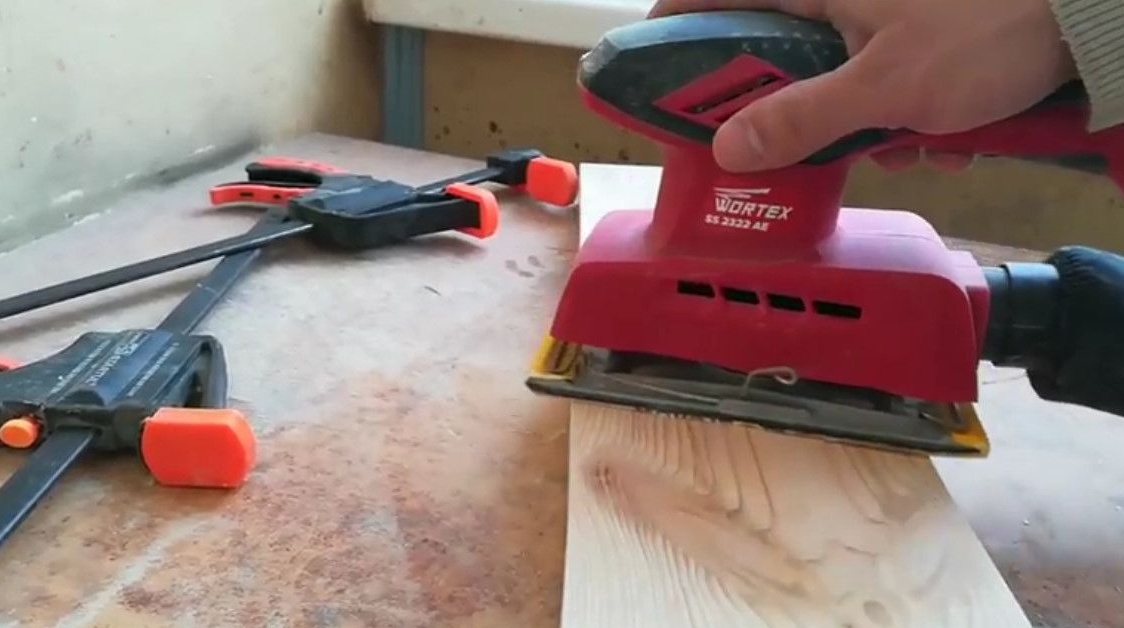
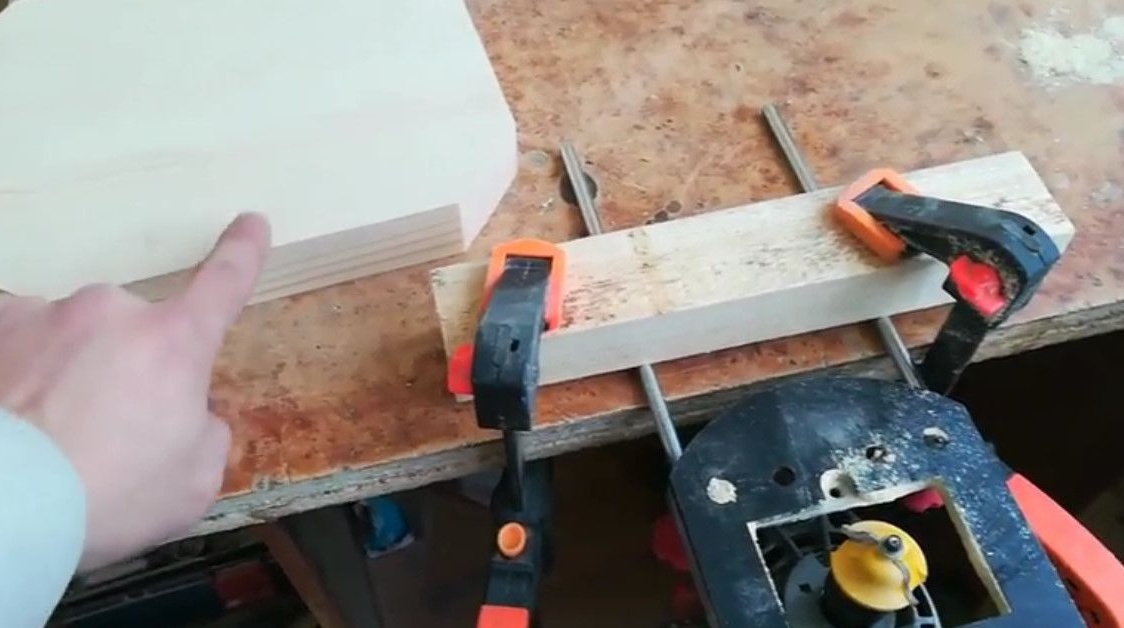
After the author has polished the board, fastens it in a vice.
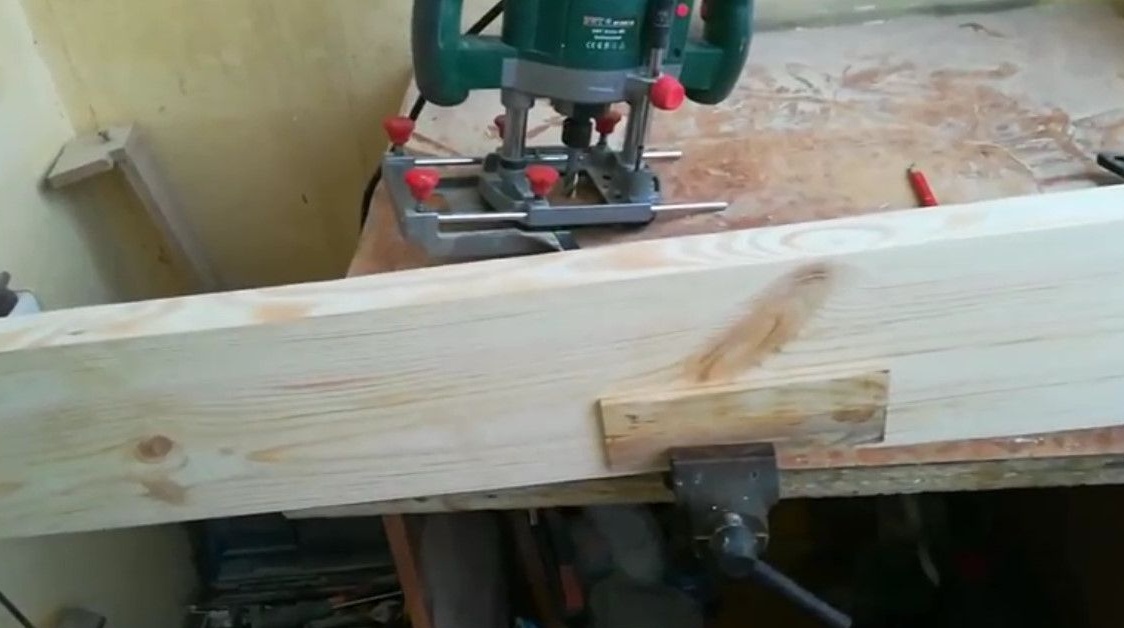
And it adjusts the milling cutter so that the cut of the milling cutter goes in the center of the end of the board.

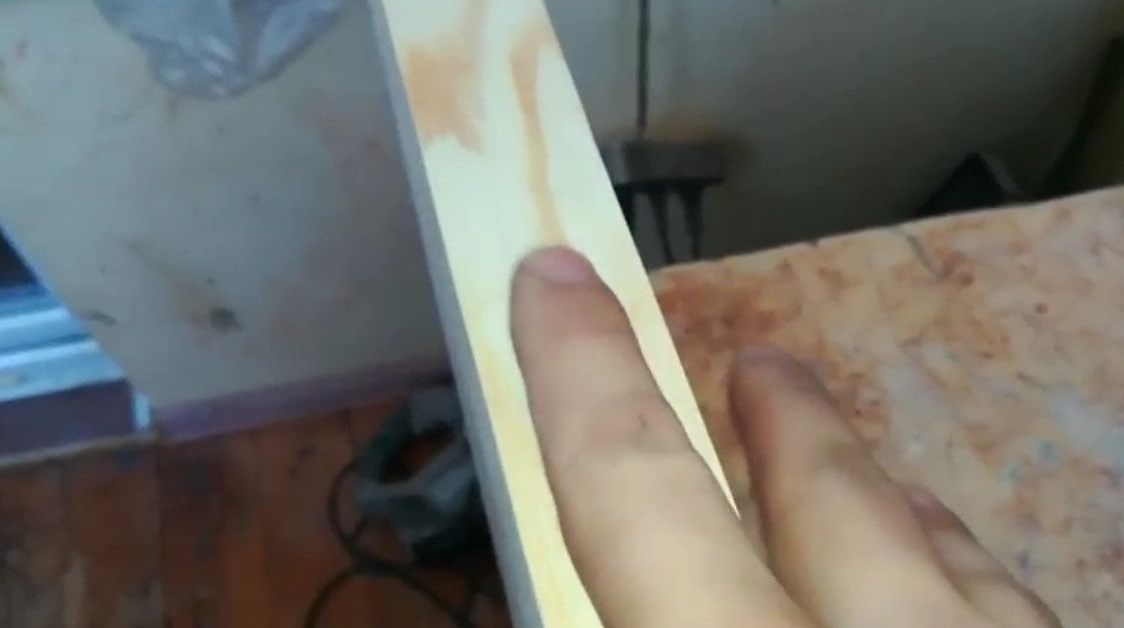
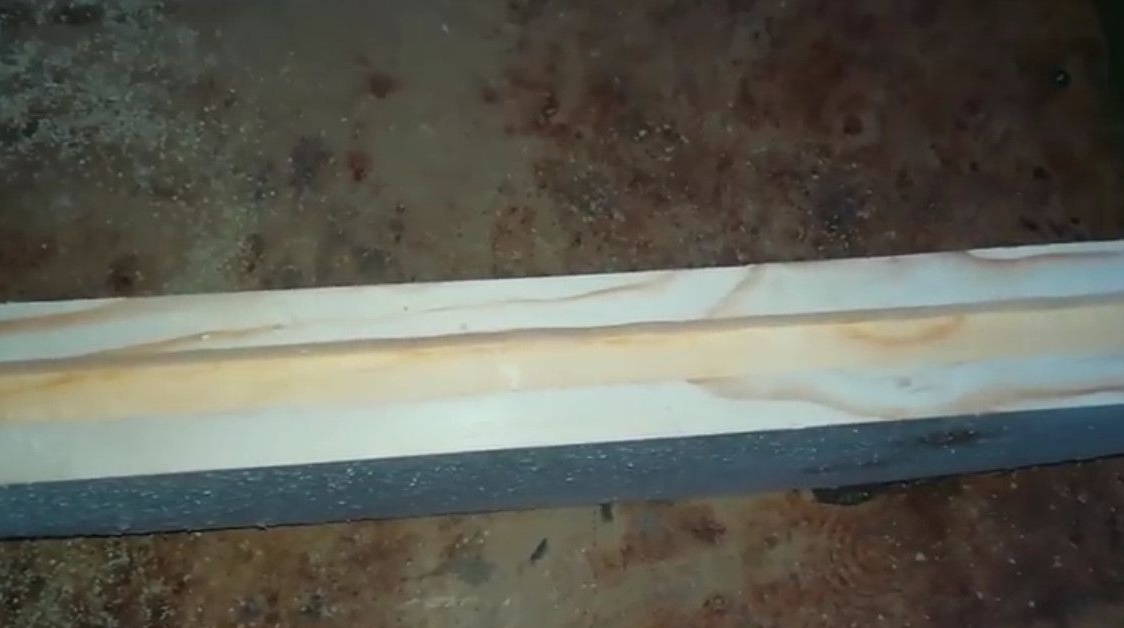
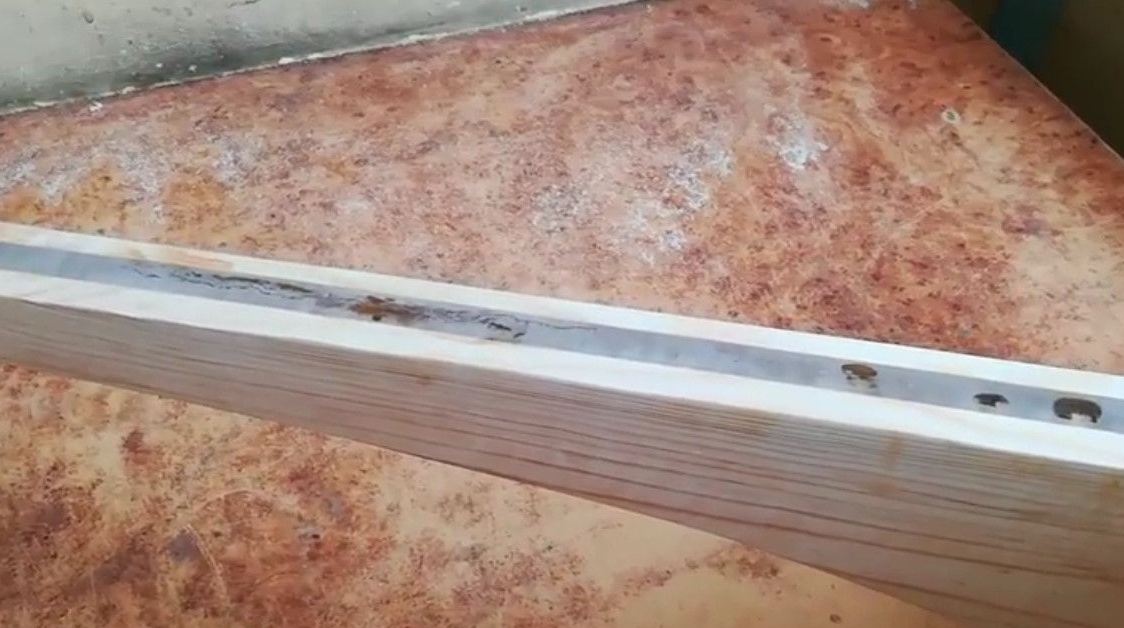
So, Vladimir cut a groove, its width coincides with the width of the LED strip.
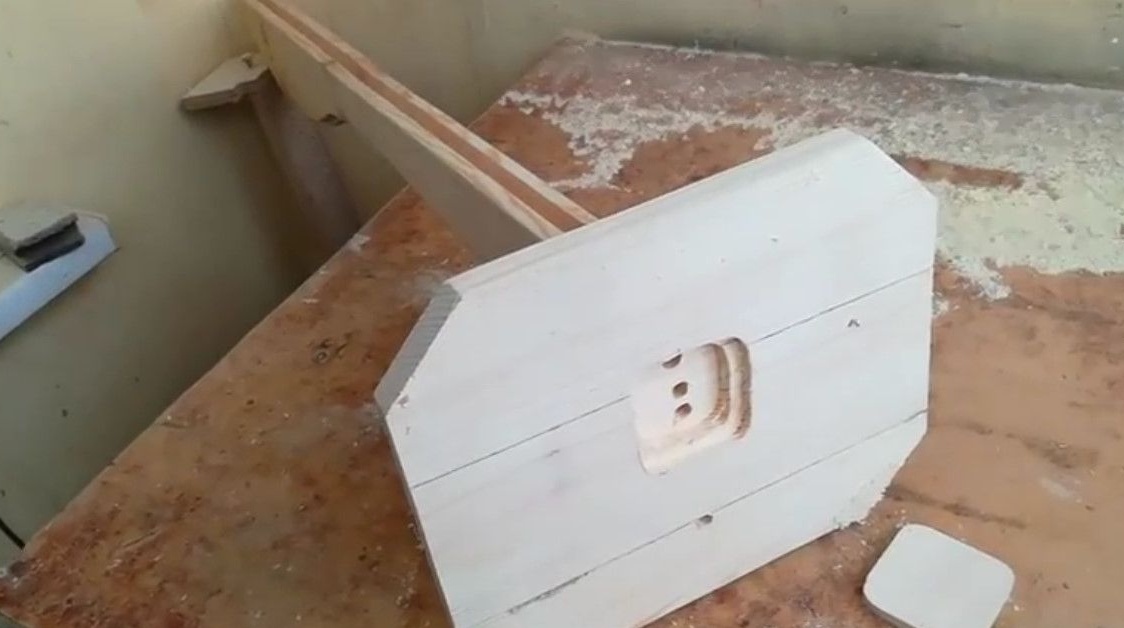
He also made an outline of the floor lamp with an electric jigsaw.
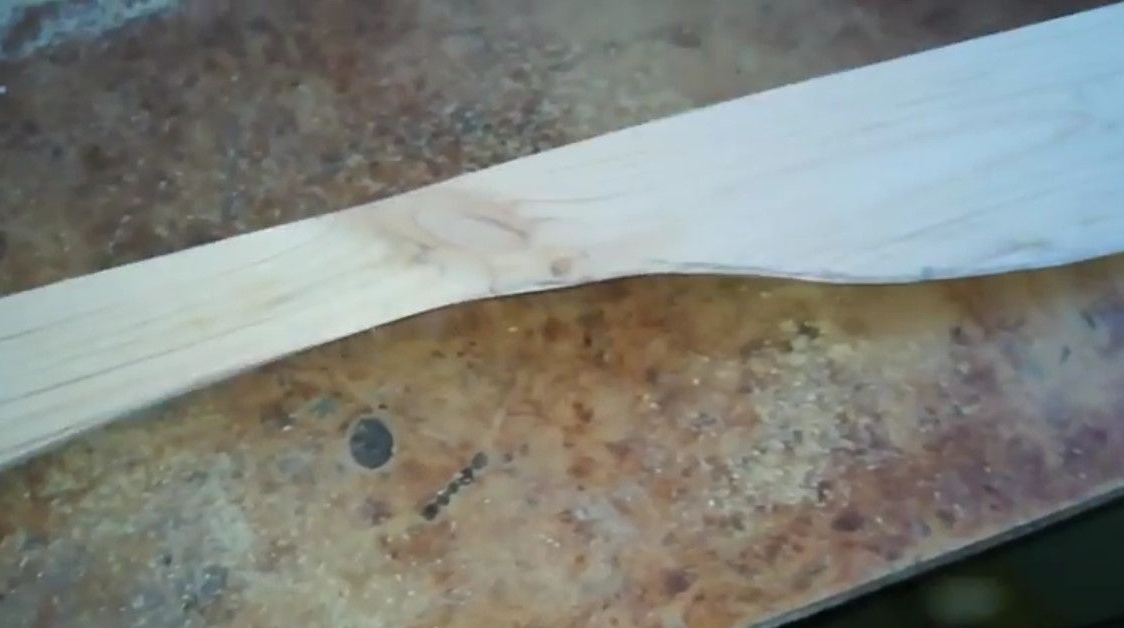
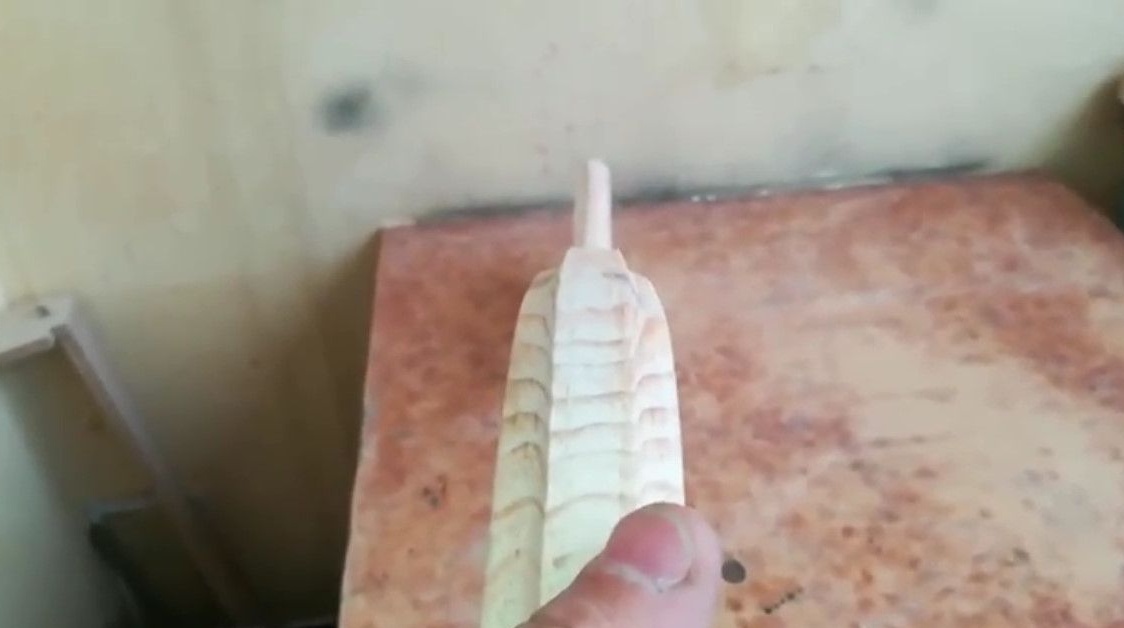
Having processed the edges of the contour with the help of a milling cutter, it turned out to be a comb, as it were.
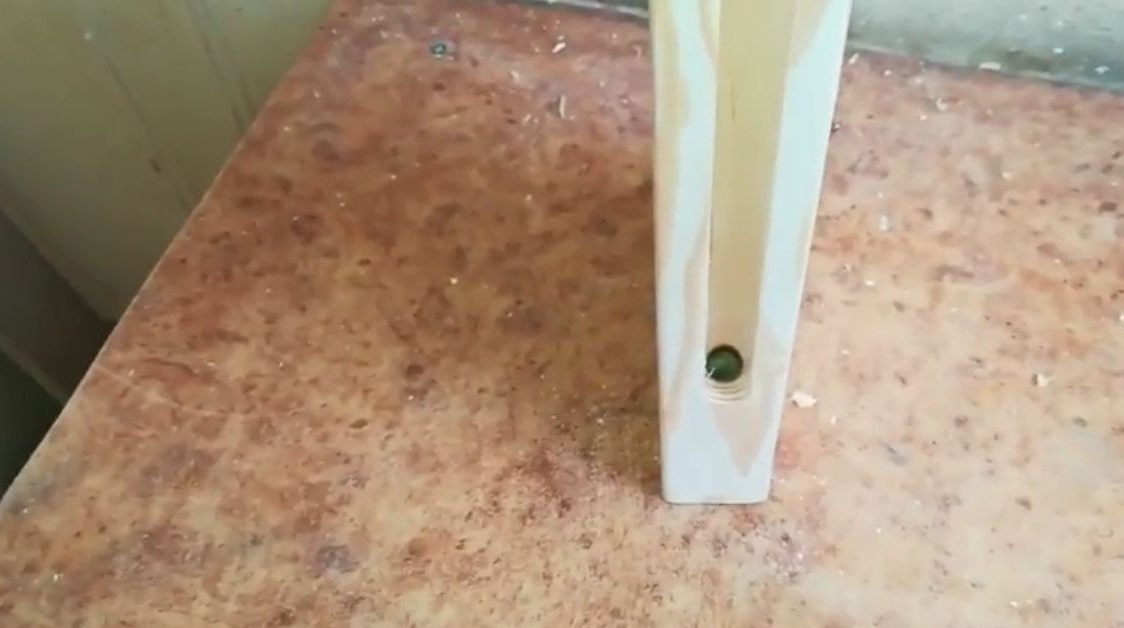
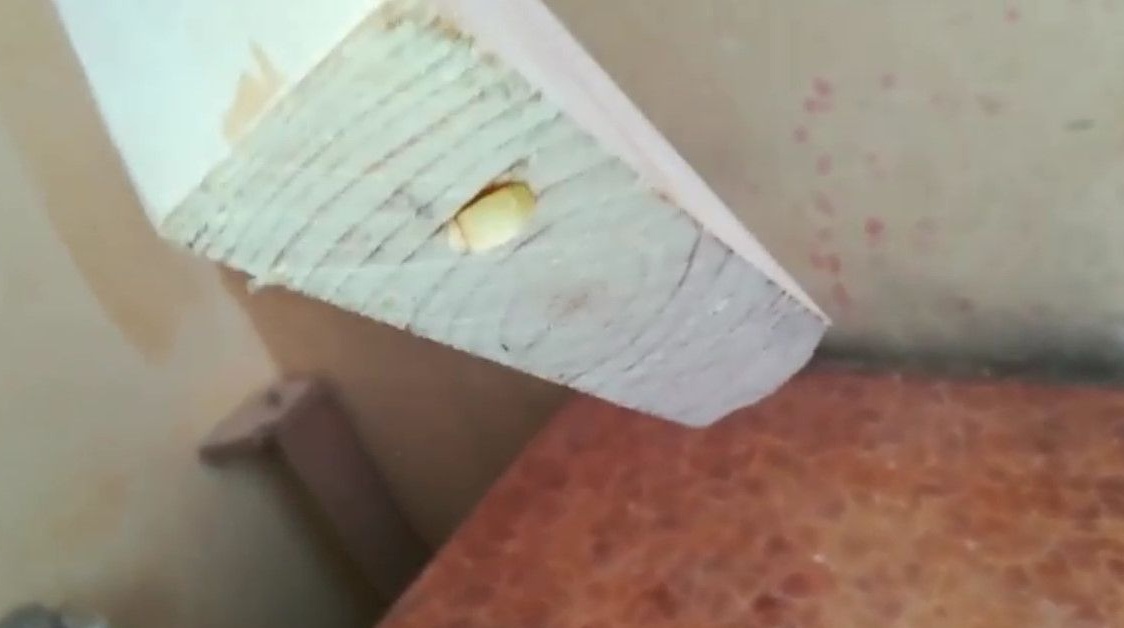
Further, the author made a through hole in the lower part of the structure. Through this hole will pass the power and control wires of the LED strip.
The next step will be the manufacture of the base of the floor lamp, which will now proceed.
From the same board that he used for the main part of the floor lamp, he makes the base. It is glued from three scraps.
I polished it, leveled all the edges and now will make a little decor.
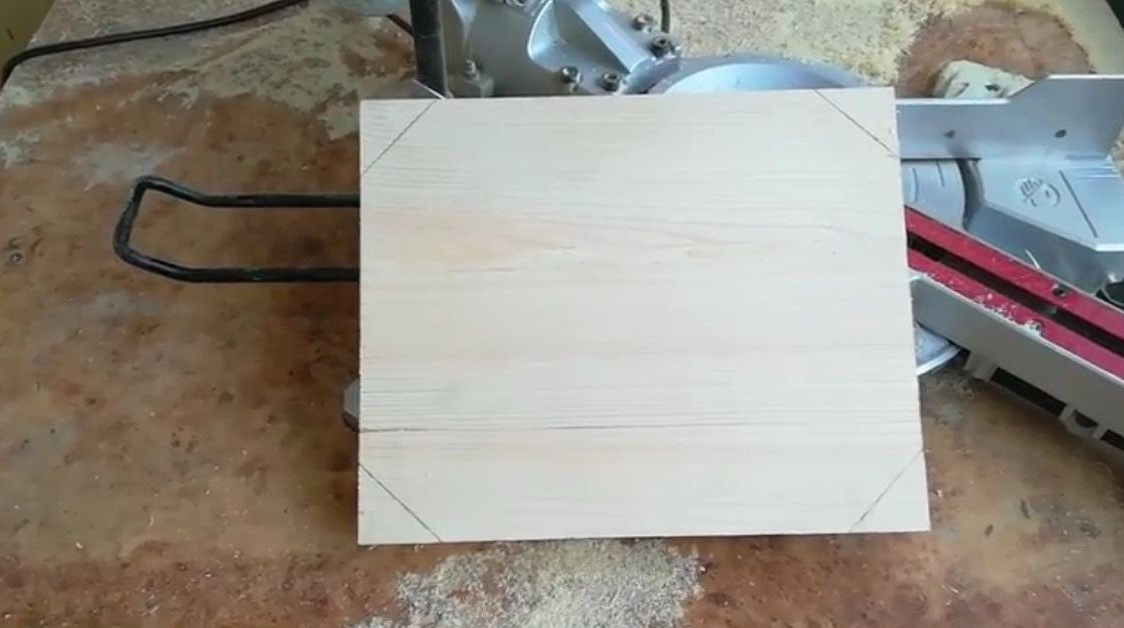
Cuts corners on a miter saw.
After being cut in the corners, fixes the milling cutter to the table with clamps.
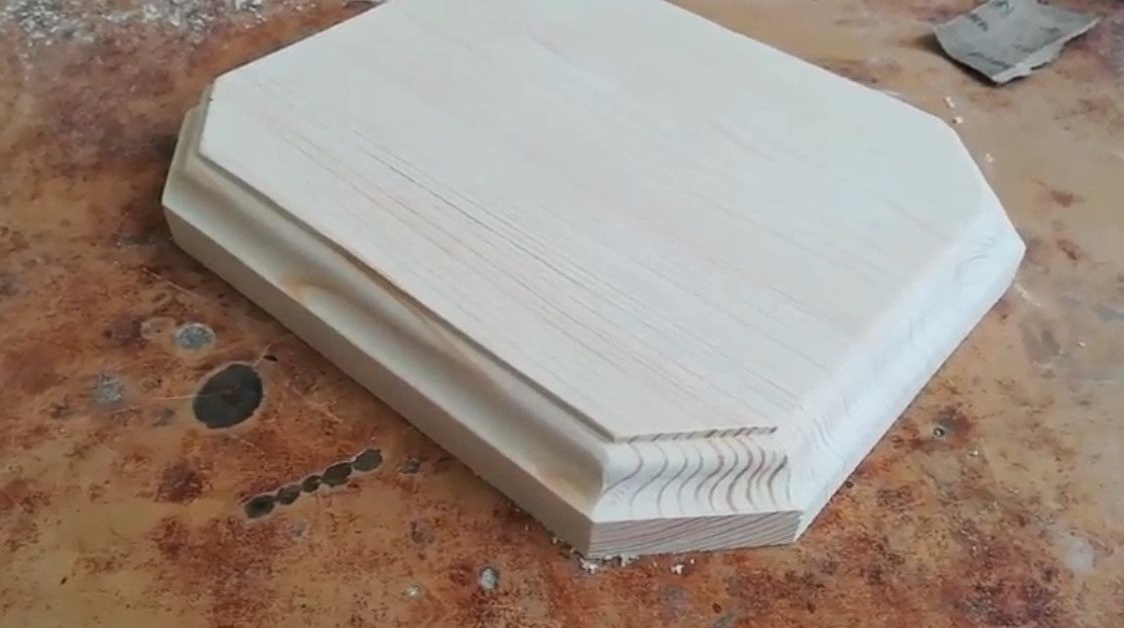
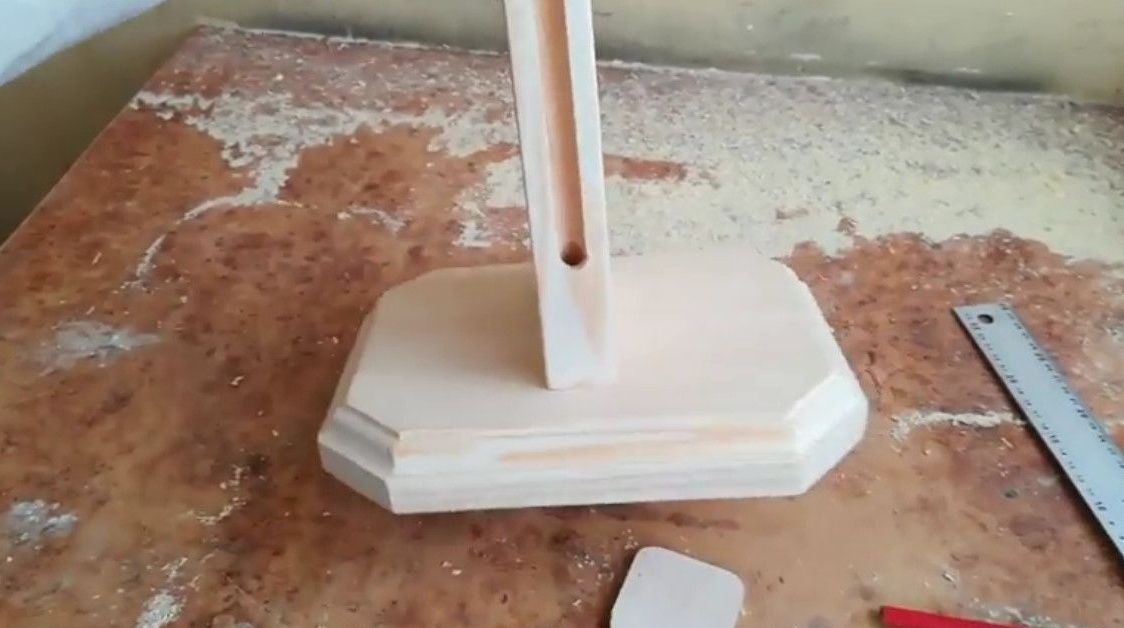
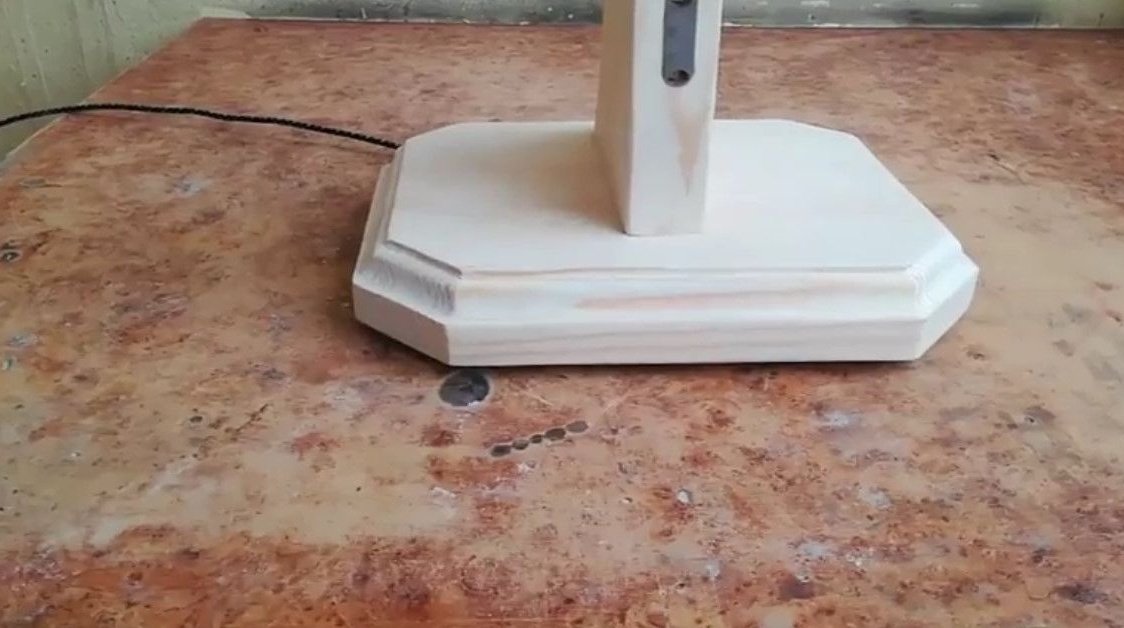
And removes the border, that is, creates a small pattern. After milling and long grinding, this is the foundation that Vladimir obtained. The pattern is beautiful, everything is exactly.
At the next stage, it is necessary to cut out the footprint for the controller at the base and make a lid. He makes the lid first, marks the hole on it and mills it.
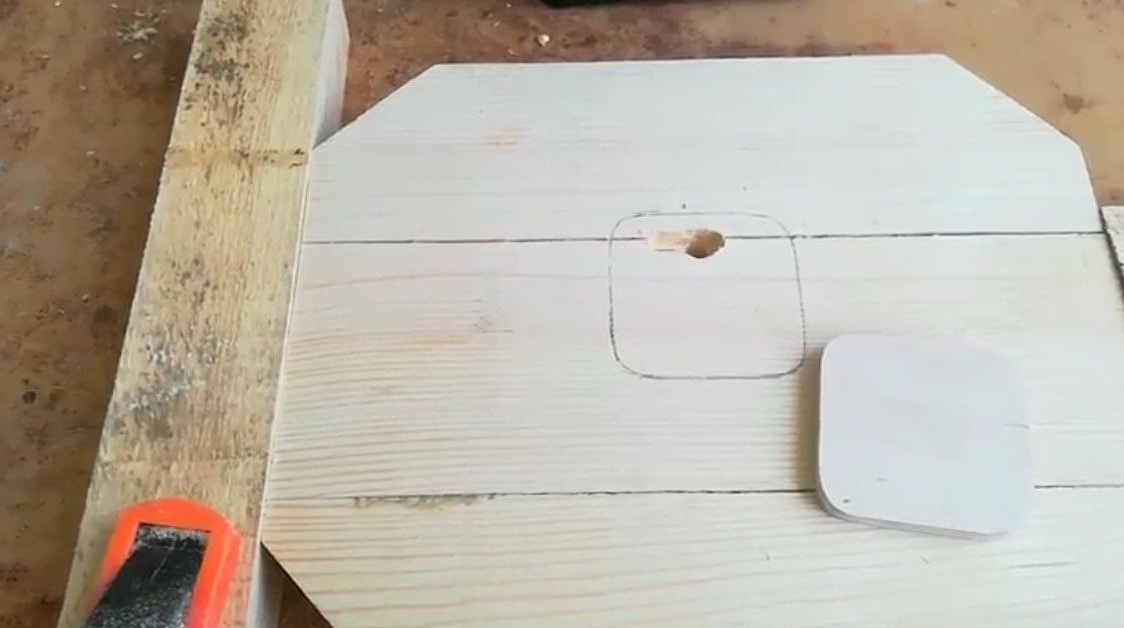
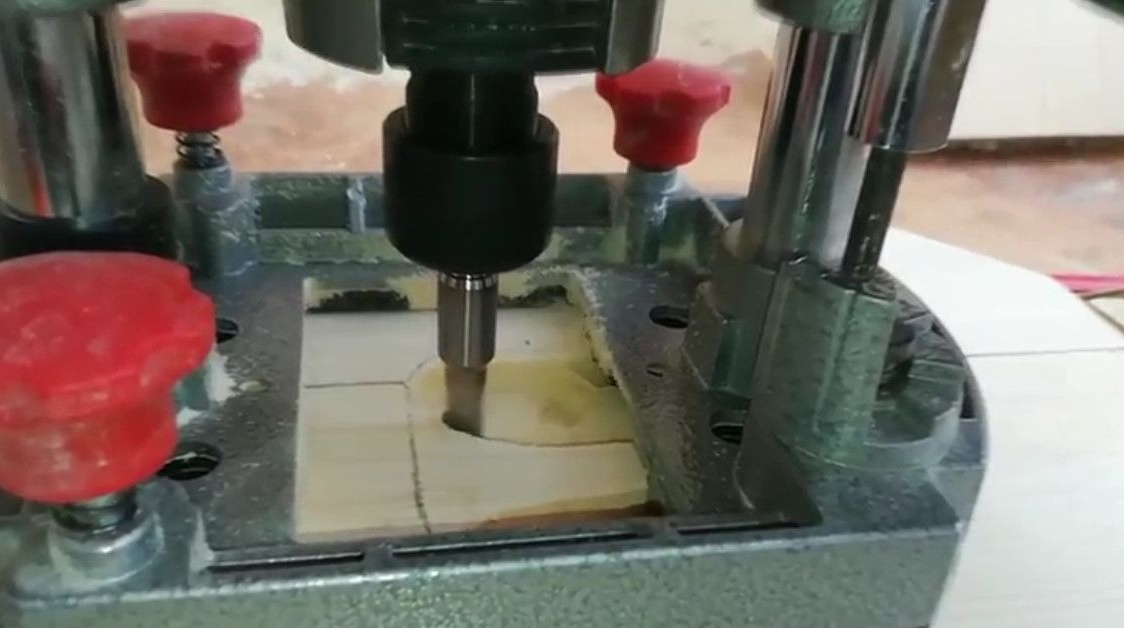
Milled the place, the controller will be installed.
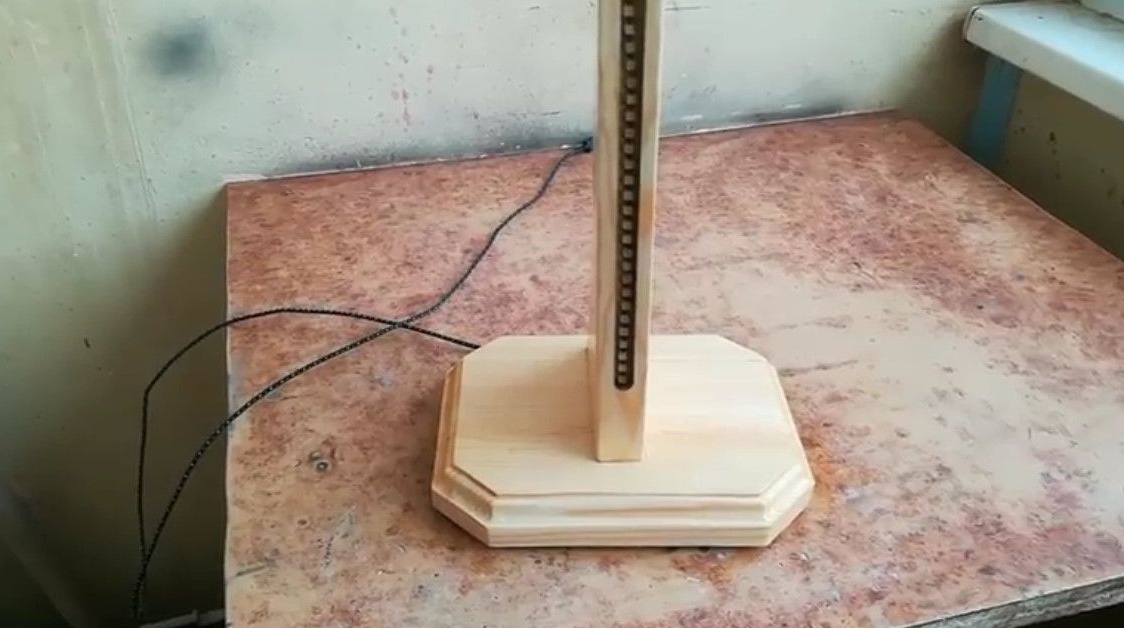
Vladimir has screwed the floor lamp to its base.
Then he puts the tape in the milled groove, on the other hand takes out the wires. Fills a hole with silicone or hot glue.
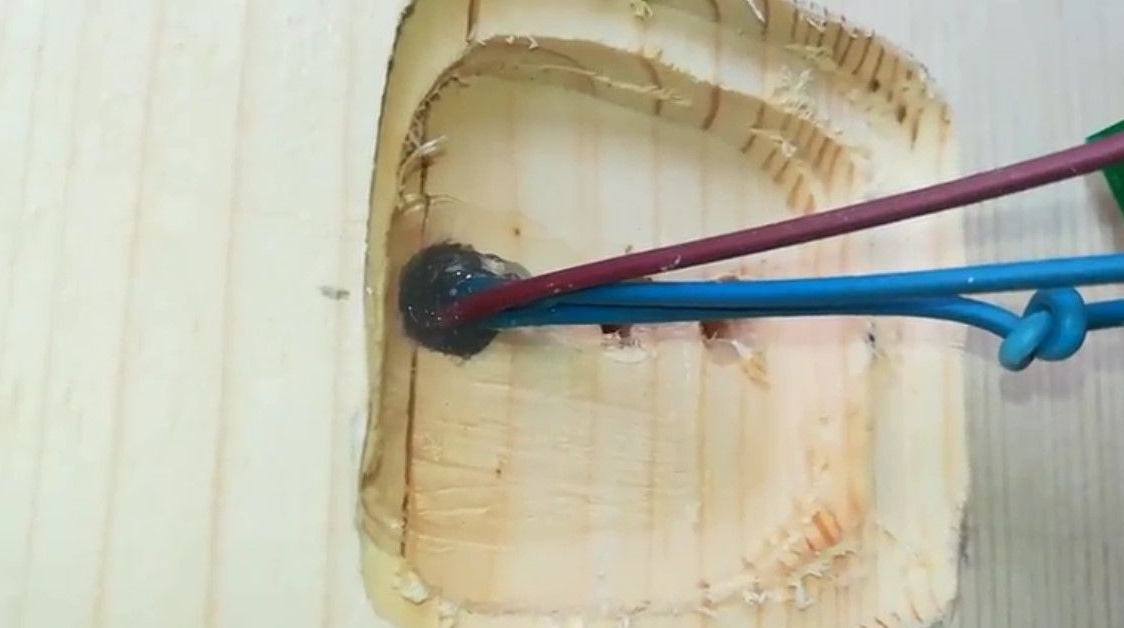
And throws, while temporarily, contacts to check the operability of the device.
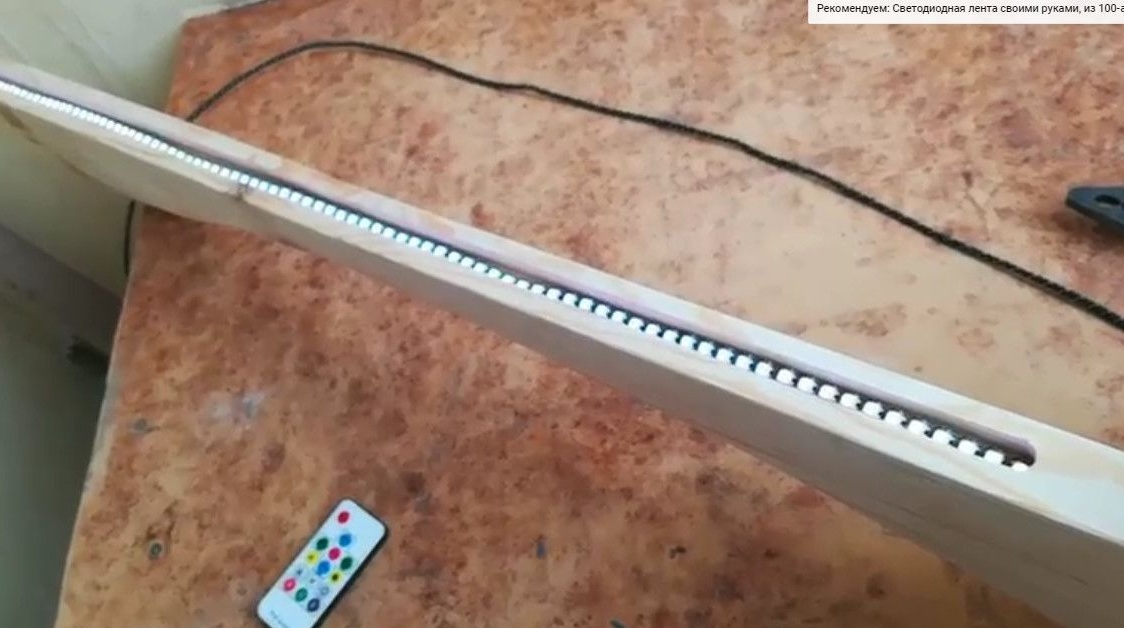
Checks - the tape is working. Red, green, blue, white, that's it!
The tape itself has already been glued into the groove and filled with epoxy.
Turns on for verification, and everything works just gorgeous. That's it, let the resin polymerize.
The epidoxid hardened, the places where there was a hump, Vladimir sanded and leveled.
Also closed the controller seat.

In addition, I smeared the formed cracks.

For the manufacture of legs, I cut two such blanks from cork.
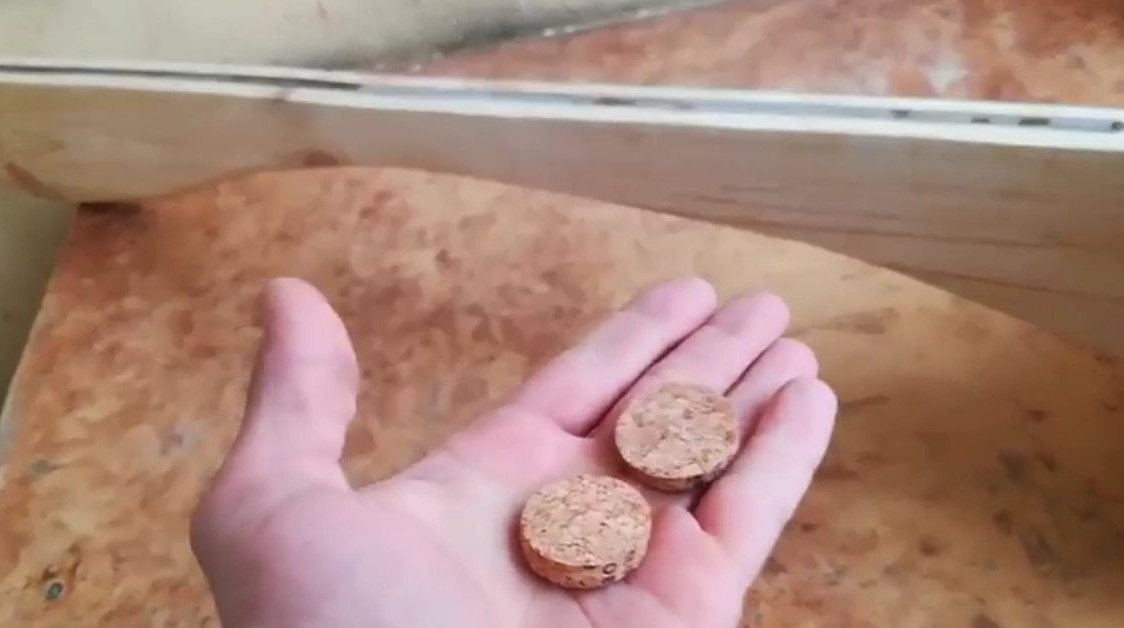
Dividing them in half, glued the legs.
That's how they look from below.
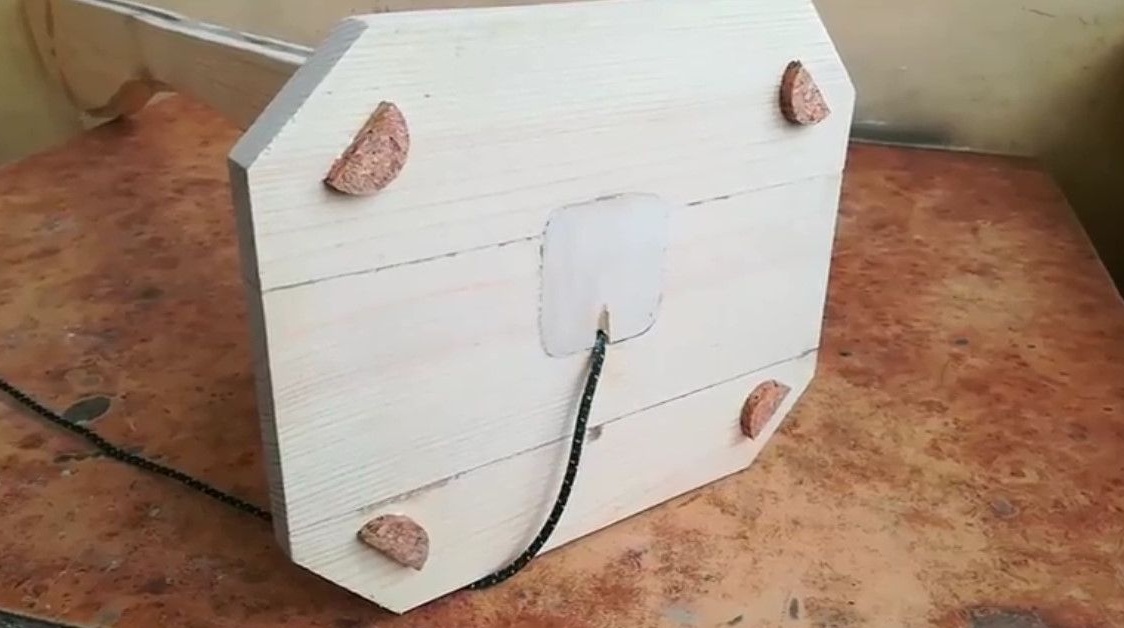
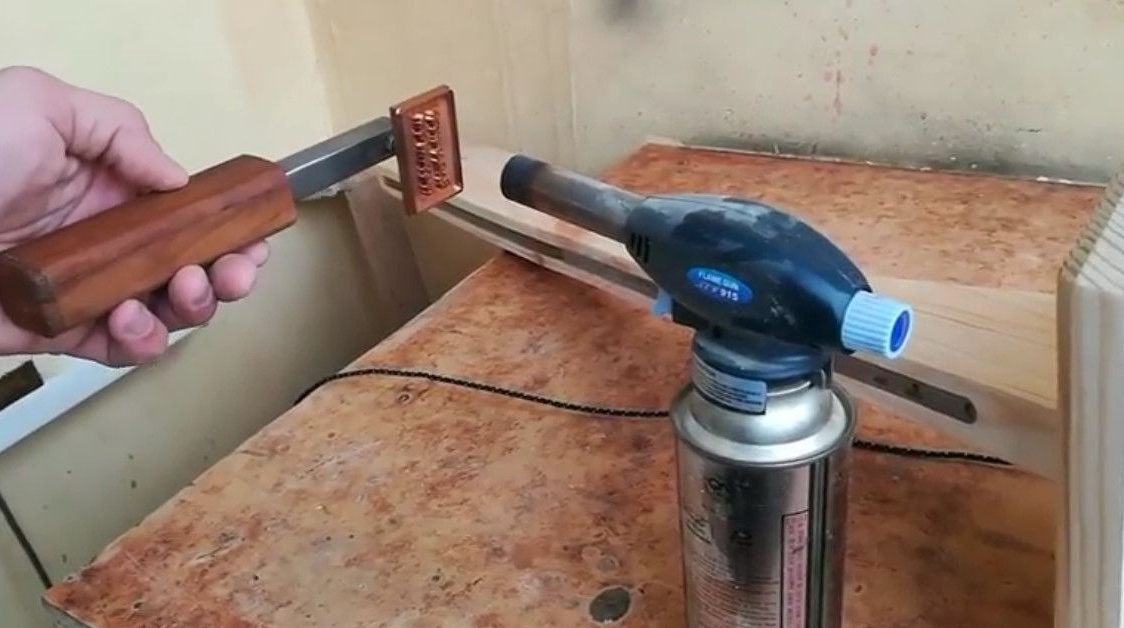
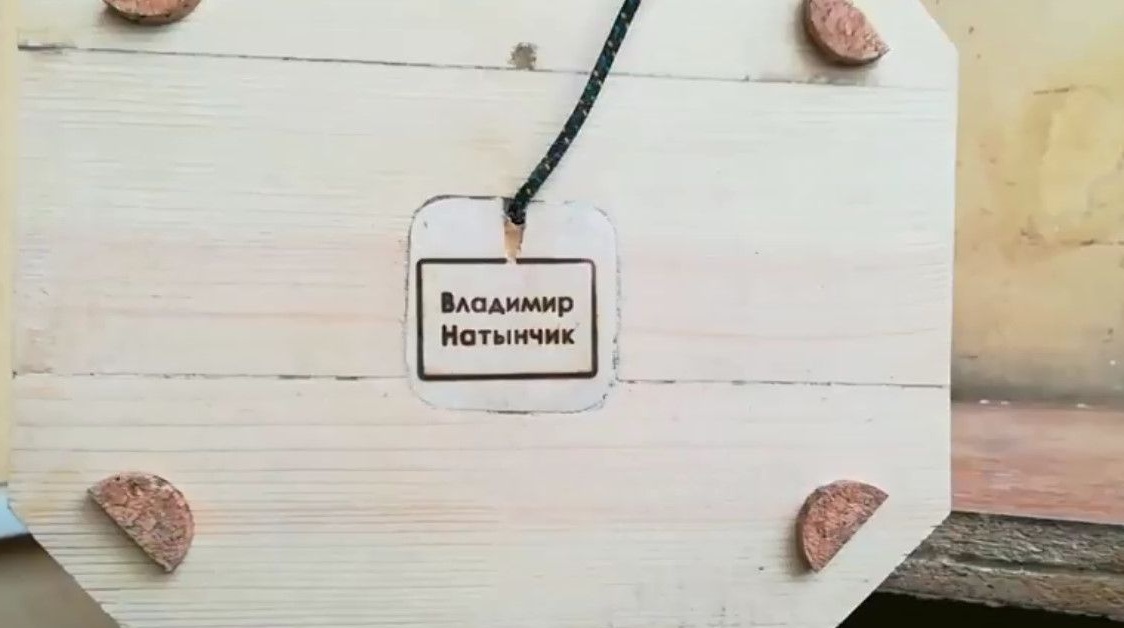
I glued the legs, set the stigma.
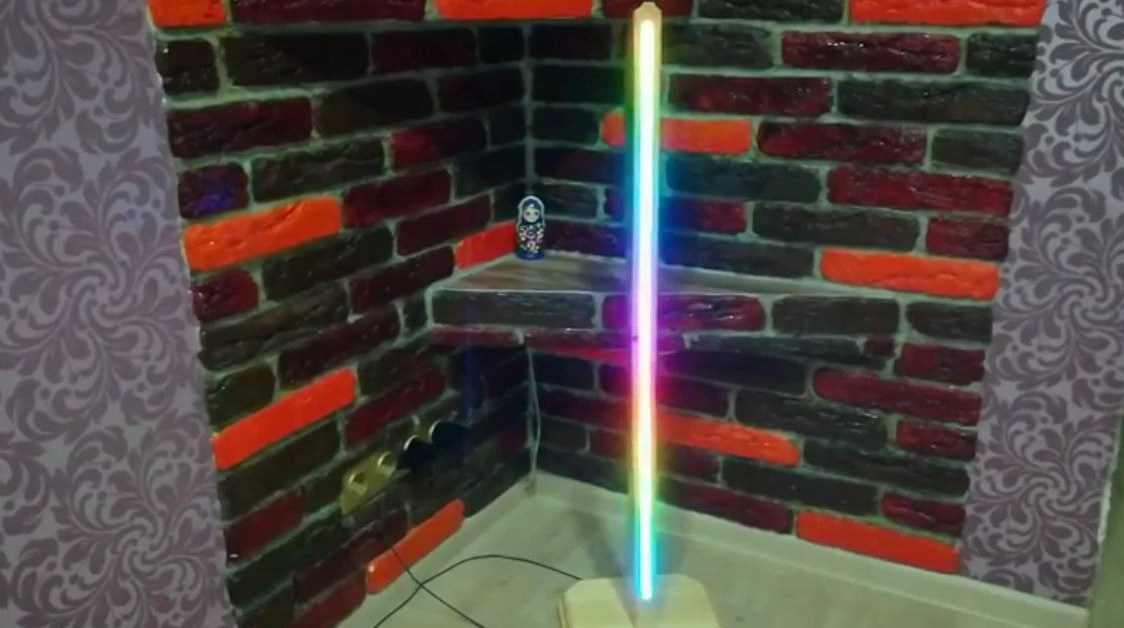
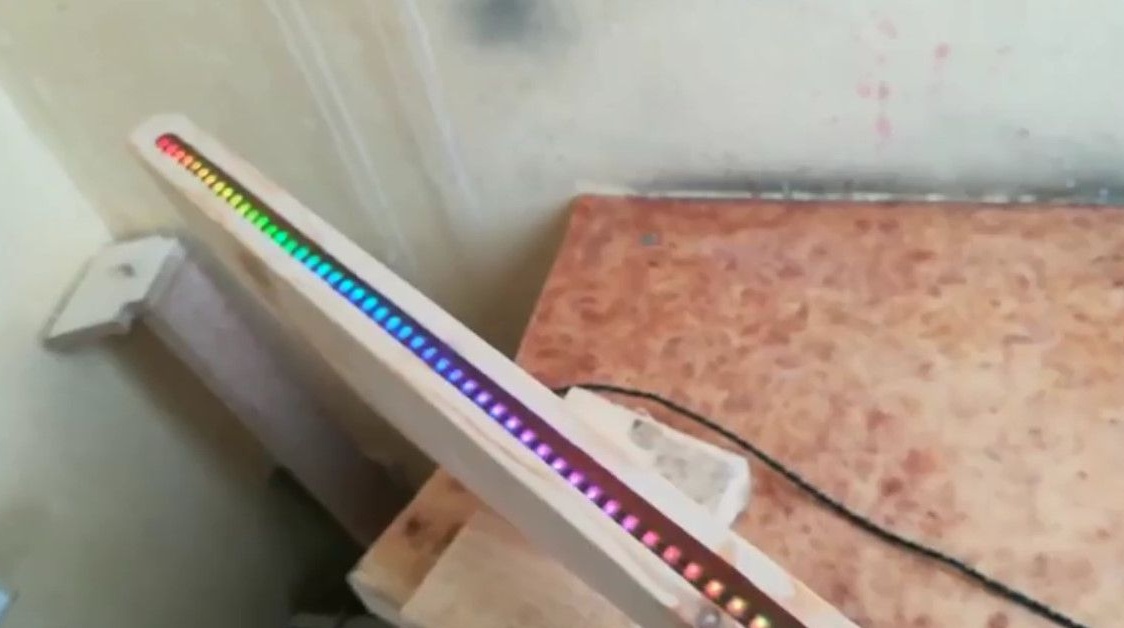
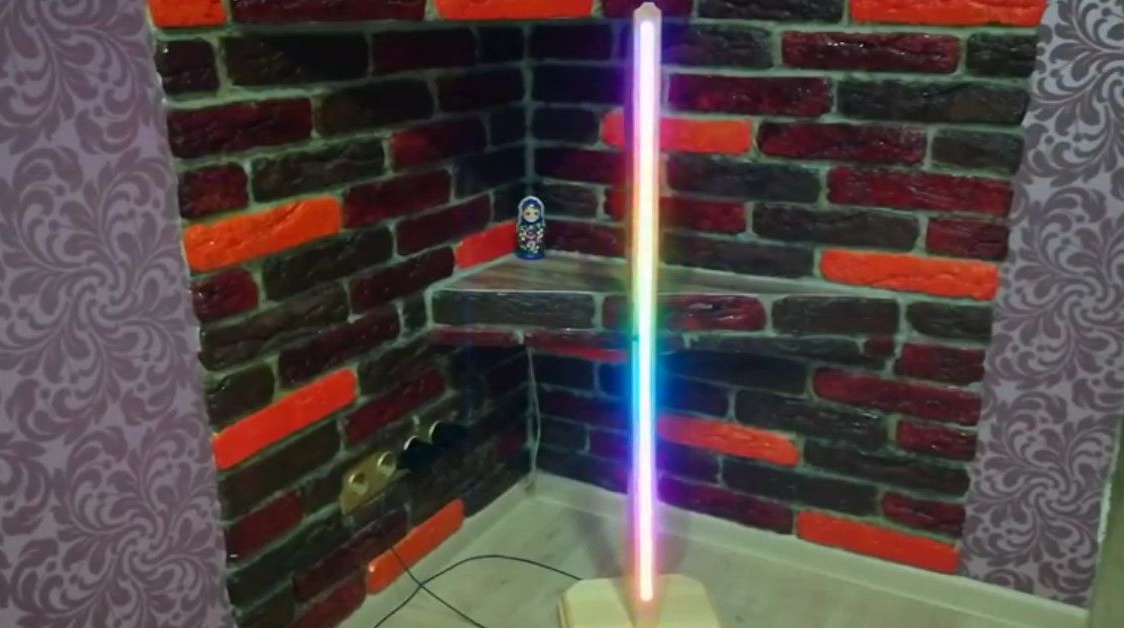
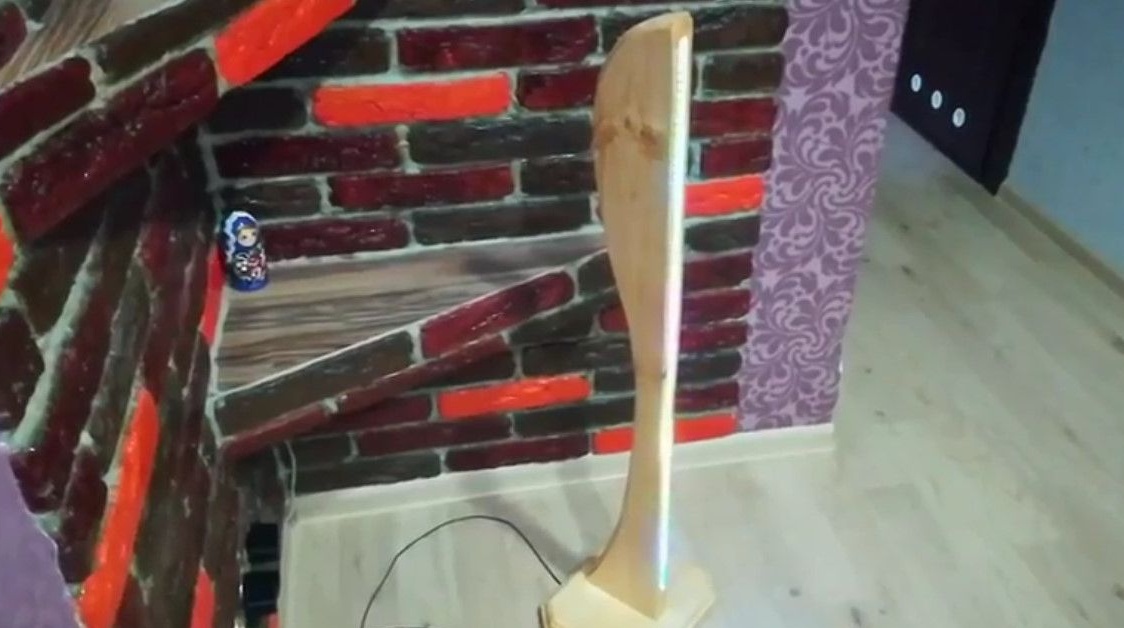
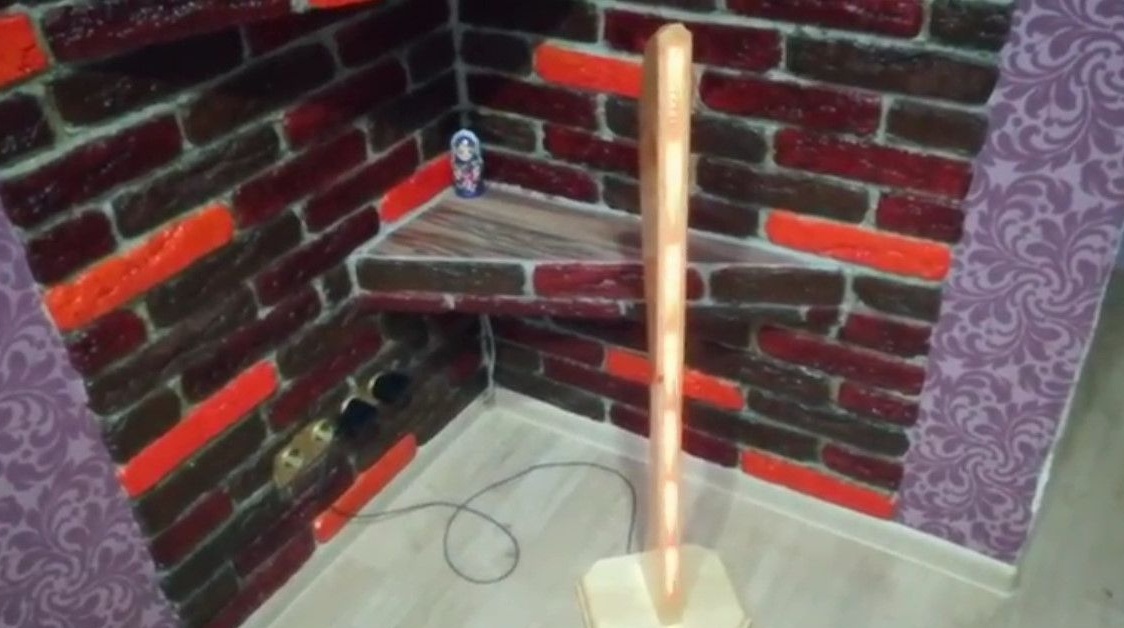
Now you can proceed to varnishing. The floor lamp was opened with varnish, it dried up and it remained to wait for the evening to turn on and show how it works.
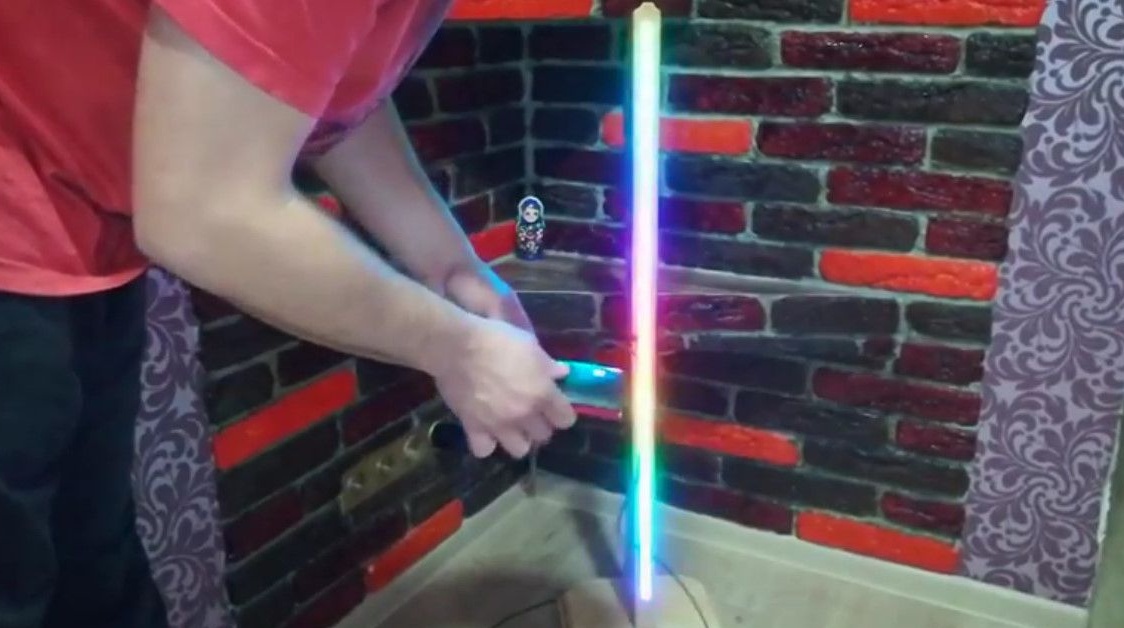
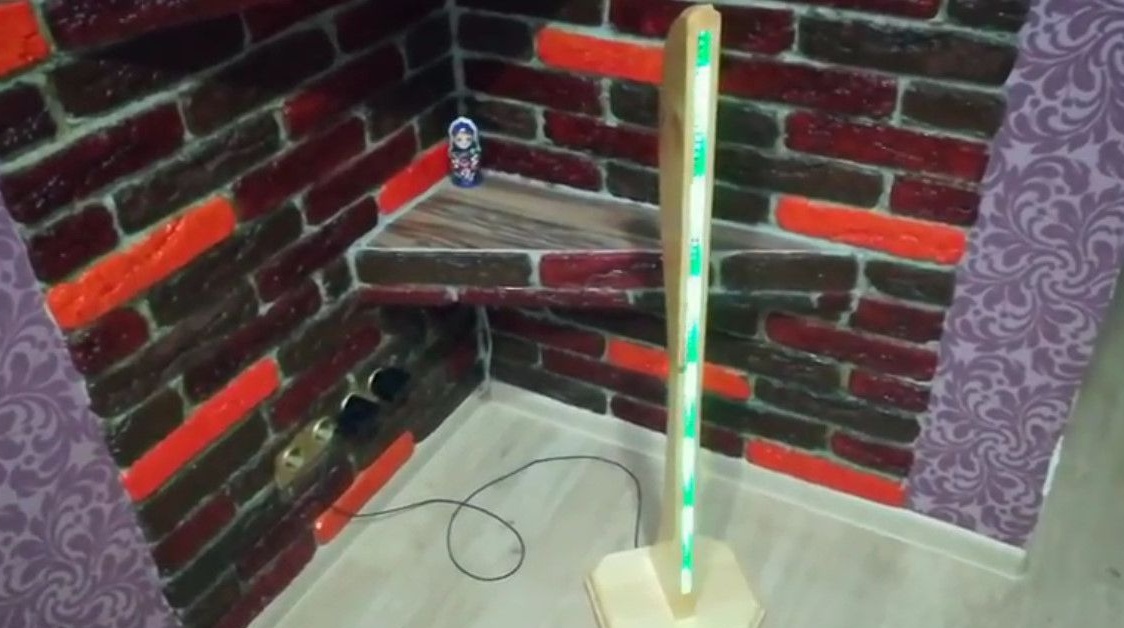
The floor lamp is ready-made, now it is connected to the power supply via a USB power supply, but you can also power it from a portable device.
Demonstrated work from a portable power bank.
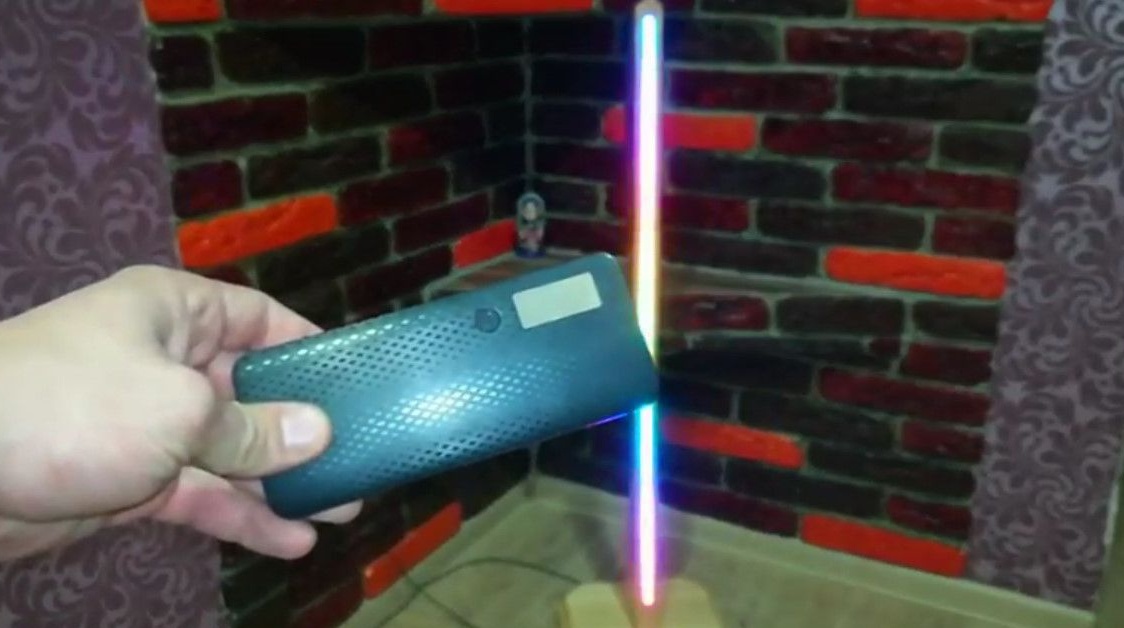
It turns out a universal floor lamp having many operating modes.
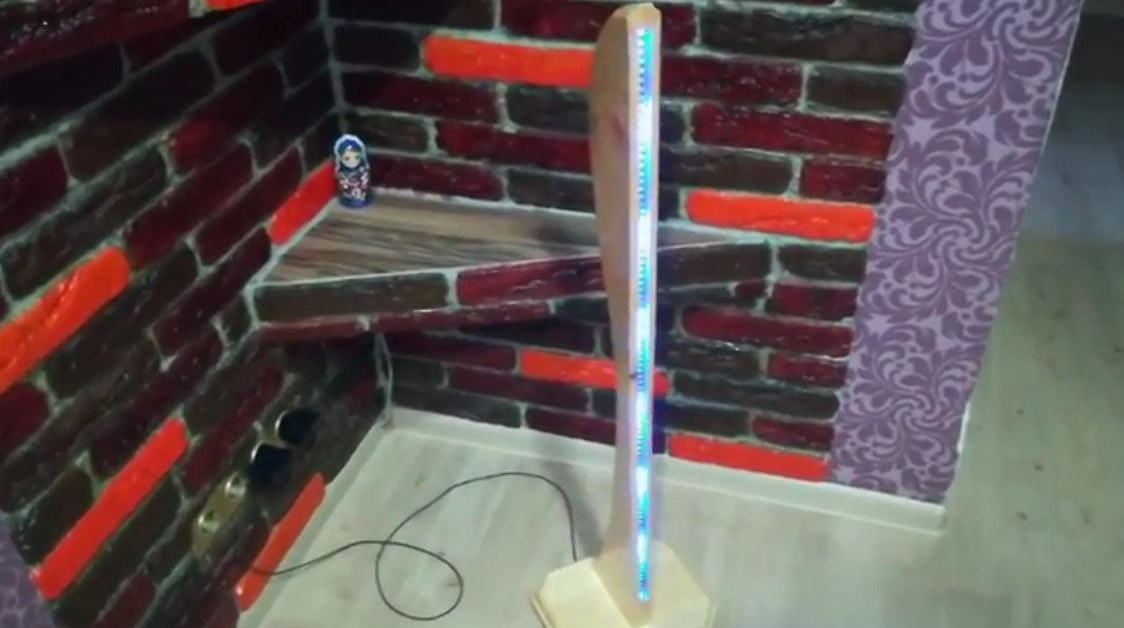

Thanks to Vladimir for an elegant and beautiful design decision!
All good homemade!