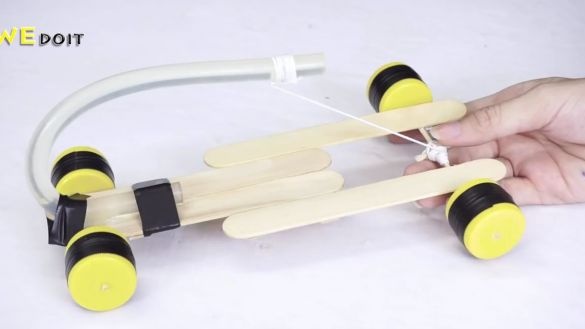
Good day to all dear friends! In today's article, I would like to show you a rather interesting idea homemade, which can be made from improvised means. This homemade product is unlikely to be of any practical use, but as a toy, or as a means of leisure, it fits perfectly. Also, with the help of this homemade product, you can clearly show the principle of operation of the "spring" mechanism, as well as the principle of operation of the lever. Well then, let's not pull with a long introduction, let's go.
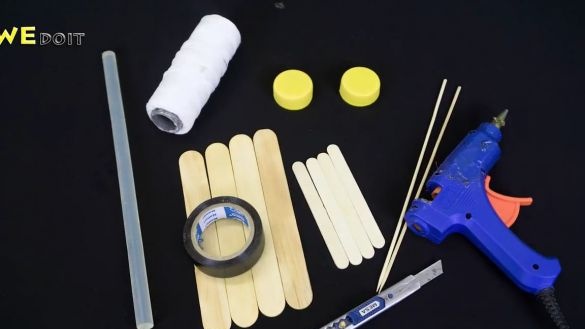
And so, for a simple cart on a spring mechanism, we need:
barbecue skewers
-usual wooden spatula
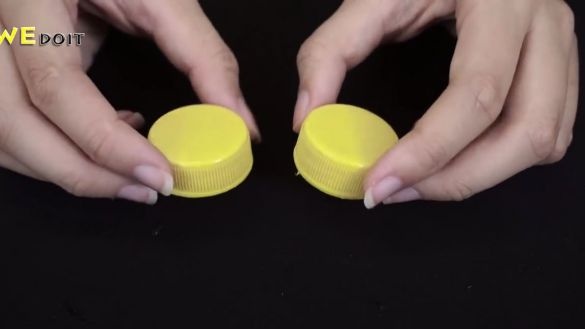
- a lot of caps from plastic bottles, namely eight pieces
-tubules for cocktails
ice cream sticks
- not very thick and not thin thread of any color
- whole silicone stick hot melt adhesive
Of the tools we will also need:
nippers
-Super glue
hotmelt
-mini electric drill or screwdriver with a thin drill (the drill should be slightly thinner than the diameter of the barbecue skewers)
-insulating tape
-stationery knife
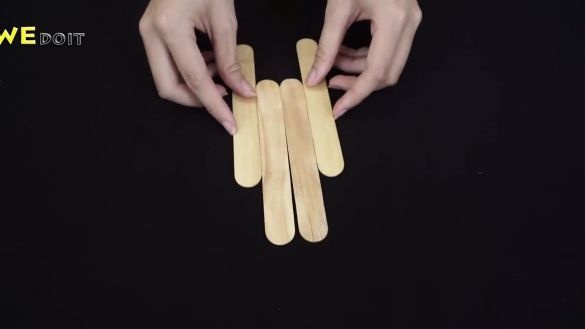
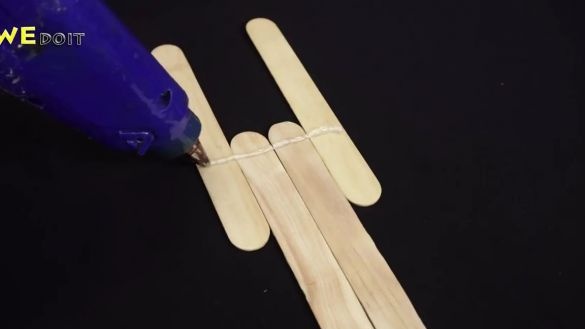
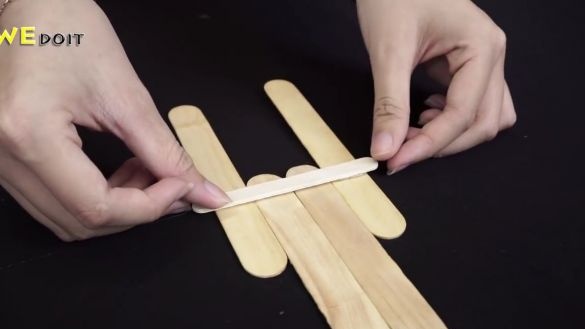
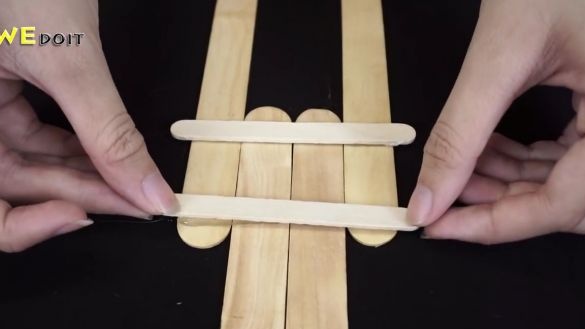
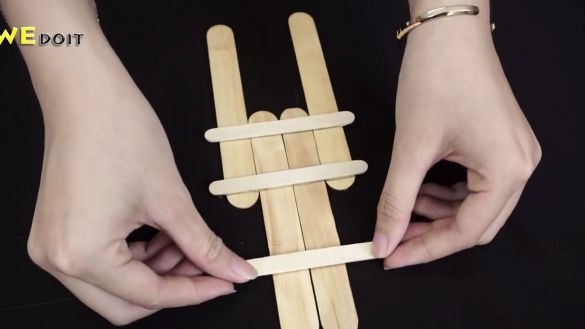
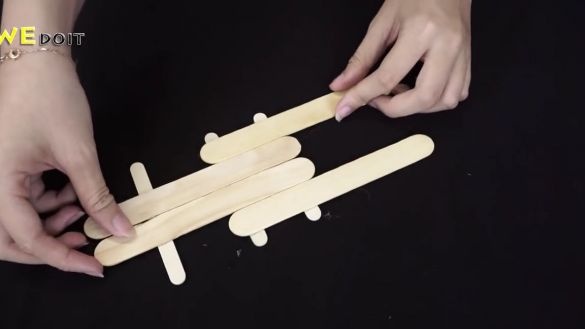
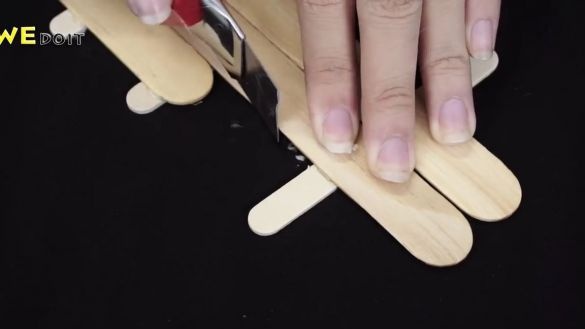
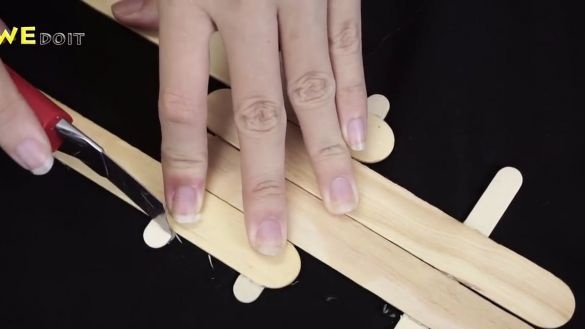
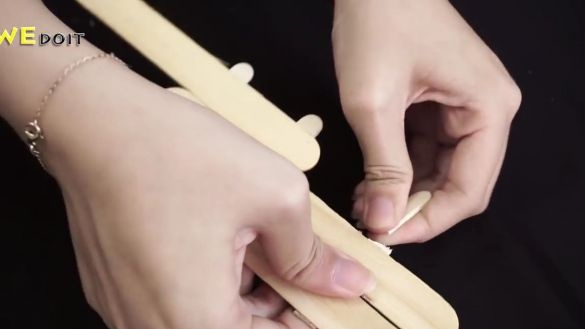
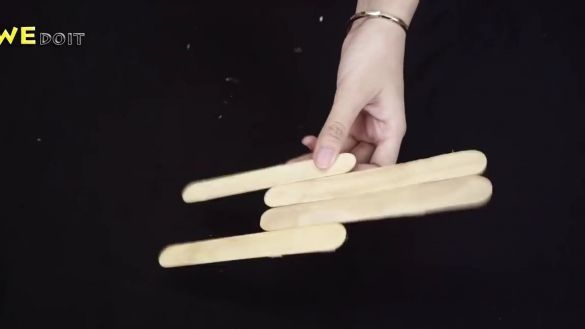
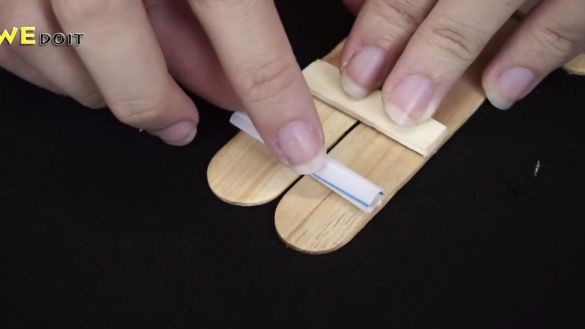
The first step is to take a wooden spatula, place them on a flat surface as shown in the photo below. Then we take the ice cream sticks and glue them on the constitution of wooden spatulas, glued best with hot glue. It is necessary to adhere exactly as shown in the photo below. Using ice cream sticks we combine the constitution of wooden spatulas:
Using a clerical knife, cut off the protruding ends of the ice cream sticks.
This workpiece, we will fulfill the function of the basis of homemade:
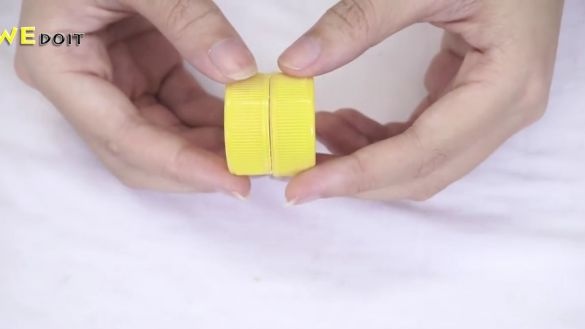
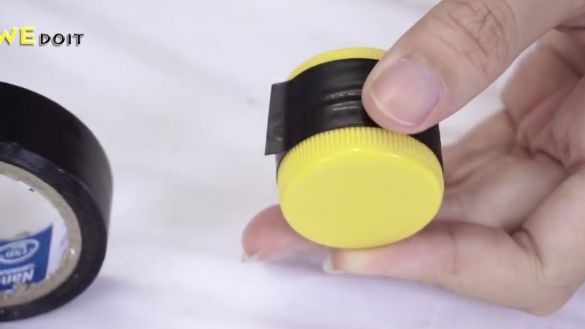
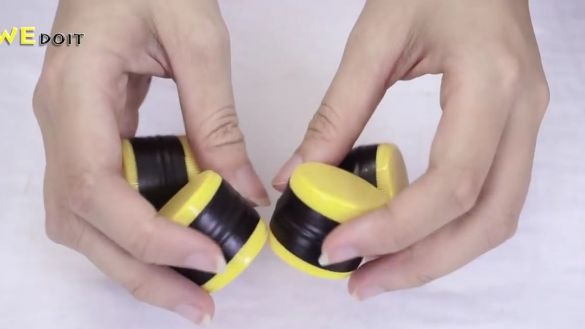
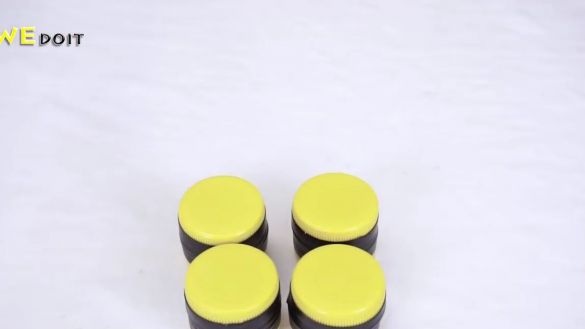
We remove the caps from the plastic bottles, then we connect them together, so that they are connected by the lower parts. It is necessary to connect with an ordinary electrical tape (but it seems to me that blue would perform a mounting function better). All you need to do four such blanks:
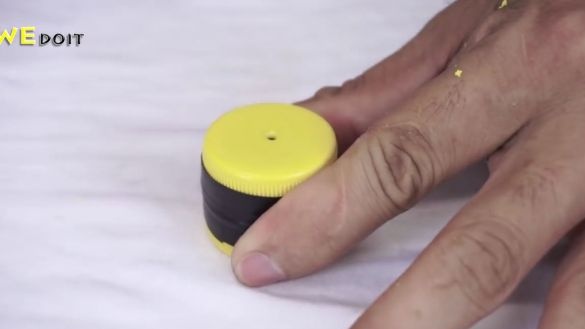
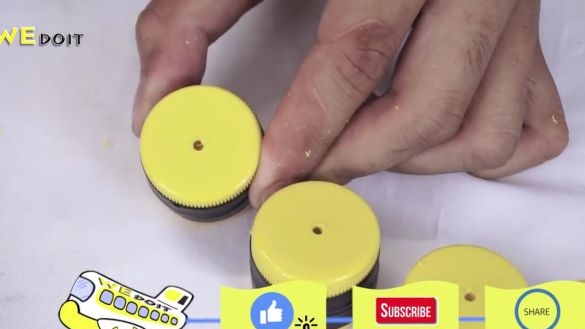
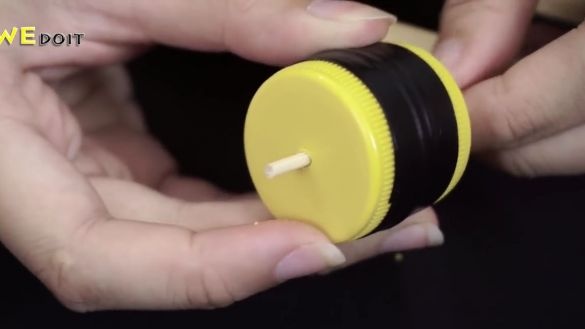
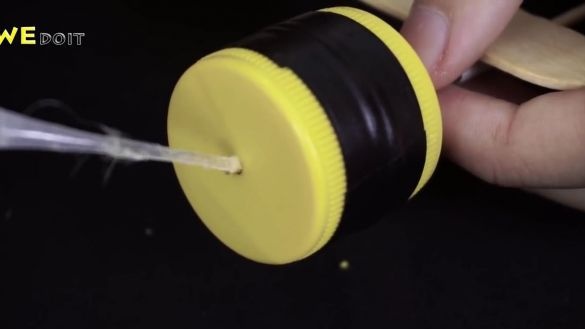
Using an electric drill or screwdriver, we drill one through hole in each workpiece. The holes must be made exactly in the center, if done crookedly, then the rotation of the wheel will not be symmetrical and the efficiency of the entire installation will drop dramatically, since you will have to spend a lot more energy for rotation, and it will look ugly:
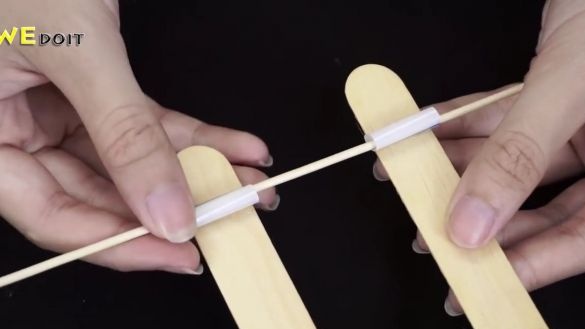
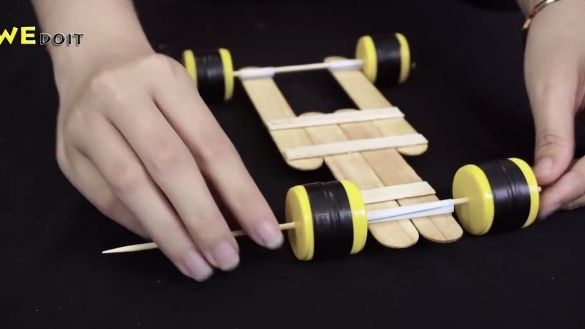
On the front of the main structure of wooden spatulas, it is necessary to glue a piece of tubule from cocktails, and on the protruding rear parts, you also need to glue one piece of tubule. This must be done evenly so that the segments of the tubes are exactly parallel to against each other. Then we take and insert the barbecue skewer, so that it permeates both backs of the segments of the tubes from the cocktails.
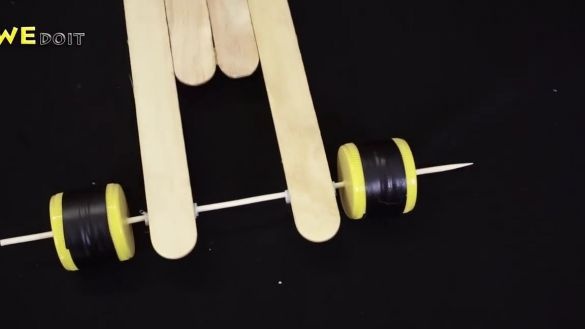
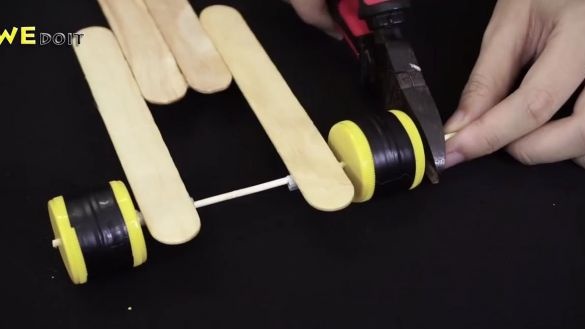
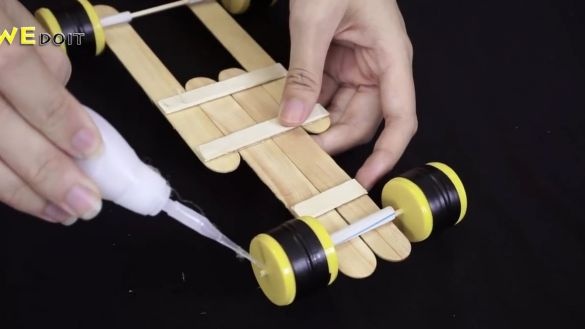
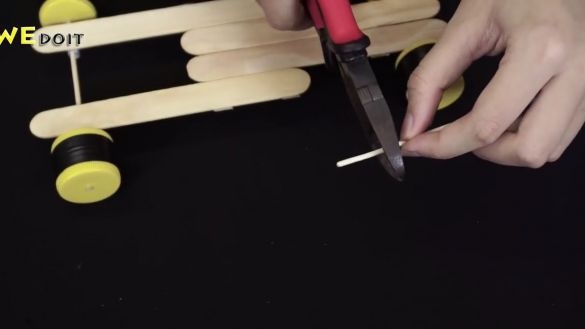
Now we take the wheels that were made of plastic bottle caps before that and put them on the barbecue skewer that we inserted before. Then we bite off with the help of cutters the extra pieces of the skewer and dig up the place where the wheel connects to the axis of rotation. Everything must be done as shown in the photo below.
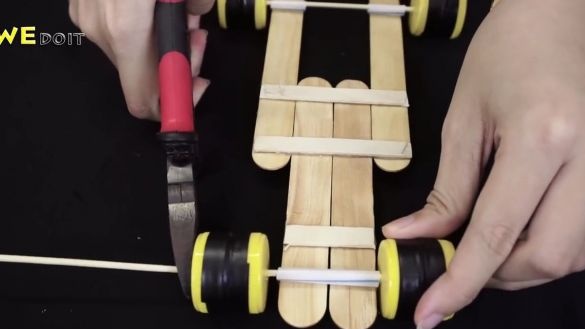
With the front of the wagon, you need to do the same: insert the skewer, put the wheels from the bottles, cut off the excess ends and fix everything with super glue.
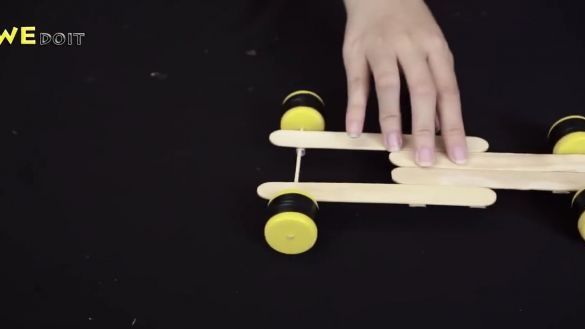
Now test the wagon:
We put it on a smooth surface and move it forward and backward, if the wagon moves smoothly and moves in general, then everything is done correctly and you can continue:
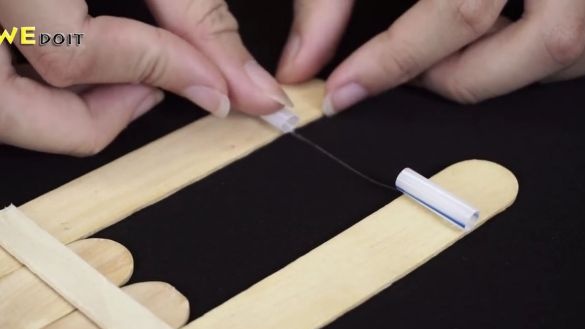
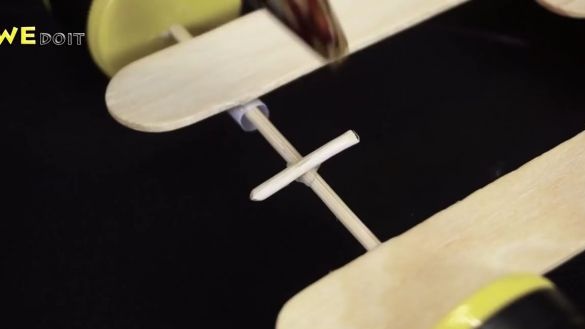
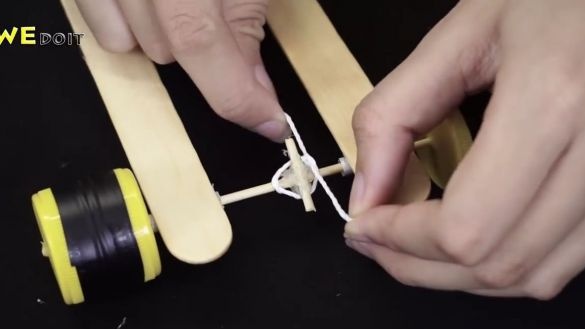
We cut off a very small piece from the barbecue skewer and glue it on the axis of rotation of the wheels, the back of the wagon. Everything must be done as shown in the photo below:
Now you need to tie a piece of the skewer, which was glued earlier, with a cloudy, not too thick thread.
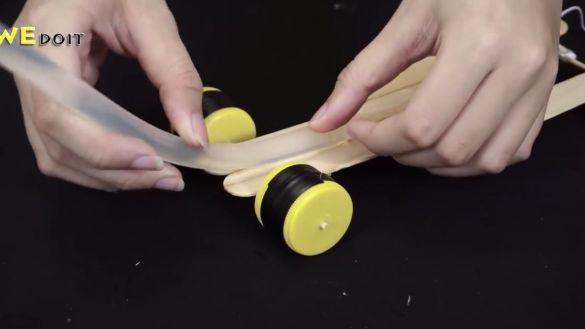
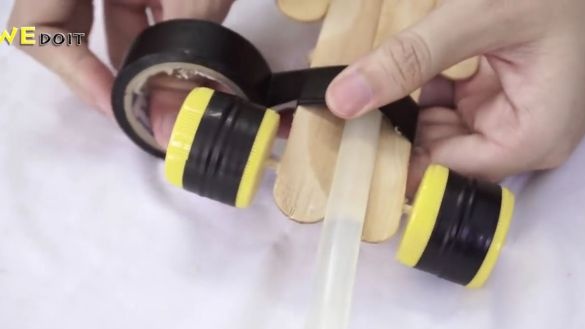
We take the core of hot-melt glue and attach it to the front of the wagon so that about two-thirds go beyond the wagon and fix it with ordinary electrical tape. It is important that the insulating tape firmly holds the core of hot melt adhesive. You can also fix it with the hot glue itself:
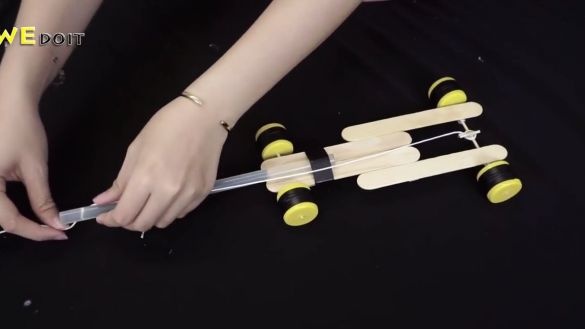
We wind the thread on the front of the rod as tight as possible:
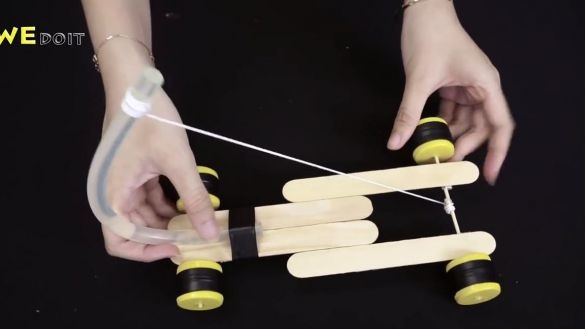
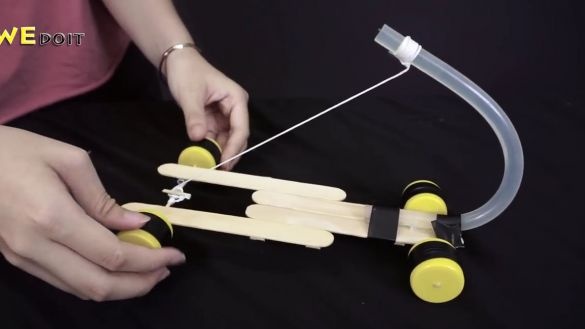
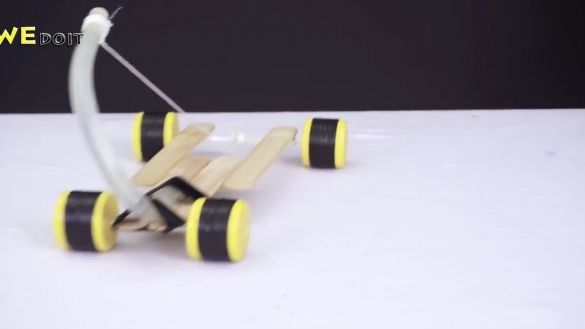
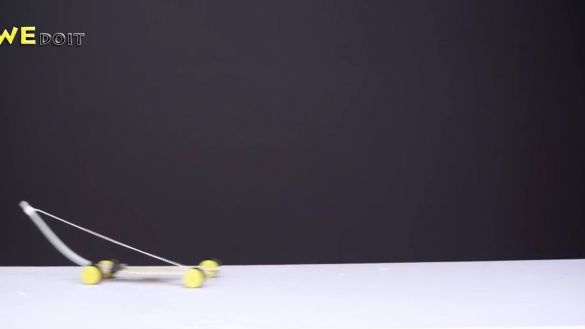
That's it! A simple unusual wagon is ready and it remains only to test it. To do this, we begin to rotate the wheels to which the thread is attached in the opposite direction of movement, so that the hot melt adhesive rod is bent, then we put the cart on a flat surface and let go, while the rod will begin to unbend and will unwind the thread wrapped around the axis of rotation of the wheels, which turn will lead to the movement of the entire wagon.
Homemade is simple, but rather unusual. I think it is perfect for those who are still not very familiar with the principle of the rubber engine, or for those who just want to do something unusual. I also think children will like this homemade product, because there are no particularly complex parts in its manufacture, but in itself it is quite interesting. In general, if you want to please yourself or your child, but do not want to spend a lot of time and materials, then this homemade product is perfect for you. And after assembling a simple homemade product, I think you will want to do something more complicated already, but with the same principle of movement. Personally, I would recommend trying to assemble a simple glider plane on a rubber engine. It is very interesting and exciting.
Here is a video from the author with a detailed assembly and testing of this homemade product:
Well, thank you all for your attention and good luck in future projects, friends!

