
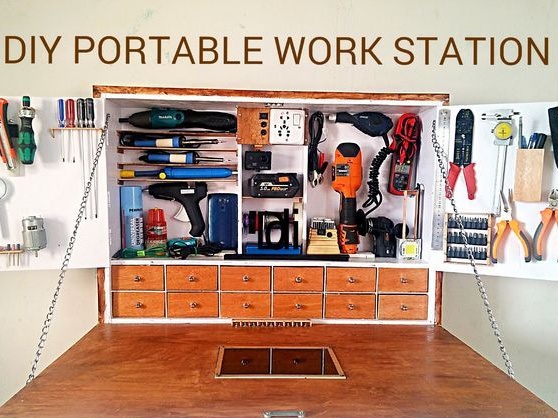

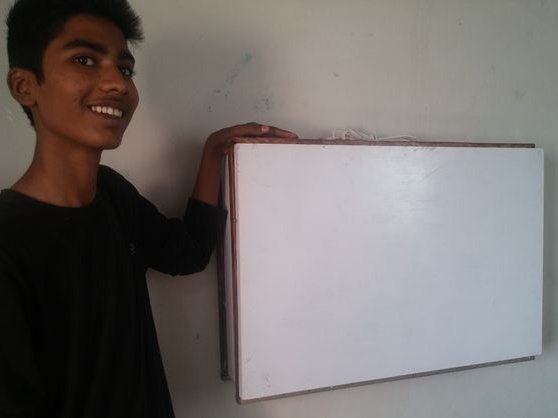
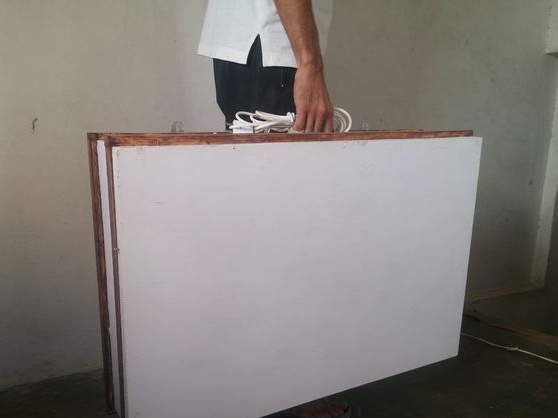
To work outside the workshop, the Master decided to make a portable workstation. In making this homemade The author set himself the following tasks: ease of carrying, compactness, design, durability, low manufacturing costs.
Tools and materials:
-Hammer;
-A screwdriver;
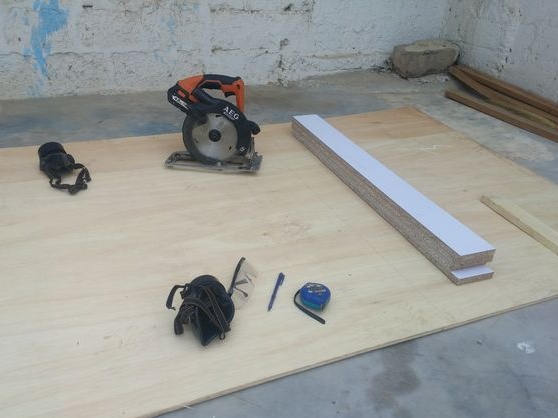
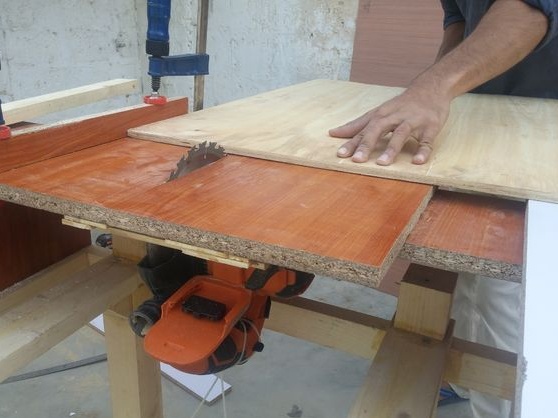
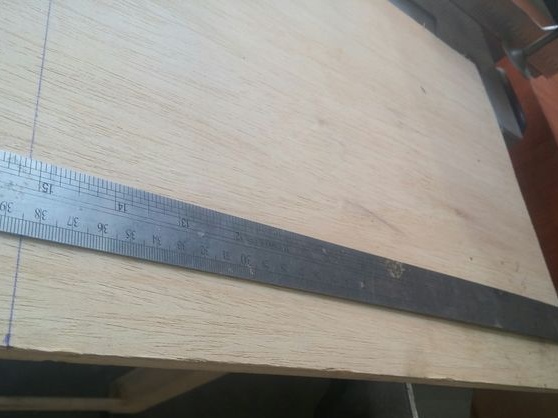
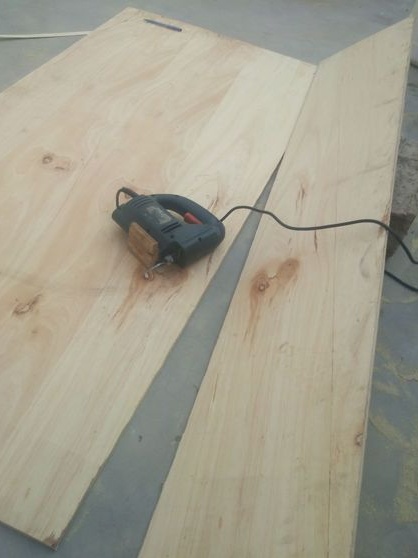
-A circular saw;
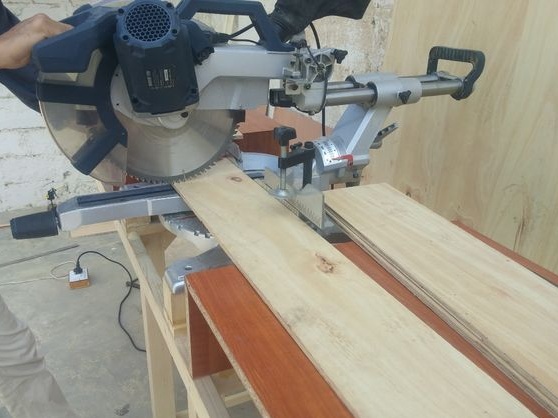
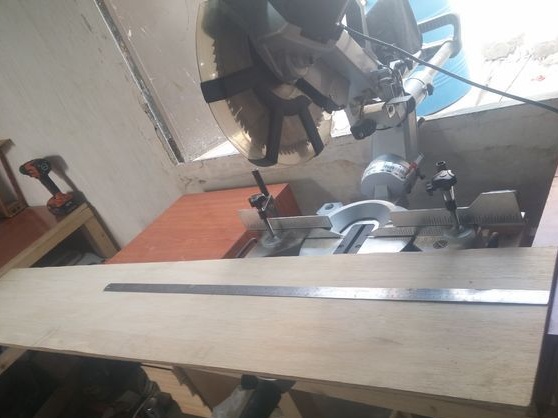
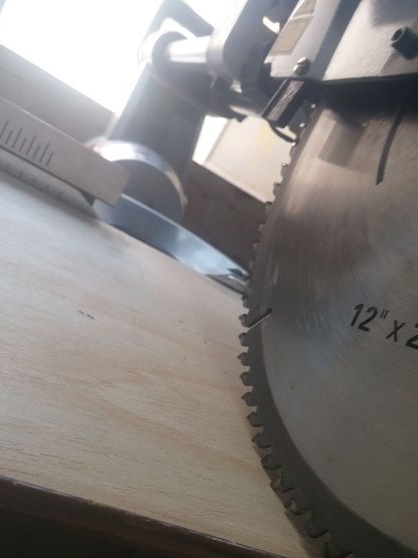
-Miter saw;
-Screwdriver;
-Board;
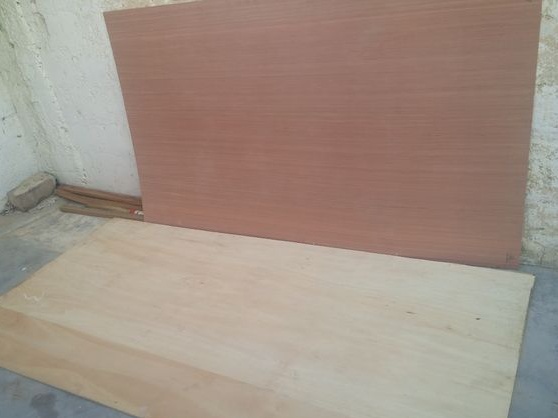
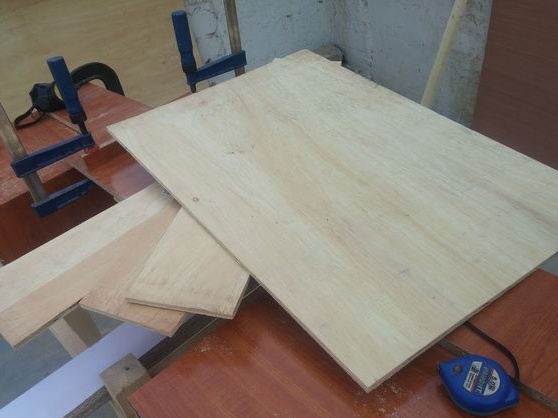
-Plywood;
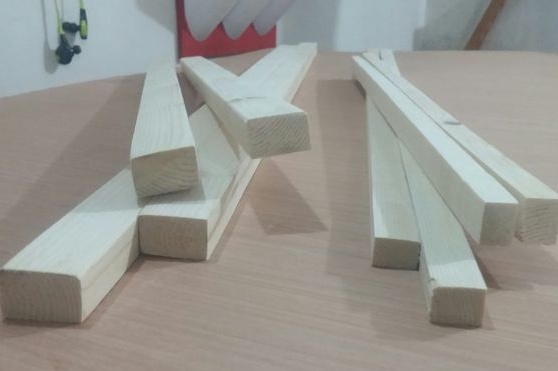
-Rail;
-Glue for wood;
-Nails;
-Oil paint;
-Varnish;
- brush;
- Clamps;
-Glass;
-Neodymium magnets;
-A pen;
- dowel;
- Loops;
-Light-emitting diode;
-Radiator;
-Batteries for laptops;
-Chain;
-Socket;
-The wire;
-Plug;
-Switch;
-Power Supply;
-Light-emitting diode;


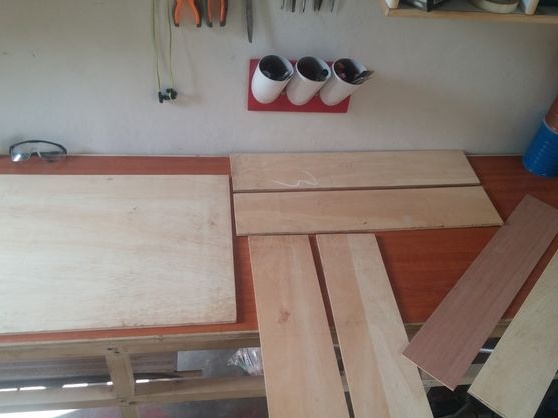
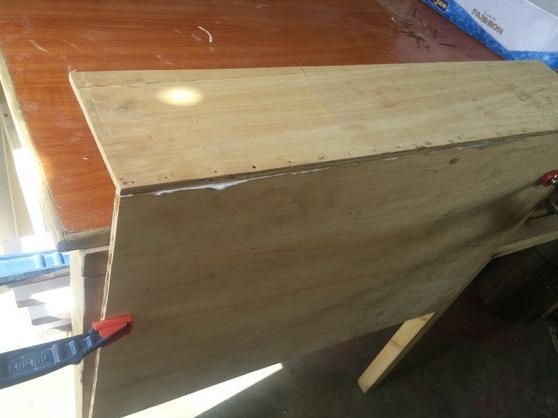
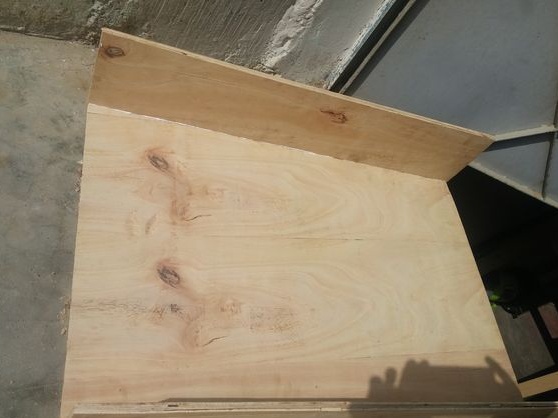
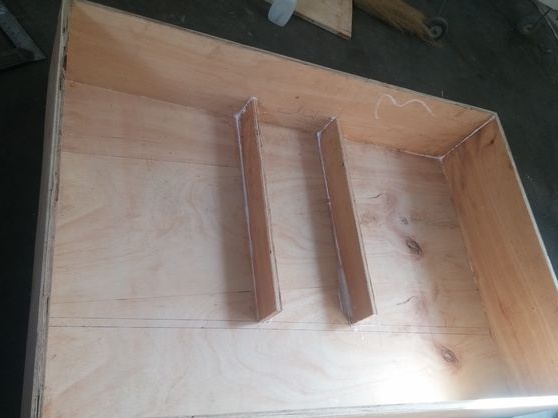
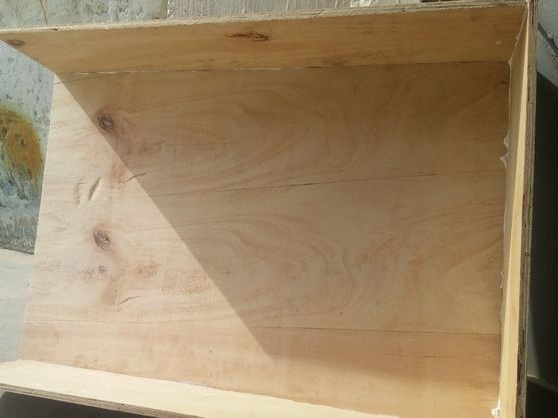
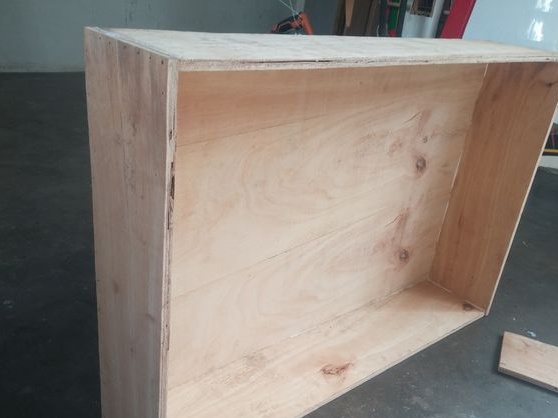
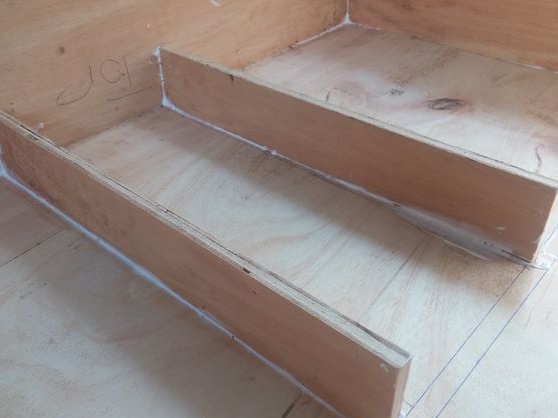
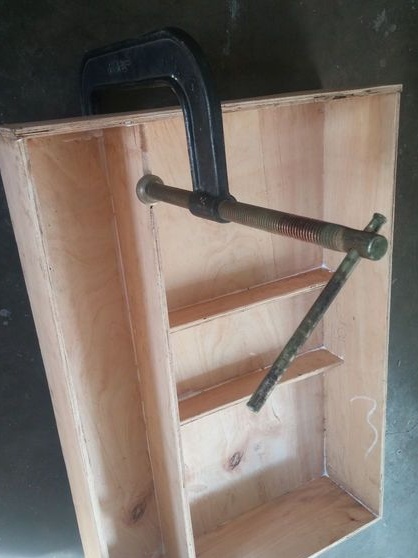
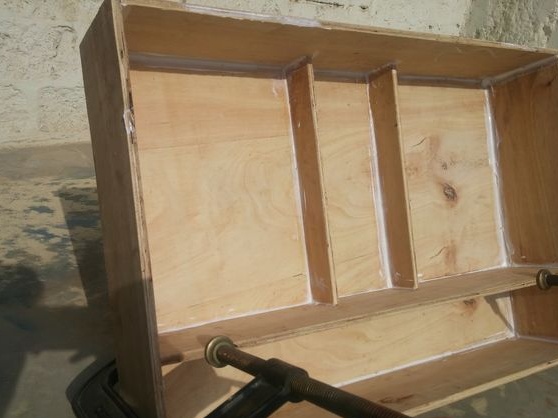
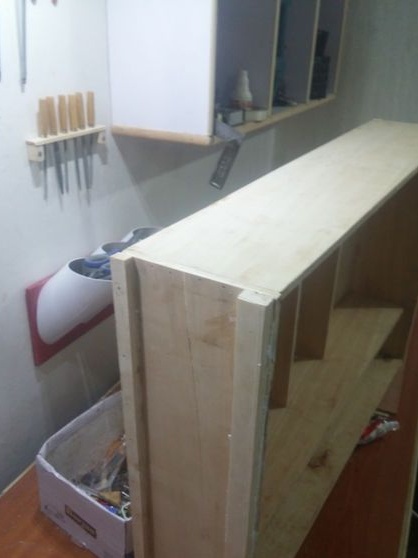
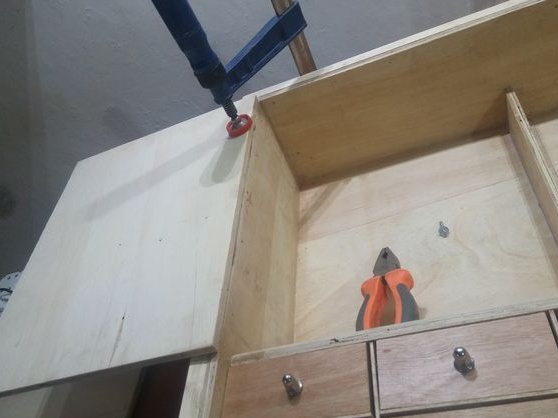
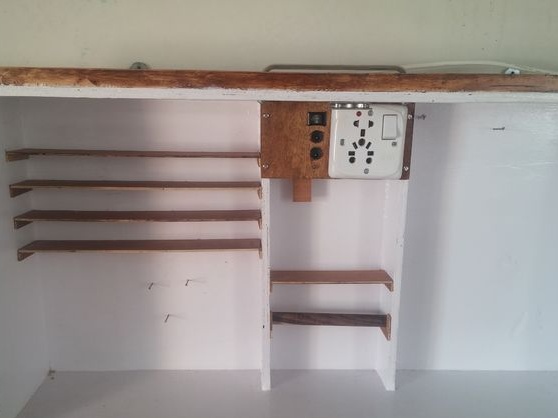
Step One: The Case
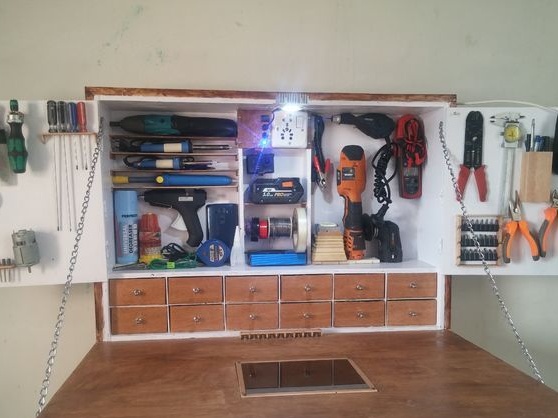
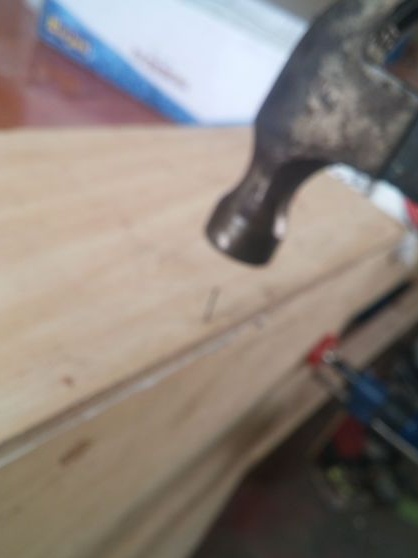
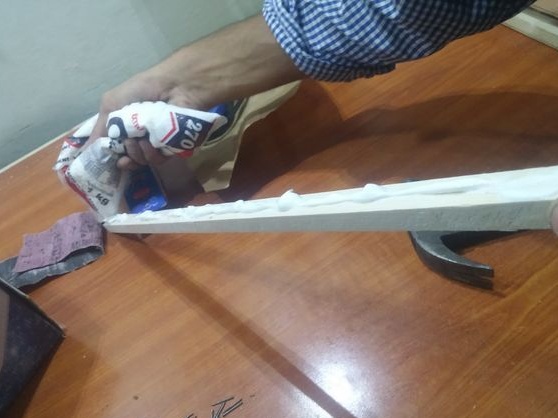
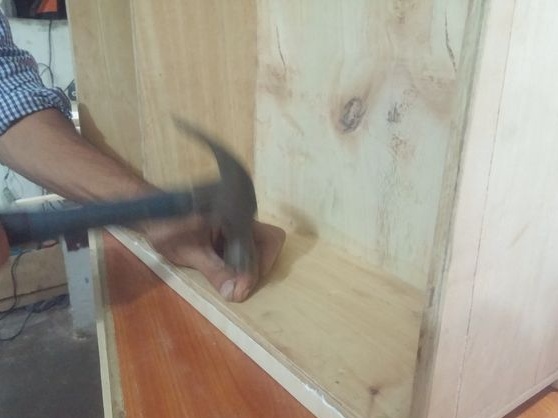
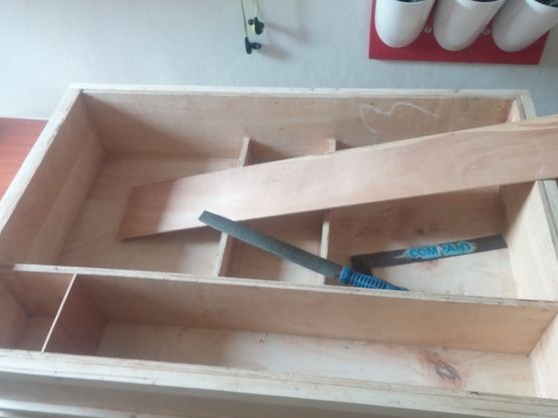
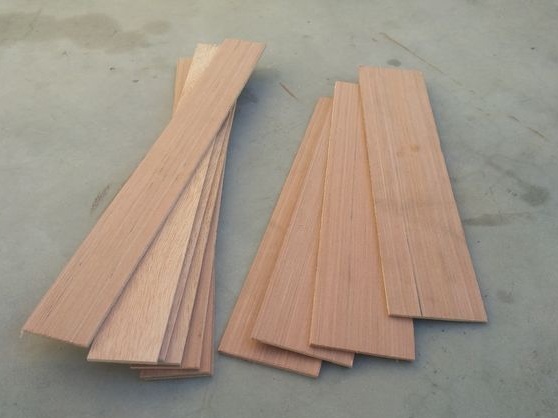
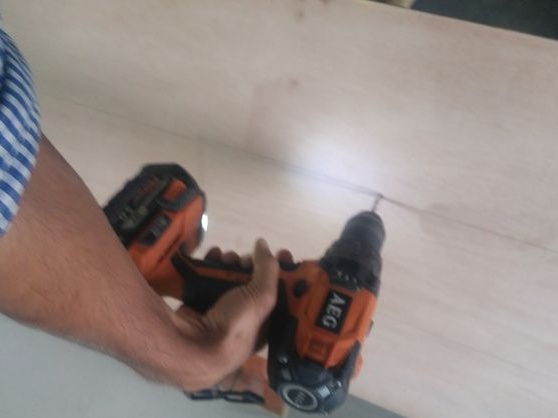
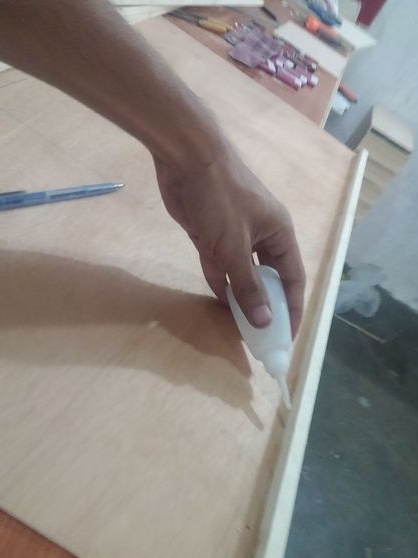
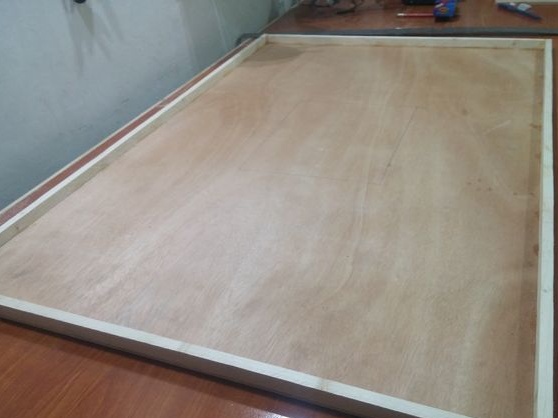
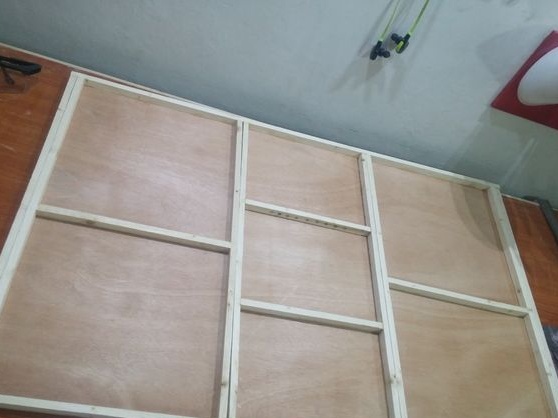
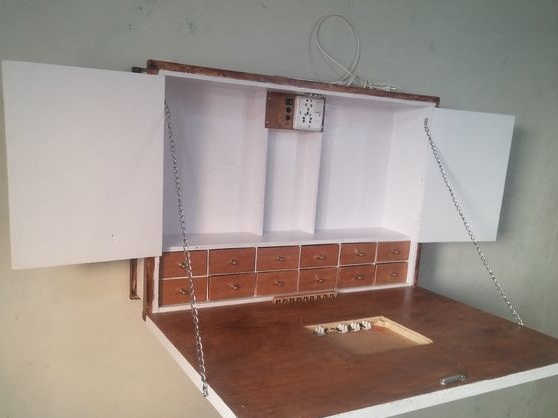
The master makes a case out of plywood and a bar. Case dimensions 53 * 79 * 17 cm. The upper compartment is divided into four parts. The master fixed the partitions with glue, the bars with glue and nails.
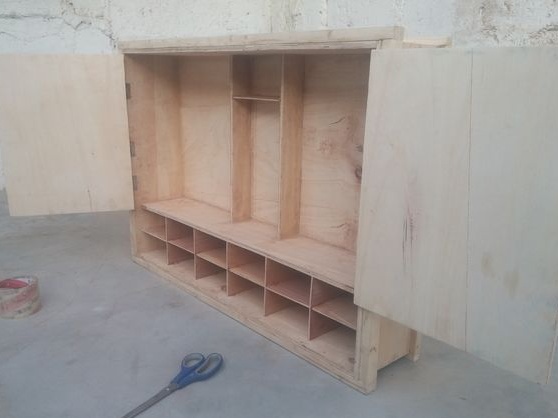


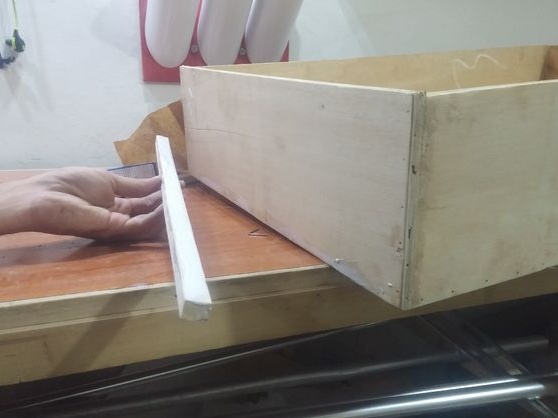
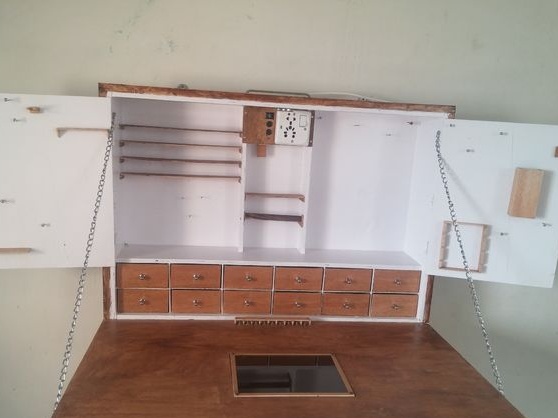
Step Two: Drawers and Partitions
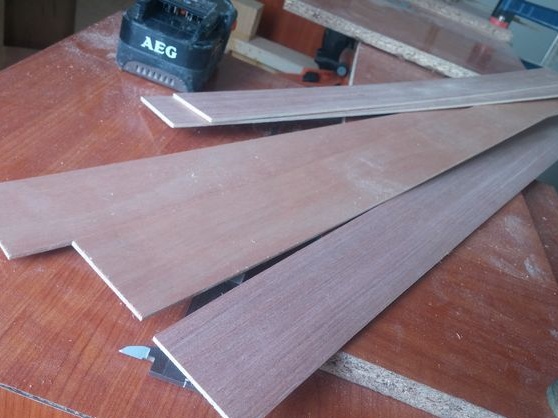
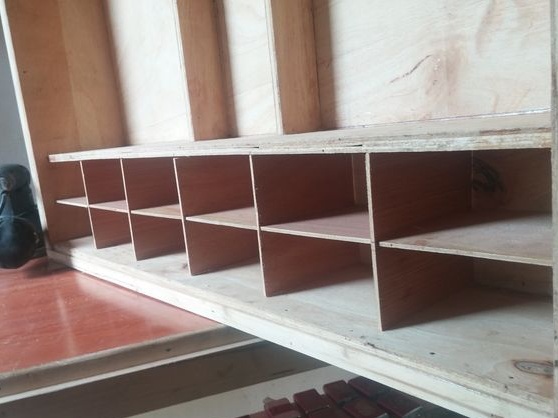
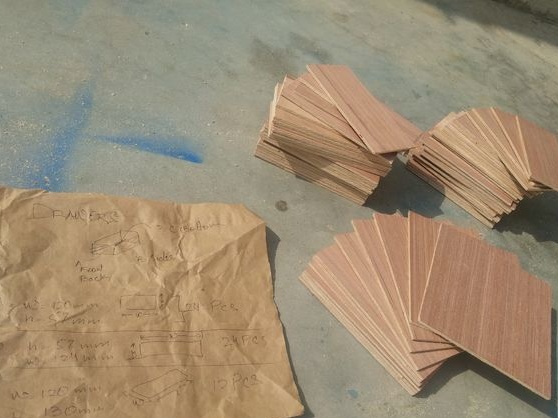
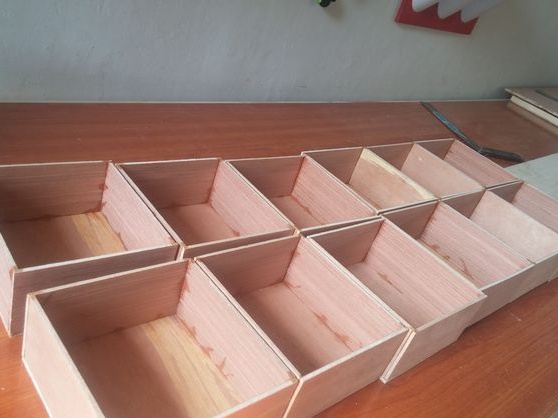
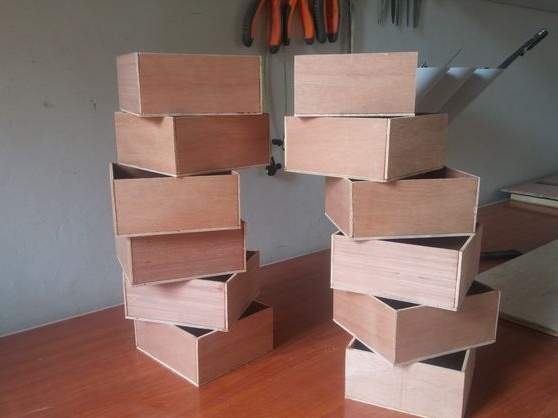
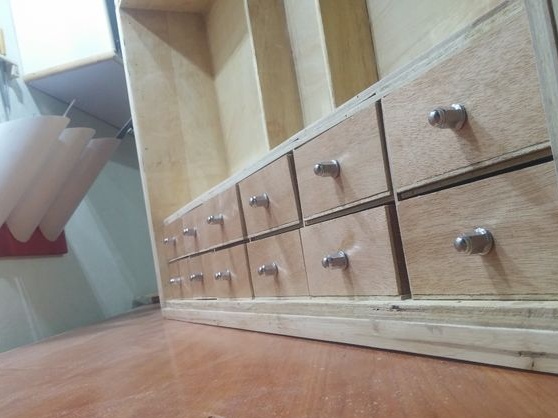
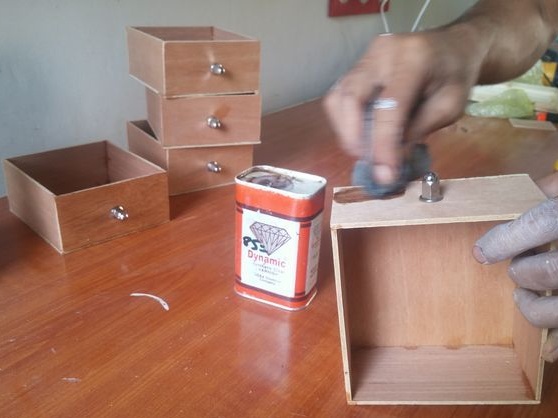
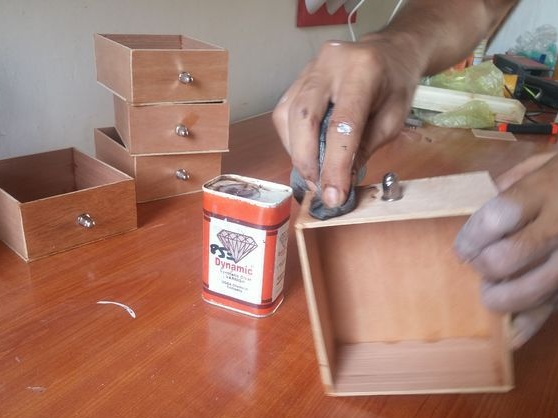
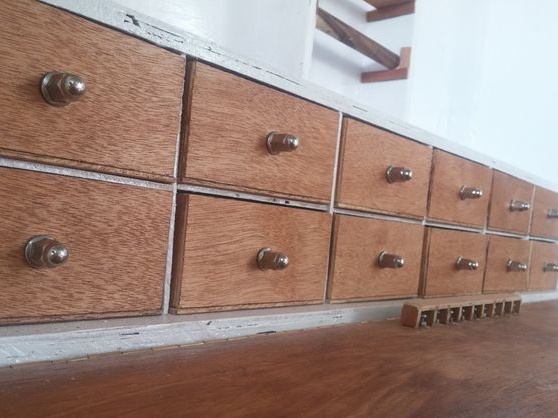
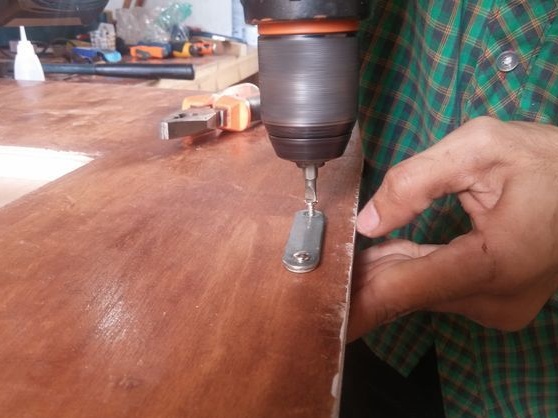
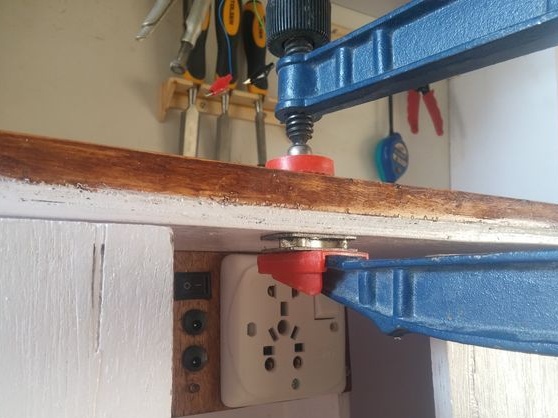
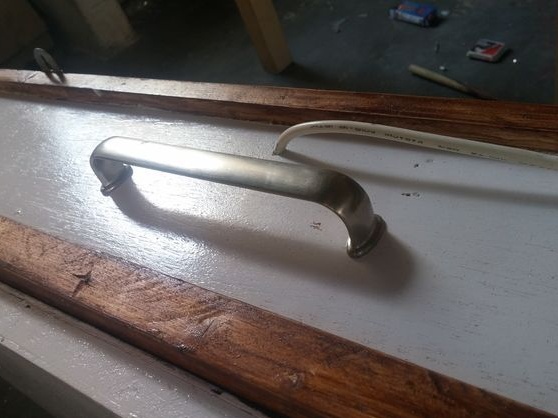
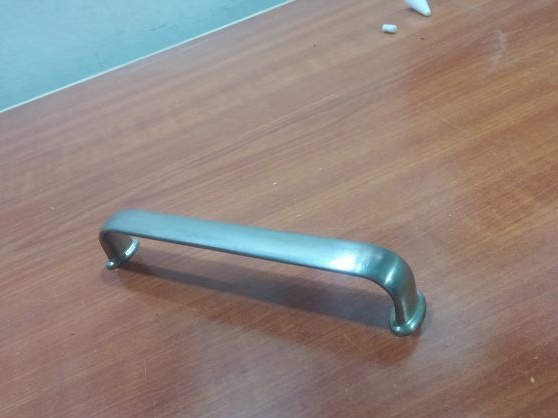
In the lower part of the case 12 boxes will be installed for any trifle. Made drawers and compartments for them from laminated plywood. I installed handles on the boxes.


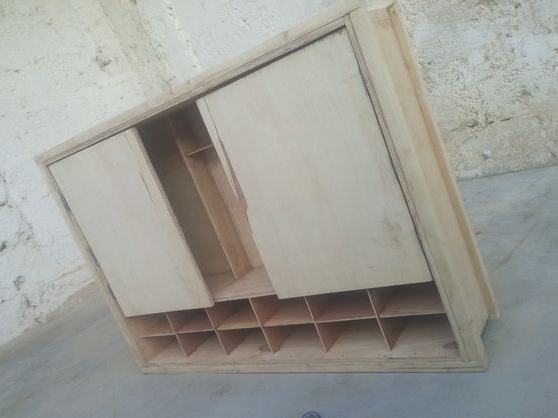
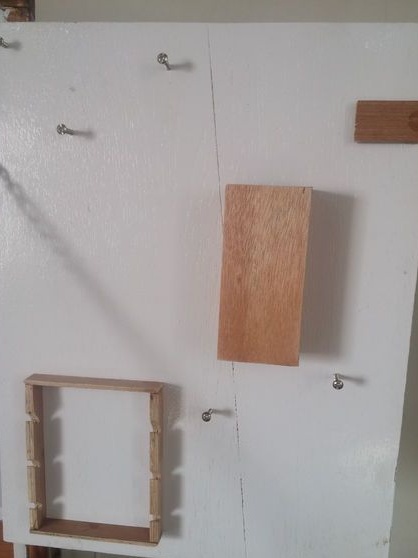
Step Three: Doors
Made of plywood doors, on which the tool will also be fixed.
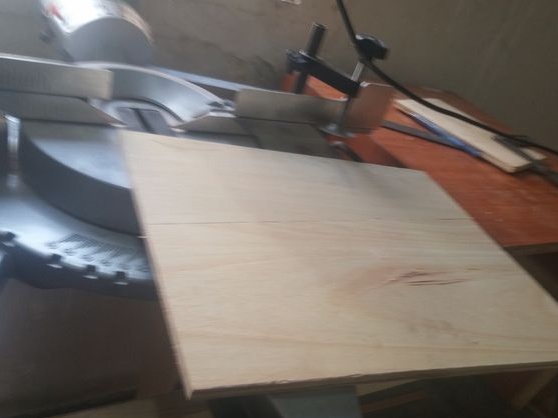
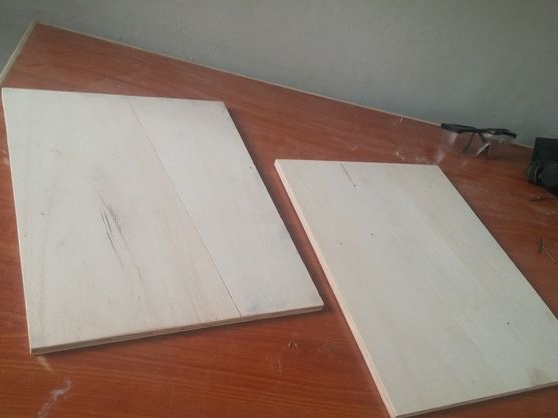
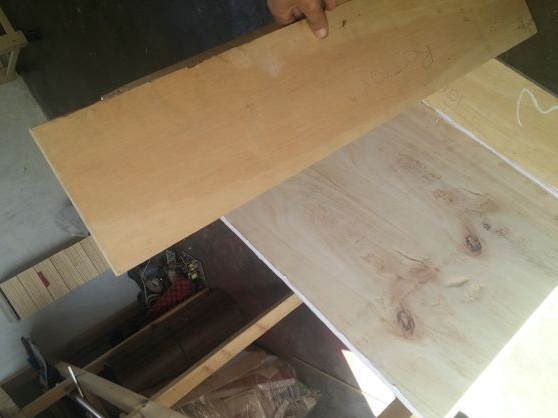
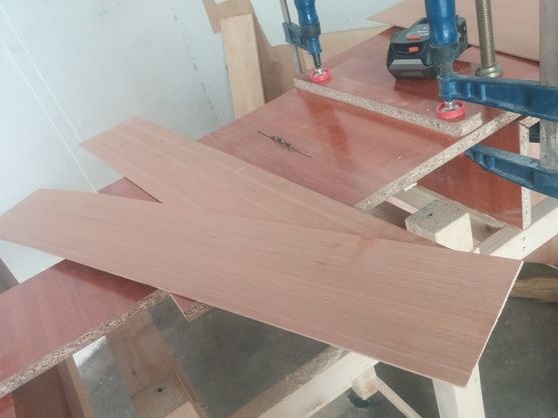
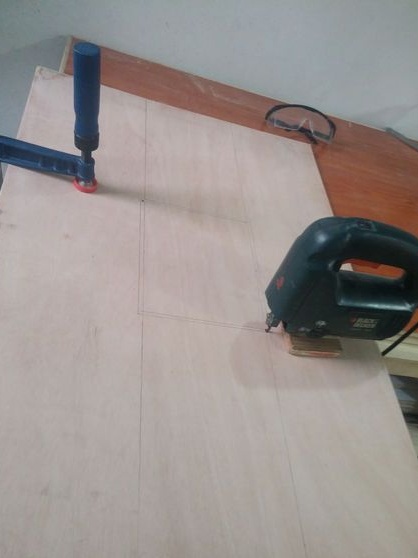
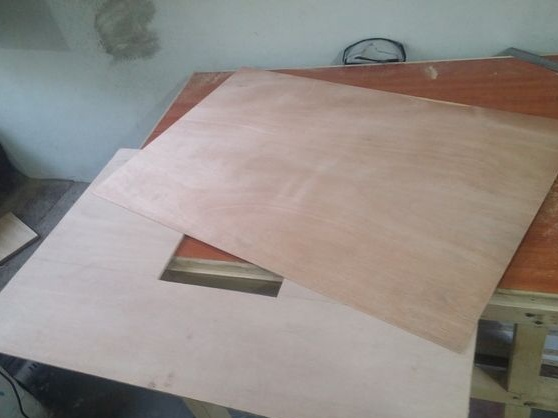
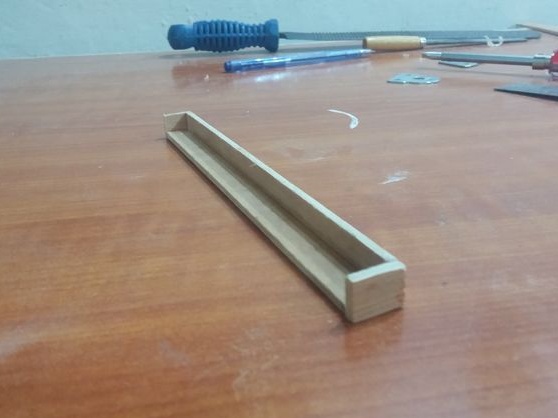
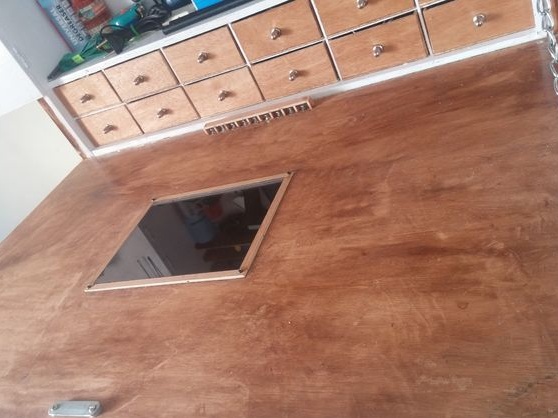
Step Five: Desktop
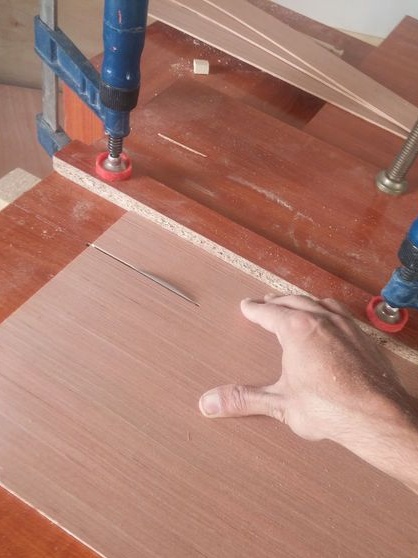
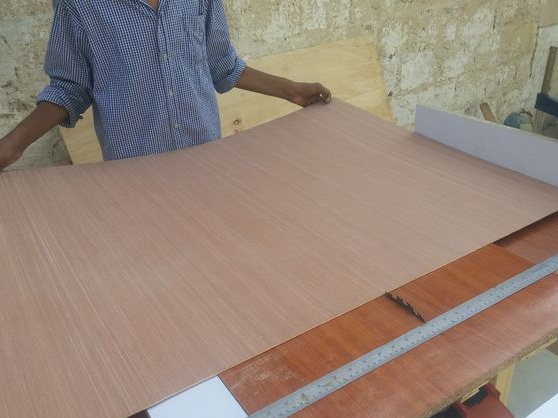
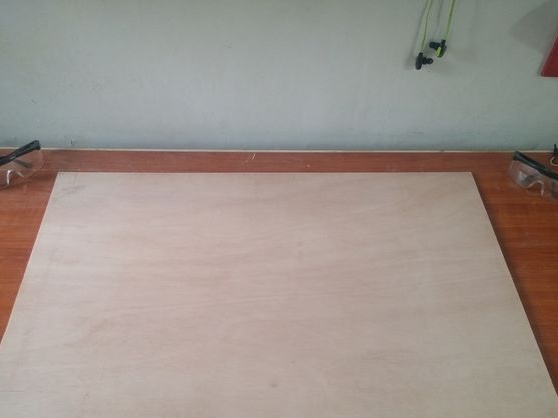
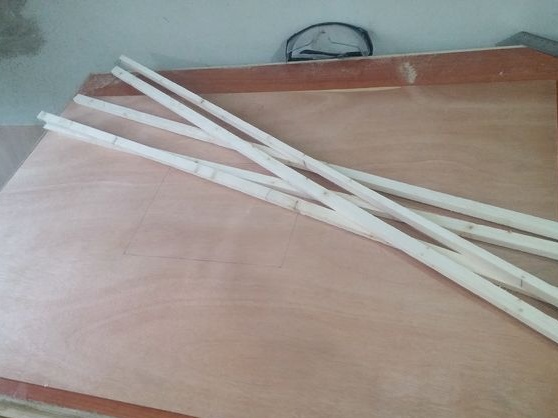
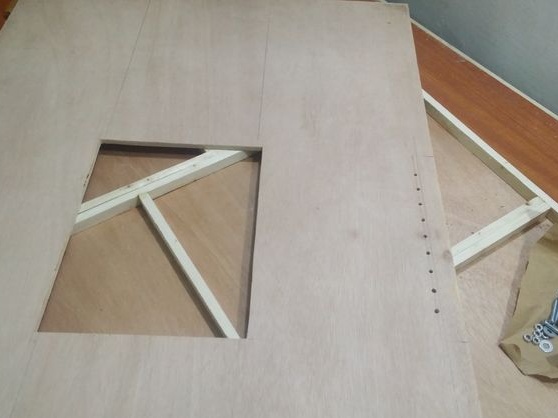
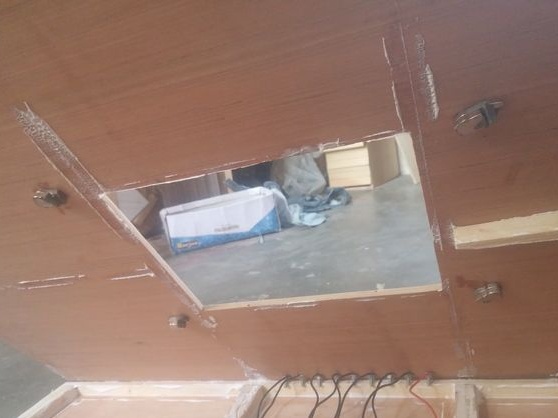
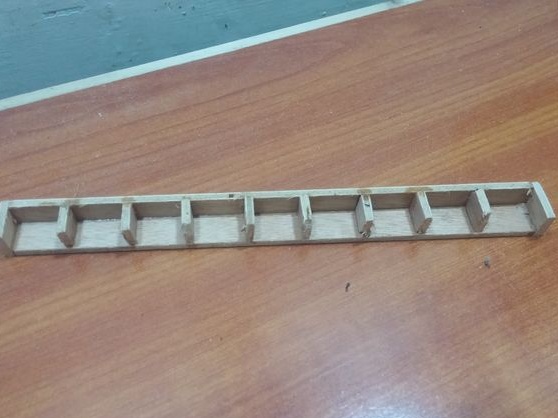
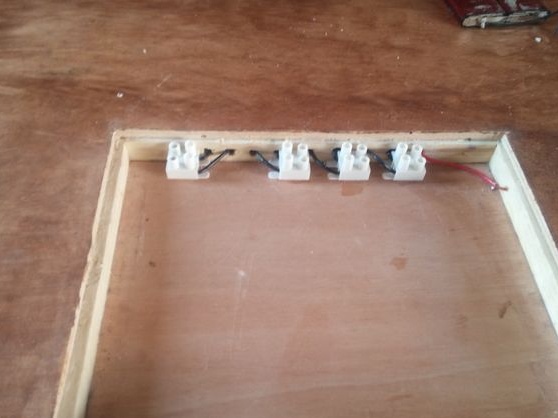
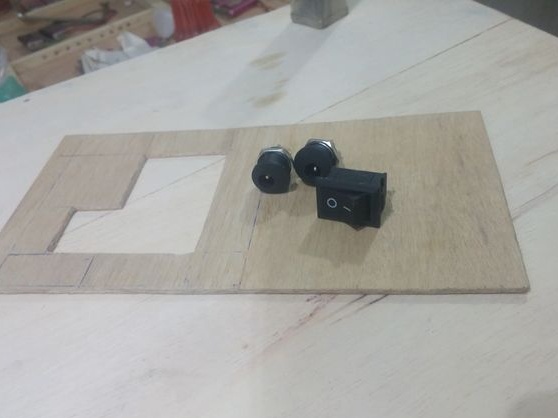
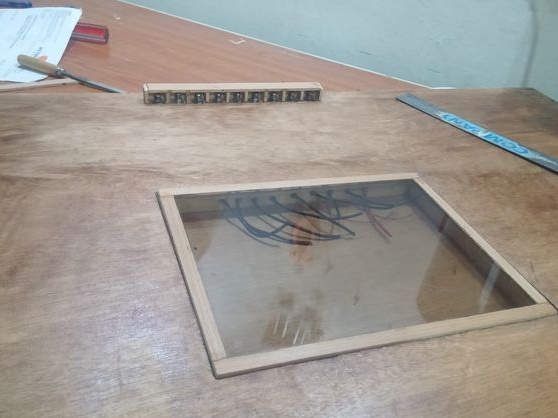
The desktop is made of two sheets of plywood and a bar located between them. Thus, the table inside is hollow. A window is cut out in the center of one sheet, additional elements will be fixed there.


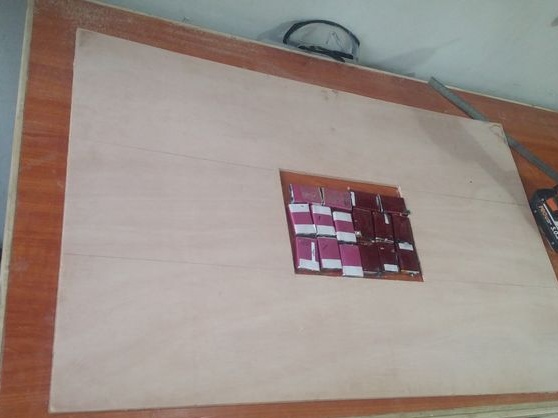

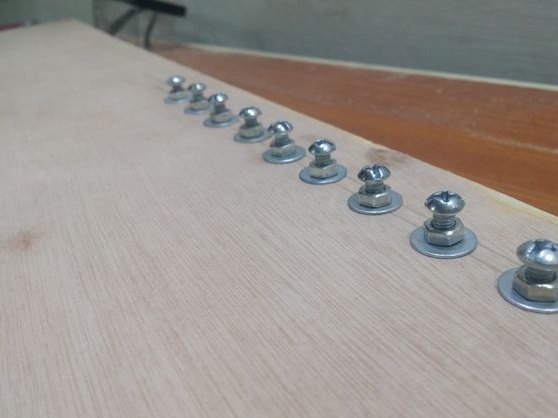
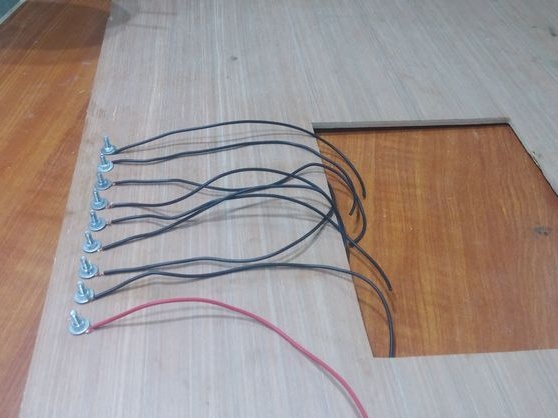
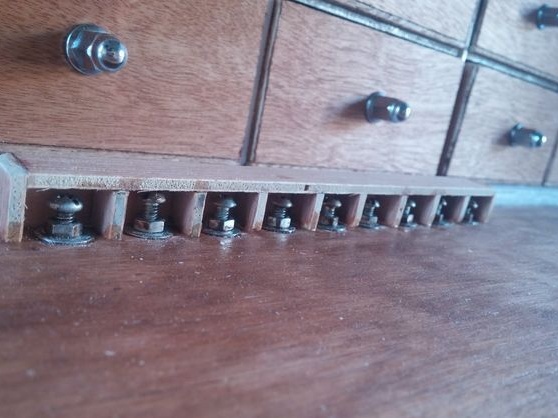
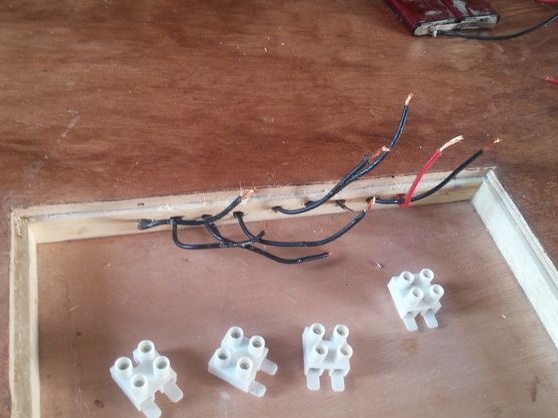
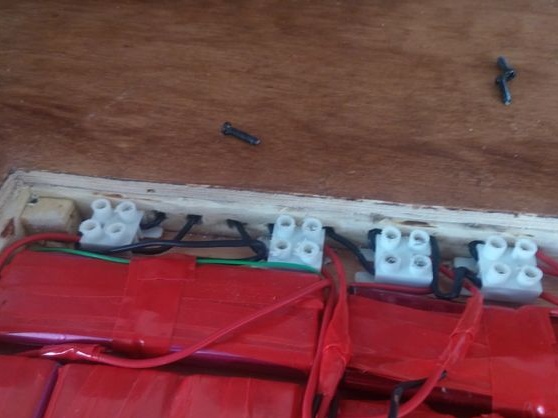
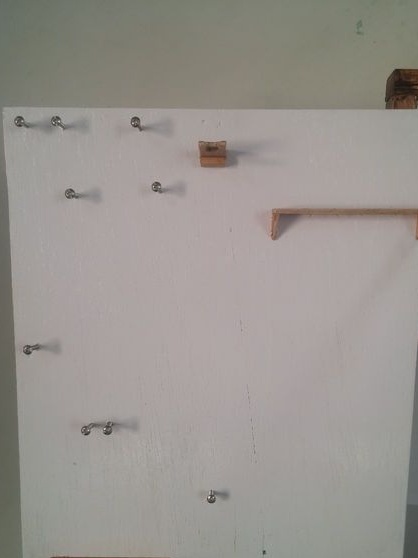
In the lower part I installed 9 bolts. I fixed the wires to the bolts. The second ends of the wires brought into the opening.
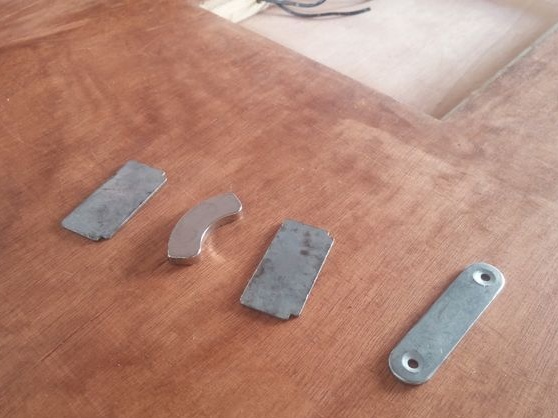
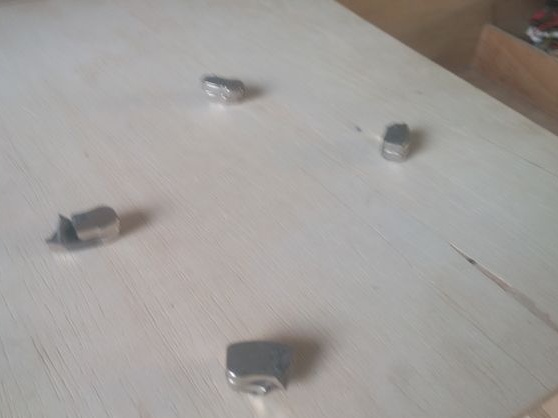
At the corners of the opening, neodymium magnets were fixed. They will hold a metal tool and material.
Bolts closed the cover.

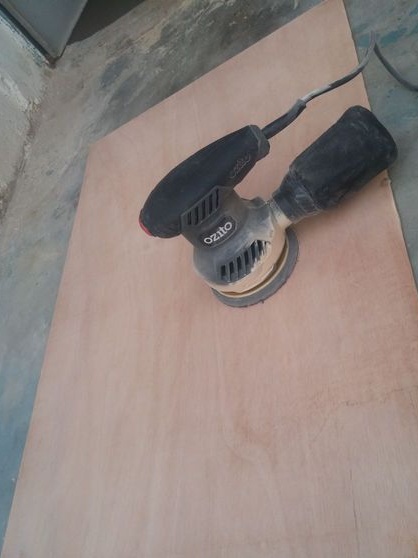
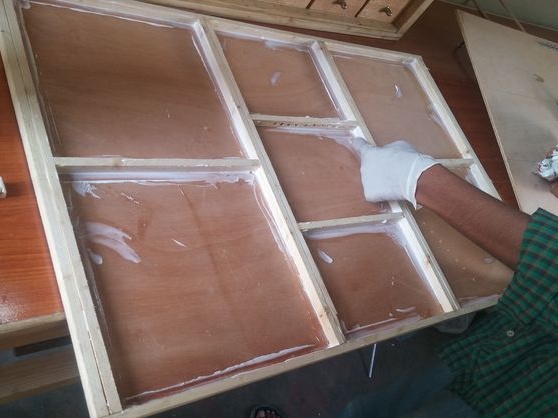
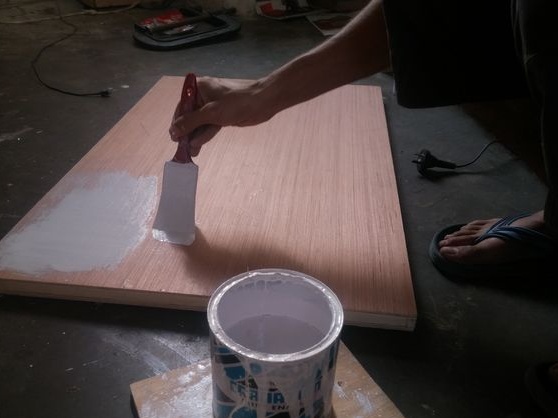
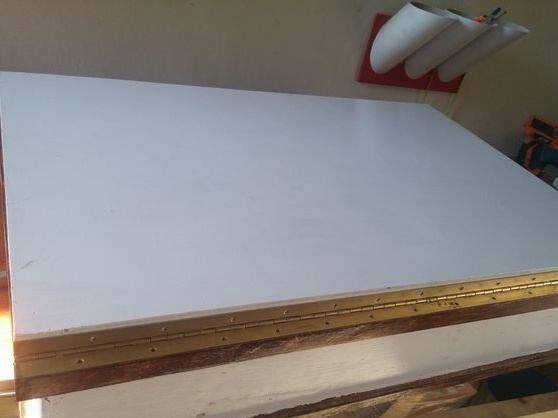
Painted some parts of the workstation.


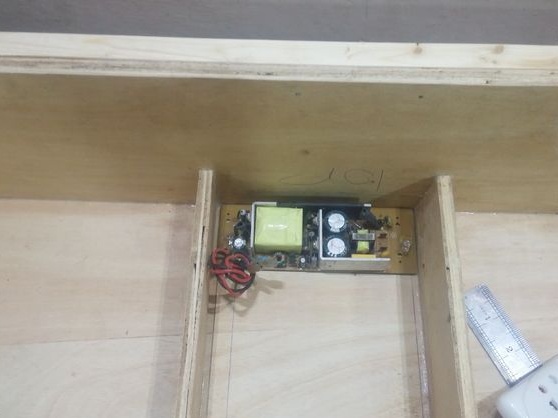
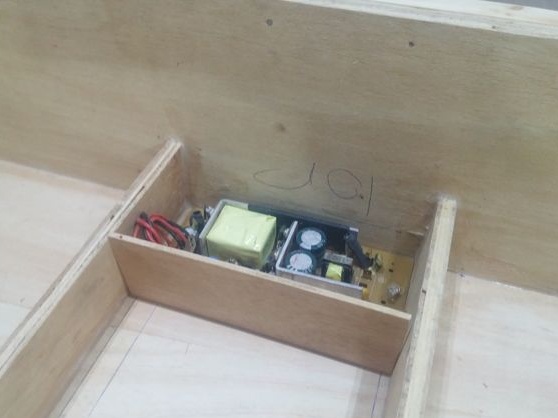
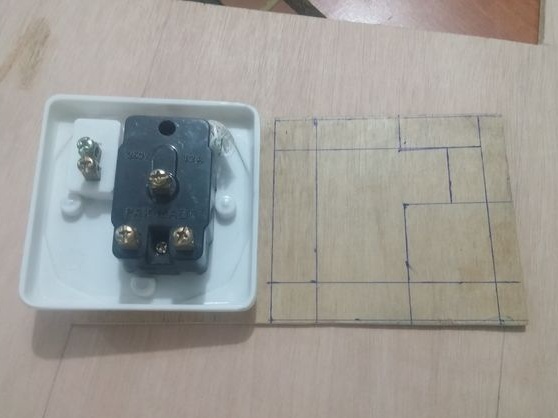
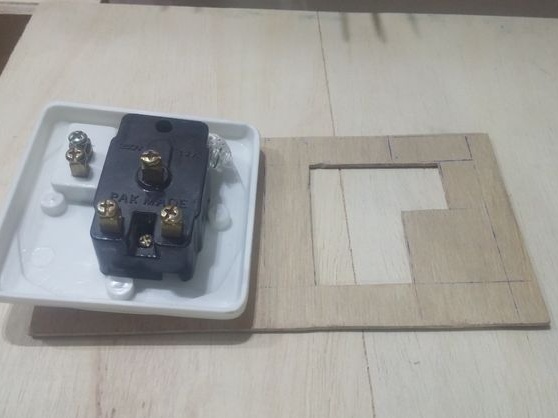
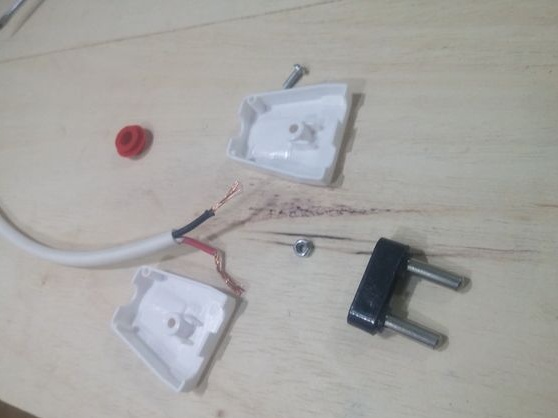
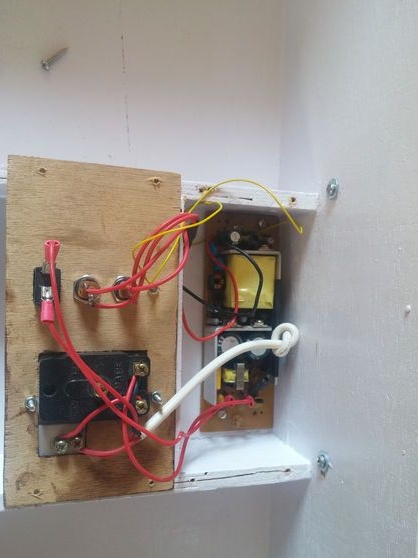
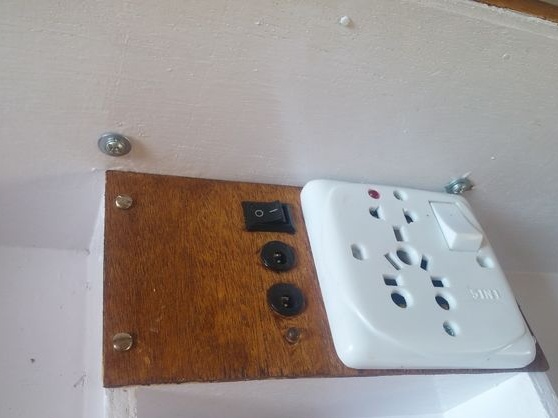
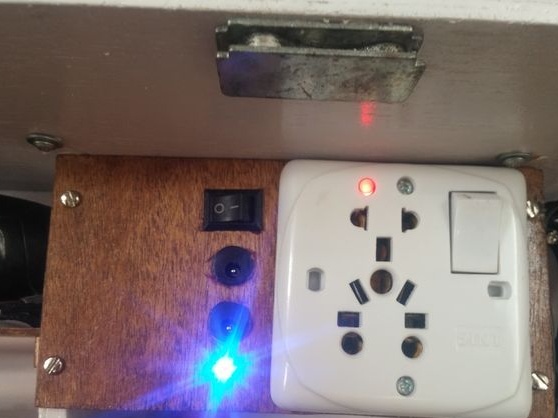
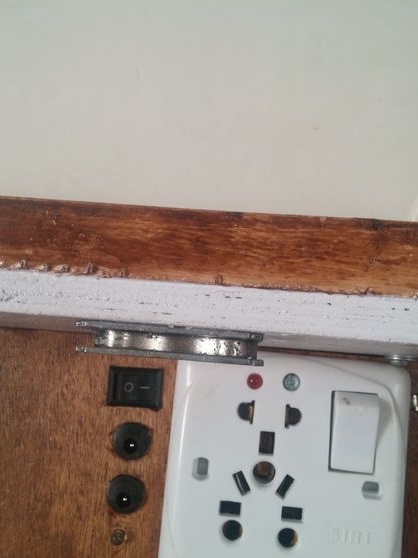
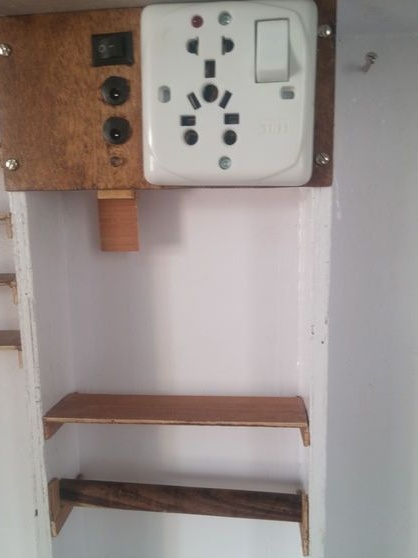
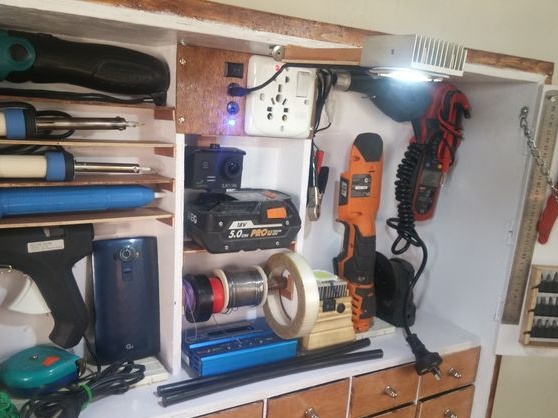
Step six: electrical part
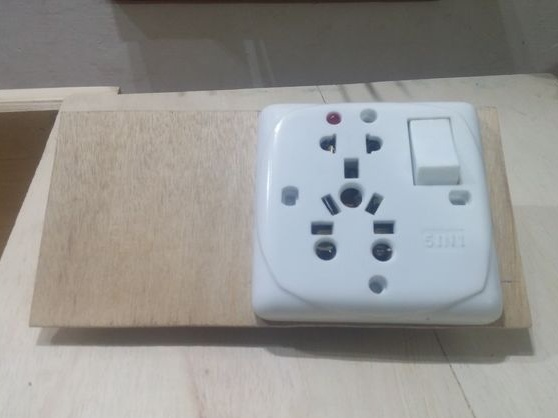
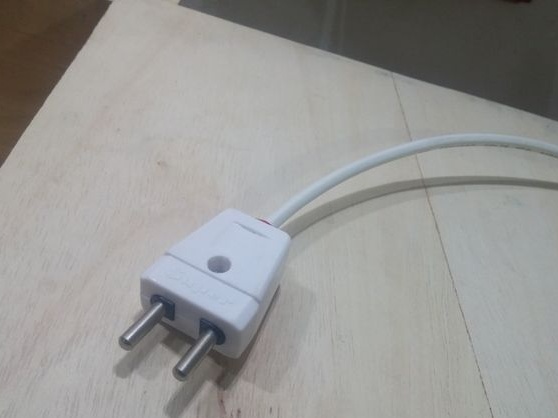
Installs a 12V 6A power supply, socket, connectors. The desktop socket and 220V socket are connected using an extension cord.


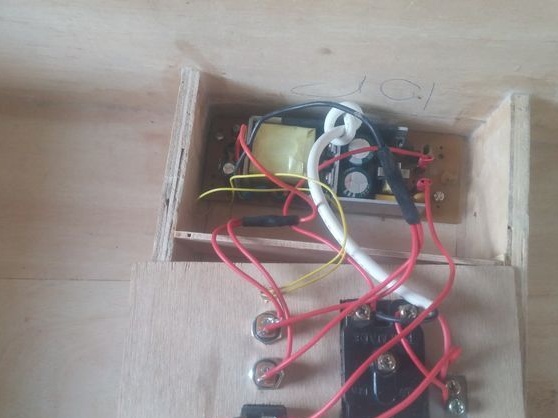
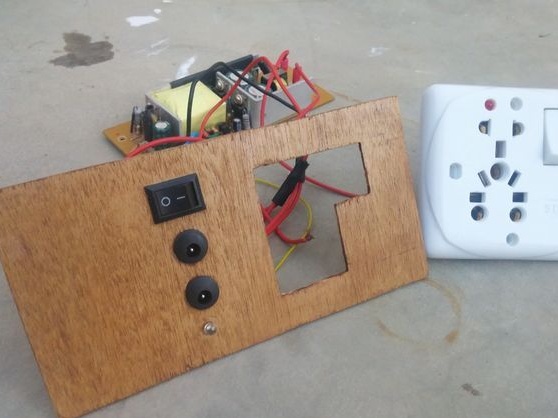
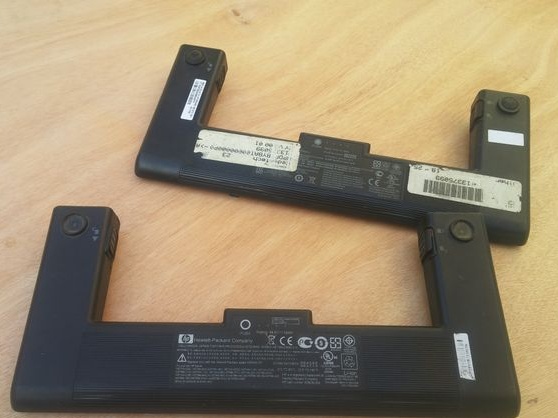
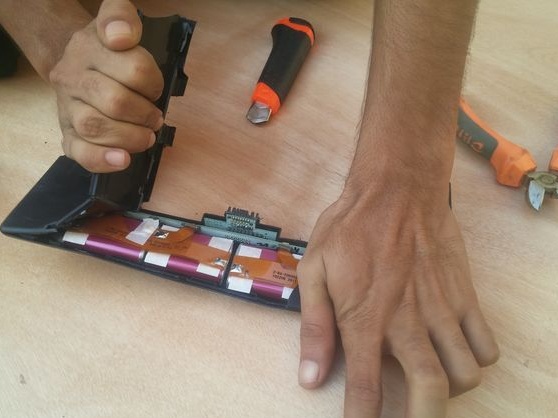
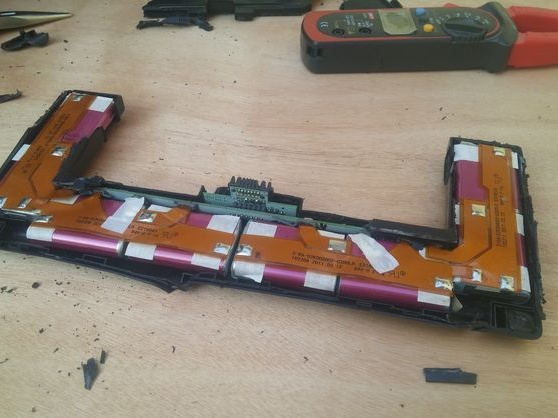
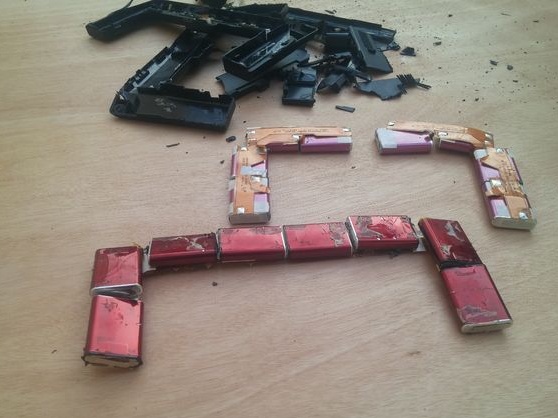
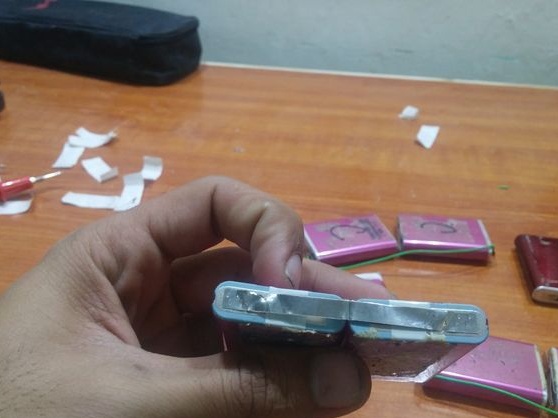
The master made an additional power source from laptop batteries. The battery is installed in the table opening. The battery outputs are connected to the bolts in such a way that the leftmost bolt is connected to the minus, and transferring the second consumer output to the right, for each bolt, the voltage changes from 3.7 V to 29.6 at 3500 mAh.
Seventh step: a place for soldering
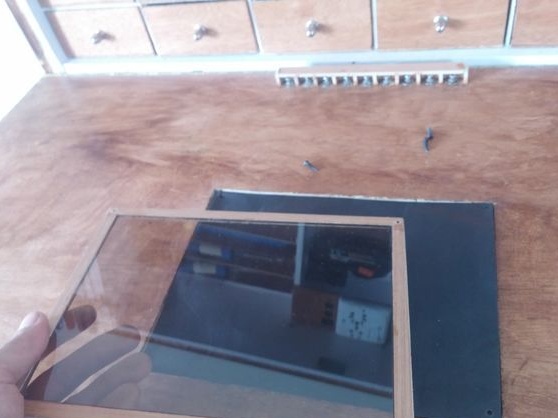
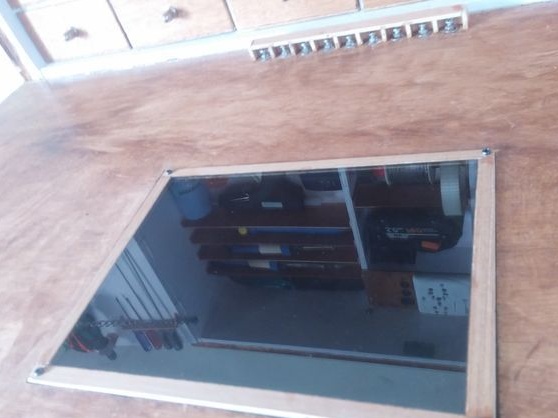
The master closed the opening with the battery with shockproof glass. The master will solder on this glass.


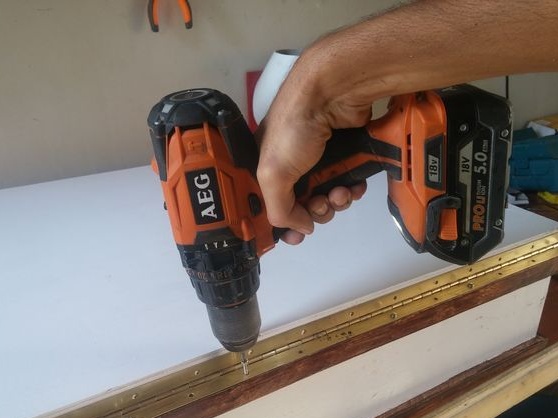
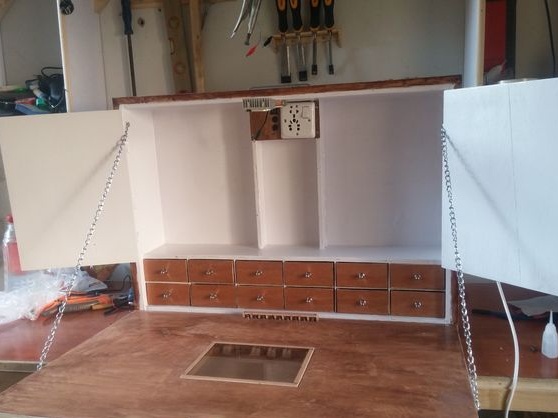
Step Eight: Build
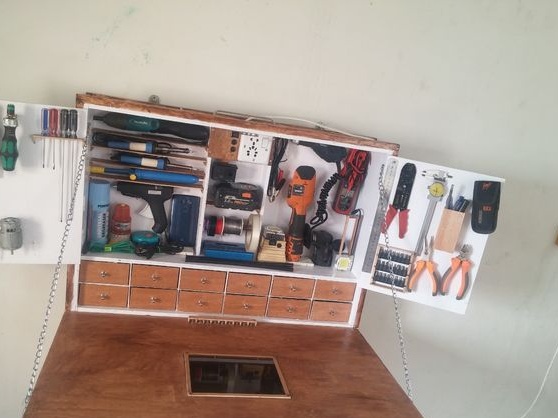
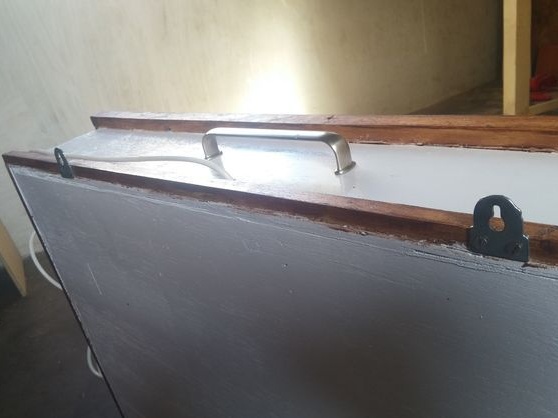
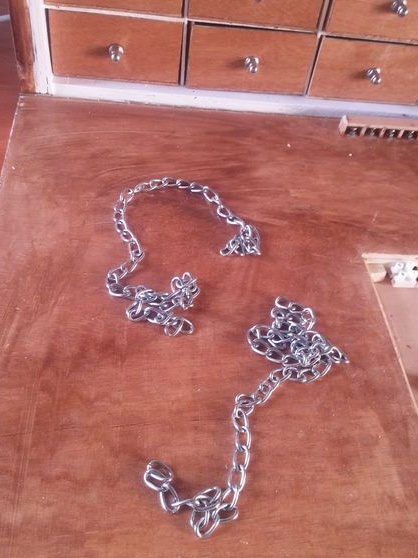
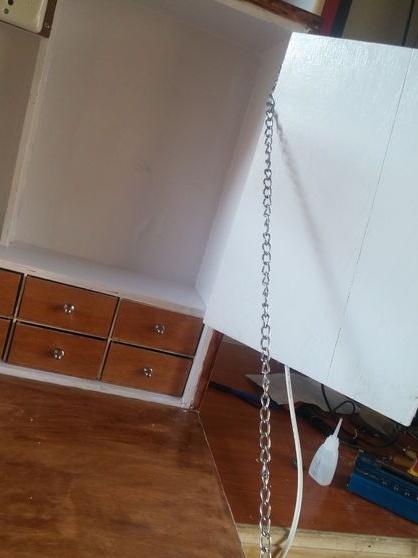
The piano loops the master attached the table to the drawer. Installed a pen and a magnetic lock. Screwed the limiter out of the chain.
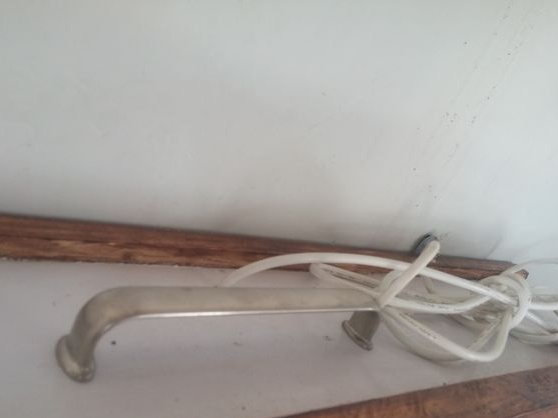
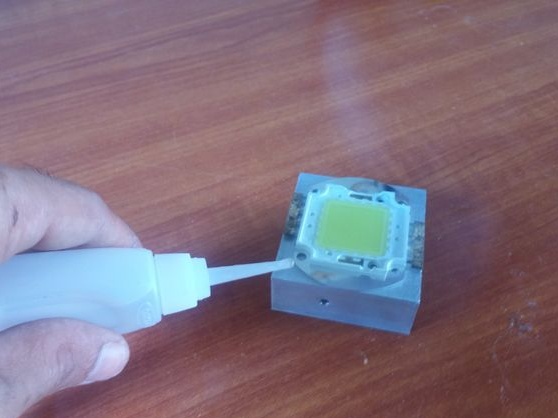
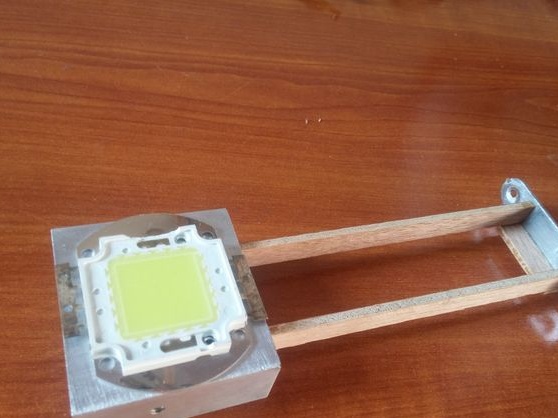
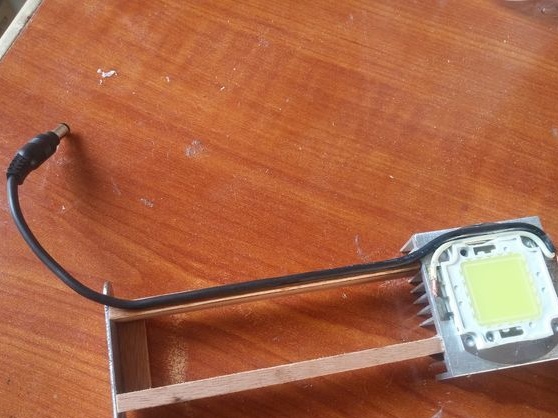
Step Nine: Lighting
For lighting, the master used a 12V 10 W LED mounted on an aluminum radiator. A metal plate is fixed to the other side of the radiator, with the help of which the lamp is mounted on a magnetic lock.


Mobile workplace is ready.

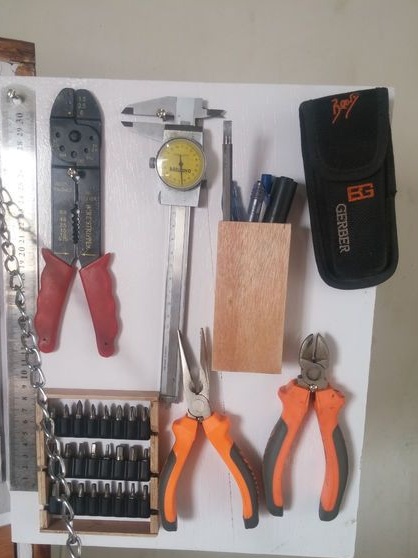
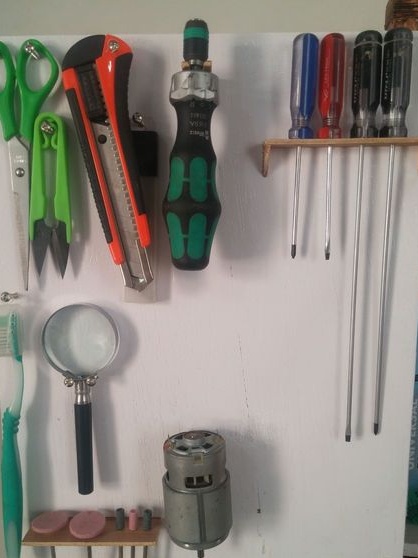
It remains to place the tool inside.
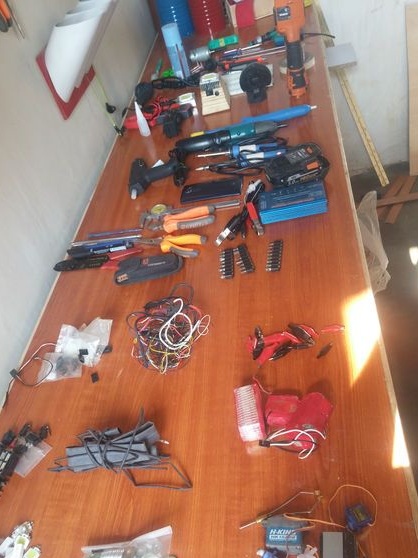
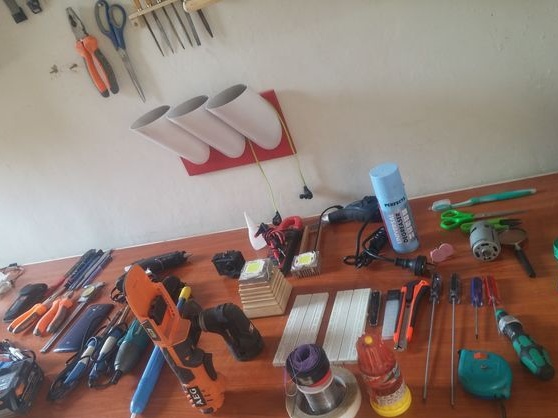

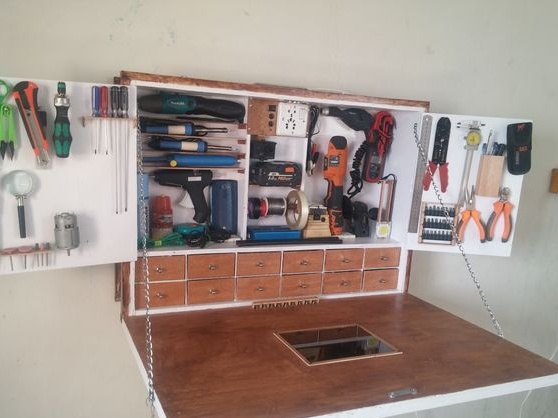
Now you can go repair.

