

I have long planned lighting for emery. I usually use ceiling lighting. Once again sharpening knives, I decided to make a separate lighting. You can of course buy a ready-made spotlight, there are enough of them on sale. The most valuable thing in the work, the device assembled do it yourself. Components for manufacturing in stock, getting started. Let's make such a spotlight.
For homemade we will need:
- four ;
- Power Supply;
- aluminum plate;
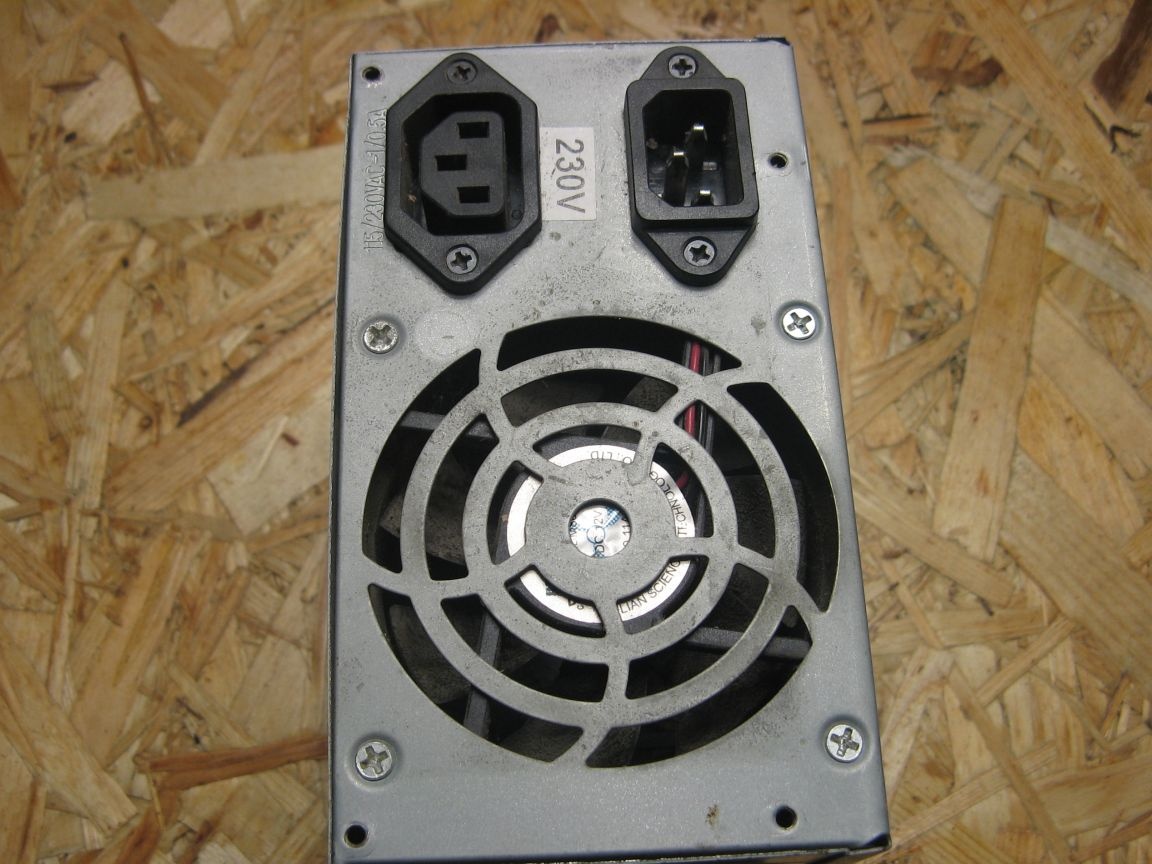
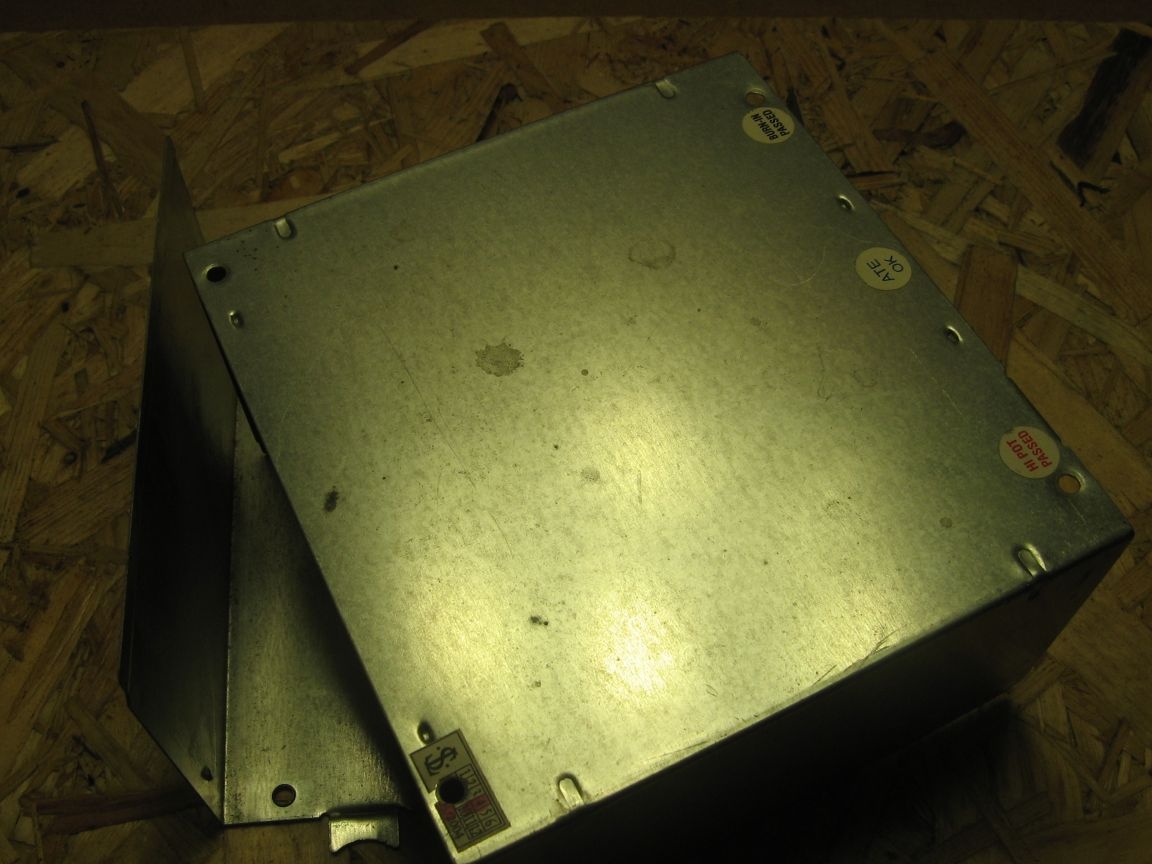
- computer PSU case;
- toggle switch;
- two covers from the computer PSU;
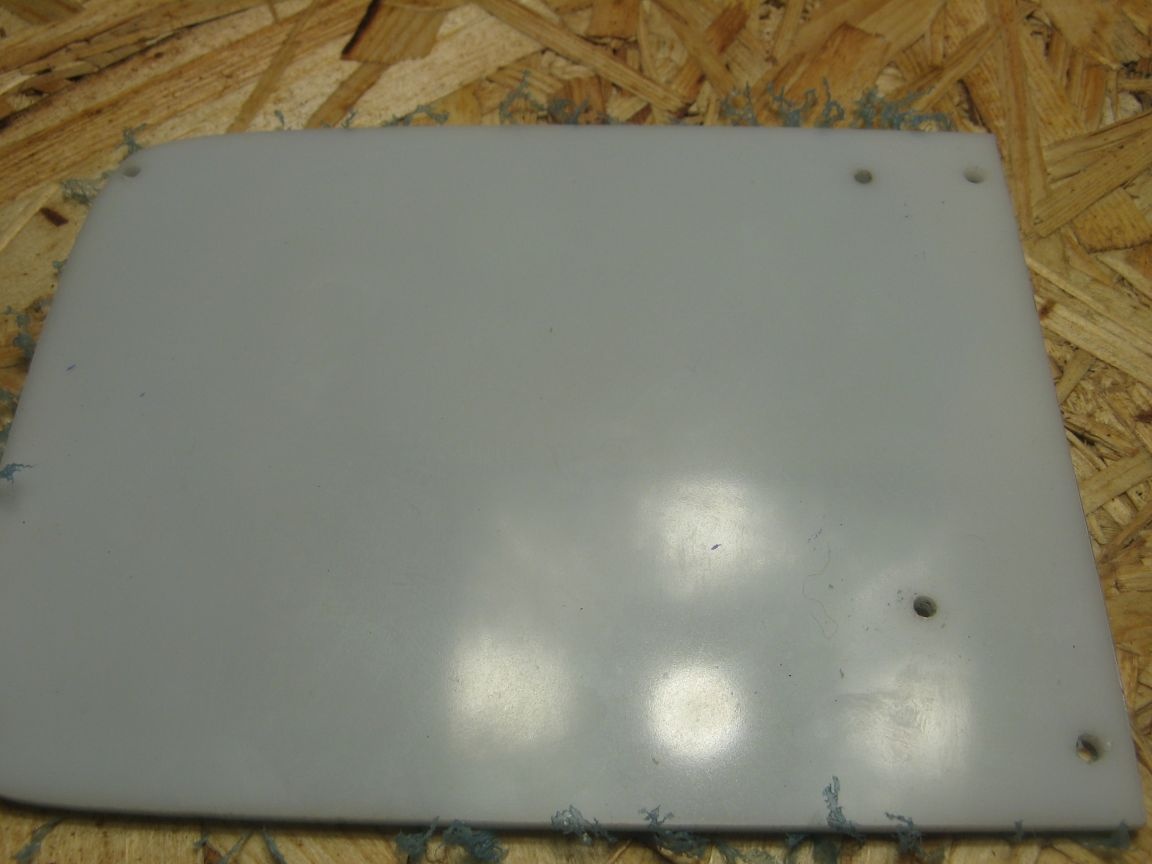
- plastic plate;
- instruments.
About accessories.
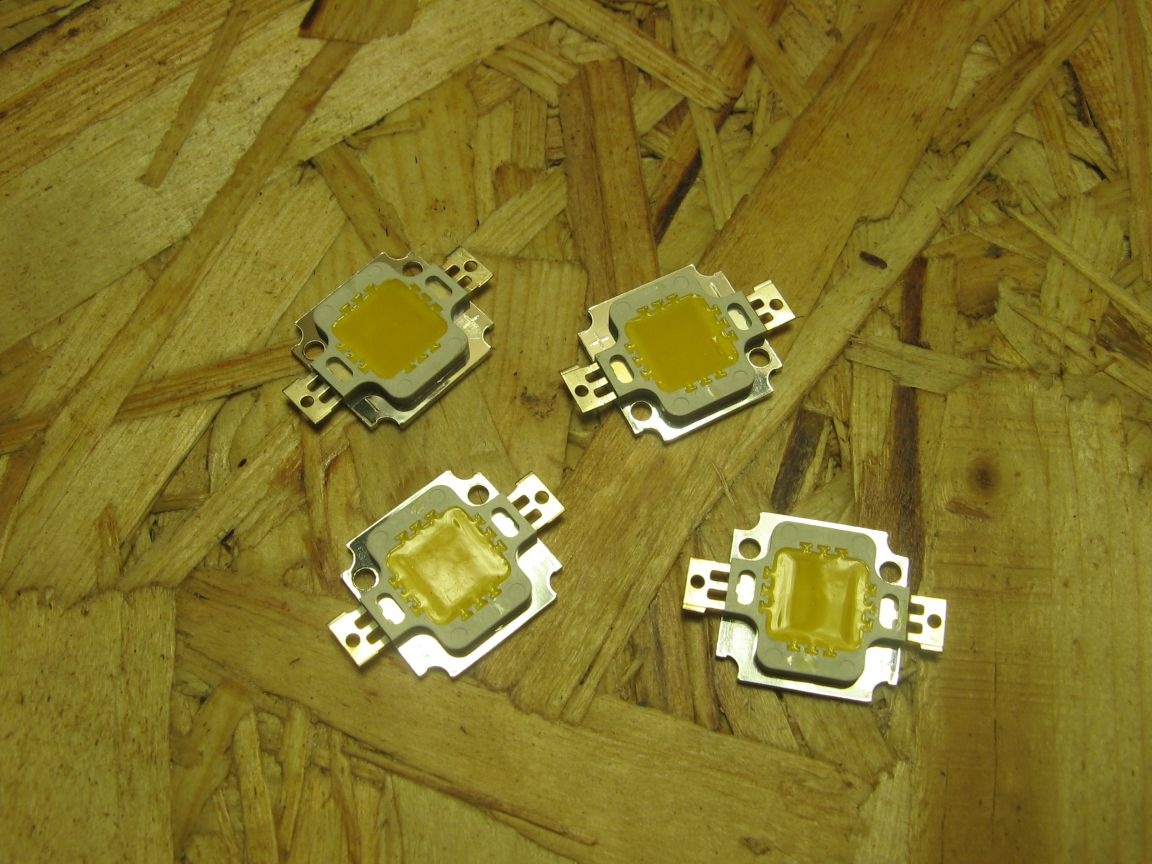
I will use 10-watt LEDs from China. I took four pieces, I think it will be enough. You can certainly more, but more on that later.
I will power the LEDs by the power supply from the old printer. The power supply has an output voltage of 42 and 5 V.
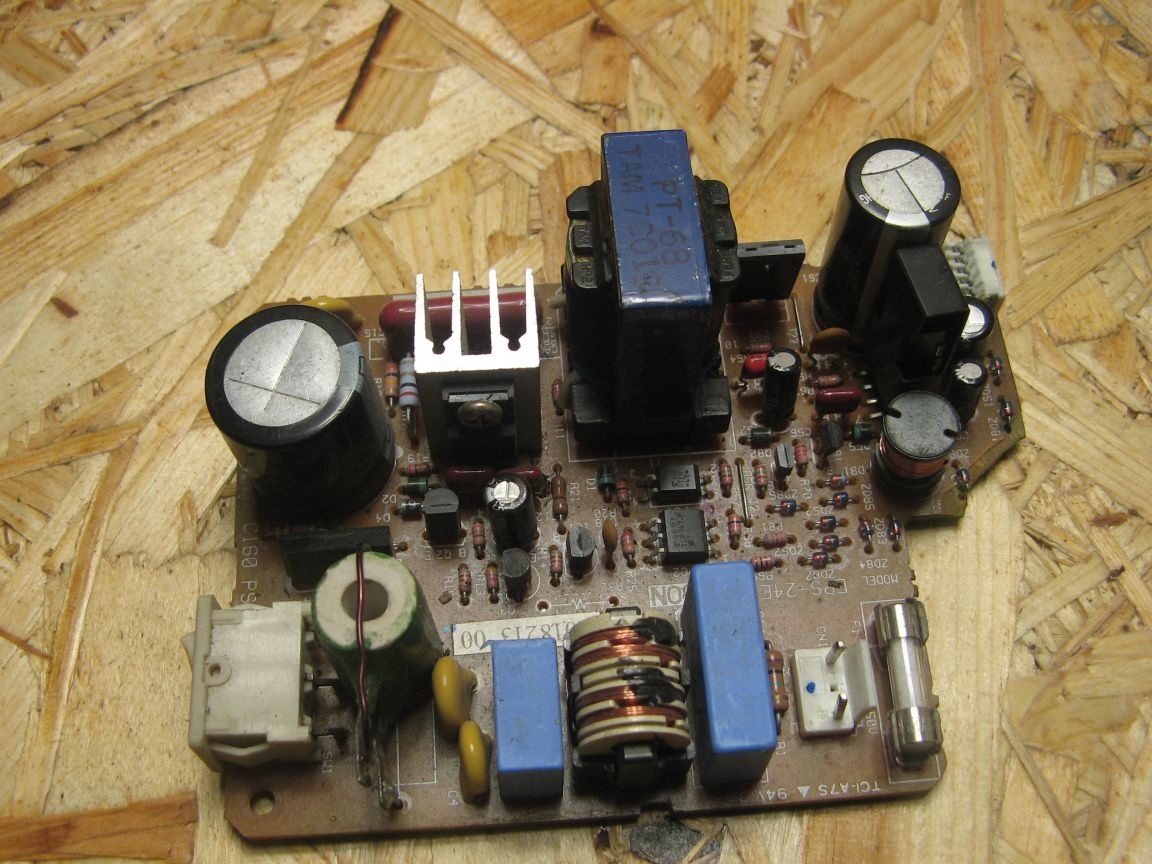
The case in which the power supply board will be installed. But the case has a fan, it will come in handy.
Plexiglass plate. I will screw the PSU board for the LEDs on it.
Two covers from computer power supplies. I have accumulated enough cases.
Assembly.
I will connect the LEDs in series. I will not put a resistor for limitation.
During testing, the current was about 0.5 A. The voltage is stable, does not float. The current is also stable. This is of course not quite the right decision, but the current is kept in one limit.
I mark the holes on the aluminum plate, drill and try on.
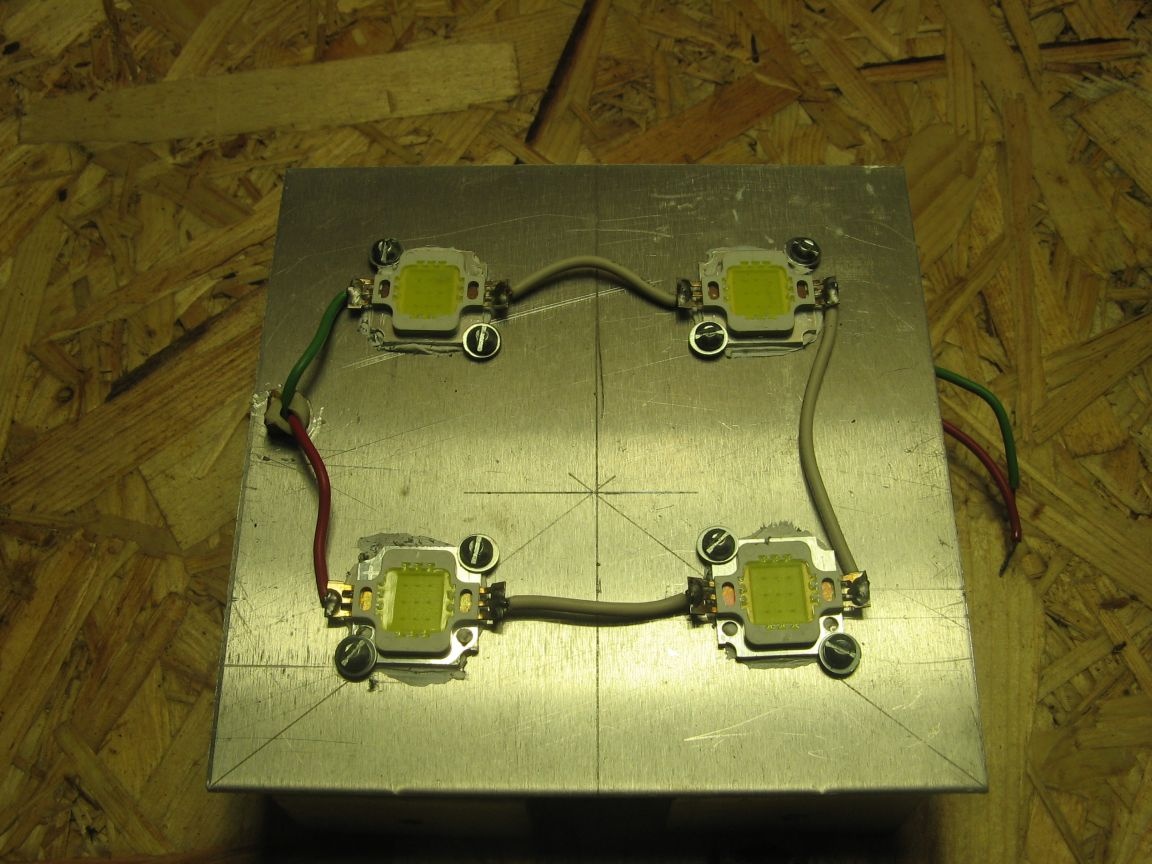
I put both parts of the covers and drill holes. Covers and LEDs will tighten with one screw.
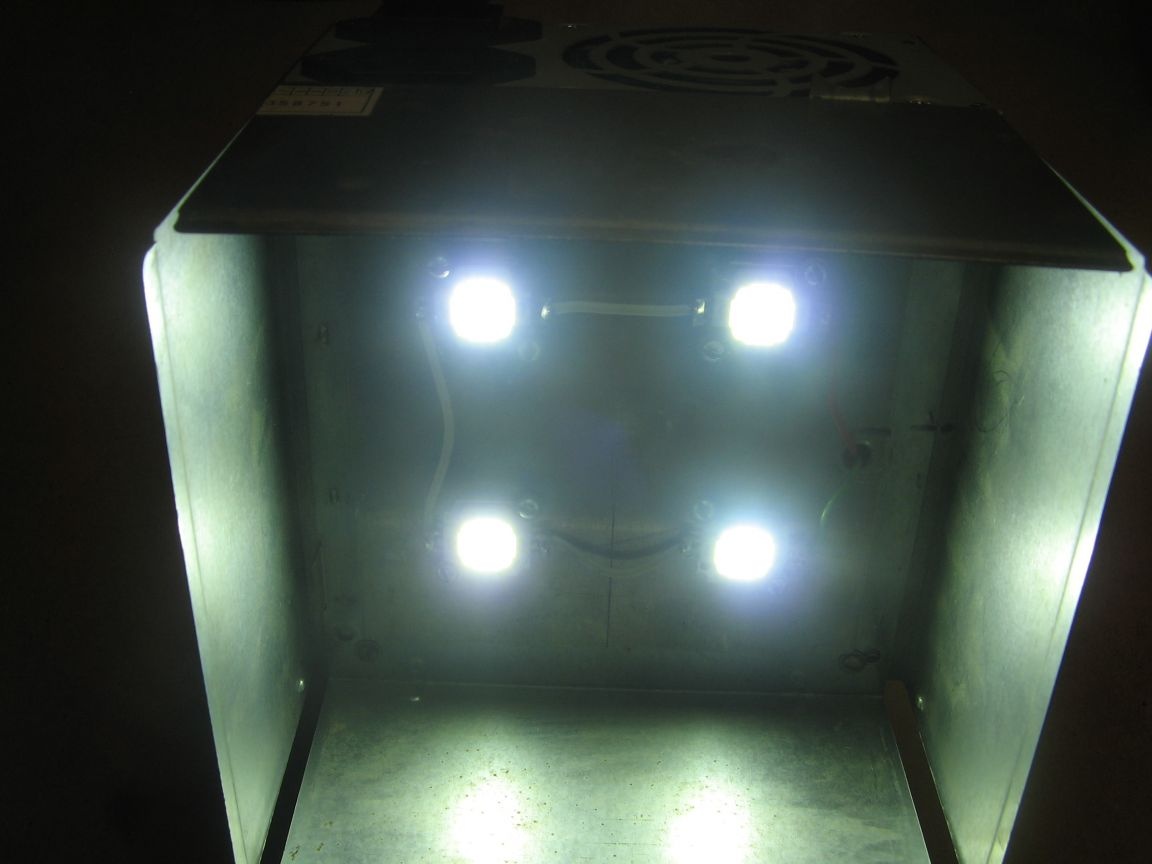
I put in place the LEDs. Solder sequentially, as already said.
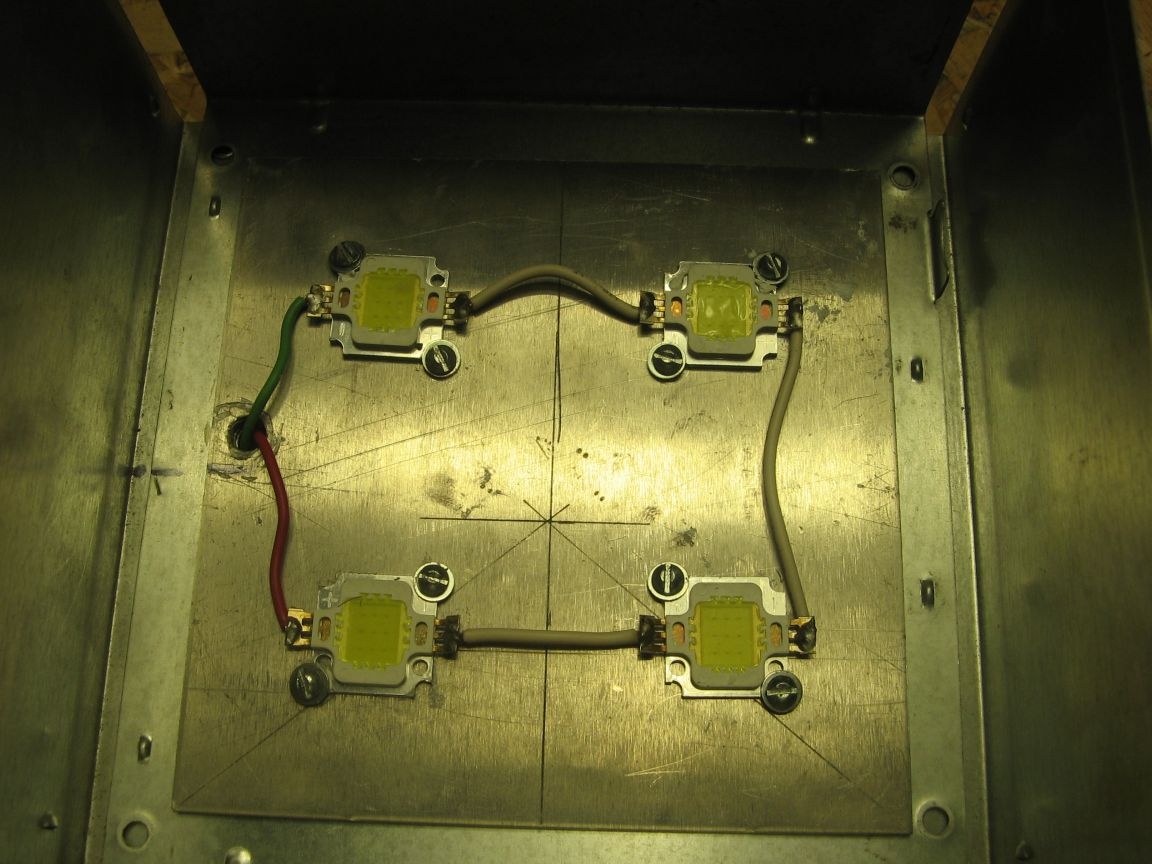
I solder wires from LEDs and fan wires to the power supply board.
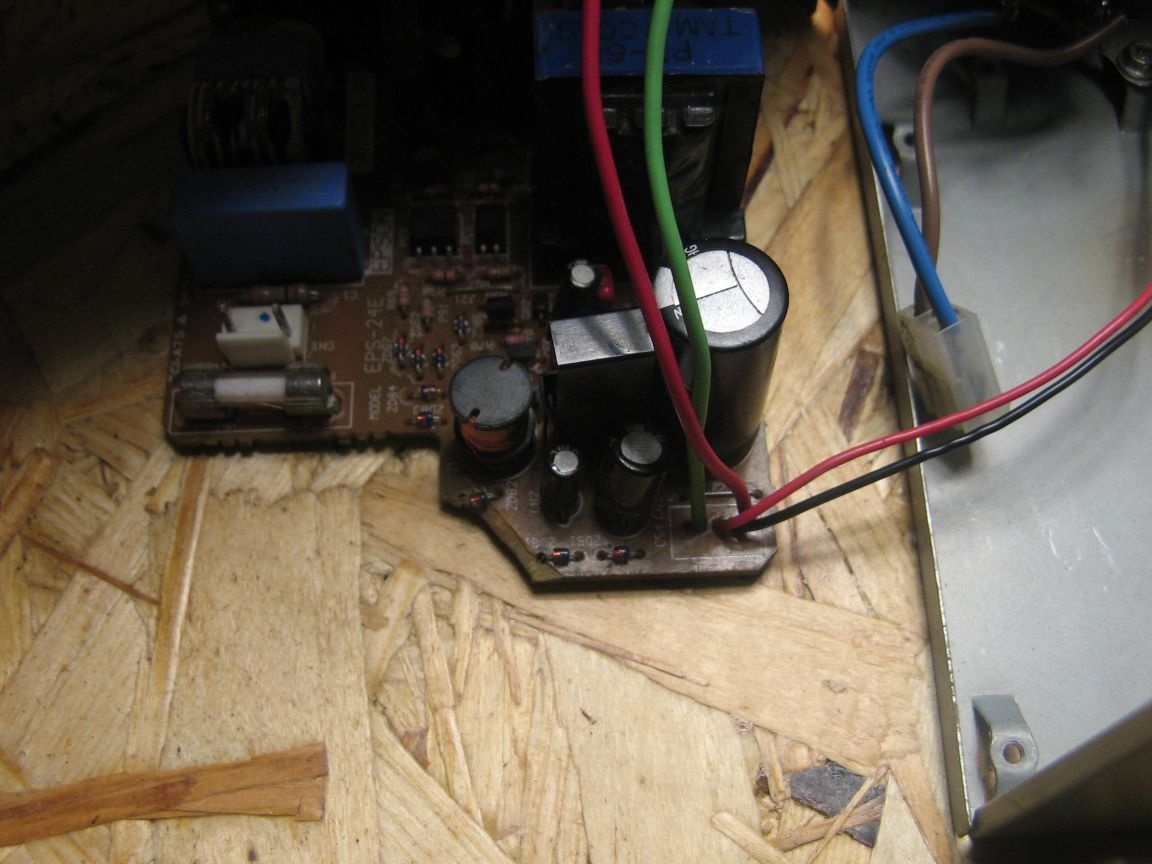
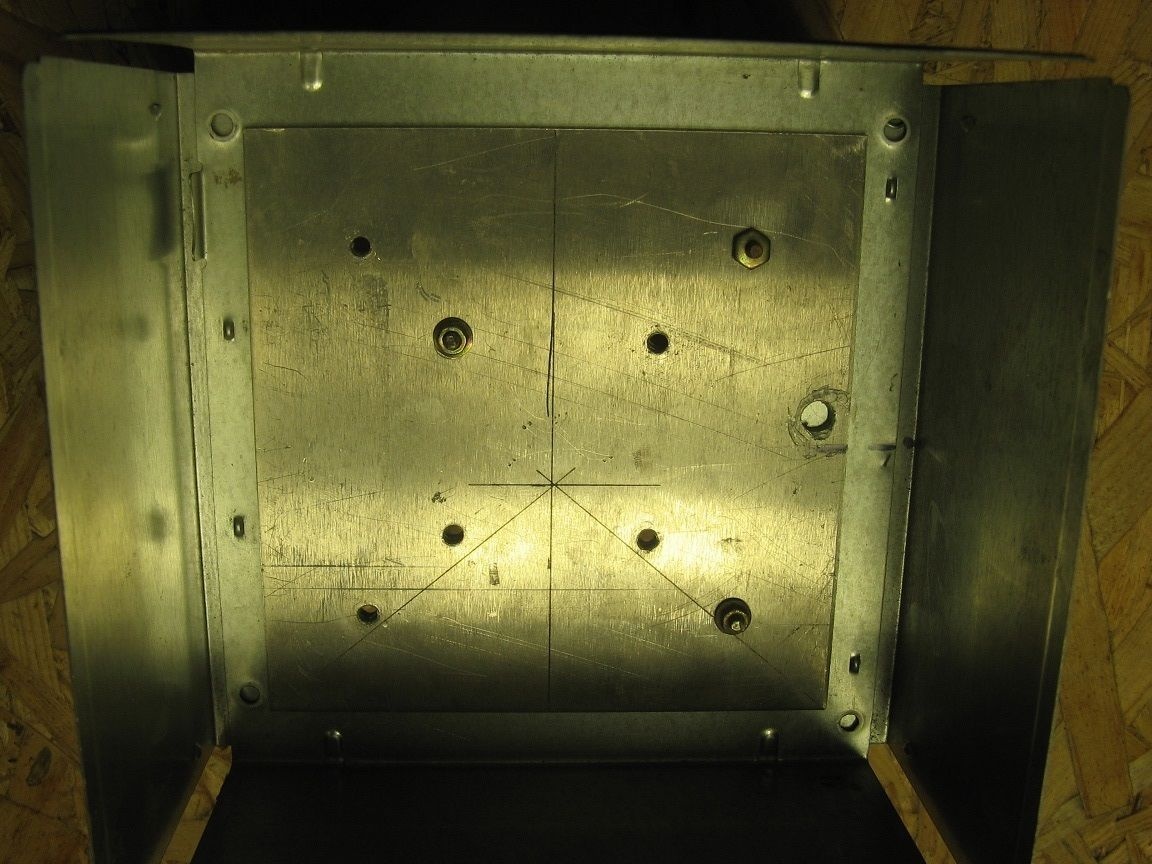
Since the openings of the PSU board do not coincide with the openings on the bottom of the case, you need to make a gasket. I mark and drill holes.
I install the BP board on the gasket, I twist everything together. I also installed an external toggle switch, the switch on the board disappeared. Instead, he soldered the wires.
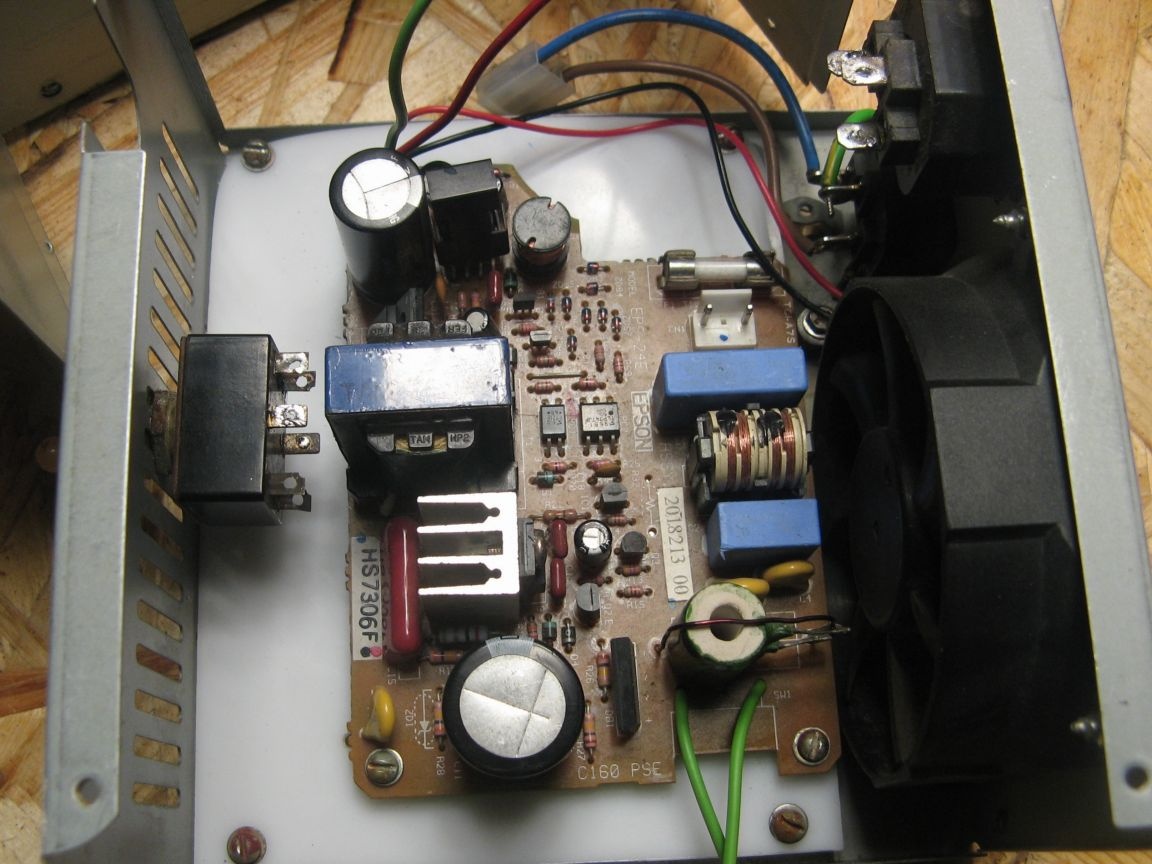
All wires are soldered. The network connector is the same as the PSU connector.
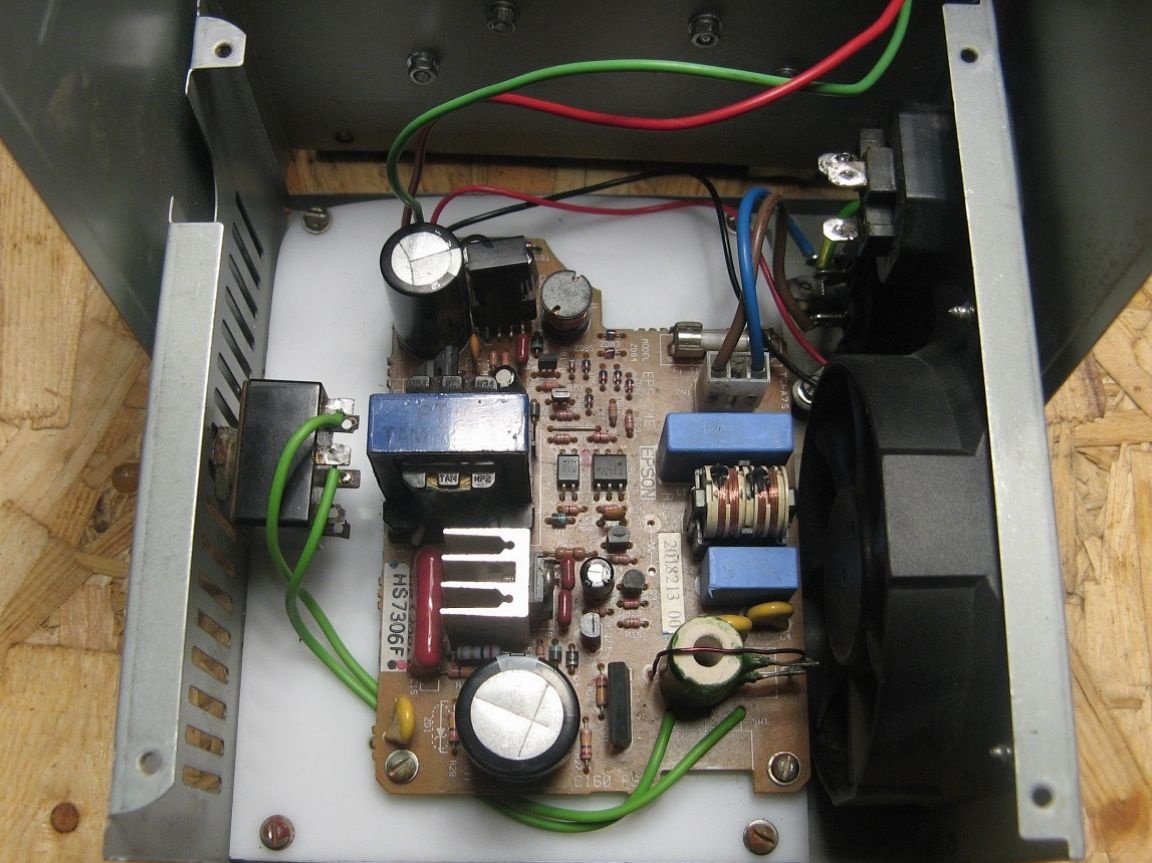
I close the housing cover. I twist it all together. Pre made through holes in the housing. We are testing everything.Such a searchlight turned out, there was enough light.

The detailed assembly is displayed on the video: