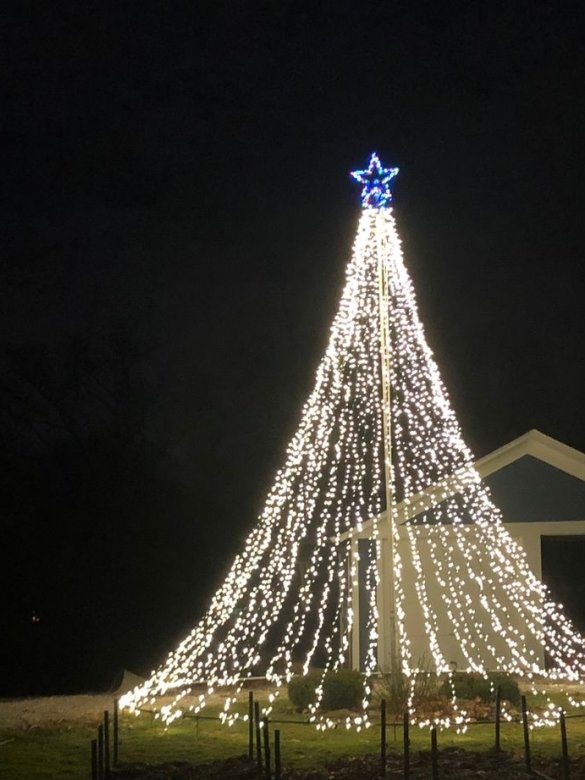
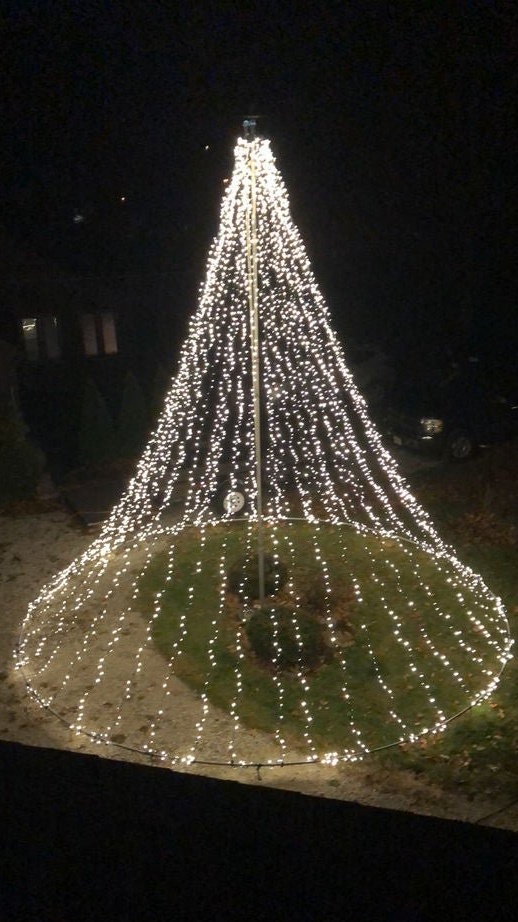
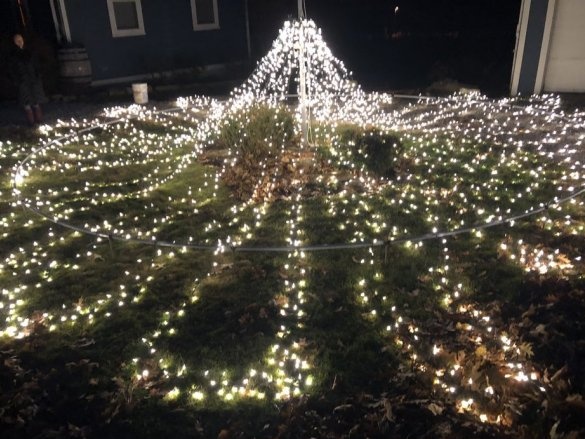
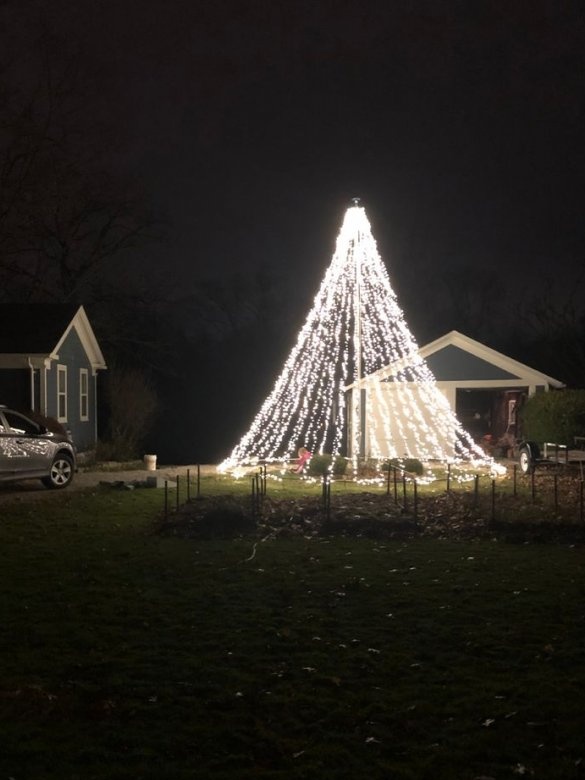
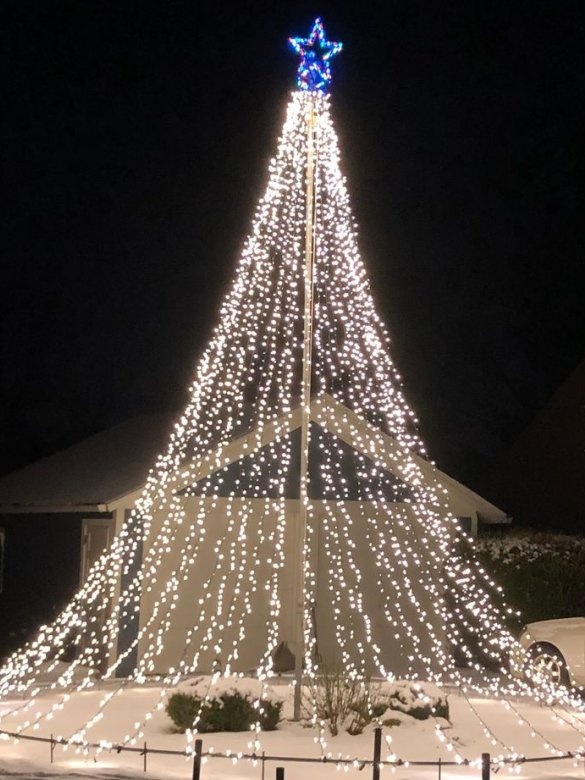
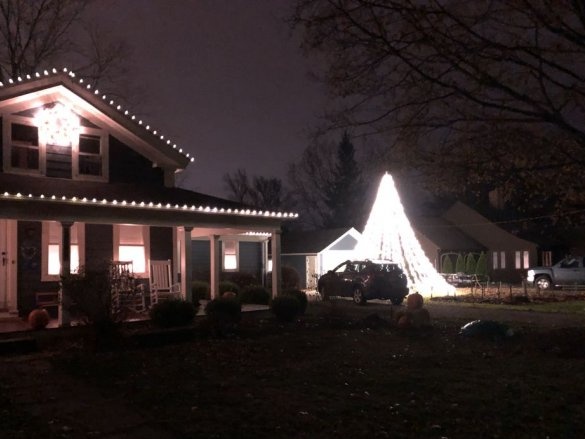
In this article, the Master will share with us how he made a huge Christmas tree from LED garlands. The question is not how to assemble and connect the garlands, the question is how to fix them at the top. And the master offers an original idea.
Tools and materials:
-40 LED garlands of 100 LEDs;
-Two plastic covers from the bucket;
-Plywood;
-Fasteners;
-Insulating tape;
-Hacksaw;
-Canopy;
-Rollers;
-Metallic profile;
-Metal brackets;
-Springs;
-Polypropylene pipe;
Step One: Drive
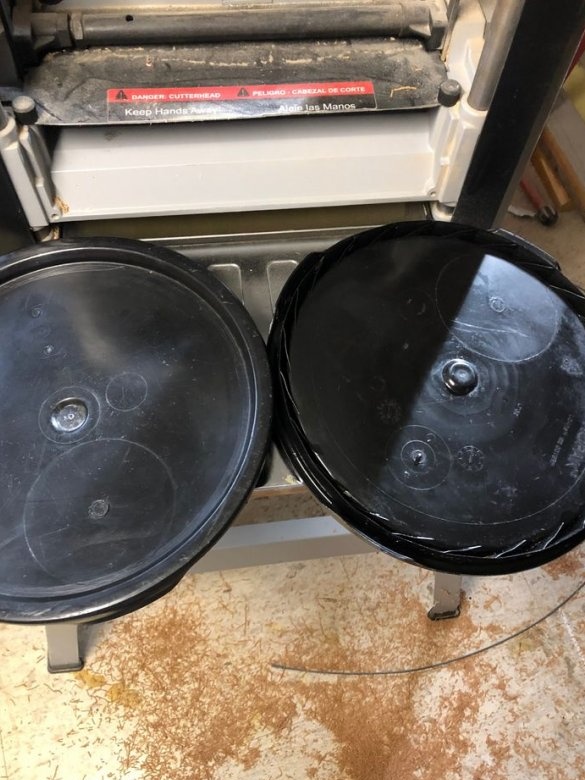
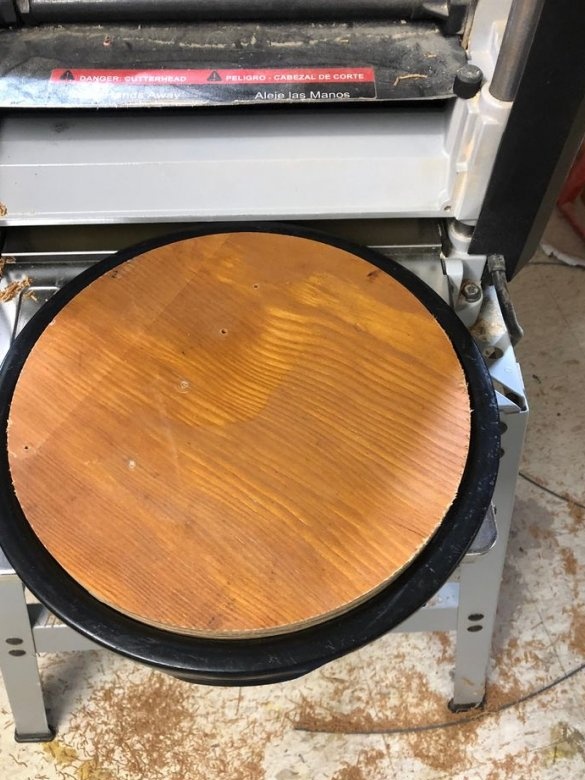
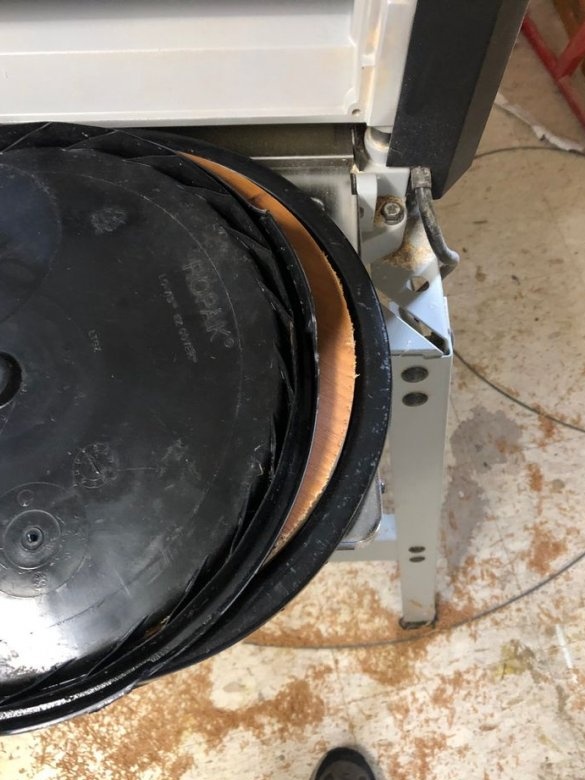
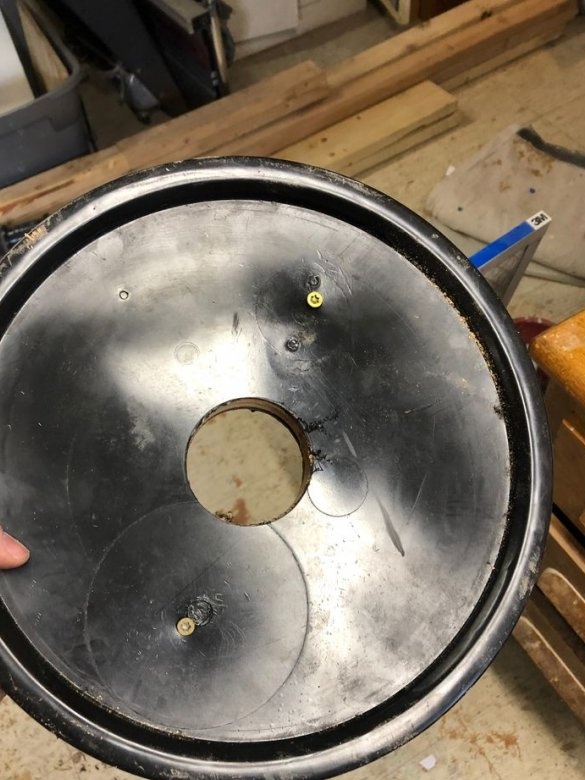
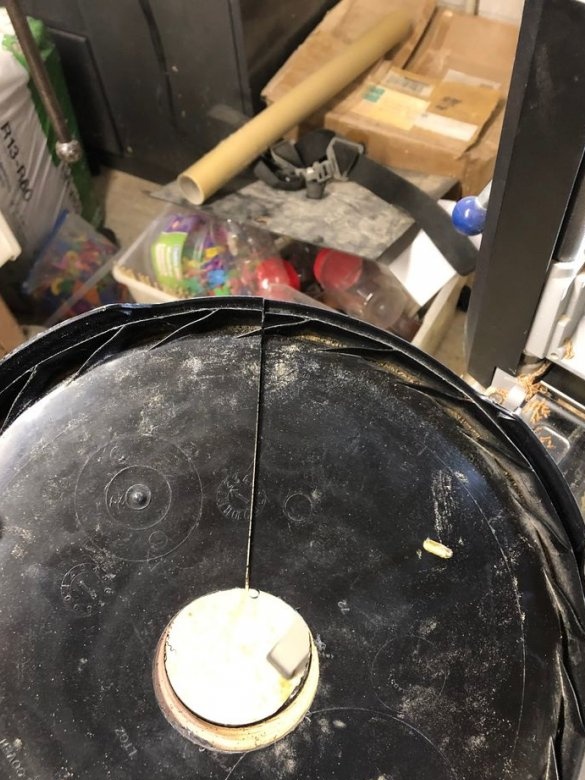
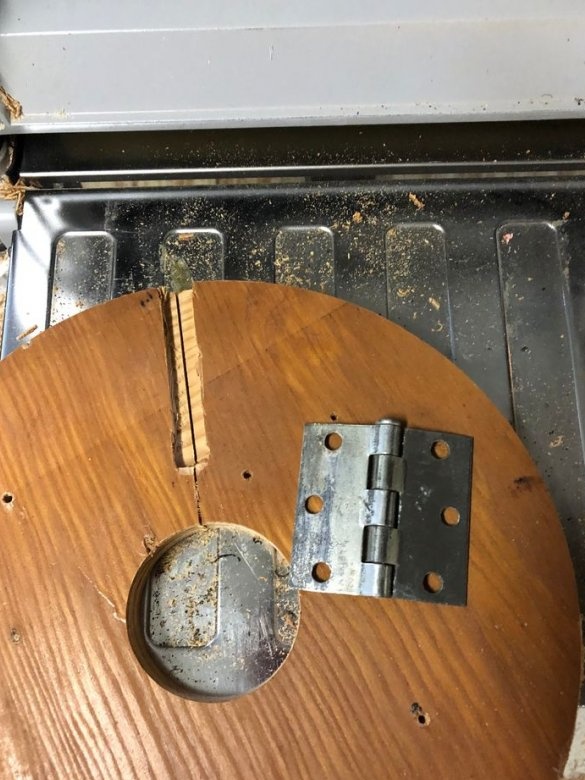
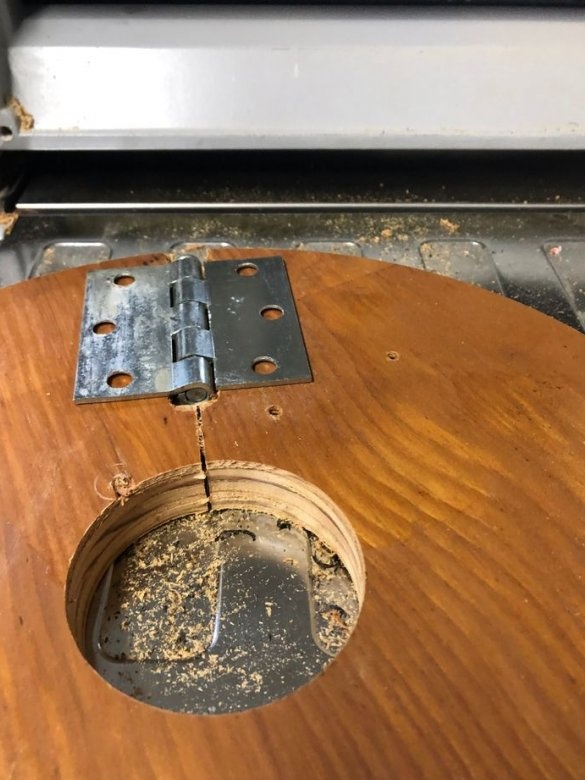
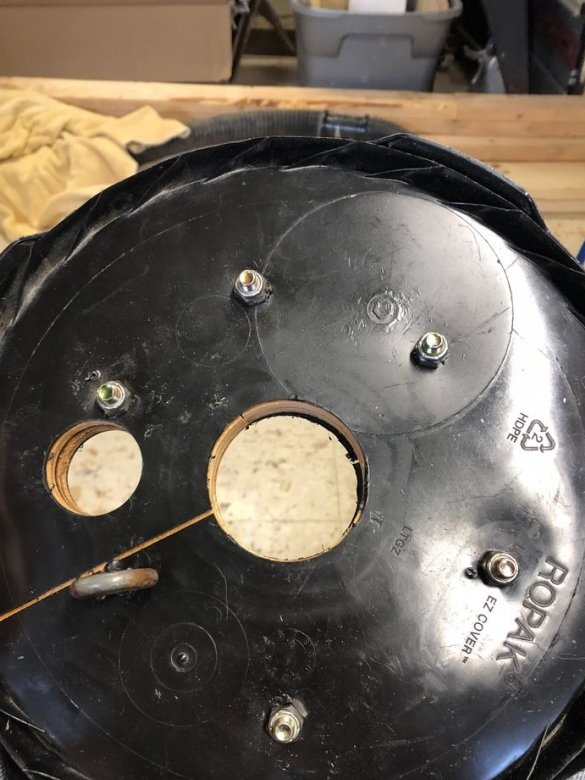
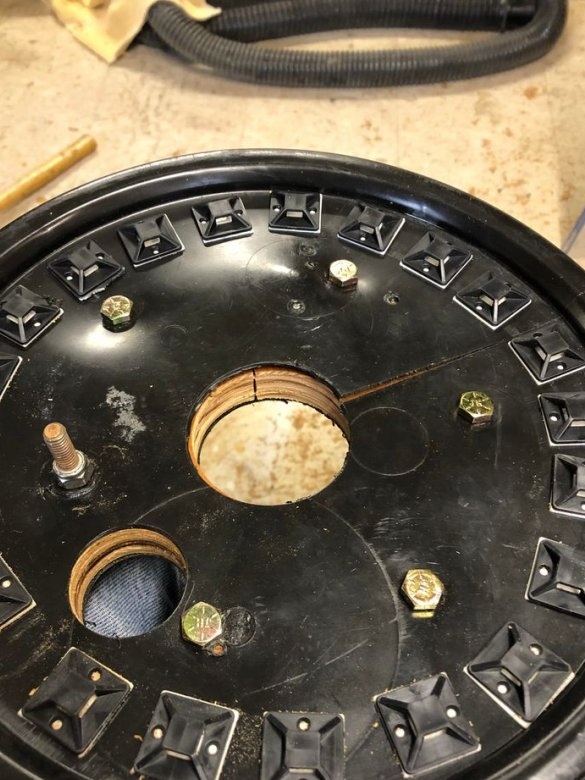
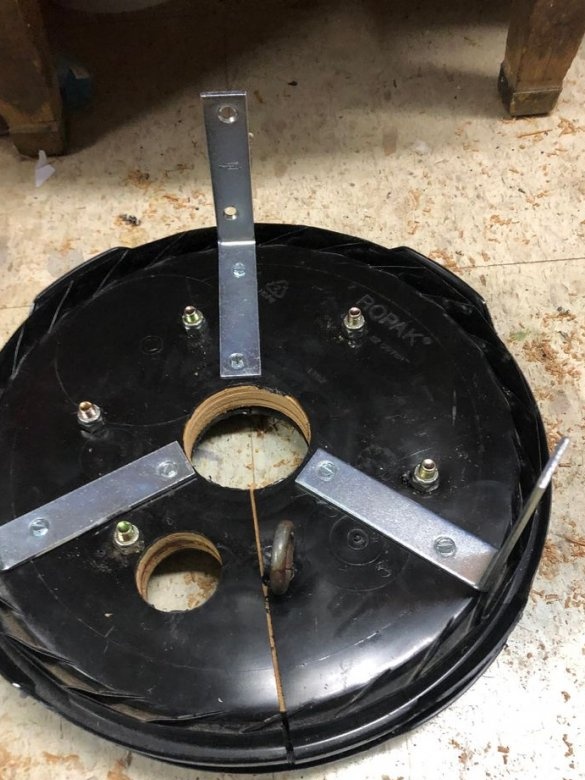
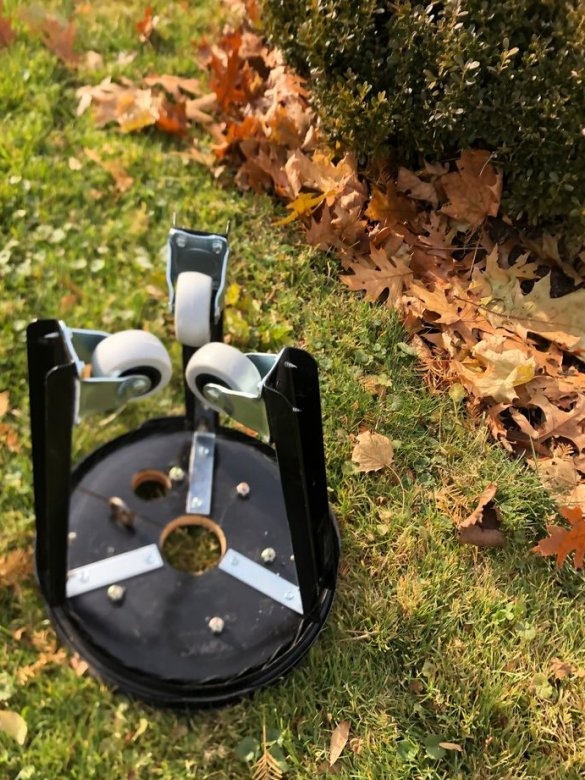
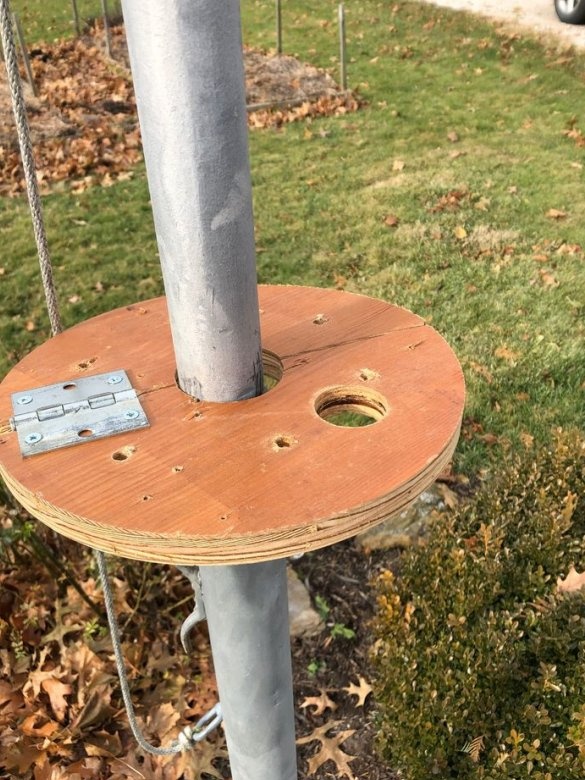
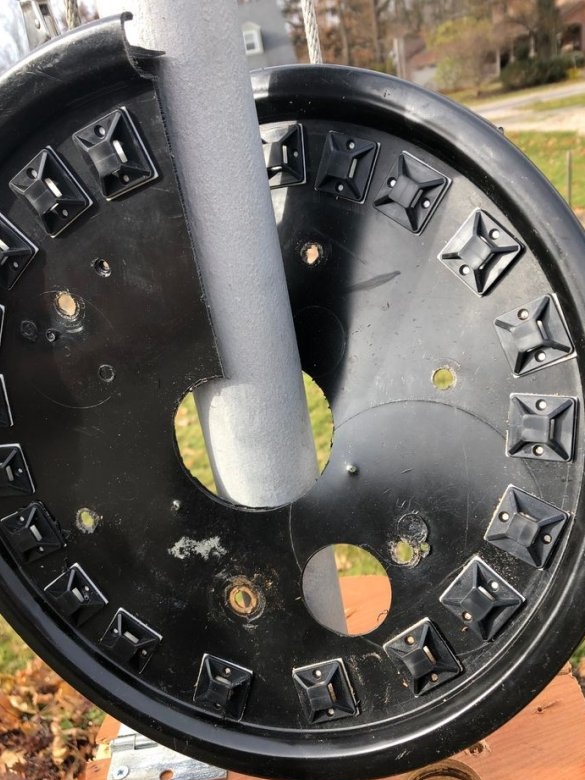
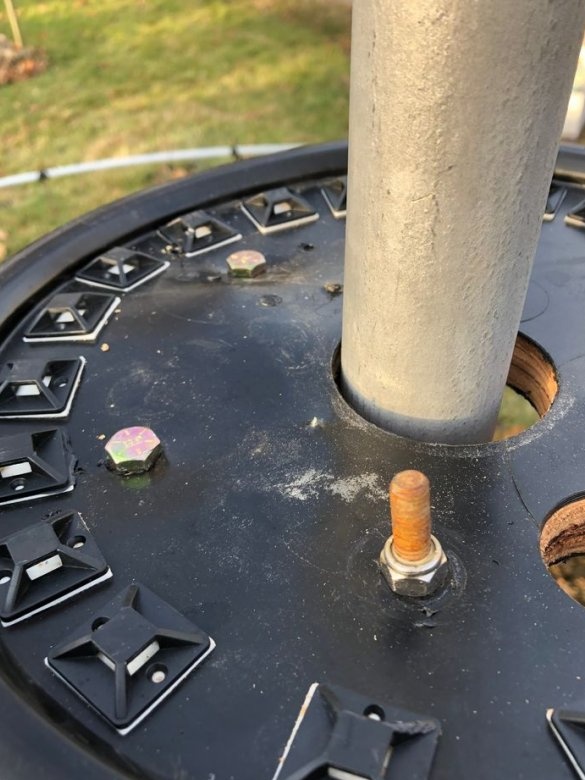
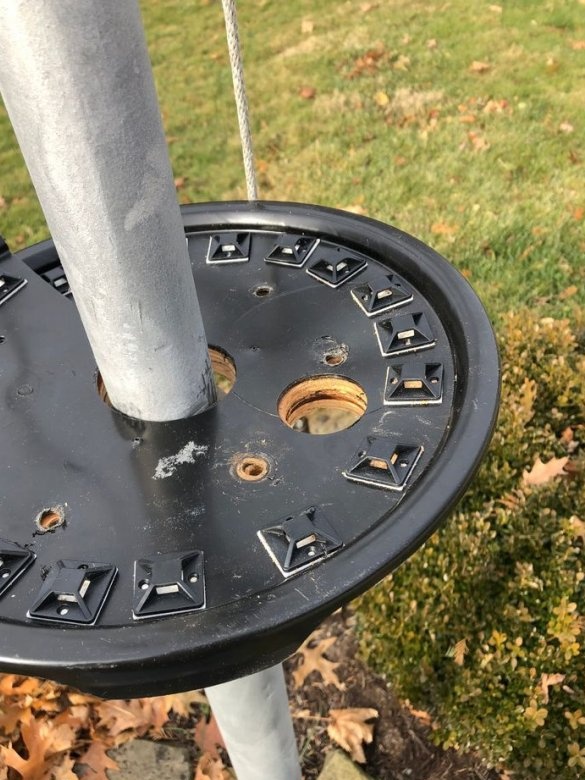
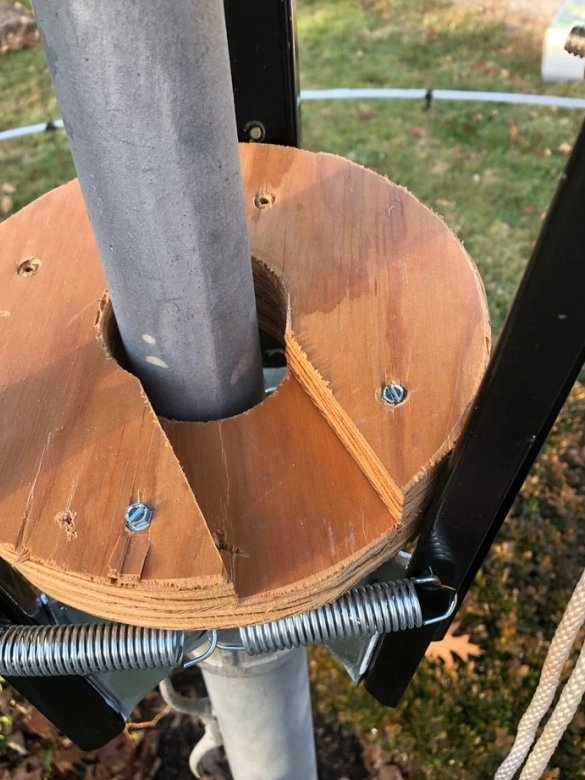
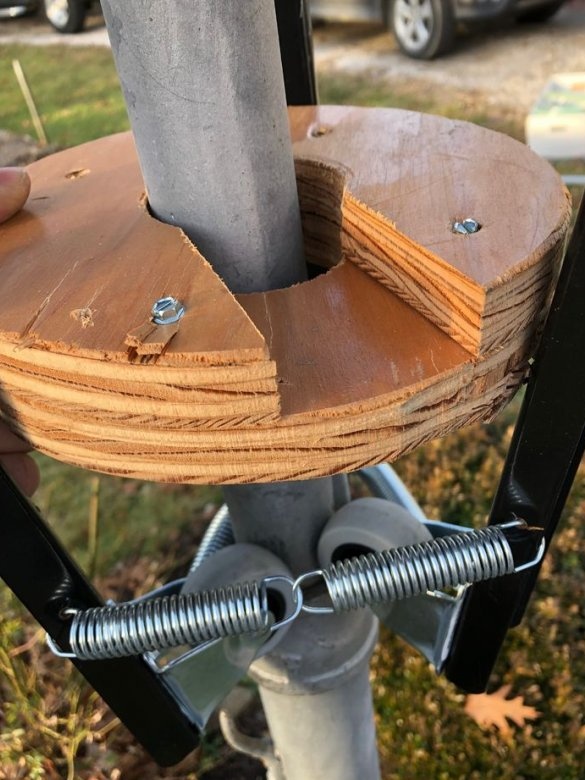
First, the master cuts out a plywood disk to fit the covers. A hole is cut out in the center of the disk and the covers, slightly larger than the diameter of the flagpole. Next, you need to cut the plastic covers from edge to center, and the plywood disk in half. On the one hand, the disk is connected by a loop. The covers are bolted to the disk. Another hole for the rope is cut out in the disk.
Step Two: Rollers
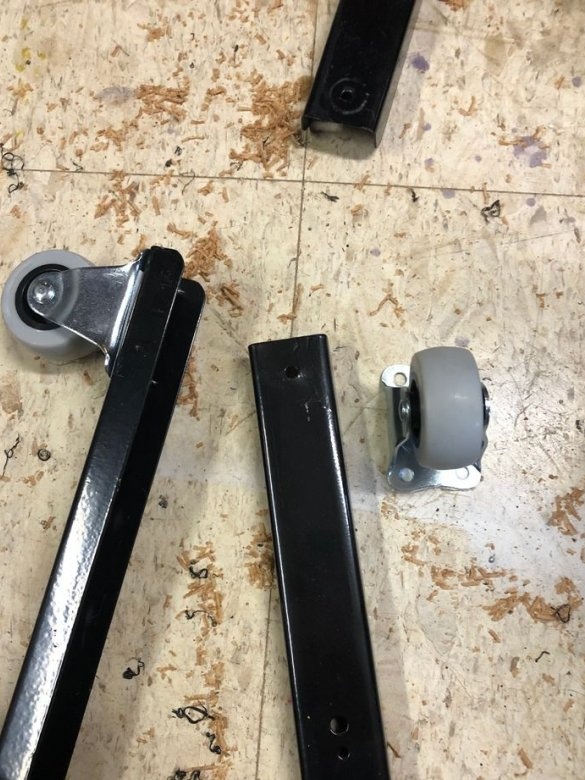
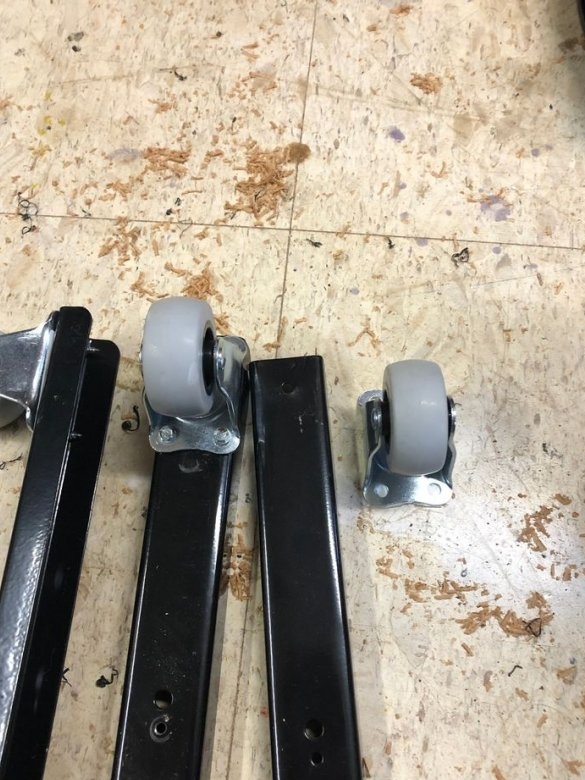
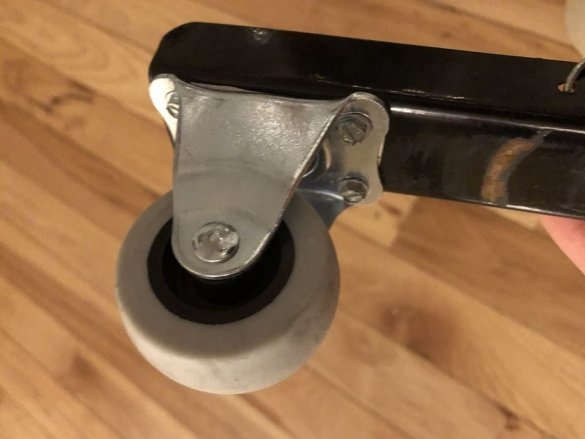
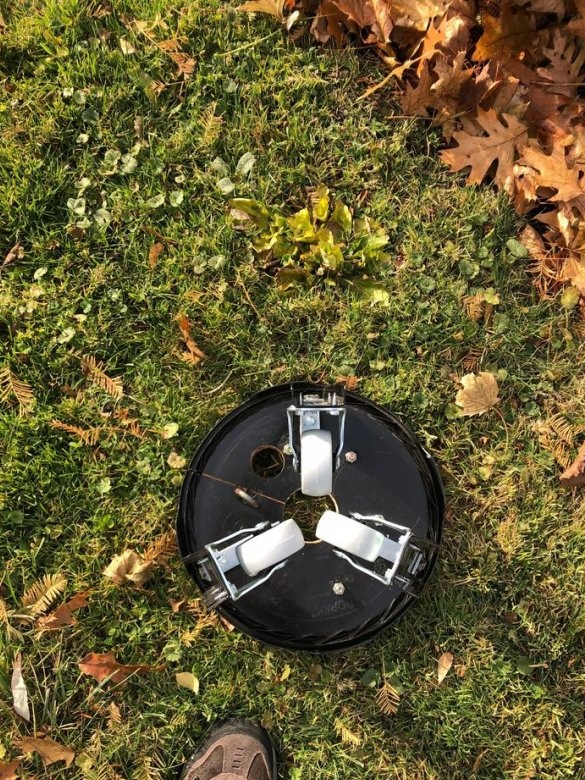
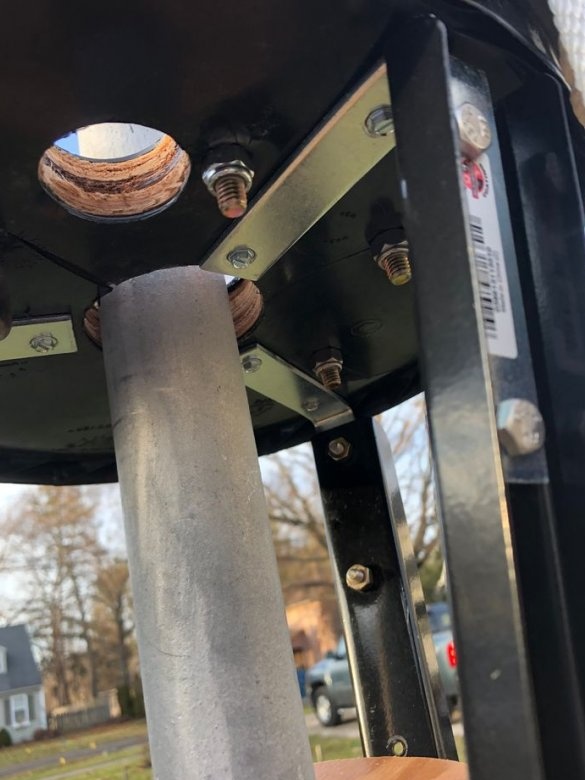
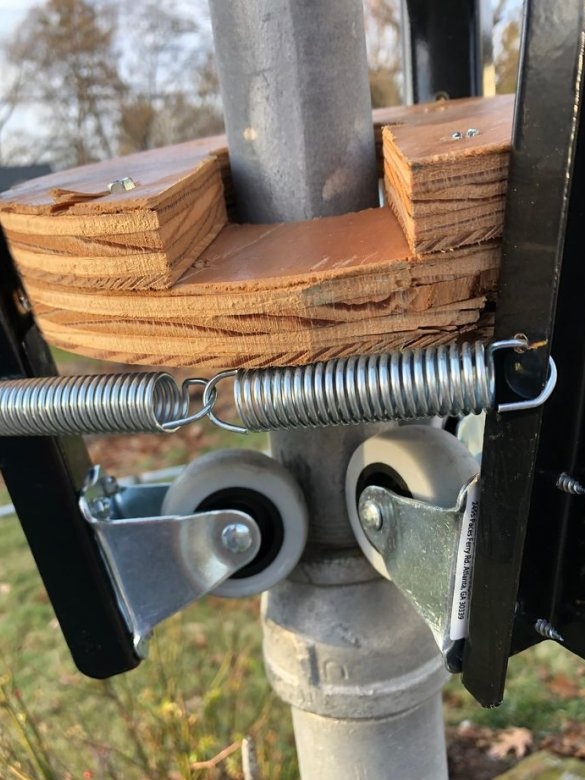
The rollers are fixed on the profile. The profile is attached to the disk. There are only three videos. The profile (at the bottom) will rest on another plywood disk.
Step Three: Install the Lifting System
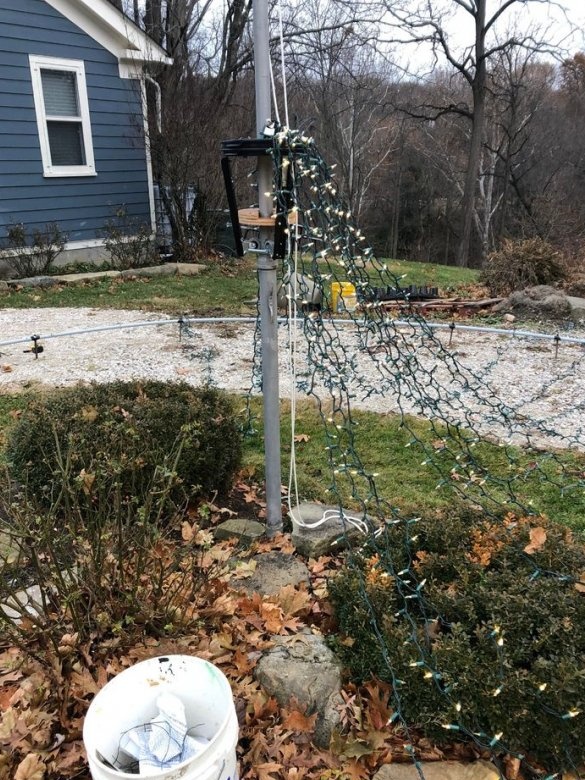
Then the master parses everything. Folds the plywood disk (canopy), installs the central hole on the flagpole and unfolds it. It bends and installs plastic covers on the flagpole. Builds the assembly. It also installs a plywood disk at the bottom of the device. It uses a spring to clamp the rollers to the flagpole.
Step Four: Bottom Hoop
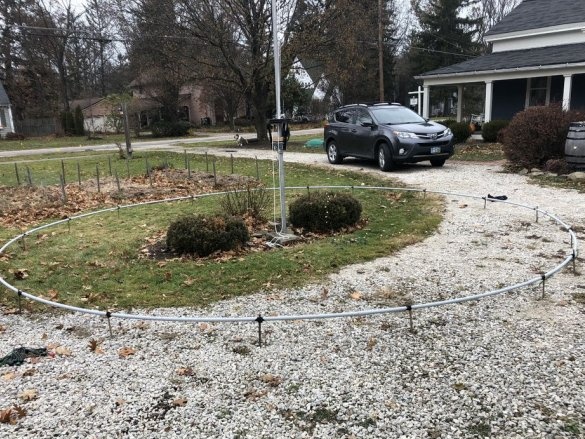
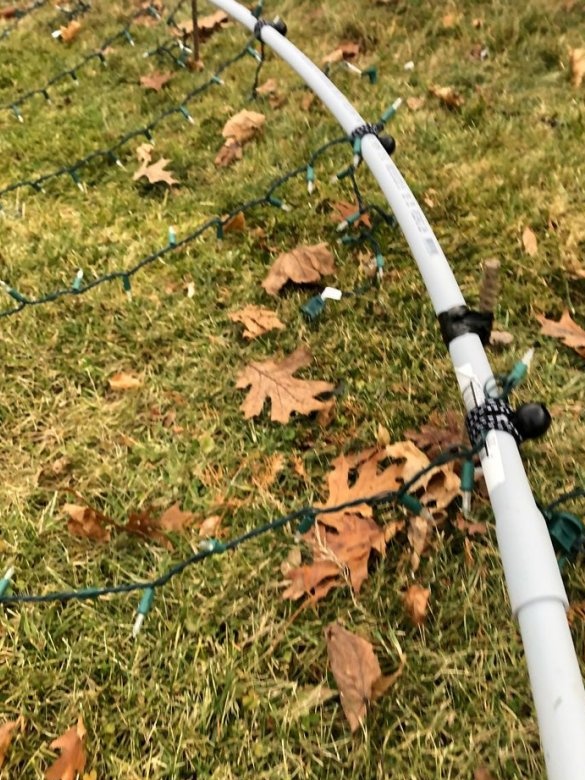
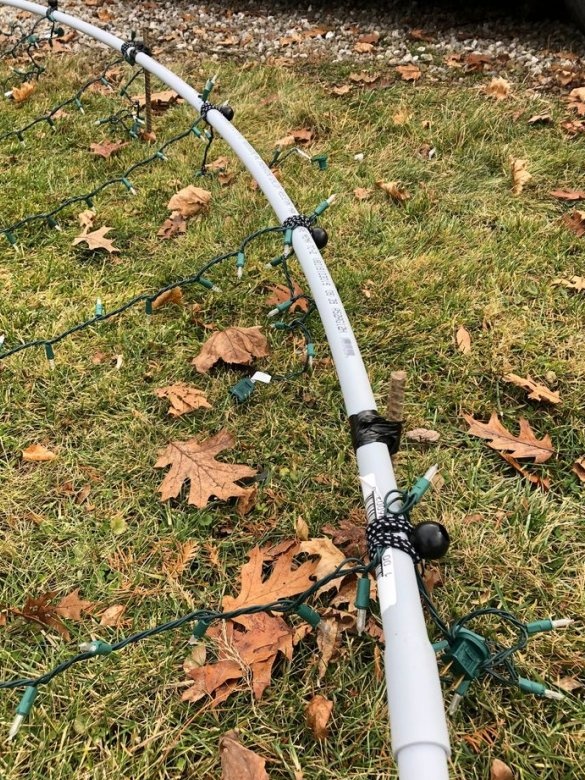
The master makes the lower hoop from a polypropylene pipe.
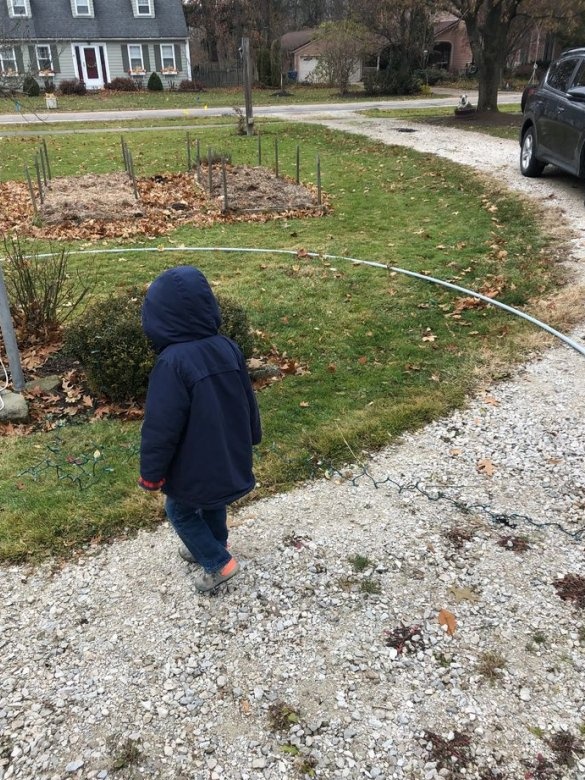
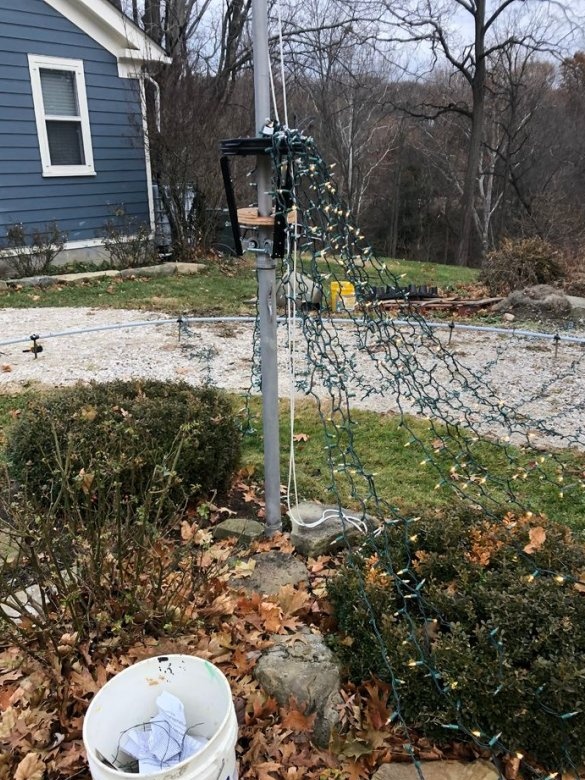
The ends of the garland are fixed to the pipe. The second ends are fixed on the disk. Then the master fixes the rope to the lifting device. The rope goes through the flagpole roller. Pulling the rope raises the lifting device up the flagpole. In this way the strings of the garland are pulled.
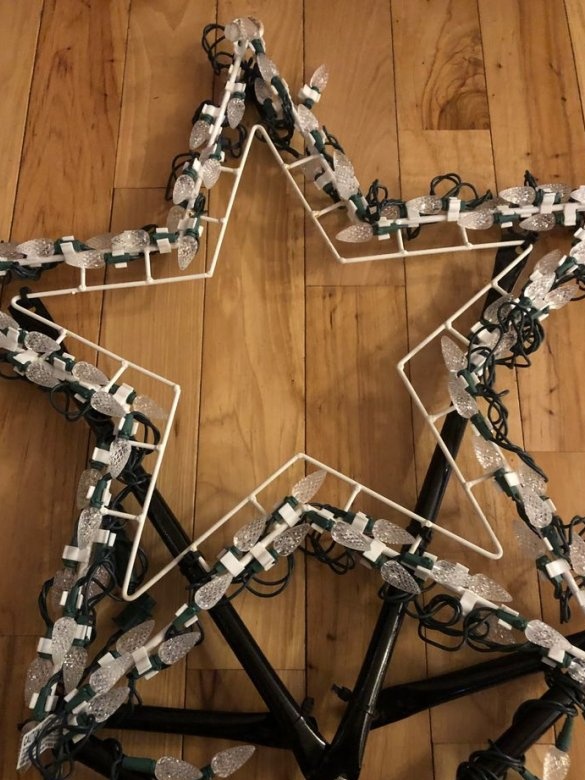
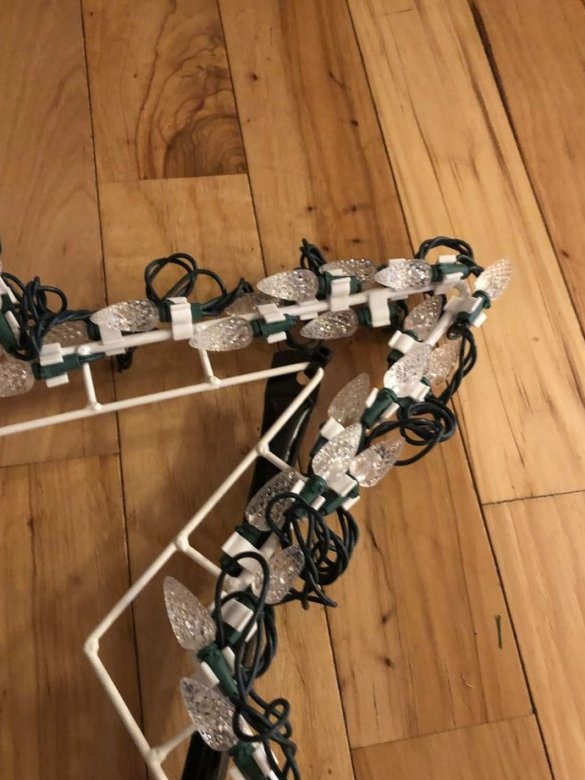
Step Five: Star
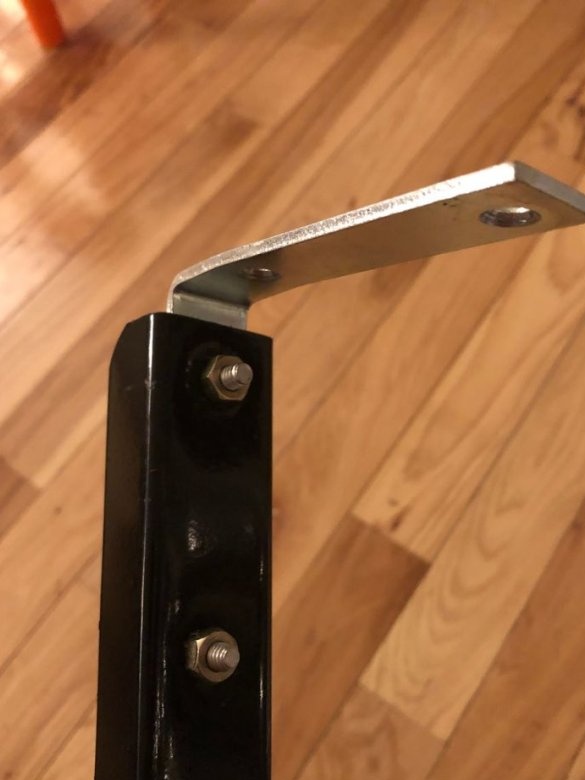
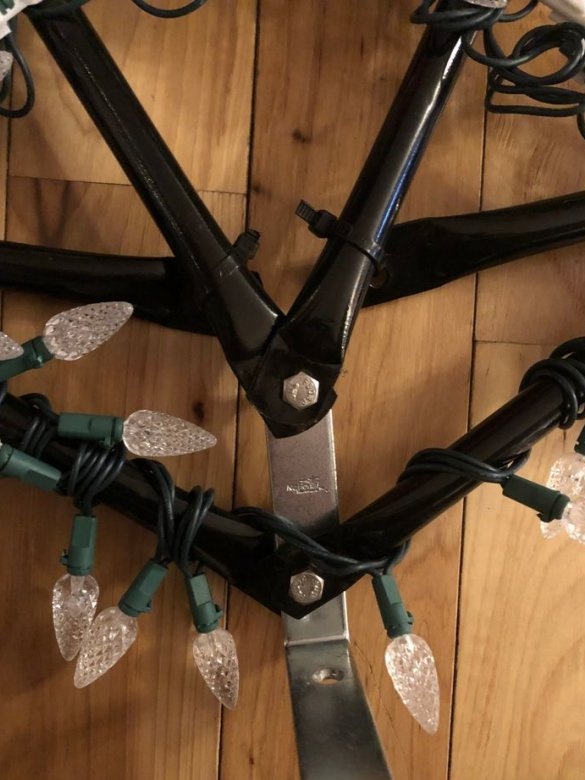
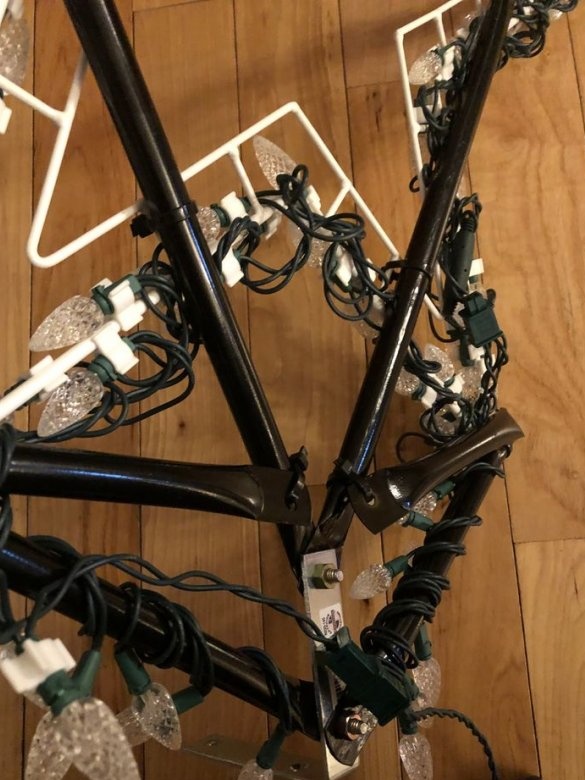
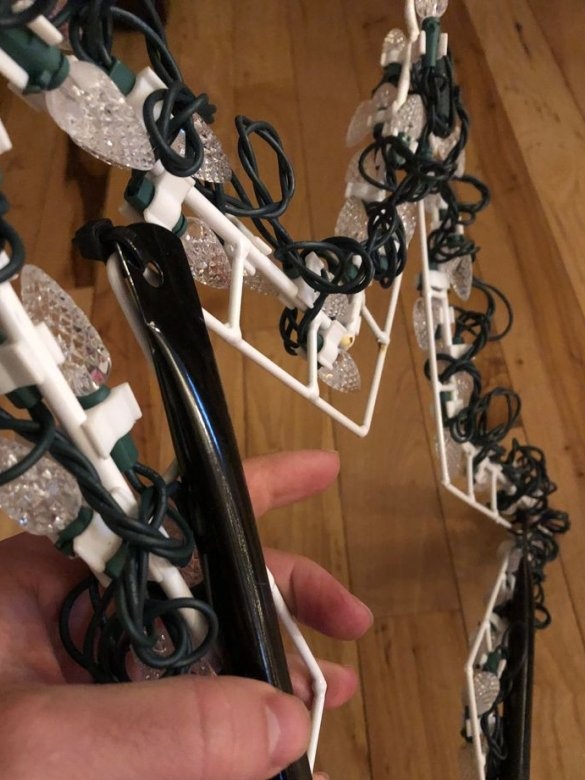
Then the master again lowers the lift down. Makes a mount bracket. Installs it on a lift.
Raises a garland and gives food to it.

