
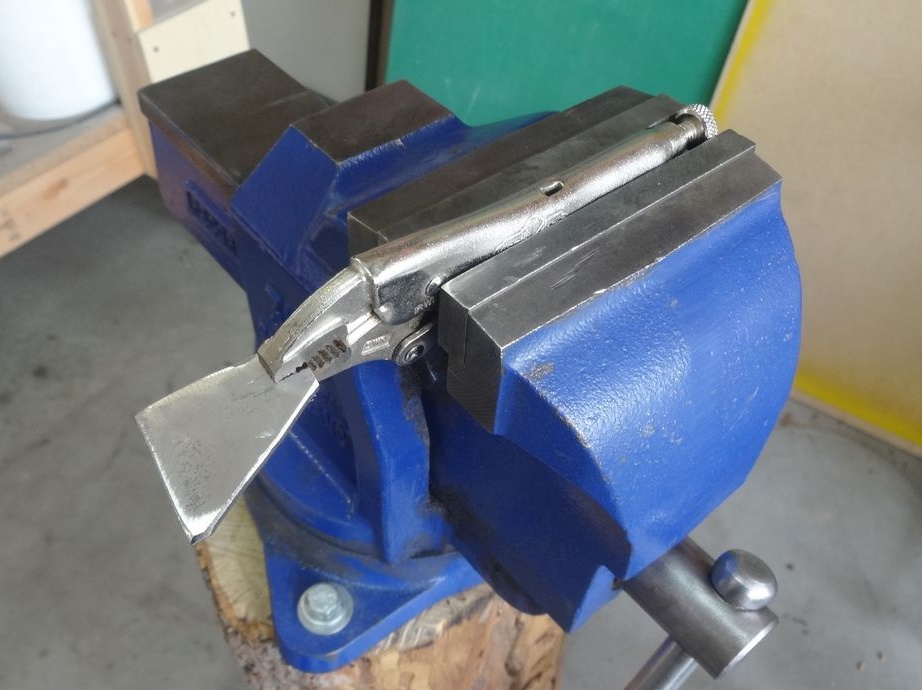
The master vise was fixed on a log.
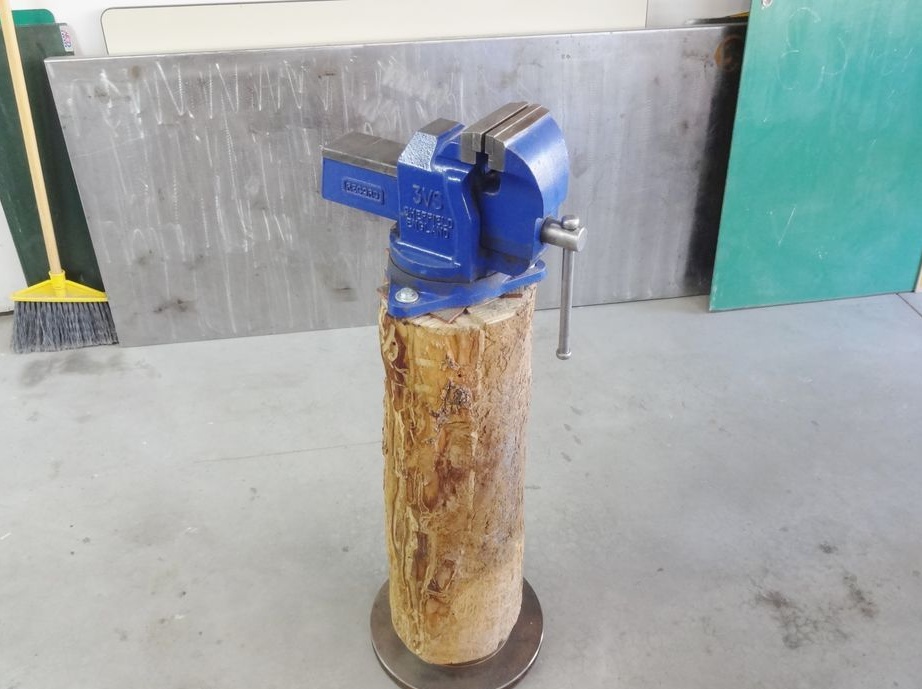
Such a stand had a number of drawbacks: instability, restriction when securing the item in a diagonal position, the inability to install a vise higher or lower.
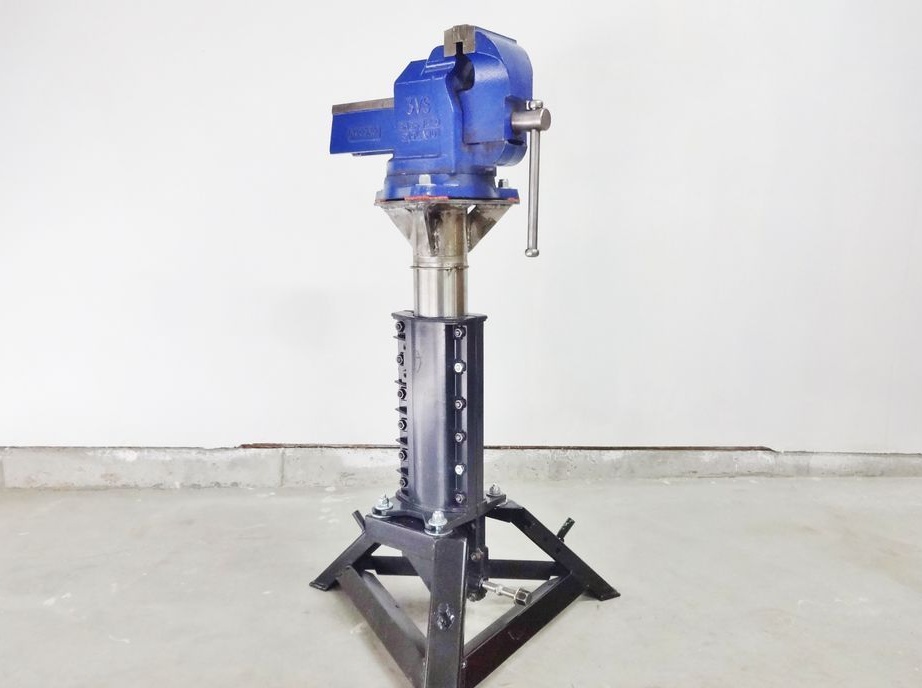
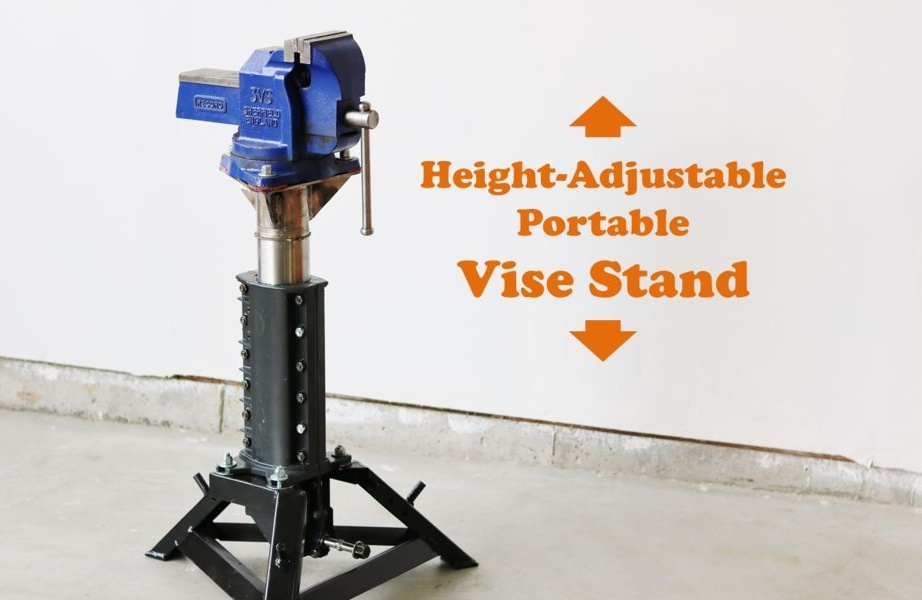
The new rack is devoid of these shortcomings. For greater stability, a load can be added from below, the height is adjustable, the stand does not interfere with fixing the part in any position.
To make the rack, the master used the following
Tools and materials:
-Old machine with a lifting mechanism;
- metalwork tool;
-Capacity;
-Washing liquid;
-Welding machine;
-Bolts;
-Gear;
- Paint tape;
-Metal plate;
-USHM;
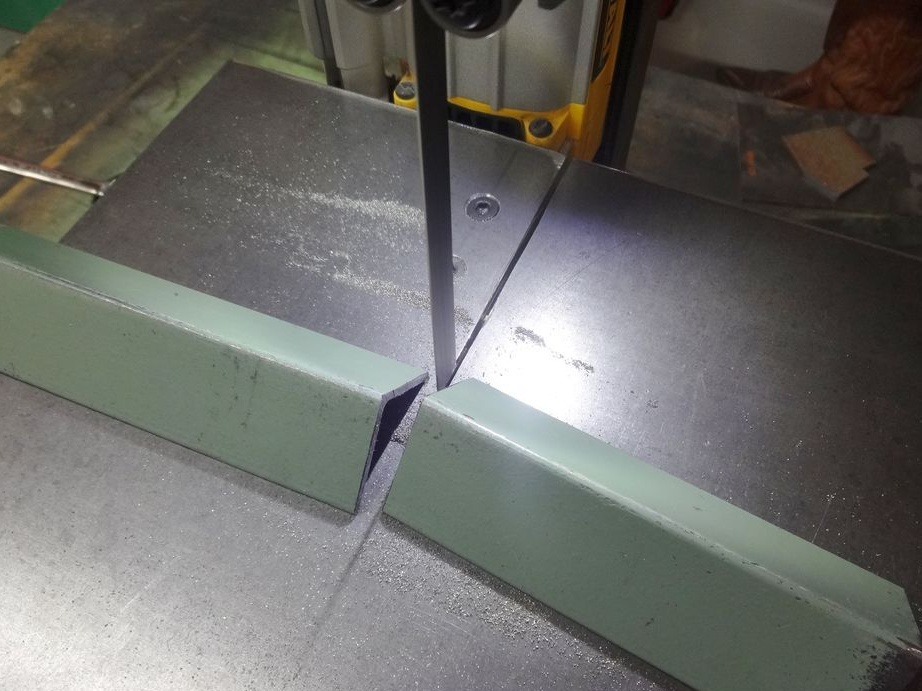
- Band saw;
-Welding clamp;
- Corner;
-Channel;
-Drilling machine;
-A screwdriver;
-Magnetic square;
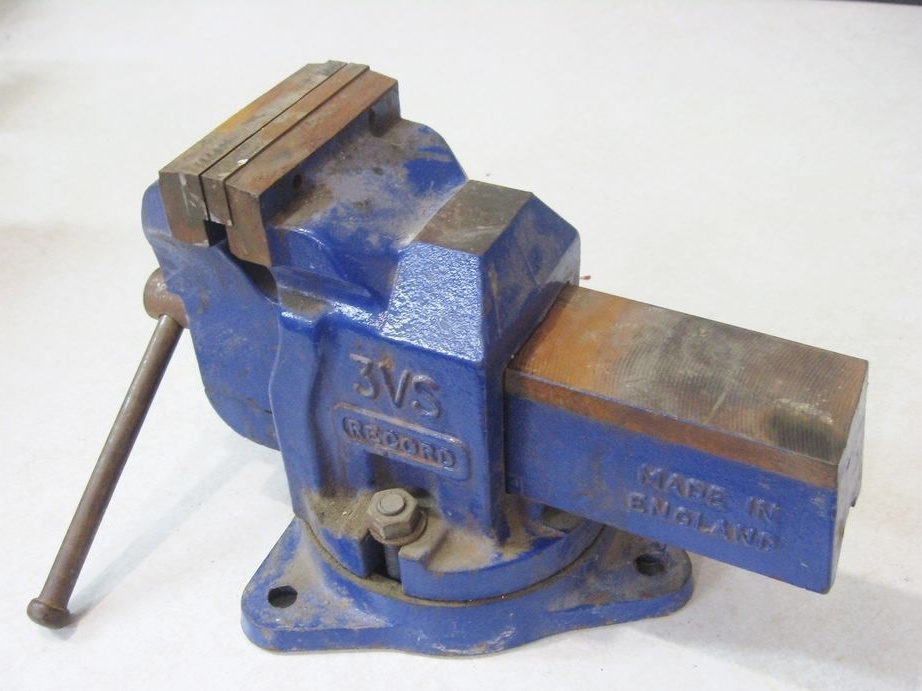
-Vise;
-Primer;
-Paint;
-Rubber;
-Lubrication;
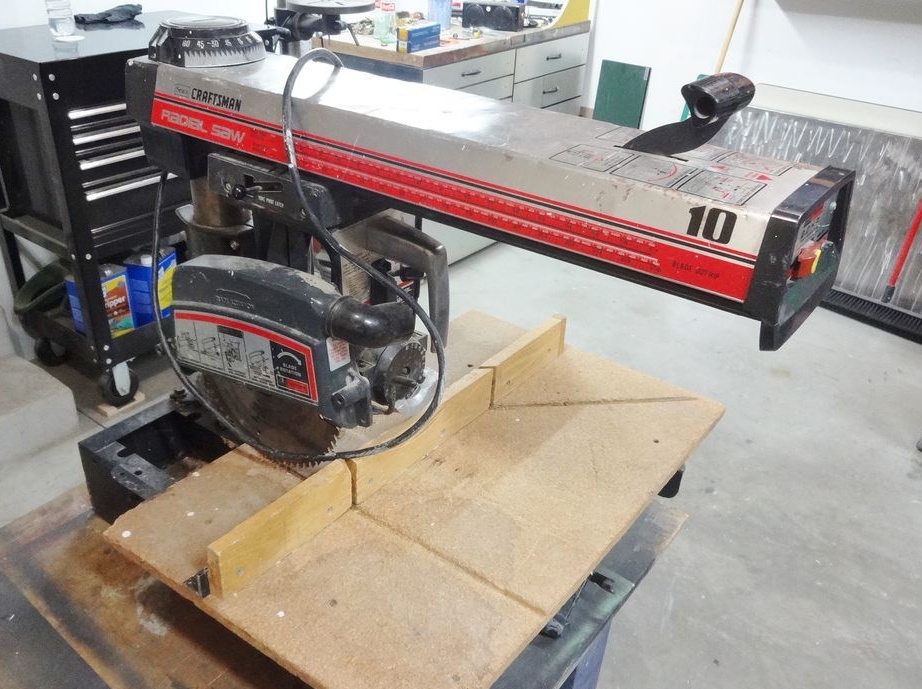
Step one: disassembling the machine
According to the master, in the area where he lives to find a broken machine is not a problem, and they cost a penny.
Parses the machine. The engine and the carriage are laid aside for subsequent homemade, and for this you need a lifting mechanism.
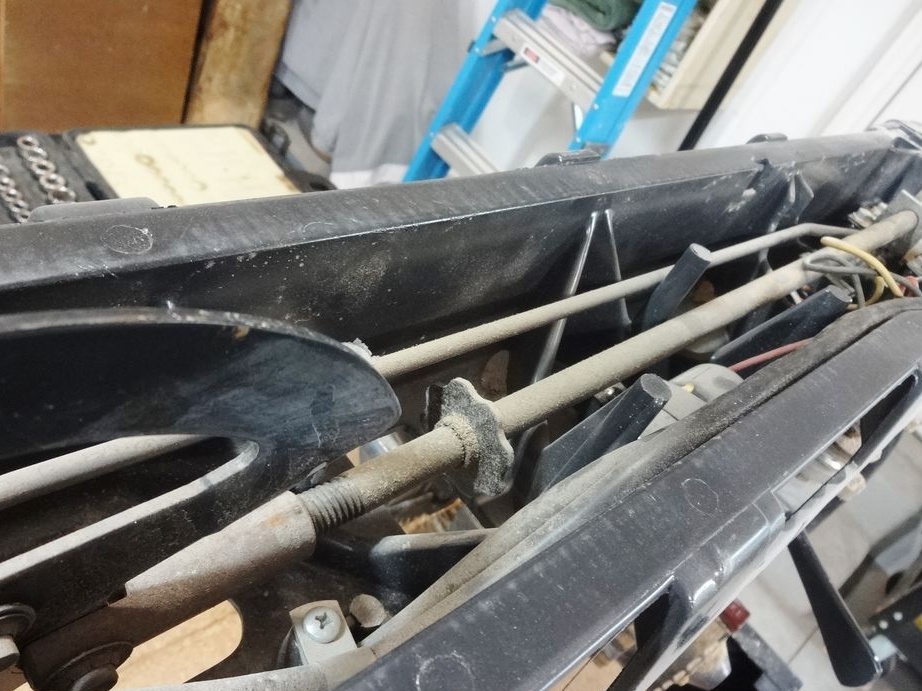
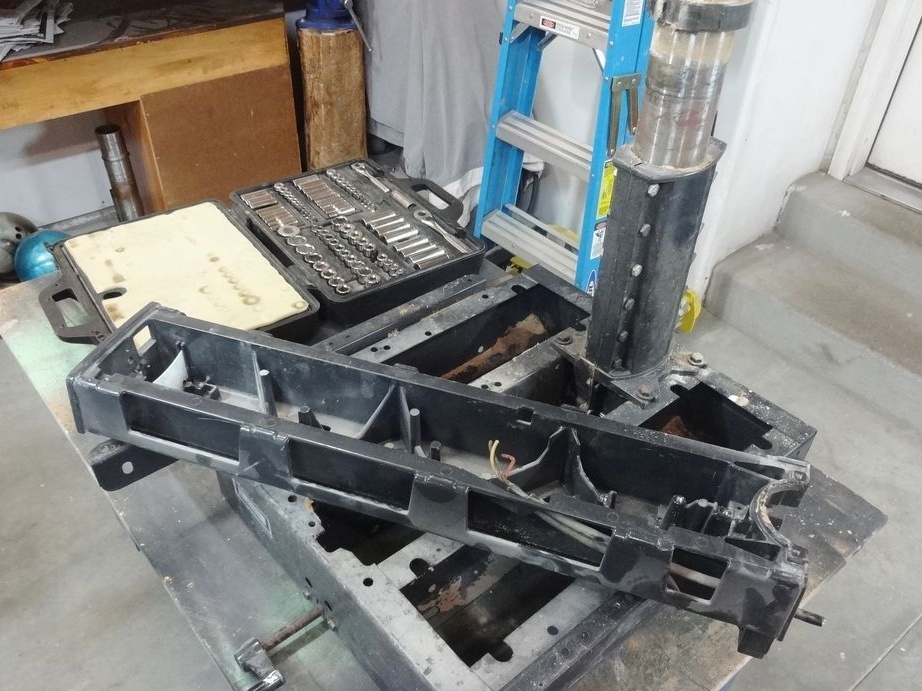
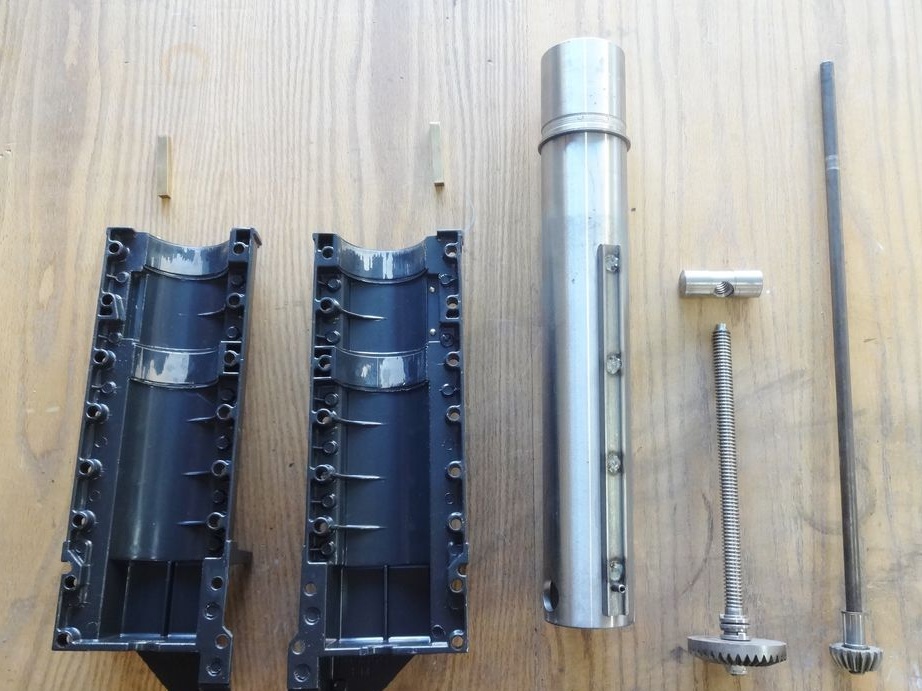
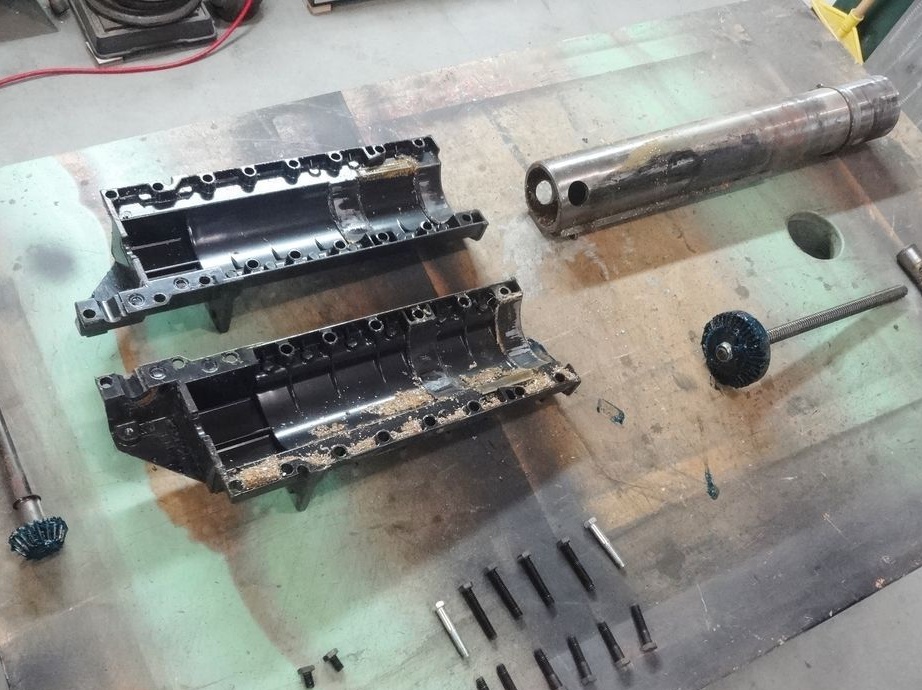
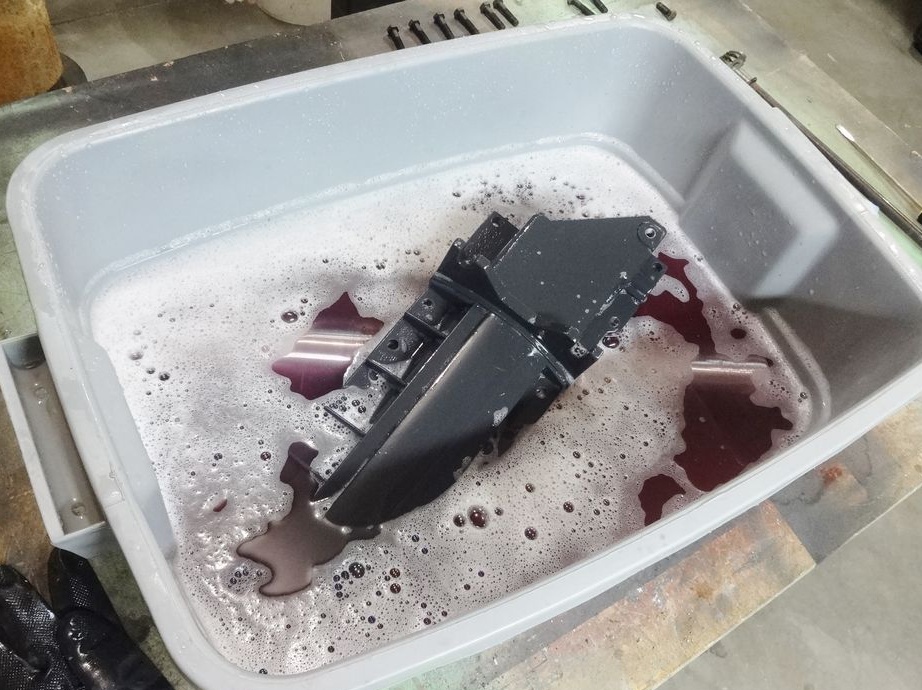
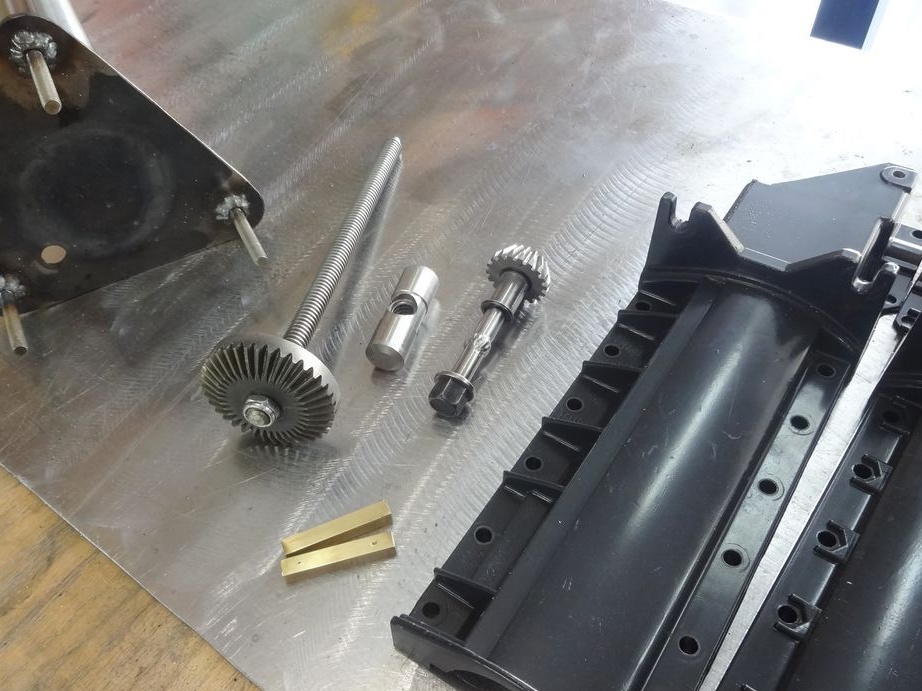
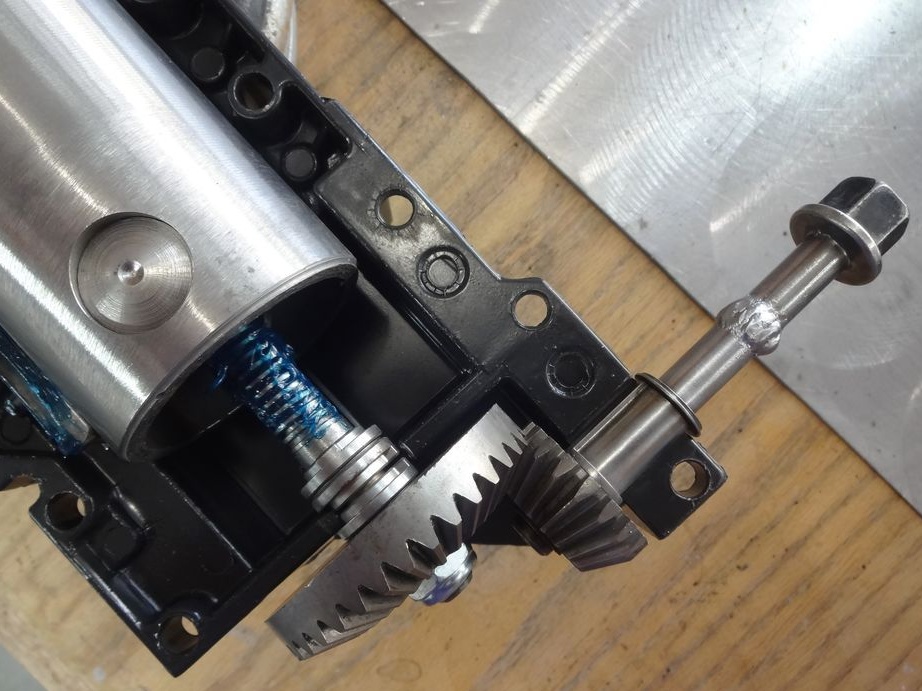
The elevator consists of a housing, a rod, and two gears. On the shaft of one of the gears (driven) thread. The shaft is screwed into the rod and the rod rises or falls. Spins the body of the lift. Washes.
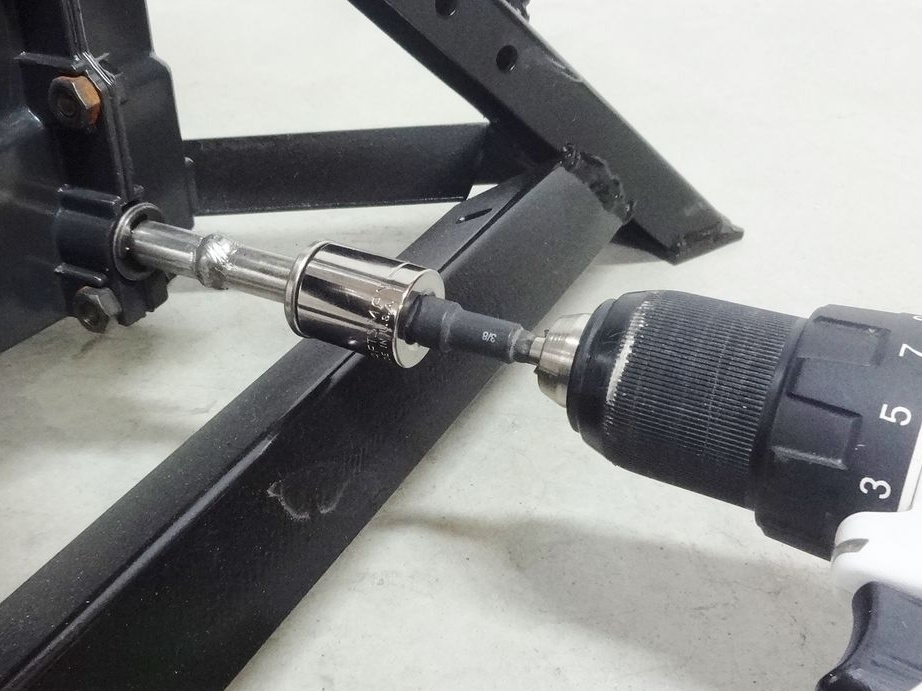
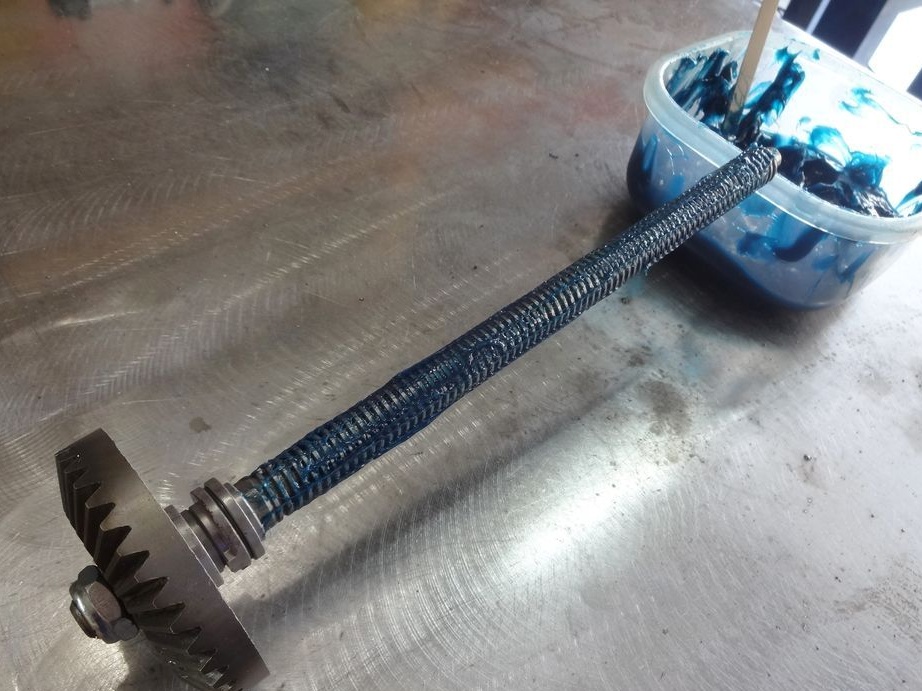
Step Two: Altering the Drive Pinion
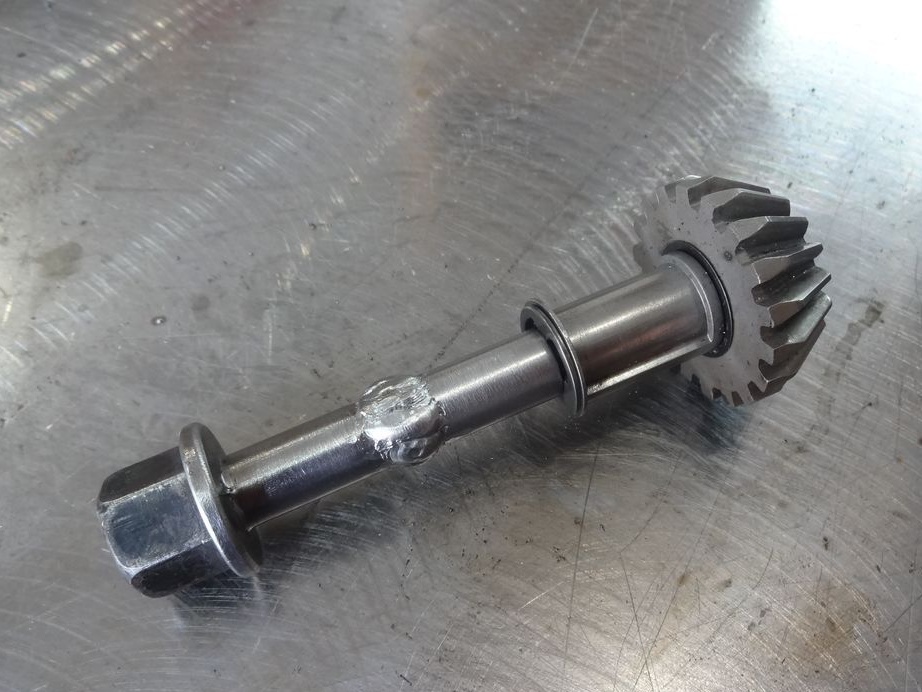
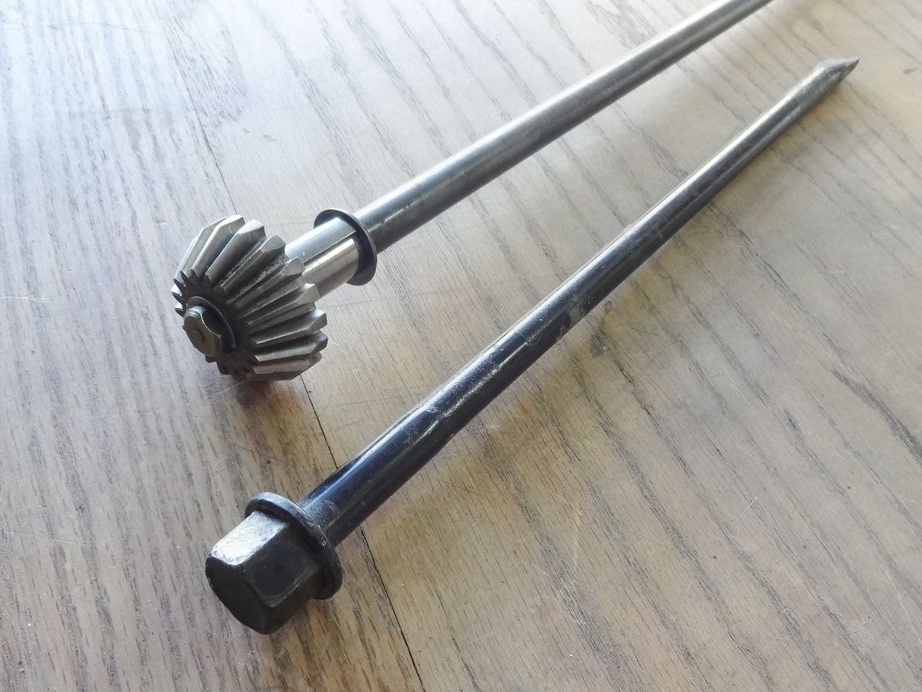
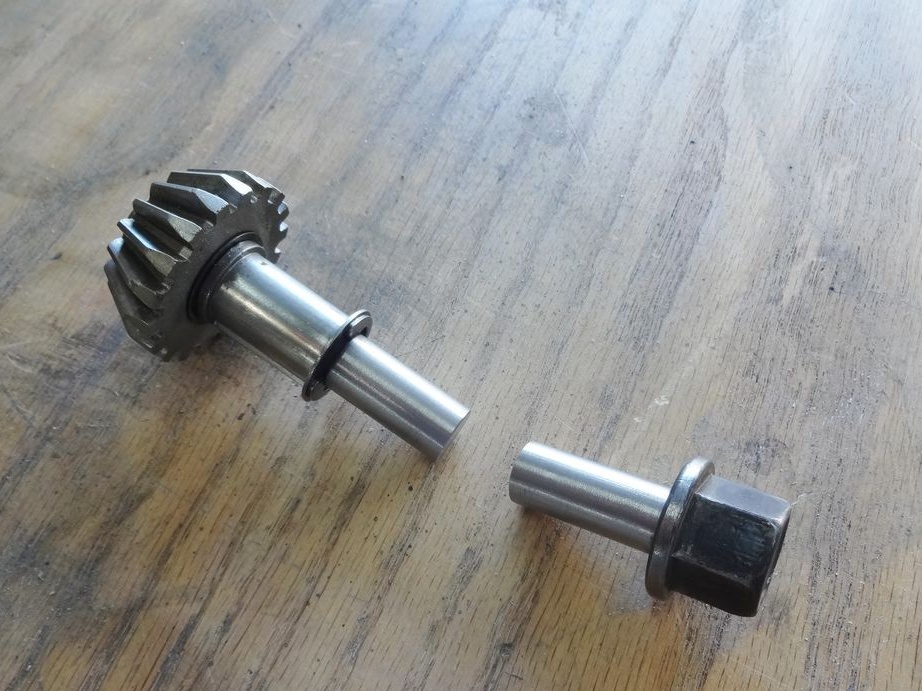
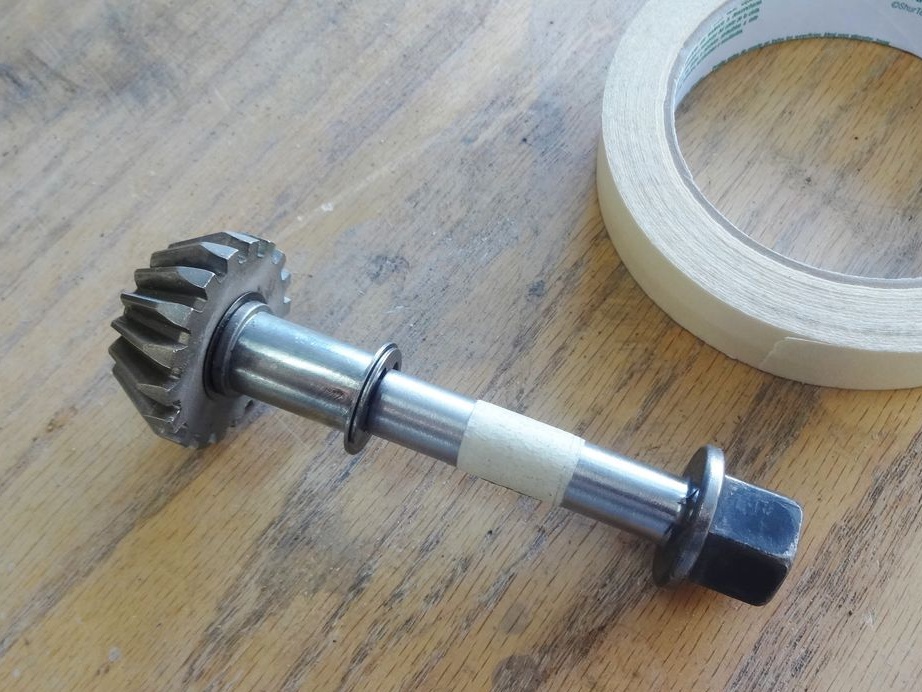
Now you need to redo the drive gear. Cuts off part of the gear shaft. Slices part of a broken bolt.
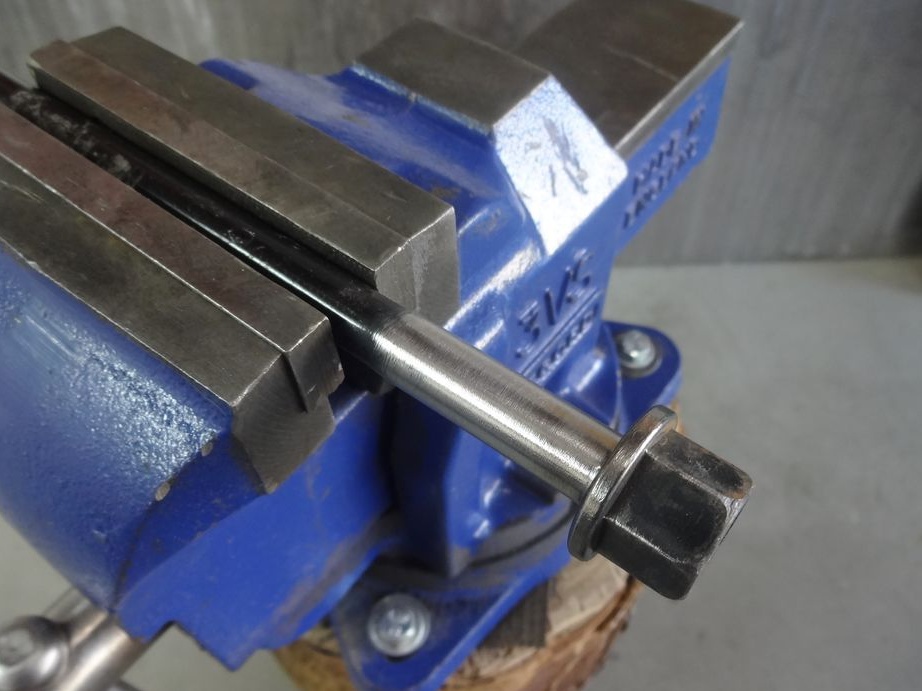
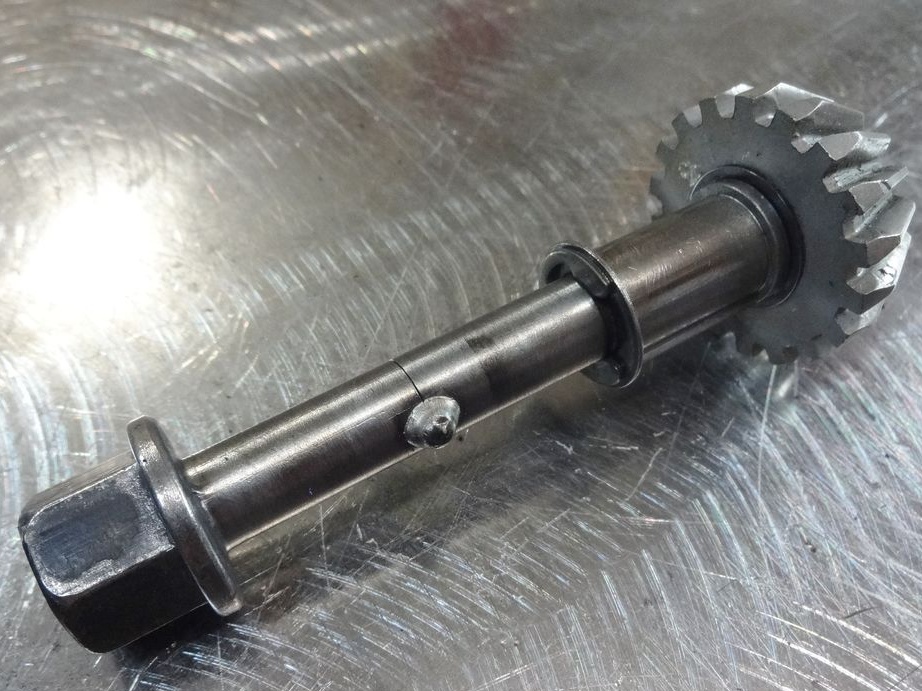
Fastens the bolt and pinion shaft with masking tape. Cuts two windows against each other. Fixes parts by welding. Removes adhesive tape and scalds the junction.

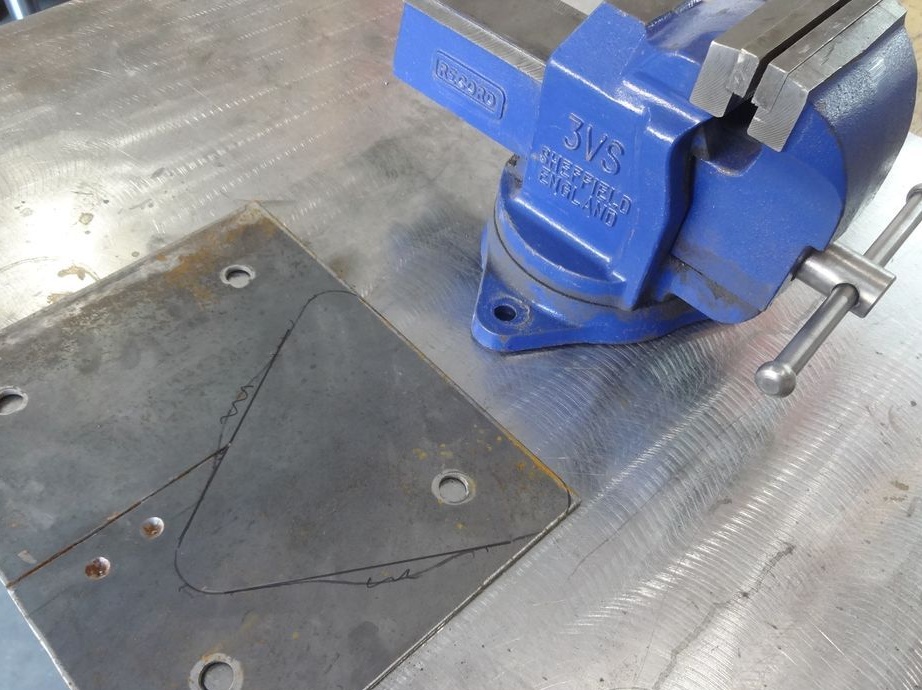
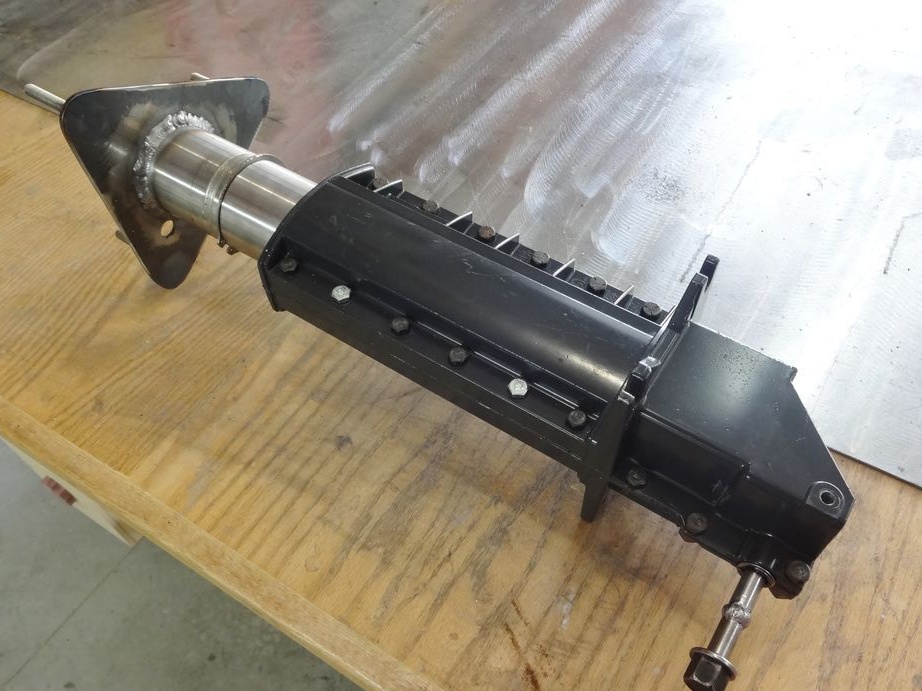
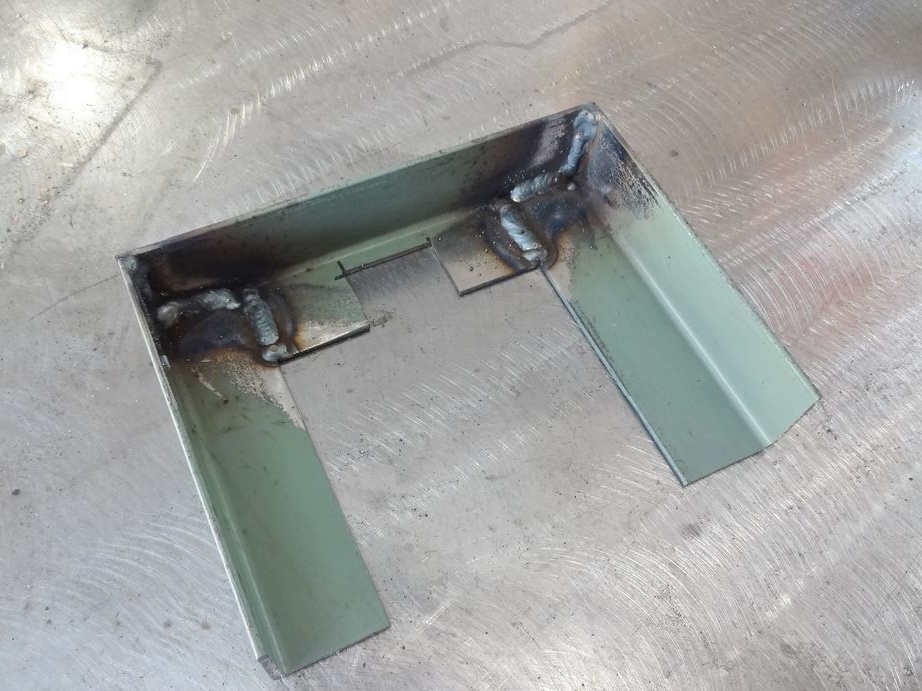
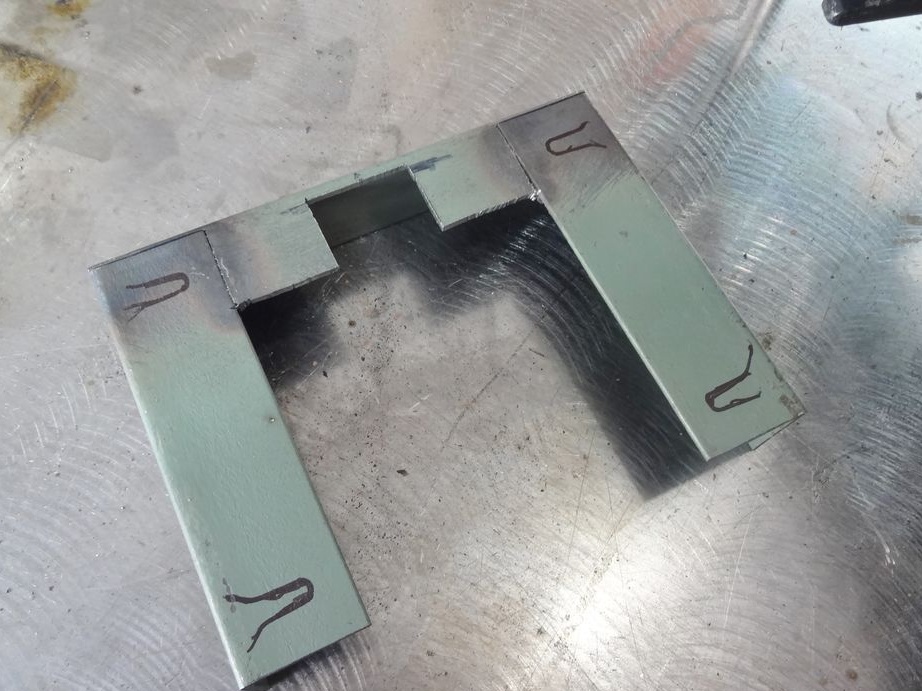
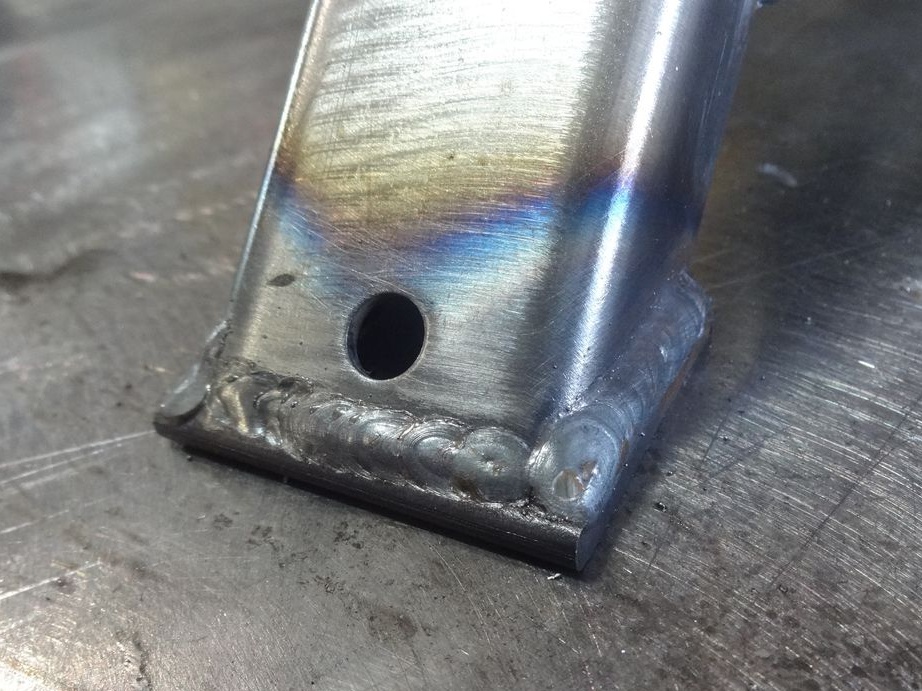
Step Three: Base Plate
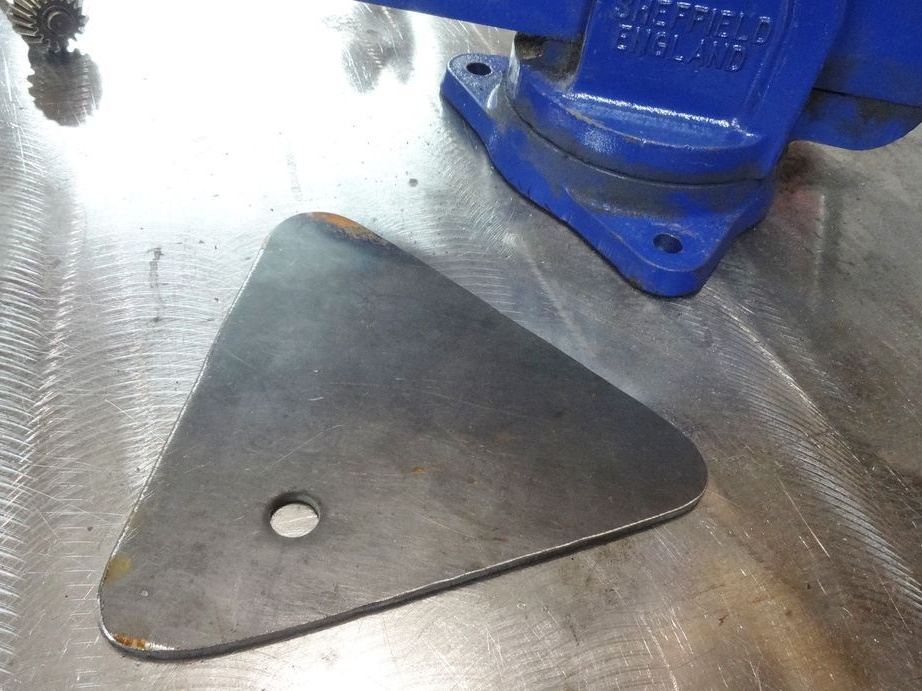
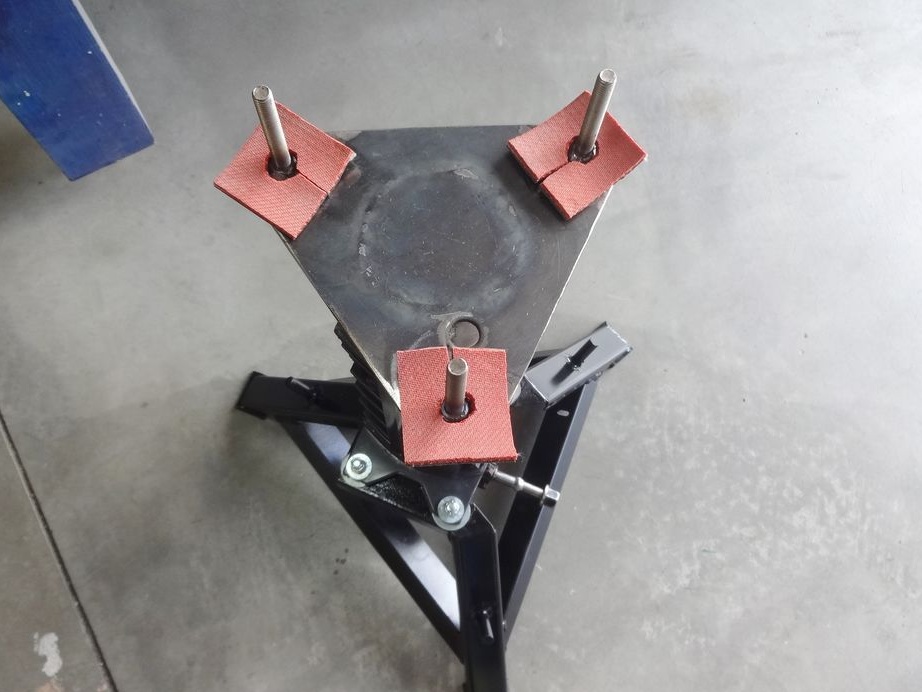
In the shape of the base of the vise, of sheet metal, makes a base plate.
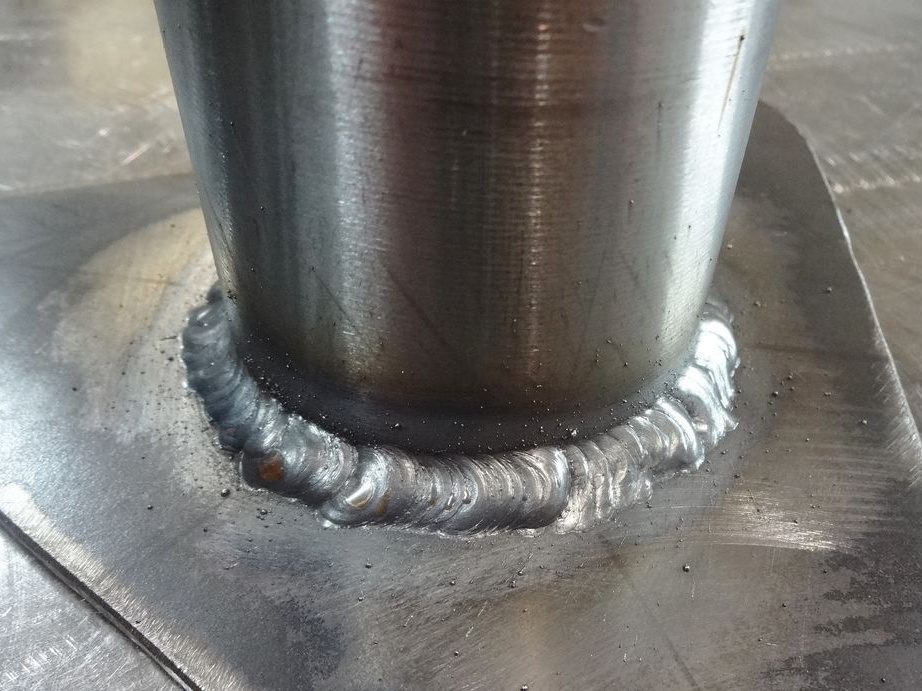
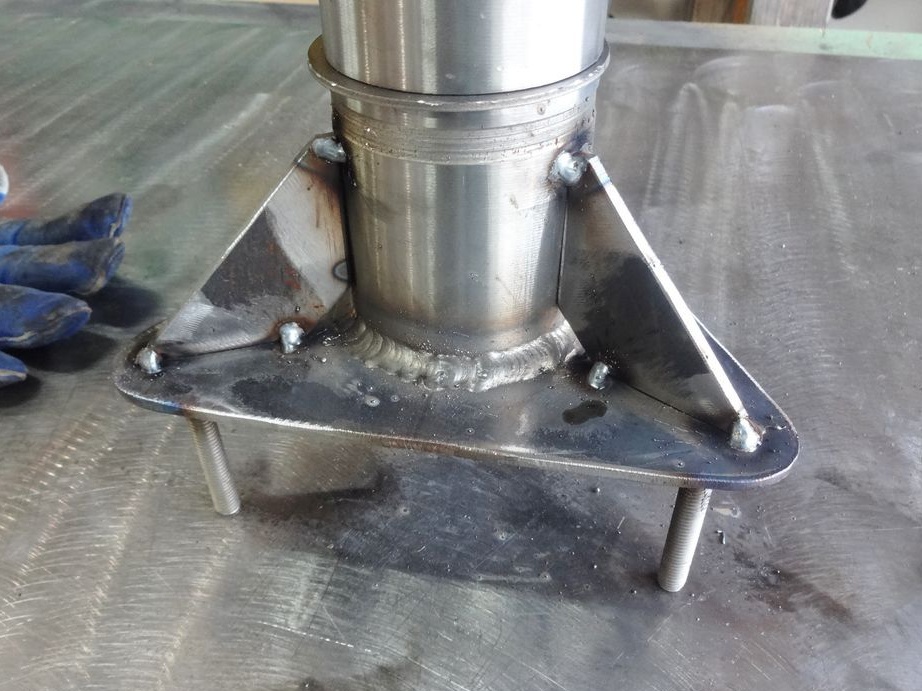
Welds a plate to the top of the rod.
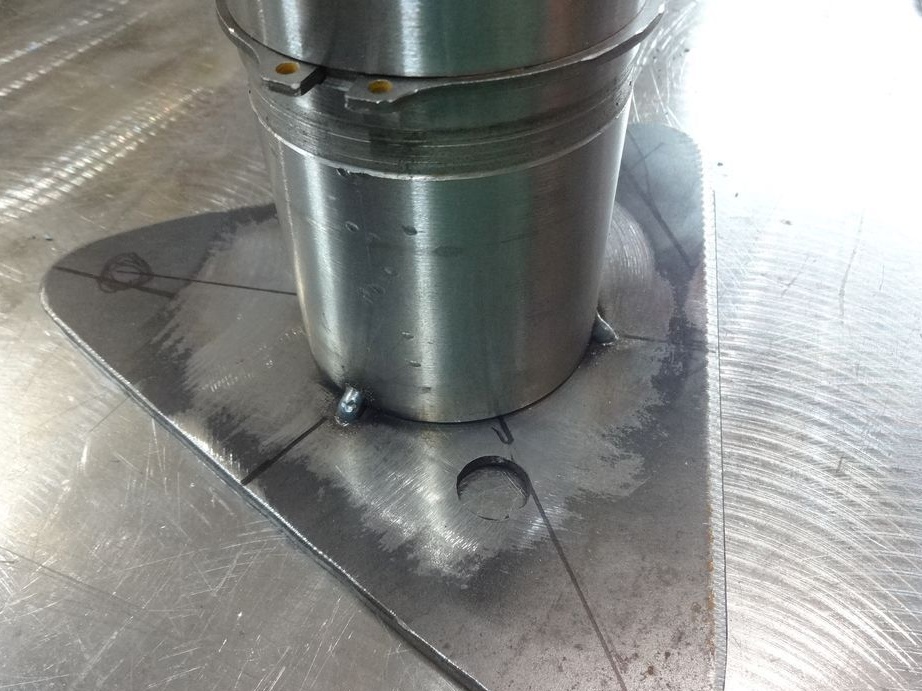
Welds the mounting studs.
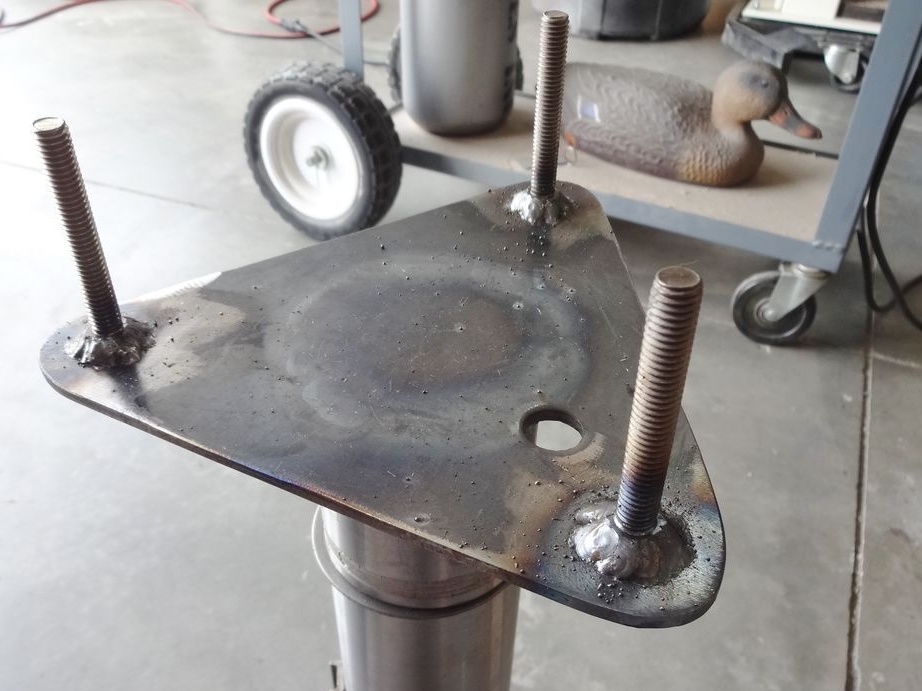
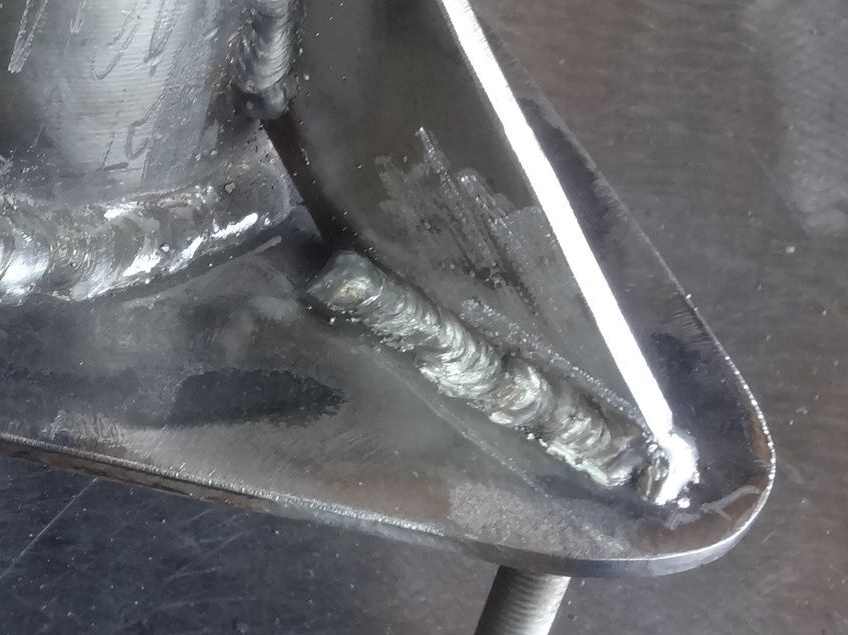
Strengthens the plate with scarves.
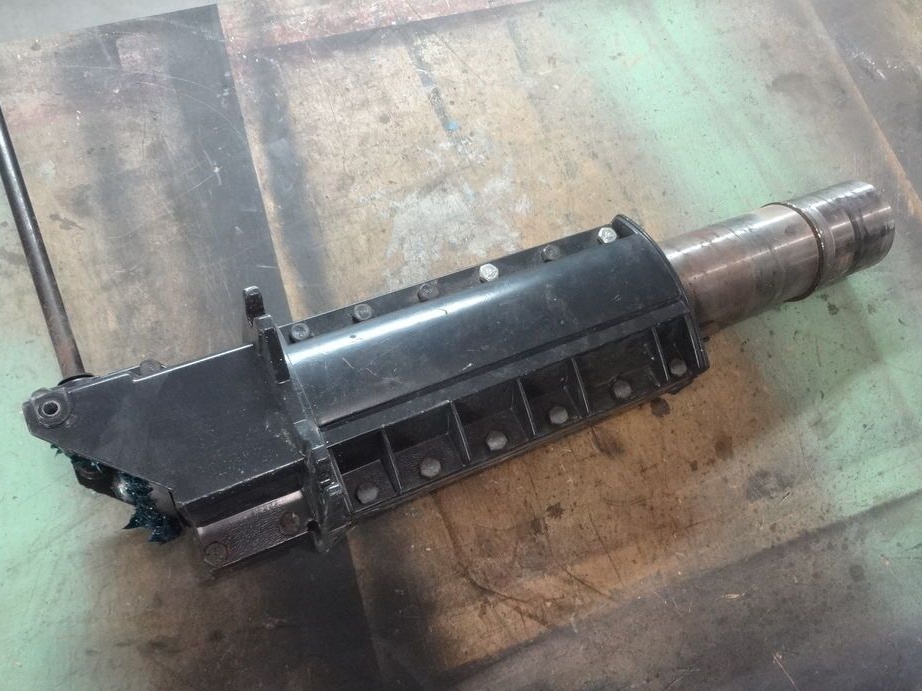
Step Four: Assembling the Mechanism
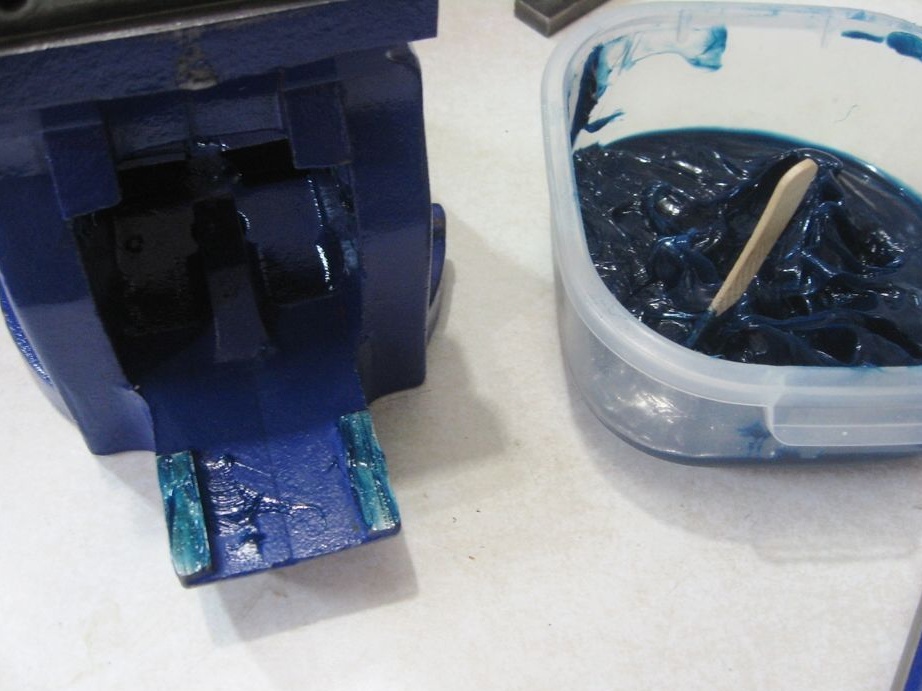
Assembles a lifting mechanism after lubricating the threads with grease.
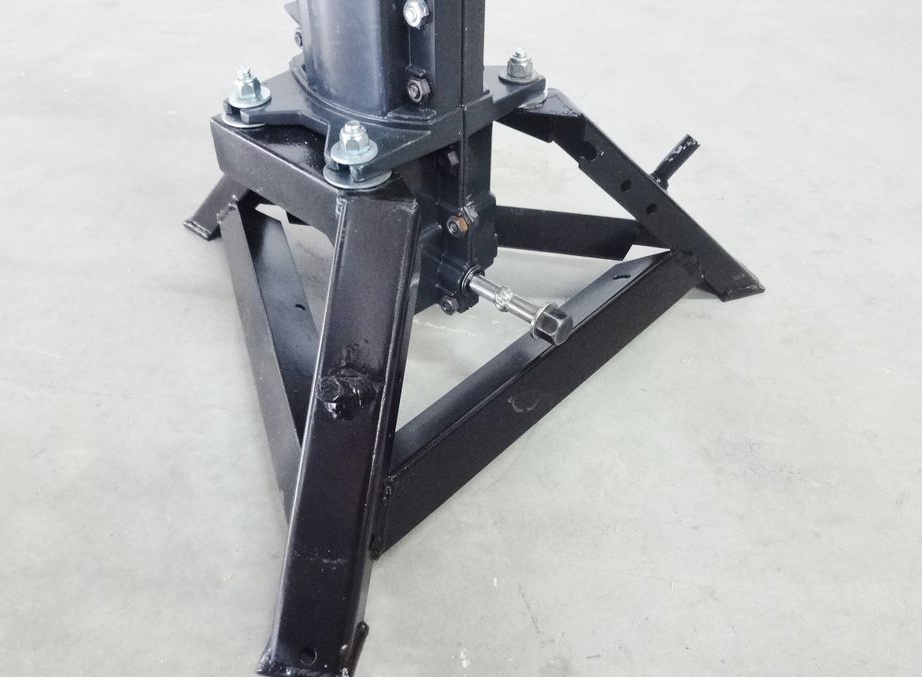
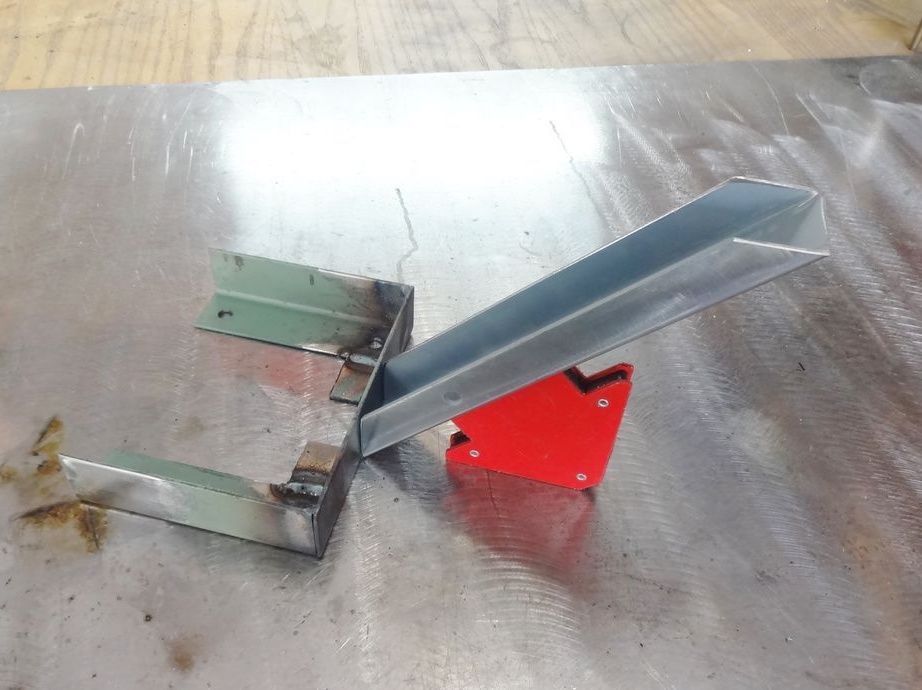
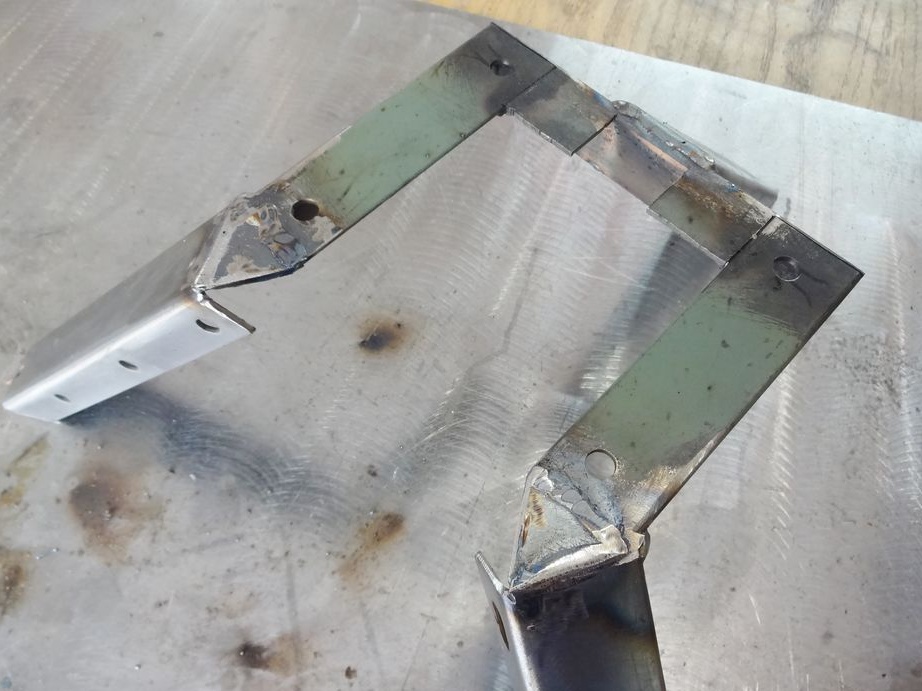
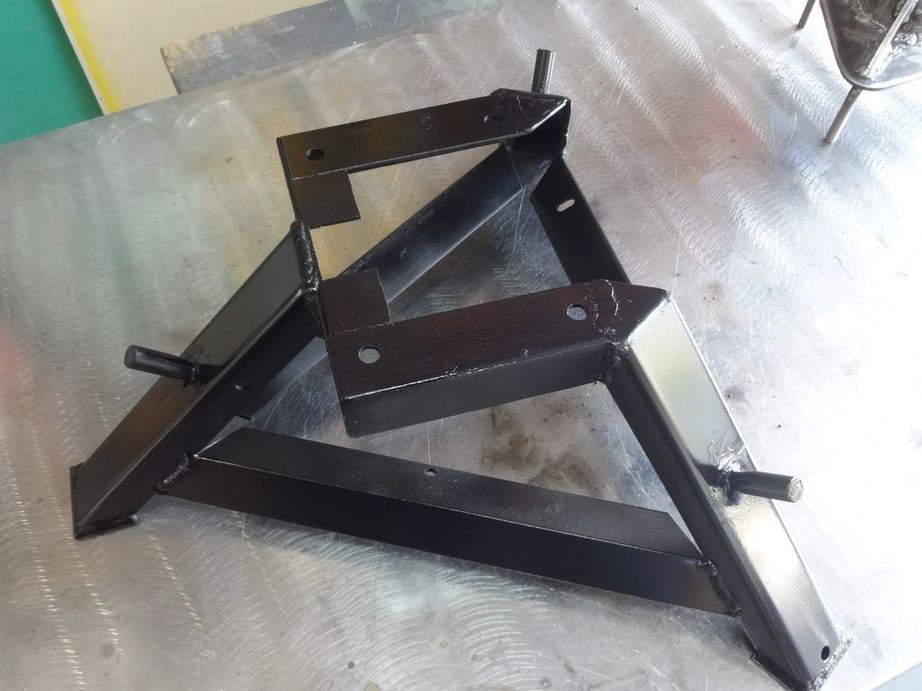
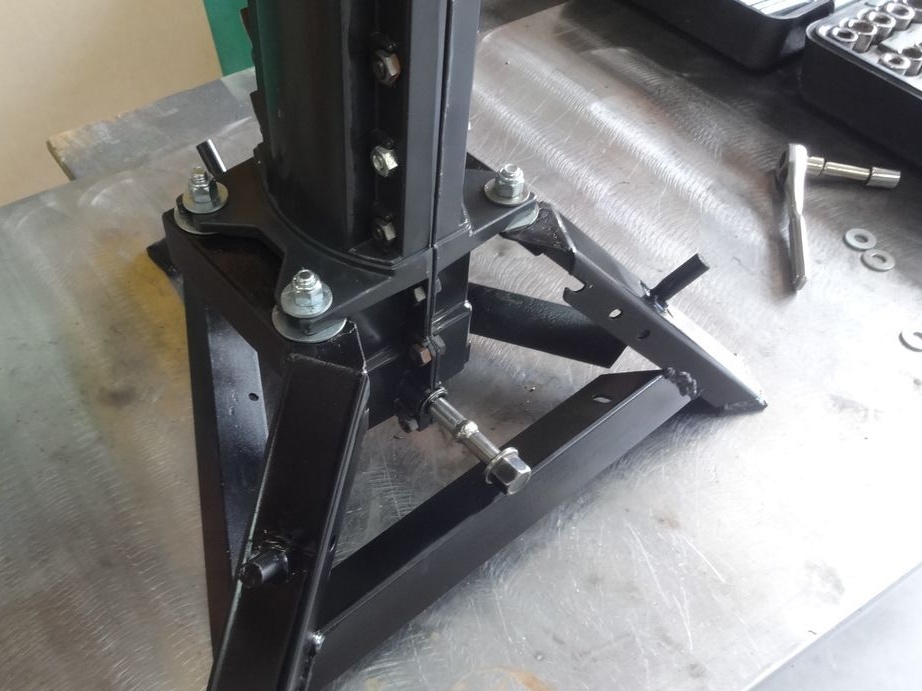
Step Five: Prop
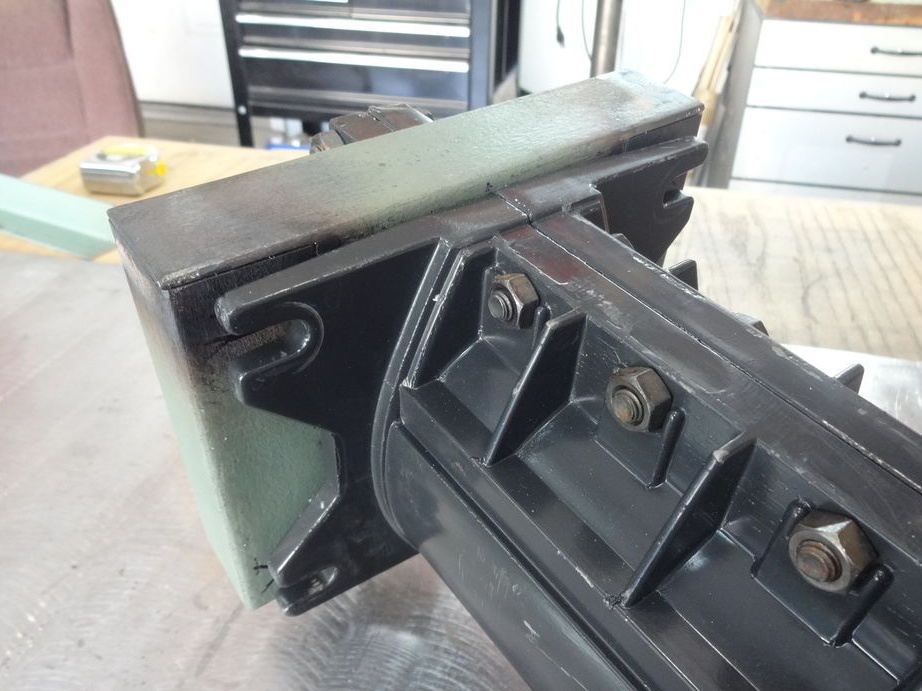
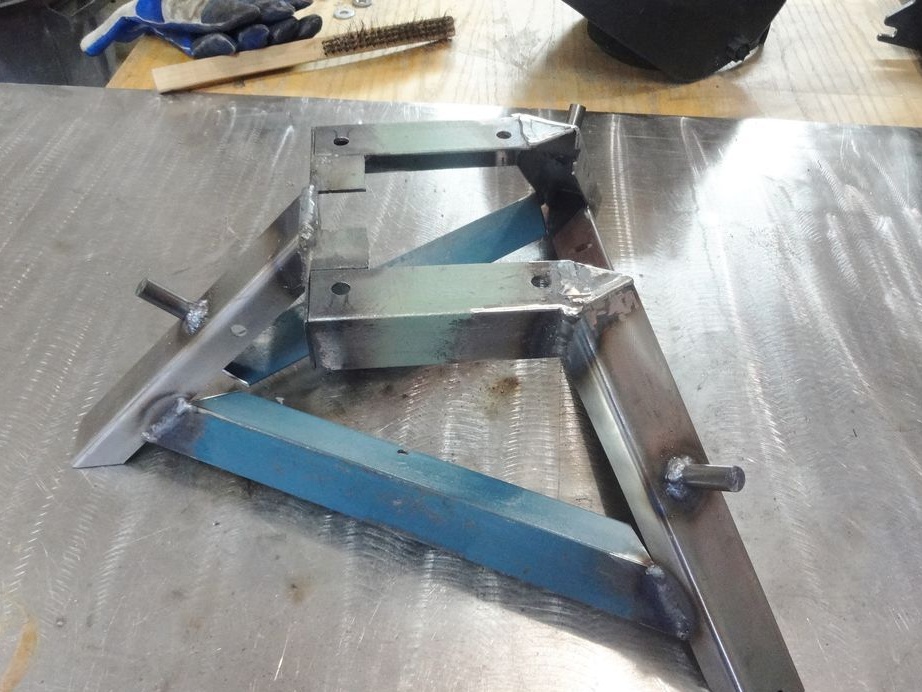
Now you need to make a stable support.
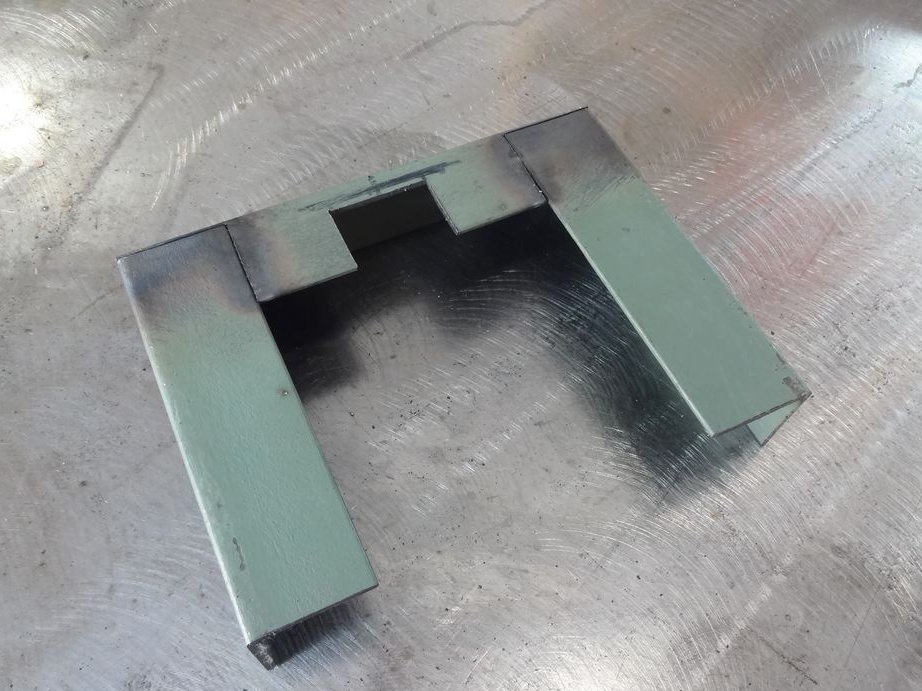
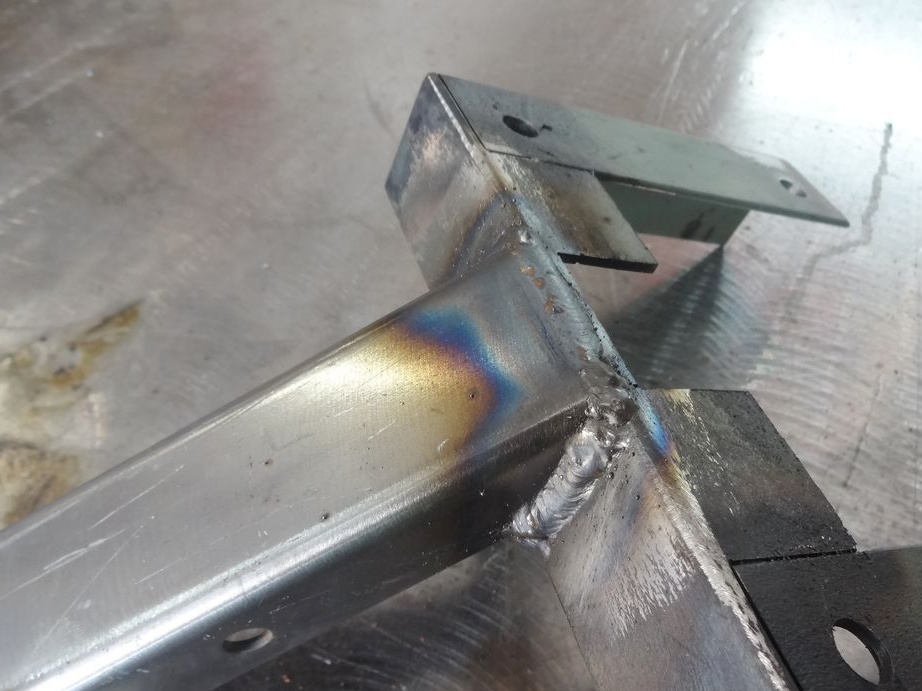
Welds the top.
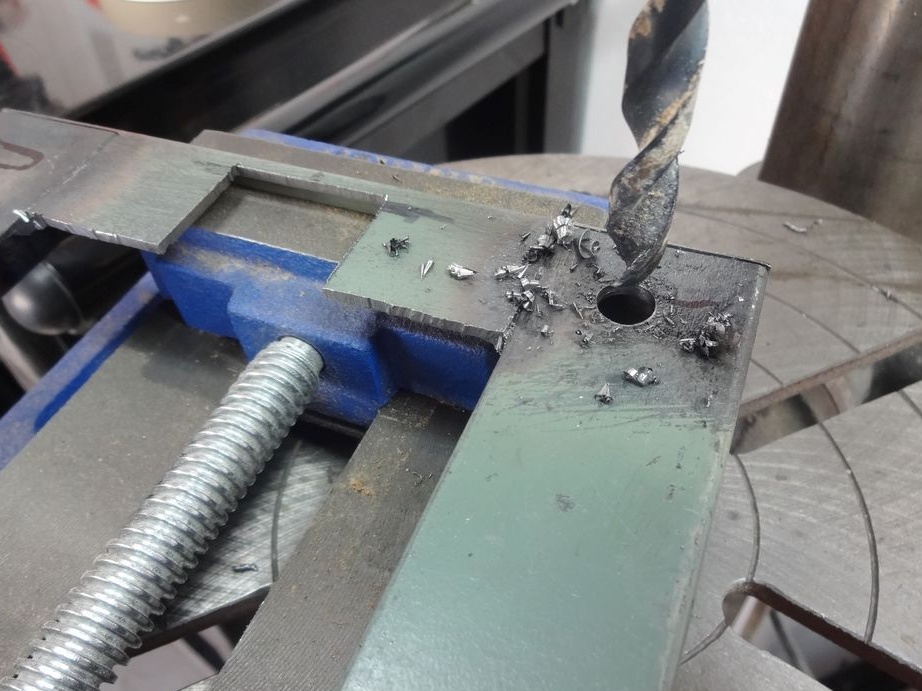
Drills holes to secure the lifting gear.
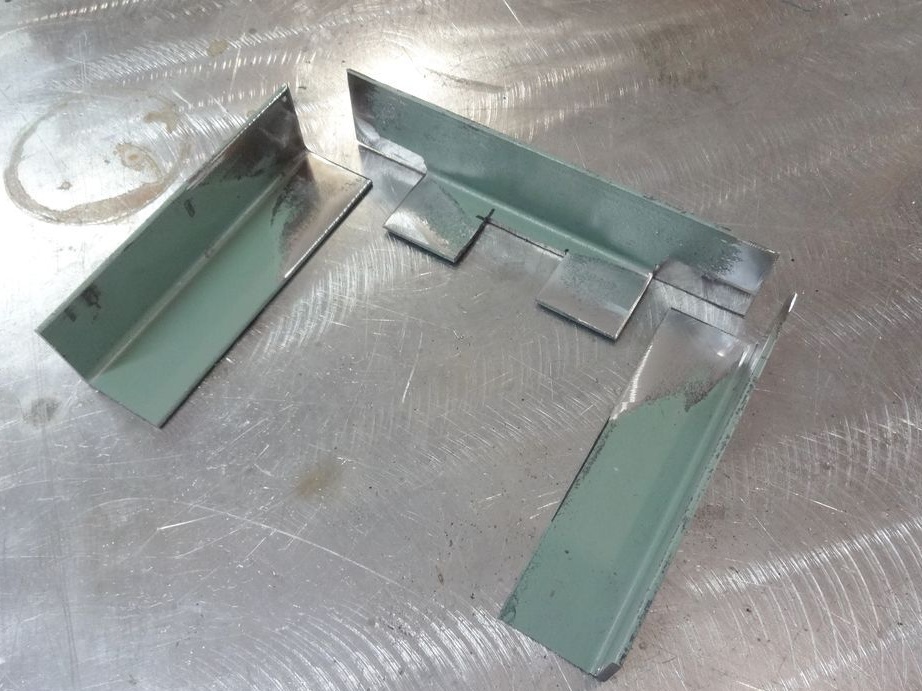
Welds the legs.
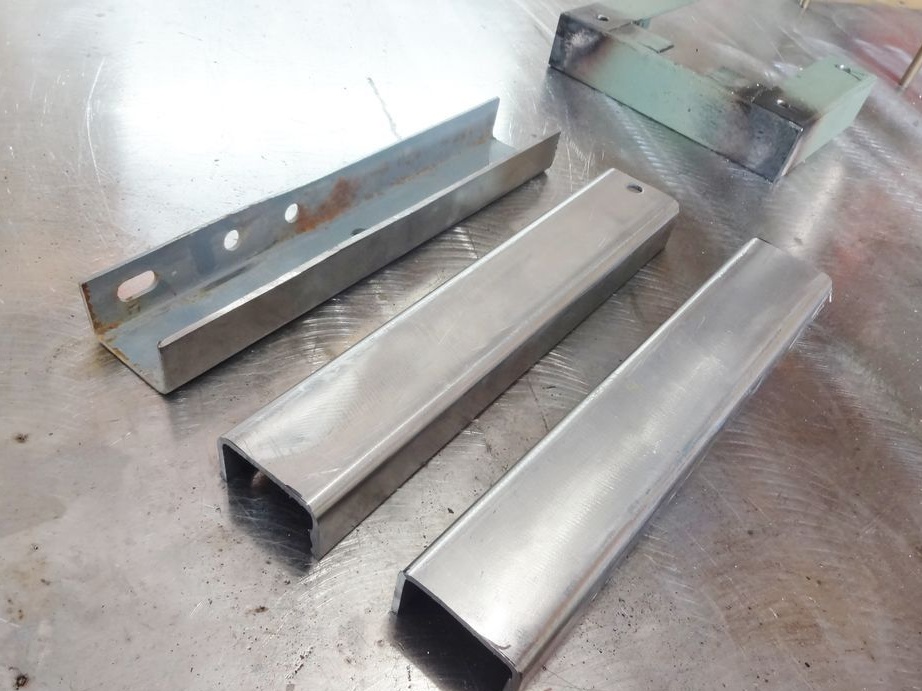
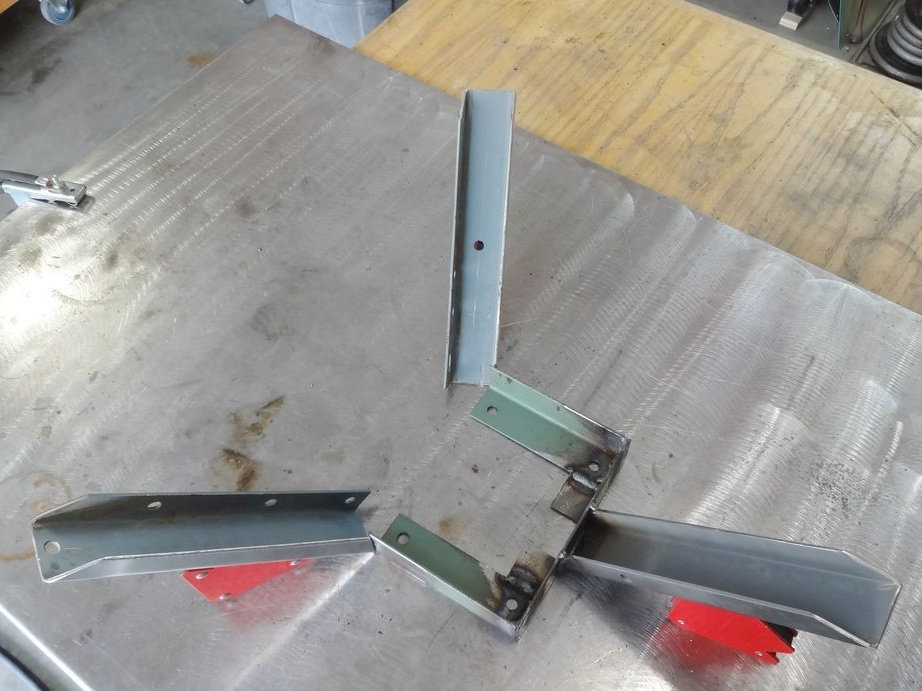
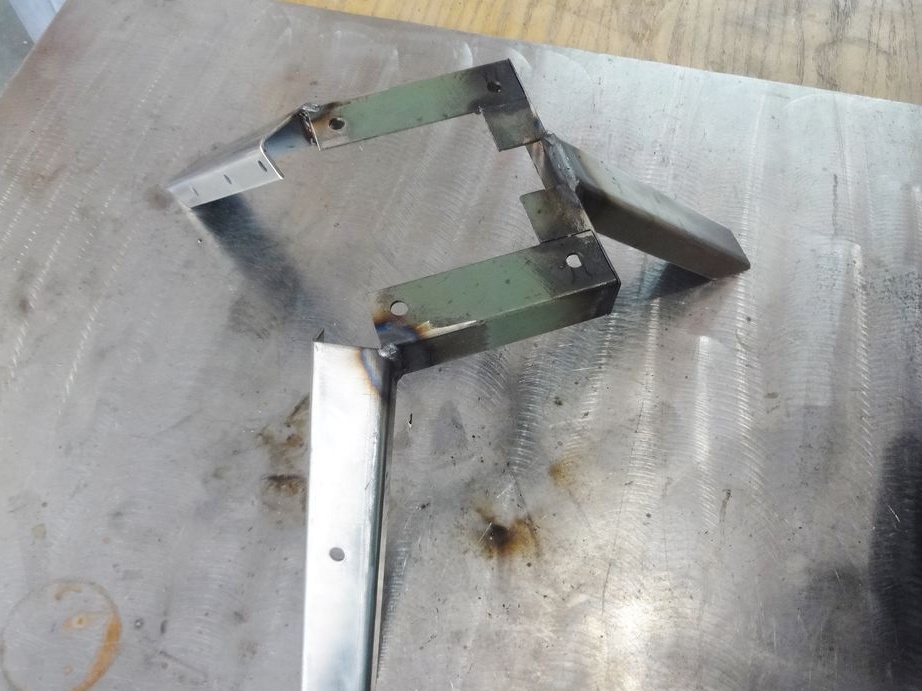
Adds jumpers.
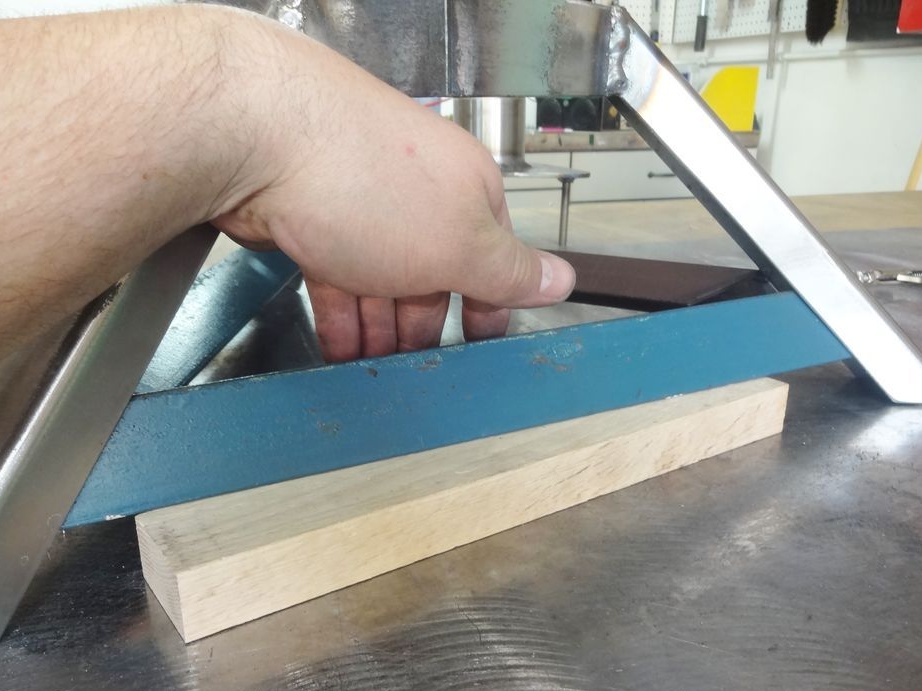
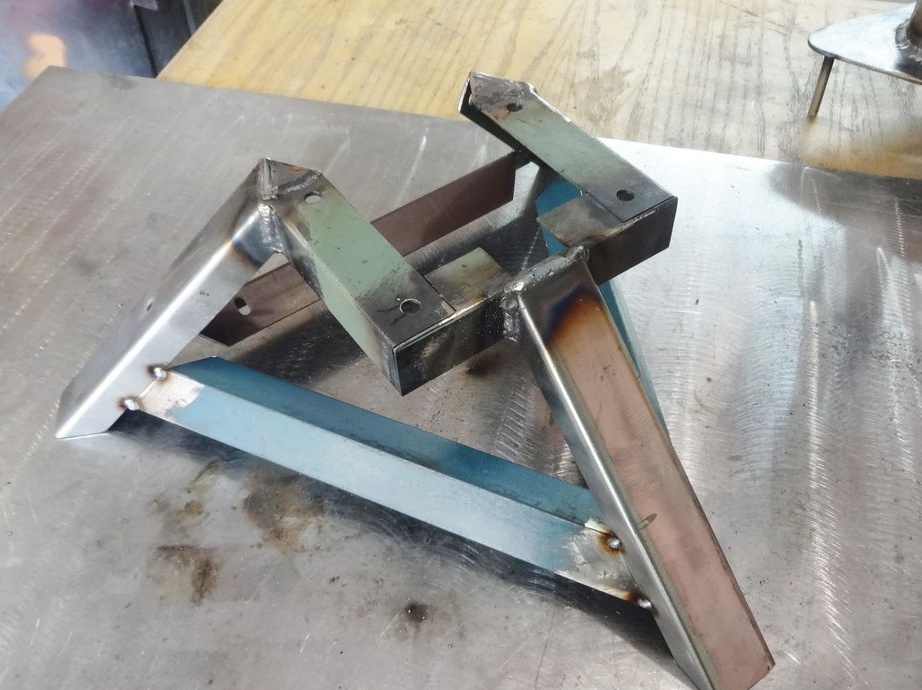
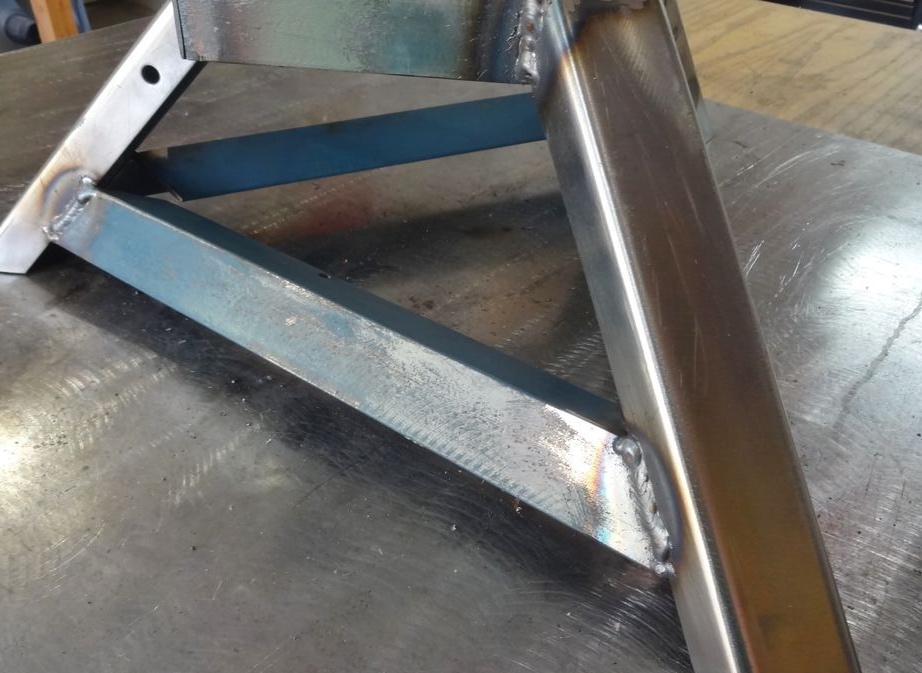
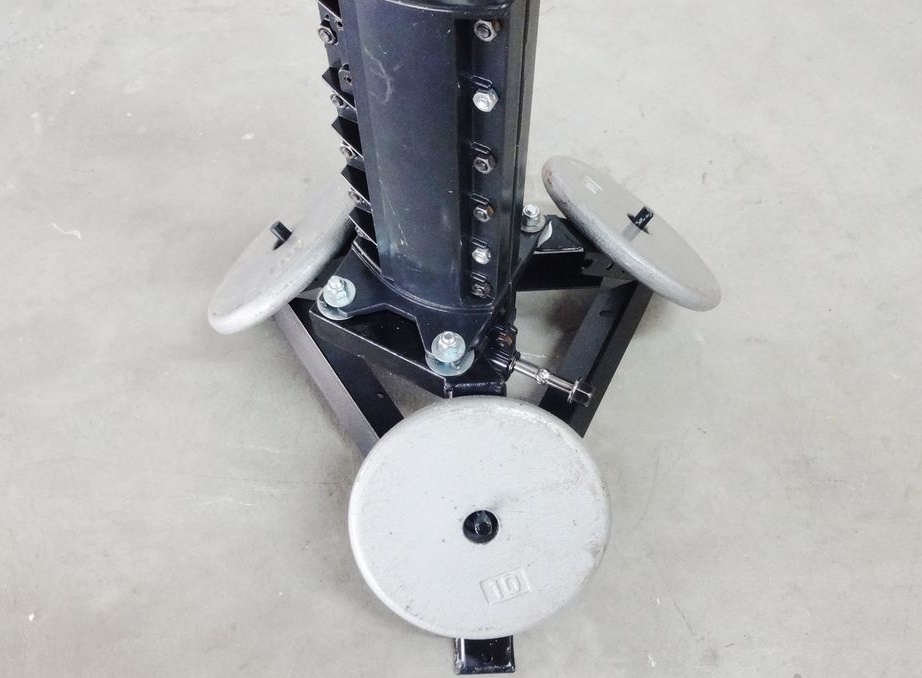
Welds the bottom of the plate legs. On the front part welds segments of reinforcement. If necessary, it will be possible to hang additional cargo on them.

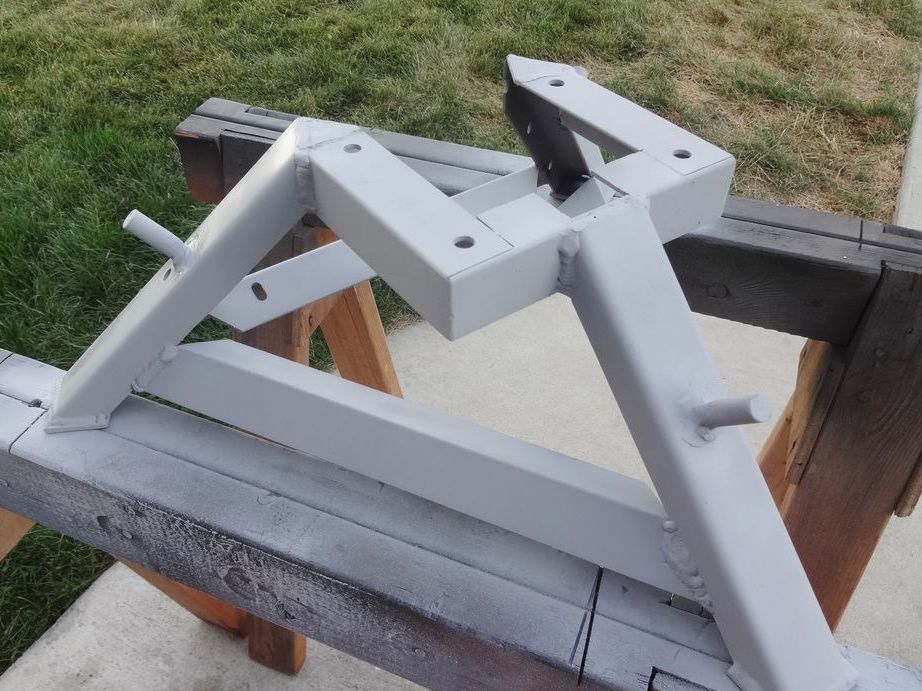
Step Six: Painting
Before painting, the master checks the stability of the rack and the alignment of the mount.
Then removes the lift. Primers and stains the support.
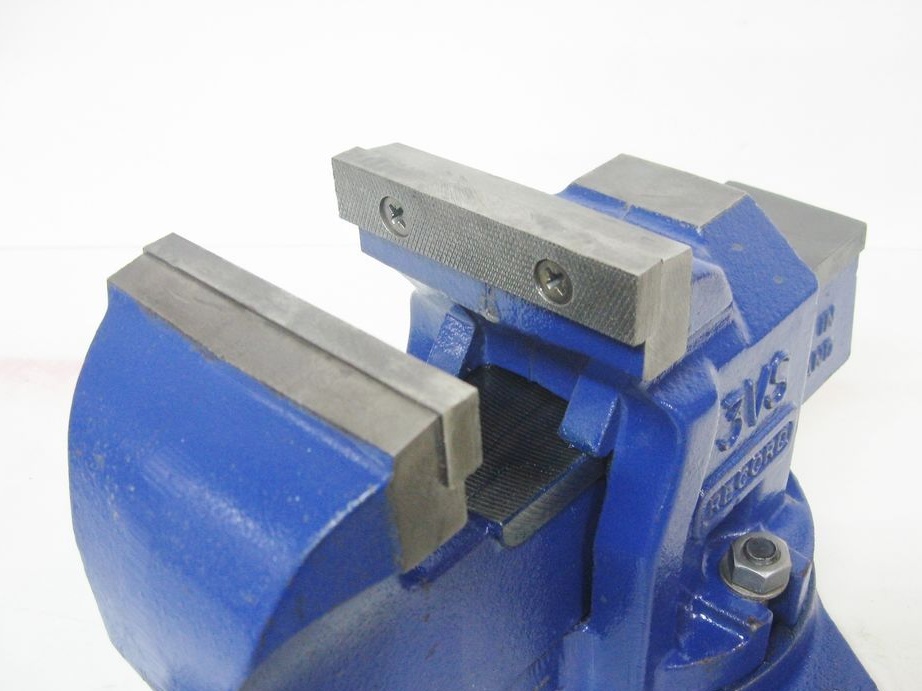
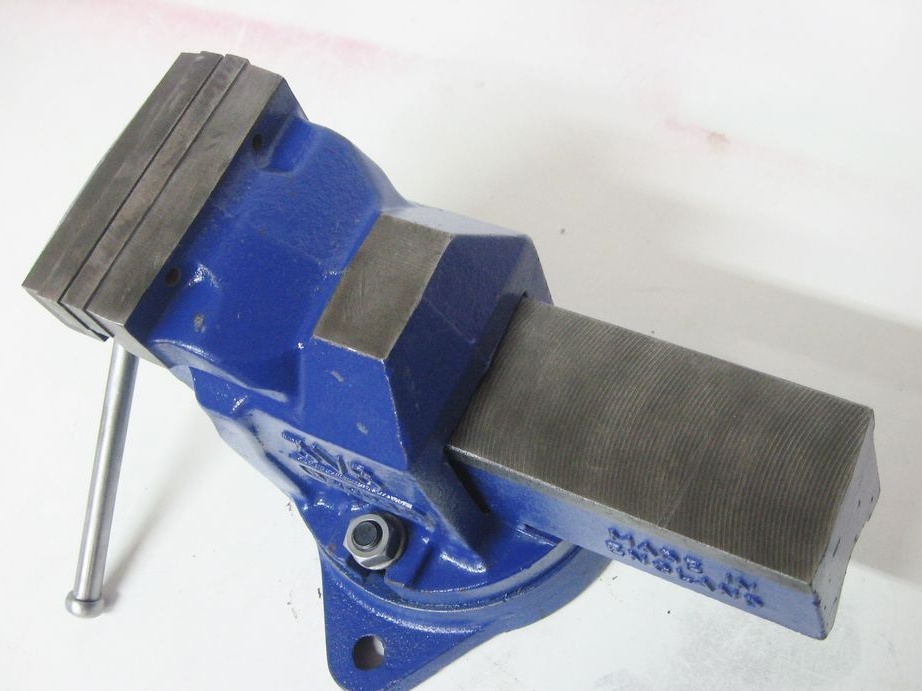
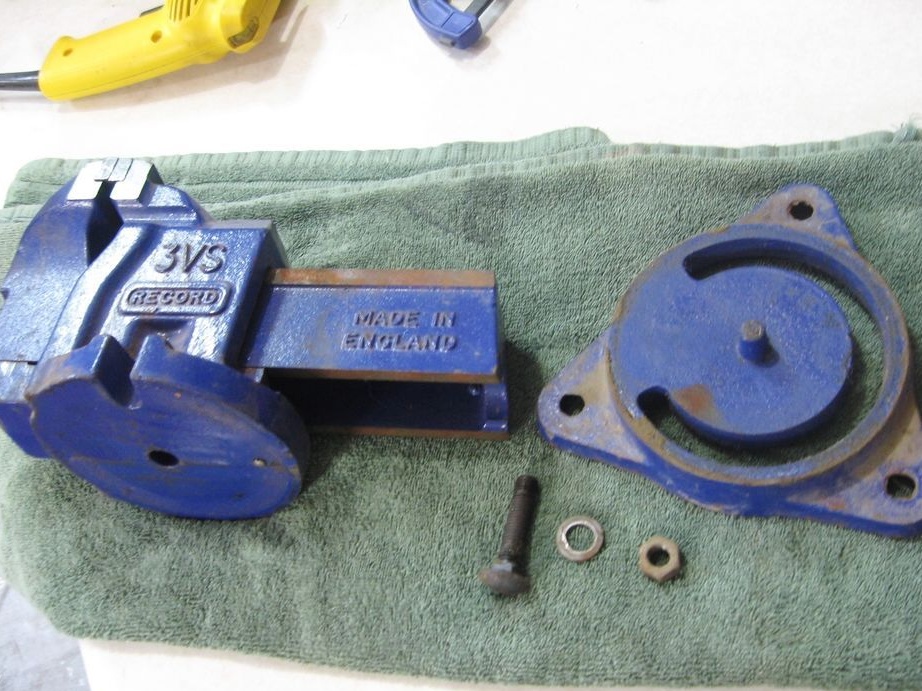
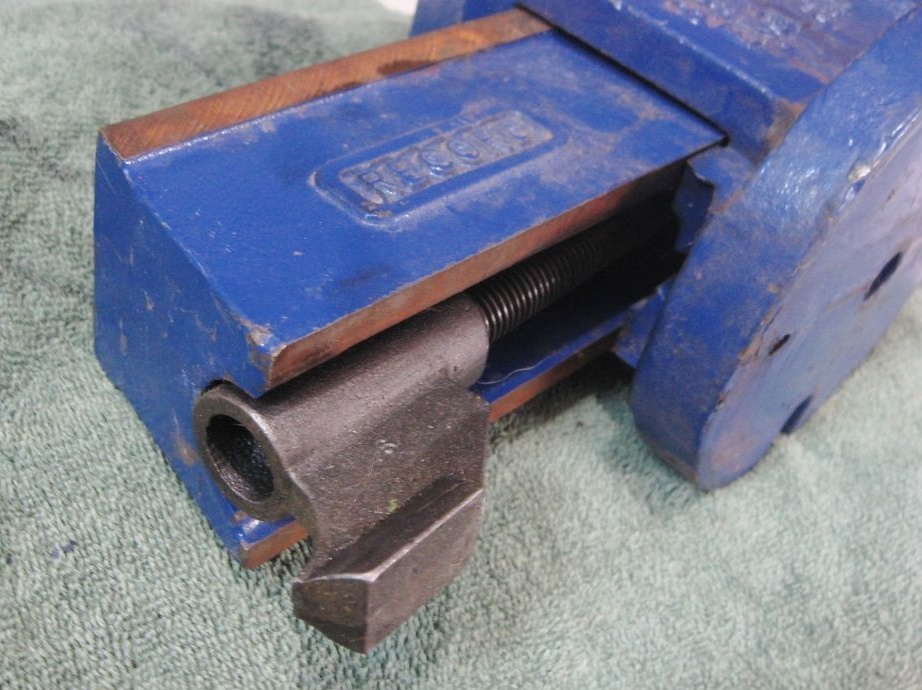
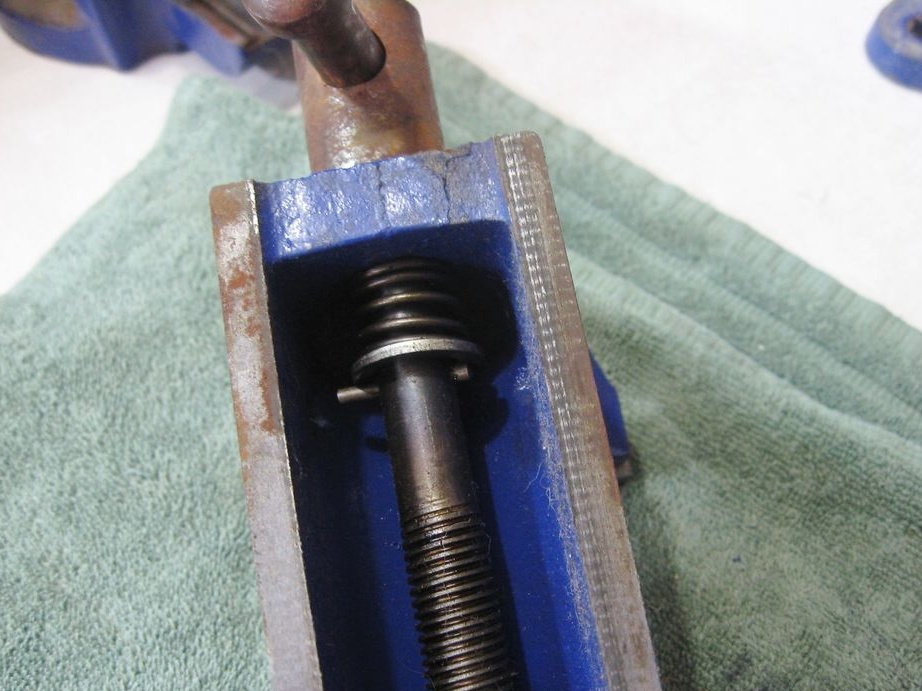
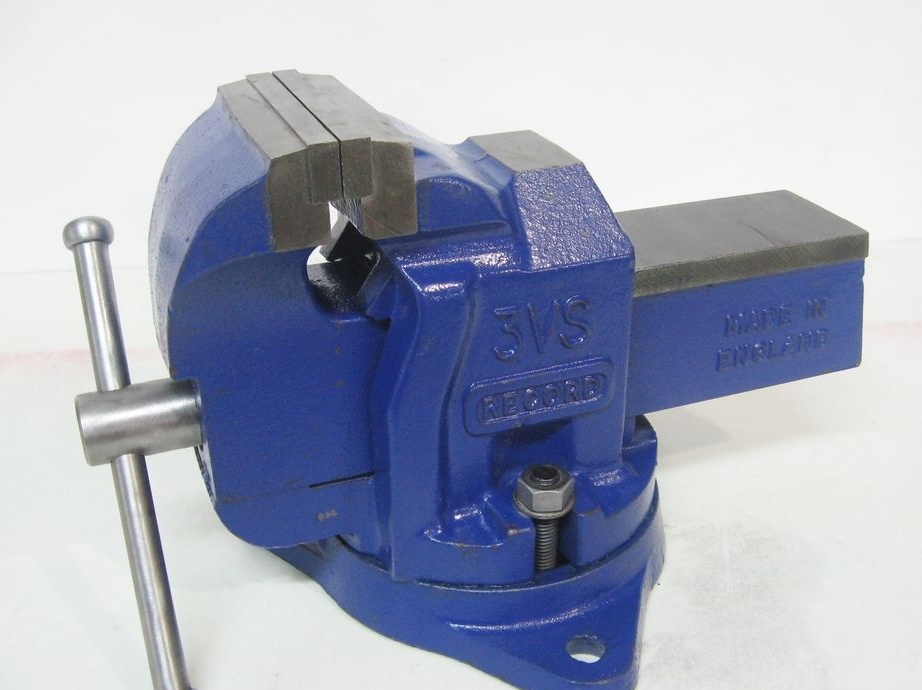
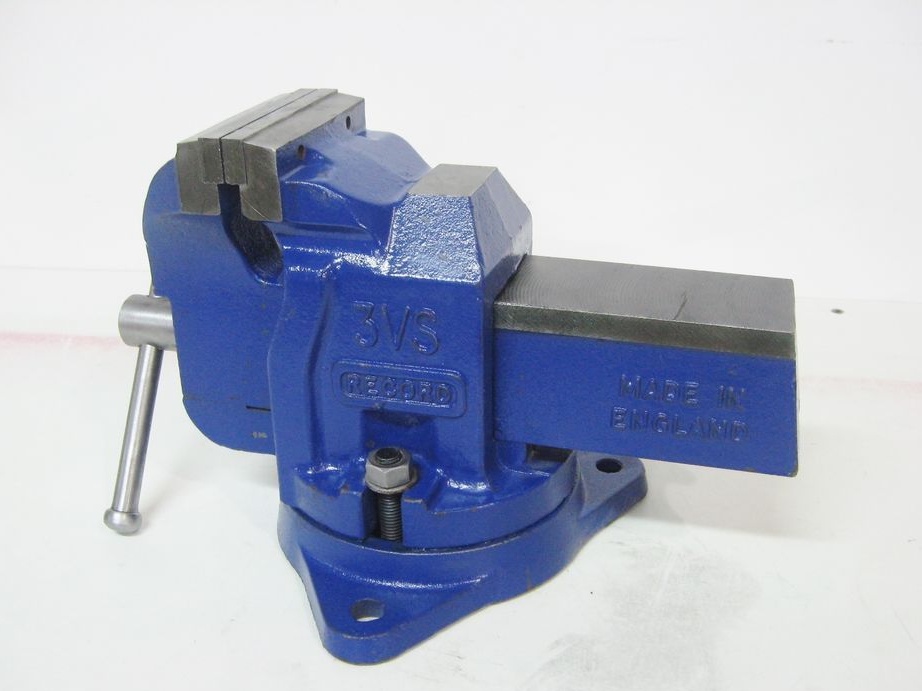
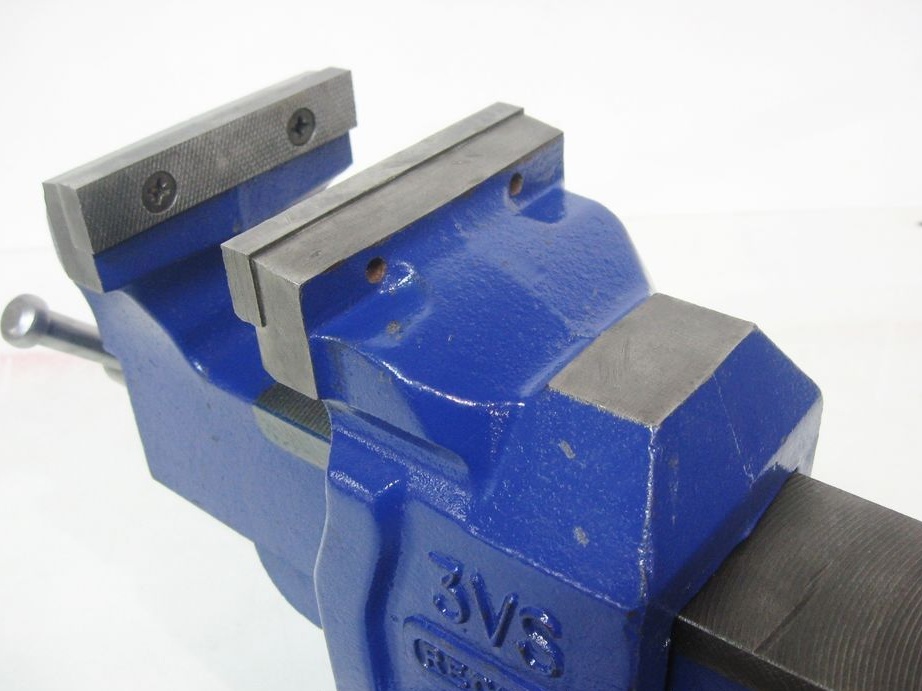
Seventh step: vise
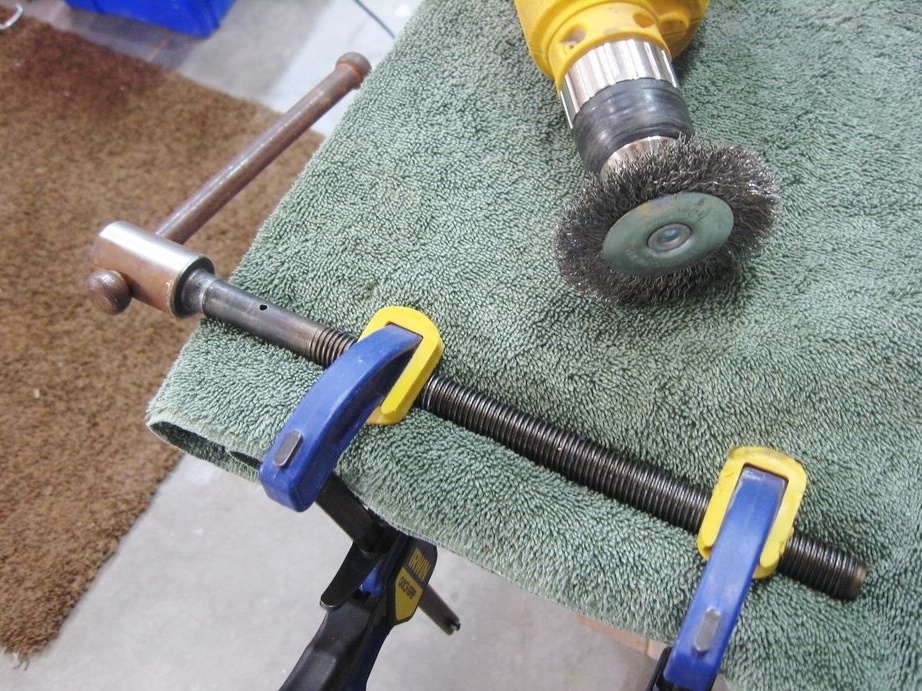
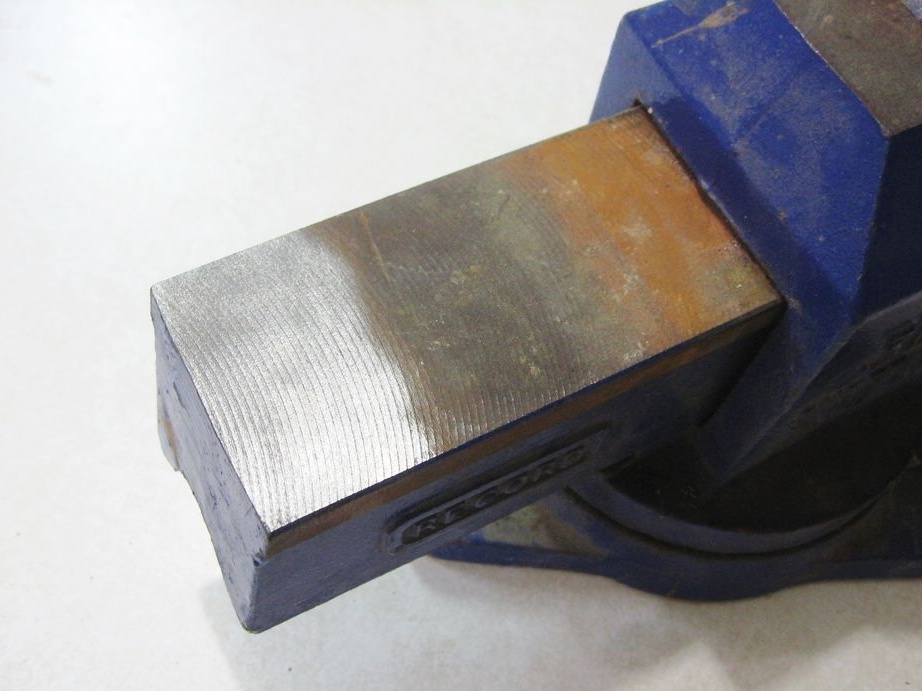
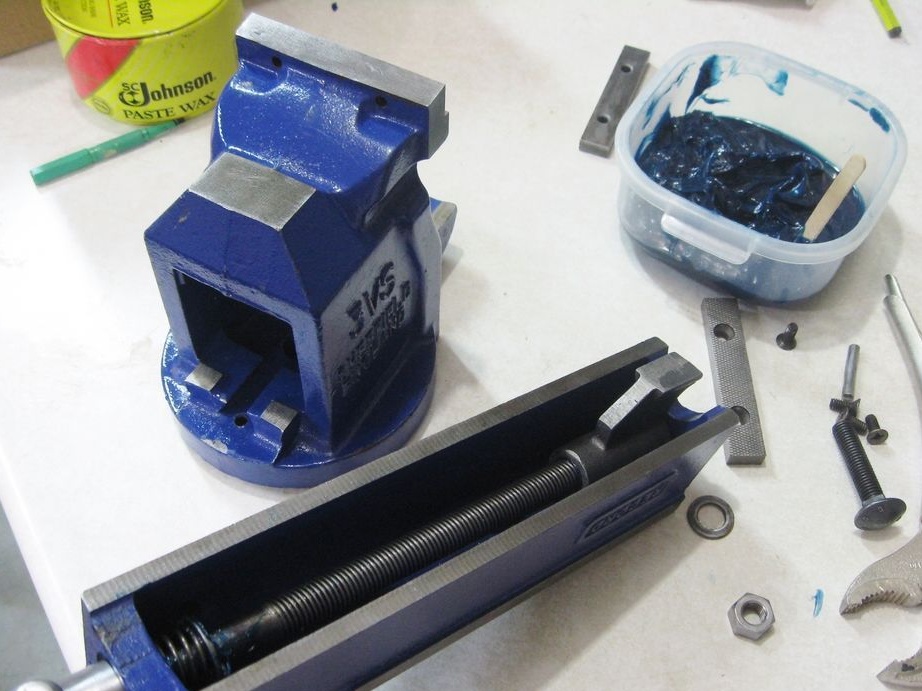
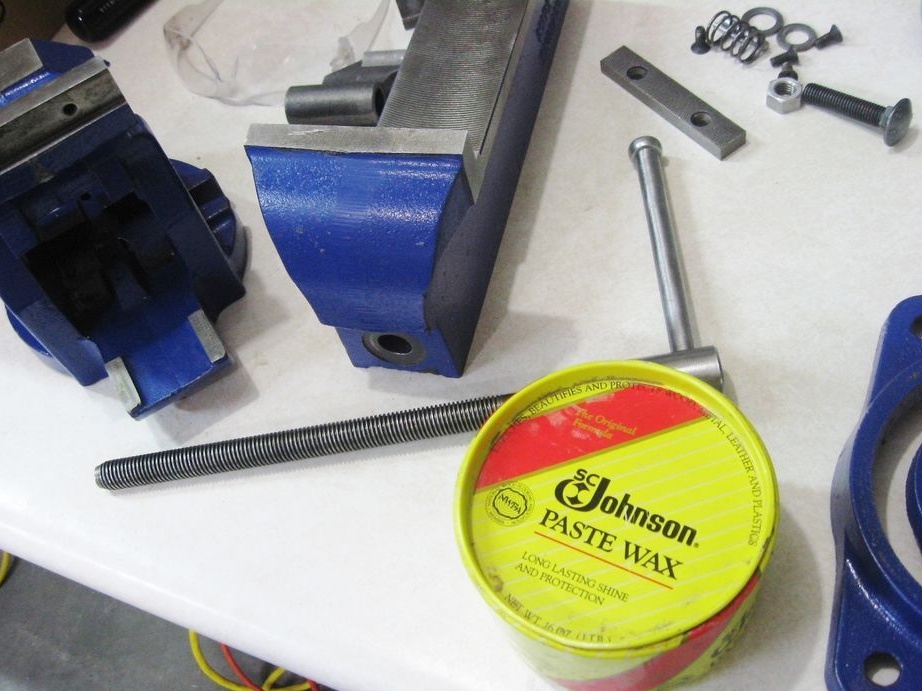
Before installing a vise on a rack, the master dismantles them, rinses and lubricates them.
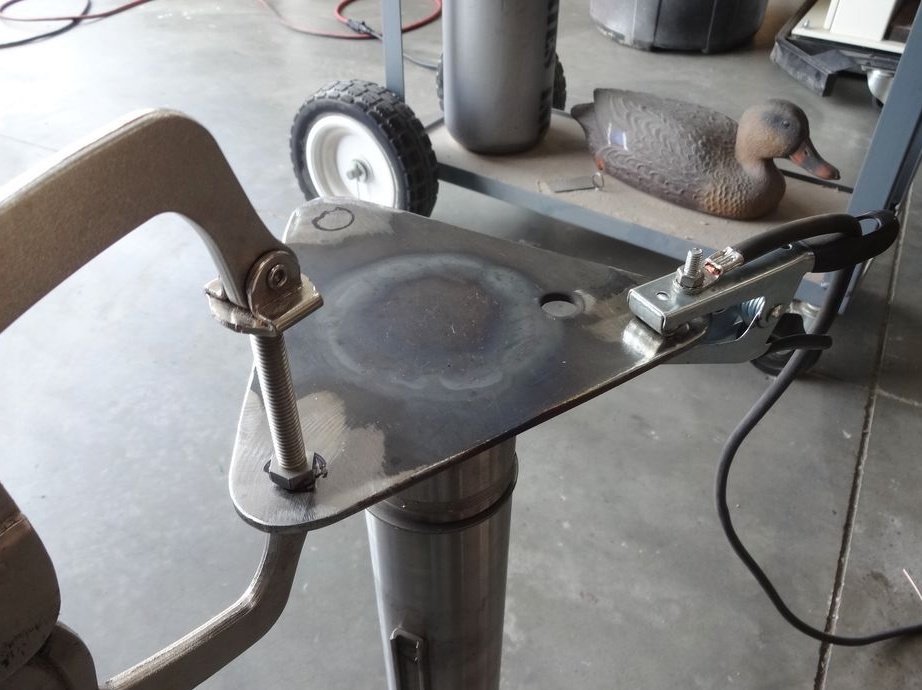
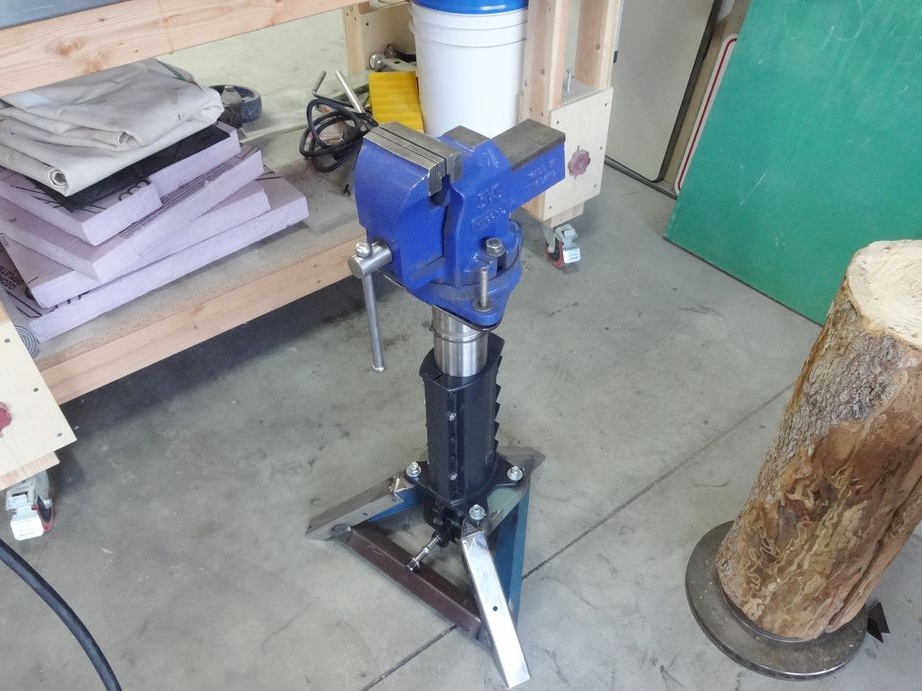
Step Eight: Build
Screws the lift to the support.
Between a base plate and a vice establishes rubber laying.
Tightens the vise.
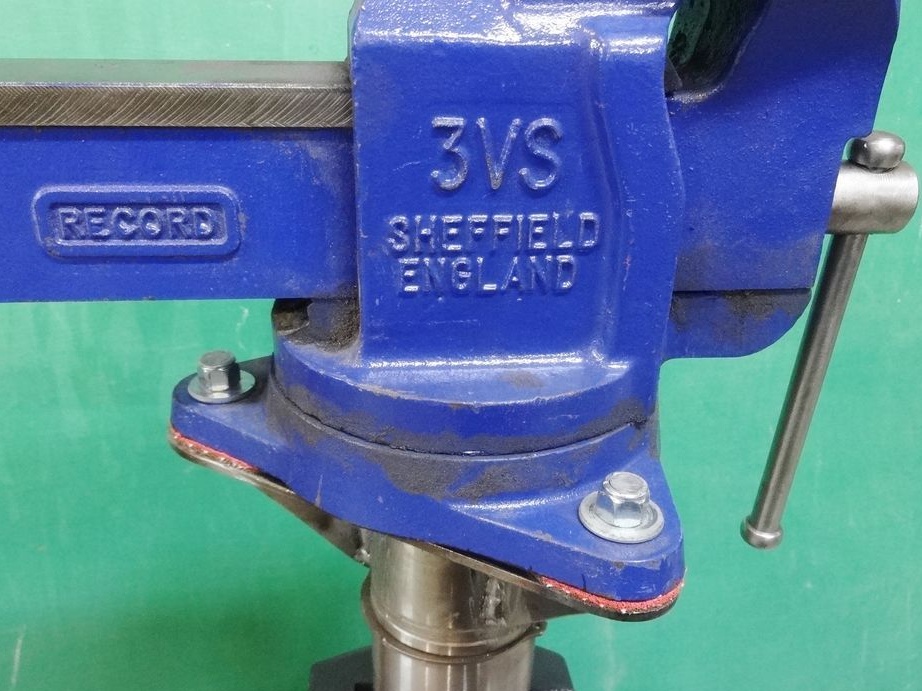
All is ready.