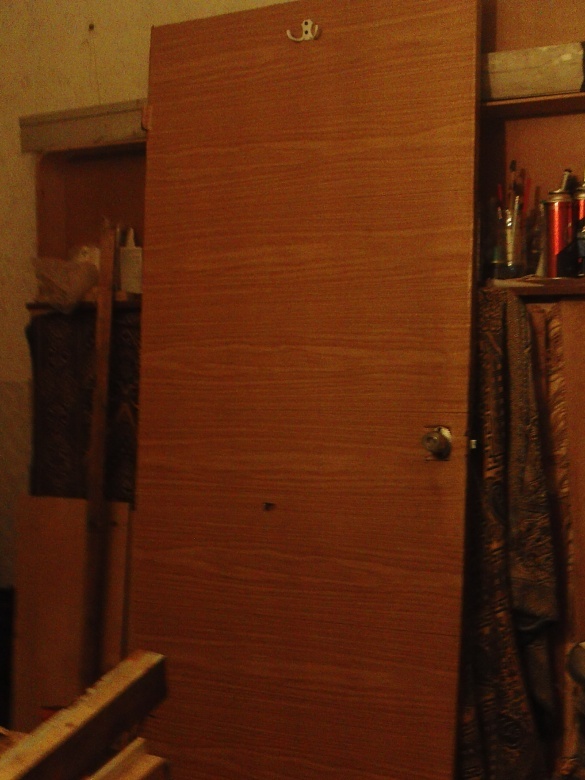
I decided to replace the interior doors, the old Soviet of the bars and hardboard to frame of the same bars and plywood. I did not begin to put modern, paper from glued sticks and pressed cardboard in a beautiful paper lining.
Due to not practicality, high cost and repair unsuitability. Although a few pieces of such modern doors are waiting in the wings on the balcony, I’ll probably put it in the country.
I’m just learning and this is the 5th door and I use as little as possible of purchased materials. I try to use what is already there.
Having removed the old door, by the way, I glued it a few years ago with a special self-adhesive film and it didn’t look bad with it, but it’s one thing to tighten the door, and the other thing is how the film kept, or rather did not stay on the jambs and cashing. Door weight 30 kg, the new one turned out to be two times lighter
If you make out, this is how the old door is arranged, some of the bars will go into action, specifically the one to which
hinges are attached ...
Box
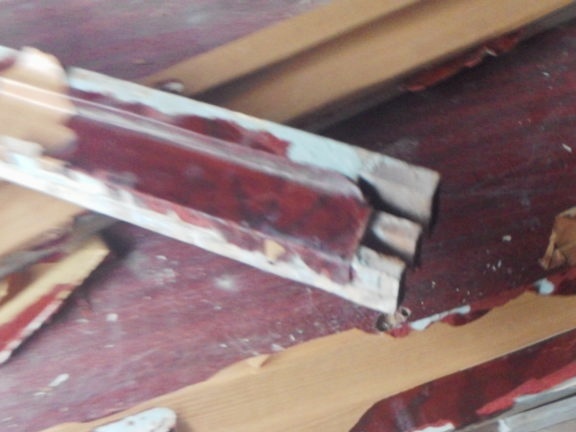
I cleaned it with a hairdryer and a putty knife (I’ve uploaded the video before doing the video). Then he used a belt thinner machine. He cleaned the first doors with a homemade nozzle for a drill with an grinding wheel.
Having cleaned the bars from the paint, I collect the box and select everything in place
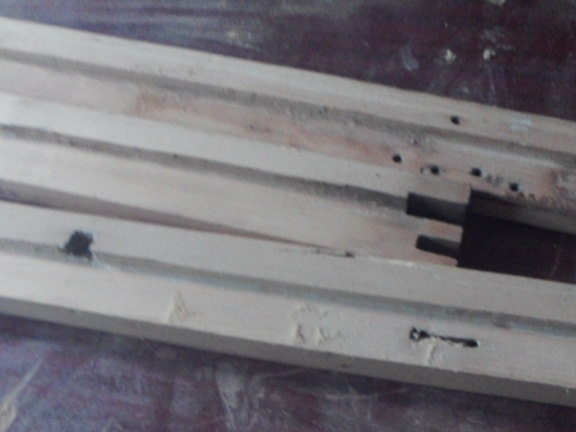
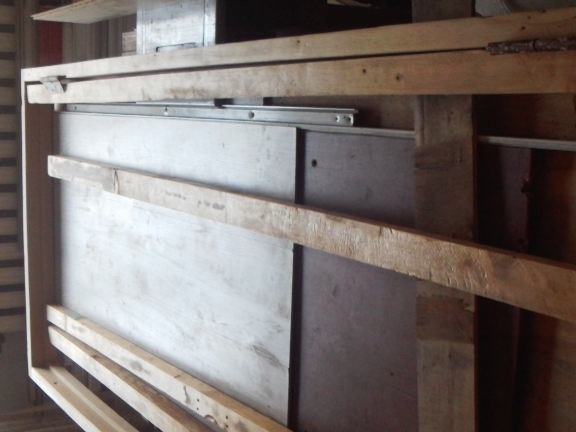
In the video, the previous door with a window. The tire for the circular saw has already been finalized and cuts perfectly evenly and allows you to dock the tire to different lengths.
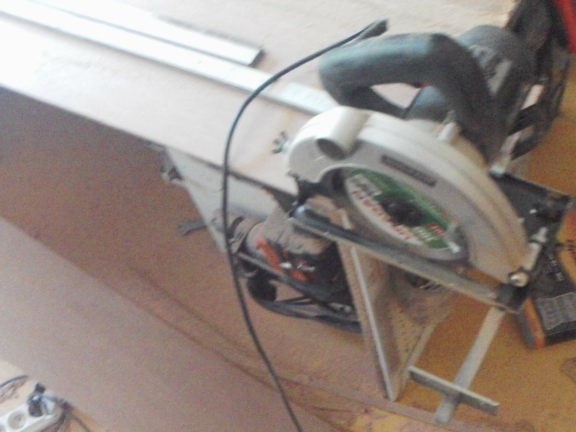
I can’t show the work process itself, since it’s dangerous to cut with one hand
I start cutting 4 mm plywood, cut the size of the excess part with a knife. It turns out a better edge than any other hand or electric tool. Before that I tried a hacksaw for wood and metal.
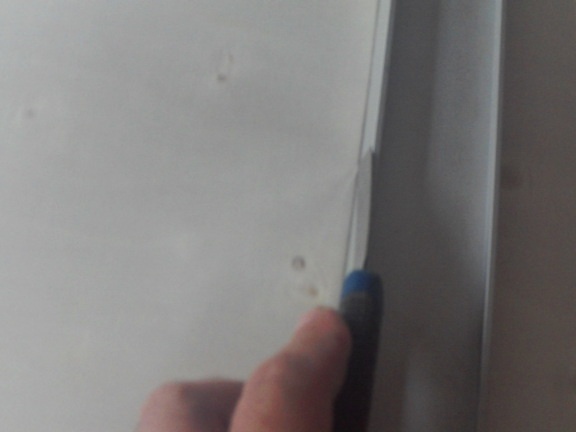
I made the groove for the plywood mortar. The result is satisfactory. Later he began to use a planer with the possibility of sampling a quarter, but he did not suit me either. I came up with a template for a router from an expensive Belgian parquet :)
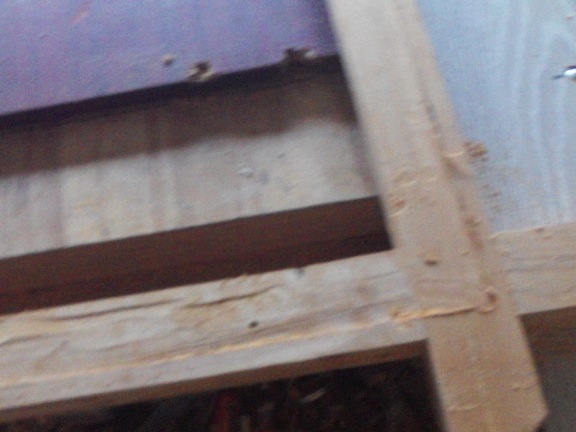
I glue on the mounting foam :) Everything is done so that the door has a gap between the frame of no more than 5 mm
Cover with stain.
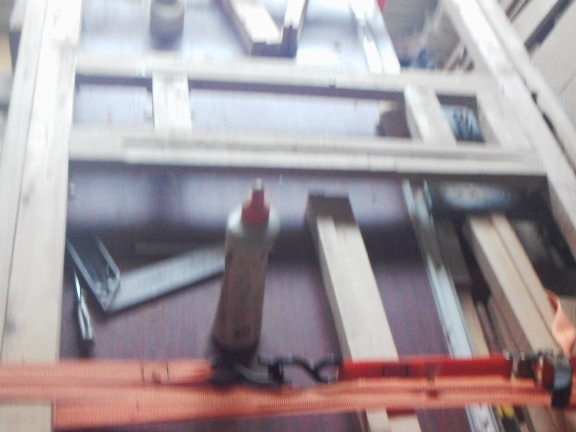
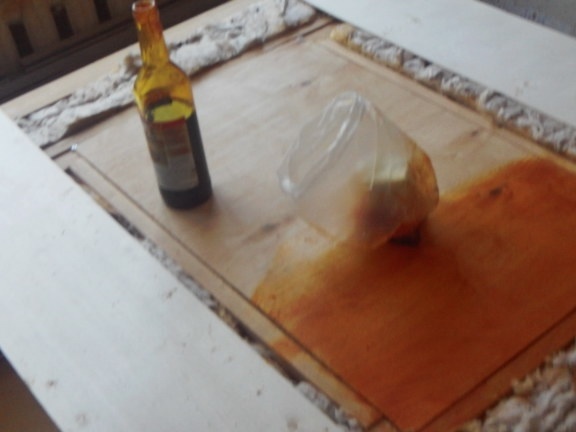
Stain based on varnish XB-784 would be better suited for metal. It is good to apply, dries instantly, but it just prevents the application of a uniform color
So that when joining the plywood parts there was no gap, I would place the parts in place in place, draw a line with a pencil and saw off with a hacksaw for metal. Thus, I achieved an accurate docking without clearance.
Subsequently, a jigsaw machine began to be used for this. He made the perfect cut without chips.
Having made one side, turned over, I lay out the insulation for noise reduction and so that the door does not become a "musical instrument" resonator.
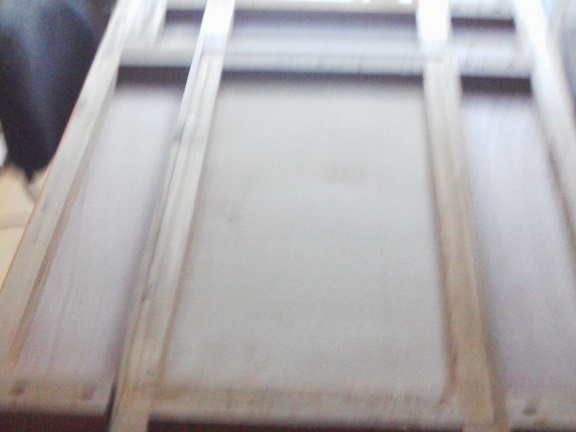
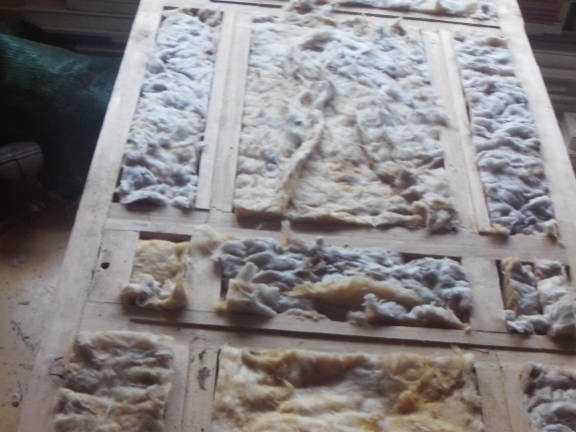
The frame was fastened together using screws with the beginning, this homemade template, and then he began to additionally mill the groove and glue the lamella (from 8mm plywood)
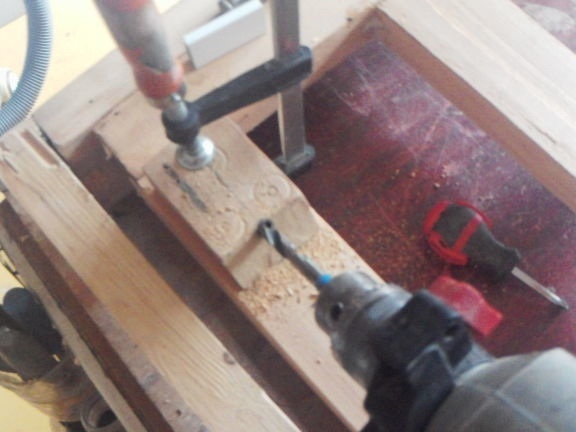
Along the perimeter, I machined the edge with a milling cutter, as and the door itself and the box have uneven geometry.
For the same reason, the door was assembled in a box initially with the fitting of certain gaps.
I tried to drive the sawn plywood into the rectangular frames of the first door - it turned out with varying success, such is the price of working with an old tree - it does not want to change geometry.
Sanding the boards cleared of paint, I sand them, cover them with stain and paraffin.
In the course of work were invented and created
1 tire for a circular saw
2 milling cutter template
3 jigsaw machine

