
This article will be interesting to everyone who works with wood, and especially creates wooden structures.
In it, the author of the YouTube channel "Cactus! Workshop" will tell you how to solve the problems of creating a connection of wooden parts on a "slanting screw". It is for this that the author created a special conductor.
Pocket holes are a very simple and quick way to connect wooden parts, but the fasteners themselves are very difficult to find even in Europe, and they are also very expensive. At the same time, trying to create your own version of a pocket hole mount is not so difficult, the author of the article convinces his readers.
Materials
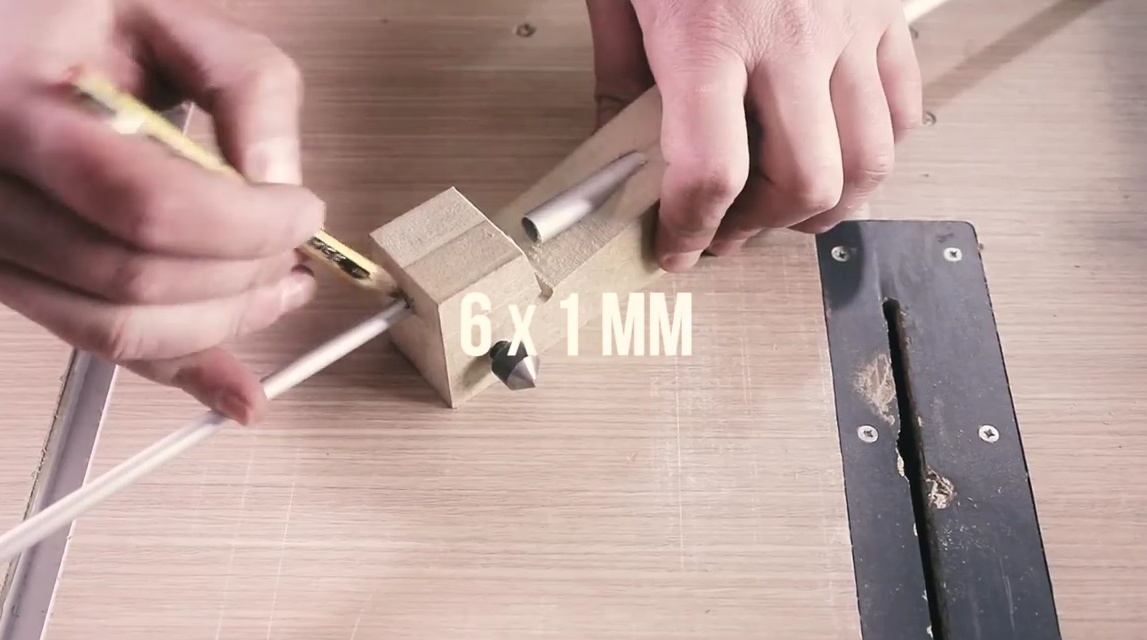
- Aluminum tubes (preferably steel) with a diameter of 10X1 and 6X1 mm
- MDF trim
- Attributes
- Double sided tape.
Instruments, used by the author.
- Screwdriver
- Band-saw
- clamps
- File.
Manufacturing process.
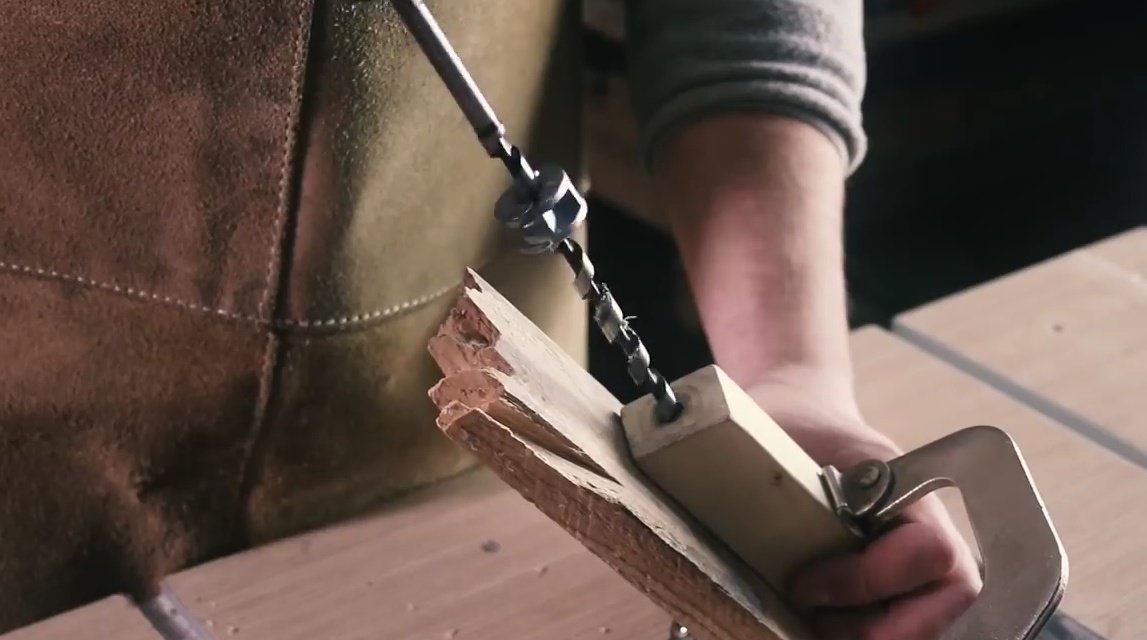
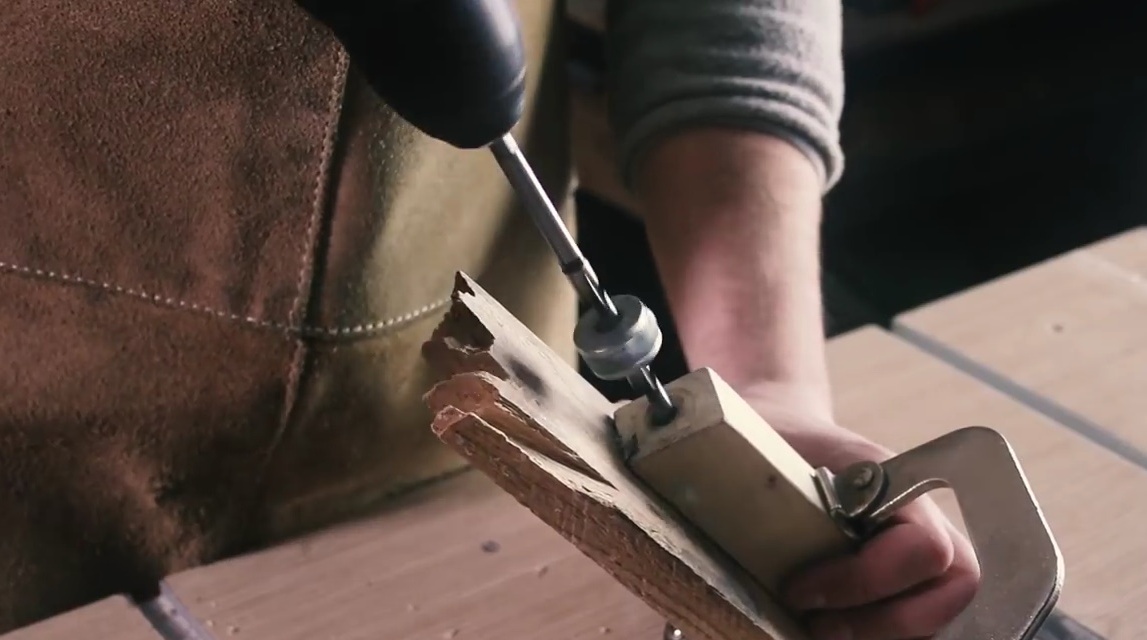
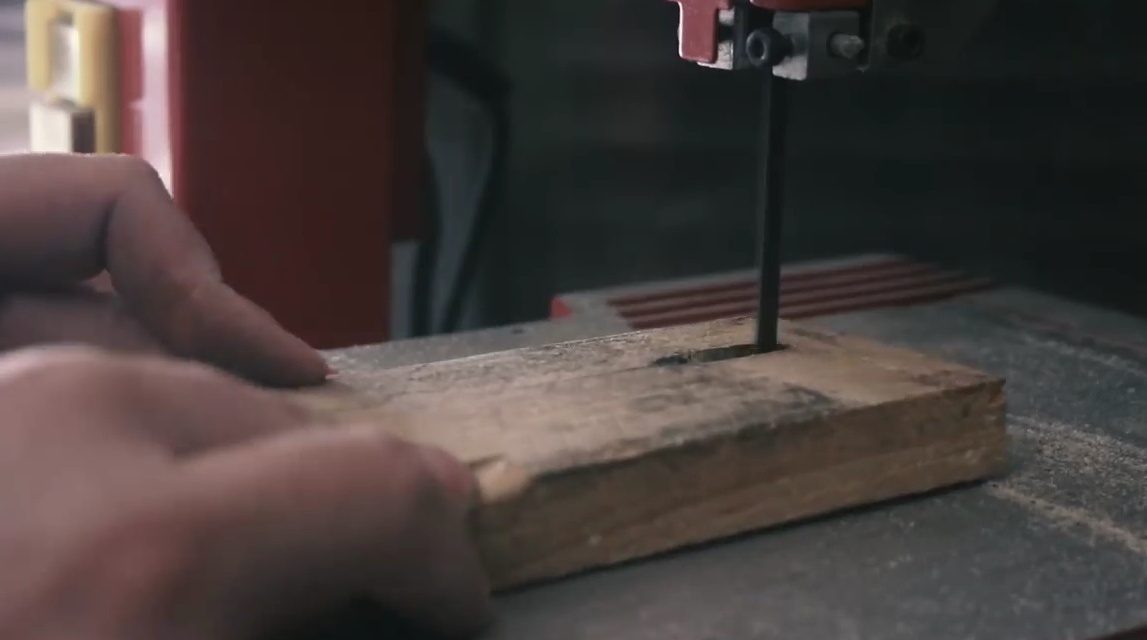
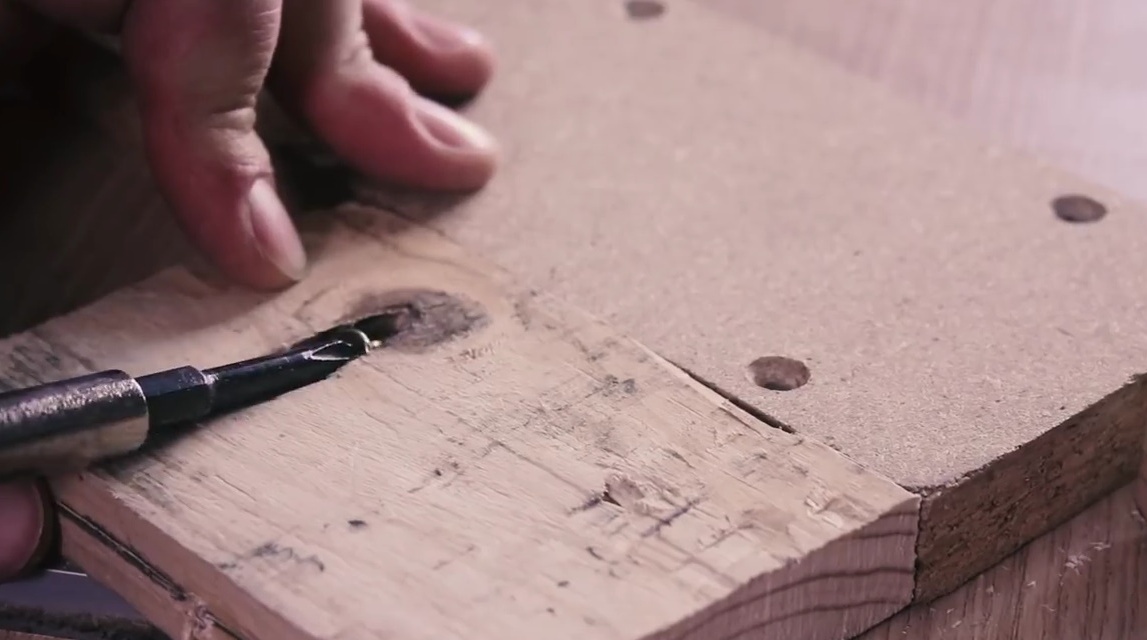
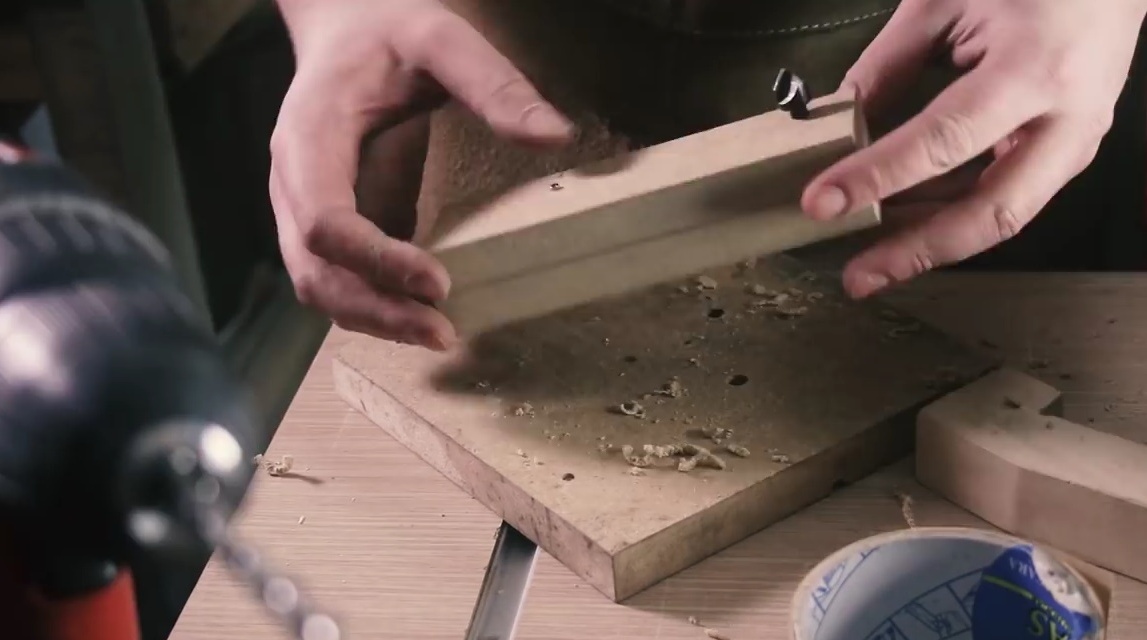
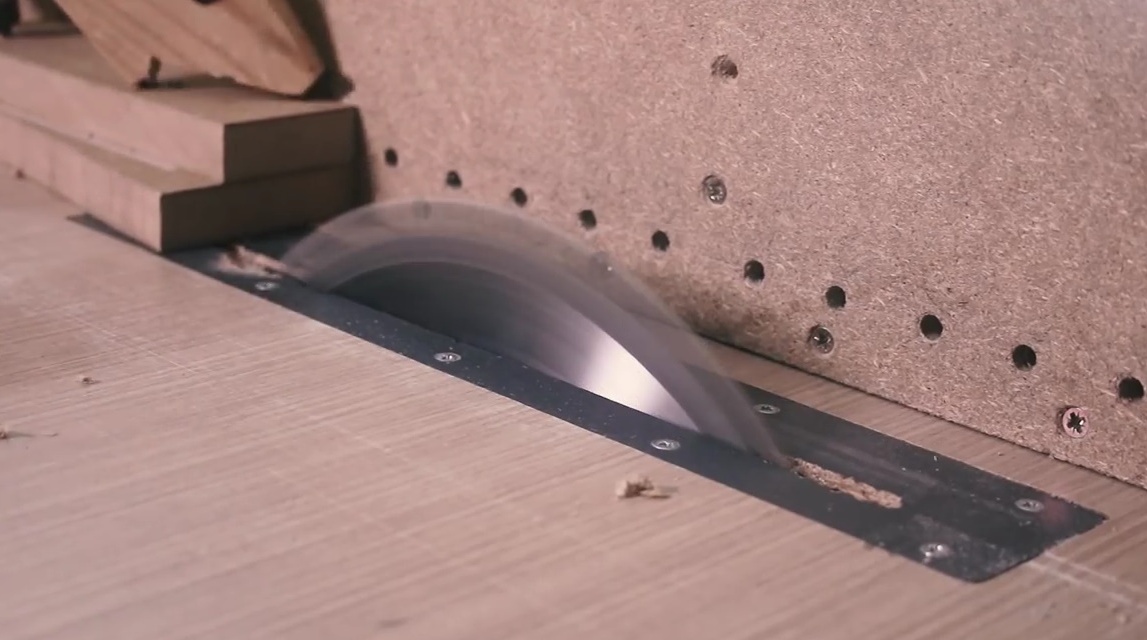
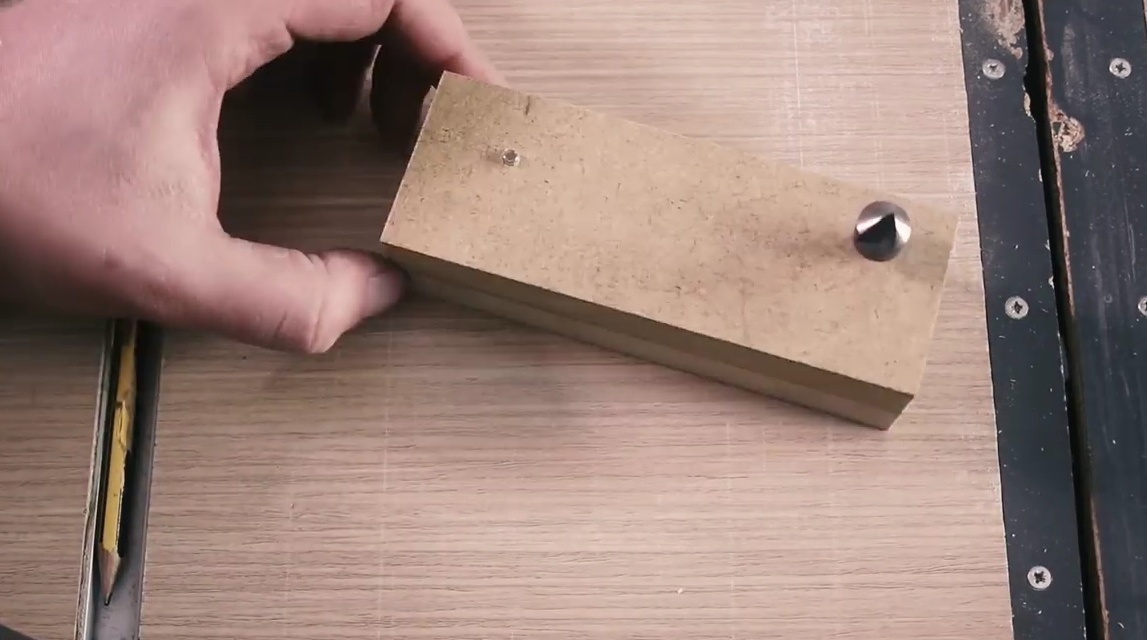
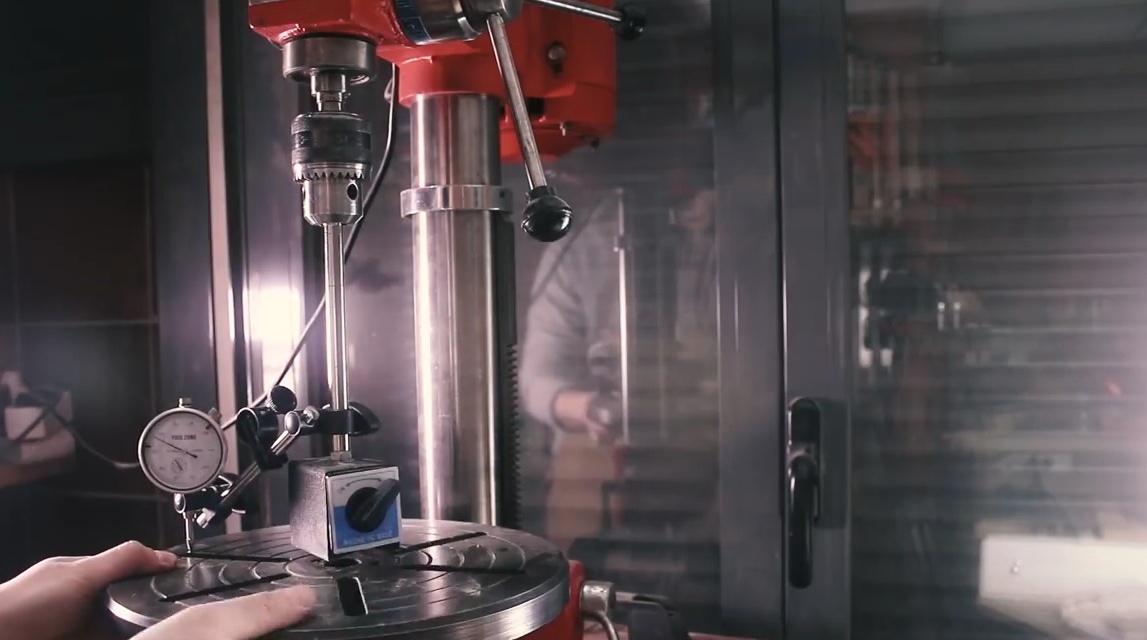
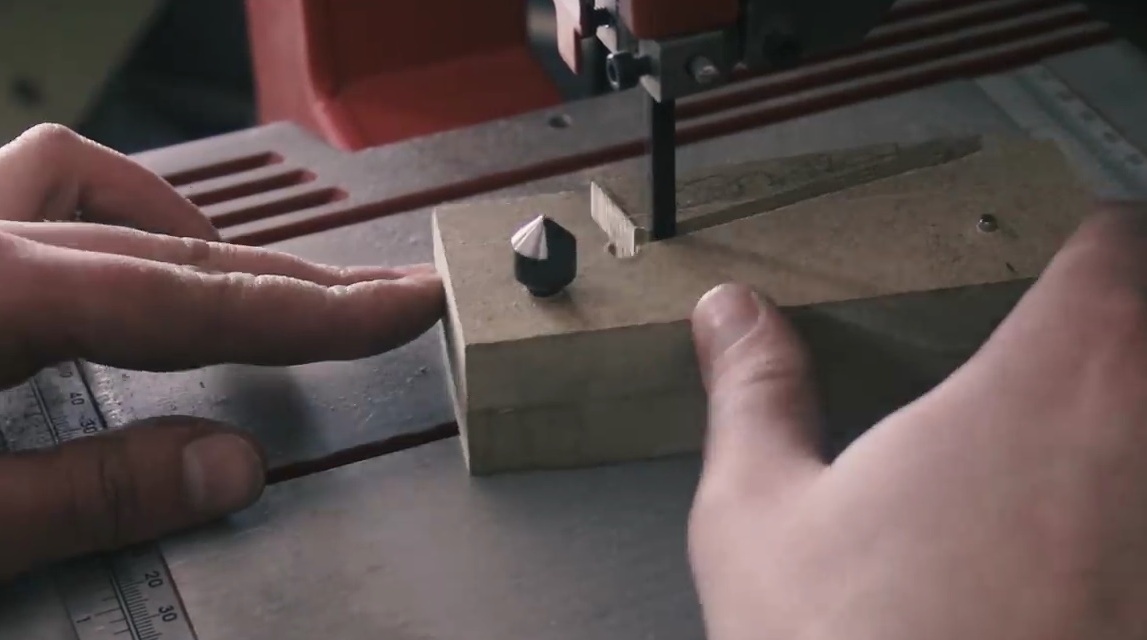
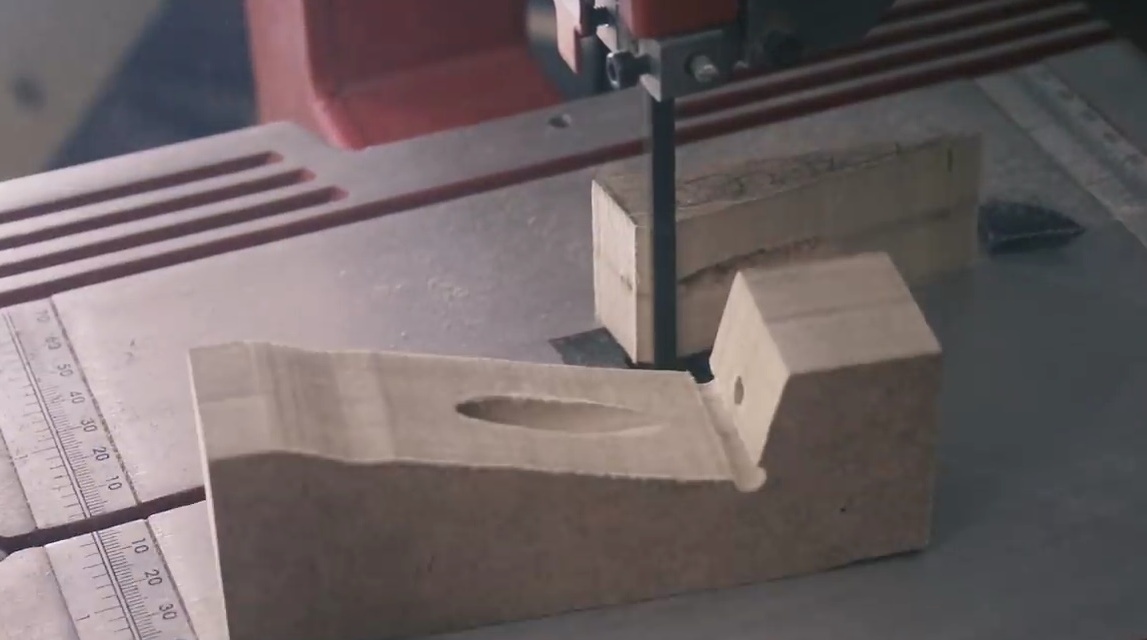
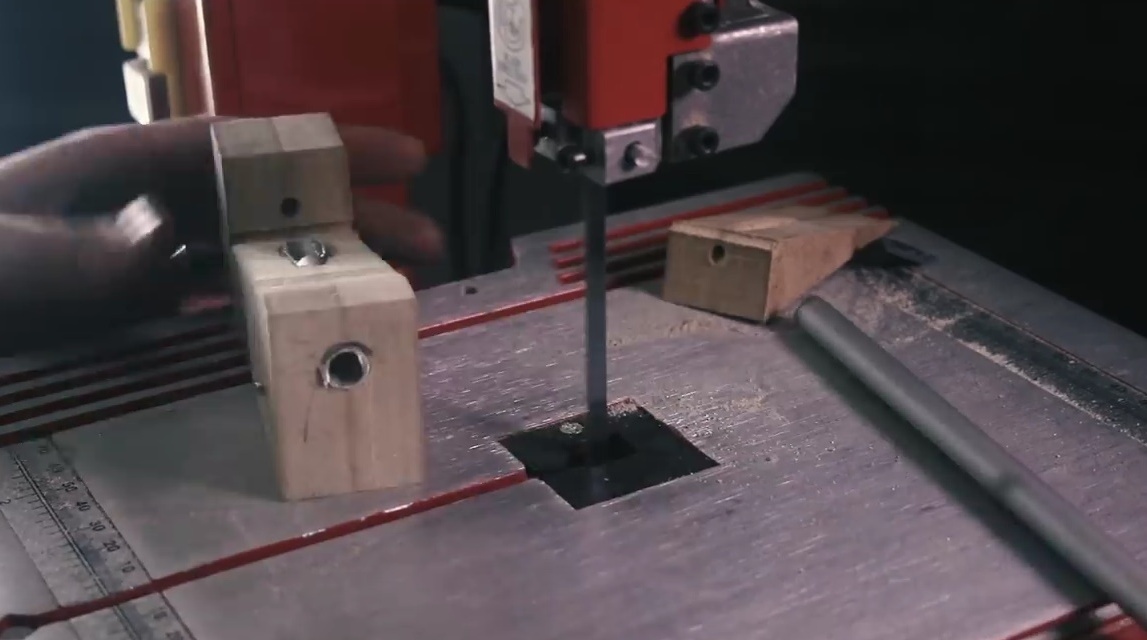
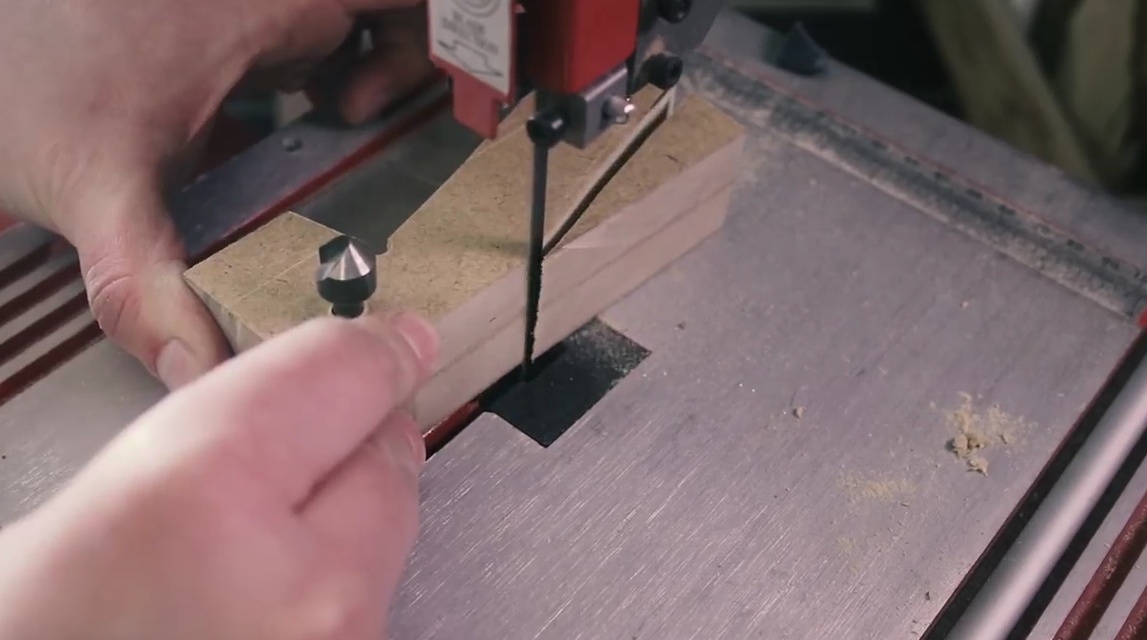
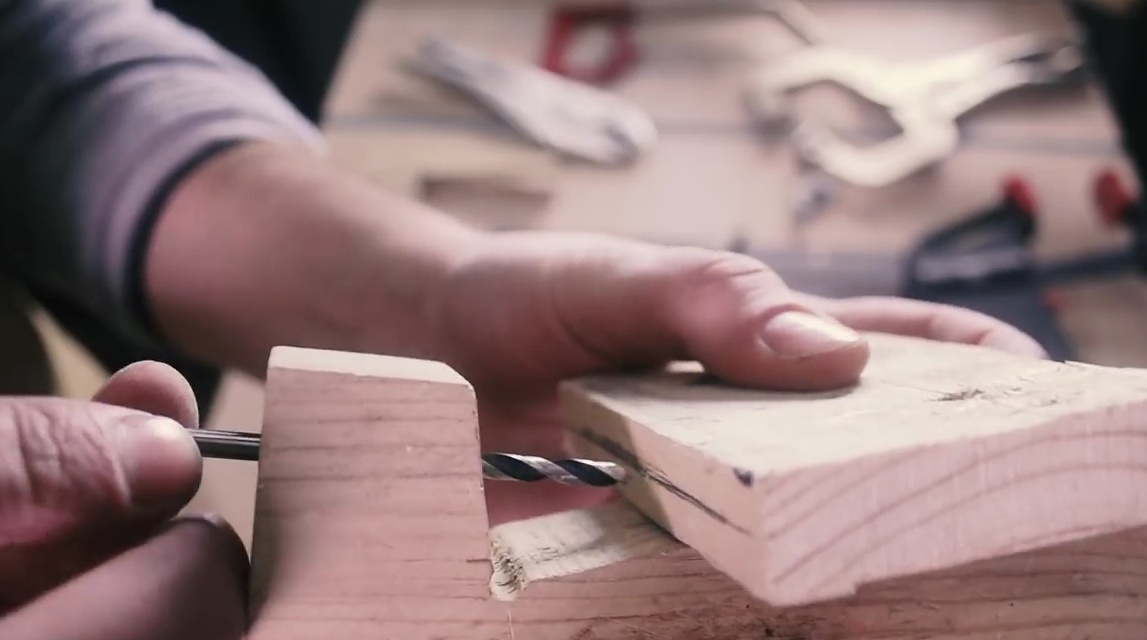
So, for starters, the author will show you what this pocket-sized connection looks like. Will make a test hole in an unnecessary board, and then cut it on a band saw.
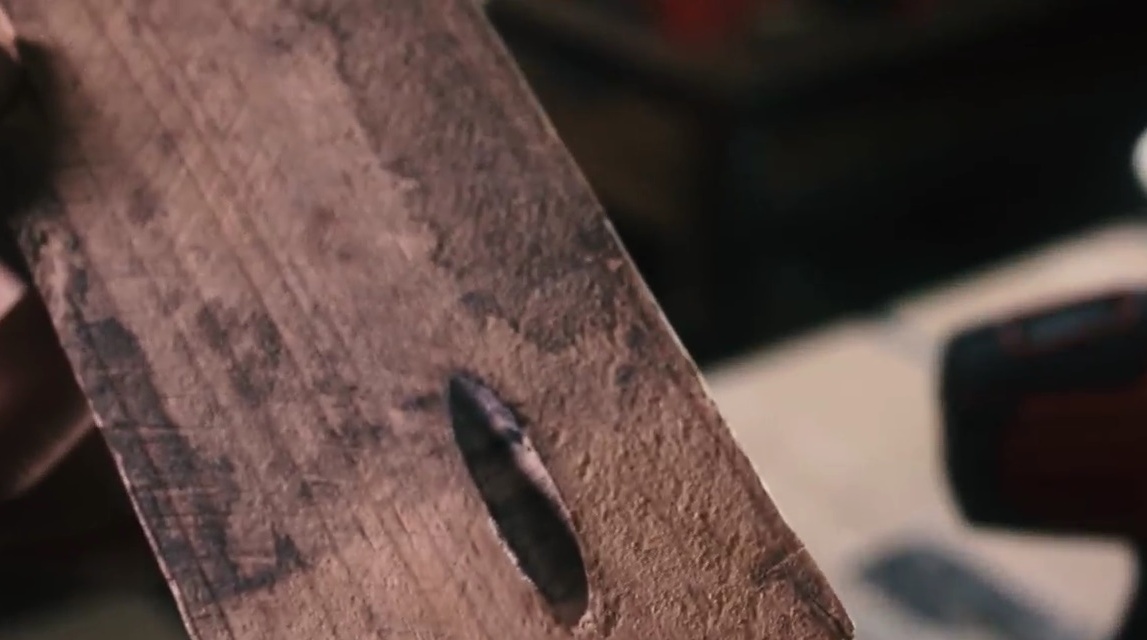
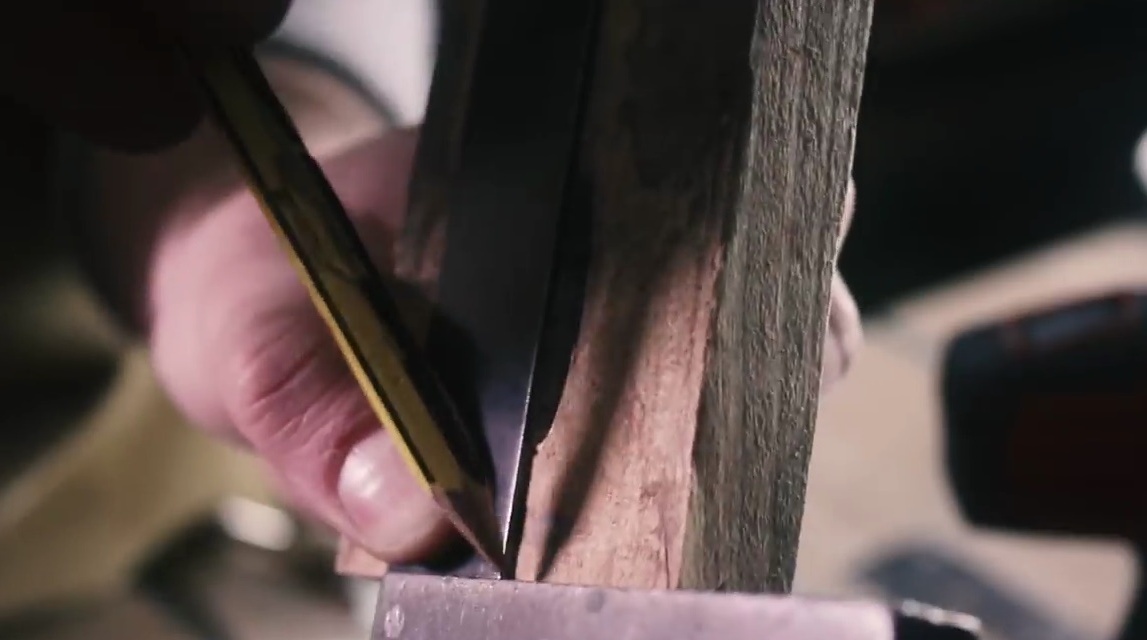
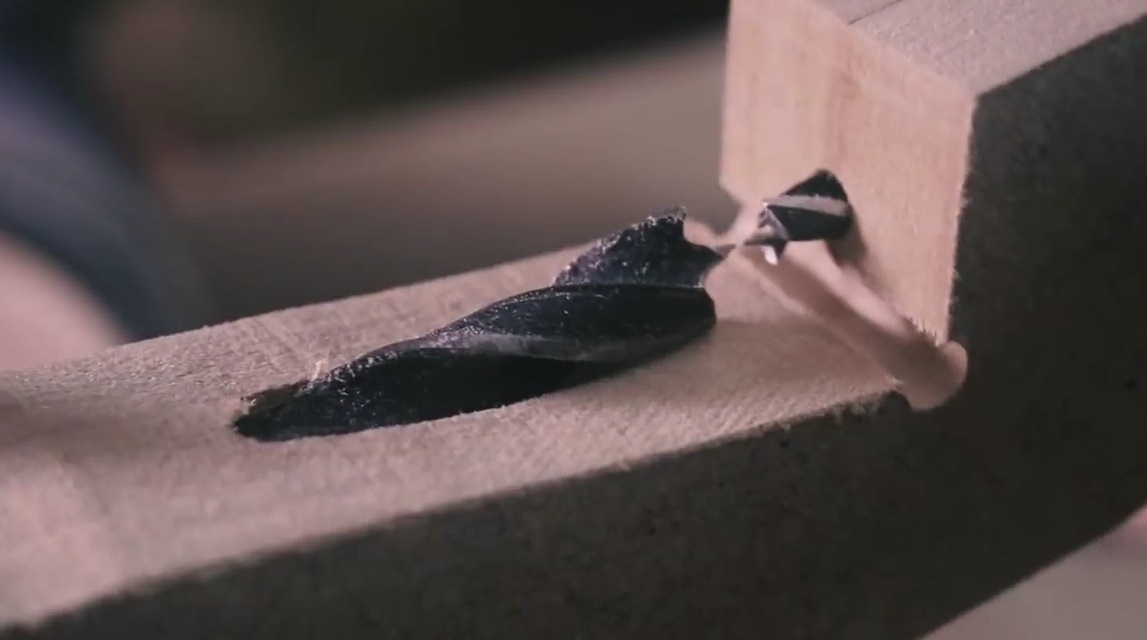
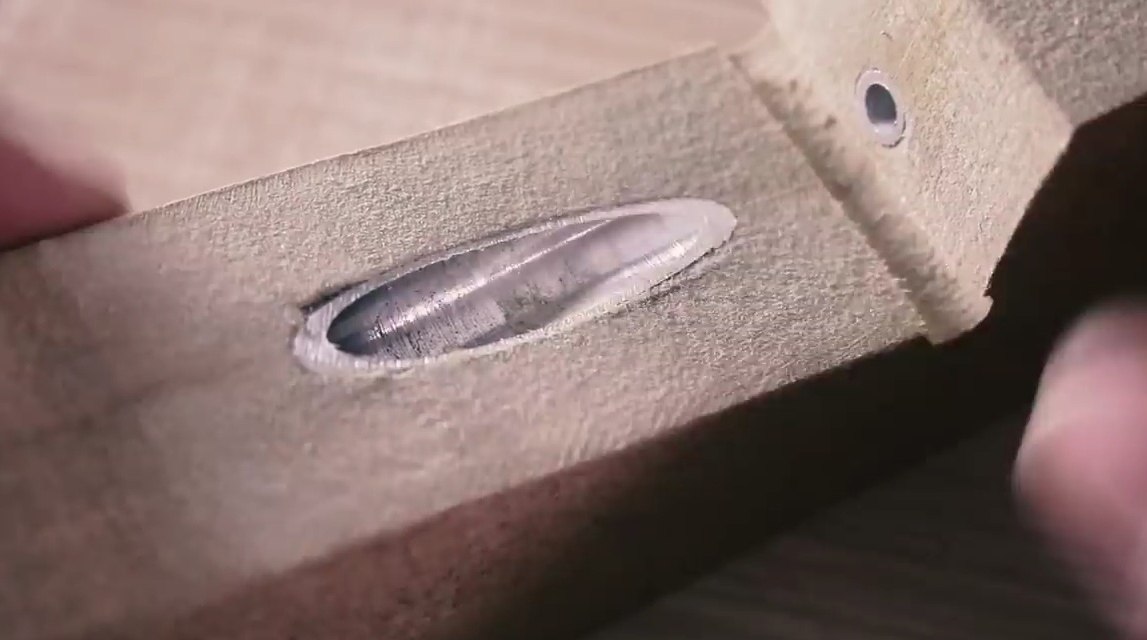
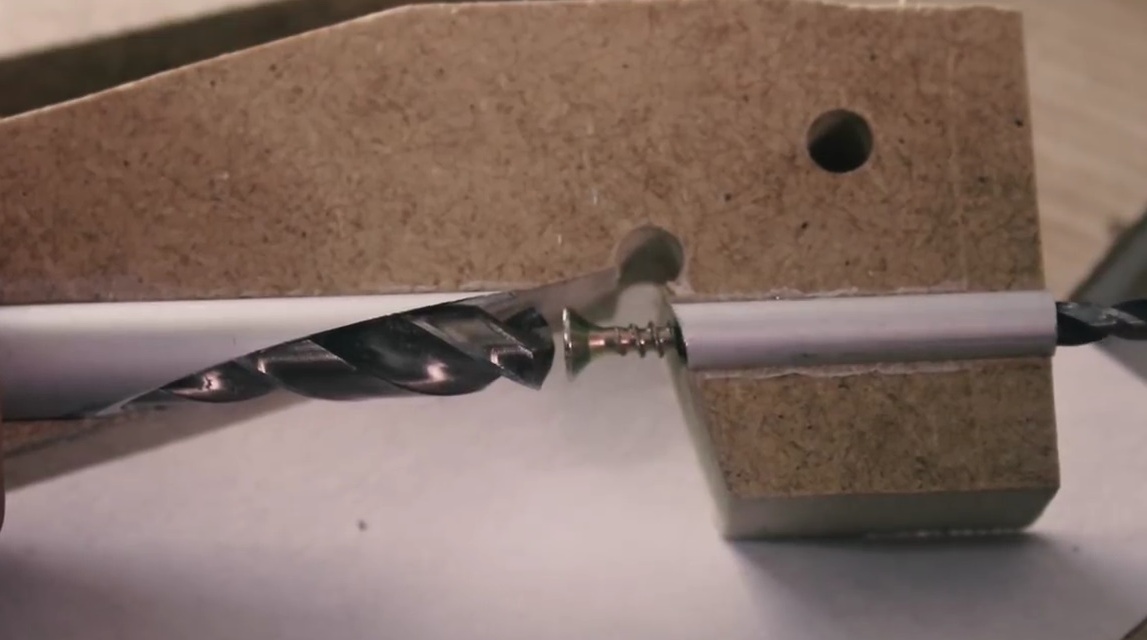
This is how the connection looks in longitudinal section. And so the screw is installed, its hat is hidden in the hole, but at the same time it rigidly connects the parts to each other.
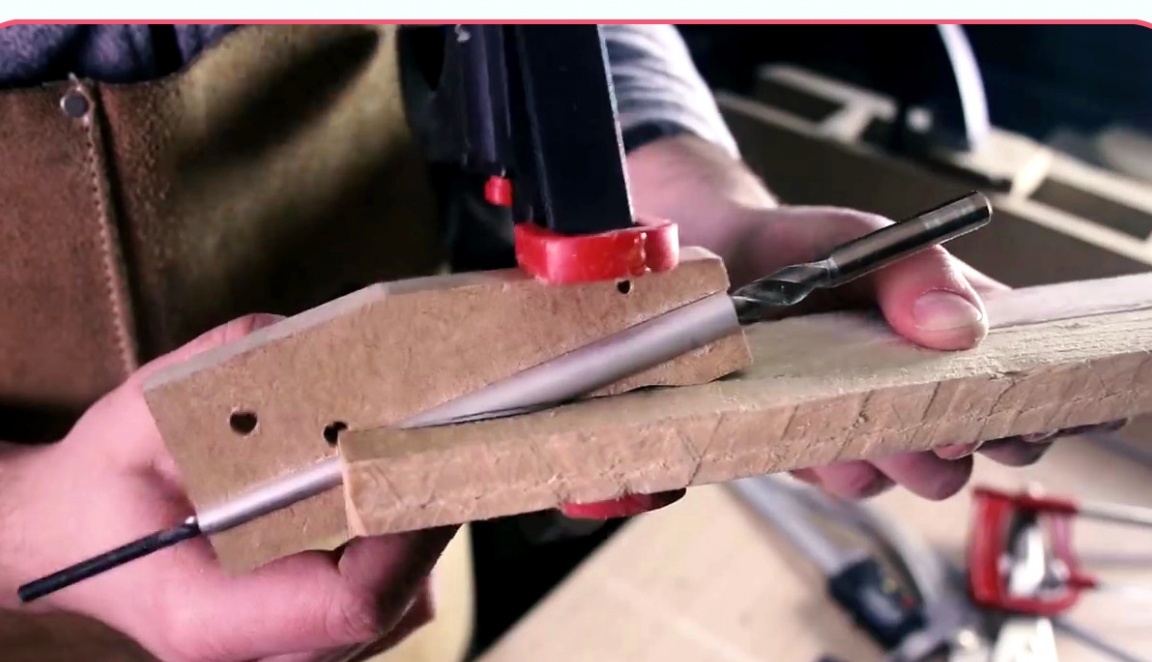
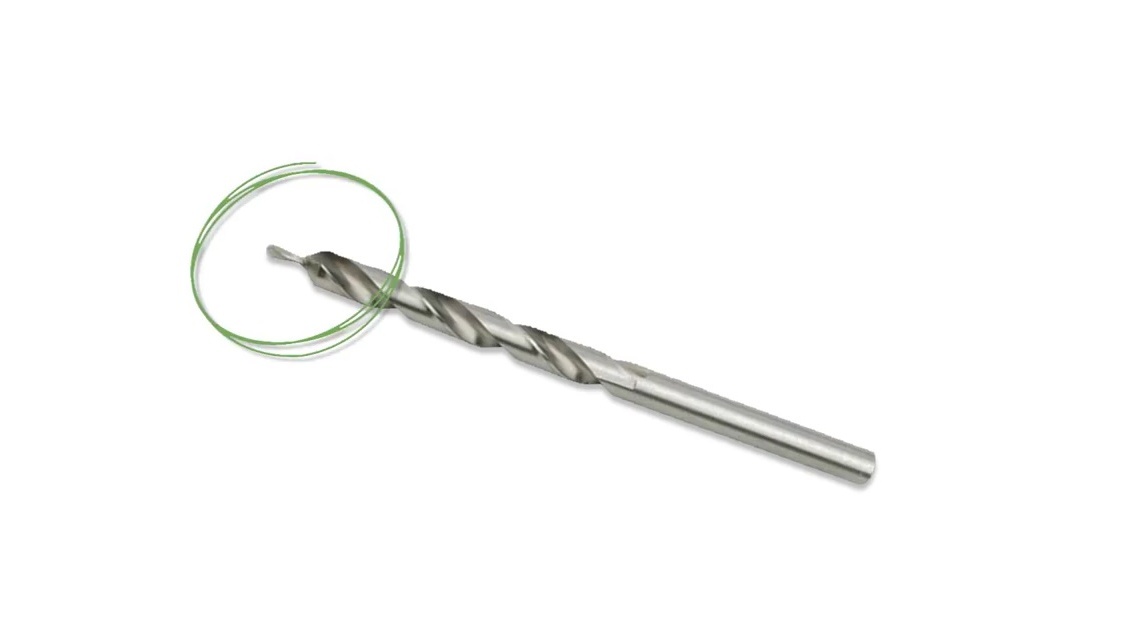
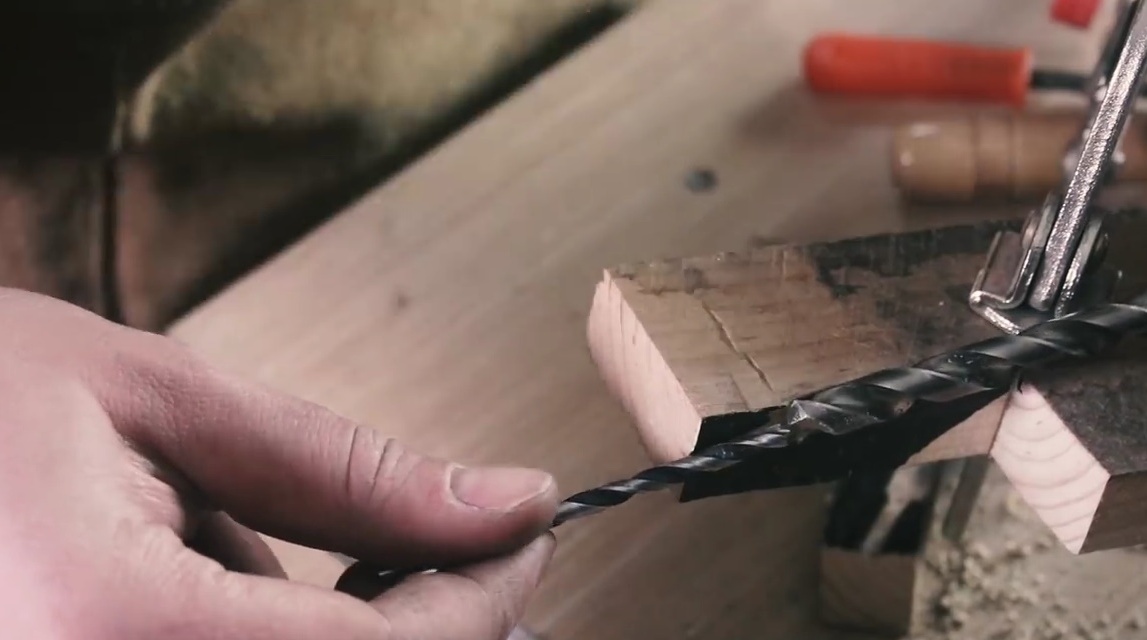
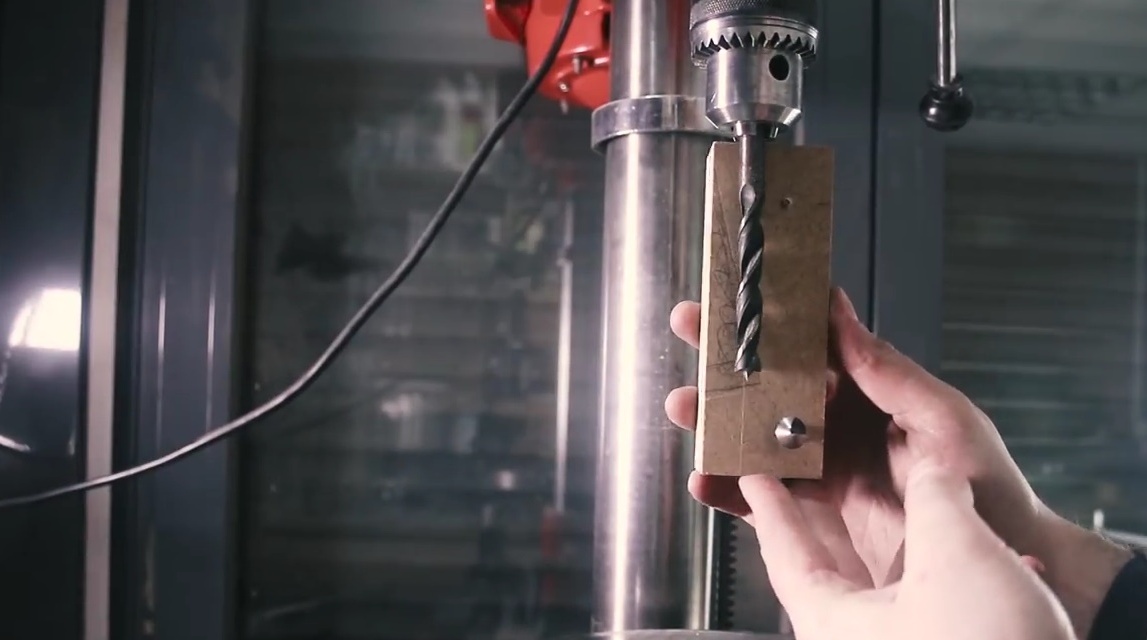
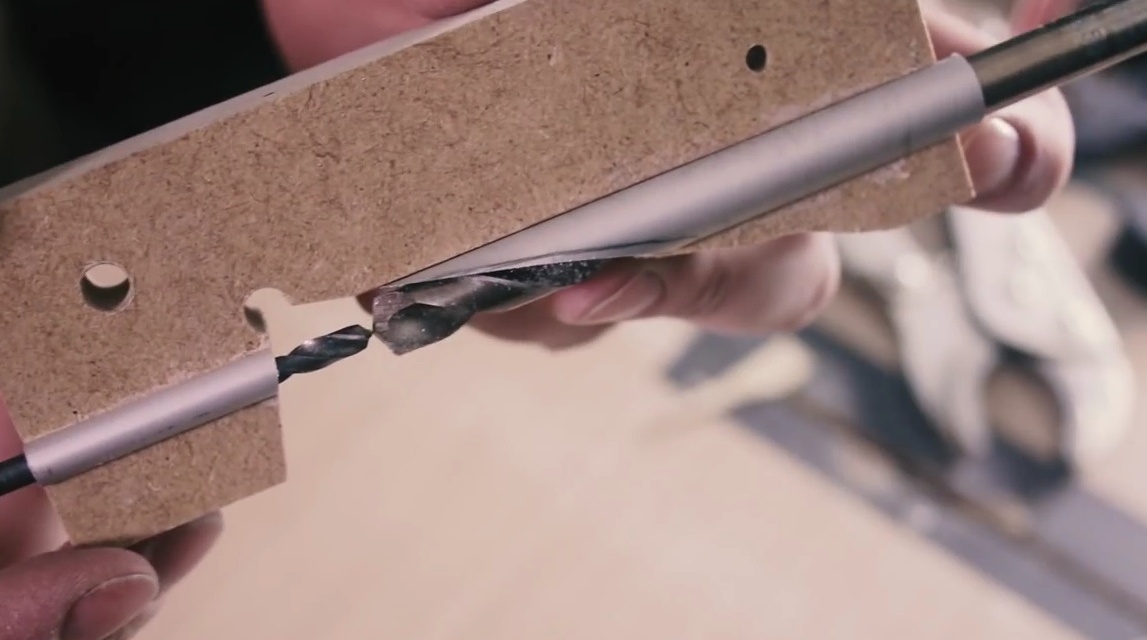
To do this, you need a drill with such a kind of elongation at the end. But you do not have it! This is designed for you to drop your hands and ... buy an expensive drill.
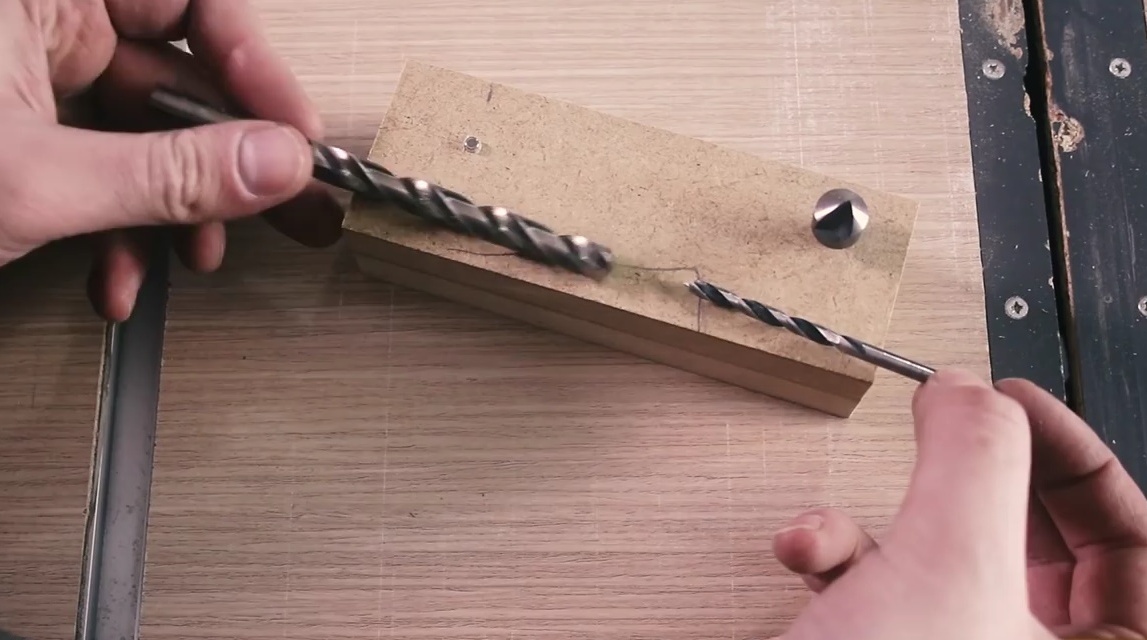
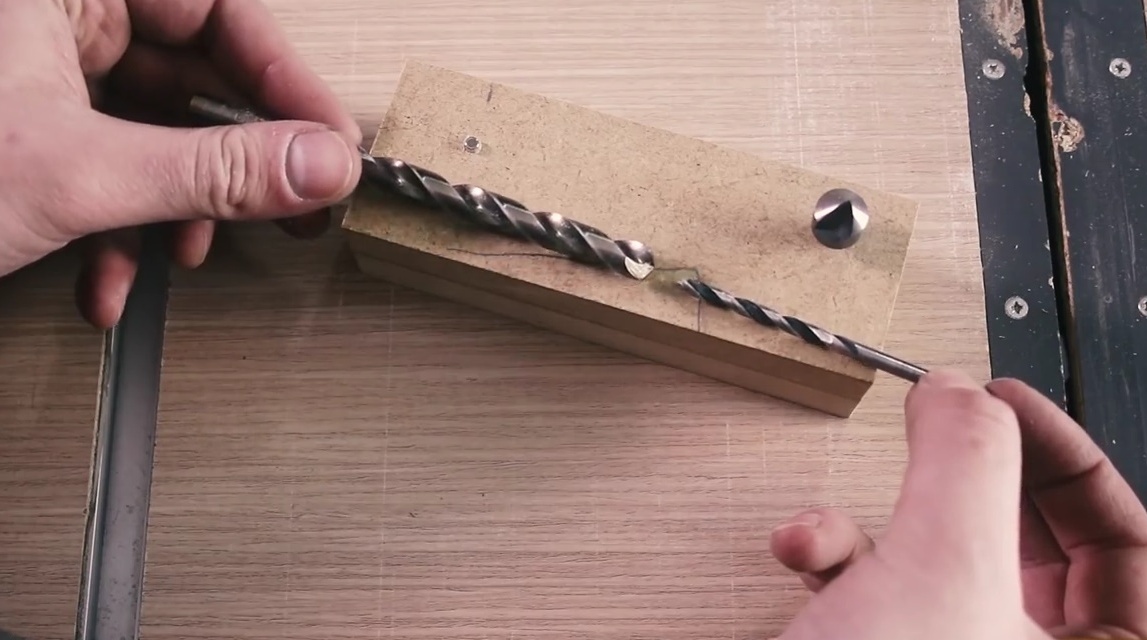
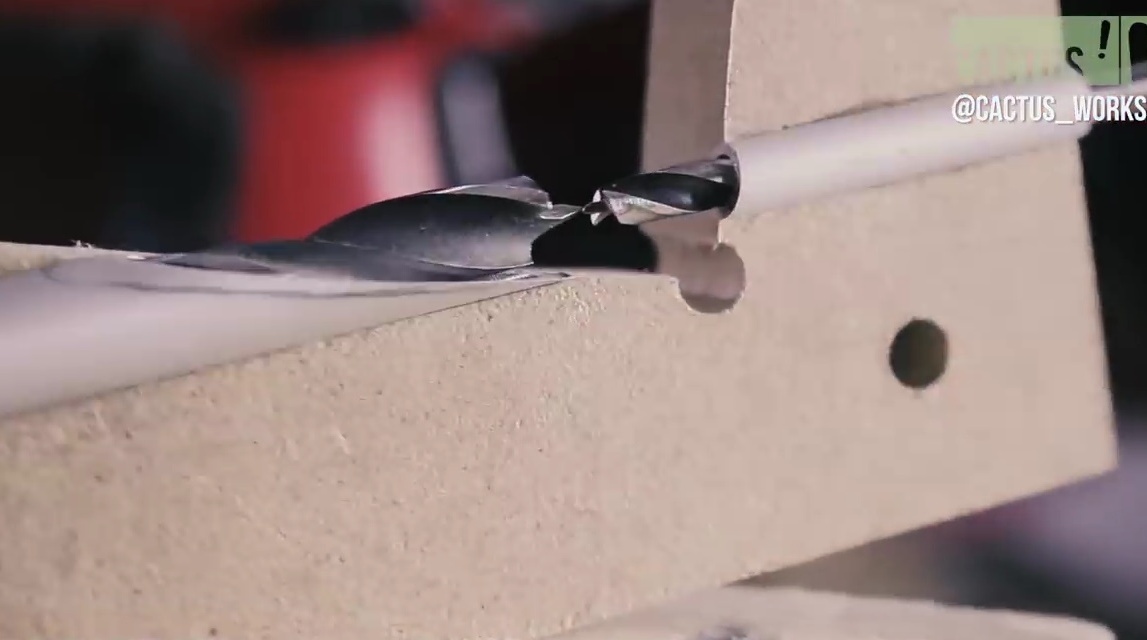
Trying to use two drills of different diameters is unlikely to work. A thick drill will not pass at such an acute angle.
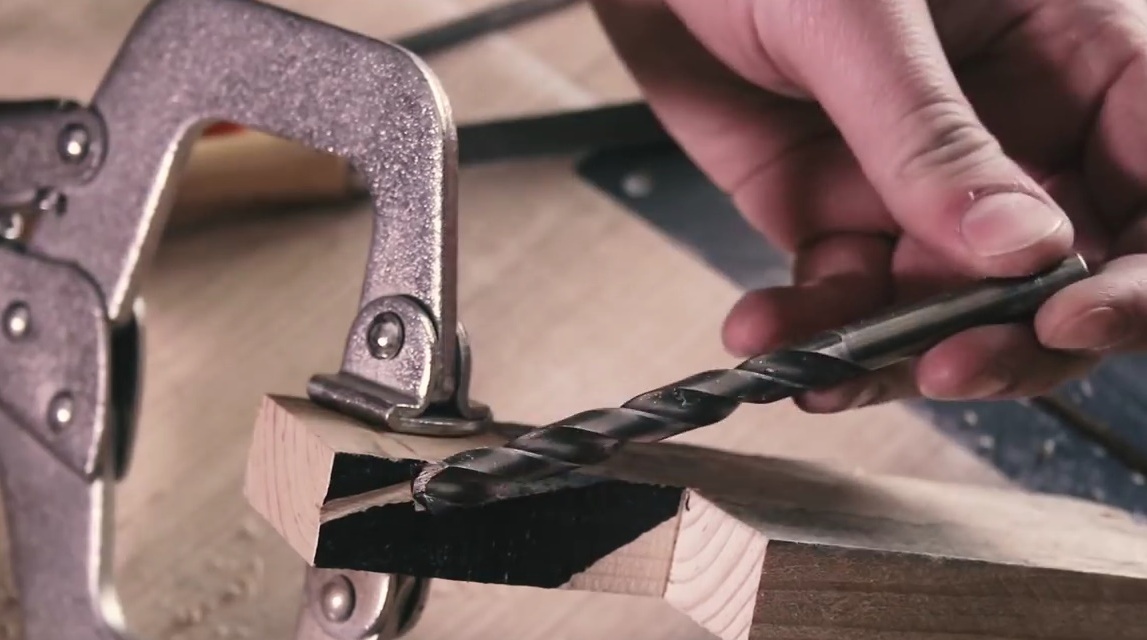
At the same time, a thinner drill will not be long enough, and you will run into the edge of the board.
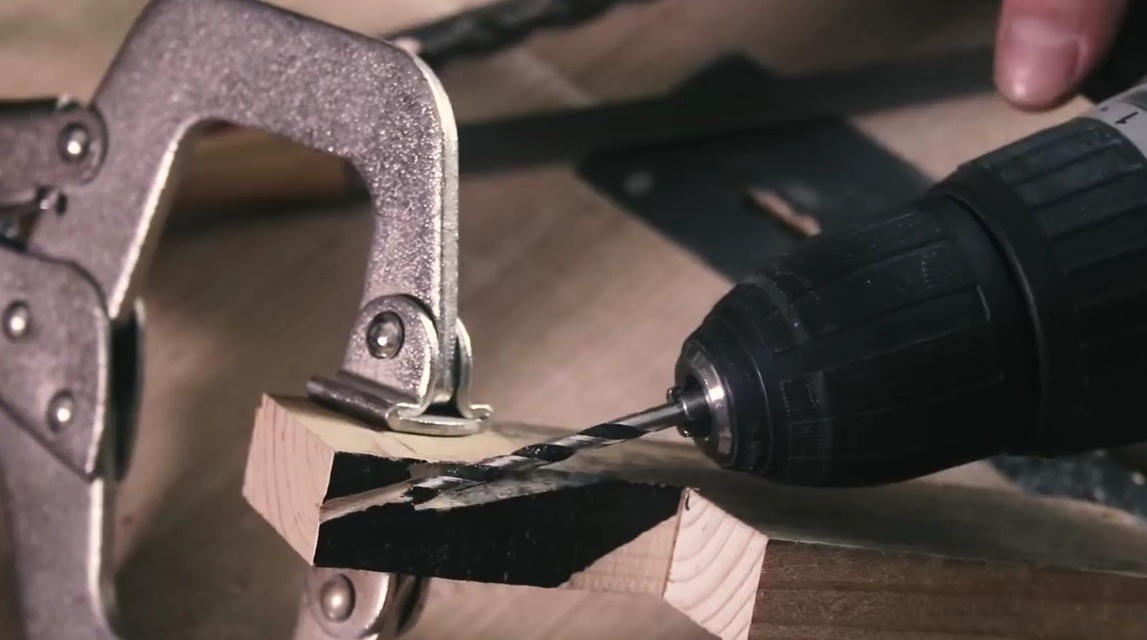
But in many cases, the master has access to both sides of the wooden product. So why not drill holes on both sides? - the author begins to reveal his secret.
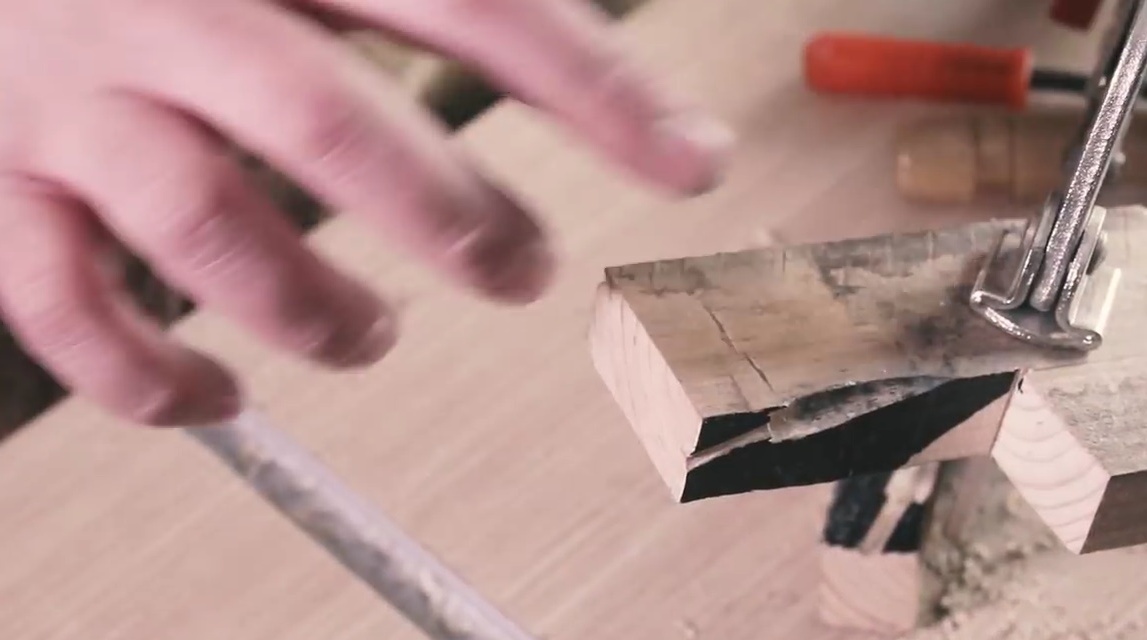
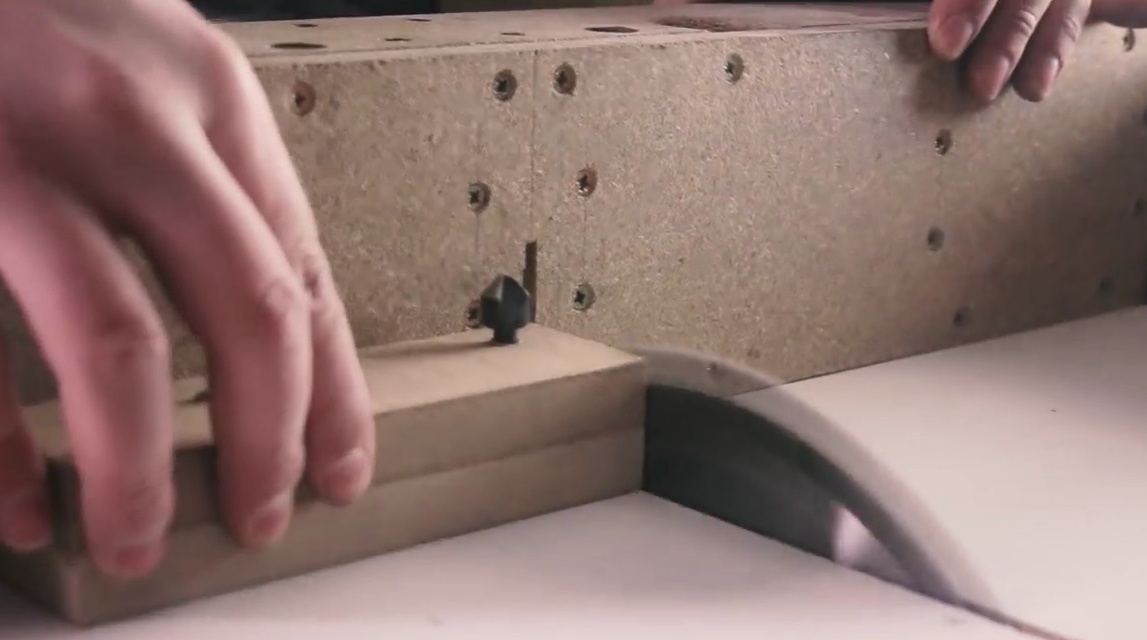
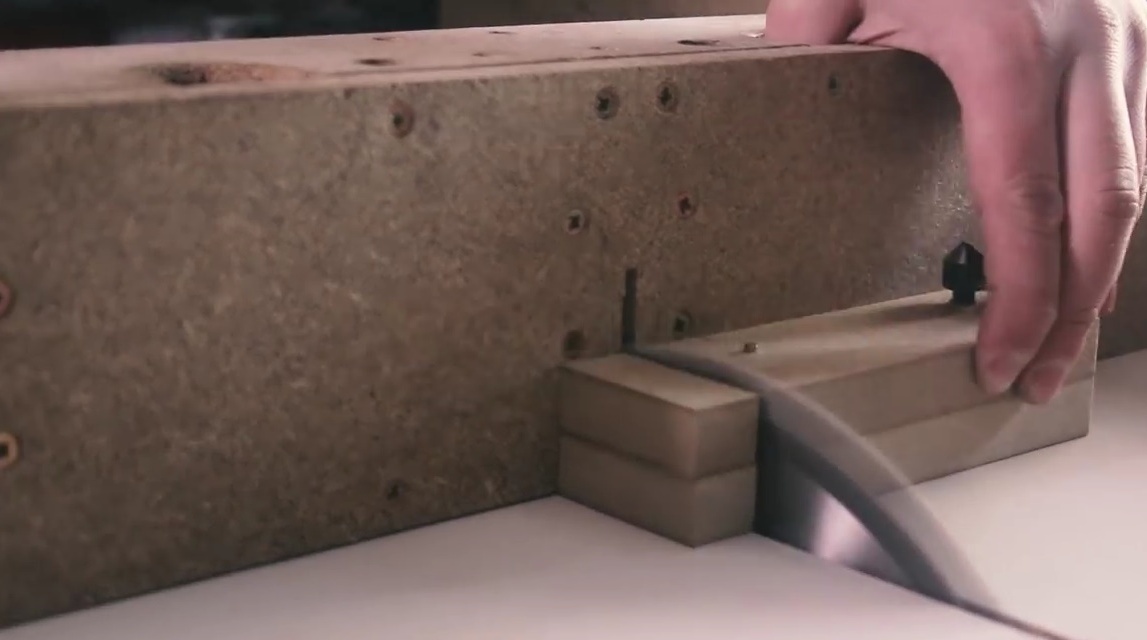
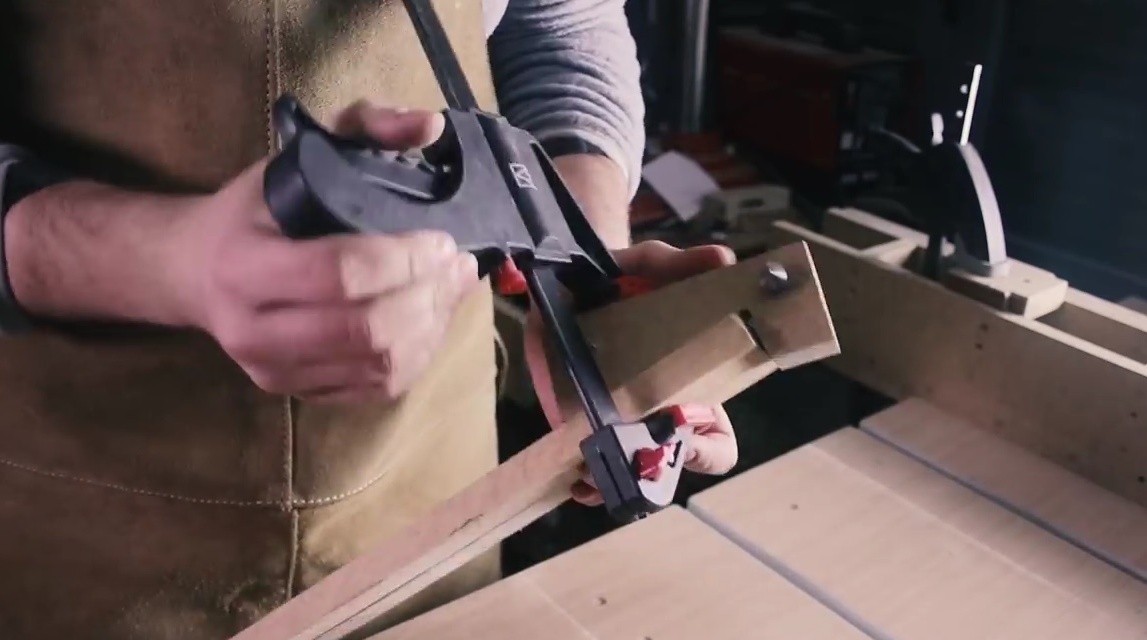
As a demonstration material, the craftsman uses two wooden beams. However, he will not stick them together in order to preserve the opportunity to then separate them and examine their inner part.
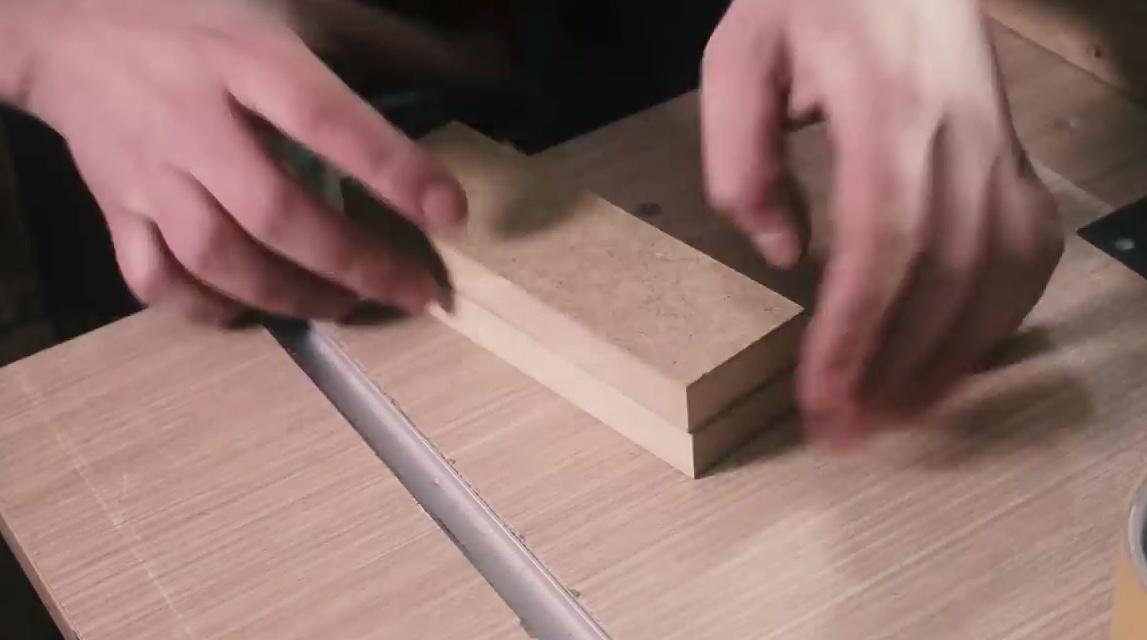
The master uses bolts to maintain a rigid alignment of parts.
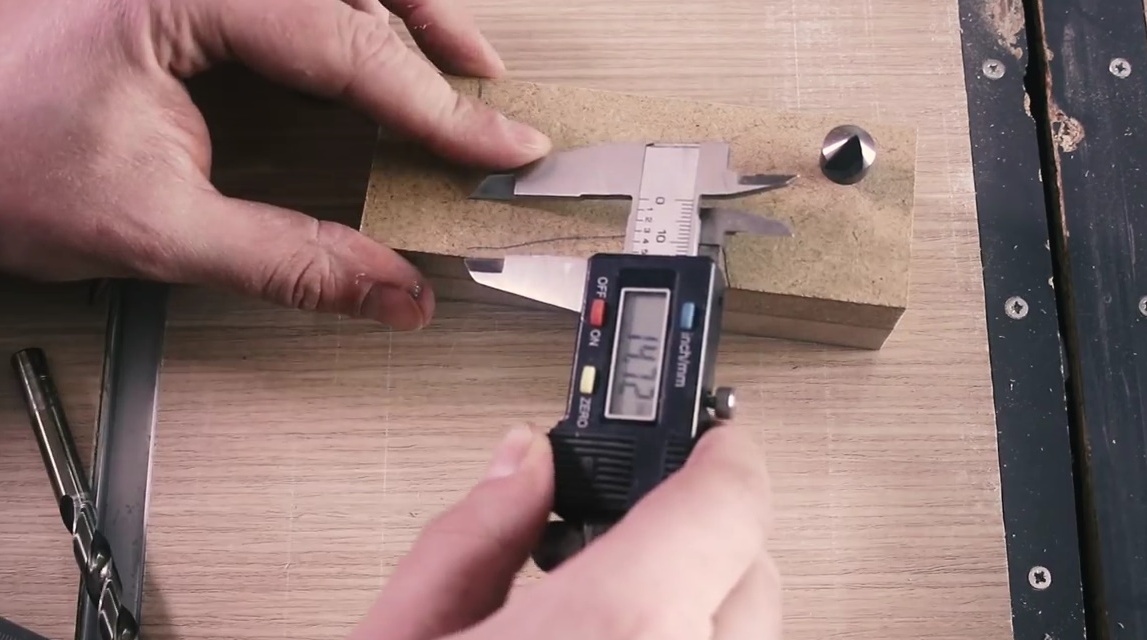
He checks that all sides of the workpiece are parallel. If this is not the case, you should align the workpiece with a circular saw so that all angles become 90 degrees.
Then the author is going to cut this section at an angle, so that the wooden part to be processed can be inserted there.
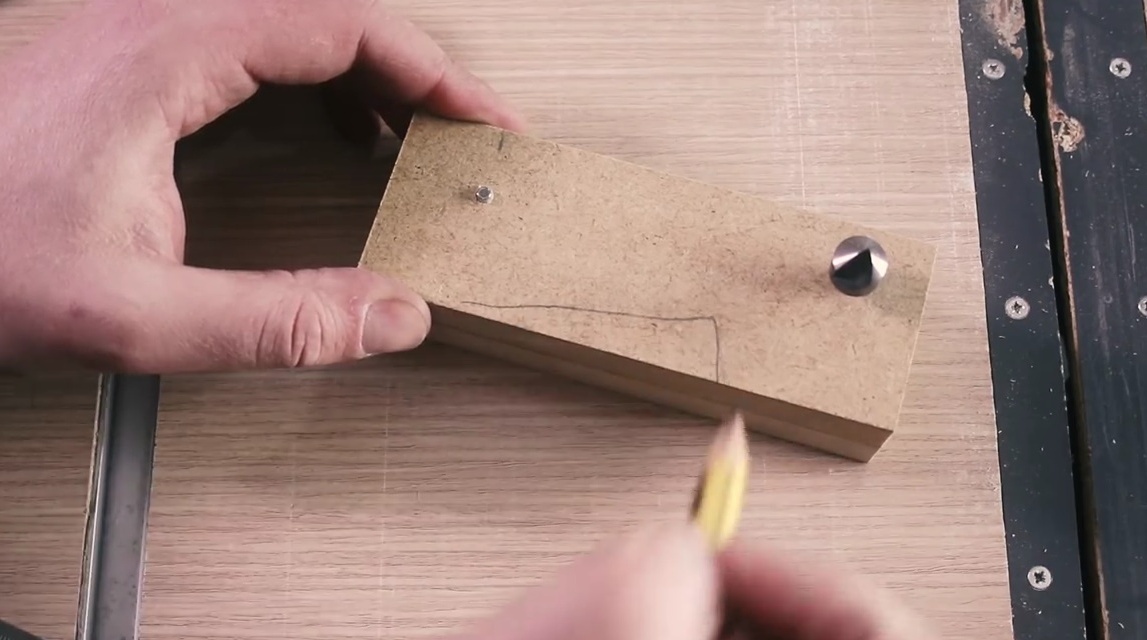
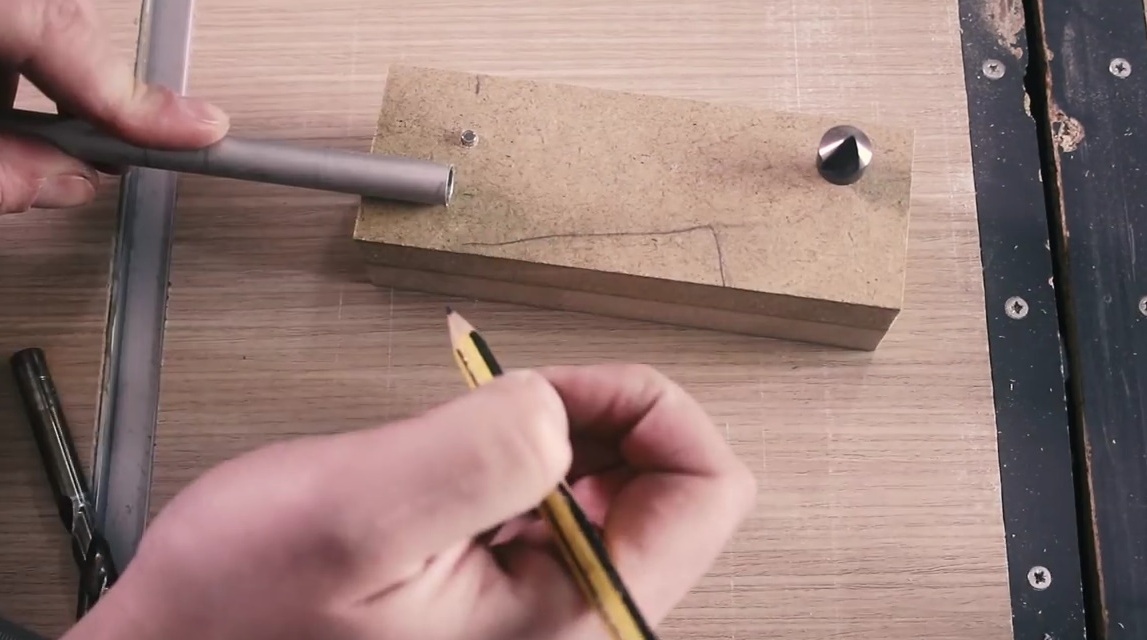
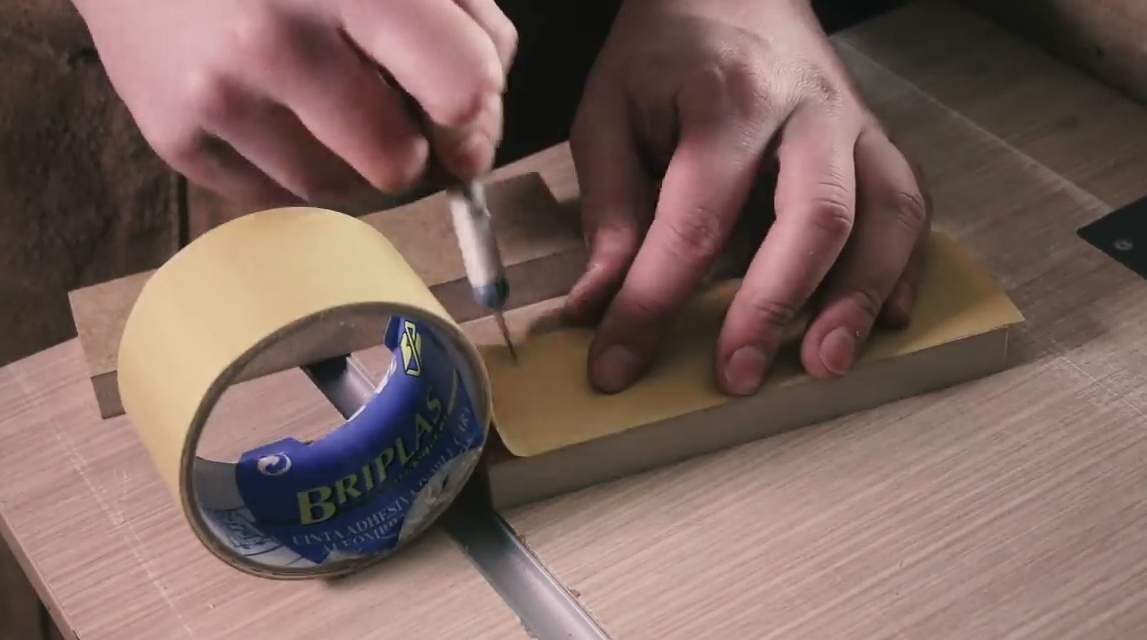
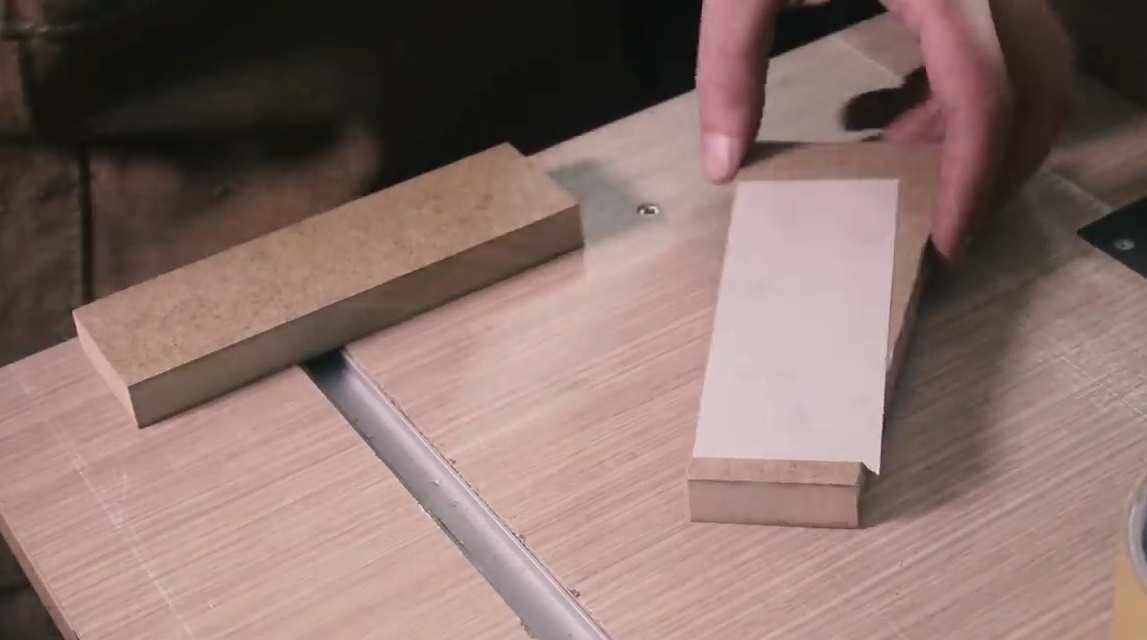
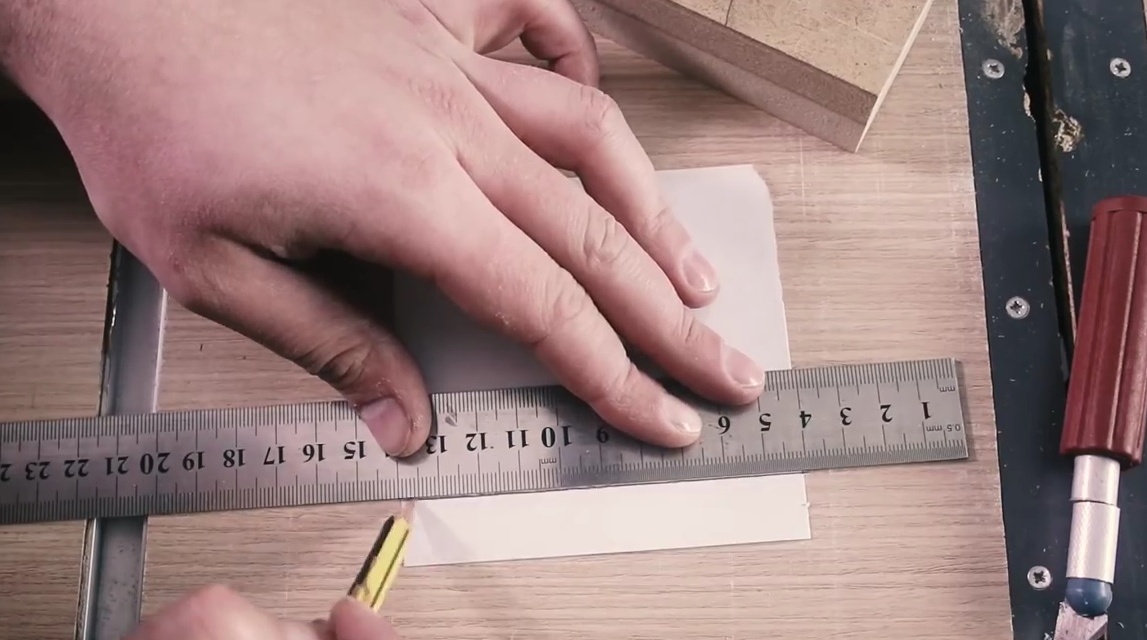
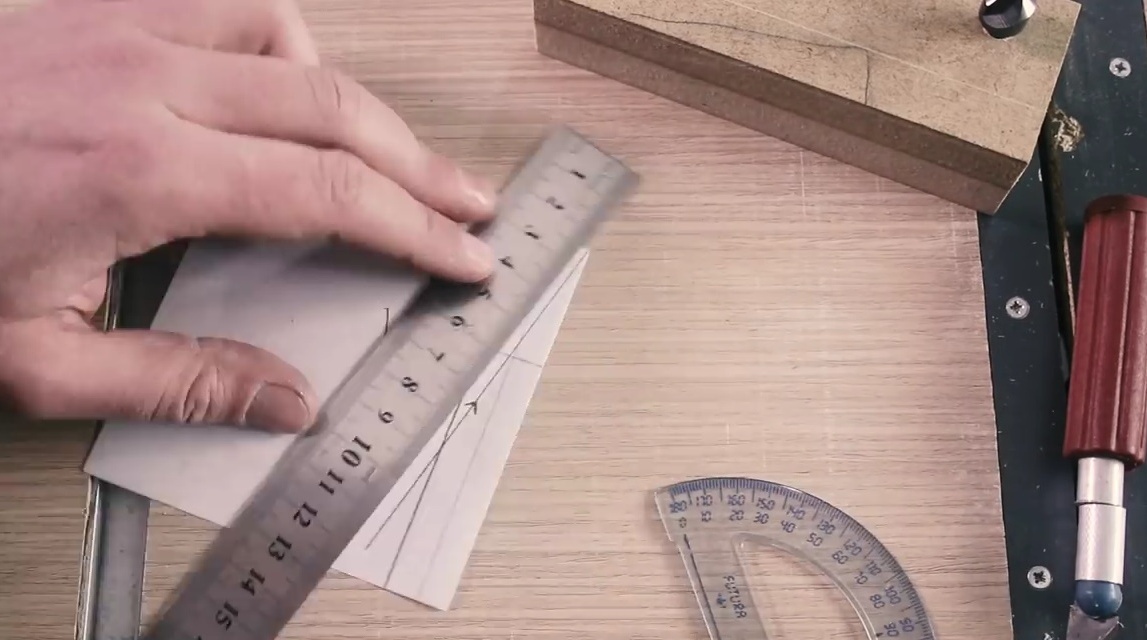
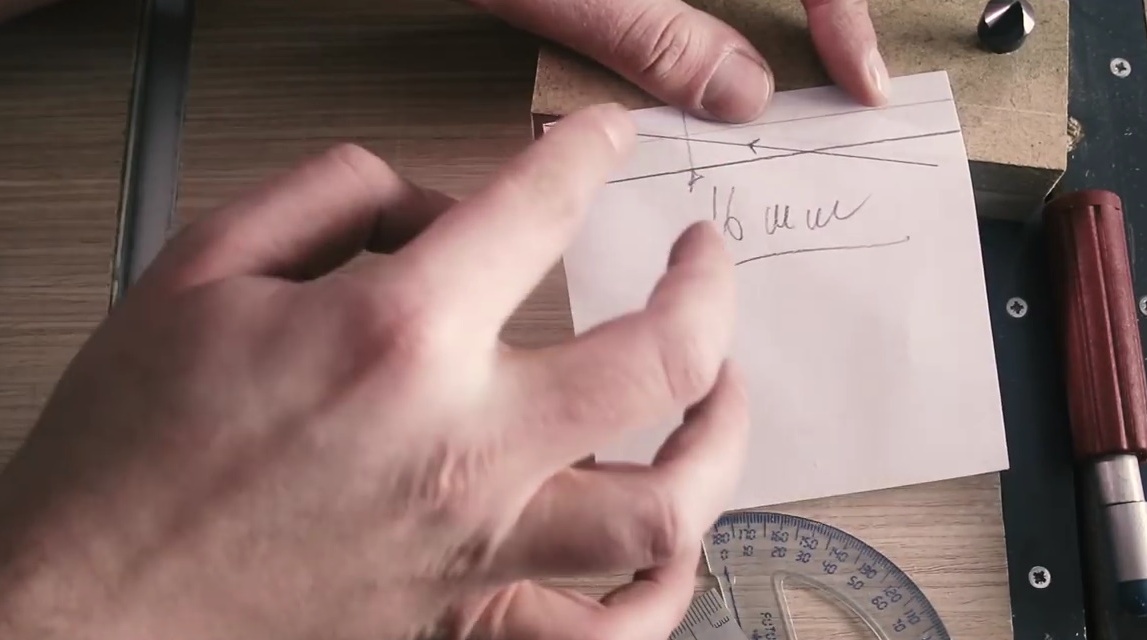
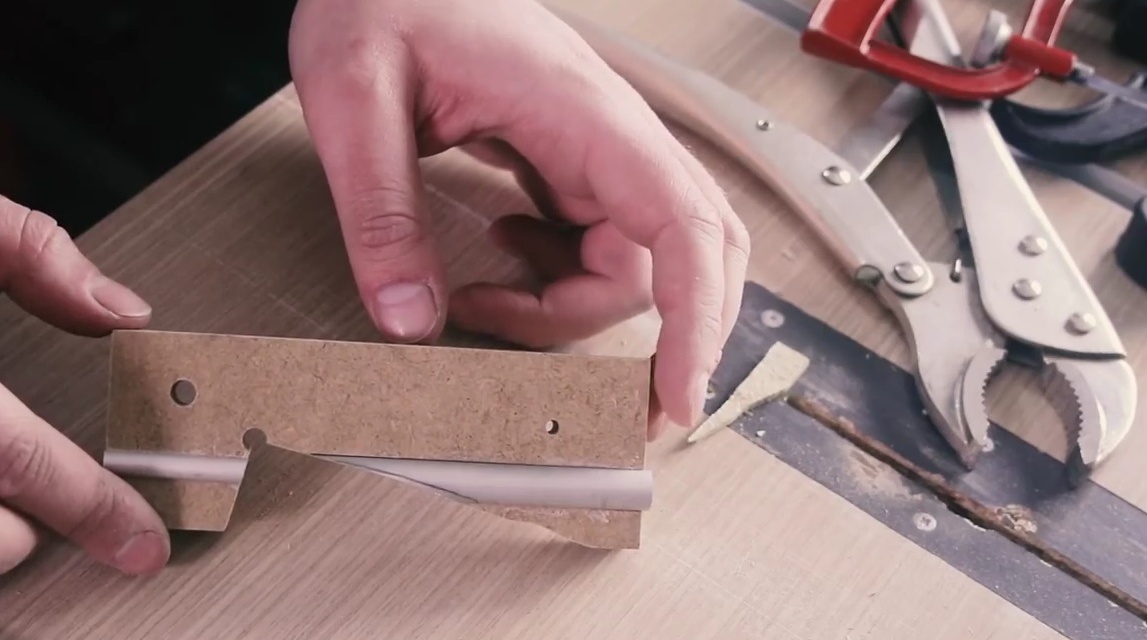
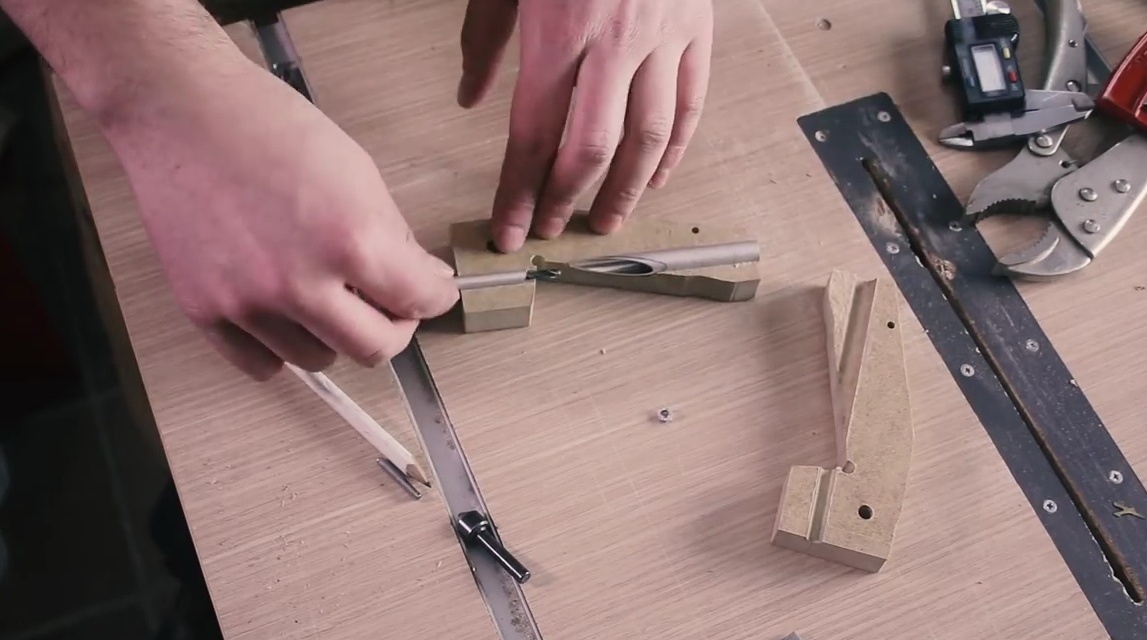
Checks sizes, makes a template. The master marks the future holes, and sketches the contours of the paper pattern for the beam.
He intends to enter the drill along the center line, therefore, he will need to combine these two lines. In this case, the craftsman measures an angle of 15 degrees, from which a wooden part will subsequently be attached.
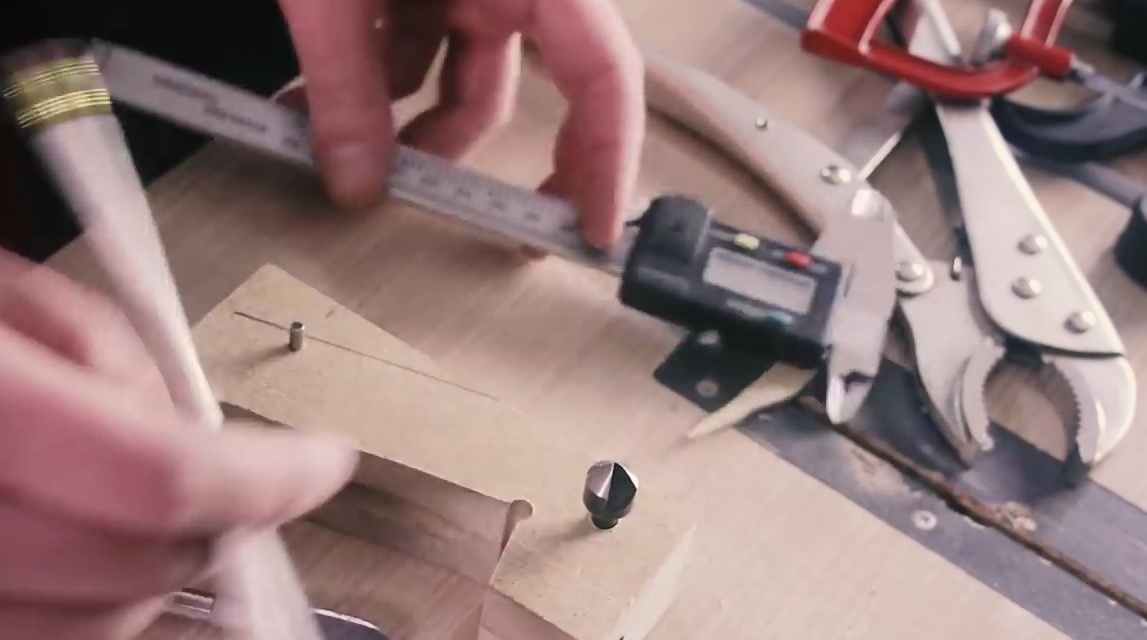
With the help of a pattern, he marks a plot on the board and transfers lines.
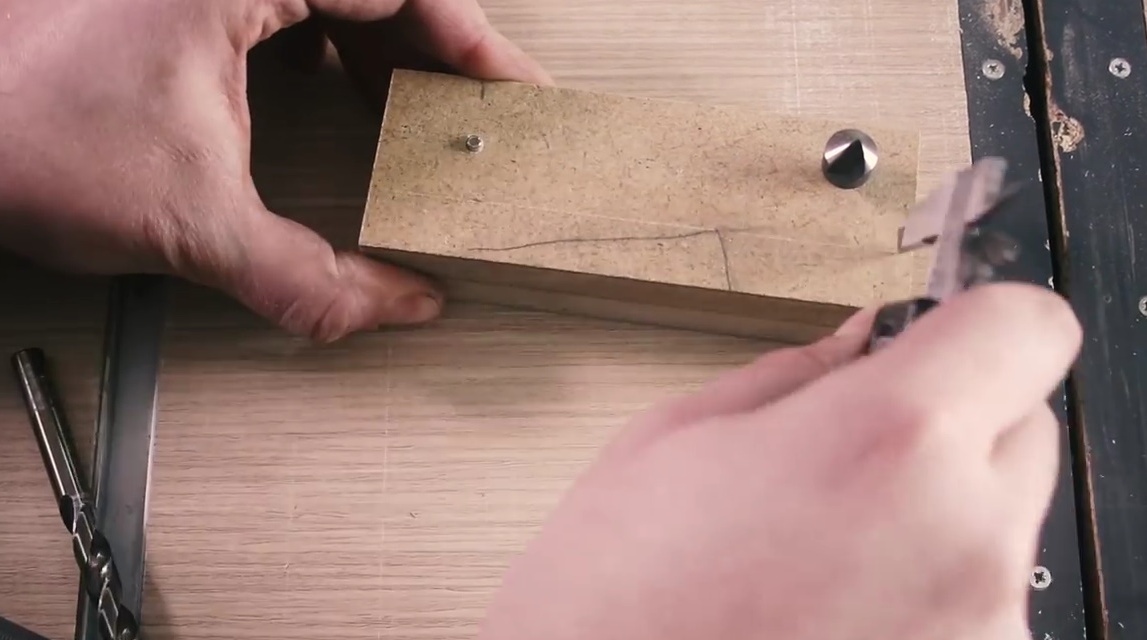
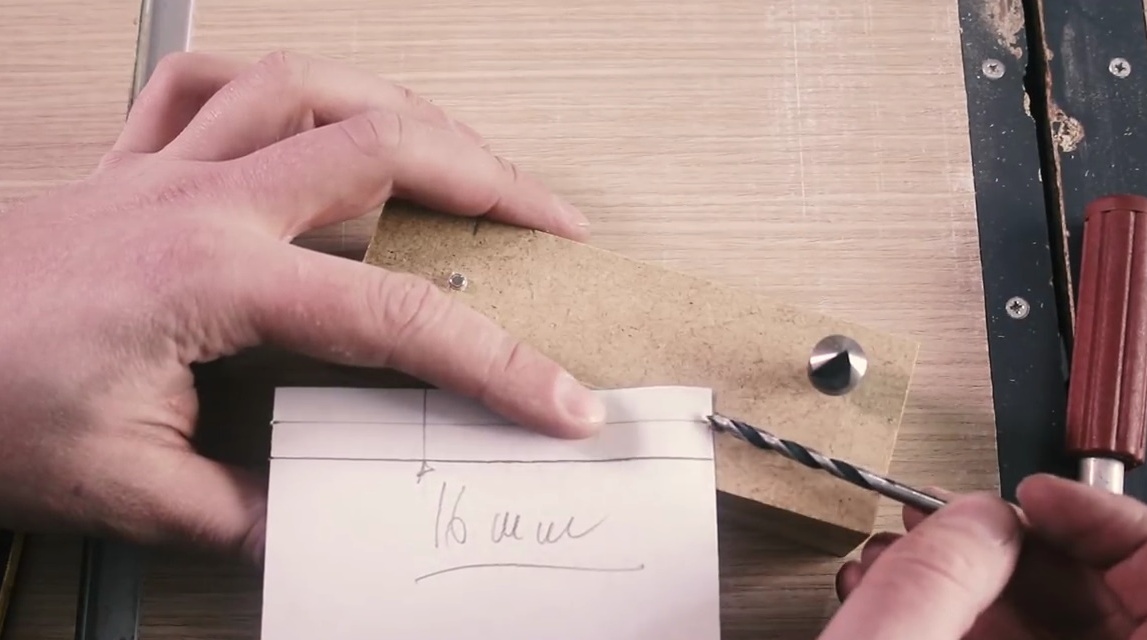
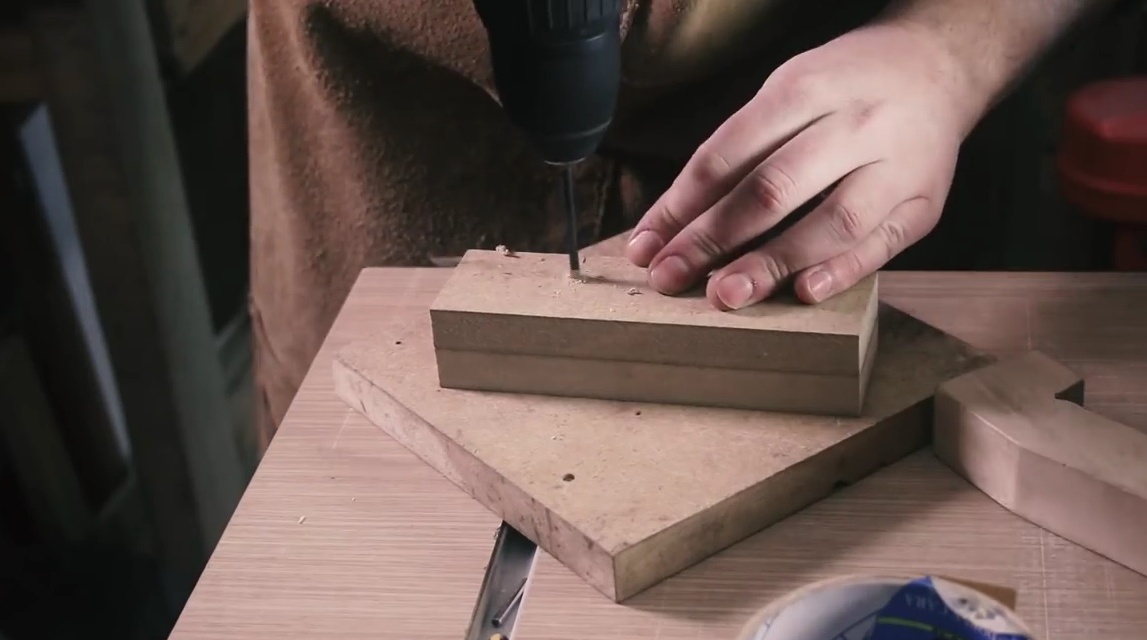
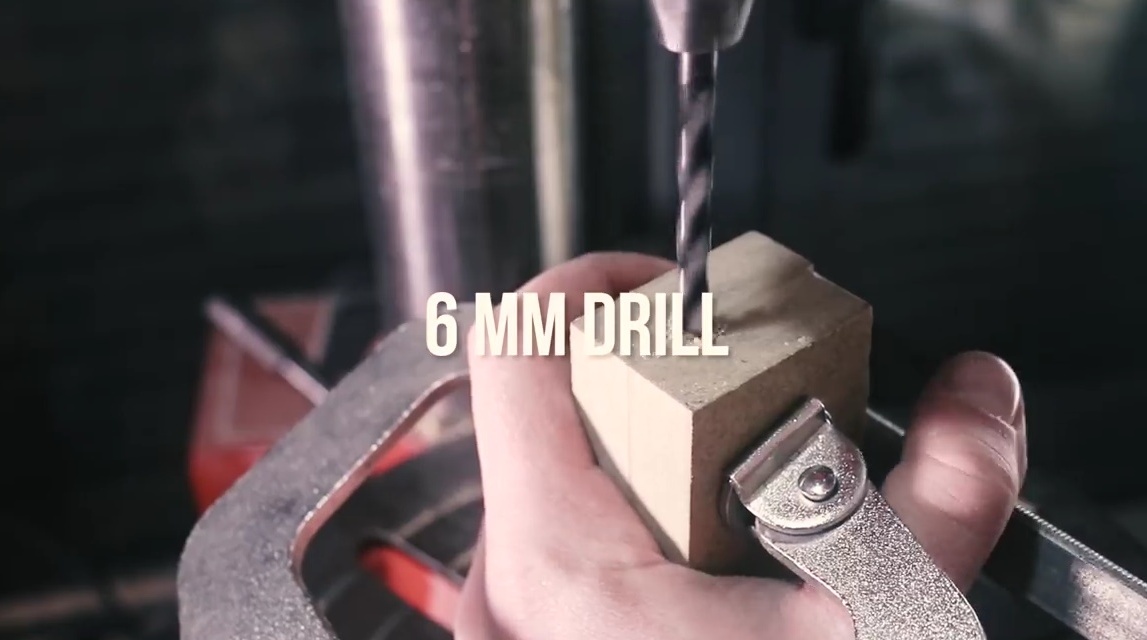
He then drills the guide holes for both drills. But this is the line along which the holes will be located. Next, the master proceeds to the drilling machine, checks that it is precisely tuned, tightly clamps the beam with clamps. And he drills one hole with a 10 mm drill, and lying on the opposite end - with a 6 mm drill.

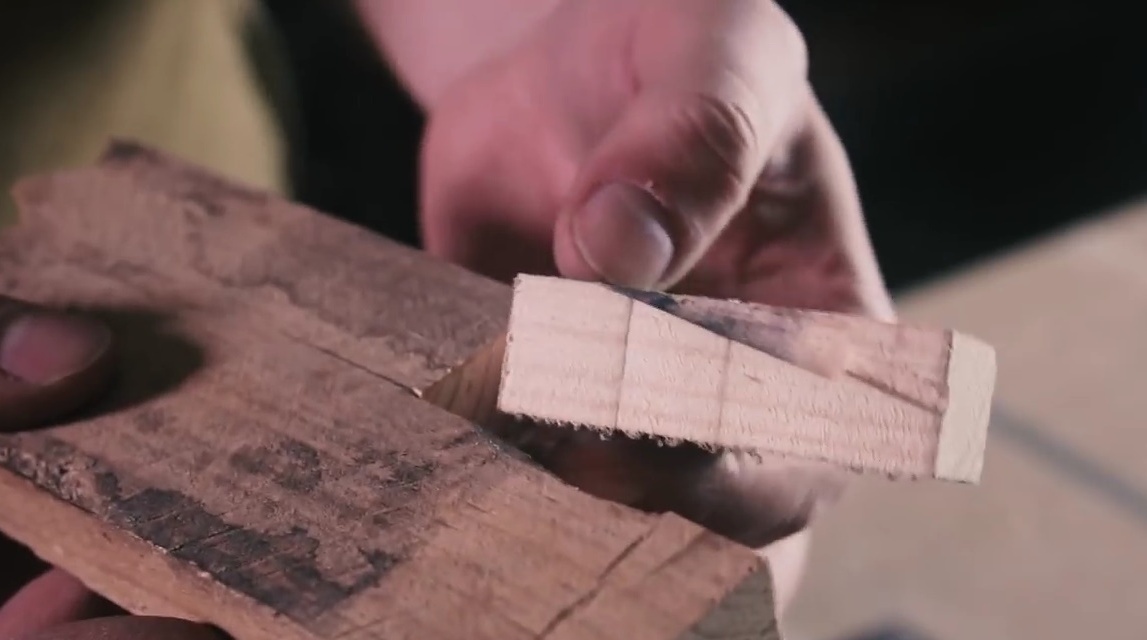
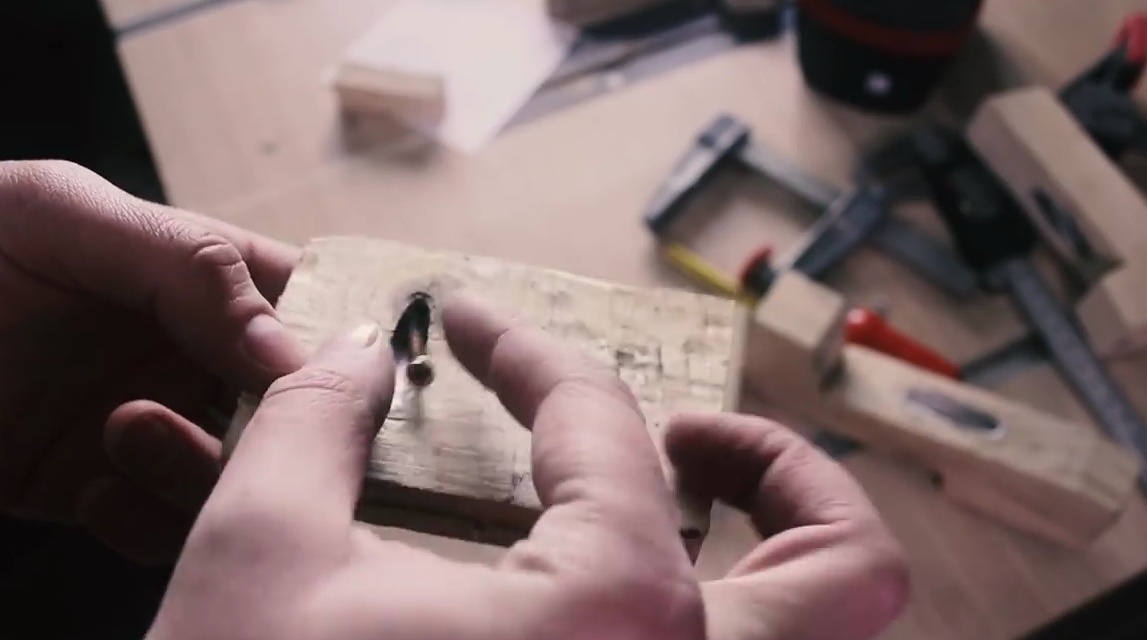
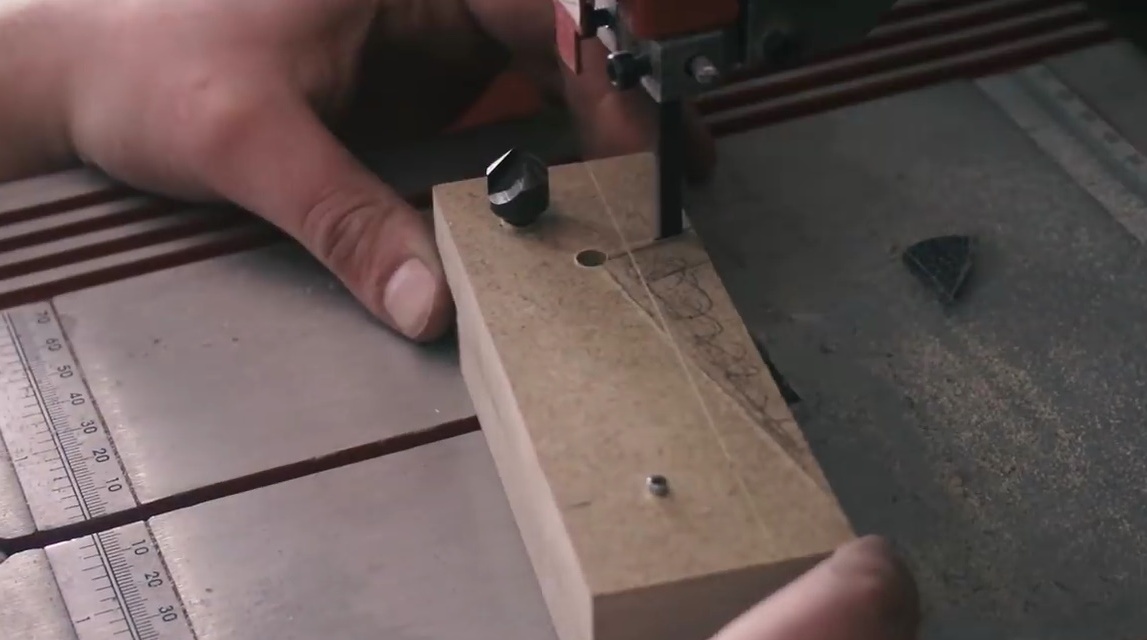
Now cuts out the excess segment and checks the convergence of the drill centers.
For this sample, he is going to use aluminum bushings, since this material is now at hand. But in principle, the author notes, it is better to use steel. They are more reliable.
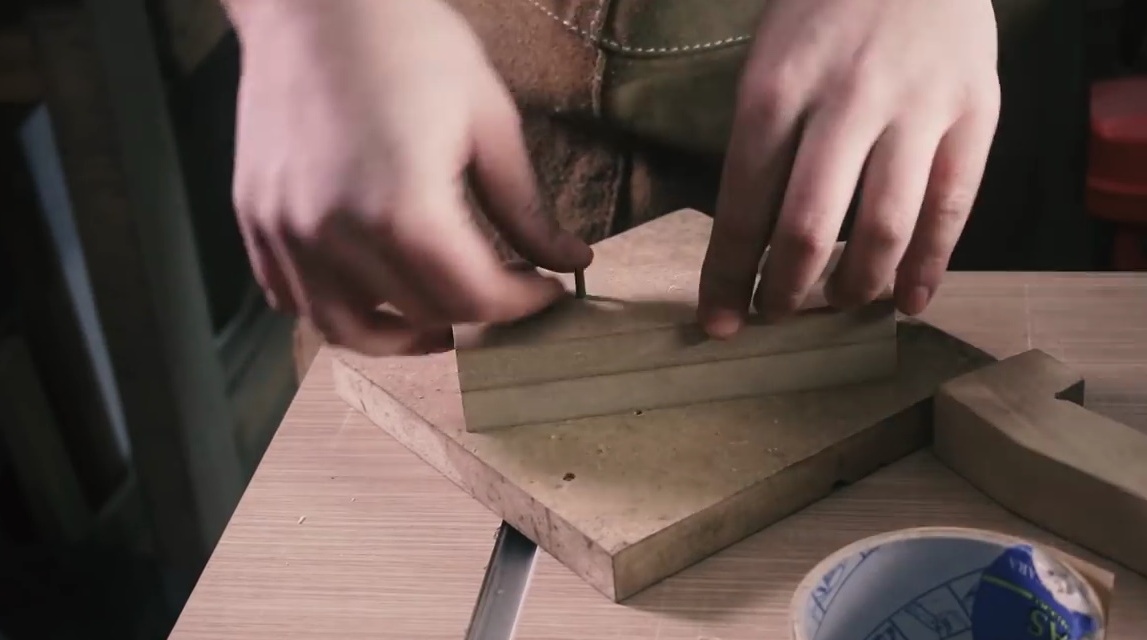
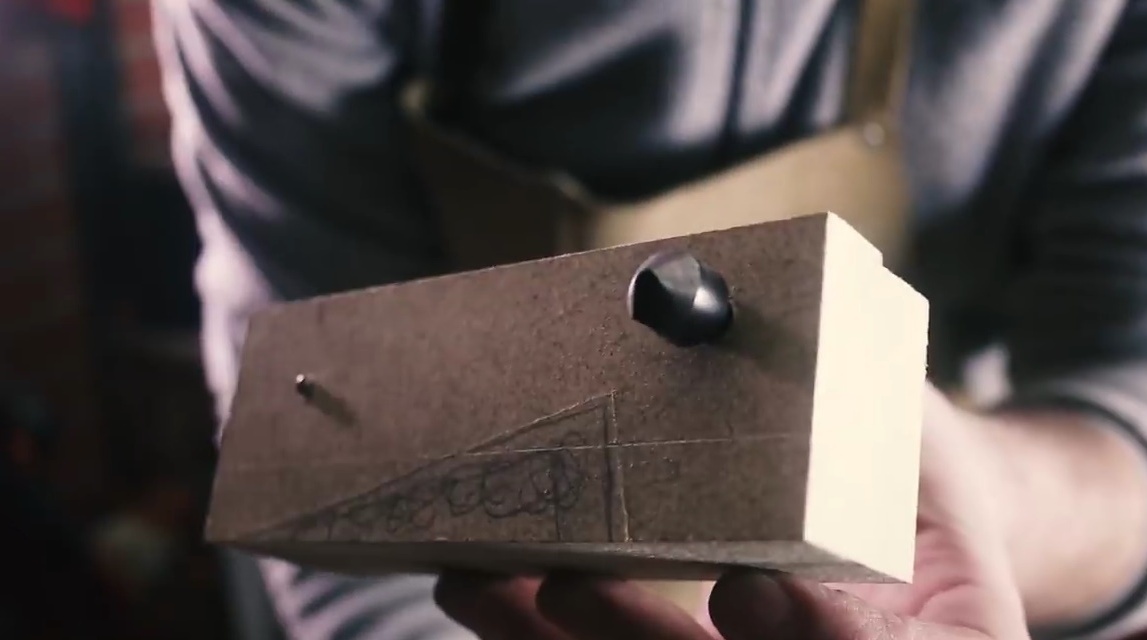
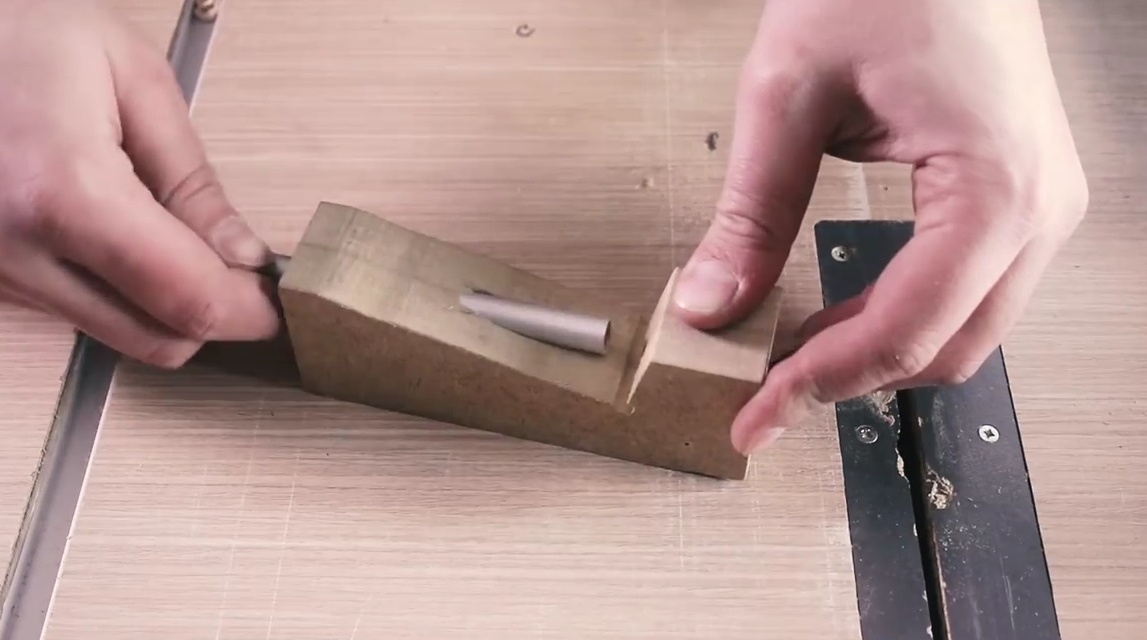
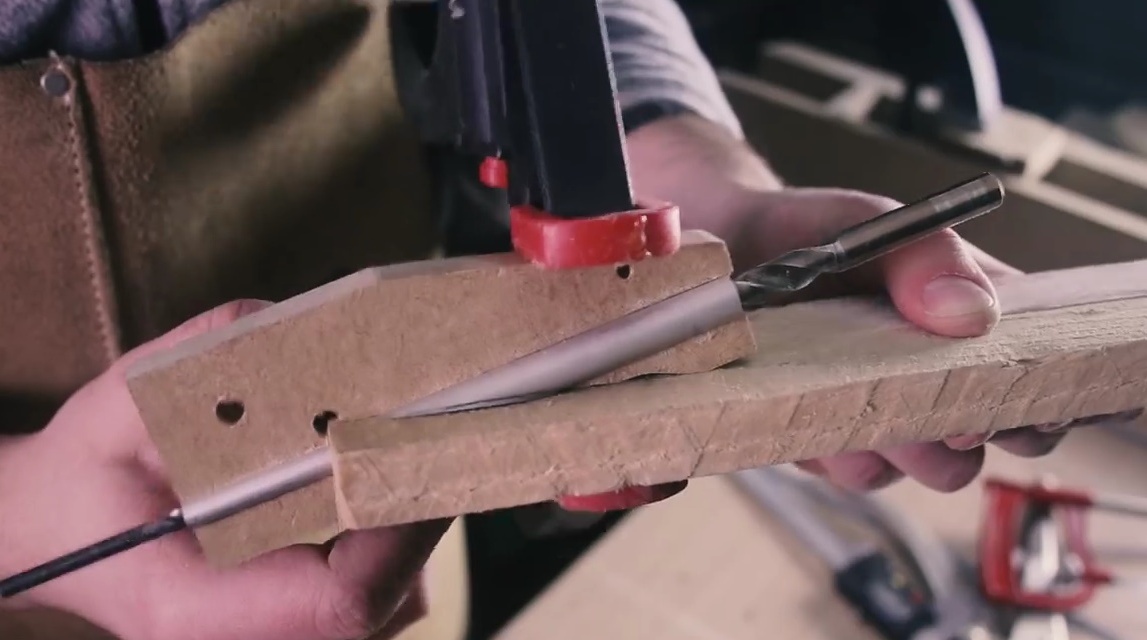
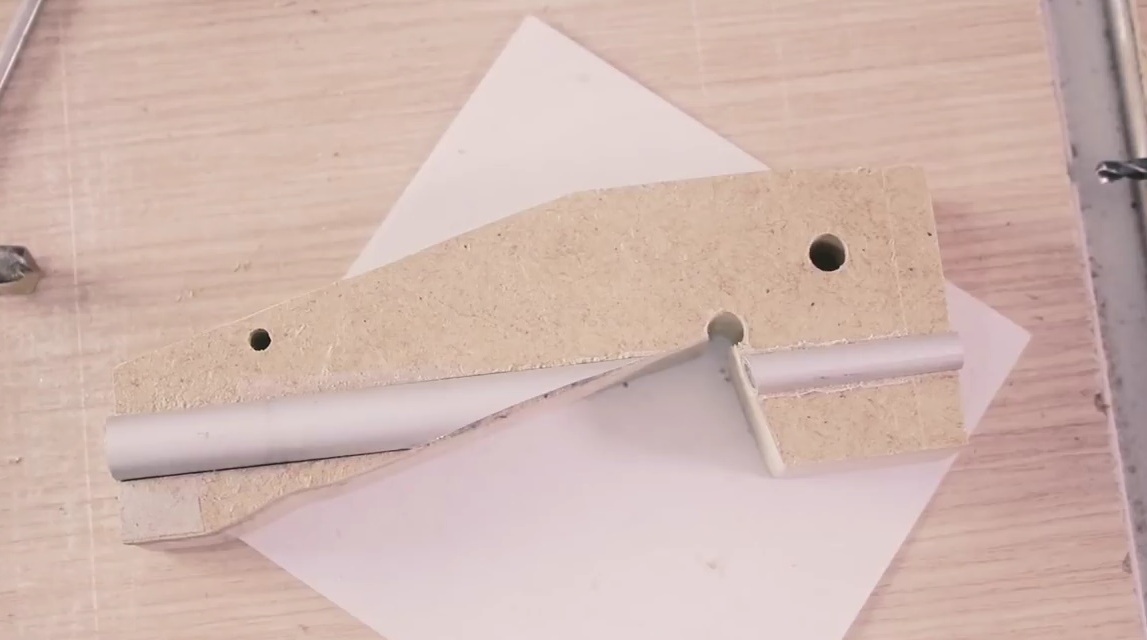
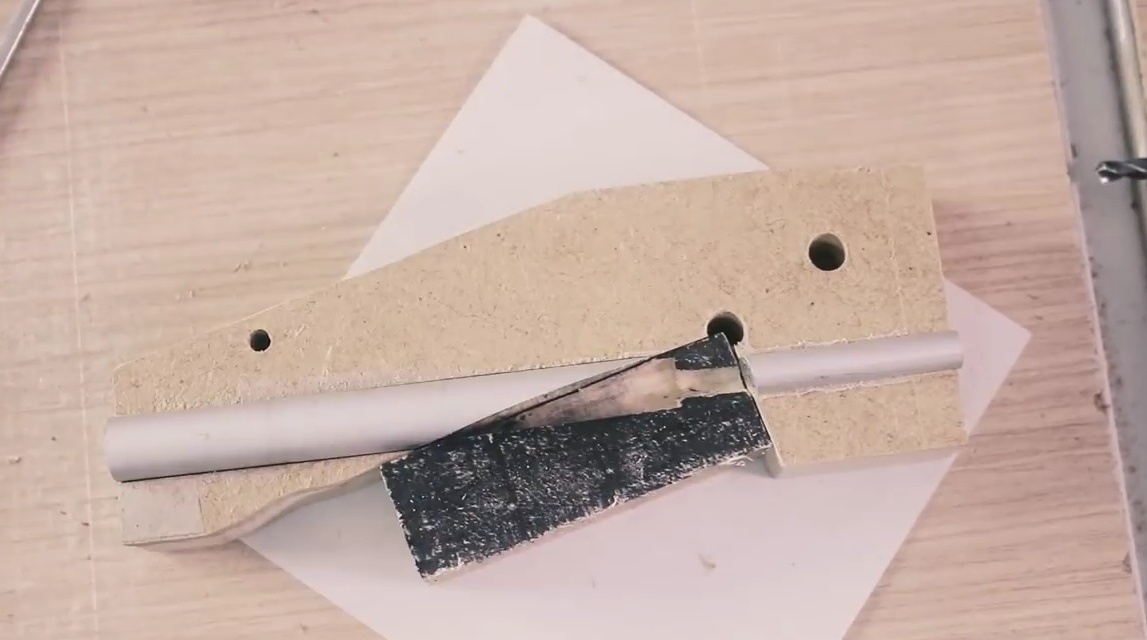
At the next stage, the craftsman inserts aluminum couplings of the corresponding diameter - 10X1 mm into the connectors. on the one hand and 6X1 on the other.

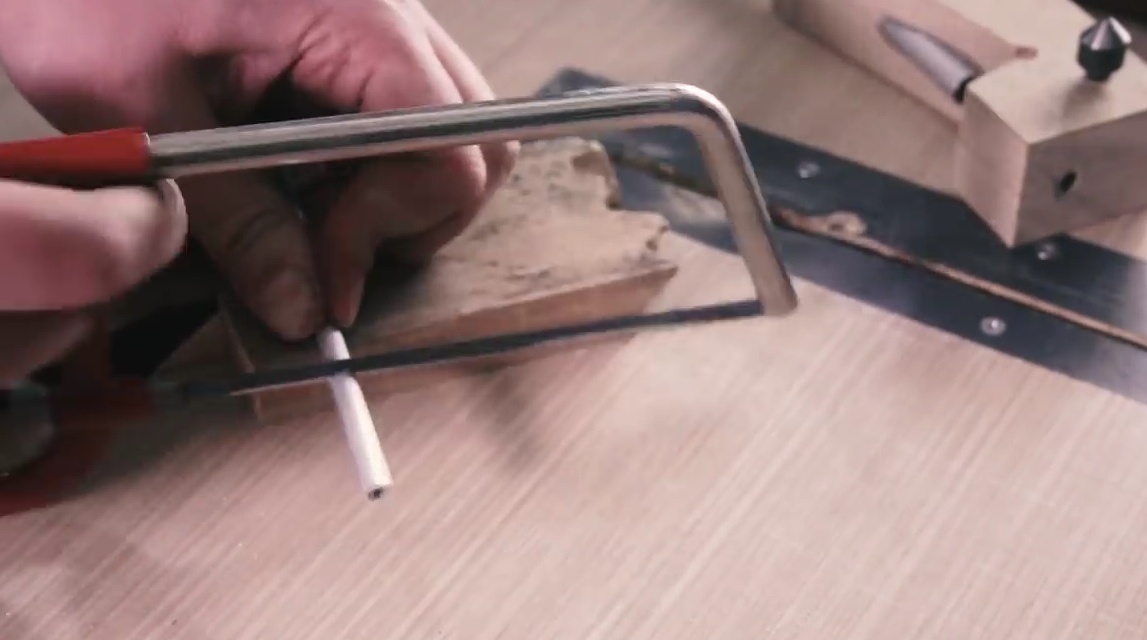
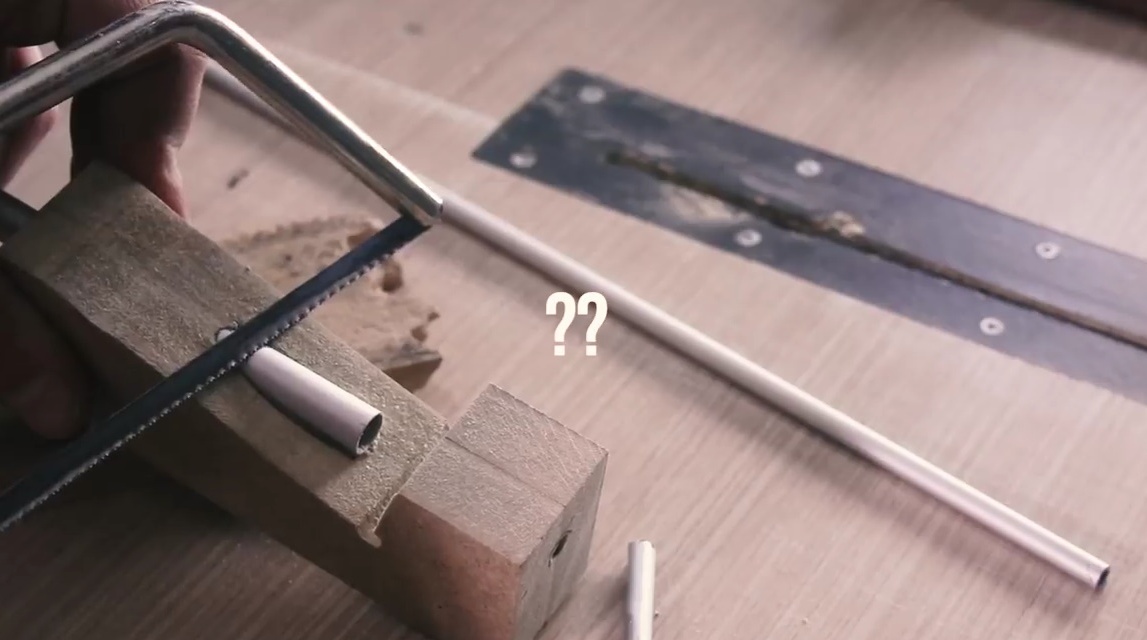
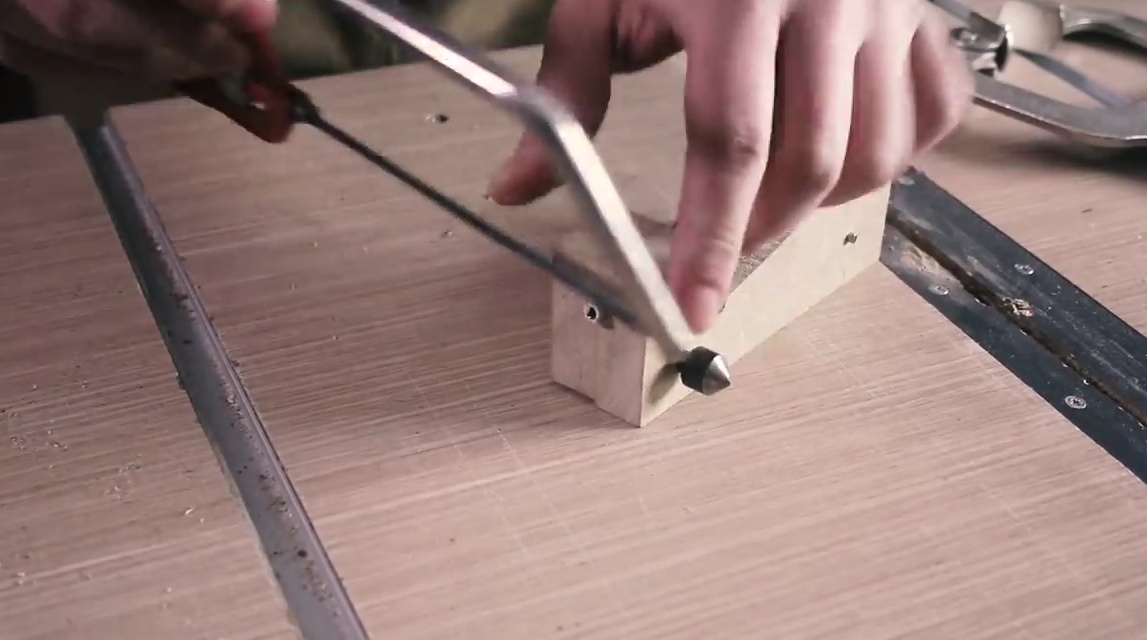
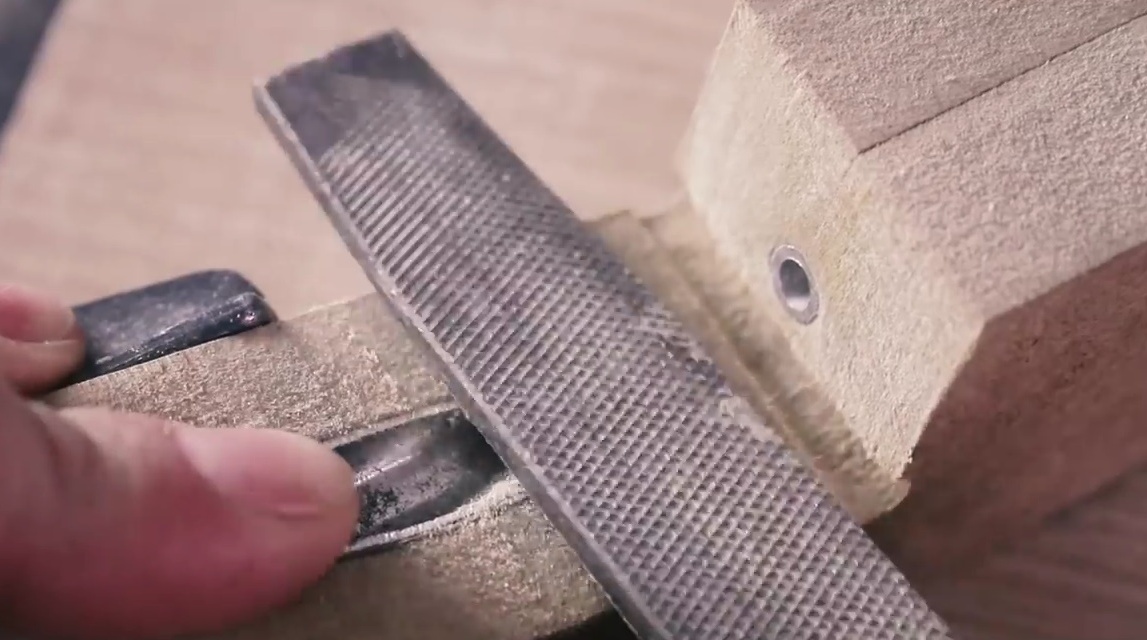
All unnecessary clutch elements protruding beyond the wooden case are cut off, and the saw cuts are ground.
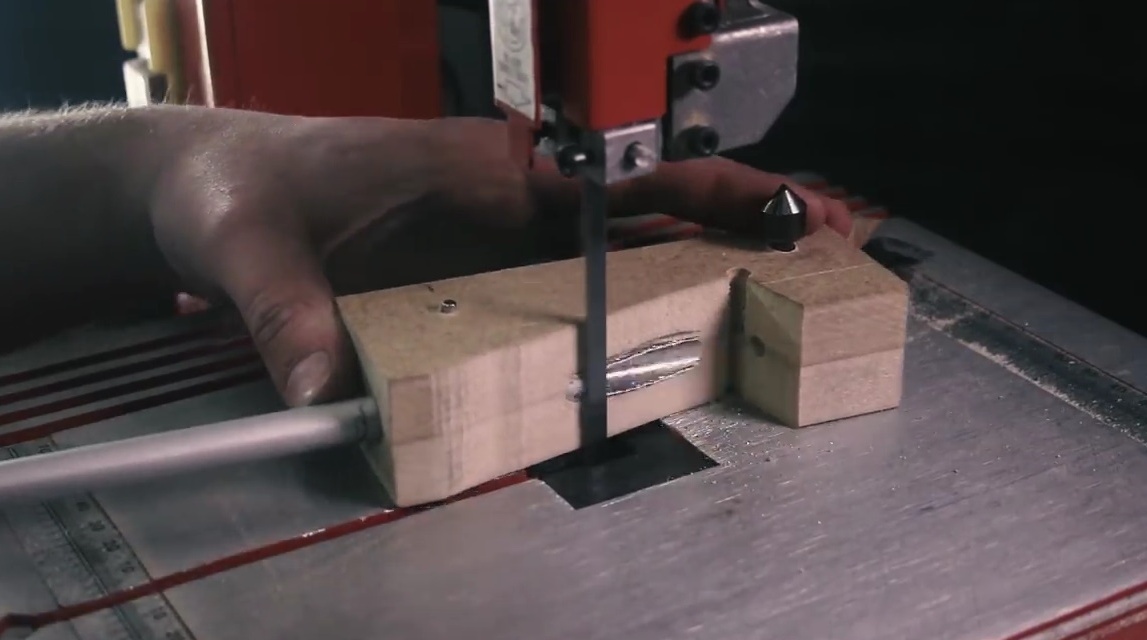
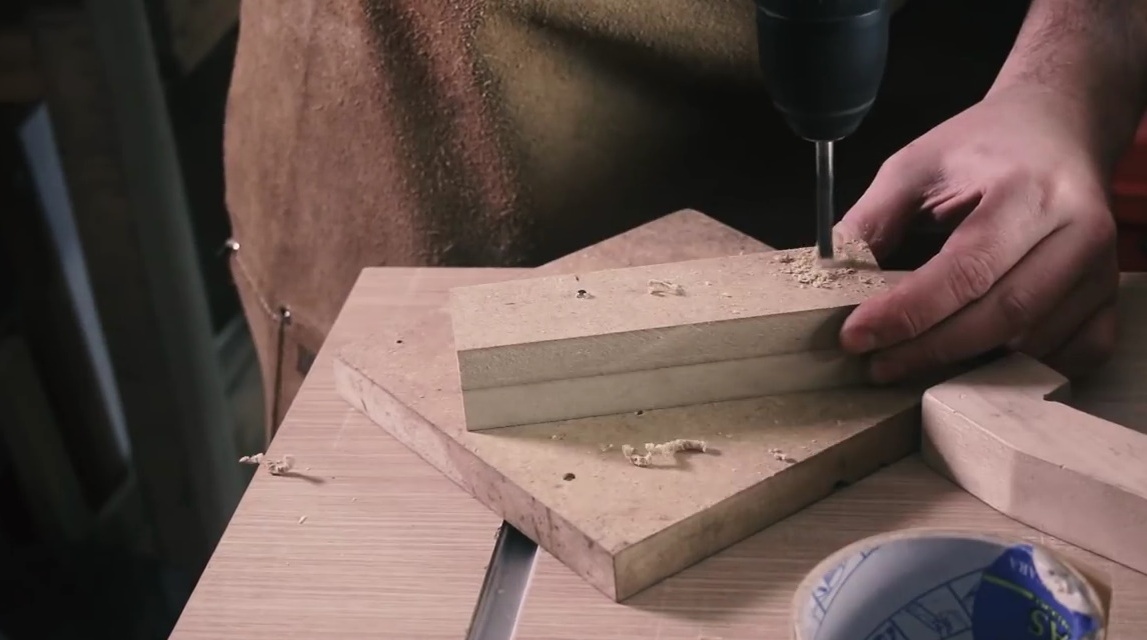
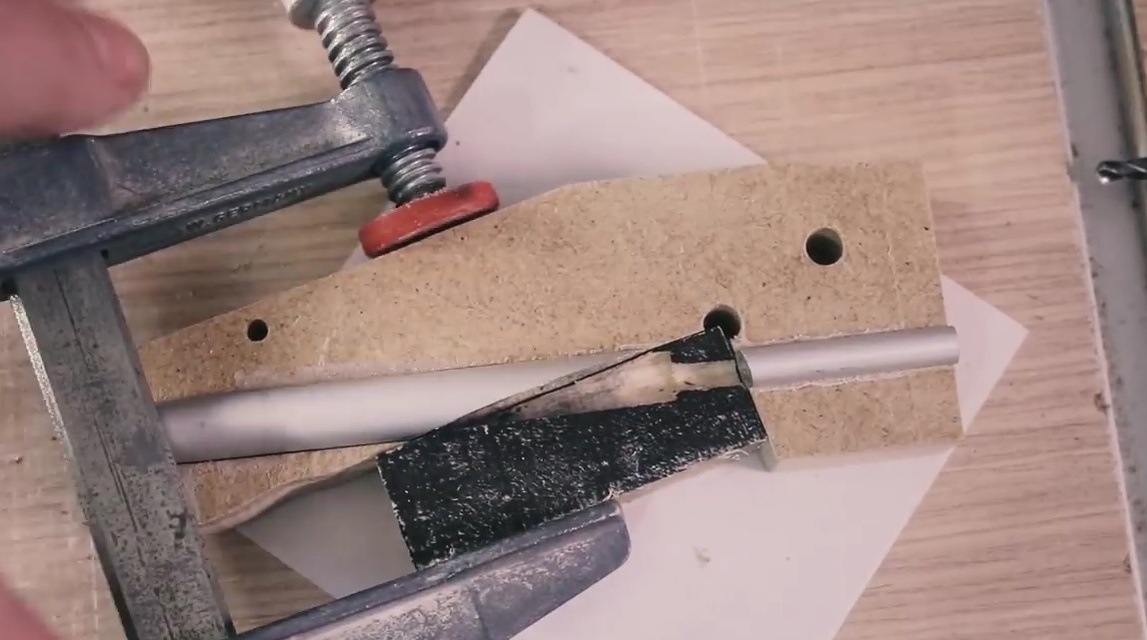
Now you need to fix, press the mount to the workpiece to ensure a flat, parallel plane. To do this, you will have to cut the second side of the conductor.
Absolute parallelism should be especially maintained in the area where the drill is almost in contact with the workpiece. Then the master presses the second wooden part. At this stage, two holes are already being drilled. It is advisable to start drilling with a small drill to avoid gaps, but by and large it is not so important.
This mount works better than any other. It allows you to stop the stop at any depth at which you want the screw head to sit.
Perhaps readers will think that this mount is applicable only to 16 mm boards. This is partly true. It was for such a thickness of the board that he built his trial model author.
However, - anticipating the issue, the author comments, - this device can also be used for board thicknesses from 30 to 16 mm.
In order to mount to a different thickness of the board, it is important to simply carefully combine the cutting tool, in this case the drill, with the center of the board.
The main advantage of such a mount, in addition to its strength, is its flexibility - the screw can be driven to any depth. And this is great when dealing with soft wood or if you want to use countersunk screws. Then you just need to leave more material on the weak side of the bar so that it does not burst. And for greater safety, you can even insert a washer (ring gasket) inside.
Thanks to the author for the idea!
This is all, happy creativity to you!