
It will soon be cold and today, together with the author of the YouTube channel Bonn Factory, we will produce a practical, but at the same time, an original ax with which you can chop wood.

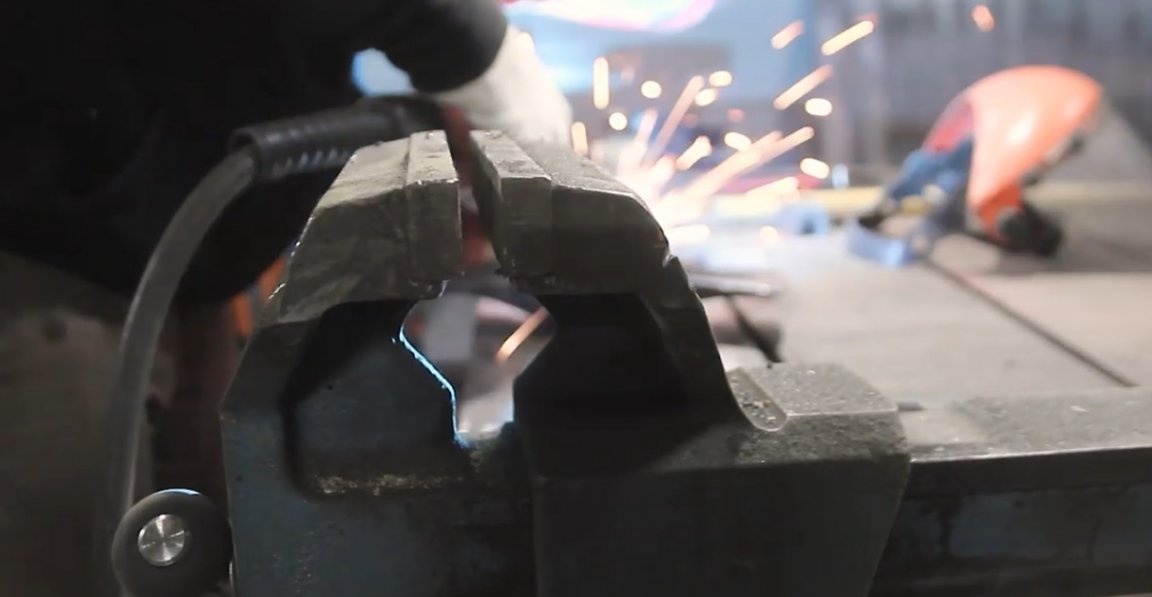
When working, we do not disdain protective equipment for both eyes and ears, and even more so do not forget about gloves.

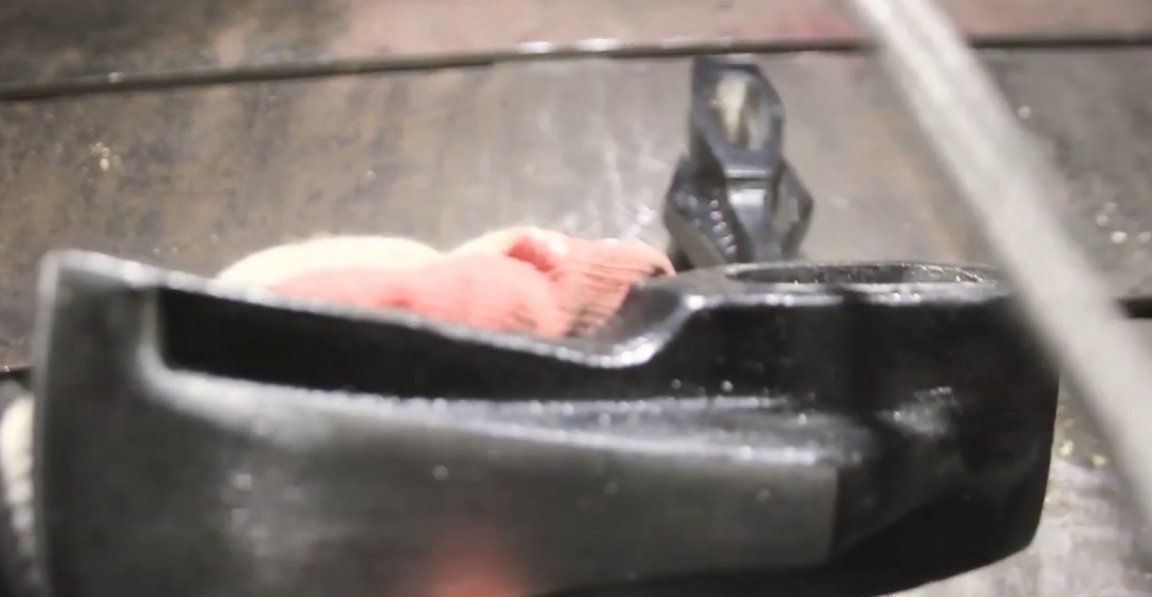
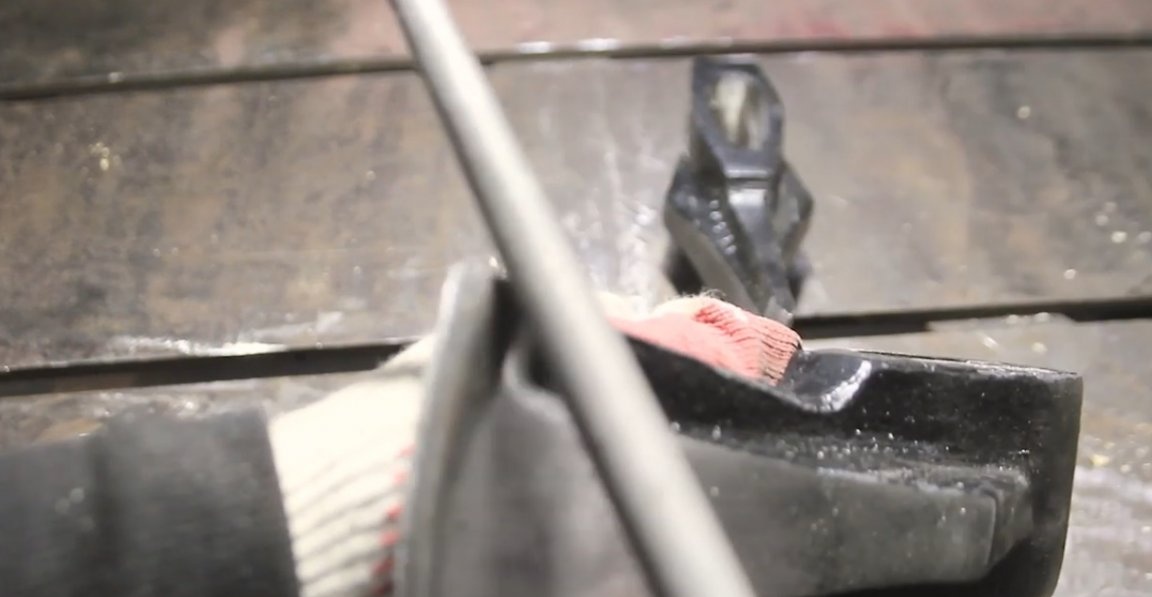
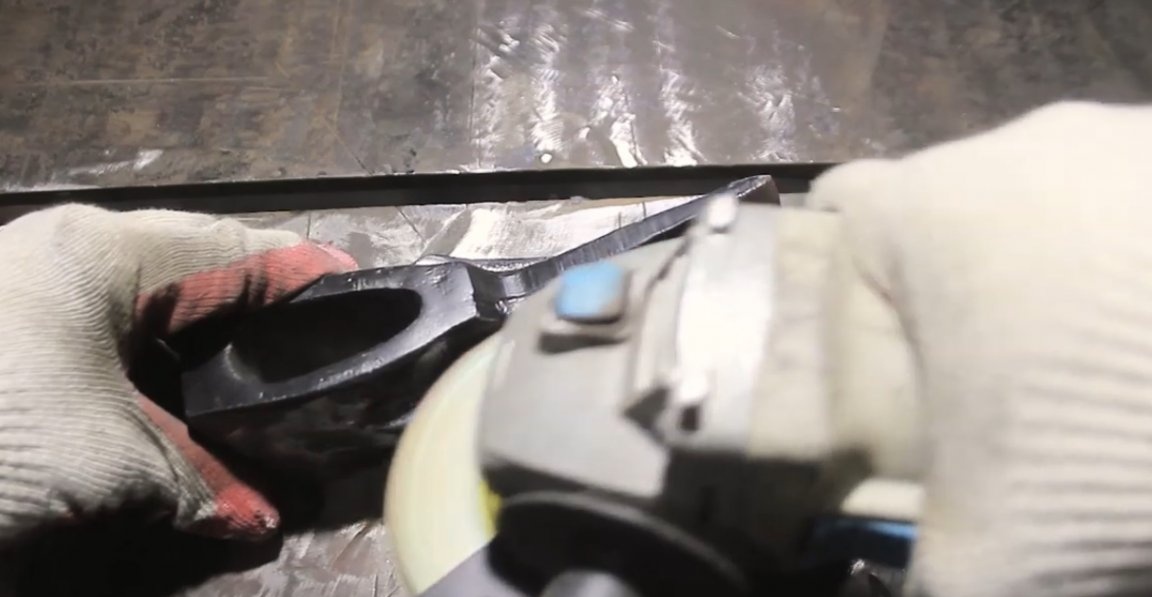
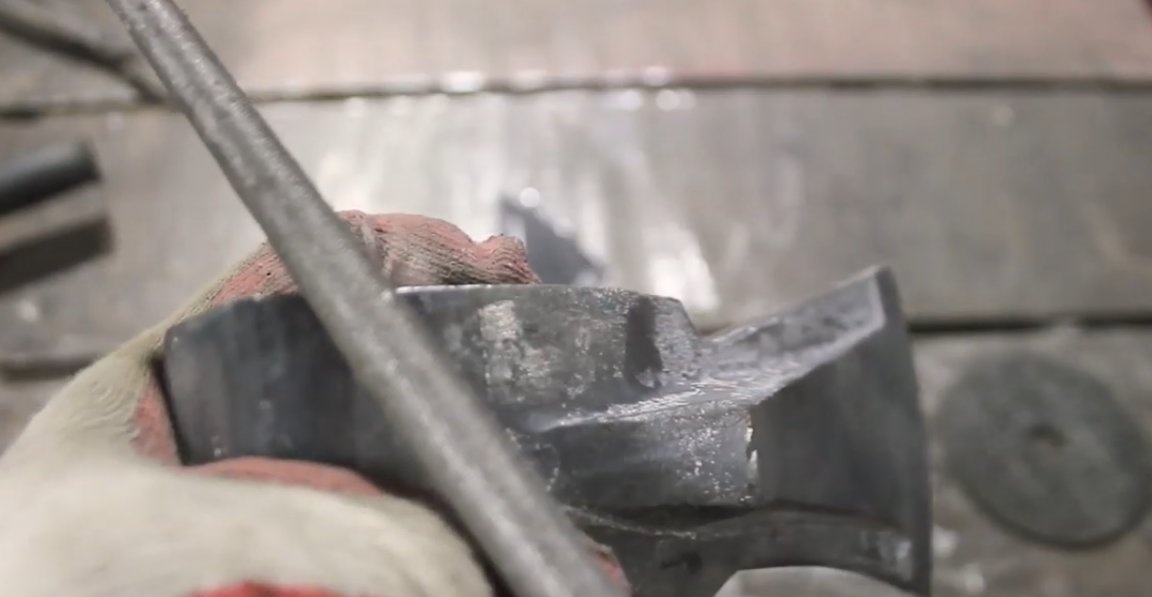
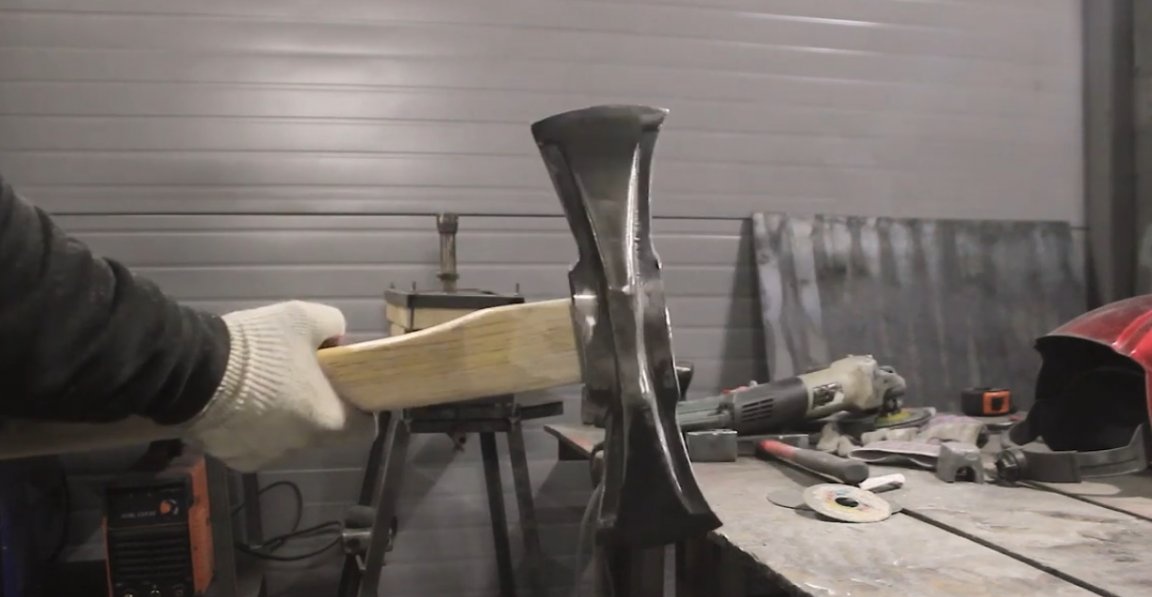
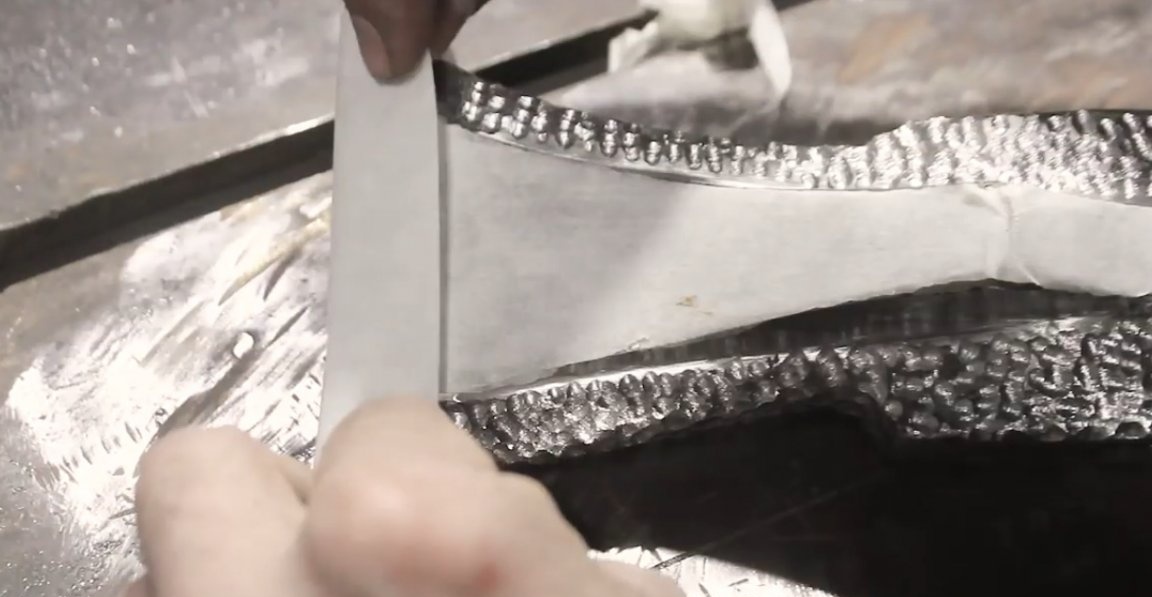
By the way, today we will apply heat treatment and therefore it is necessary to pay your attention to the factory hardening of the ax. On the hardened blade, the file glides with a characteristic ringing and does not cling. Closer to the butt, the metal of the ax is noticeably softer.
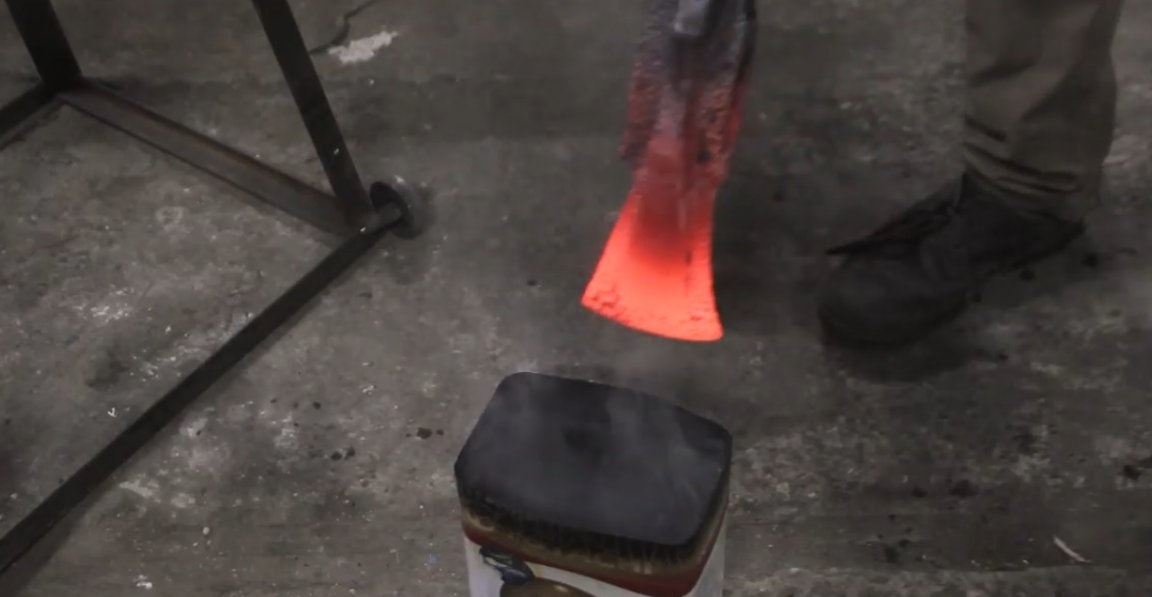
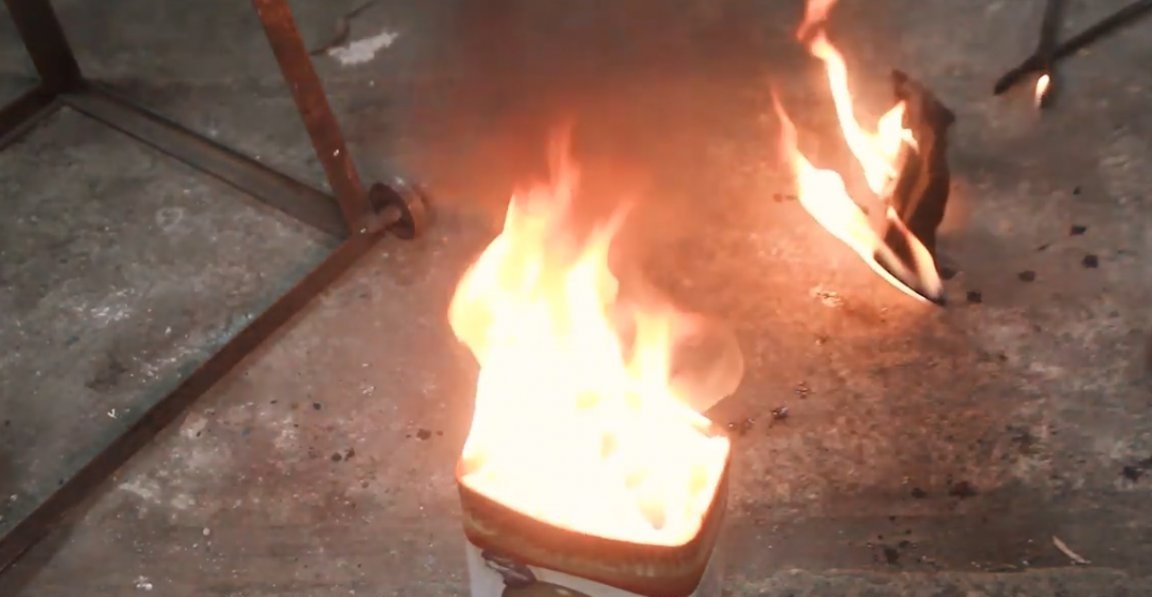
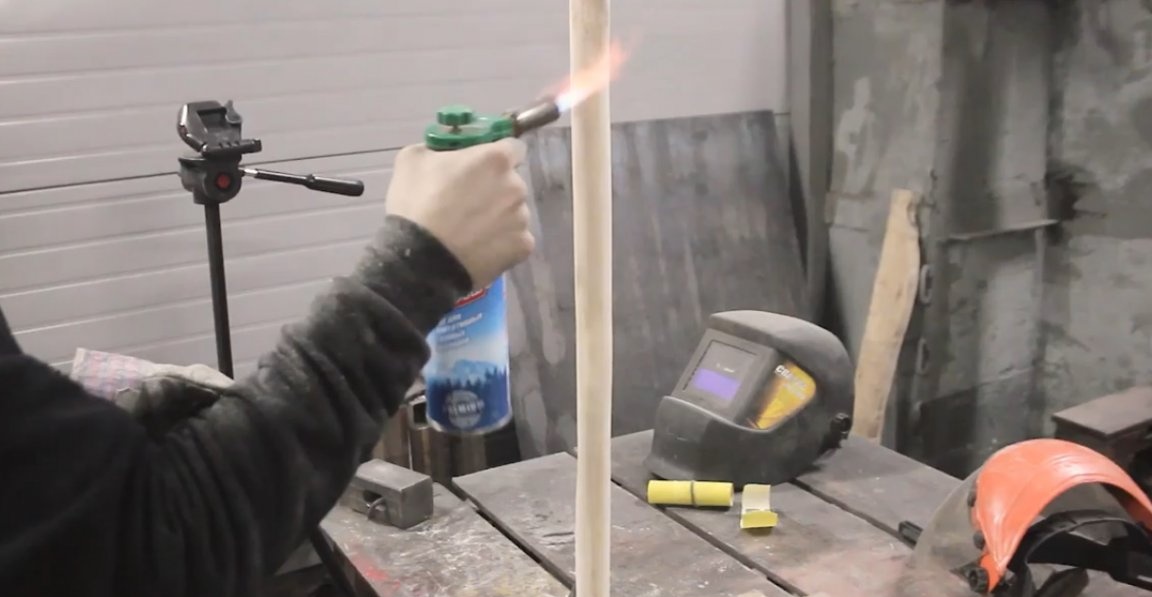
For further work, we need to do annealing. For laboratory conditions of heat treatment, the author is simply not ready, but will try to do something similar. To do this, we clean the paint from the ax so that during heating it does not ignite and does not start to smoke.
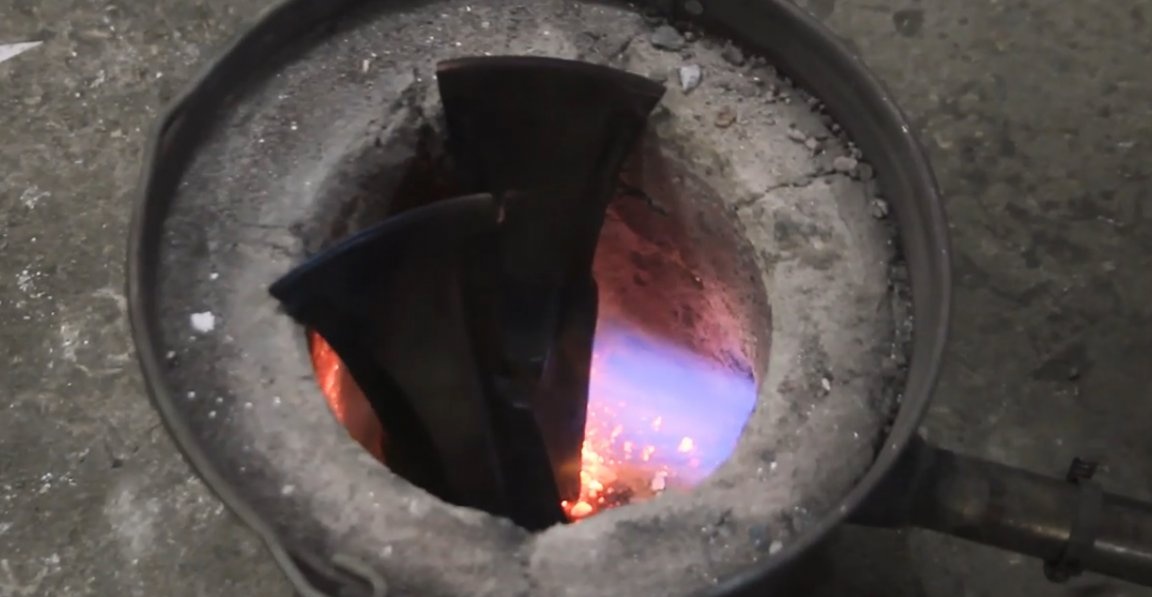
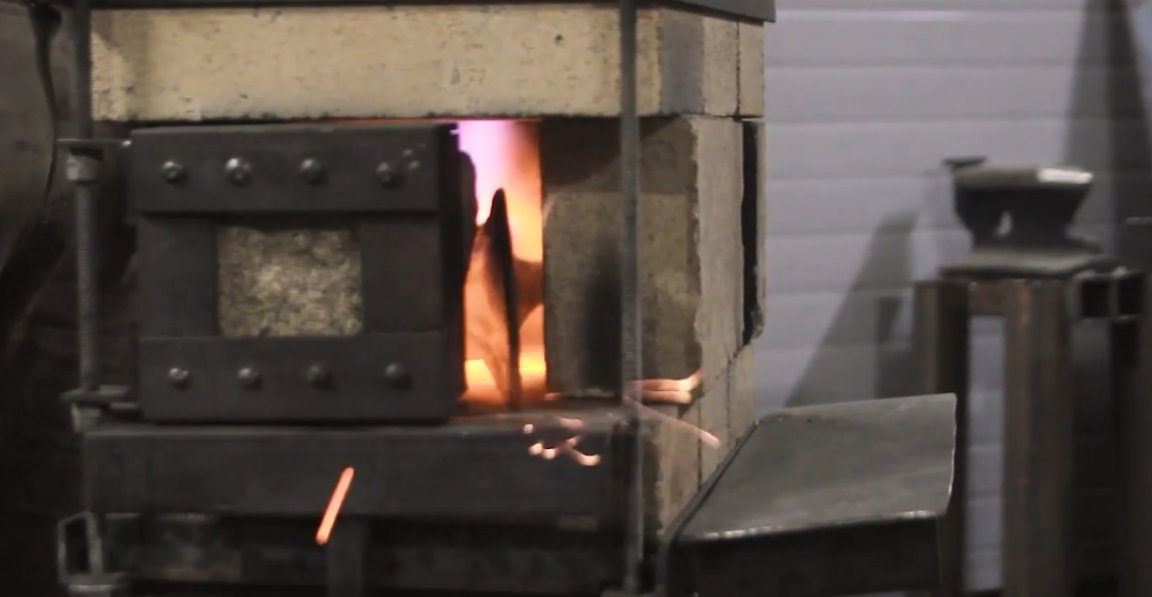
It is planned to heat the ax to about 750 degrees, which corresponds to the dark cherry color of the metal.
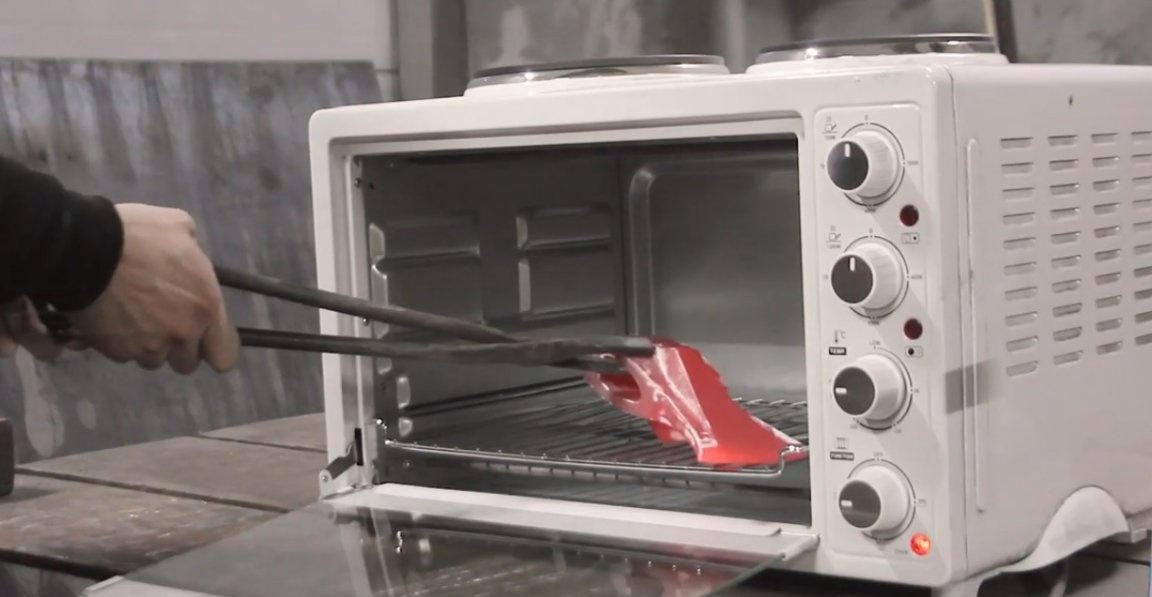
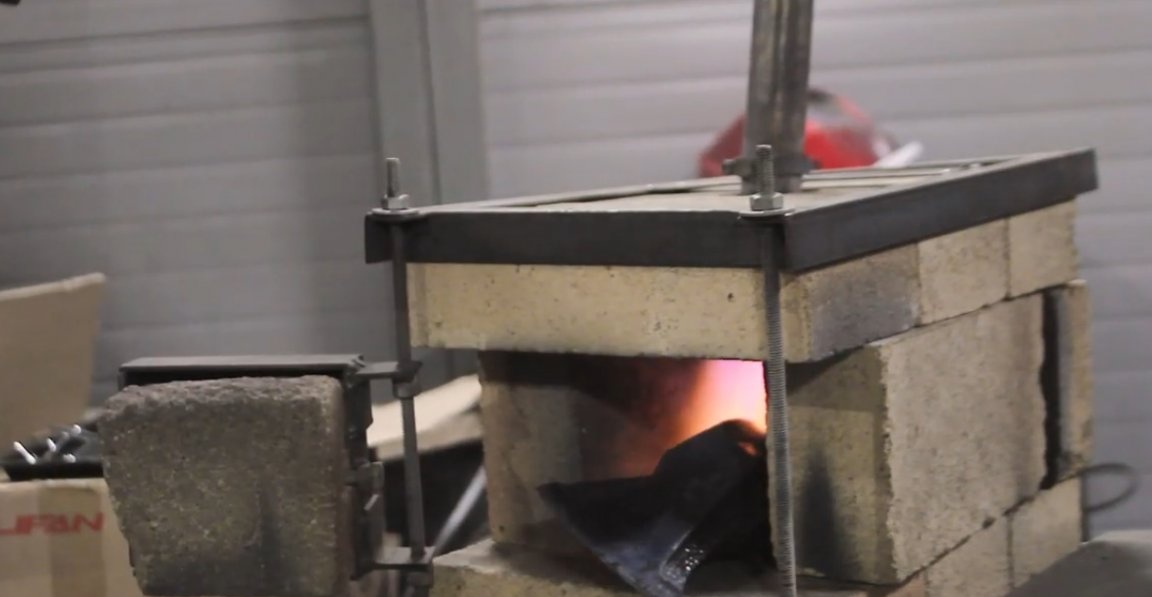
It was not possible to find out the brand of concrete axes, therefore, at this stage we will work collectively. We put the heated axes in the oven, which by this moment was maximally warmed up to its 250 degrees, this should slow down the cooling of the axes.
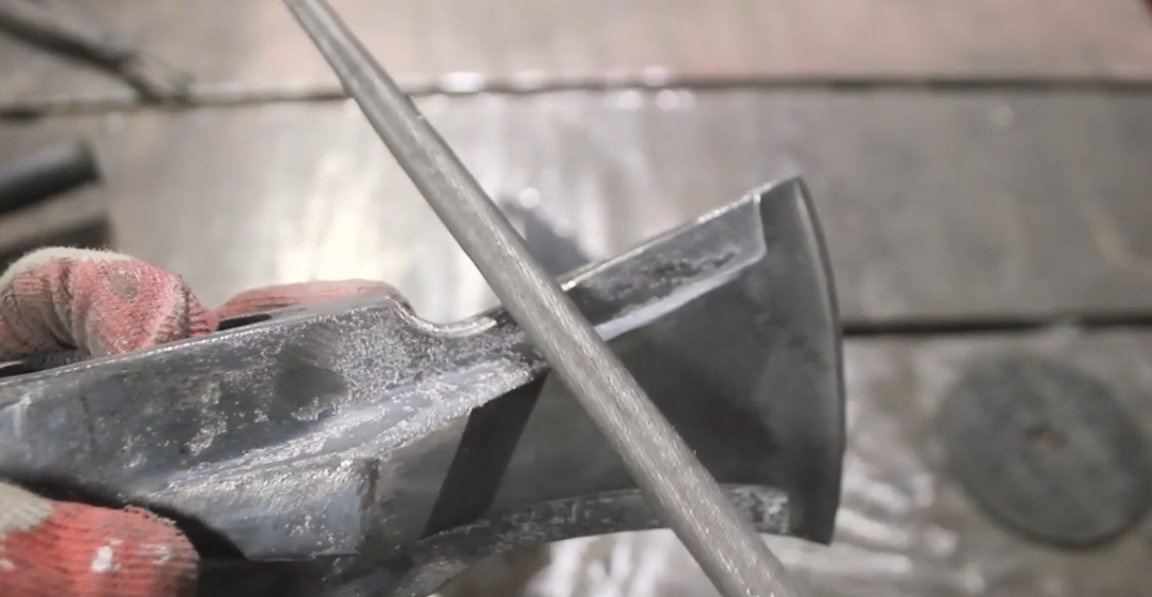
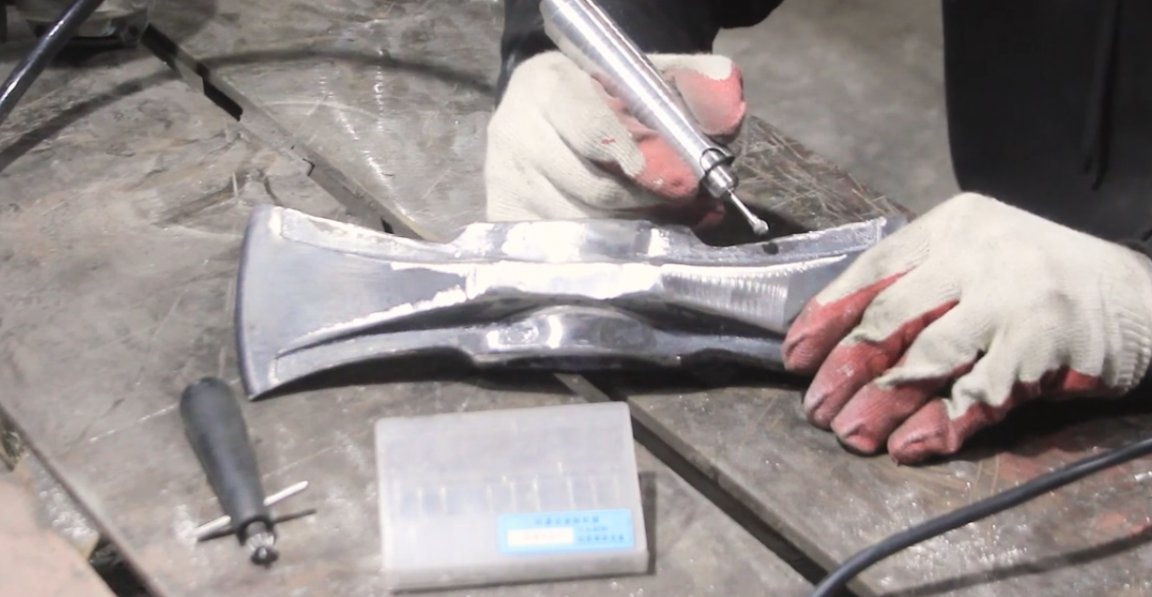
After annealing, the file catches the metal equally in any part of the ax.
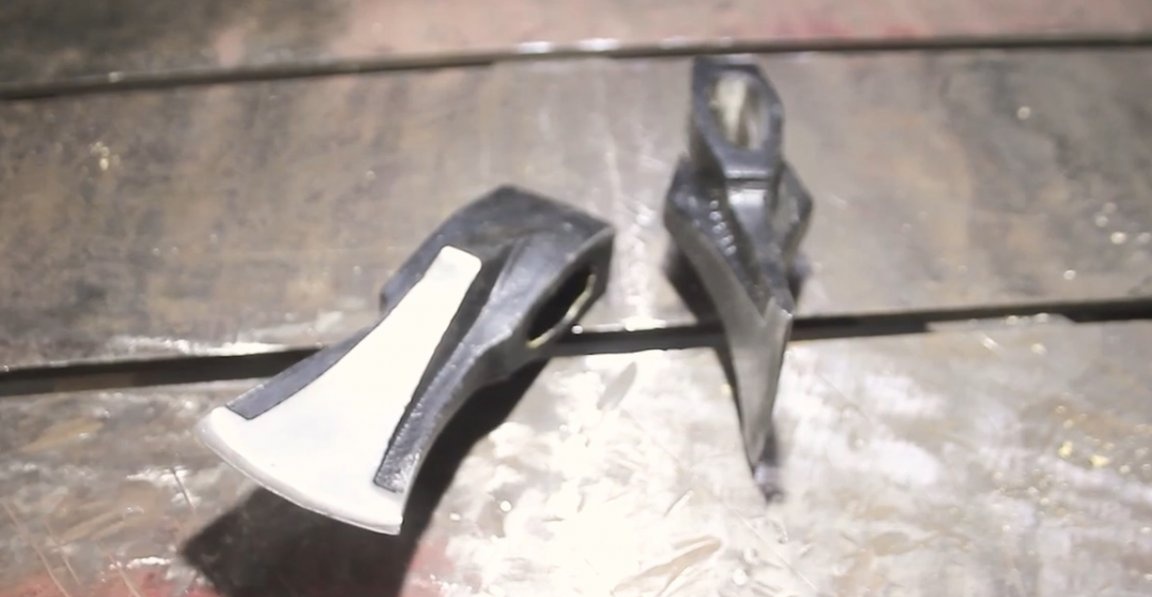
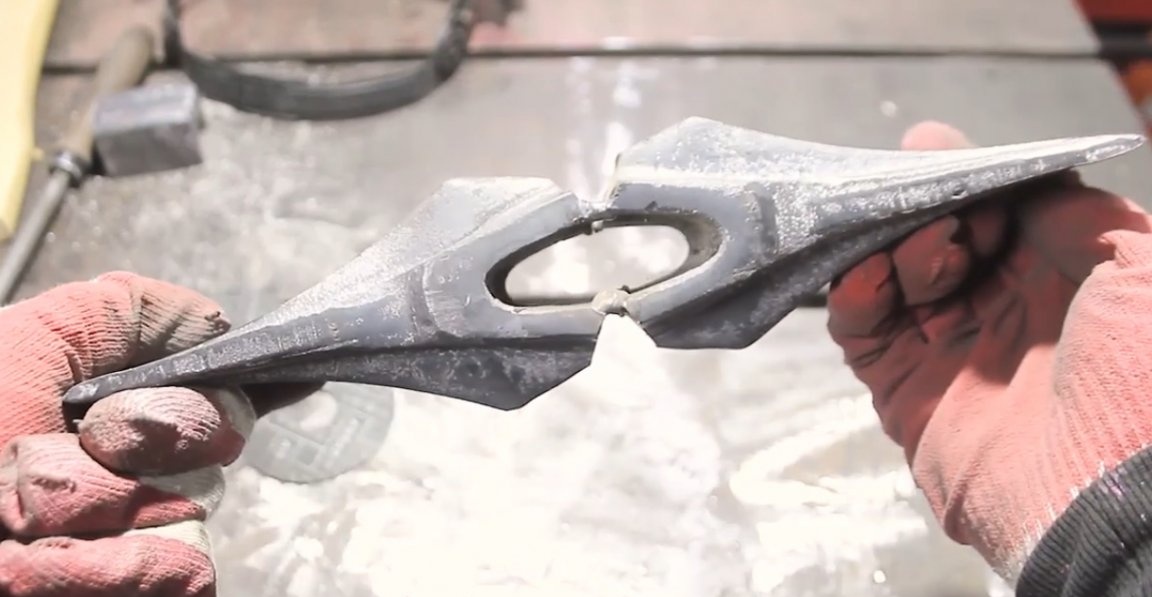
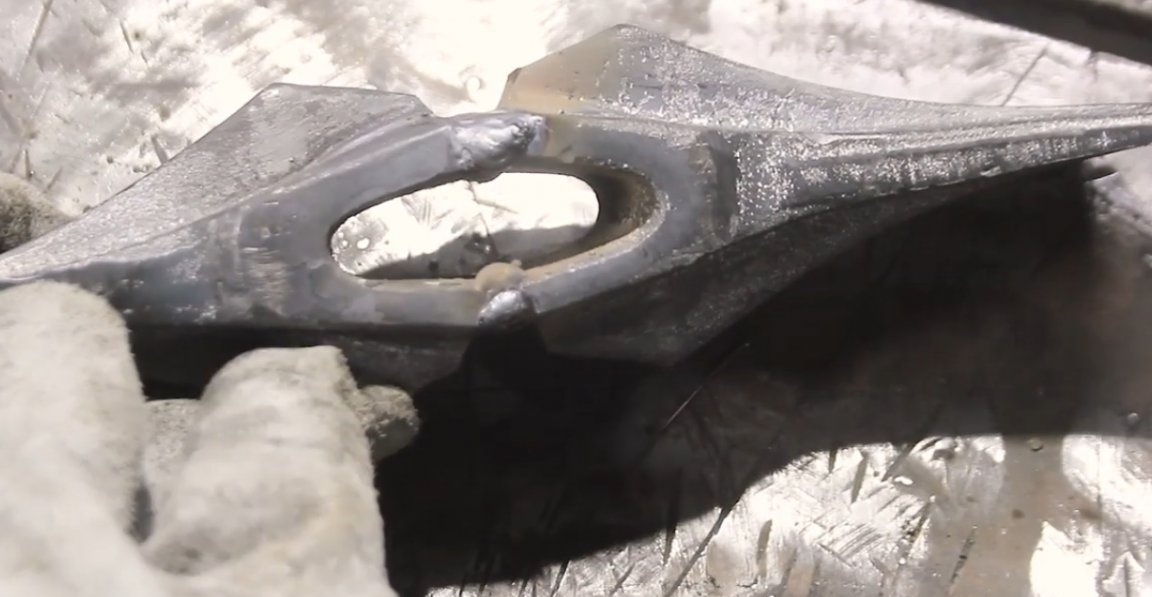
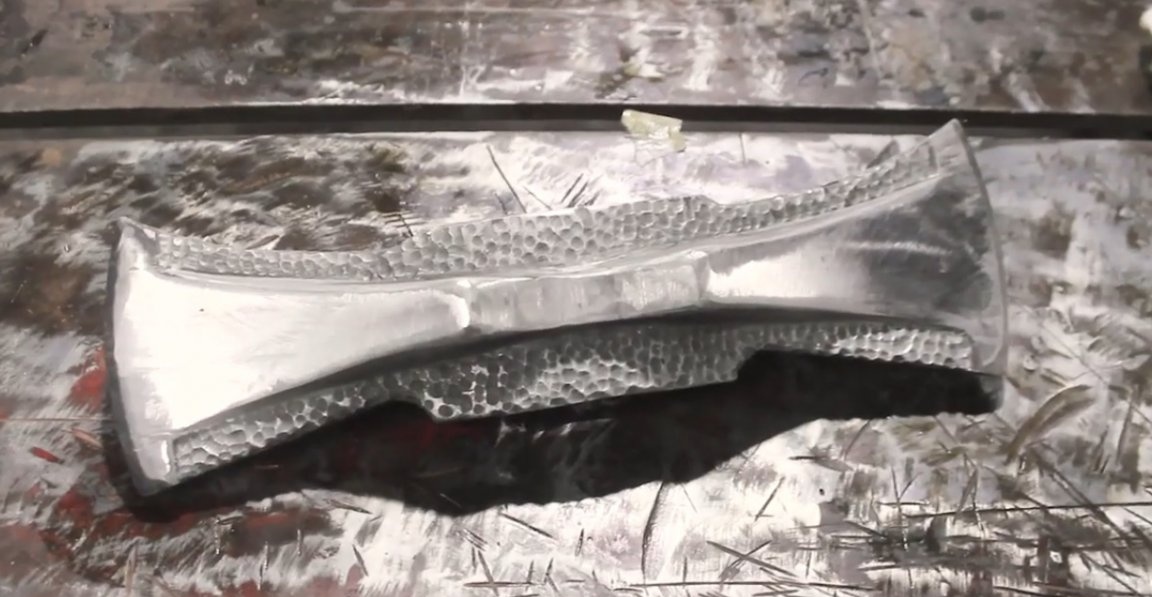
The next step is to join 2 axes into one. To do this, we cut off the axes of the axes to such a length that, when connecting the blades, the hole under the ax became approximately the factory size.
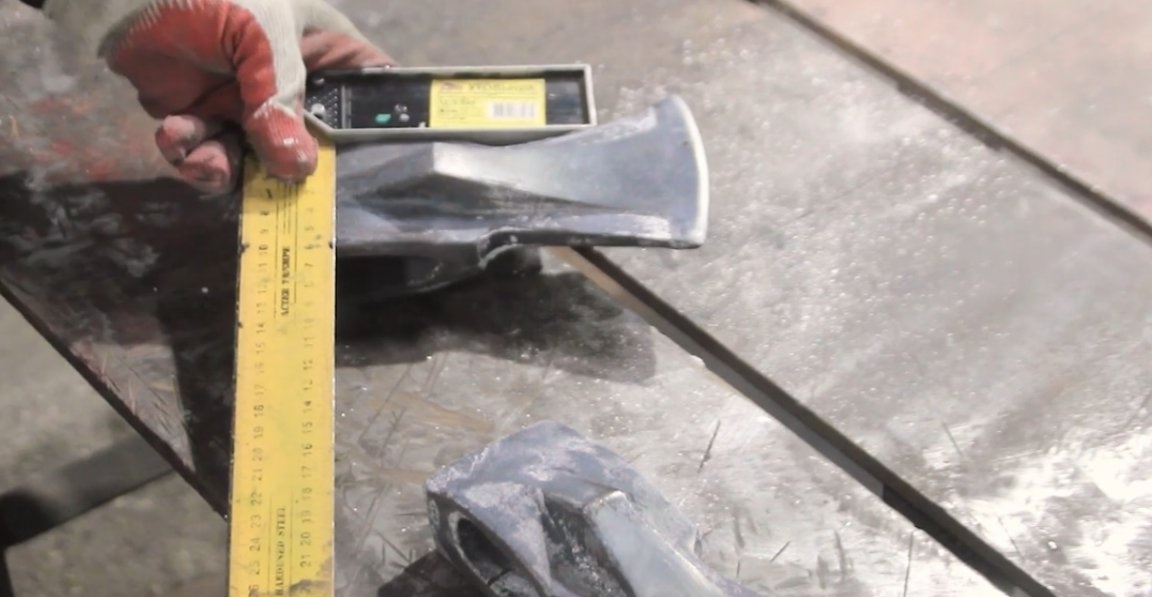

And here is what we have.
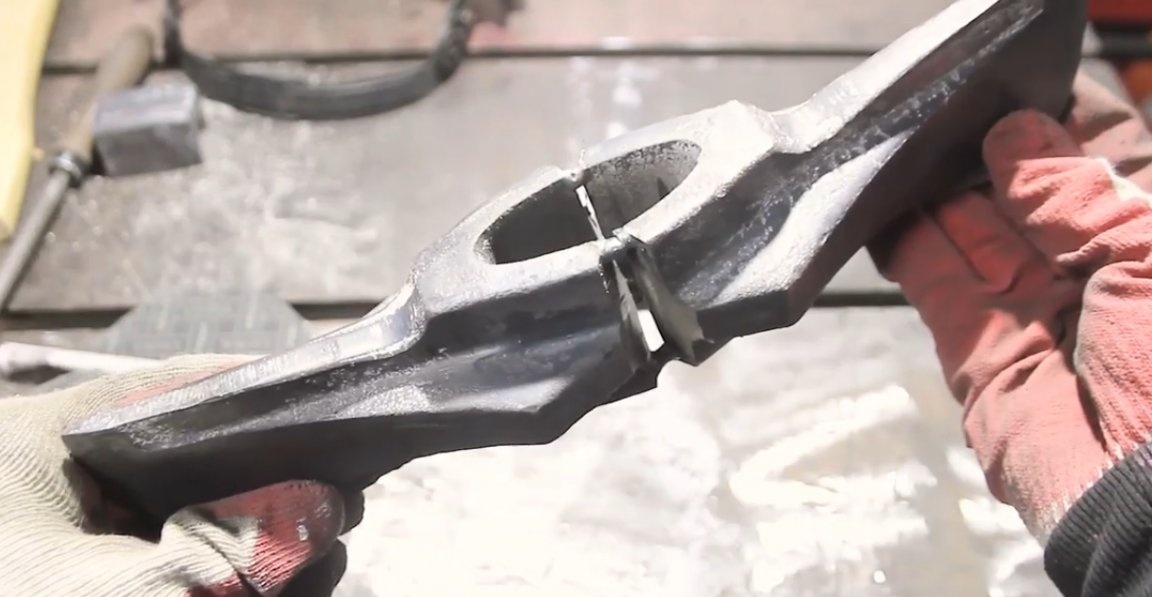
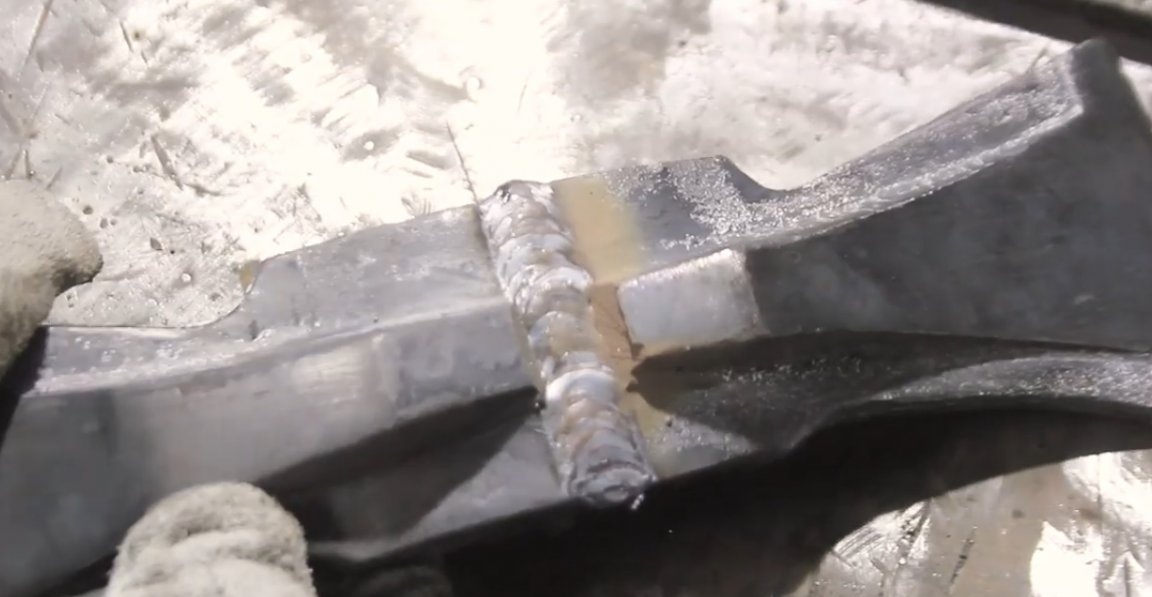
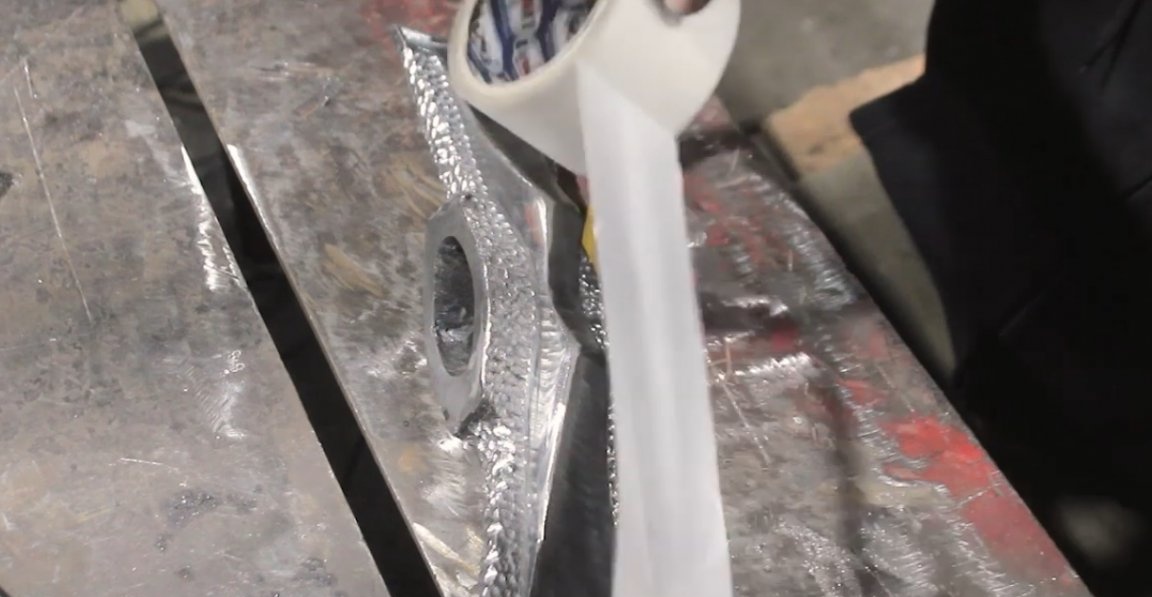
Together with the whitening of the butt, the master chamfered both parts of the ax and grabbed them with a gap. Thus, it will turn out to boil the ax to its entire thickness. Welding, by the way, will take place in 3 stages. First, you will need to boil the root seam, then fill the remaining gap and only then weld the rib.
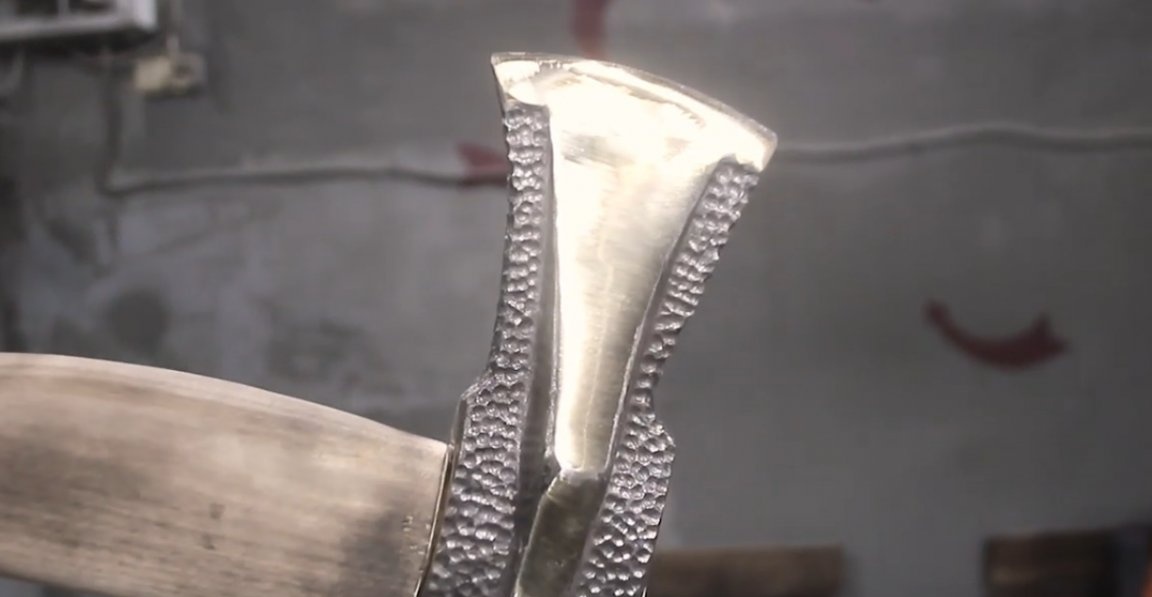
Pay attention to the inside of the seam.

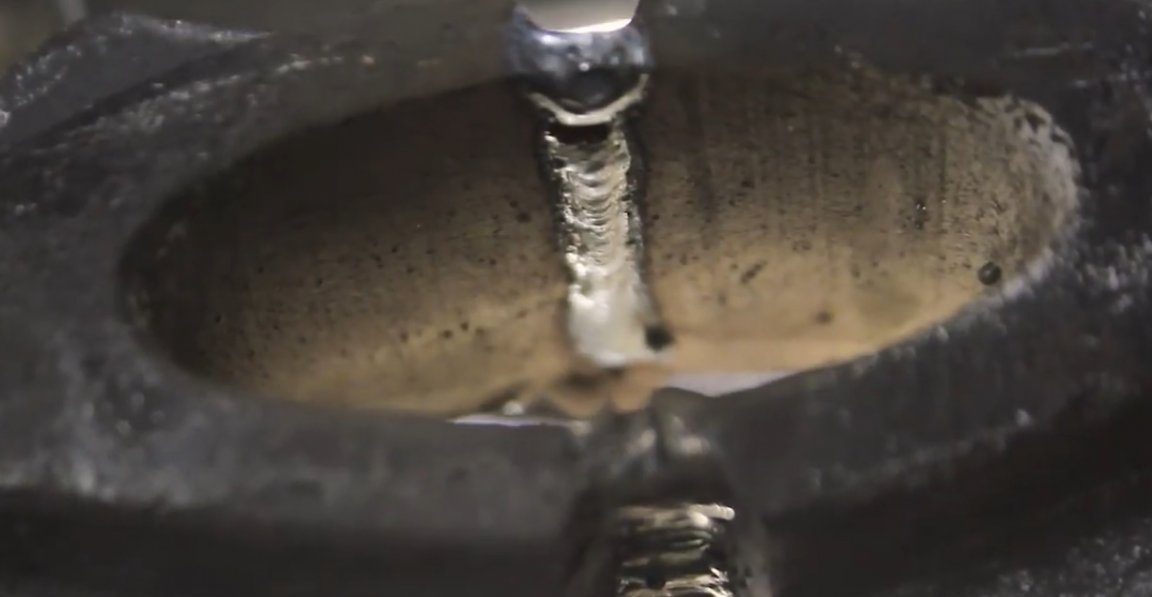
This is a reverse roller. Thanks to the cutting and clearance, it will be possible to boil the metal 100%, and not just weld it over.
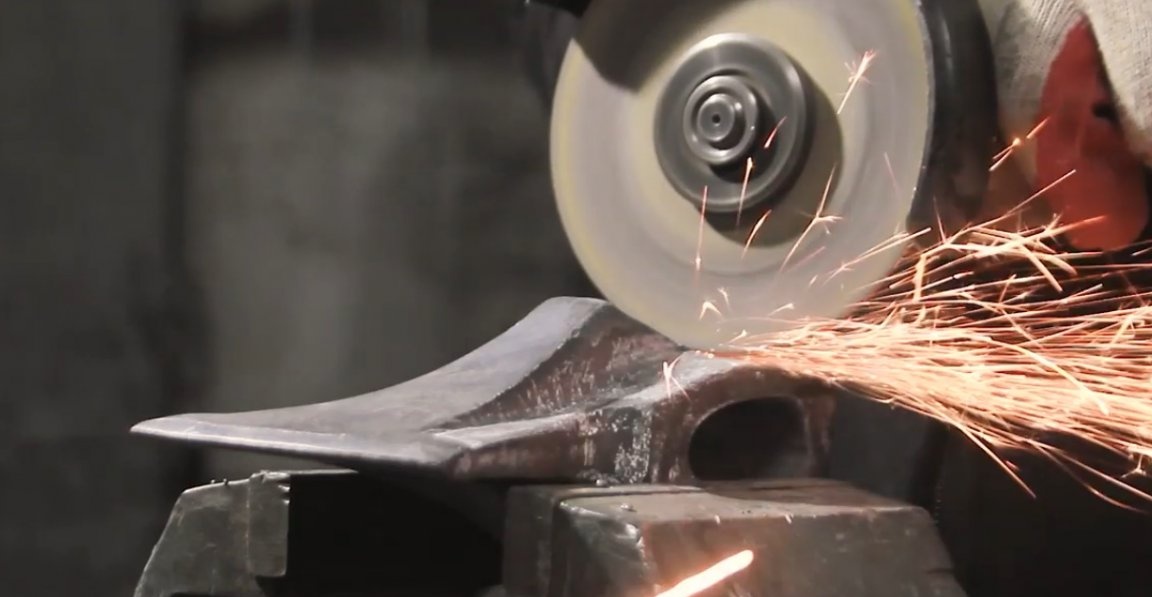
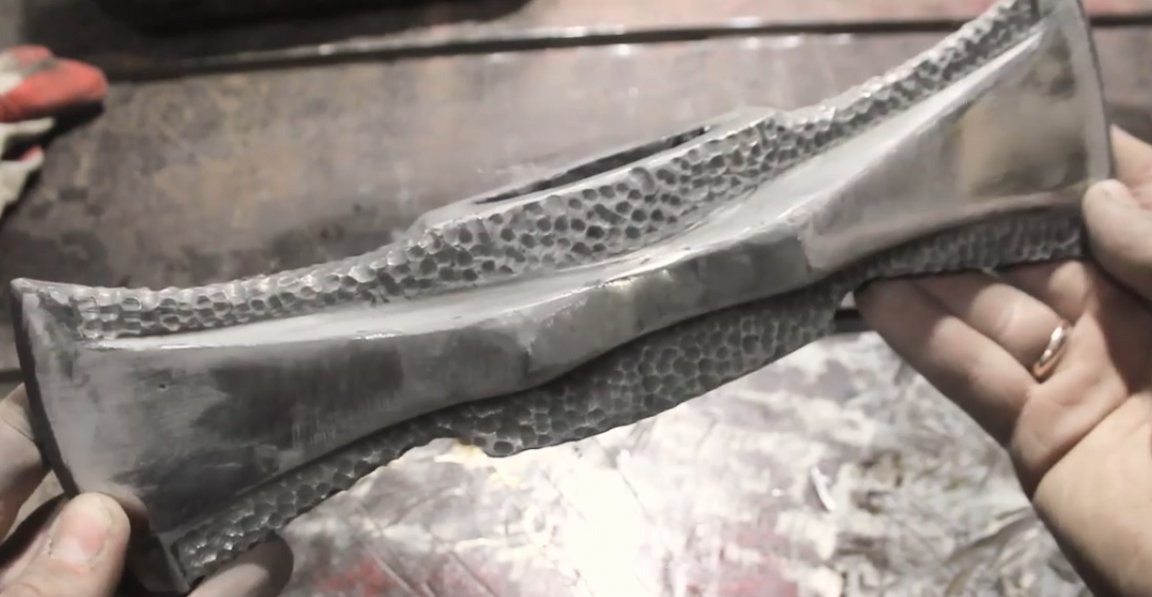
When the ax was welded and cleaned up, the author crept in the idea that it looks pretty good and if it is polished, it will already become a finished product, and subsequent work will become a risk, because you can make it worse.
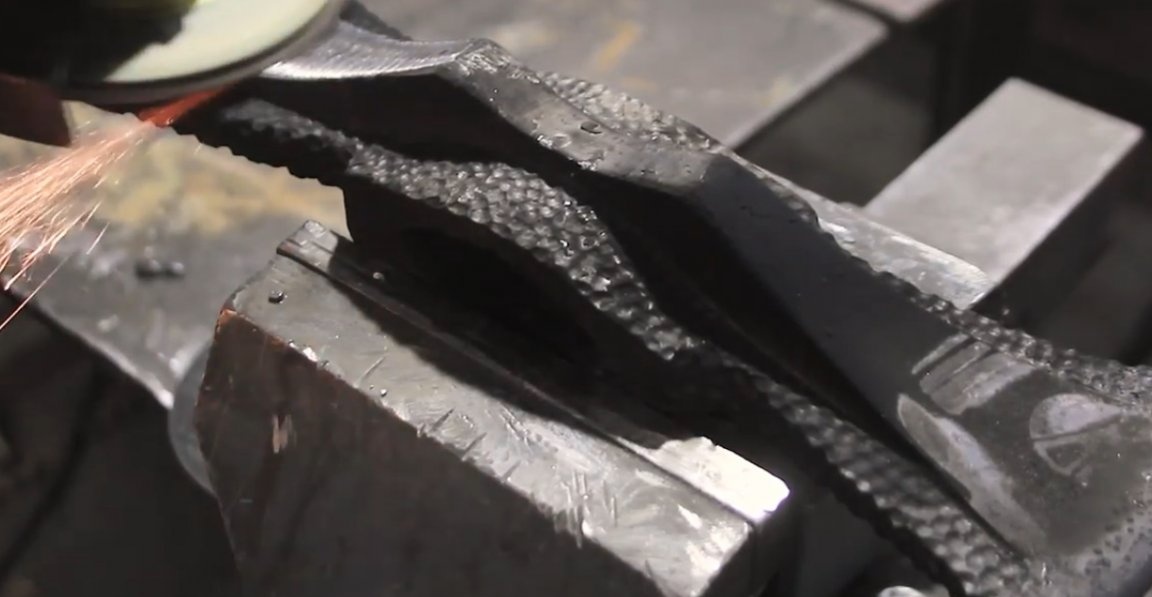
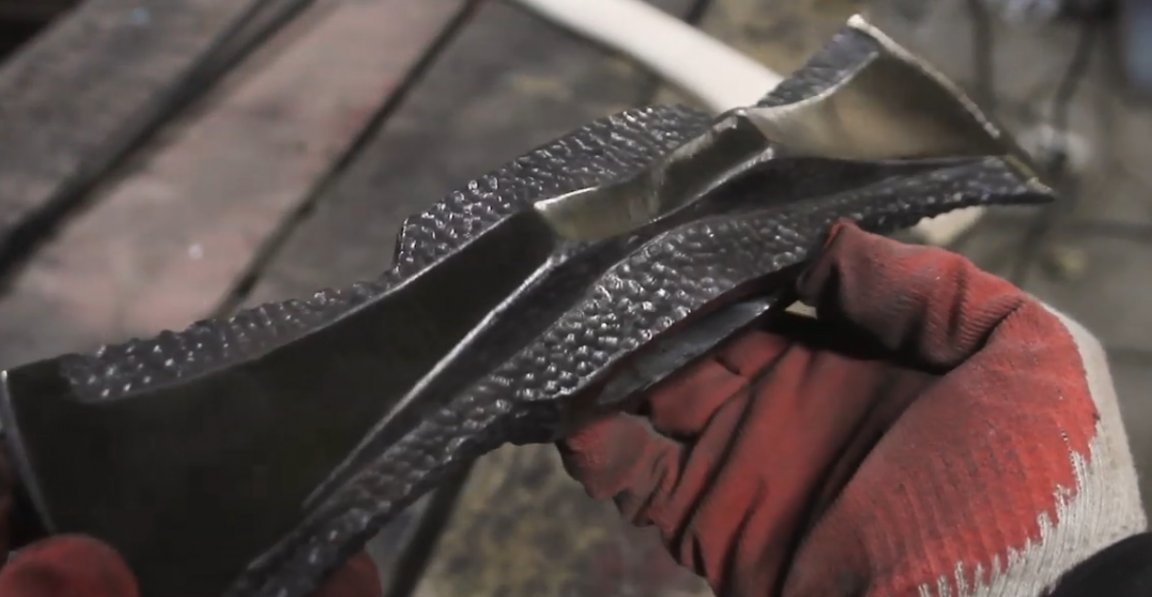
But as they say, eyes are afraid, and hands do. Therefore, the author decided to betray the texture of the stone with an ax. And if earlier he made it a grinder and cuts in the form of stripes turned out, now the author decided to make it a milling cutter.
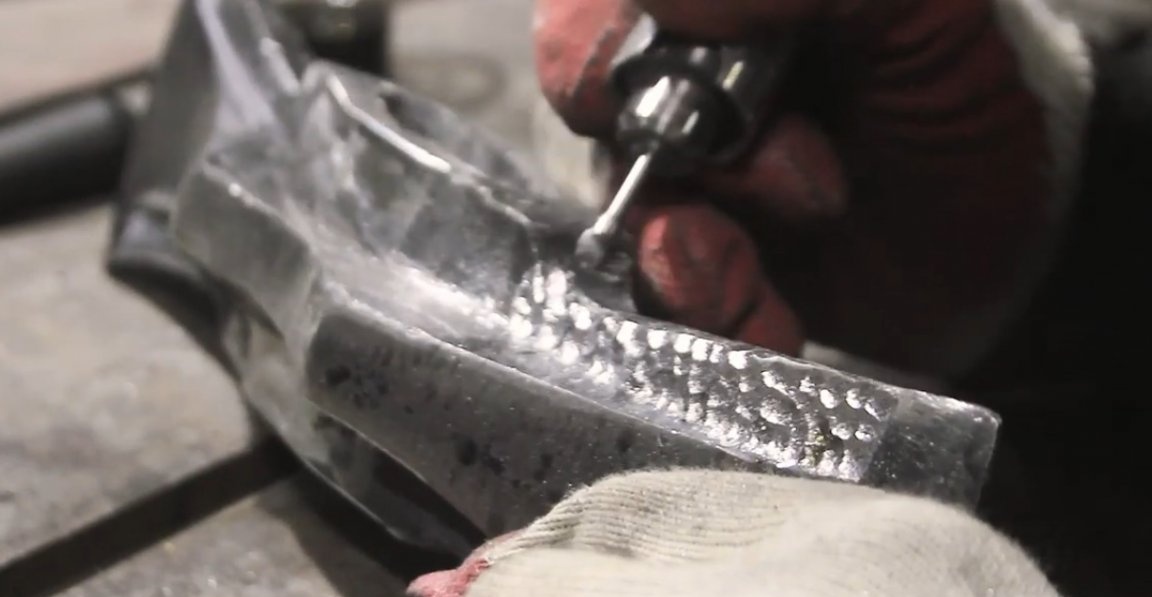
At the end of the milling, so to speak, what the master was afraid of happened - the ax became somehow glamorous.
To fix this point, you can use the next trick, well known - metal etching. To do this, you just need to immerse the ax in saline and apply voltage in this case from the welding machine. From this process, the metal will lose its glossy luster and become truly similar to stone.

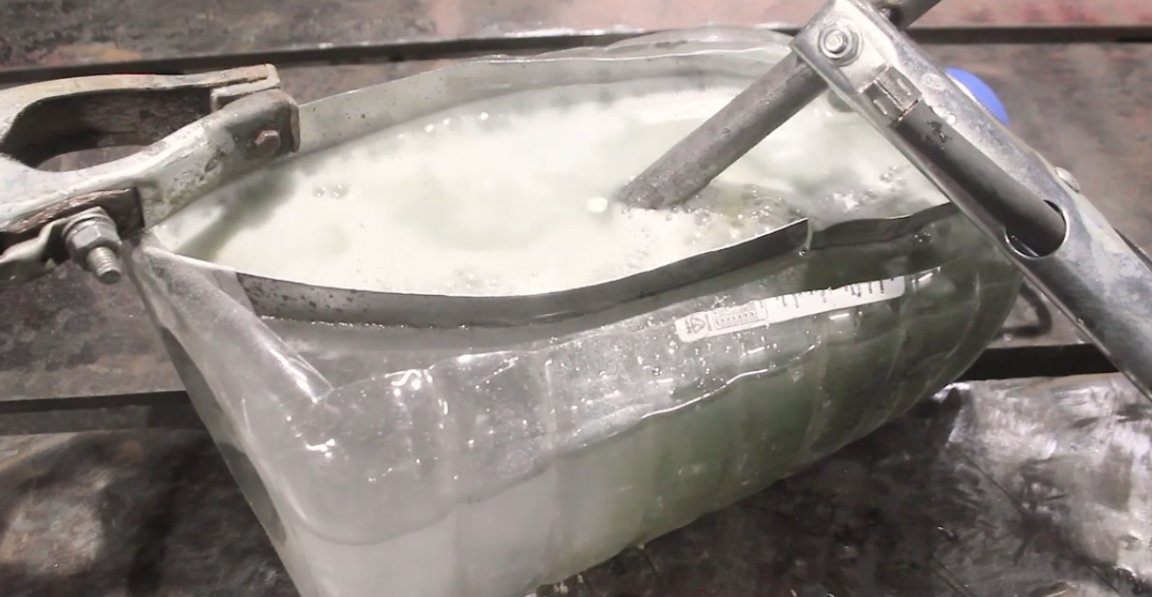
And again about safety precautions. In the process of etching, in the rapid process of etching with a welding machine, a large amount of hydrogen is released. Pop-up small gas bubbles are combined into large ones, and those, in turn, into large ones, and it really becomes explosive, keep this in mind.
Well, everything is going according to plan, the trick worked as expected.
Before final hardening it is necessary to carry out normalization. This process will relieve stress in our welds. To do this, put the ax in the hearth, heat it to the same 750 (plus or minus) degrees, and we are no longer trying to slow down the cooling process, but just let the ax cool down to ambient temperature. After which it will be possible to harden the ax.

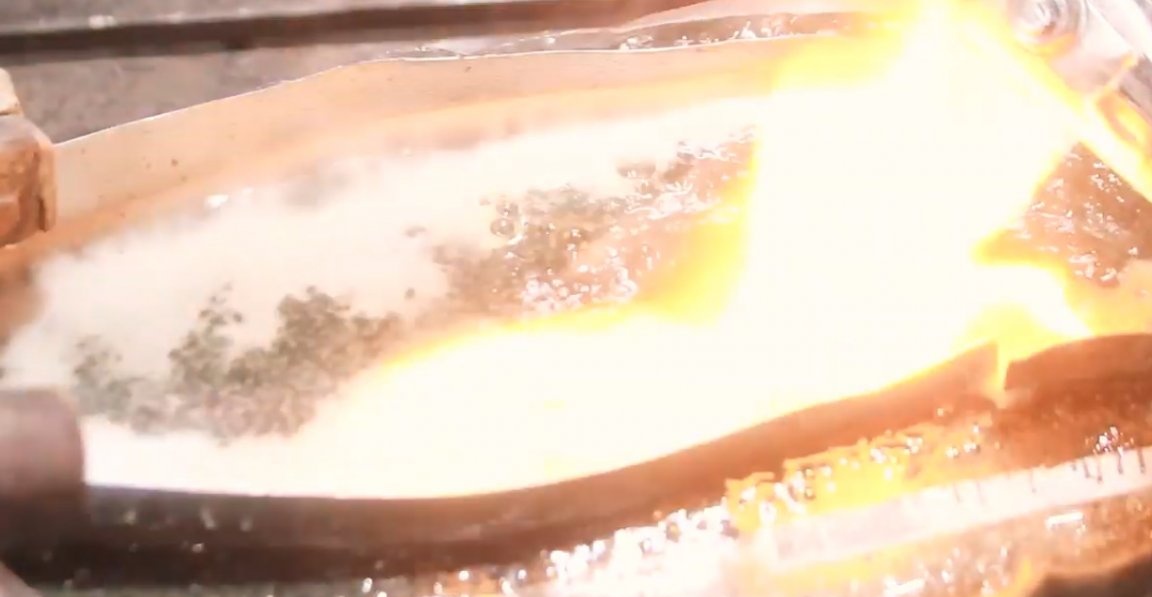
And here the master faced his greatest difficulty: how to harden an ax with two blades. He did not find another solution, how to first harden most of the ax, and then, after re-heating the reverse side, harden it.
Also, not knowing the steel grade, the master decided to harden the ax in a more common quenching medium, that is, to harden in oil.

From quenching in water, the metal will be harder, which is not really necessary for the cleaver (in the sense it will not need to scratch the glass).
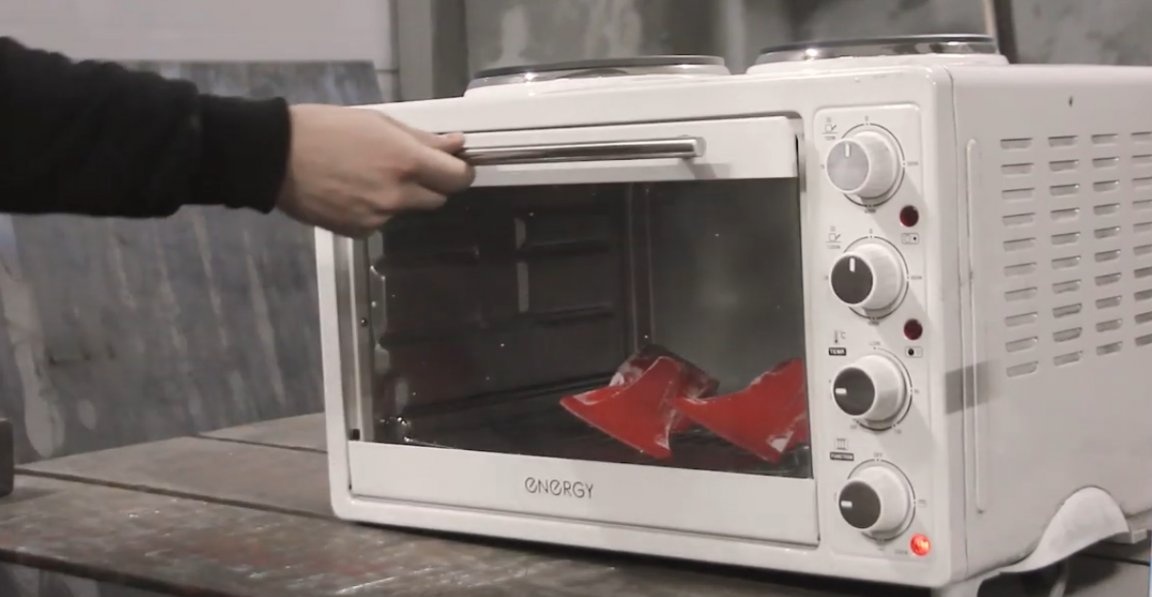
The last stage of heat treatment will be the tempering of steel. To do this, first clean the ax from the scale, and then place it in a heated oven. There, the ax will lie for several hours and heat up to 220 degrees, which will correspond to the straw color of the metal.

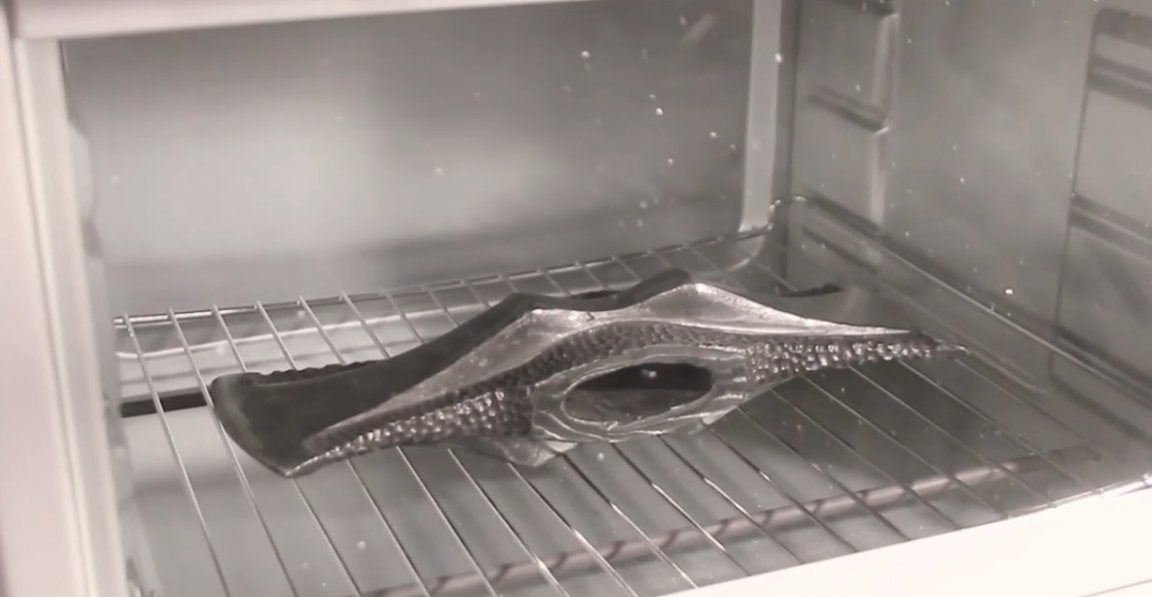
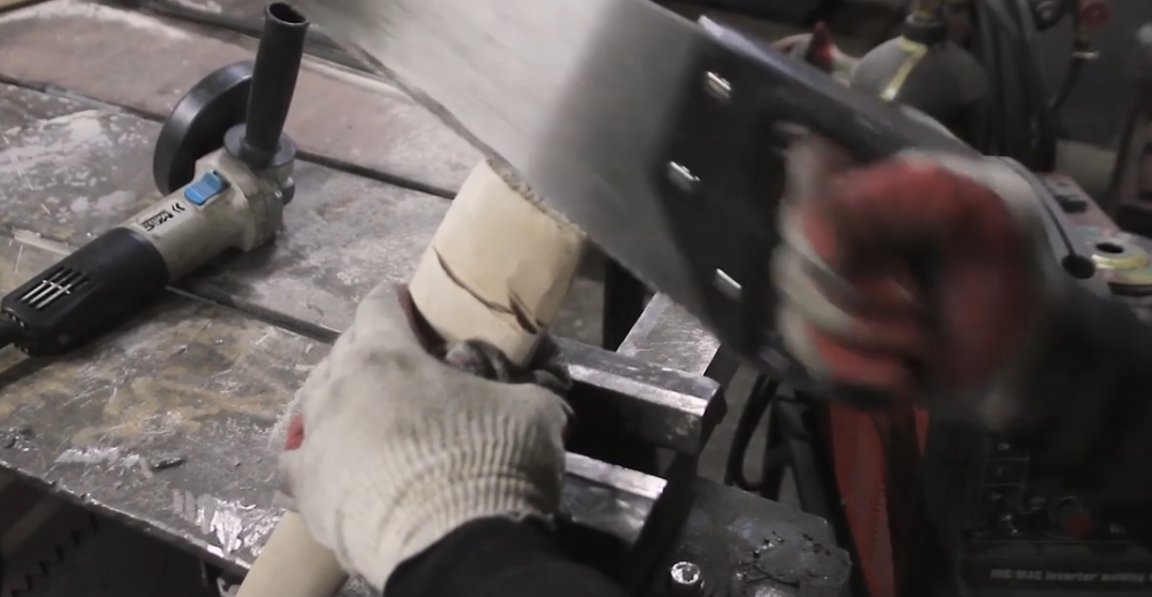
The more uniform and slower the heating, the more accurate the final desired color. Then you need to make a pen.
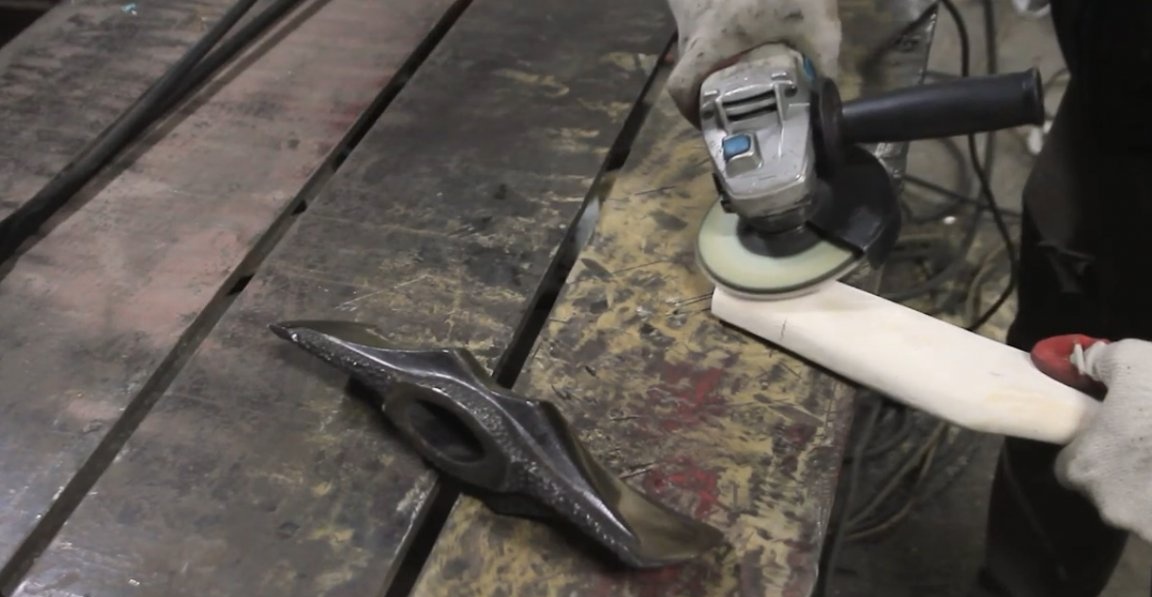
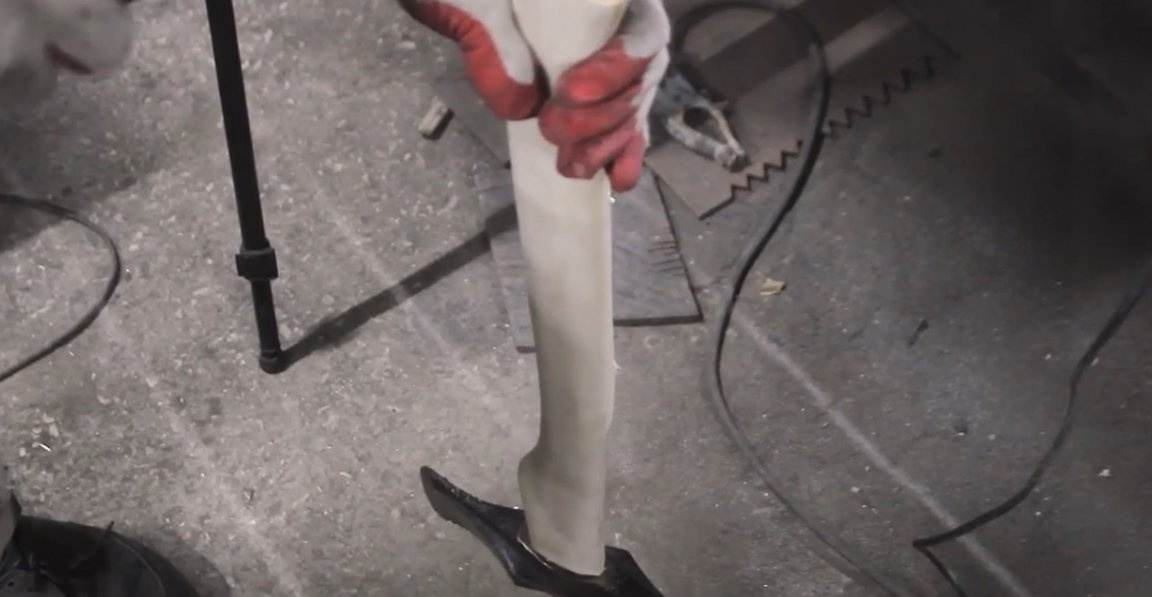
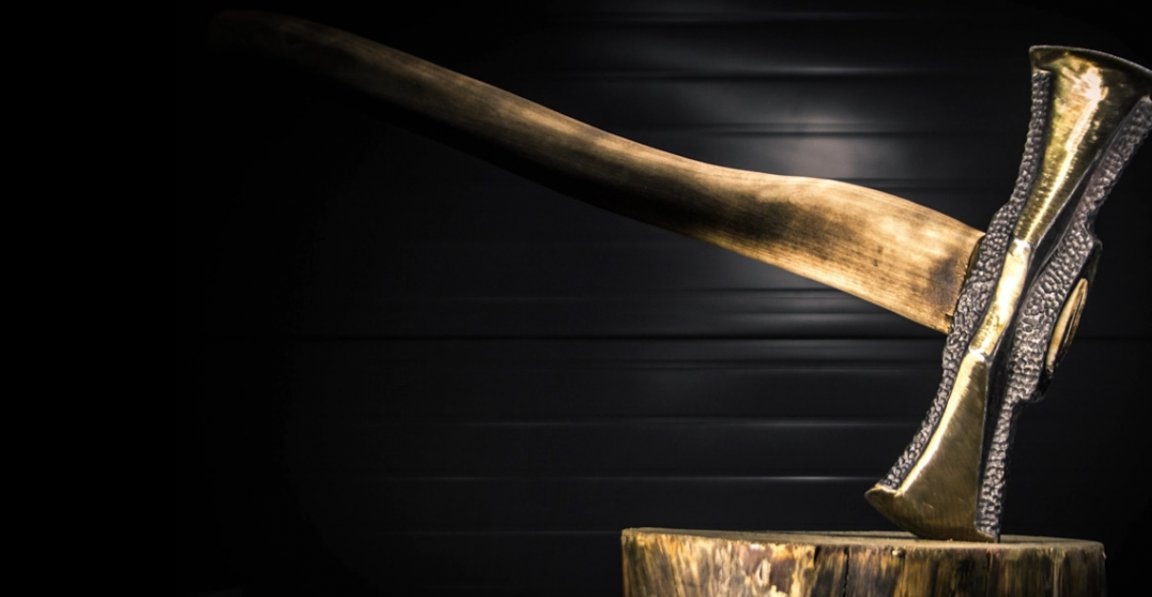
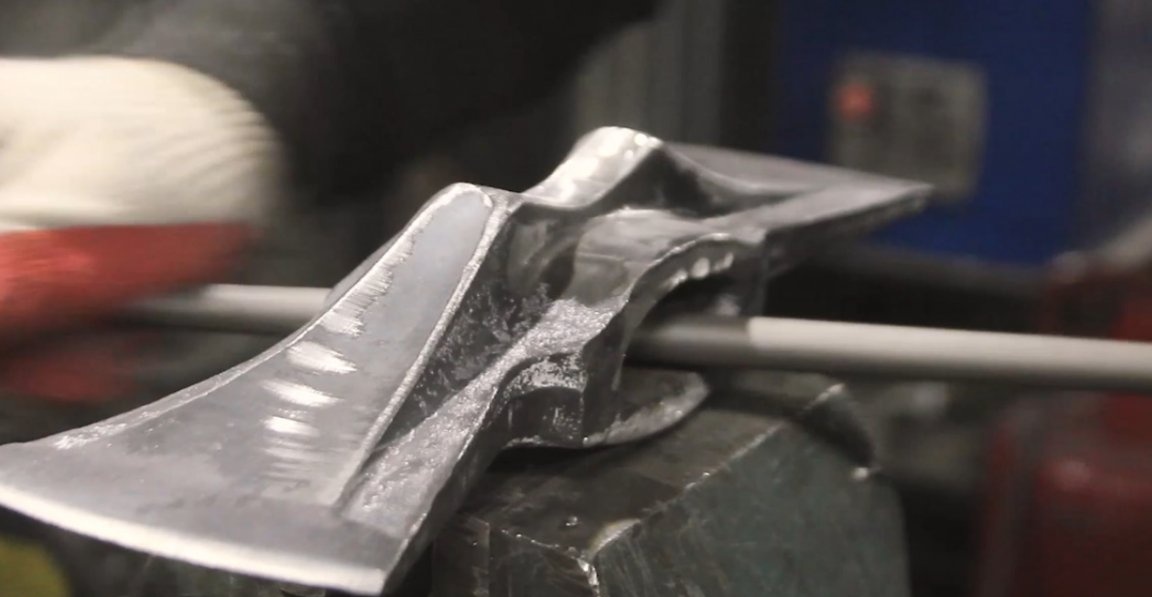
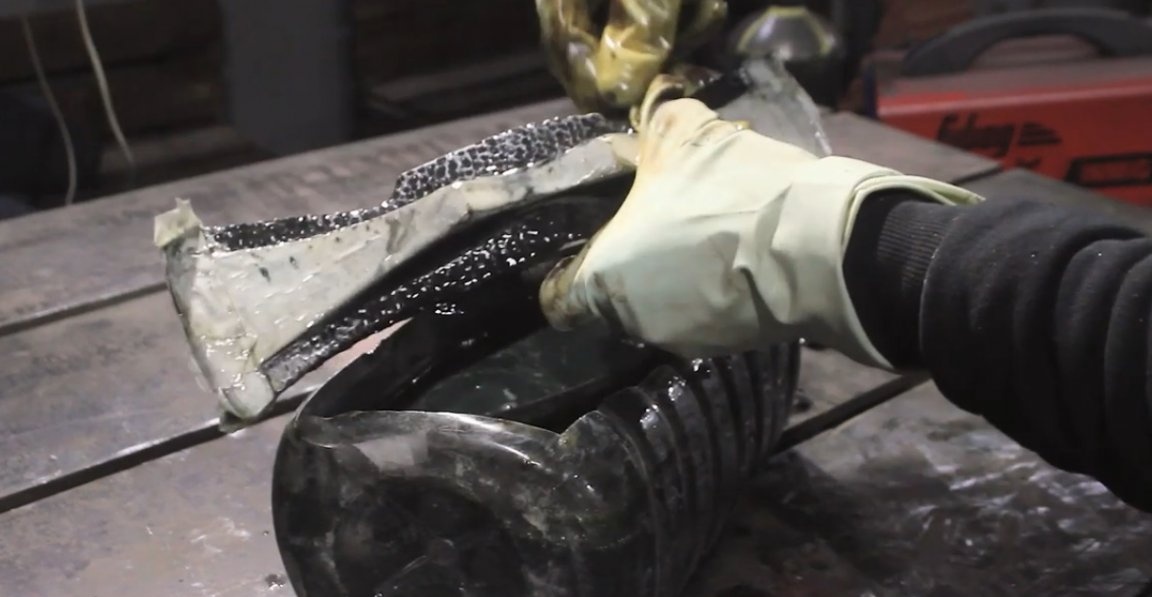
Well, this is such an ax.
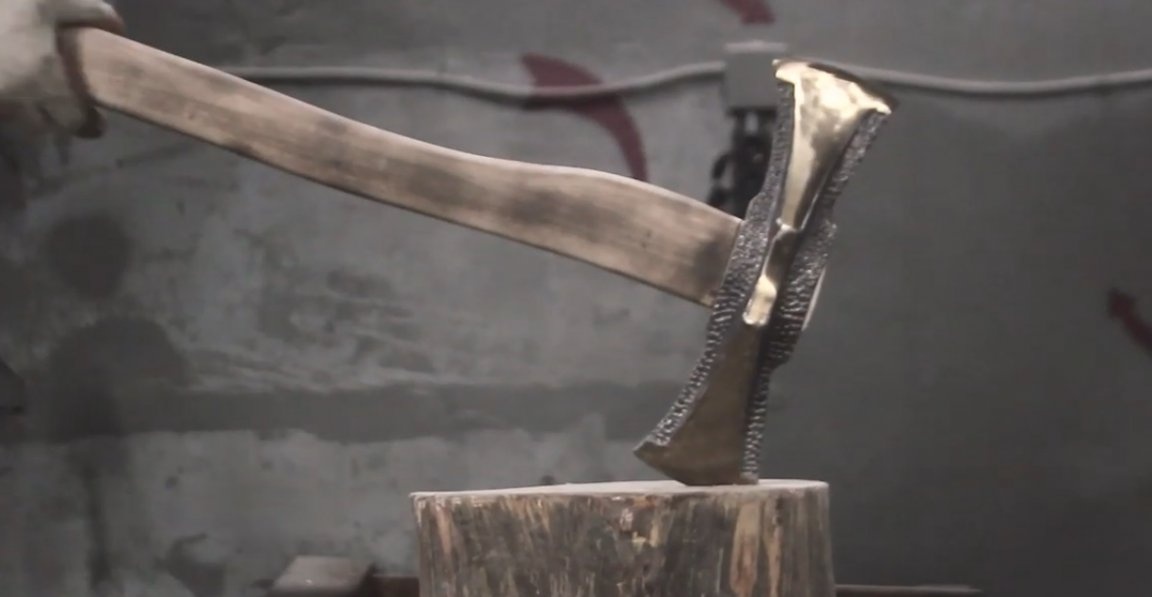
Perhaps a bit heavy, perhaps with imperfect heat treatment, but definitely interesting and also made do it yourself. That's all for today. Thank you for attention. See you soon!
Video: