
Good day to all. This article will be useful for blacksmiths, both beginners and experienced craftsmen. Using this fixtures, you can make some elements of art forging, on various kinds of blanks that are used in the manufacture of such items as: railings, gates, fences, window grills and much more. So how to make such an intricate machine? And this will be helped by the author of the Kovko Kova4 channel, known to many from the last article, “Home-made hand-held machine for cutting wire and rods”. Read the article to the end or check out the video below, and you can find out how the master made this homemade and what he needed for this.
And so for starters, the materials that were used by the master in this homemade product.
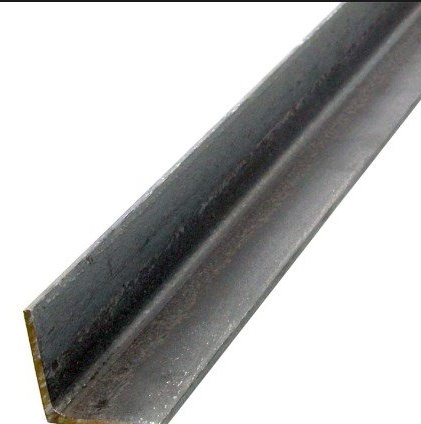
This is a steel corner.
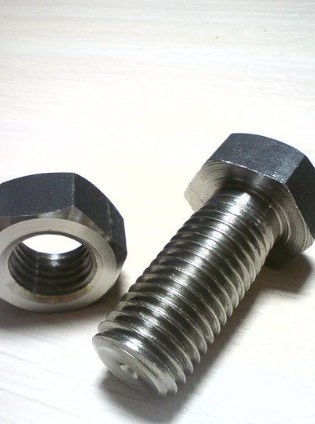
Bolt with nut.
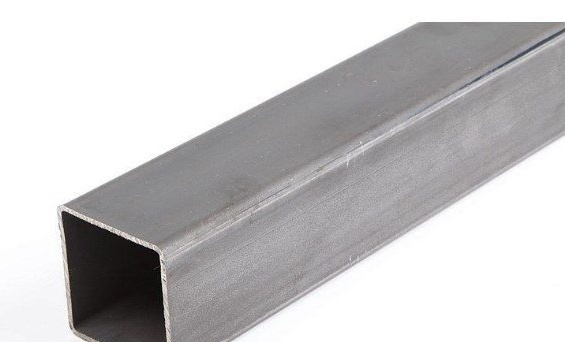
Steel profile pipe 30 to 30.
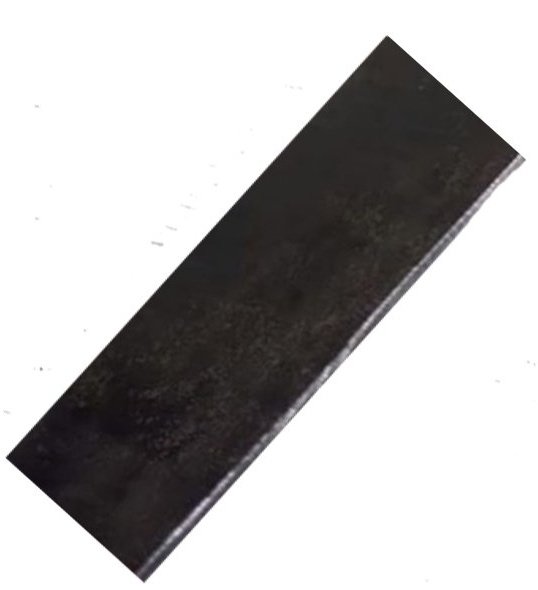
A piece of sheet metal for the base of the machine.
And the spring is automobile.
Manufacturing process. From the spring, the author measured two pieces of 25 cm.
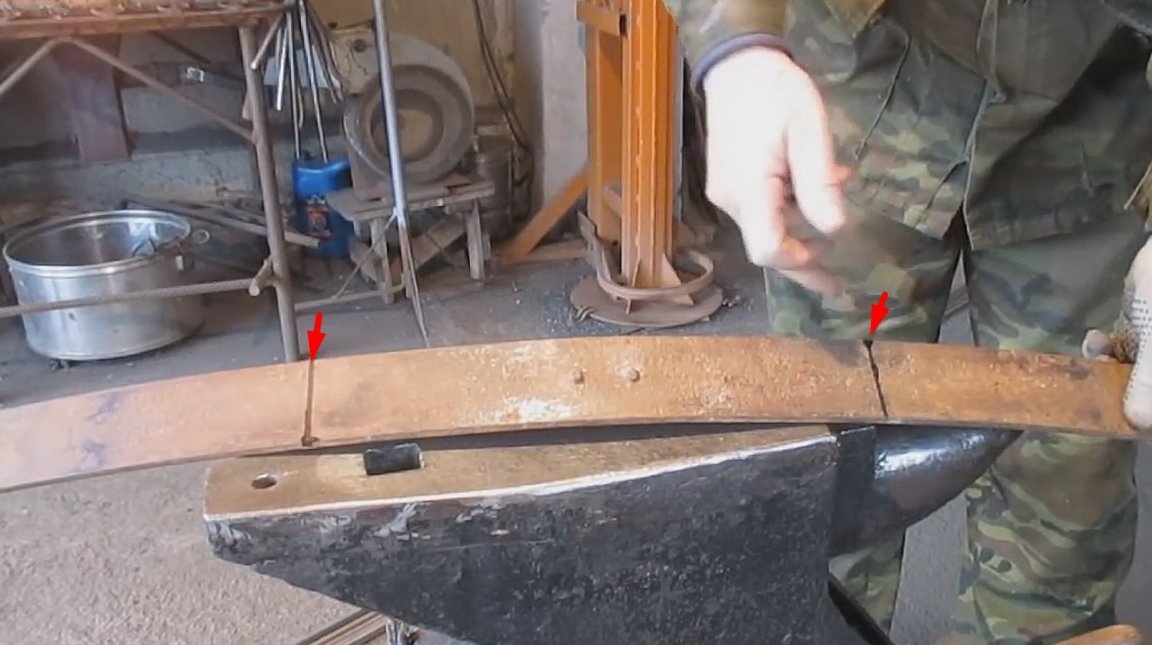
And snapped.
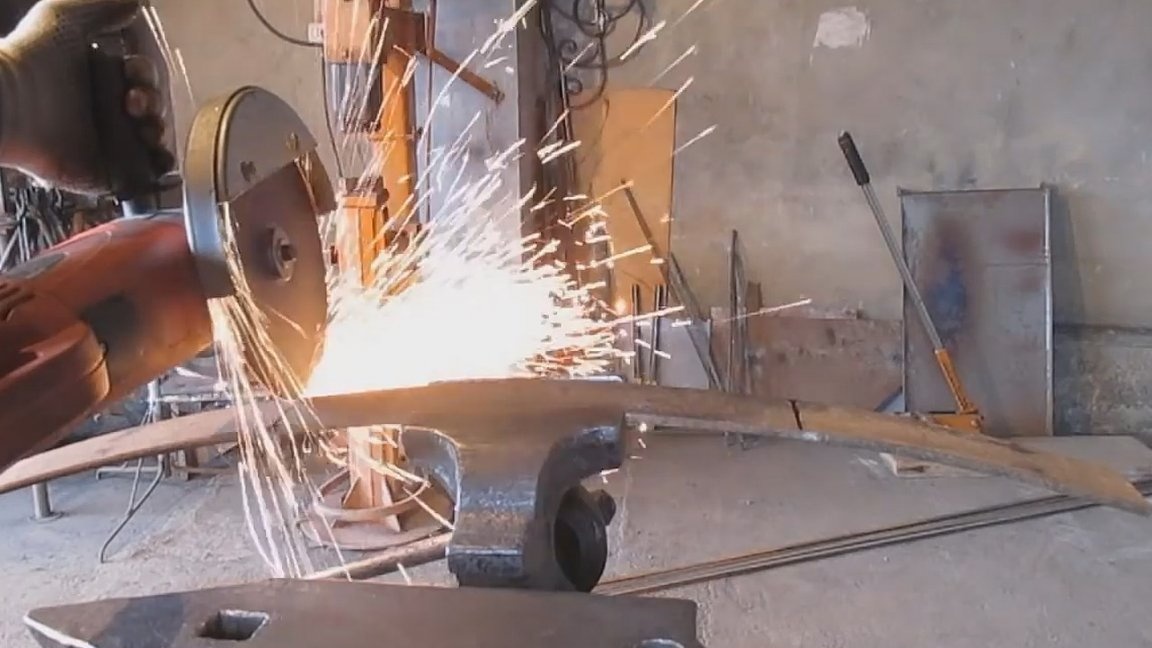
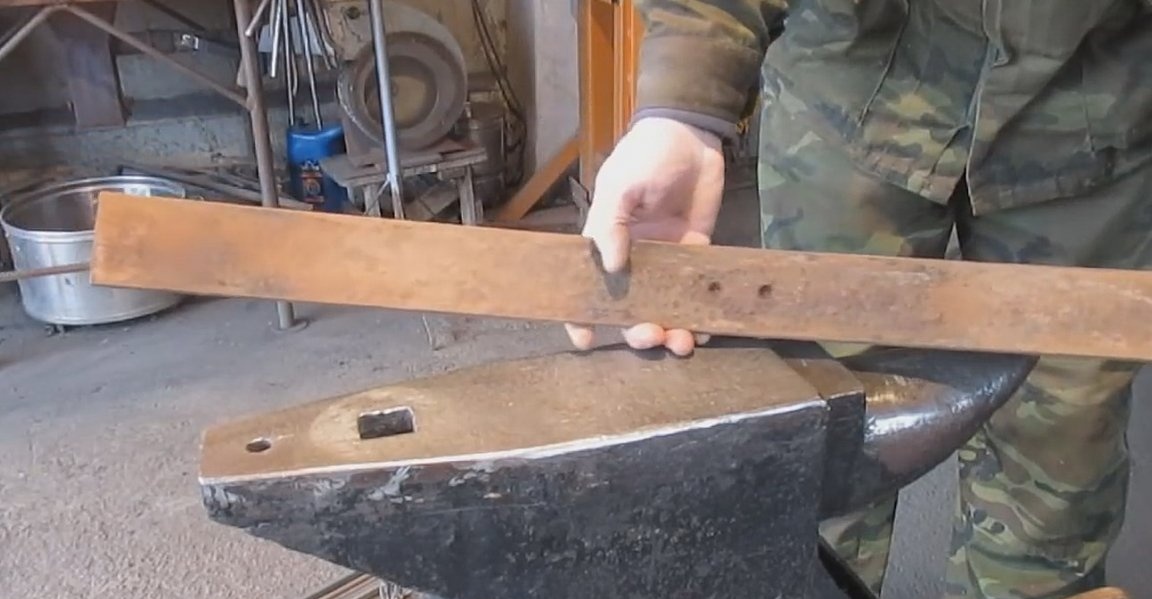
The spring has a slightly curved shape, and for the machine tool the master needs even workpieces.
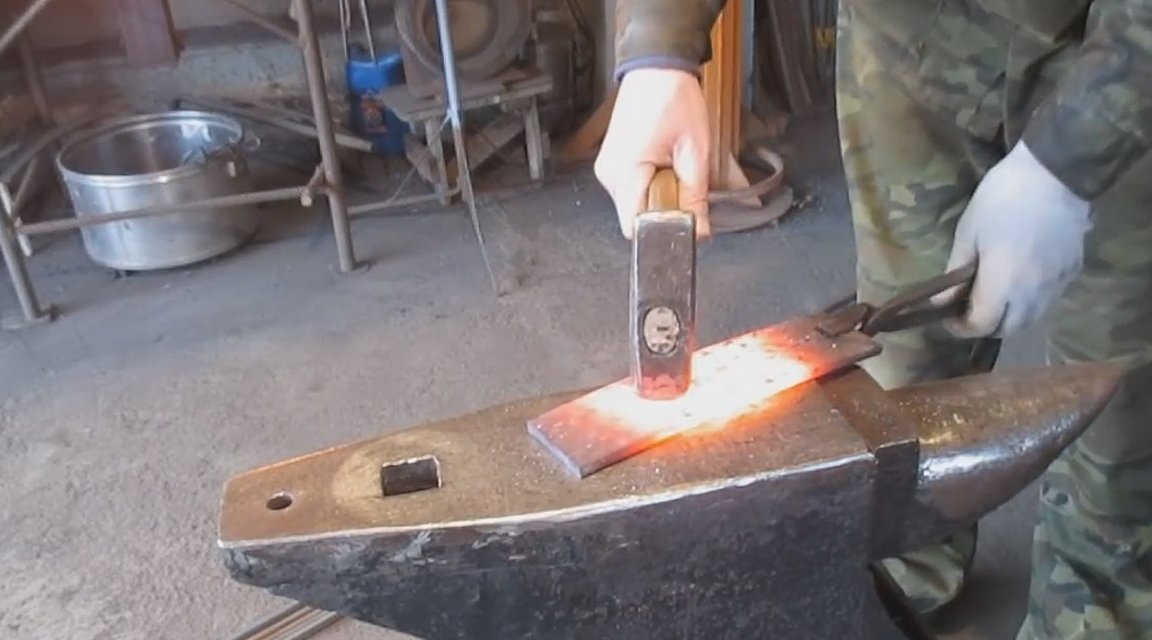
Therefore, the author heats the workpieces in the furnace.
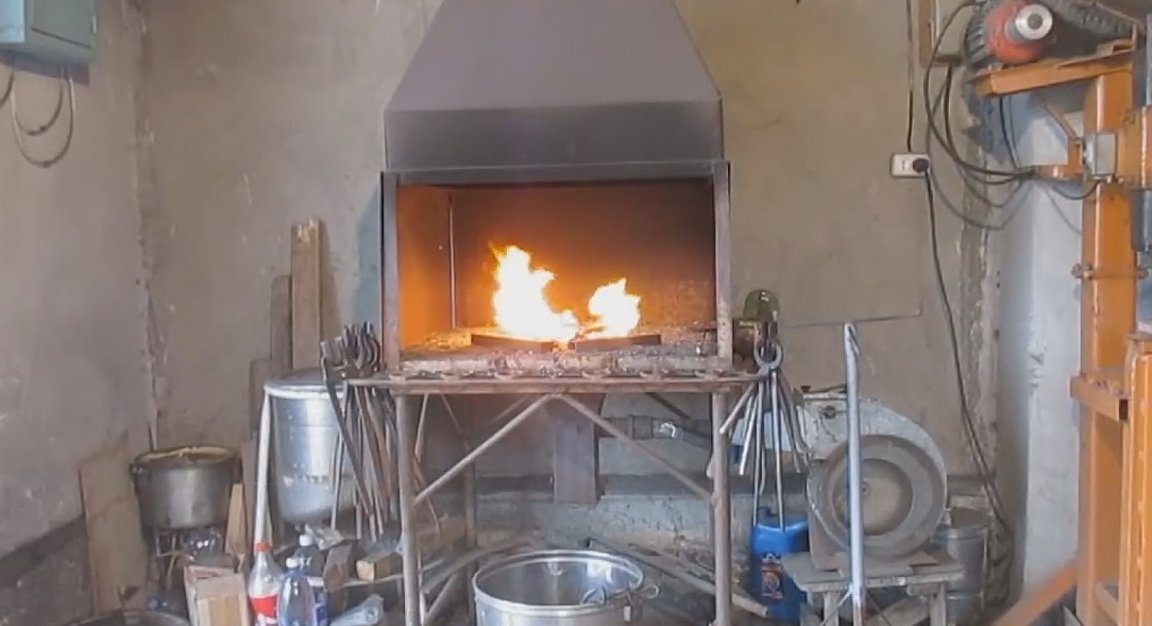
And smoothes them with a hammer.
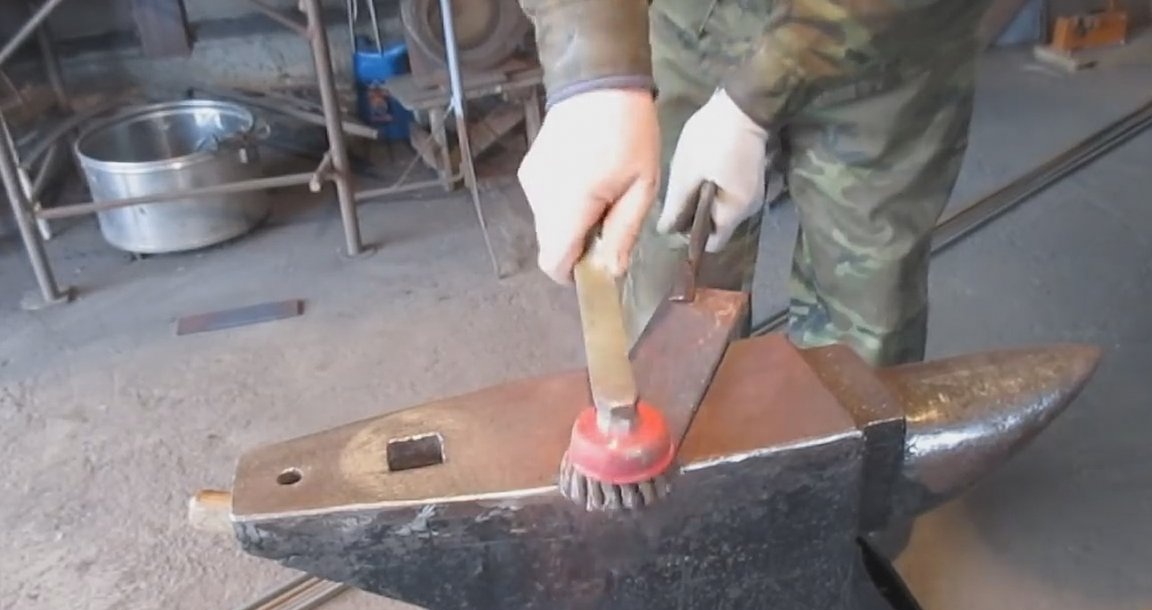
After clean with a metal brush.
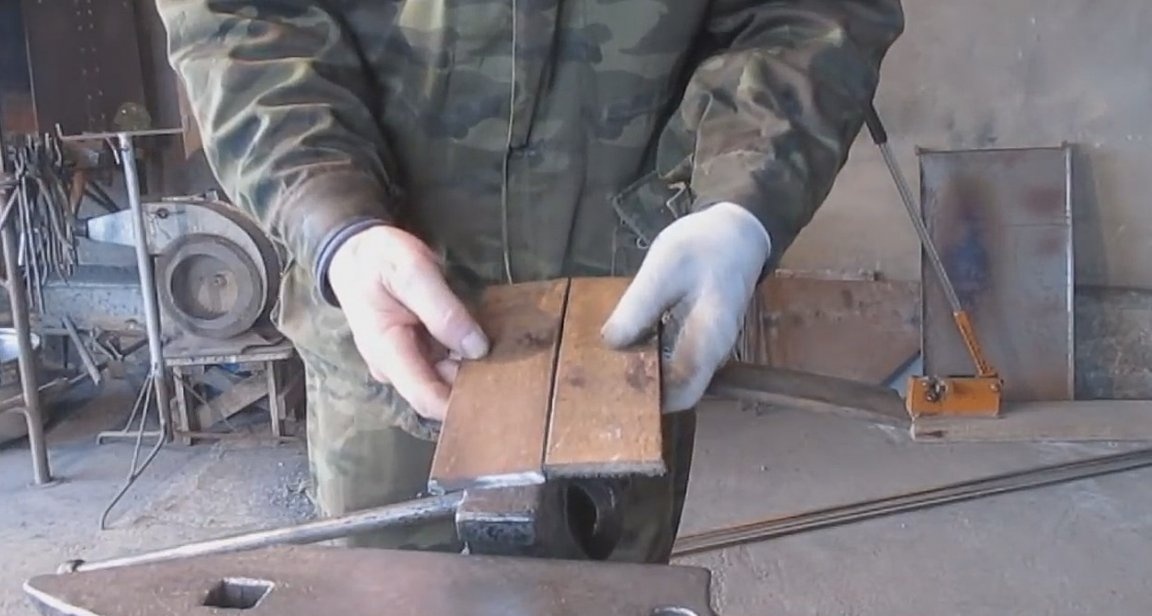
And also prepare the remaining details of the future machine. Having cut off one small piece from the profile pipe, and two pieces from the corner, the length of the corners is equal to the width of two blanks from the spring. For the base of the machine, he cut a piece of suitable size from sheet metal.

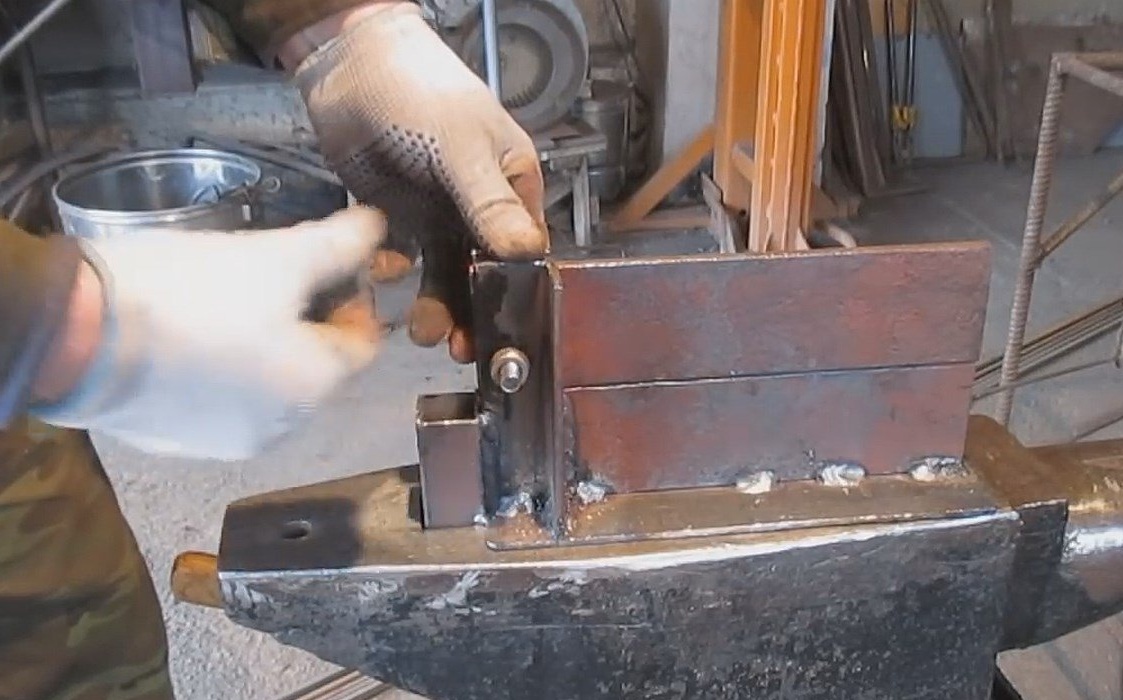
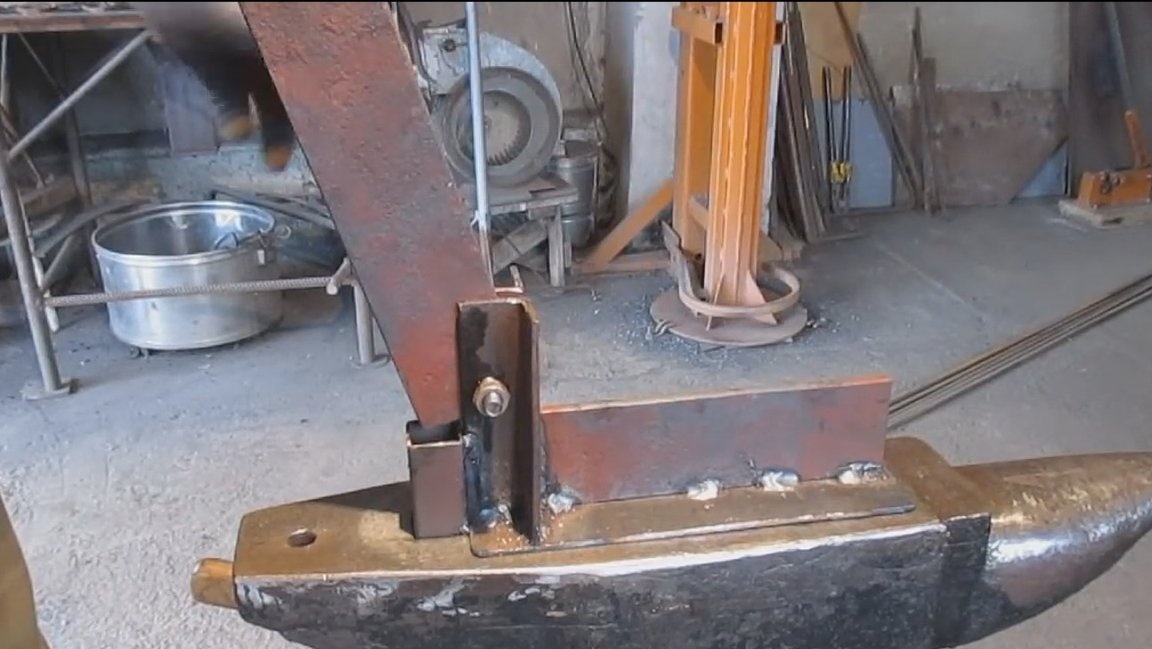
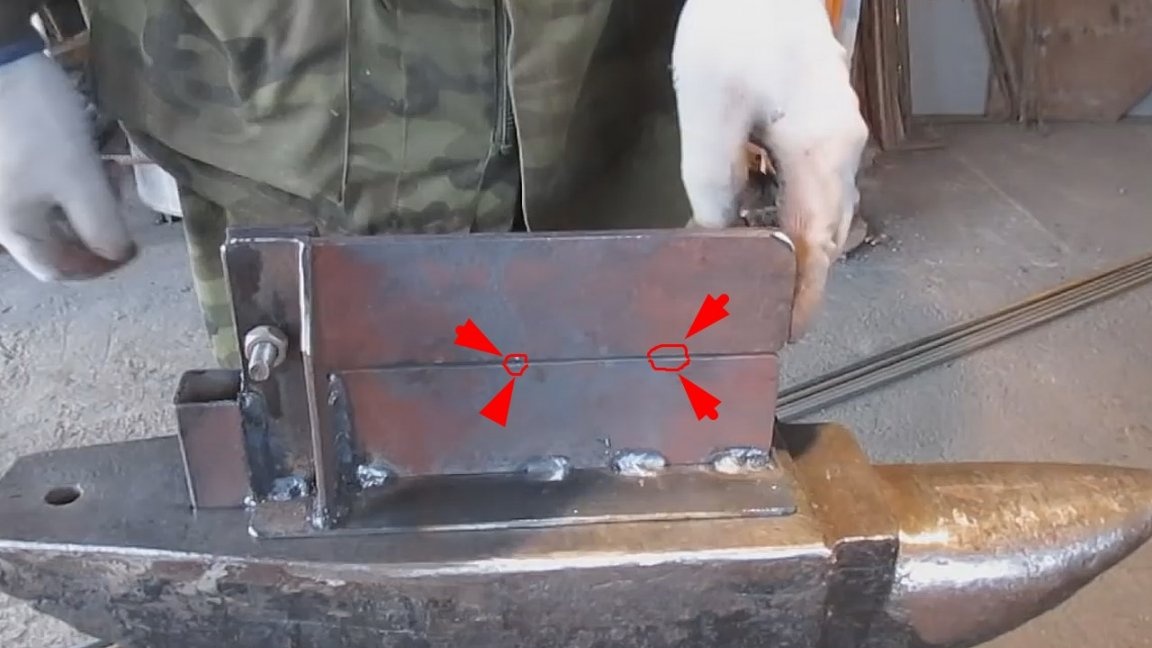
Then I tried on all the details and, making sure that everything went well. In the places marked in the photo.
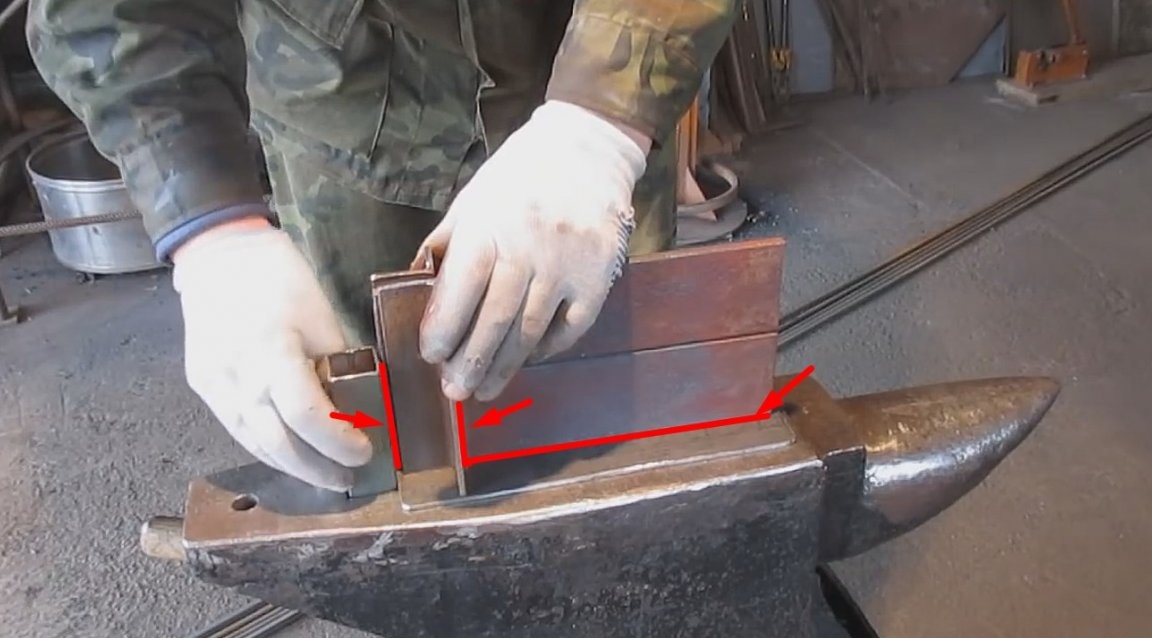
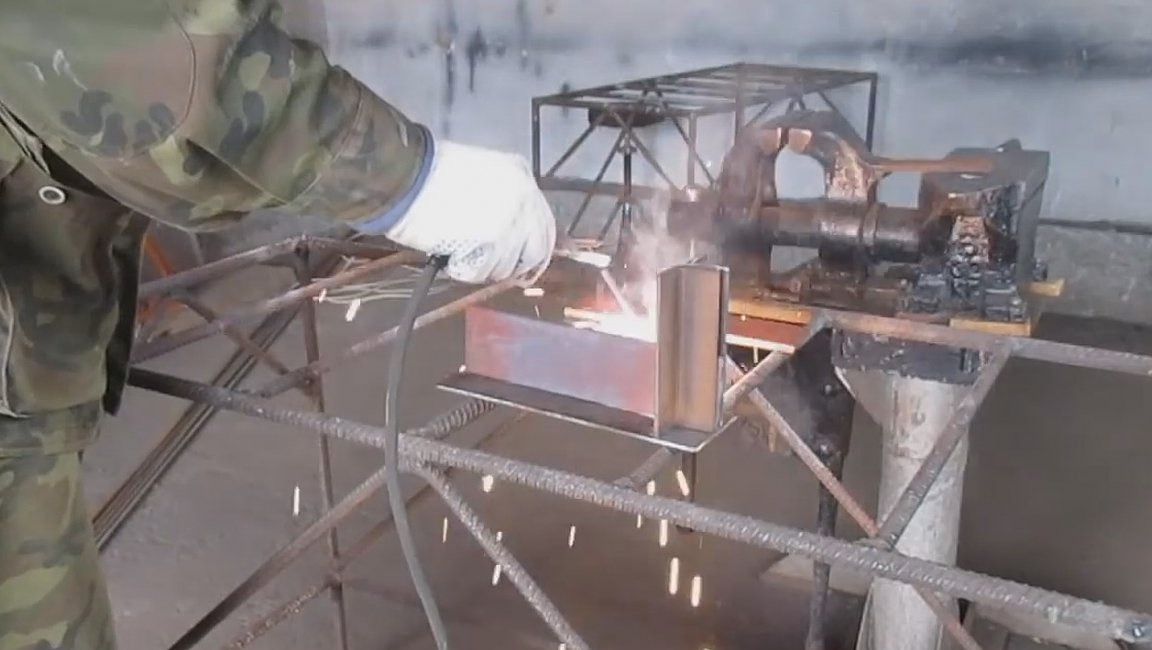
Made welding.

The upper part from the spring must be movable, so it will not be welded to the corners.
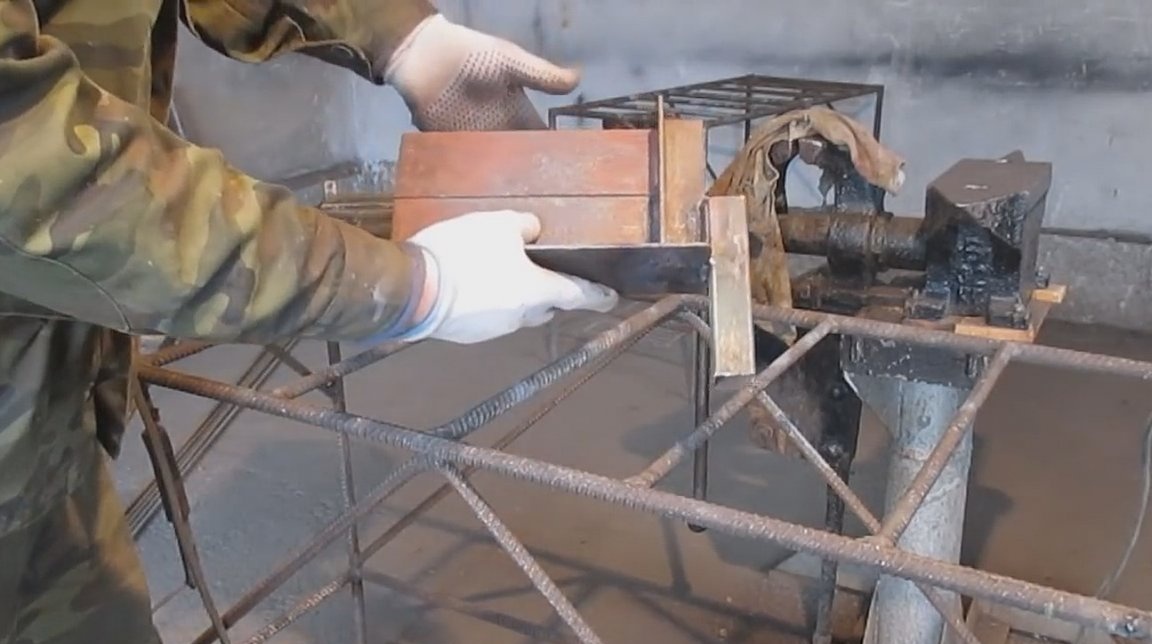
And it will be fastened with a bolt.
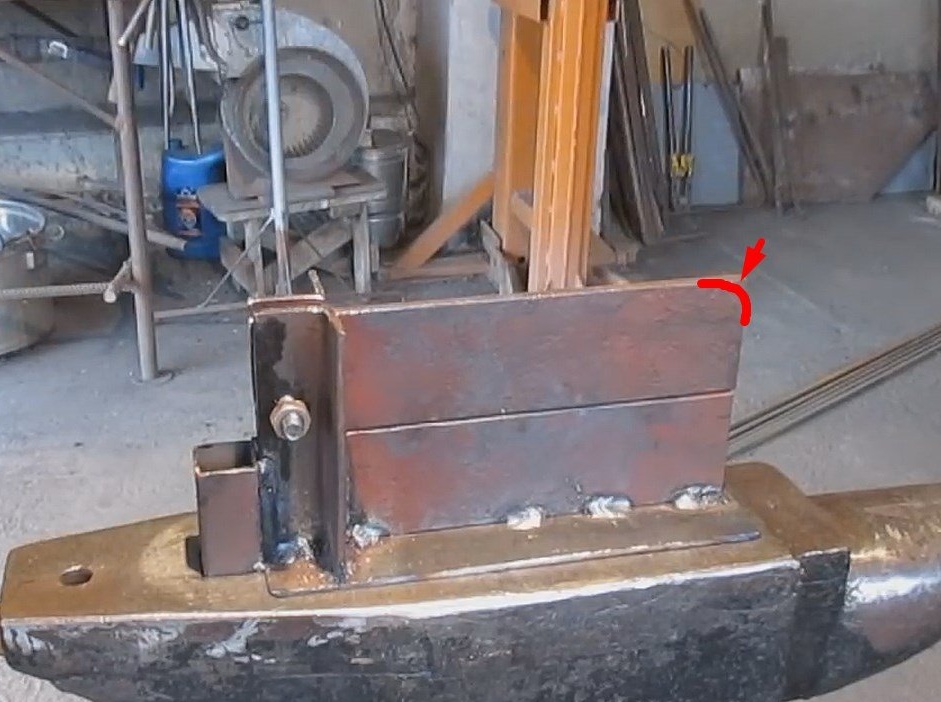
In the marked place, the author will make a hole for the bolt.

Since the spring is made of spring steel, this is a special elastic alloy. The author made a hole in stages. First, a drill with a diameter of 5 mm.

After 8 mm.
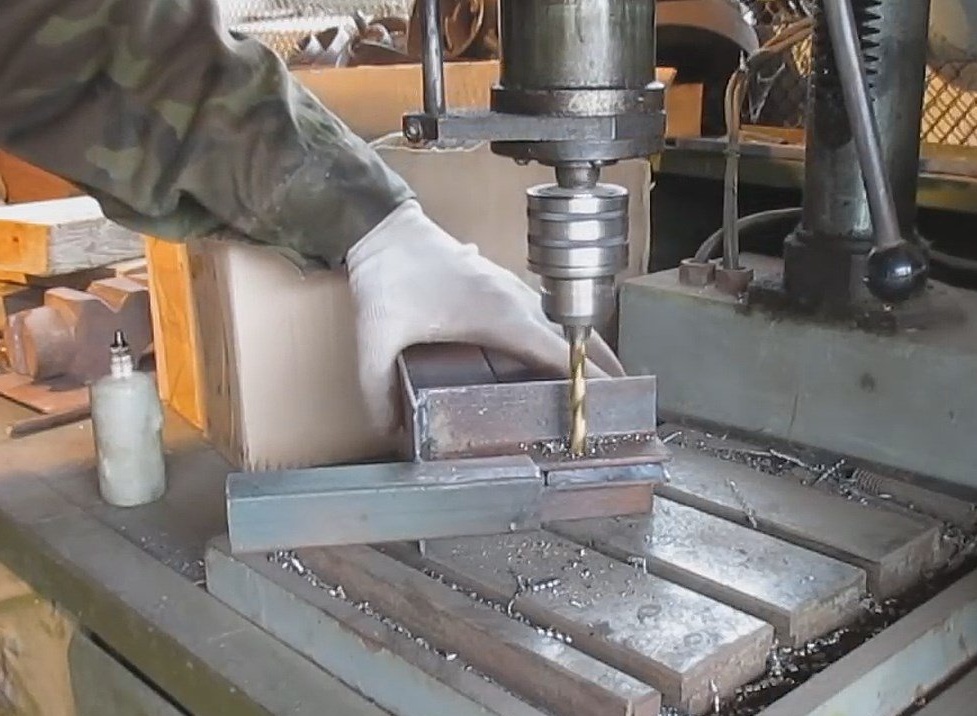
And at the end with a 10 mm drill.

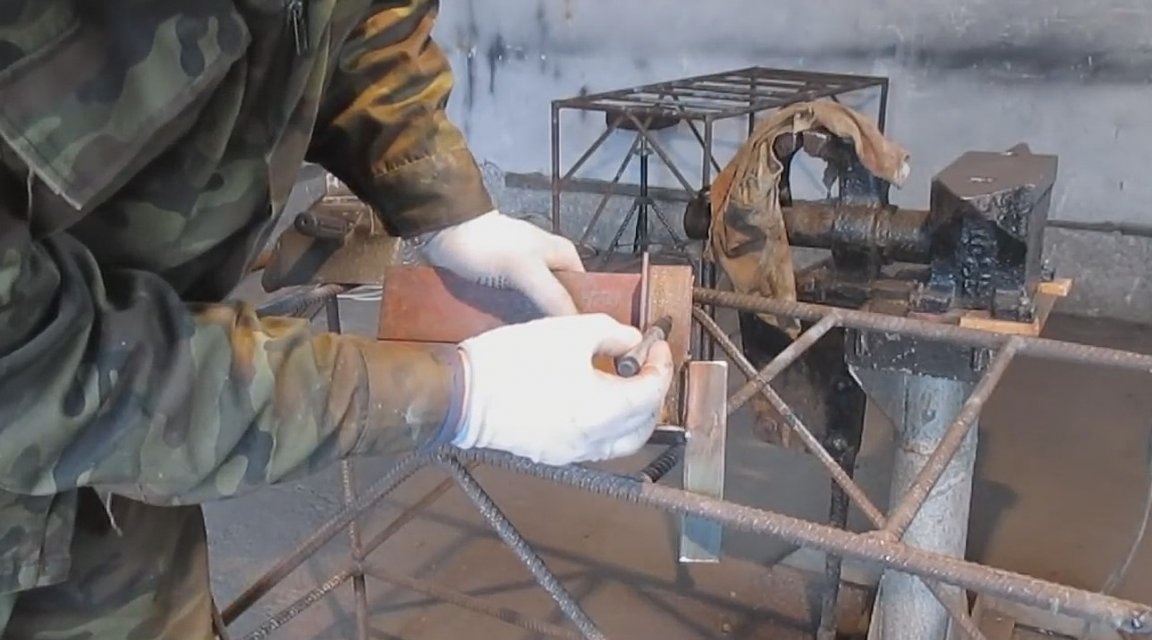
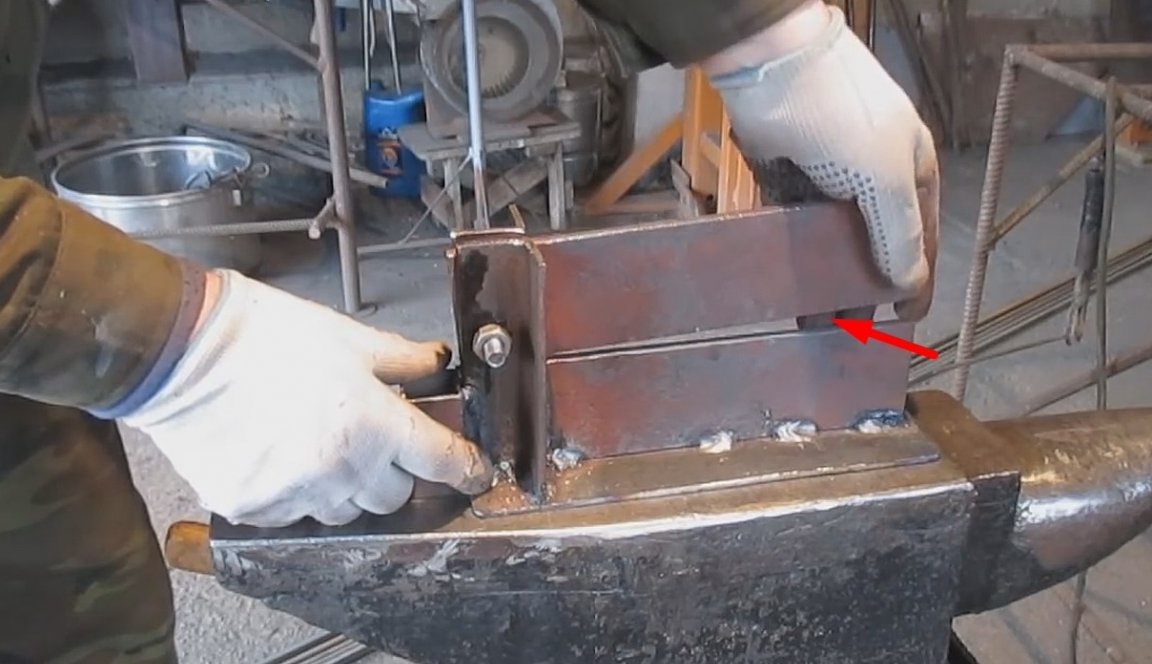
Having tried a bolt.
Such a discovery of the part is not enough for the full operation of the machine.
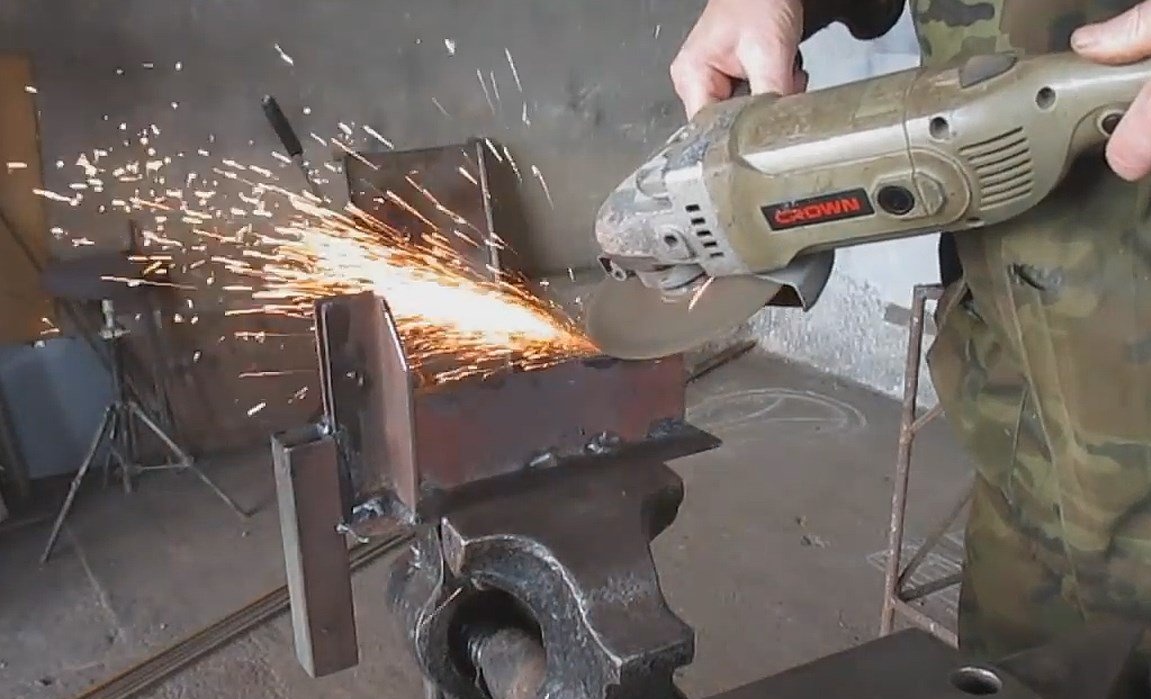
The author sharpenes this angle a little on the details.
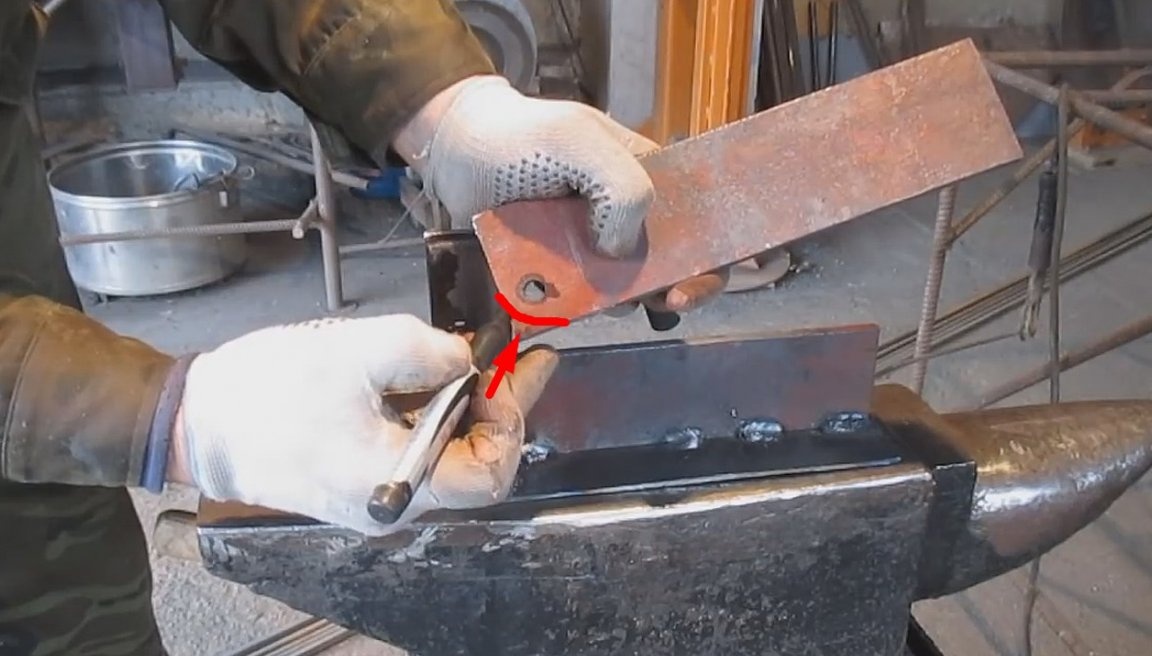
Now the part opens well.
Also, the master will give these corners a more rounded shape.
So that in the process of working the machine, do not get hurt about them.
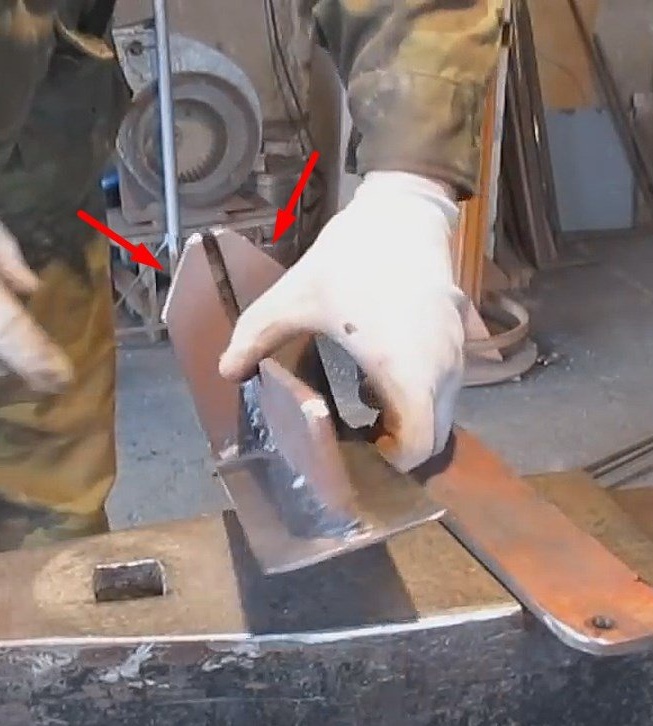
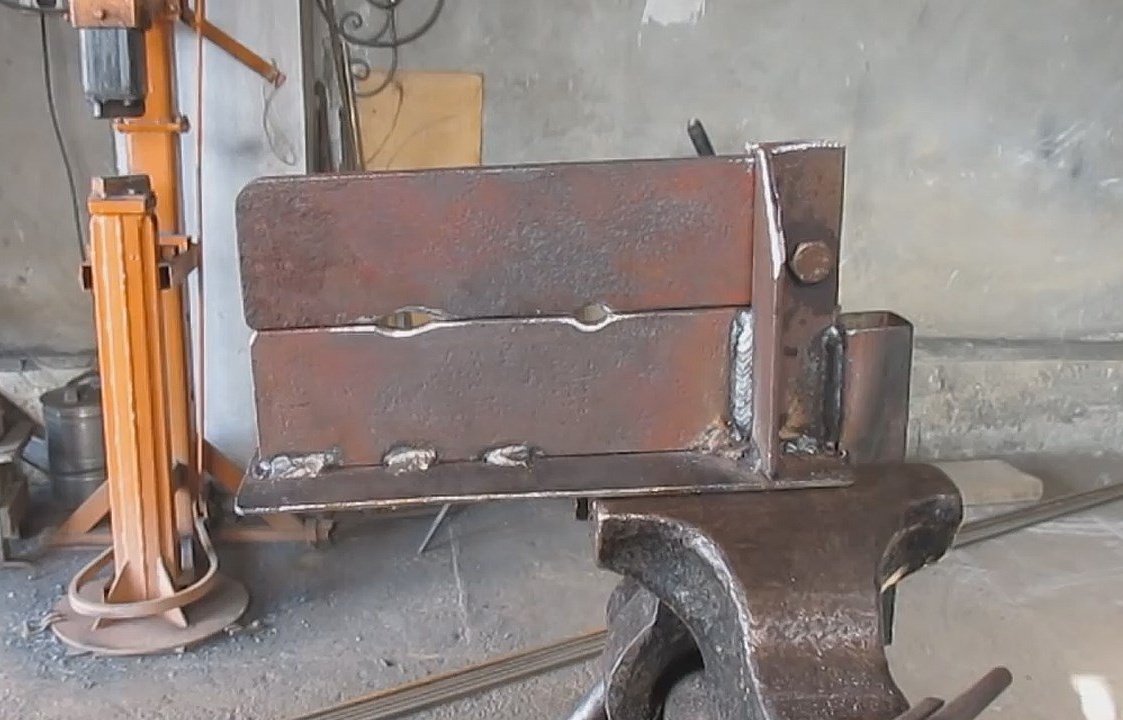
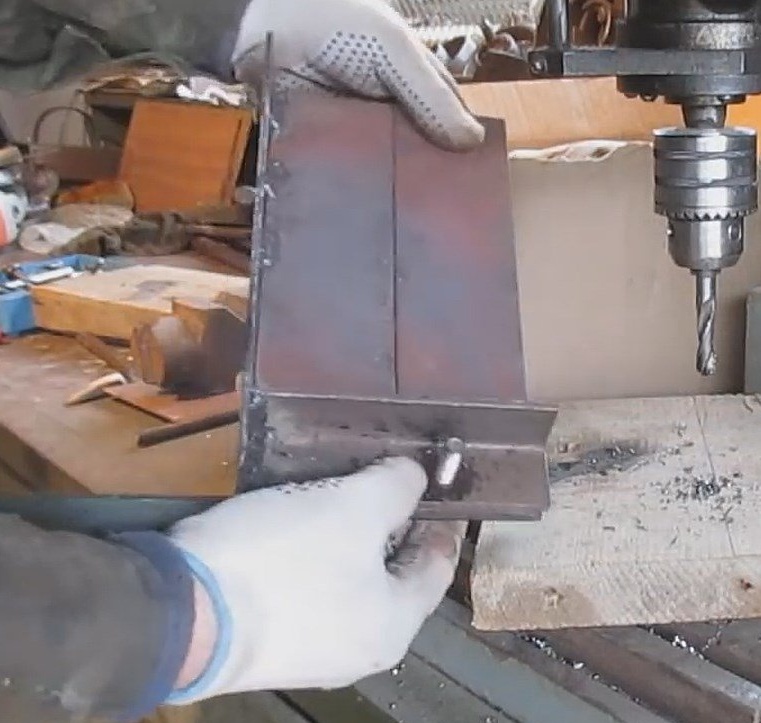
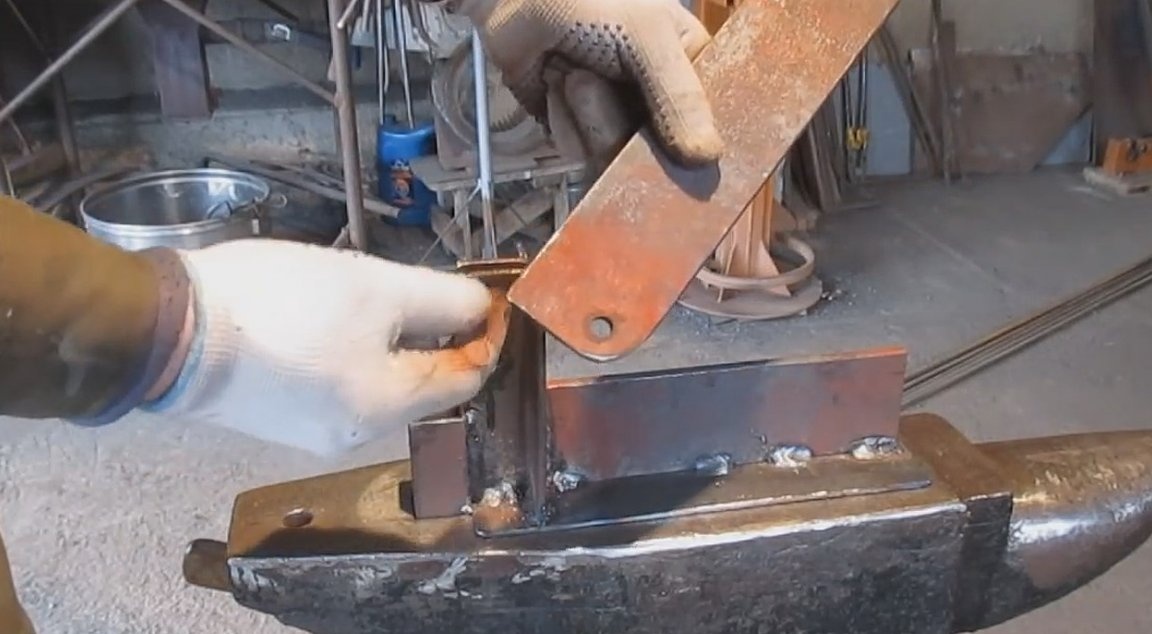
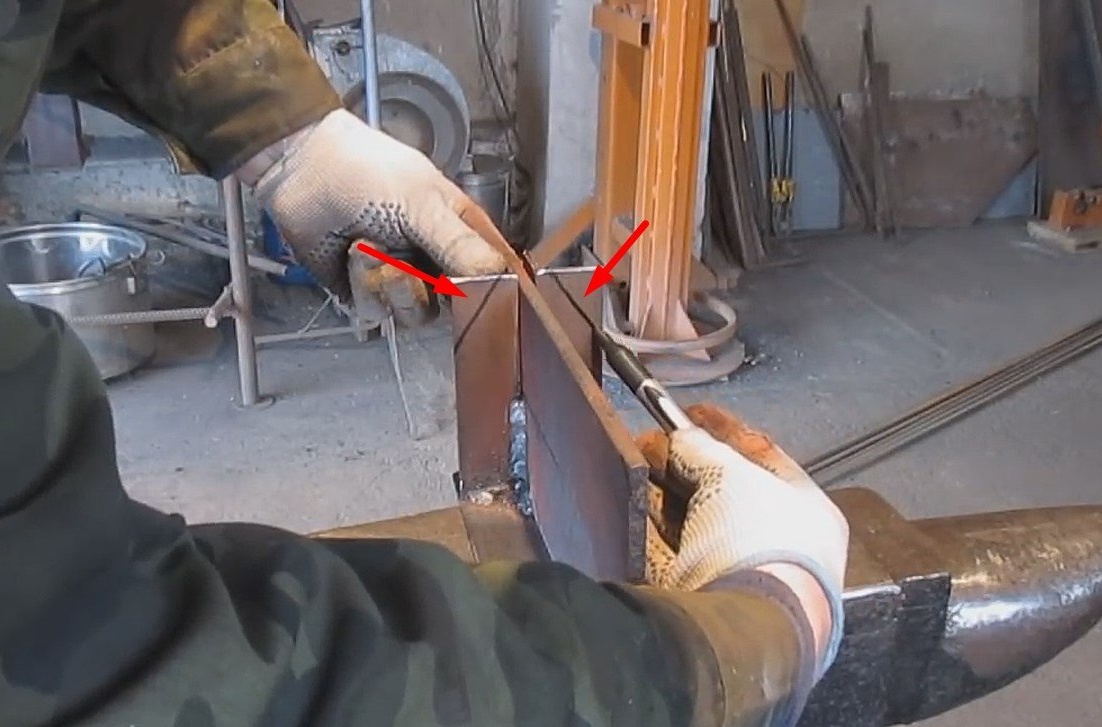
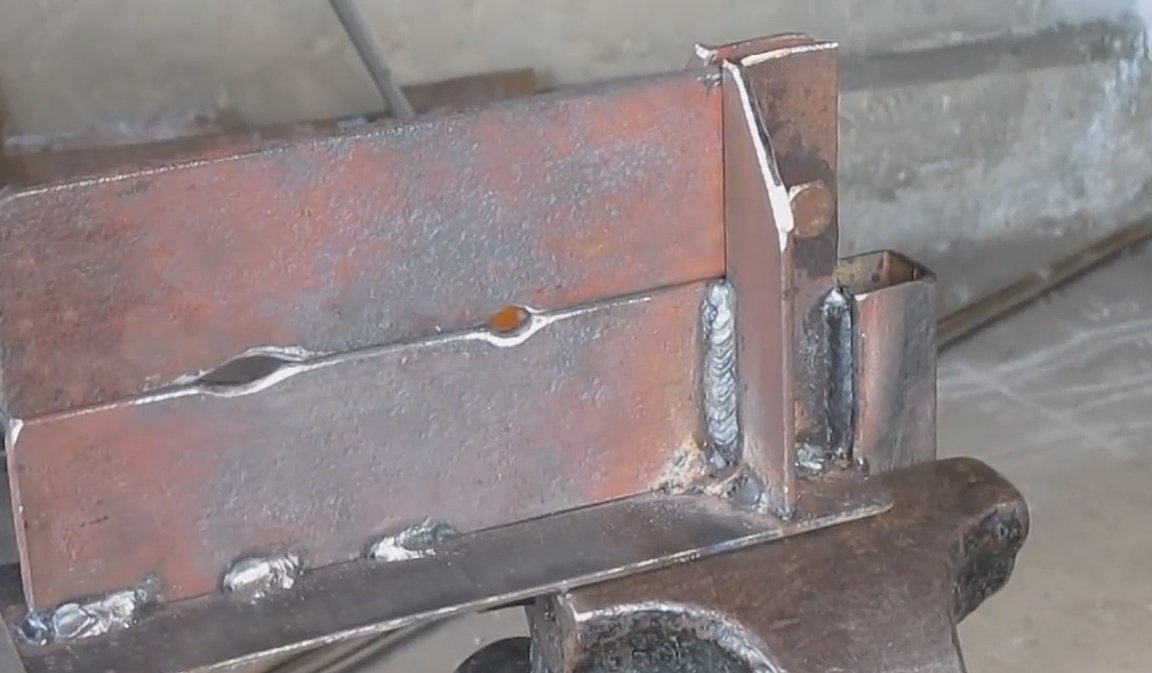
And the final step in the manufacture of the machine. The author will make two grooves, in both parts, for blanks of different sizes.
Corrects the groove made with a file.


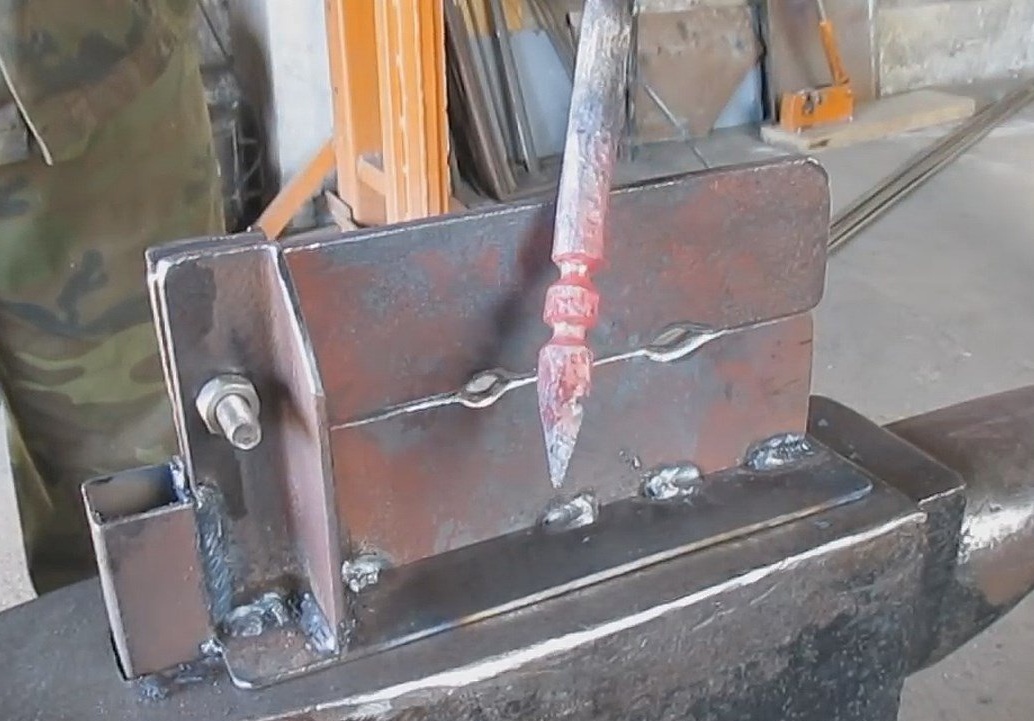
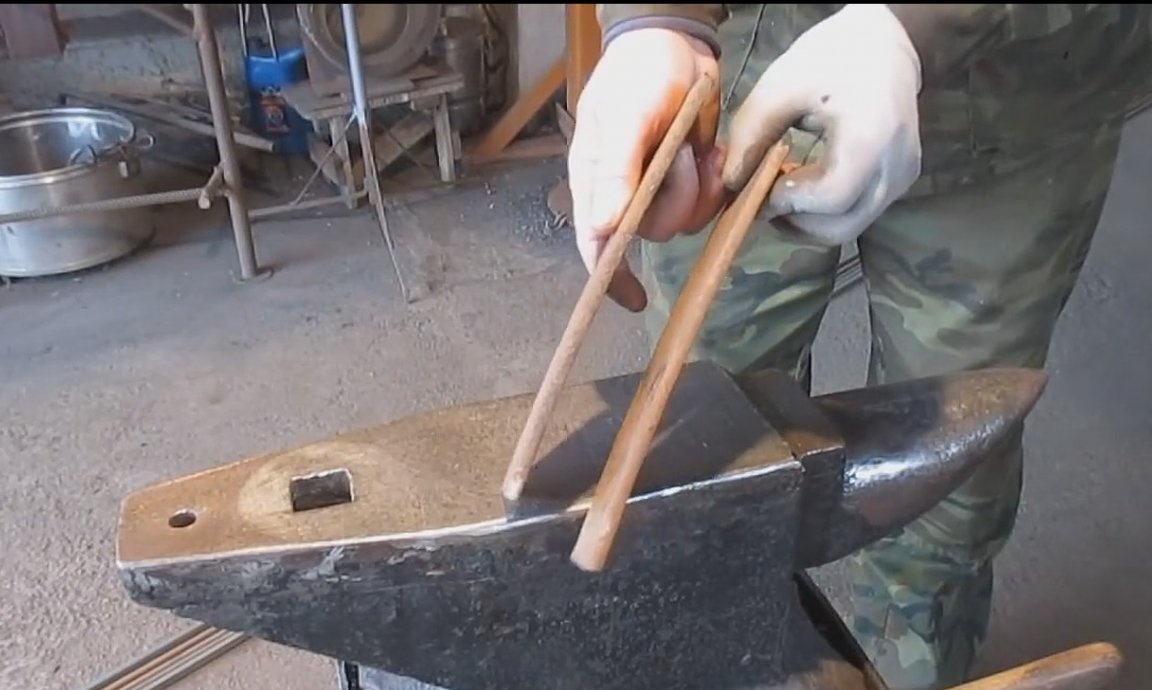
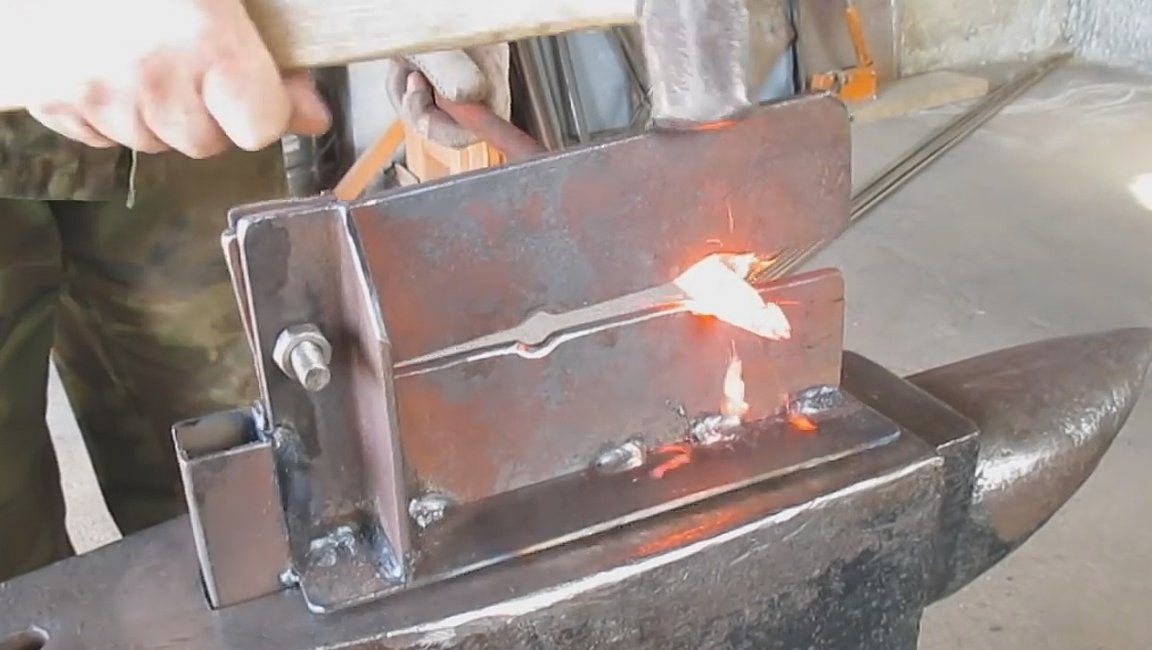
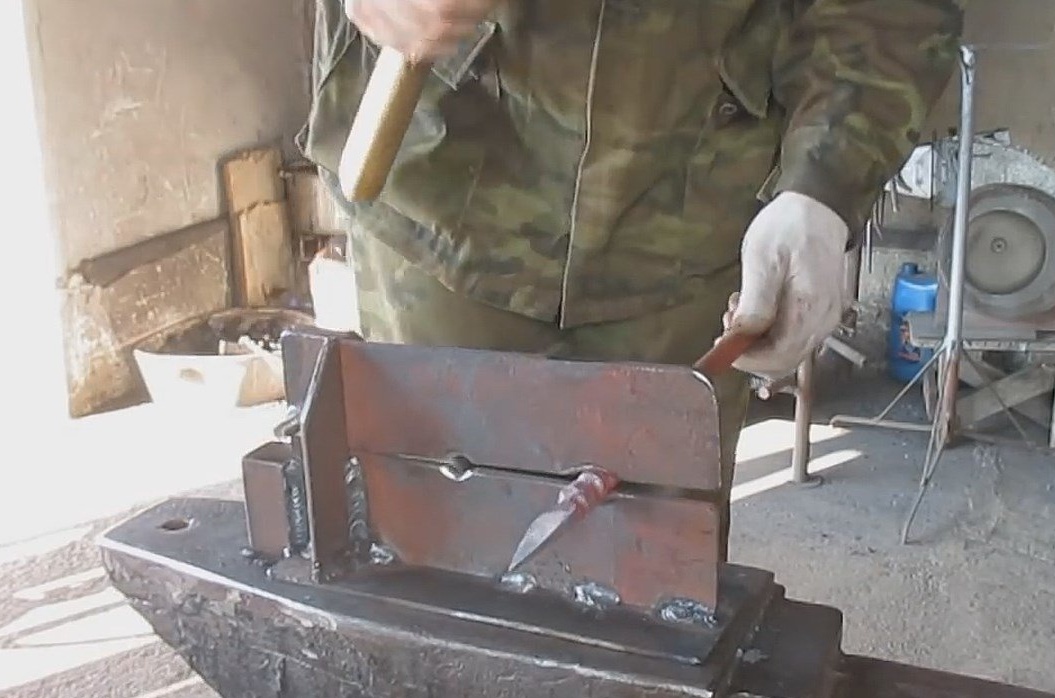
Such a stanochka turned out at the master. How to work with this machine?
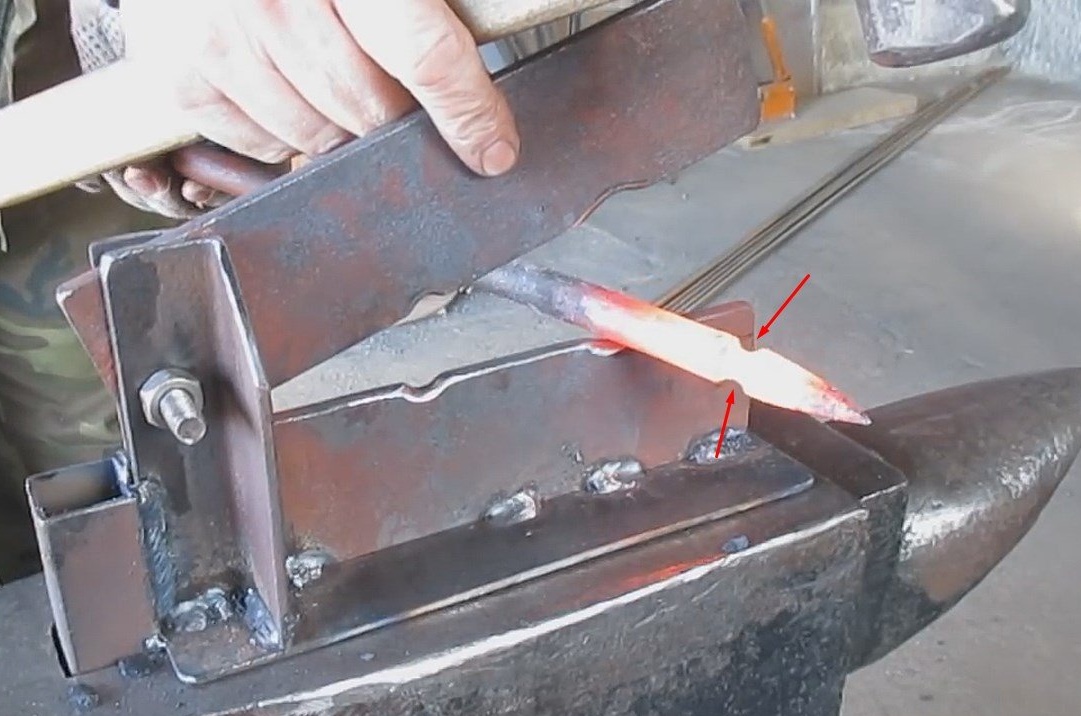
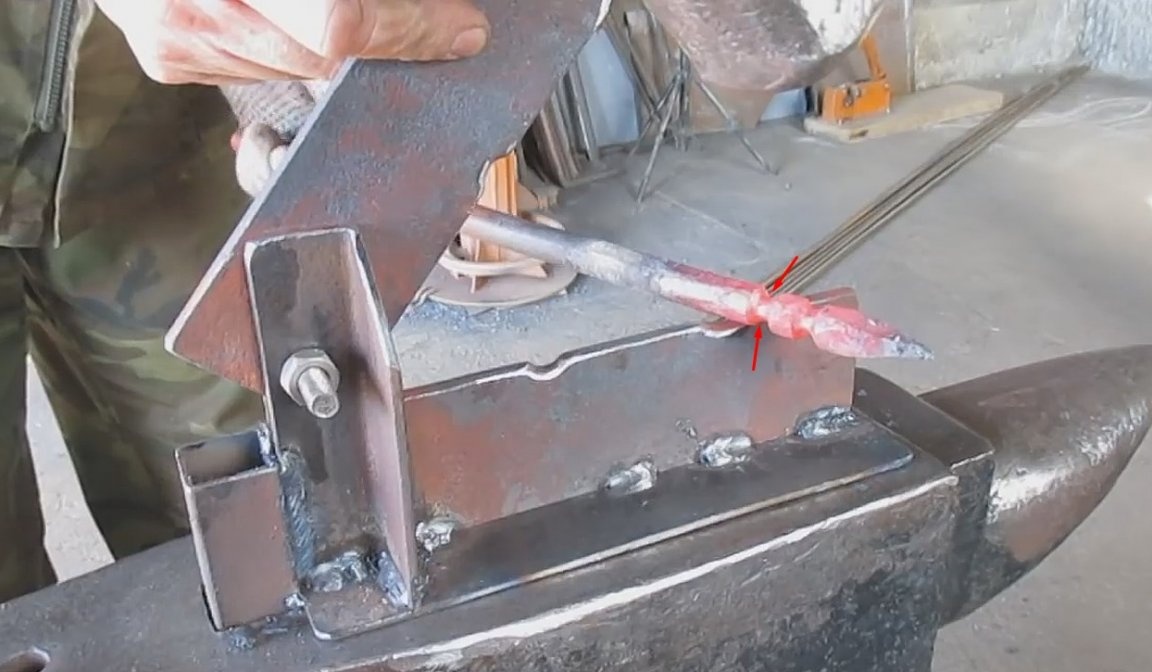
Very simple, place the pre-heated workpiece in the groove and apply uniform blows with a hammer to the upper part of the machine, not forgetting to periodically turn the workpiece.
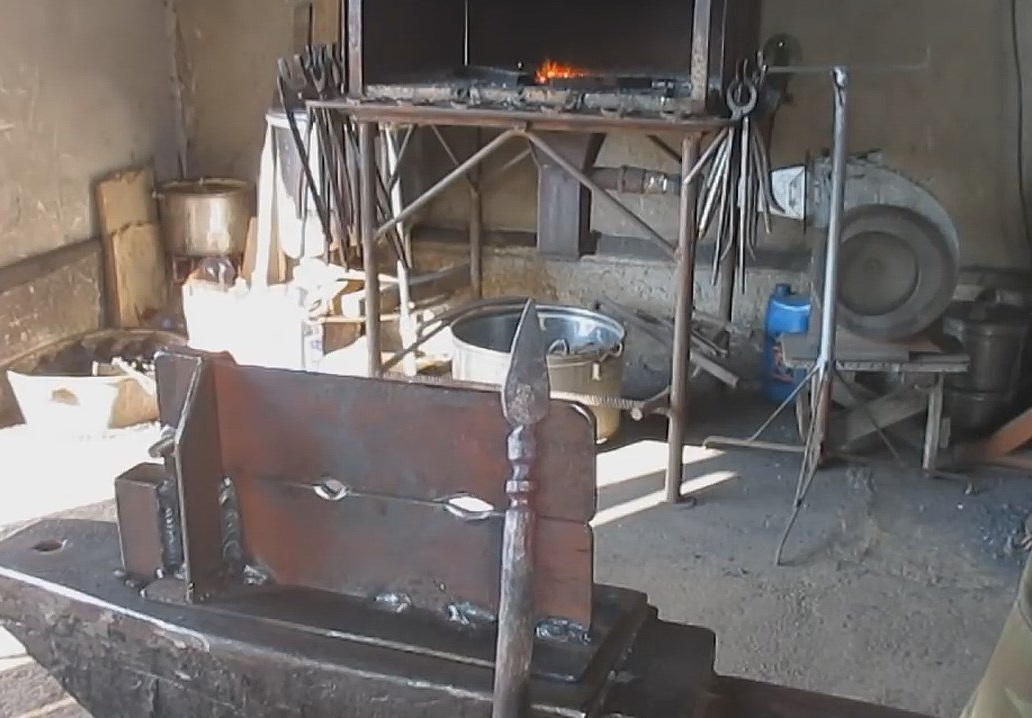
The result of the machine.
Such seemingly simple at first glance patterns can be made using this machine. And in combination with the same simple tip, the pattern looks more original and rich.
And that’s all for me. Thank you all and see you soon!
Video: