
The knife is one of the most popular tools in humans. We cut them bread, take them for fishing, on a hike, on a hunt, we use it as a means of self-defense, and we also often use it as a universal tool in everyday life.
In this article, we will consider a fairly strong and high-quality knife that can be made do it yourself. Homemade rather complicated, because a forge is required, since the author formed the main profile by forging. Of course, this process is not necessary at all, you can simply cut a knife from a piece of metal.
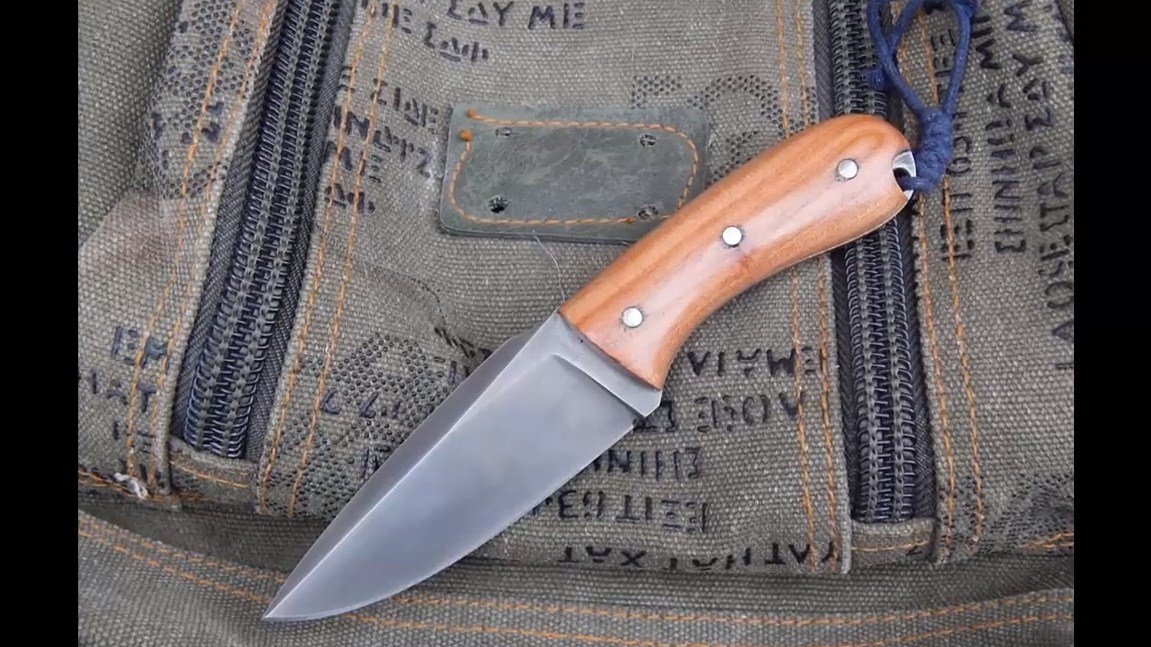
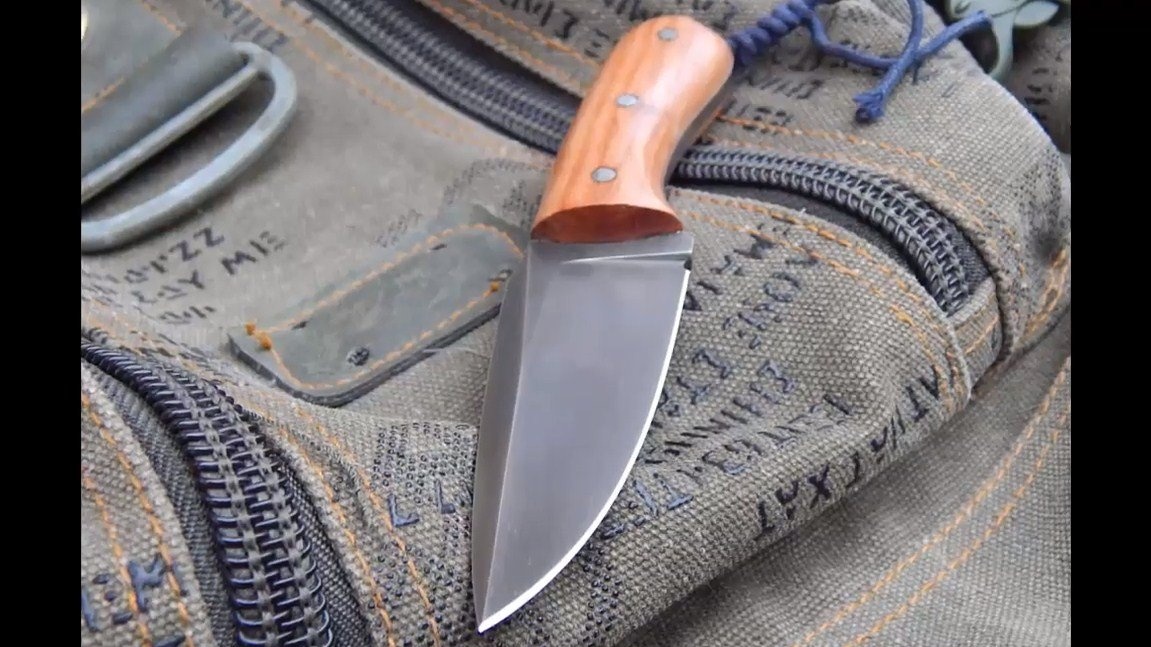
The knife made by the author was hardened, so in combination with forging it turned out to be very strong. The length of the blade is small, the bevels are wide, the blade is thin and sharp. It’s good to take such a knife, going for mushrooms, and in everyday life it will be in demand. If you are interested in the project, I propose to consider it in more detail.
Materials and tools necessary for making a knife:
Material List:
- carbon steel (a piece of a spring, a file, a chisel or another);
- wood for linings;
- brass rods (for pins);
- epoxy adhesive;
- wood oil or varnish;
- acid for steel pickling.
Tool List:
- blacksmithing supplies;
- belt sander;
- drill or drilling machine;
- sandpaper;
- vice, clamps;
- files.
The process of making a knife:
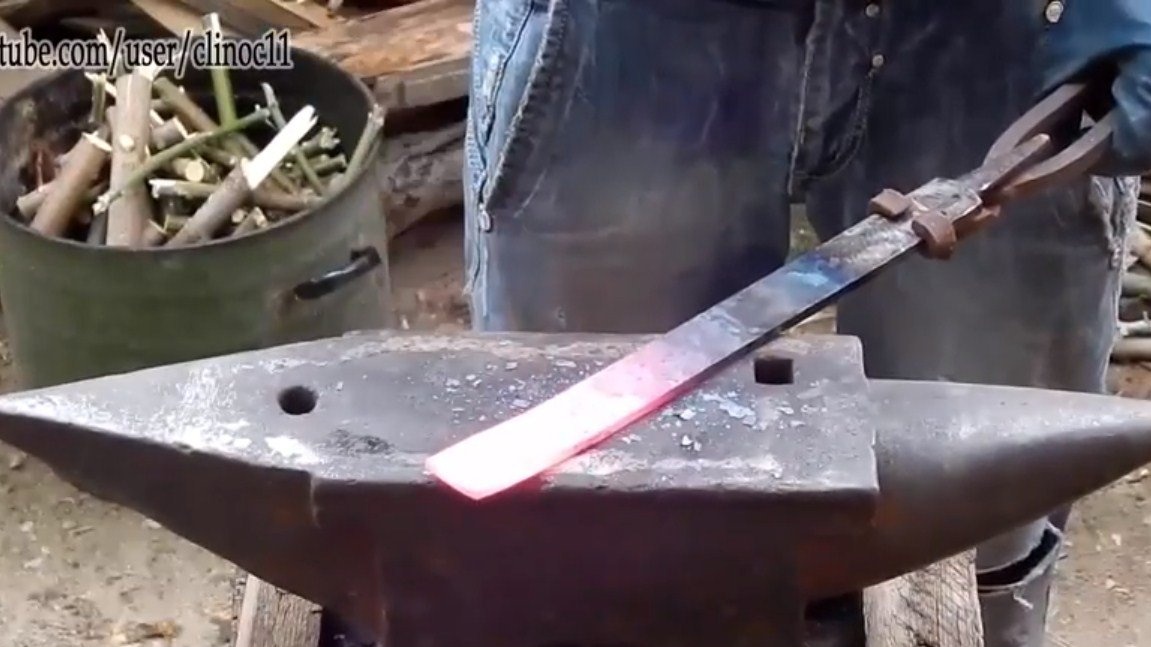
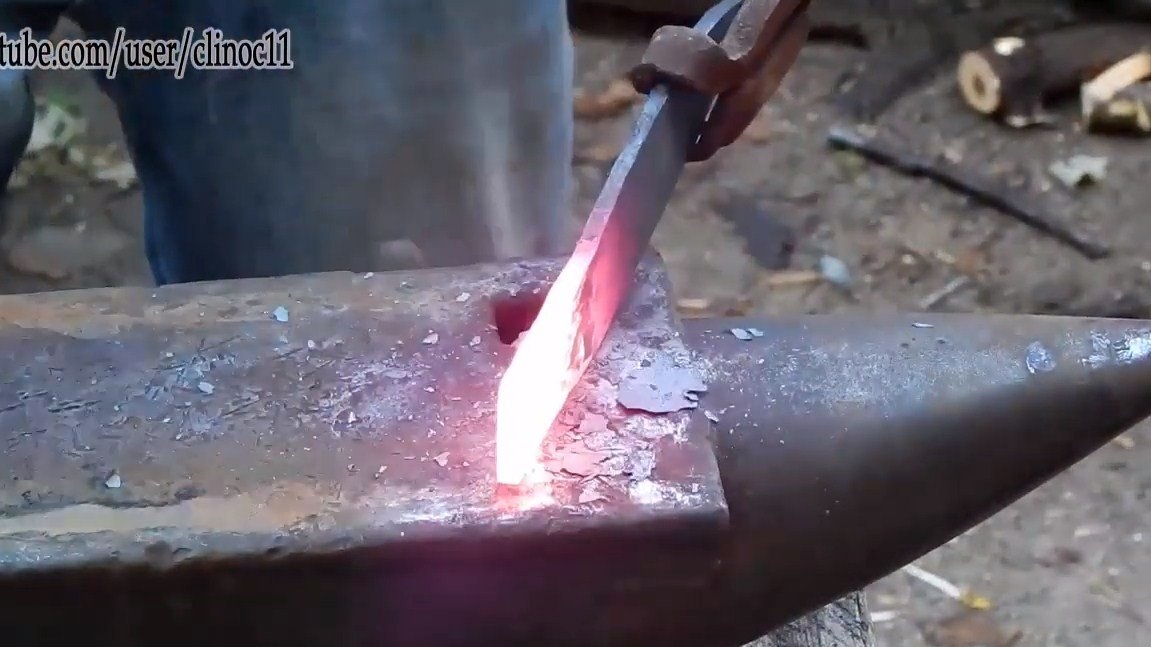
Step one. Primary profile. Forging
The primary profile is easiest to set by forging, but this is true for those who have tried to forge and who have a forge. We heat up the piece of iron, beat with a hammer and the primary profile is ready. Thanks to forging, the hardness of steel increases, which is vital for a quality blade.
After forging, the metal must be let go and normalized so that it lends itself well to processing. To do this, we heat the workpiece and let it cool in air. Steel should become soft and ductile.
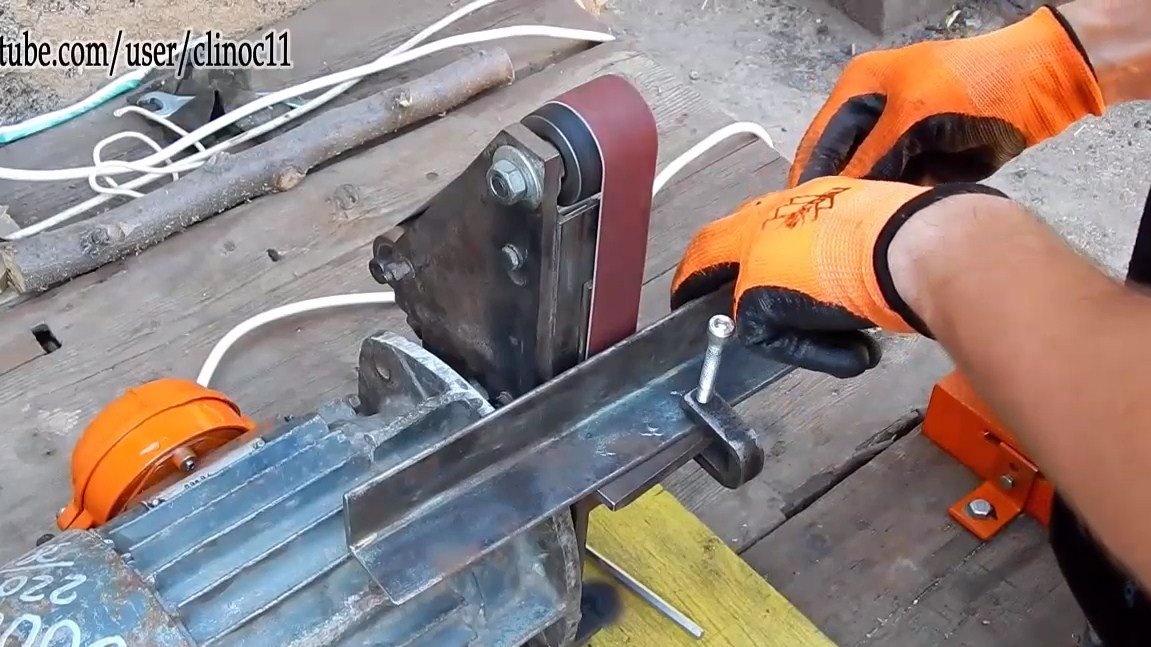
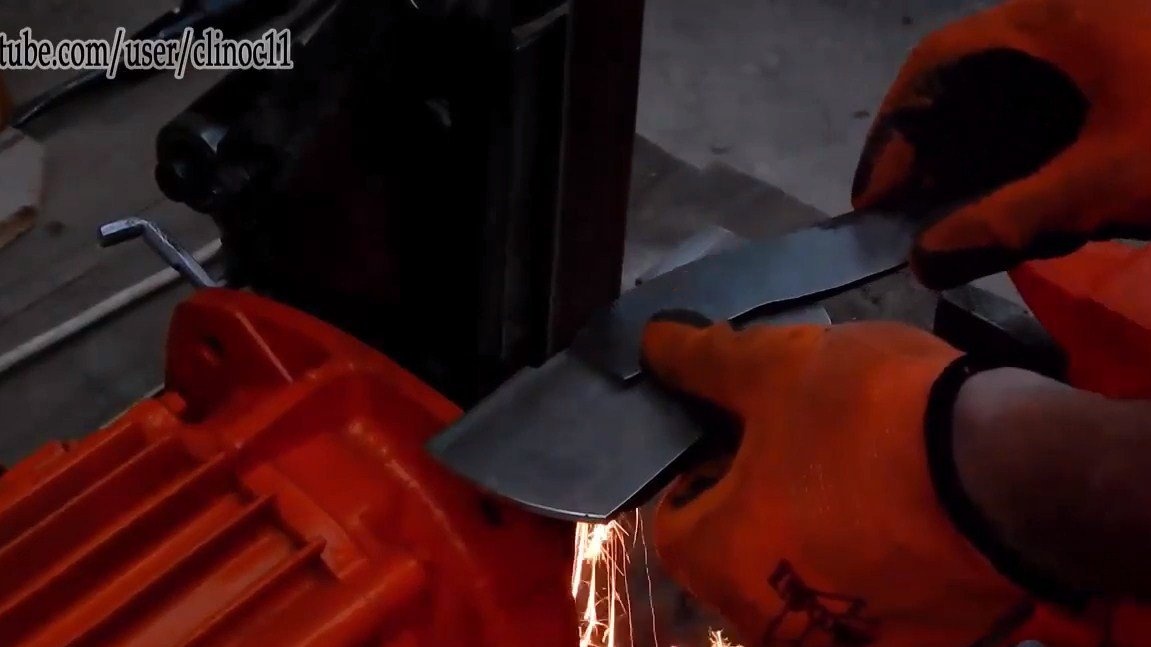
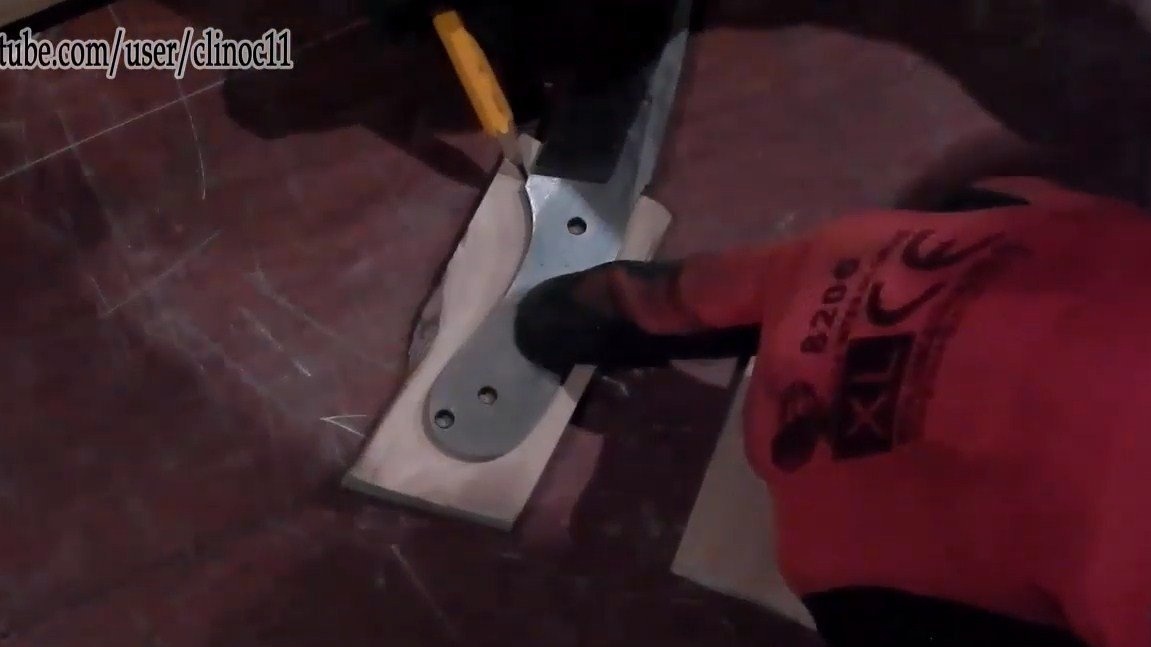
Step Two Grinding work
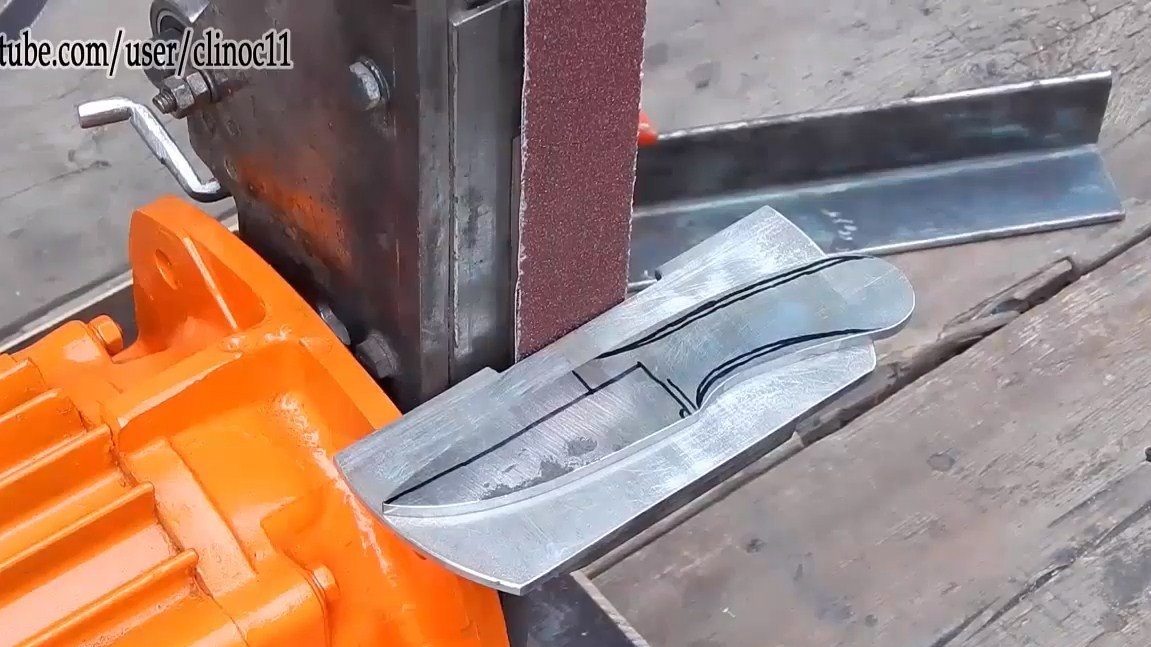
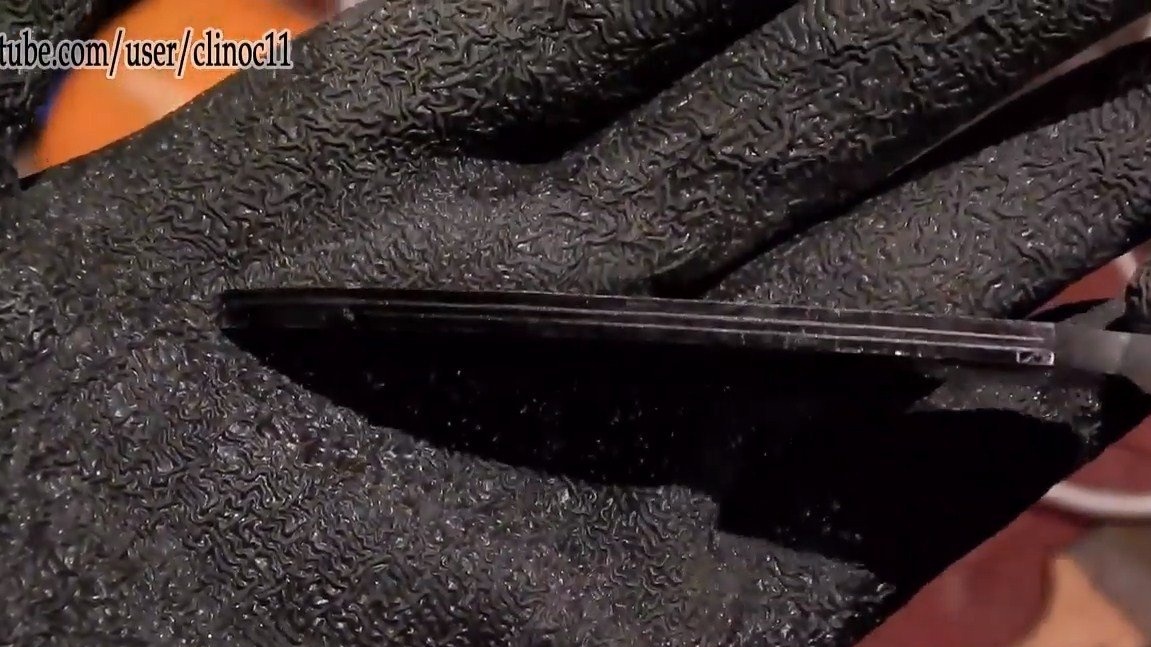
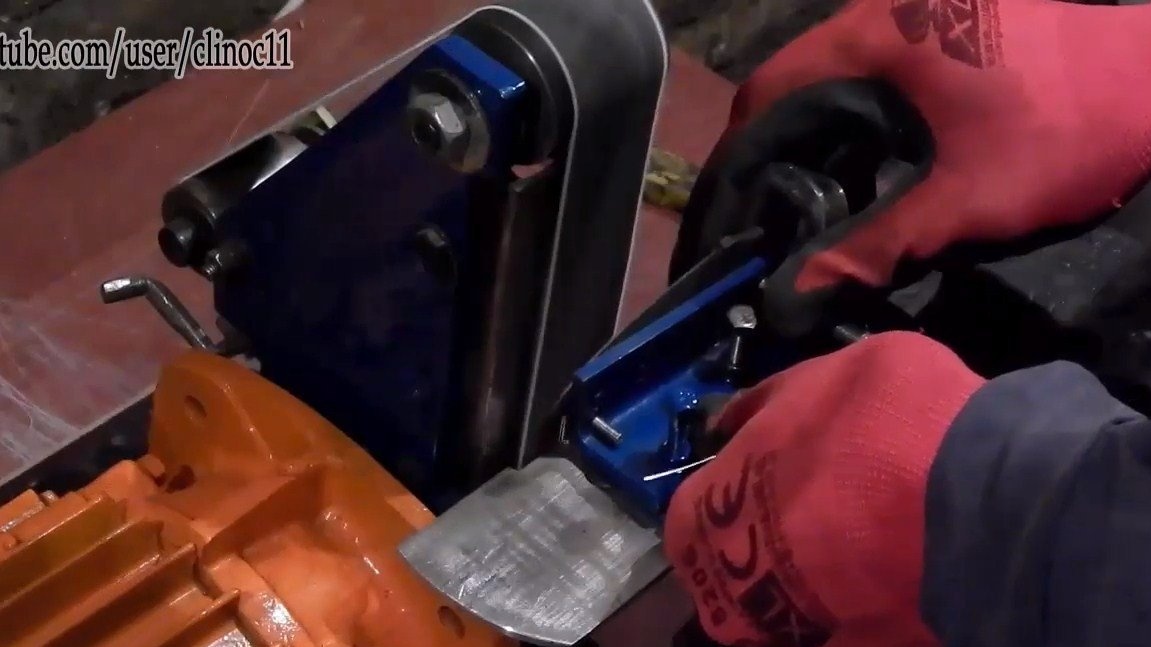
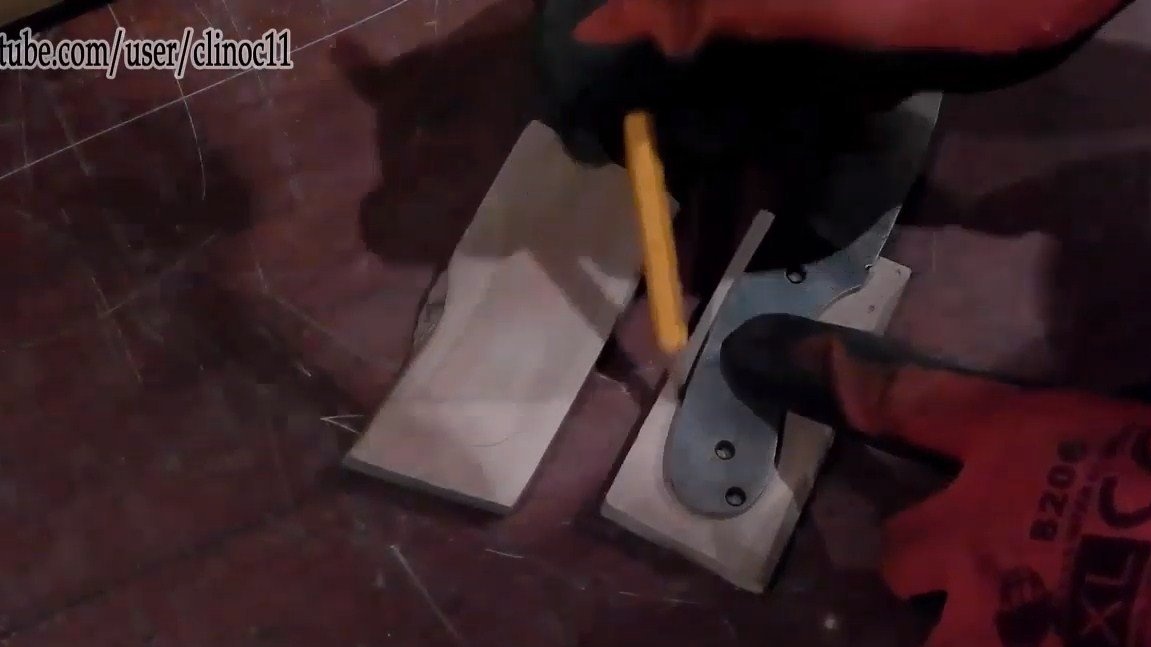
Next, we have to grind the knife profile, then a belt grinder will come to our aid. First, align the plane of the blade. Here you will need a special latch from the corner. You can hold the blade with your hands, but it quickly heats up and often has to be cooled in water. And with the holder, this is done quickly, efficiently and safely.
We also grind the blade profile along the contour. As a result, we get something similar to a knife. The author did not use any patterns for making a knife, everything was done by eye.
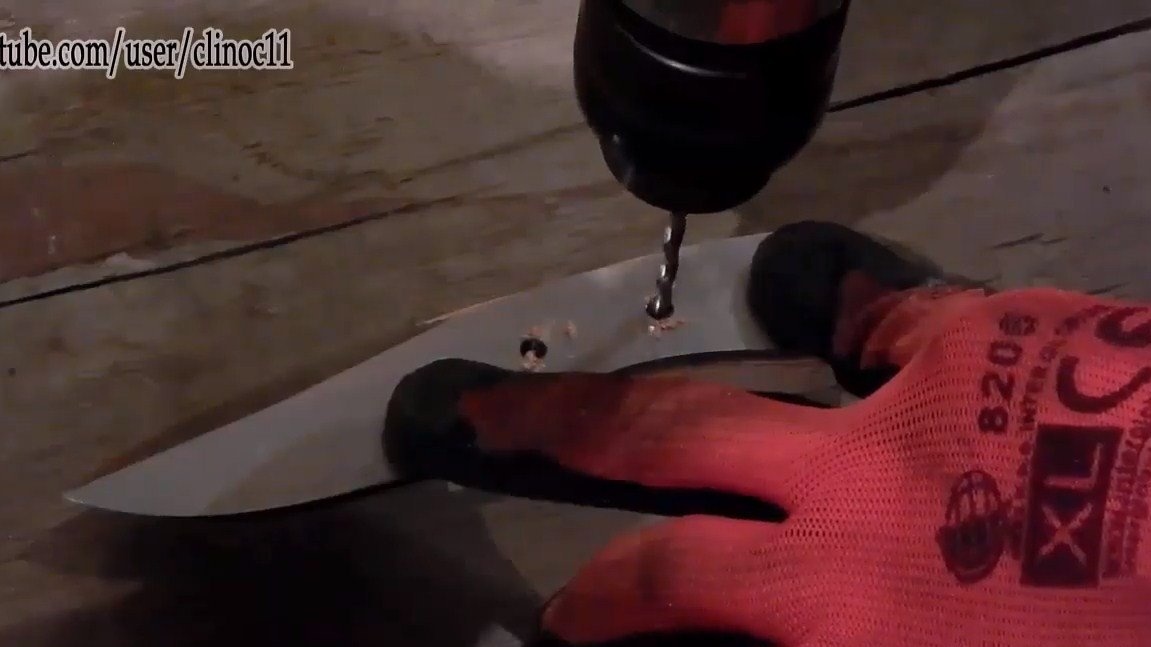
Step ThreeHoles
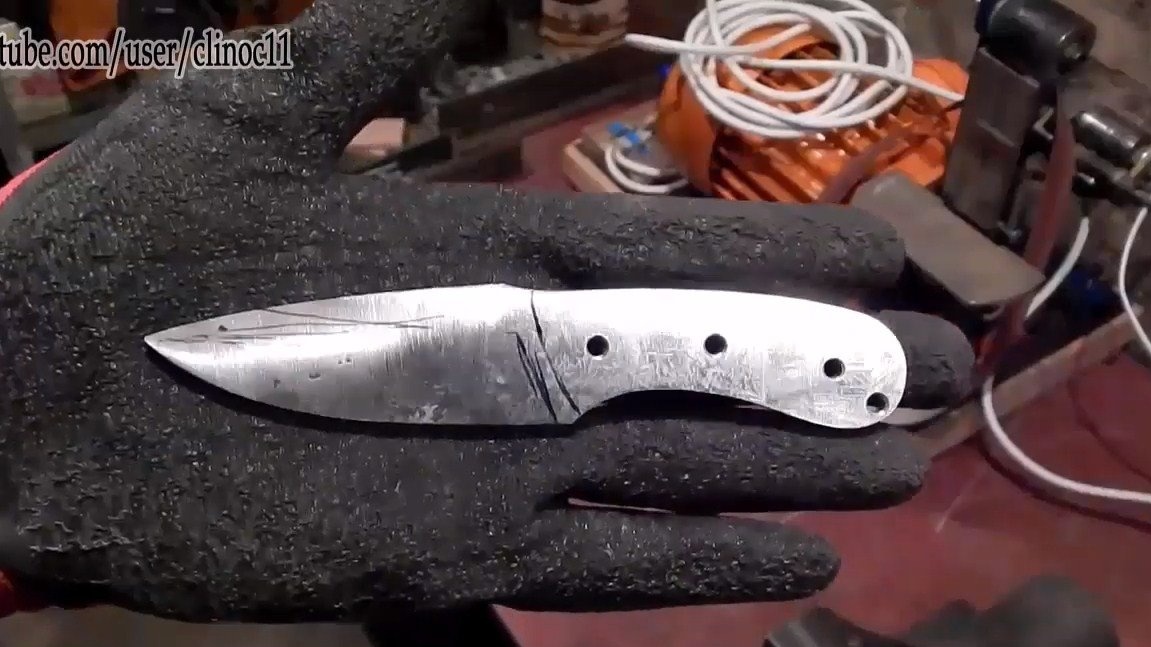
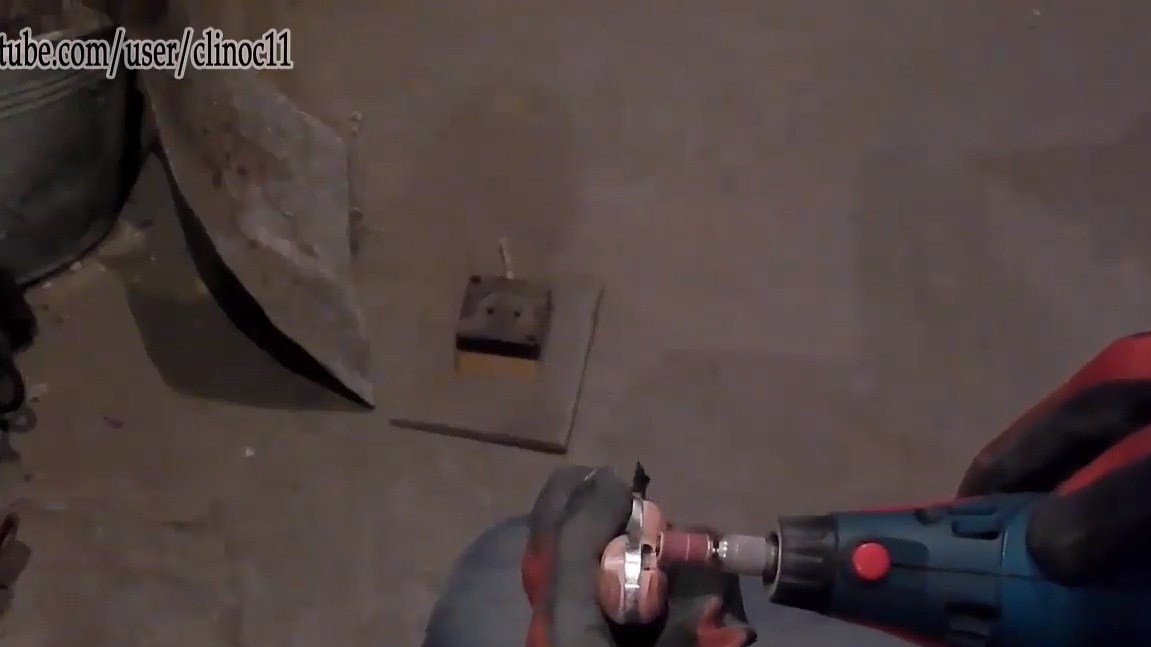
Now you need to drill holes in the handle, three of them will be needed to install the pins, so we select the diameter in accordance with the diameter of the pins. It is important that the pins engage tightly, then the handle will hold tight.
In addition, the author drills a hole in the tail, it is necessary for tying the cord. It is important to drill holes before hardening the knife, since then it will be problematic.

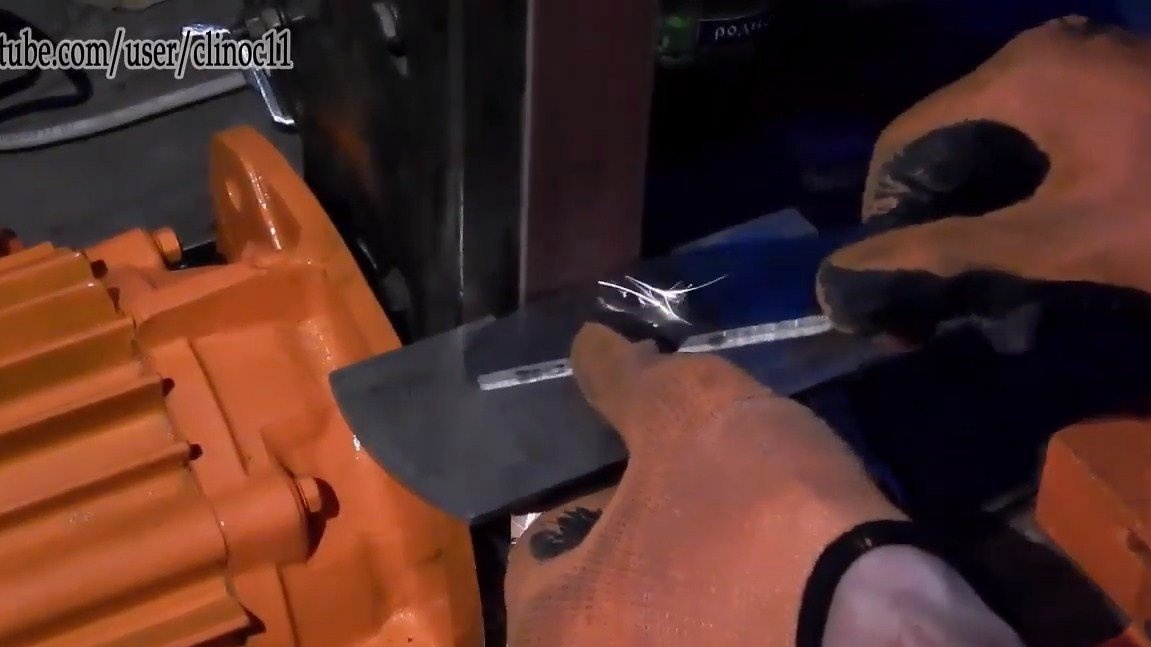
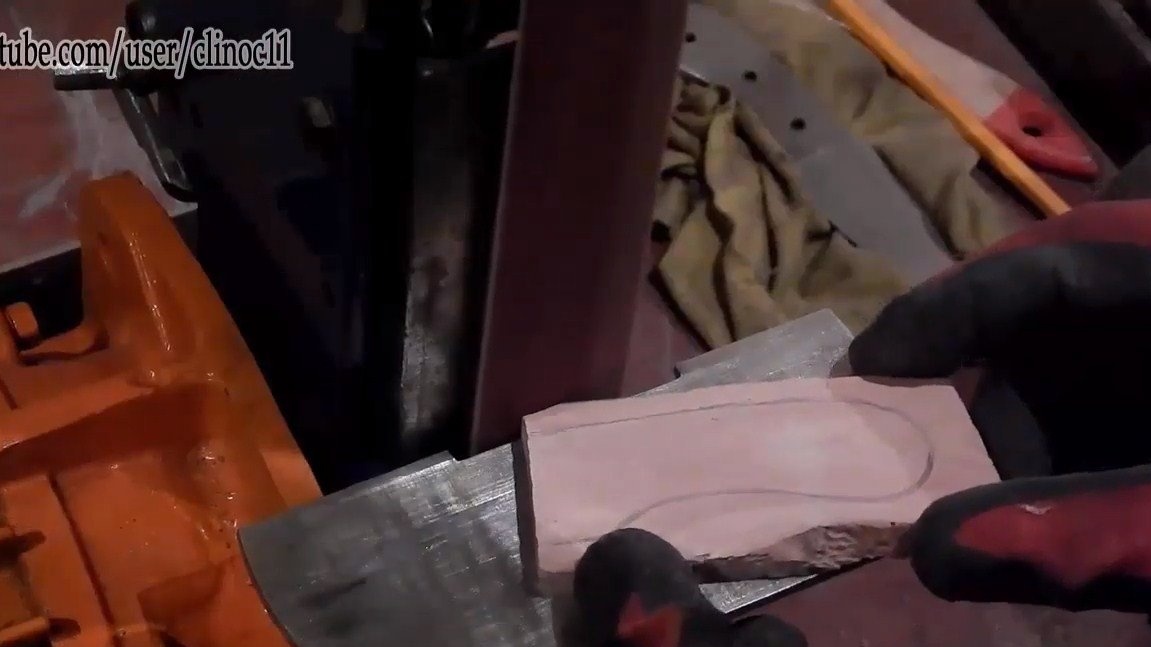
Step Four Blade
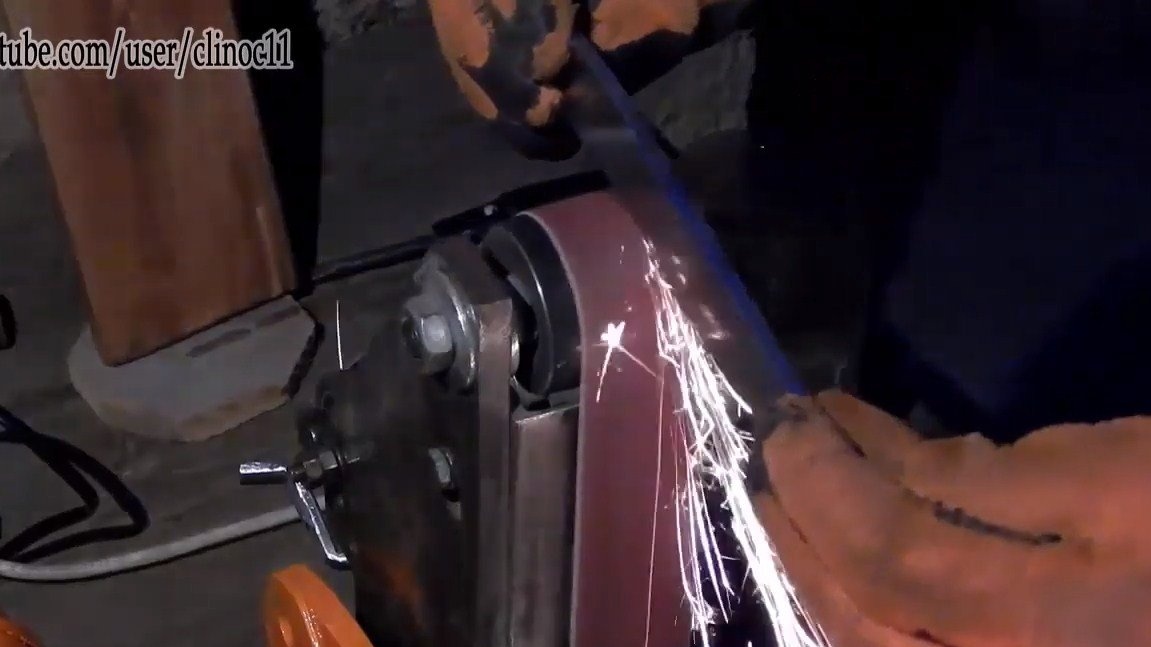
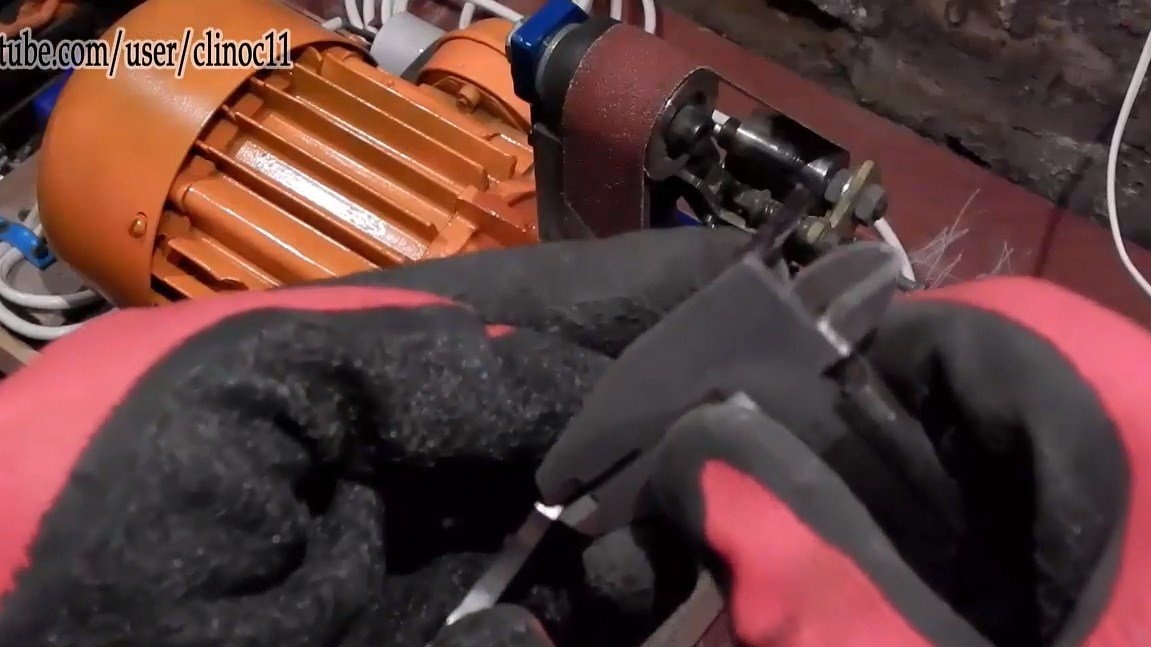
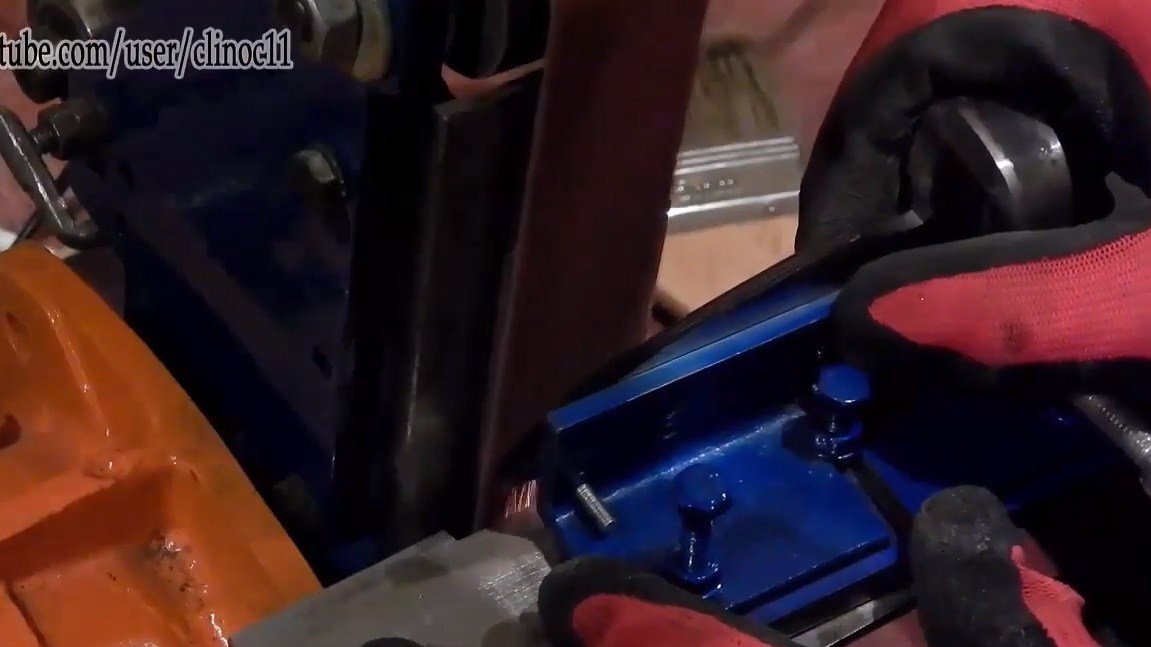
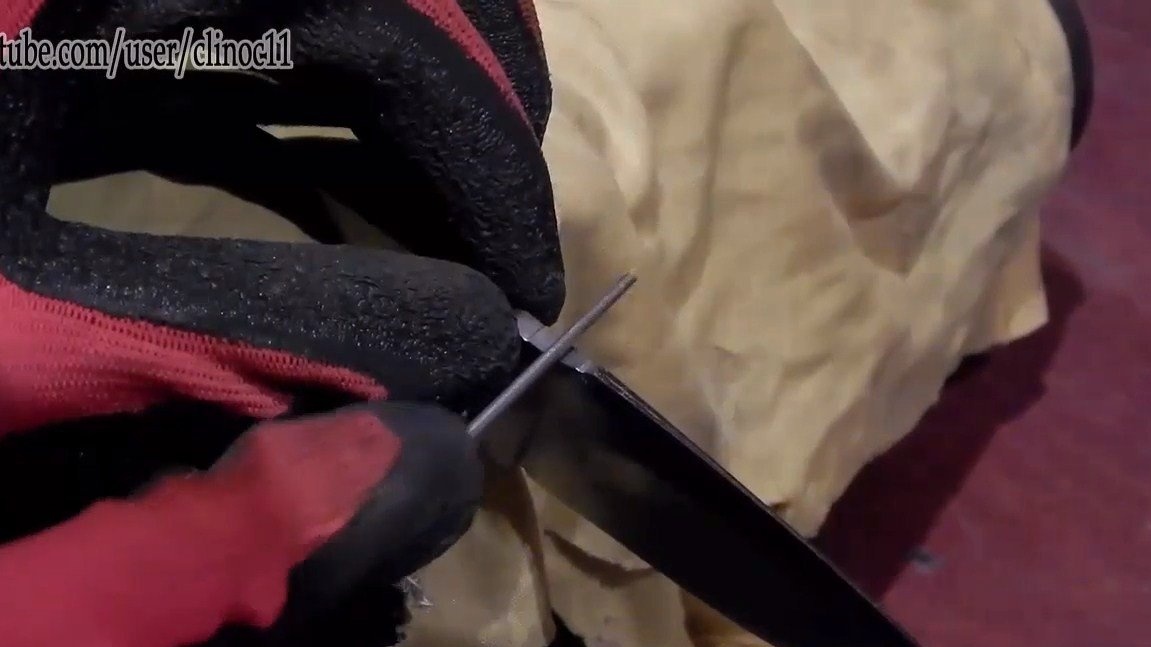
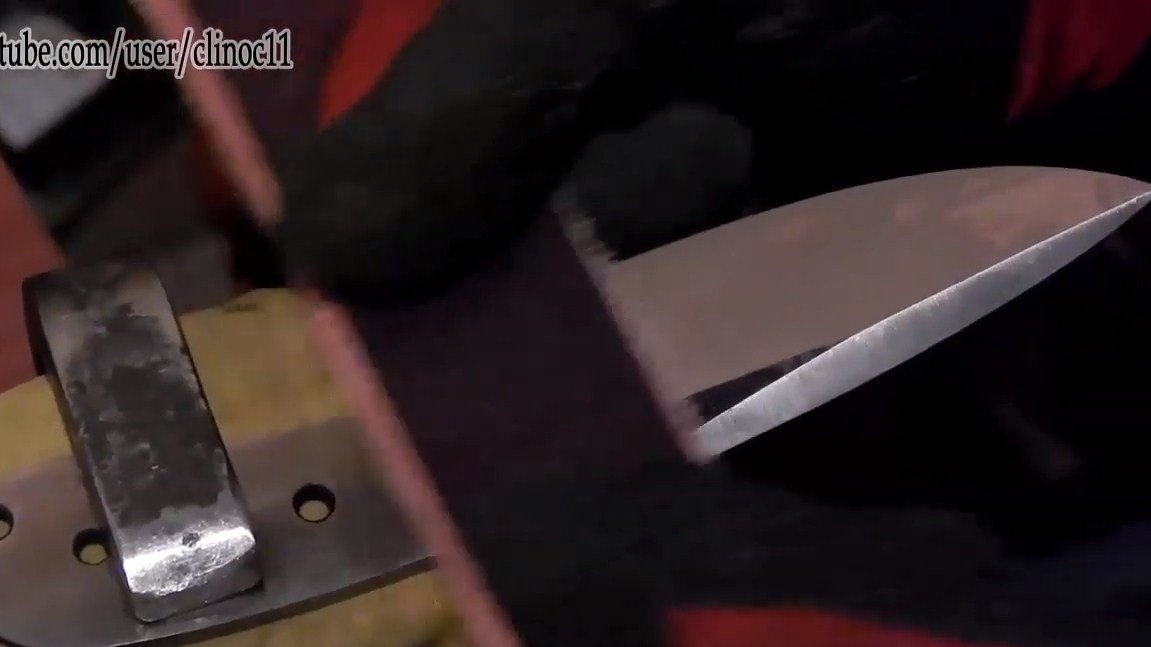
Next, we proceed to the formation of bevels, this is done quickly and efficiently using a belt sander. First, draw a line along the blade along which we will be guided when grinding. The author draws two of them, so as not to make the blade too thin. If the blade is hardened, the metal in the thinnest section should not be thinner than 2 mm. Otherwise, the metal usually overheats and turns into a raw material that cannot be quenched.
When everything is marked out, you can start grinding. Here again we need a holder for the blade, with it the bevels are very high quality.
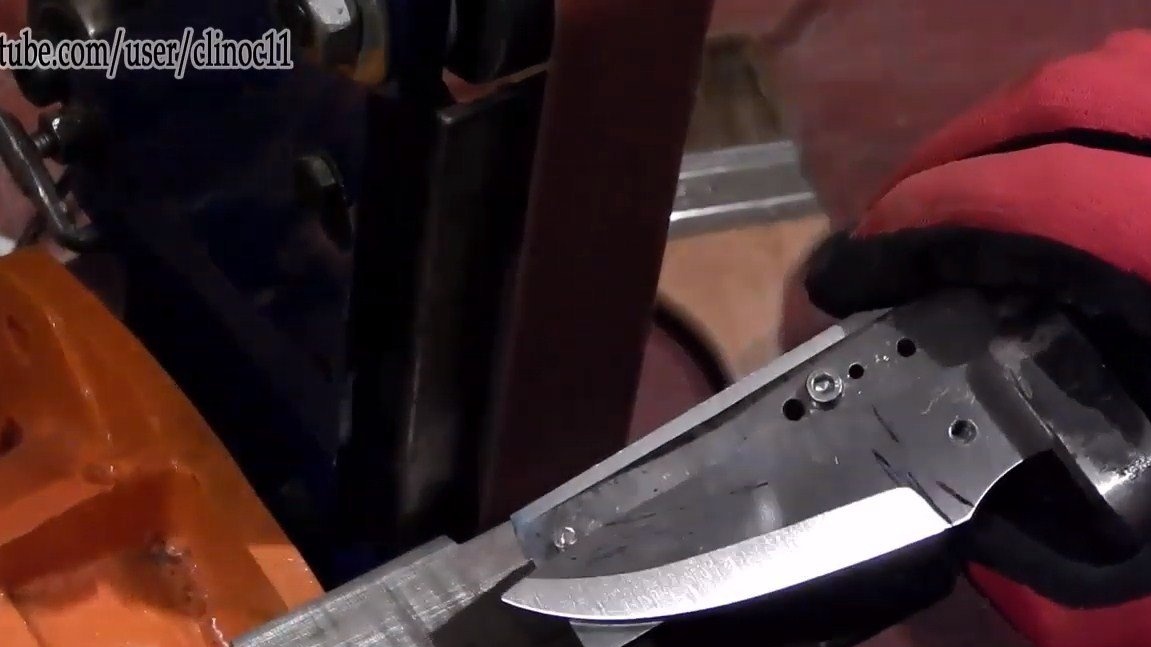
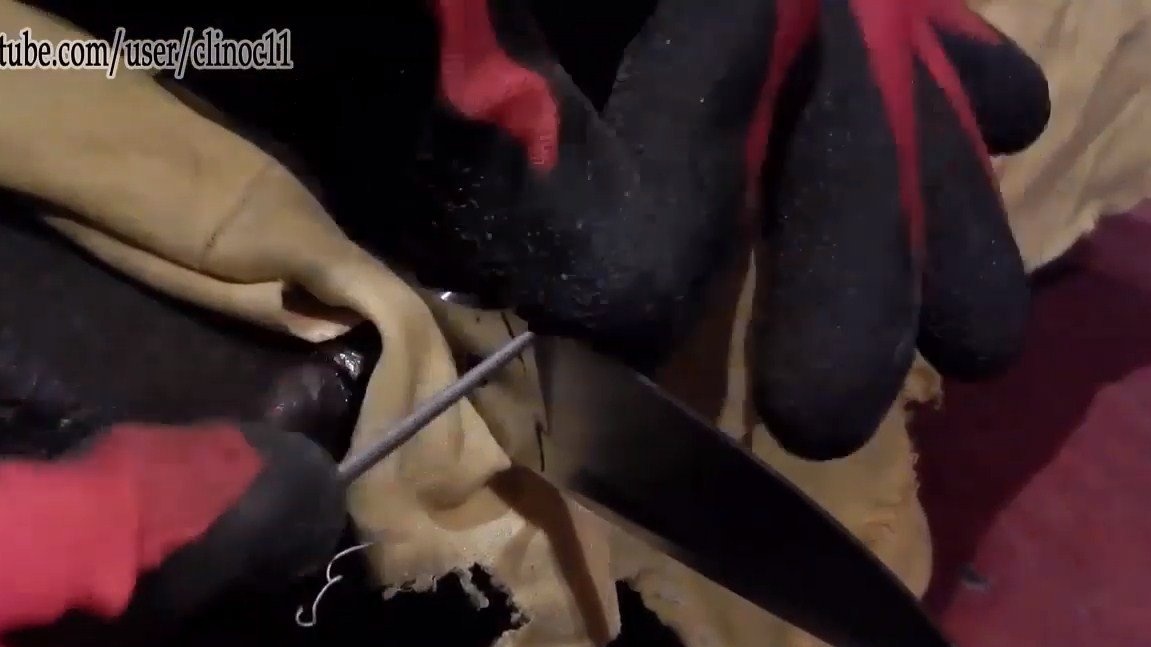
In the end, the author makes a notch on the blade, with it the knife looks more interesting, and it also protects the owner from being hit by a pen. For making notches, you can work with a round file or a drill.
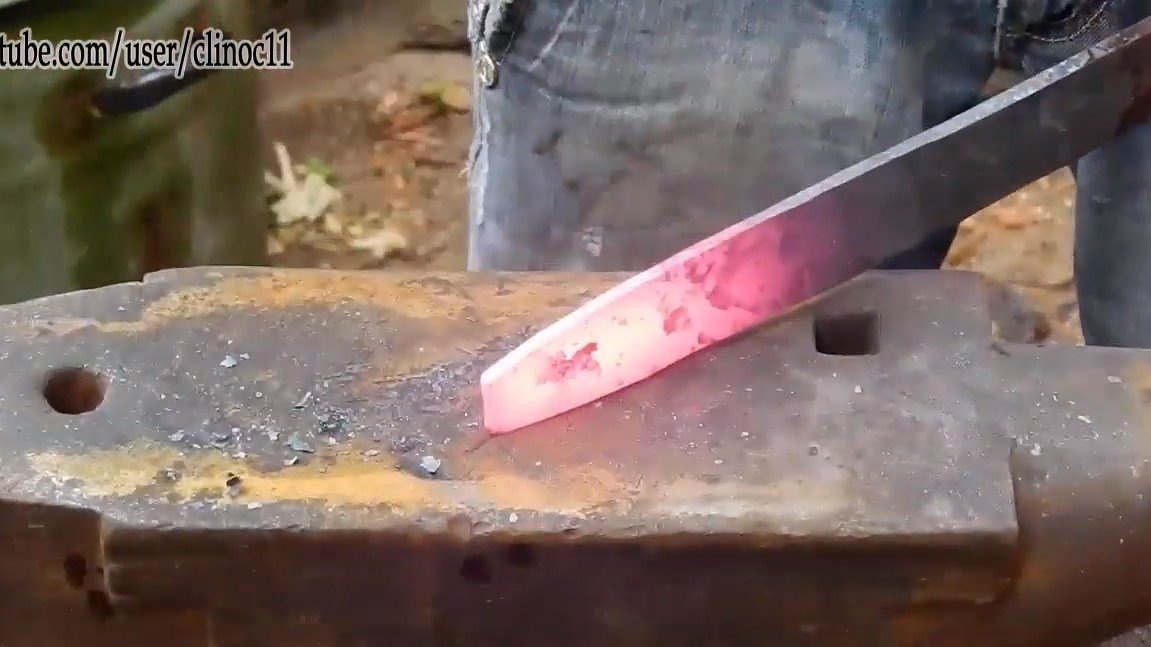
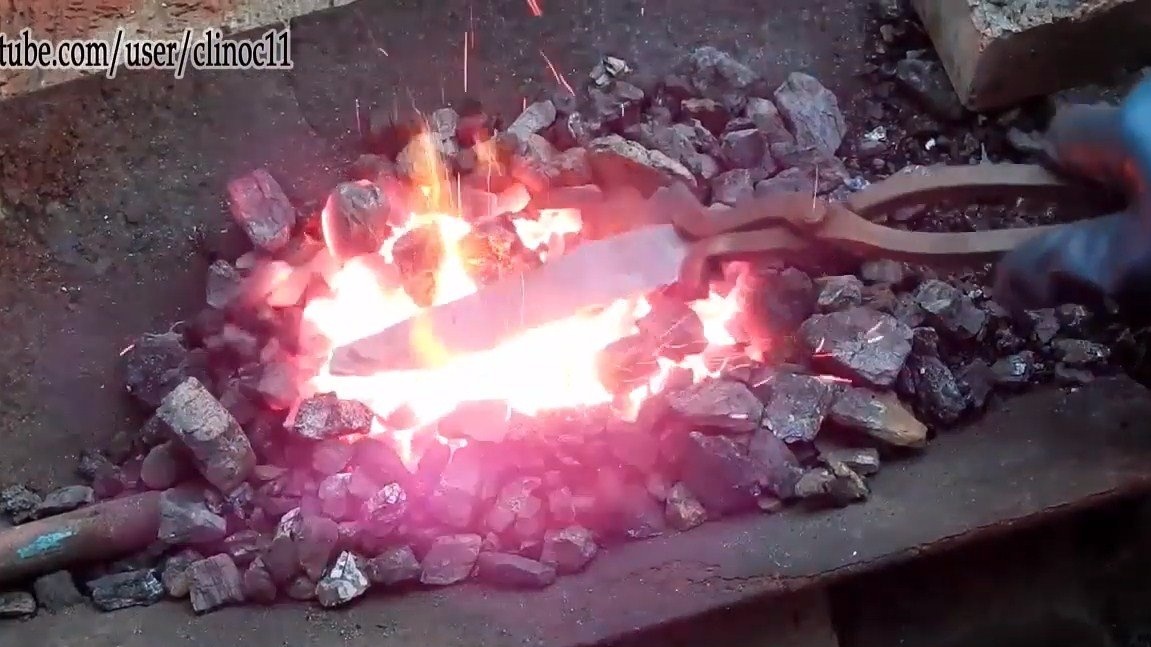
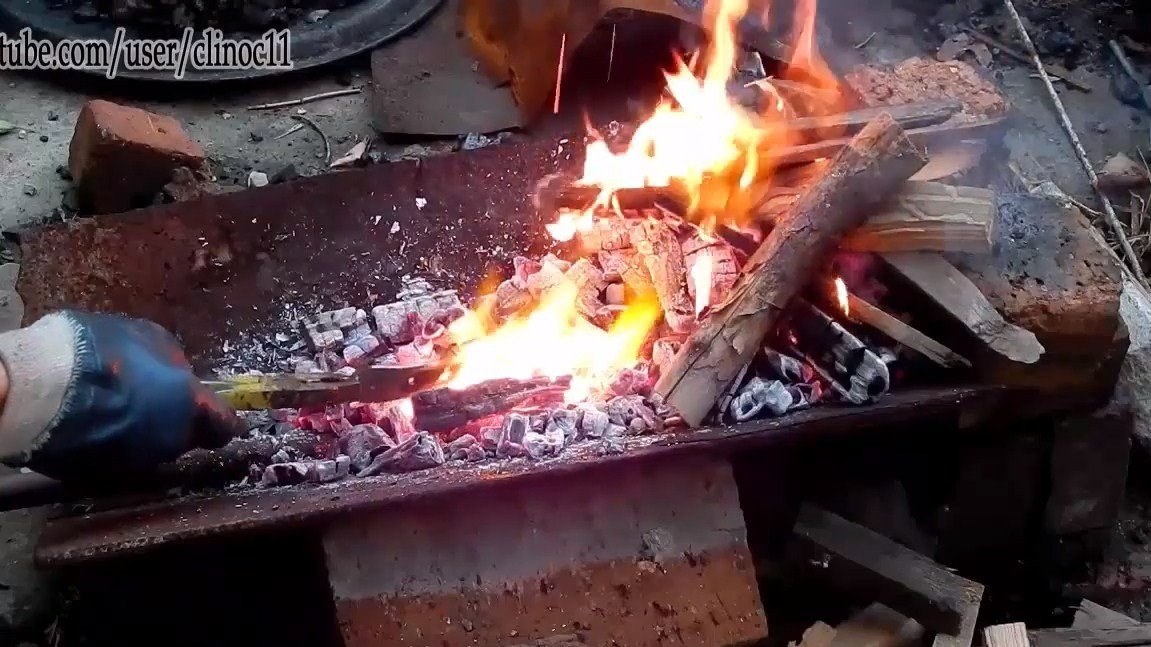
Step Five Heat treatment
We proceed to hardening the blade, as a result, it should become very strong with us, the blade will not be blunt for a long time, and a properly hardened blade should not be brittle.
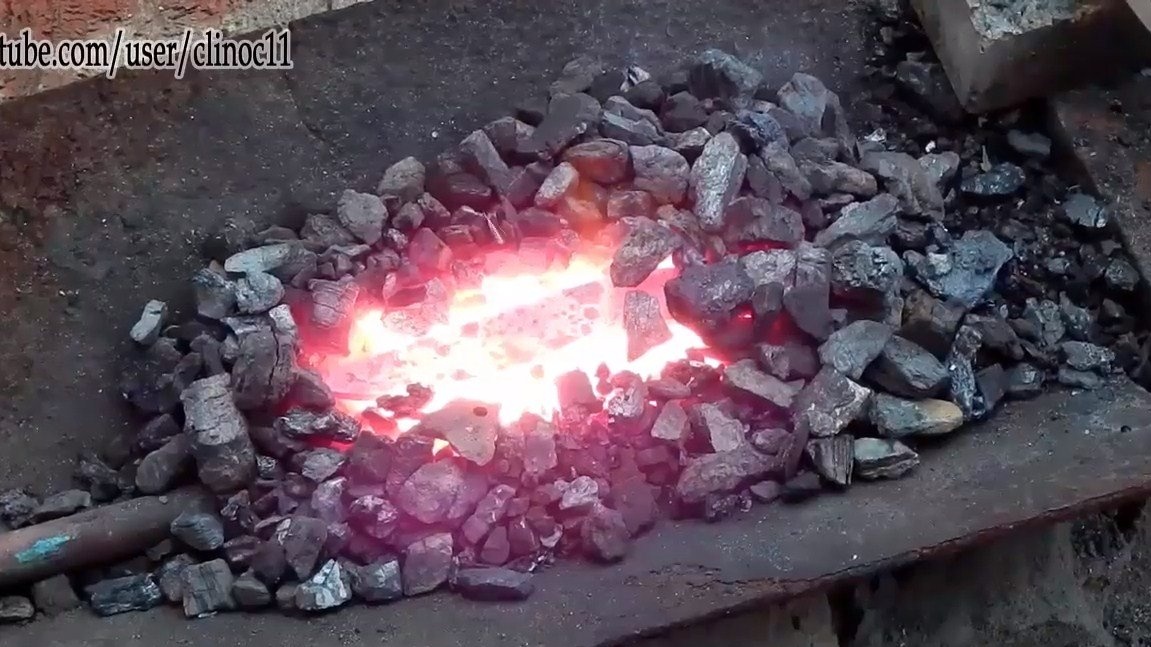
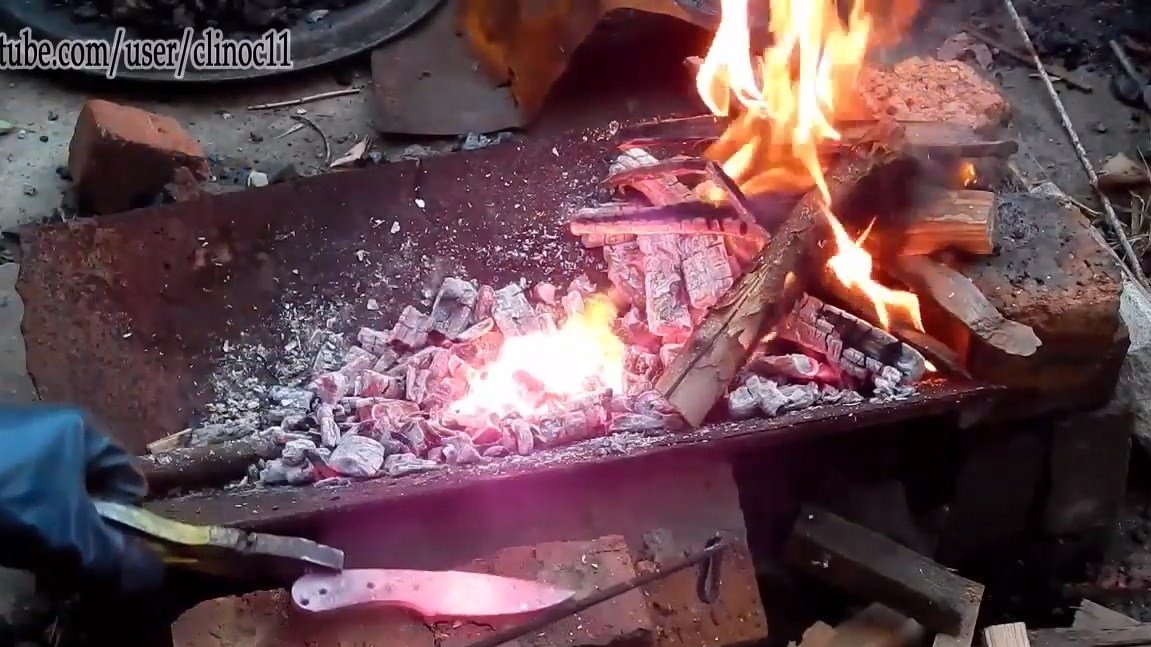
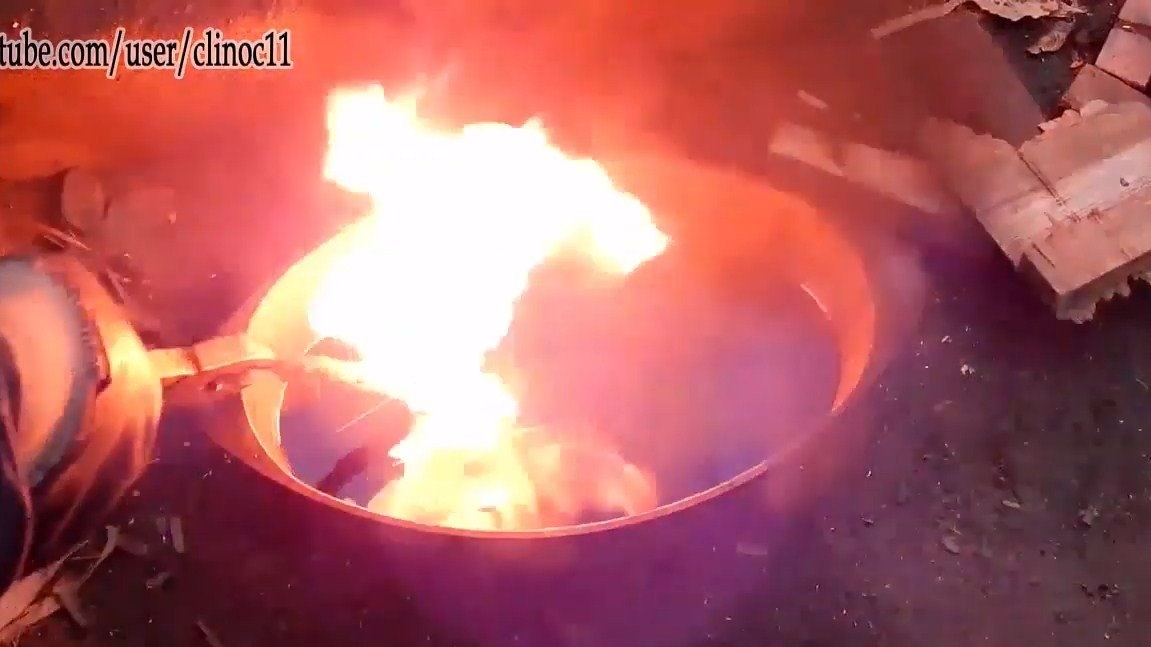
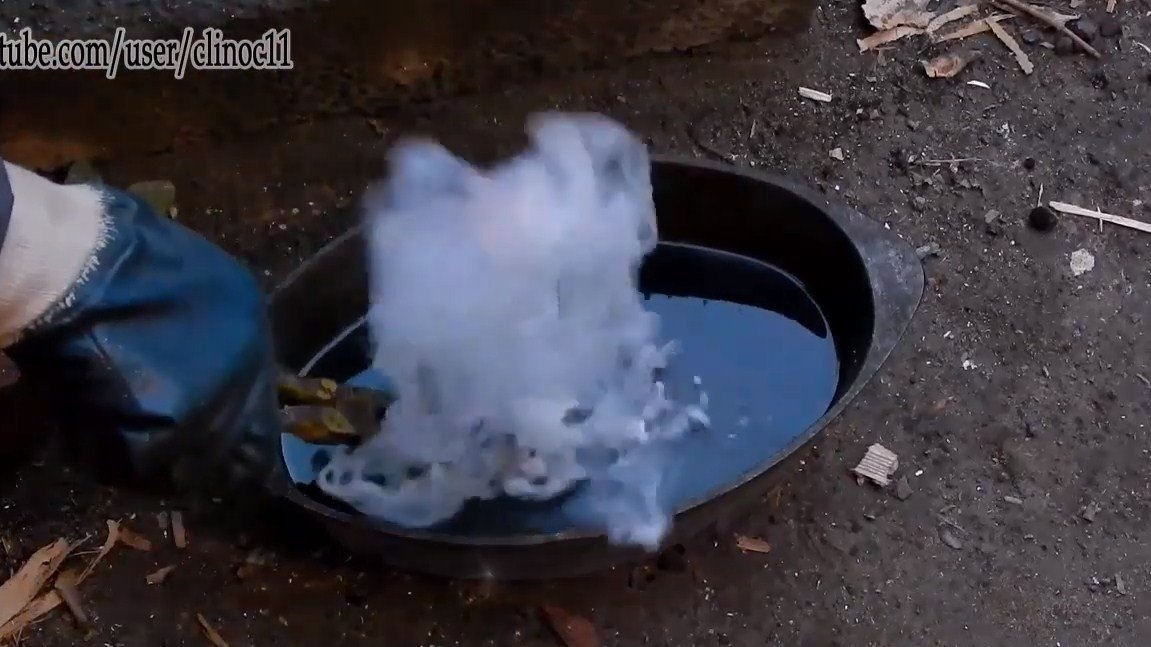
First of all, we normalize the blade, this procedure is needed in order to remove internal stresses in the knife. We heat the blade to a red glow and let cool in air. After that, you can proceed to hardening. Most carbon steels are quenched in oil, and the temperature is selected by eye, by the glow of the blade. It is advisable to use warm oil, so there is less chance that cracks will appear on the blade. You can heat the oil with a hot iron.
Well, then we temper the blade, heat it until the moment when it ceases to magnetize and dip in oil. We check with a file whether it turned out to harden the blade.
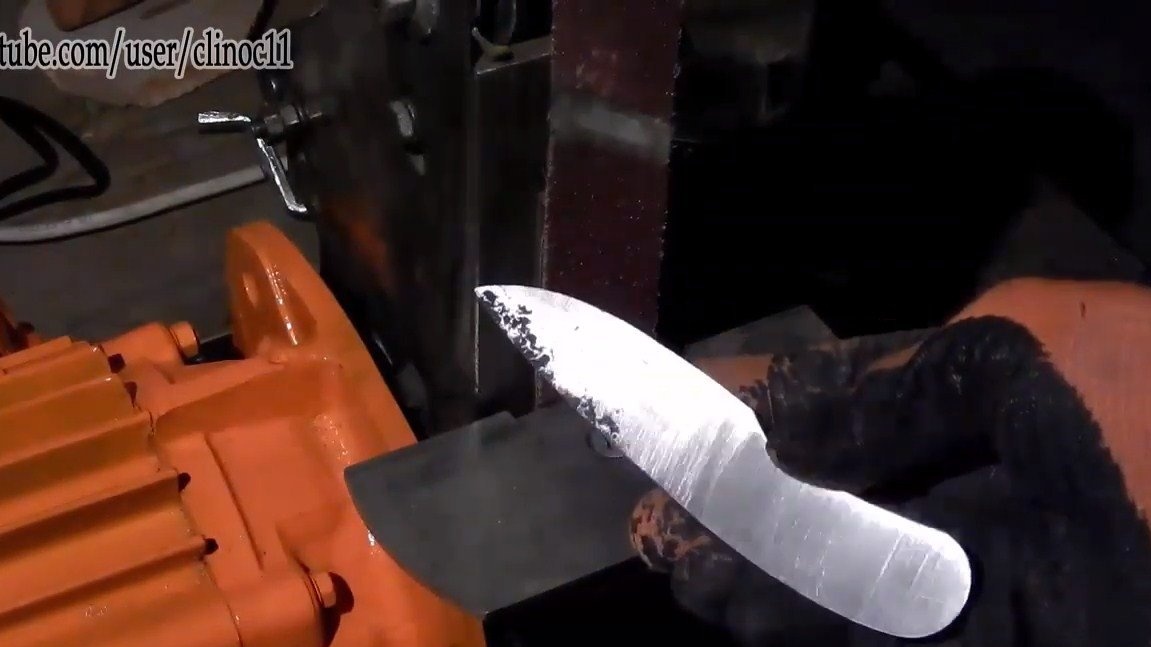
Then follows another important operation - metal tempering. Thanks to this procedure, we will save the blade from the fragility that will appear after hardening. Vacation is done in the oven at a temperature of about 200 degrees Celsius, but it all depends on the grade of metal and the thickness of the blade. You need to warm the blade for about an hour and then let it cool gradually. If the metal is pre-sanded, it will turn golden when properly tempered.
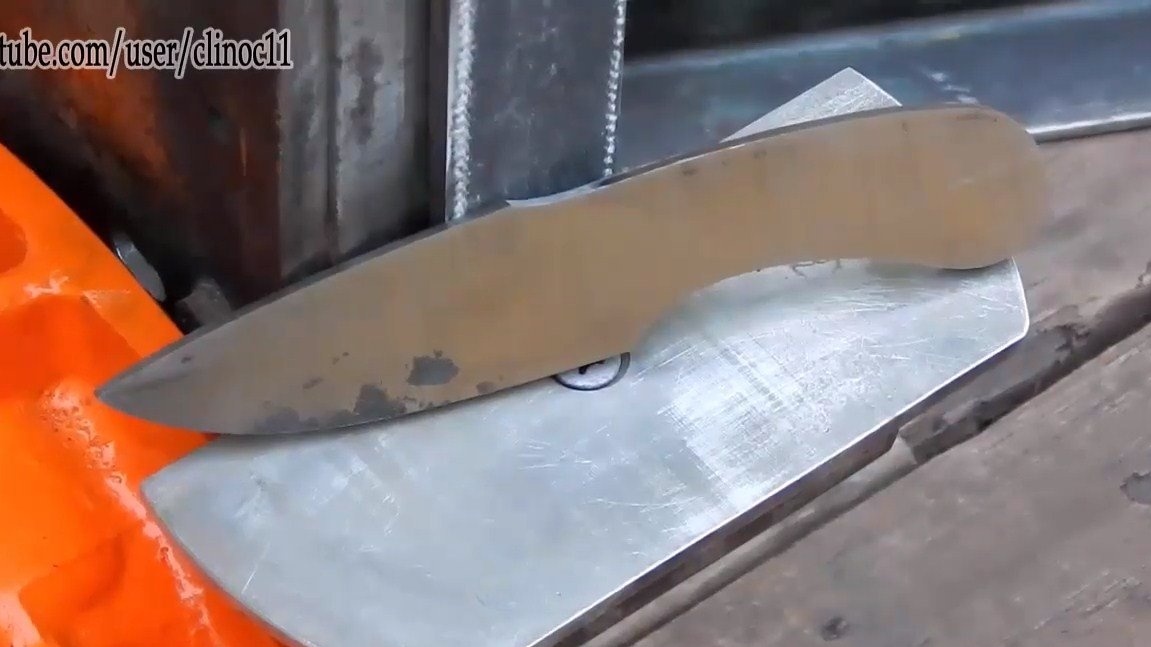
At the end, we grind the blade to a shine using sandpaper.
Step Six A pen
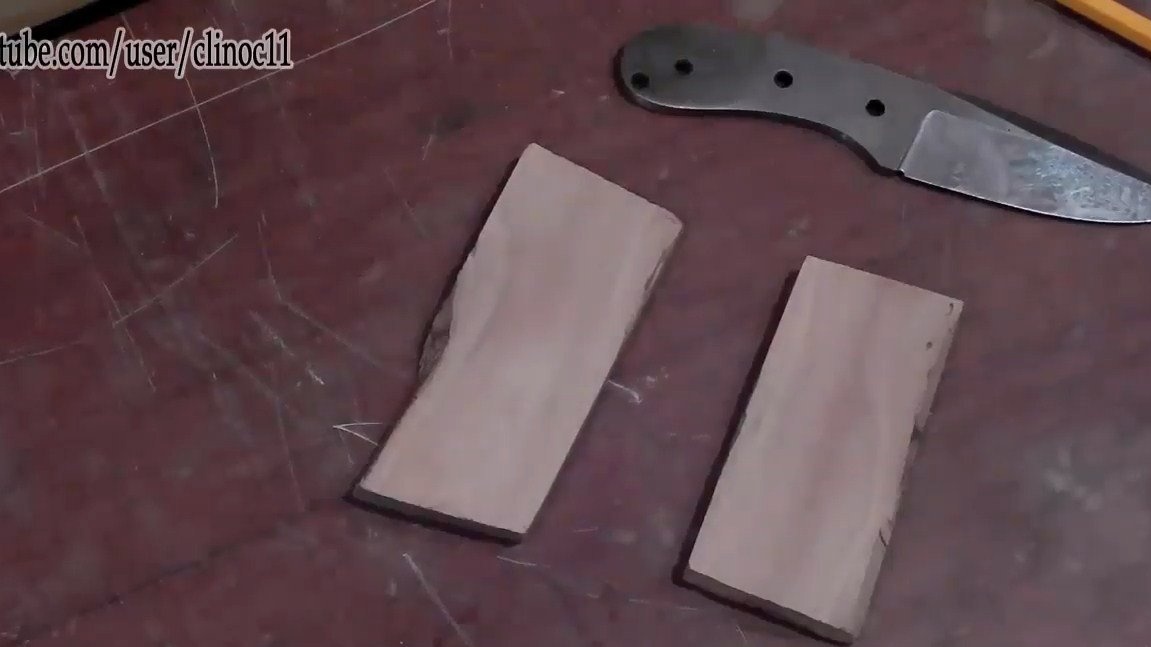
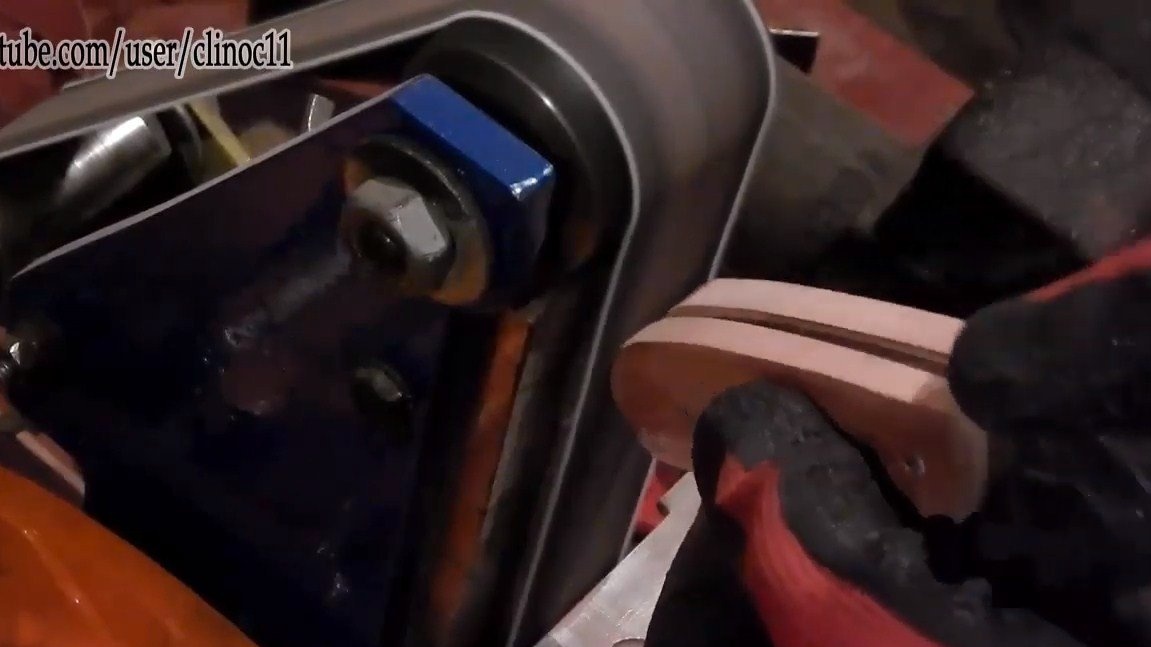
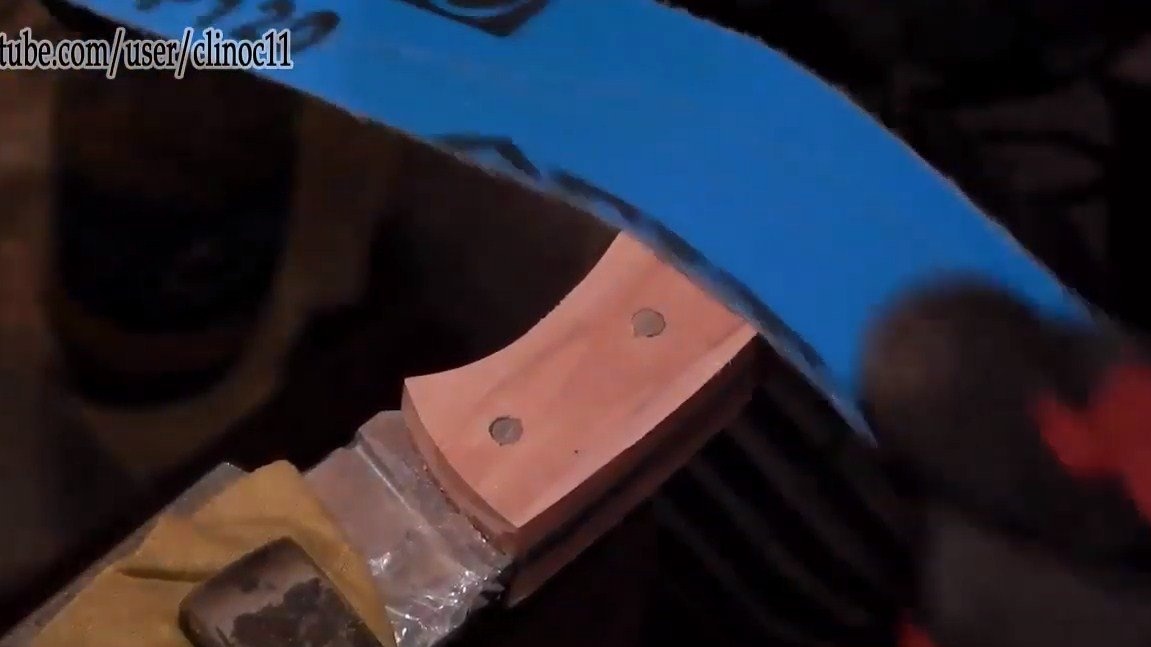
We install the pads on the handle, cut them out of the same stitches. The author "cut out" the lining by grinding on a tape machine. Next, we drill holes in the pads and glue them on the handle, using superglue first. When the pads are glued, we carefully grind the handle on a belt sander. Well, then we modify the pads manually using sandpaper.
Seventh step. Etching
If you wish, you can etch the blade, it is covered with a beautiful dark coating. The same coating will protect the blade from rust. Periodically lower the blade into the reagent and mine. We achieve the desired result.
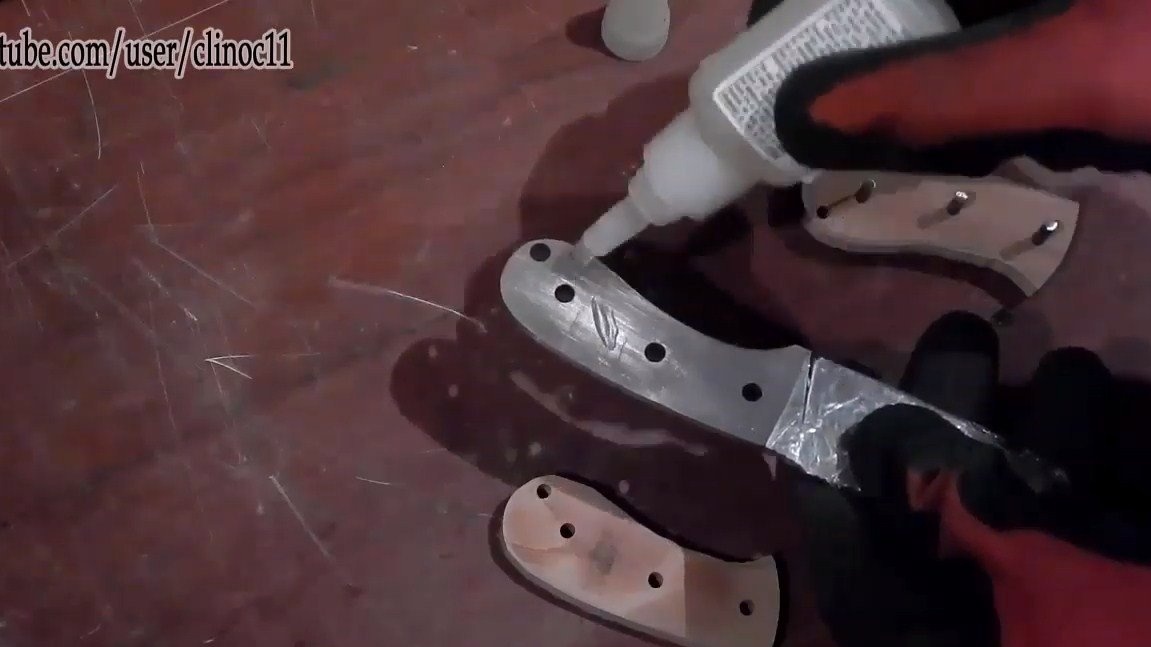
Step Eight. Set the pads
Now glue the lining, for this you will need epoxy glue. Do not forget to also grease the pins with glue. Wipe the glue that comes out immediately with a clean cloth, clamp everything with clamps and let the glue dry.
At the end, we impregnate the tree with oil or varnish. Impregnation will protect the tree from moisture, and also emphasize its beauty.
That's all, the project is over, I hope you liked it. Good luck and creative inspiration, if you decide to repeat it. Do not forget to share your ideas and homemade things with us!