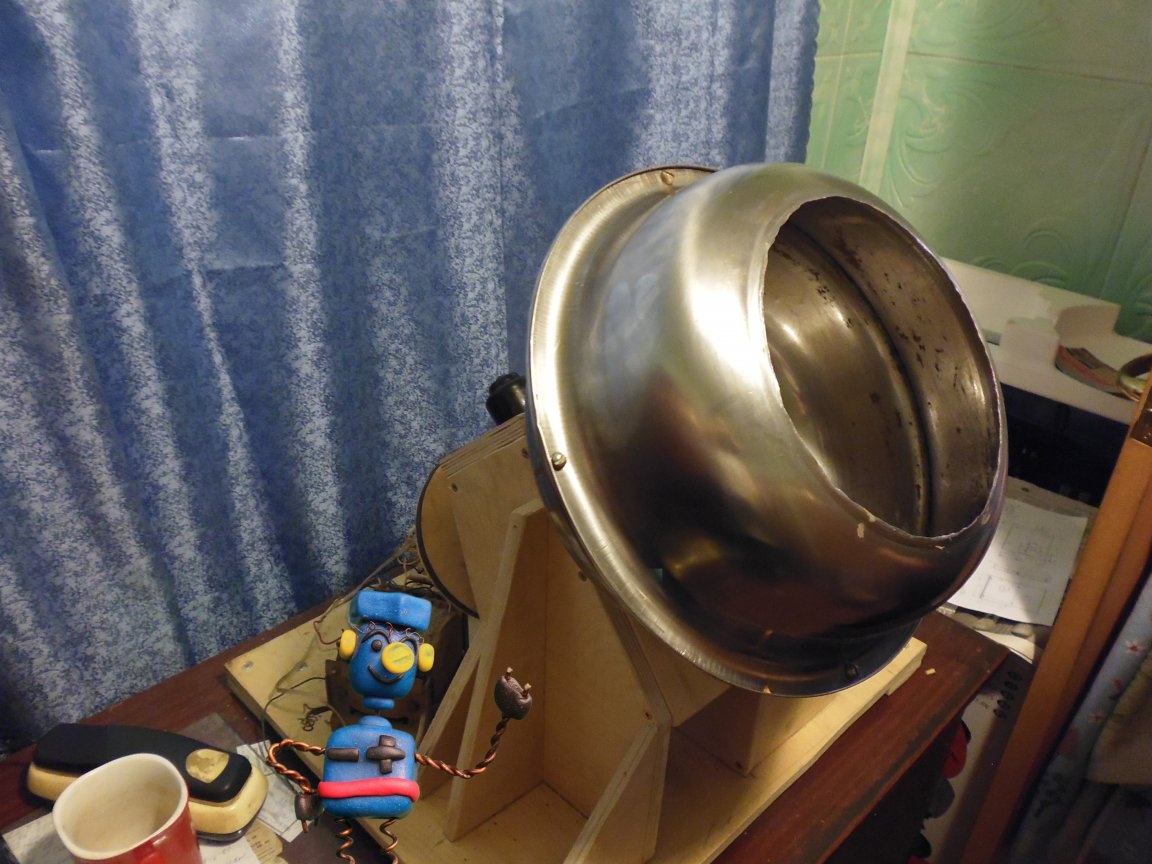
Good afternoon, in my instructions I will tell you how to make a small pan-coating machine, to cover various nuts, such as peanuts, with chocolate or sugar. Drum loading peanuts about 0.5 kg, with chocolate 1 kg.
The device is powered by a 12 volt power supply or a car battery.
The machine runs on a wiper motor with a worm gear (from a VAZ 2101 car), rotation speed 60 rpm., To reduce the speed and increase the power of the machine, a belt drive ratio of pulleys 1/3 was used.
All other machine parts were made. do it yourself from improvised means.
Materials and tools that I used:
Material List:
1. Wiper motor from a VAZ 2101 car;
2. V-belt drive from the drive of the VAZ 99 generator;
3. Transformer for 12V;
4. The diode bridge;
5. Wires;
6. The switch;
7. Two stainless steel basins;
8. Bolts, screws, nuts, washers clean and retaining, screws, screws;
9. Plywood with a thickness of 14 mm.
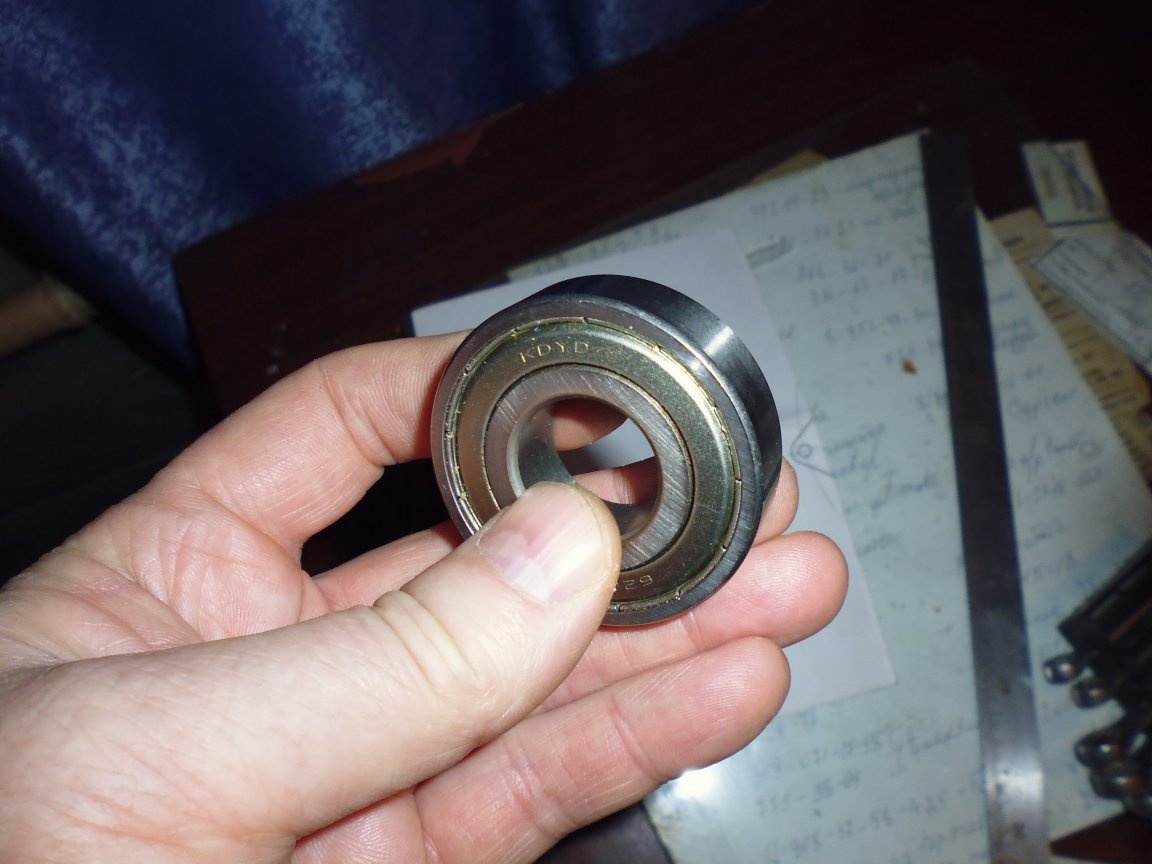
10. Four bearings;
11. Steel bar with a diameter of 20 mm;
12. Steel strip;
13. Fiberboard with a thickness of 4 mm;
14. Steel pipe, inner diameter 20 mm.
15. Steel tube outer diameter 8 mm.
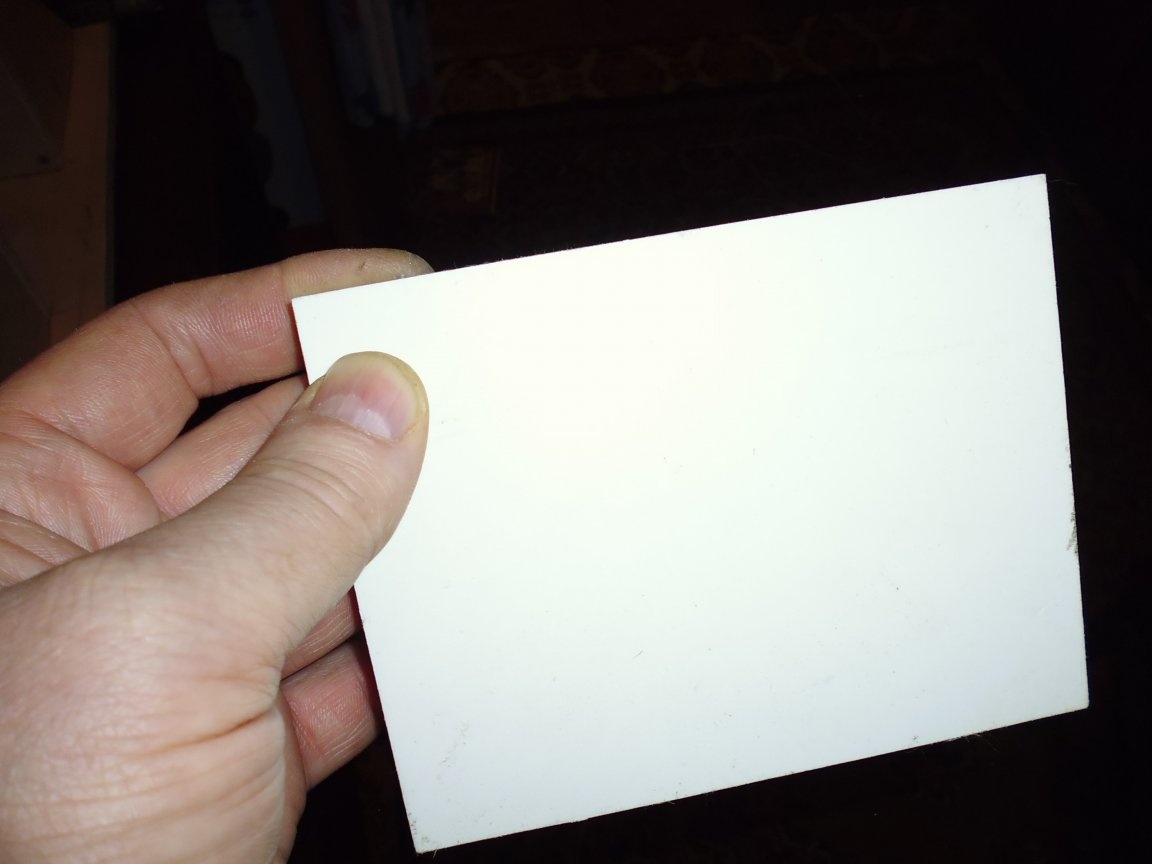
16. Plastic 6 mm thick.
Tool List:
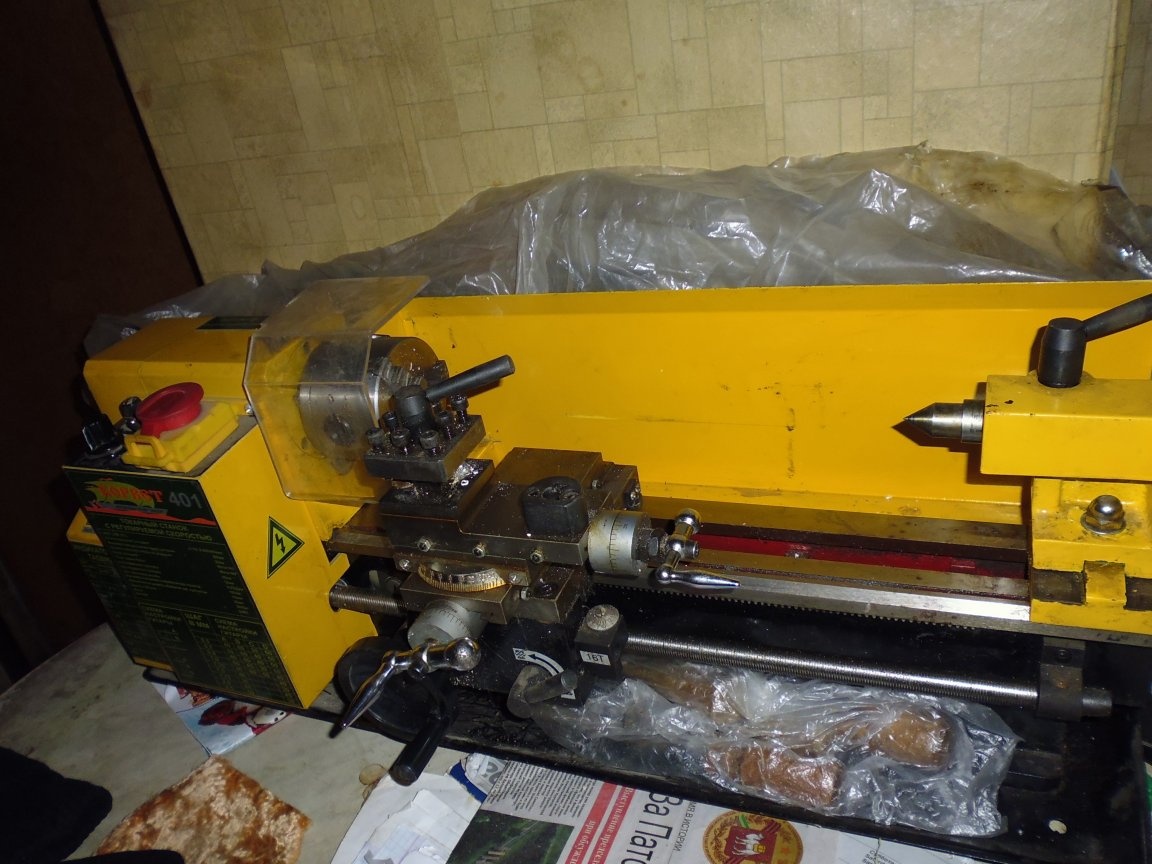
1. Small-sized lathe;
2. Drilling machine;

3. Universal woodworking machine;
4. A metal disk with a glued skin;
5. Electric jigsaw;
6. Hacksaw;
7. Drill;
8. Welding transformer;
9. The Bulgarian;
10. Grinder for metal;
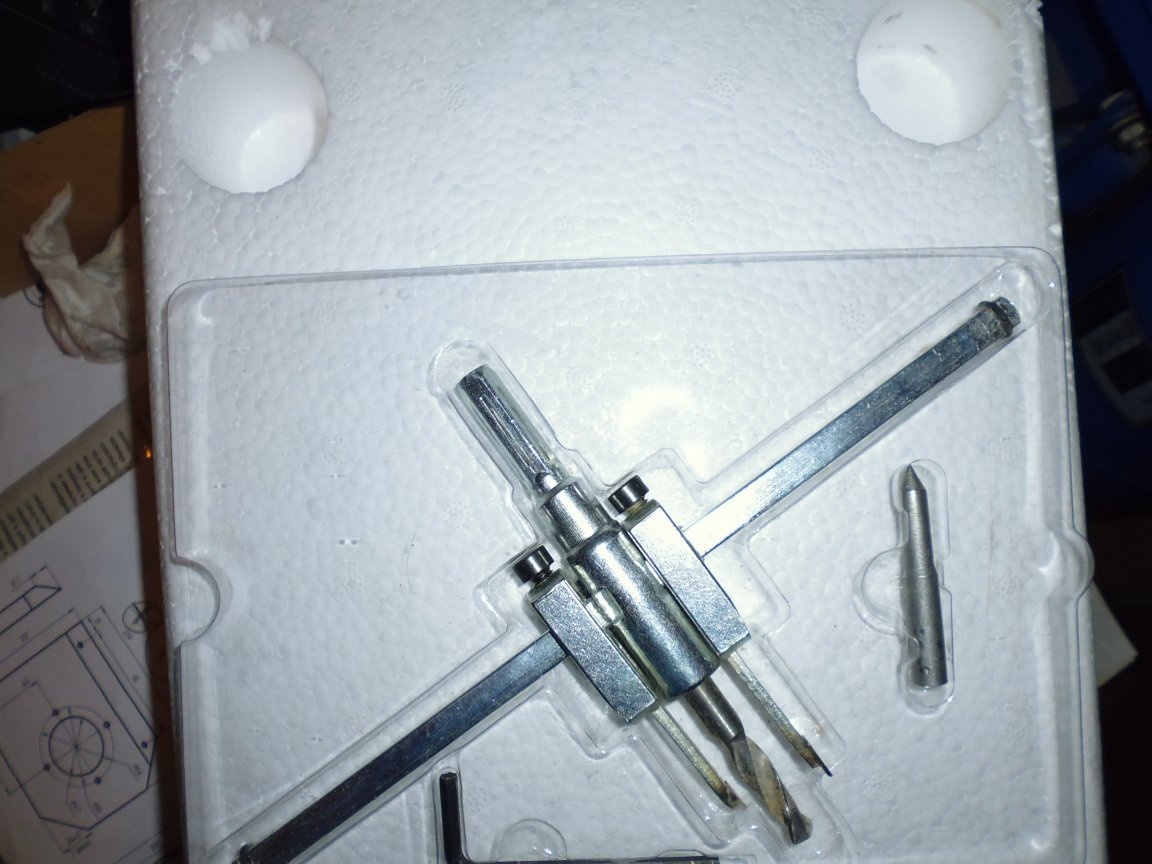
11. Ballerina;
12. Feather drills;
13. Drills for metal;
14. Taps;
15. Dupel;
16. Caliper;
17. Compass;
18. Turning tools for metal and wood;
19. Scissors for metal;
20. Files round and flat;
21. Cross and flat-head screwdrivers, wrenches;
22. Clamp;
23. Ruler;
24. Soldering iron;
25. The hammer;
26. Superglue (cyanocarylate);
27. Construction hair dryer;
The process of manufacturing a coating machine:
Step one: Production of blanks for body parts and pulleys
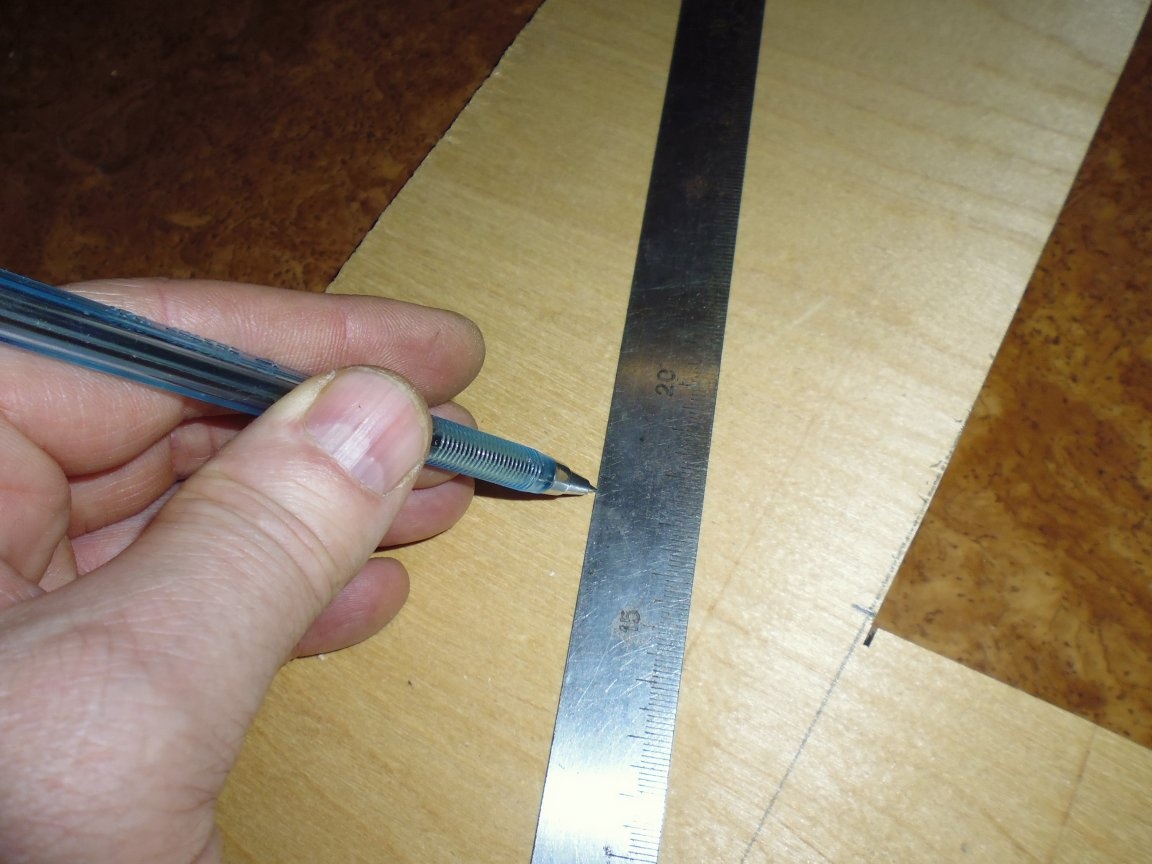
1. On the plywood, blanks for body parts are marked, placed with a minimum size between the parts, so that when cutting, there is a minimum allowance for the final processing.
Also, round parts and pulleys are marked on a plywood with a compass, an allowance of at least 10-15 mm from the remaining parts, to ensure a guaranteed clearance between the workpieces during processing.
On fiberboard, blanks of bearing mounting plates are marked.
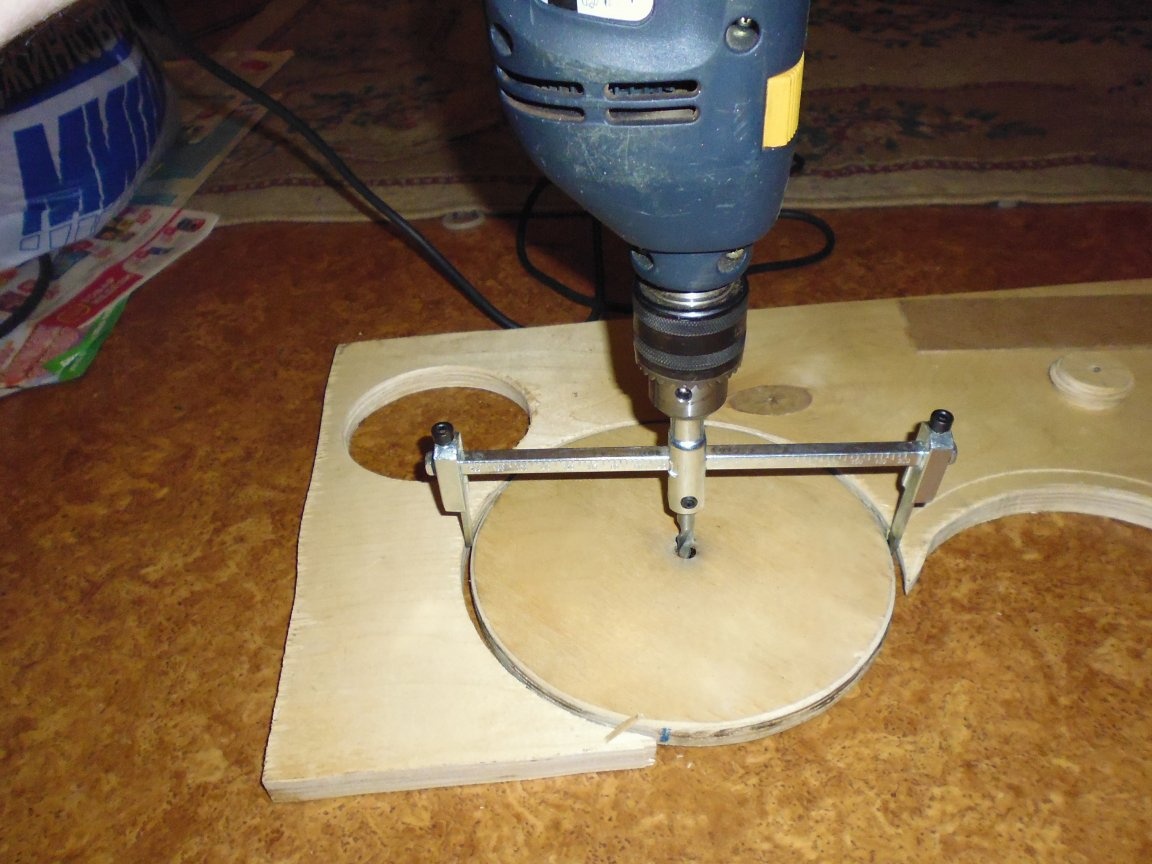
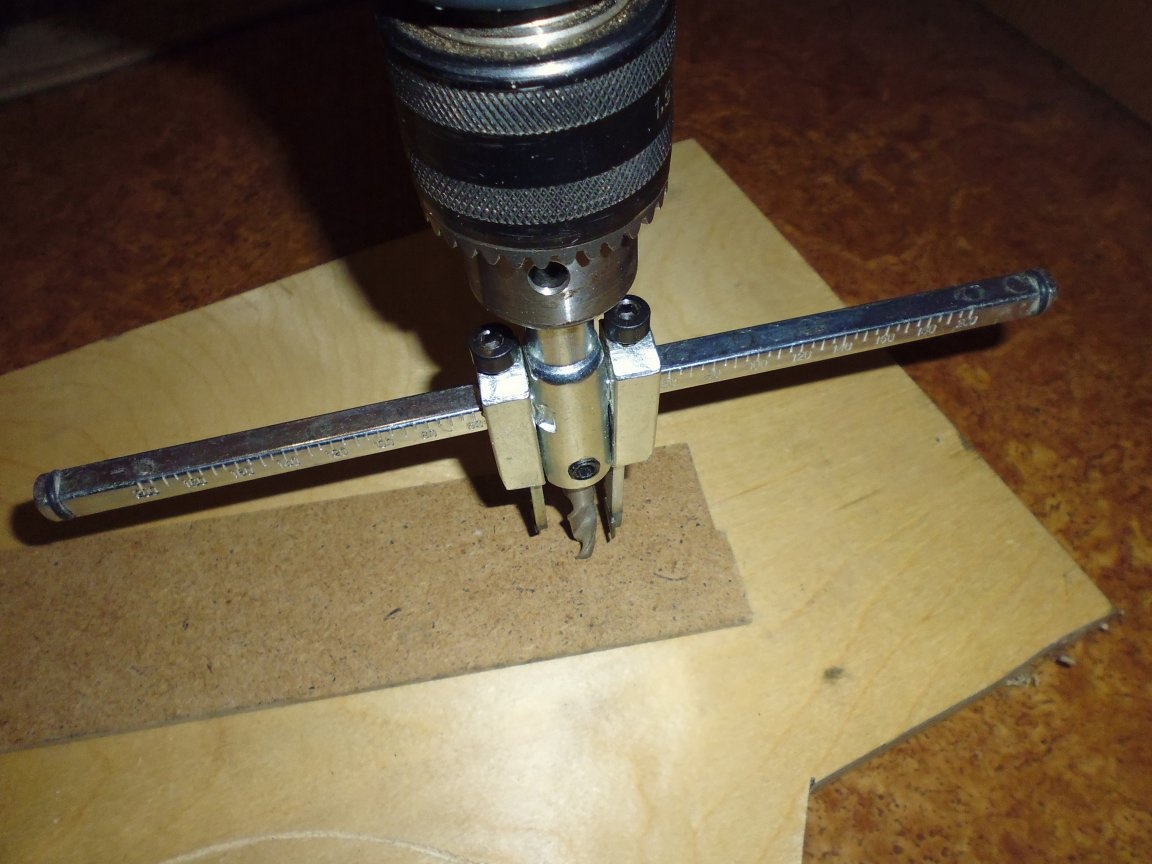
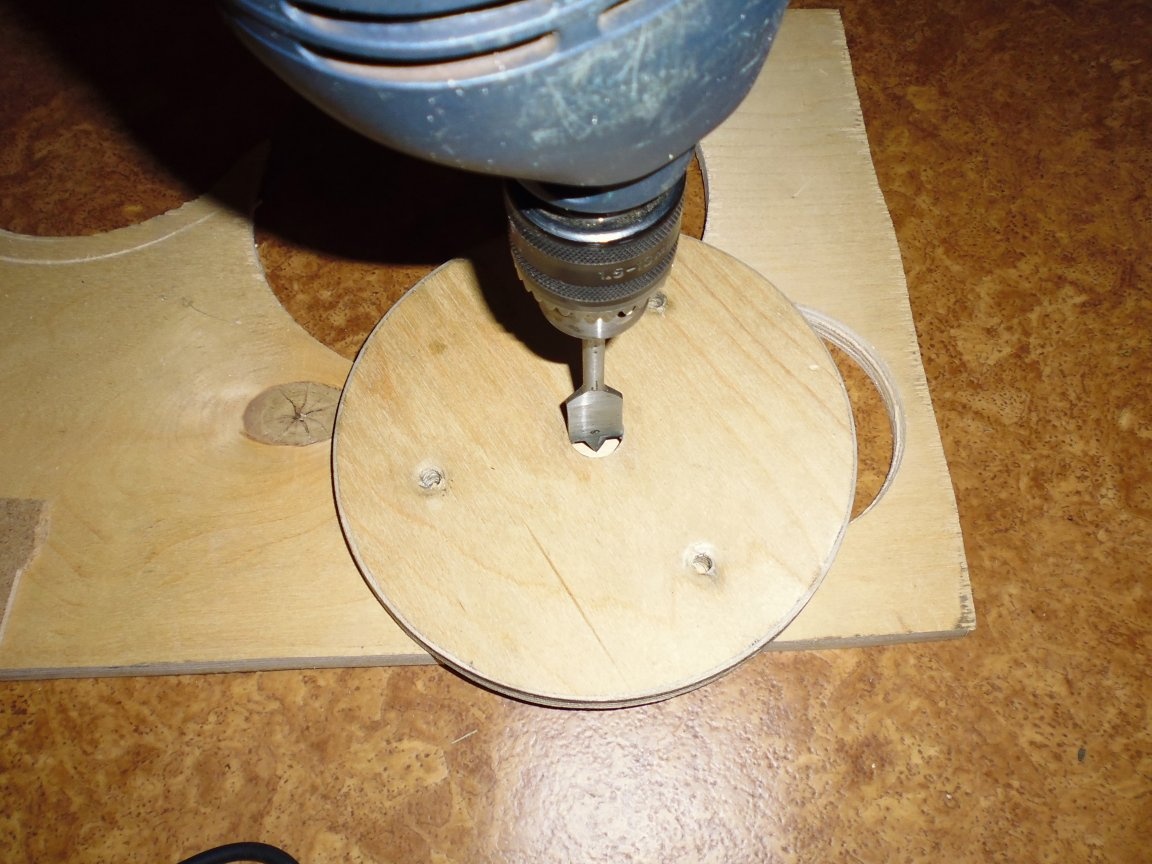
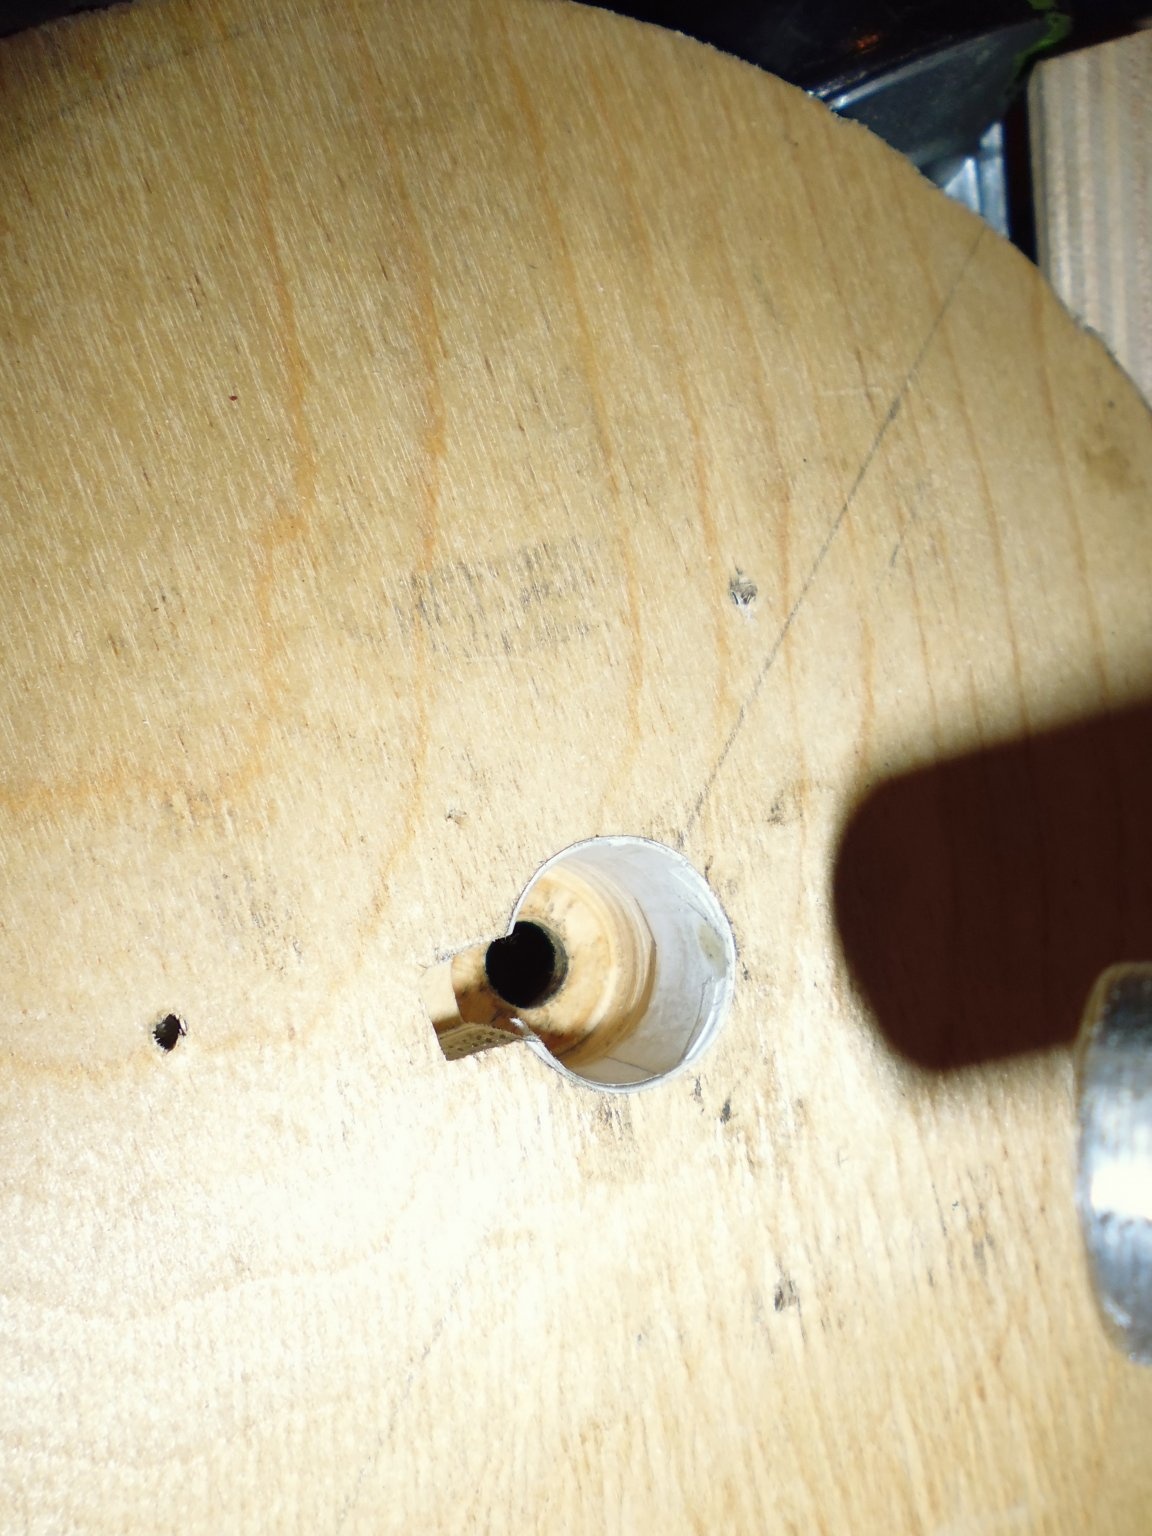
2. Drill holes with a diameter of 8 mm in round billets, then install the ballerina on the drill and cut, to the middle of the plywood, all round details: a large pulley, a small pulley, a large pulley stop, an amplifier for the bottom of the coating pan, as well as bearing holes, turn the plywood over and cut all the round parts to the end.
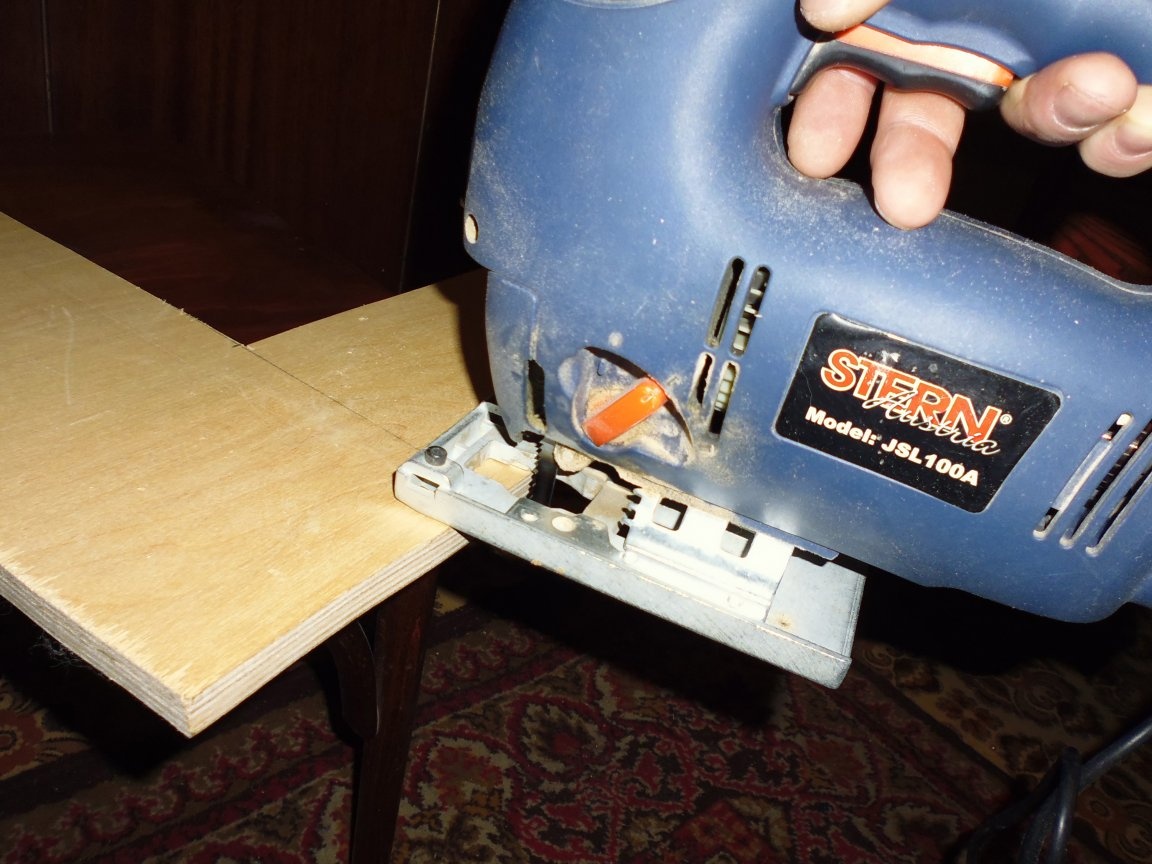
3. Using an electric jigsaw, cut out the rest of the blank of the body parts, try to keep the minimum allowance.
4. On a universal woodworking machine, instead of a circular saw, we install a steel sheet with a sandpaper and process the edges of the body parts according to the marking.
5. According to the marking, in the blanks of the body parts, we drill holes for fasteners.
Step Two: Production of pulleys and round parts
1. We install an M8 bolt and clean washers in the holes of the pulleys, clamp with a nut, install the free end of the bolt on a lathe and make a groove for the V-belt.
2. On the drilling machine we make holes, in the large pulley, the amplifier of the bottom of the coating pan — the diameter is 20 mm., In the small pulley - the diameter is 15 mm.
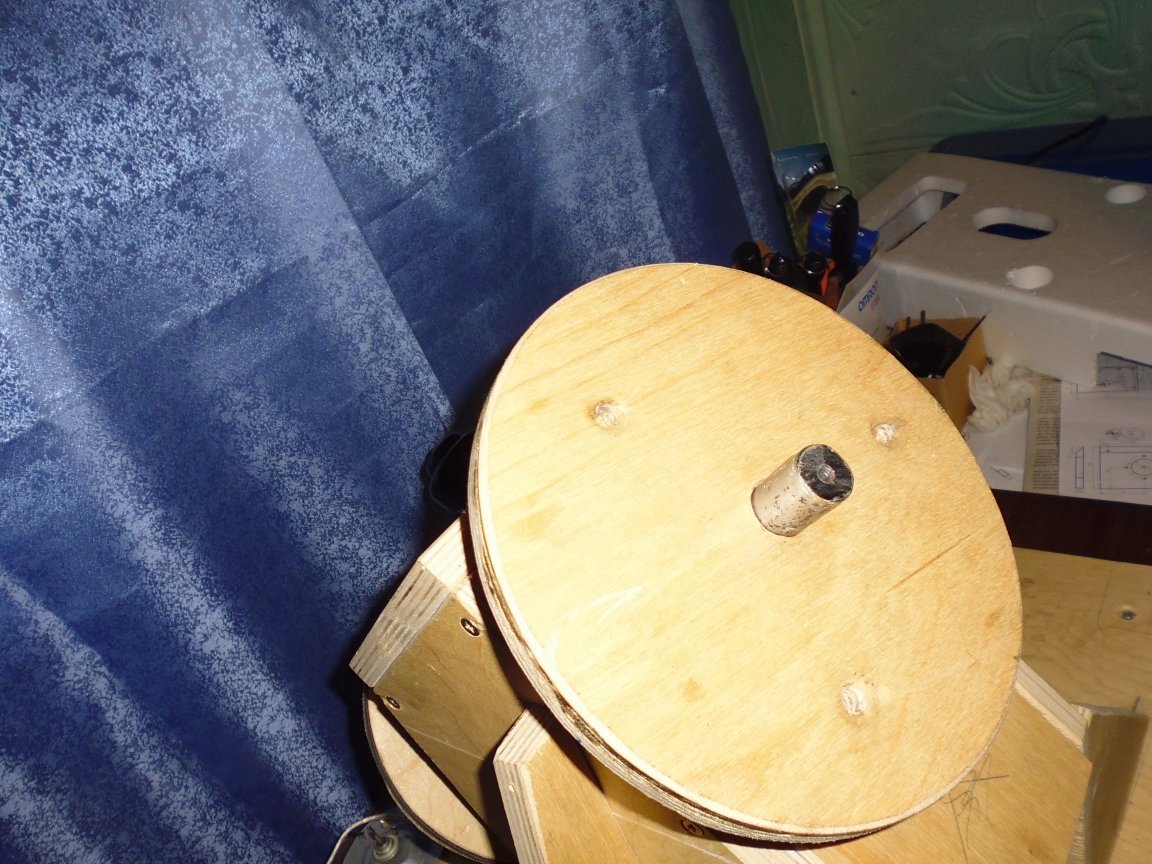
3. In the stop of the large pulley we drill a hole with a diameter of 20 mm to a depth of 10 mm.
4. In the large pulley with an electric jigsaw, cut out the groove under the key.
Step Three: Production of axes of a pelleting boiler and drive
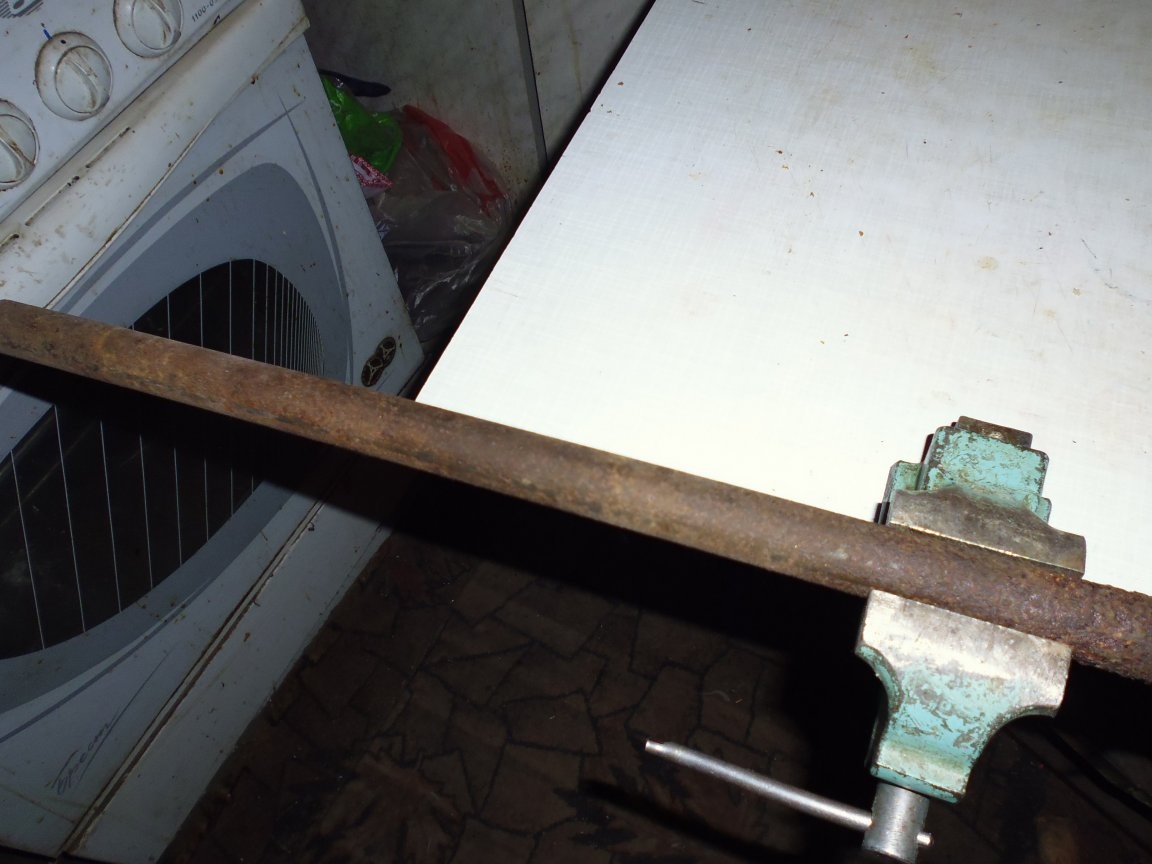
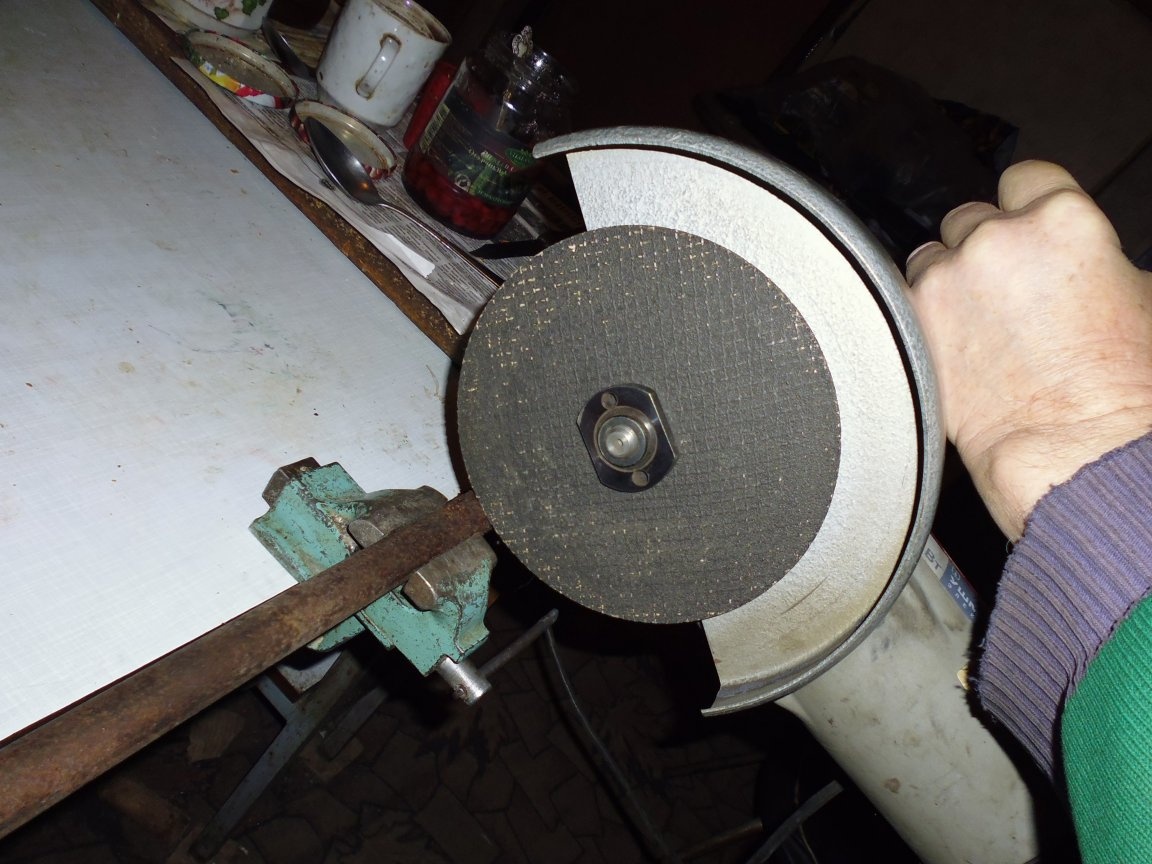
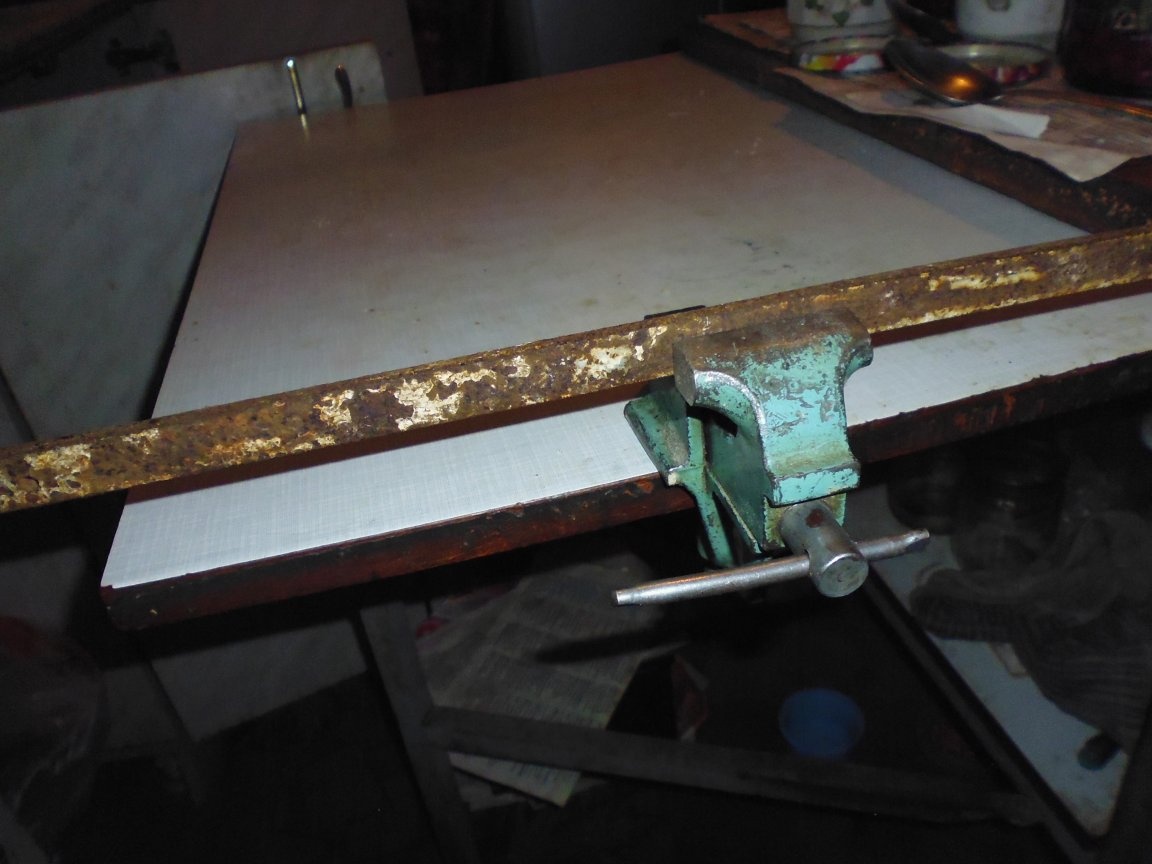
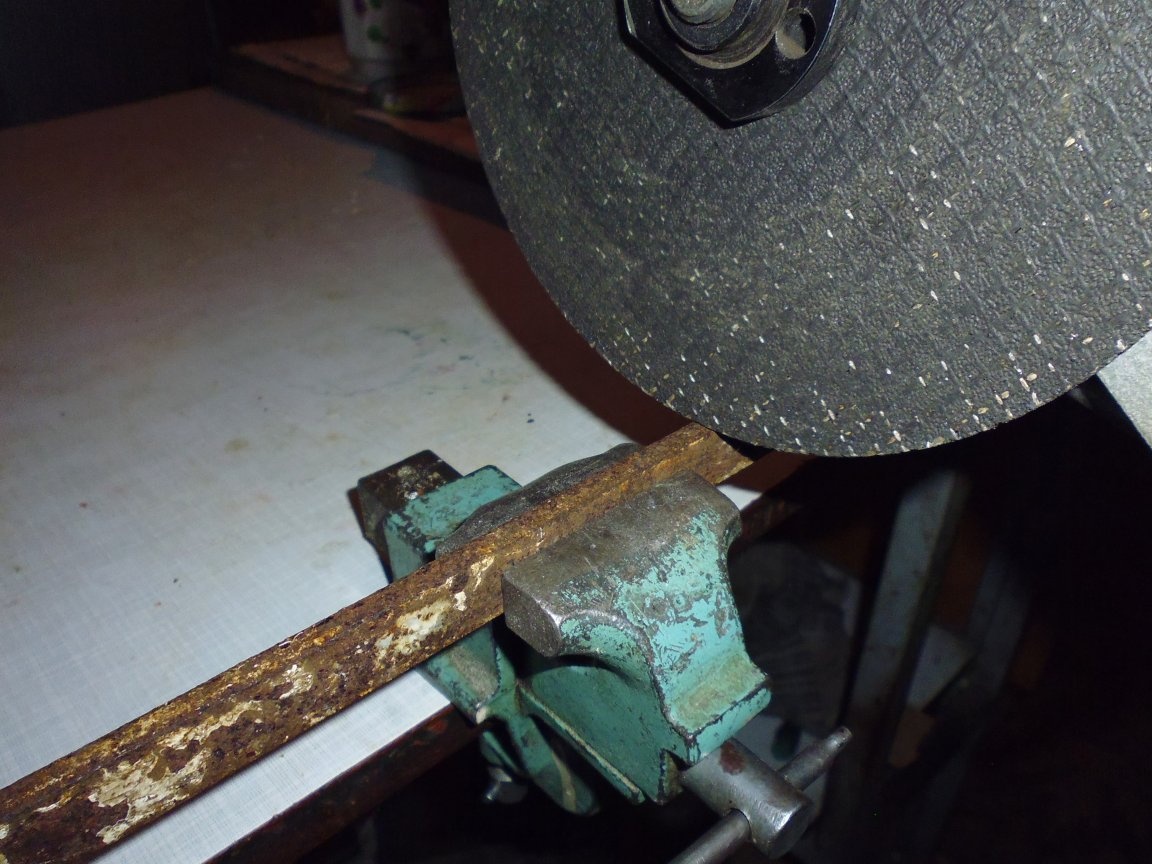
1. From a bar with a diameter of 20 mm, we cut the blanks of two axes with a grinder.
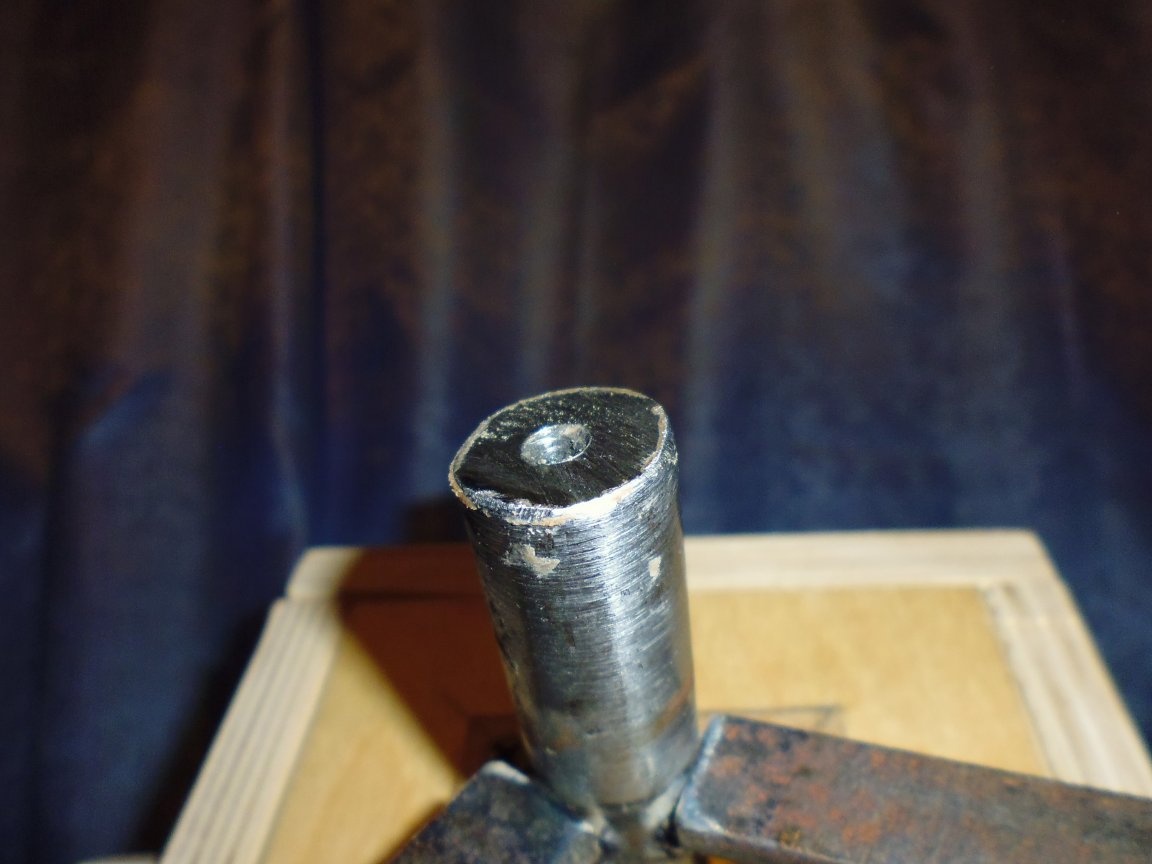
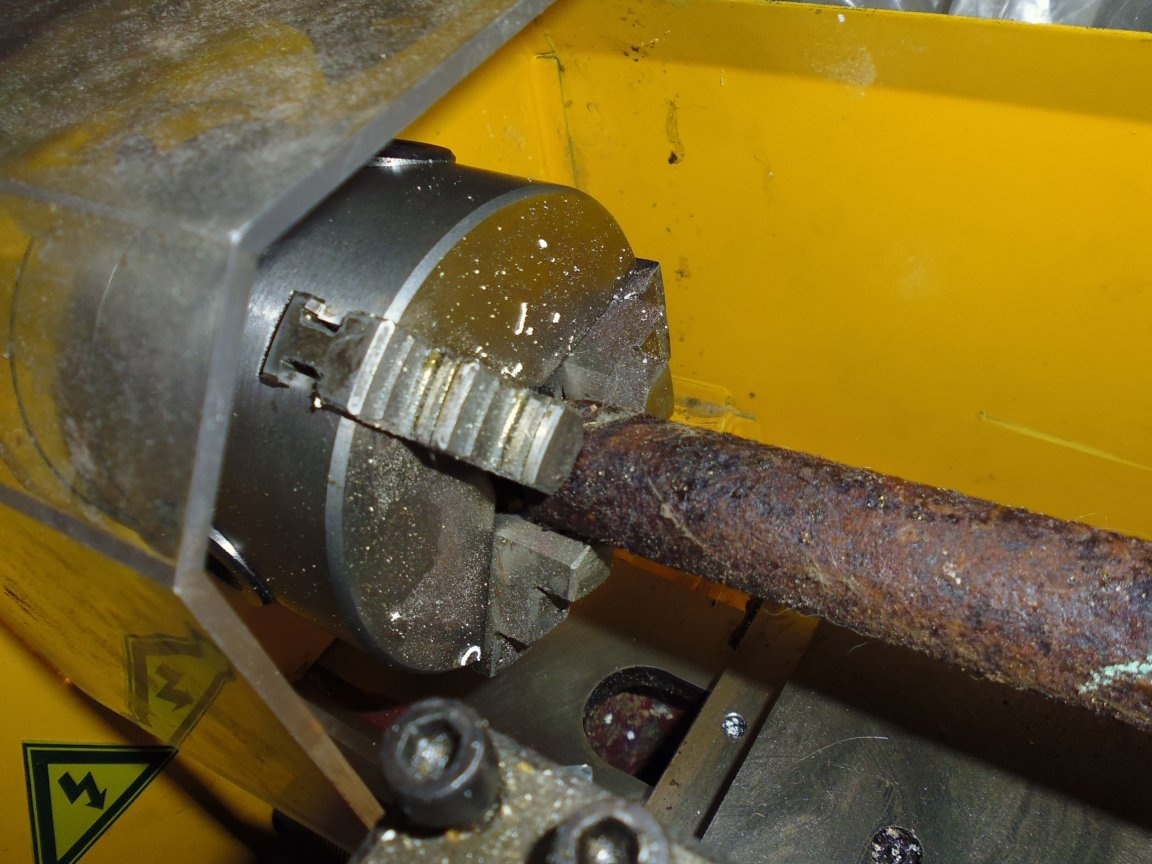
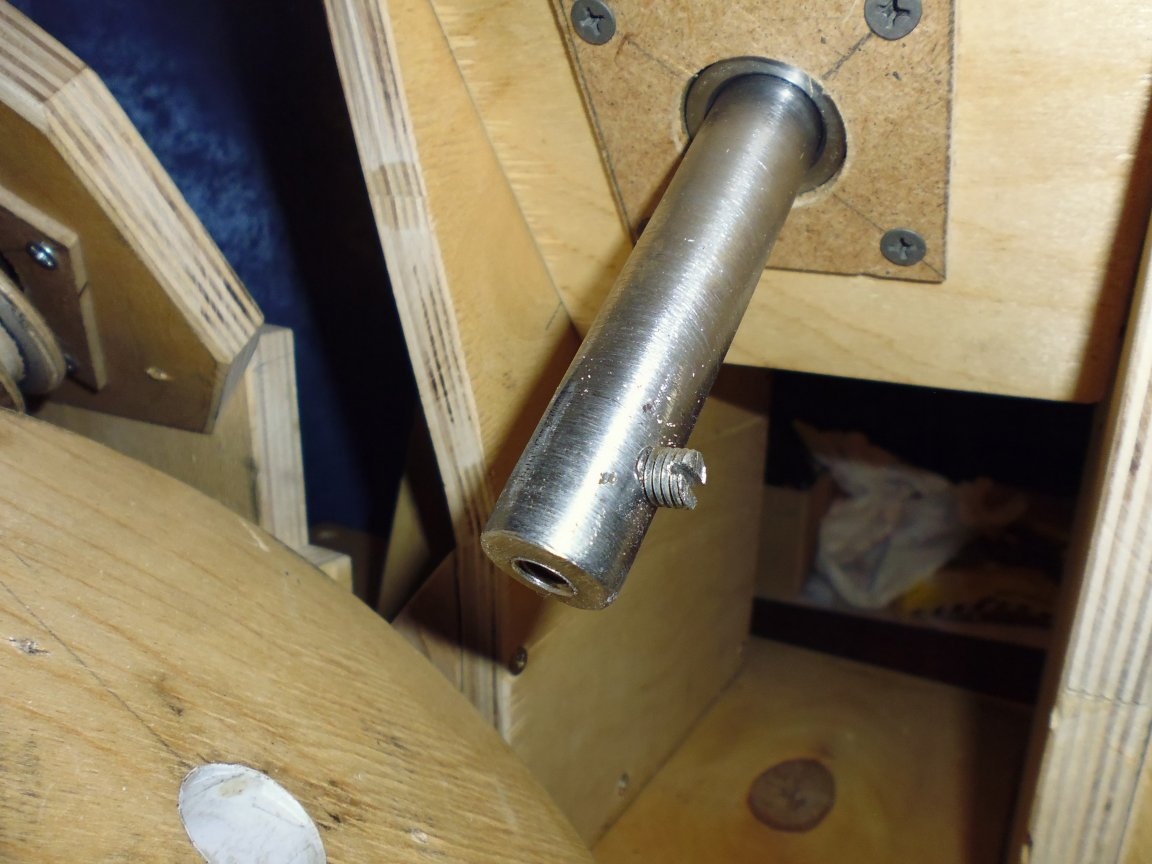
2. In the axis of the panning boiler, from the ends we drill holes with a large bevel, for fixing in the tailstock of the lathe.
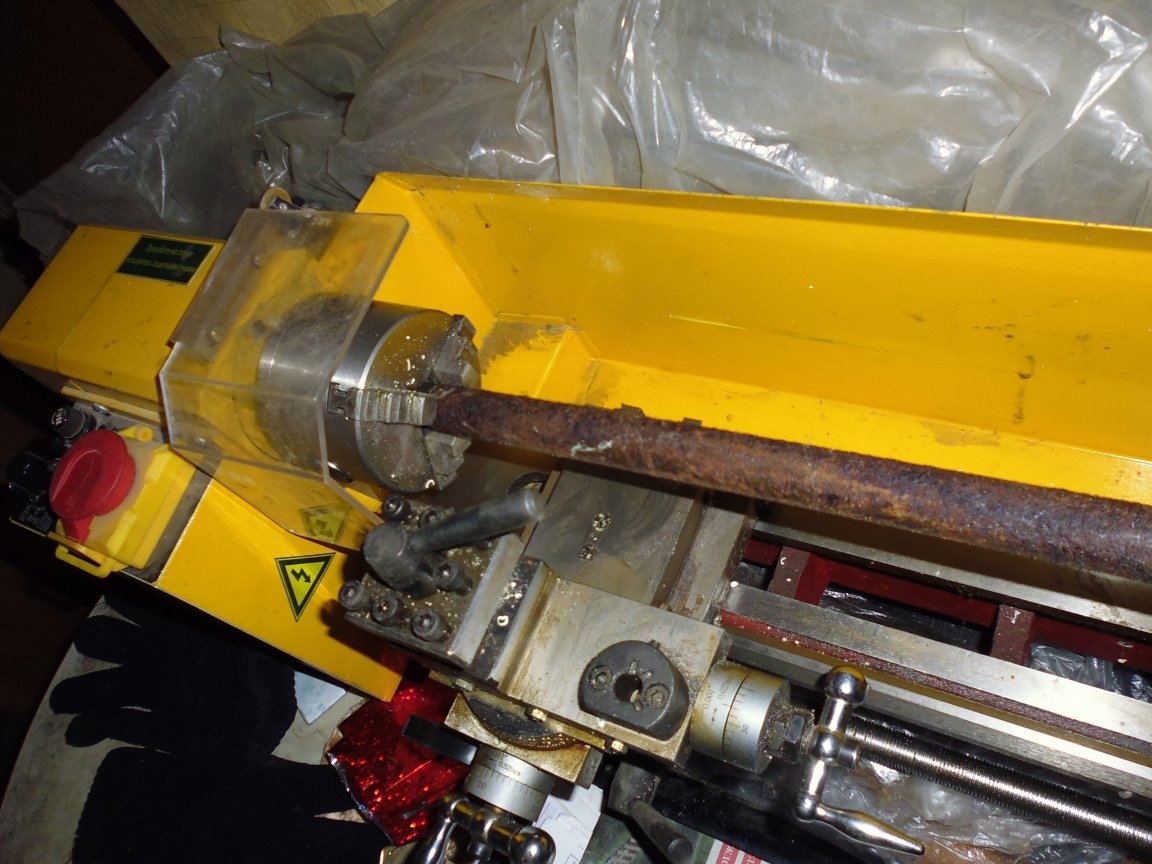
3. Set the axis on the lathe and process it according to the size of the bearing, on the drive axis we make a groove for the landing diameter of the small pulley.
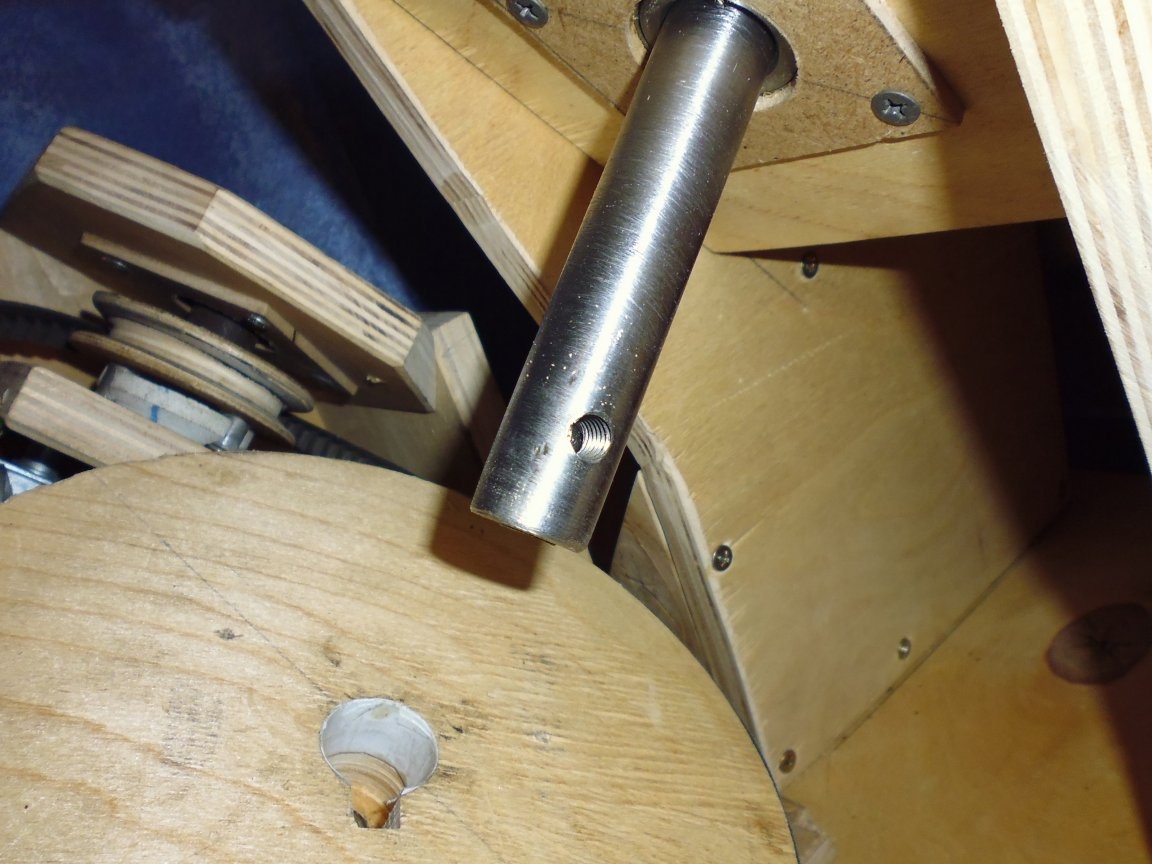
4. On the axis of the pelleting boiler, we carry out three threaded holes M8 for fastening and installing the threaded keys.
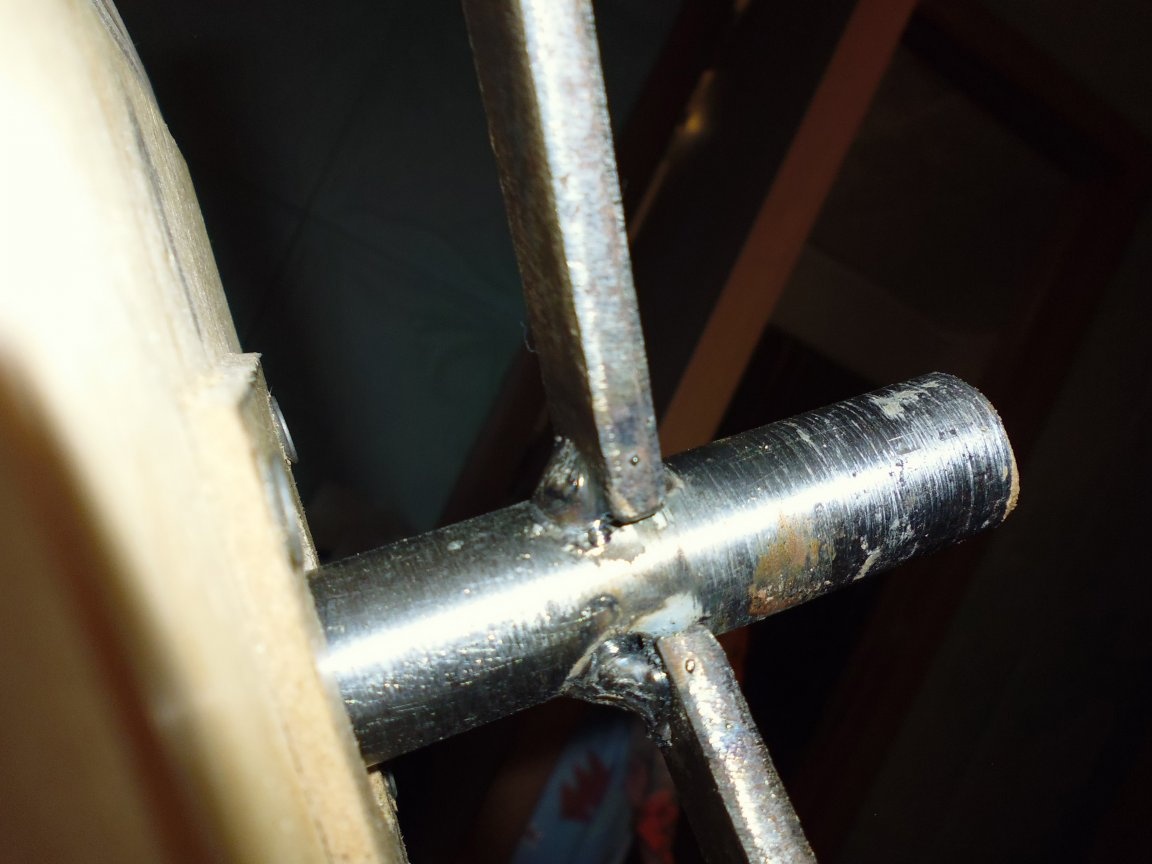
5. With a grinder, we cut three blanks from a steel strip, at the ends we drill holes with a diameter of 6 mm.
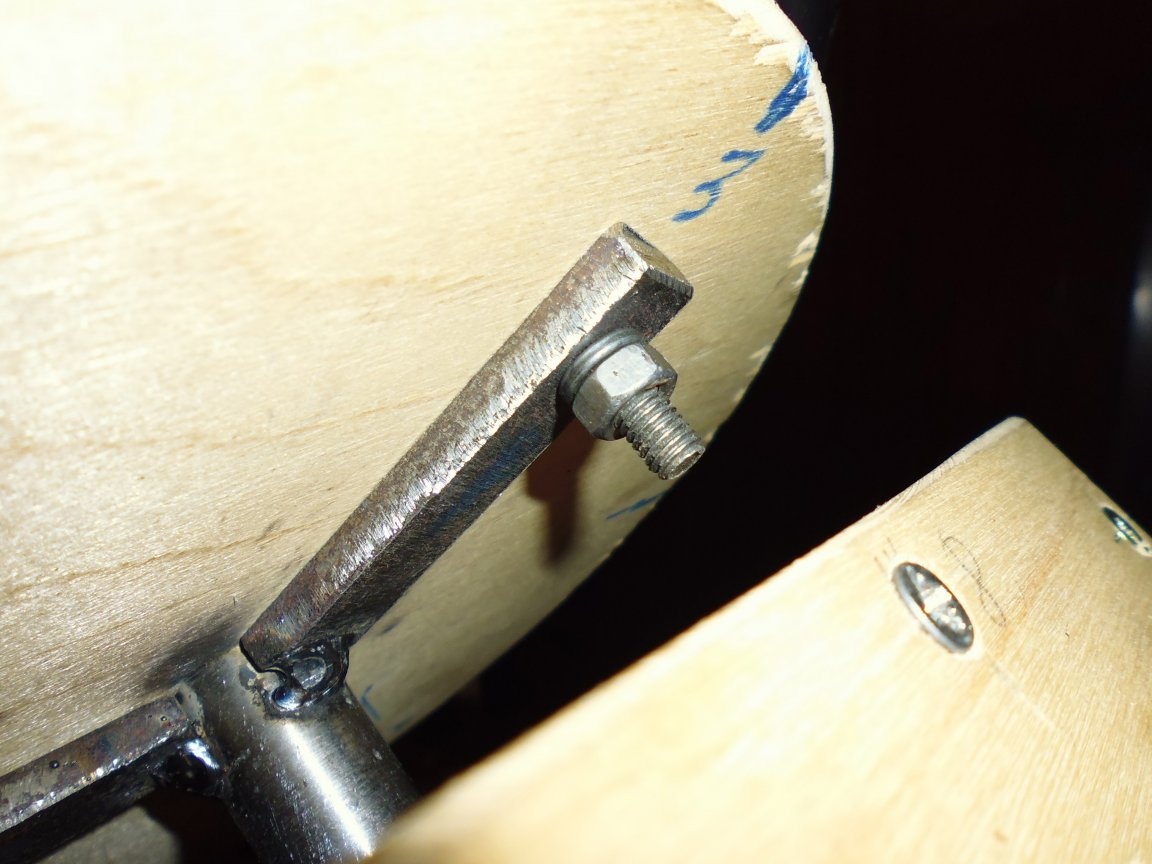
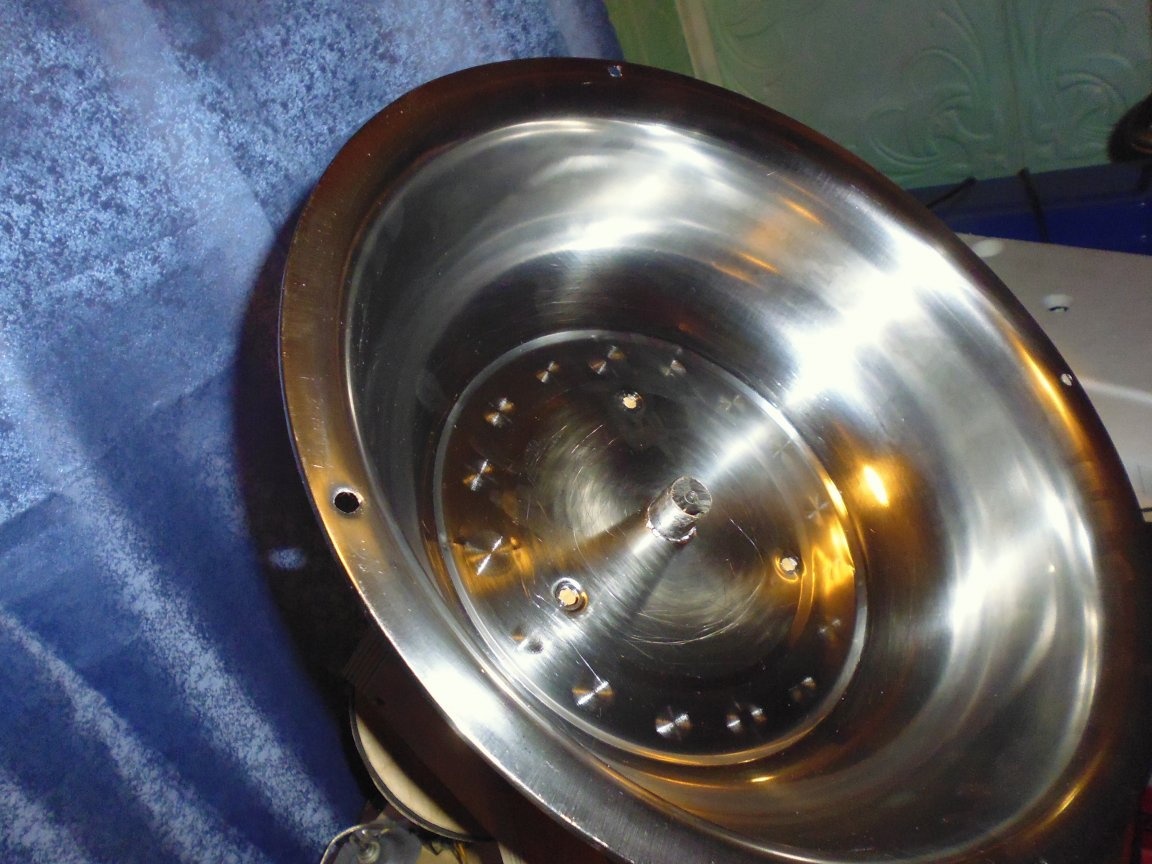
6. By marking, we install a bottom amplifier on the axis of the pelleting boiler and fasten the steel strip blanks to it, weld the blanks to the axis, remove the bottom amplifier and finally weld.
Step Four: Drive clutch manufacturing
1. Two identical round plastic blanks are cut.
2. Drill holes in the workpieces, in one diameter 13 mm in the other 6 mm.
 [/ center]
3. Glue two blanks to each other with superglue.
4. Install the bolt with clean washers and fasten the nut.
5. Install the glued workpiece on the lathe and process the outer edge, then remove the large bevel 45 degrees.
6. By marking with a round file, cut oval grooves.
7. We make a small chamfer on the outside of the 6 mm hole, heat the 6 mm hole with a construction hairdryer and quickly, while still hot, tighten the M6 screw to the wiper shaft output. A cone and notches from the wiper shaft formed on the drive clutch.
Step Five: Boiler making
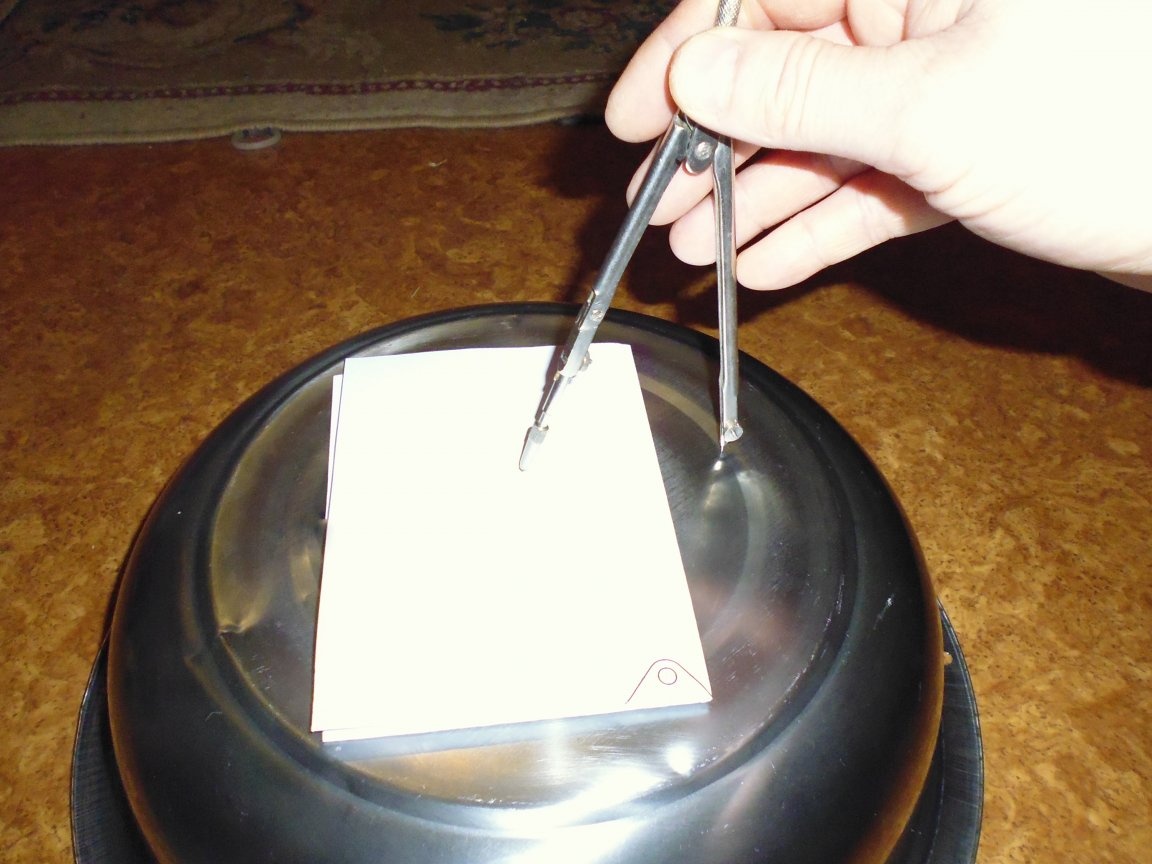
1. Using a pair of compasses on the first pelvis, we determine the center and outline a hole with a diameter of 20 mm, with a file we adjust the hole for the axis. Drill mounting holes through the steel strip axis.
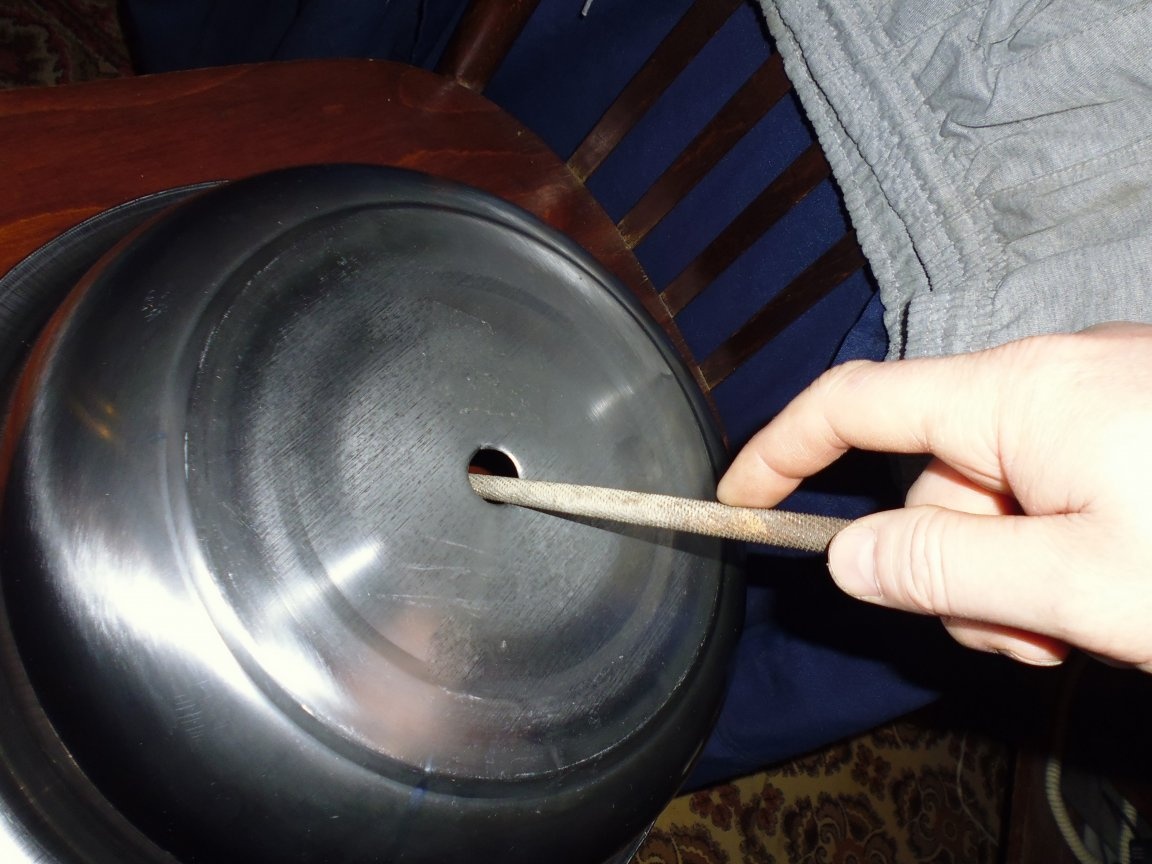
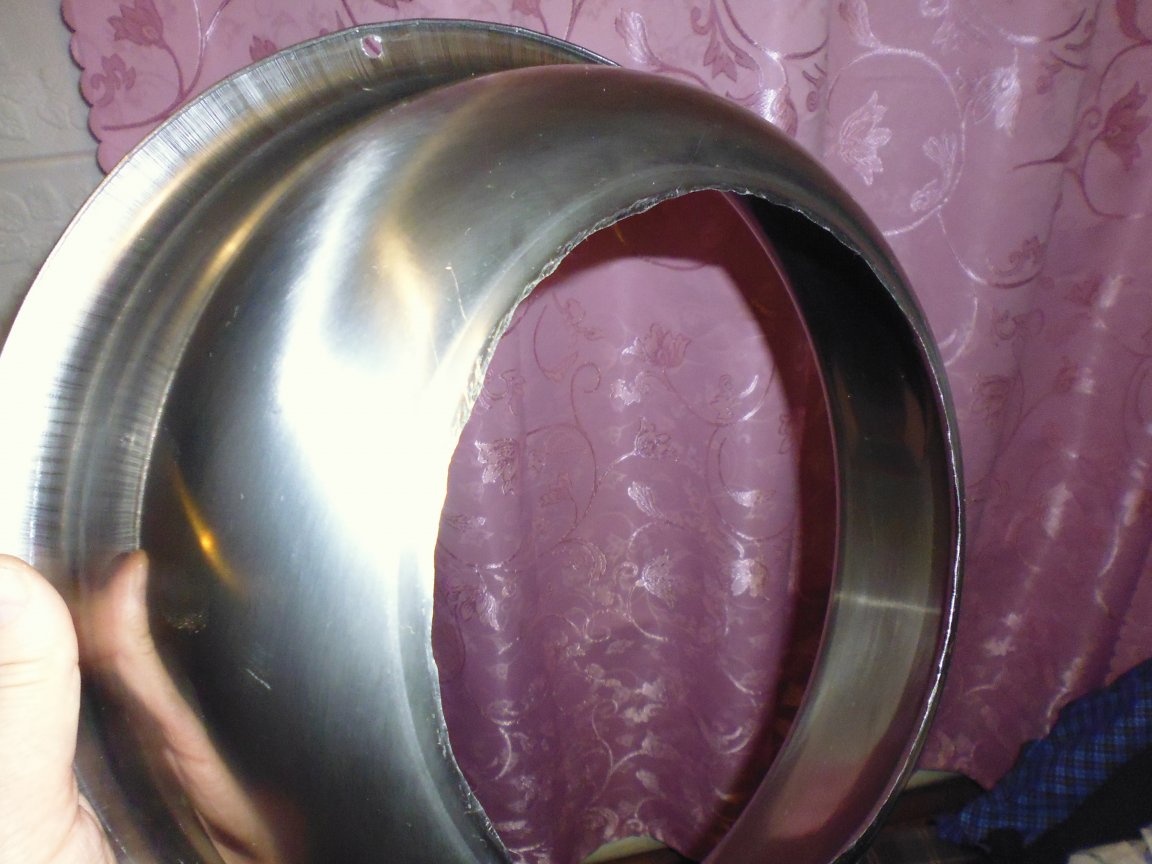
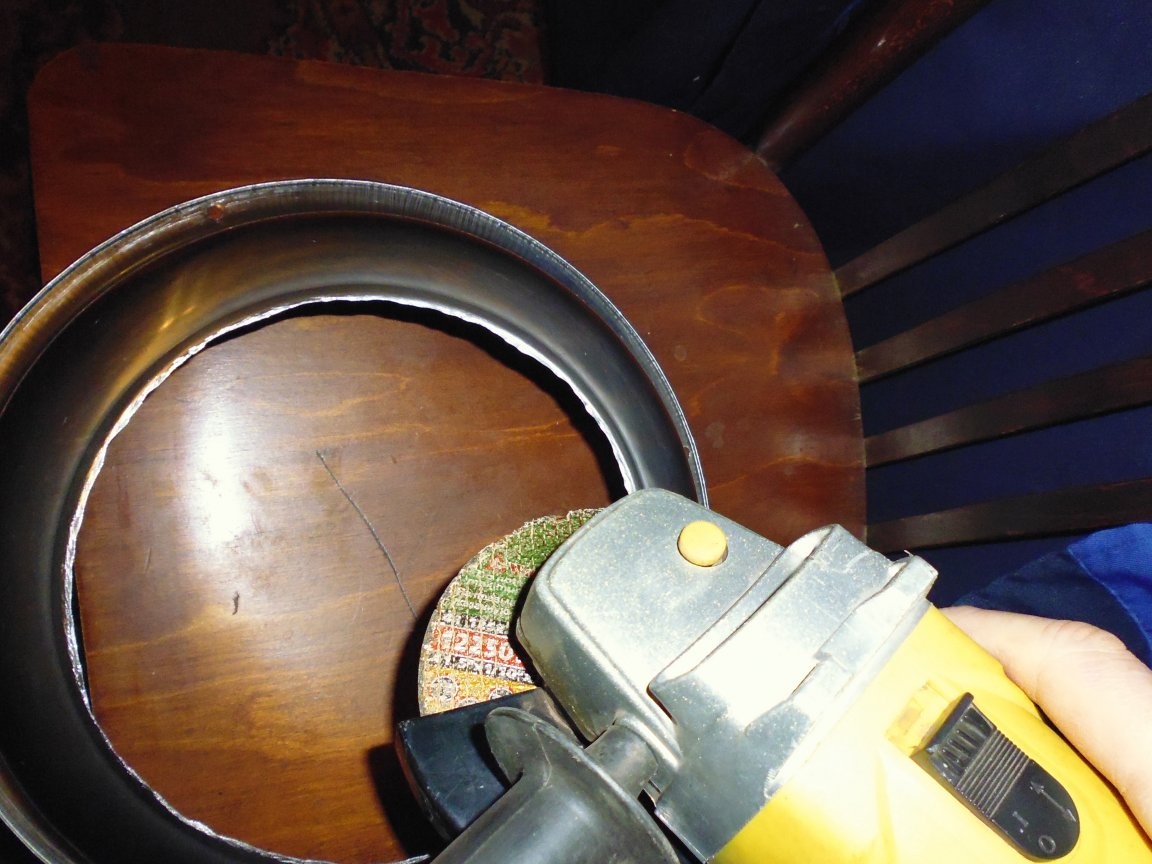
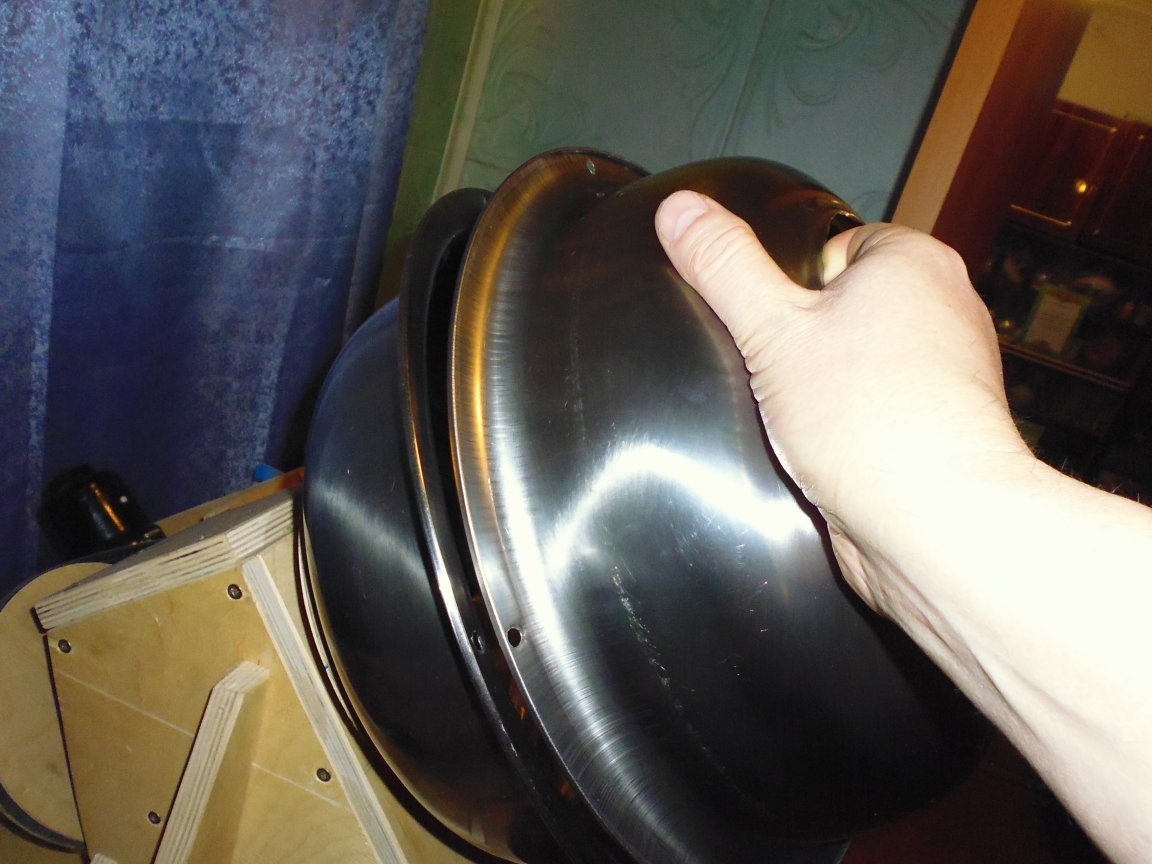
2. In the second basin, cut a large loading hole with metal scissors, then we process the torn edges with a grinder, and then finally grind it with a file so as not to cut ourselves.
3. We collect both basins together and drill four holes with a diameter of 6 mm.
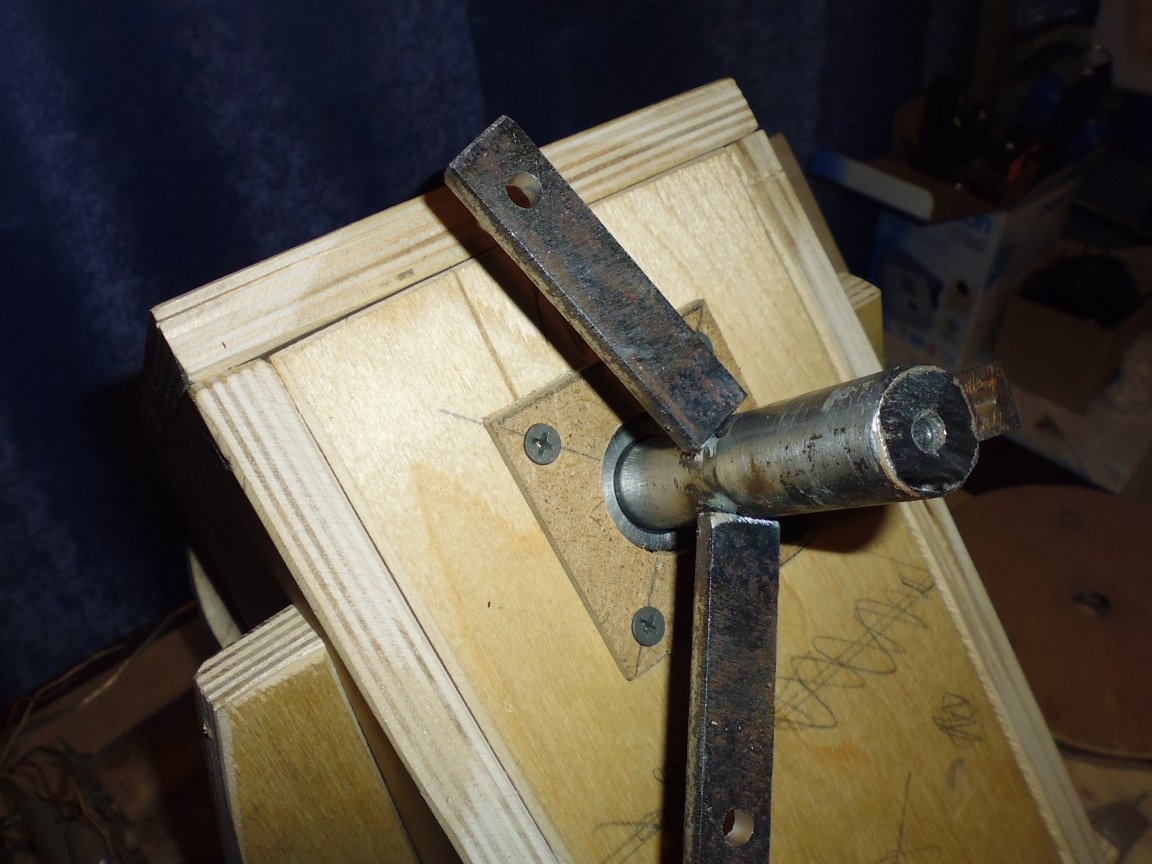
Step Six: Production of a mounting sleeve, threaded key and drive fingers.
1. We manufacture the mounting sleeve from a tube with an inner diameter of 20 mm, cut the tube with a grinder to size, and drill a hole with a diameter of 8 mm in the center.
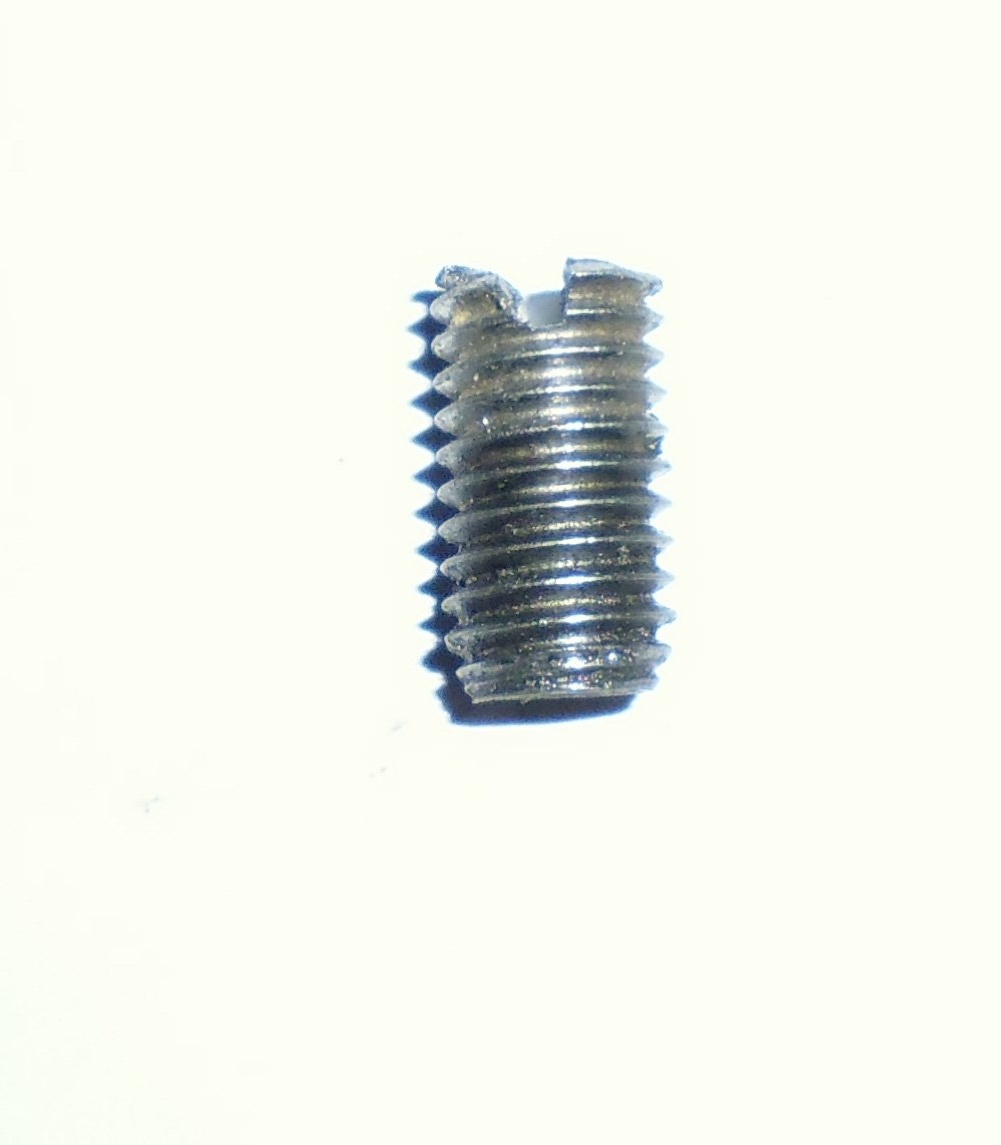
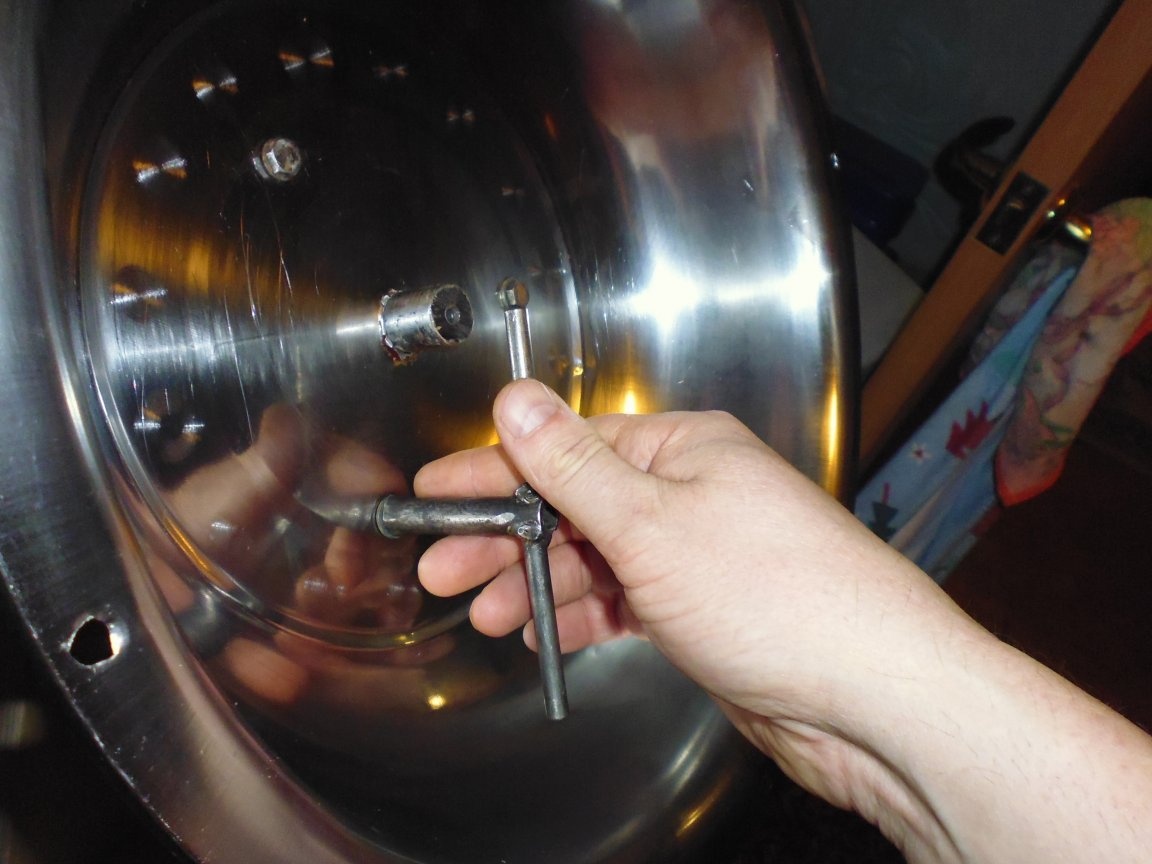
2. We make the threaded key from the M8 bolt, cut the bolt to the size and make a groove for the screwdriver in the upper part with a hacksaw.
3. We make the fingers of the drive from the tube an external diameter of 8 mm, a mode in size.
Seventh step: Assembly of the pan coating boiler
1. We fasten three ribs on the side walls with screws.
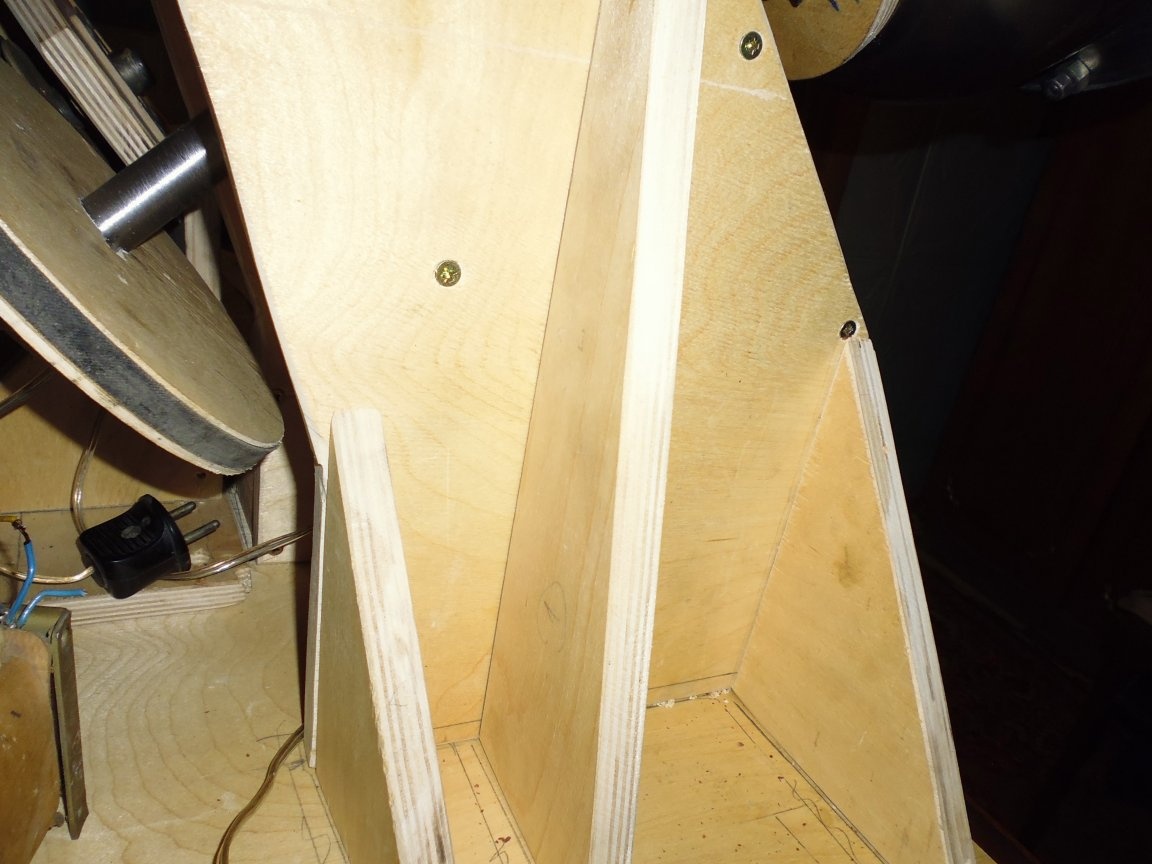
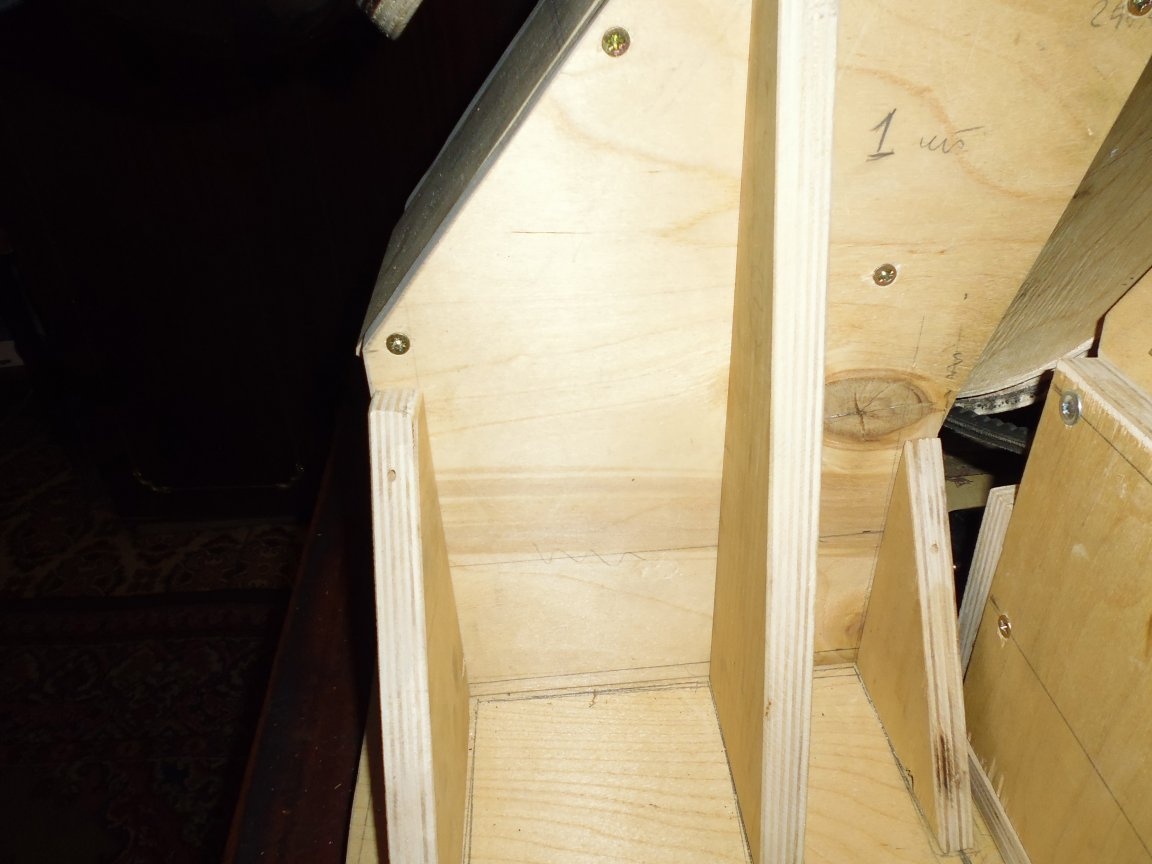
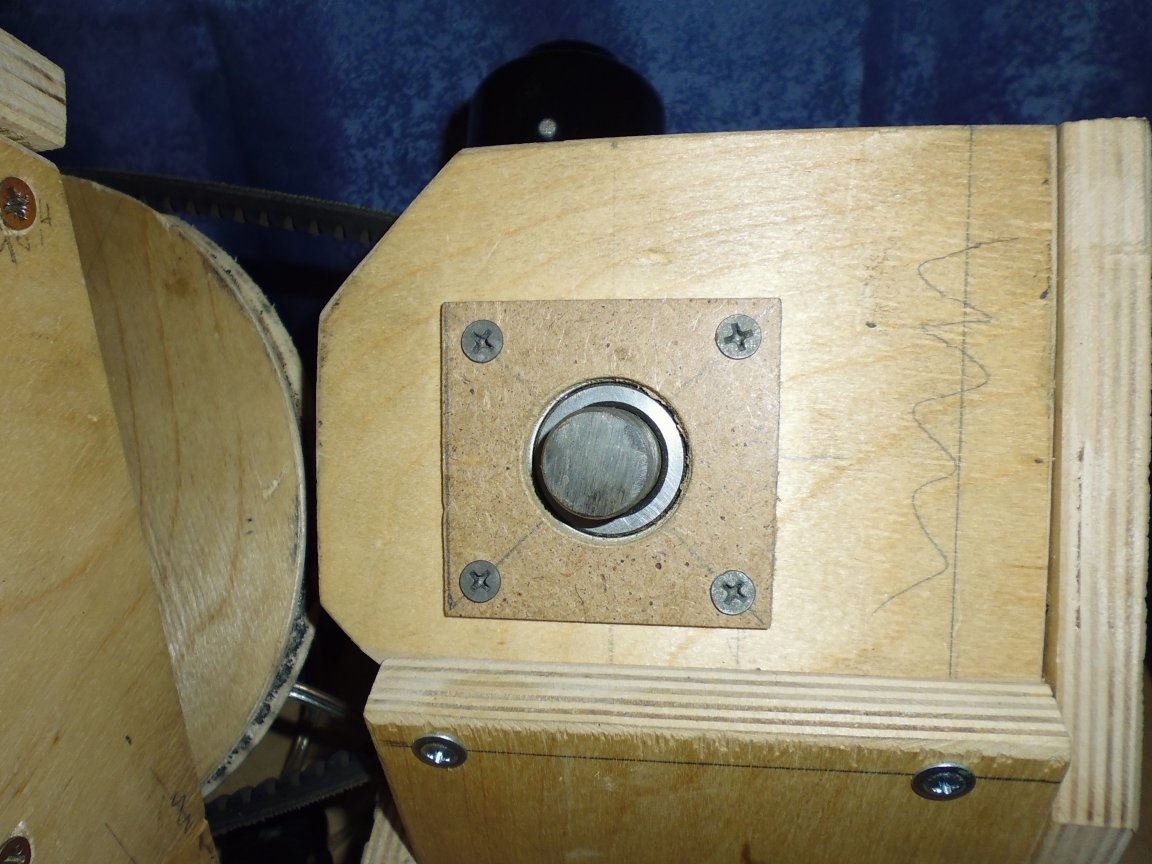
2. Install two bearings in the front and rear walls.
3. Fasten the bearings with MDF strips with small screws.
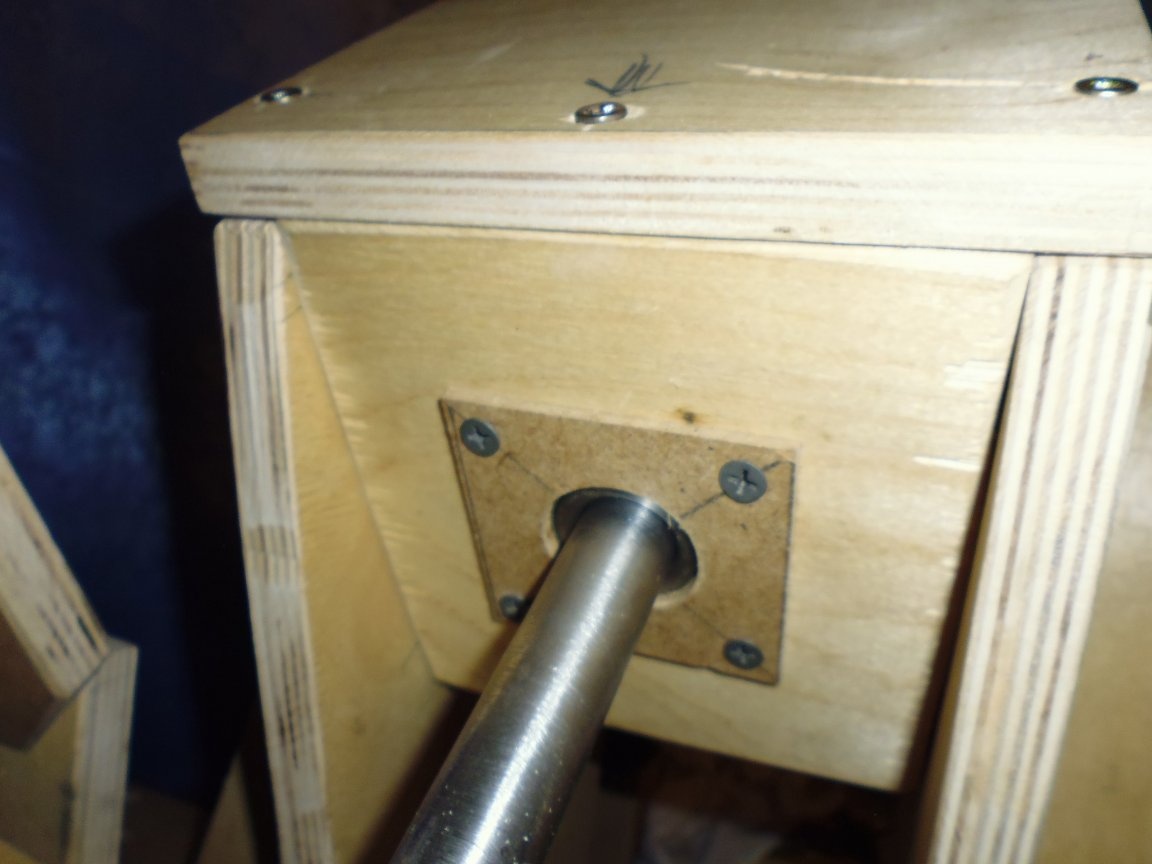
4. Through the front and rear walls we push the axis of the boiler, centrally install the fastening sleeve, fasten it to the axis with an M8 bolt.
5. We screw together the side, rear and front walls together with screws, we check the smoothness of the axis rotation.
6. Screw the housing cover with screws.
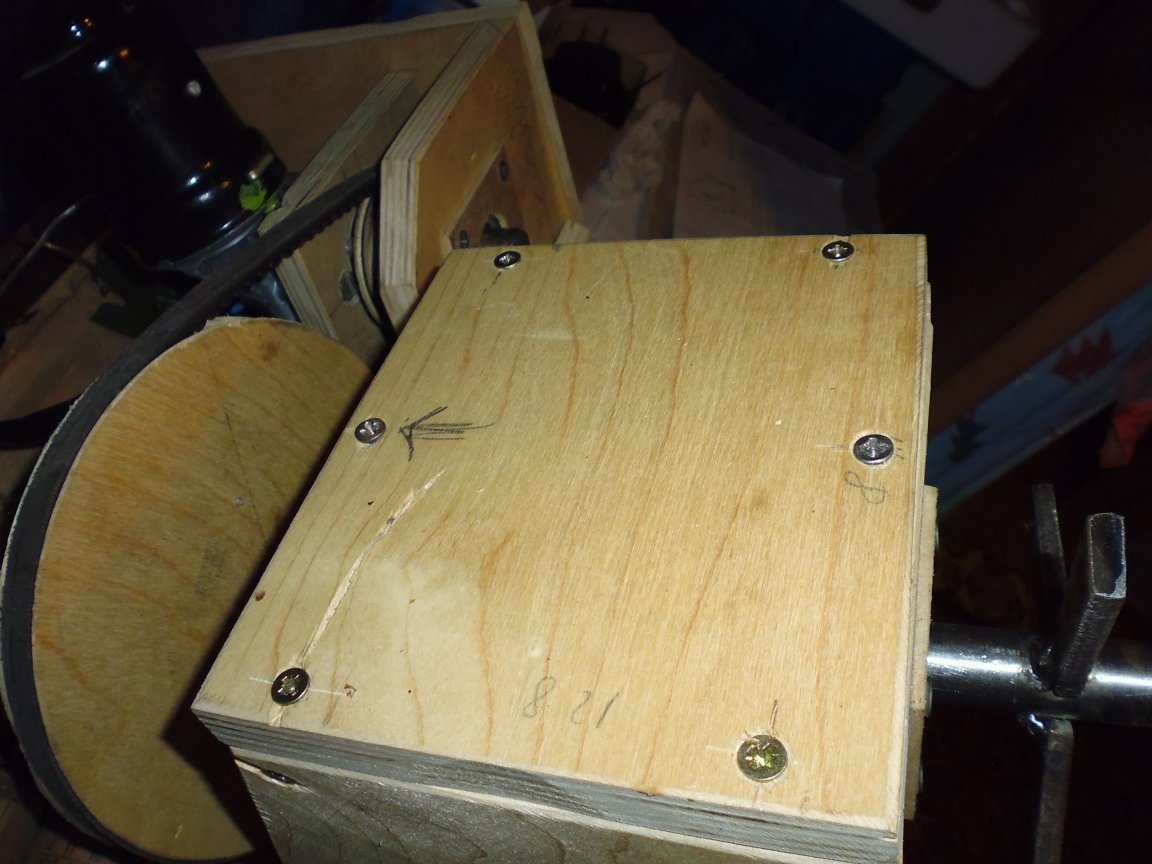
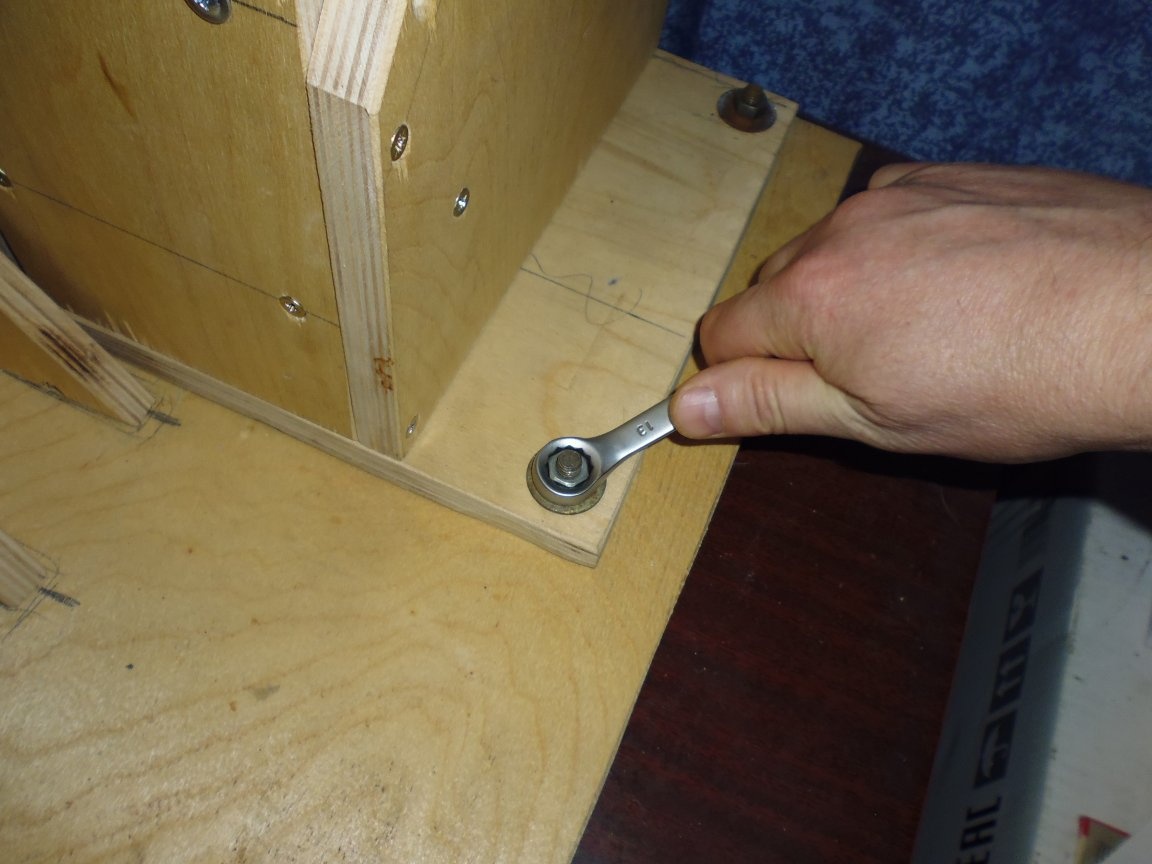
7. We install the case of the panning boiler on the stand, draw a pencil around the place of attachment and drill holes for the screws.
8. From the bottom we screw the case of the pan-coating boiler to the stand with screws.
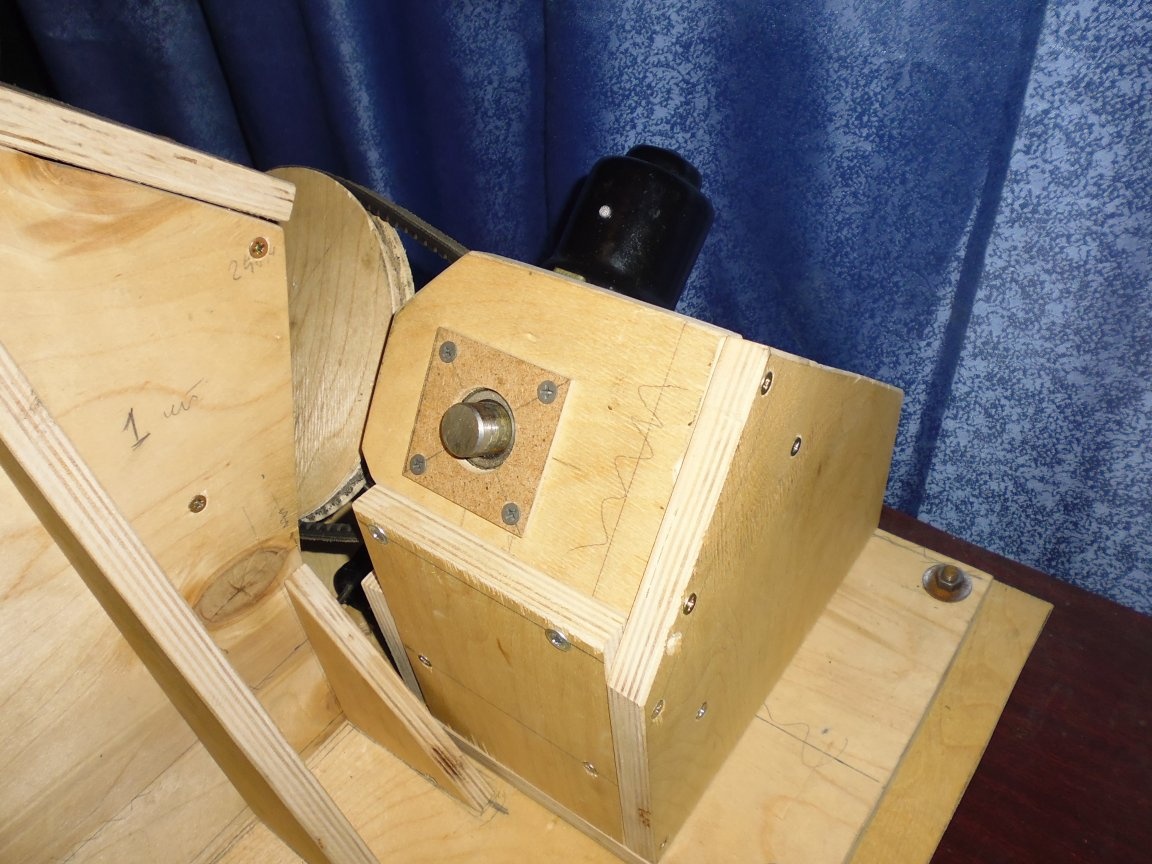
Step Eight: Drive housing assembly
1. Install the bearing in the rear wall.
2. Fasten the bearing with MDF strips with small screws.
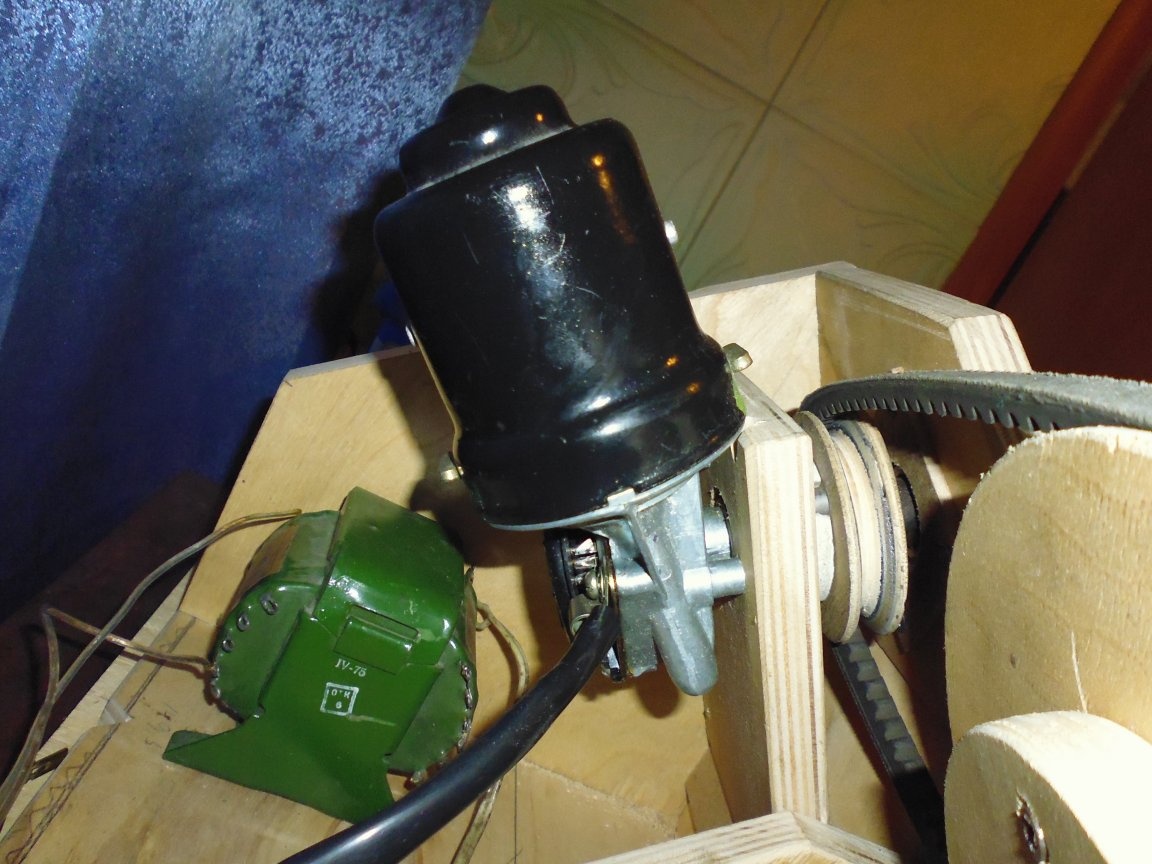
3. We install a wiper motor on the back wall.
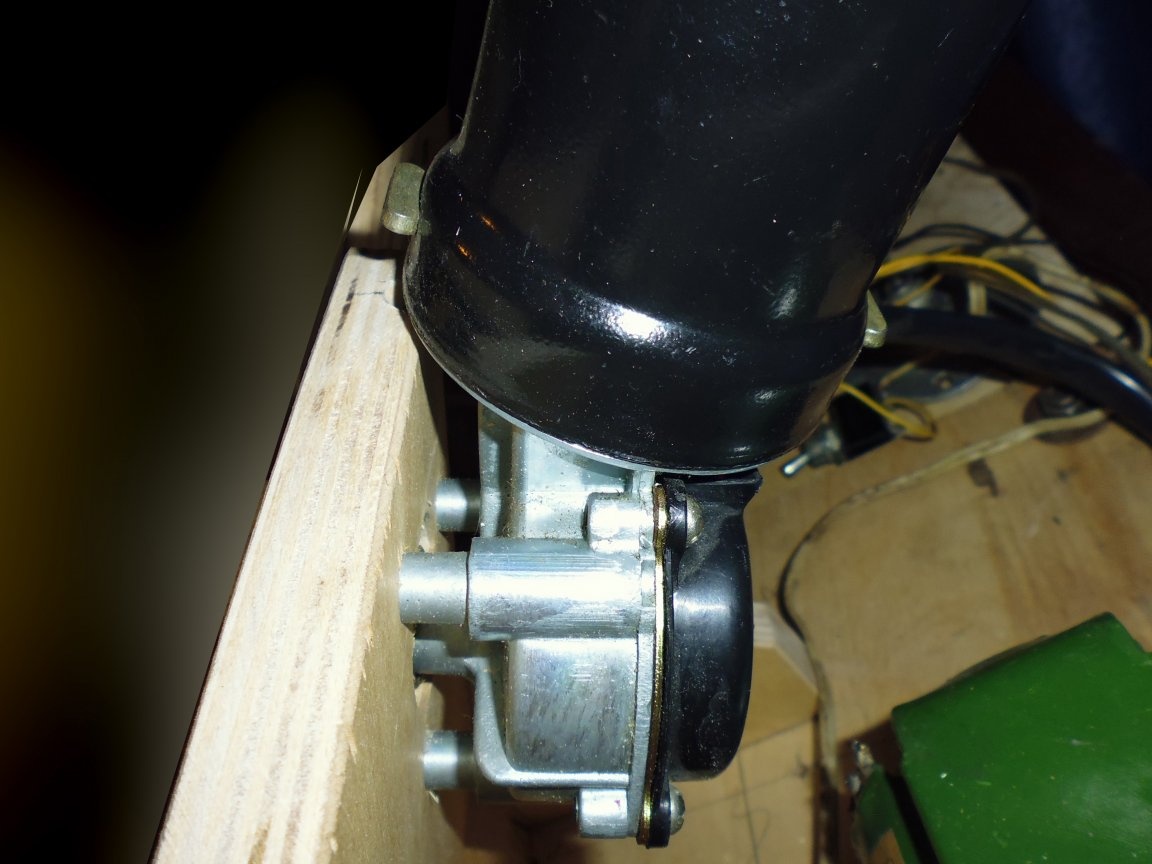
4. Install the drive clutch on the motor shaft, fasten with a nut.
5. On the small pulley according to the marking with screws we fasten the drive fingers made of the tube.
6. Screw the large side and back wall to the drive stand with screws.
7. In the bearing of the rear wall we install the axis, fasten the pulley.
8. We fasten the front wall with screws, combining the coupling and the fingers of the drive.
9. We fasten the small side wall with screws.
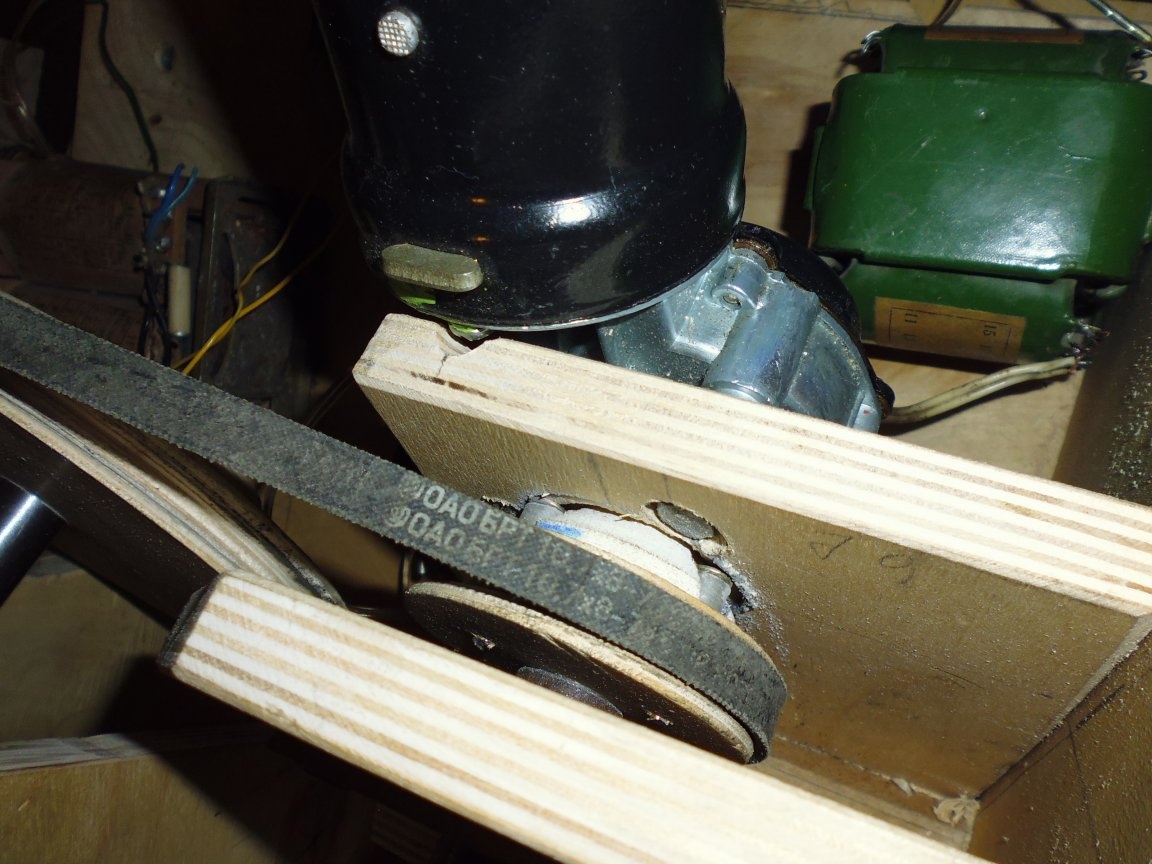
10. Disassemble the drive housing, install the V-belt, then reassemble.
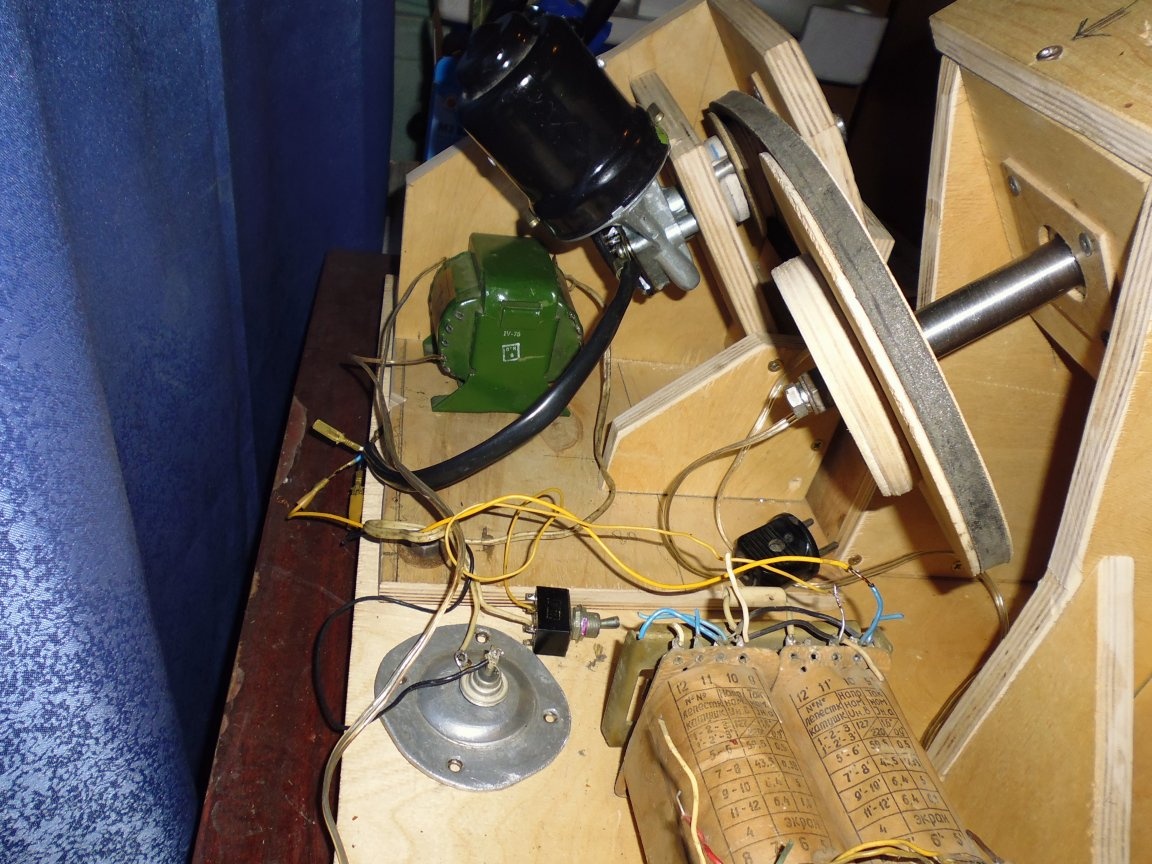
Step Nine: Final assembly of a coating machine
1. On the axis of the pelleting boiler we twist a threaded key, install a large pulley and a locking disk, and screw it with an M8 bolt.
2. Screw the locking disc to the large pulley with screws.
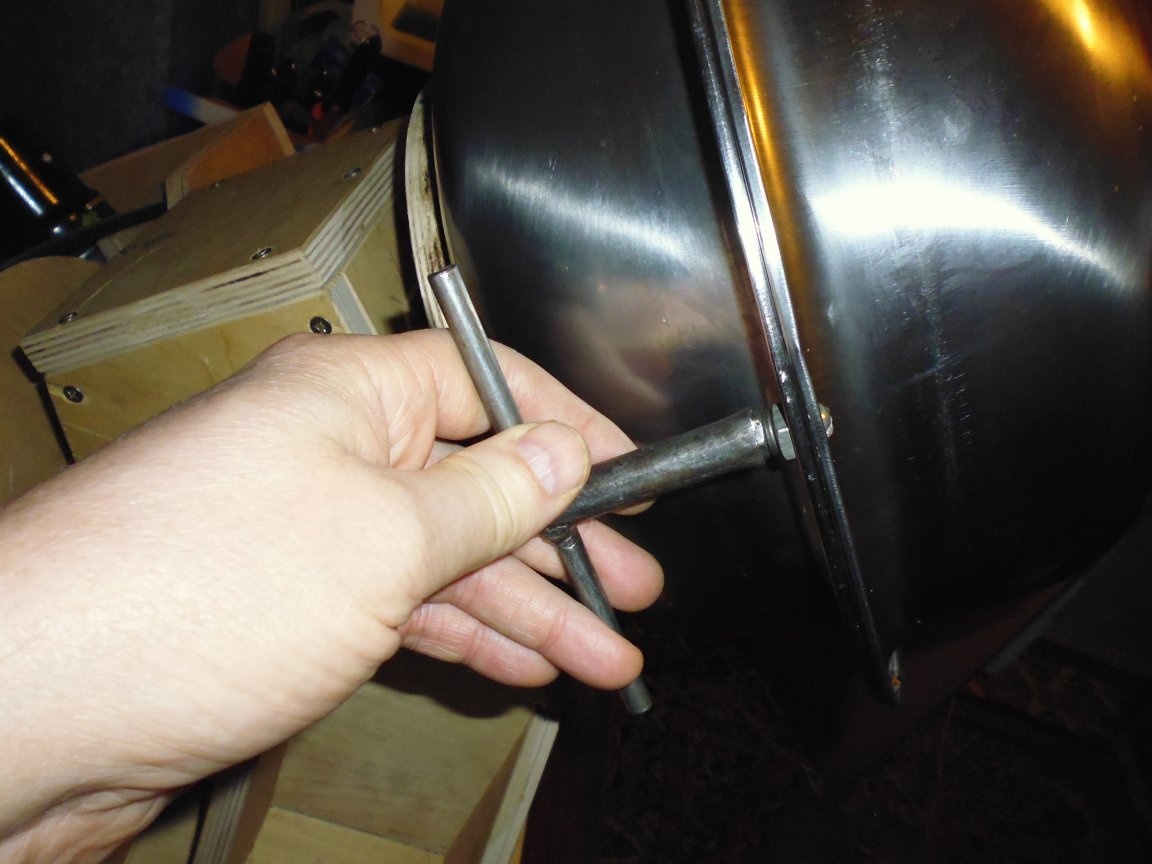
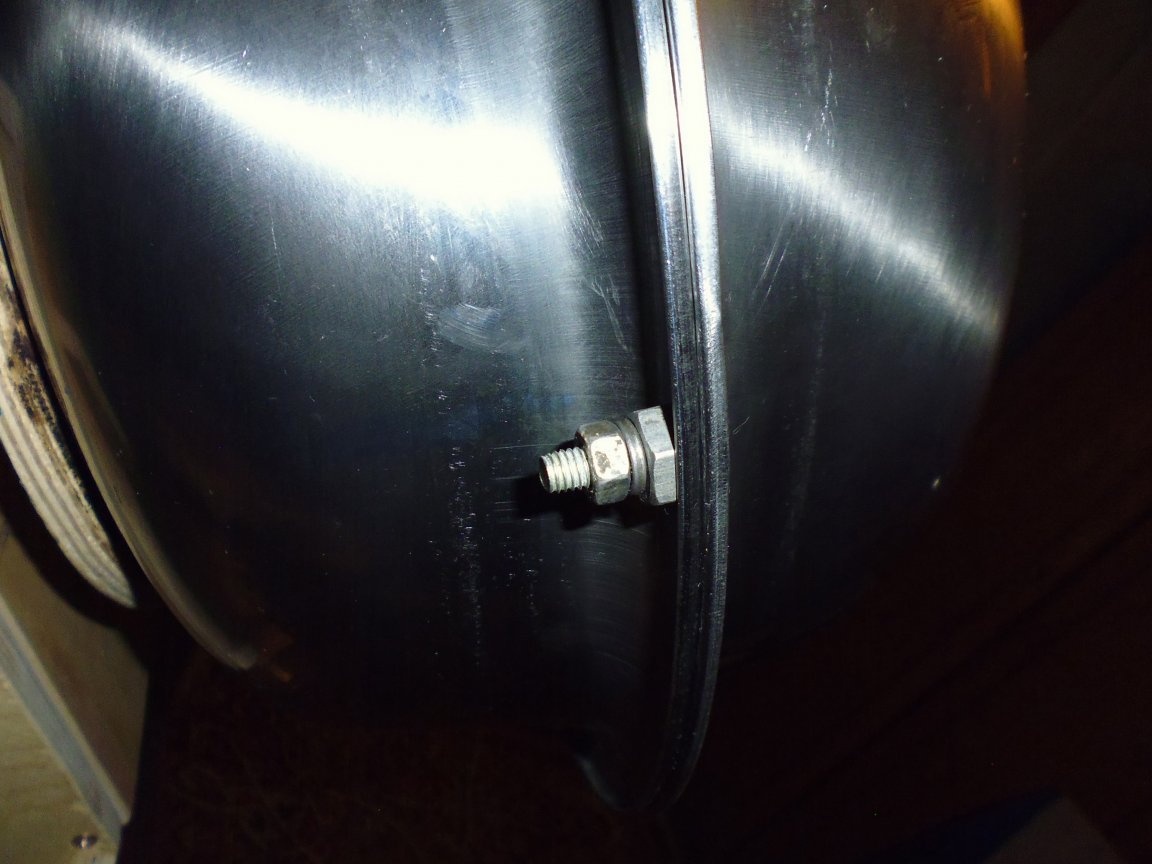
3. Install the booster of the bottom of the panning boiler and the rear basin on the axis, fasten with bolts and nuts on the M6.
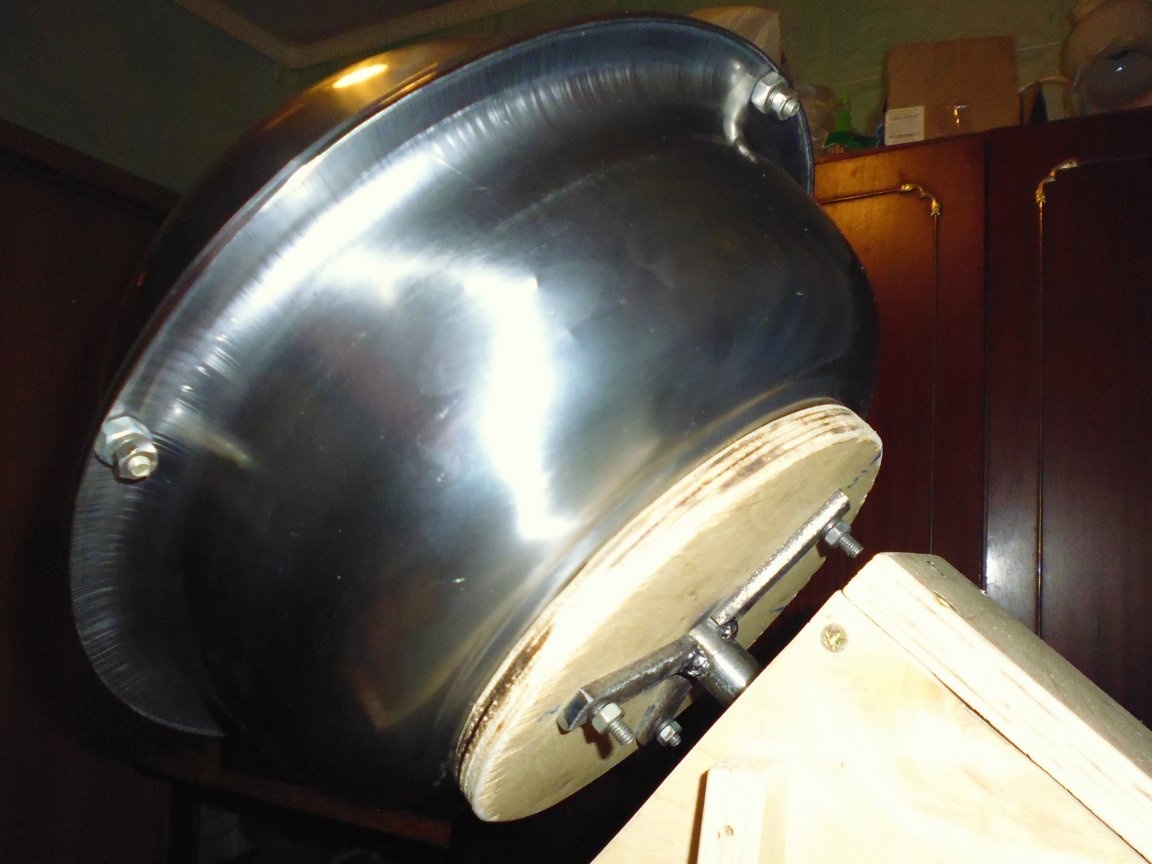
4. We join the front basin to the rear and fasten with screws and nuts on the M6.
5. We put on a V-belt on a large pulley.
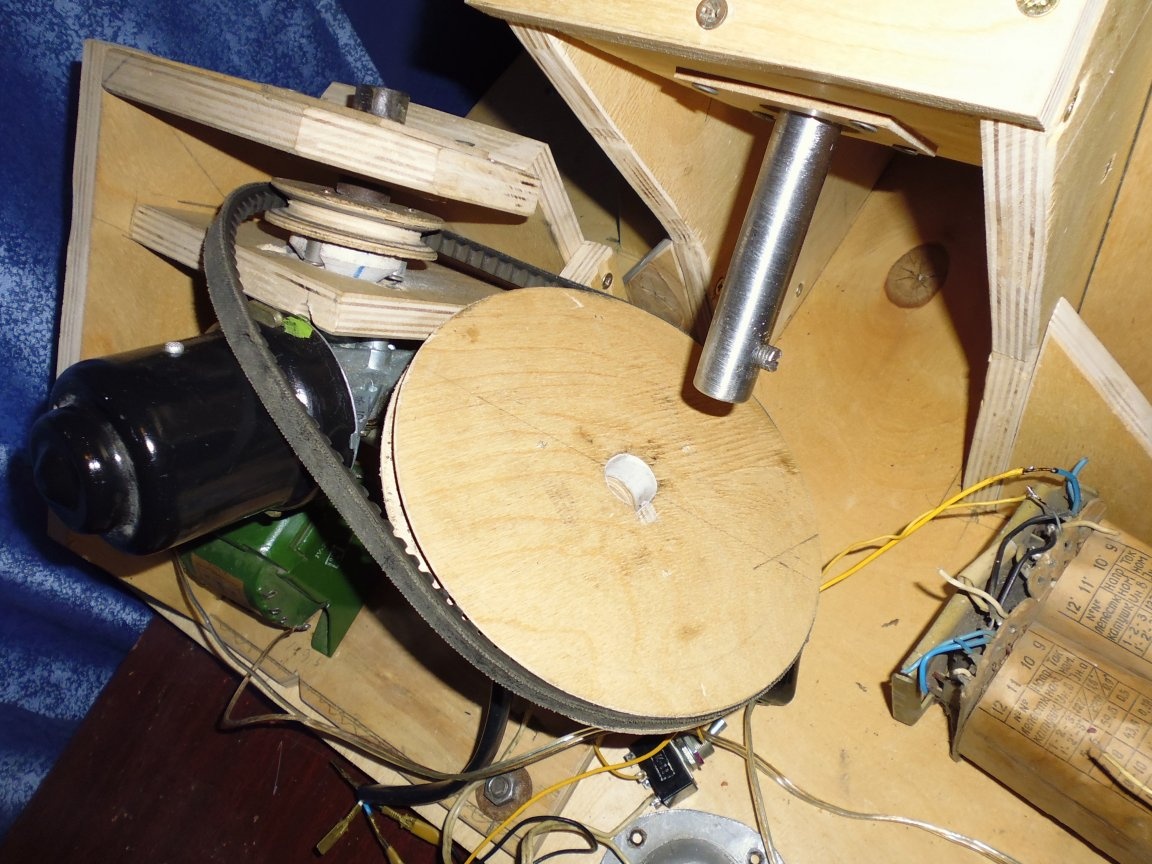
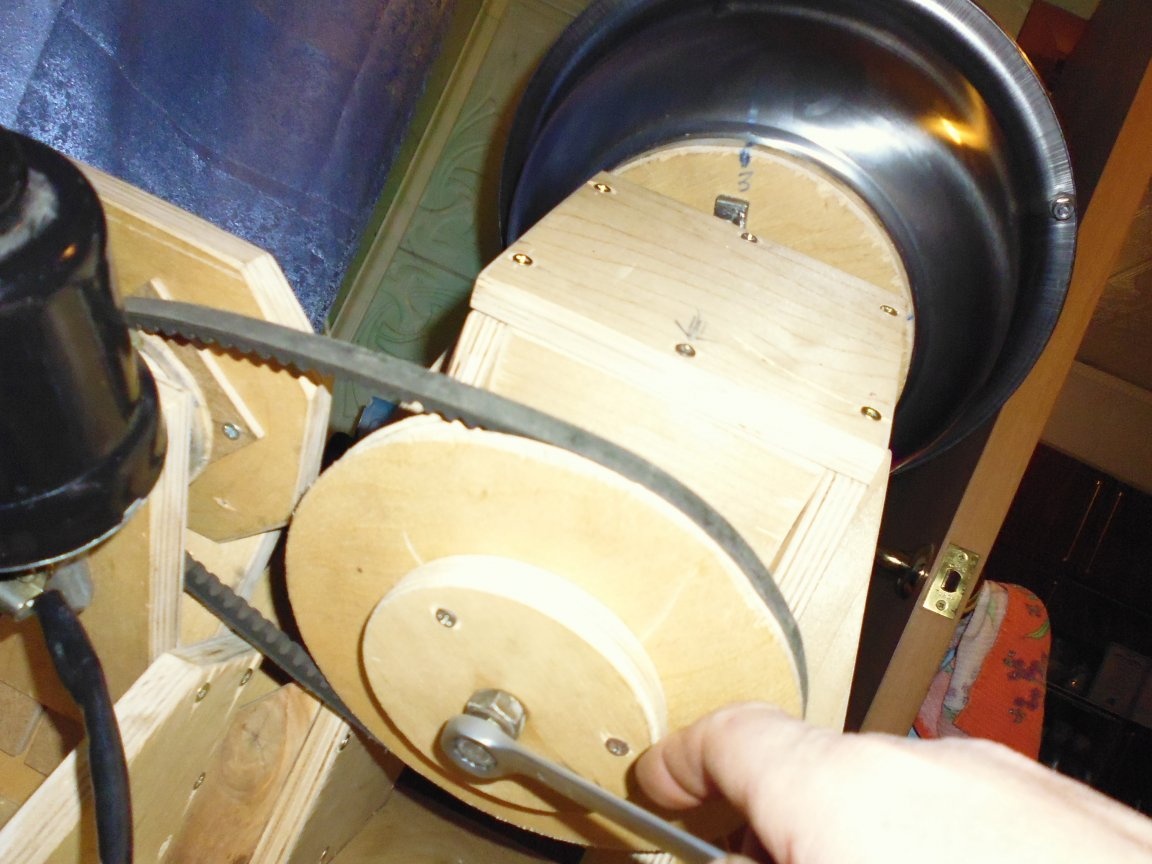
6. Fasten the drive housing with bolts and nuts, while holding the belt tension.
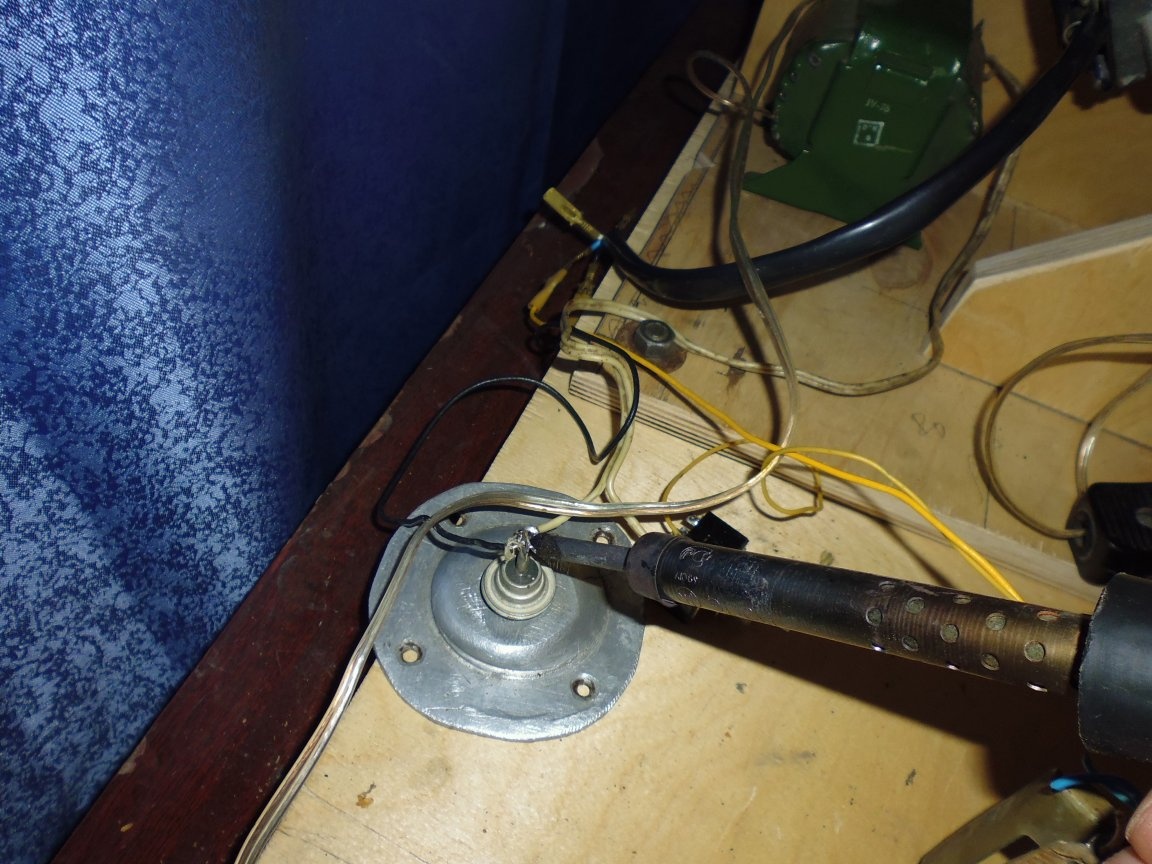
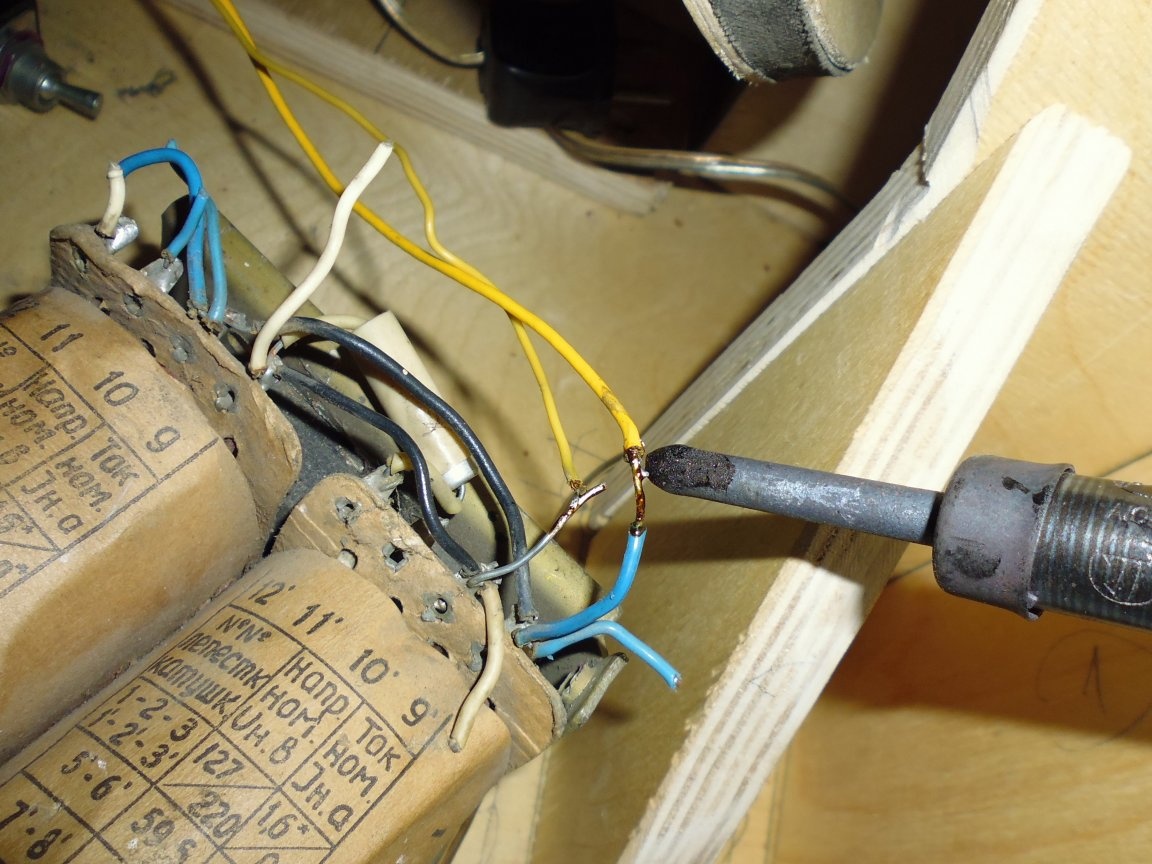
Step Ten: connect the electrician
1. Solder a wire with a socket to the input transformer, solder a diode bridge to the 12V output.
2. From the diode bridge through the wire switch, solder to the engine.
3. Unfortunately, I had a transformer with 24V output, so I connected one diode instead of the diode bridge and feed the engine through the inductor.
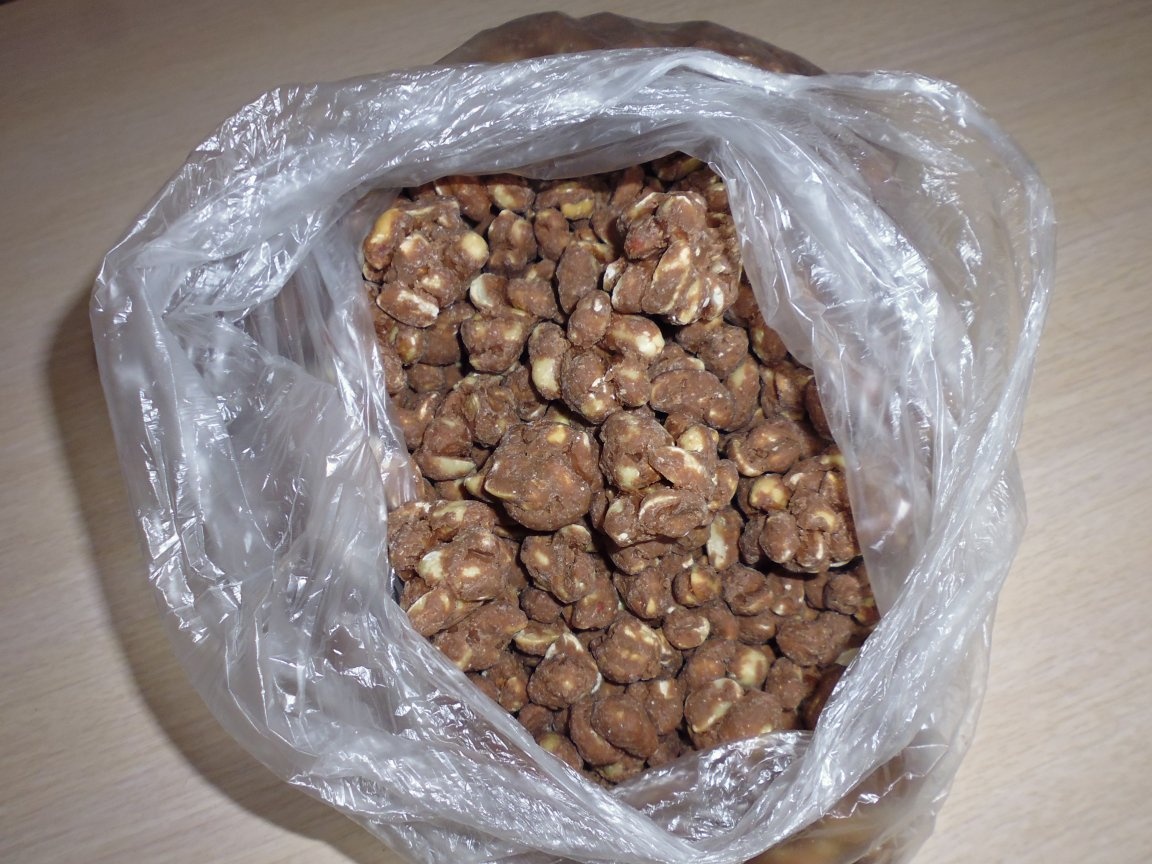
Step Eleven: Test
I fall asleep peanuts, pour melted chocolate, chocolate does not dry for a long time. It turns out that for quick solidification of chocolate, cold air is needed. Chocolate peanuts are a bit ugly, but very tasty, the family is happy.