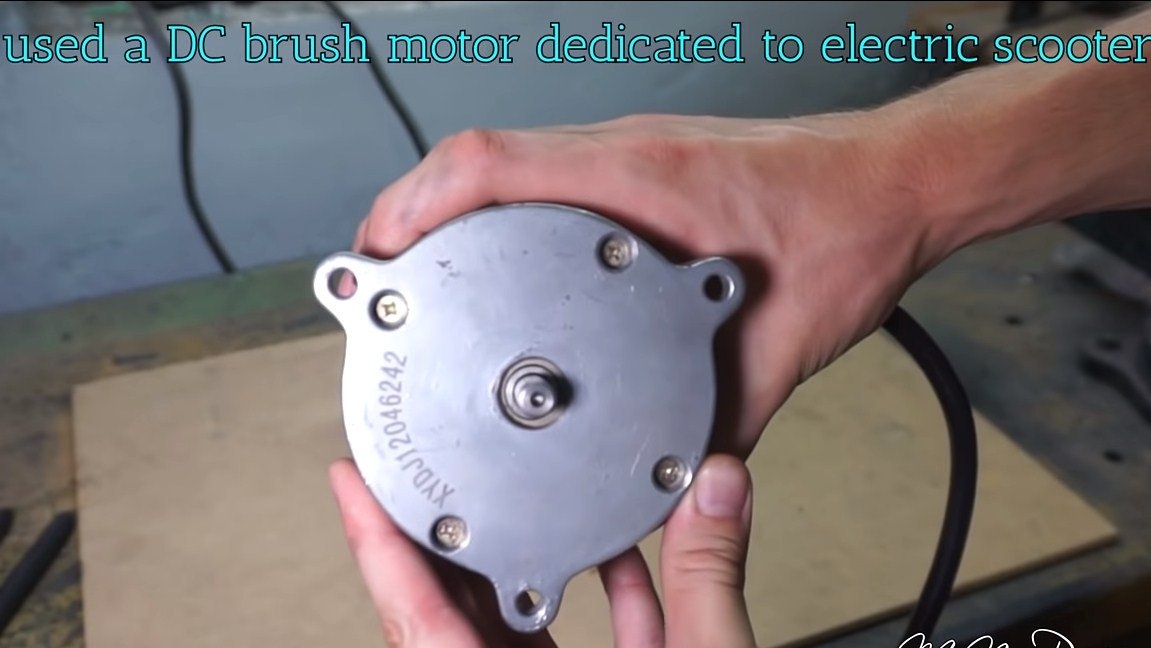
Hello everyone, in this instruction we will look at how to make a simple powerful electric saw that works on batteries. This tool is very convenient in everyday life, since you do not need to start a gasoline engine and drag an electric cable along with you. Lithium batteries are used; they have a large capacity and large recharge cycles. The author’s saw turned out to be quite powerful, he easily saws logs with it, which are usually cut with a chainsaw. It is used here. If the project interests you, I propose to familiarize yourself with it in more detail!
Materials and tools used by the author:
Material List:
- ;
- sheet steel for the frame;
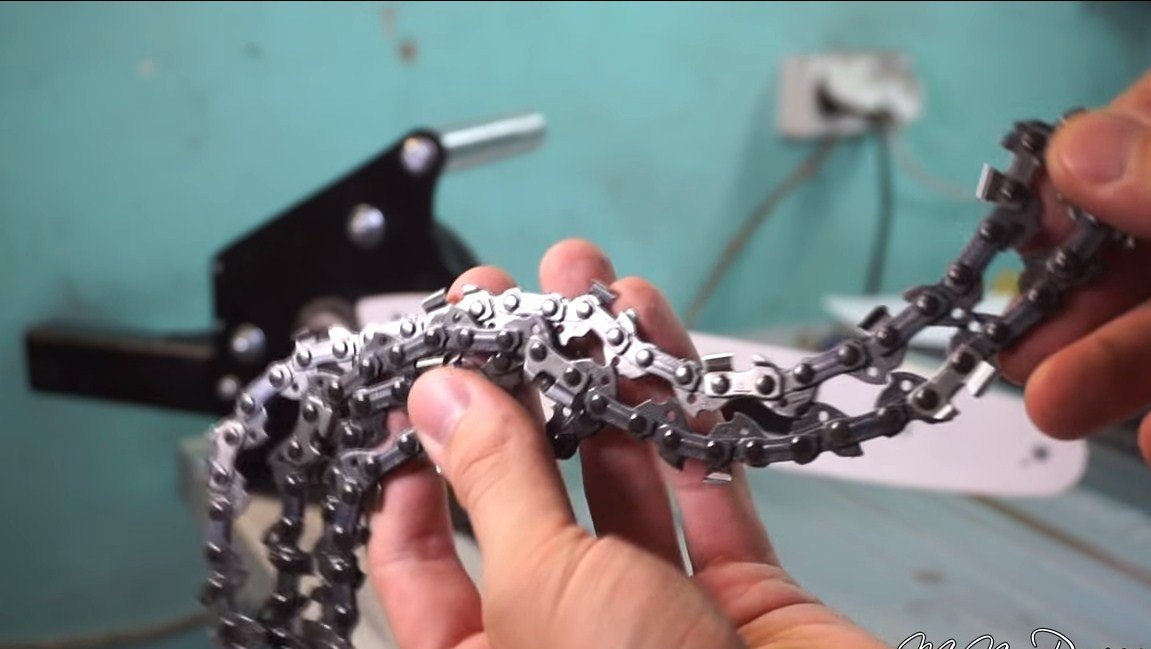
- tire, chain and sprocket;
- 12 batteries 18650;
- wires;
- switch;
- BMS for the battery;
- bolts with nuts;
- a wooden block for the handle;
- aluminum blanks;
- a protective guard against a small grinder;
- paint.
Tool List:
- soldering iron;
- lathe;
- grinder;
- drilling machine;
- welding machine;
- spanners;
- vise;
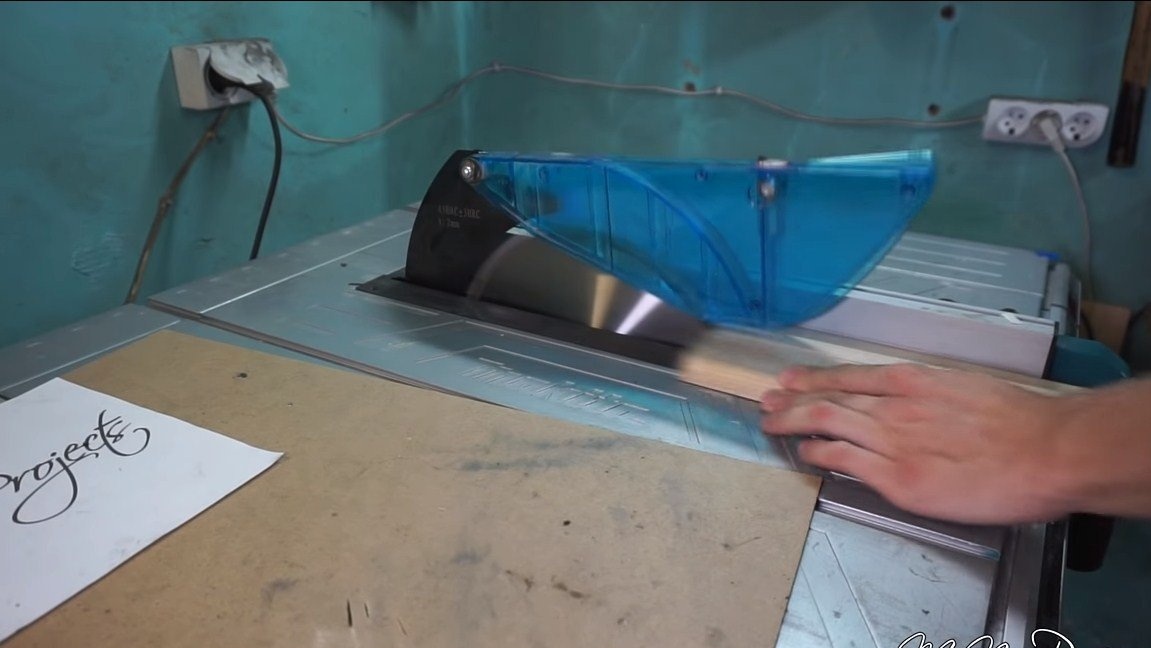
- a circular saw;
- belt sander.
Manufacturing process homemade:
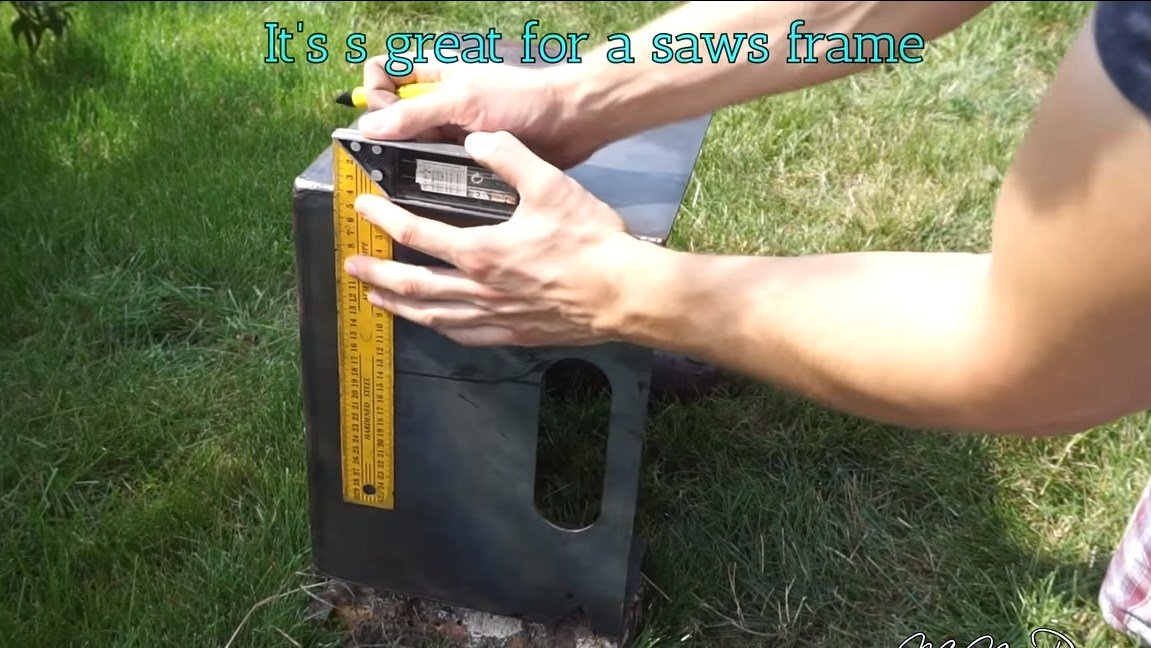
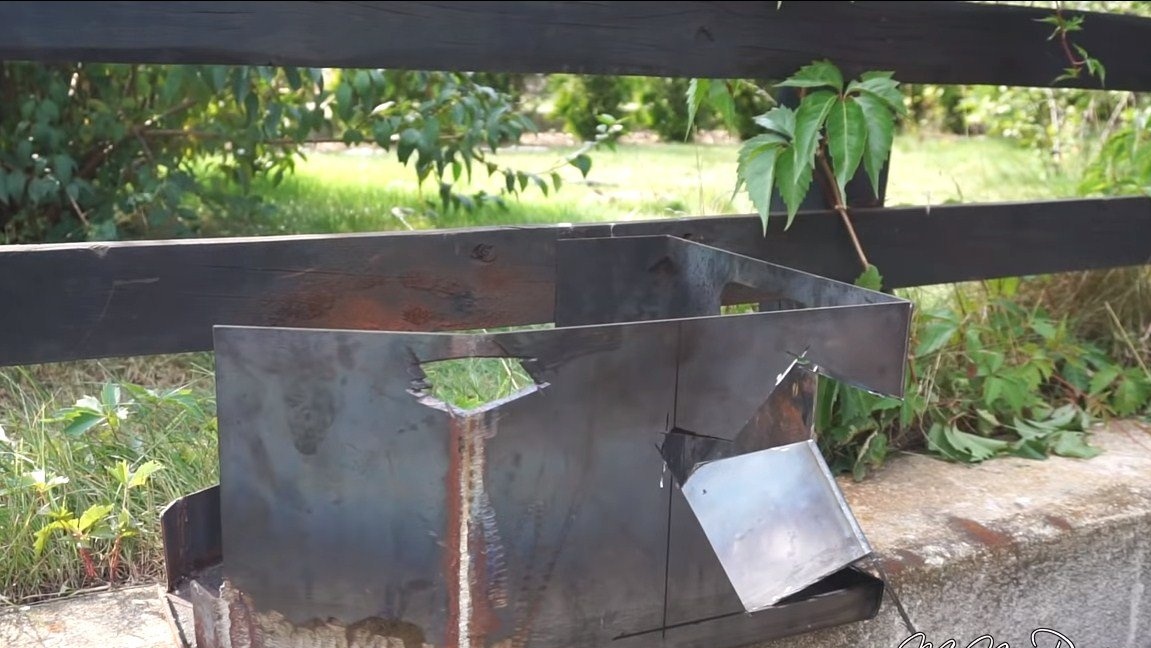
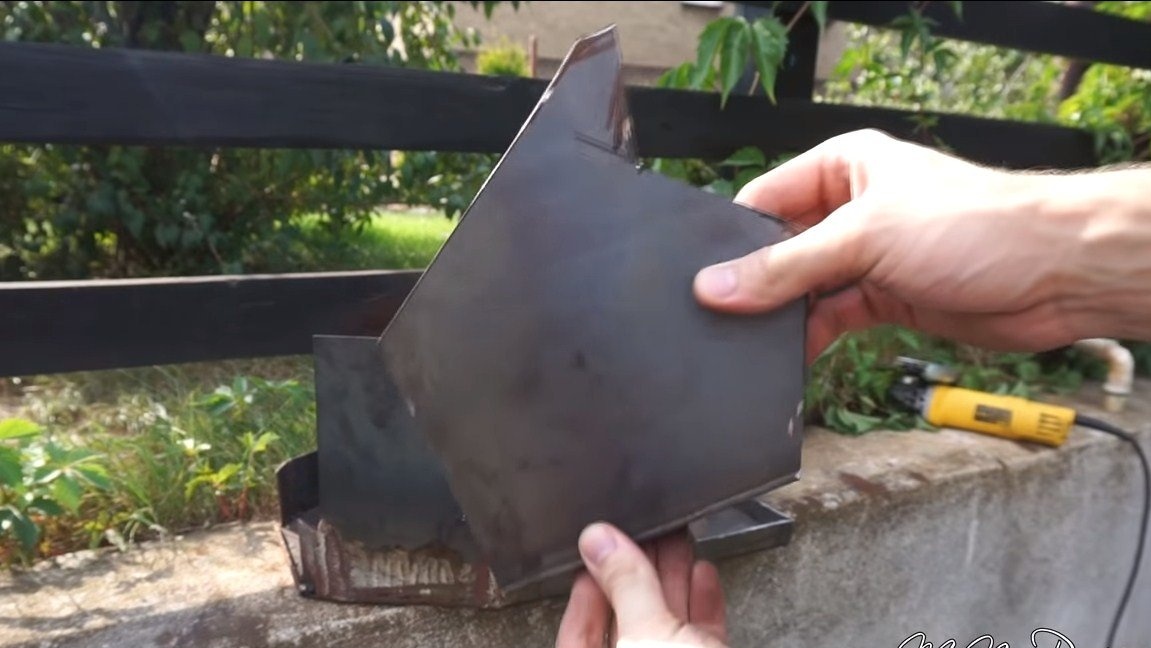
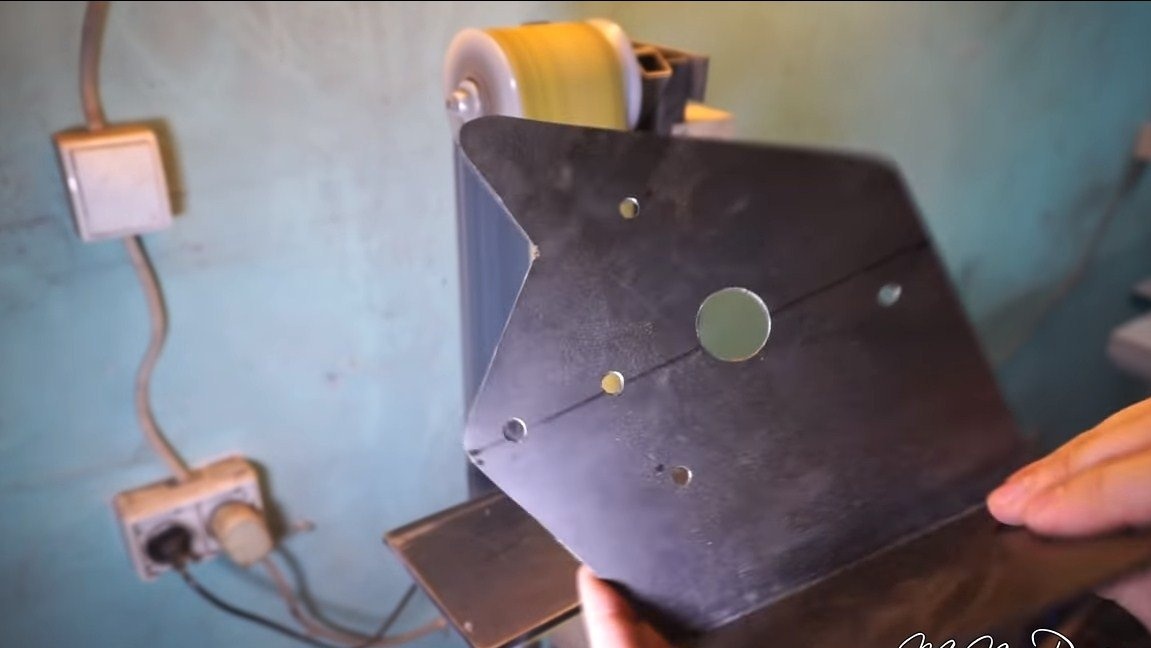
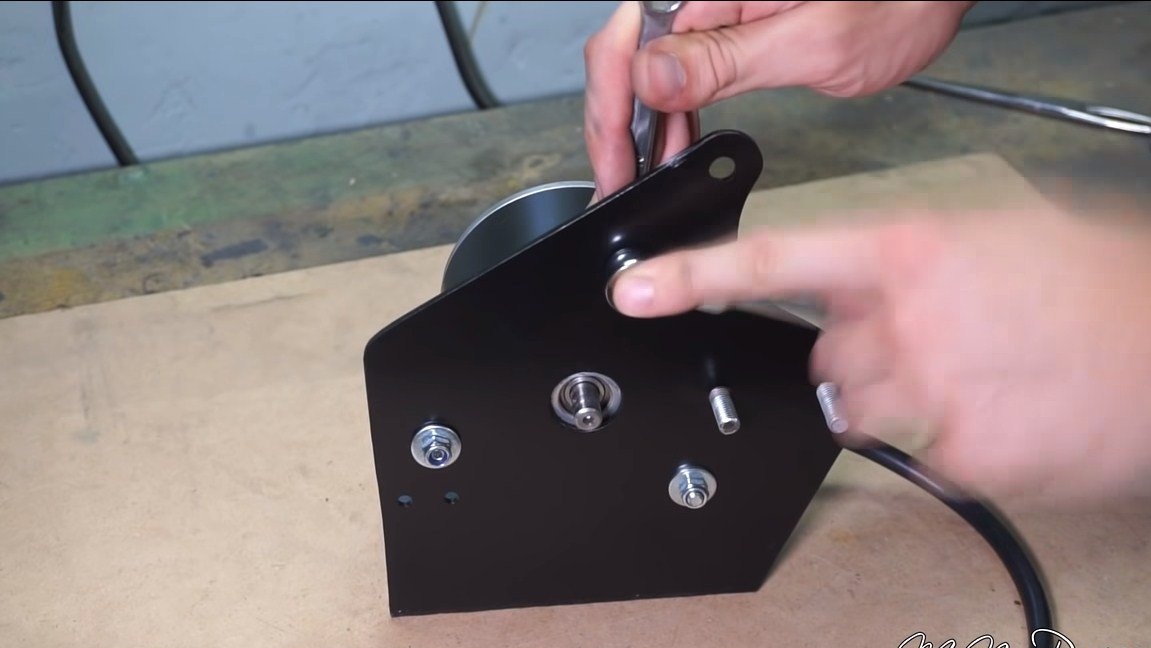
Step one. Frame manufacturing
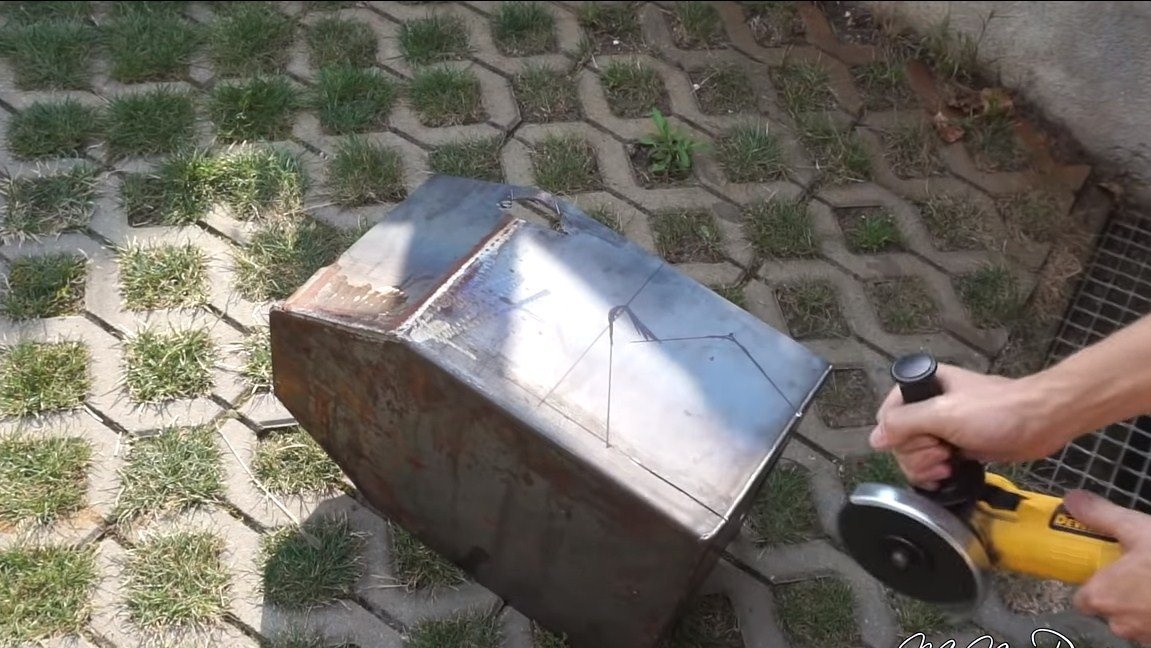
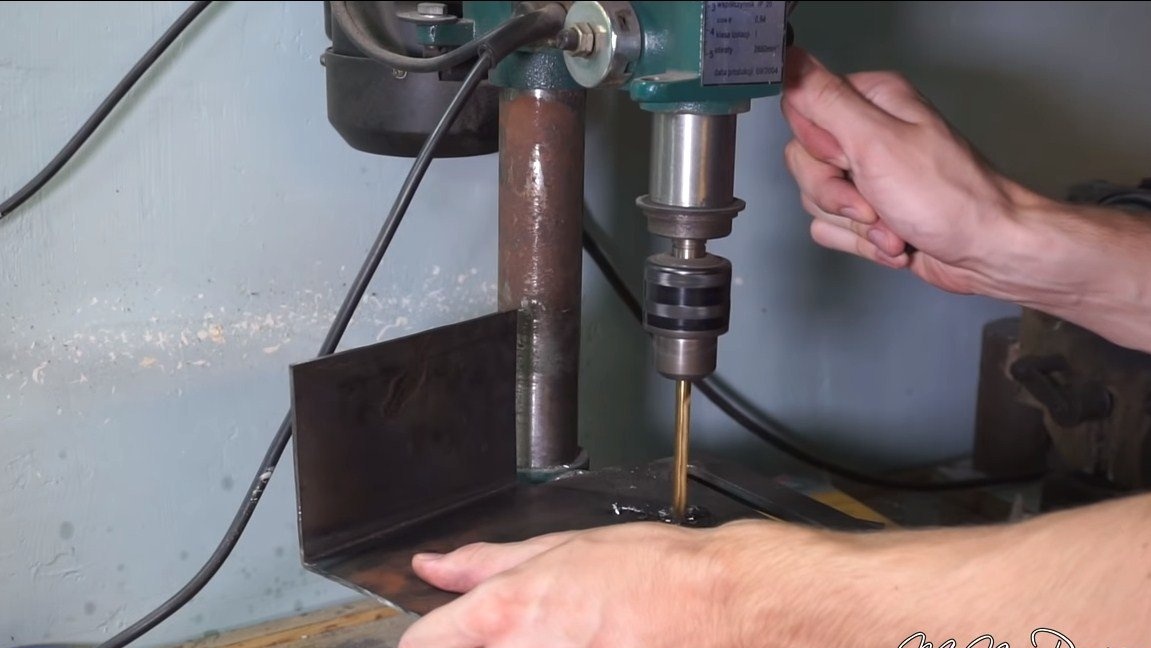
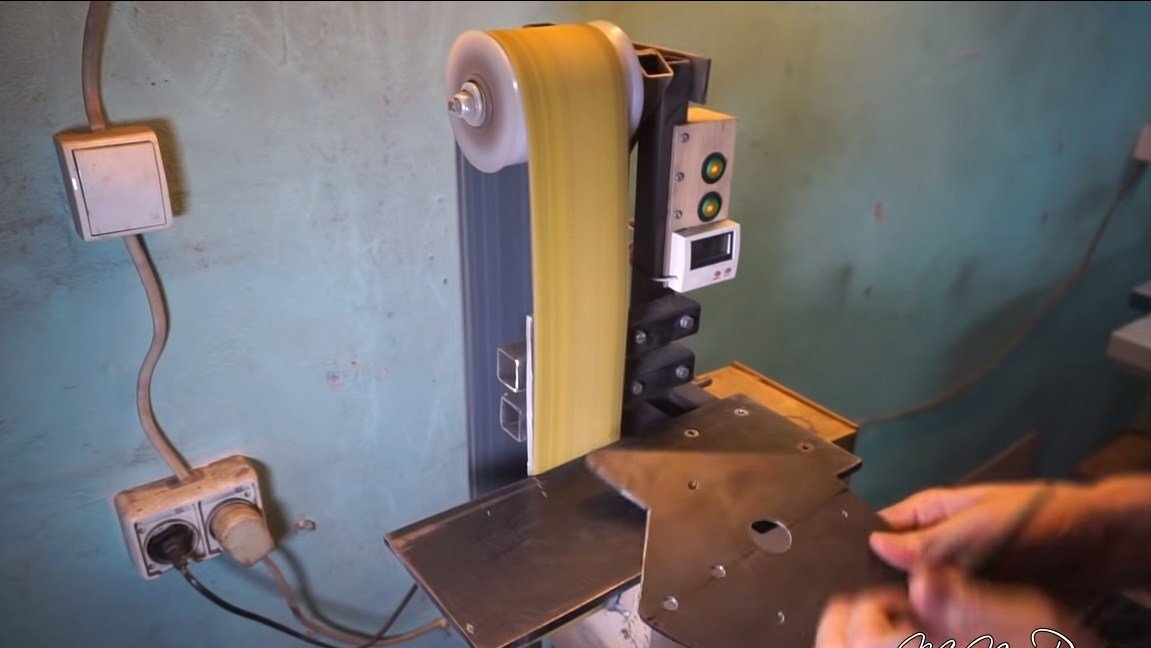
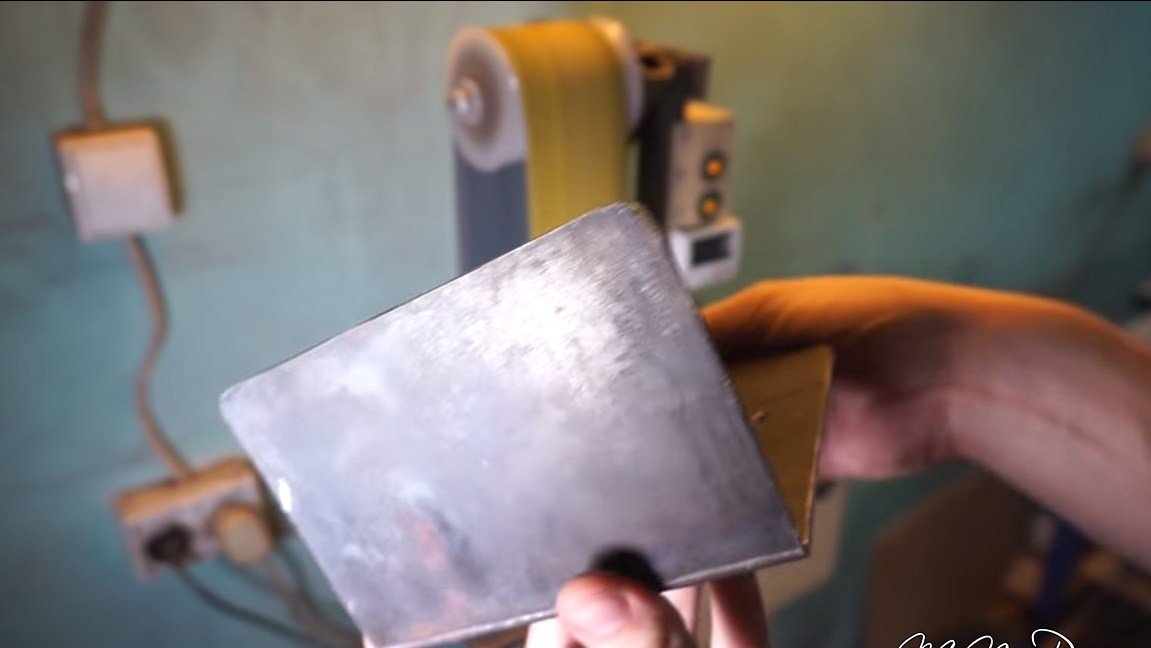
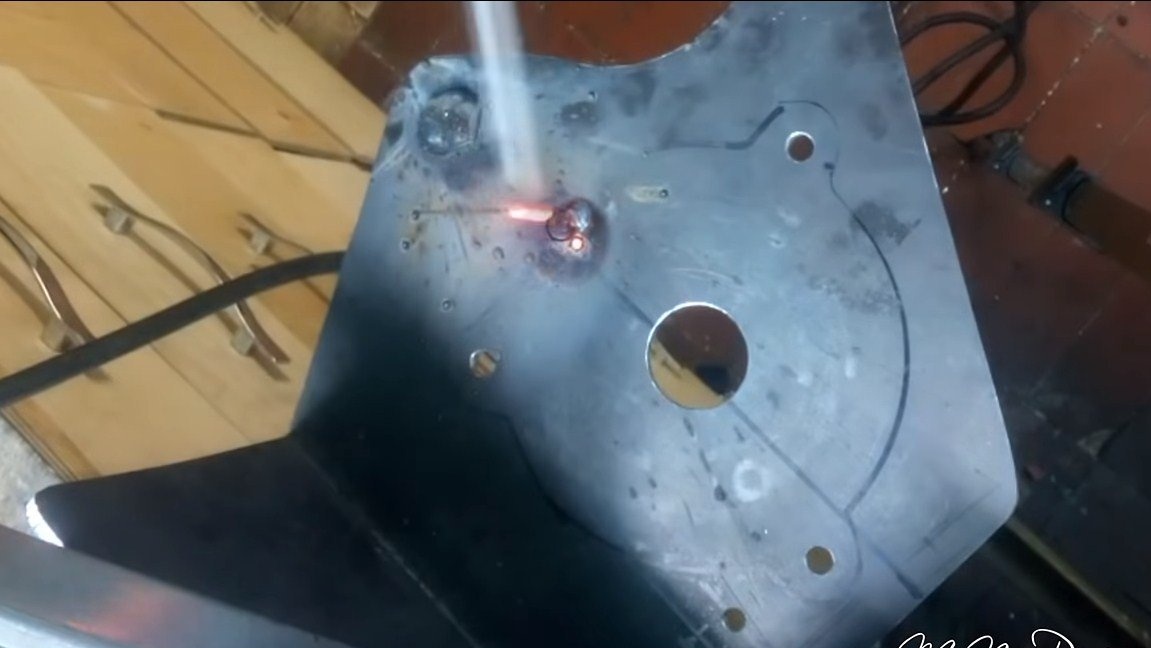
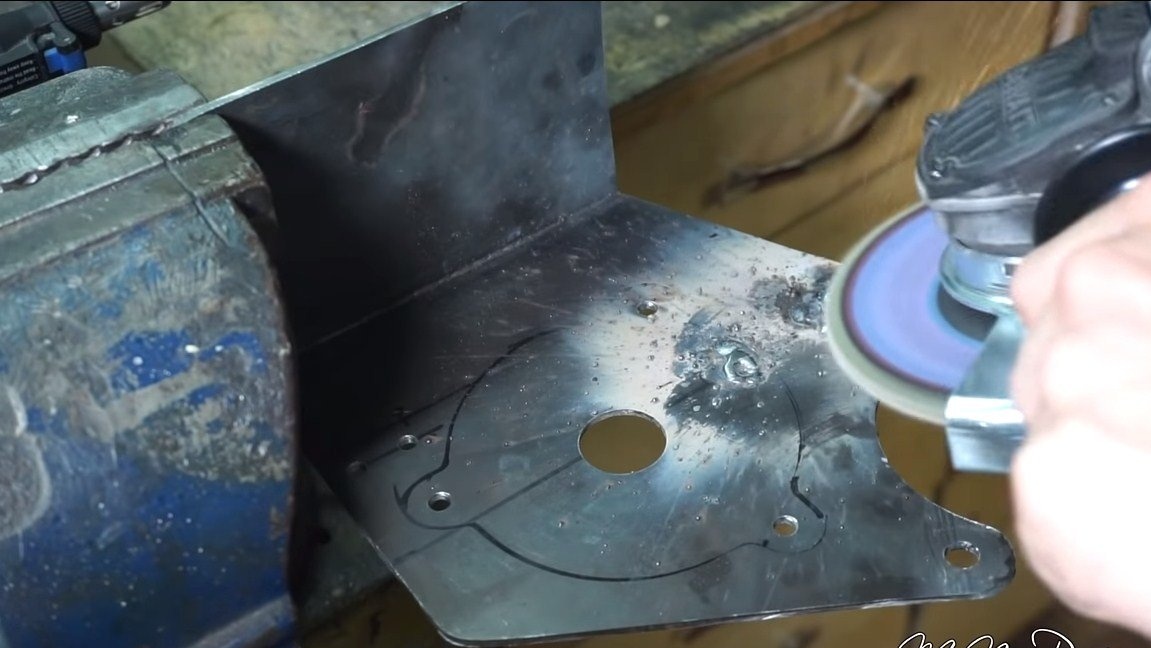
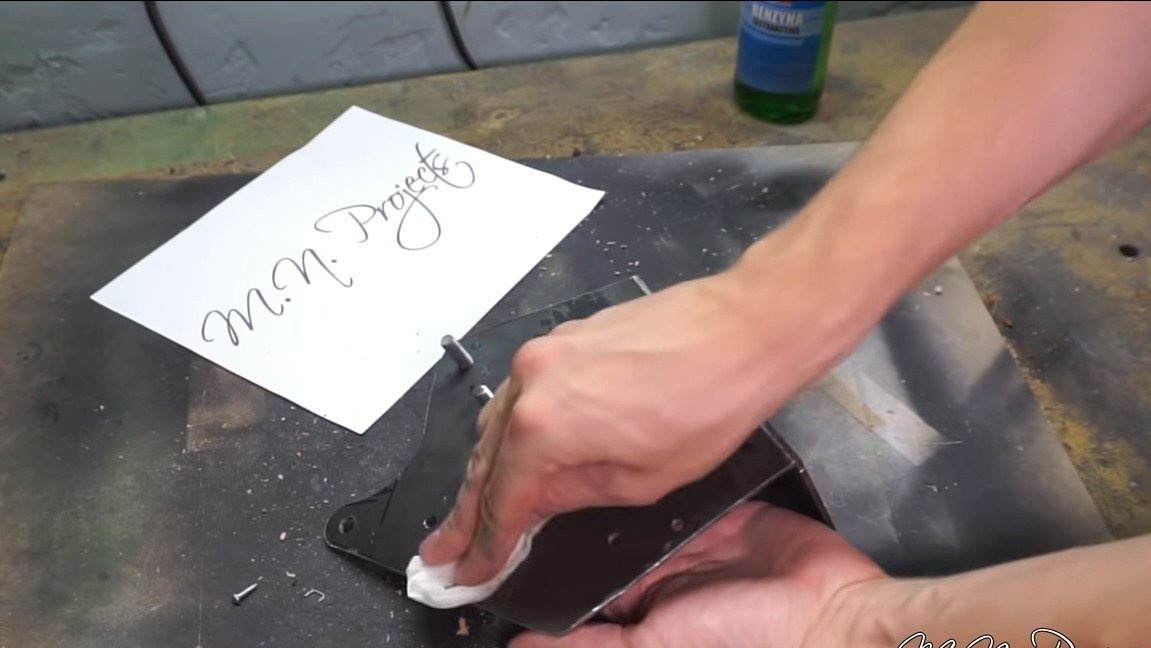
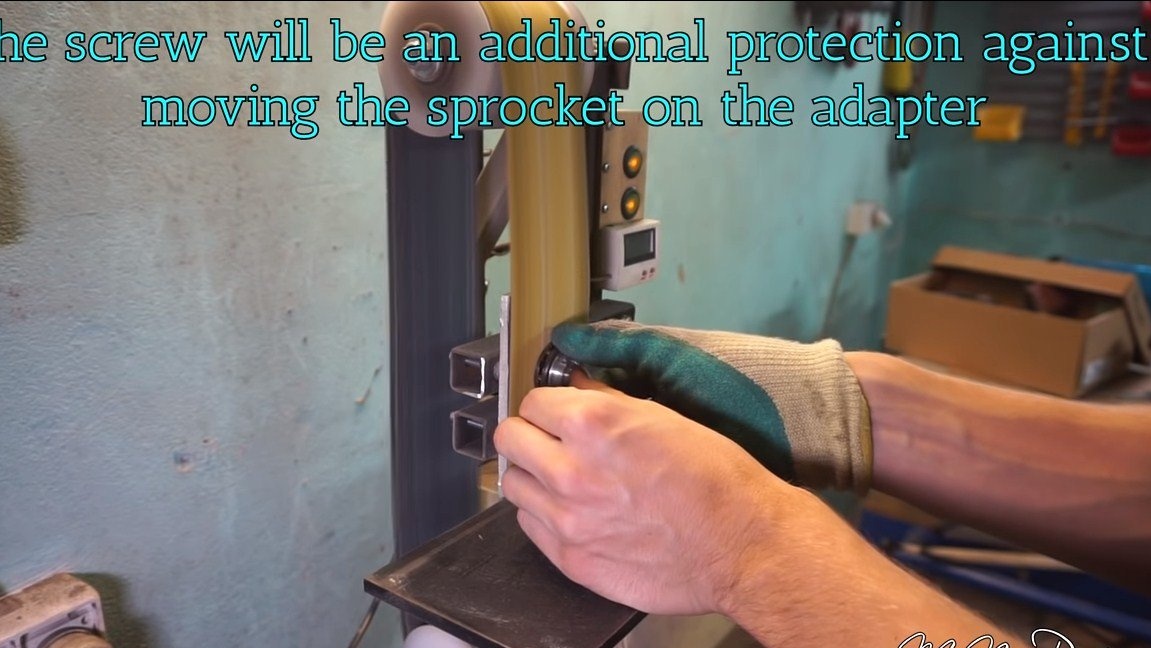
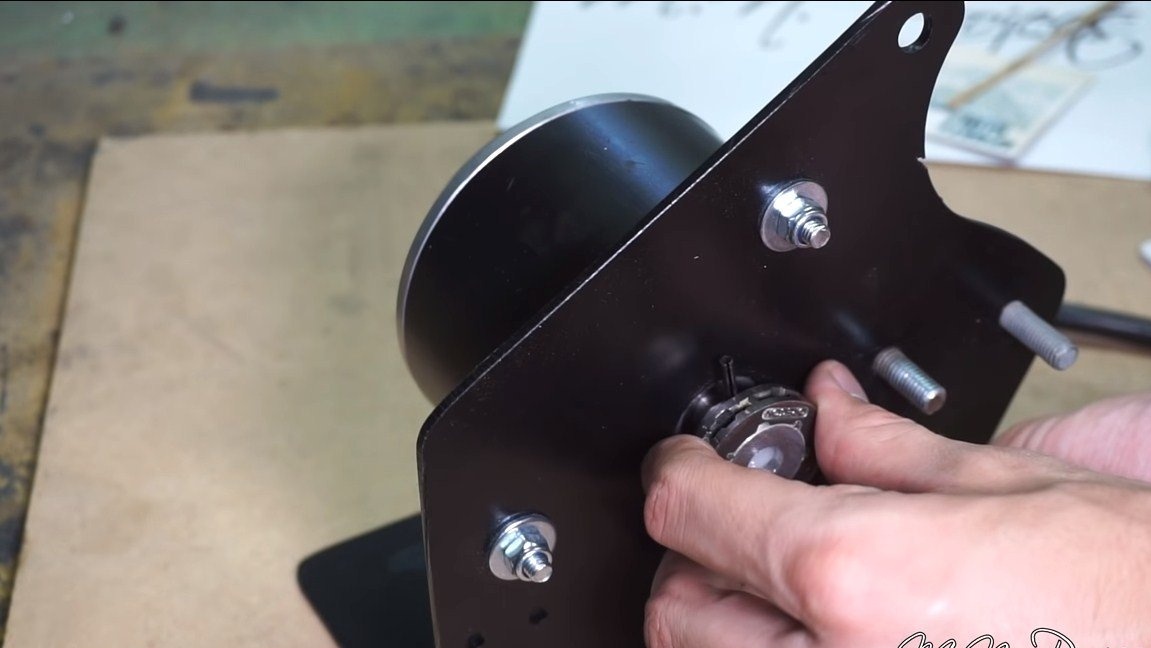
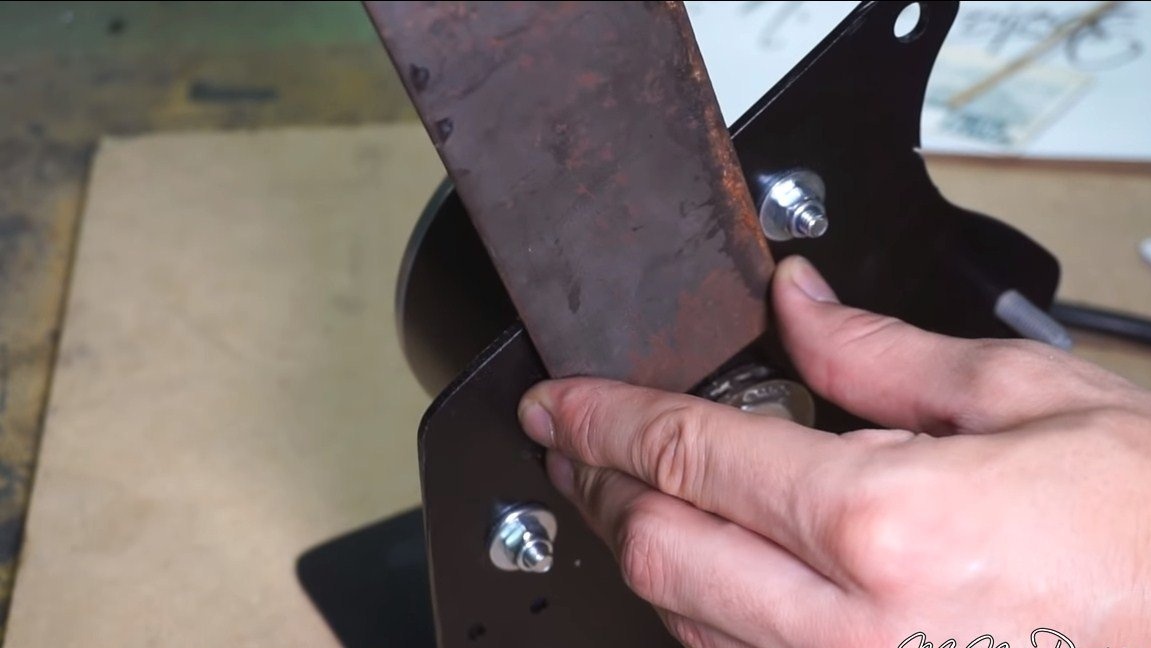
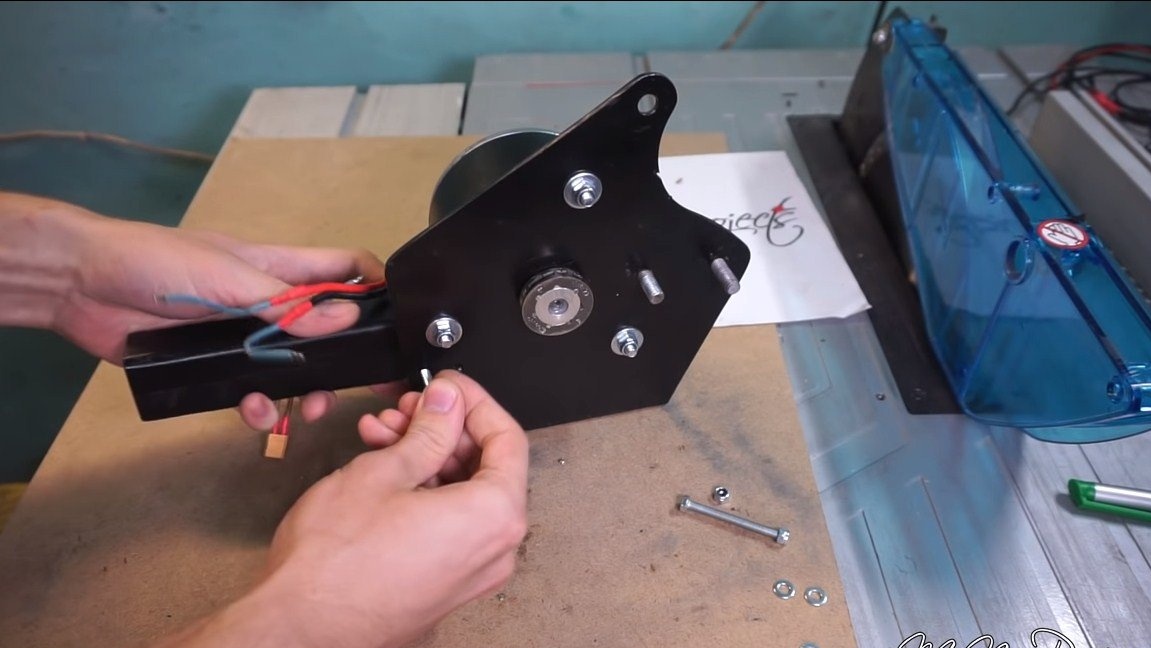
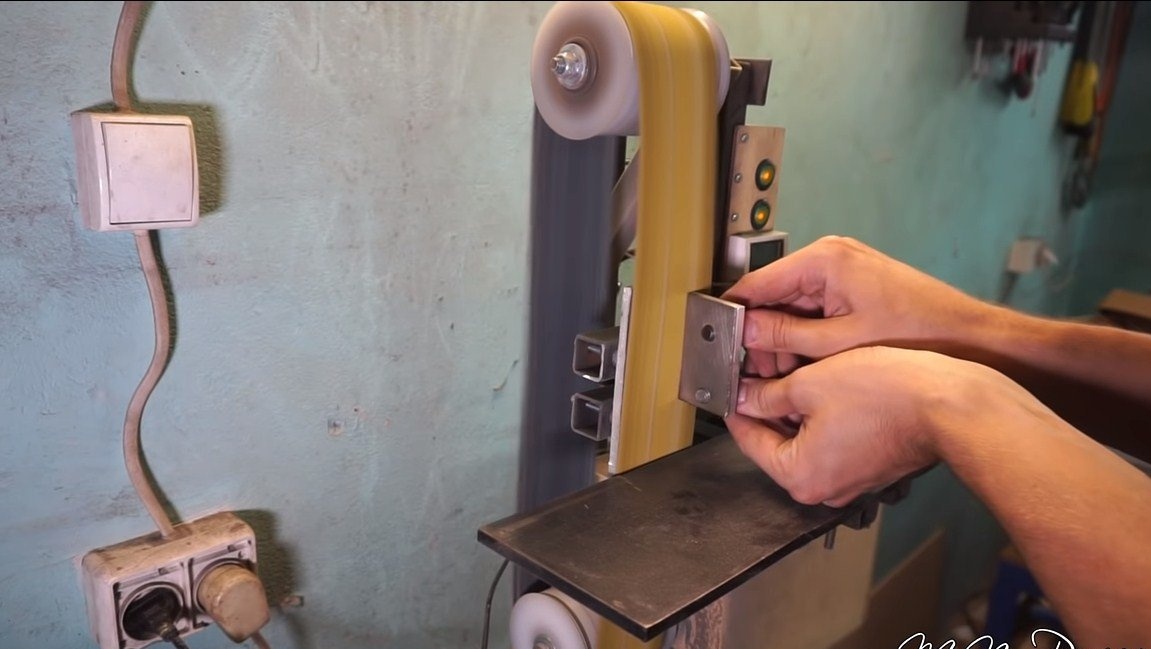
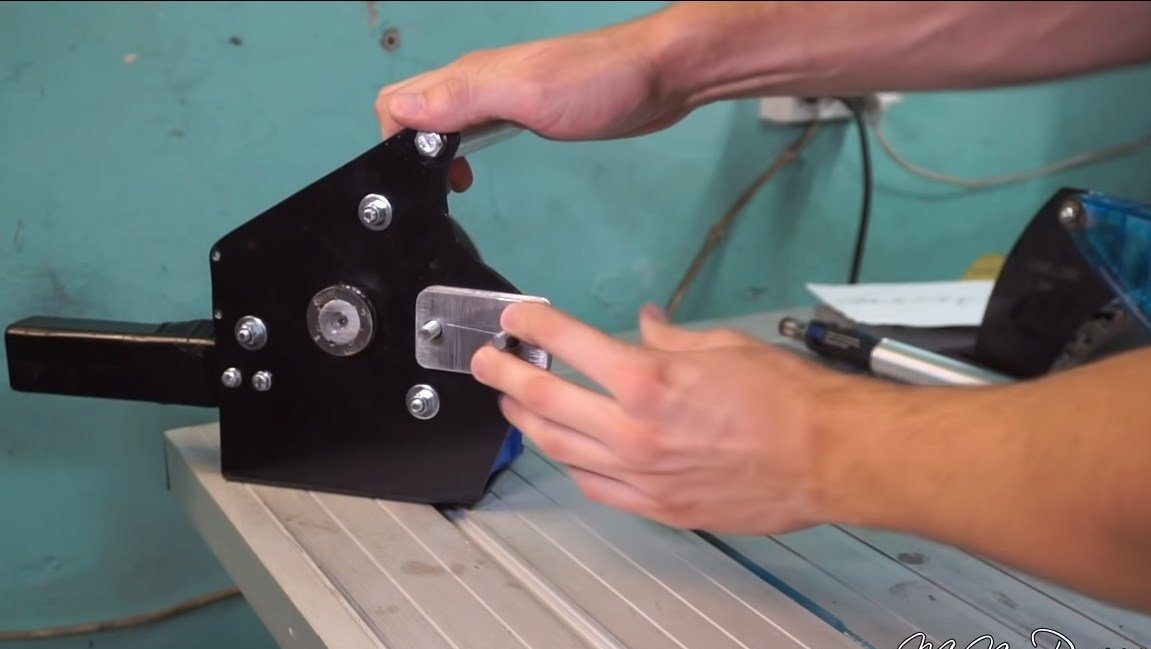
To begin with, we will make a frame, here an engine will be installed, studs for attaching the tire, and also a place for installing batteries should be provided here. The author found a suitable source material and cut out the desired shape from it. Next, we grind the part on a tape machine, bring it to mind and drill mounting holes. In addition to this, we need to weld two more studs for attaching the tire, you can use bolts as them.
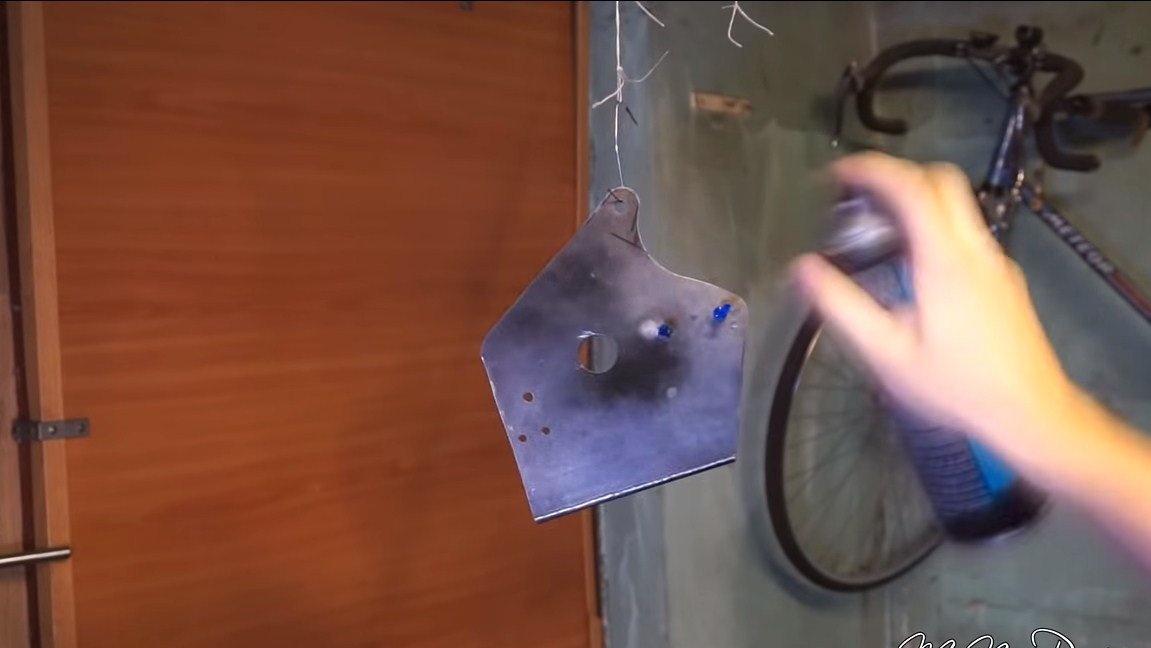
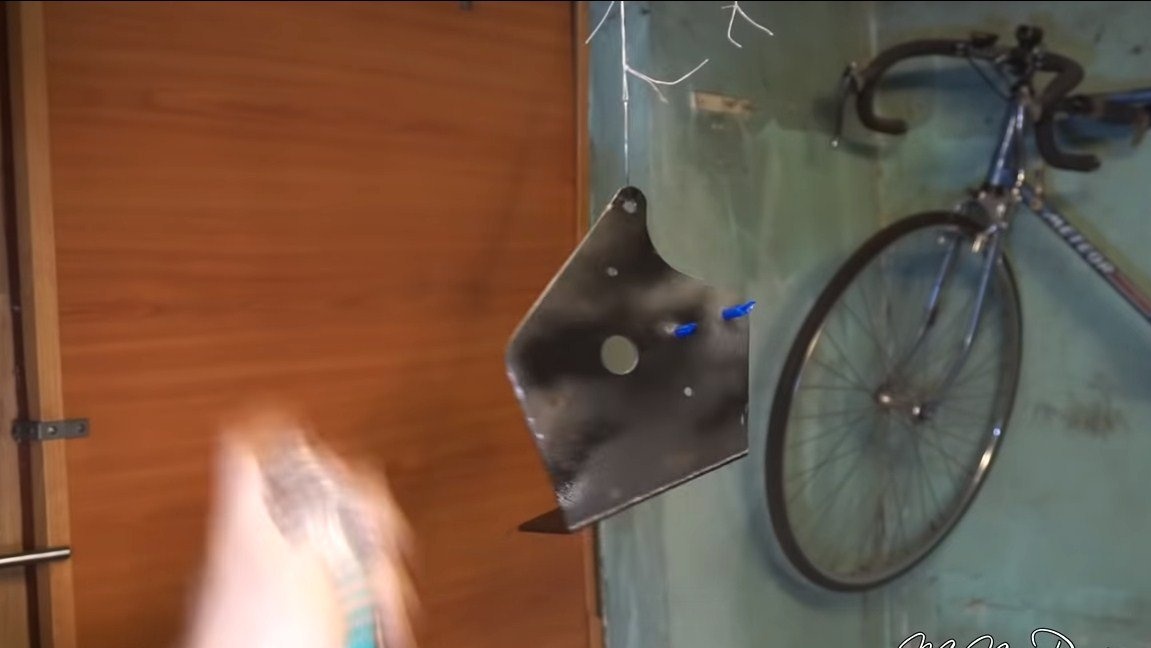
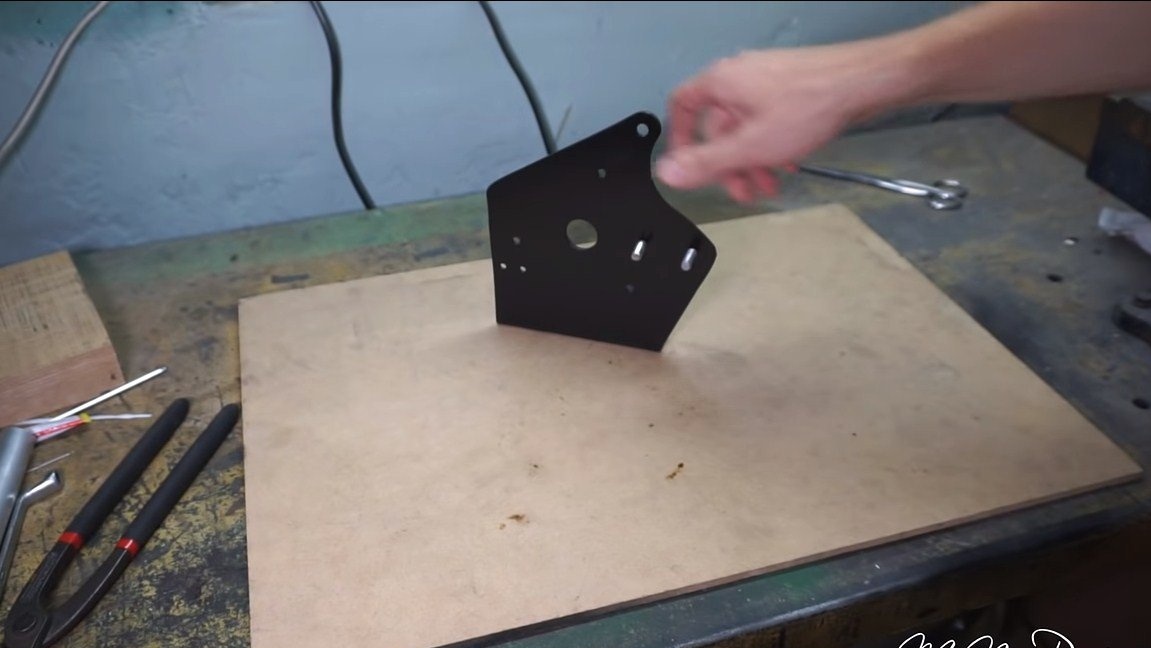
When everything is ready, we paint the frame so that it does not rust and looks good.


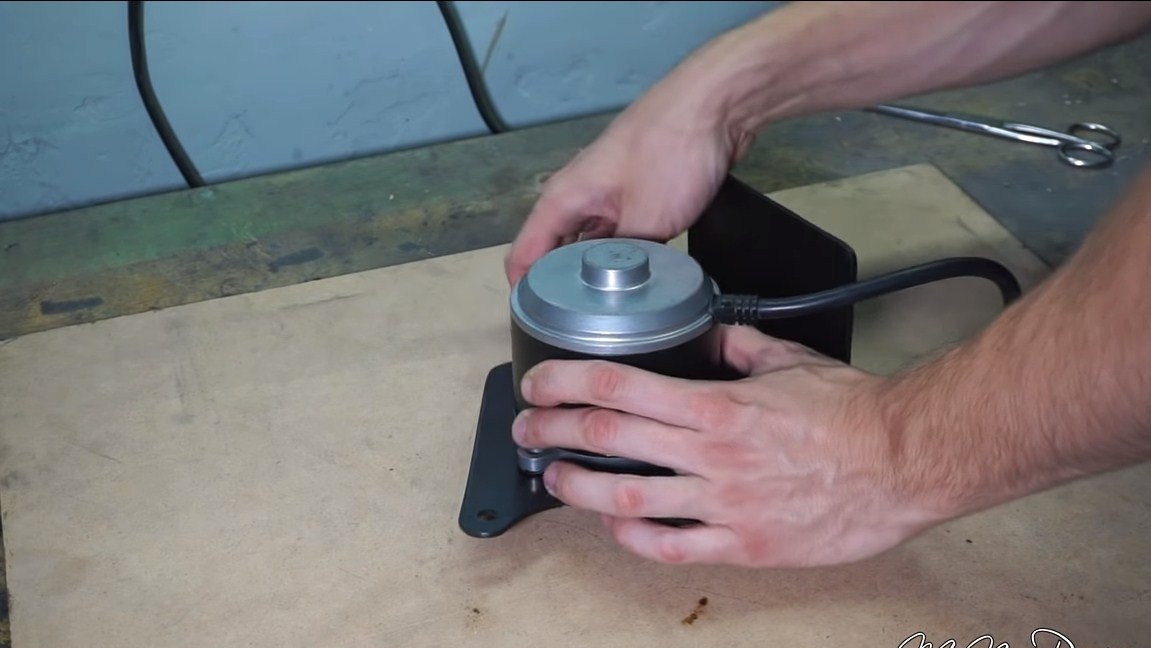
Step Two Engine and sprocket
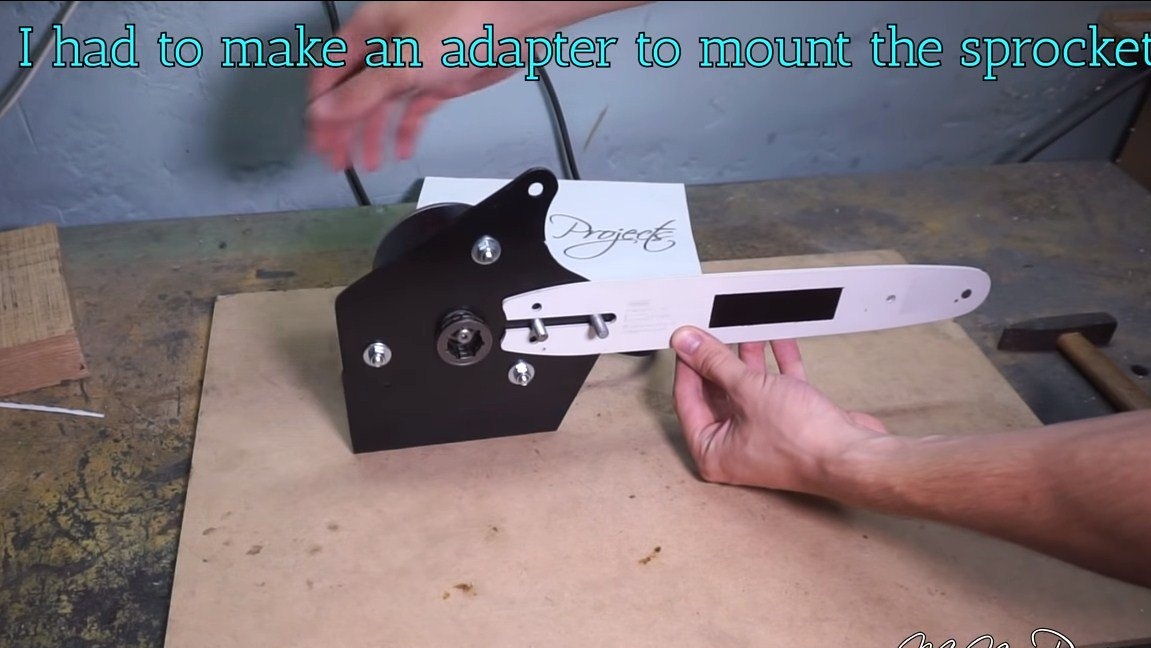
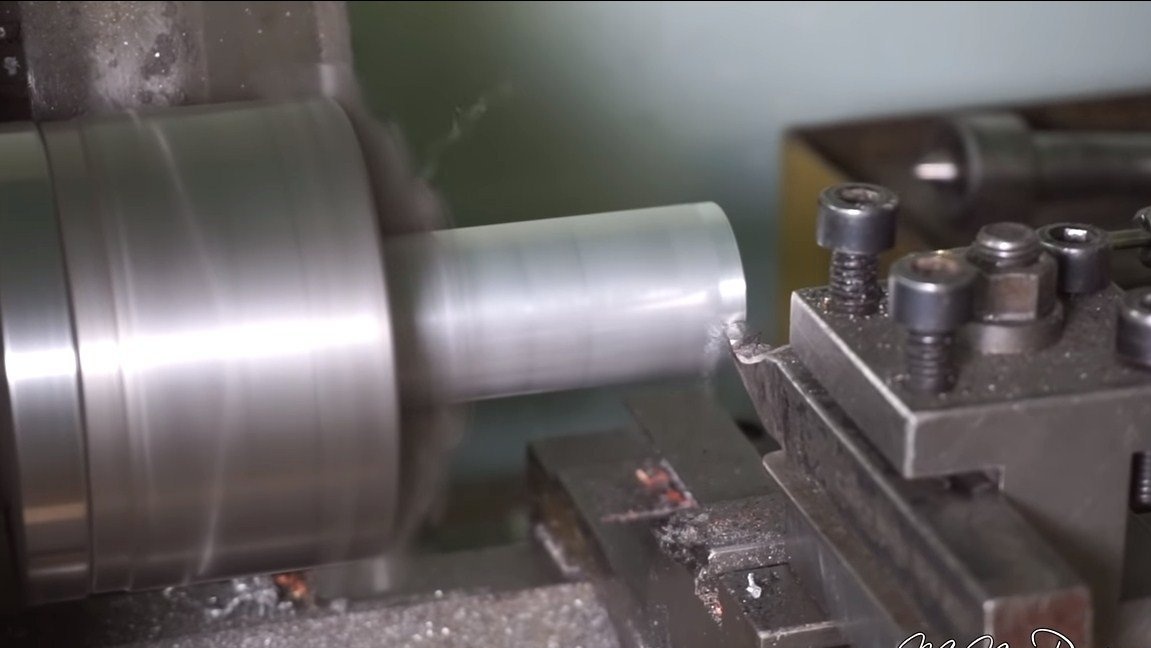
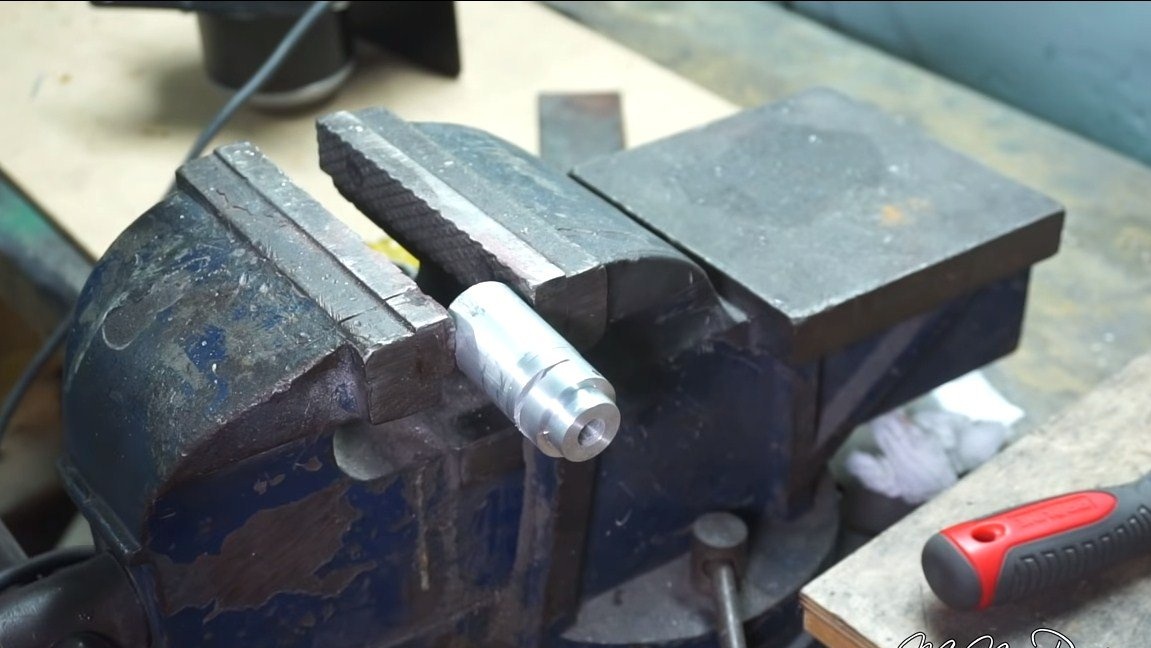
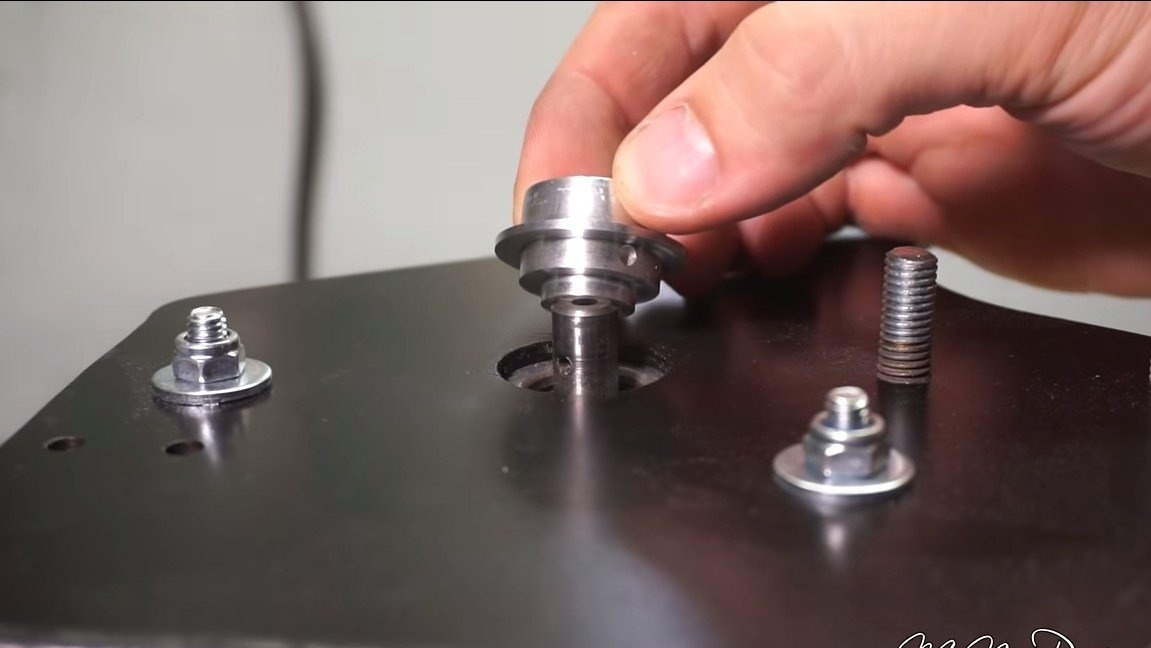
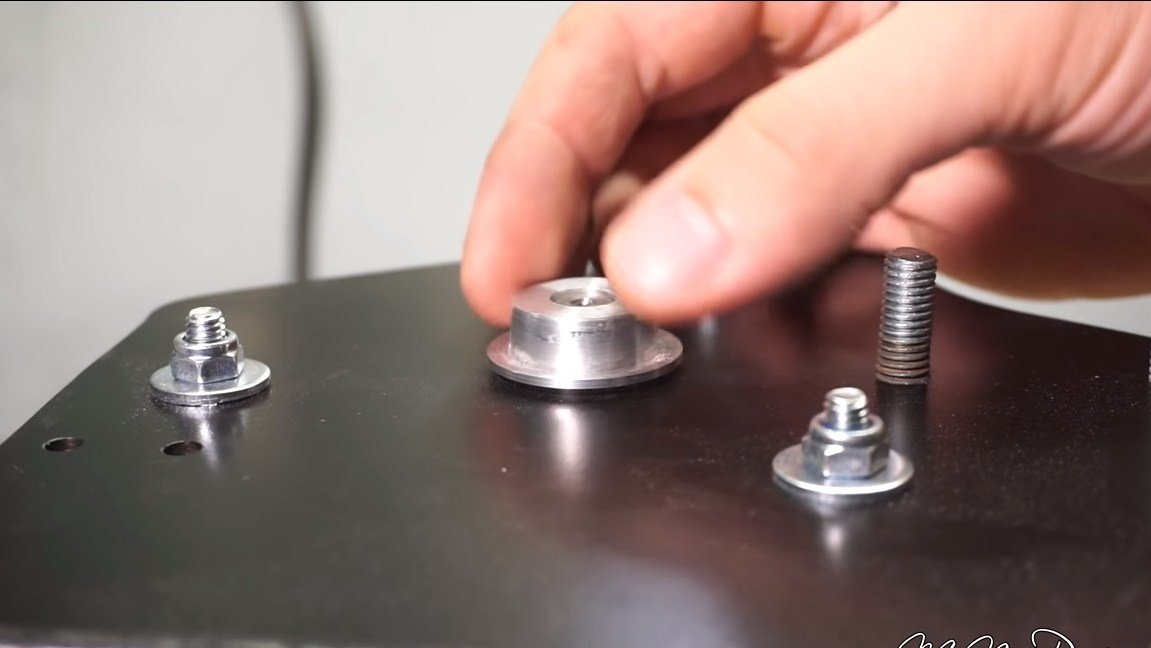
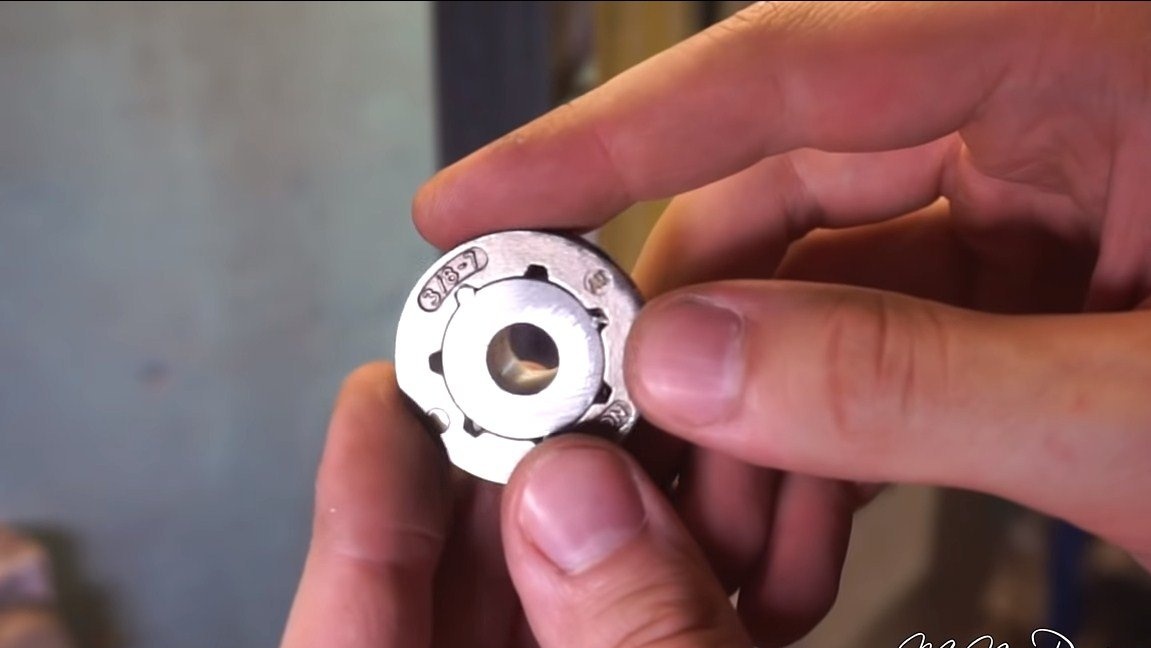
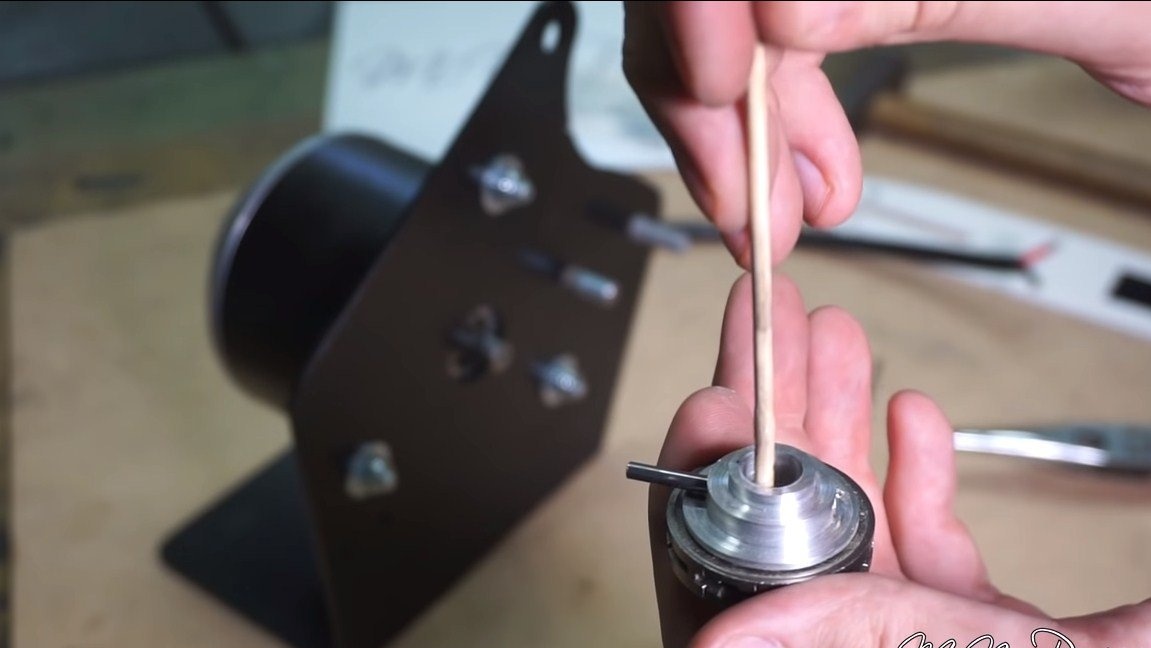
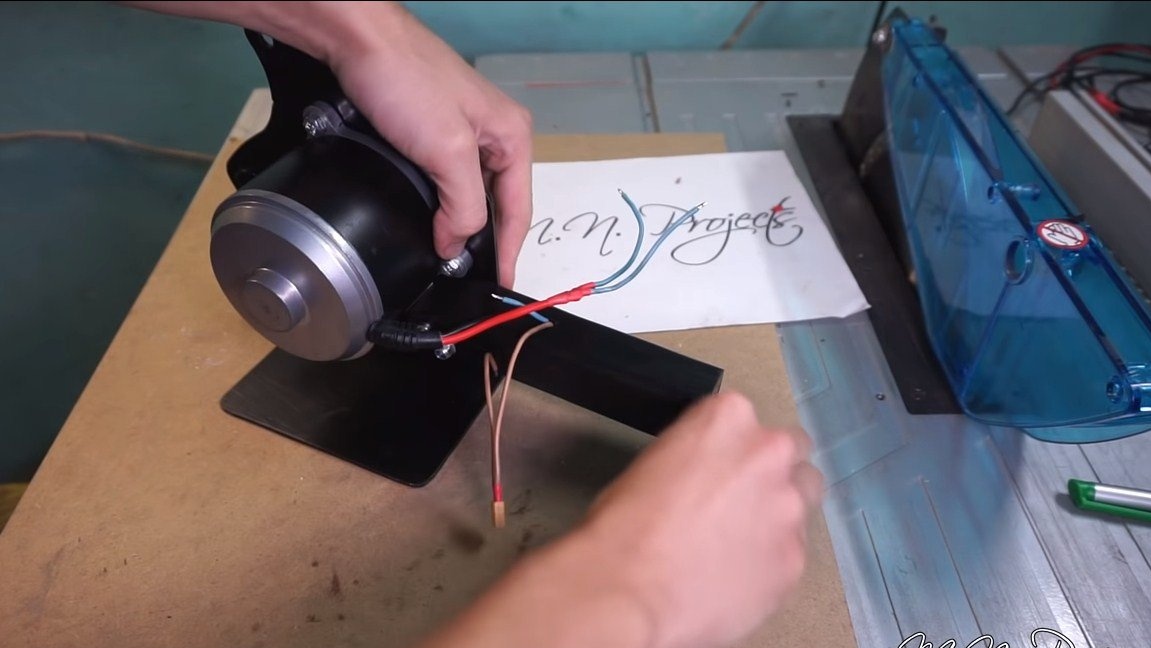
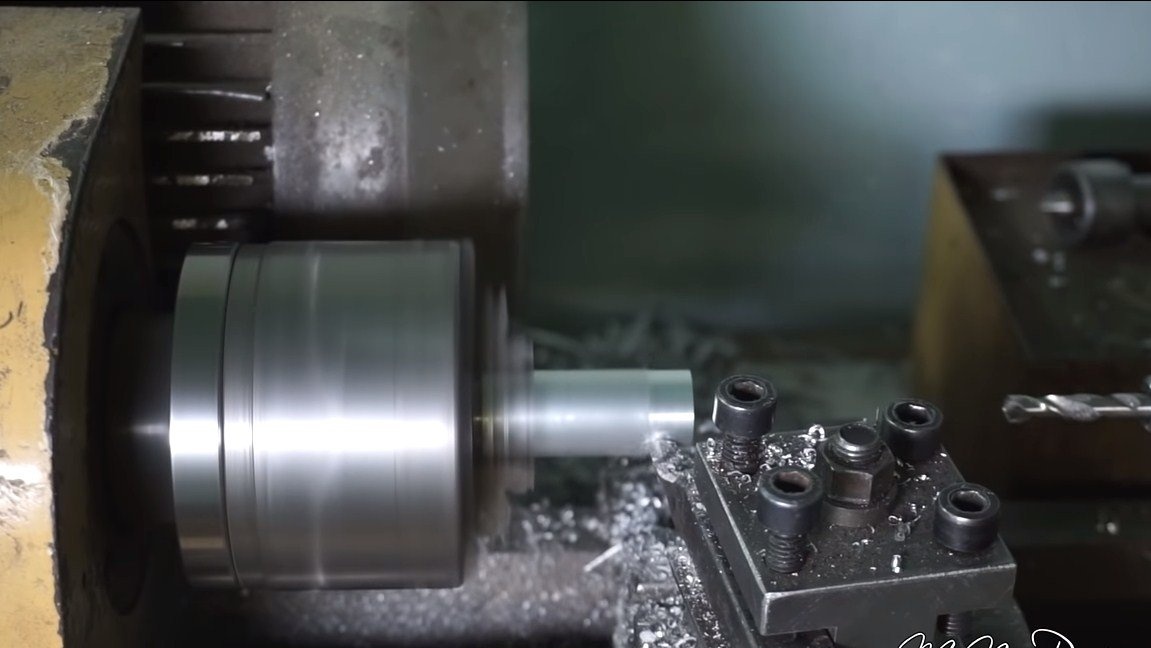
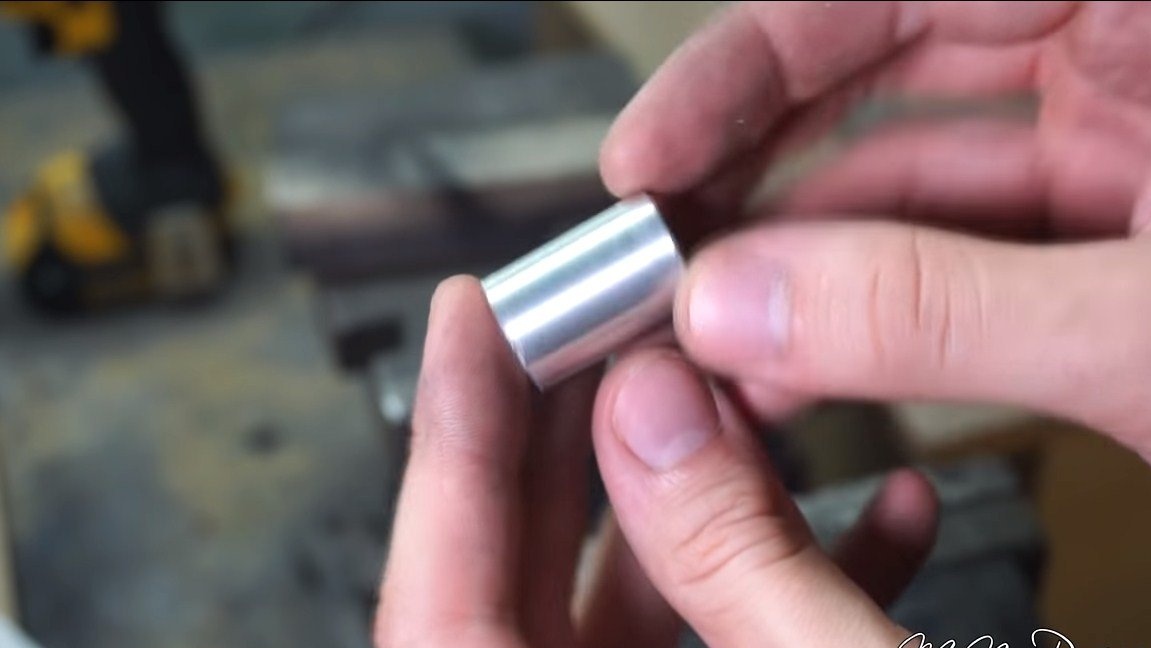
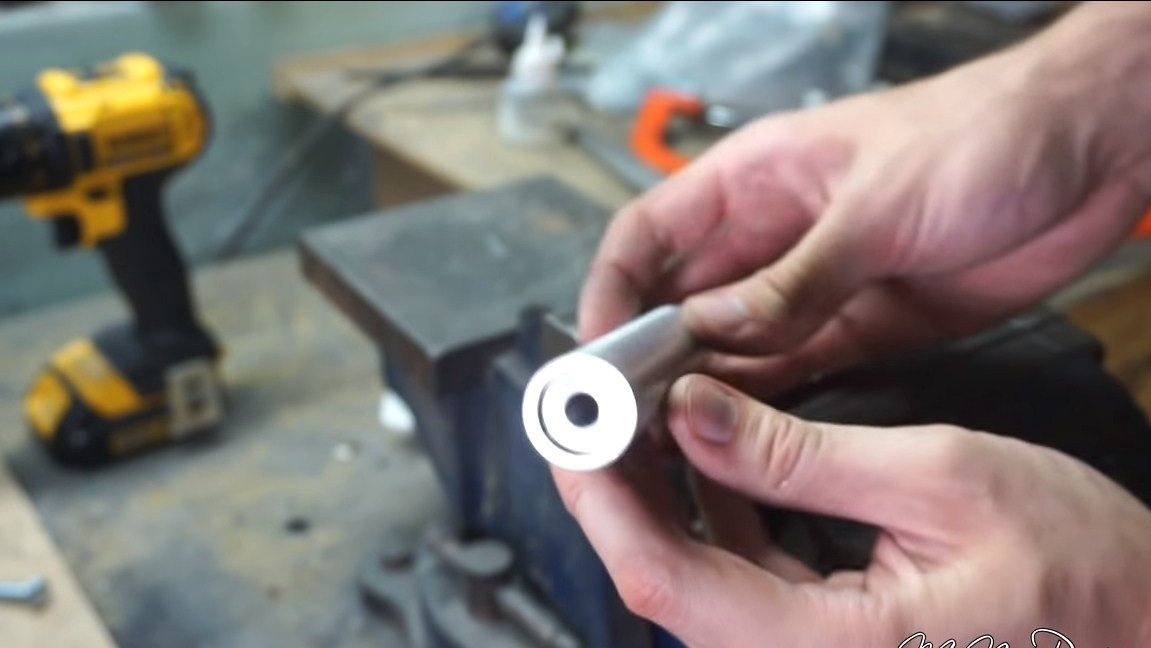
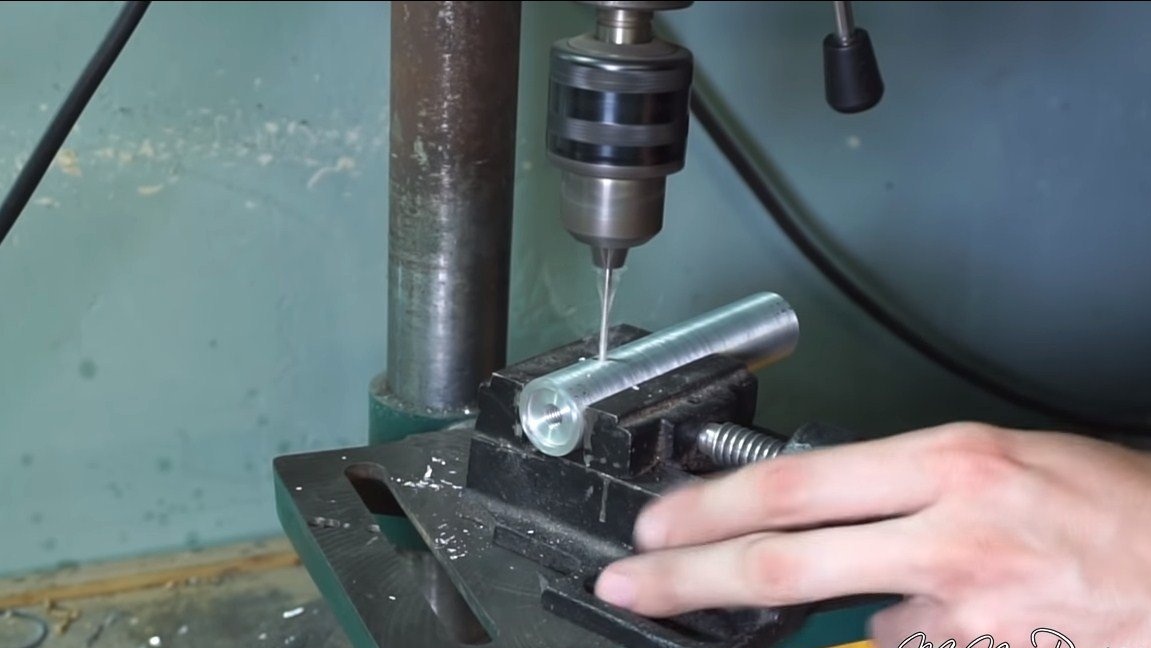
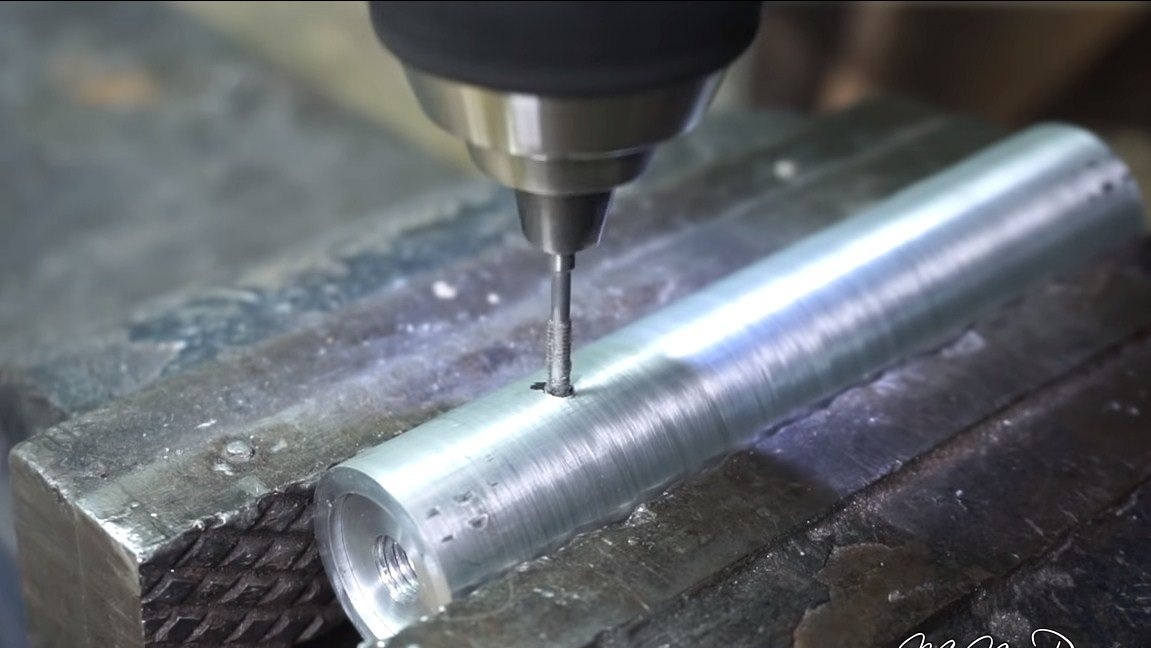
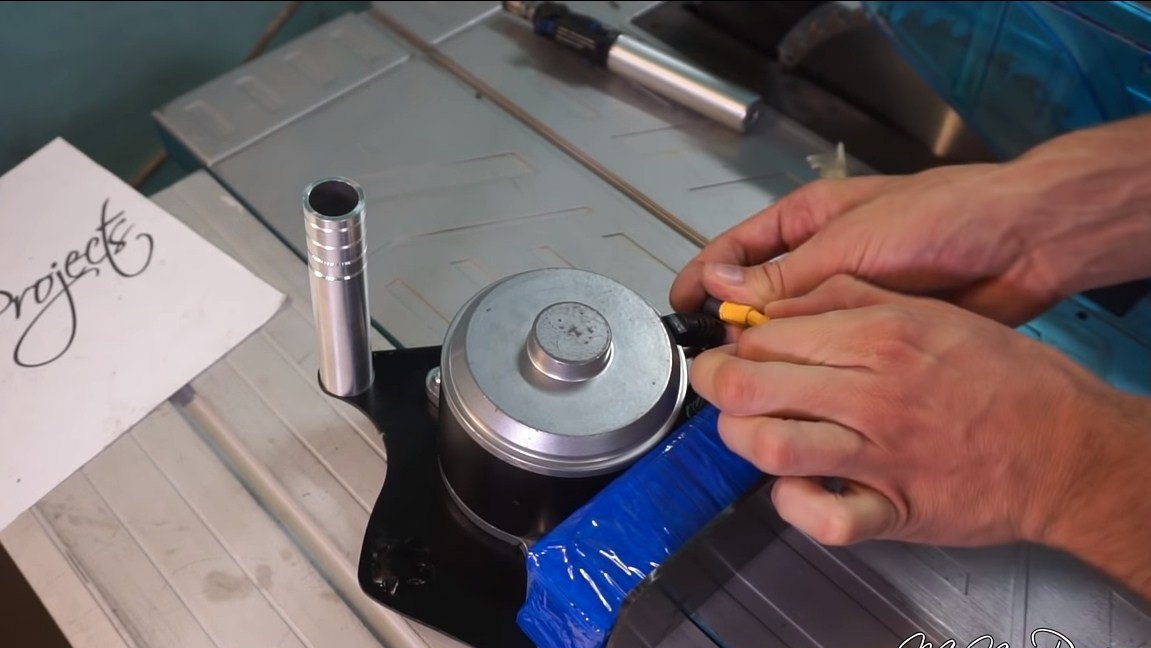
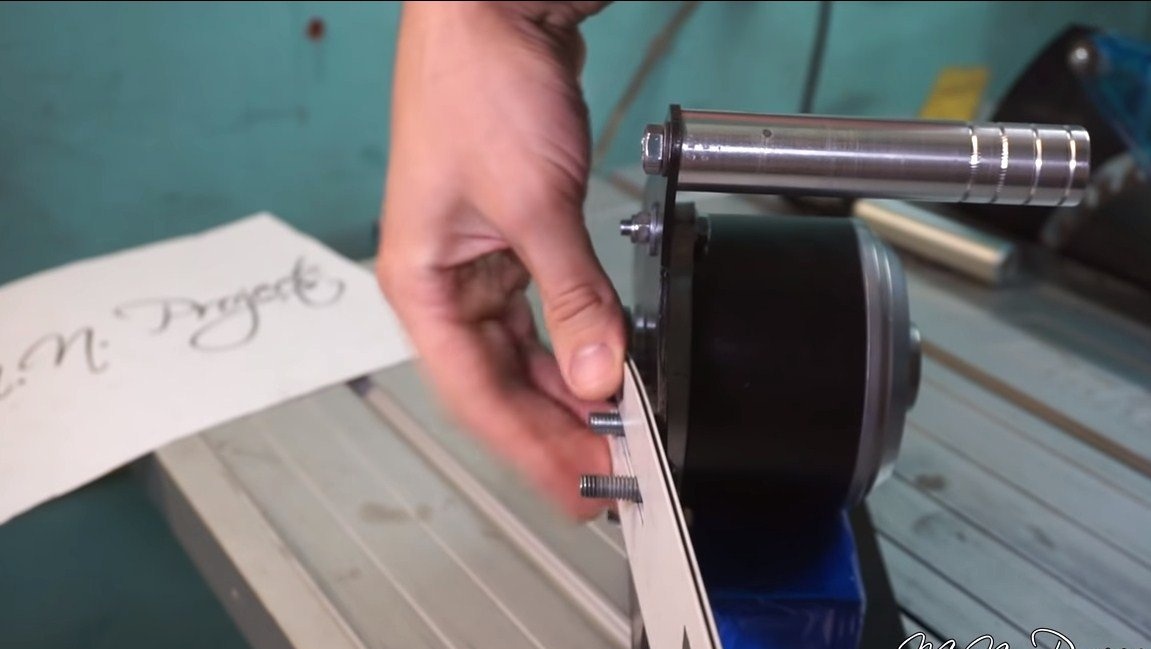
You can install the engine, from the author it is screwed to the frame with the help of three nuts. Next, we need to install a drive sprocket on the motor shaft. Under it, we need to grind a special adapter, here we need the services of a lathe. As the material, you can use aluminum.This adapter will be attached with a pin.
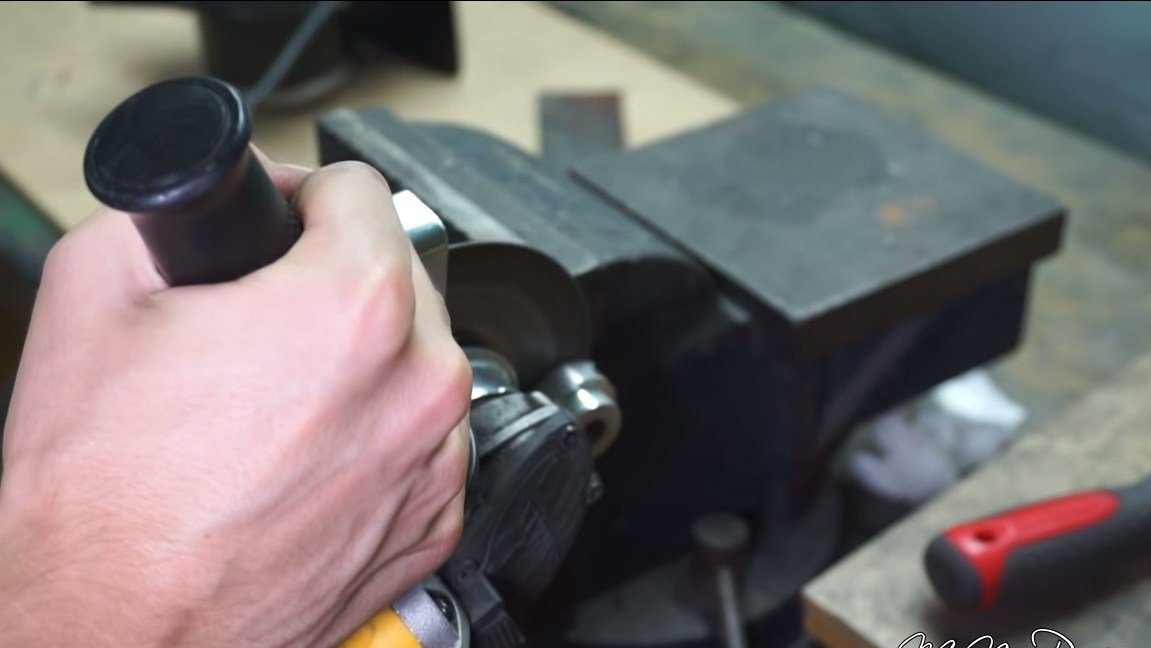
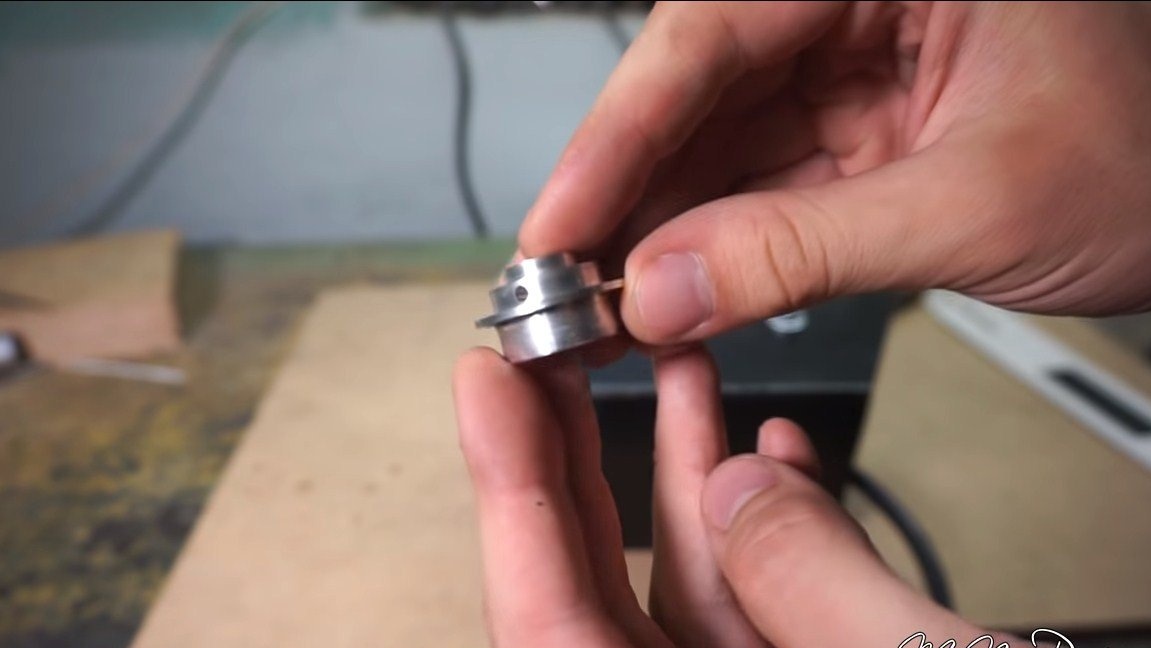
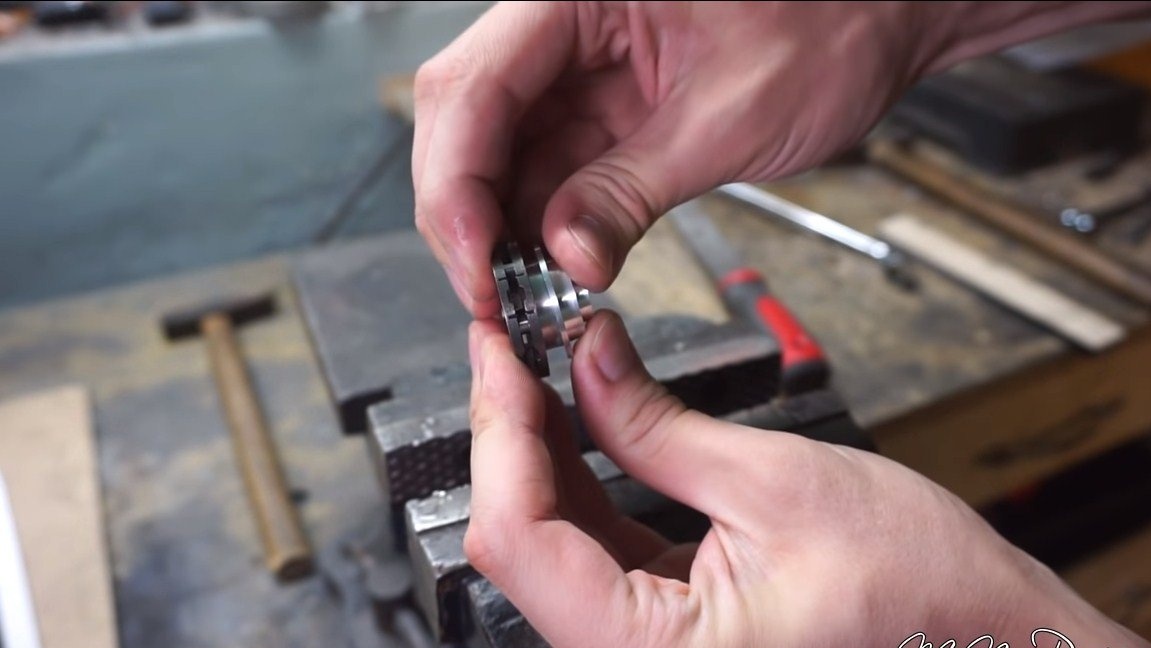
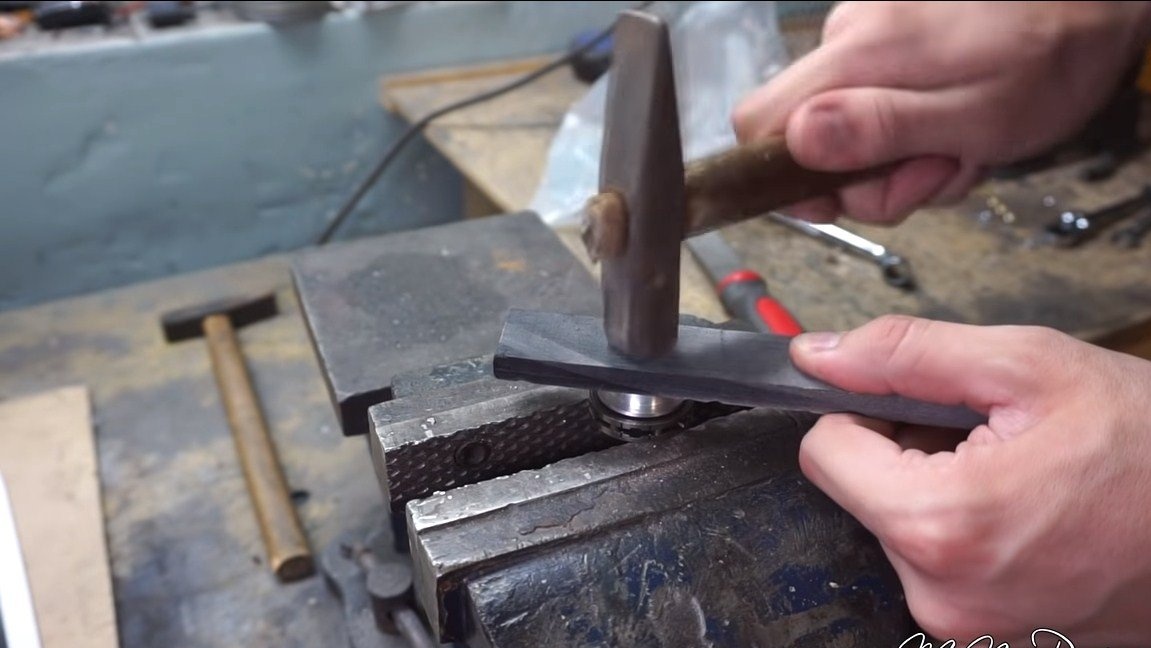
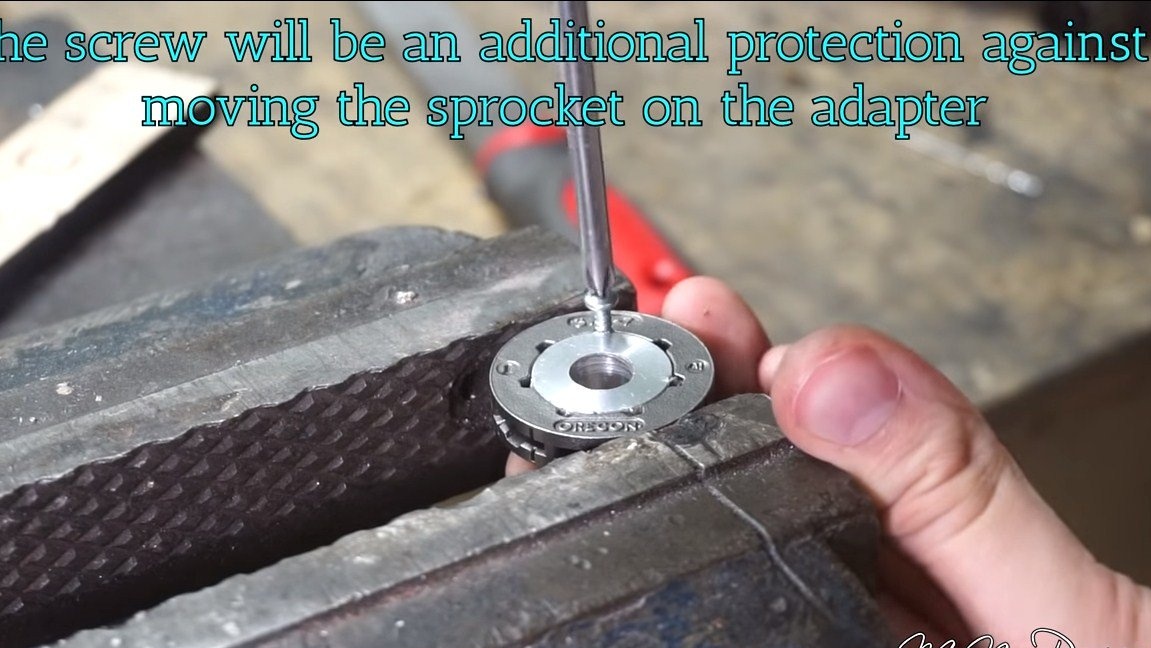
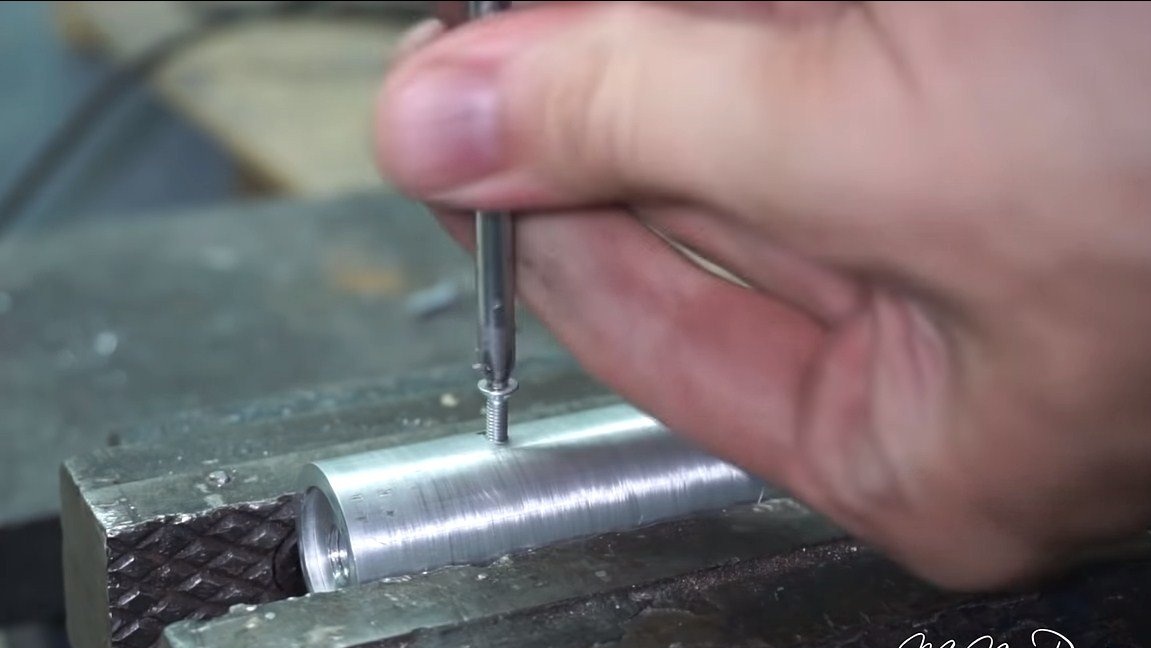
When the part is ready, gently press on an asterisk on it, and as a fixation, the author wraps three small screws. At the end, we grind the hats of the screws and grind the part. That's all, now we install the adapter together with the asterisk installed on it on the shaft. Everything is attached with a pin, and so that the part does not play, the author places it on epoxy glue.


Step Three Handle manufacture and installation
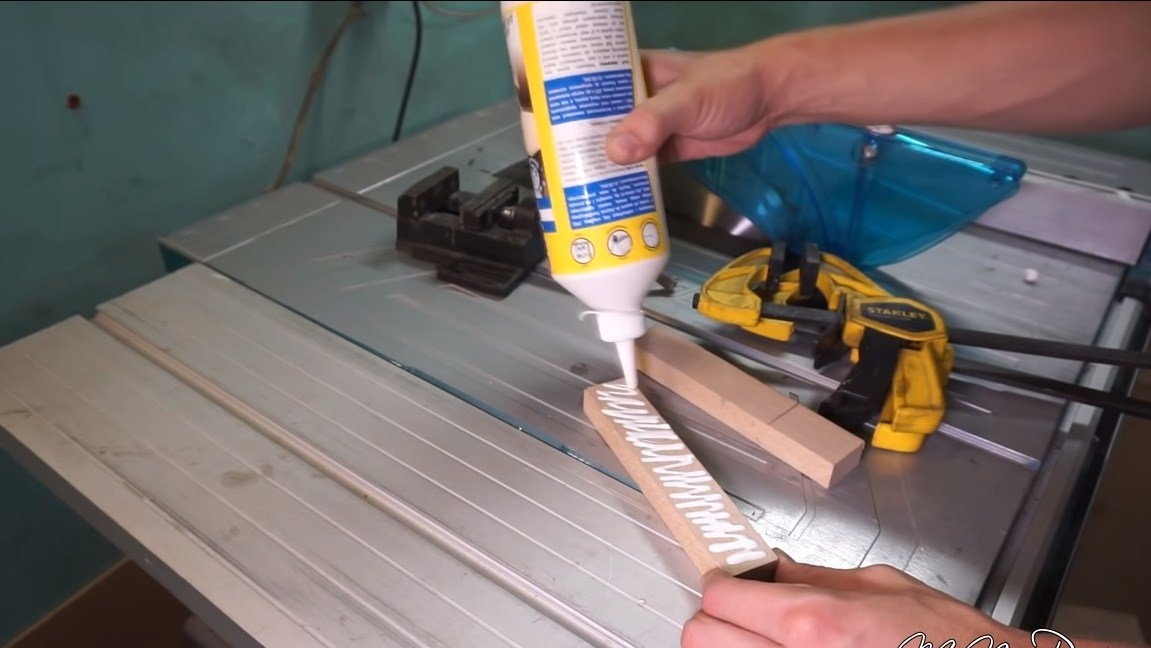
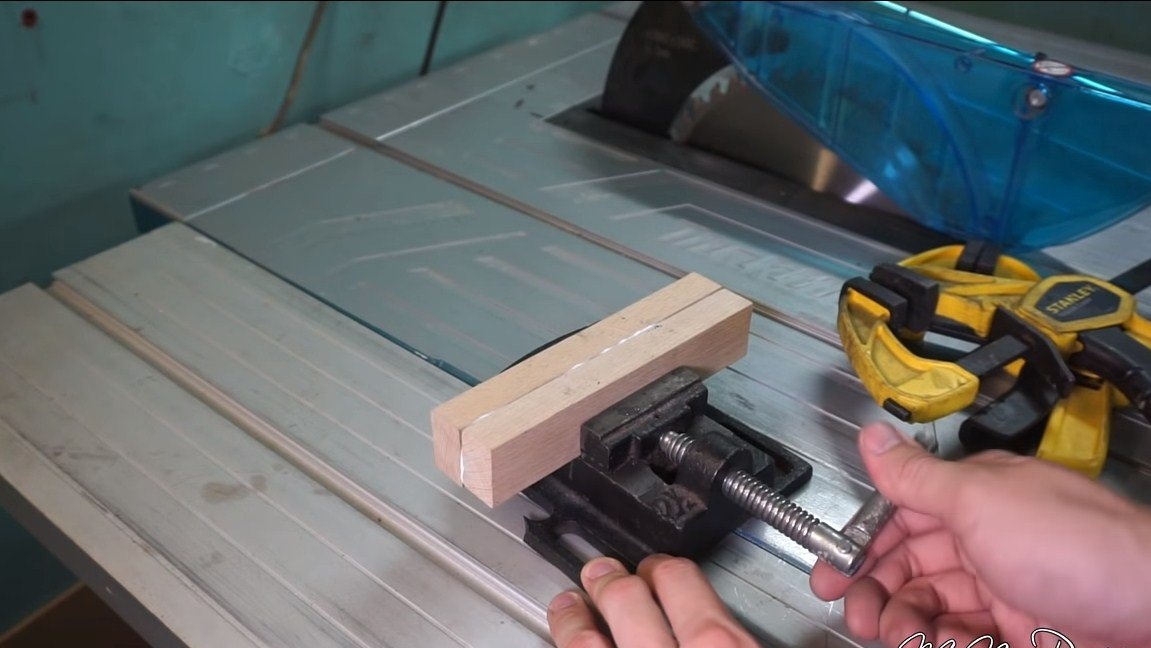
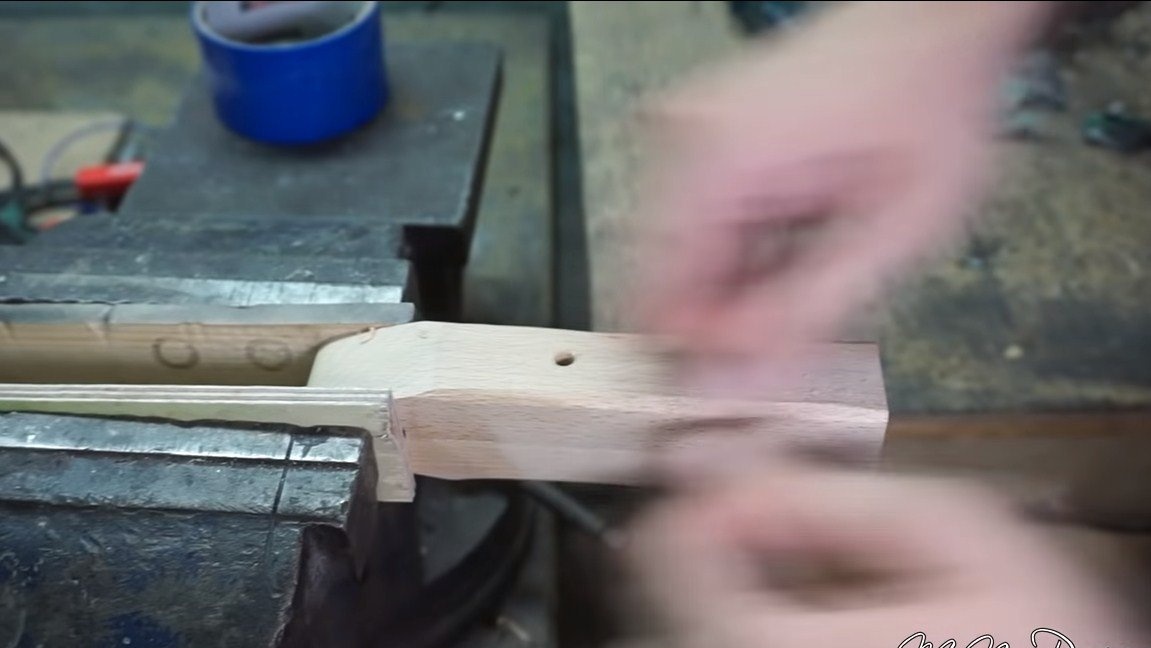
The author decided to make a pen out of wood in order to obtain the required thickness; the author glued two sticks with joiner glue.
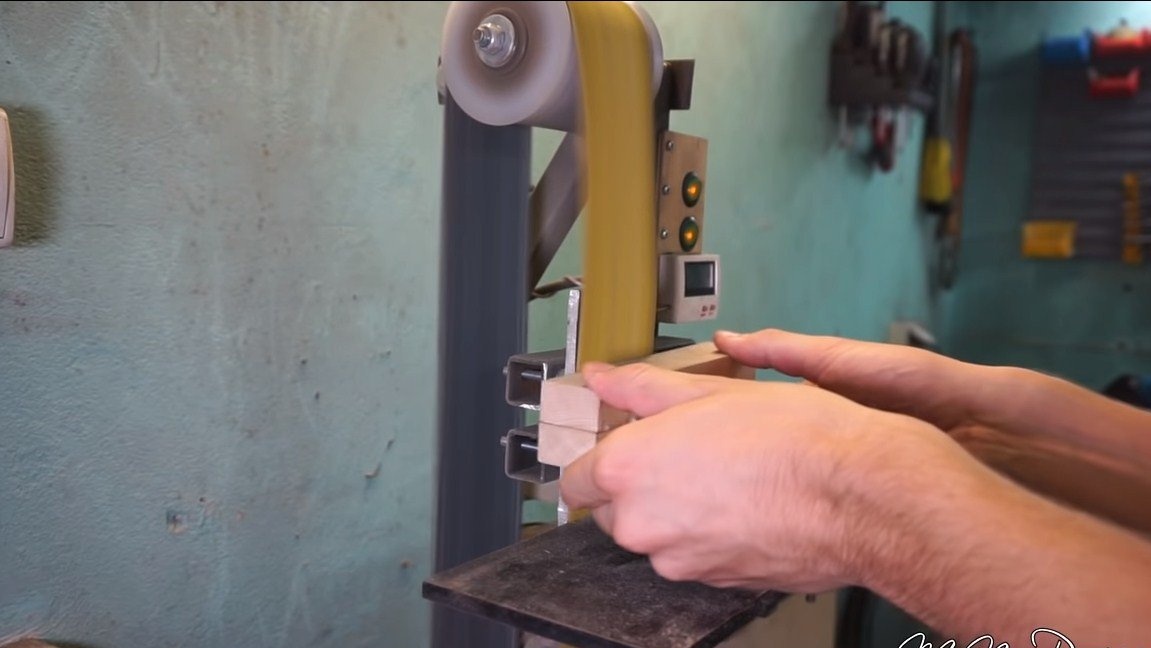
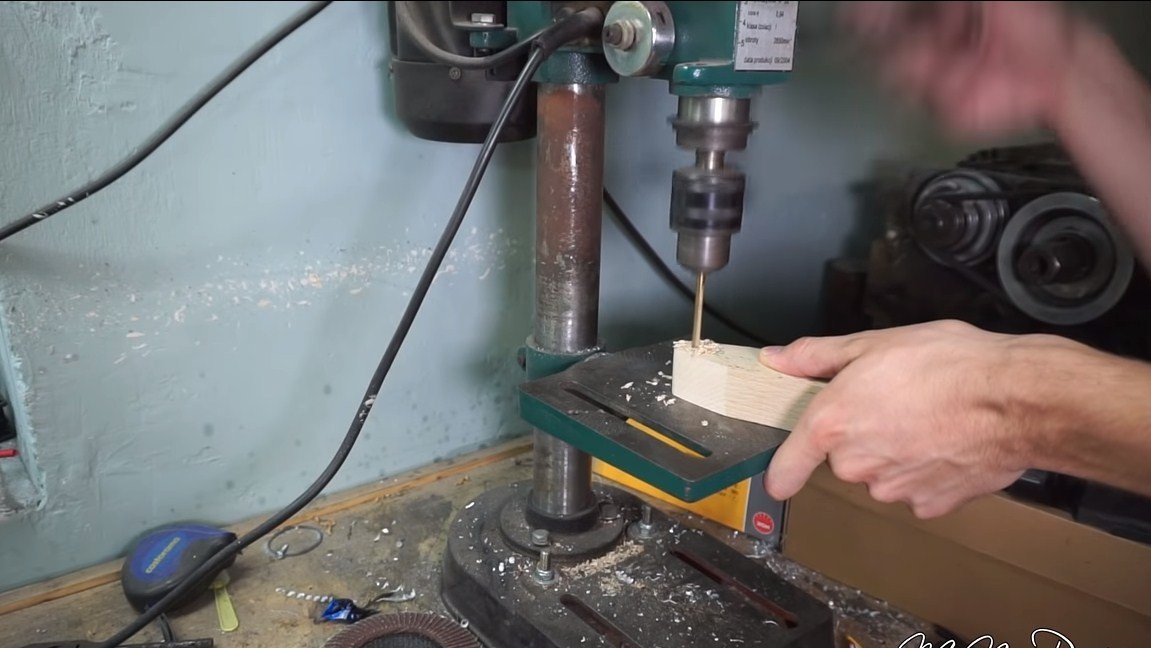
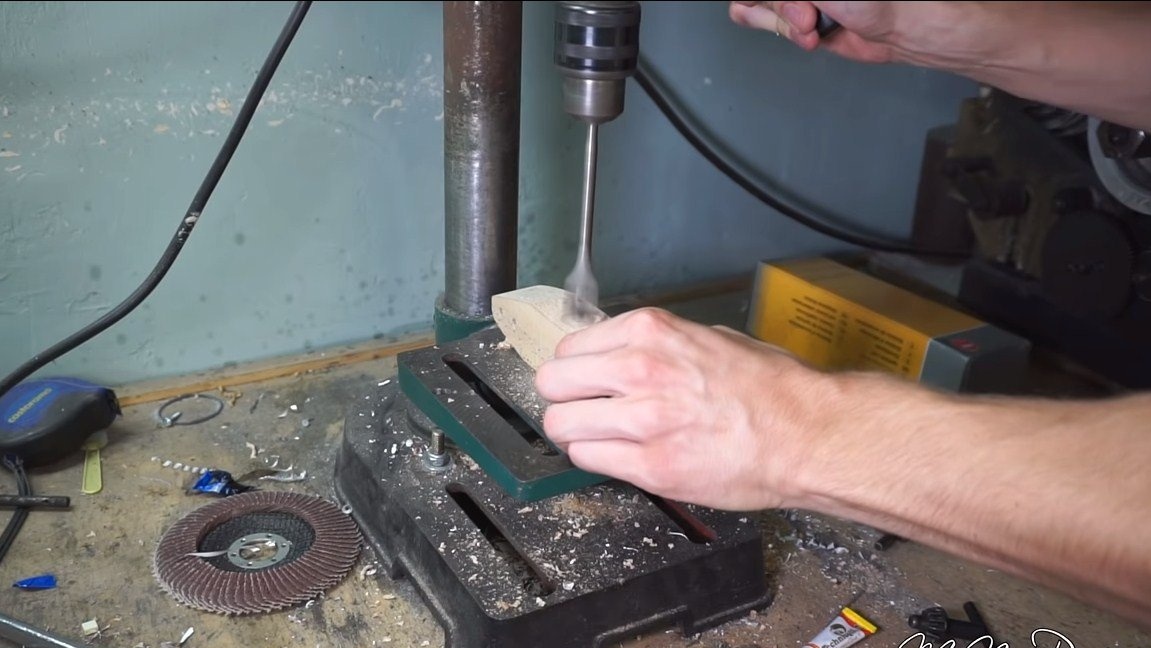
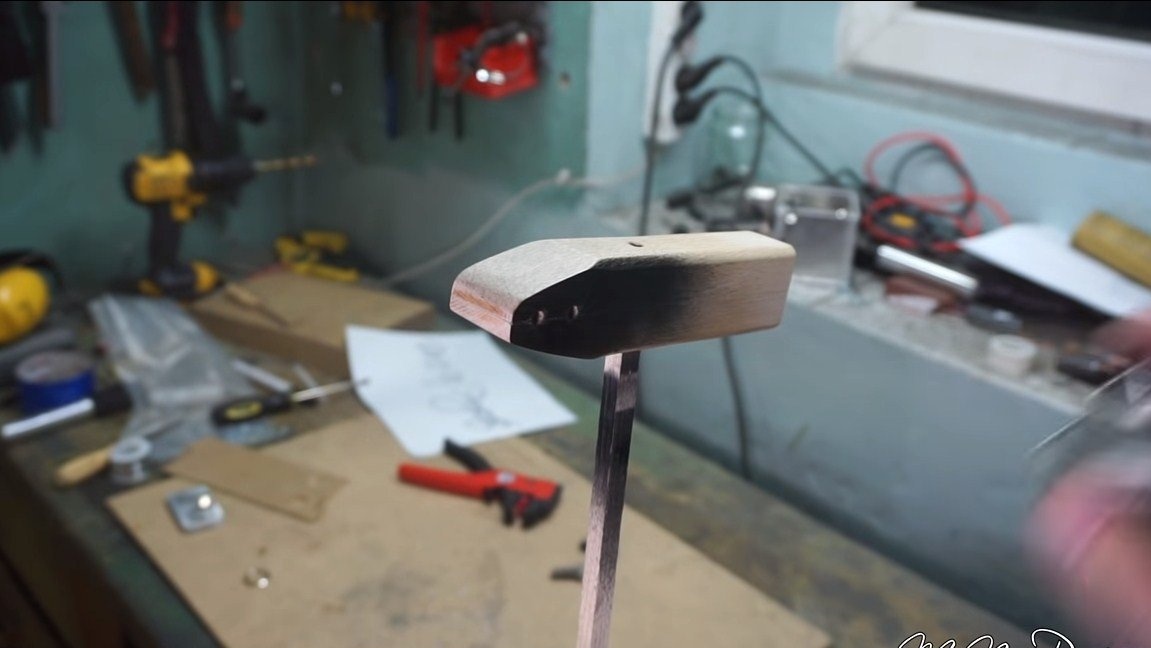
Well, then we cut off the excess and grind the handle so that it lies comfortably in the hand. We need to drill more holes for fixing the handle and for installing the power button.
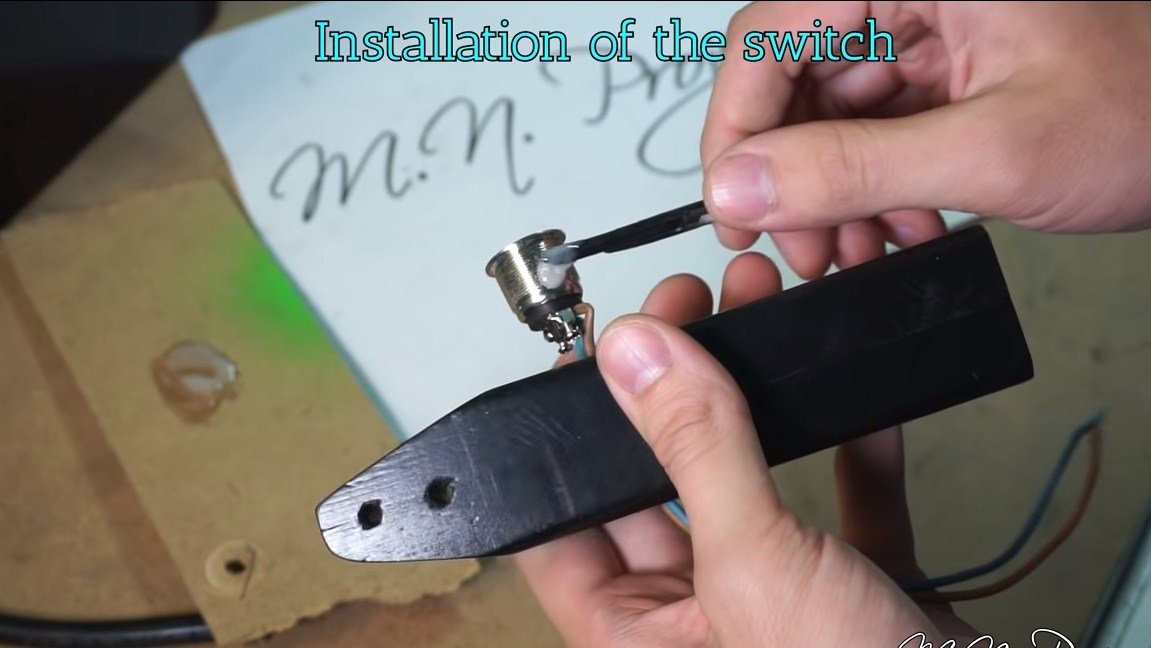
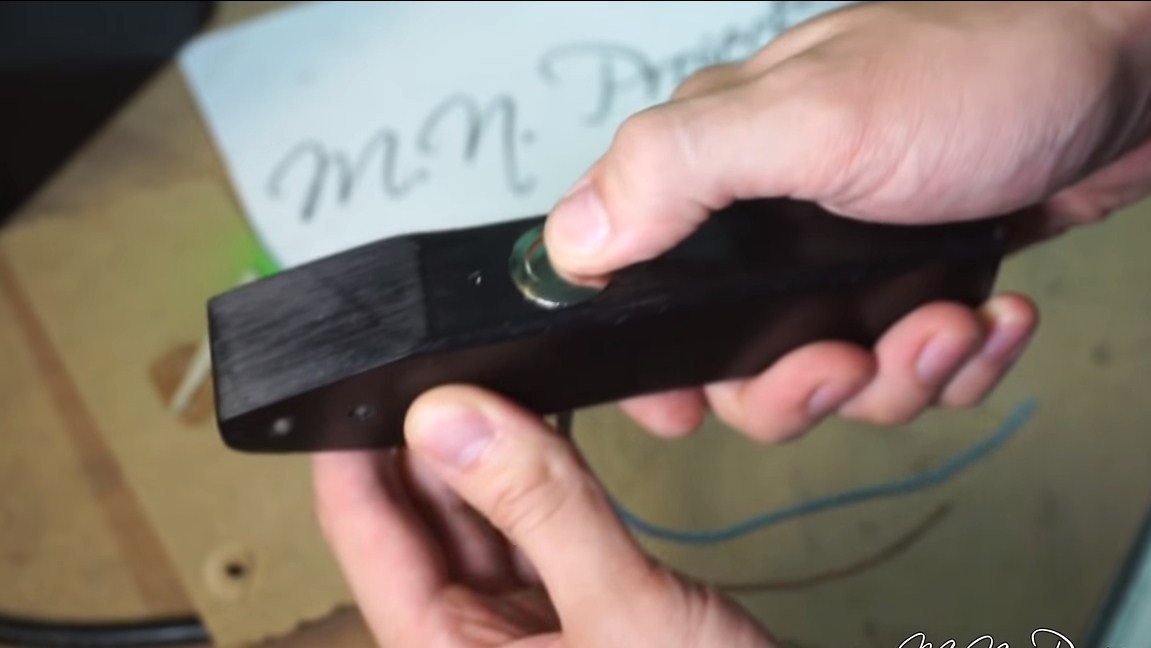
After painting the pen, you can install the power button in it, fix it on epoxy glue.
We fasten the handle to the saw with bolts and nuts.

Step Four Second pen
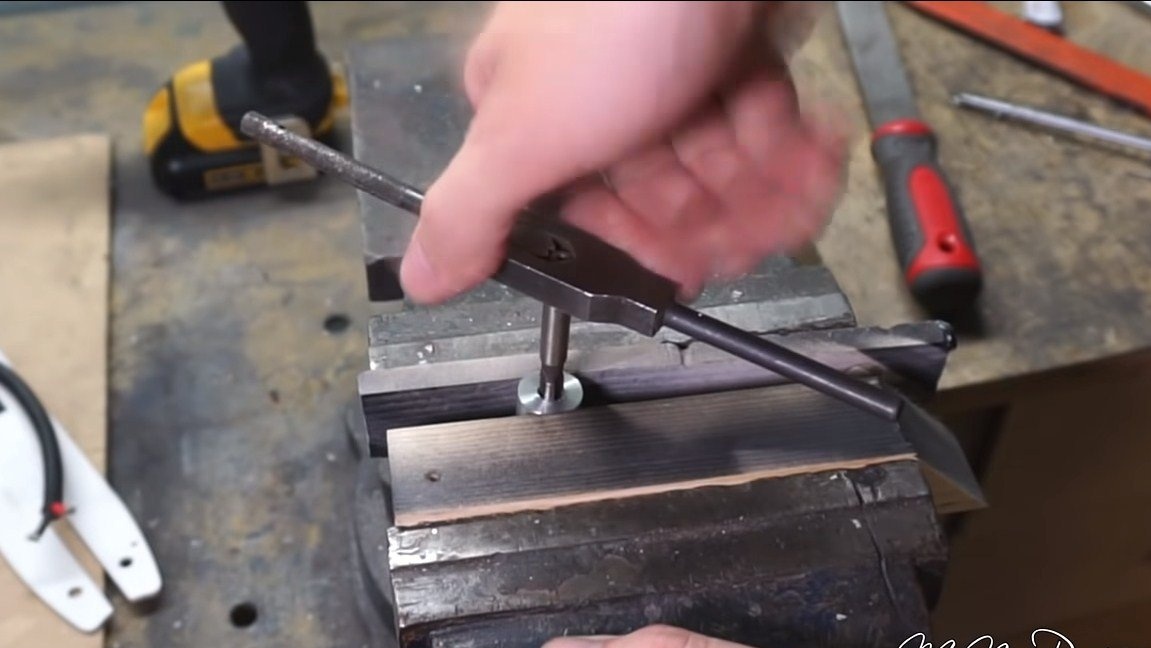
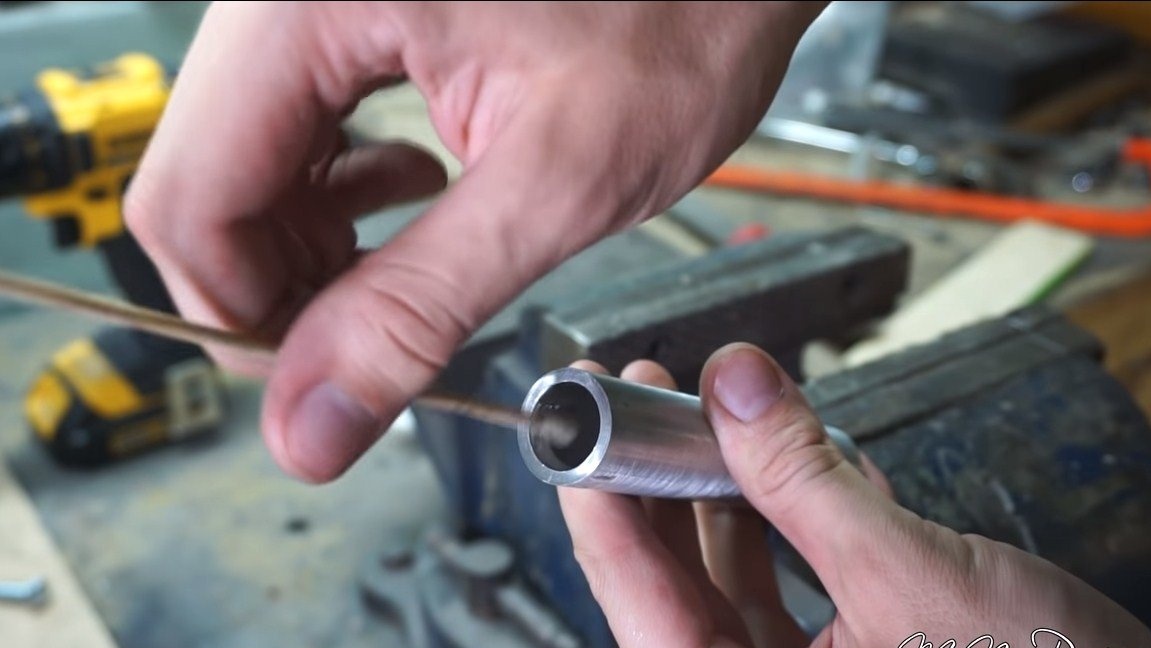
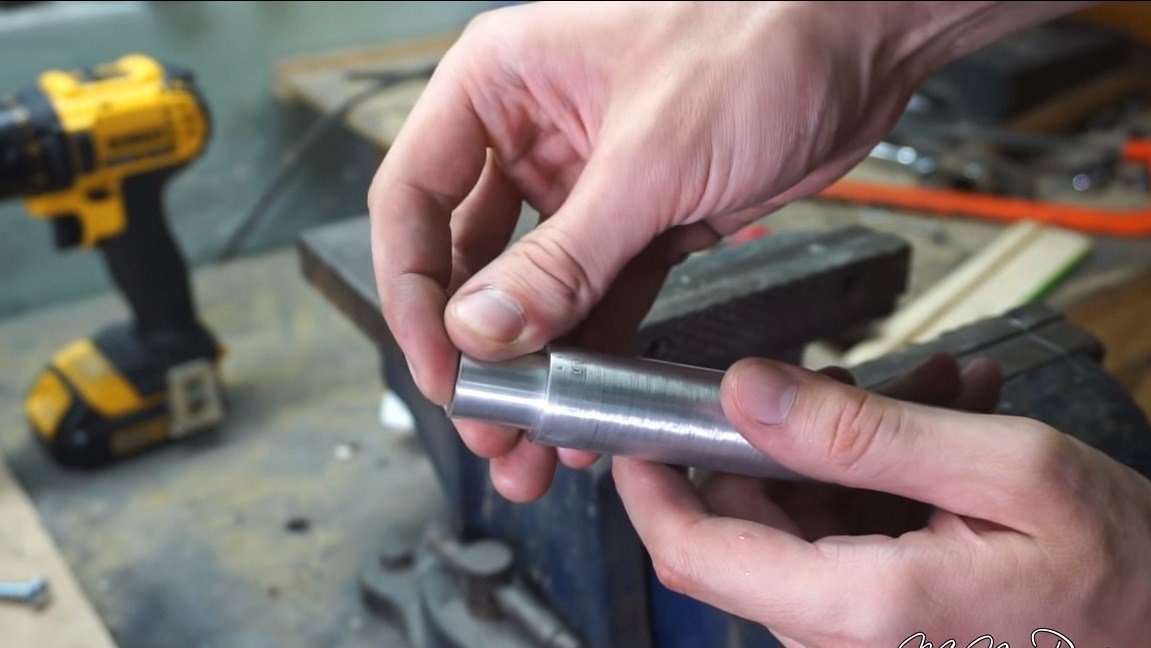
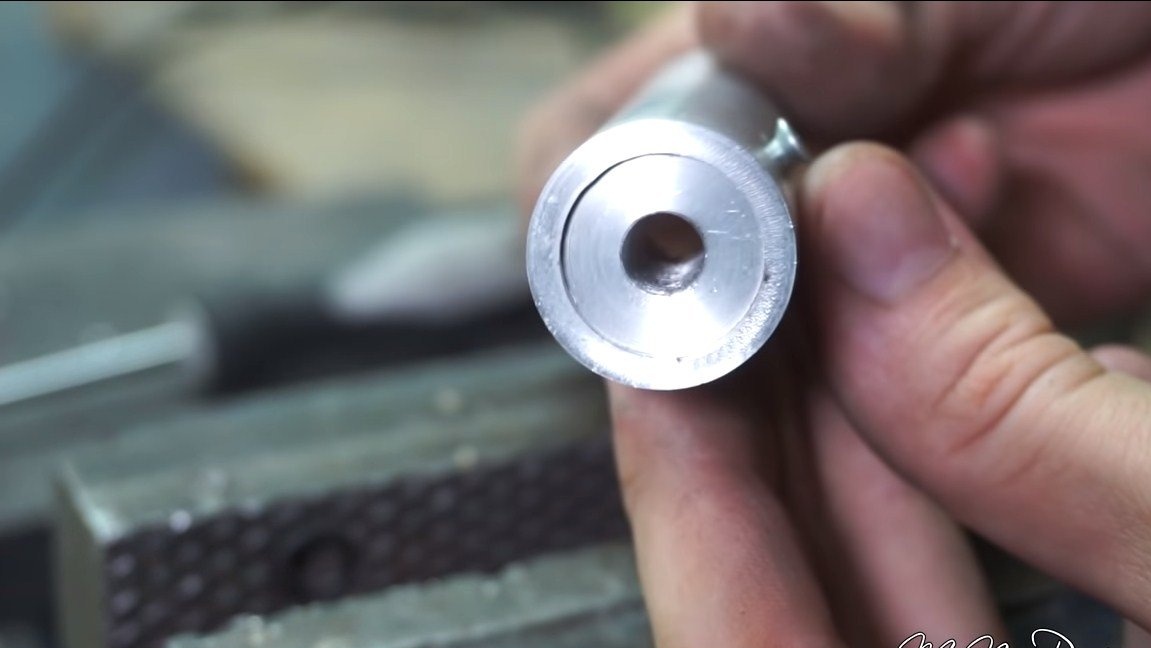
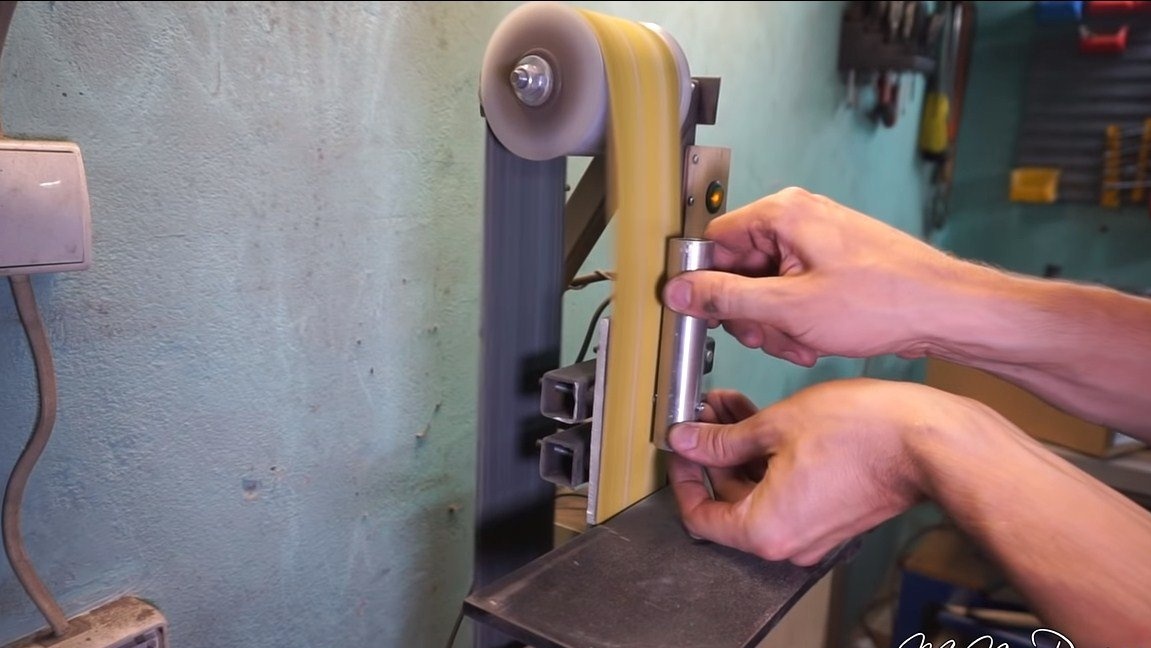
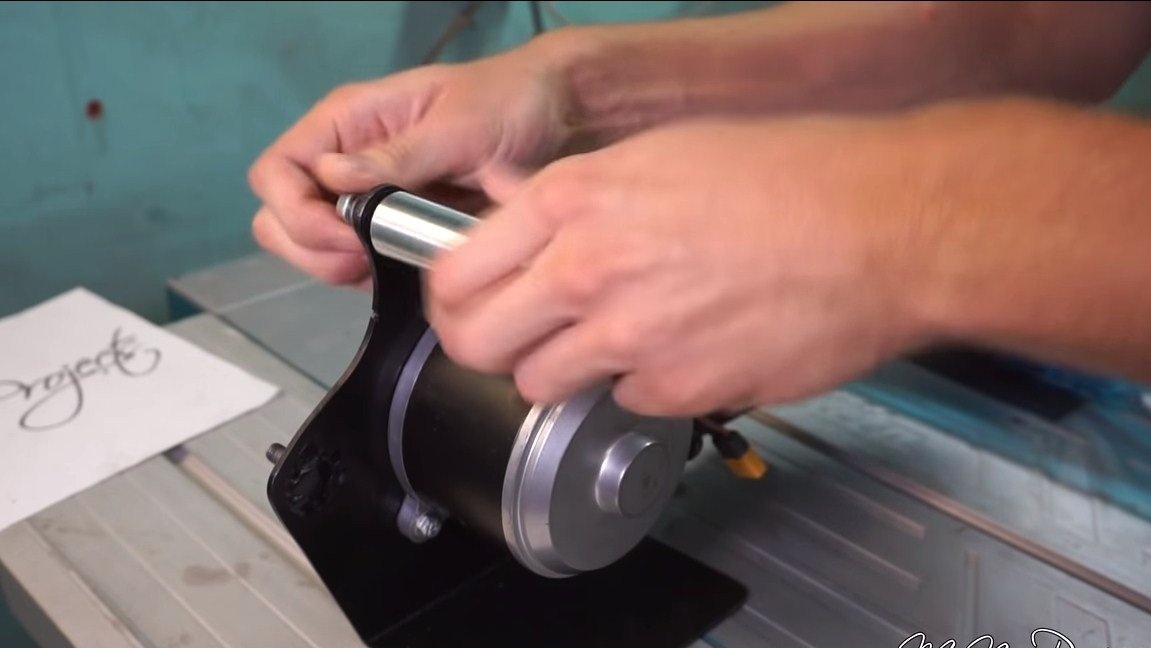
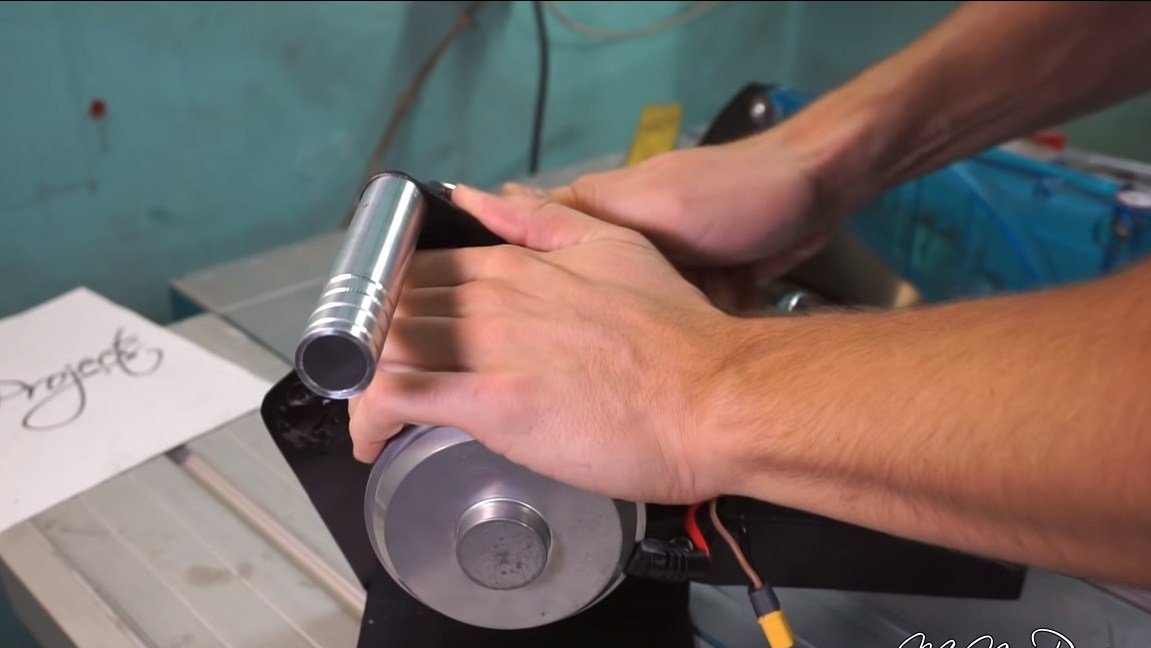
There must be two handles on the saw so that it can be held tightly in your hands. Here we need a piece of an aluminum tube, and to fix it, the author cut out a special insert with a screw thread on a lathe. You can use other material, but aluminum is lightweight, durable and looks good.

Step Five We collect the battery
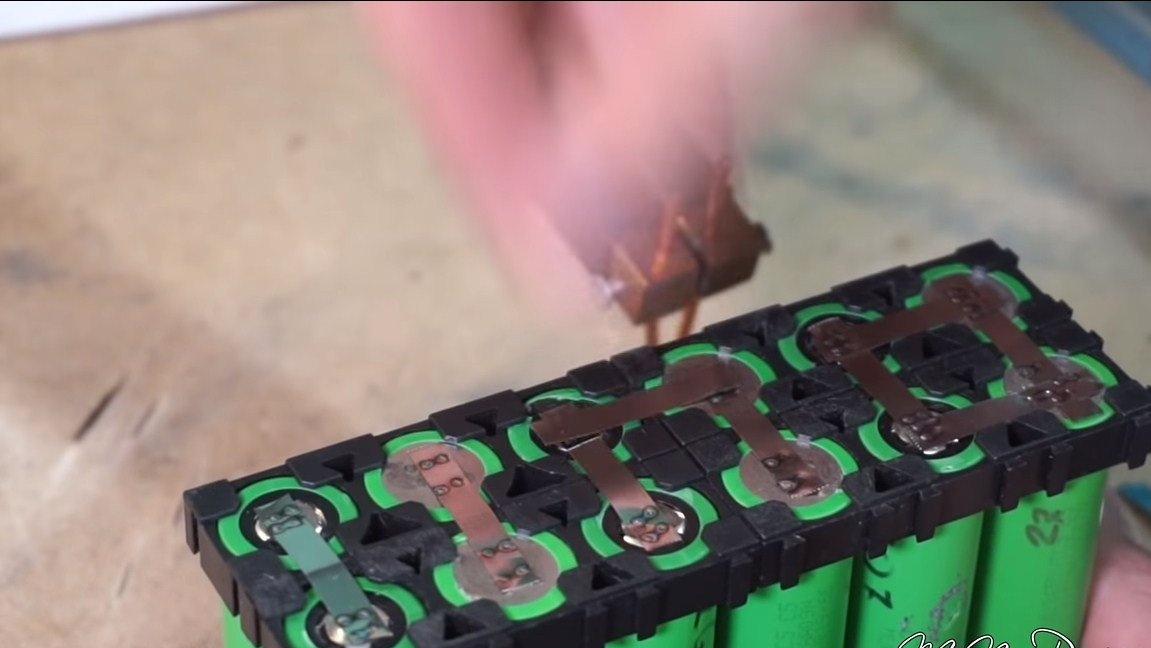
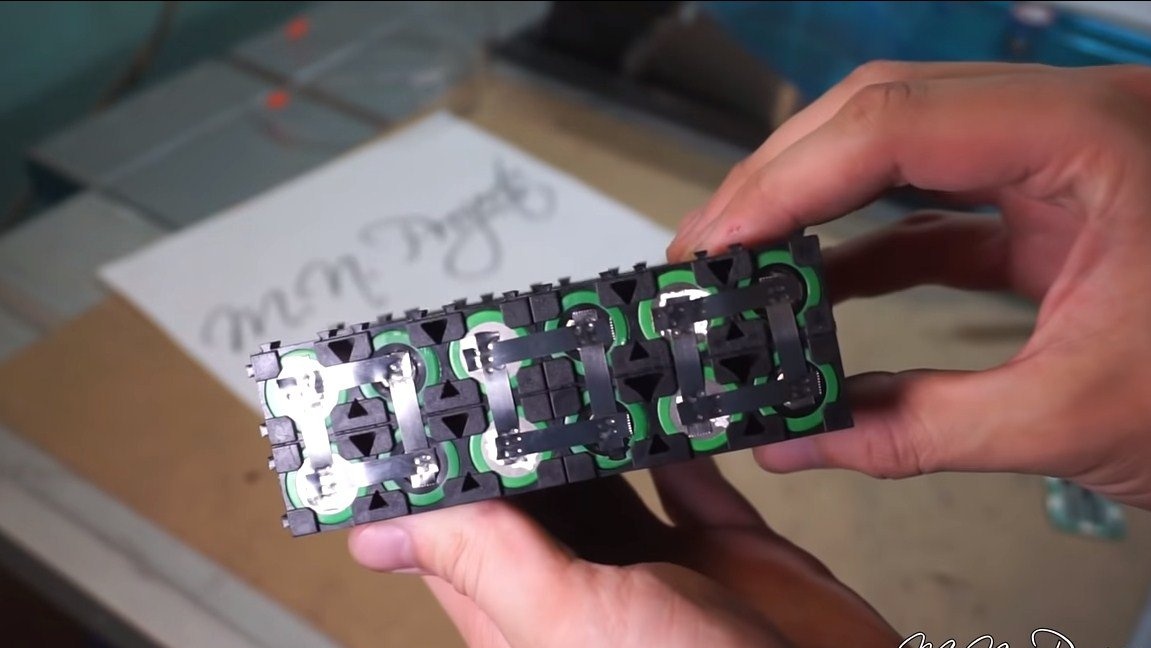
Now we will assemble the battery, we will need 18650 cells as the material. In total, the author used 12 cells to collect the battery with an operating voltage of about 12V and a capacity of 5.2 Ah. We install batteries in special plastic holders and connect the contacts. Here we will need spot welding, since the soldering iron will need to work for a long time, and the batteries will overheat, which is bad for them.

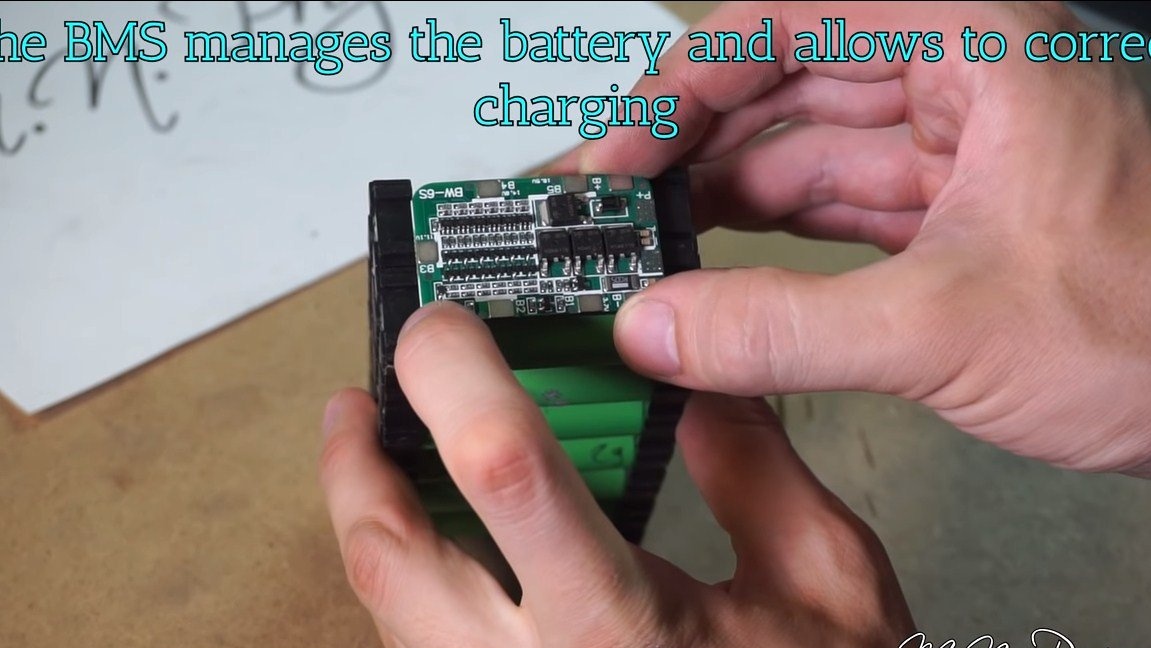
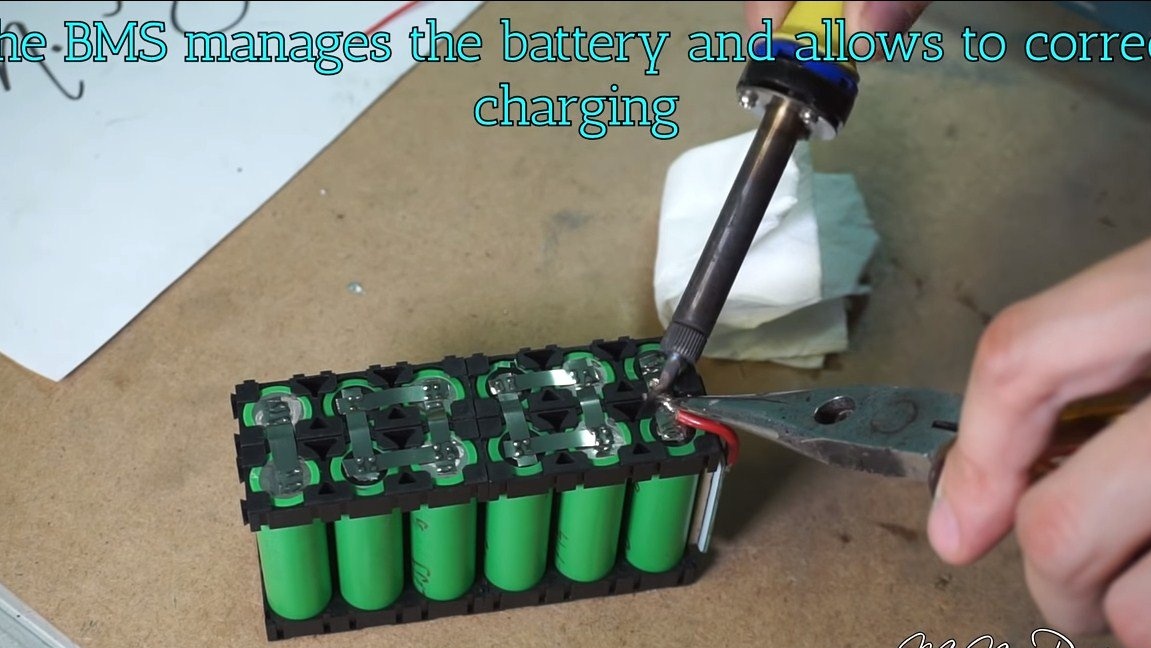
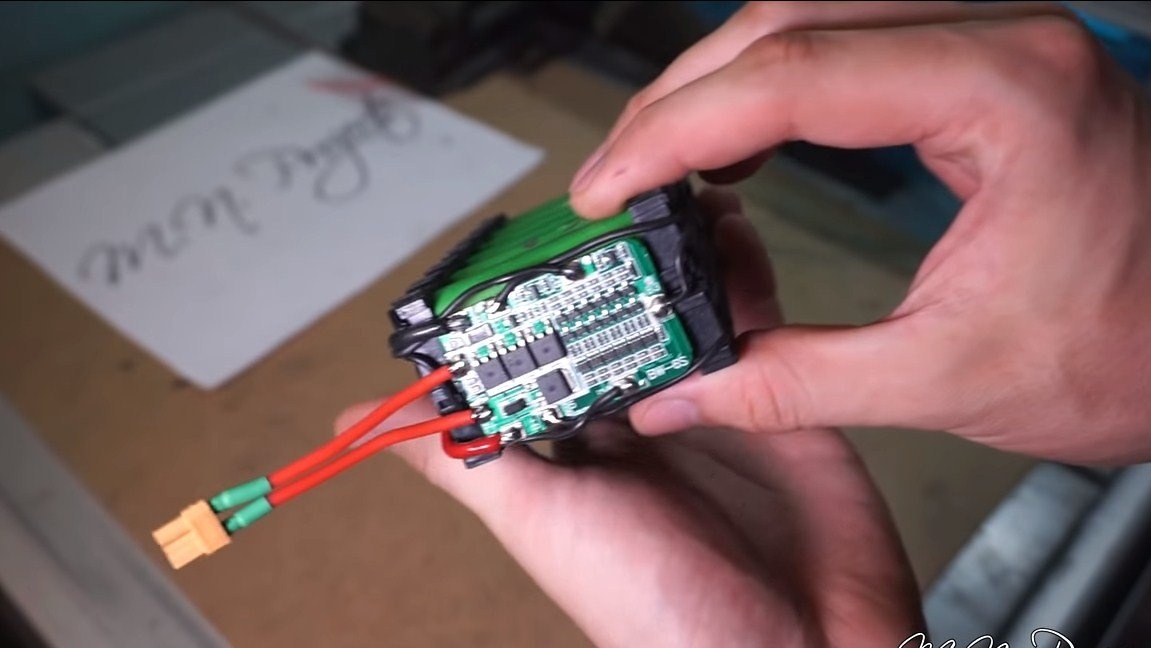
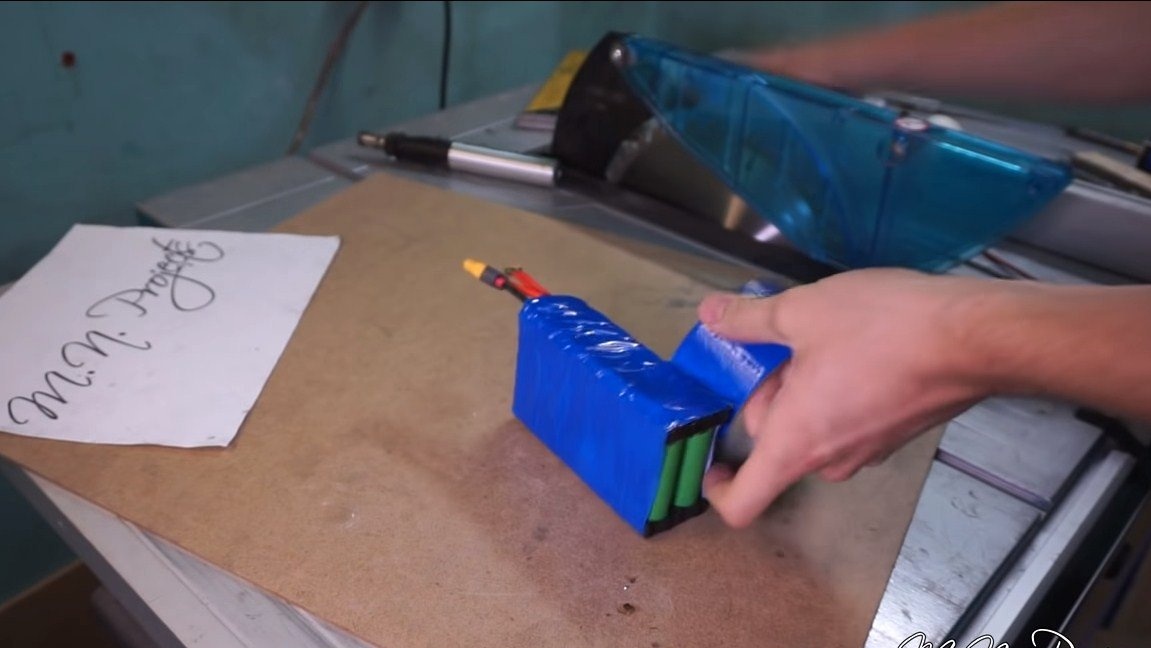
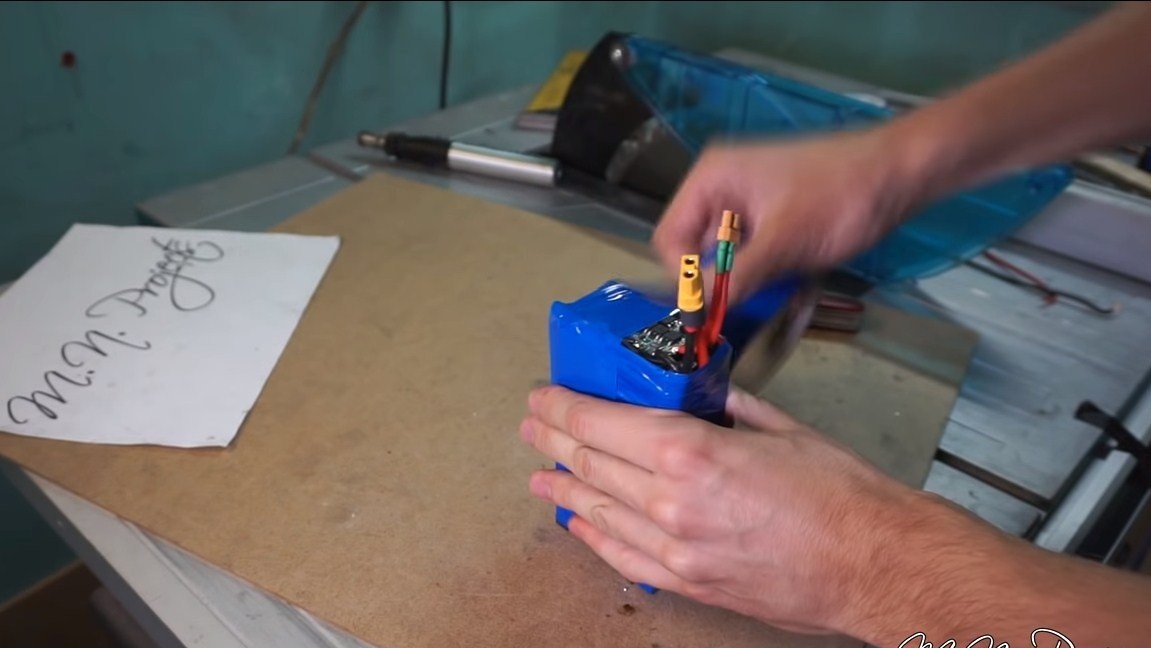
When the cells are soldered, be sure to install a BMS controller on the battery, this device will not allow the batteries to recharge, and will also protect them from deep discharge. The controller can be fixed with hot glue, solder the necessary wires to it, and then we wrap the entire battery well with electrical tape.
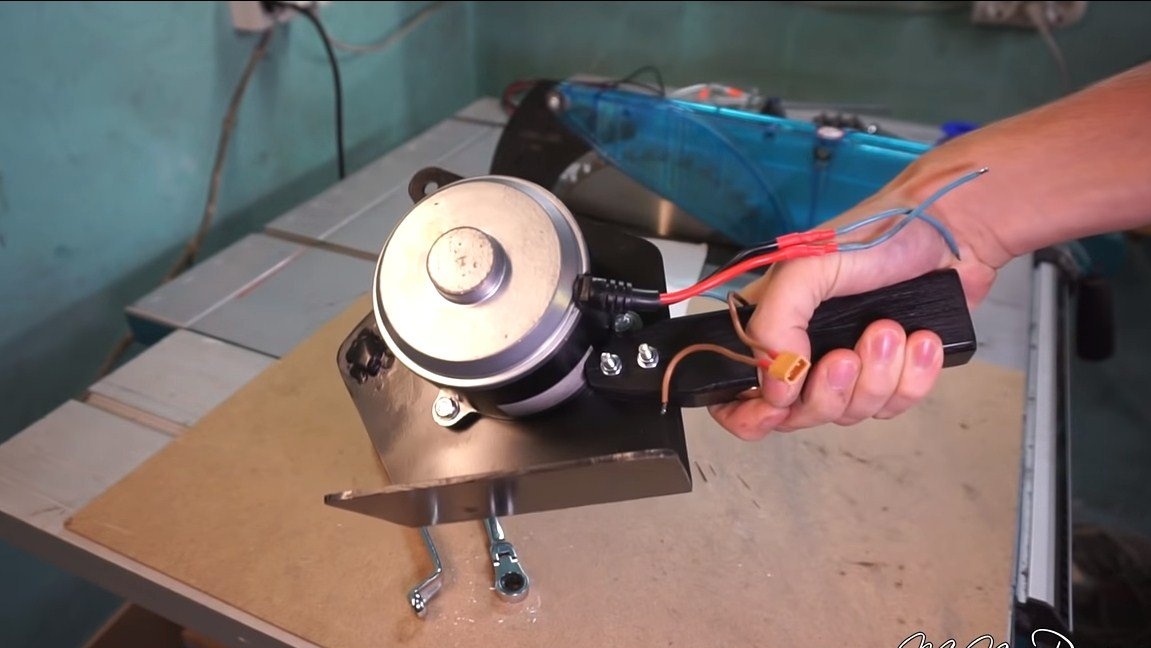
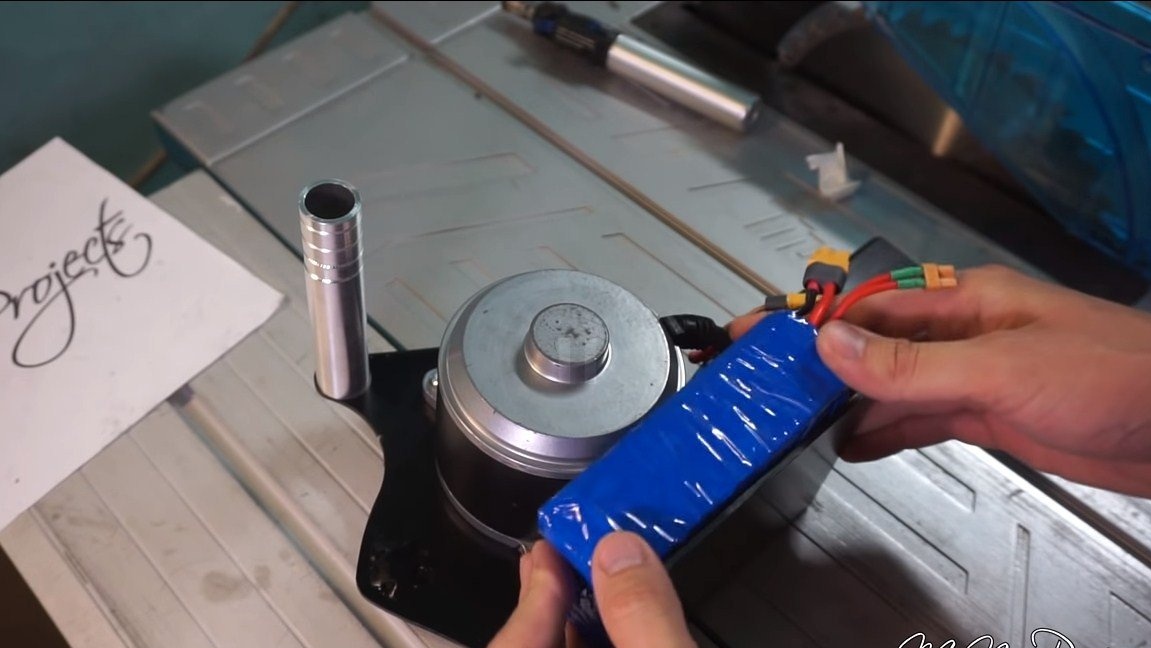
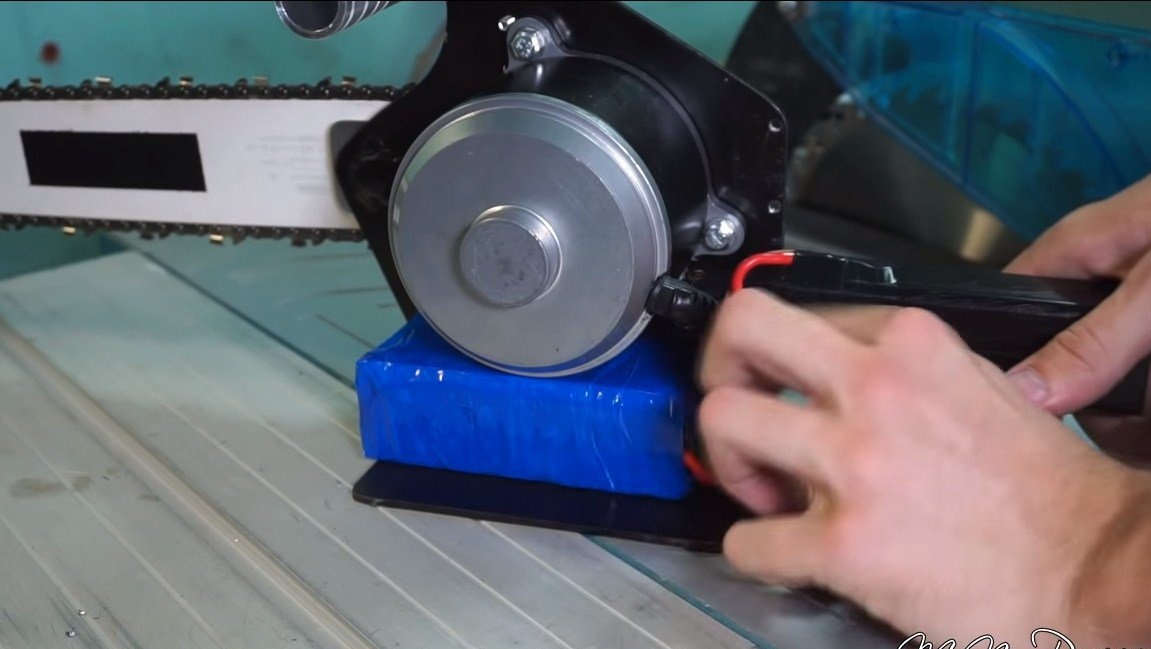
On the saw, the battery is installed in a specially prepared place, glue it on a double-sided adhesive tape. We connect the wires and try to turn on the motor. The author, judging by the sound, works quite briskly.
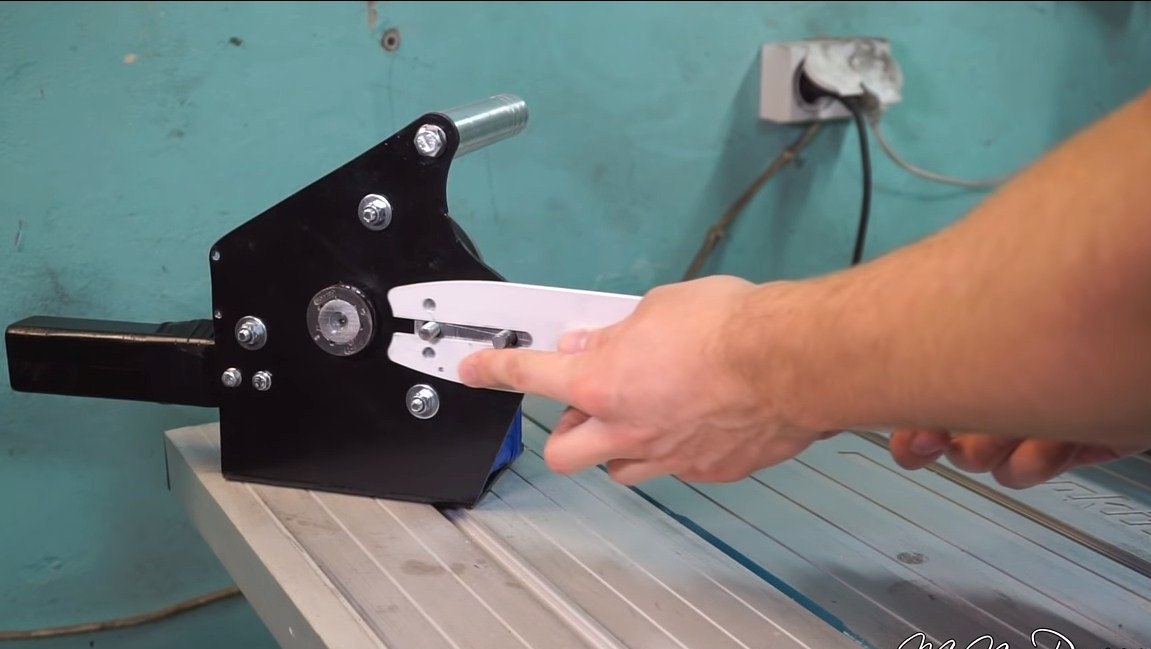
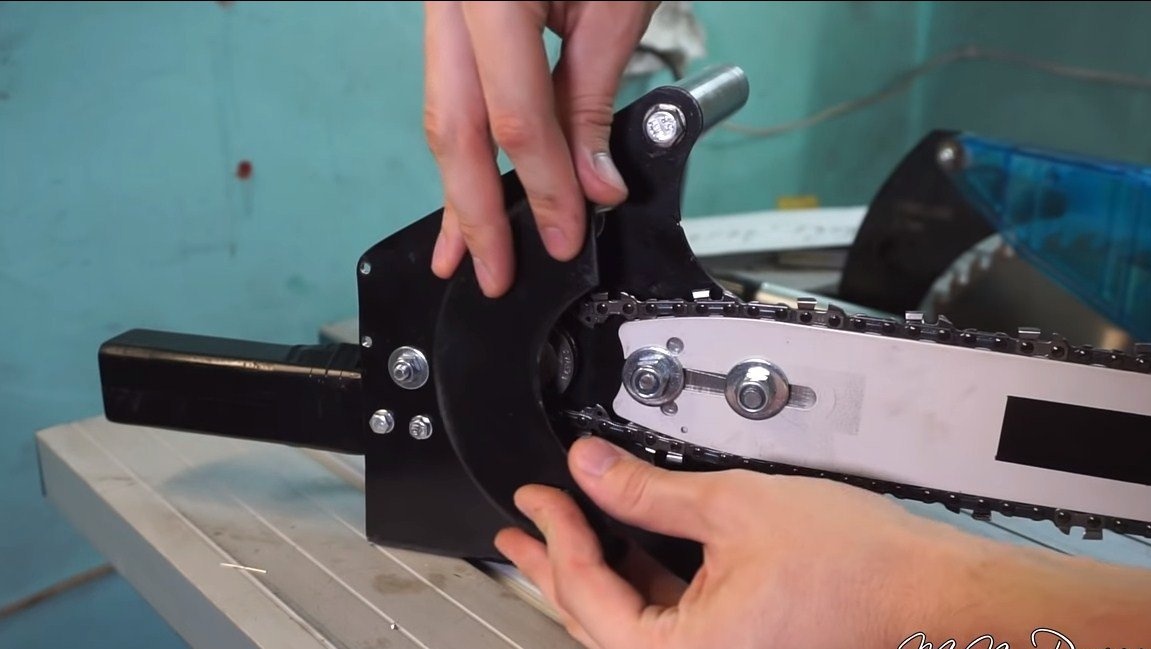
Step Six Tire installation
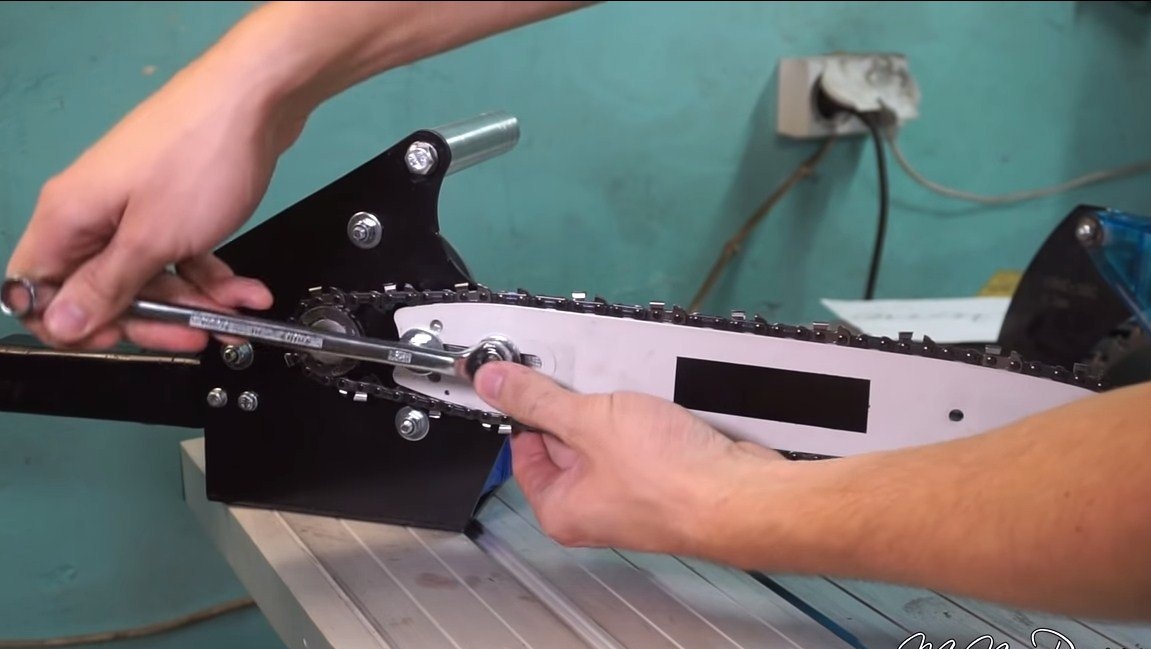
You can install a bus with a chain. To begin with, we need to determine at what distance from the frame we need to fix the tire so that it is flush with the sprocket. Under this distance, the author has carved a special spacer made of sheet aluminum.
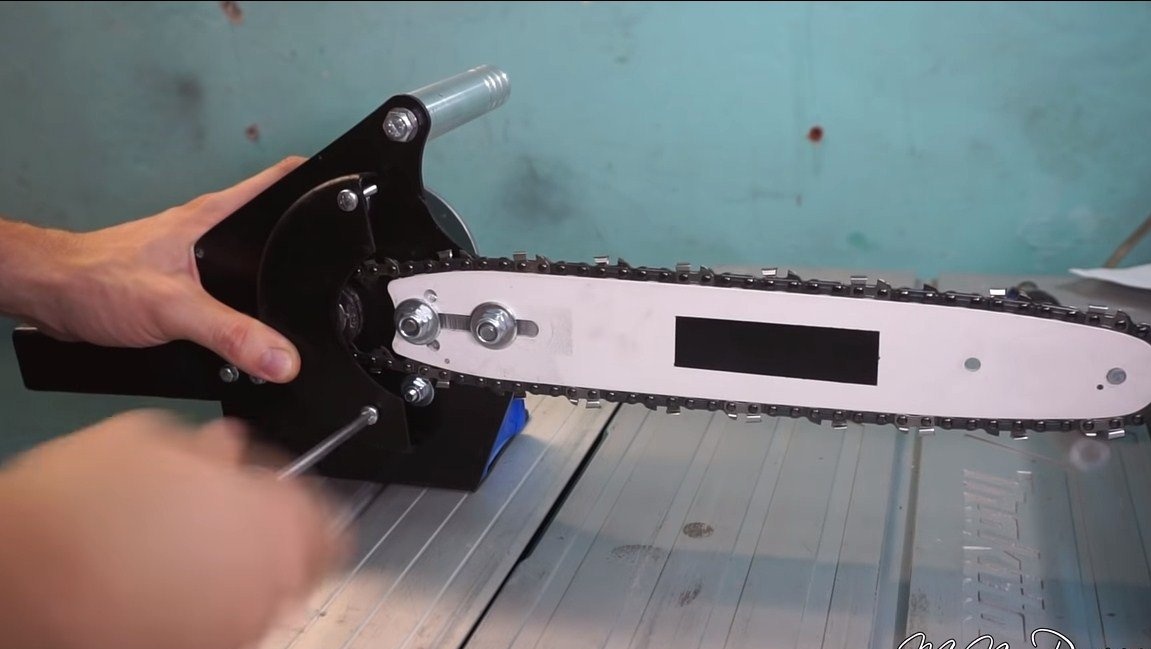
We install the tire, tighten the chain and tighten the nuts. The loads on such a saw will be small, so that the tire must hold without the tension unit.


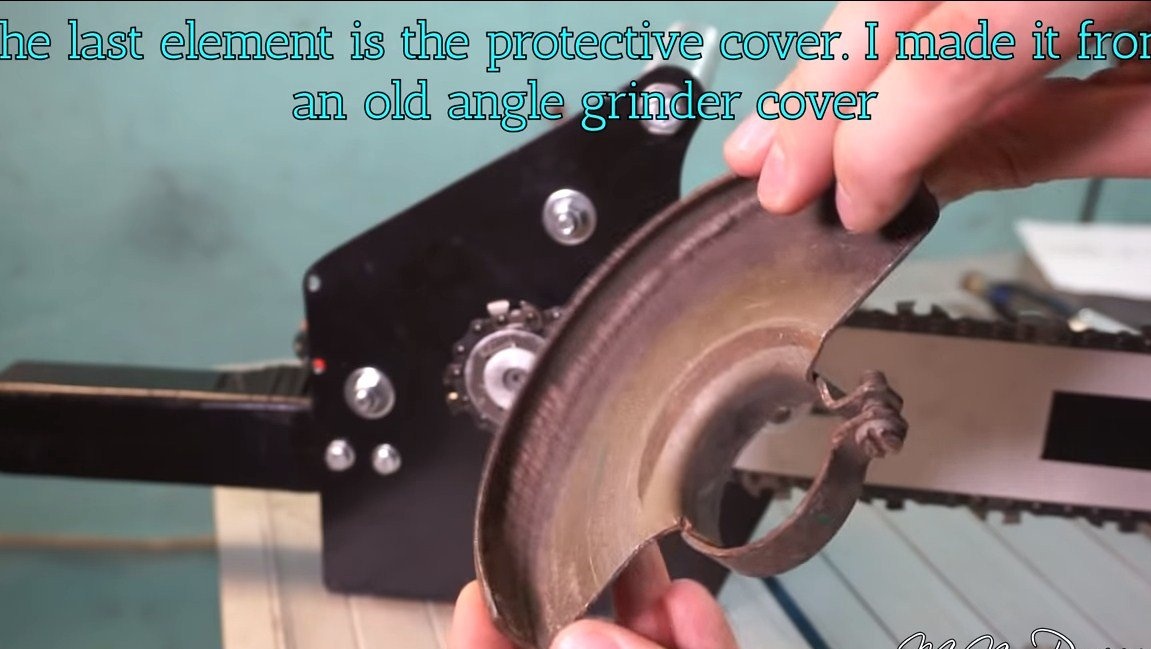
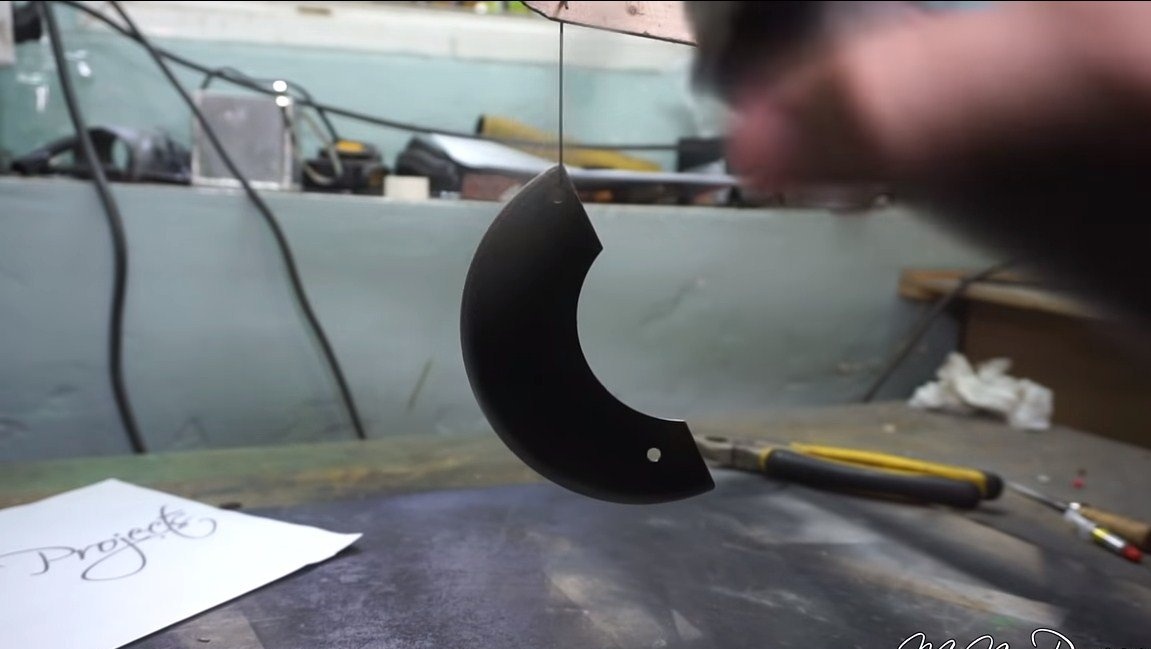
Seventh step. Protective shield
Above the drive sprocket, a protective shield must be installed. The author adapted for this the guard from the grinder. Cut off excess from it, paint and screw it into place. Now your clothes won’t fall into the star, and they won’t fly anywhere.
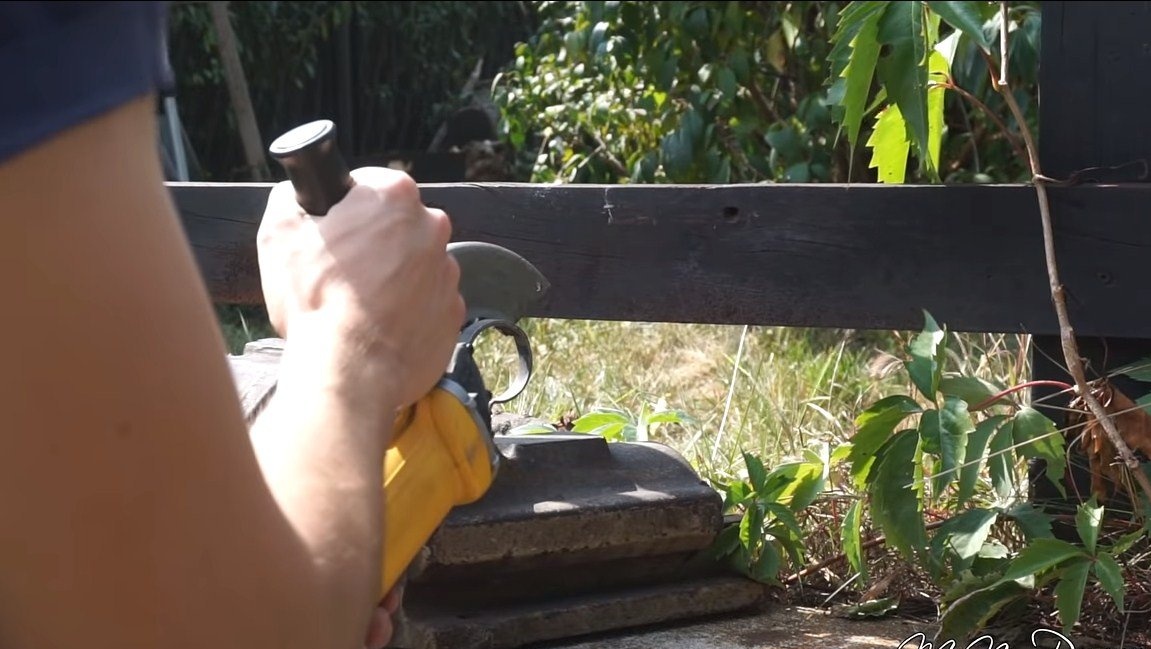
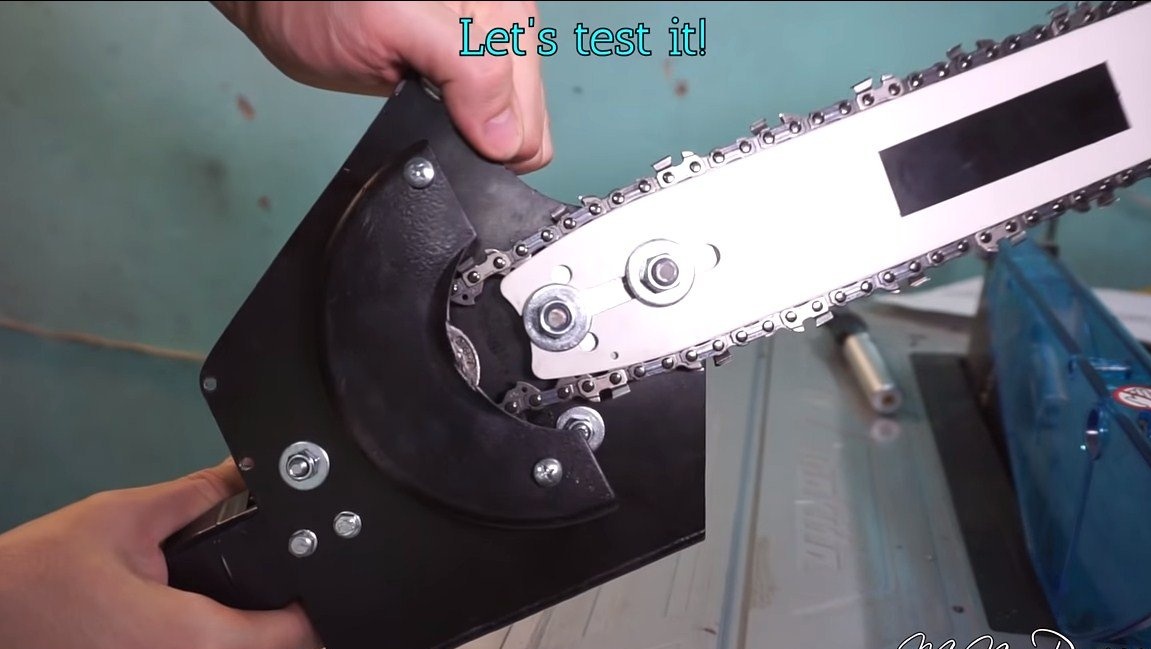
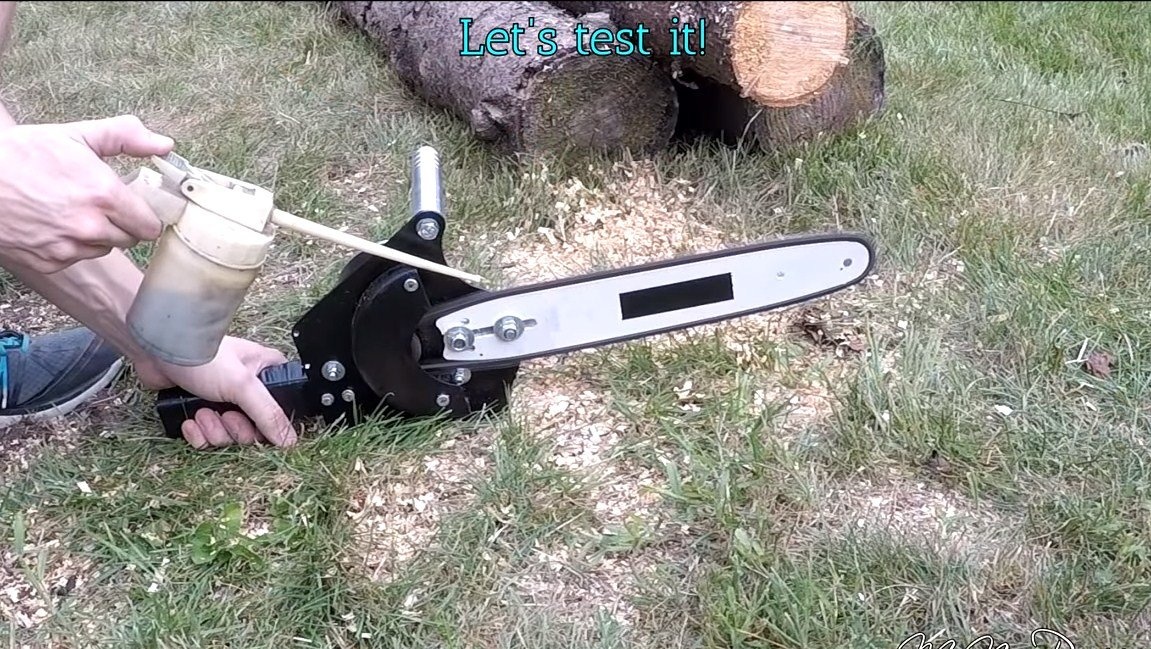
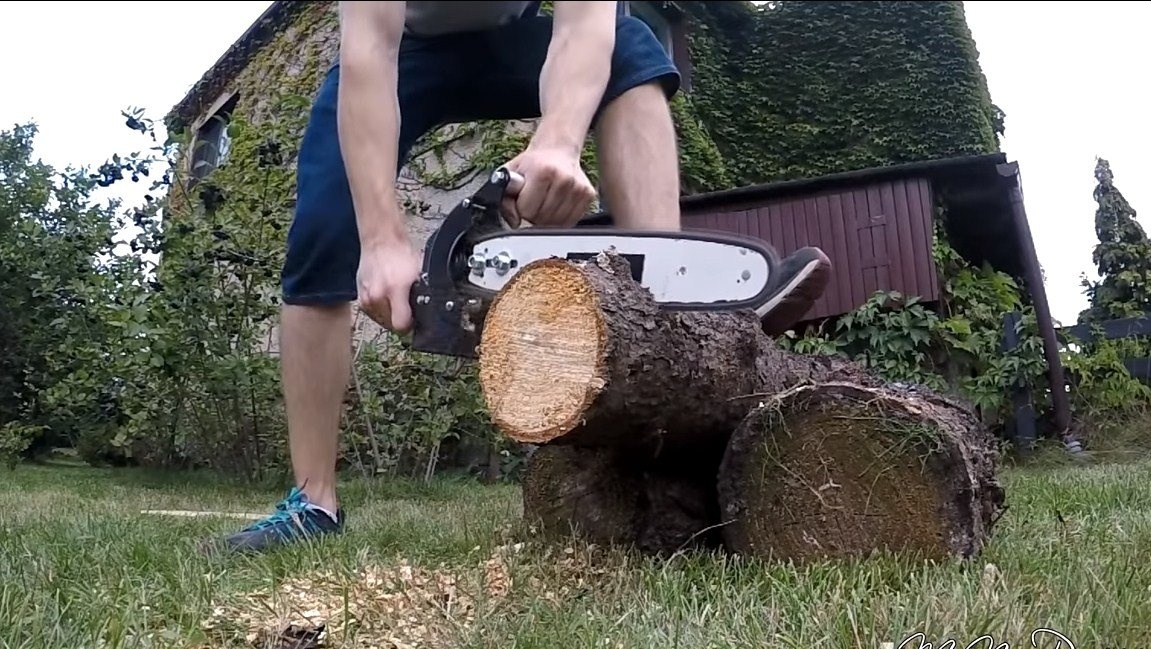
Step Eight. Test
Before testing, we lubricate the tire with a chain, since there is no lubrication system here and proceed to cutting. The author saw easily copes with the task. When working, lubricate the chain more often, avoiding overheating of the tire. However, the speed here is small, so even without lubrication, the tire should last a long time.
That's all, the project is over, I hope you liked it. Good luck and creative inspiration!