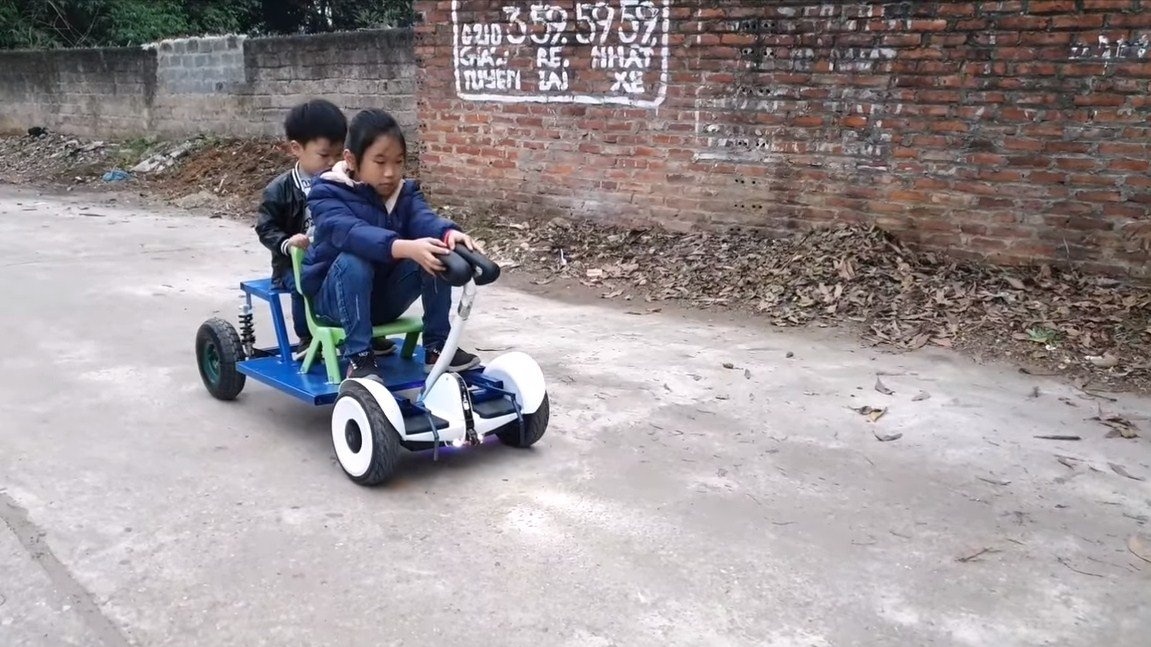

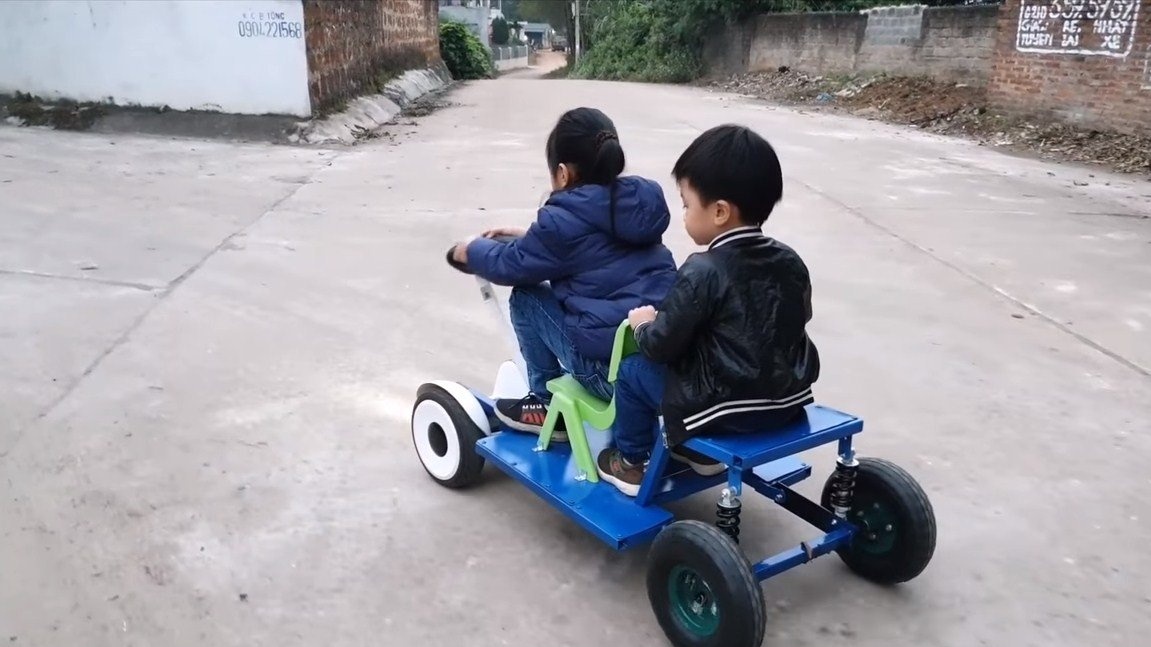
Hello fans to craft, this time we will analyze how to make simple cards for the child, if you have one. The machine’s power is enough to homemade two children went at once. The management of cards is very convenient and completely safe. The design of the hoverboard does not change, homemade is only a kind trailer for, and this trailer is attached and removed very quickly and simply. To assemble the homemade product you will need few materials and tools, the main material here is a square profile pipe.
If the project interests you, I propose to familiarize yourself with it in more detail.
Materials and tools used by the author:
Material List:
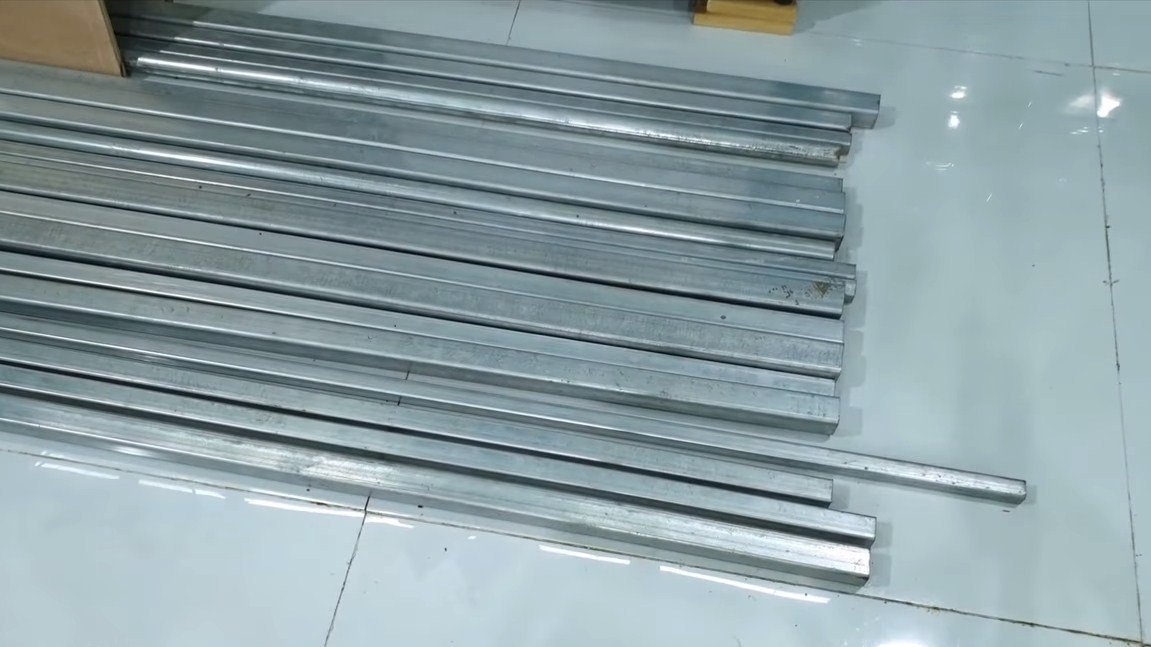
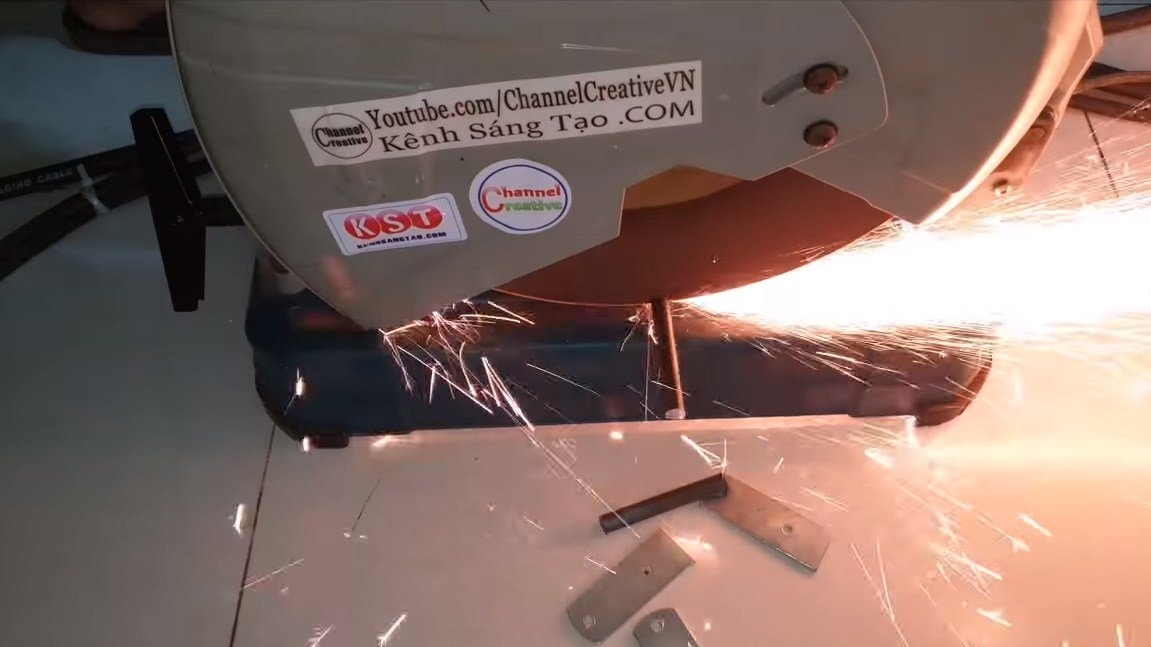
- square shaped pipes;
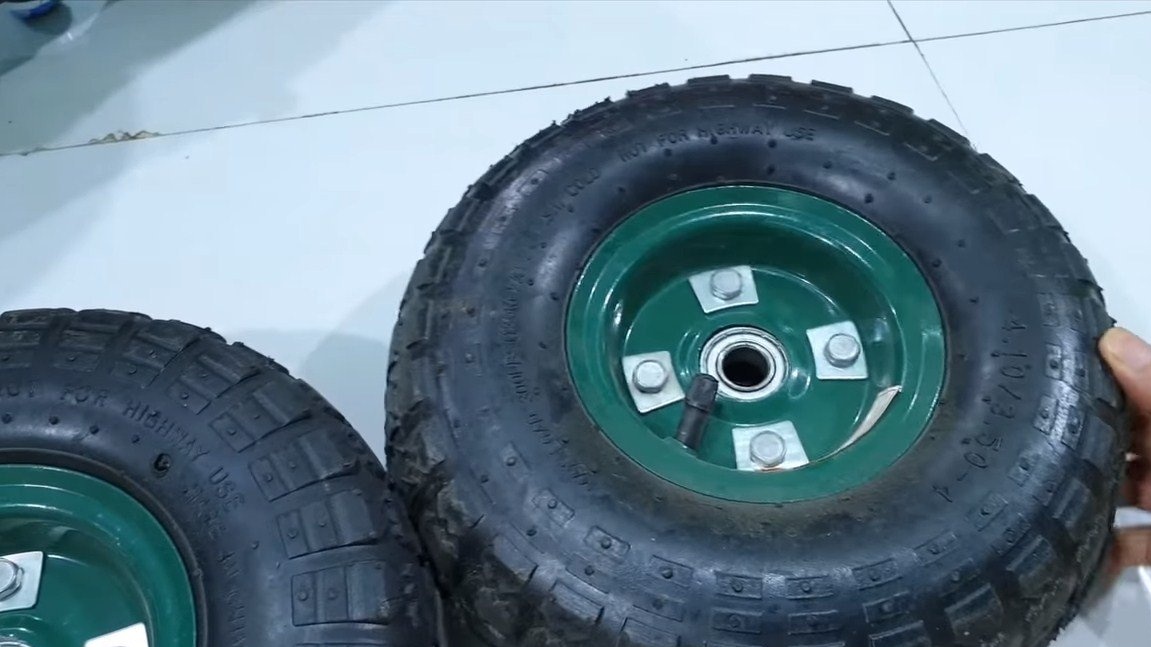
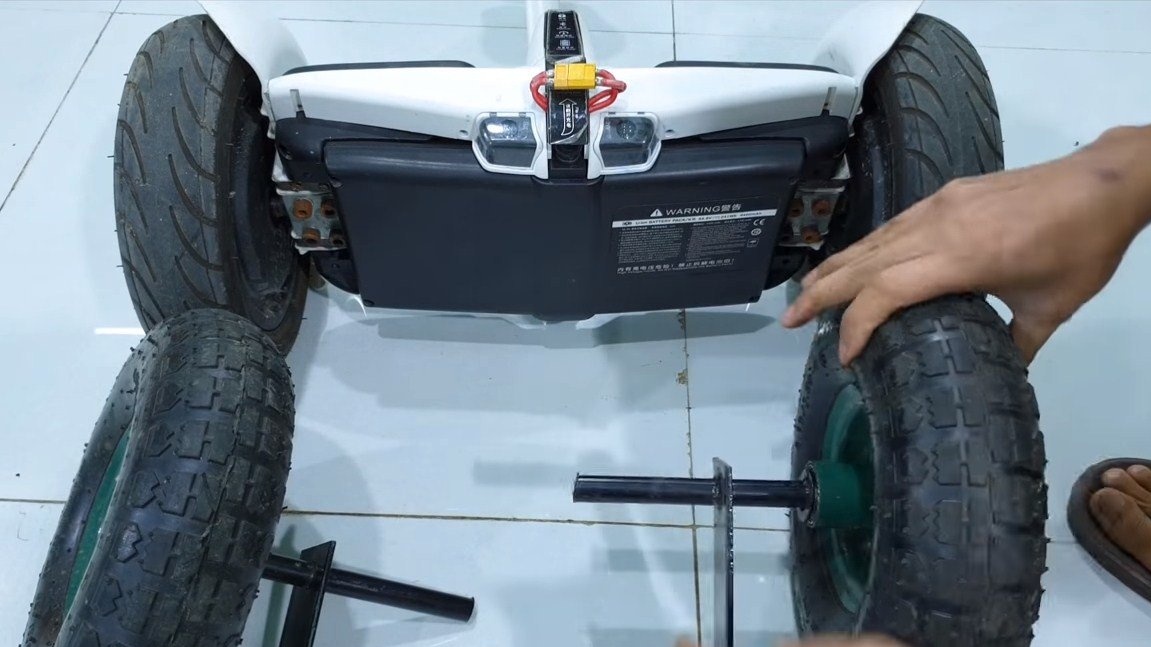
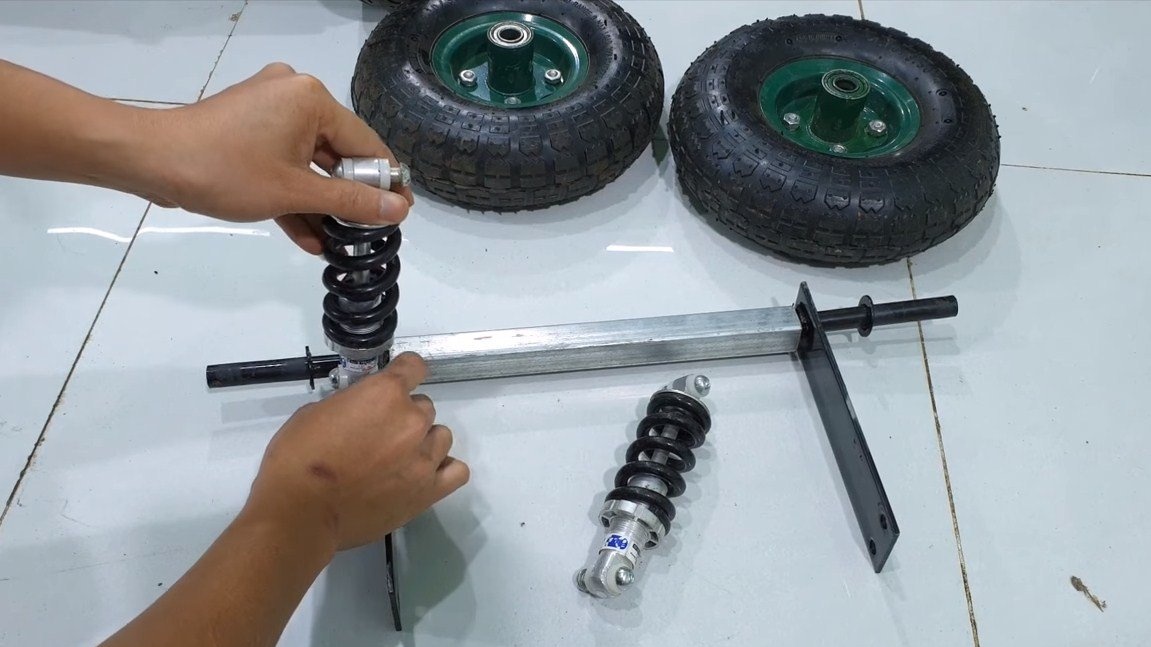
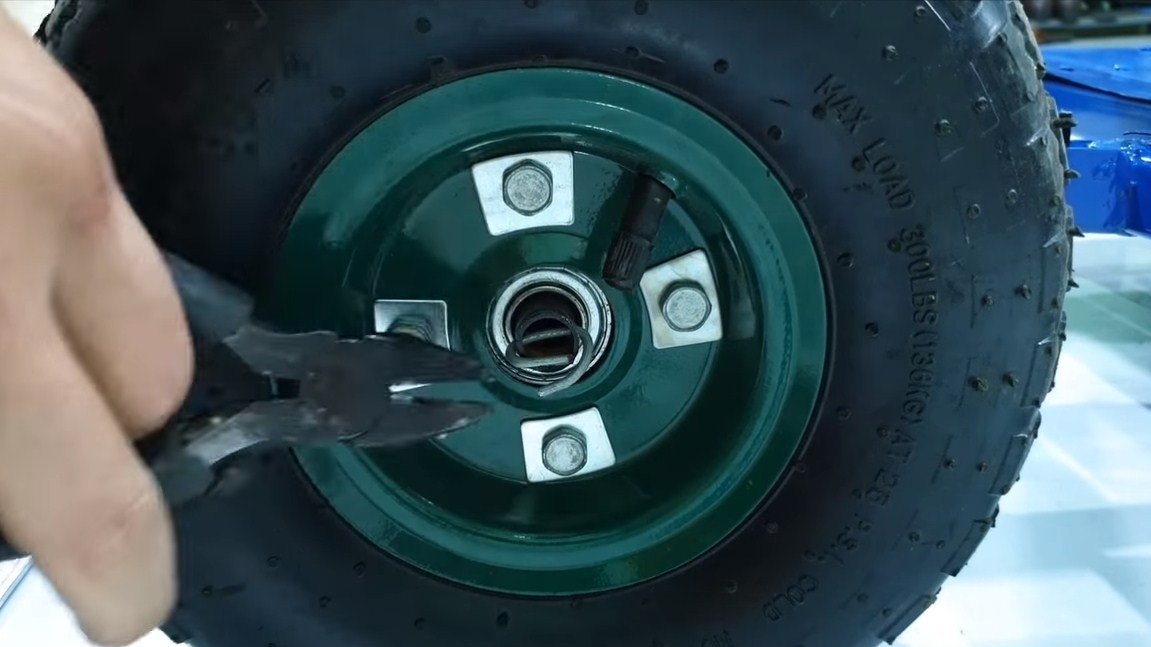
- two wheels for garden wheelbarrows or the like;
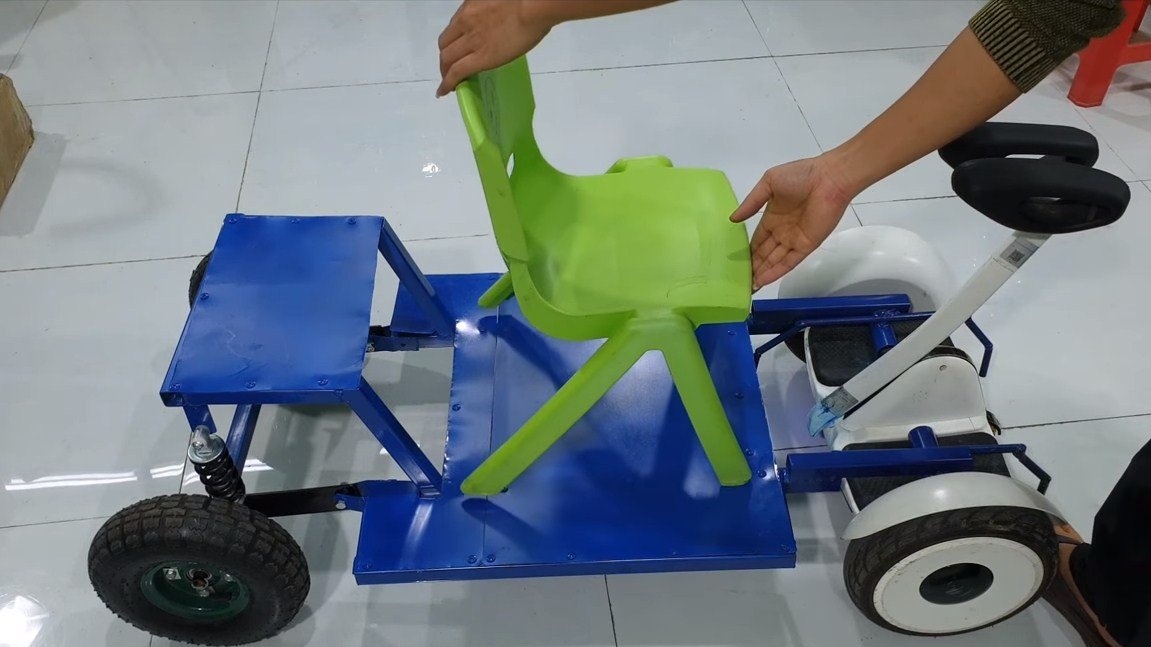
- a small plastic seat;
- thin sheet metal for the bottom;
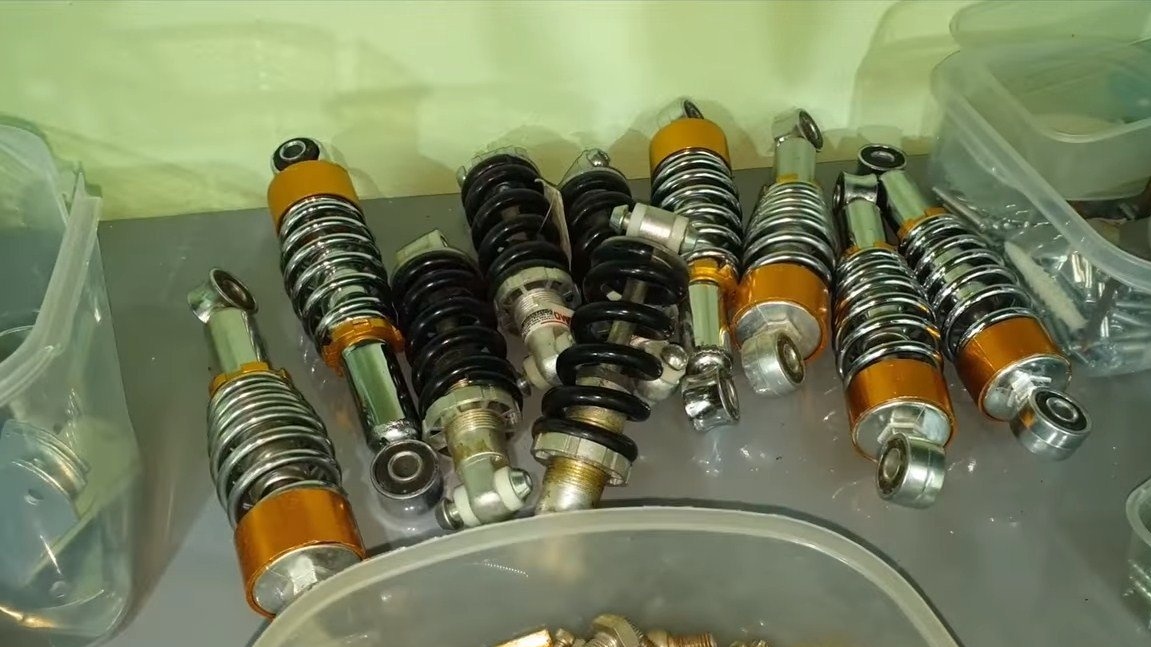
- shock absorbers from a bicycle;
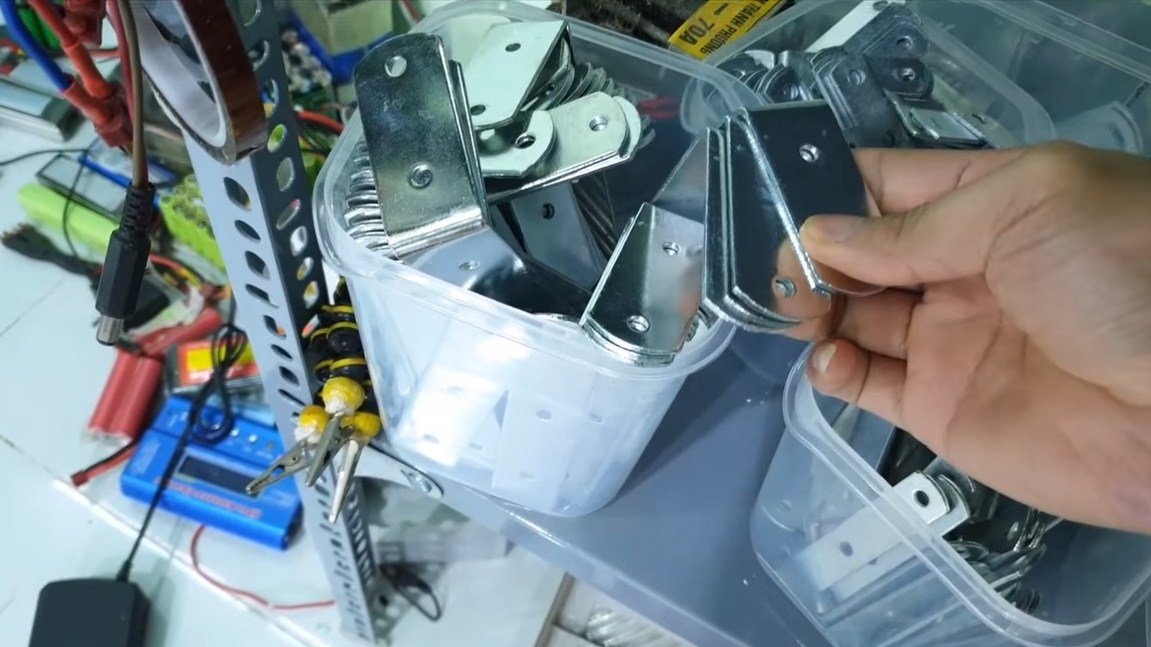
- fixing corners;
- self-tapping screws, bolts, nuts;
- ;
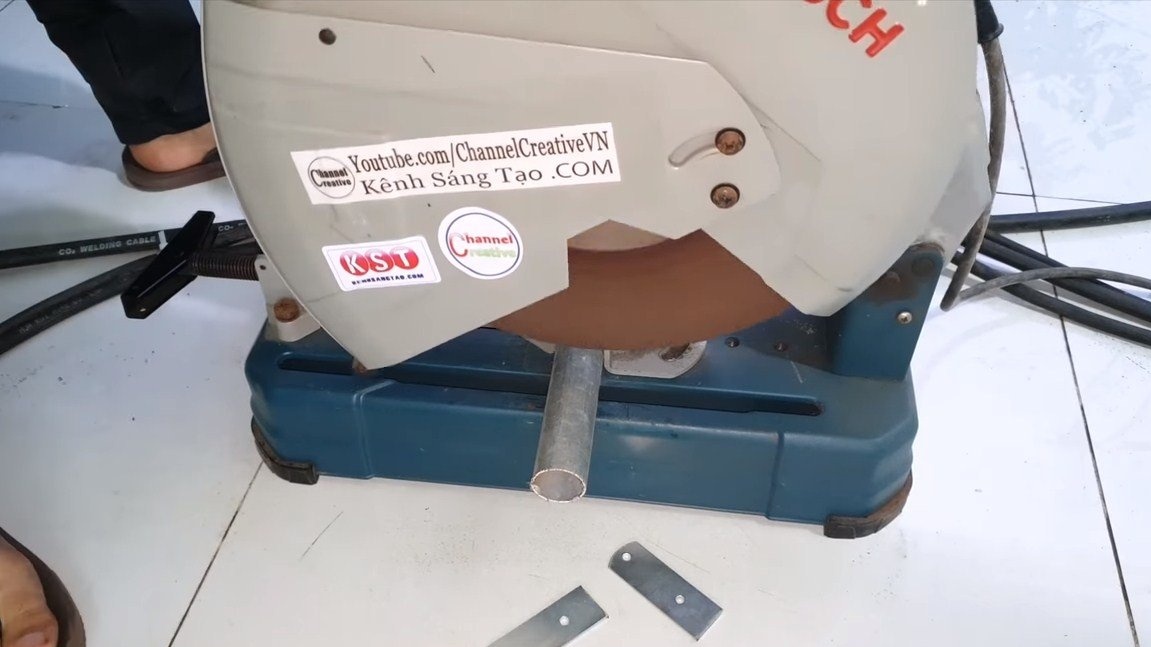
- round timber (steel rods);
- a piece of a round pipe;
- axles for wheels;
- paint for metal.
Tool List:
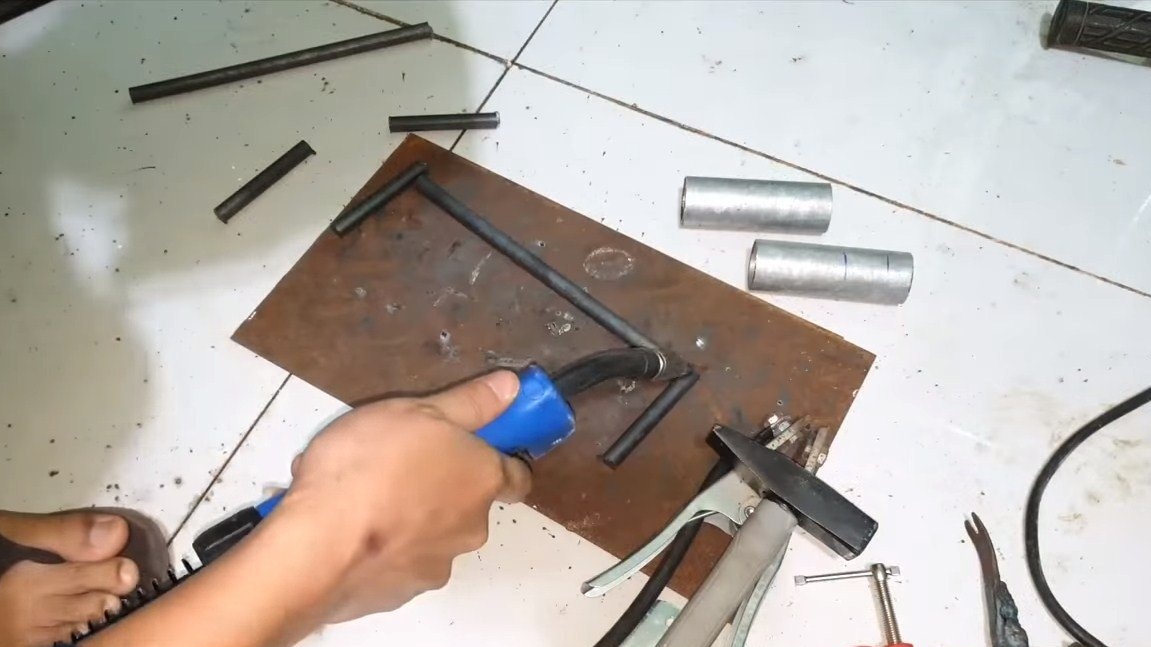
- welding machine;
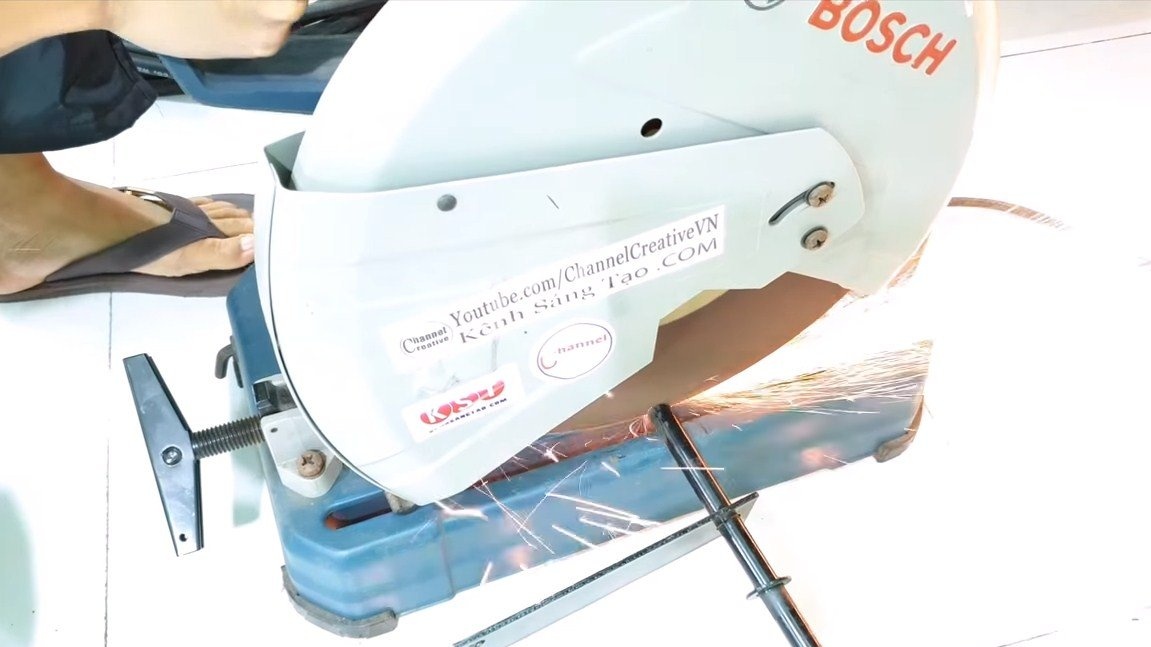
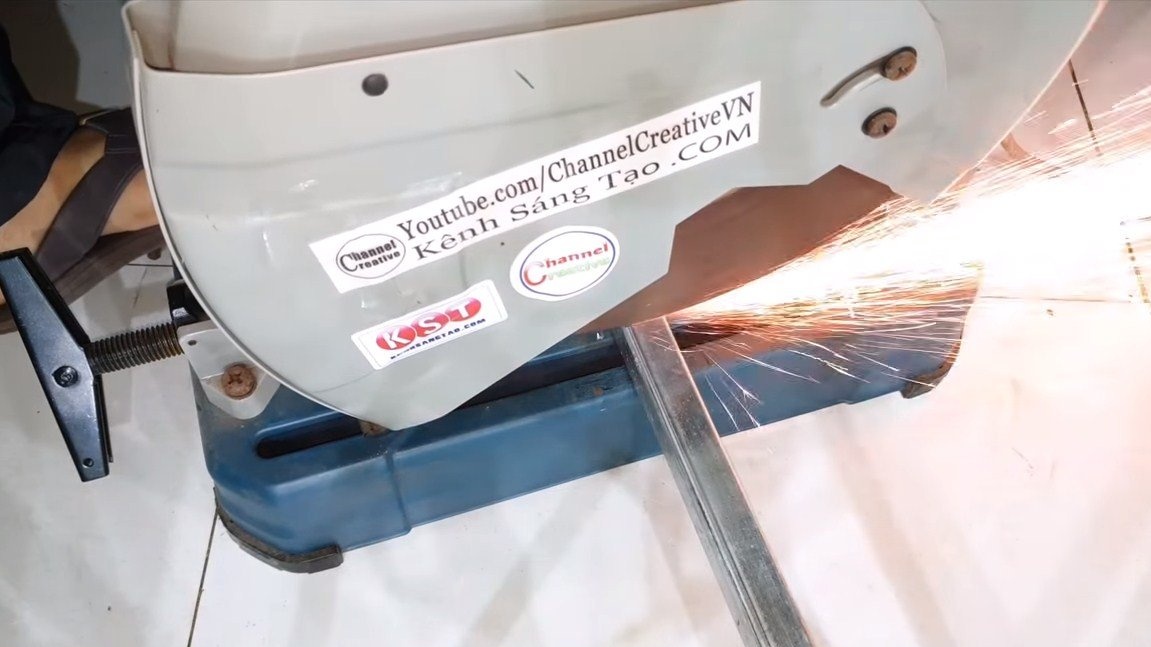
- pendulum saw;
- wrenches, screwdrivers;
- drilling machine;
- marker;
- pliers.
Homemade manufacturing process:
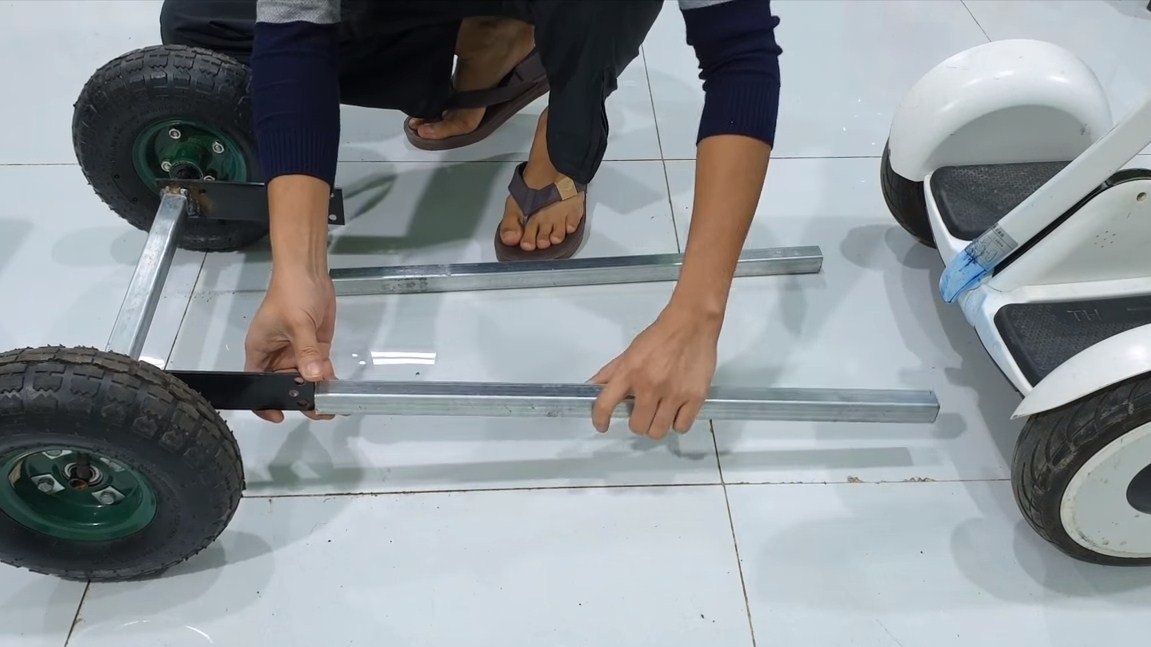
Step one. Rear axle
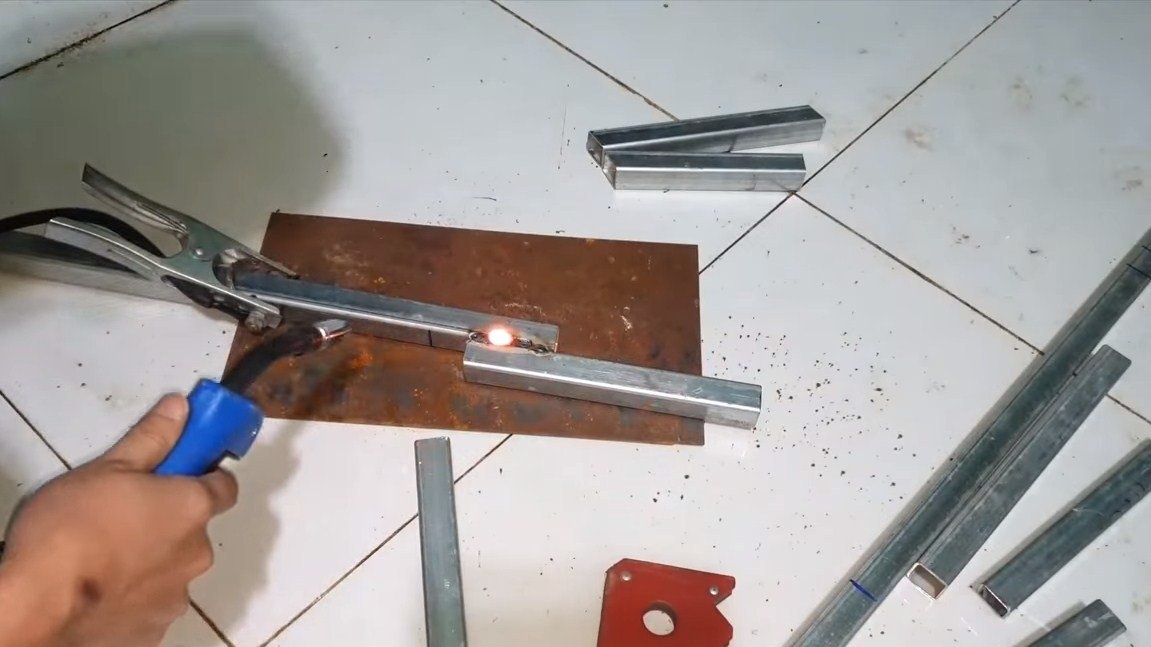
First, we’ll make the rear axle of the map, or rather we’ll upgrade the existing one. We need to lengthen it a bit to get the desired width of the map. We cut the axis, measure the parameters and cut the desired piece of the profile pipe. Well, then just weld it into place.
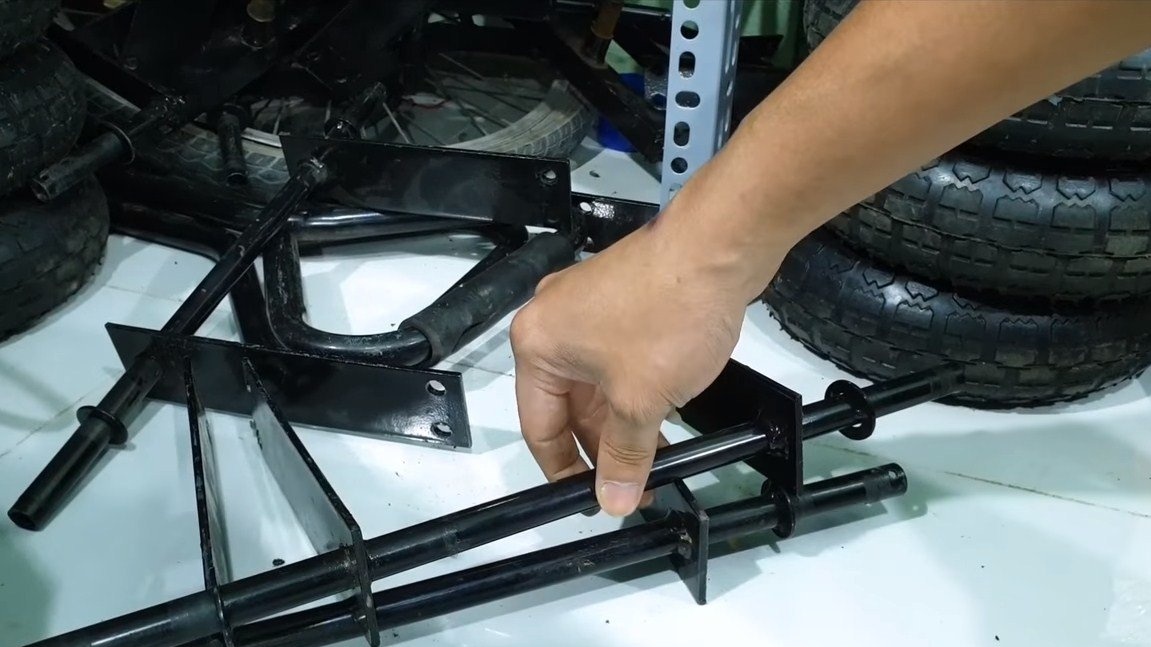

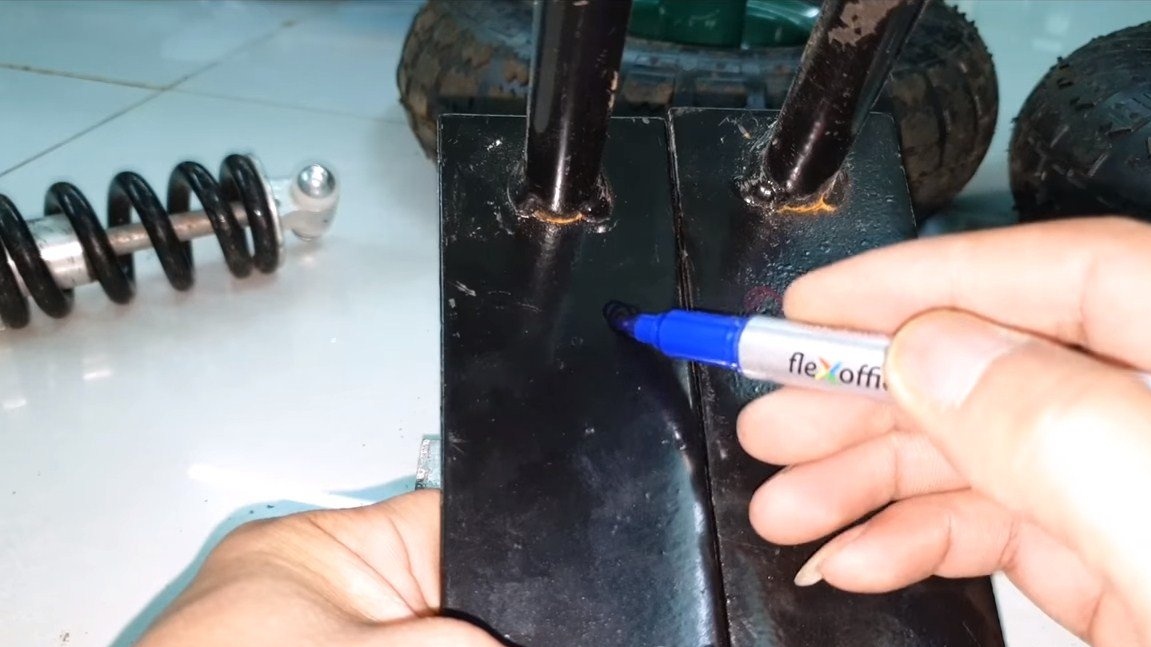
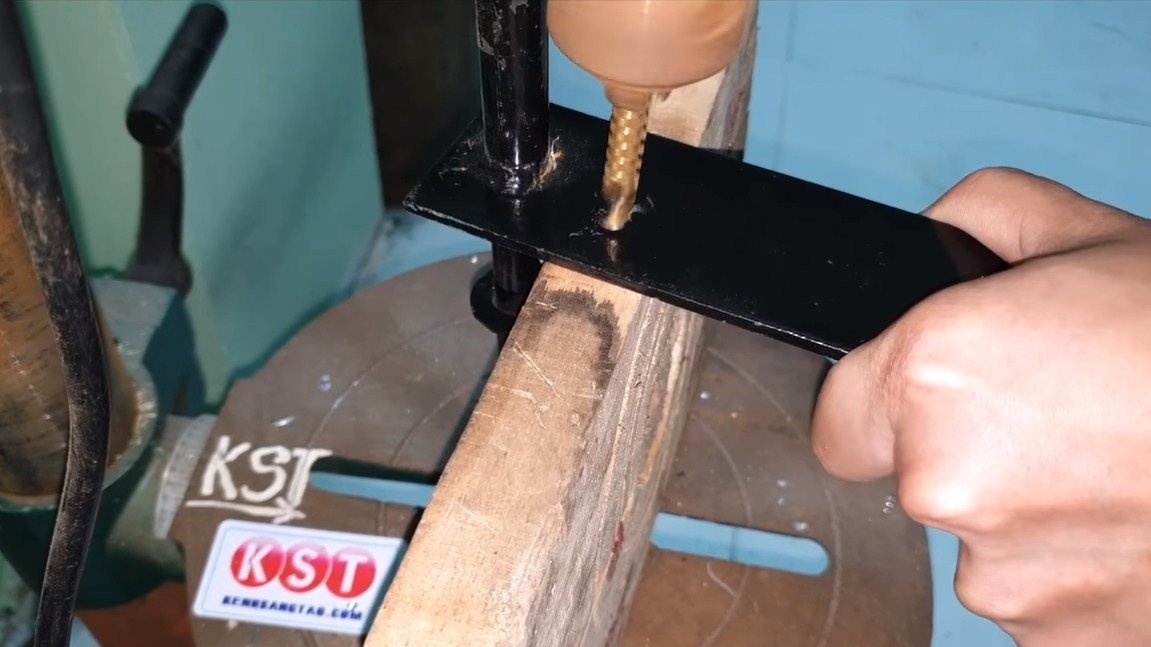
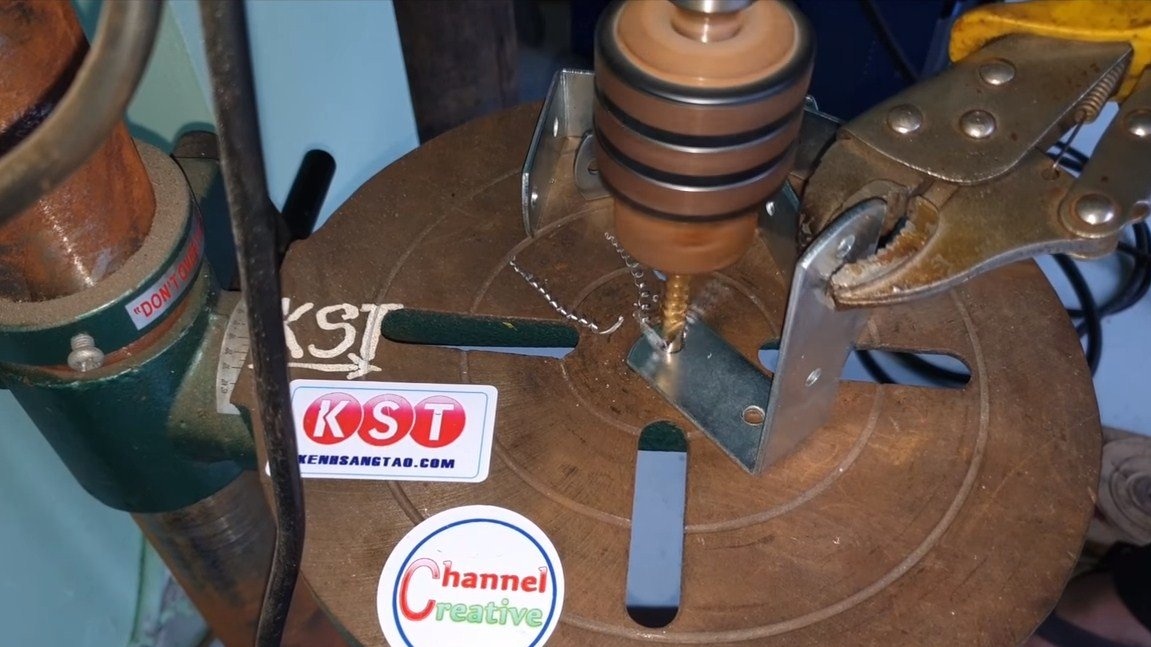
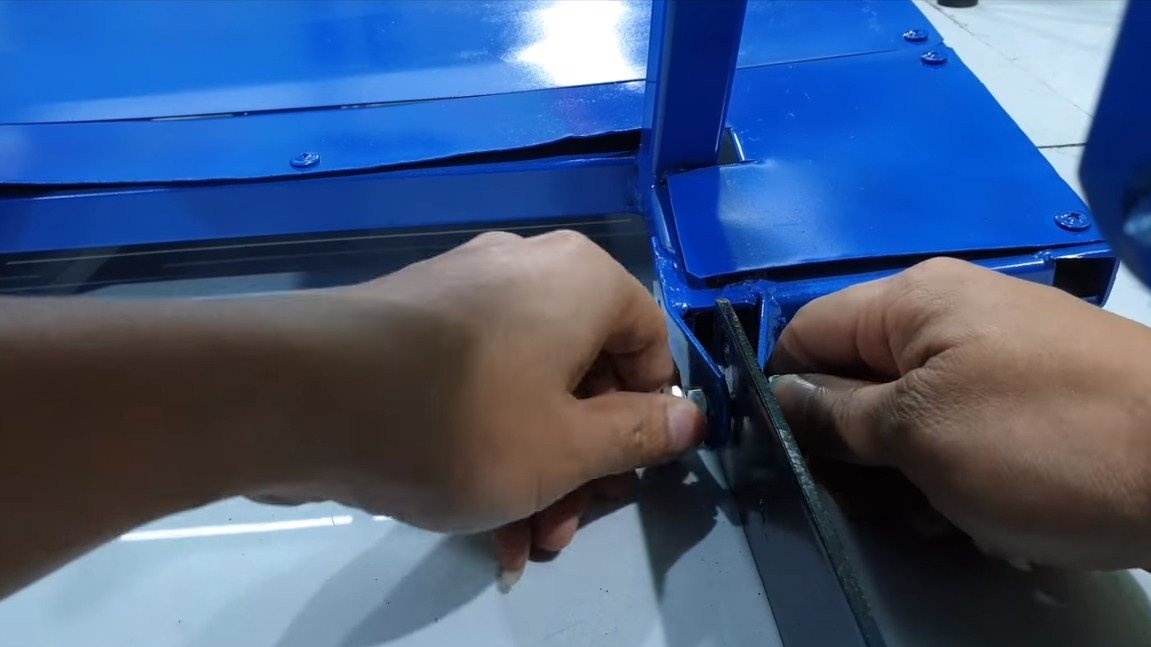
Step Two Mounting holes
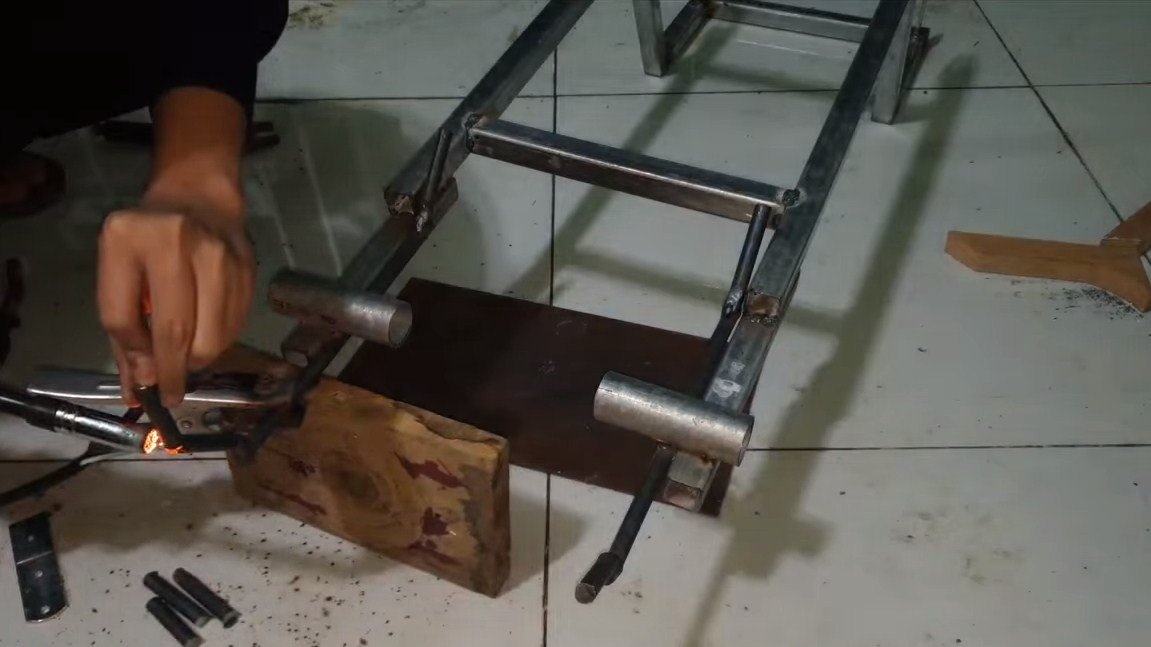
The rear fork is movable, this is done so that shock absorbers can be installed. As shock absorbers, bicycle ones are suitable. We drill holes for them in the right places. Also, to install the rear fork articulated, we still need to drill holes for the axle.
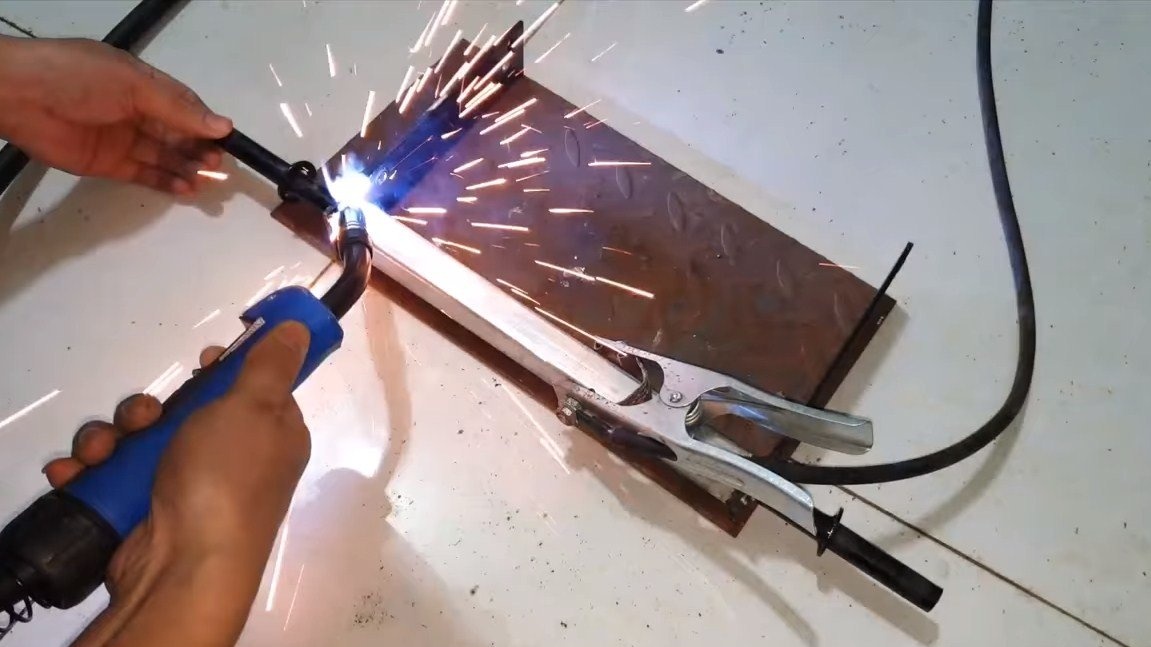


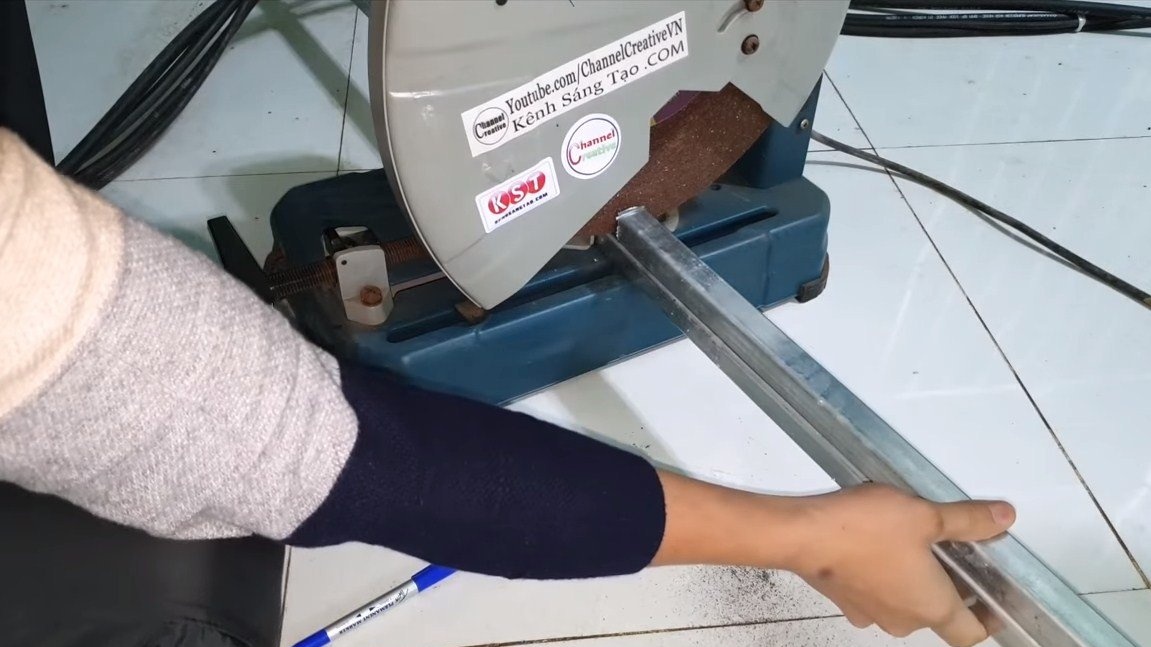
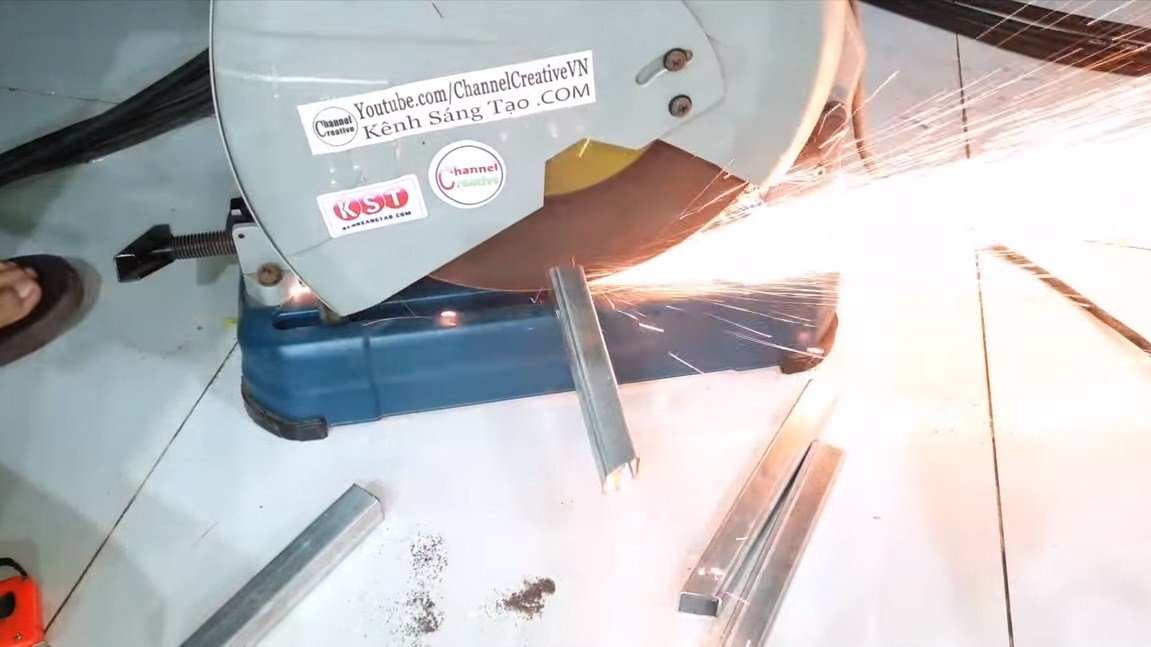
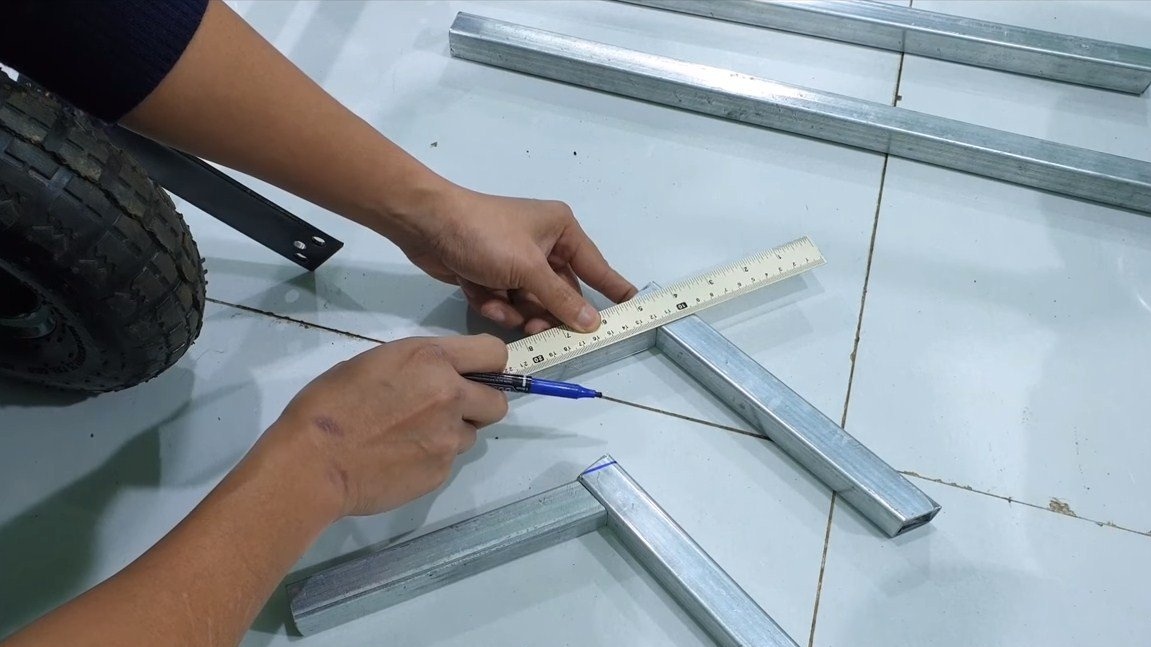
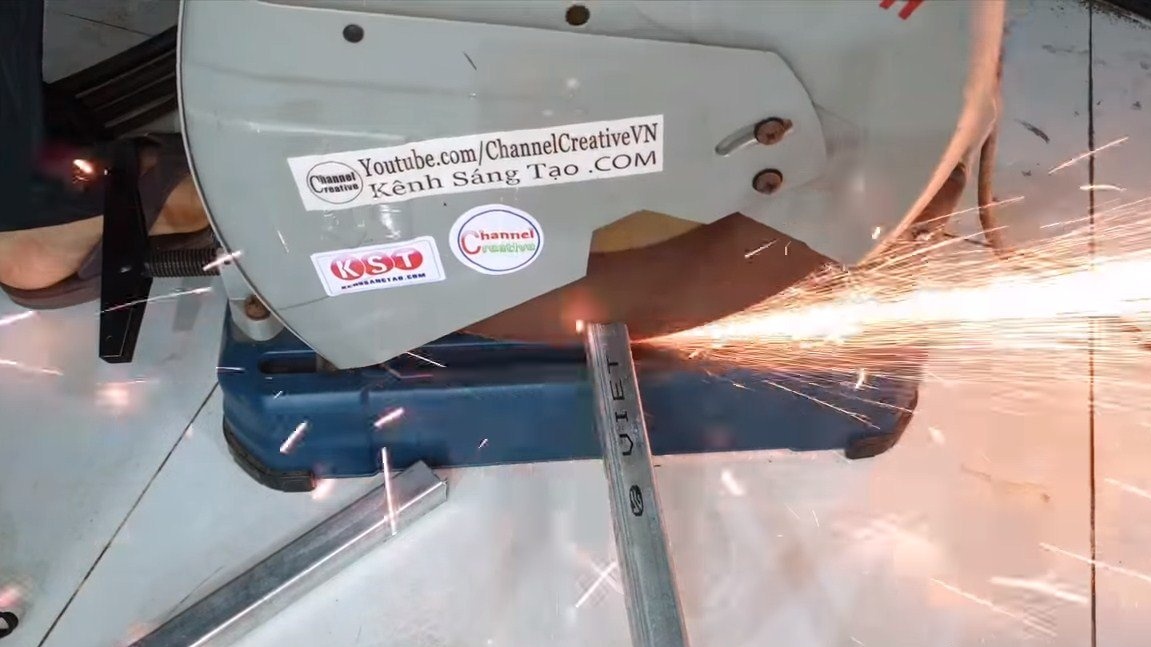
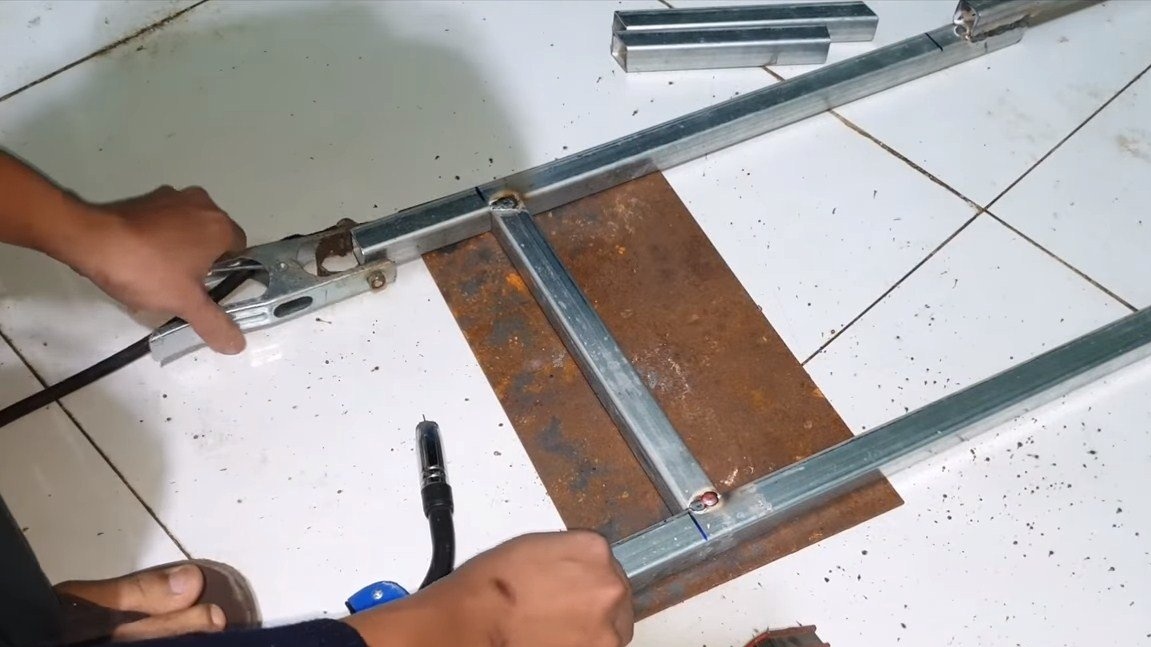
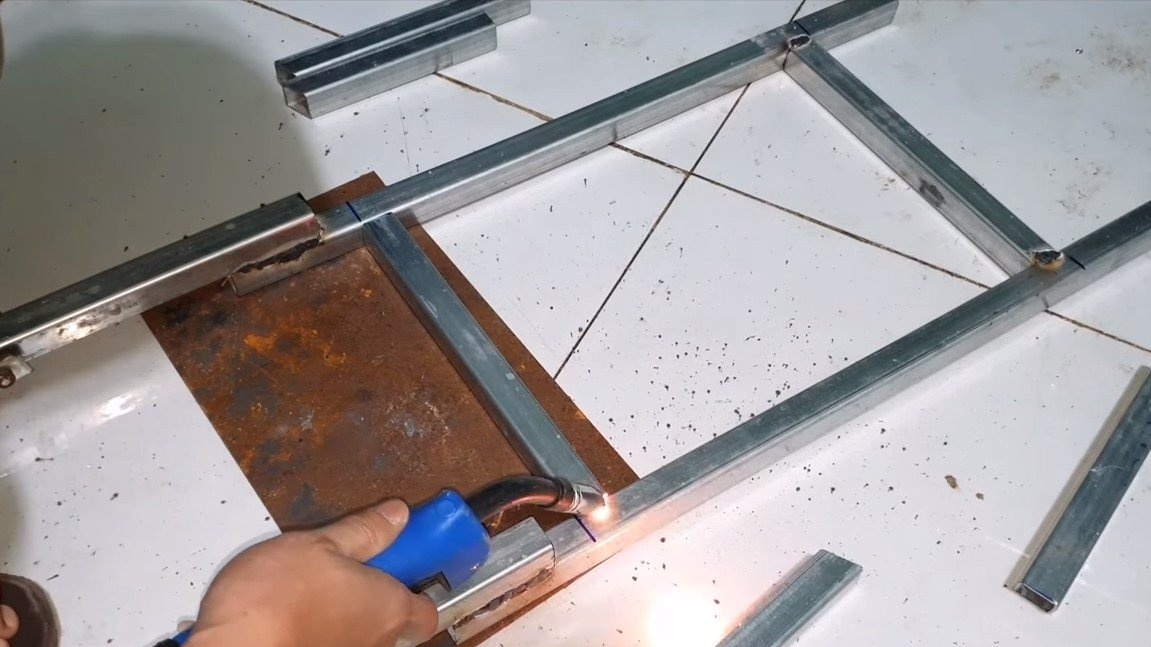
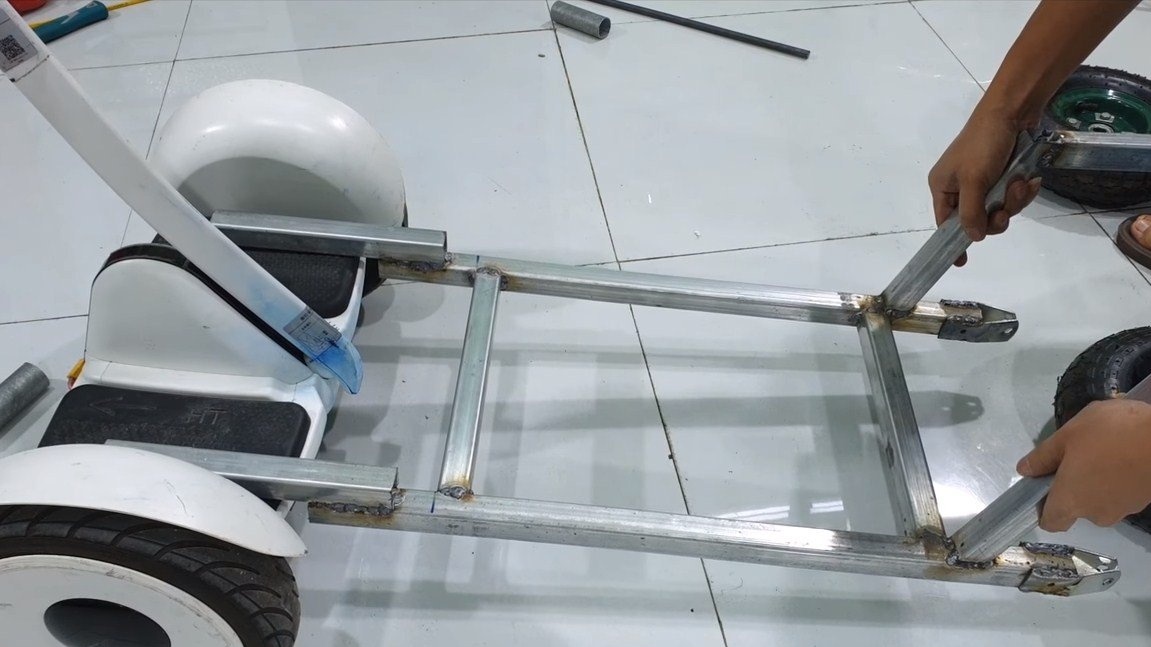
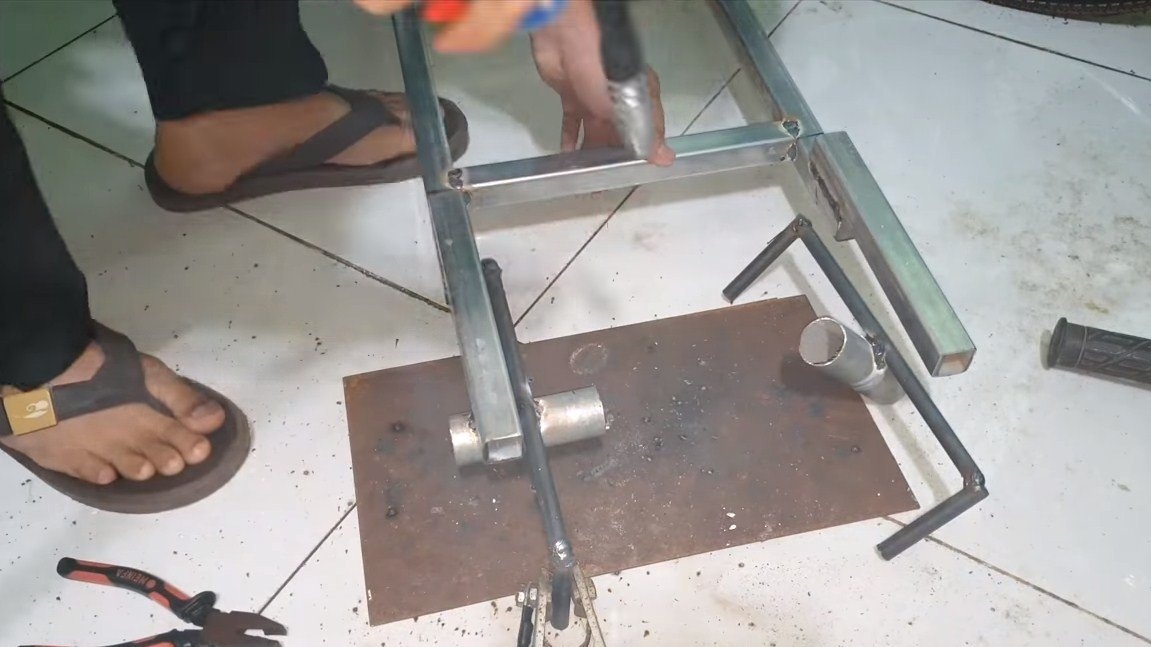
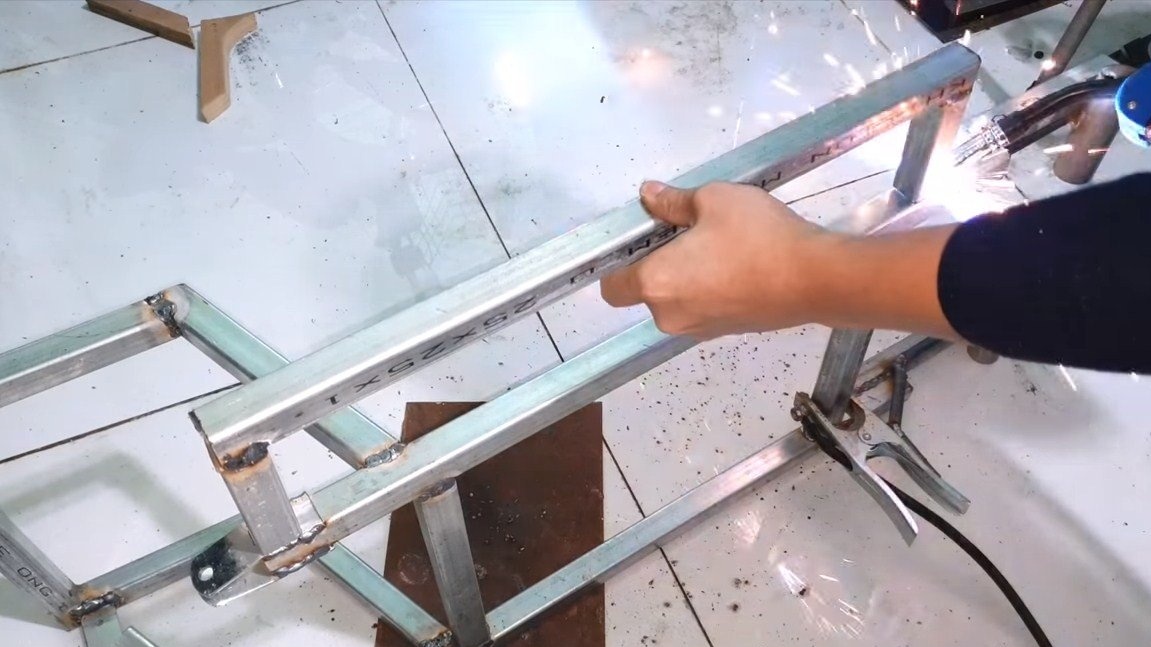
Step Three Assemble the frame
Let's assemble the homemade frame, for this we need profile pipes. We cut them to the desired length and weld. We also weld the rear seat frame.
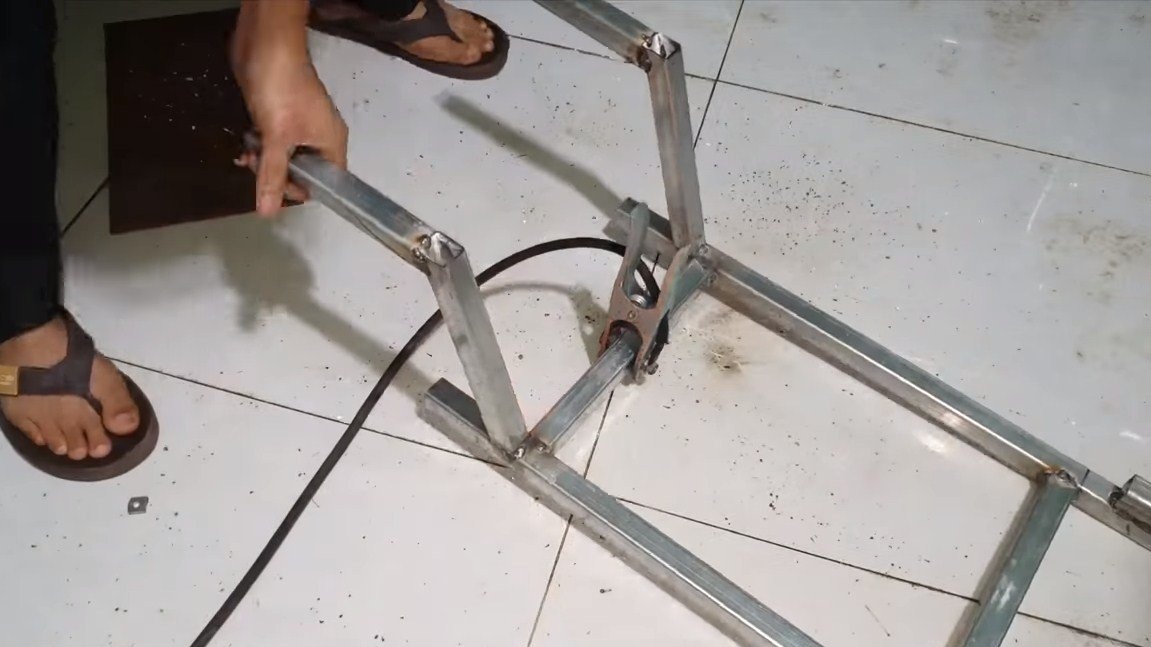
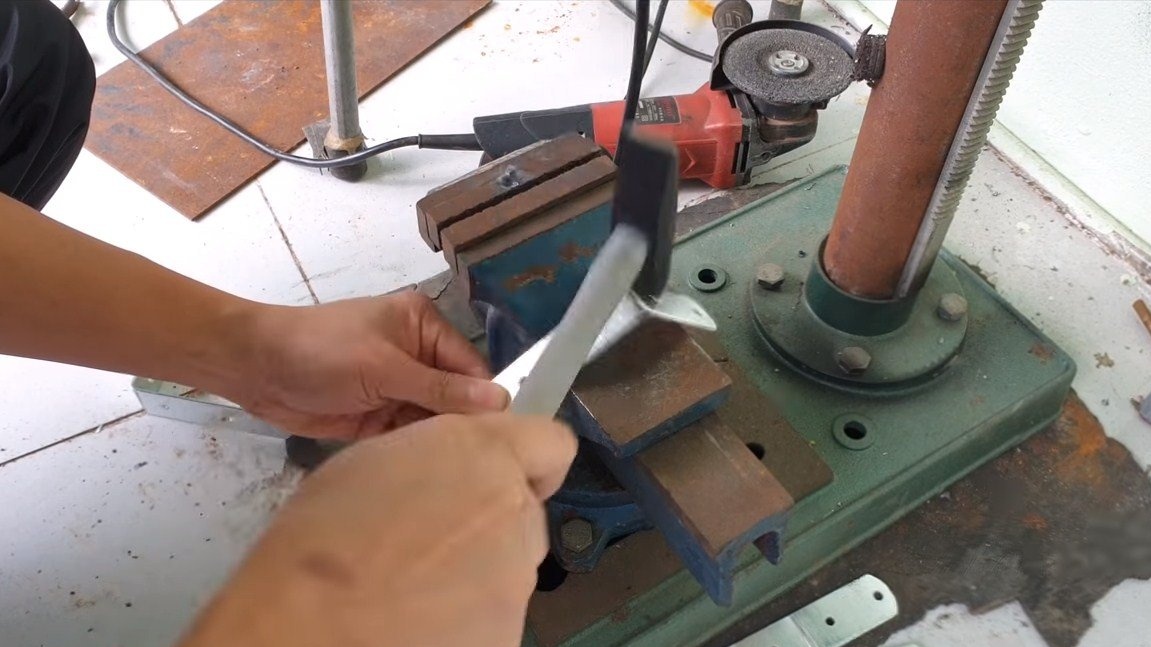
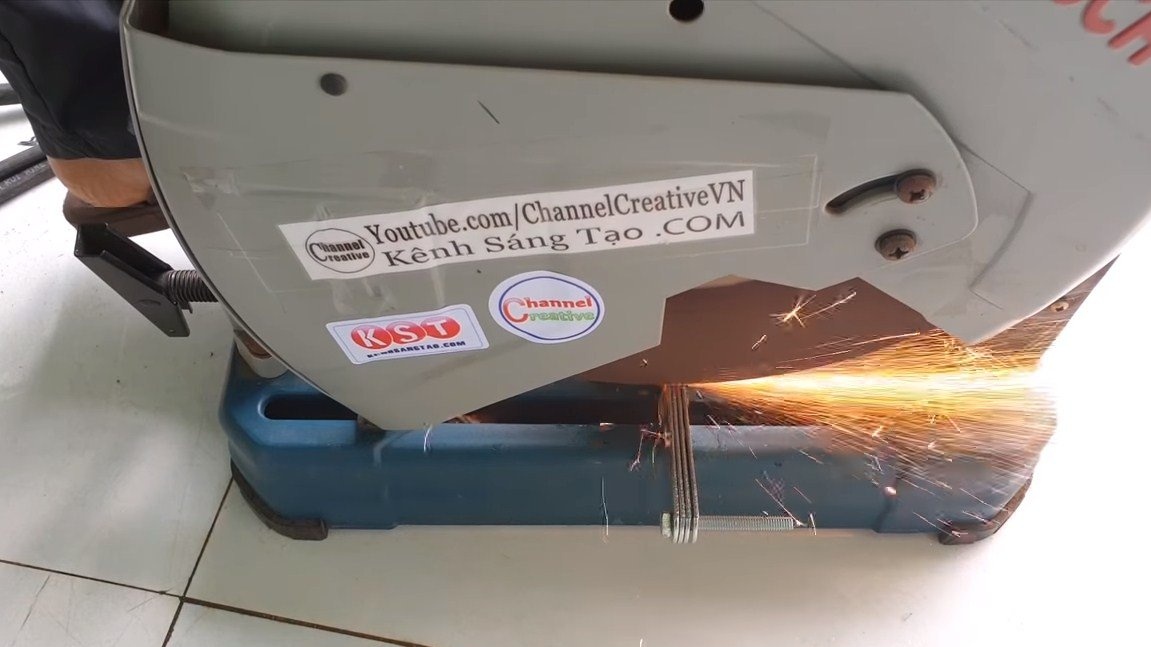
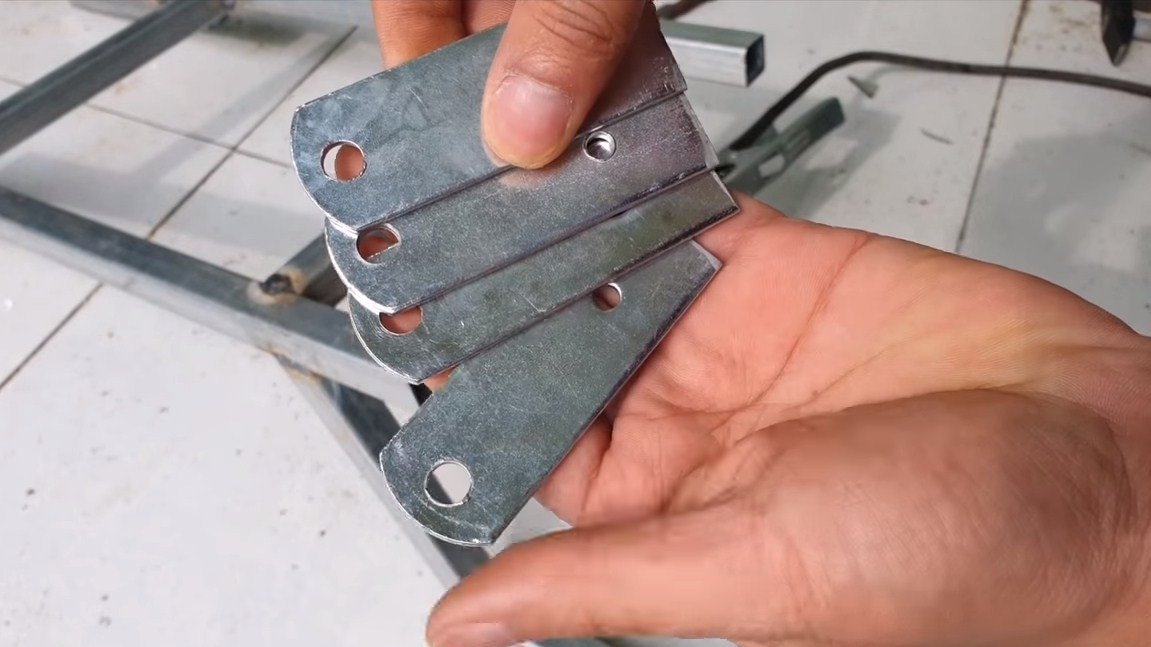
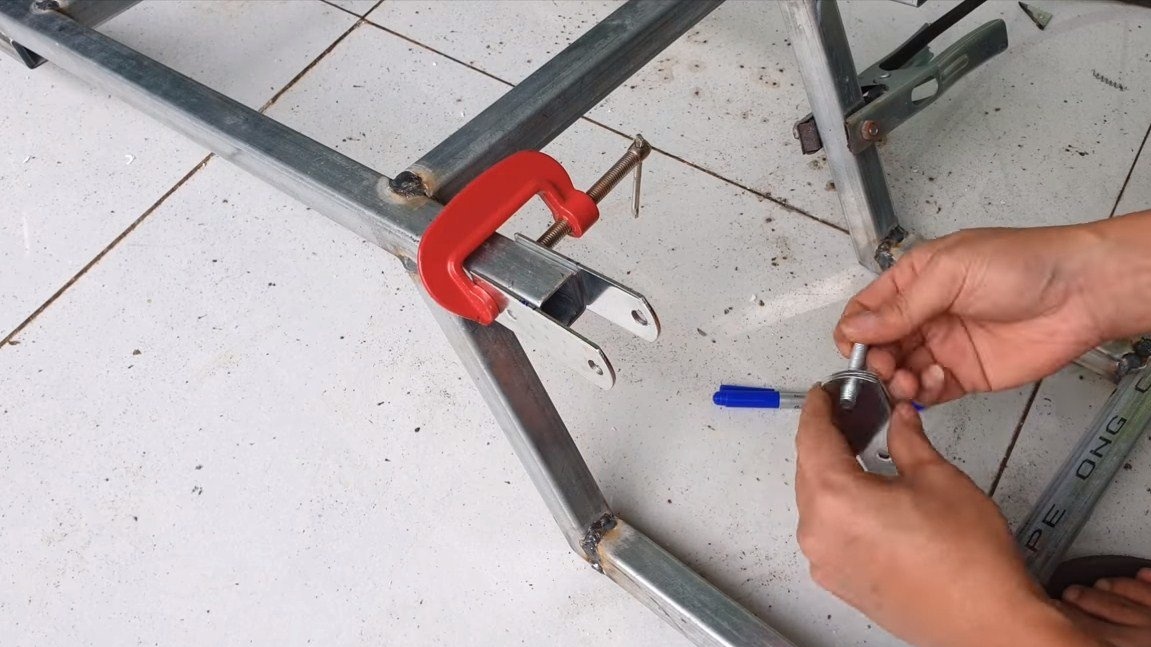
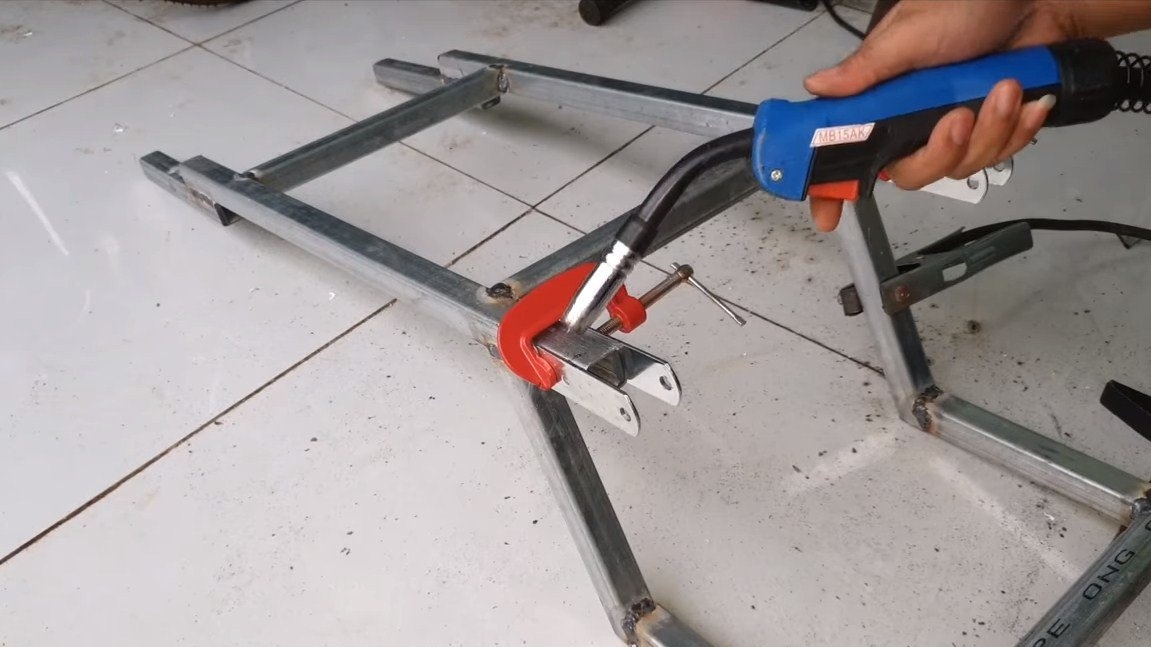
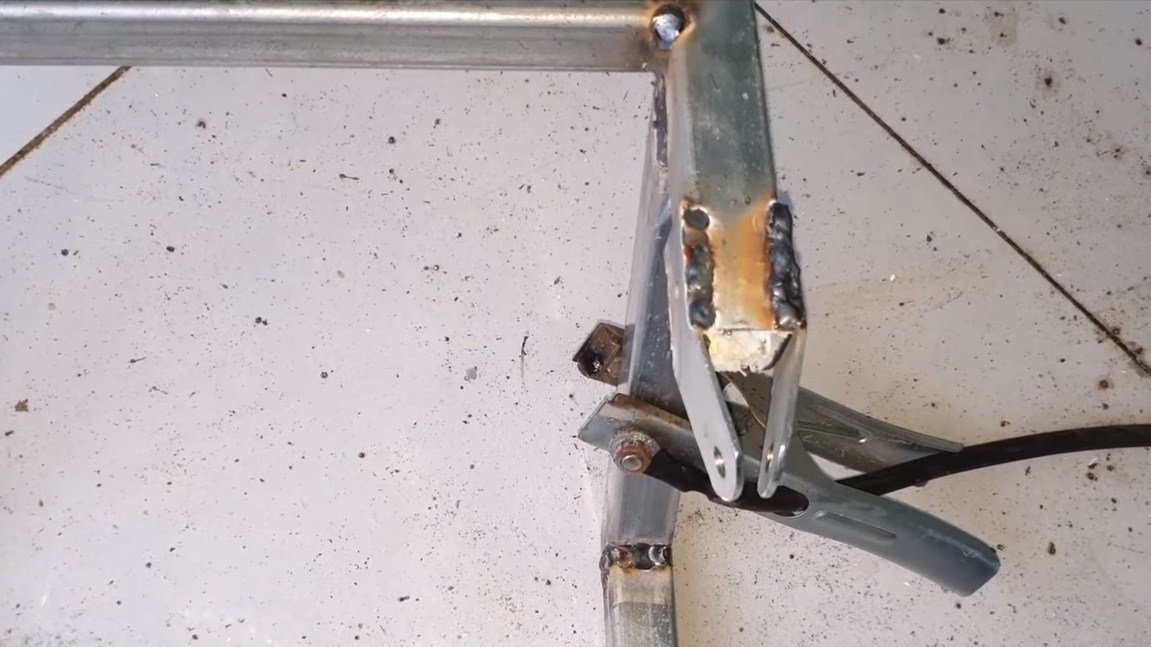
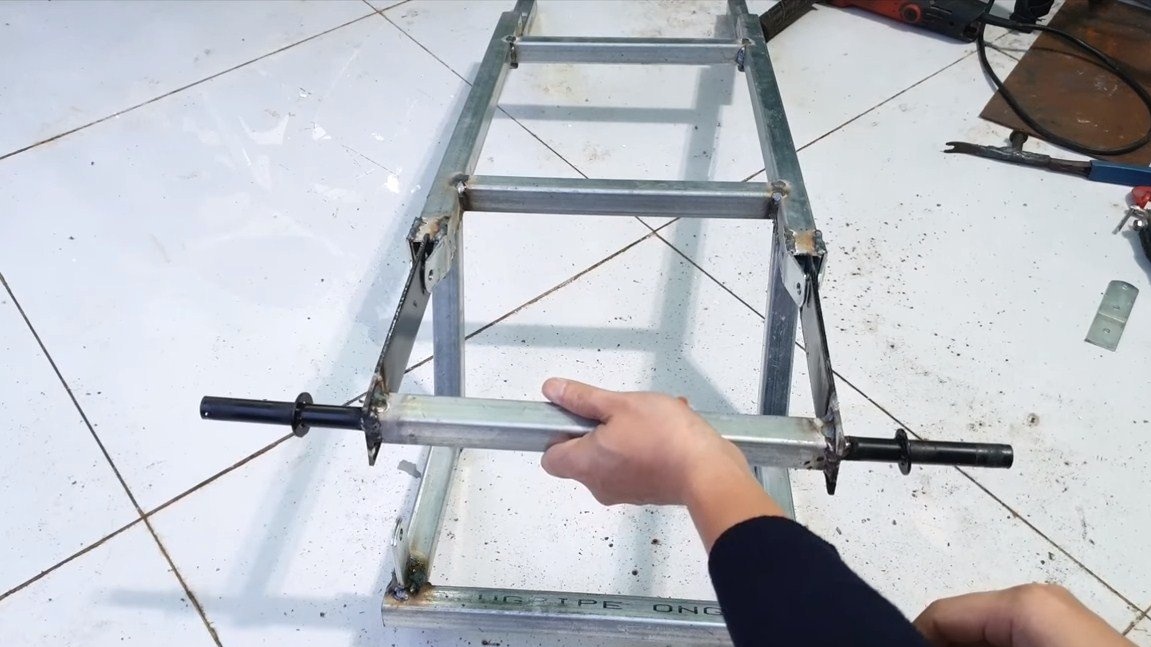
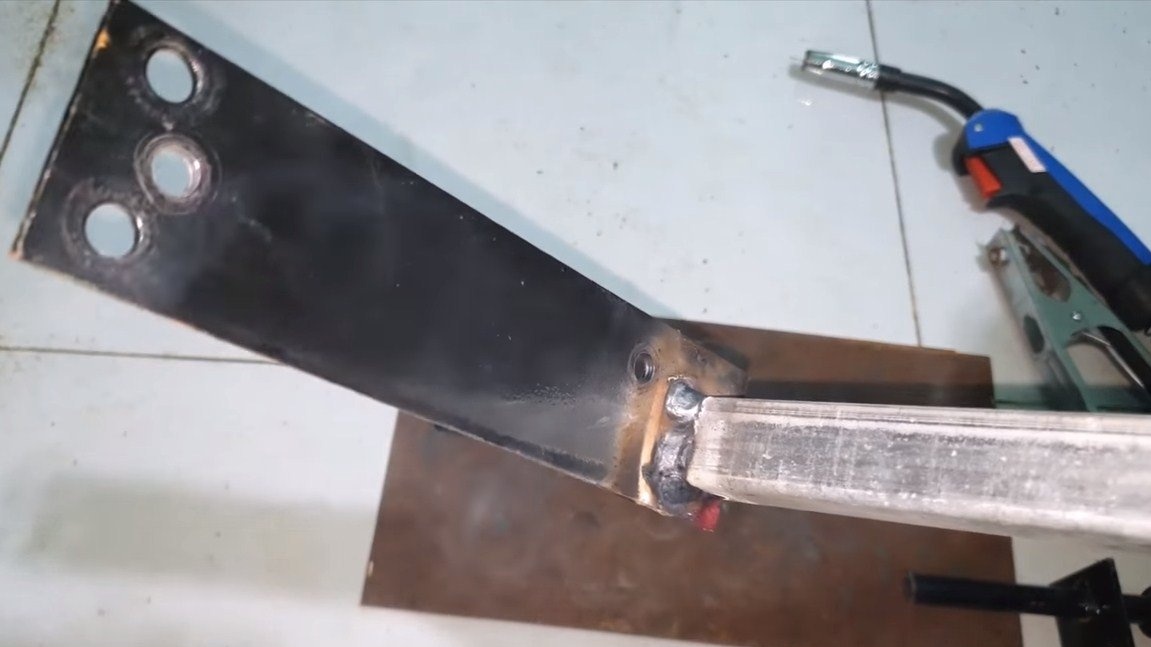
To fix the rear fork on the frame, you need to weld loops to it, two pieces on each side.The author aligned and cut the fastening steel corners as loops. You also need to remember to weld your ears to install shock absorbers.
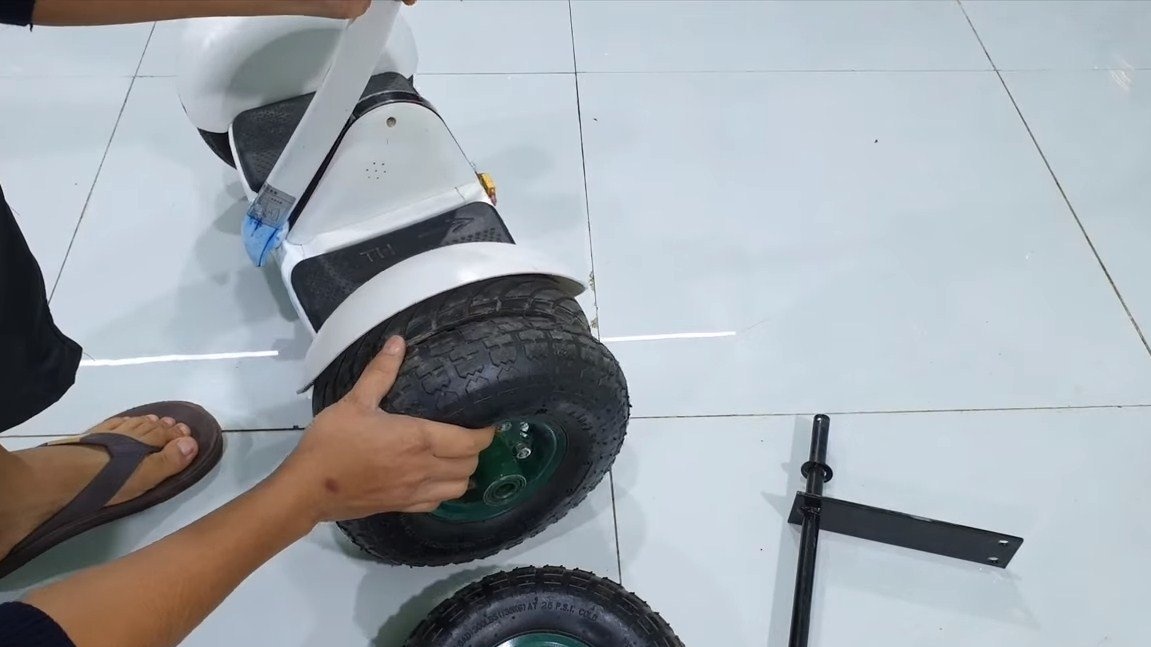
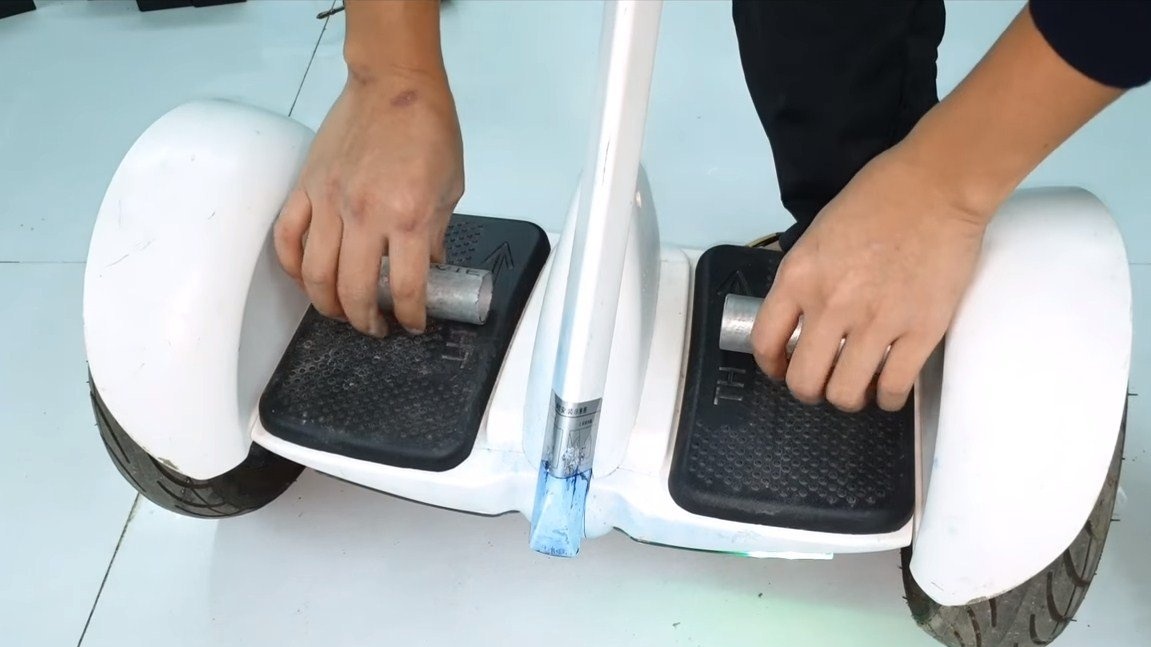
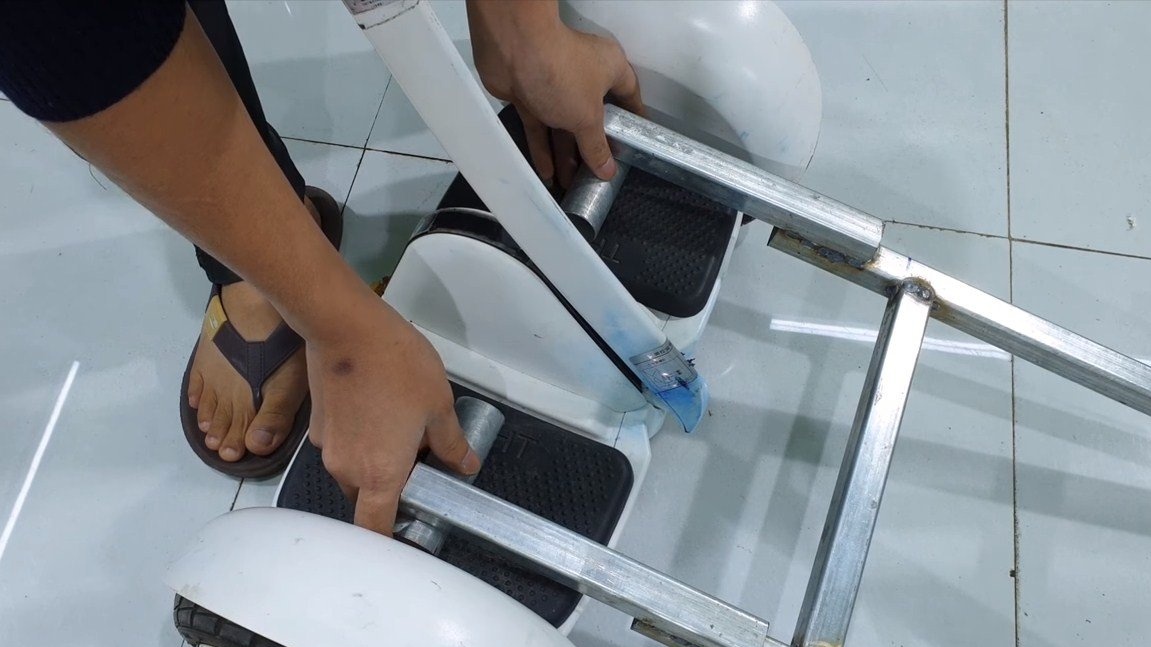
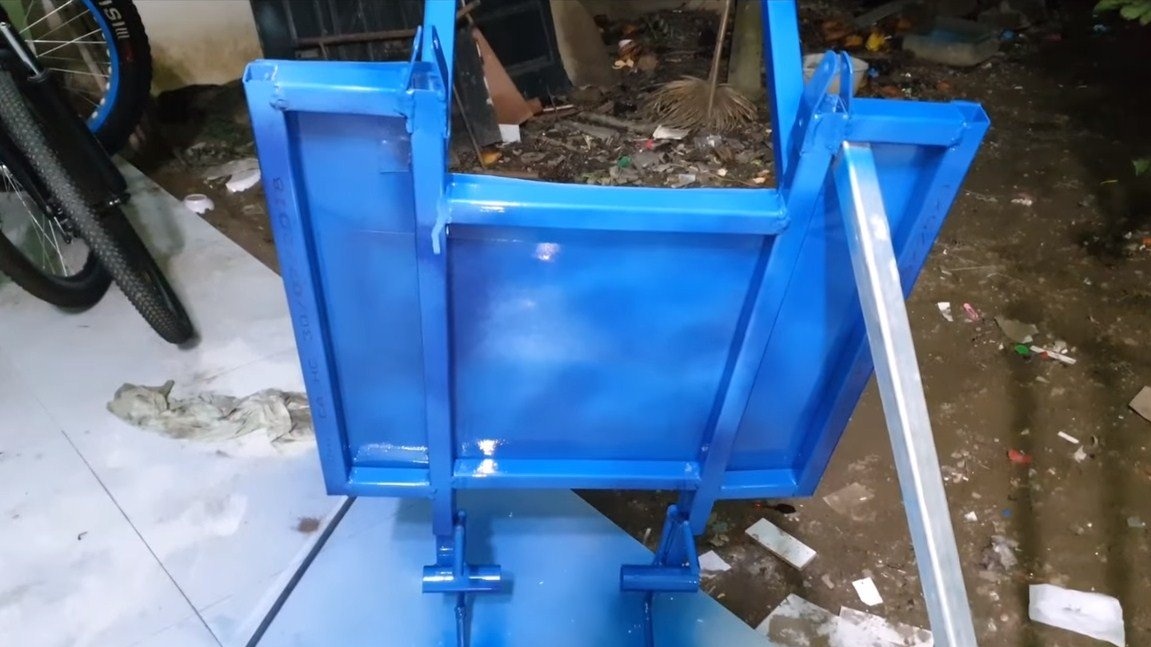
Step Four Hitch
The coupling device is necessary to connect the "trailer" to the gyro scooter. It has a very simple design. We will need two pieces of a round pipe, with these efforts the trailer frame will abut against the place of the gyro scooter where we become legs. As a result, it will be possible to tilt the gyro scooter forward or toward yourself.
We also need to weld 4 “hooks” from the round timber, with which the homemade product will cling to the gyro scooter. And so that the gyro scooter does not scratch with metal, these parts can be wrapped with electrical tape or put on pieces of rubber hoses.
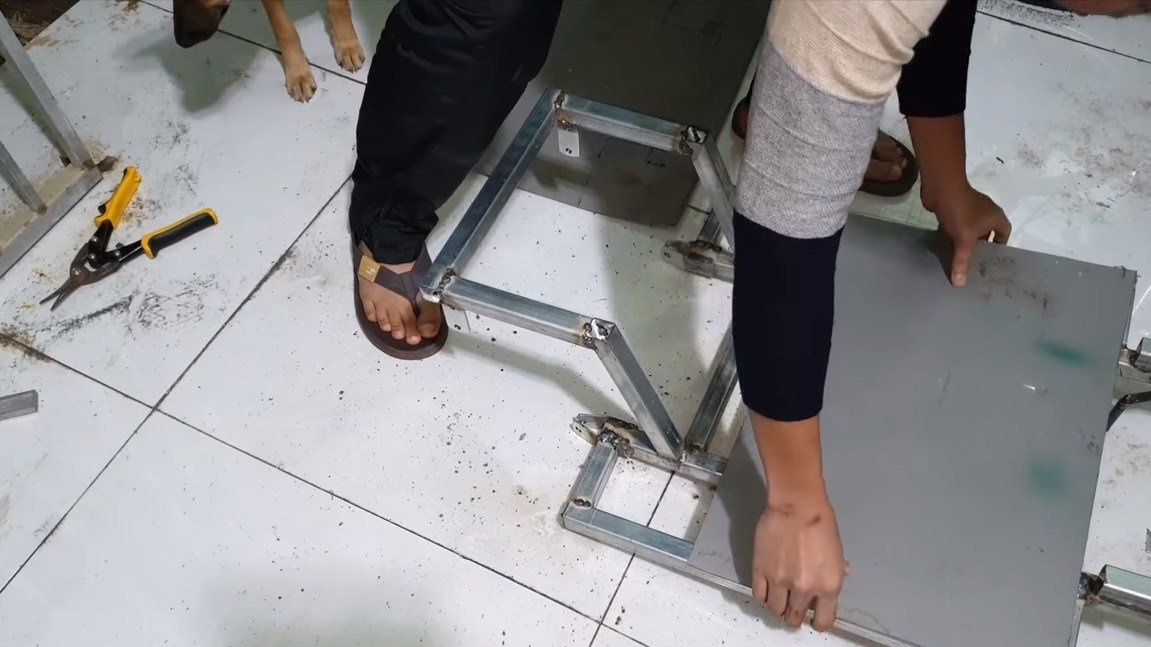
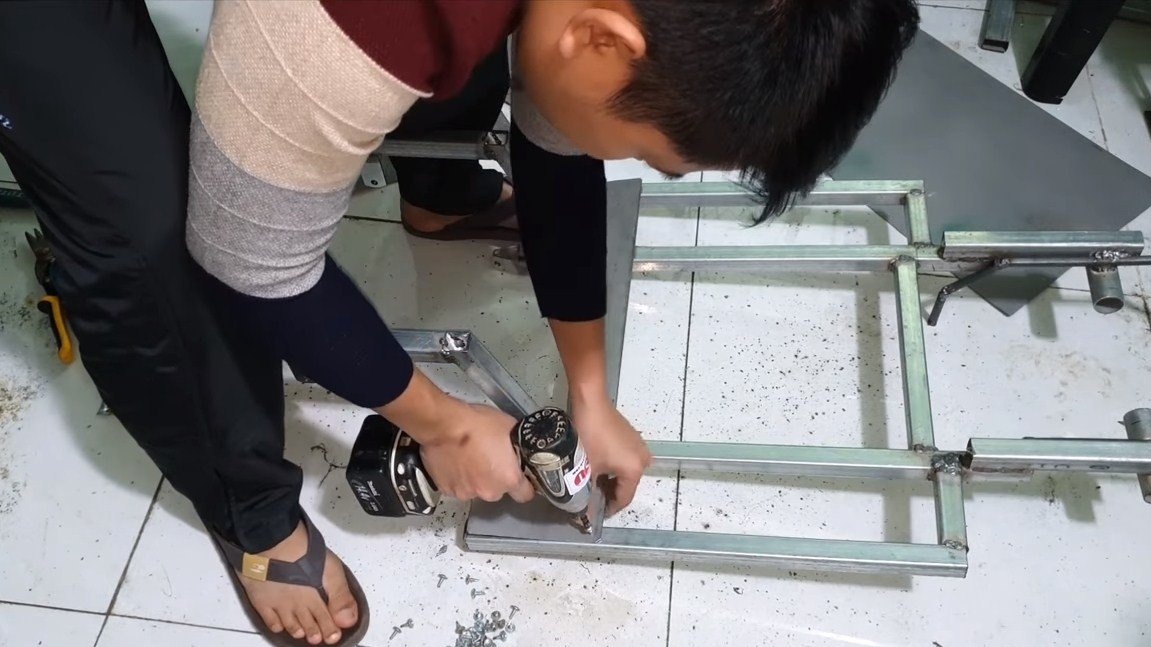
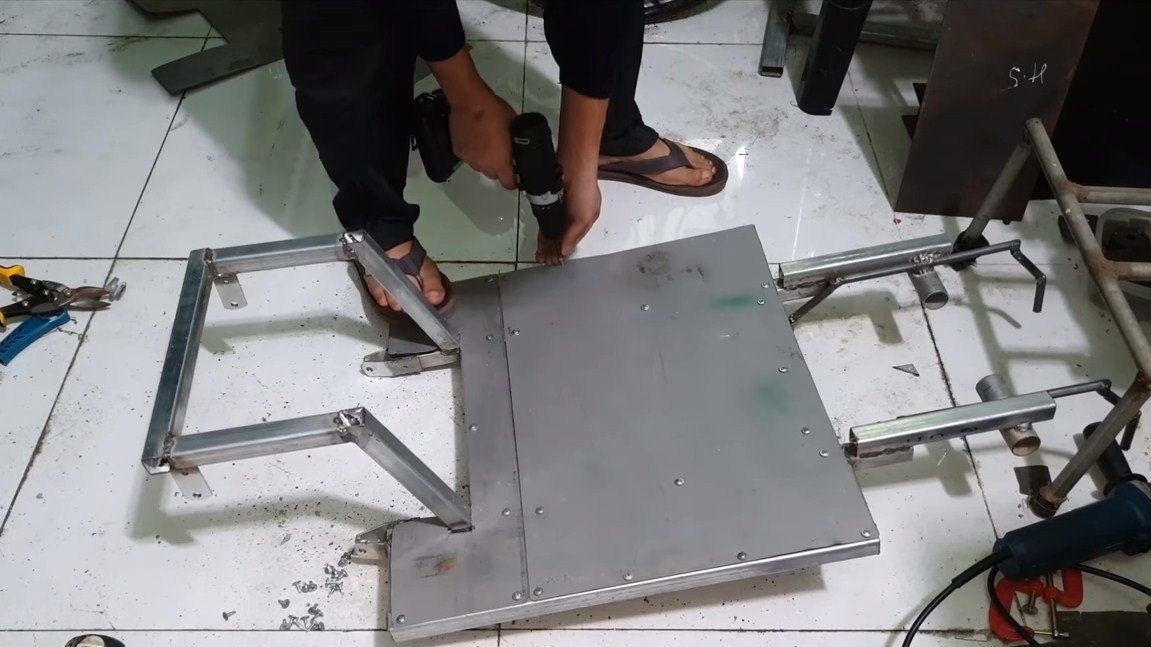
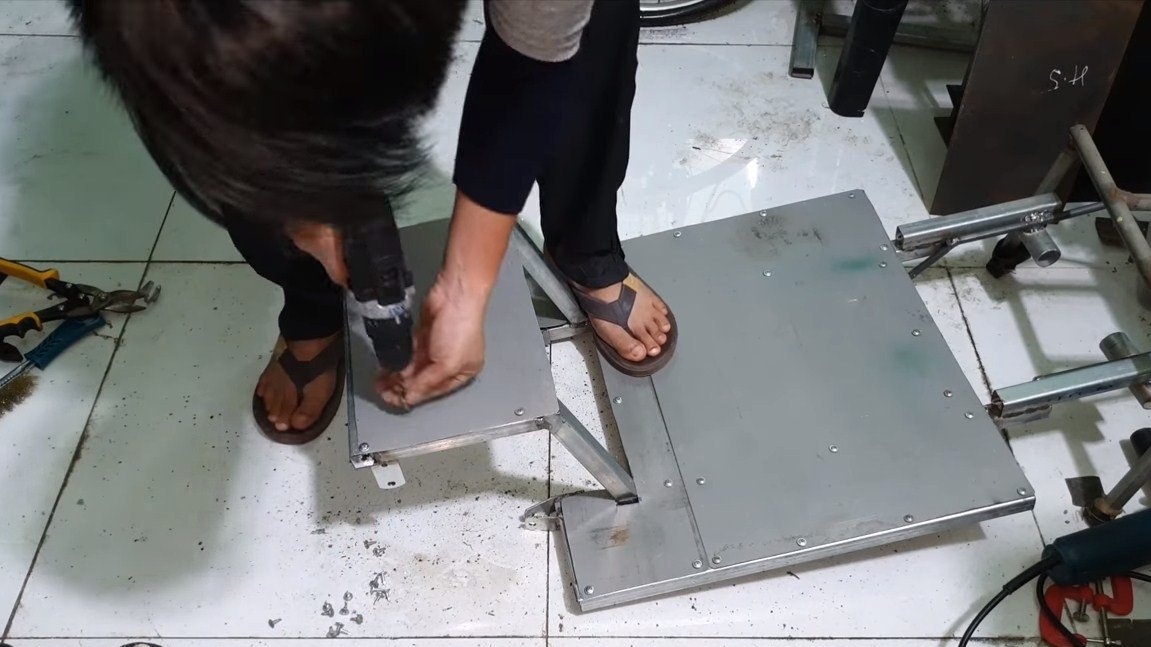
Step Five Bottom and painting
We install the bottom on the frame, here you can use thin galvanized sheet steel. But aluminum sheet is best, as it is lighter. We fasten the material to the frame using self-tapping screws.
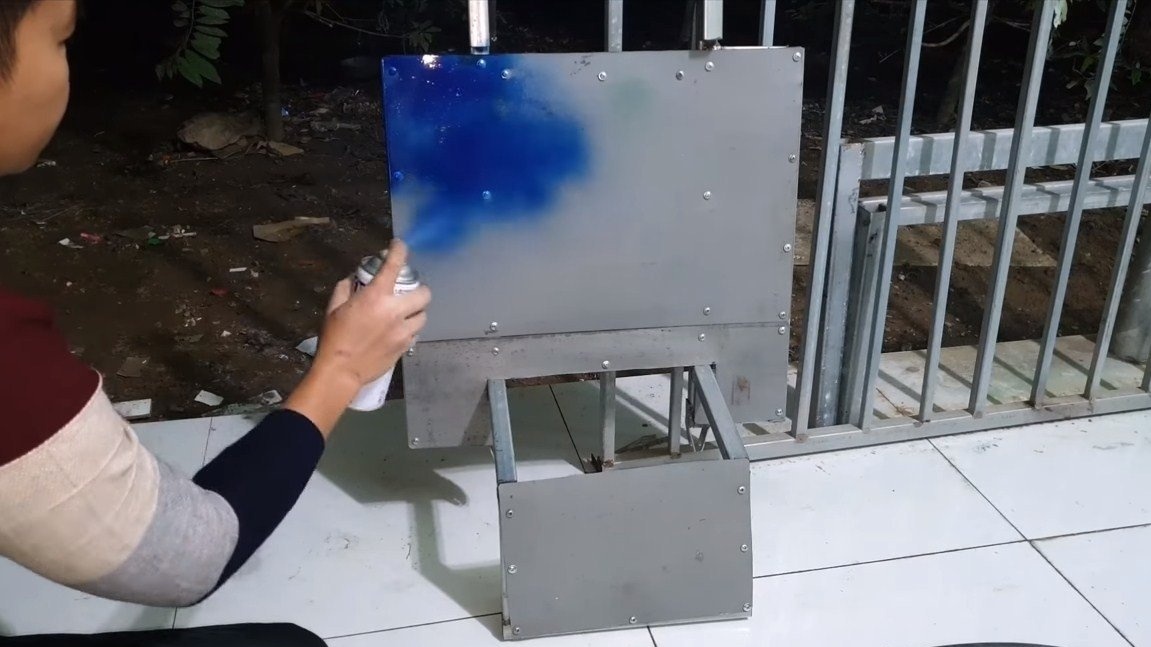
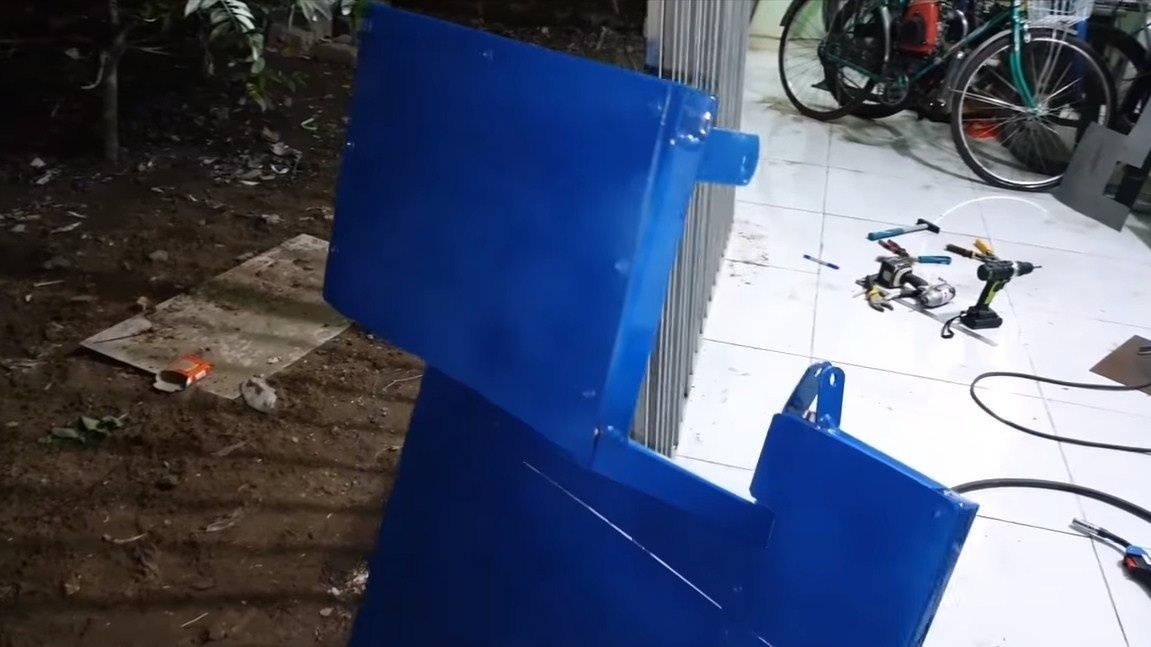
At the end, we paint the frame well with metal paint, as a result, the cards will look beautiful and will not rust. Before painting, we clean the welds well.

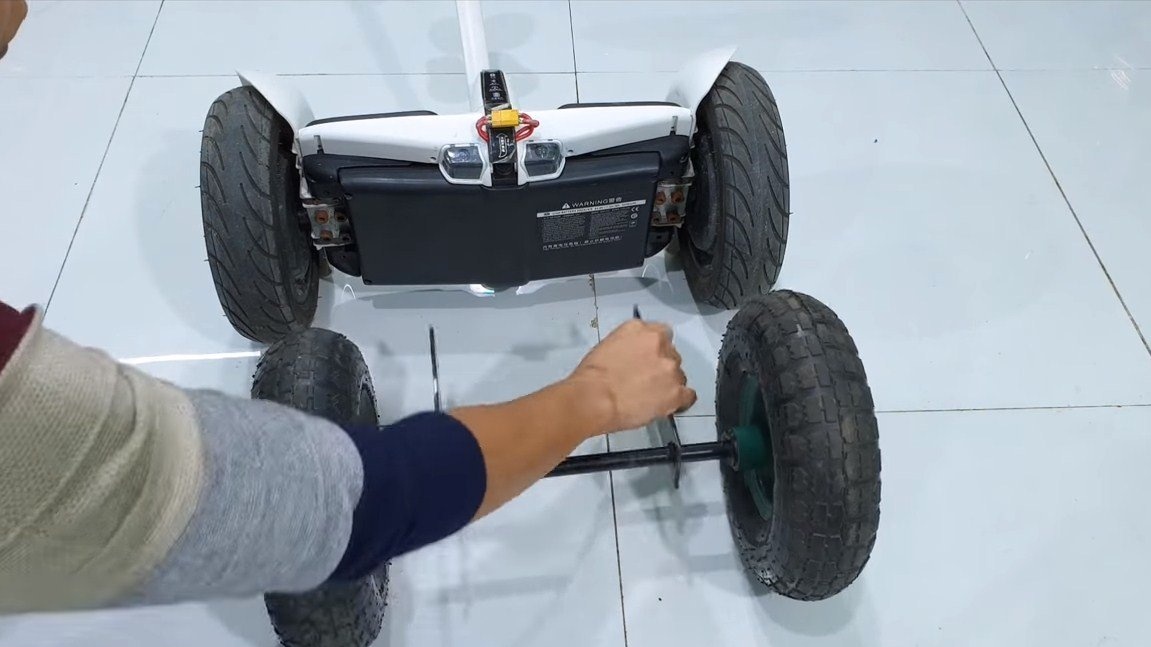
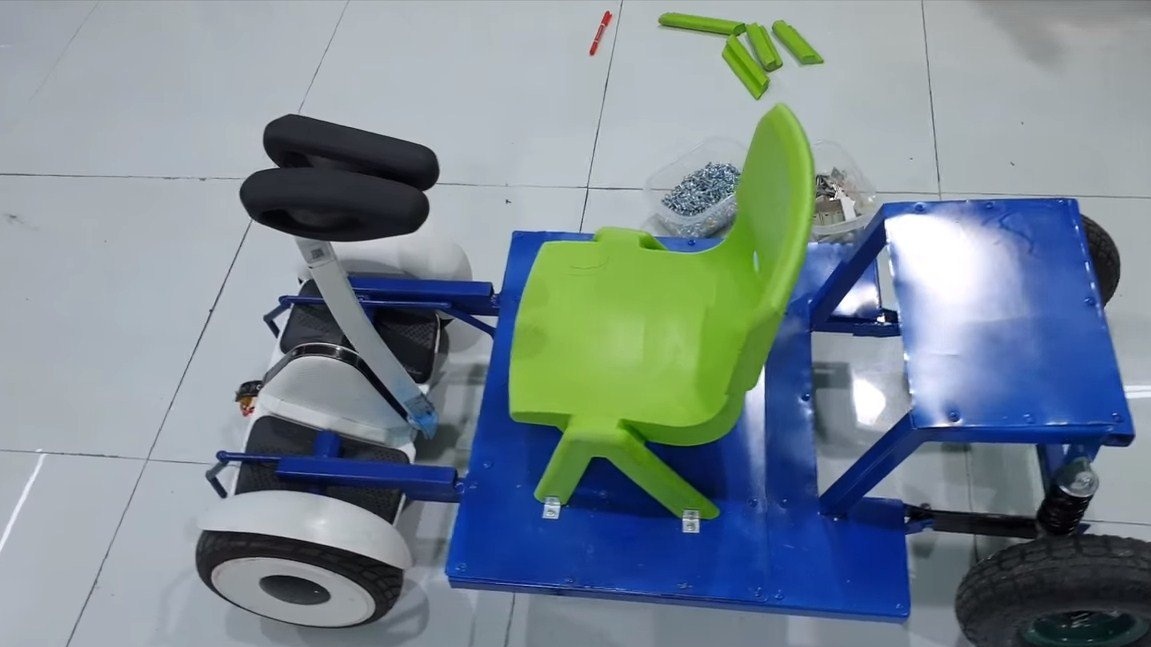
Step Six Assembly
Cards can be collected, install the rear fork, mount shock absorbers. The author fastens the plug with the help of bolts, installing two nuts each so that they do not loosen.
We also need to install a driver's seat, the author uses a small plastic chair. Cut off the legs from it to get the desired length, and fasten it to the frame. As a mount, the author used corners.

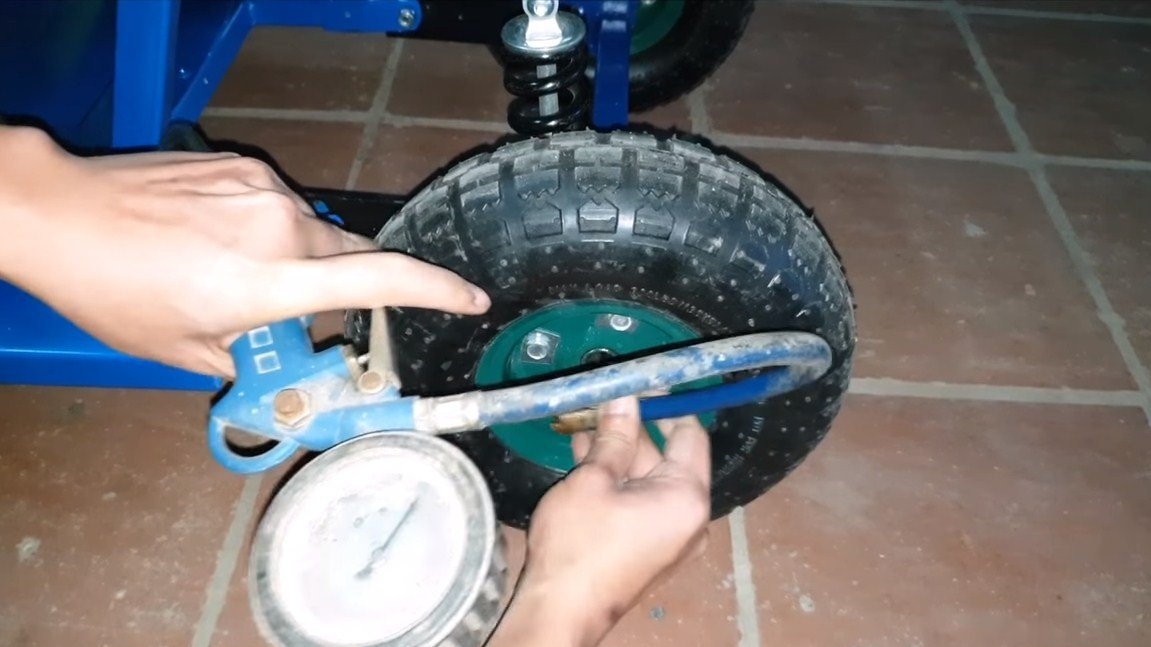
Seventh step. Test
Before the tests, we pump up the wheels and you can ride. The card easily pulls two children on board, but these characteristics are more likely dependent on the power of the card itself. Rear suspension on springs, so the passenger should sit softly. The car does not drive fast, so it is completely safe for children.
That's all, the project is over, I hope you liked the home-made. Good luck and creative inspiration, if you decide to repeat this. Do not forget to share with us your ideas and homemade products.