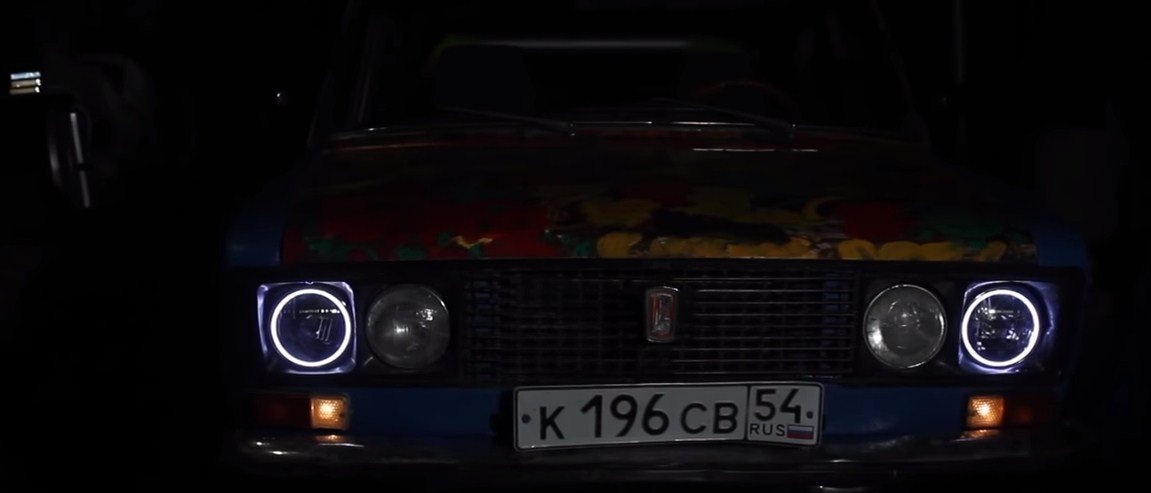
Hello everyone, in this instruction we will look at how to install on auto do it yourself "Angel eyes." Homemade very simple, the author used ready-made materials that can be. This includes LED rings as well as black crosspieces for headlights. Everything is done quite simply, as an example of installation, we will consider a VAZ 2101 car with headlights from six.
Materials and tools used by the author:
Material List:
- glass sealant;
- headlights;
- ;
- crosses;
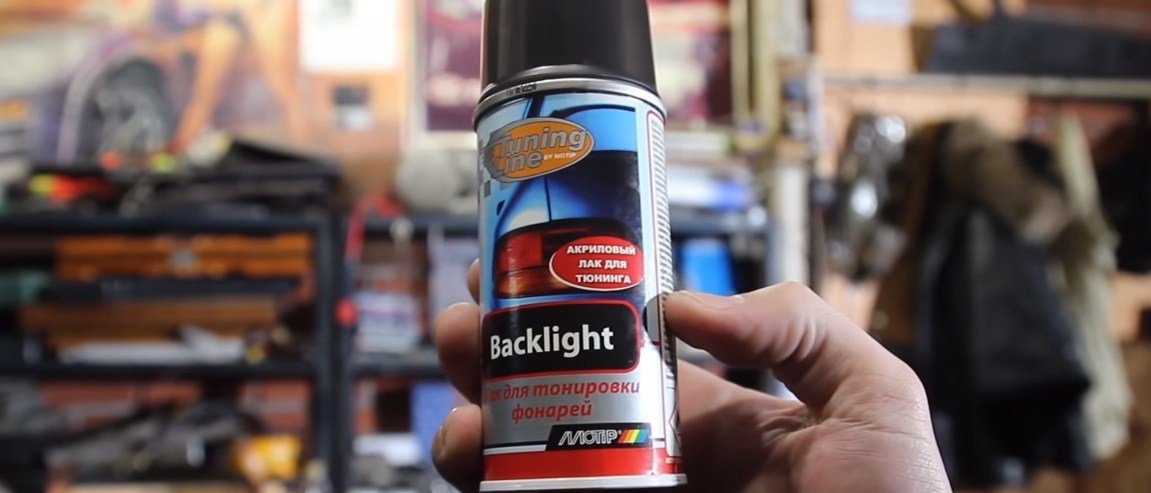
- varnish for tinting;
- wires.
Tool List:
- soldering iron;
- an oven or a building hair dryer;
- screwdrivers.
Homemade manufacturing process:
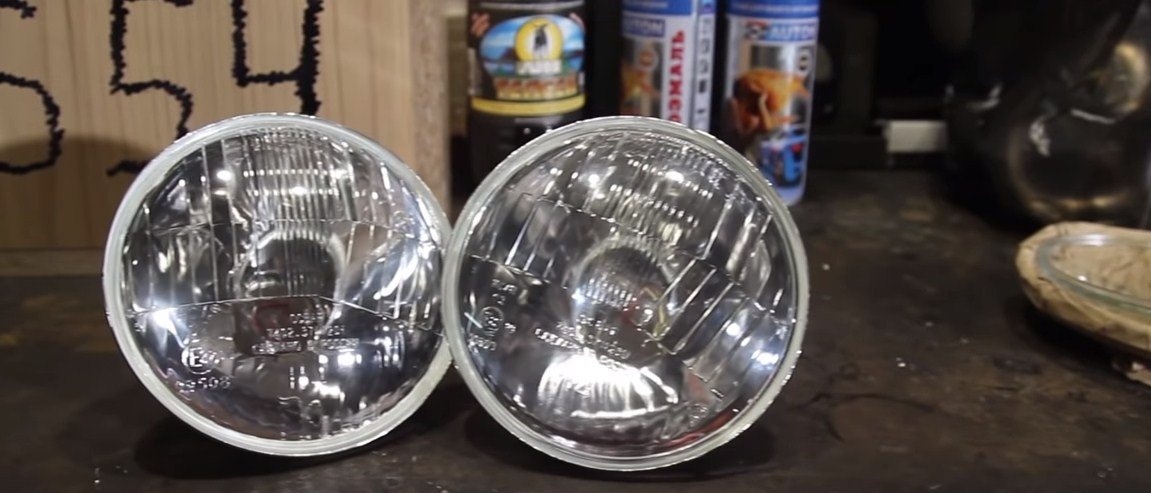
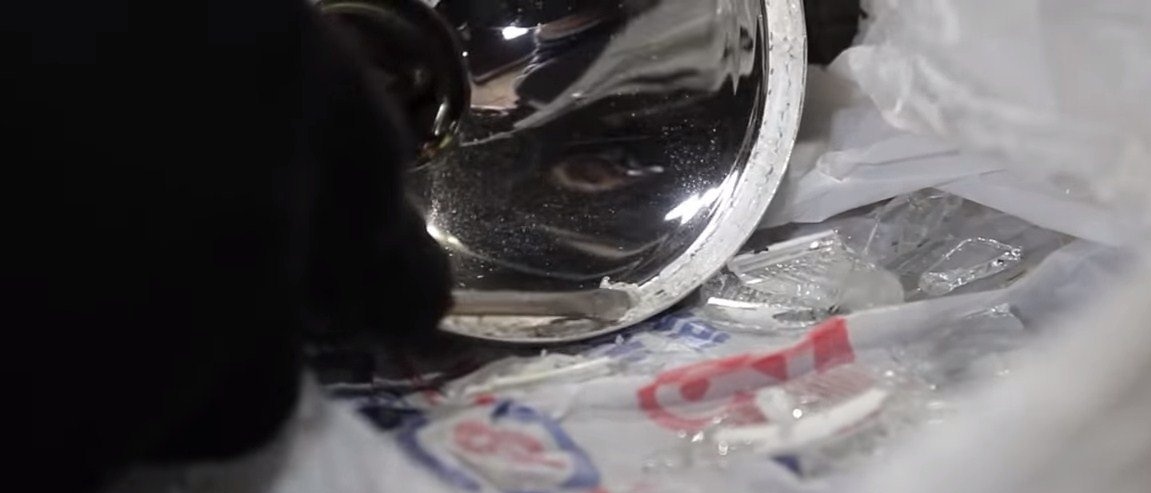
Step one. We disassemble the headlights
First you need to disassemble the headlights, or rather, remove the glass from them. They are glued with a special sealant. In most cases, the headlight or glass needs to be heated, while the glass is peeling off. For heating, you can use a building hair dryer or even an oven.
If the glass sits too tight and the heating does not help, it can be knocked out, and then install new ones by buying them in advance.
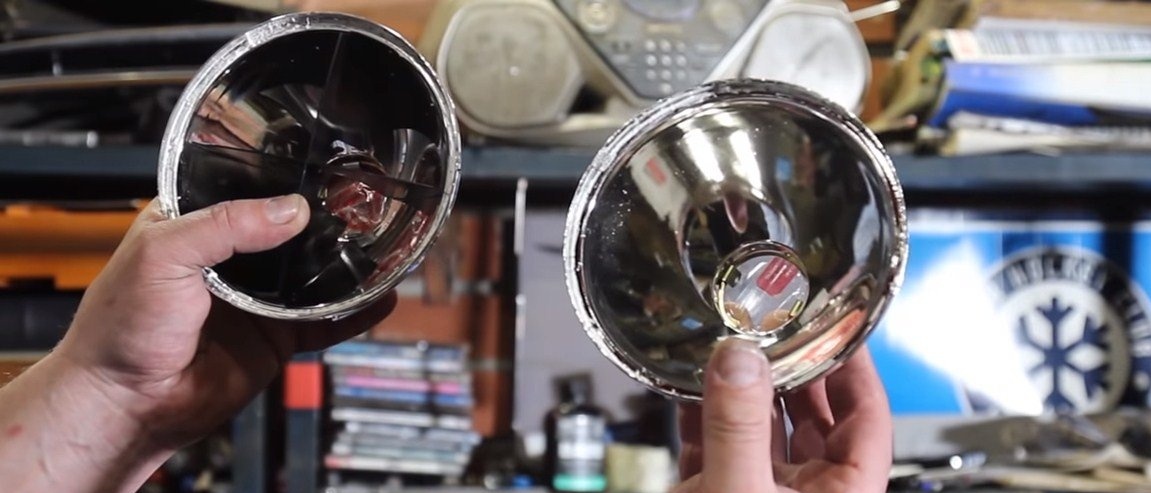
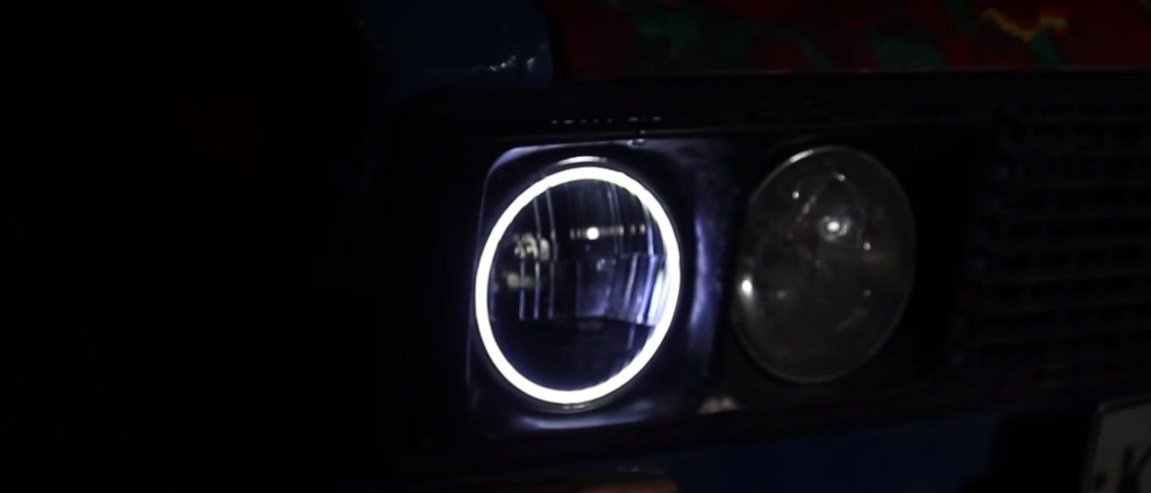
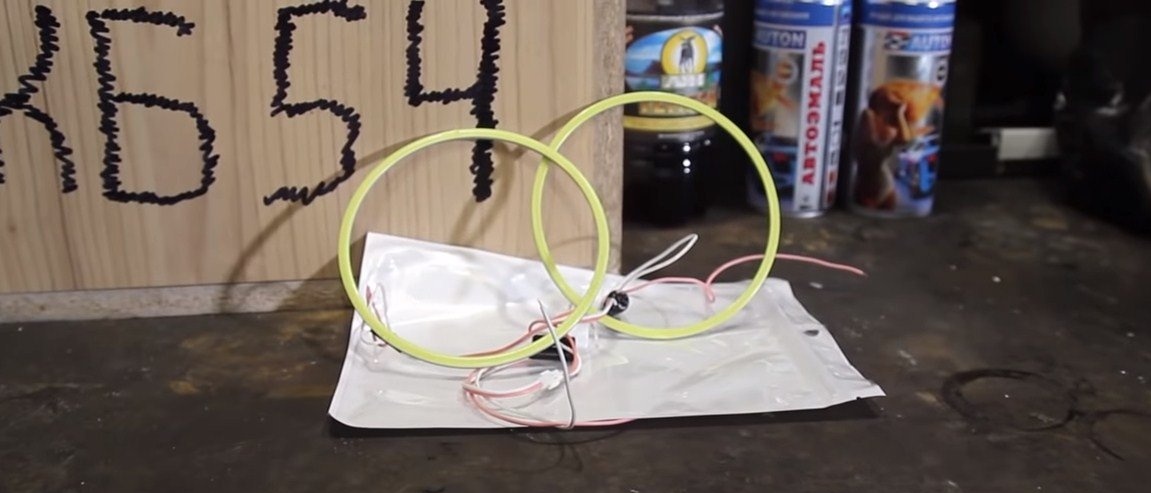
Step Two LED tinting circles
The author’s circles turned out to be yellow, it will be too visible if set as is. To hide the LED strip, the author performed tinting. Then he needed a special varnish for tinting lamps.
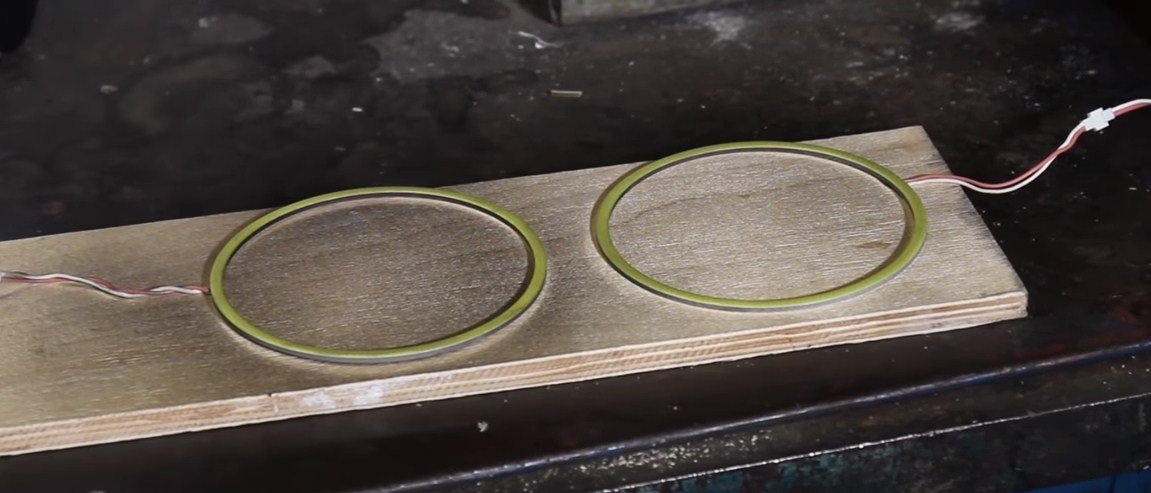
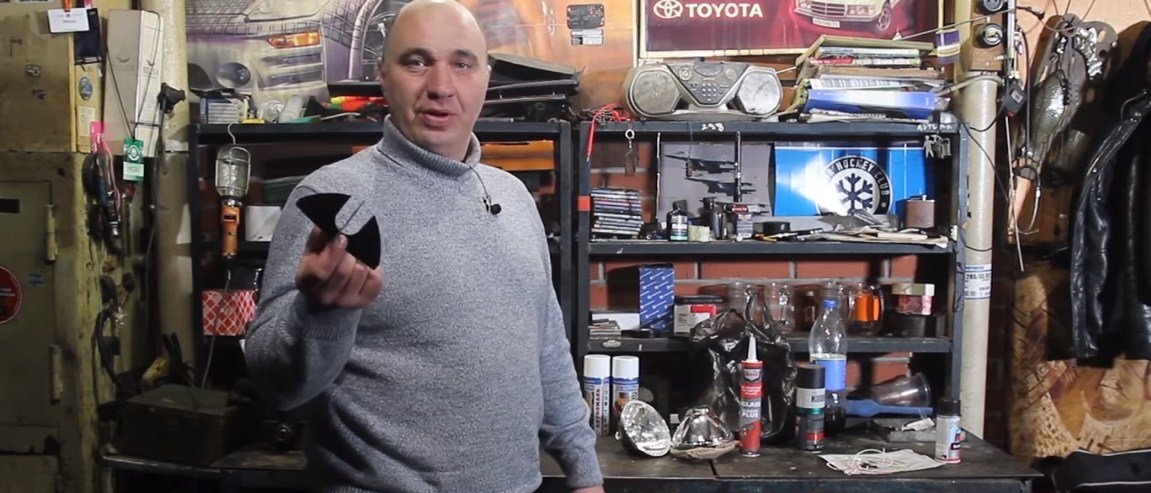
Step Three We collect lights
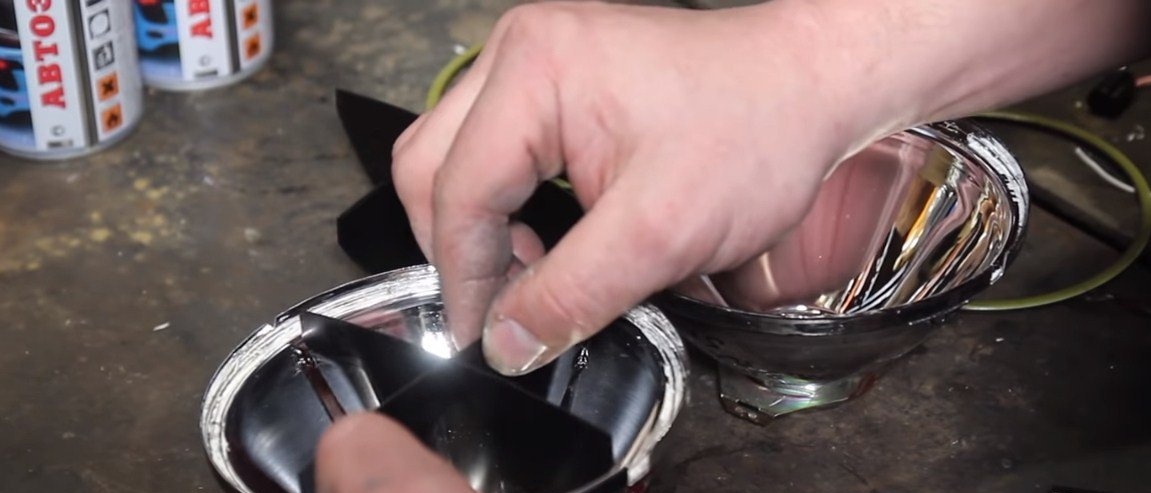
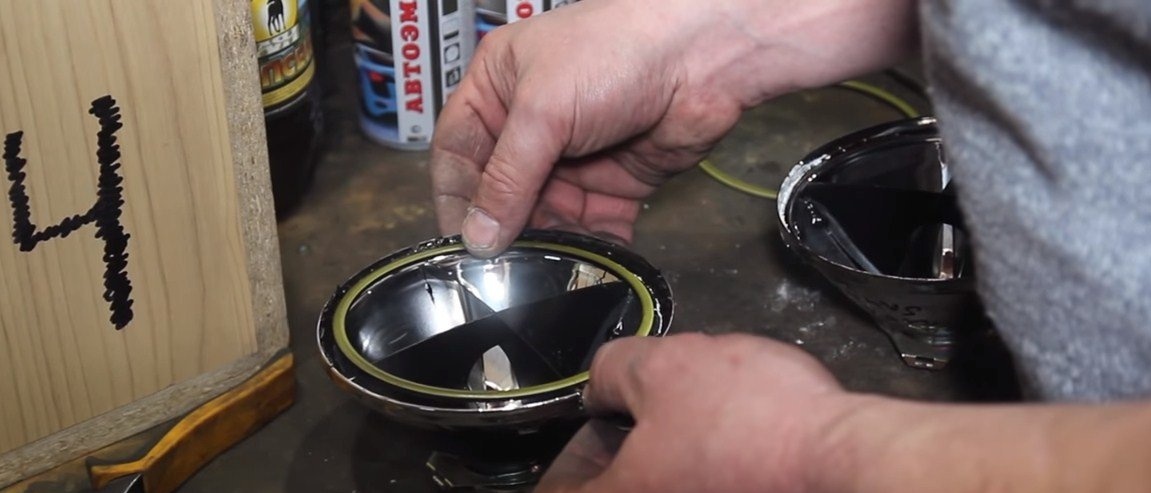
The headlight can be assembled, first we glue the crosspieces into it, here you can use the same sealant. The areas to be glued are thoroughly degreased. Please note that if incandescent lamps are used, the headlight can become quite hot.
We install and glue an LED circle above the crosspiece, having previously determined the length of the wires and lengthening them if necessary. By the way, you may have to drill a hole in the reflector so that the wires can be pulled out, then you need to remember to seal this hole.
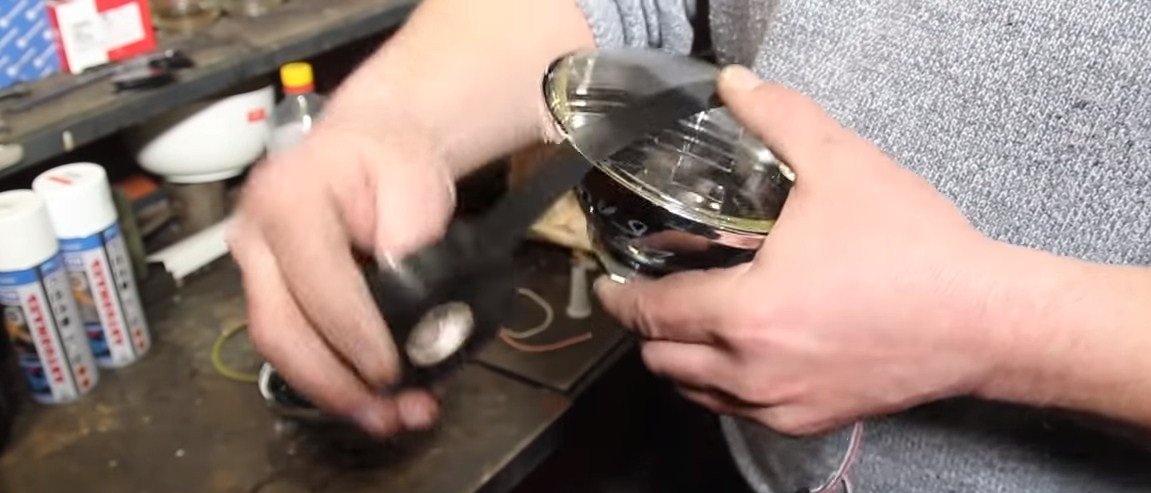
Well, in the end, install on sealant and glass. We wrap everything with electrical tape so that the glass is well pressed against the seat while the sealant dries.

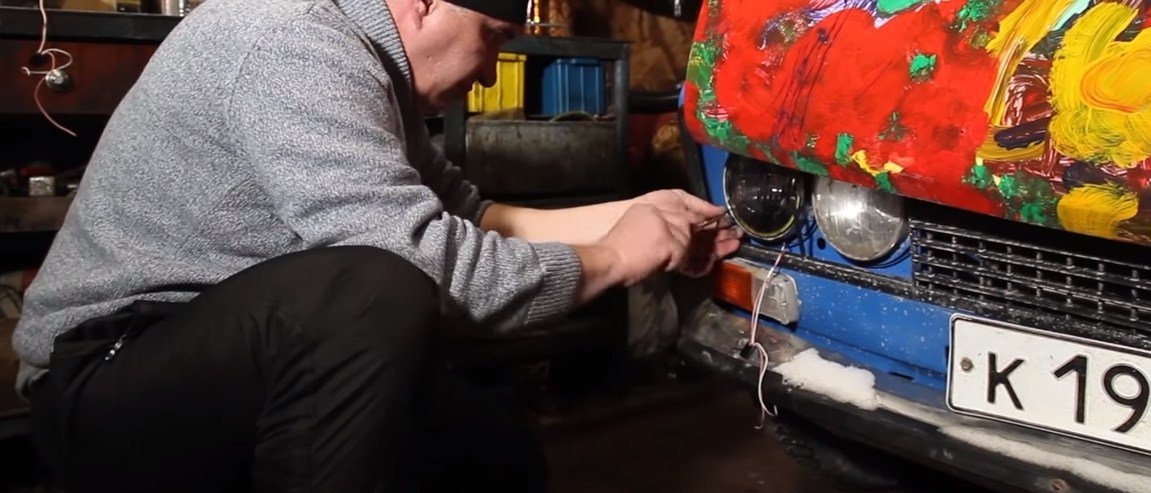
Step Four Installation
The lights are ready, install them on the car. Connect the "eyes" to the side lights.In order for the LEDs to go for a long time, they need to be connected through resistors, but they can already be on the tape.
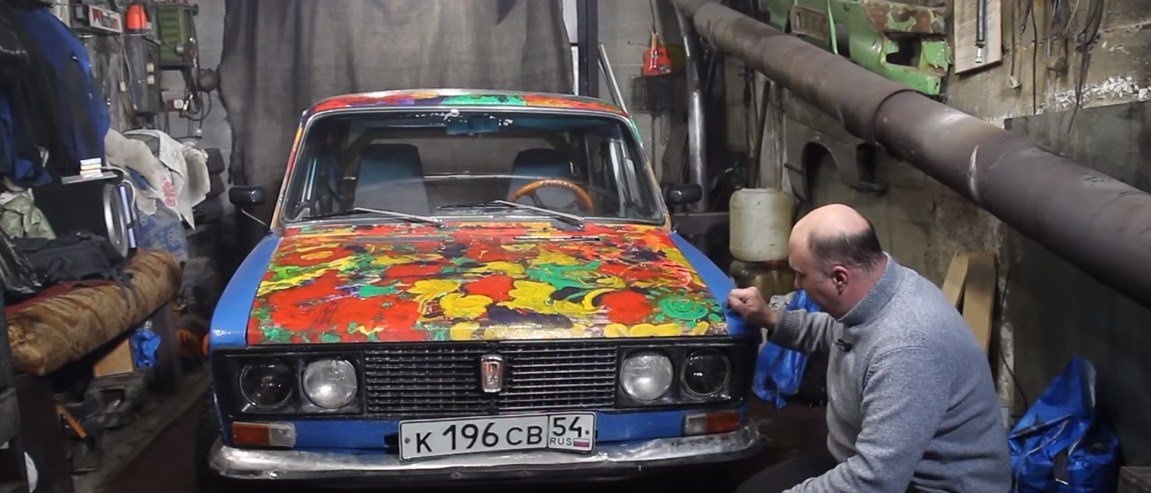
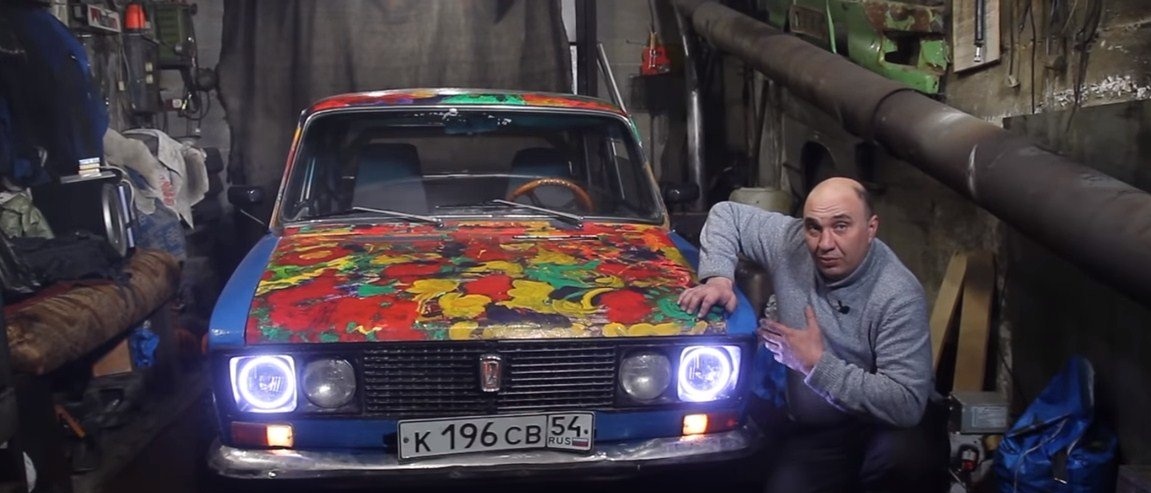
That's all, turn on the side lights, the "eyes" work. Everything turned out pretty interesting, the car became unique. I hope you liked the homemade product too. Good luck and creative inspiration, if you decide to repeat this. Do not forget to share your ideas and homemade things with us!