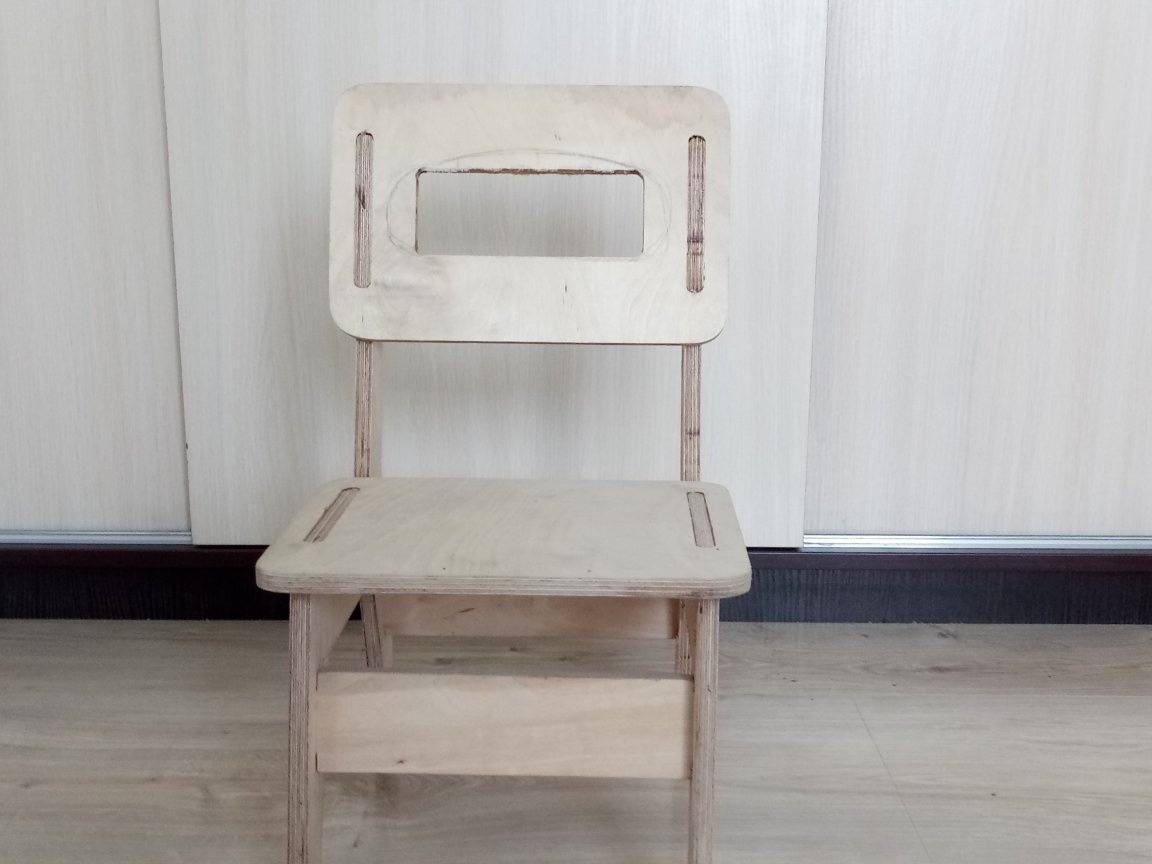
Hello to everyone who loves tinkering and doing everything do it yourself. I propose to make a children's chair from plywood. This article will be very interesting for everyone who already has children, although adults can also use such a chair, since the product is quite durable and light. This chair was made by me in full size, after which I took all the sizes and designed it in the Compass 3D program.
Materials
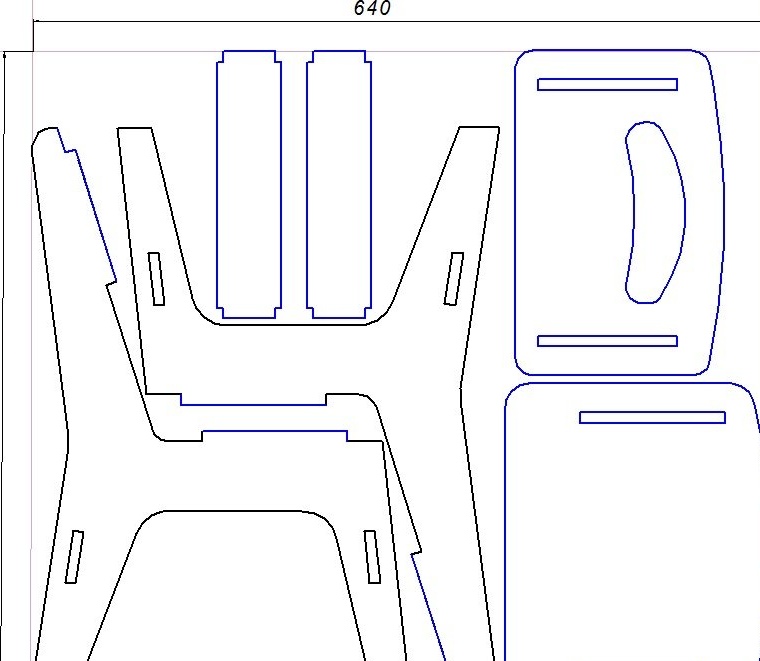
1. Plywood with a thickness of 9 mm and a size of 640 mm x 570 mm
2. Glue for PVA wood or similar
3. Paint - at your discretion
Instruments
1. Electric jigsaw (or manual)
2. Sandpaper
3. Ruler and pencil
Step One: Sizing Plywood
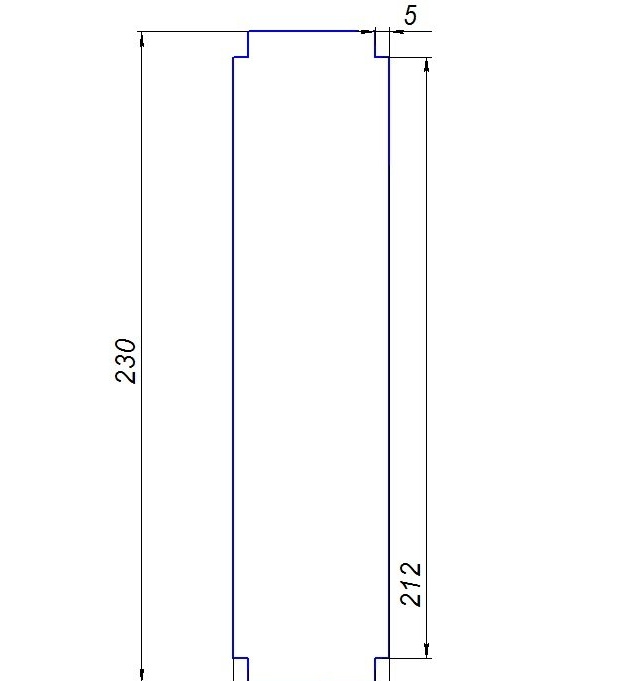
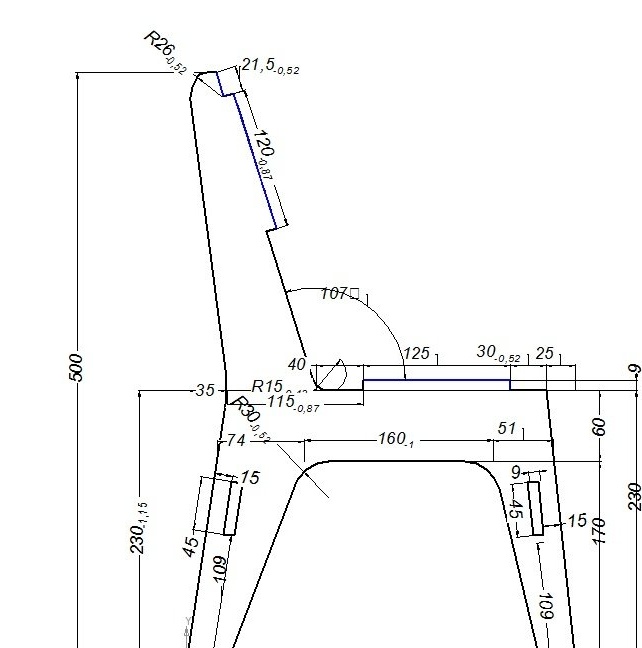
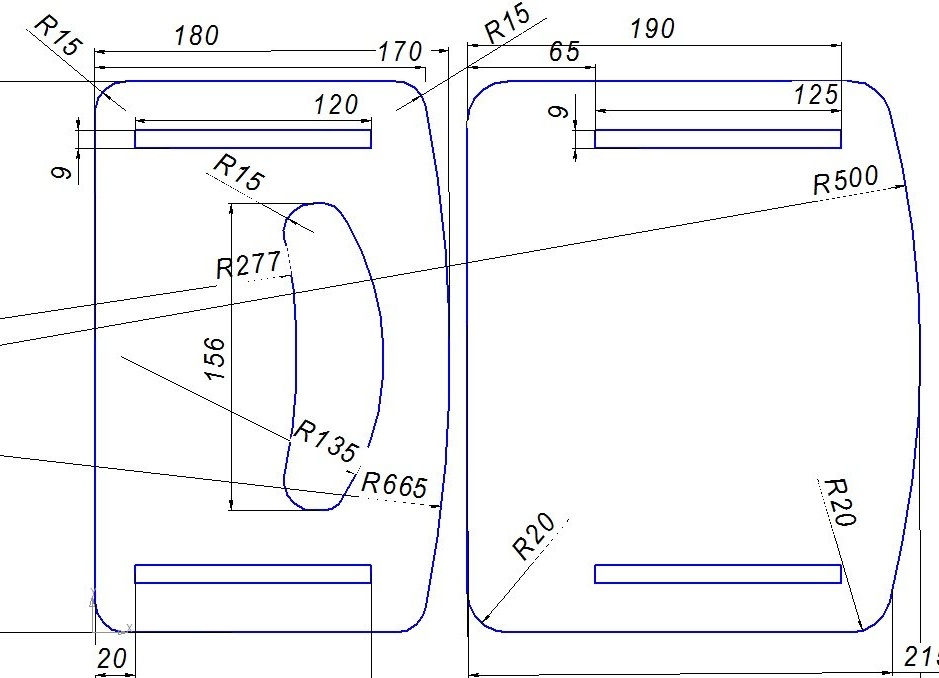
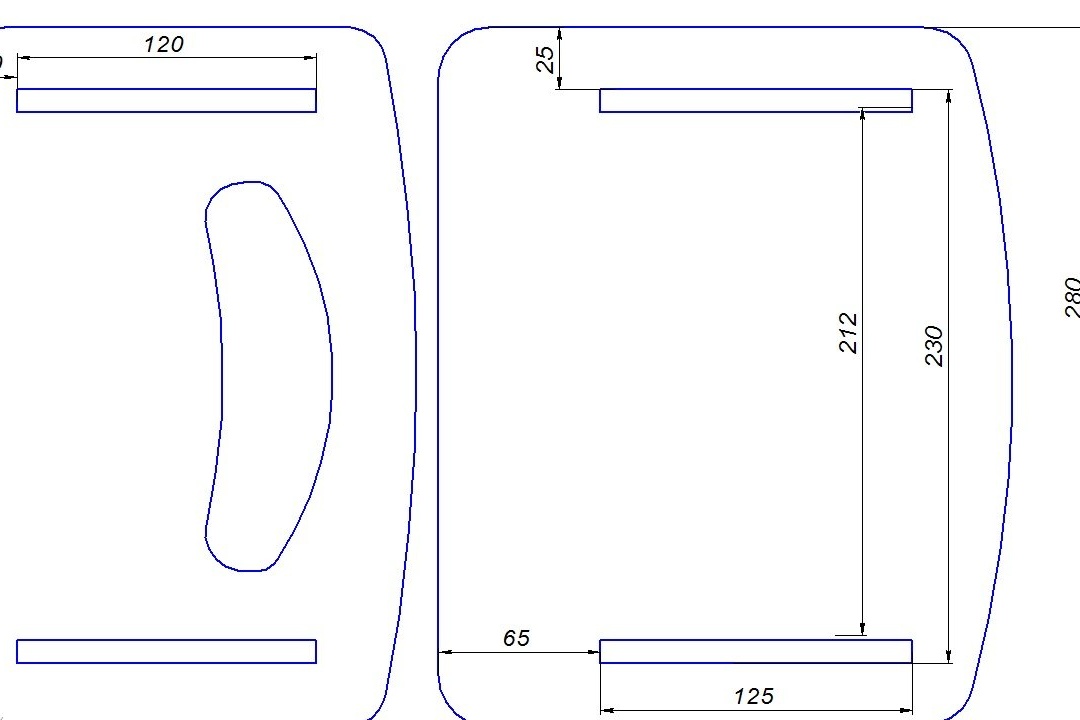
For the manufacture of our chair, we will use multilayer plywood 9 mm thick, and for one chair we just need to take a piece of plywood with a size of 640 mm x 570 mm. I used plywood with a thickness of 9 mm, but if you have plywood with a thickness of 8 mm or 10 mm, it will also work, only you will need to change some dimensions in the drawings (you need to change the width of all the eyes on the back, seat and legs, to the width of the plywood you use ) To get started, transfer all dimensions of the drawing to a plywood sheet.
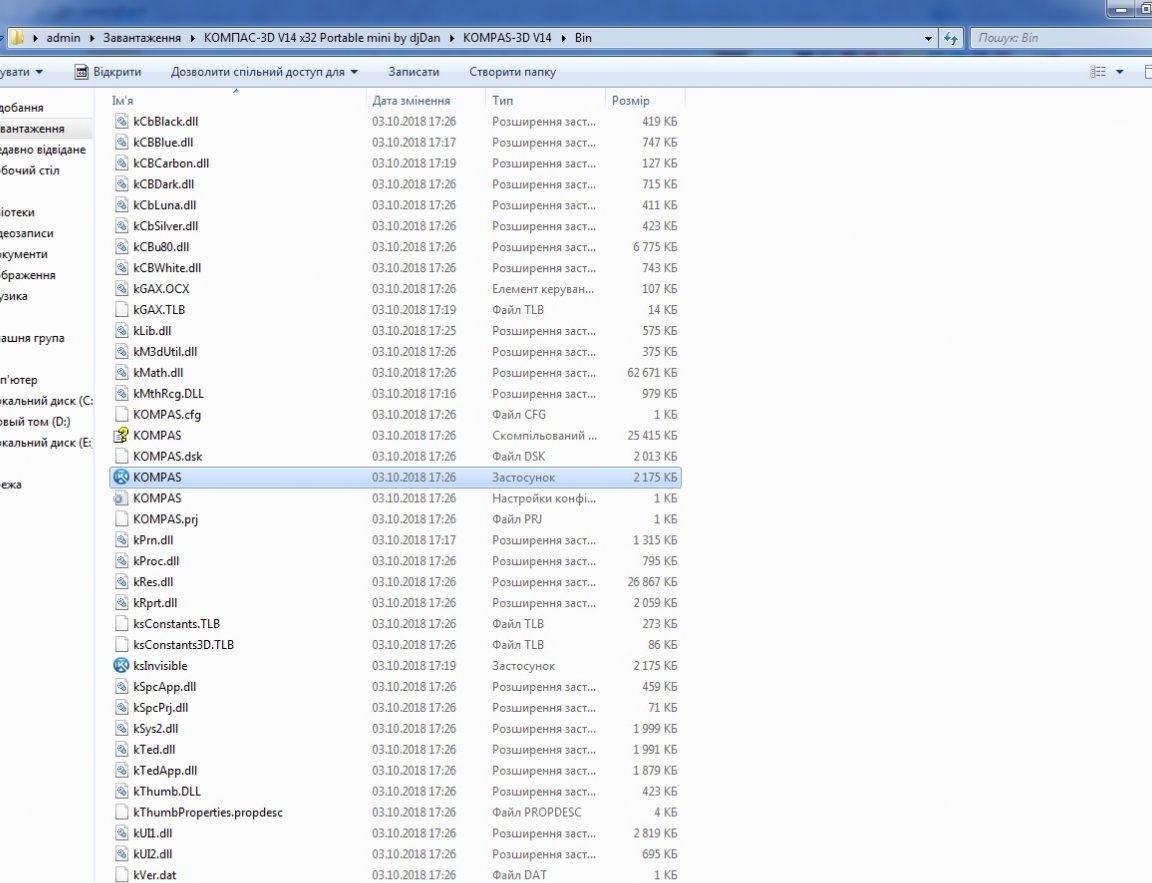
Of course, this is not the easiest way to transfer the drawings, and here you have to sweat a little. Of course, I provided an easier way to transfer the drawing to plywood, and everyone who has a printer at home will be able to do everything much faster, easier, and better. In order to print the drawings on the printer, you have to install the Compass 3D program on the computer. We hammer in the search engine the name of the program KOMPAS-3D V14 x32 Portable mini and download it from any resource convenient for you. This is a portable version of the program and it does not require installation on a computer. Open the folder with the downloaded program

Next, open the bin folder

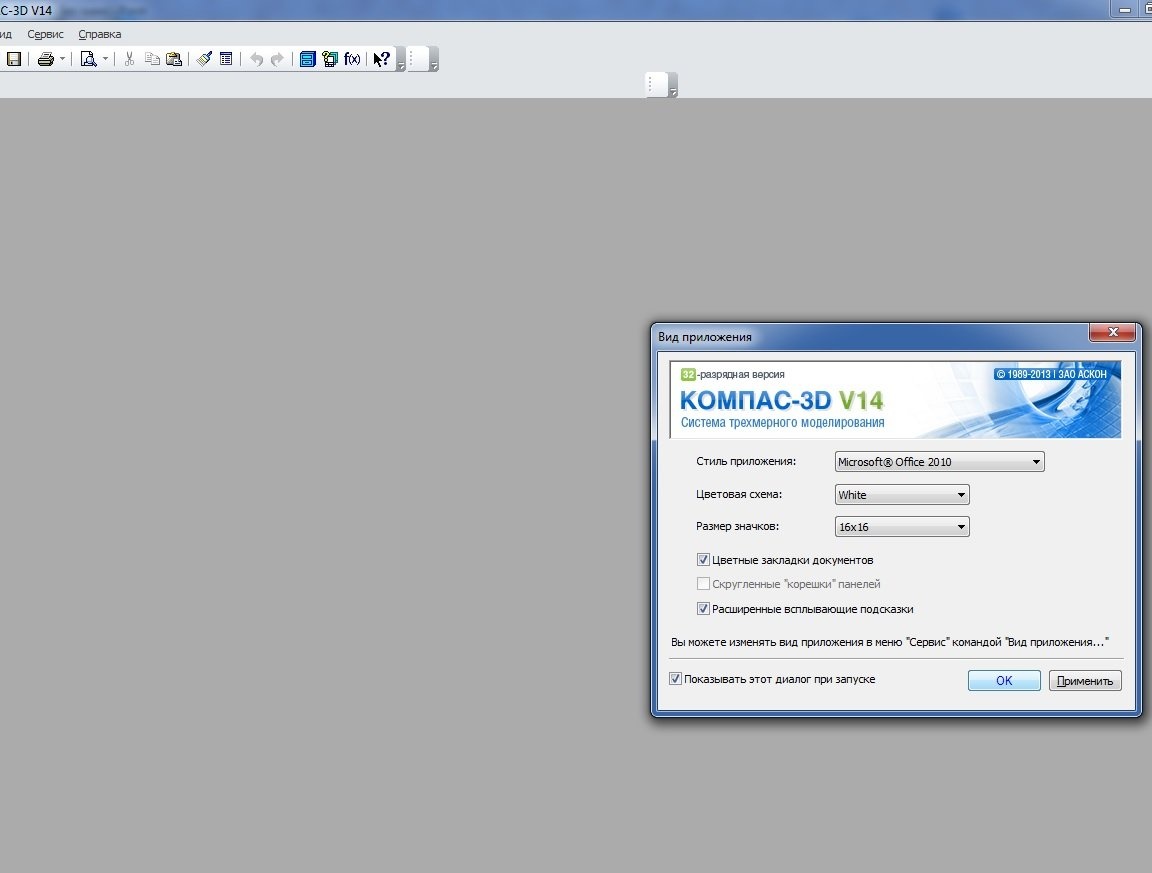
Next, run the program itself
In the dialog box, click OK
Our program is open and ready to go. Download the drawing (Plywood 9 mm 640 to 570.frw)
Now open the downloaded drawing in the program and click-Preview


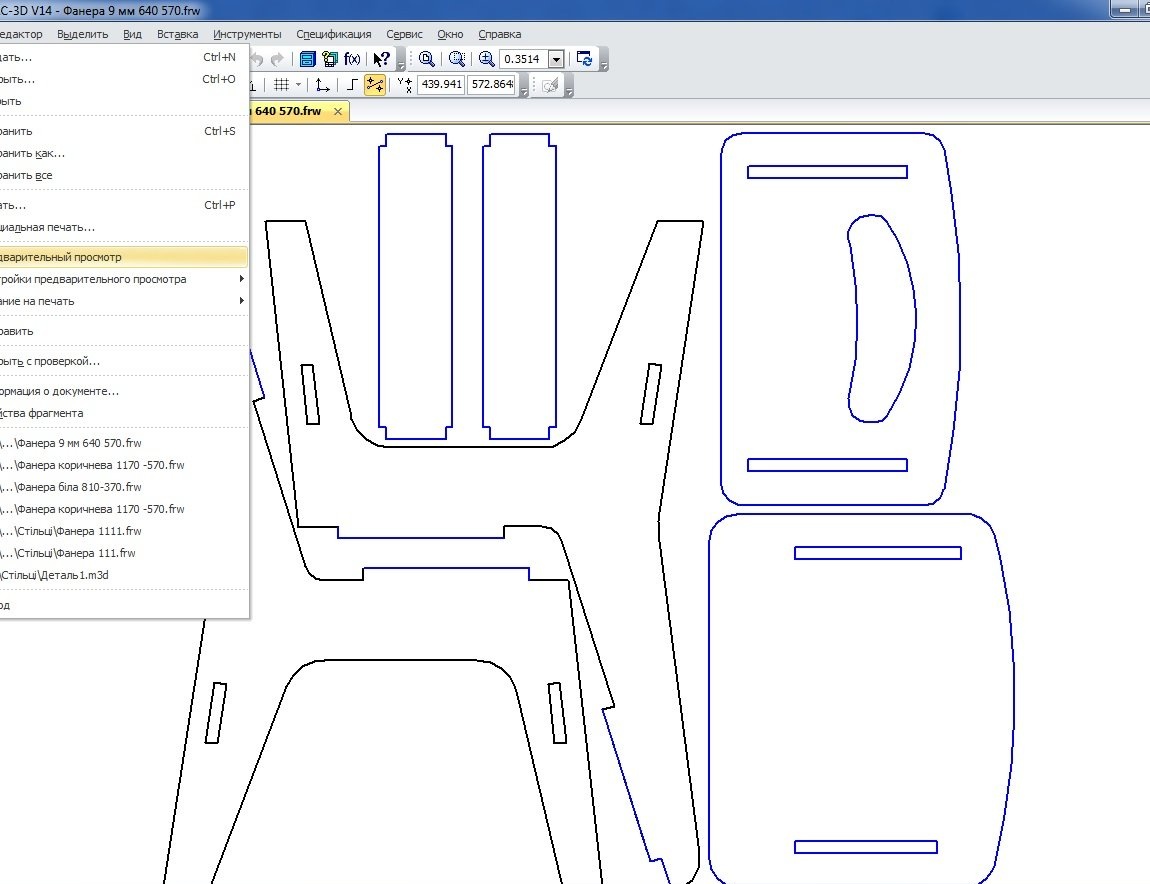
We leave all the settings unchanged and print our drawing, it will require seven standard sheets for an A4 printer. Glue the finished print along the lines.

Now such a printout can be glued to the plywood and cut it all out.
Step Two: Cut Out Plywood Parts
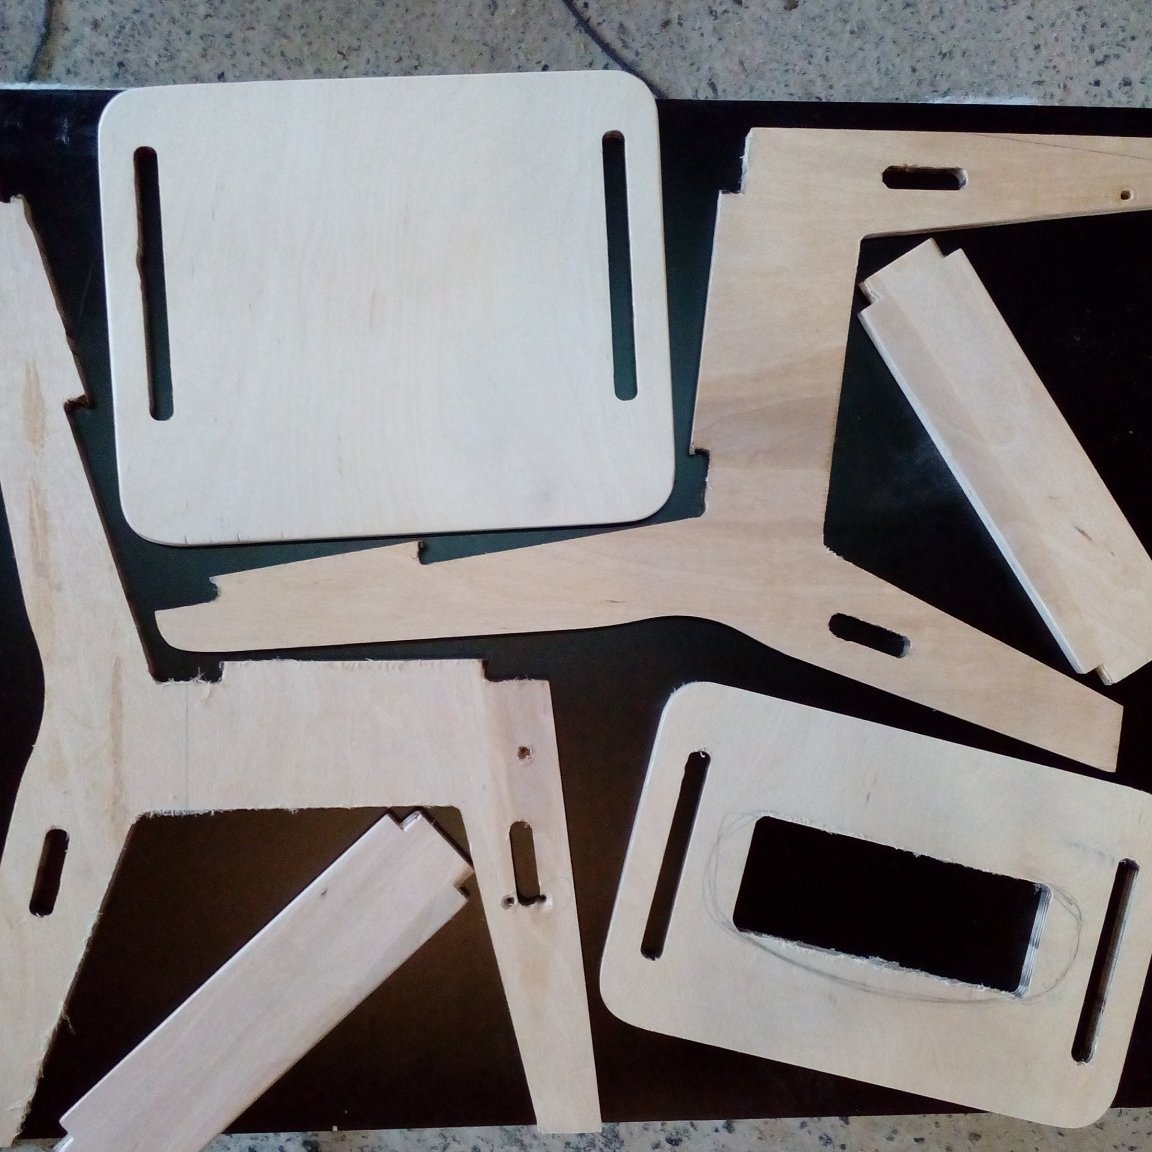
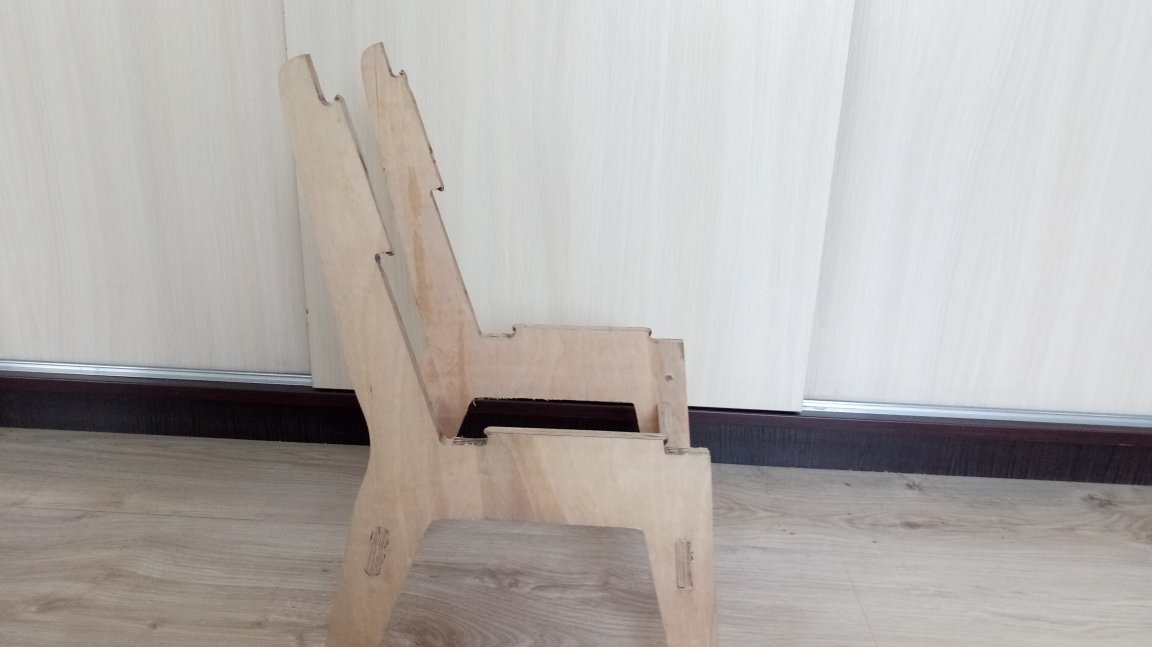
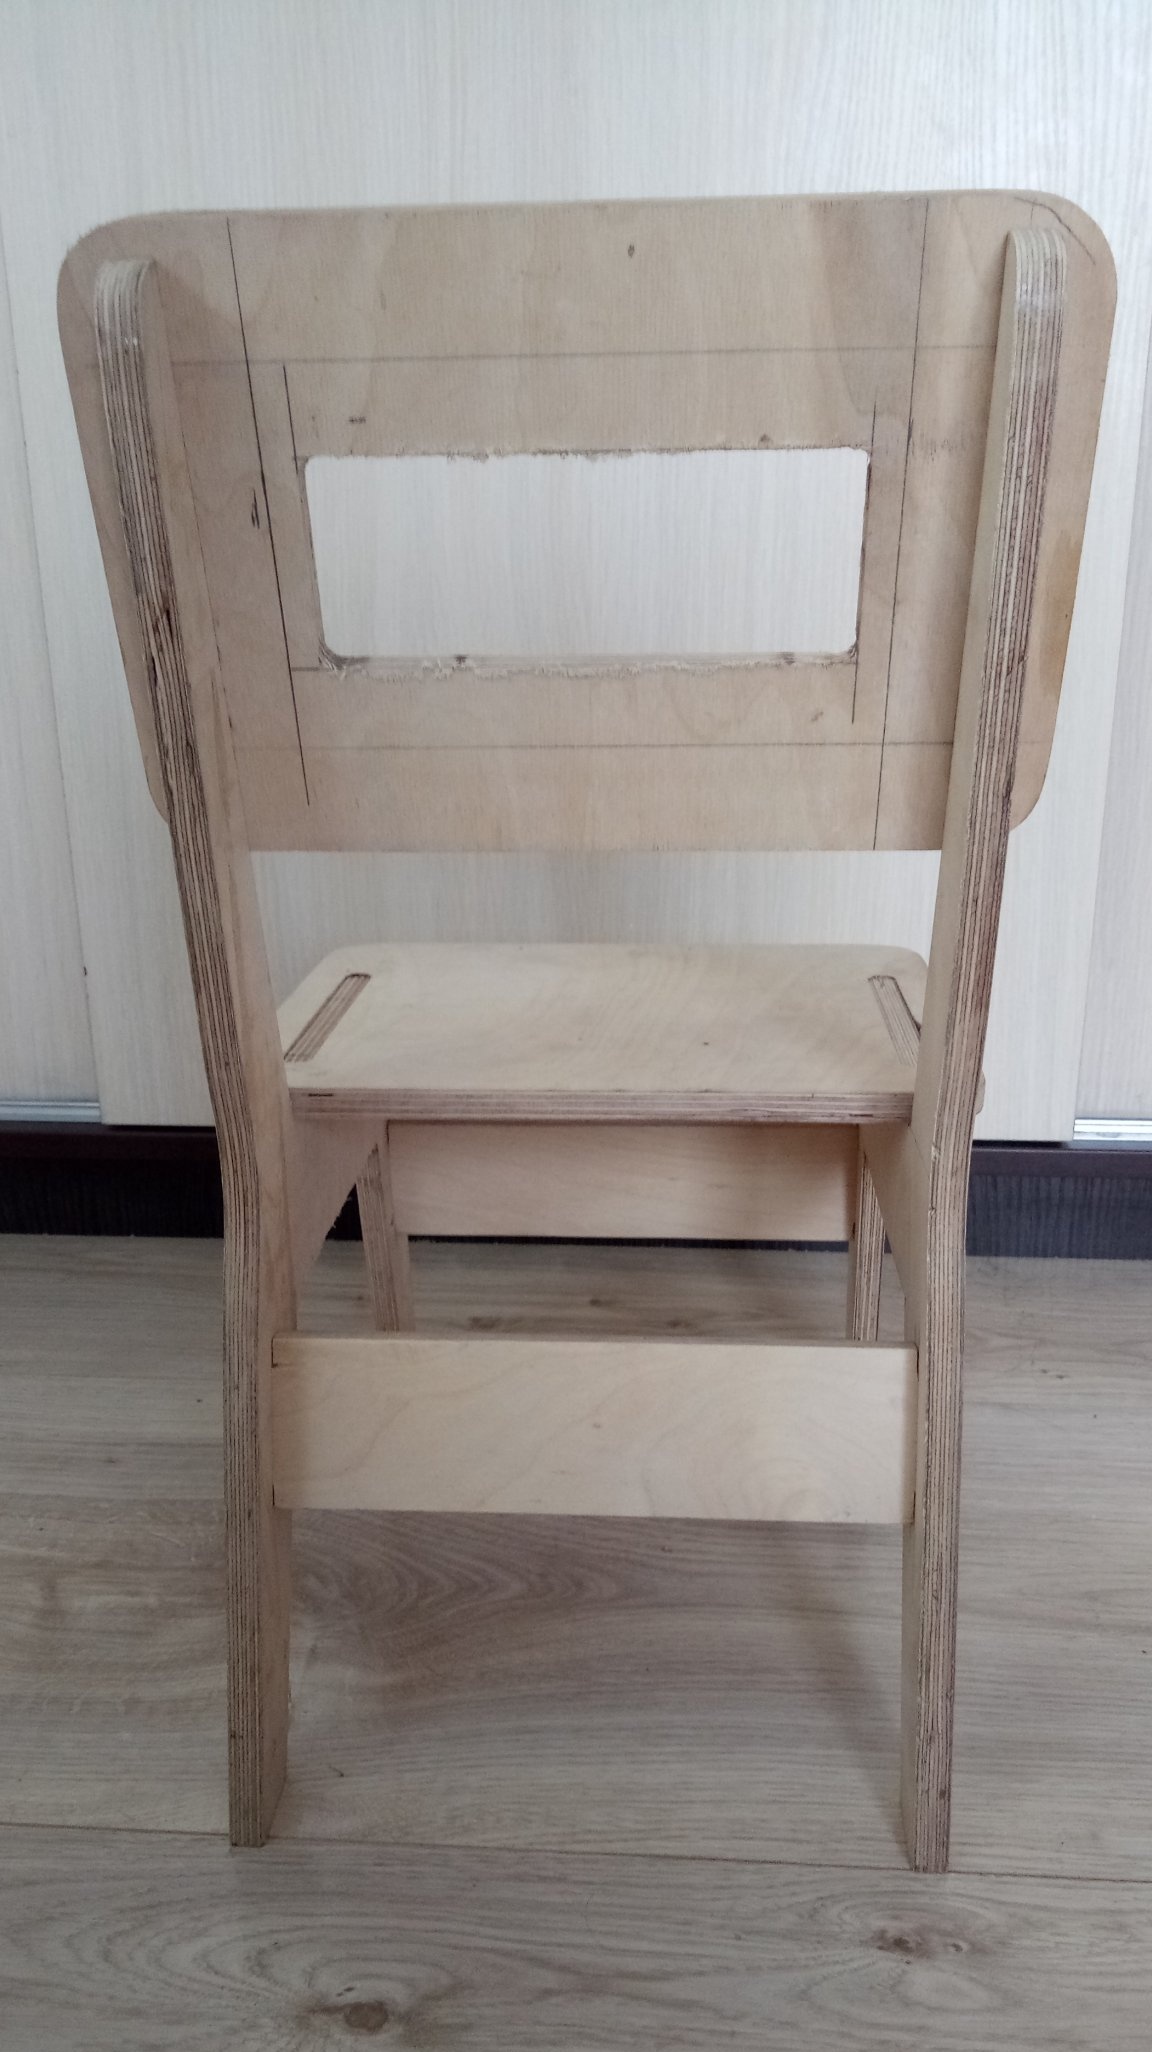
After applying dimensions to the plywood using one of the above methods, you can proceed to cutting our parts. The most affordable tool that we will use is, of course, a jigsaw.You can use a manual jigsaw, such as the children use at school in labor lessons, or a more advanced jigsaw. After cutting, we should get these details.
There is also an easier way to get our parts, and those who have a CNC machine or can access it in this way. Download the same file above, open it in Compass 3D, and save it in the desired format for the CNC machine software. Now our parts will be cut in minutes.
Step Three: Preparing Parts for Assembly
Before proceeding with the assembly of the chair, all the details must be properly sanded. We take sandpaper No. 100, and we pass on all surfaces of the parts from all sides, we also shoot down sharp edges. It is necessary to check all the connections of the parts, whether everything is well connected, and if you need to immediately fit the joints to each other. After that we take sandpaper No. 240, and again we pass on all surfaces of the parts from all sides.
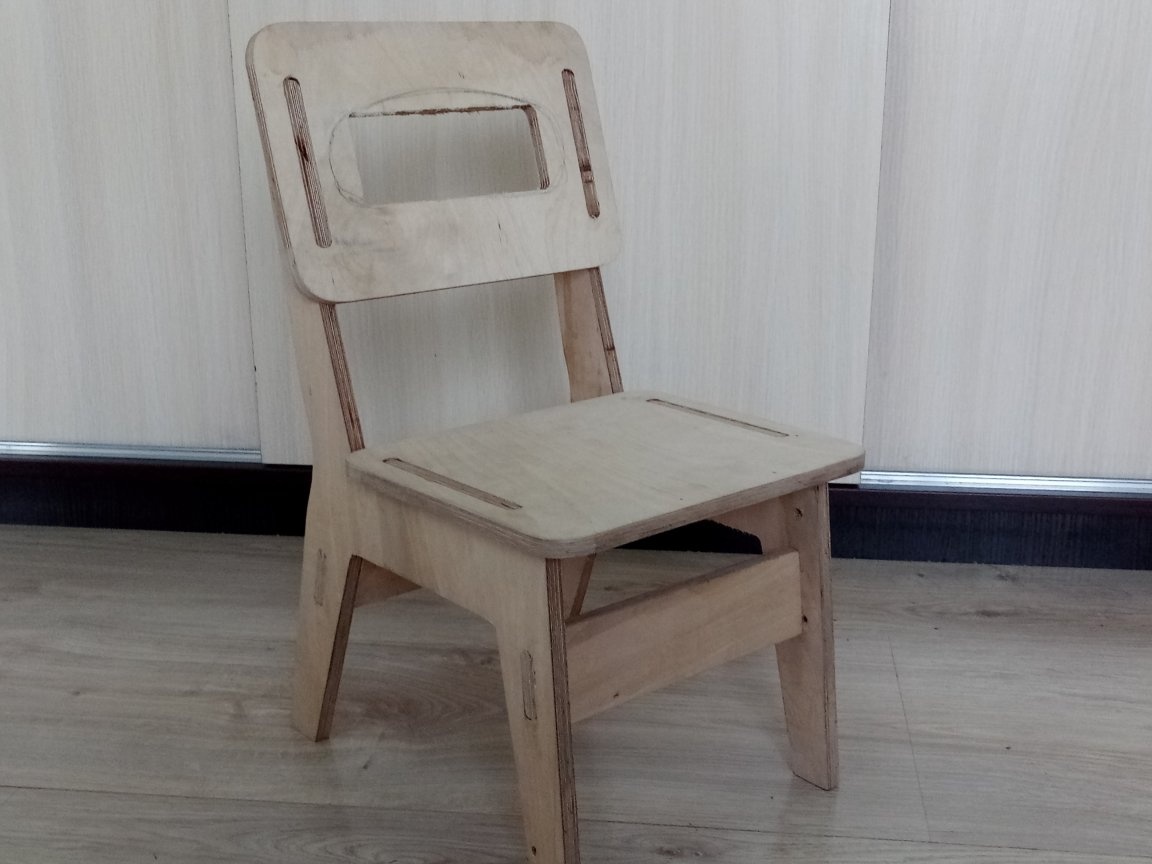
Step Four: Build a Chair
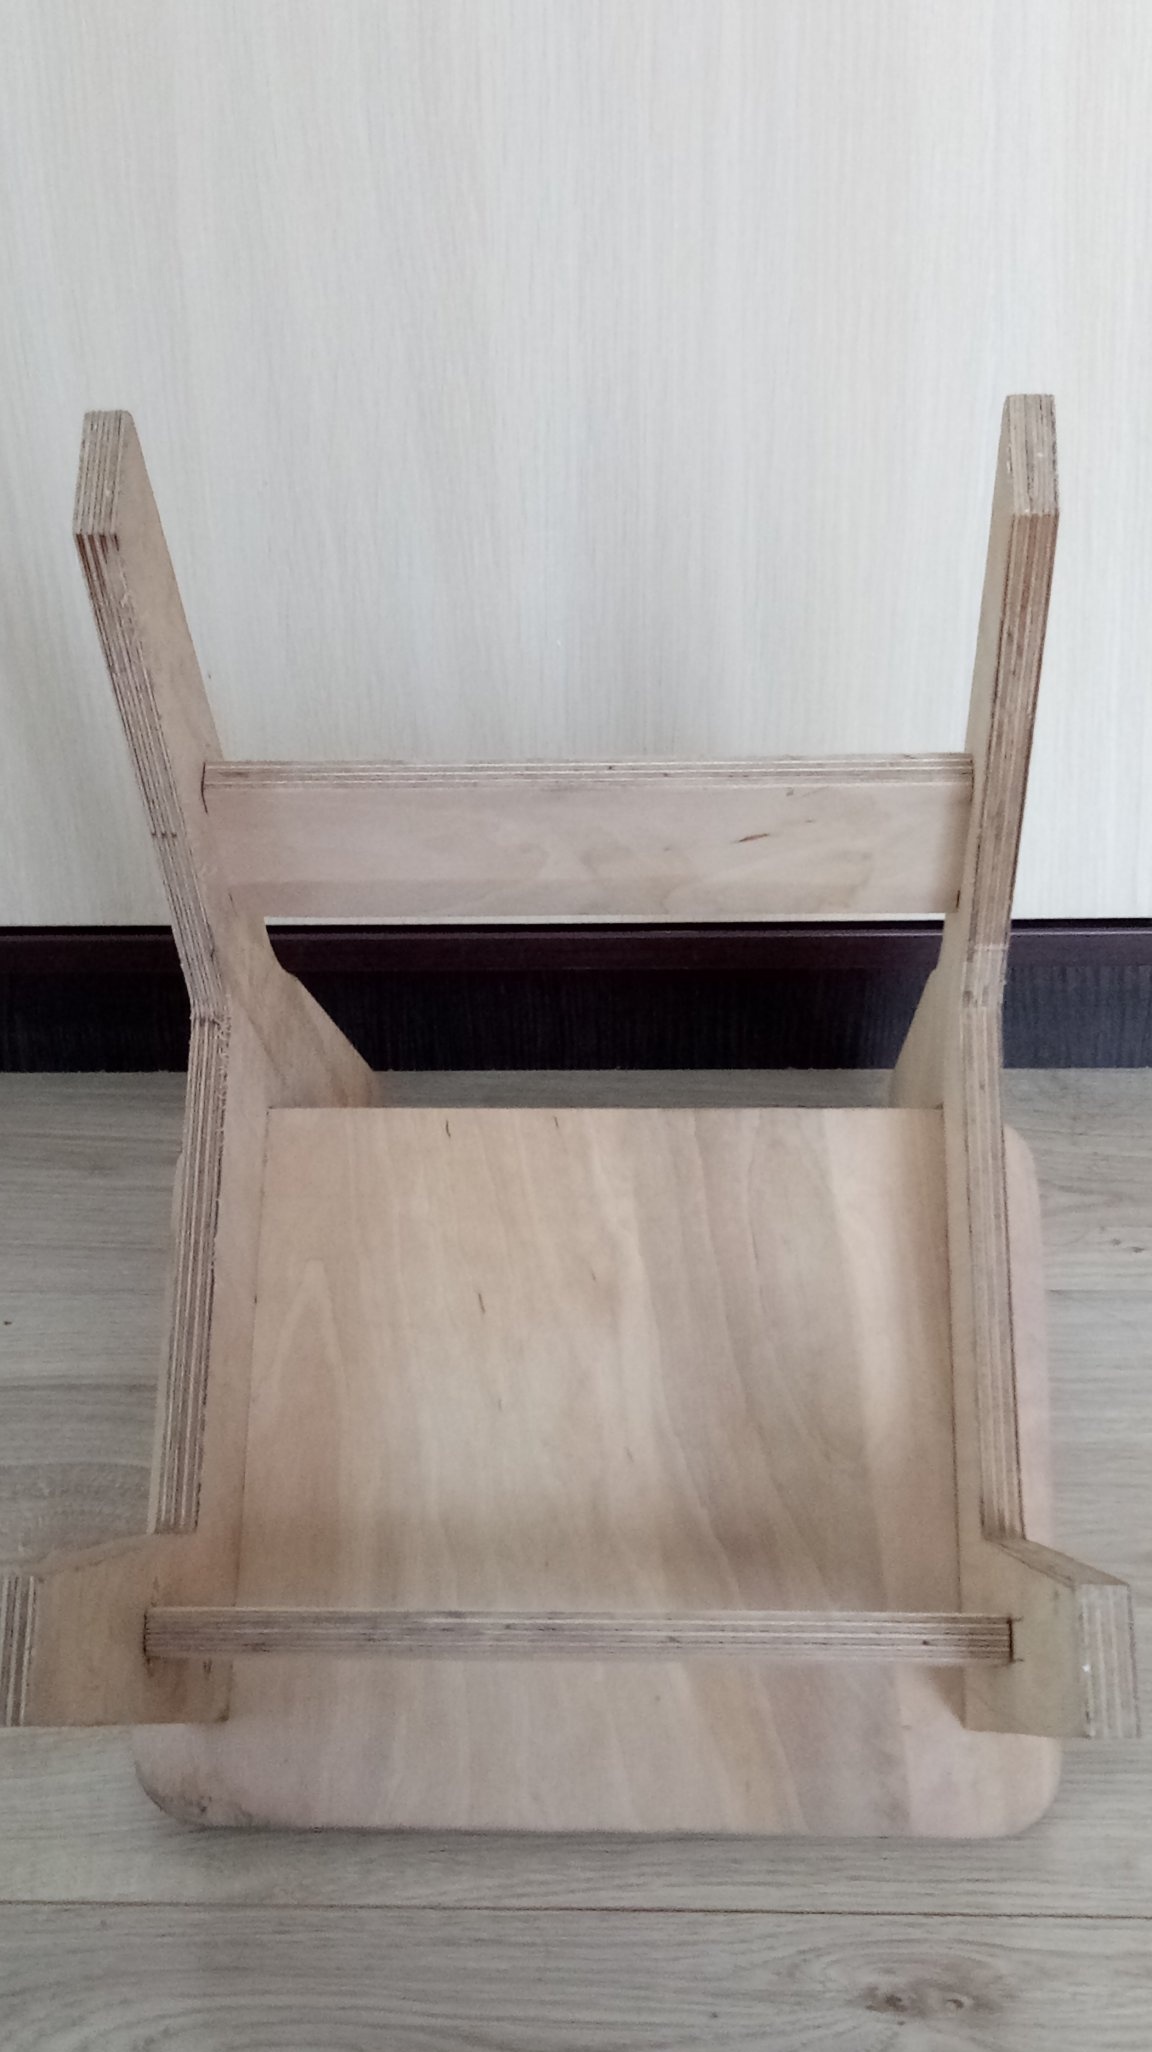
After preparing all the parts and checking the density of the joints, you can proceed with the assembly of the chair. We take two drawers and smear the joints with glue and then connect them to the legs of the chair.
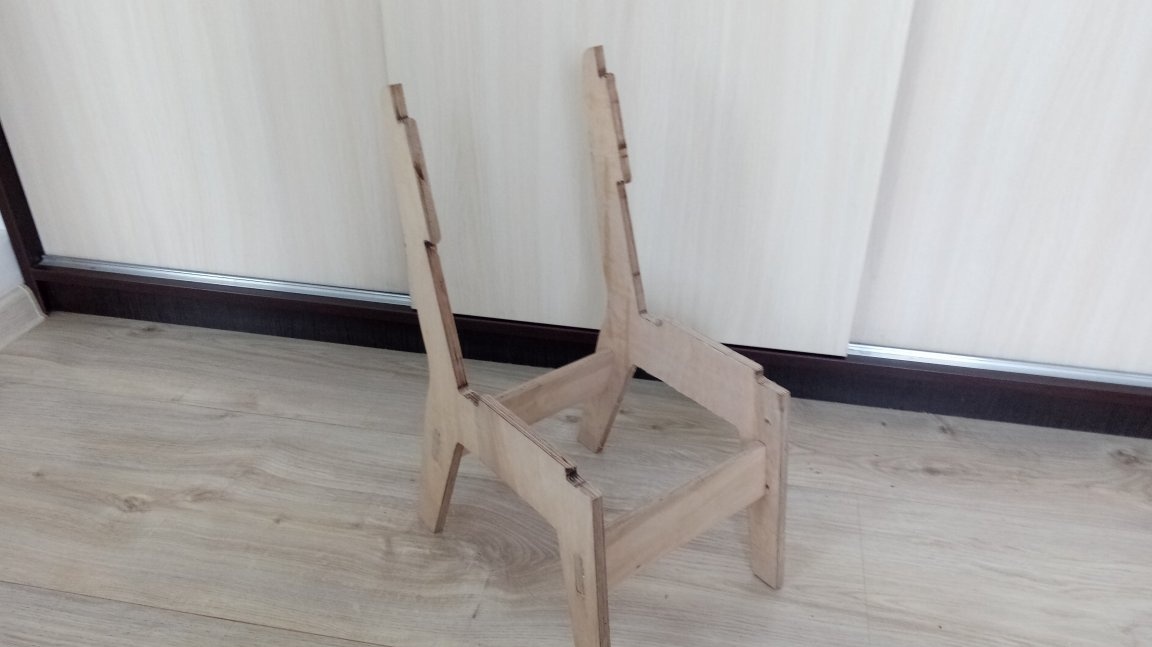
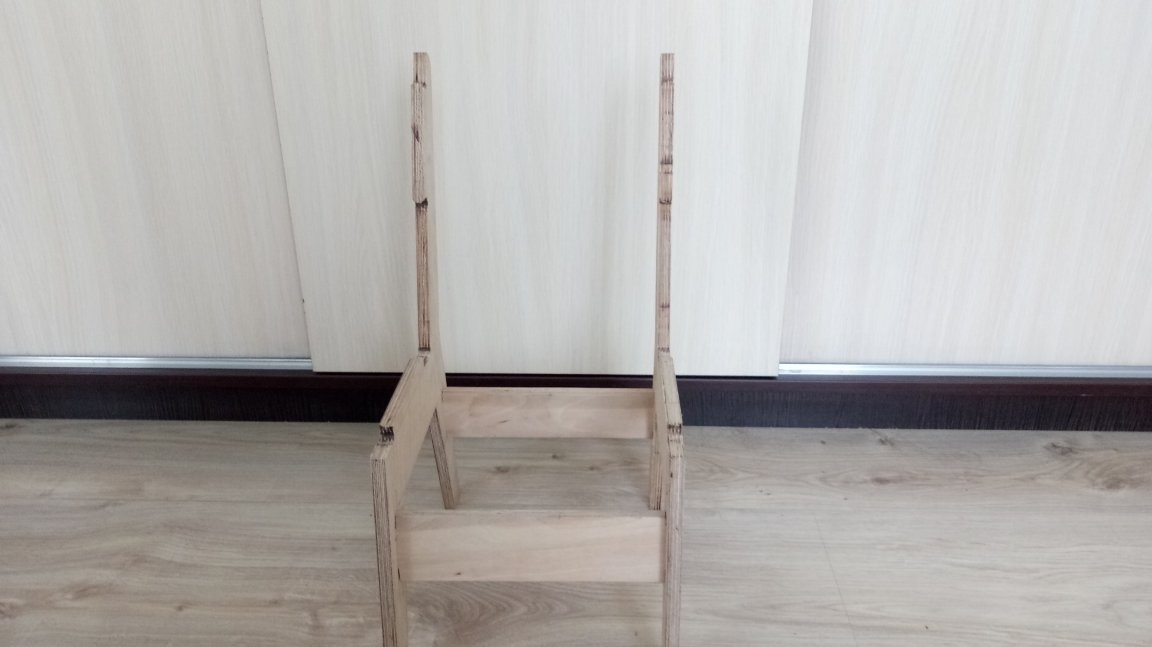
Next, we glue the legs with glue at the joints and glue the seat, we fix the back in the same way.
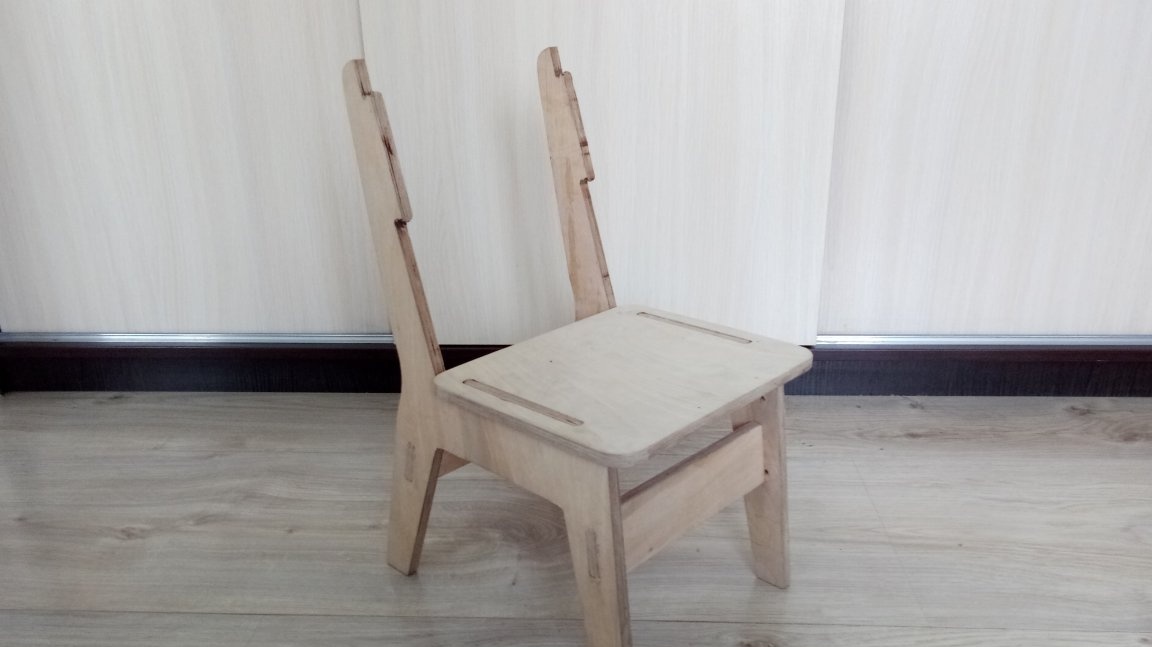
We wipe the glue that came out with a damp cloth, and leave the chair for a day in a warm place.
Step Five: Painting the Chair
The final step in the manufacture of the chair will be its painting. Before painting, you need to walk with sandpaper No. 240 in the places of gluing, and even go over the entire chair. Now on the market there are many paints and varnishes for painting any surface, and which paint or varnish to use, of course you decide.
Conclusion
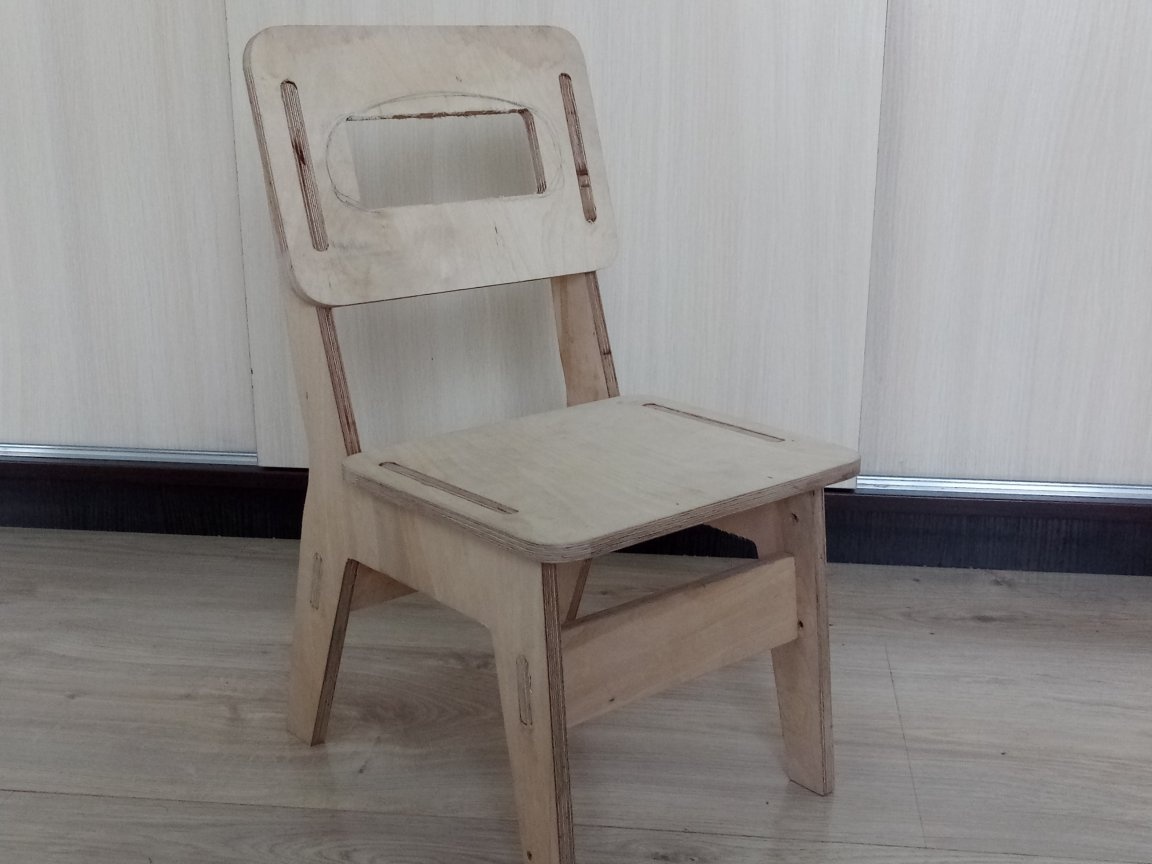
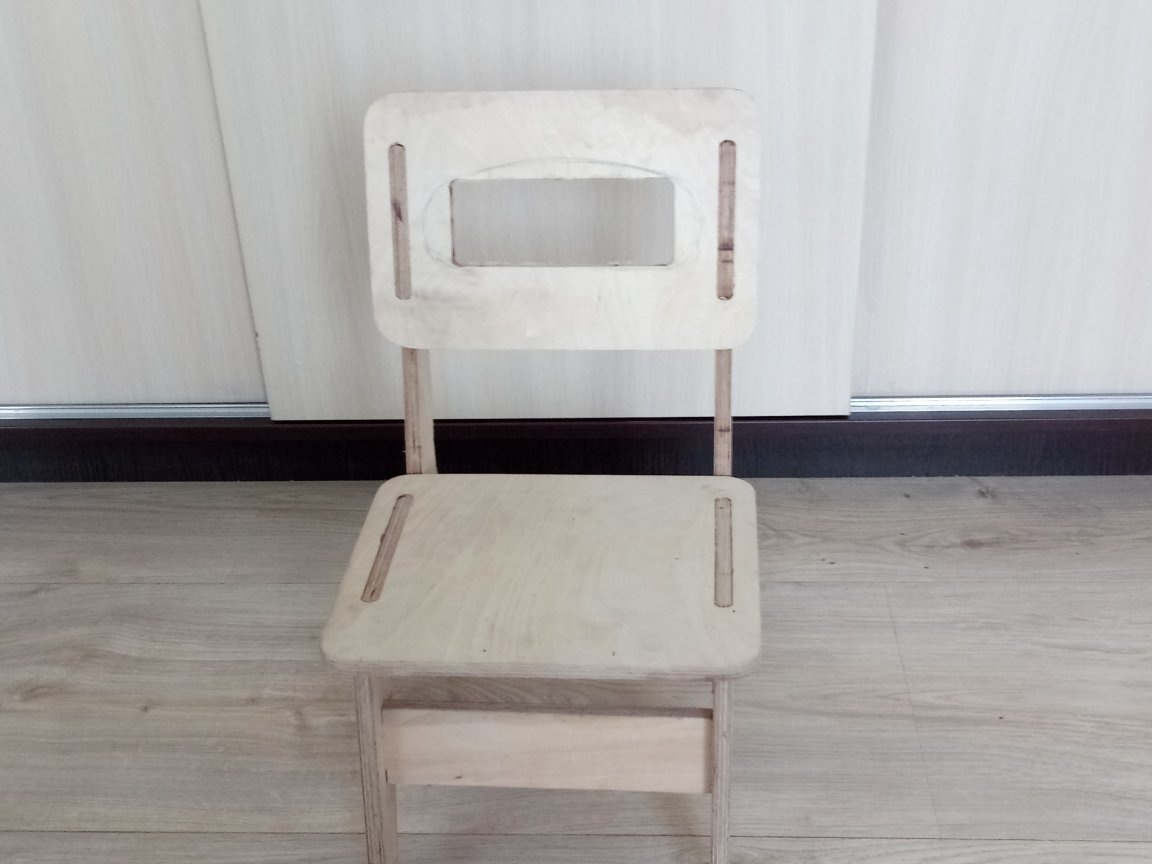
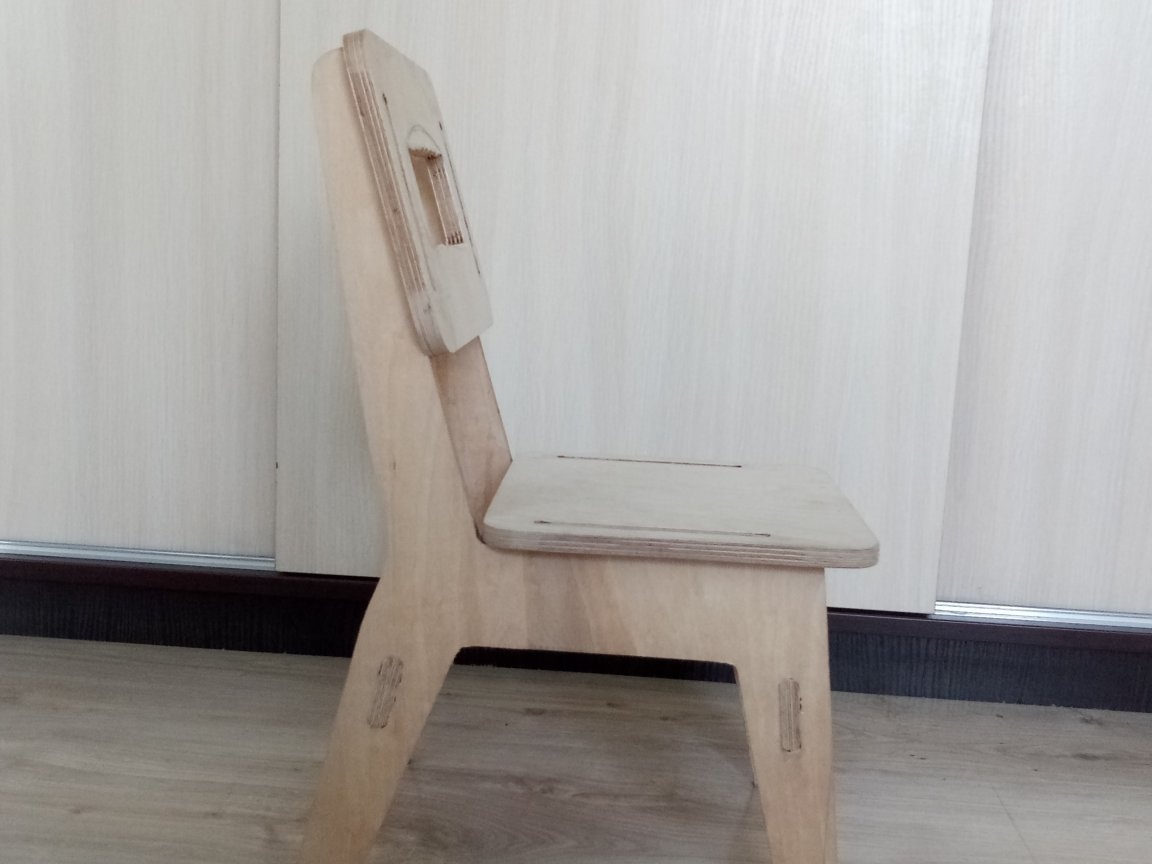
I didn’t paint my chair because I made it as a prototype, trying to fit and calculate all the sizes. The chair is designed for children under 6 years old, but I designed it so that even an adult with such a height as mine (1.80 m) is very comfortable to sit on. Such a chair can also be used as a garden chair. furniture, take fishing, etc. I think that everyone will find their own application to such a necessary interior item.