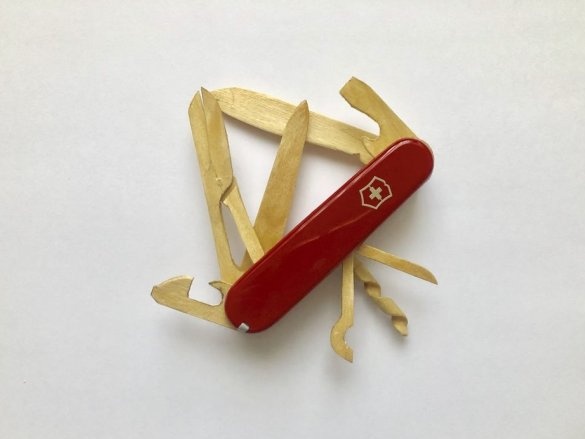
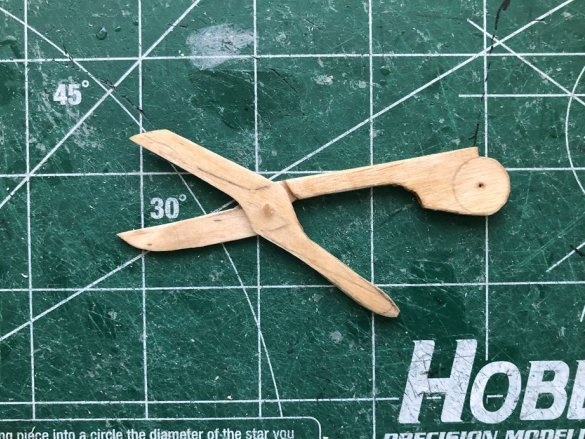
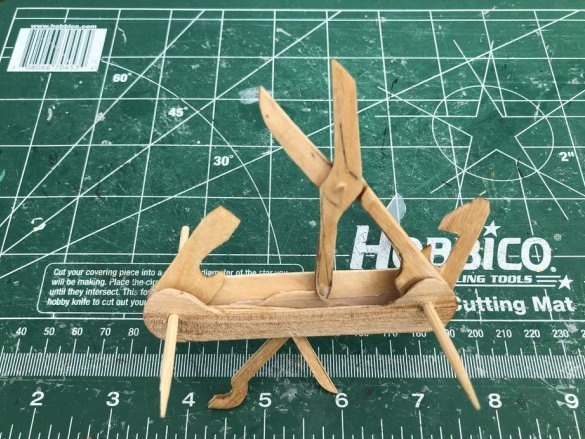
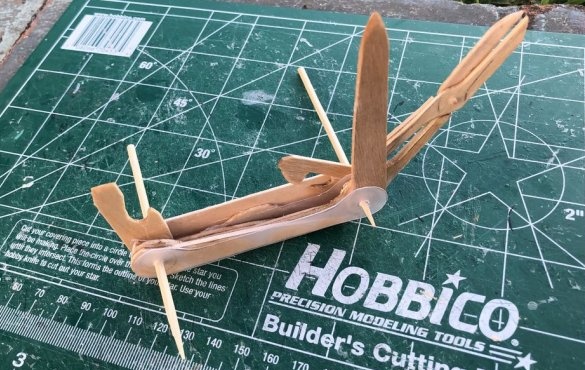
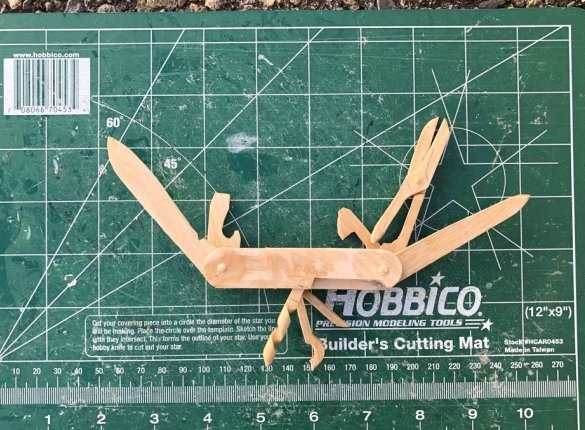
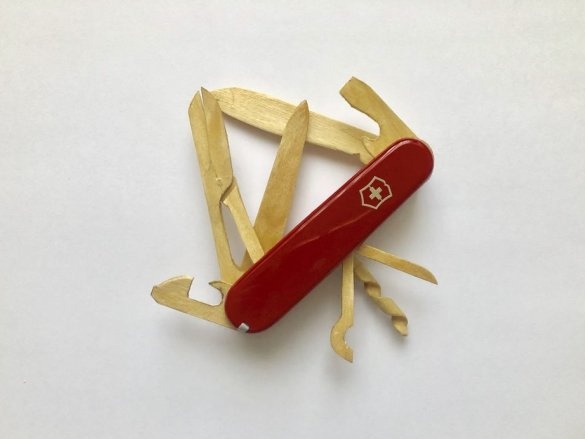
The author of Instructables under the nickname cparedes2302 is building aircraft models, which involves a lot of fine work with wood. To further train his skills in manufacturing wooden parts of complex shape, he, following the example of a video blogger under the nickname 3TYEAR, made a model of a Swiss knife from ice cream sticks. If the KDPV is slightly defocused, it will be very similar to the real one!
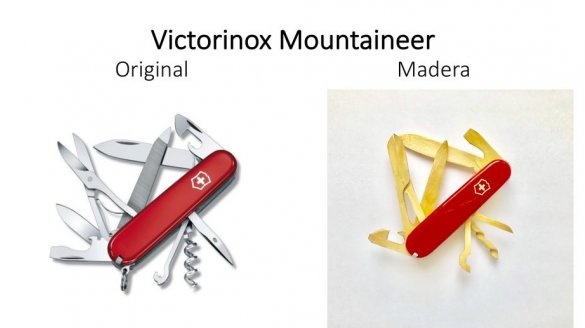
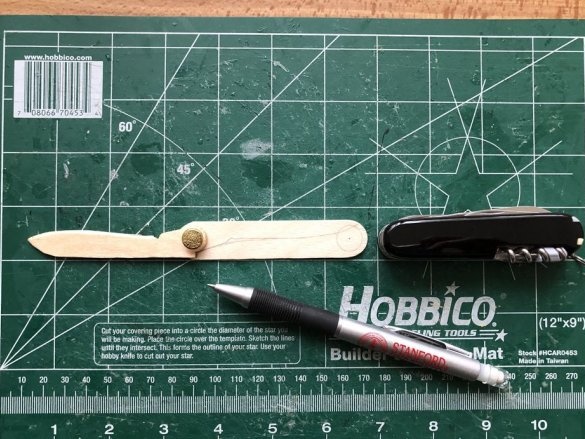
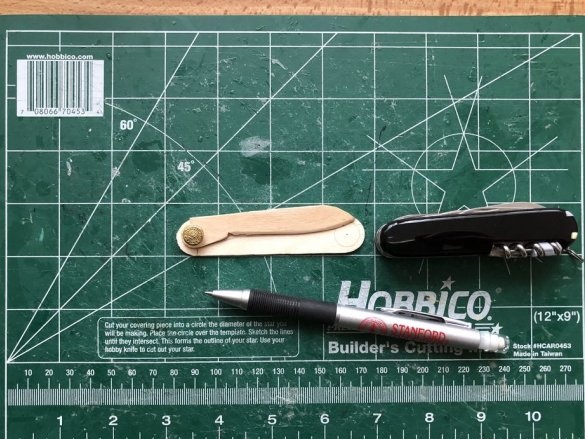
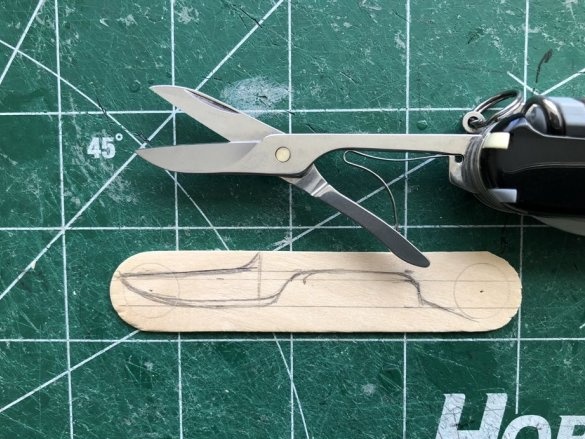
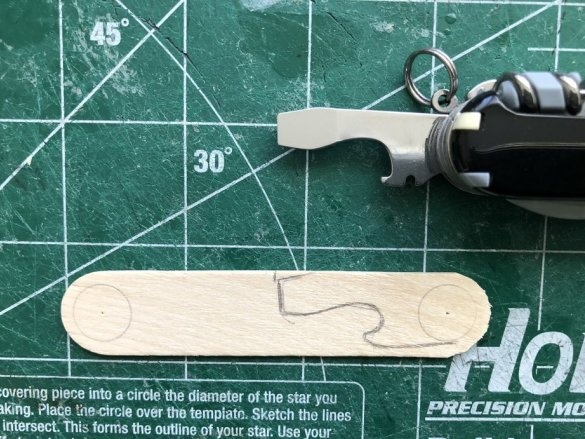
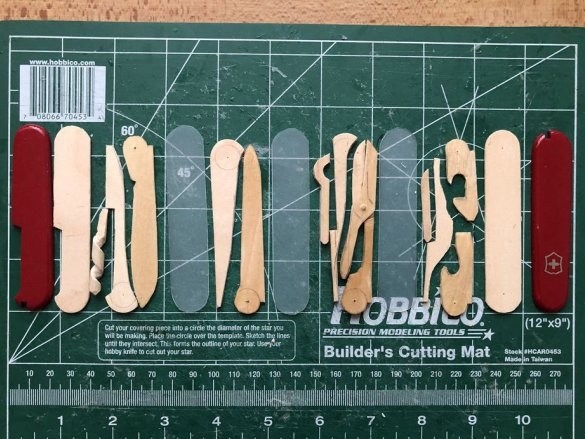
To recreate in the tree, the master decided to knife the model Victorinox Mountaineer, which he uses. Compare this with the layout:
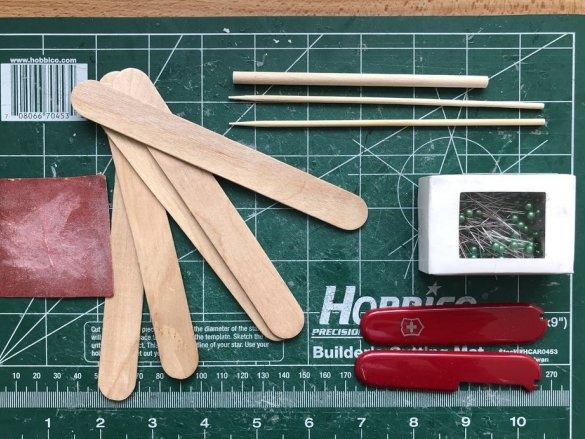
Having looked at the items necessary for manufacturing assembled together homemade, you will find ready side patches from a real knife. Probably broken, fake, or both. If this is considered cheating, then quite small. Nevertheless, most of the details cparedes2302 did by himself. In the end, home-made products in finished buildings are normal.
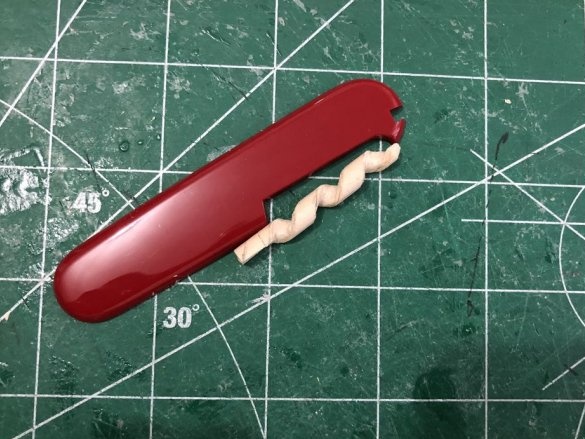
Here we see that some of the wooden parts will not be made from ice cream sticks. The blank for the “corkscrew” is to become a wooden dowel, and excellent axes will come out of bamboo sticks.
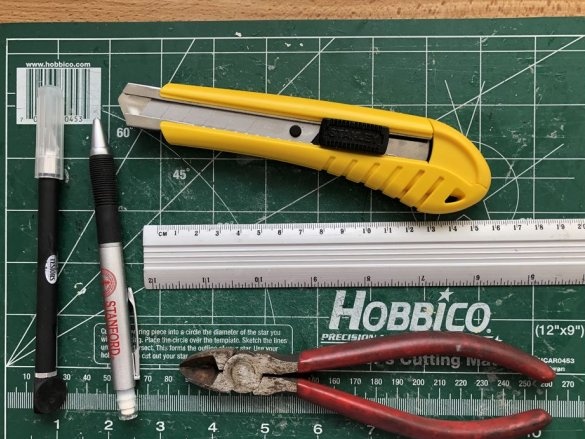
No matter how experienced the master, using only his teeth, he will not be able to do such a beautiful thing. But the simplest tools - easily and naturally, in any case, from the outside it seems so:
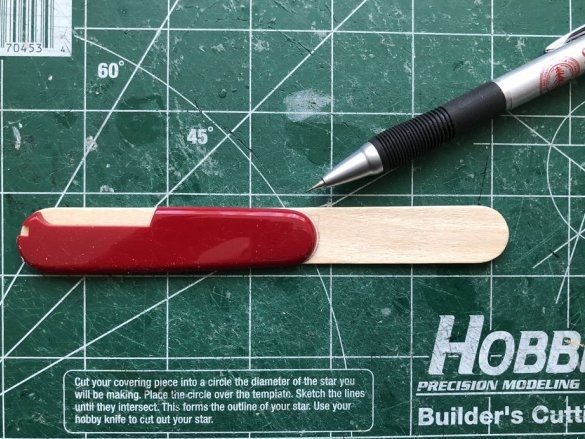
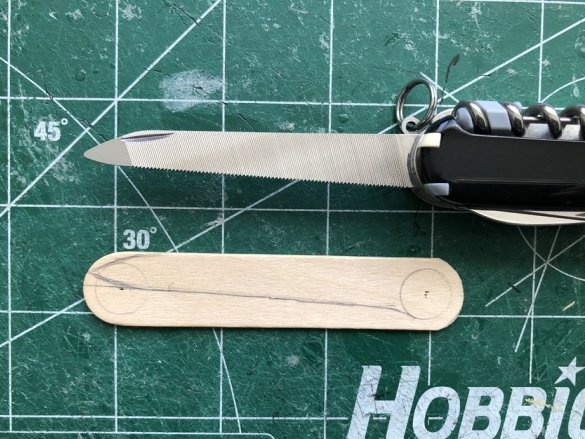
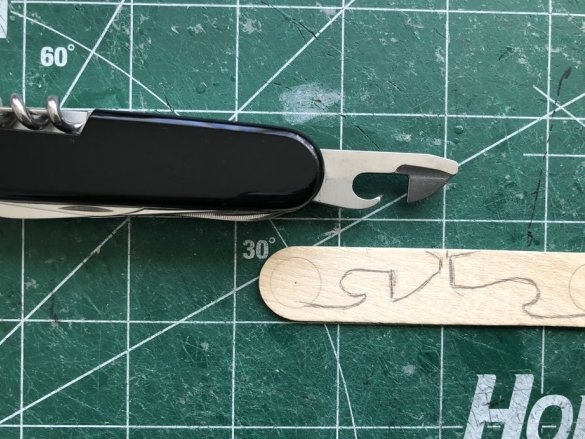
The master receives the blanks for all “blades”, first marking out all the ice cream sticks according to the size of the side lining:
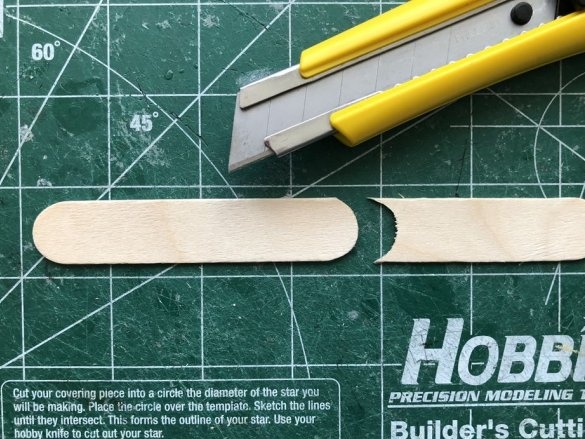
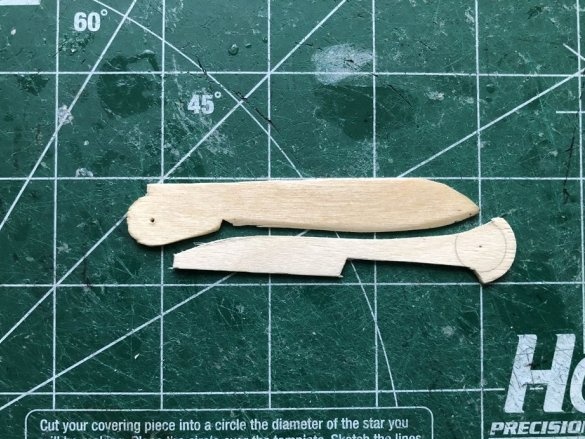
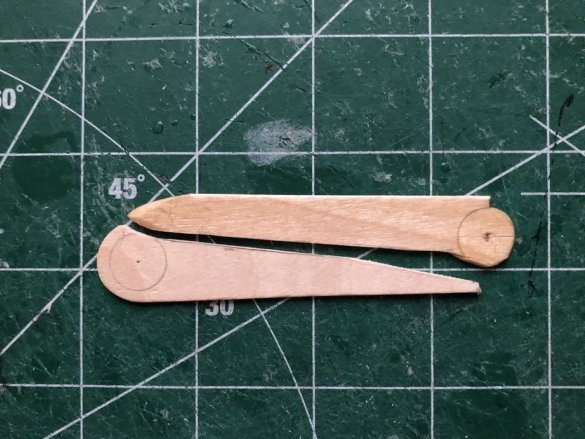
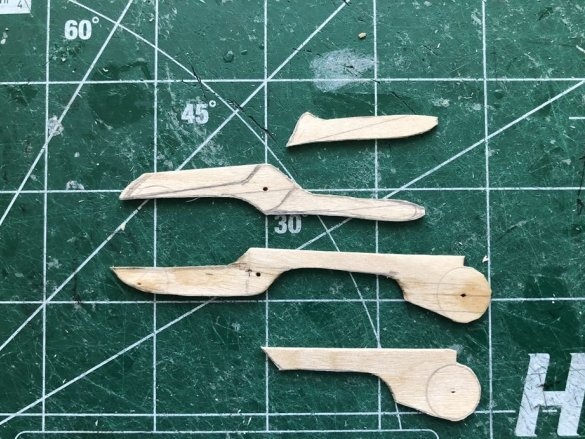
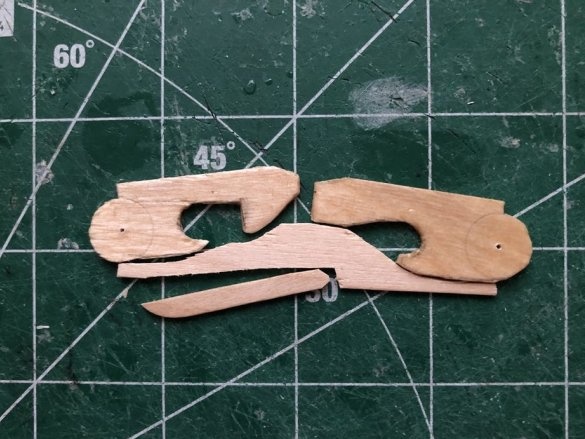
Separating the excess from the stick, he gets two parts: the actual preparation of the "blade" and the "stub":
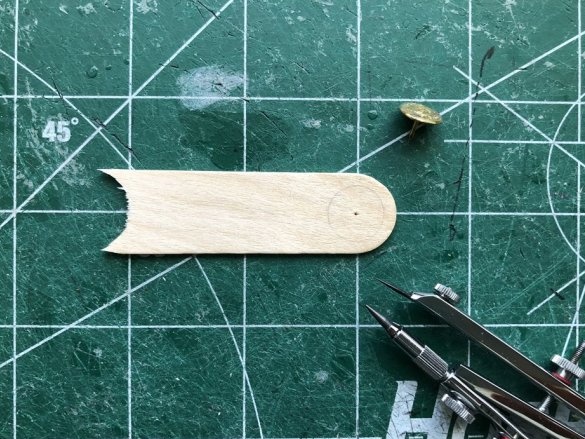
The "stub" is also useful - as a template for determining the location of the hole under the axis. Just one movement by the compasses - and this is what happened:
The pushpin lies next to it for a reason. Being pointed at the center of the circle, it will help to transfer the point from the template to all the workpieces.
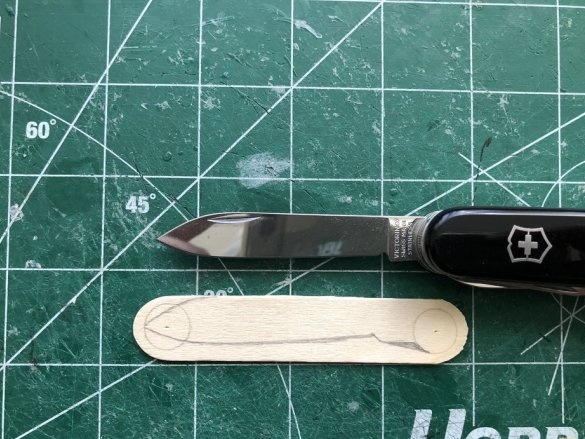
The shape of the blades of a real Swiss knife cparedes2302 transfers to the workpiece as follows:
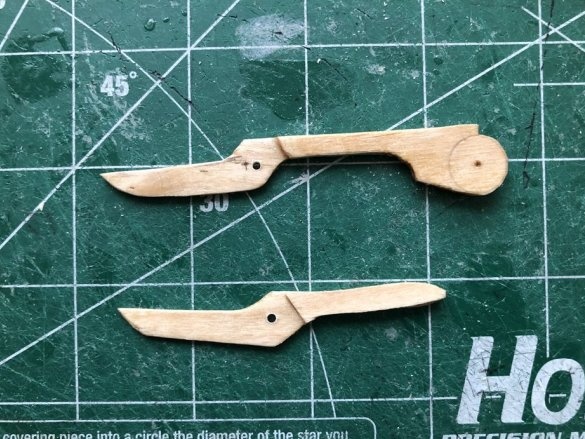
Examples of finished “blades”:
It is important to sand them with sandpaper so that they only appear sharp, but not really. When marking the “blades”, one must not forget about the stoppers. It is better not to make a recess for extension, as on a real blade - it will quickly be erased; instead, the “blades” can be made slightly protruding.
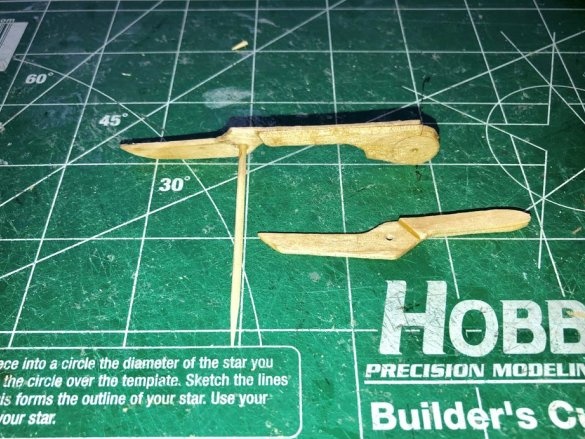
Each subsequent “blade” the master cuts out combining with the very first on the time axis:
Watching them spin:
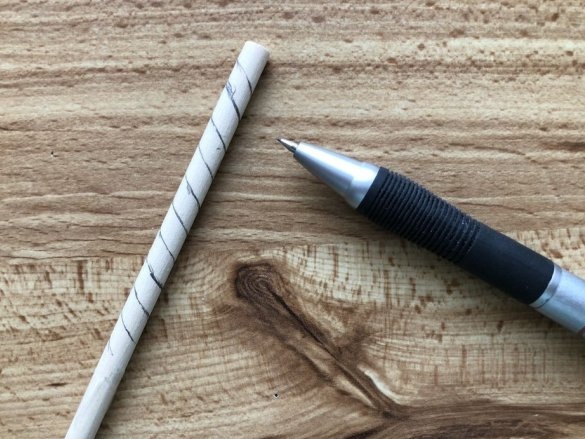
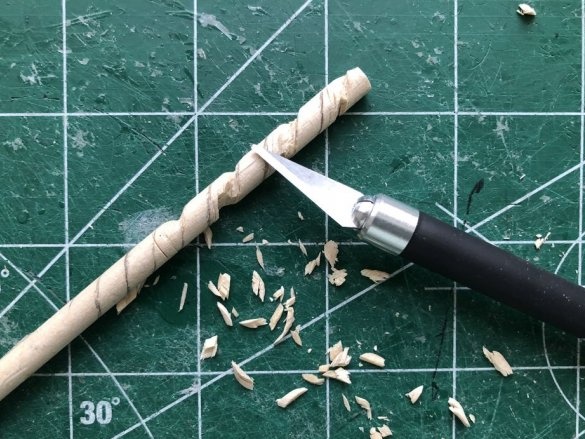
Marks a wooden dowel - a blank of the future “corkscrew”:
And begins to cut:
Then he makes the part that will be held on the axis along with the “blades” flat:
“Pilku” also marks this:
Cuts out:
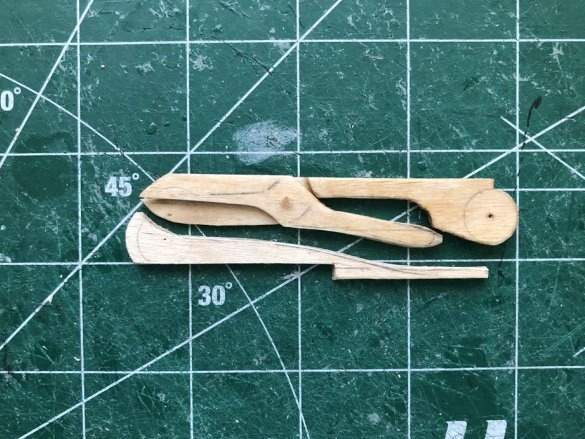
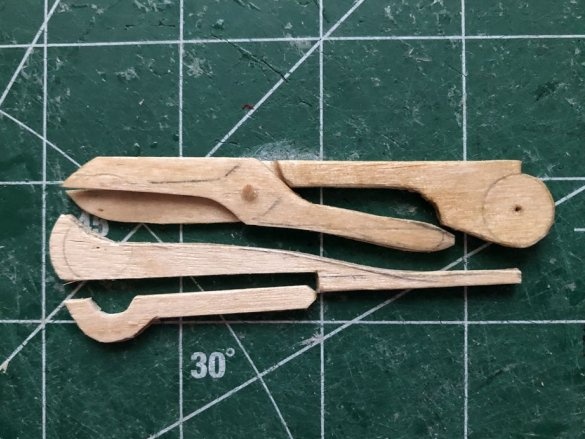
For the “scissors”, it takes blanks from two sticks glued together to get double thickness somewhere, and somewhere single:
This piece of double thickness will fit "scissors" when they are retracted:
The hook has the same thickness:
Two "openers" and "flat awl":
The master arranges in a row all the details plus gaskets from the hard film in the order in which they will be located in the layout:
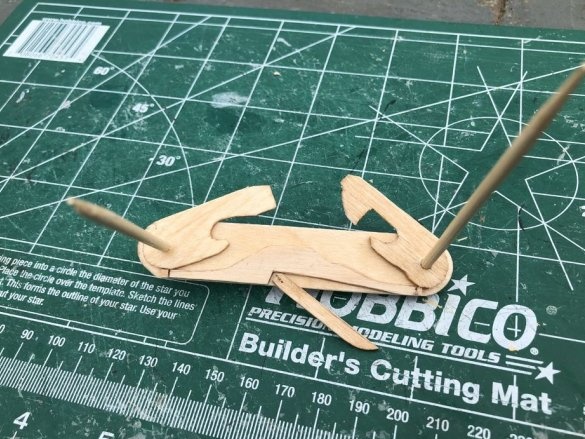
Two gaskets are needed so that the glue holding the axles does not fall on the wooden parts, which is why they can stop rotating. The third facilitates the extension of the “scissors”. The master makes holes for the axes so large that they rotate a little tight. Assembly begins ...
... continues ...
... and ends.
Remember: the layout differs from the toy in that, firstly, it does not meet the safety requirements for toys, and secondly, it does not have the margin of safety inherent in even the cheapest toys. Trying to play with him will break down very quickly. Handle the layout carefully and it will last a long time.

