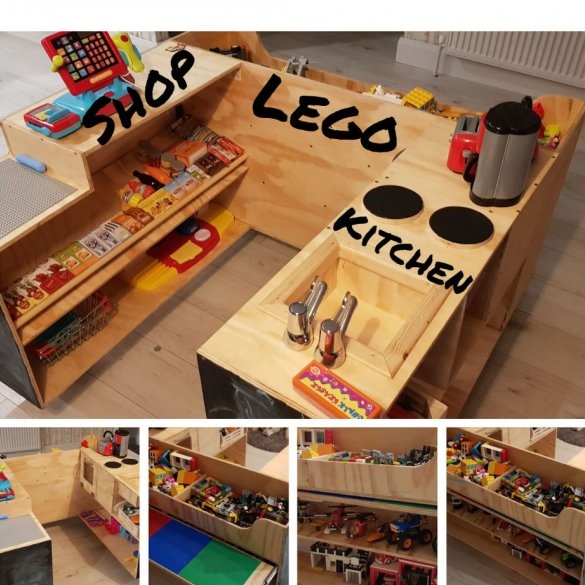
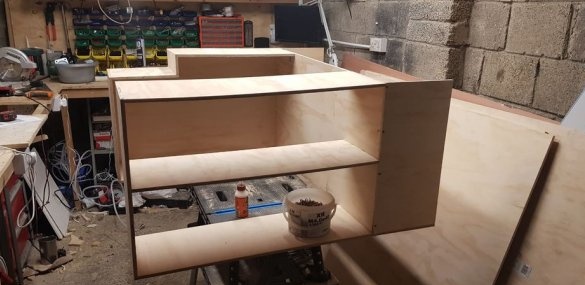
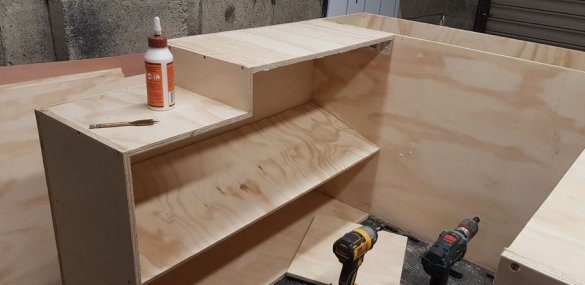
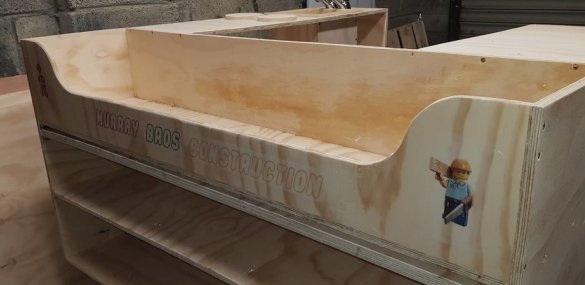
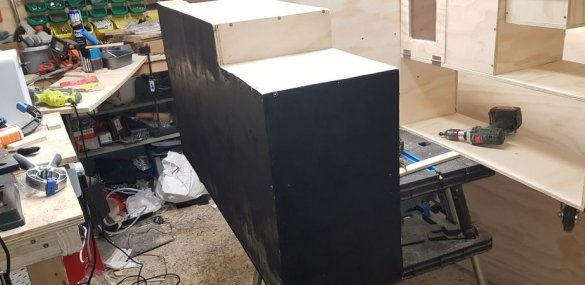
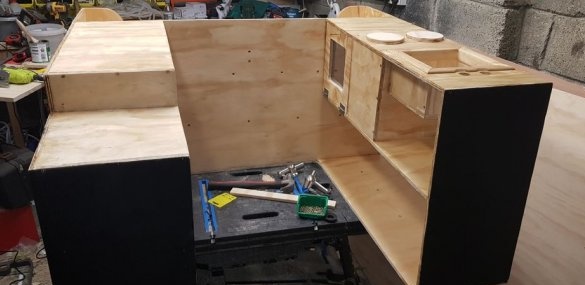
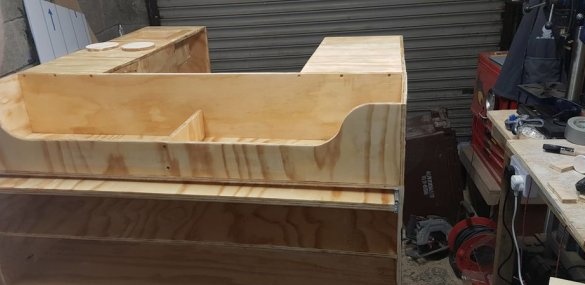
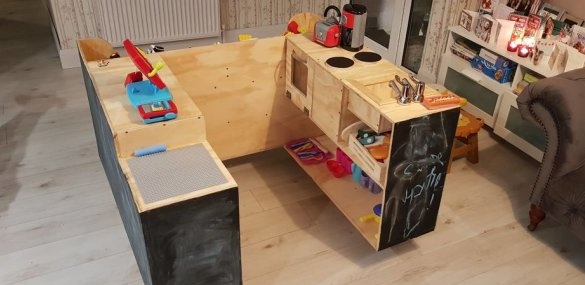
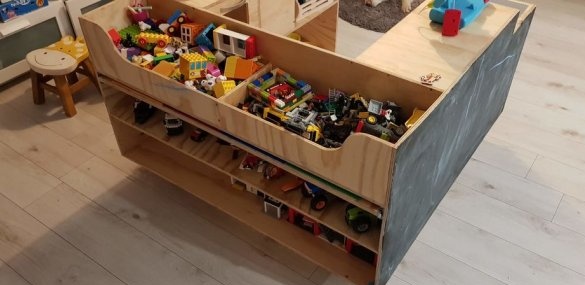
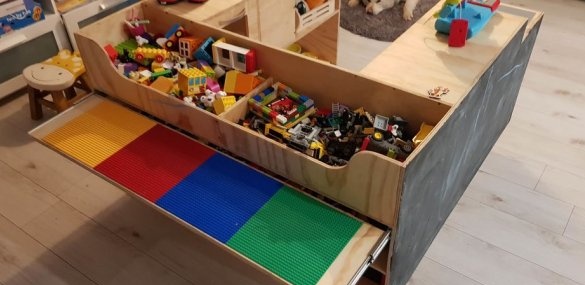
For his children aged 2 to 4 years, the master made furniture. The furniture is combined into one game complex and consists of three parts of a kitchen, a store and a table with shelves for storing toys.
To make a game center, the master needed the following
Tools and materials:
-Computer with software;
-Plywood;
-Hacksaw;
- Electric jigsaw;
-Milling machine;
- Joiner's glue;
-Roulette;
-Pencil;
-A screwdriver;
-Fasteners;
-Skant;
-Wheels;
-Rugs;
-Furniture guides;
-Cranes;
-Crown on wood;
-Polikorbanat;
-Transfer pictures;
-Paint;
-Varnish;
Step One: Project
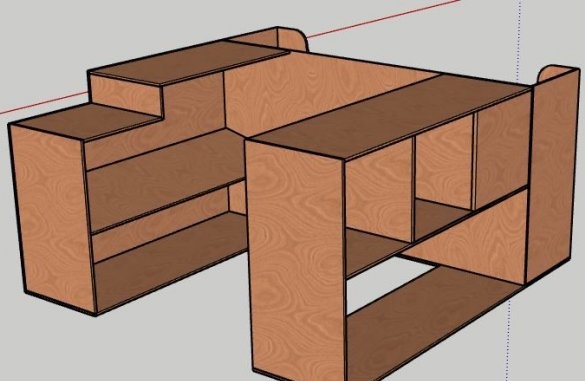
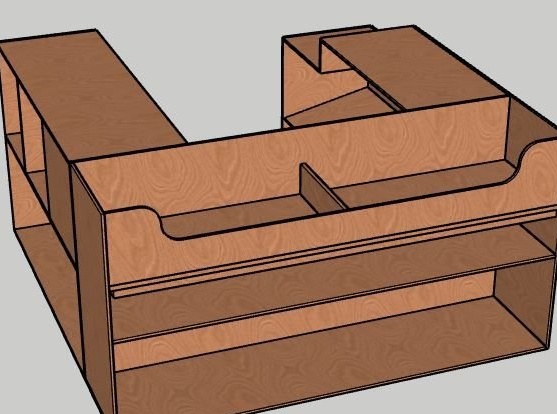
The theater begins with a hanger, and the product with a project. On the computer with the appropriate software, the master drew the product design.
Cut_Pattern.pdf
Cutlist.pdf
Step two: procurement of parts
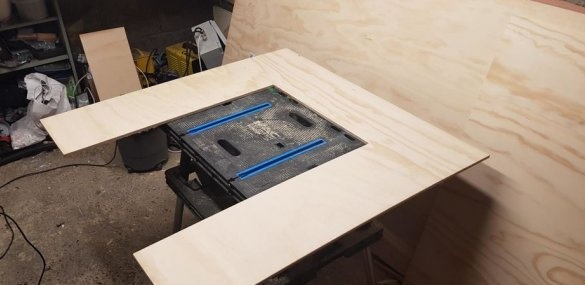
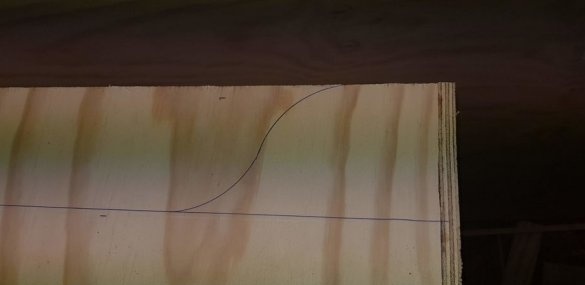
Cuts product details from plywood.
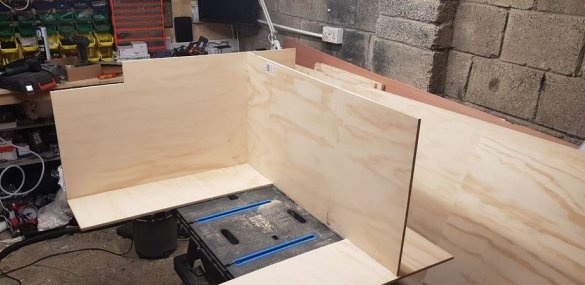
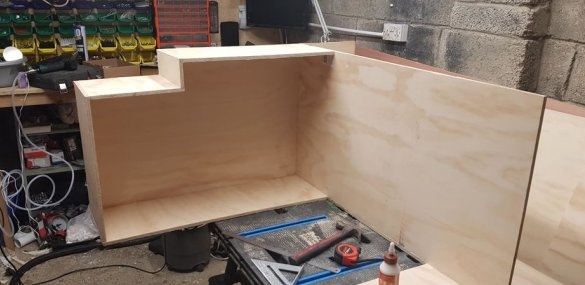
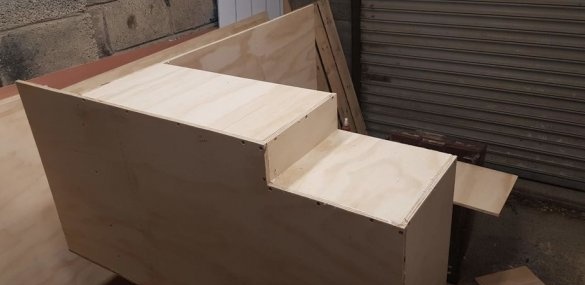
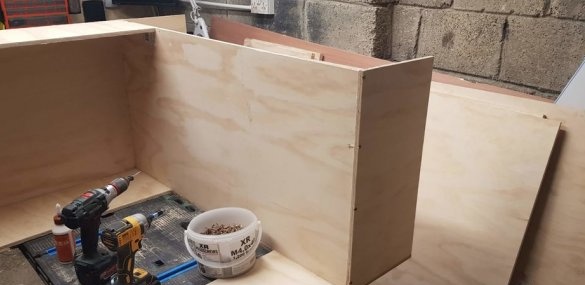
Step Three: Build
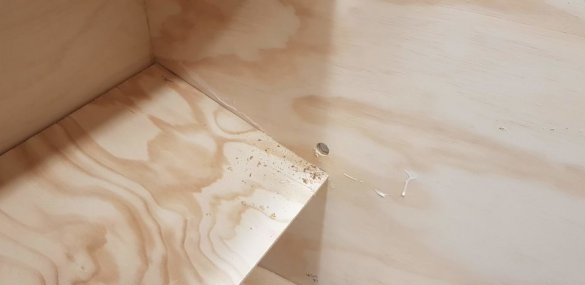
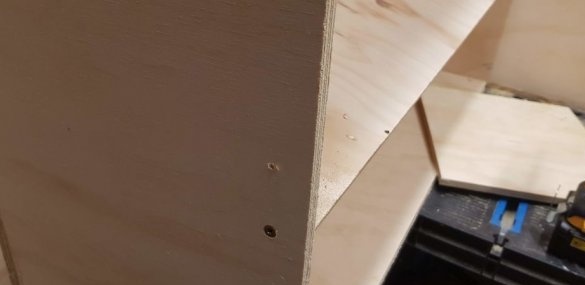
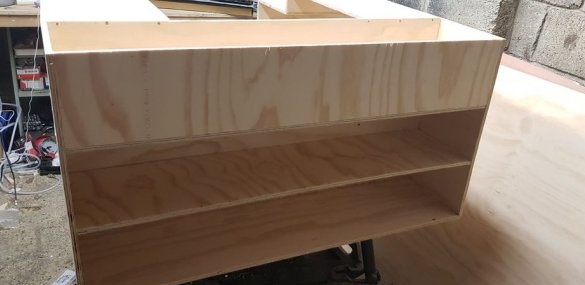
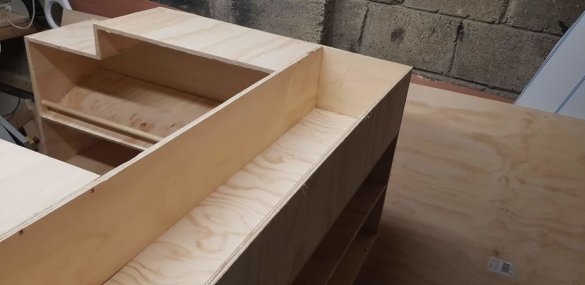
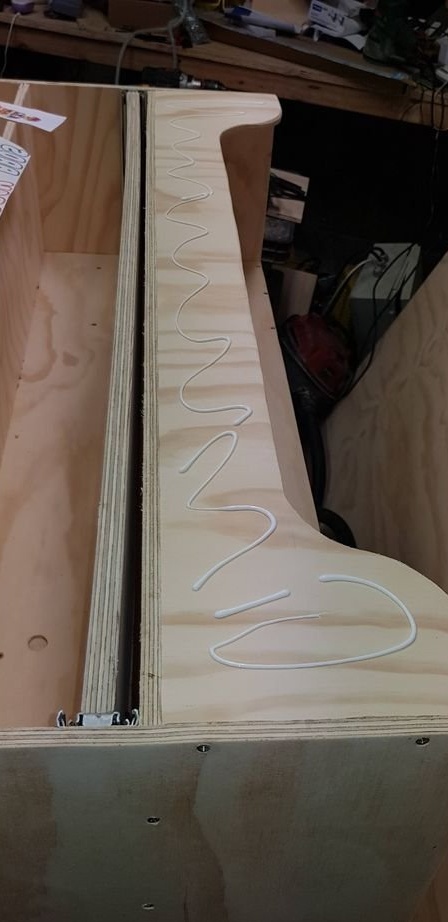
Assembles furniture. For fixing parts uses screws, corners and wood glue.
Step Four: Counter
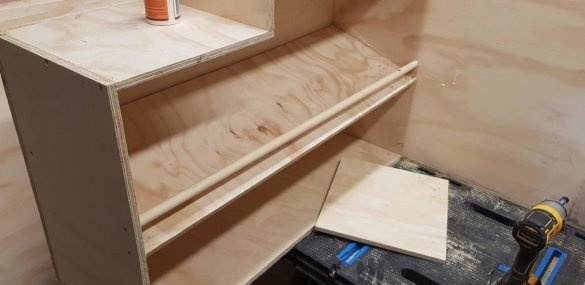
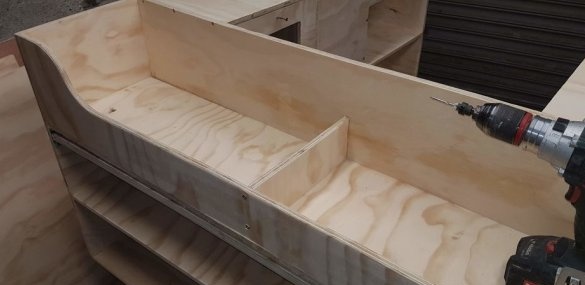
Screws counter and cross member. The counter is set at an angle and removing the first item from it. the second slides and rests against the crossbar.
Step Five: Shelves
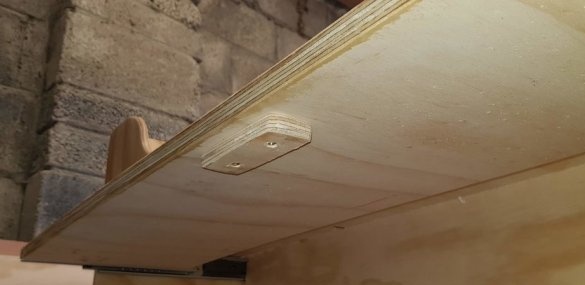
Screws the shelves. One of the shelves extends.
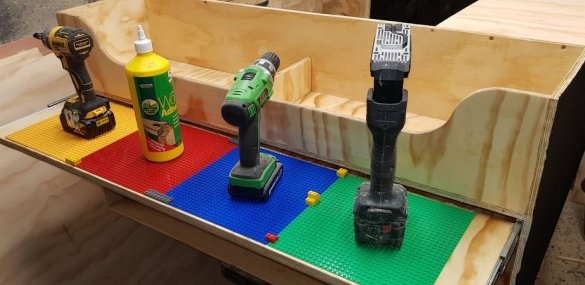
The master glued the rugs onto the drawer shelf, and screwed the bar on the bottom for ease of extension.
Step six: sink, oven and hob
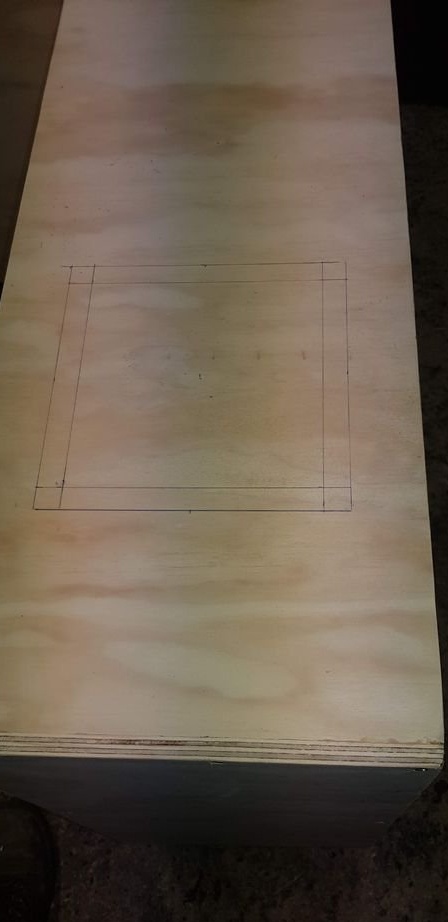
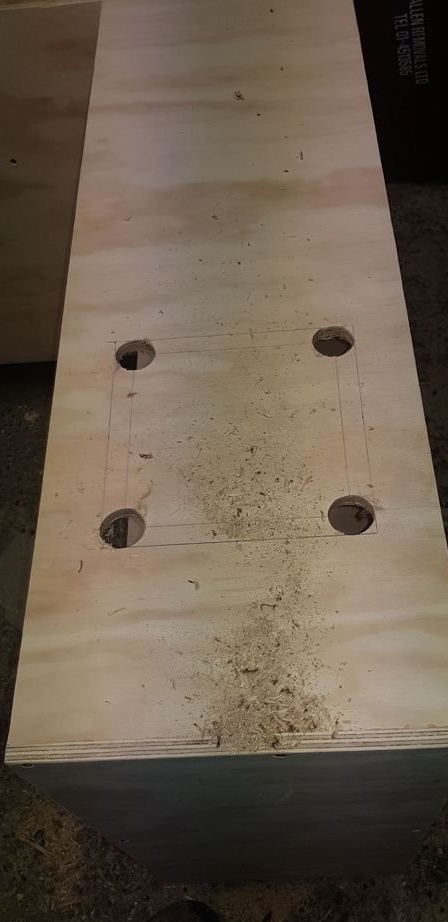
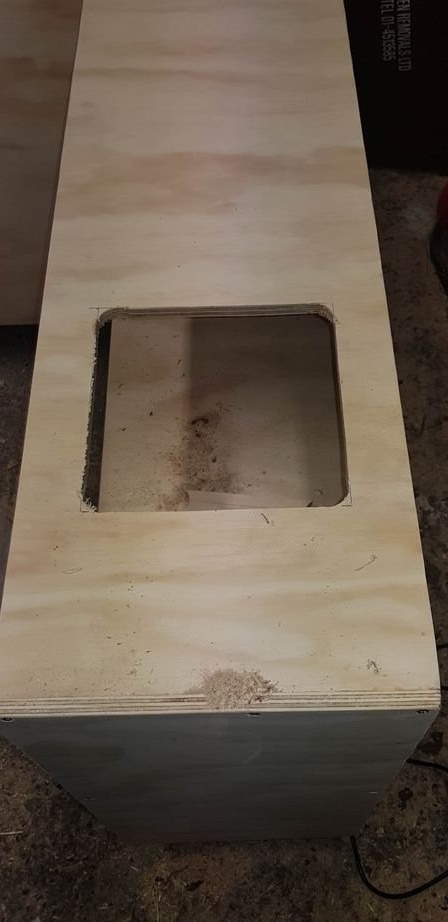
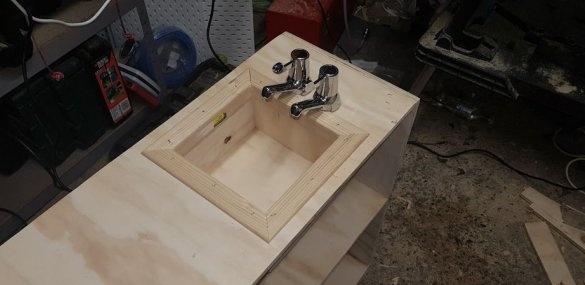
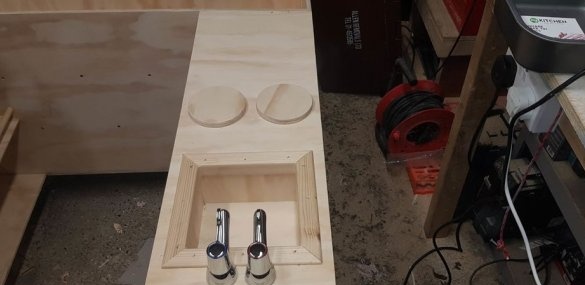
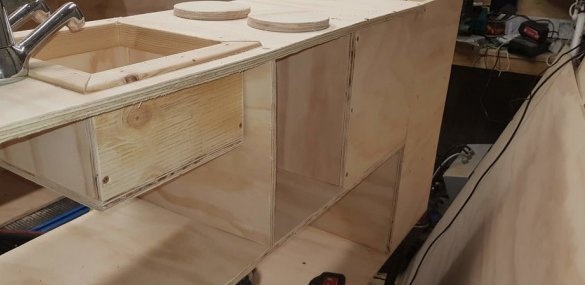
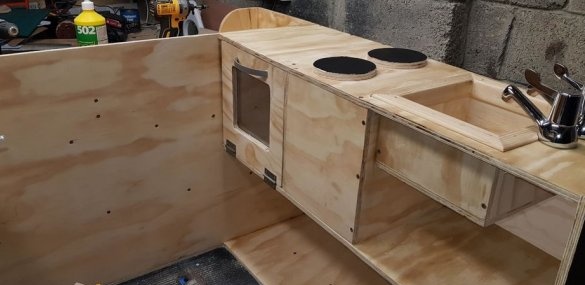
The master also made a sink from plywood. But the cranes are real. I cut a niche under the sink. Sheathed with plywood. I screwed the taps.
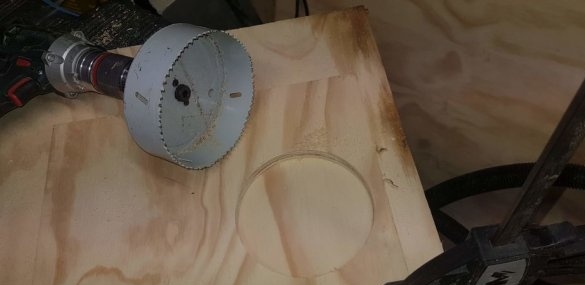
The master cut out the hob imitation using a 100 mm crown.
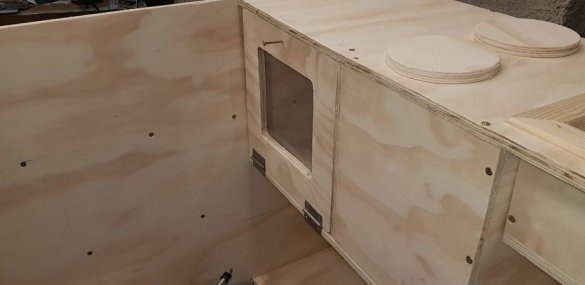
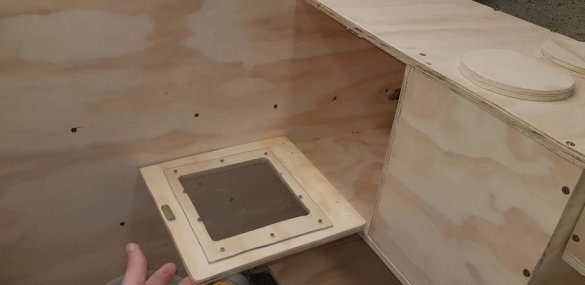
He made and secured the oven door. Instead of glass, the master fixed a sheet of polycarbonate.
Seventh step: pictures
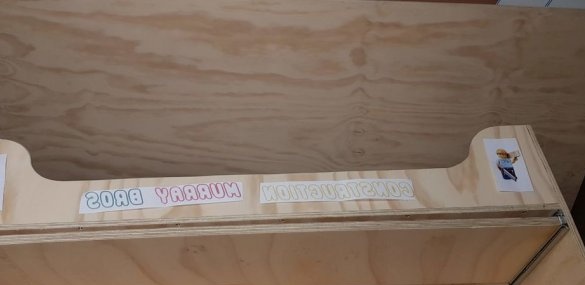
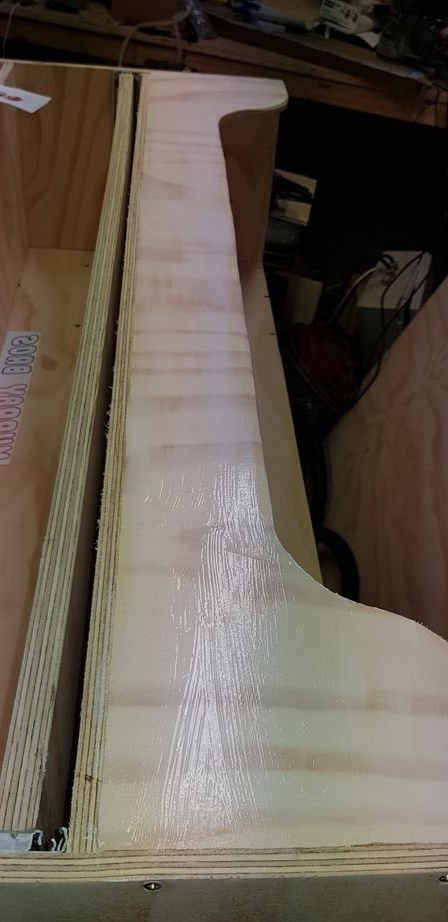
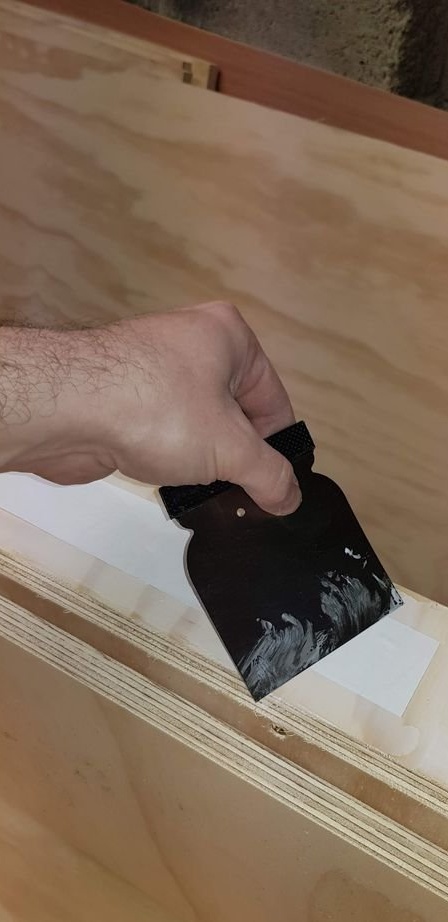
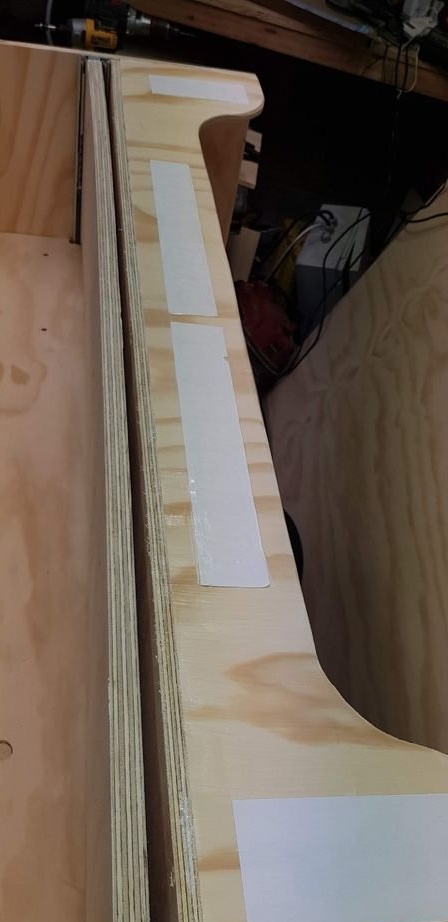
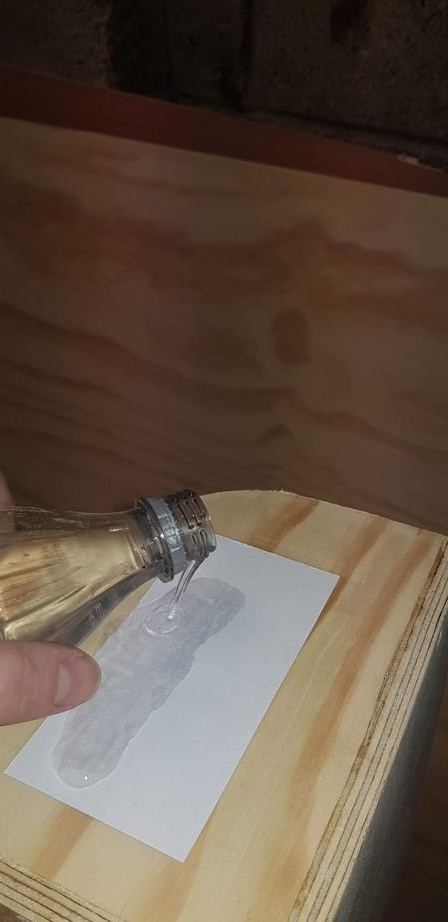
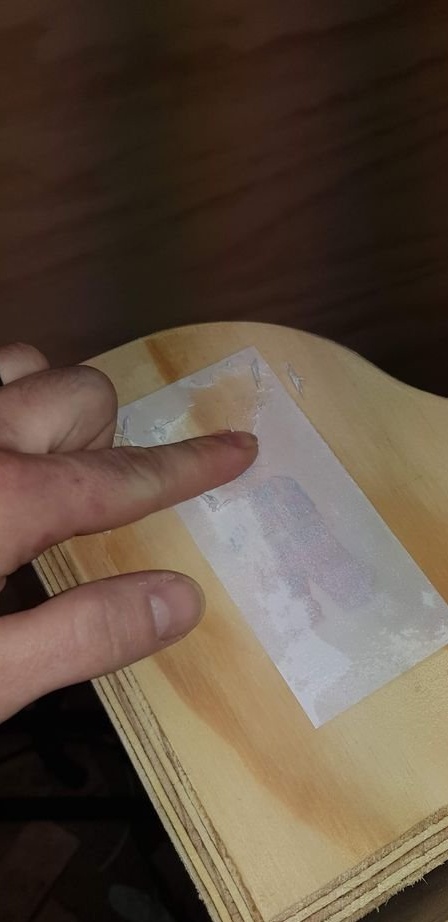
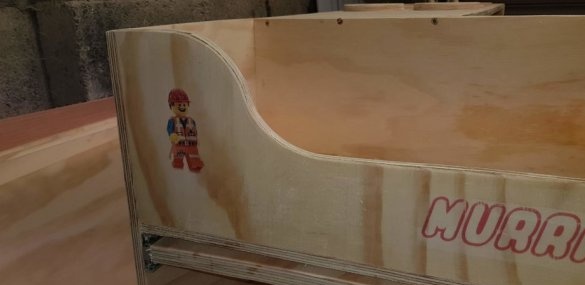
Pictures printed on a laser printer, the master translated according to the instructions.this
Step Eight: Cover
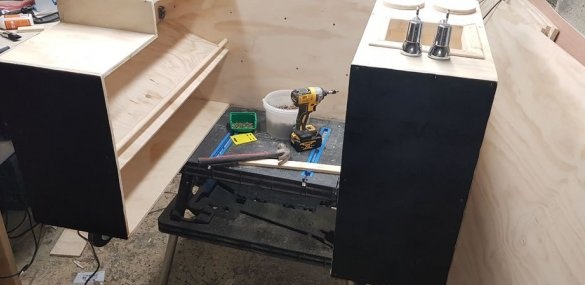
The master painted part of the side panels with black paint, it is good to draw on them with chalk, the rest is varnished.
Step Nine: Wheels
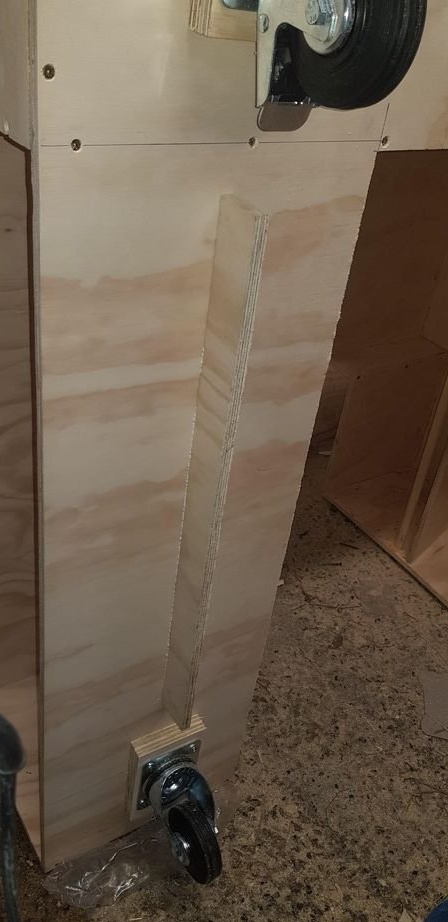
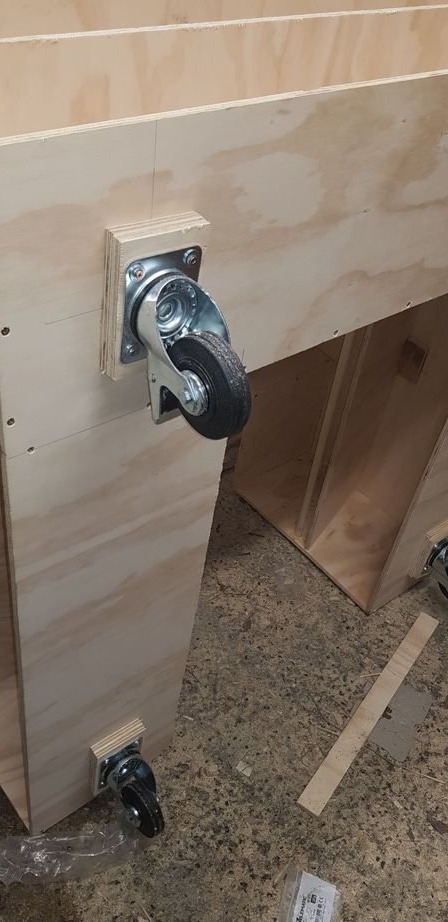
To facilitate the movement, the master installed four wheels. Two wheels have a lock. The installation site is reinforced with supports.
Children's game center is ready.

