Making a crib is a responsible occupation on which the health of the child depends. Safety of construction, functionality and environmental friendliness of materials - three whales of any modern crib, no matter what price segment it is in.
The author suggests making a classic model unpainted wood crib with adjustable mattress height. In addition, you will learn how to make a children's mattress do it yourself and how to choose the right filler.
In order to make a crib with your own hands you will need:
Materials:
- glued furniture board or non-waterproof plywood for the manufacture of a frame with a thickness of 8 - 15 mm;
- bar 35 x 35 or 40 x 40 mm for the manufacture of the frame;
- slats 15–20 mm thick for the manufacture of crates;
- carpentry glue;
- natural linseed or quick-drying furniture oil for wood processing;
- furniture screws, self-tapping screws;
- furniture dowels 8 mm;
- furniture bolts and nuts for assembling frame elements;
- dense furniture foam rubber of high rigidity;
- synthetic winterizer for a mattress and soft bumpers;
- fabric for making a mattress cover, zipper;
- fabric for the manufacture of soft bumpers.
Instruments:
- jigsaw or manual circular;
- Miter saw;
- manual milling cutter for the manufacture of grooves;
- clamps;
- grinder;
- drill;
- screwdriver;
- wrench, screwdriver;
- sewing machine, iron, scissors;
- a sharp knife for cutting foam;
- construction tape, square, ruler;
- marker.
Manufacturing process
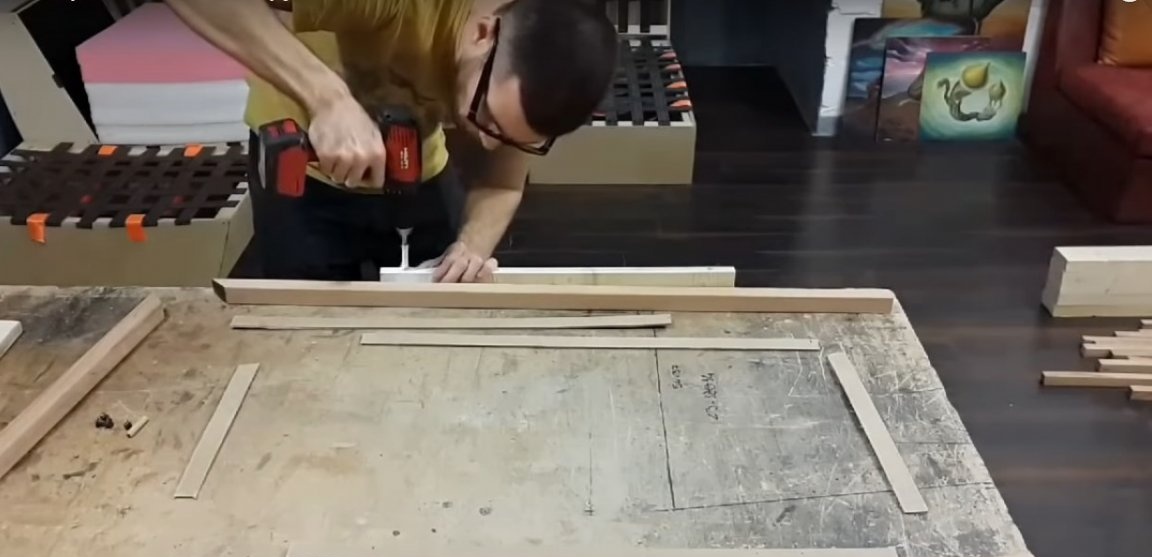
Step One: Making Side Shields
The author made the side elements of the frame from a furniture board and wooden blocks. Furniture board is an absolutely natural material, which is a wooden sheet made by gluing boards of different widths together.
Even when it comes to making a nursery of furniture, furniture board can be replaced with plywood. In this case, the choice of plywood must be taken responsibly, since some of its types can be toxic.
You will need plywood of the first or second grade with the marking FC or FBA. Both types are harmless and recommended for the manufacture of children's furniture. Remember that such plywood is not moisture resistant and requires additional coating.
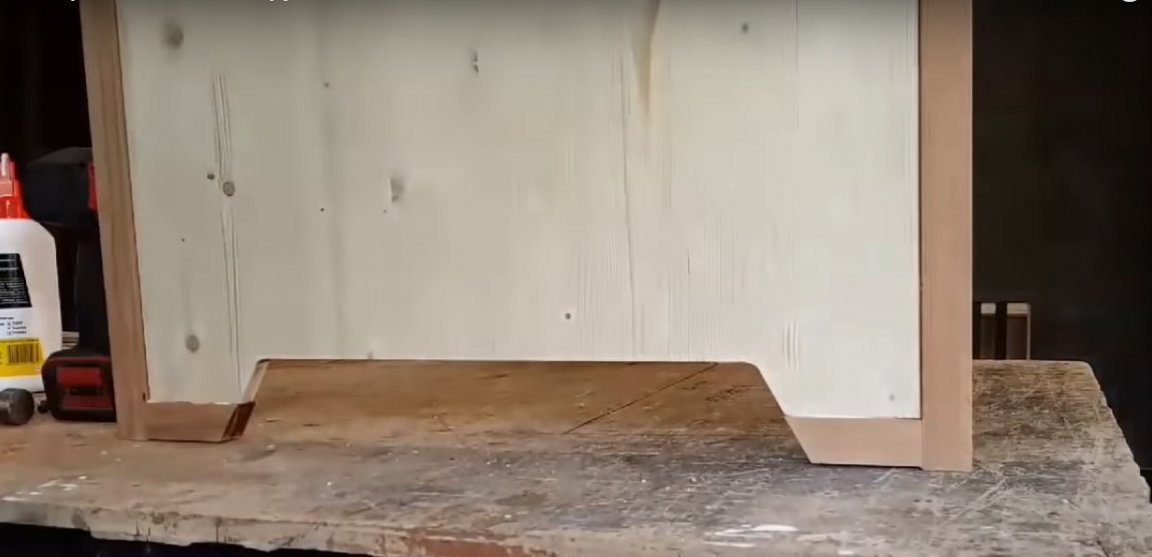
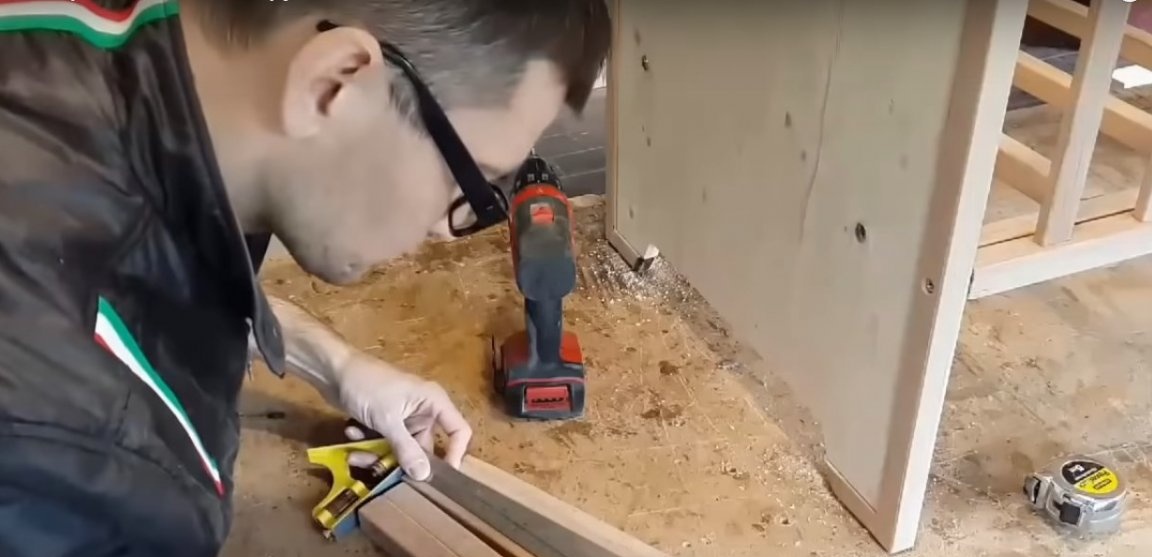
Prepare two blanks from a furniture board or plywood for the side walls of the crib. Mark and cut a recess at the base under the legs.Use a drill and jigsaw for this.
Also prepare the pieces of the bar for the manufacture of the shield frame. They are sawn off at an angle of 135 degrees and fixed on the shield with glue and furniture dowels. Use beech dowels with a diameter of 8 mm.


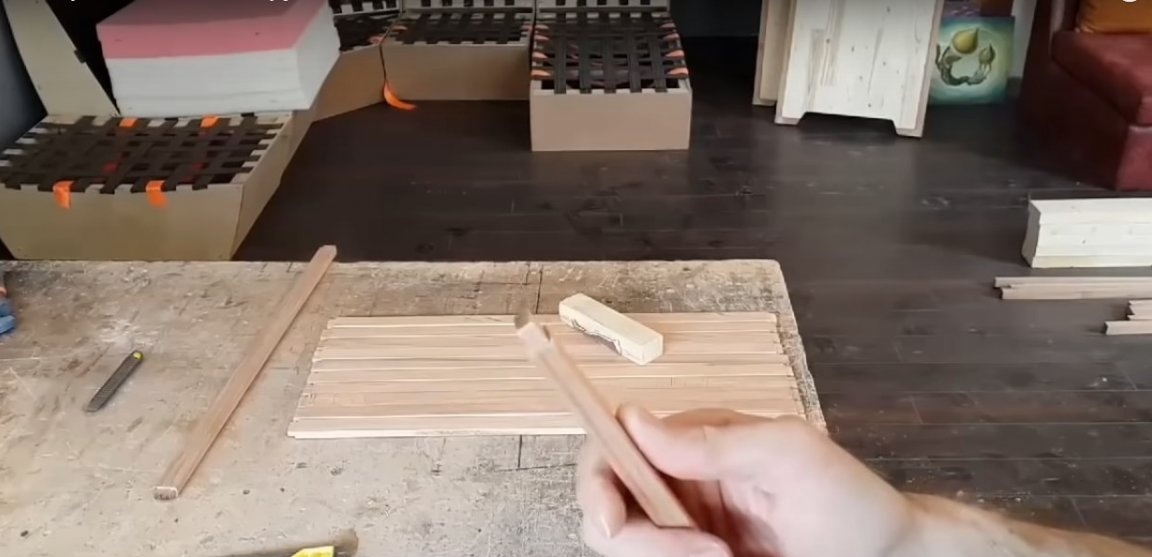
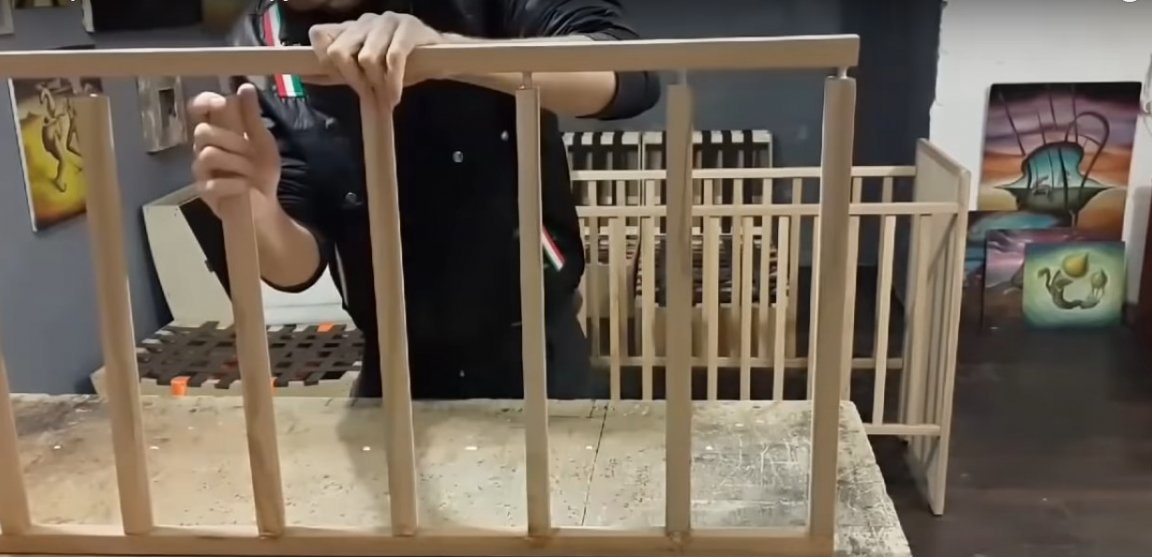
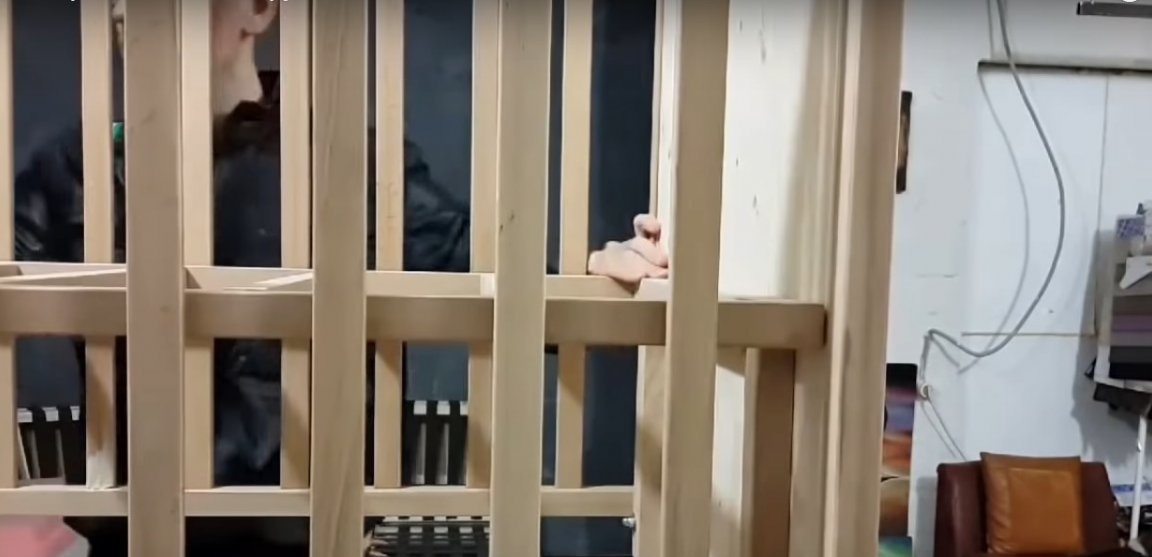
Step Two: Making Lattice Boards
The sides of the crib are made of wood. You will need thin rails and bars with a section of 35 x 35 or 40 x 40 mm.
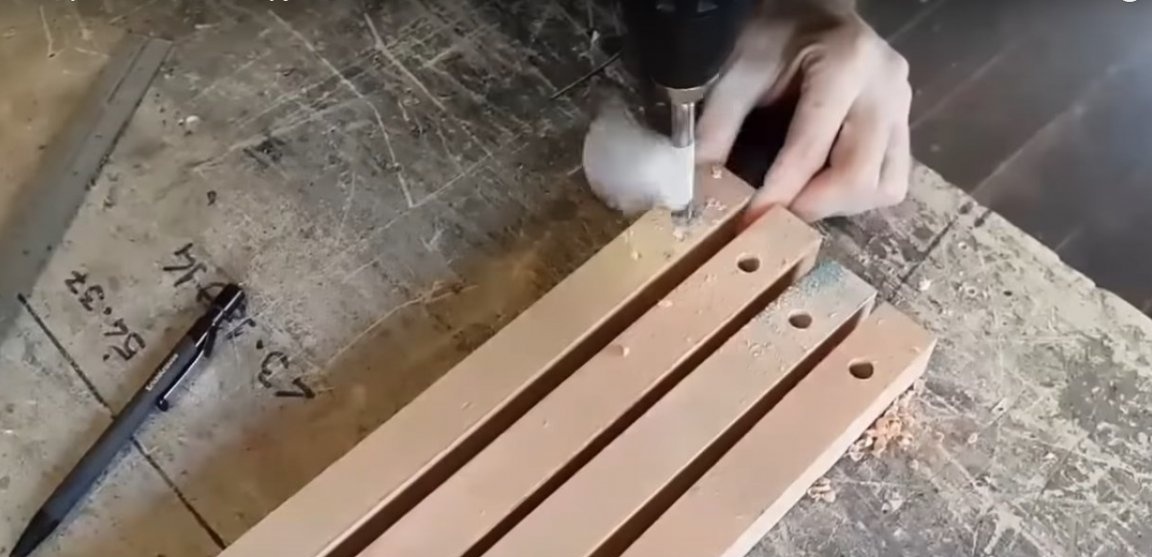
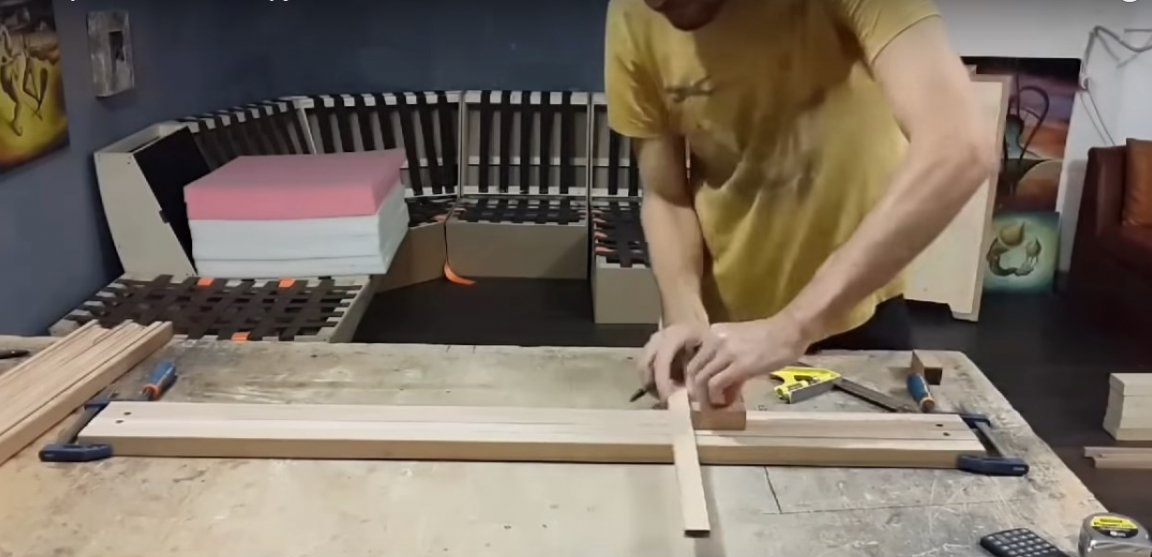
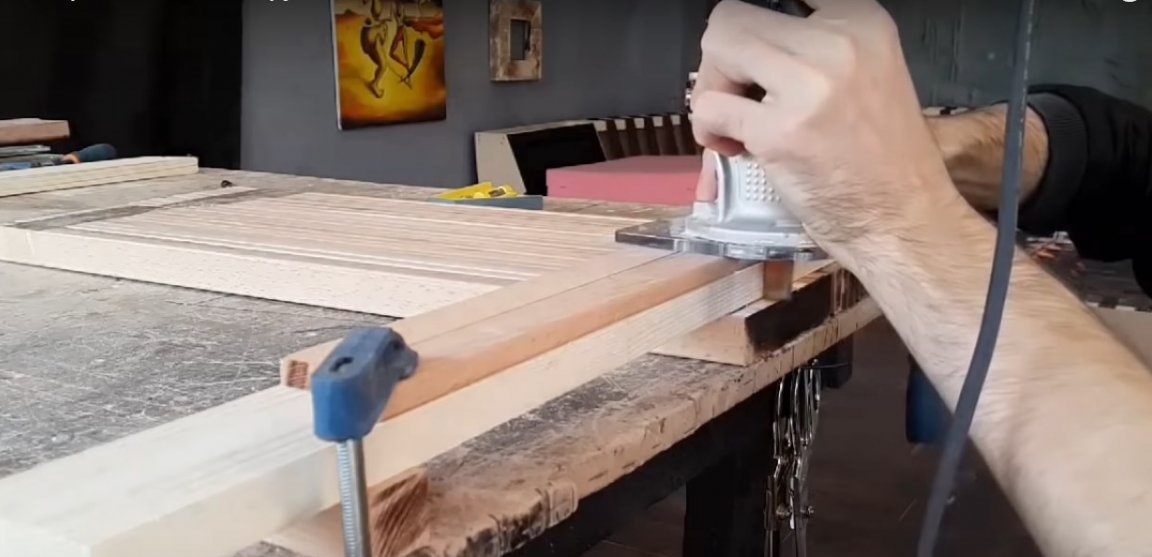
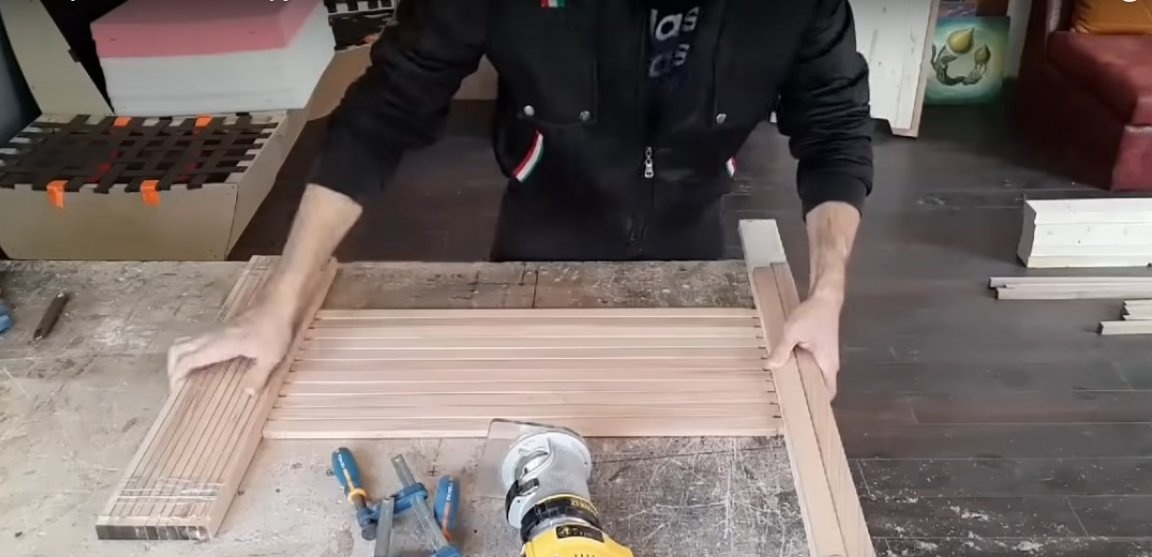
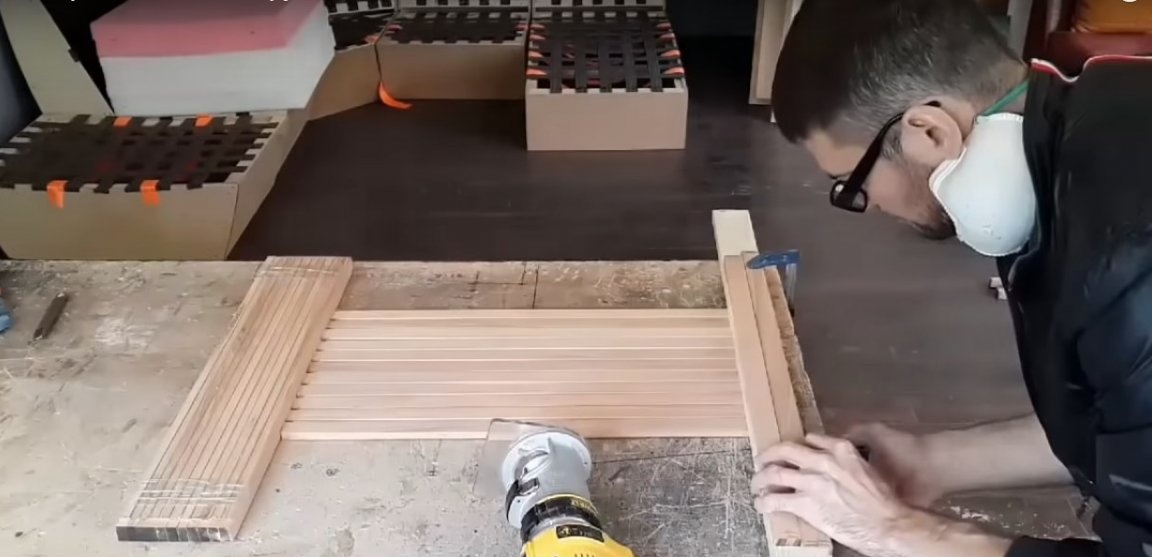
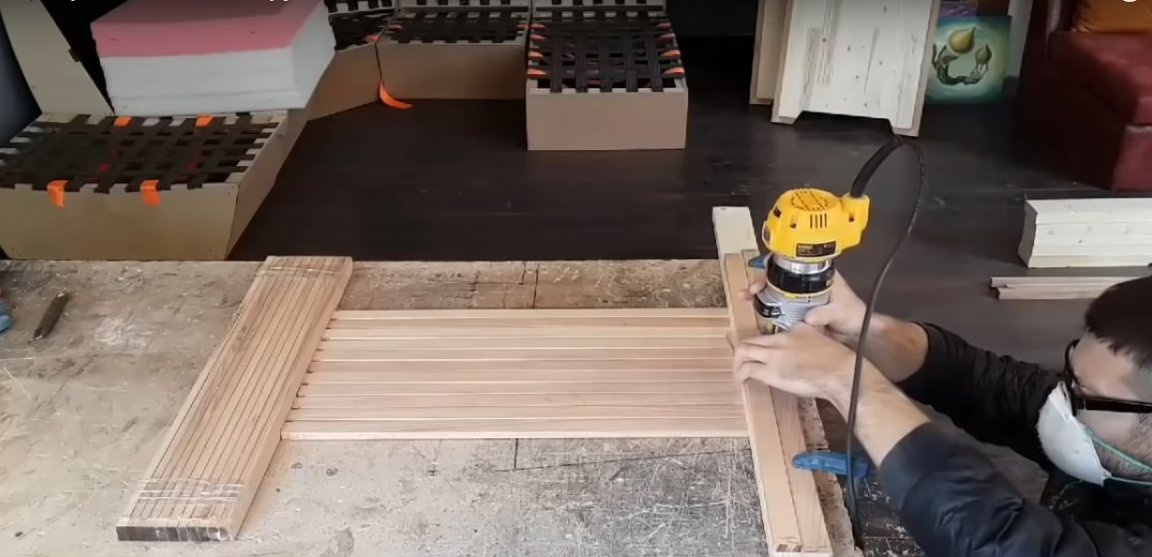
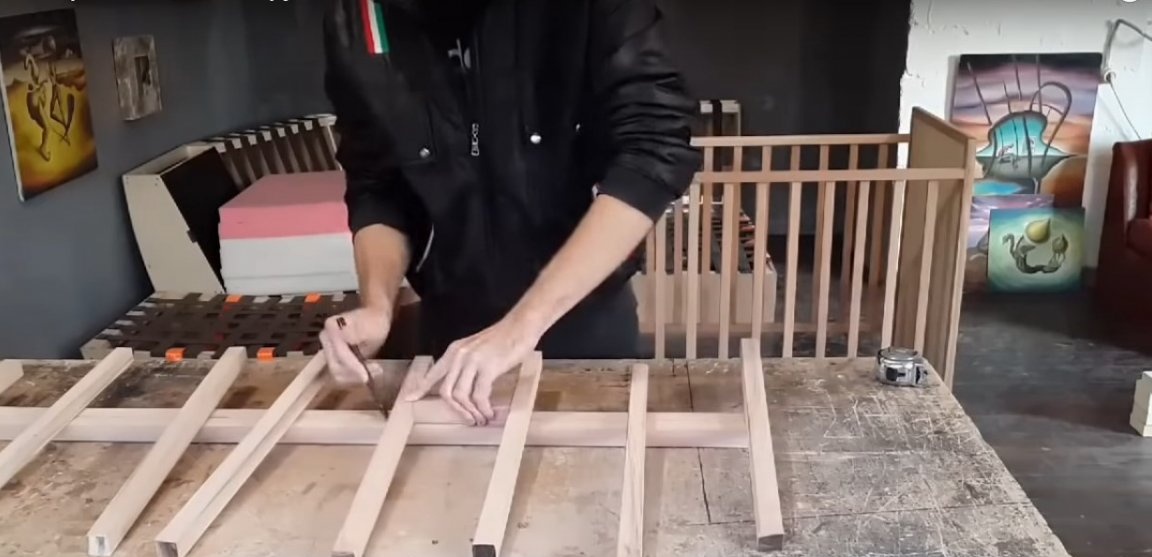
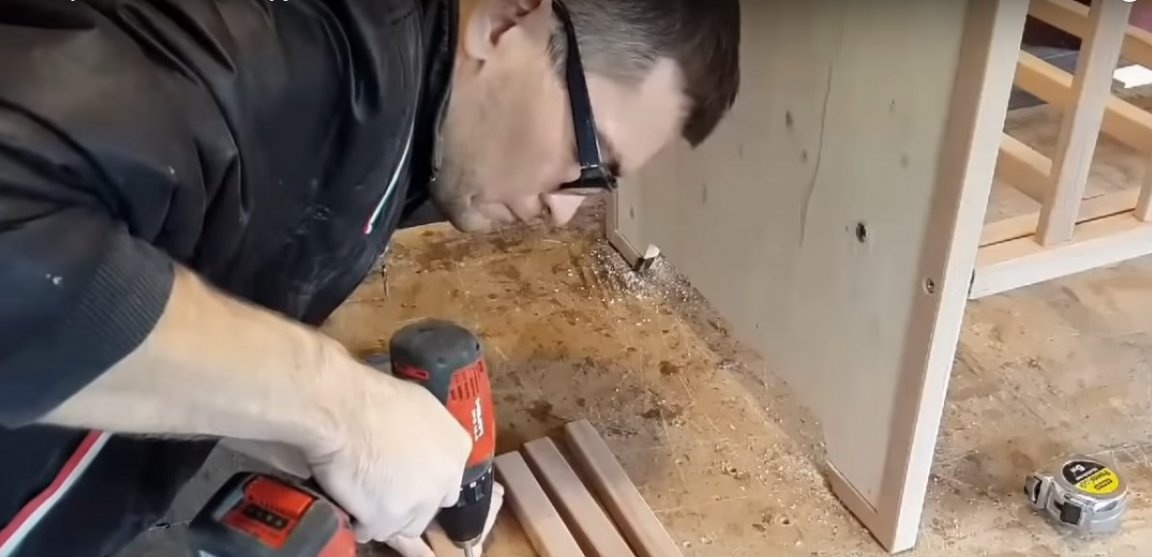
Prepare horizontal guides. Pre-sand the tree, round the corners. Mark the grooves using the pattern.
The author cut out the grooves with a hand mill. With its help, you can cut the spikes on the crate. To do this, assemble the details of the crate and temporarily fasten them together. Mark and process the workpieces from 4 sides as shown in the photo.
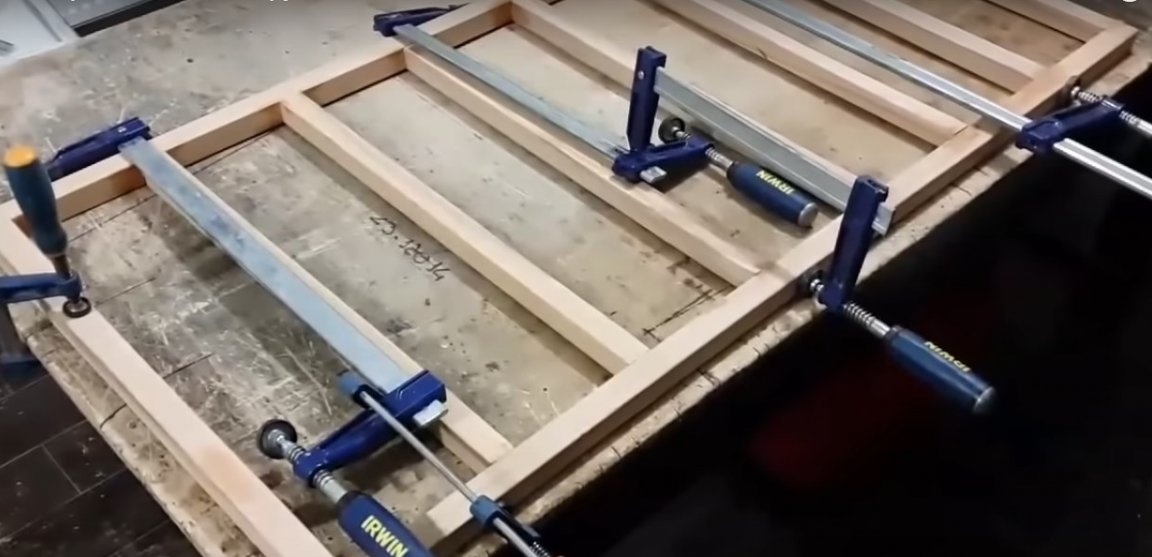
Assemble the sides using glue.


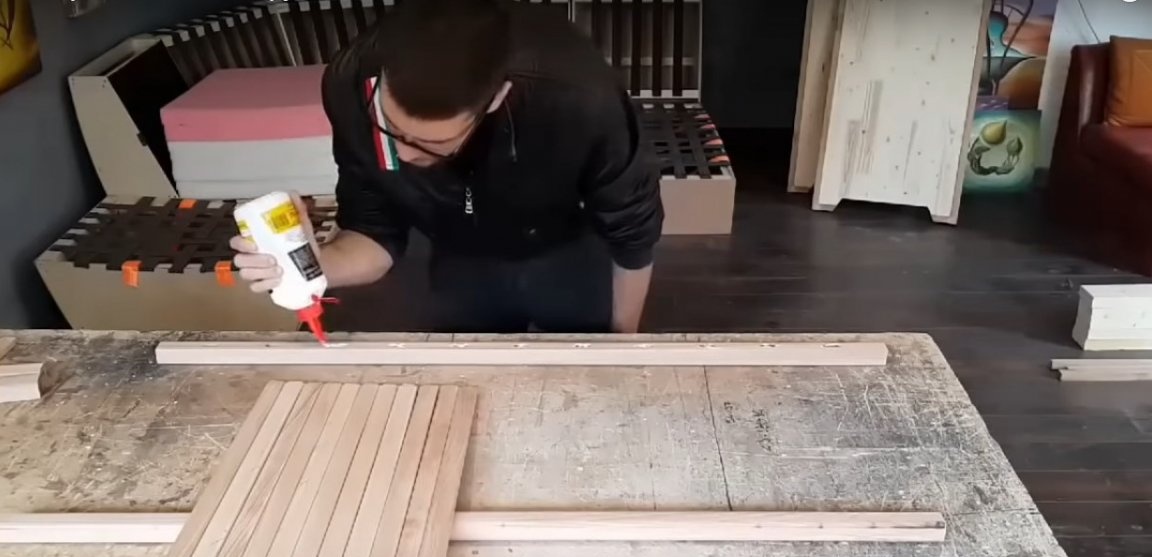

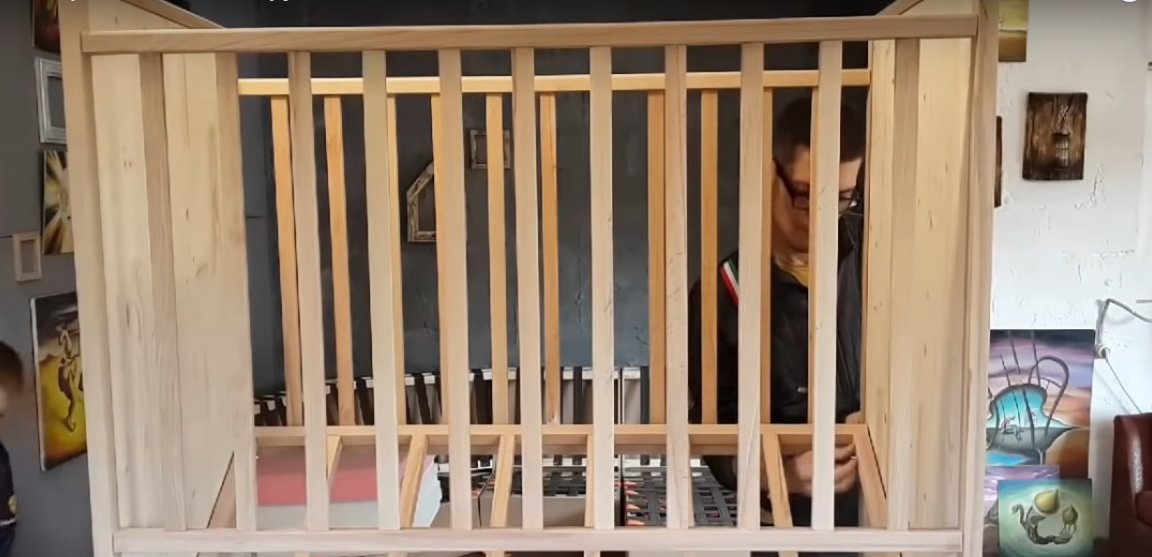
Step Three: Assembling the Crib Perimeter
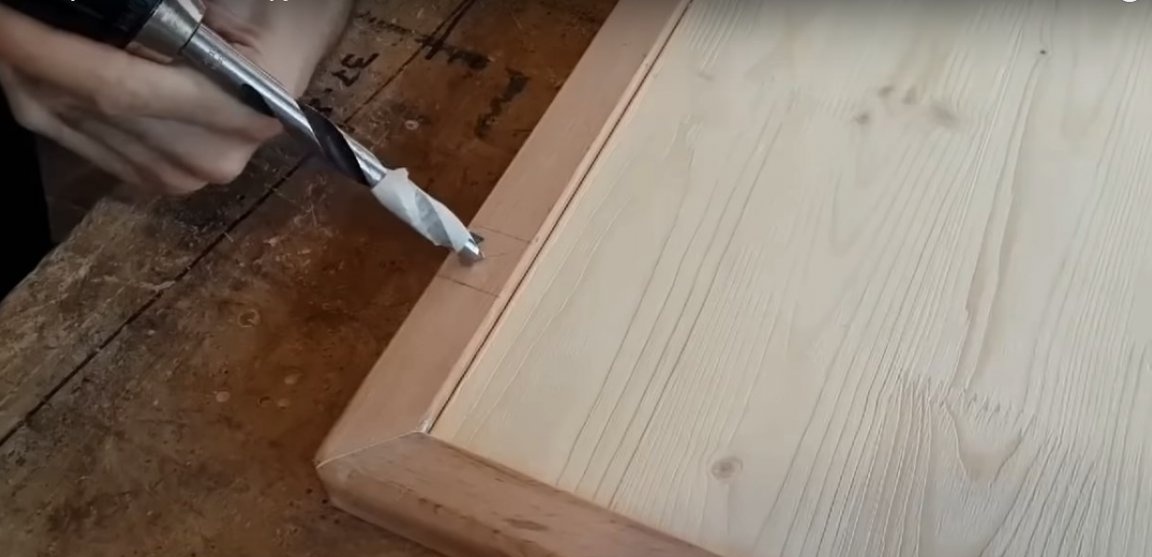
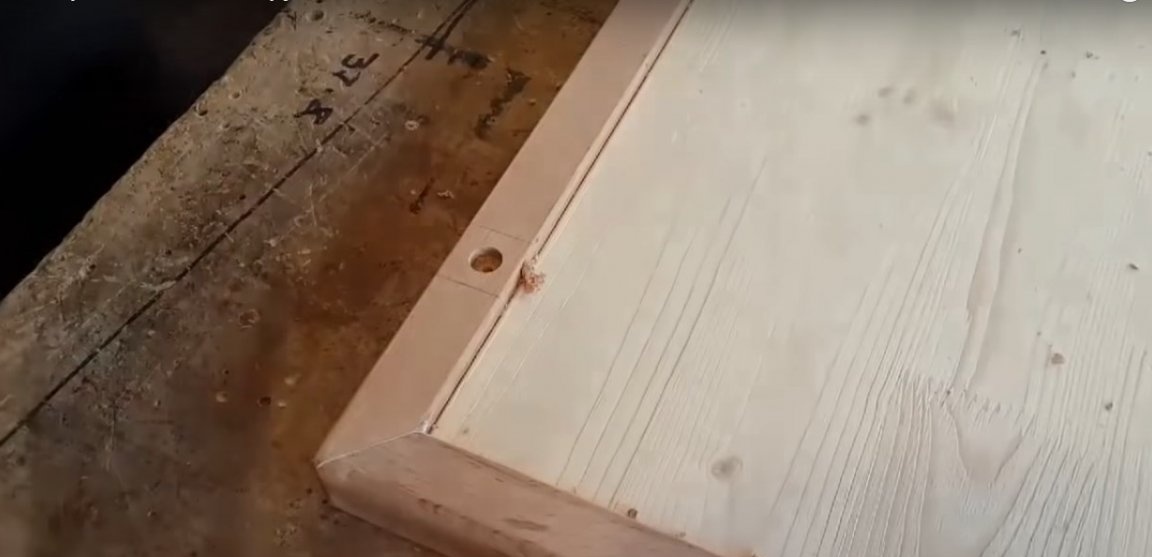
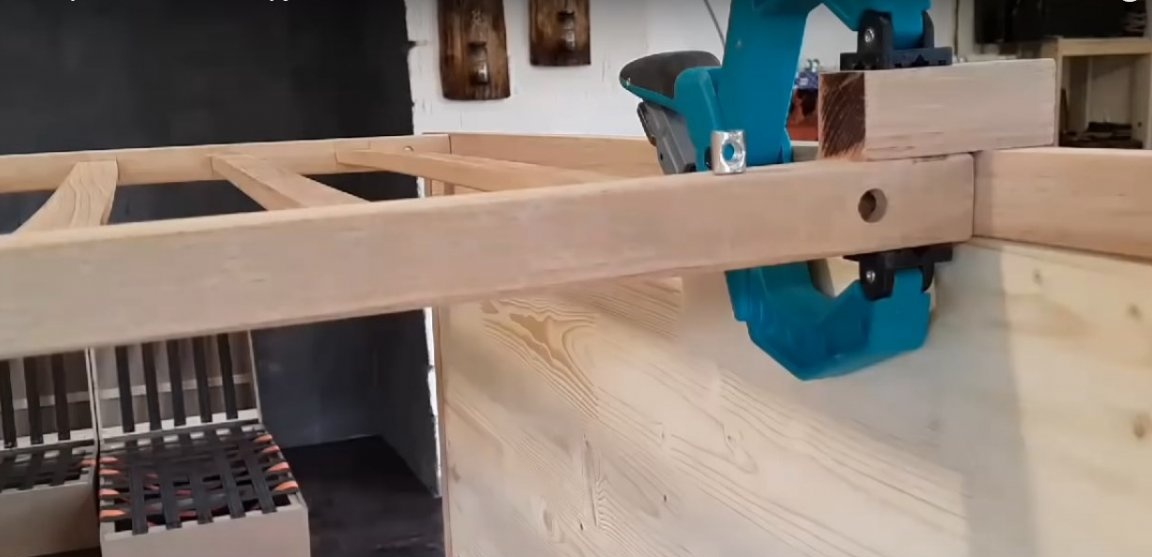
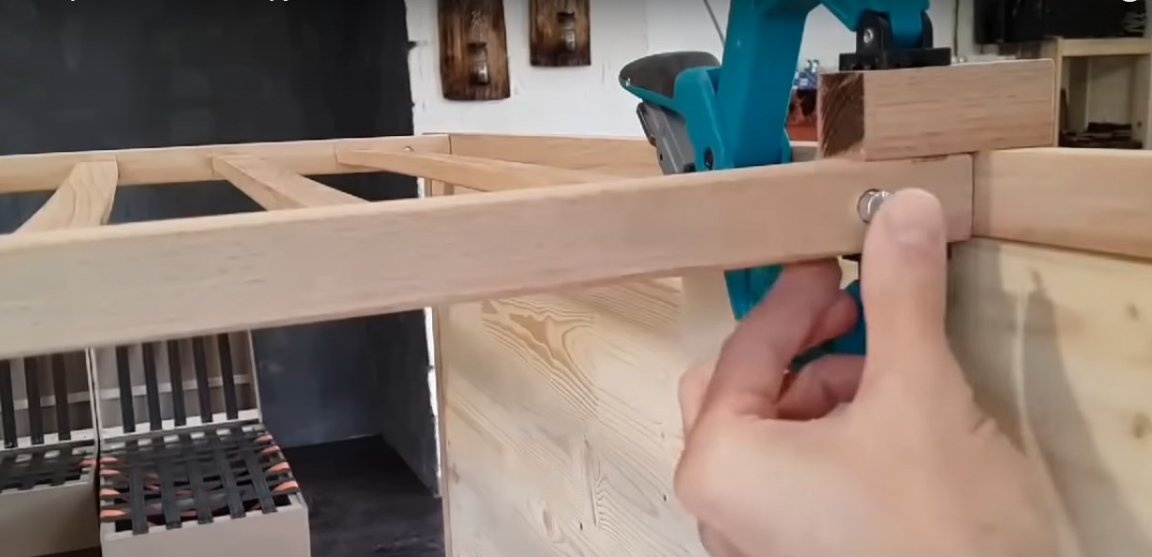
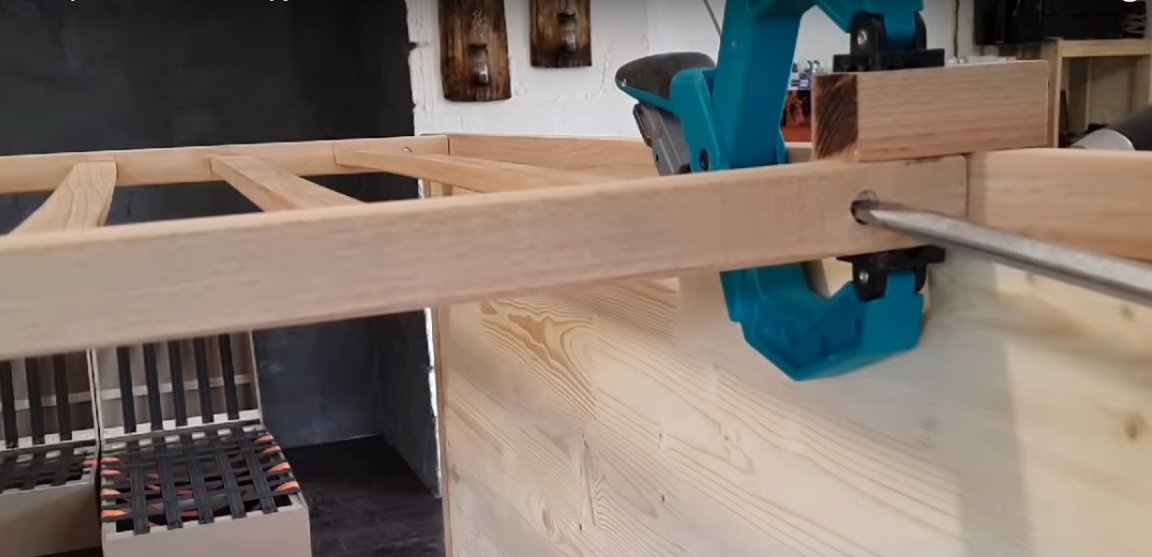
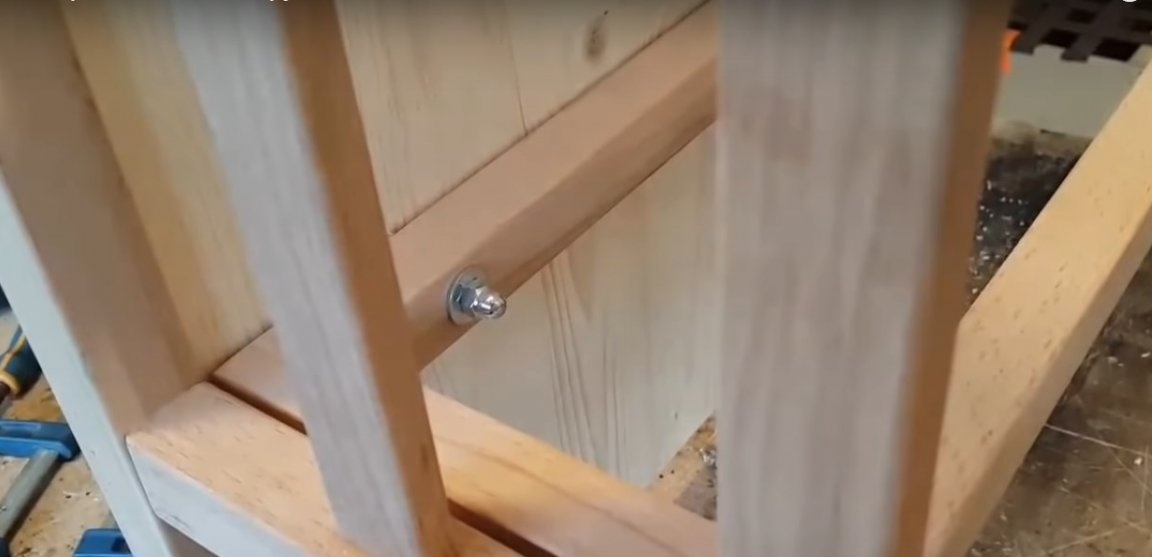
Connect the side elements of the frame and the bead. To do this, mark and drill through holes in the sidewalls for the bolts. To fix the bolts, the author uses furniture barrel nuts with a hole for a flat screwdriver. The holes for the nuts are on the sides. Mark the nut in the hole and tighten the bolt in such a way that it enters the hole in the nut. Hold the nut with a screwdriver while tightening the bolt.


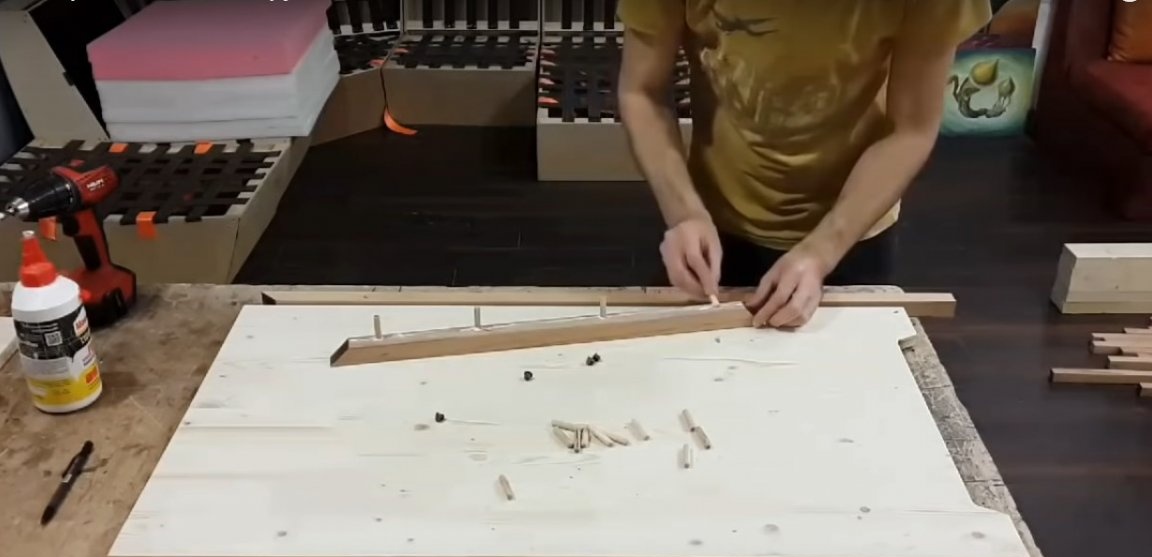
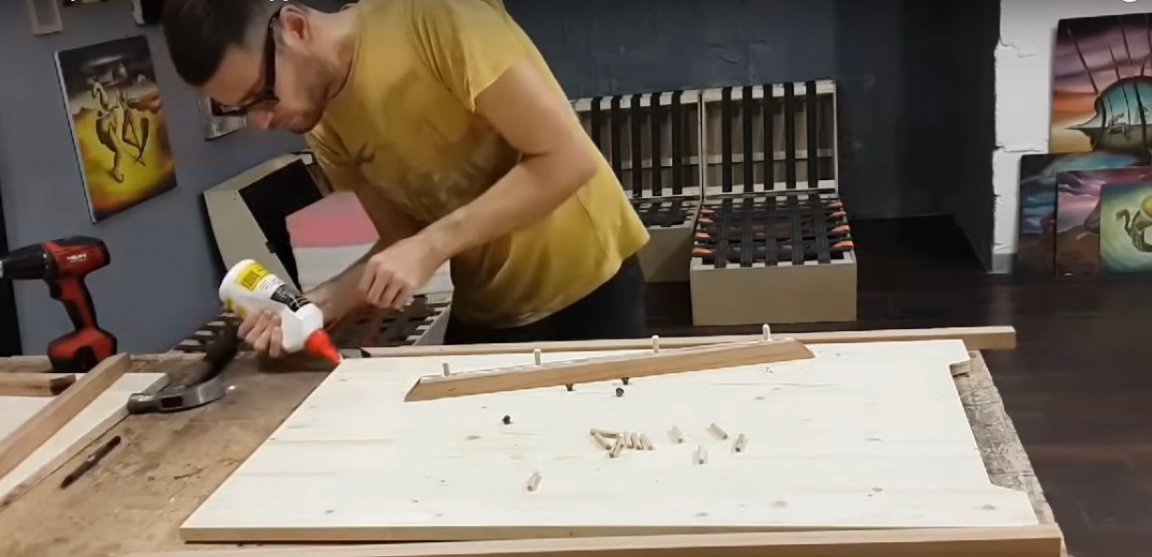
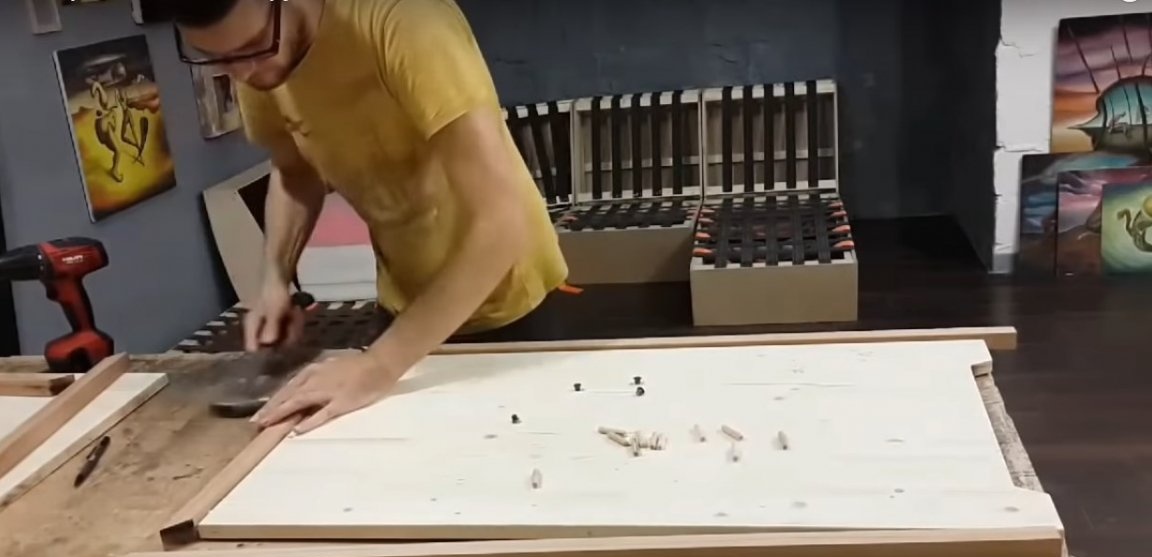
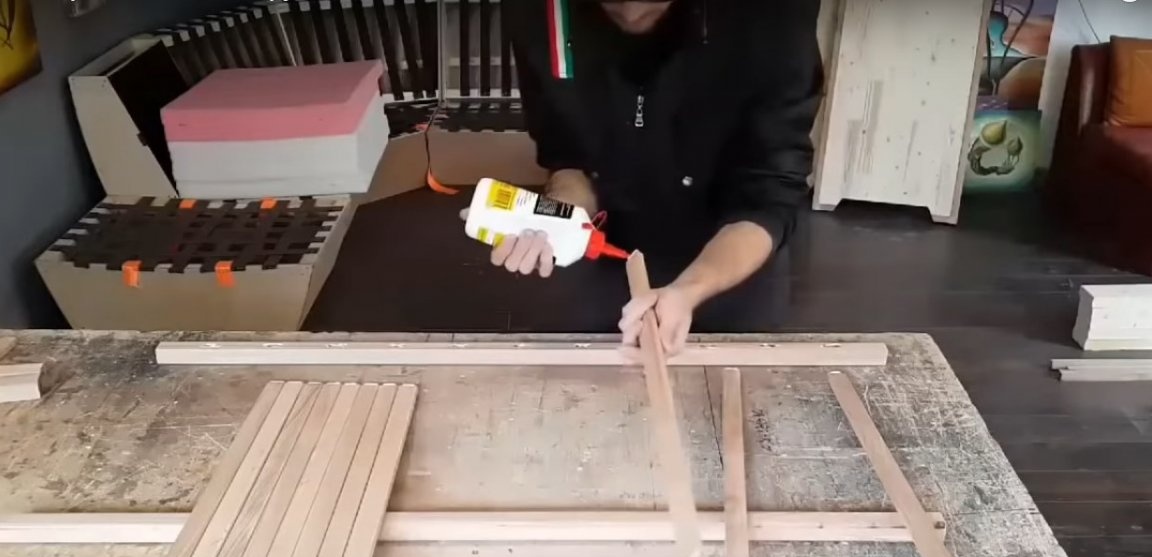
Step Four: Making the Crib Frame
Assemble the bed frame on the dowels. Use wood glue. As a crate, the author uses bars. You can also purchase ready-made lamellas with mounts. They create a spring base and at the same time have amazing durability. Lamels will significantly extend the life of the mattress and allow it to breathe. The most unsuitable base under the mattress is a continuous paneling.
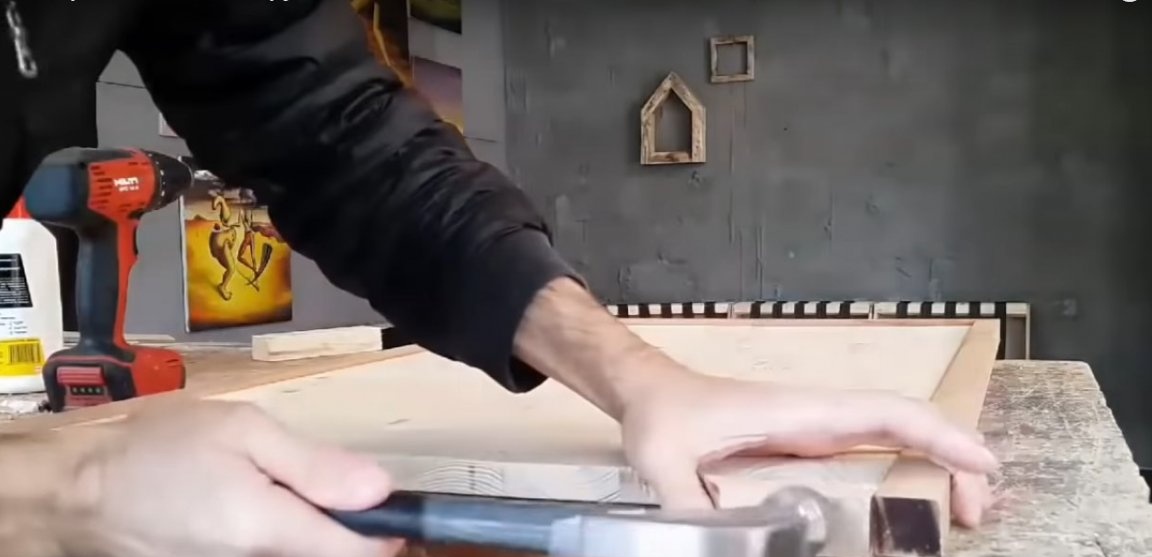
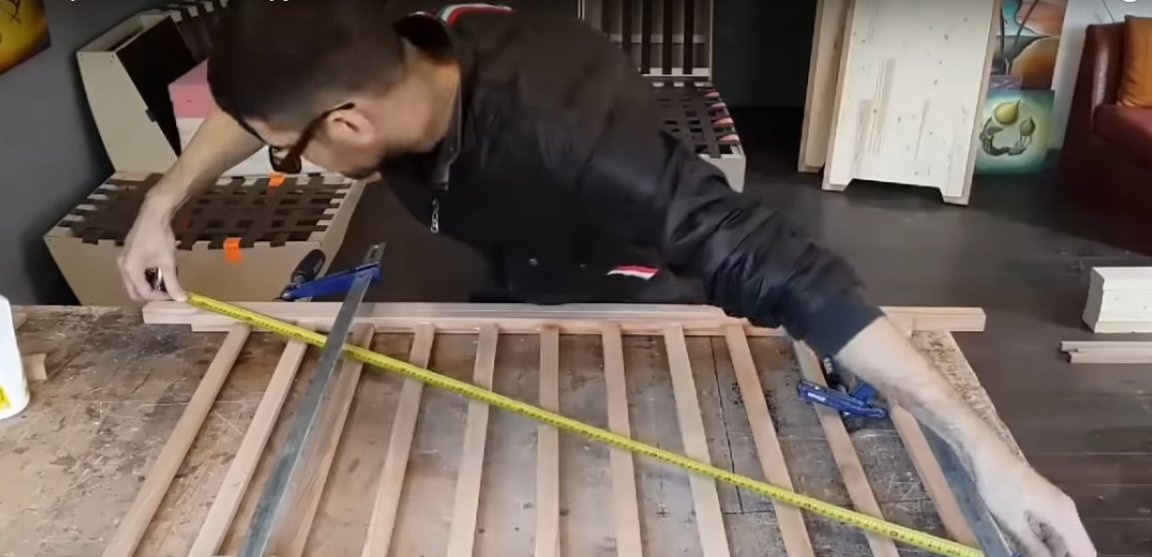
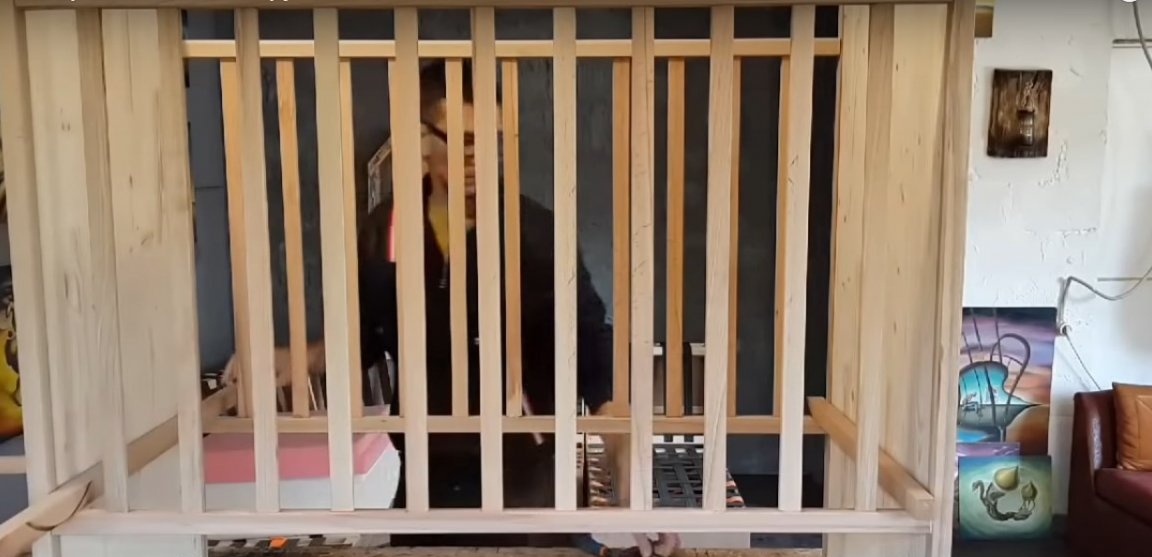
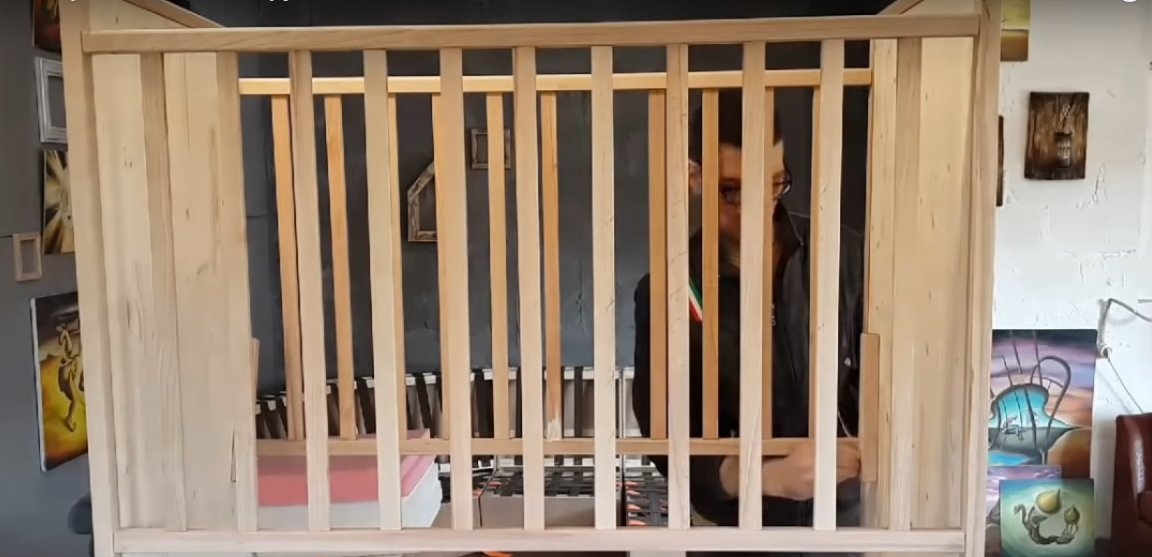
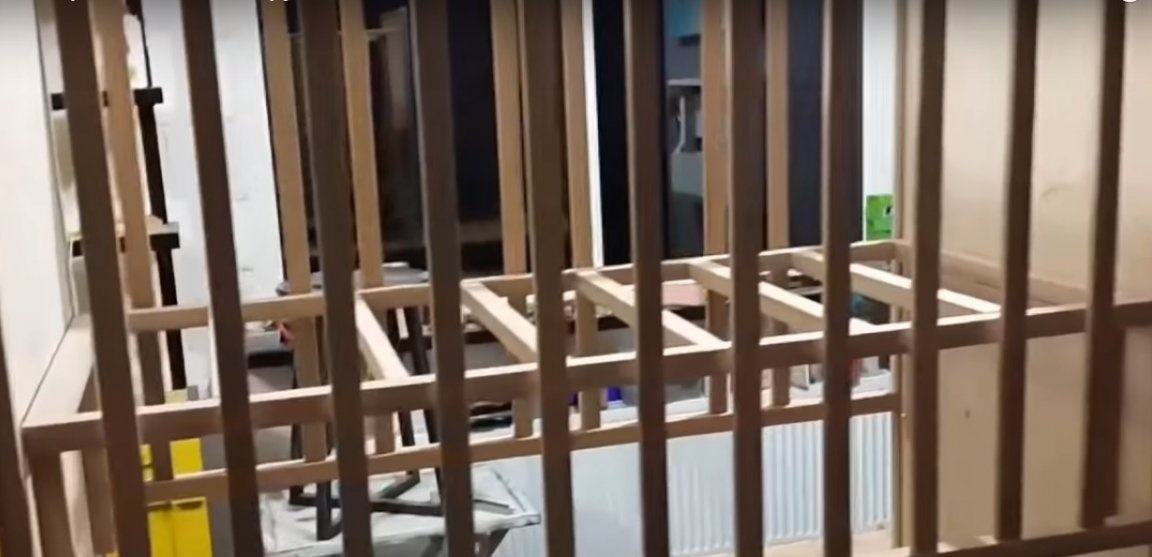
Step Five: Assembling the Crib Frame
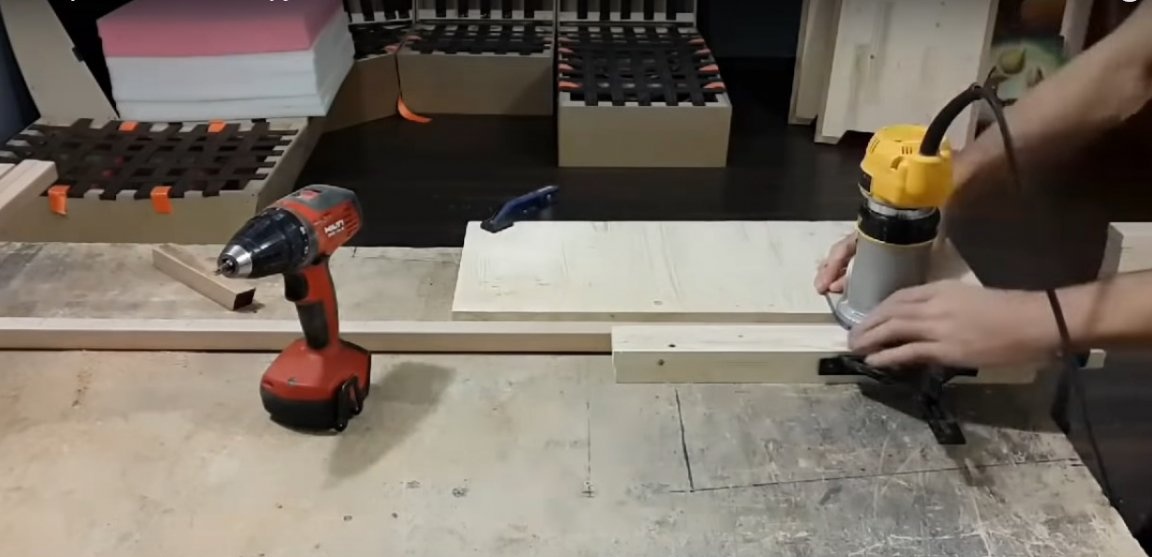
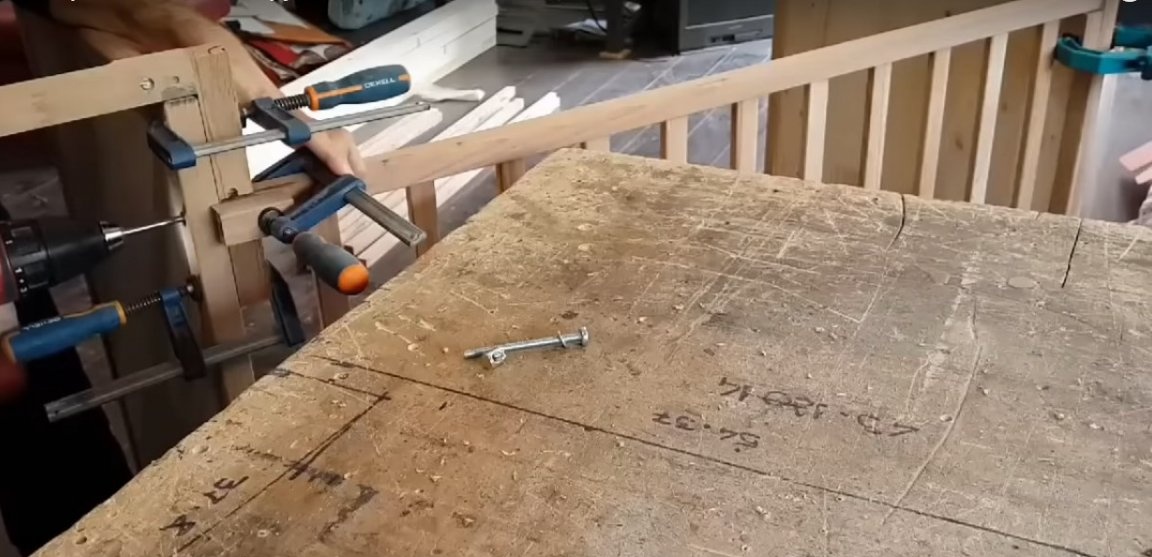
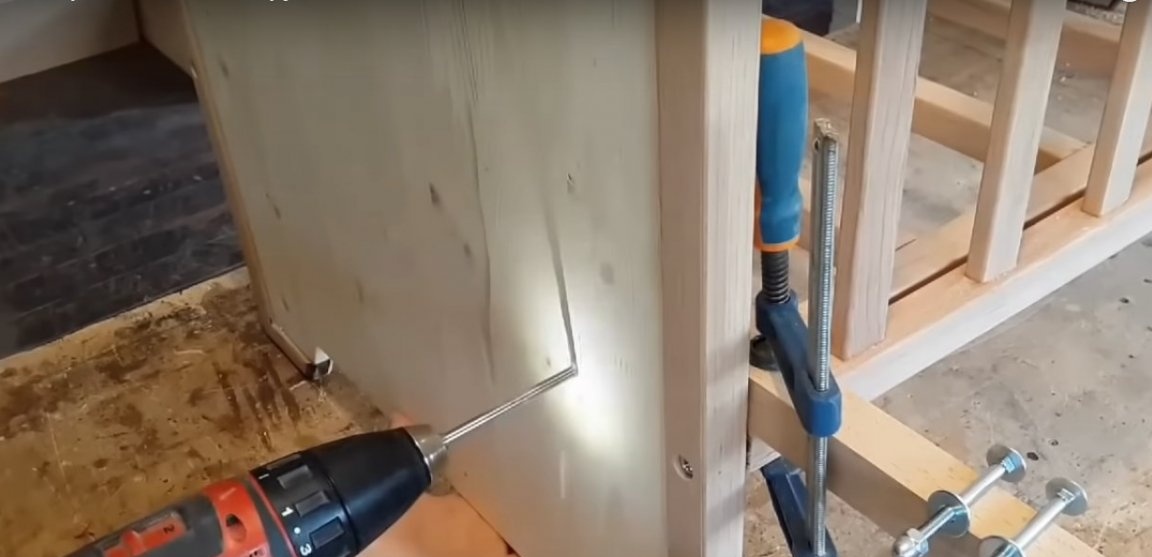
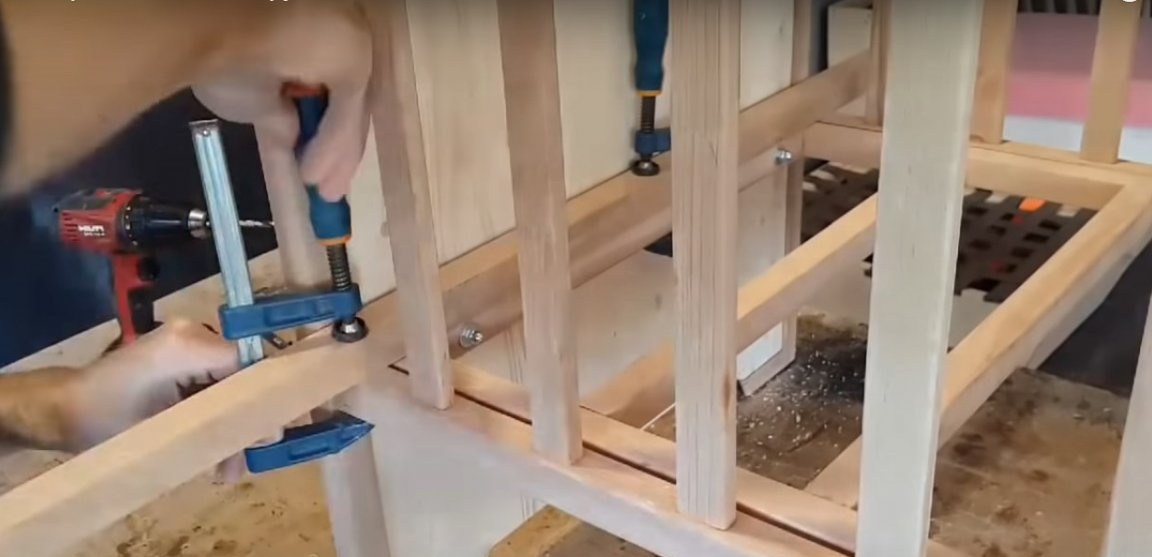
In order to install the frame, place a couple of bars on the lower harness as shown in the photo. Secure the frame from the bottom with clamps. Drill holes for the bolts in the sides. The drill must also pass through the plane of the outer frame of the frame.
Place bolts in the holes and tighten with nuts on the inside. Now the temporary bars can be removed.

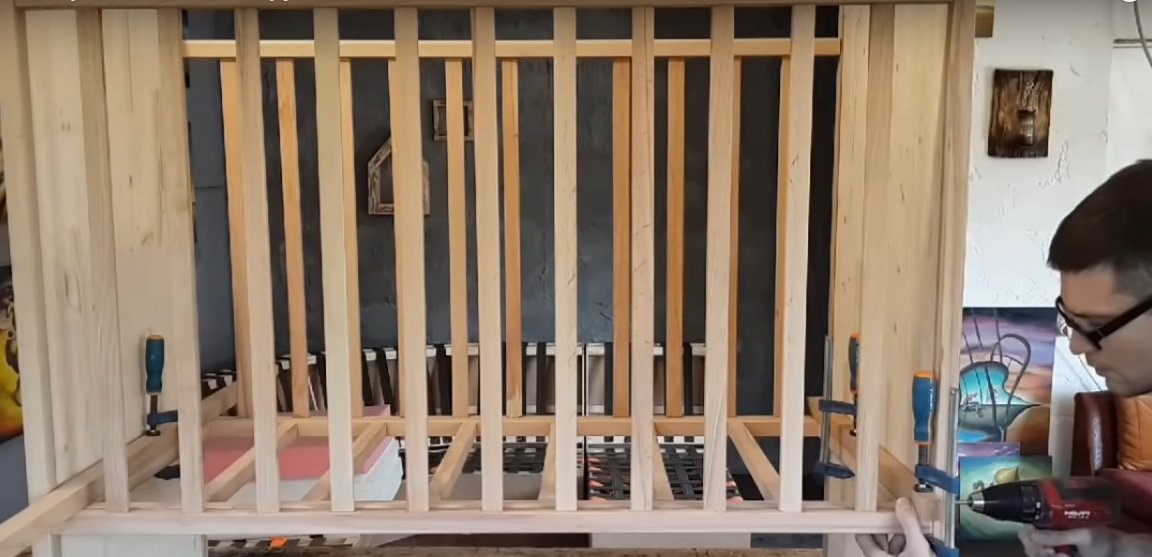

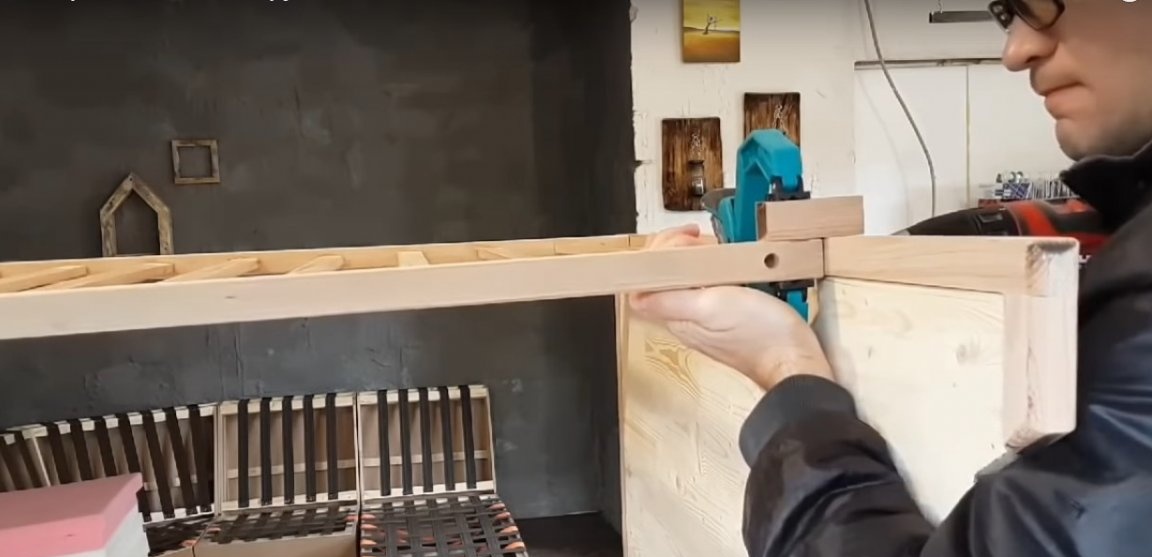
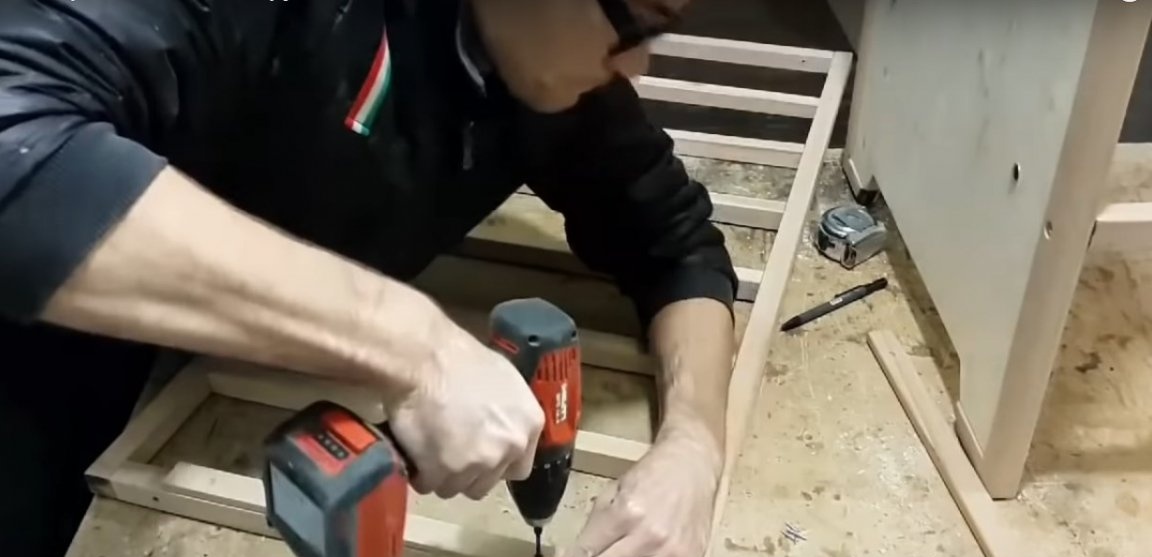
The author also provided for the installation of the base of the crib in the second - upper position. This is very convenient while the child is small and cannot stand up on her own. In this position, it is easier for mother to get him out of the crib, without bending to the very bottom.
Remove the base. You will need 4 small pieces of bar. Drill through holes for the bolt and install the bars on the same mounts as the base before. On the base frame, fix in the center the stops of a thin board or veneer.

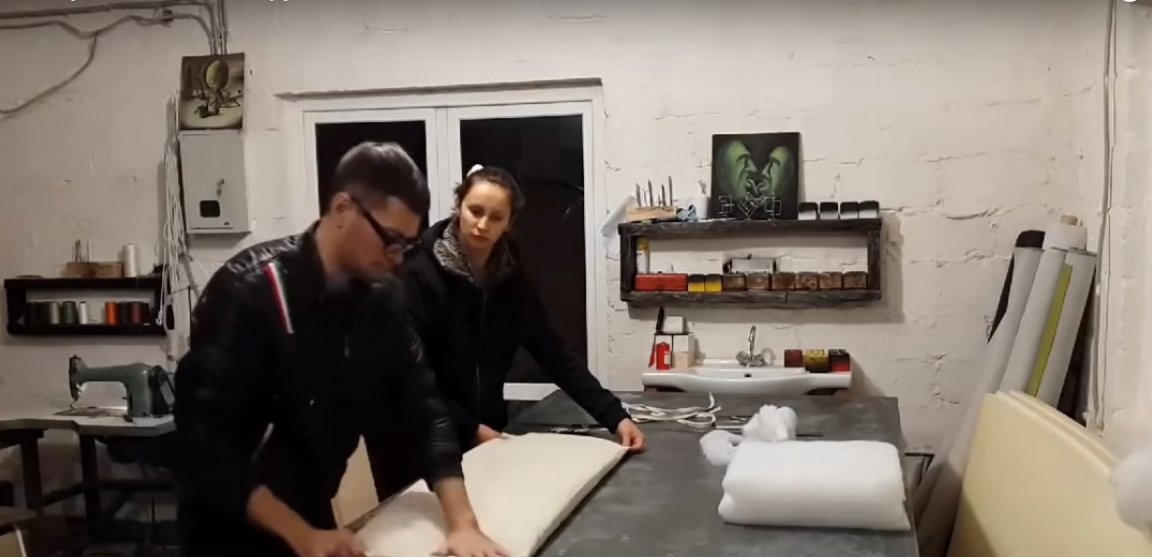
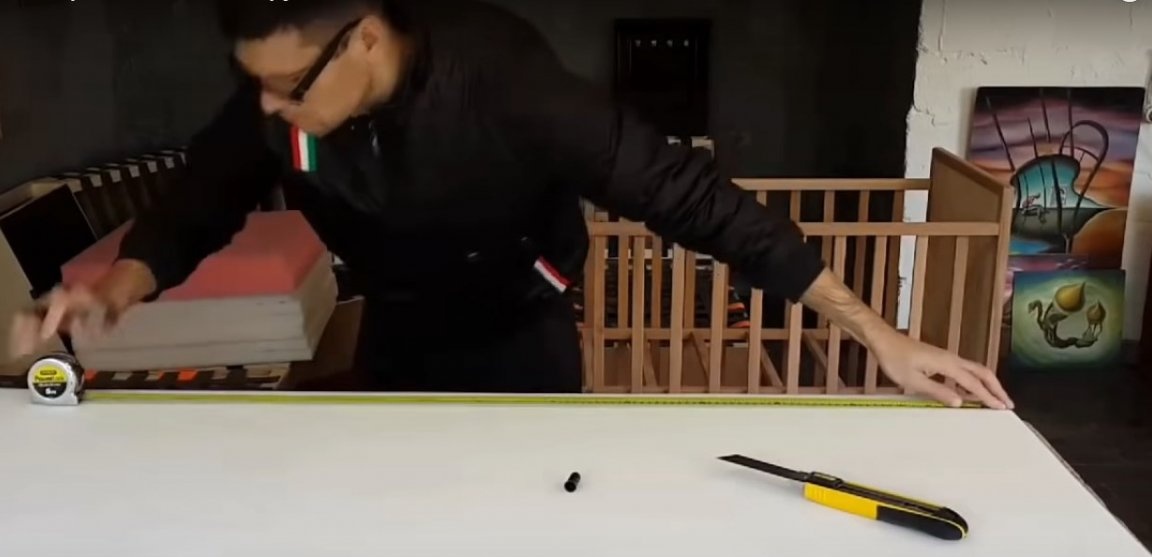
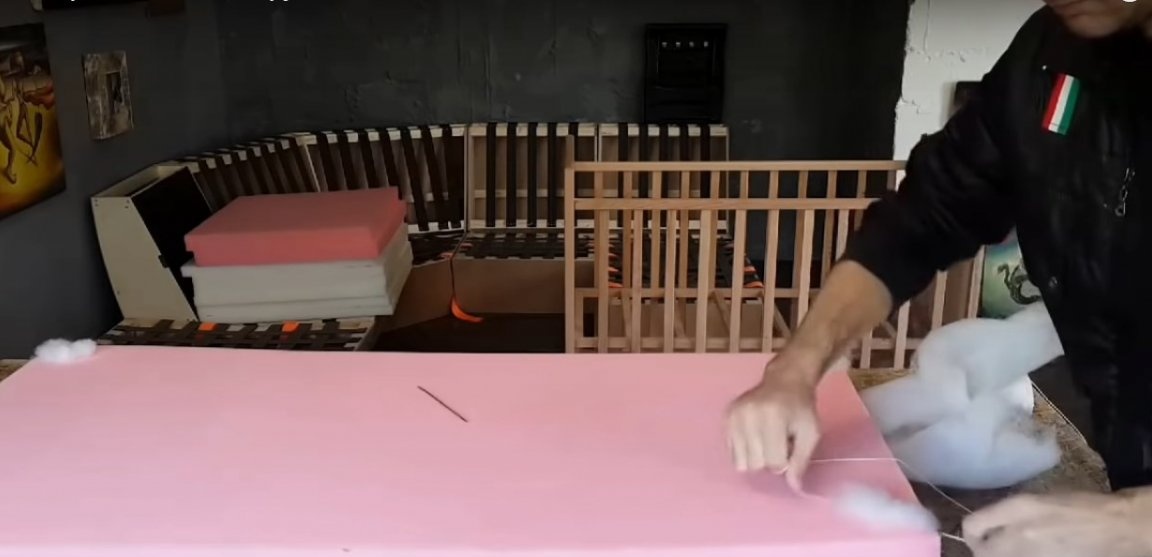
Step Six: Making a Mattress
The mattress for the crib is made of furniture foam. Please note that furniture foam has a completely different stiffness according to its marking. It can be assumed that the child needs a soft mattress, but here things are just the opposite. Indeed, for the formation of proper posture, children need a fairly hard bed.
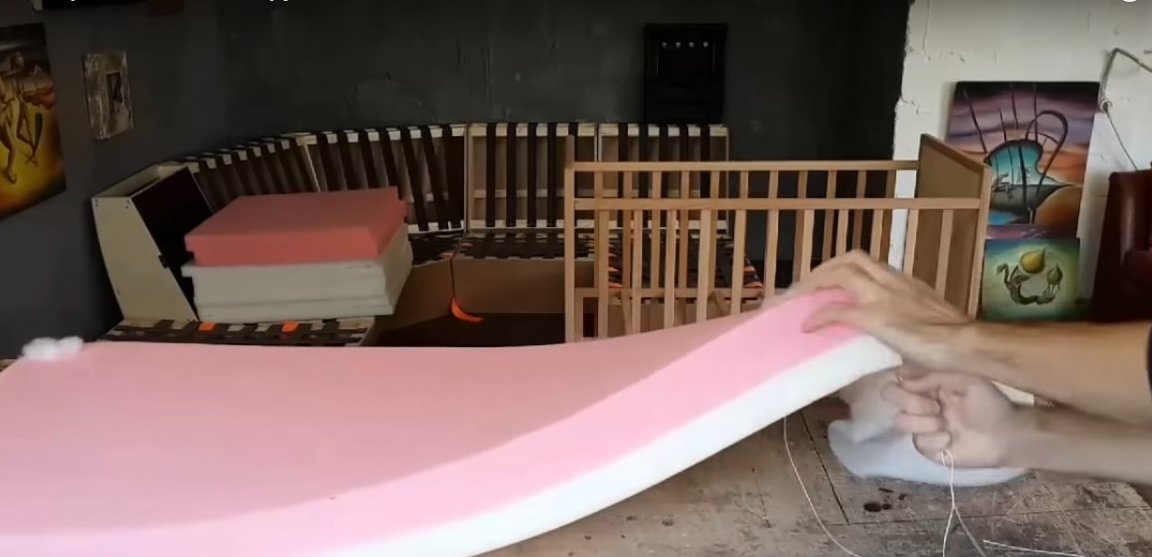
You will need two cuts of foam in the size of the mattress. Thus, the thickness of the mattress will be 10 cm. For the top layer, choose foam rubber with a stiffness above average. In no case do not get foam rubber with memory, since for newborns it in rare cases can cause choking. For the lower layer, optionally foam rubber of medium hardness can be used.
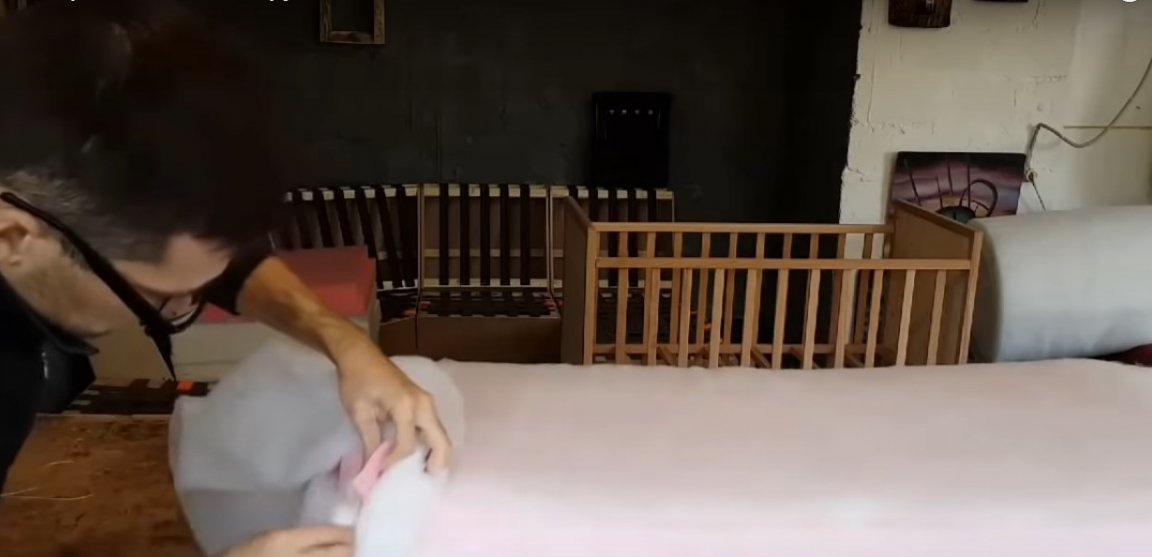
Glue two layers of foam rubber with a non-combustible glue, which is usually used by furniture makers. Wrap the resulting foam blank in a synthetic winterizer layer and place it in a fabric cover. The author connected a layer of foam with a strong thread.
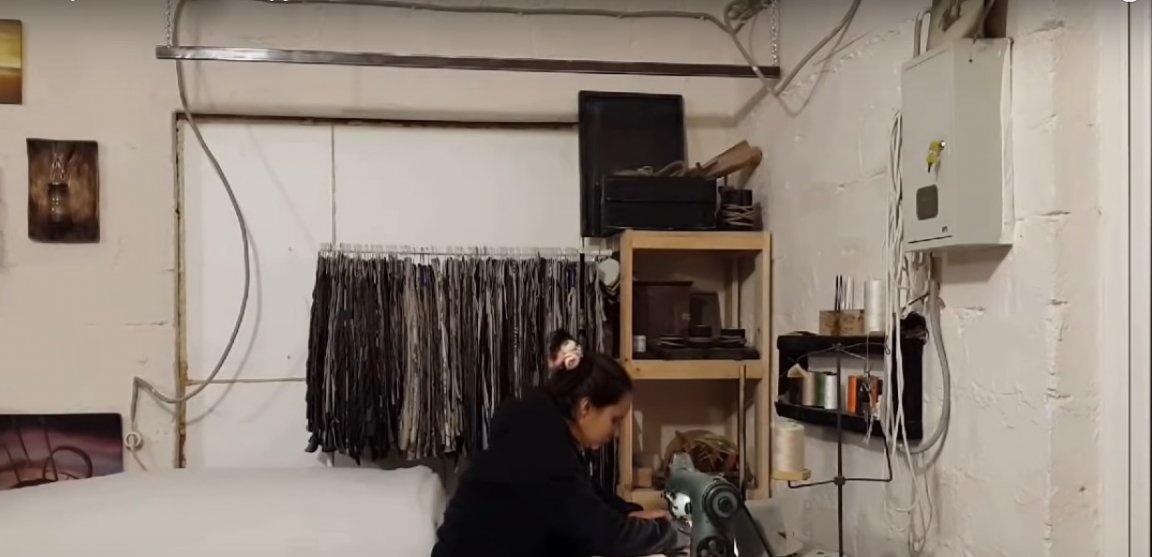
The fabric cover for a baby mattress is usually equipped with a zipper.For its tailoring, only natural fabrics are used - most often cotton, linen, and recently - bamboo.
Choose durable fabrics with a density of at least 180 g per 1 sq. m., for example teak or fabrics with jacquard weave.


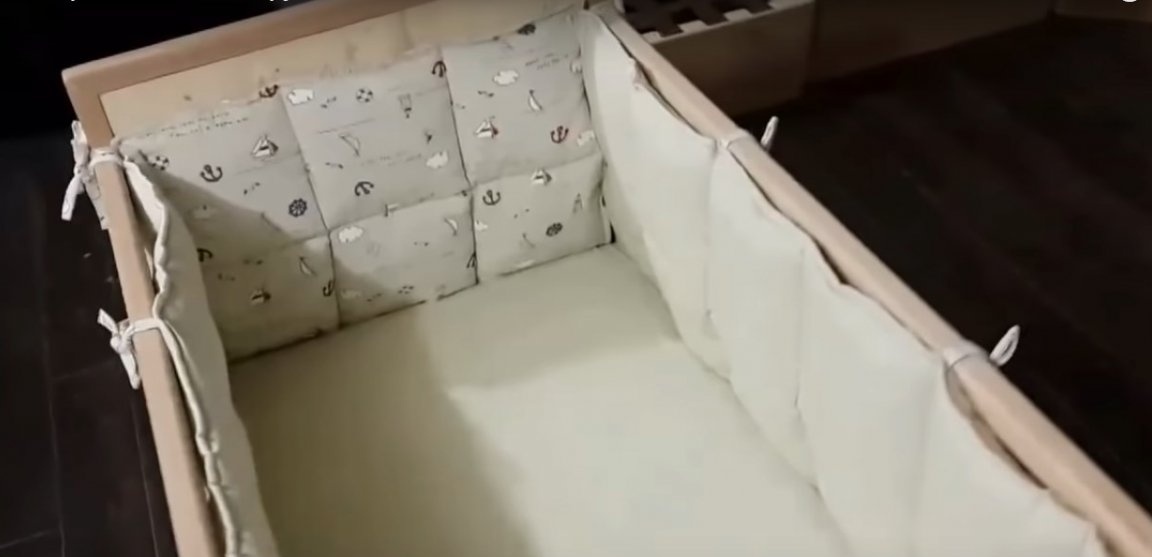
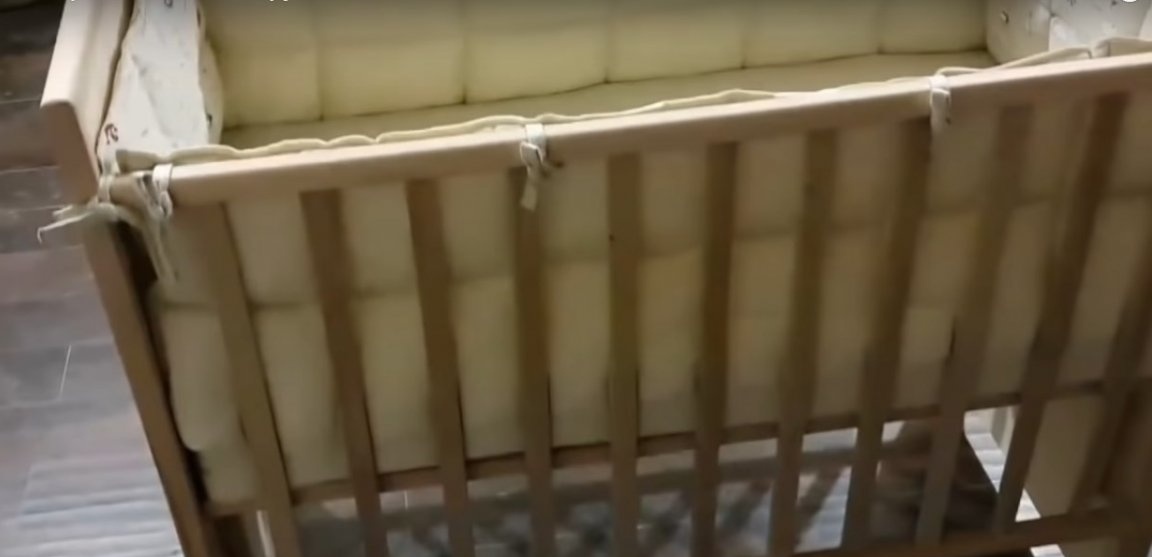
Seventh step: making soft bumpers for the crib
The sides and headboards are lined with soft textile bumpers. They are a comfortable addition to the crib, protect the newborn from minor injuries and drafts. Bright patterns on the fabric serve the child as additional entertainment.
To fill the bumpers, the author used a roll sintepon. Be sure to quilt the resulting blank to fix the sintepon. For sewing, pick cotton or linen of medium density. From the same fabric, make ties for the bumper, with which it will be attached to the crate.