
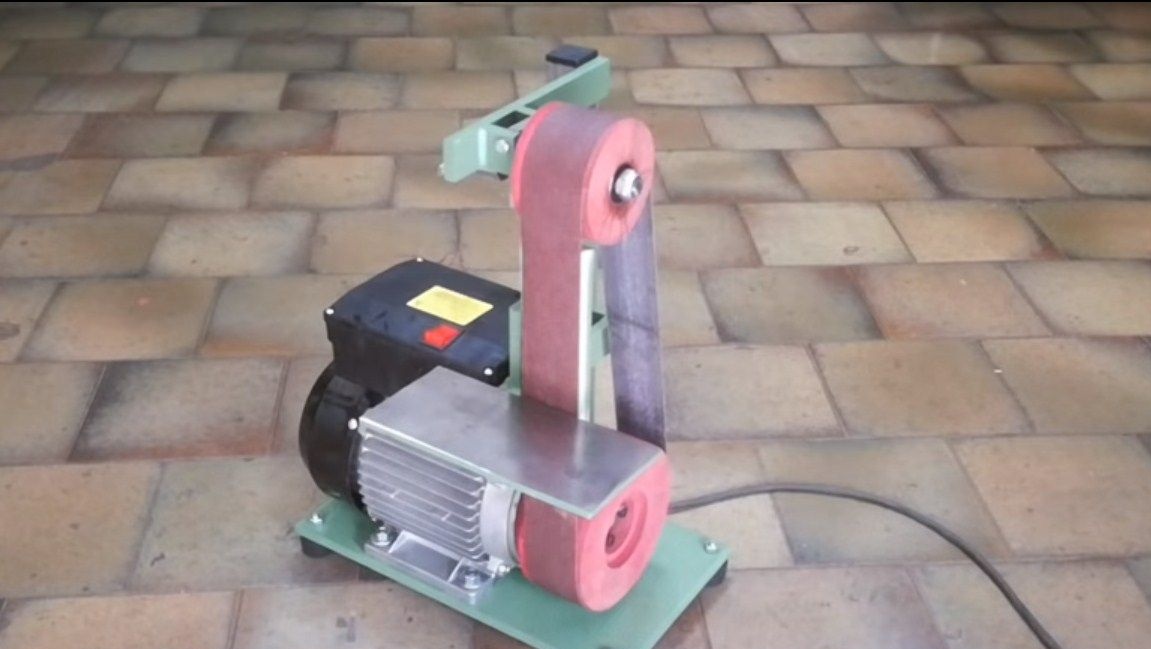

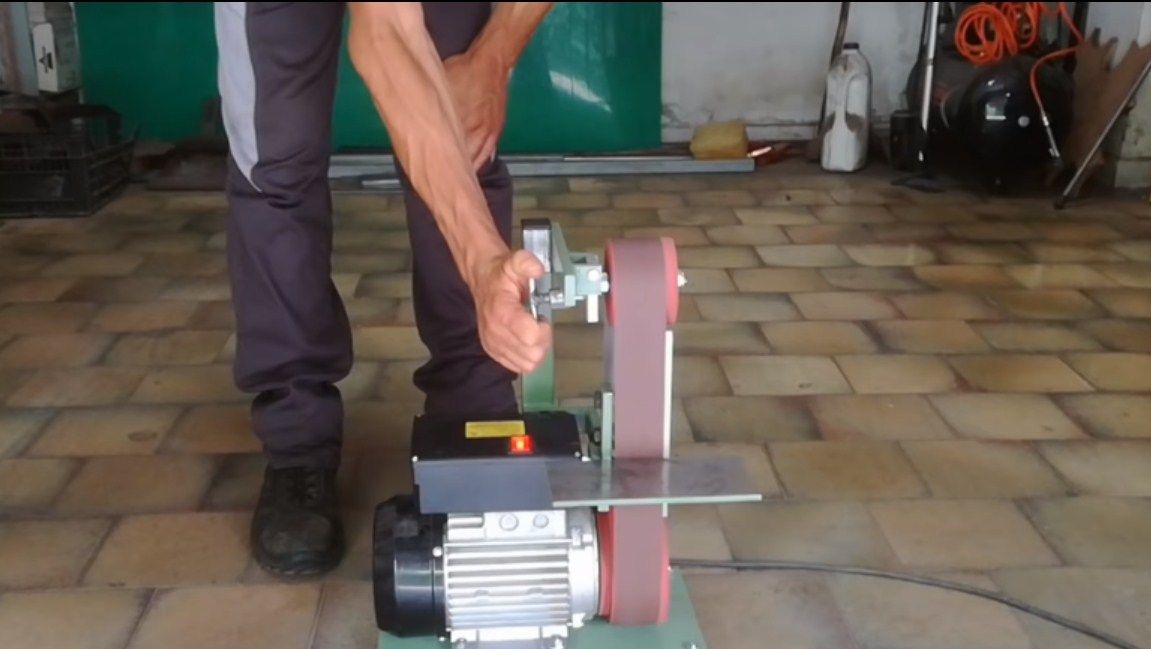
I greet all those who work with metal and not only, I present to your attention a simple, convenient, powerful grinding machine. With this, you can easily and quickly form bevels on knives, sharpen axes and many other tools, perform grinding and so on. As a power unit, a 220V engine with a power of 2 kW is used, the speed of which is 2800 per minute.
The belt on the machine is installed with dimensions of 1000x50, and the speed is 20 m / s.
[/ url]
This is very convenient to use, it quickly changes the belt. It is also reliable, there is practically nothing to break here, such a powerful engine is difficult to overload. It is also easy to assemble from available materials. The most important thing is to find the right engine for homemade. So. Let's consider in more detail how to assemble such a machine.
Materials and tools used by the author:
Material List:
- motor 220V, 2 kW, 2800 rpm .;
- square steel pipes;
- Sheet steel;
- wires;
- nuts and bolts;
- shock absorber (will work as a tension);
- finished wheels (or you can carve them out of wood yourself);
- paint.
Tool List:
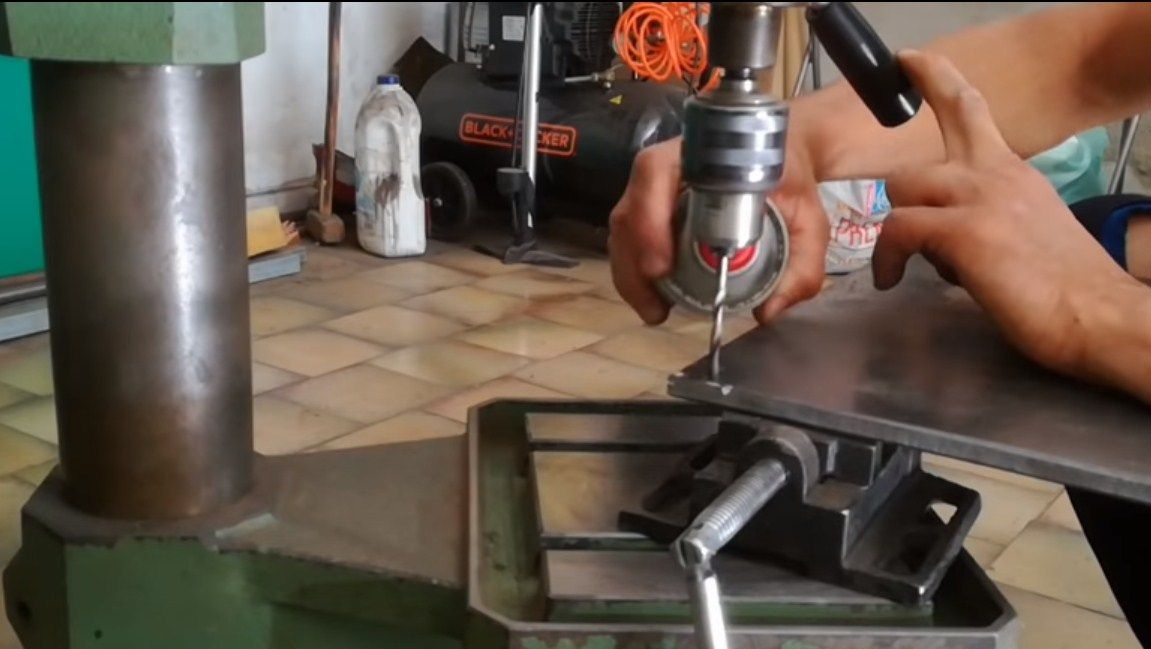
- cutting machine or grinder;
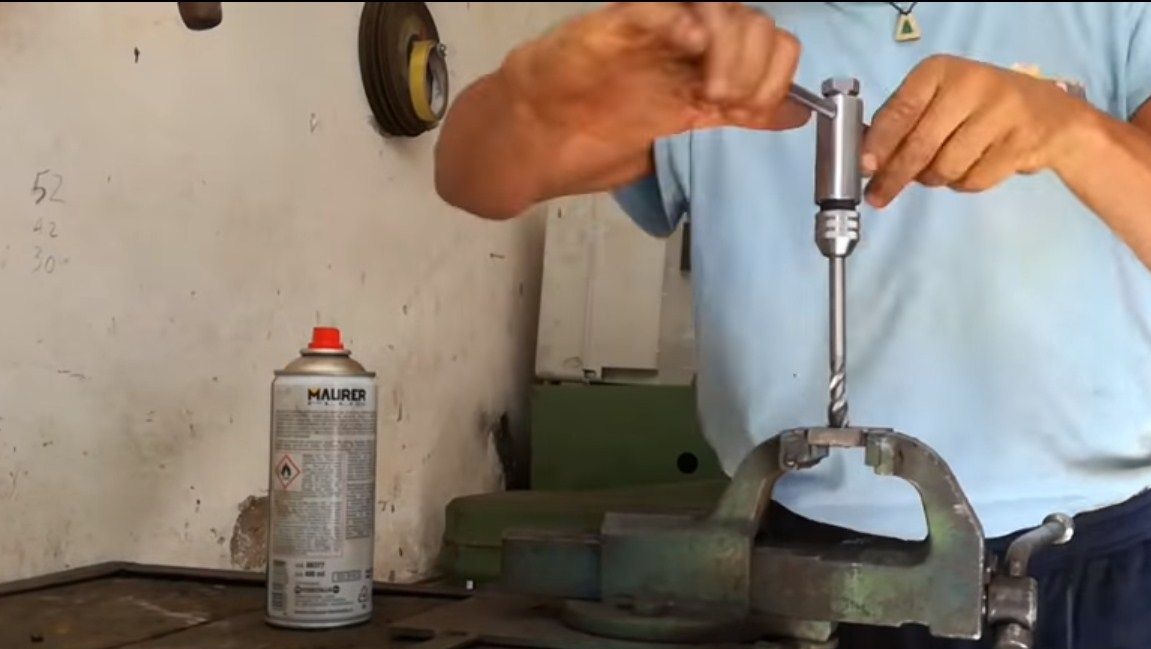
- drilling machine;
- grinder;
- vise;
- welding machine;
- a chisel, hammers, other wrenches.
The process of manufacturing a belt sander:
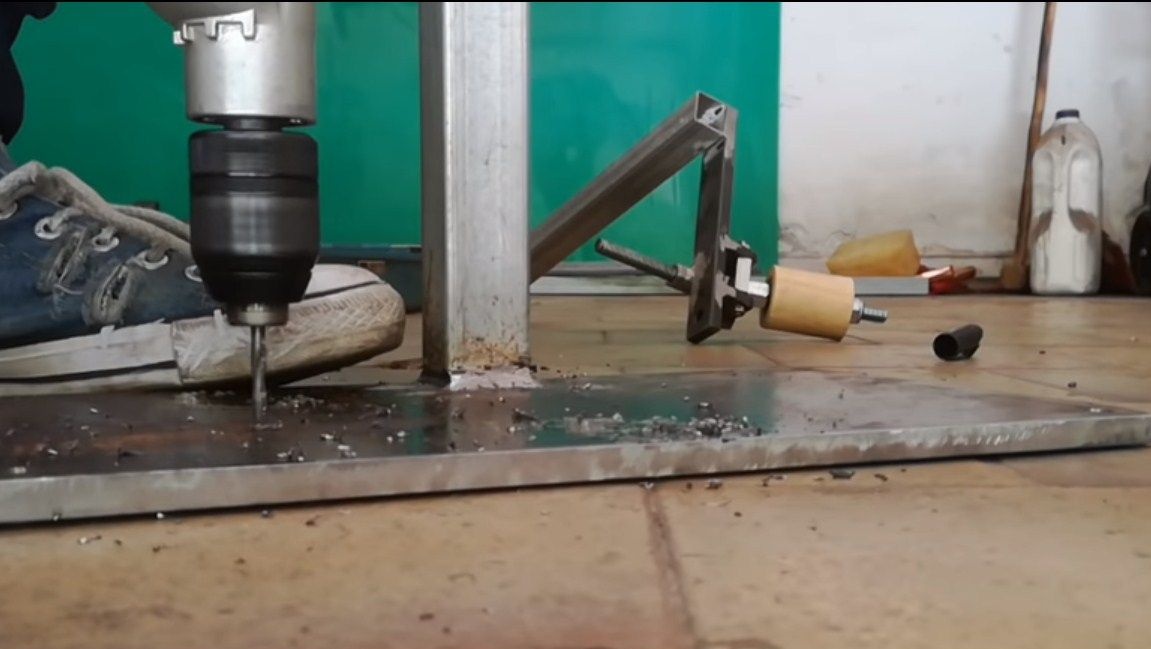
Step one. Base and stand
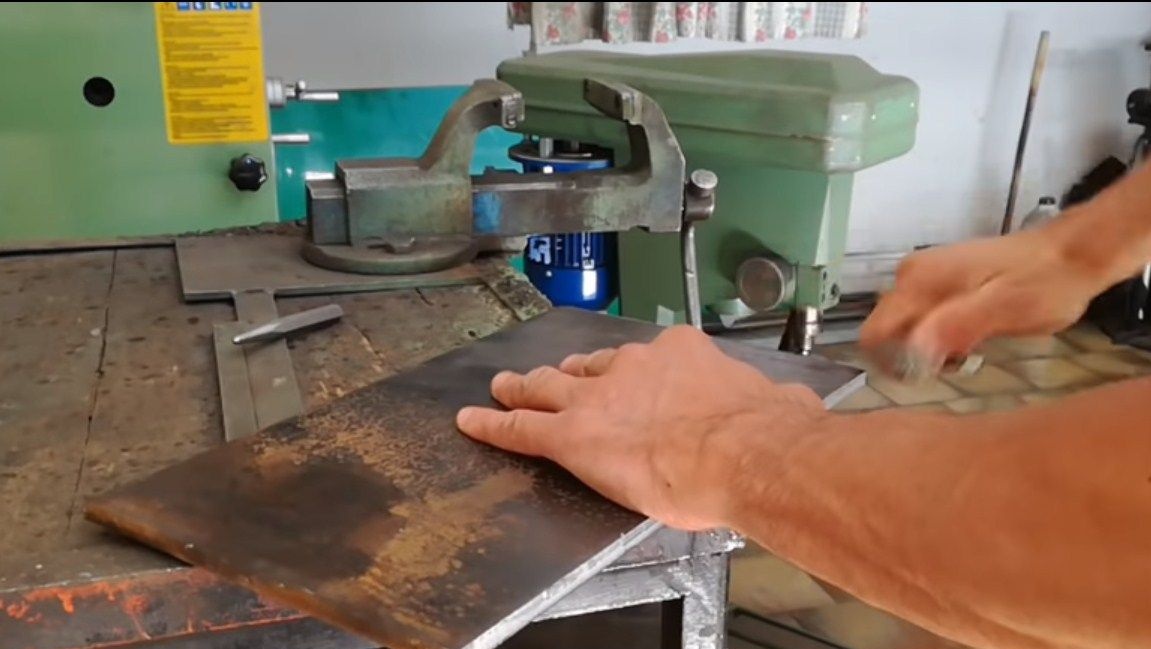
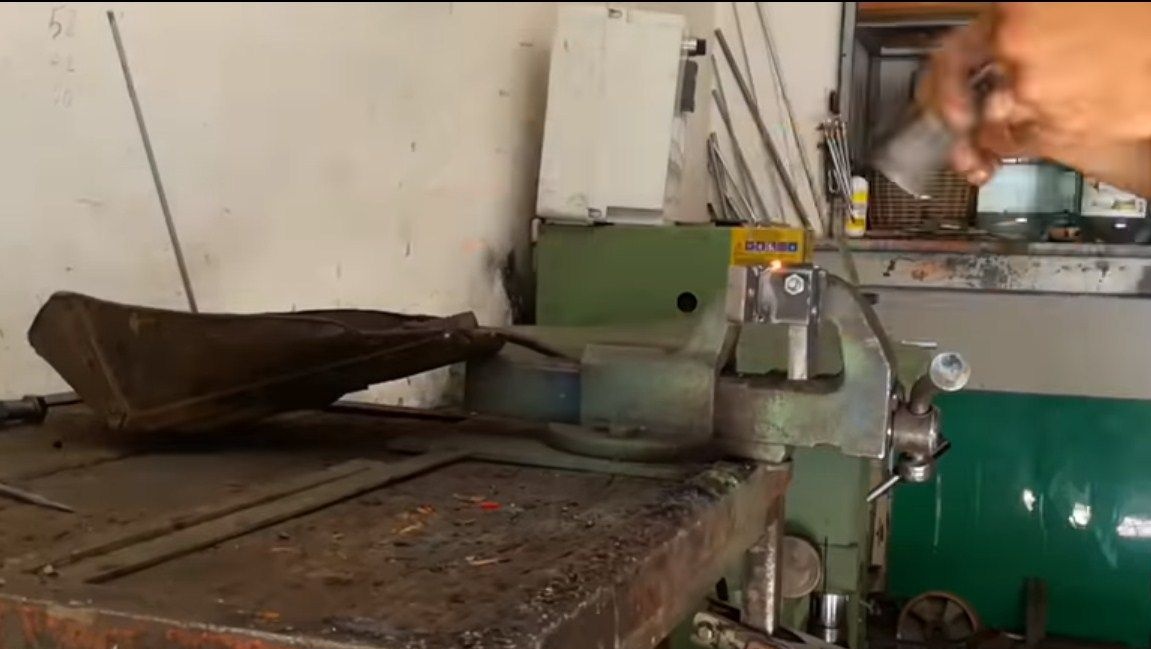
And as a basis we need thick sheet steel. The metal must be strong, because here we will mount the engine, as well as weld the rack. Choose a suitable piece of metal and mark it out. At the corners of the sheet, the author drills holes, they are needed in order to screw the legs. We need rubber legs, fasten them with bolts and nuts, so our machine will not walk on the floor and will be confidently fixed.

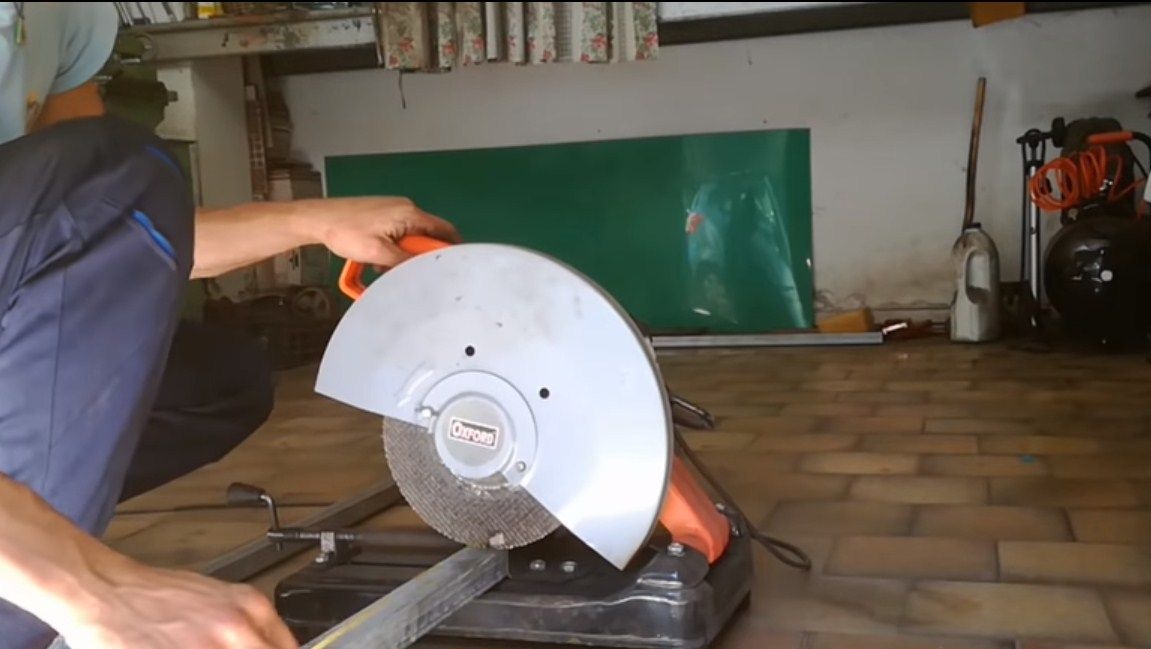
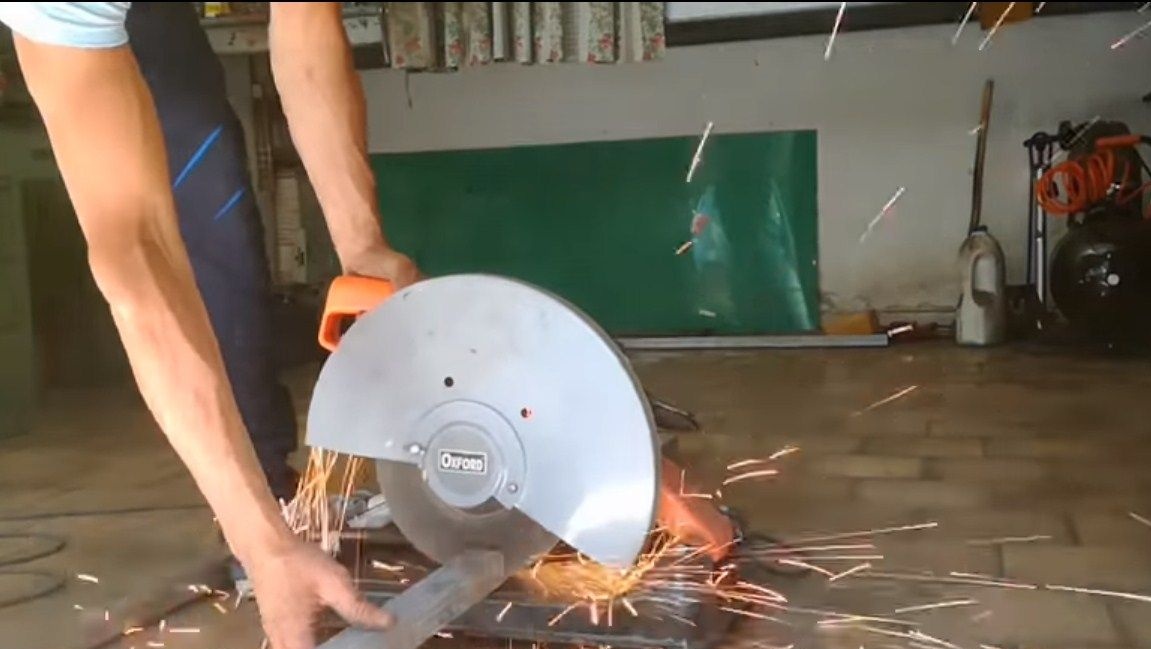
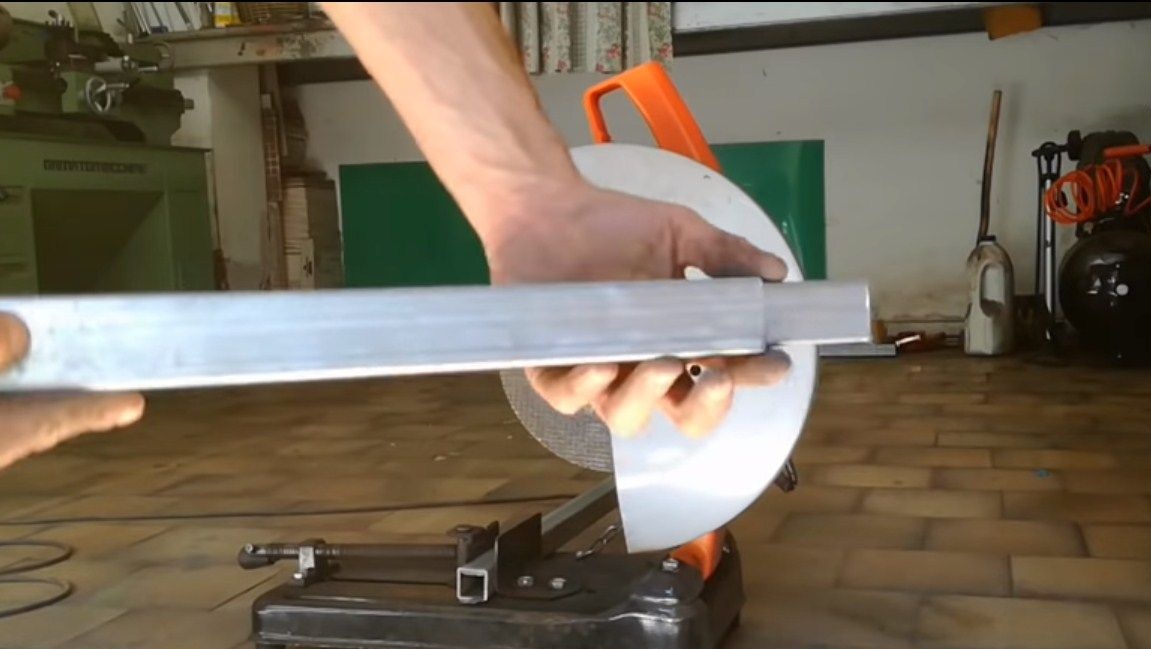
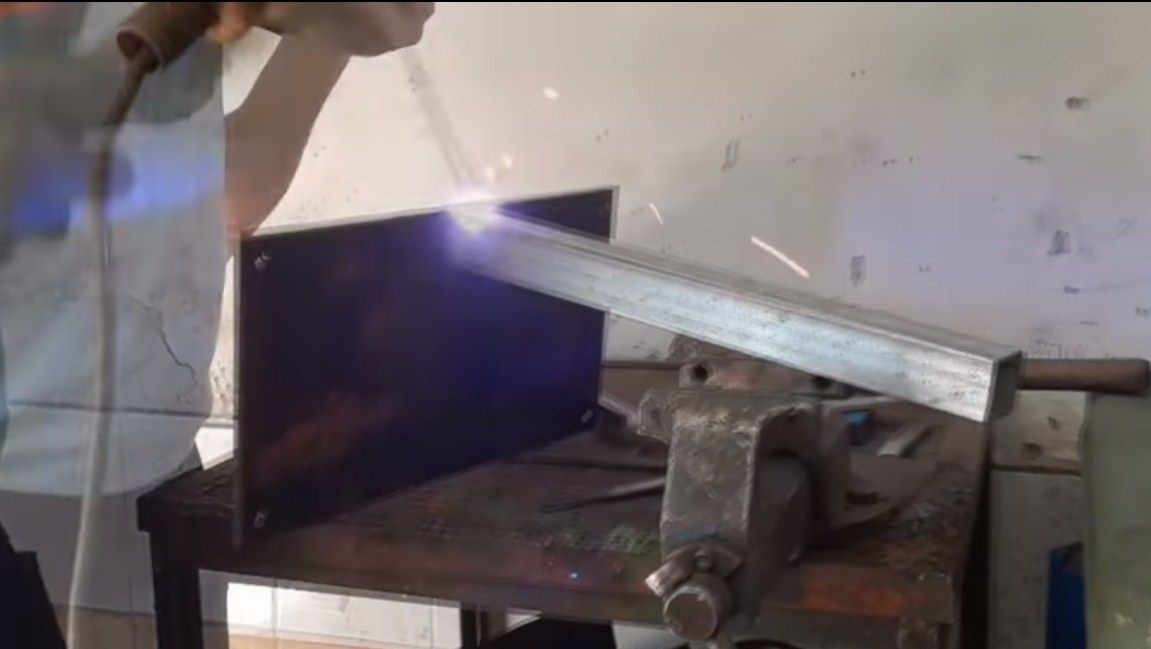
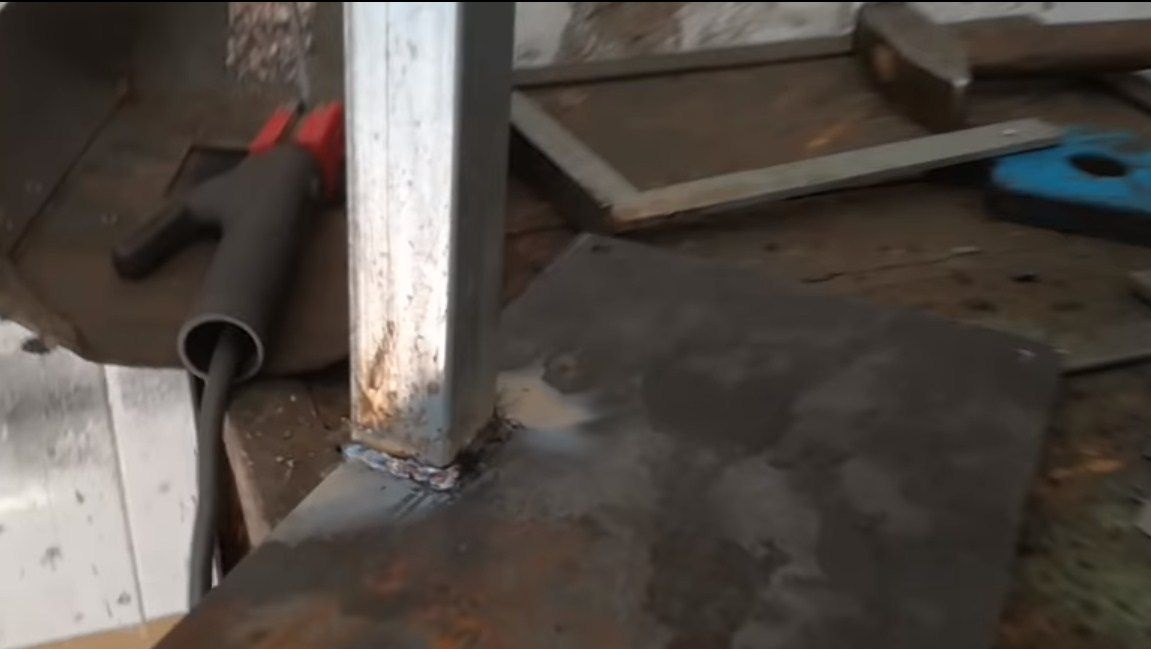
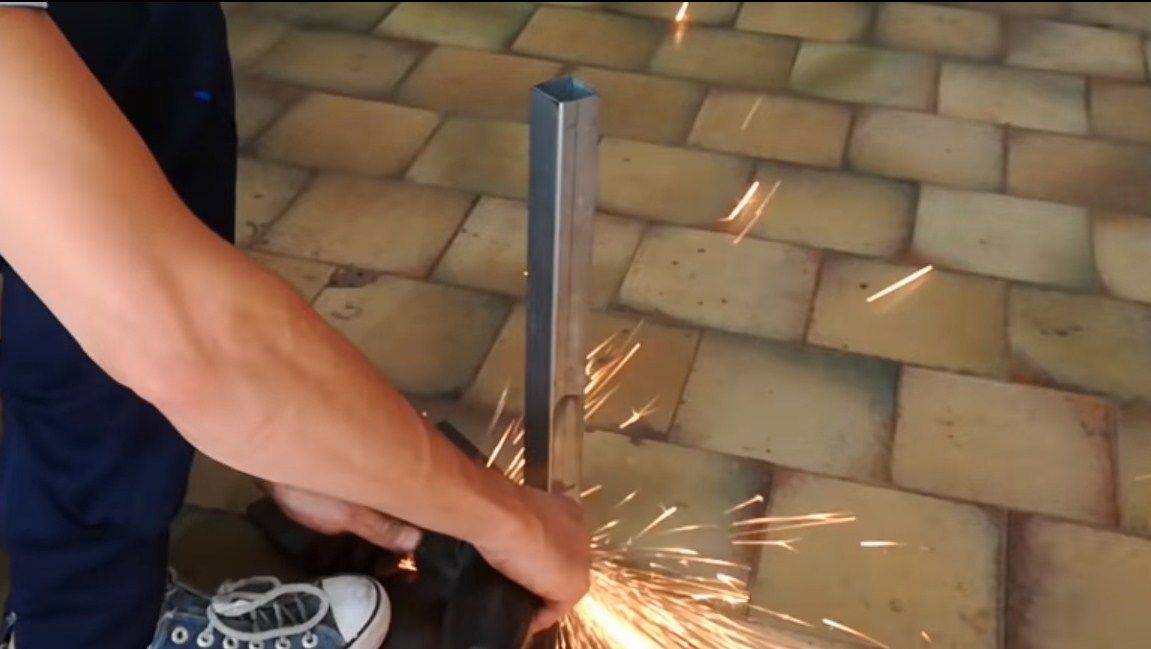
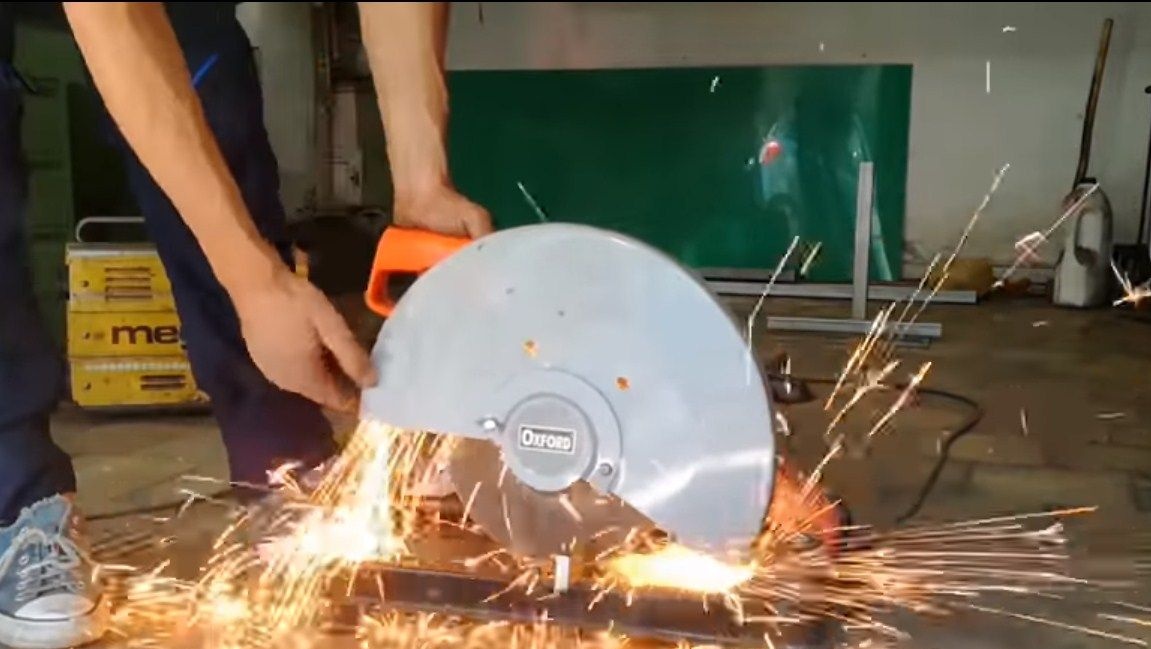
Next, we prepare the blanks for the manufacture of the rack. Our stand is telescopic, that is, it is a pipe of a larger and smaller diameter, they go into each other. We cut the necessary pieces of pipe on a cutting machine or grinder. Next, a wider pipe is welded vertically to the base. The pipe should be welded evenly and as tight as possible. Use the corners to weld the pipe vertically. That's all, the stand is ready, move on.
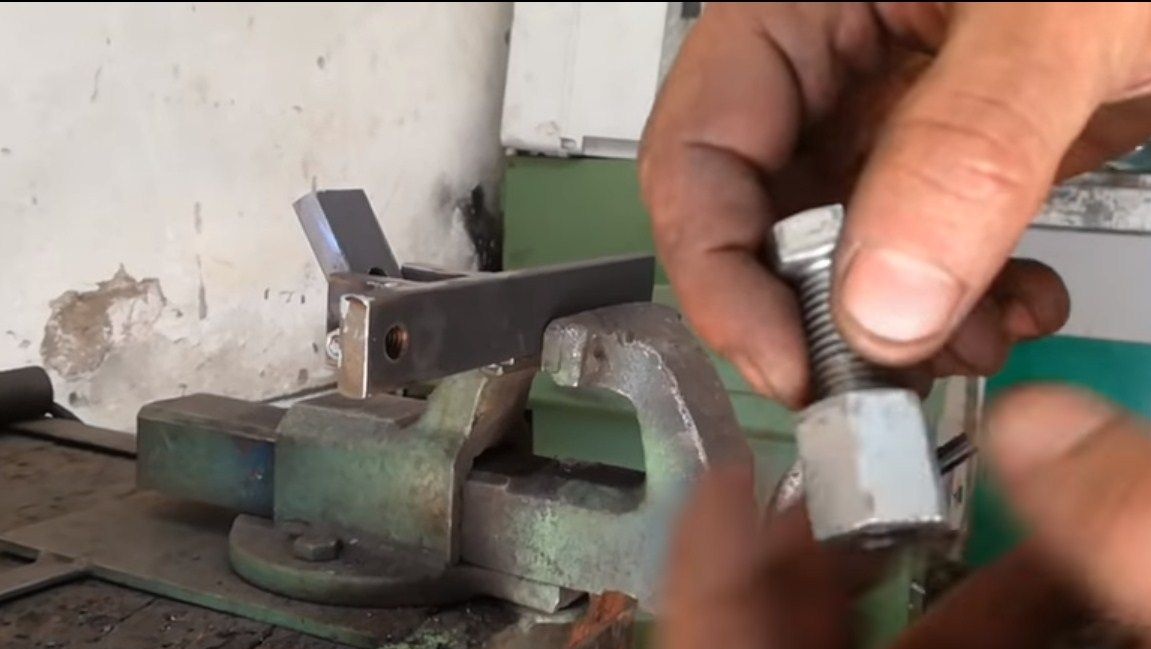
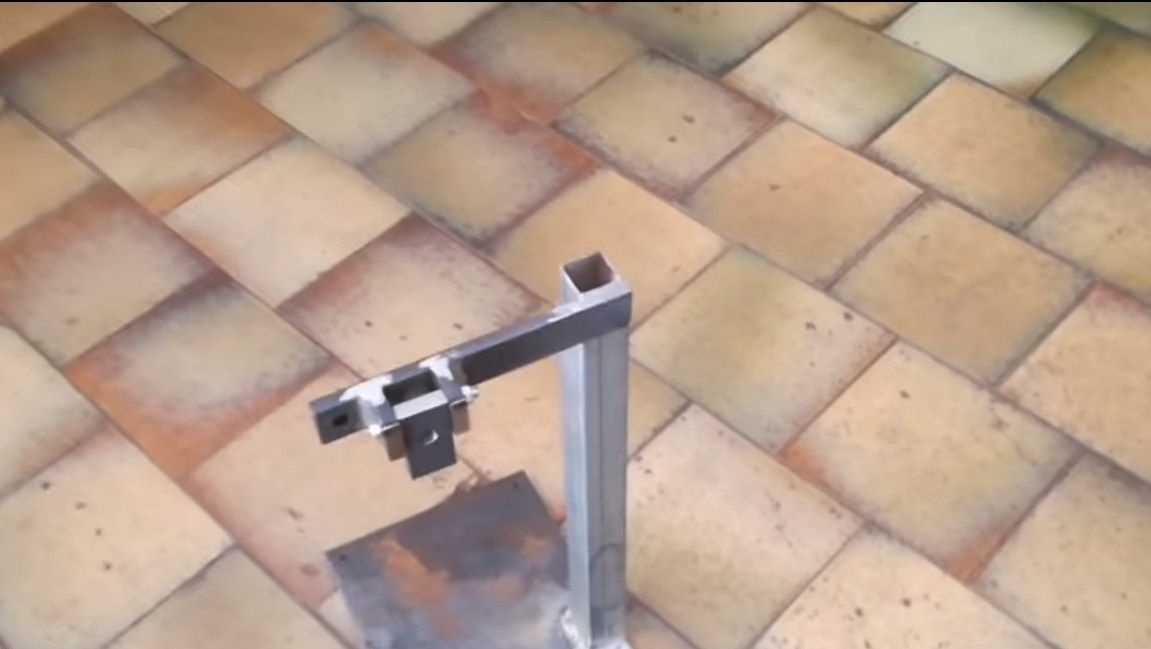
Step Two Adjusting unit
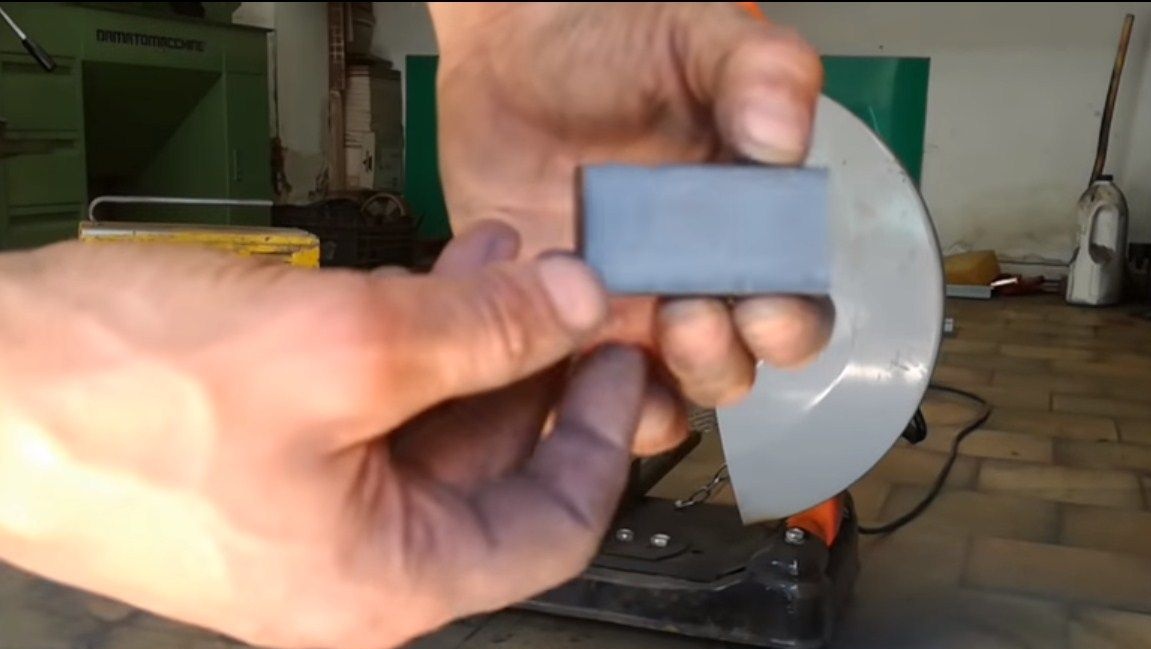
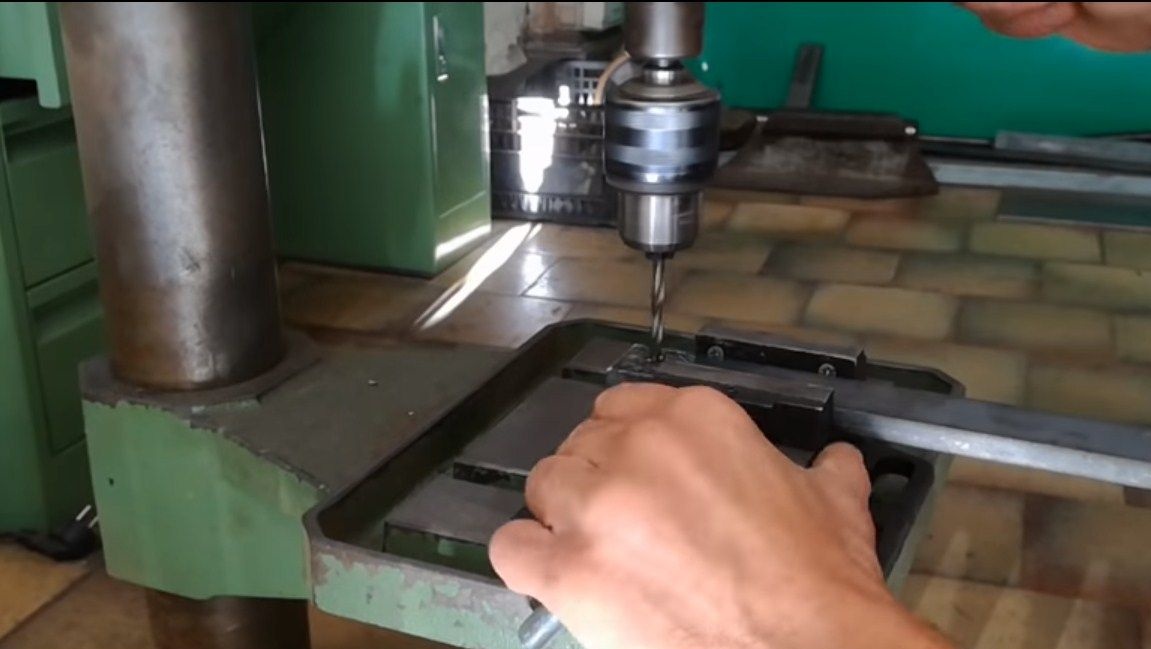
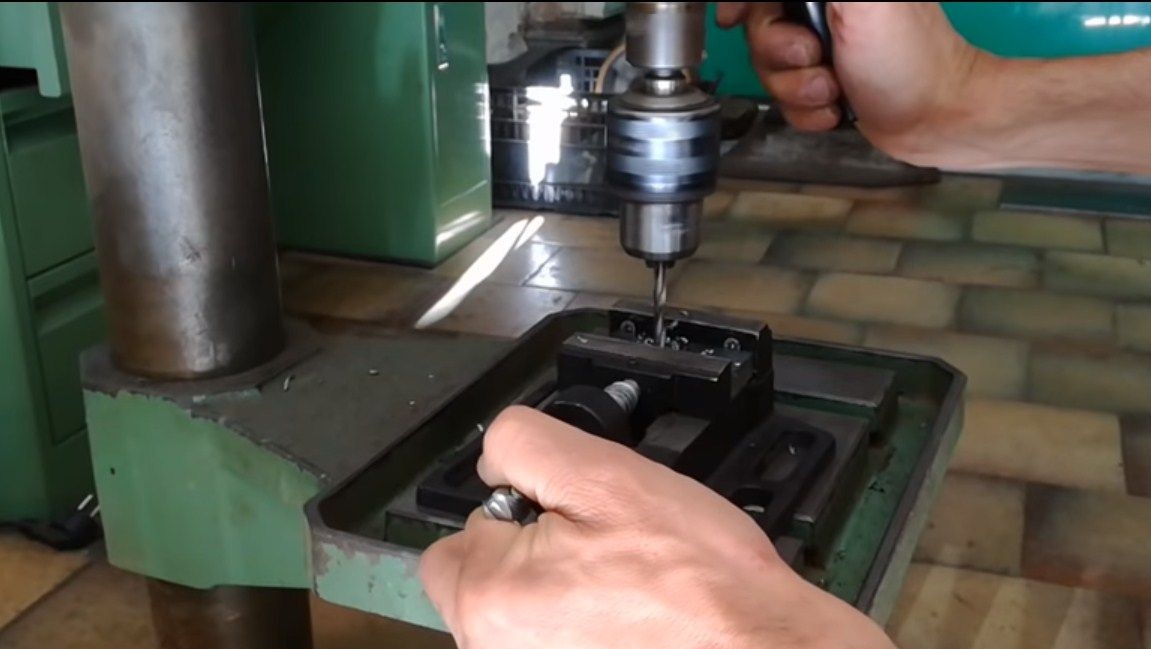
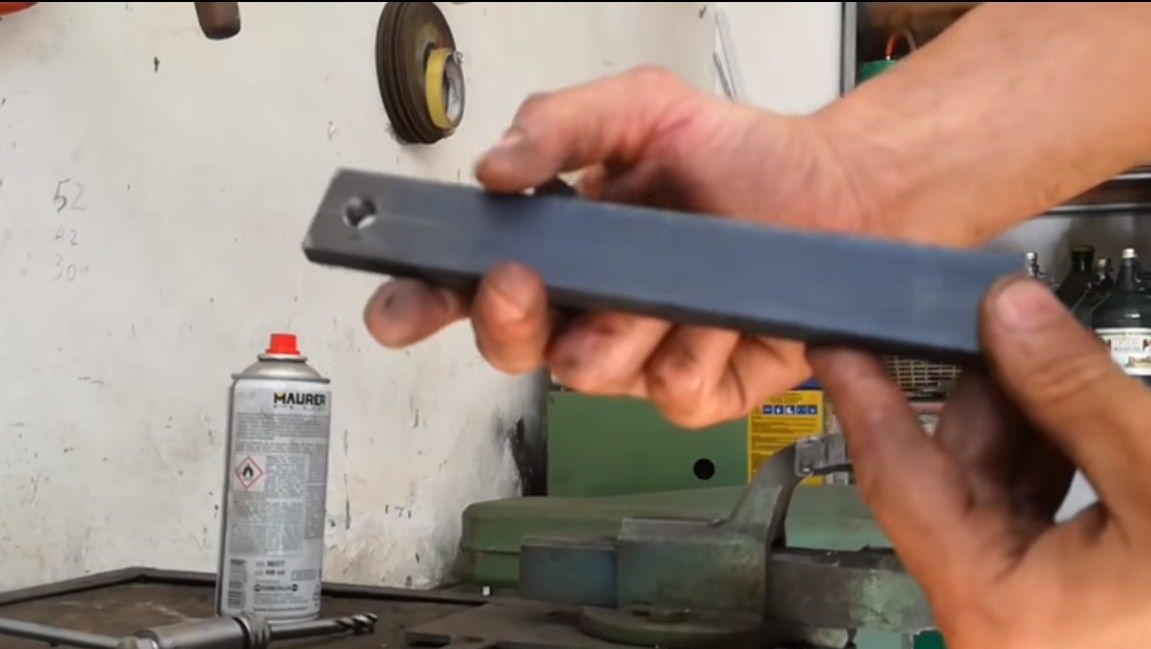
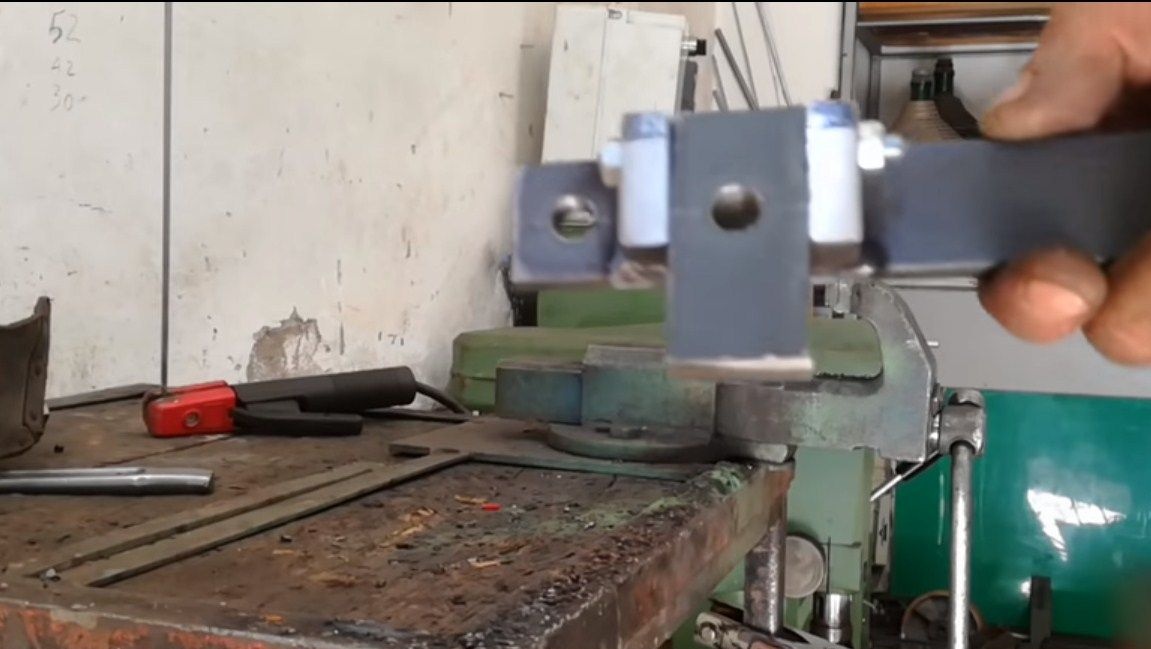
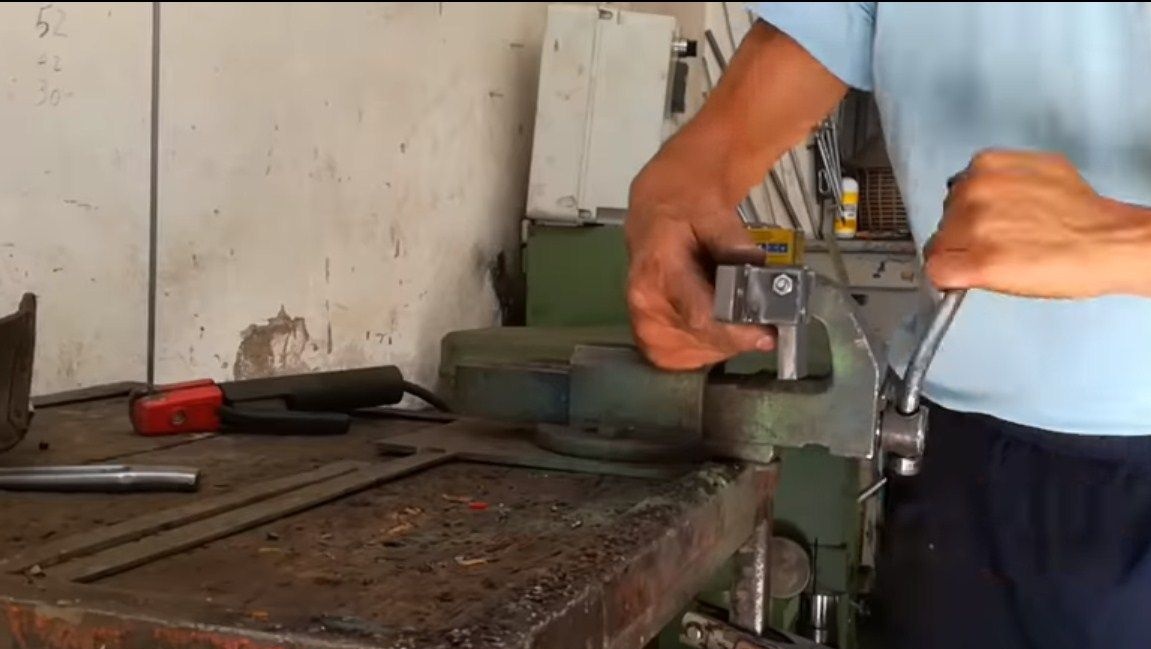
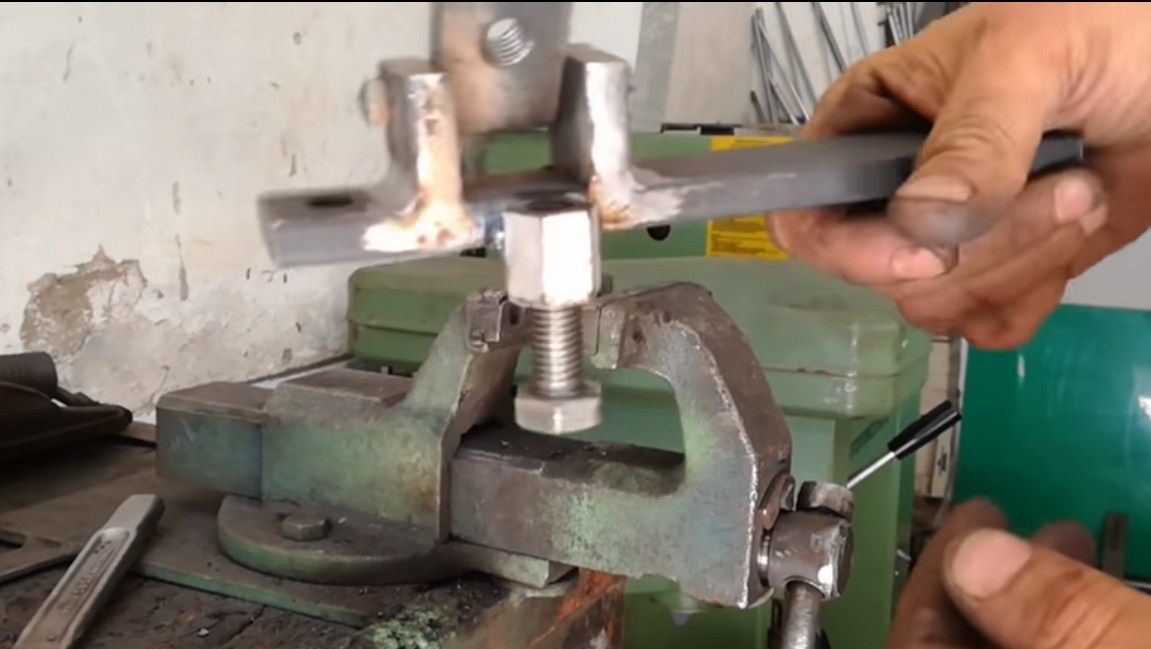
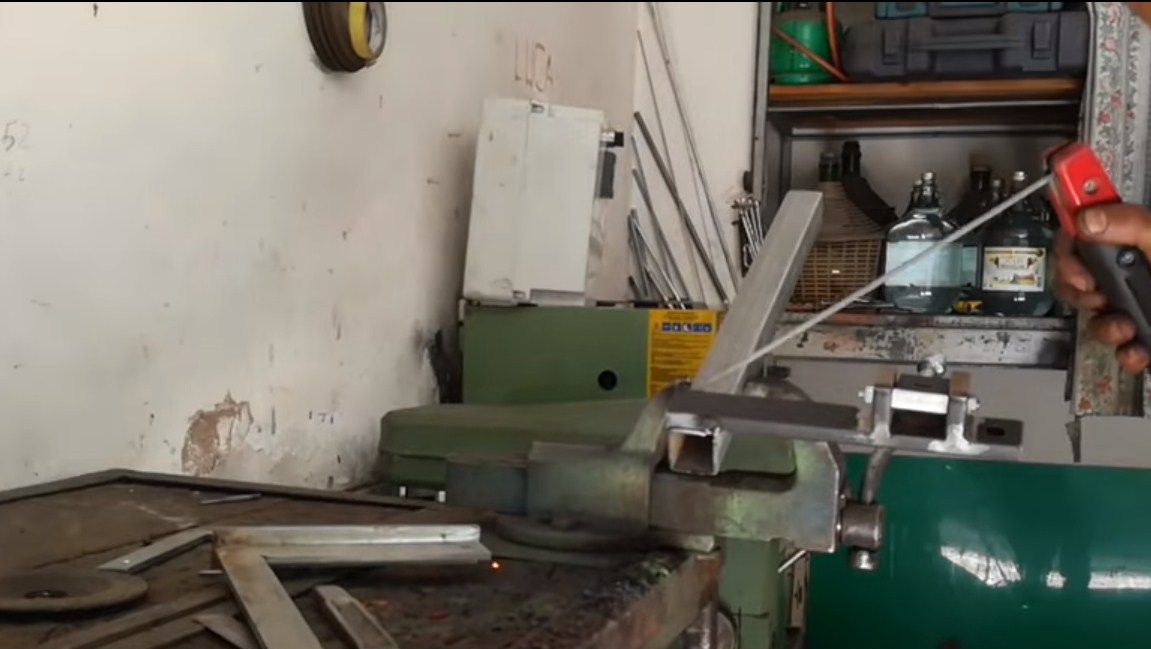
The manufacture of the adjustment unit is the longest in this homemade product. This node is needed in order to change the angle of the upper driven wheel. Thanks to this parameter, we center the belt on wheels. This unit is made of steel plates, in more detail the assembly and operation of this unit is shown in the photo. There is nothing complicated in the manufacture, we cut the blanks, drill holes, cut the threads where necessary.
Then this adjustment unit is assembled on a long steel plate, which is welded horizontally to a thinner steel pipe that extends.


Step Three Assembly
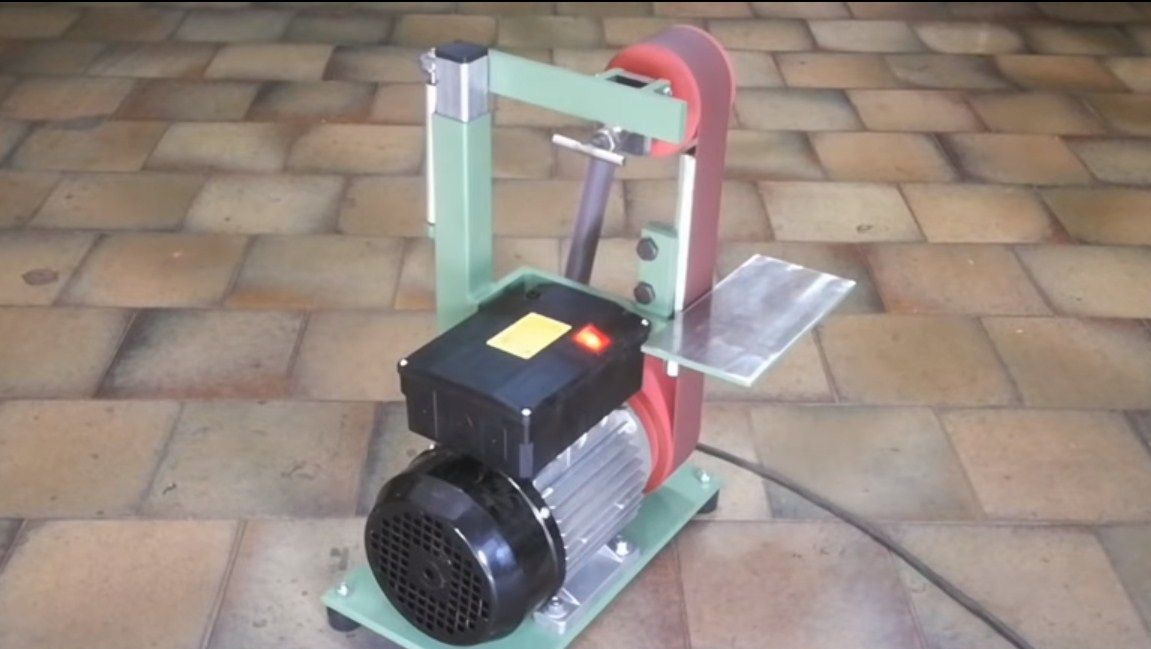
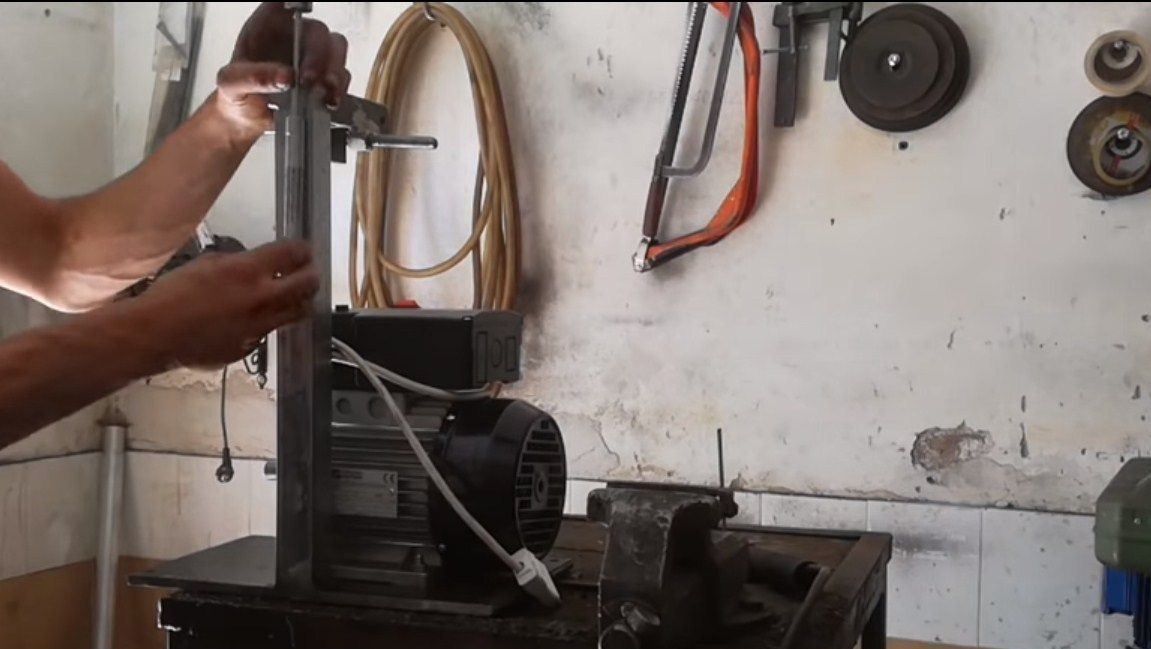
The author showed us only the main points on the assembly of the machine, other details were behind the scenes. So, for example, you will need to install some kind of spring, which will “push apart” the telescope and thereby stretch the sanding belt. The author has a shock absorber, something similar can be found in some washing machines. You can also adapt the old Soviet aluminum pump for this by installing a spring inside.
You will also need to install work planes on the frame, this is the table itself and the persistent platform. This is all made from sheet metal of suitable thickness and should not be a problem.
As for the wheels, you can carve them out of the wood yourself, plywood is suitable as a material, several layers need to be glued together to obtain the desired thickness. We turn the wheels on a lathe or on the engine that you found for the grinder. We fix the drive wheel on the motor shaft, and the driven wheel rotates on the bearing.

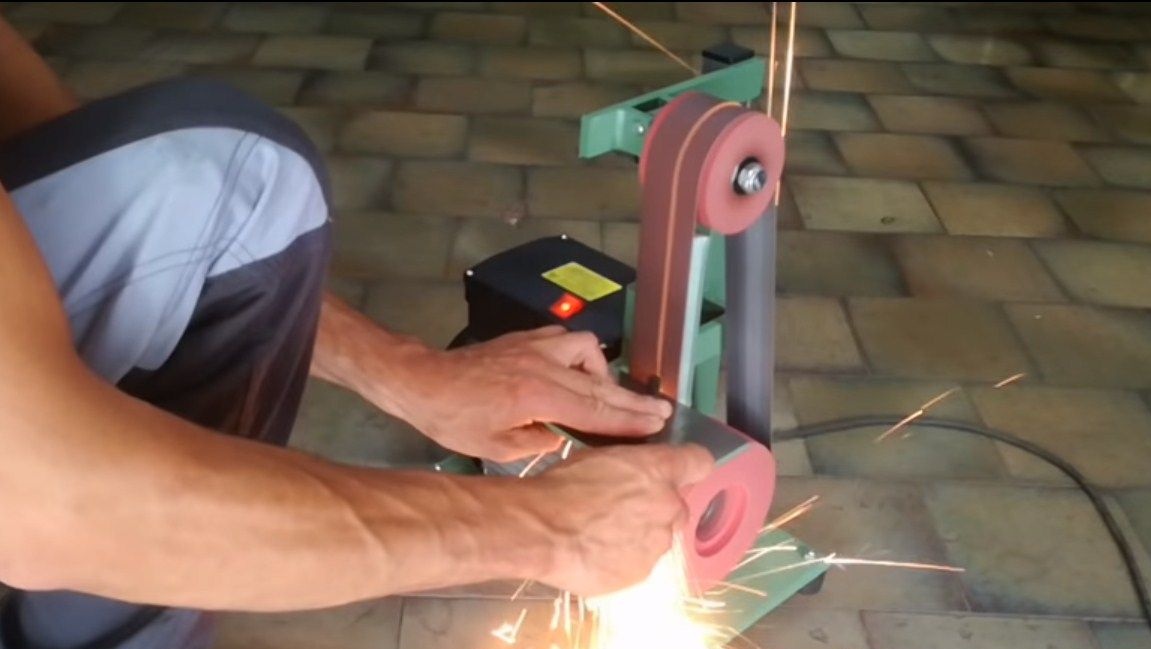
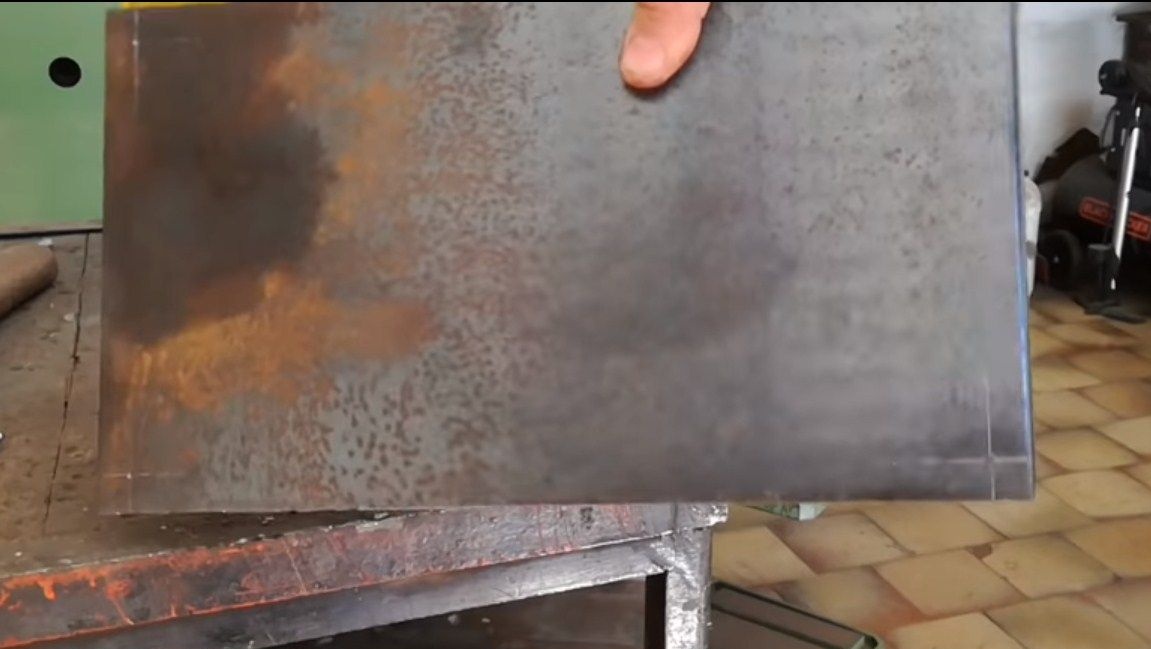
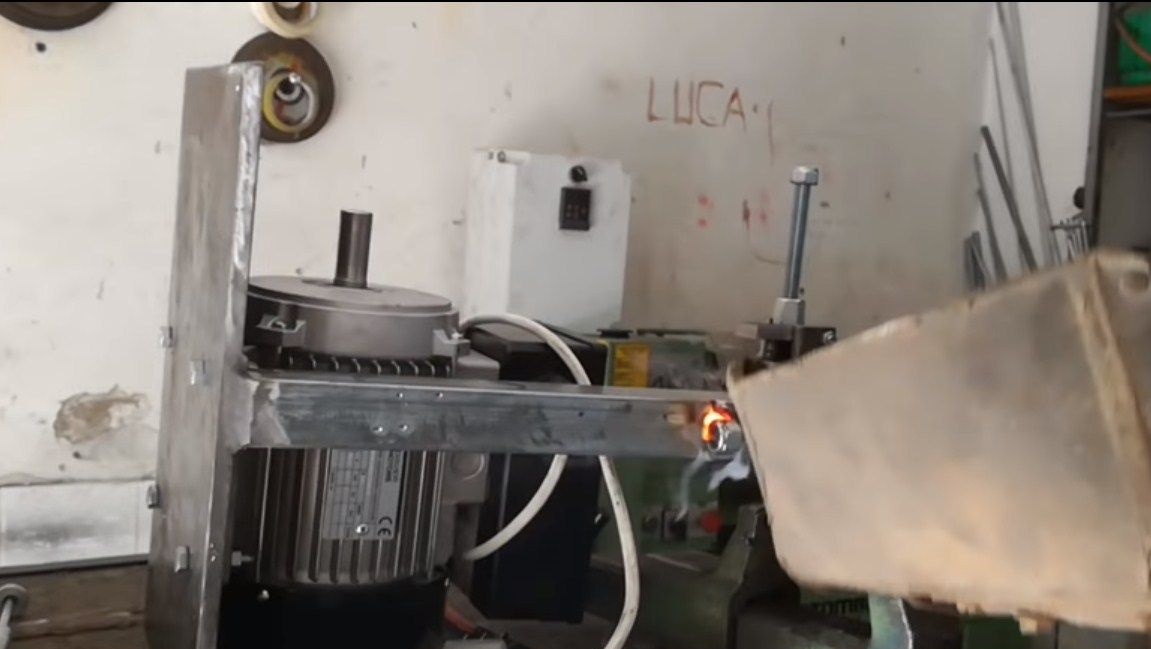
At the end, screw the engine with bolts and nuts, but before that it is recommended to paint the machine so that it looks beautiful and does not rust. That's all, the car is ready, how everything works, look at the photo. Metal is processed very effectively, sparks fly thick, this indicates that the belt speed is enough. The belt changes very easily, literally in a few seconds. Just push our telescopic stand and put on the belt. Then it remains to center the belt with a flick of the wrist and the machine is ready to use!
On this project can be considered finished, I hope you liked the homemade. Good luck and creative inspiration, if you want to repeat this. Do not forget to share your best practices with us!