
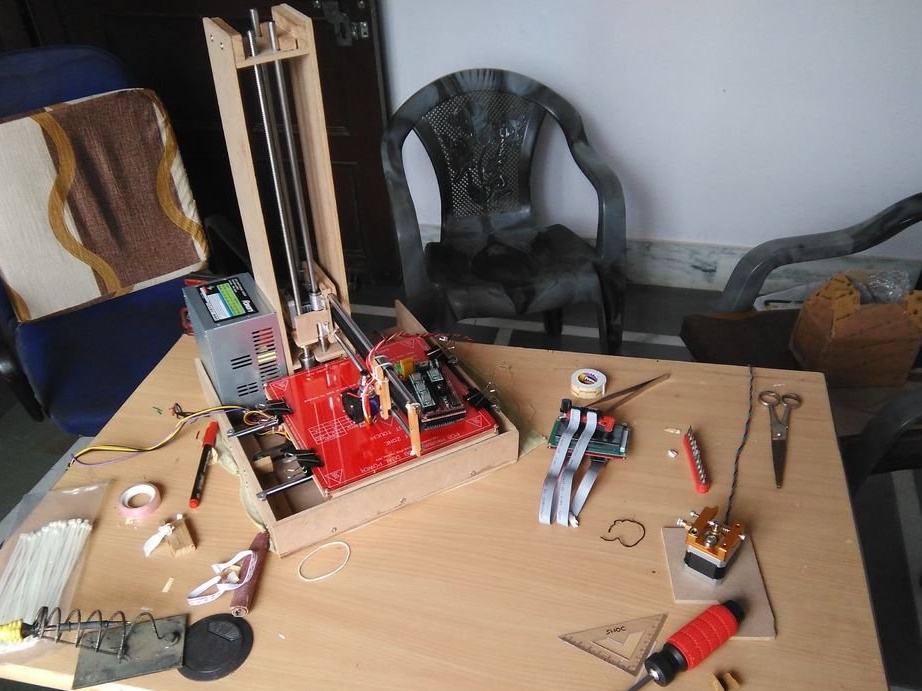
What to do to a poor student when there is little money, but you want a 3D printer? That's right, collect it yourself as cheap as possible. This is exactly what the author of this homemade. According to him, he tried to make a complete device with a minimum of costs.
Tools and materials:
- MDF 6 mm;
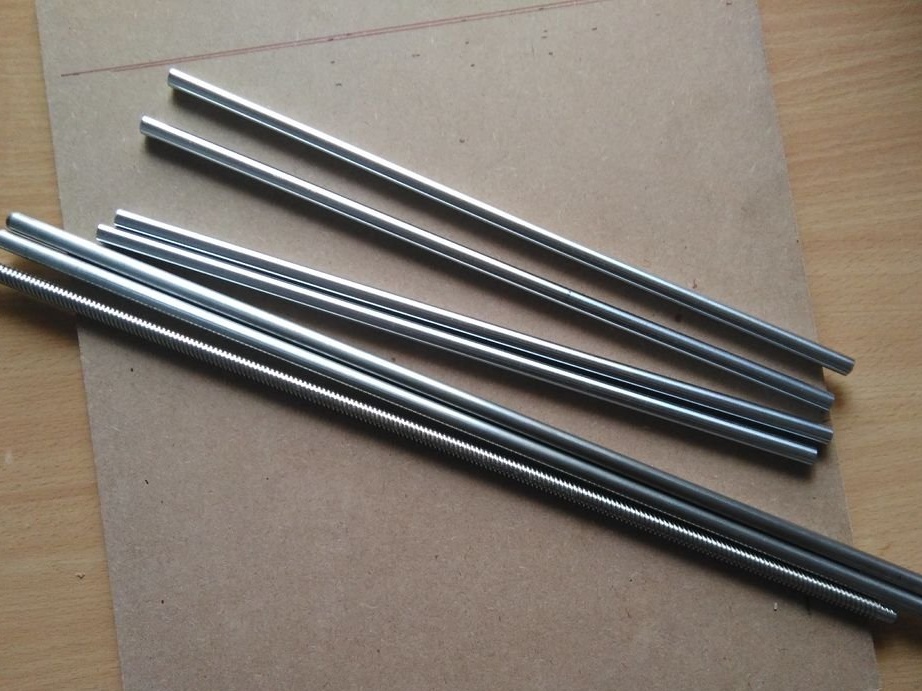
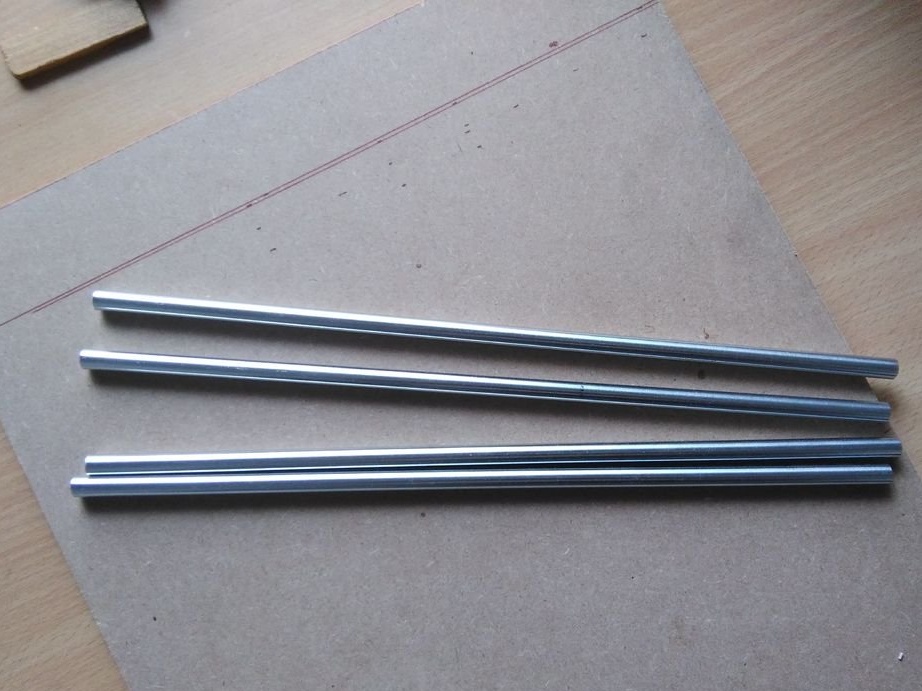
- Guides 8x400 mm - 2 pcs;
- Guides 4x300 mm - 4 pcs;
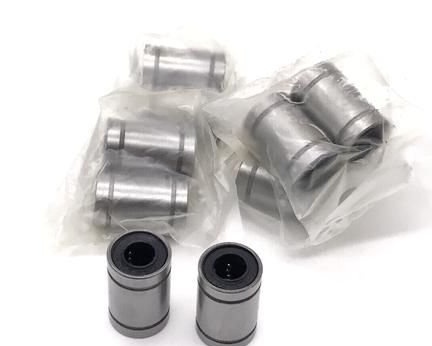
- Linear bearing LM8UU 8 mm - 8 pcs;
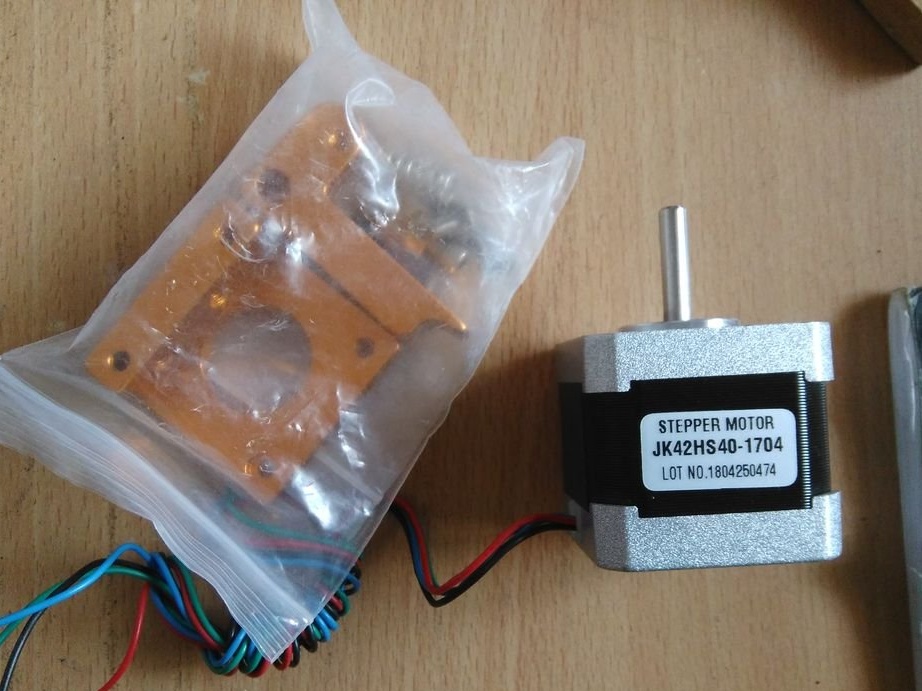
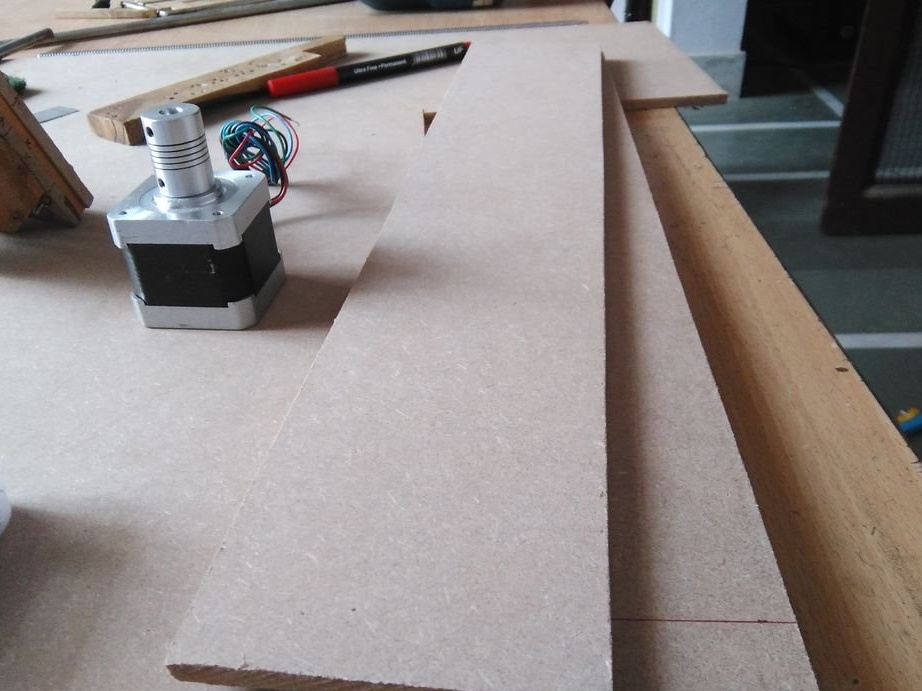
-Step engine JK42HS40-1704;
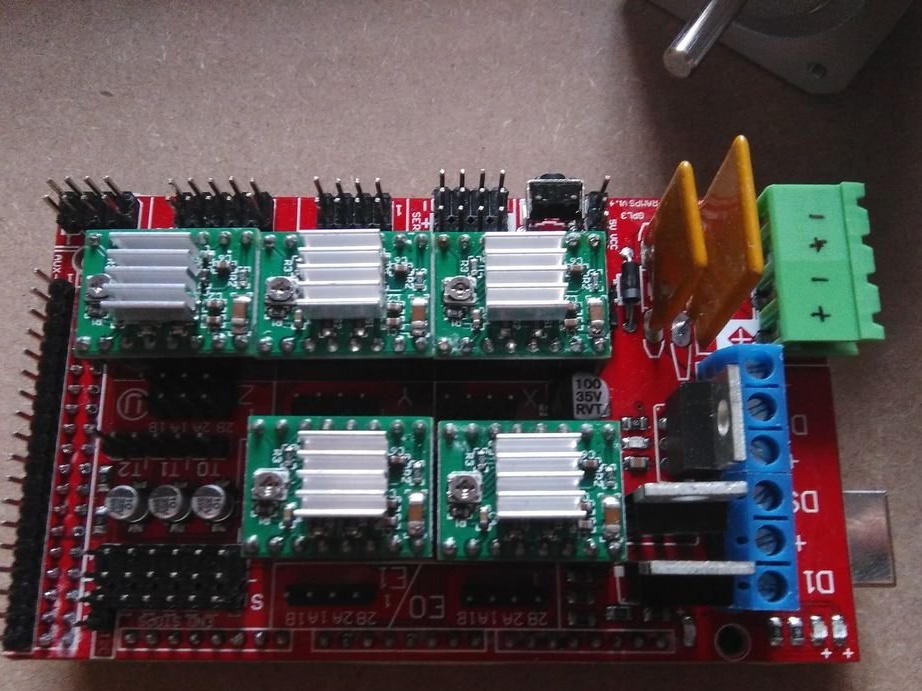
- RAMPS 1.4 expansion board for Arduino;
-Arduino;
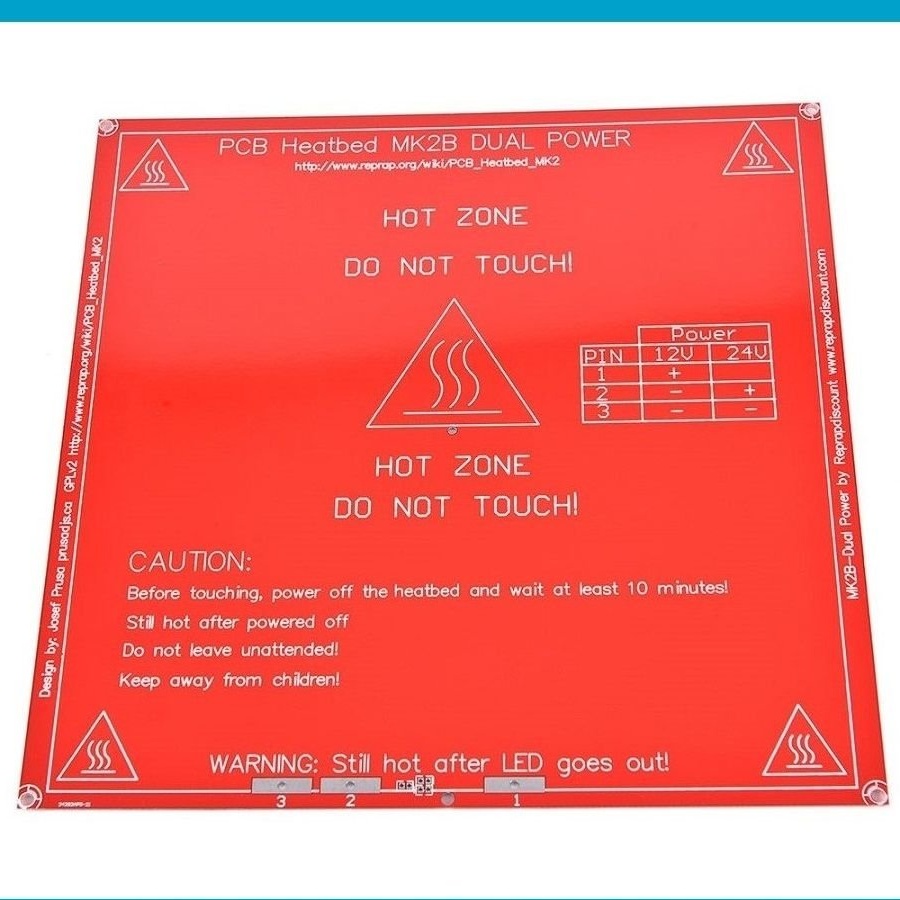
- Heated table MK2B;
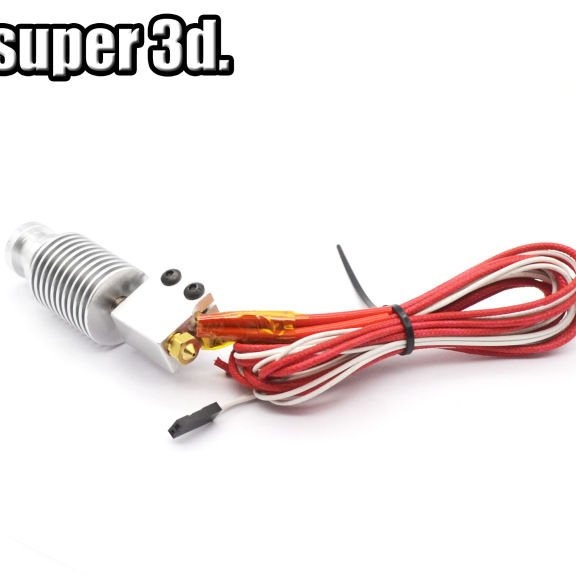
-Extruder Hotend v6;
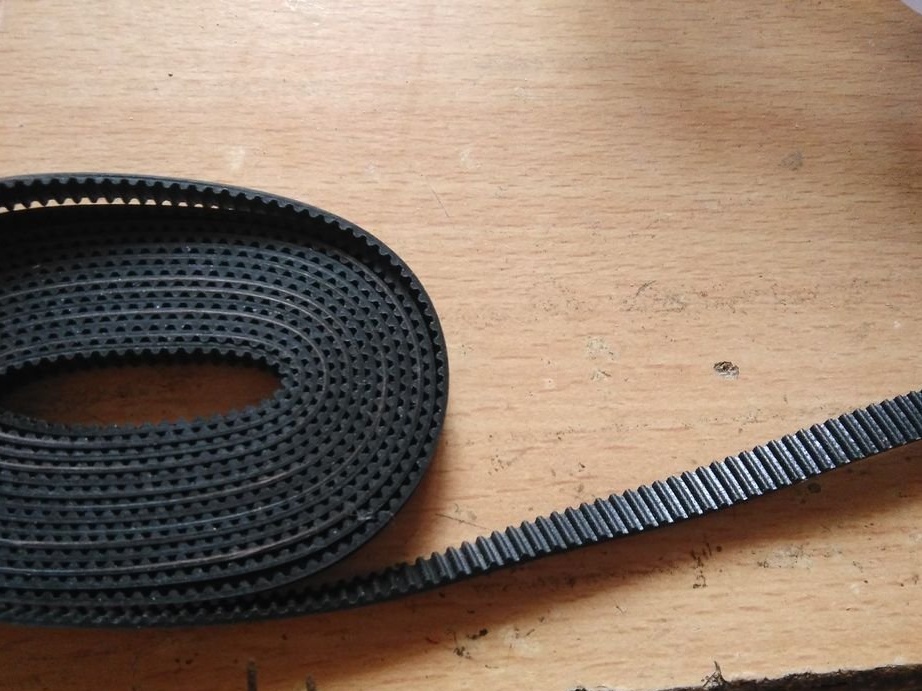
Toothed belt 200x6 mm;
Toothed pulley;
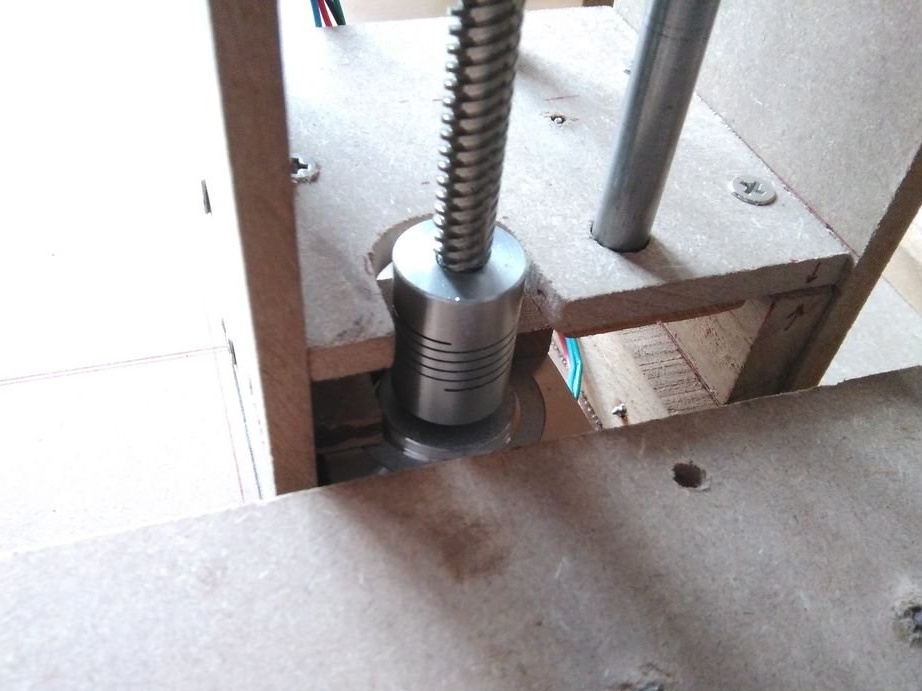
-Coupling;
- Threaded rod 400 mm;
- Thermistor 100 kOhm - 2 pcs;
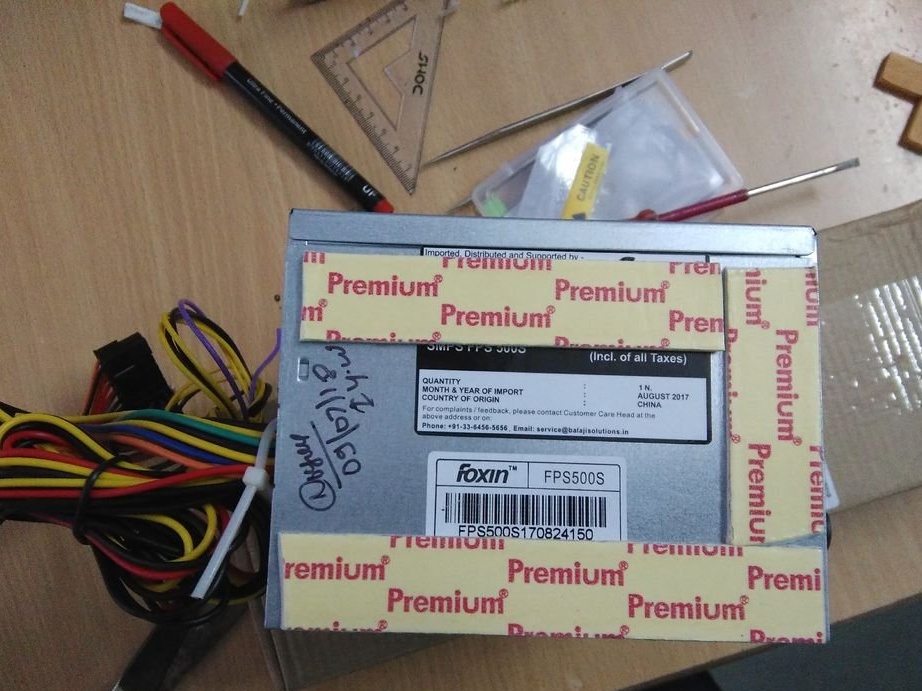
- Computer power supply for 450 W;
-Hacksaw;
-Pencil;
-Rule;
-Drill;
-Wire;
-Fasteners;
-Aluminum sheet;
-Scissors for metal;
-Glue;
-Sandpaper;
-Screwdriver;
-File;
-Vise;
-Plastic ties;


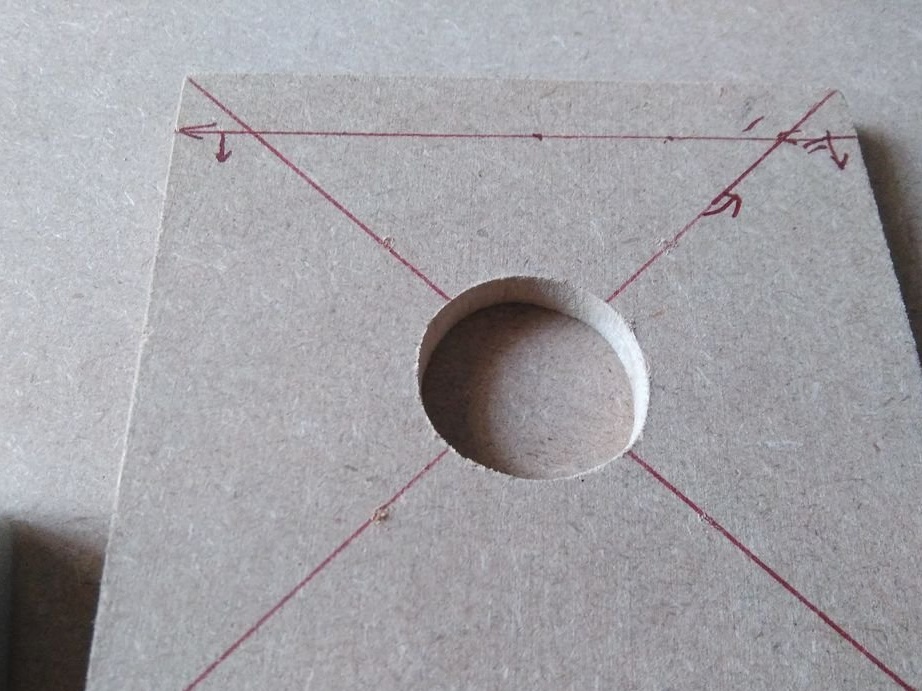
Step One: X axis
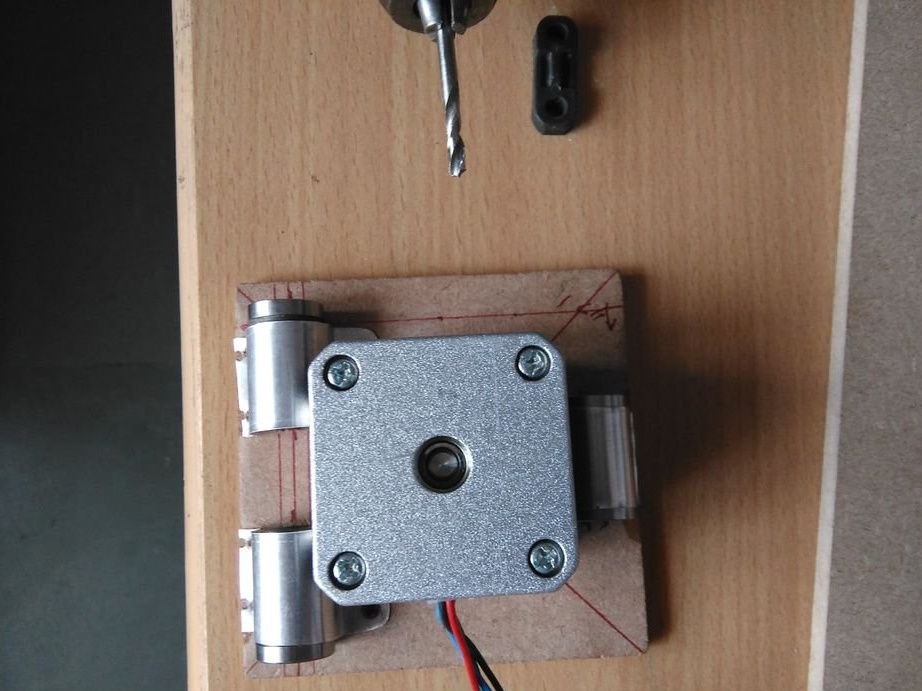
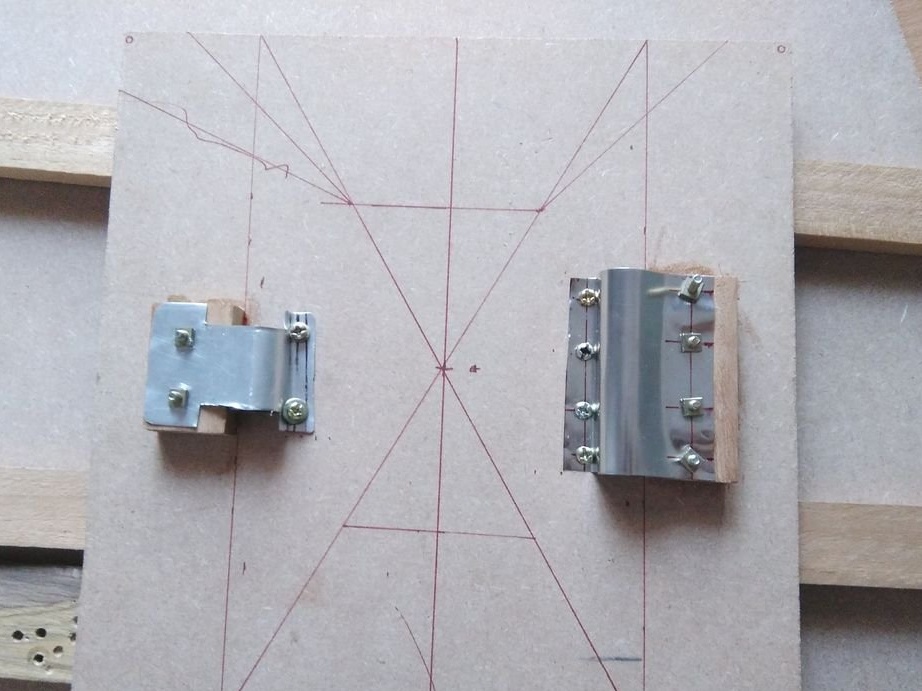
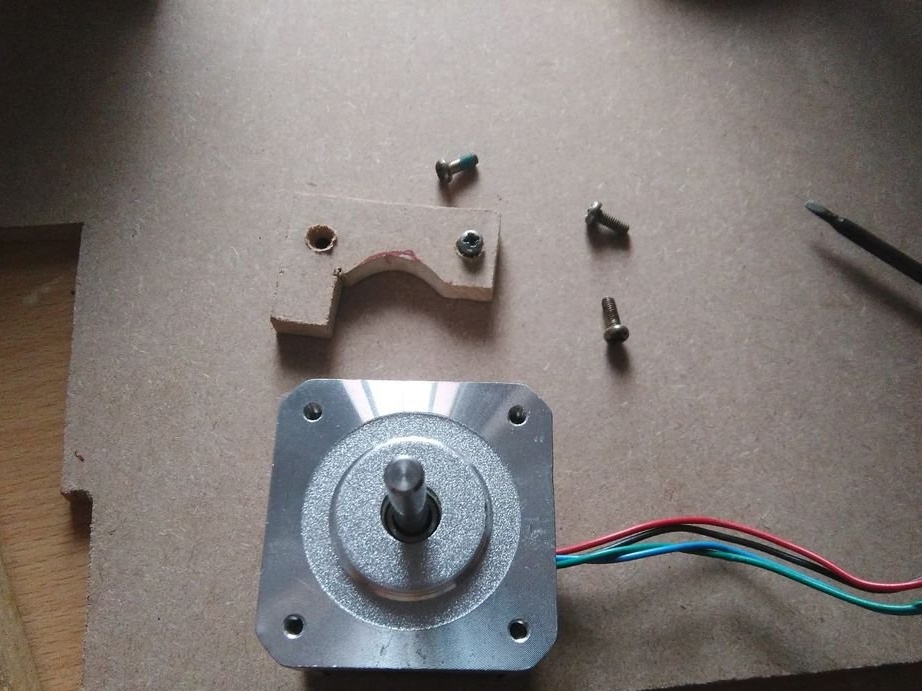
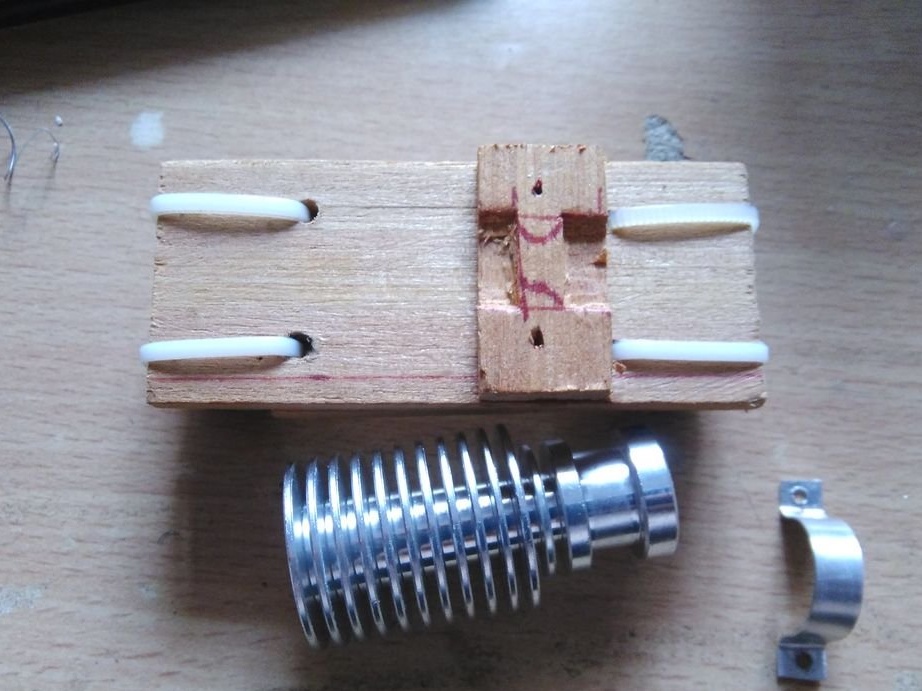
Two 8x8 cm squares are cut from MDF. A hole is cut out in the center of one square. Installs and secures the stepper motor.
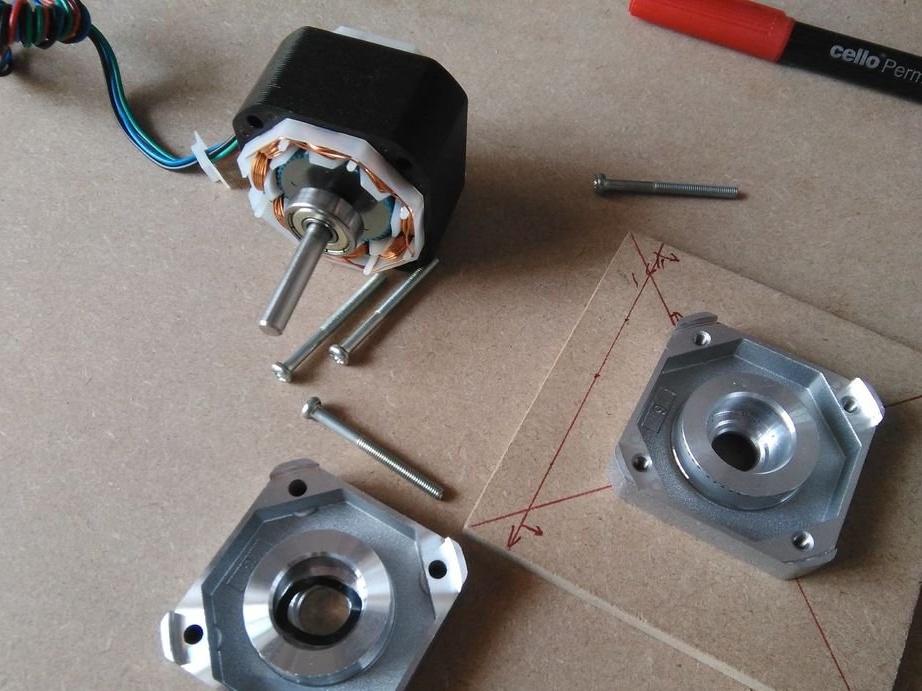
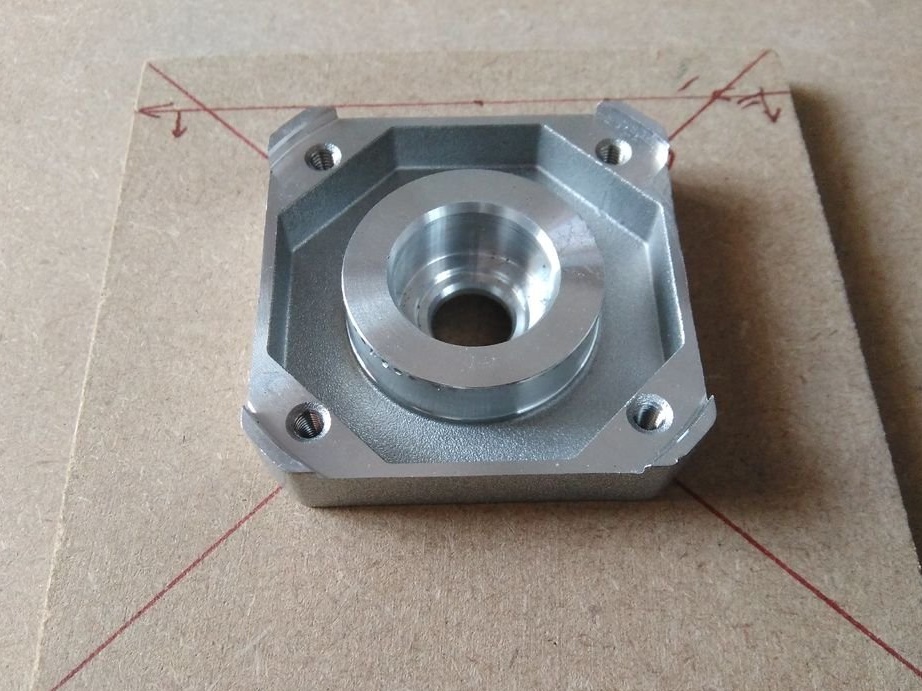
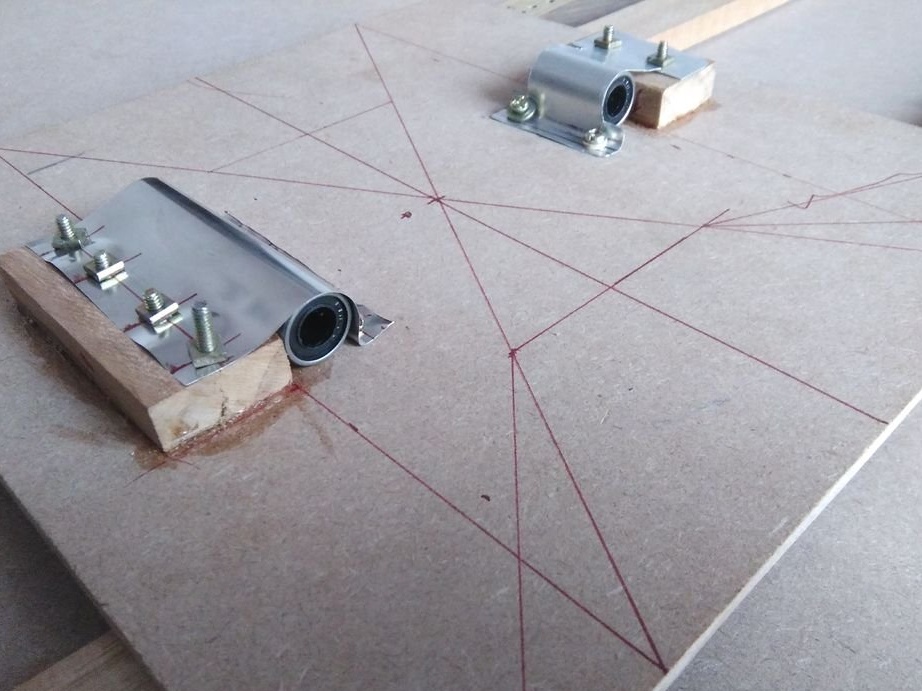
Makes brackets. Fastens linear bearings with them.
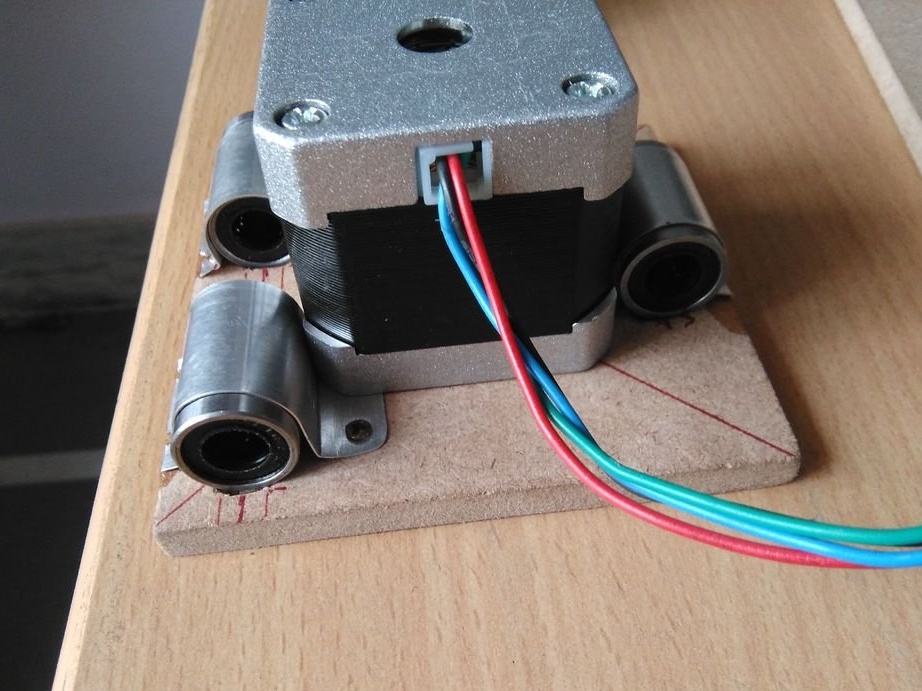
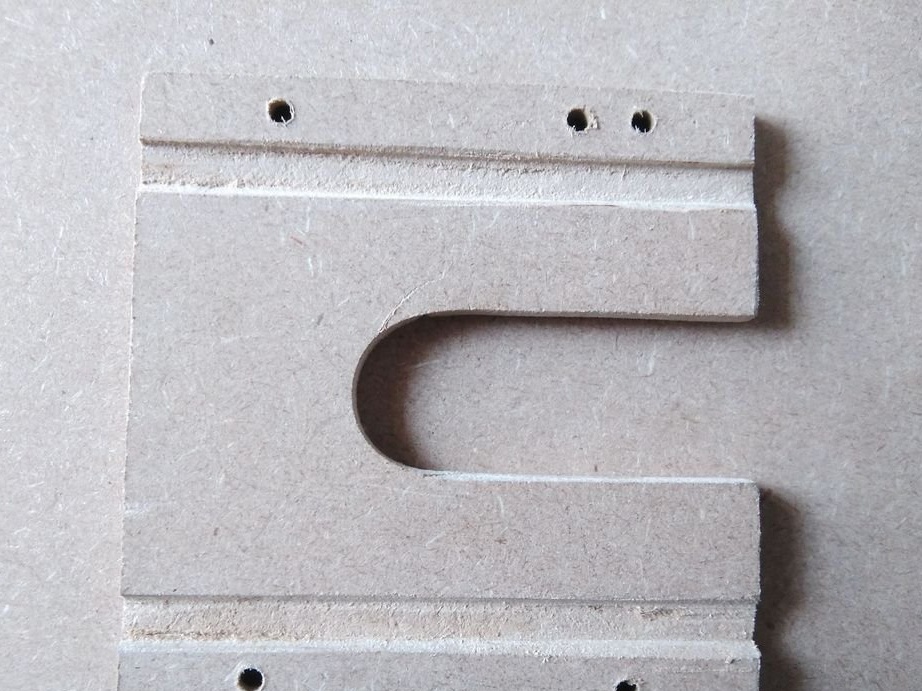
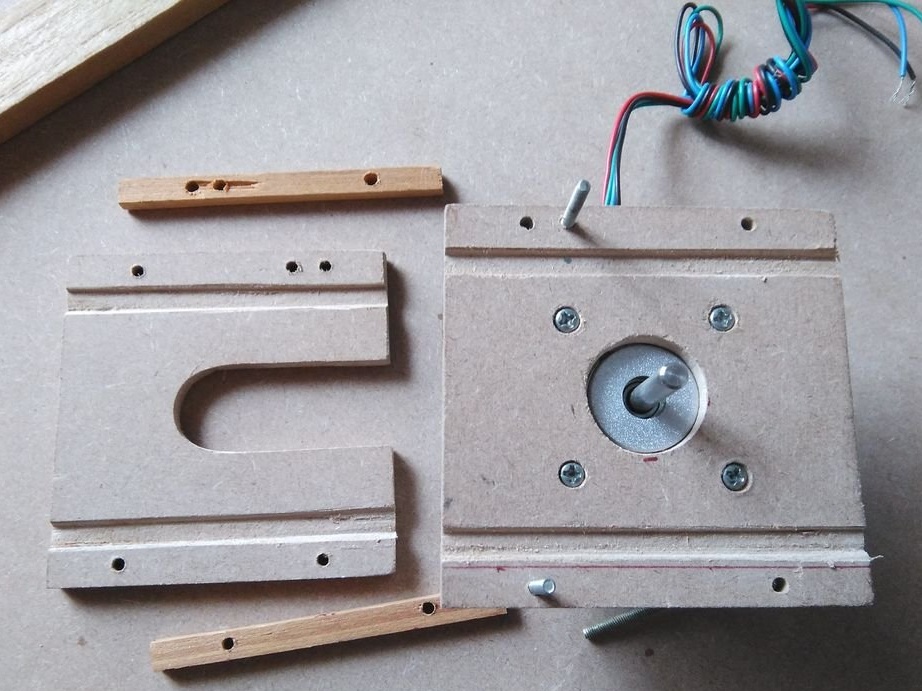
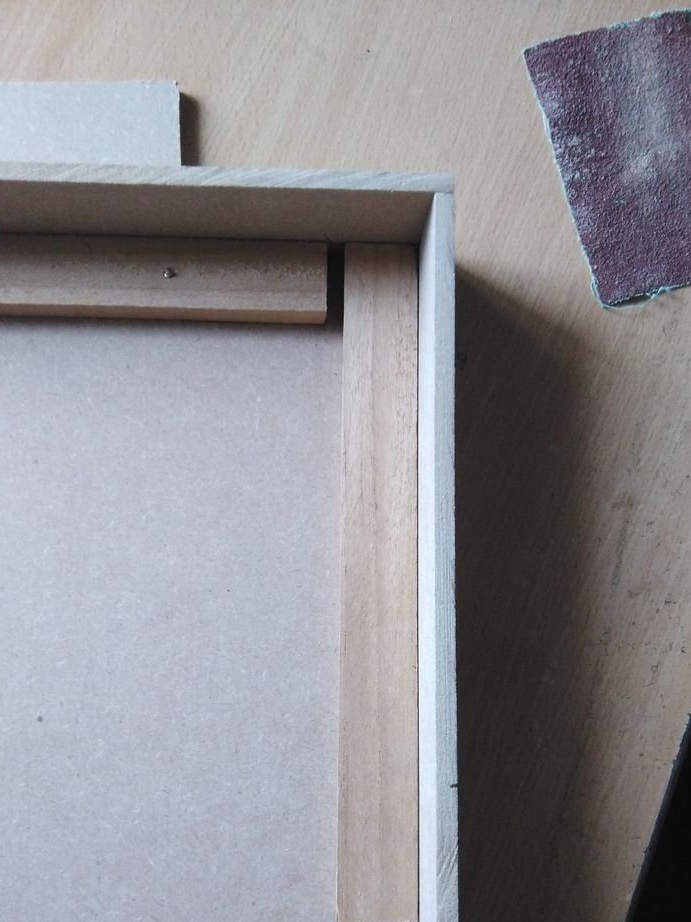
From the second plate cuts the workpiece as in the photo.
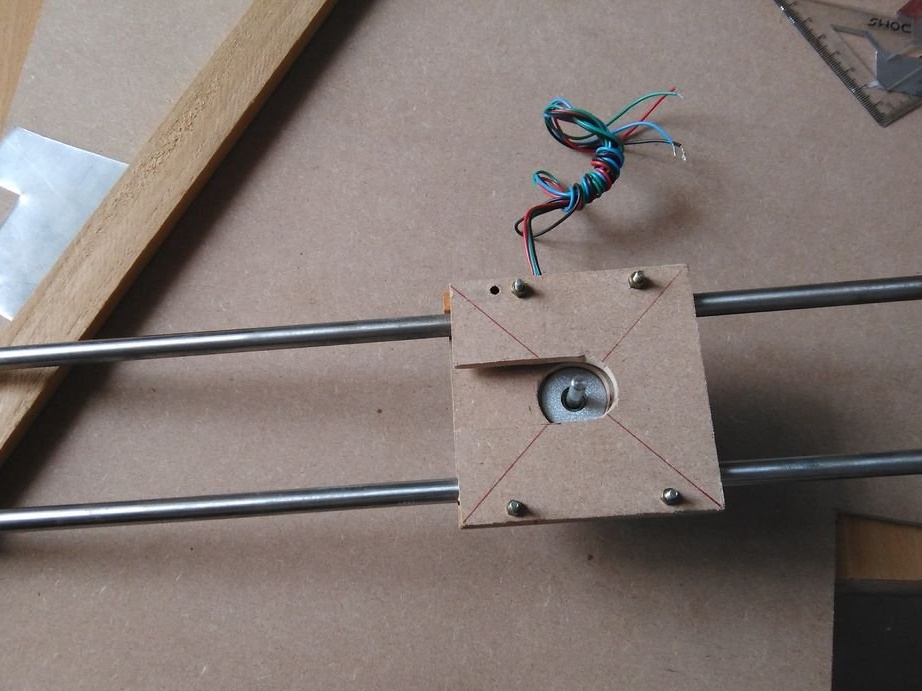
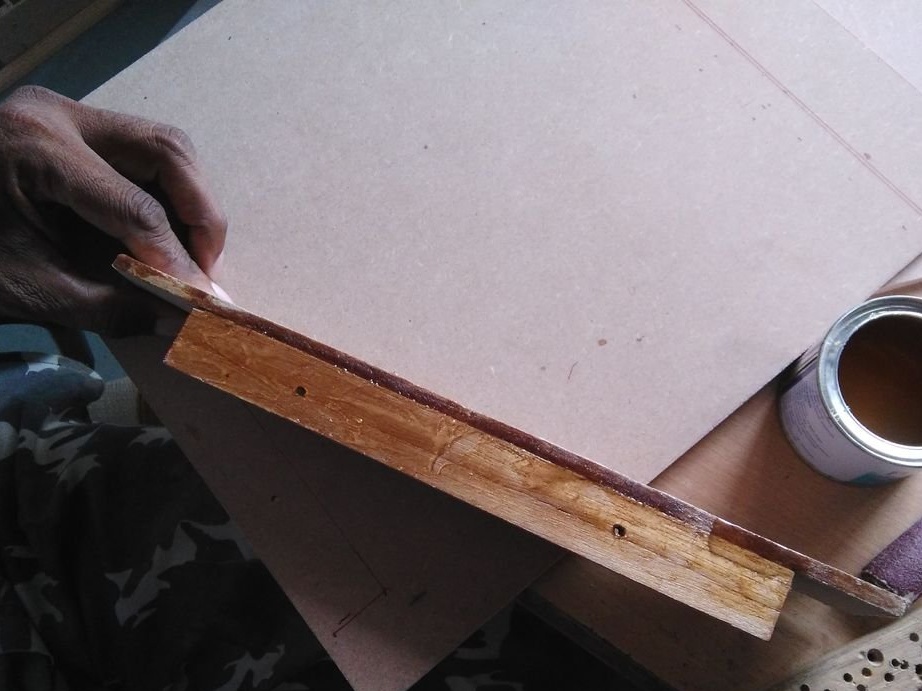
In the plate, the MDF grooves. Installs two rods, screw the second plate on top.

Step Two: Y axis
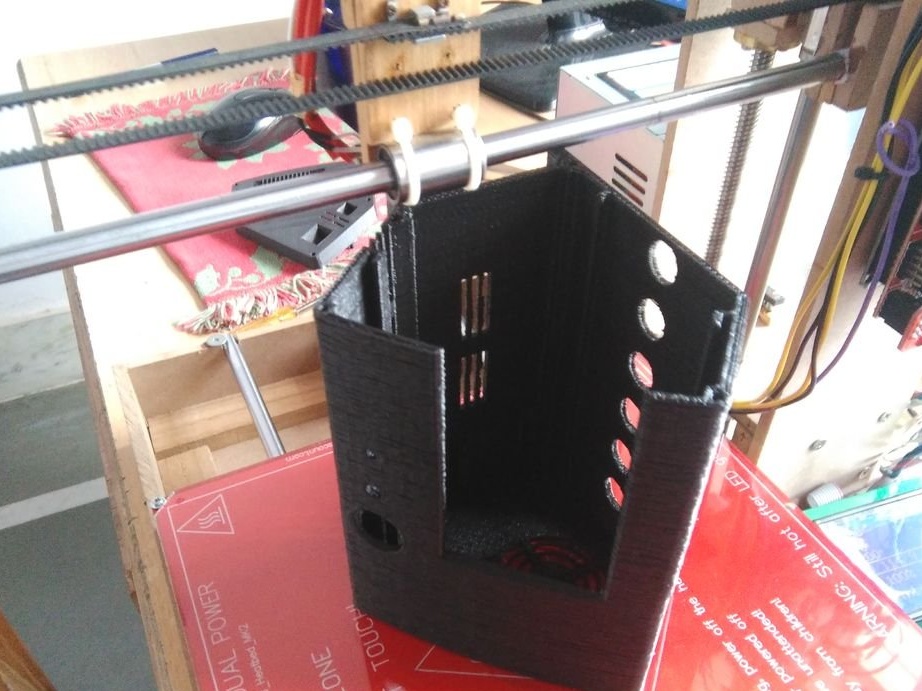
Cut the panel from MDF to the size of the heating table. Screws two linear bearings to the panel.


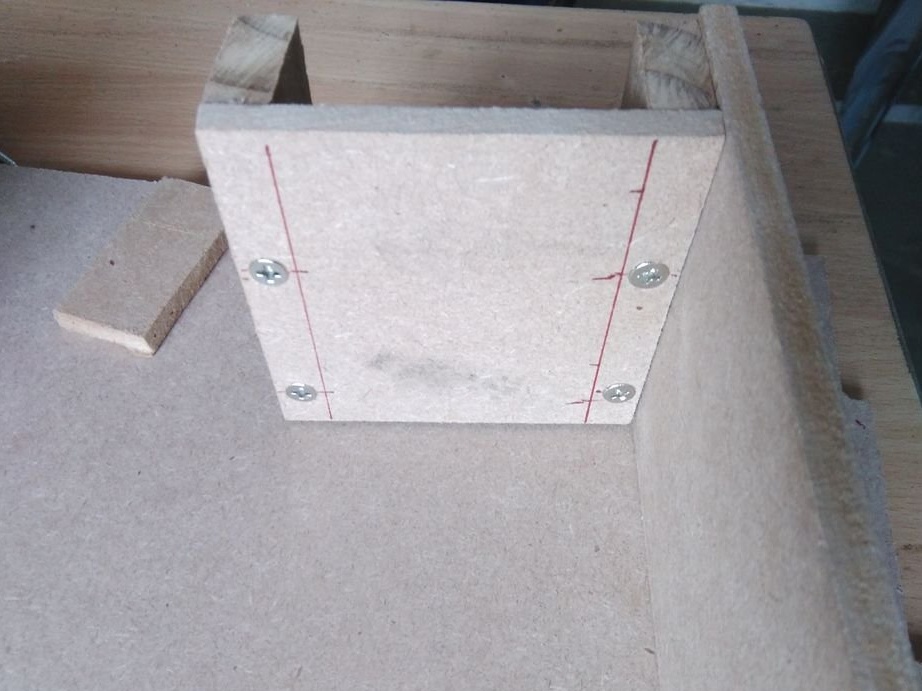
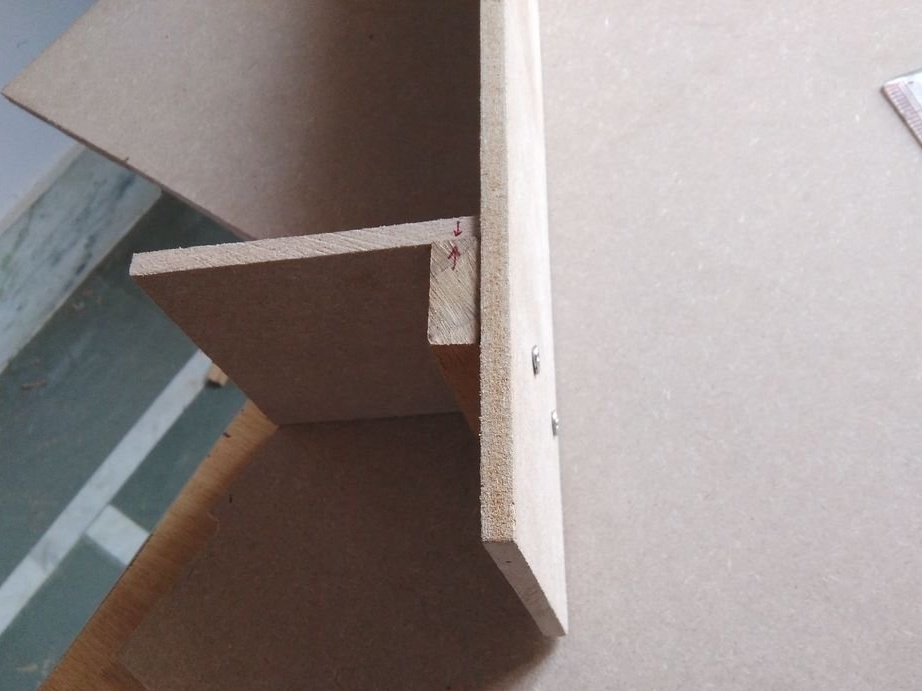
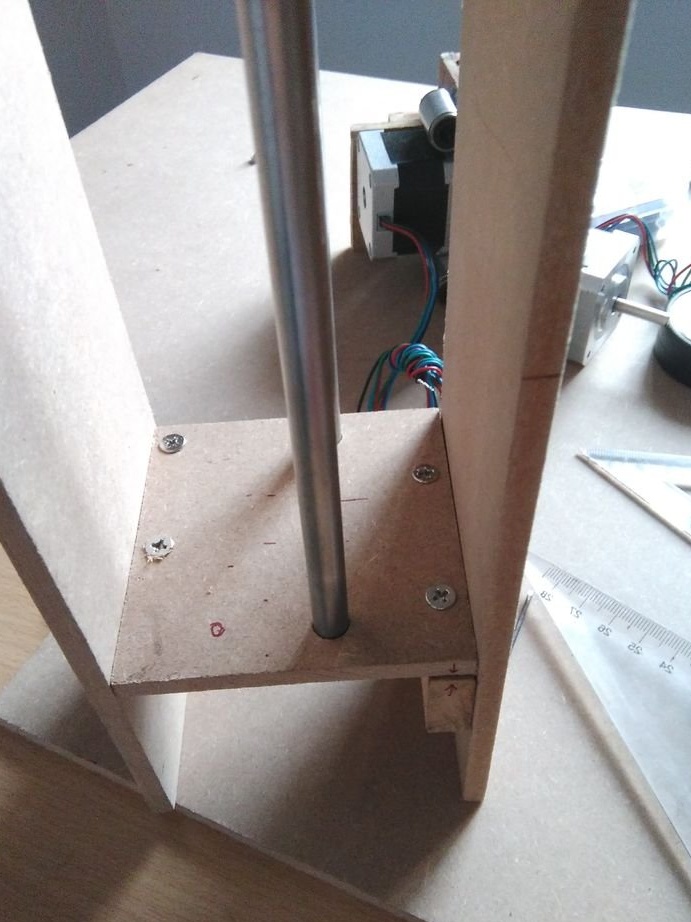
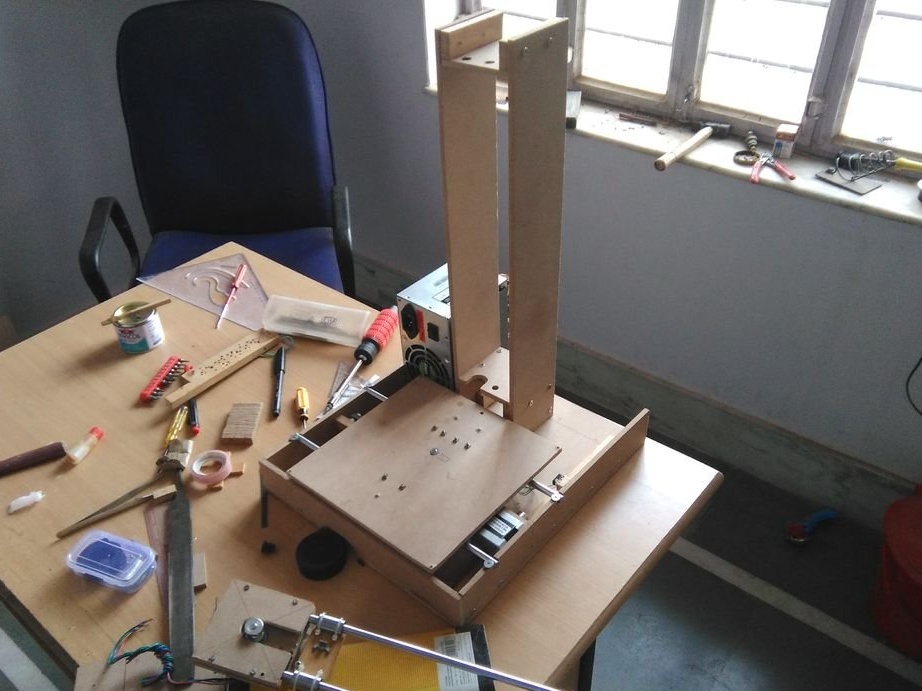
Step Three: Z Axis
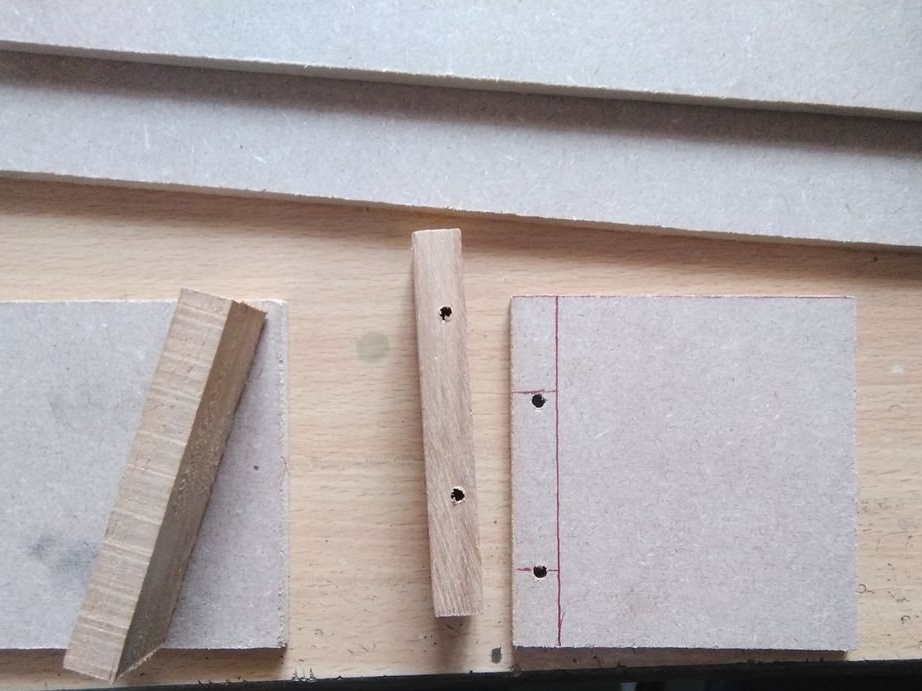
Cuts two panels of MDF 42x9 cm. Cuts two squares 9x9 cm. Assembles a rack by fixing the squares between the rectangular panels. Drills holes and sets two guides.
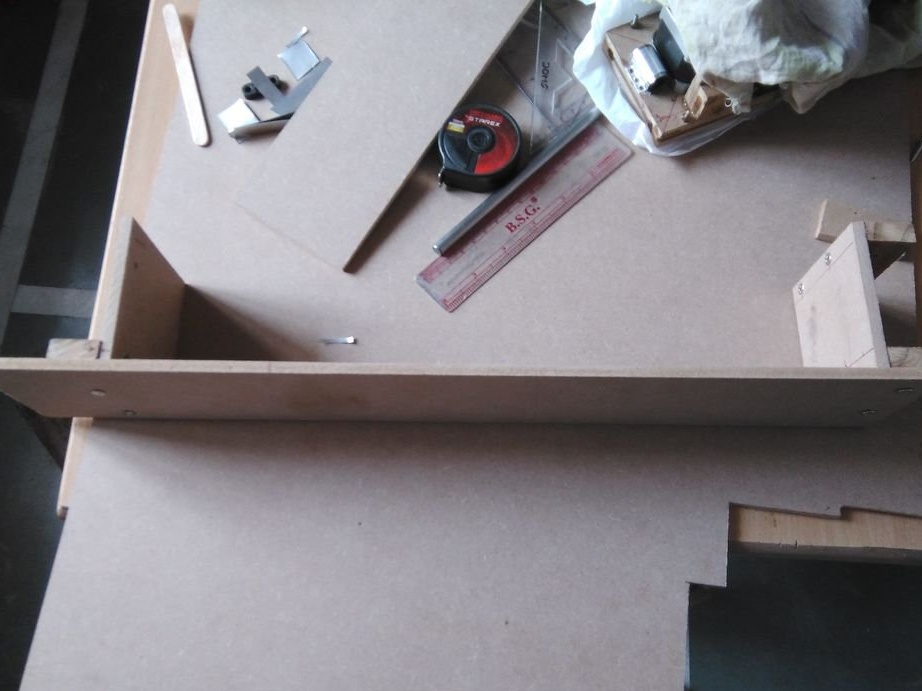

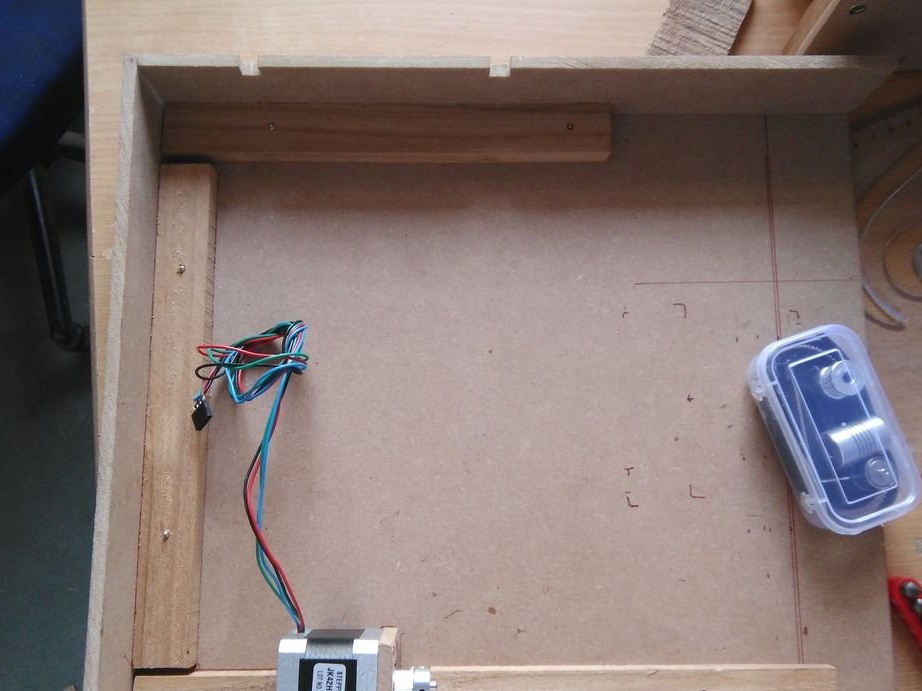
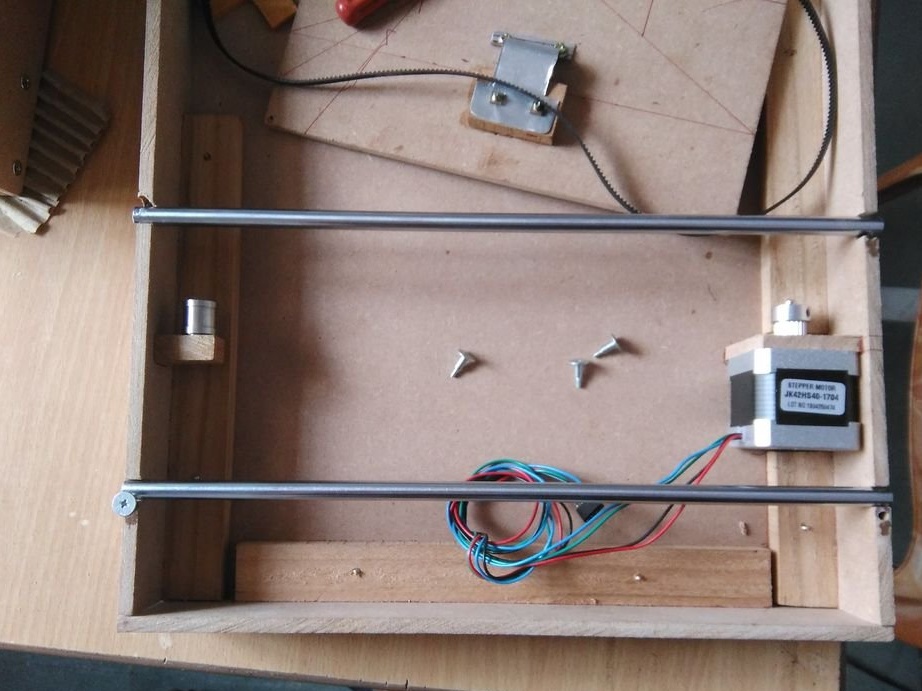
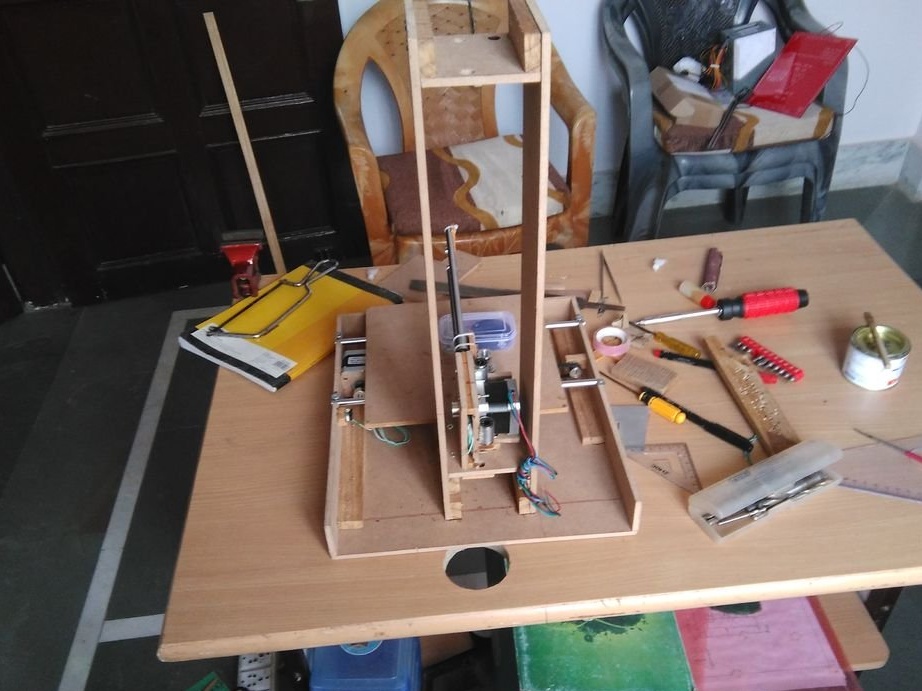
Step Four: Assembling a Table
Cuts off one panel 30x34 cm, one 4.5x30 cm and two 4.5x33.5. Collects as in the photo.
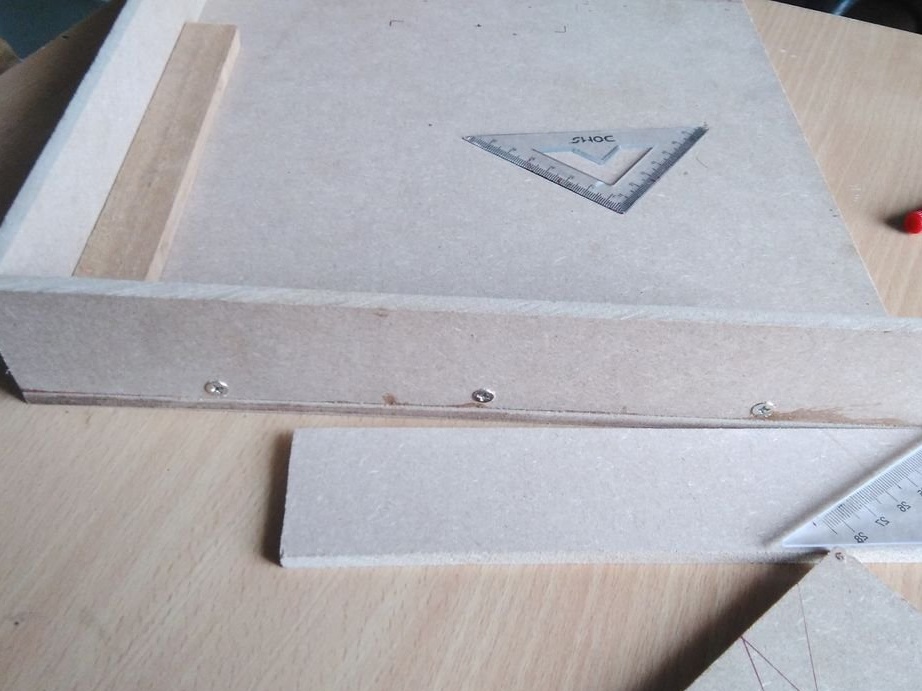
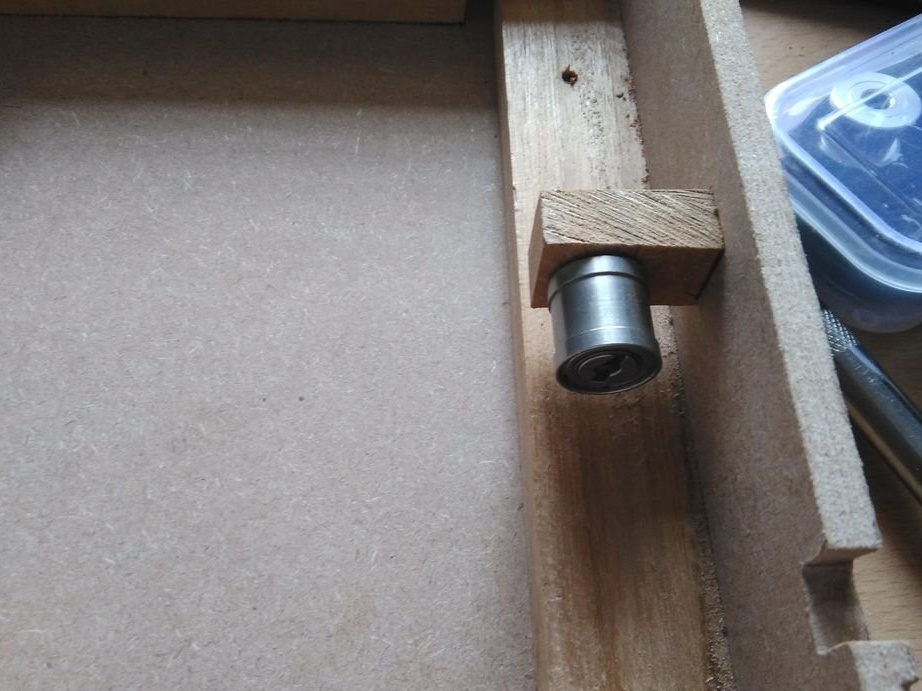
Secures the stepper motor. On the opposite side secures the bearing. Cut out the "bed" for the guides. Sets the table by pre-installing the guides and putting on the belt.

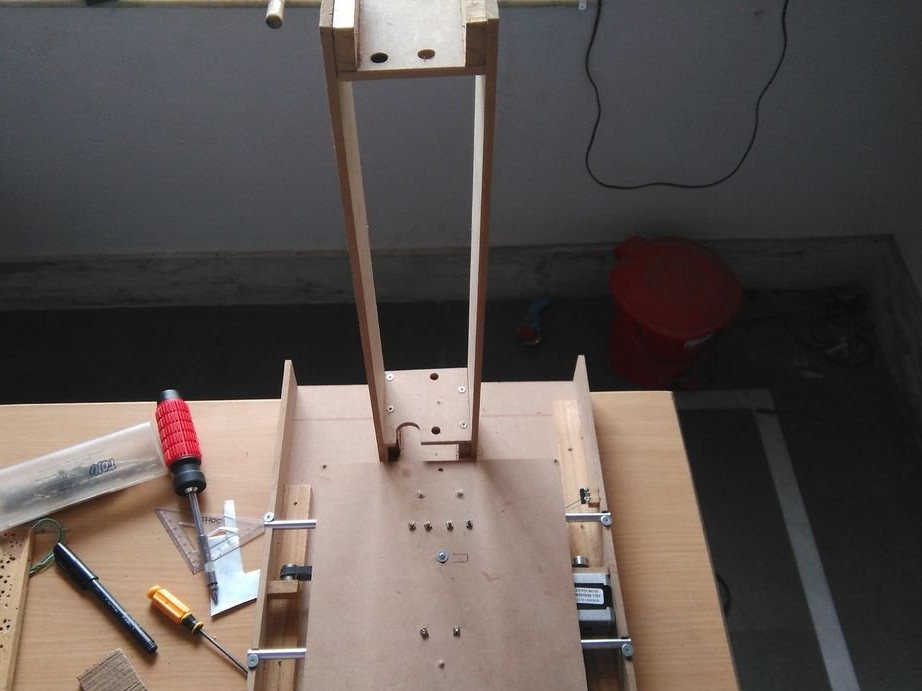
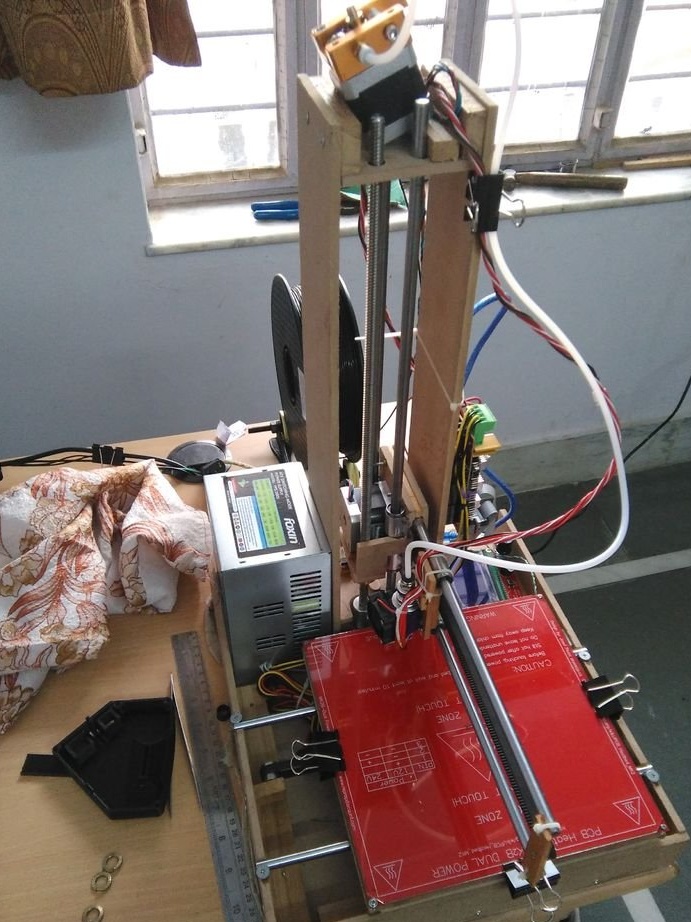
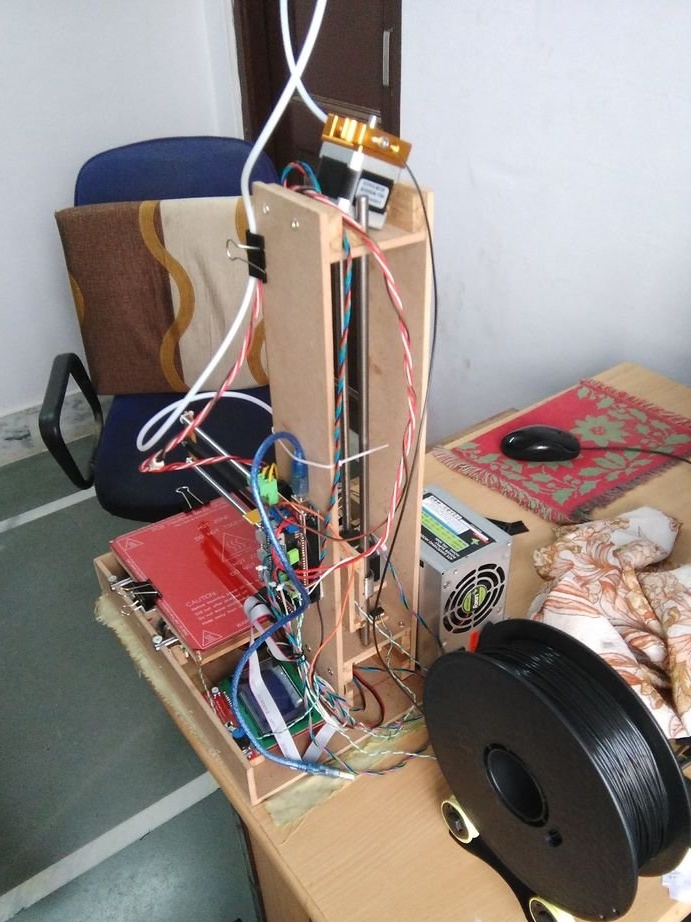
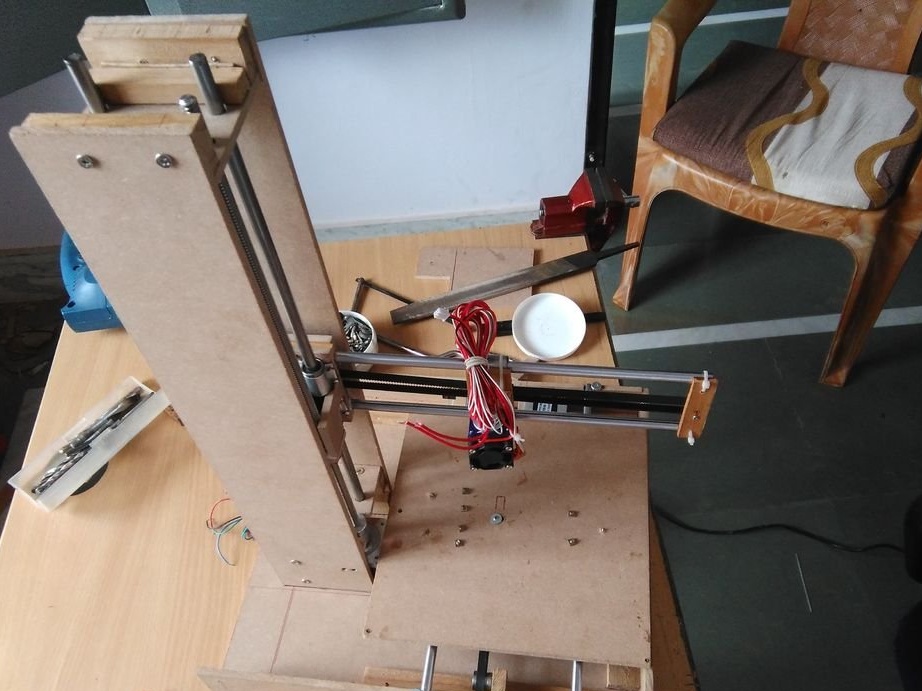
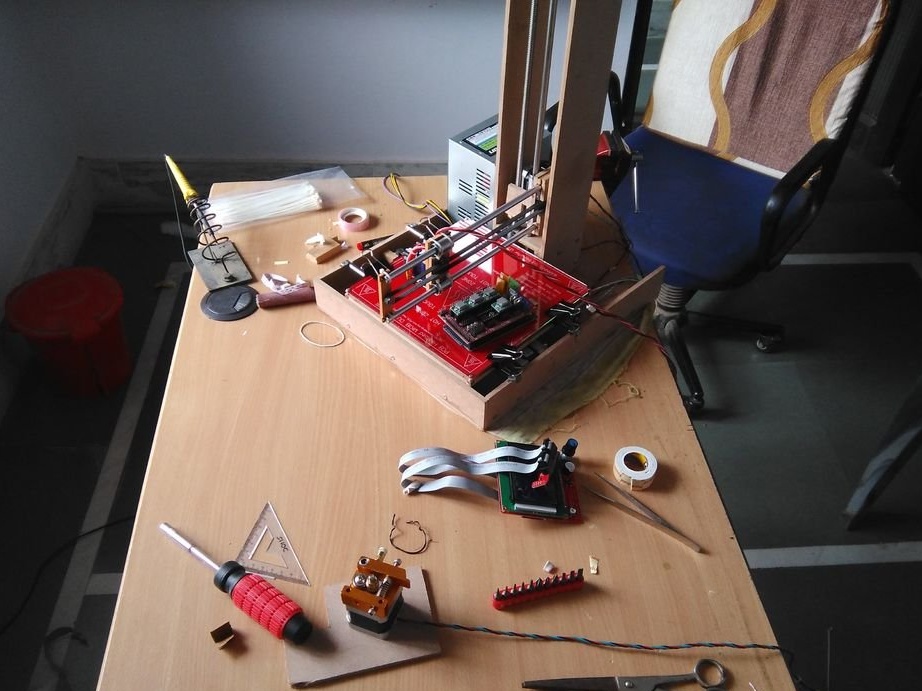
Step Five: Complete Assembly
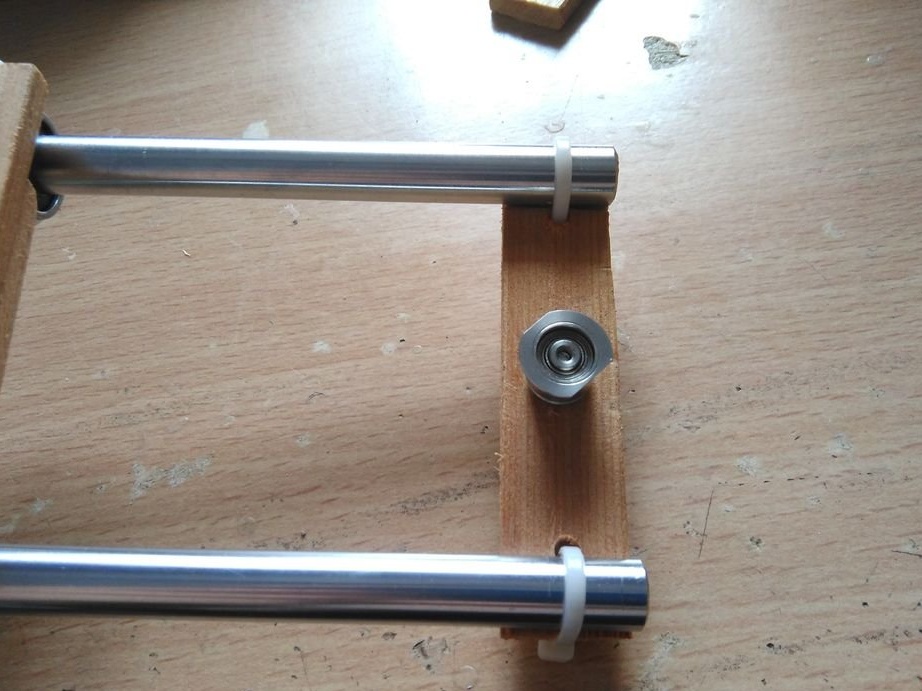
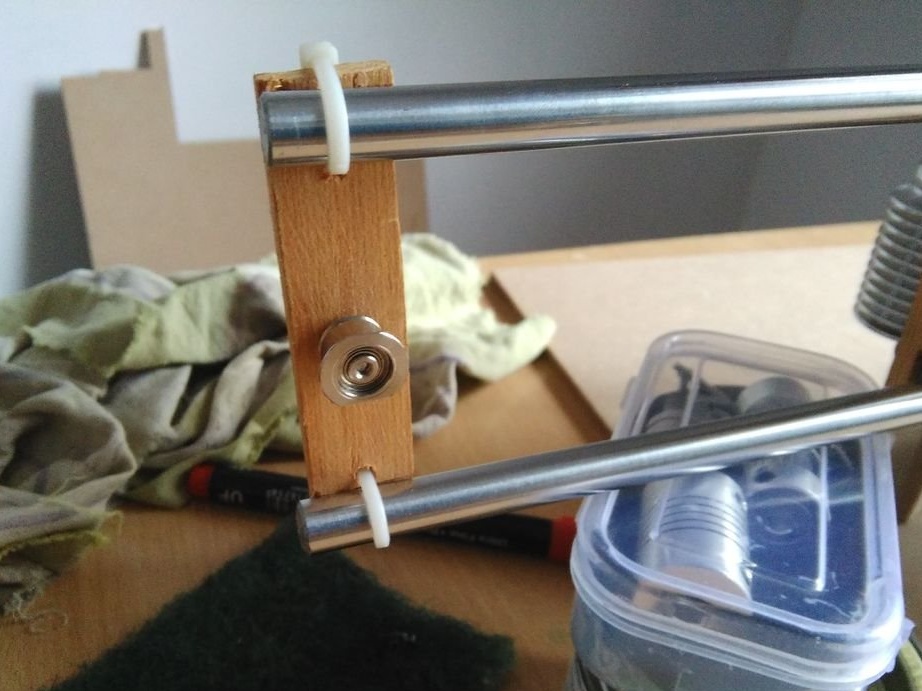
Sets the X and Y axes to the product. There is nothing complicated for the X axis, you just need to install the guides and the screw rod. For the Y axis, the master makes an MDF mount. On a rectangular panel secures two bearings. Fastens the spindle on the back. Assembles a knot.From the opposite end of the rack sets the bearing. Wearing a belt.


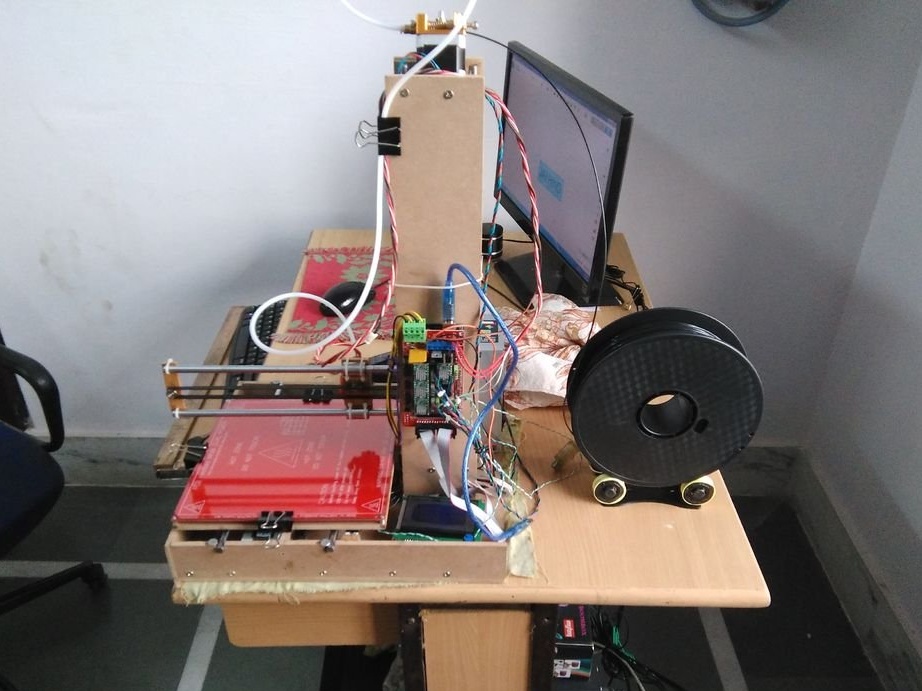
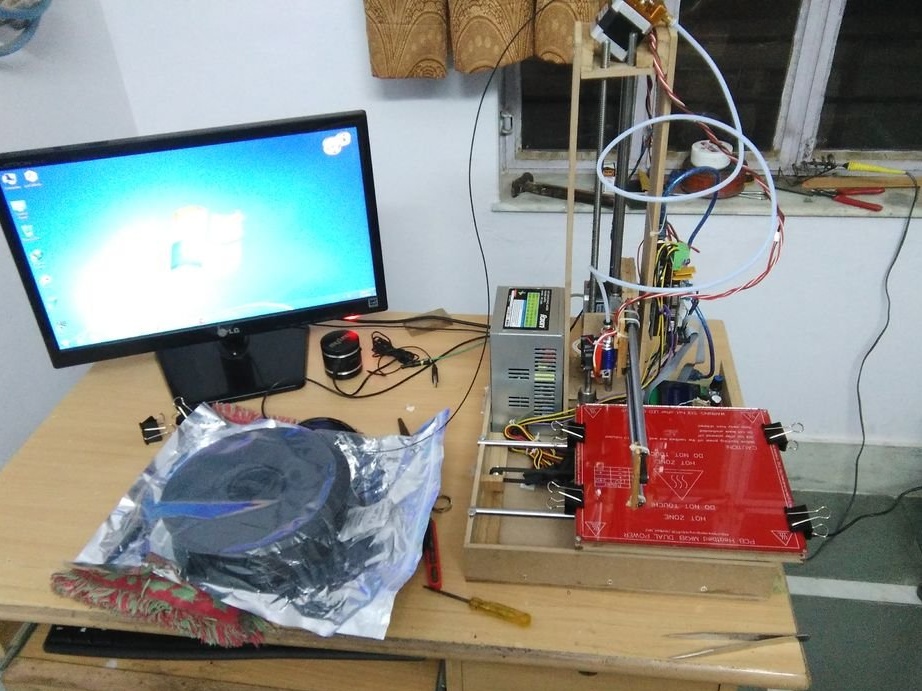
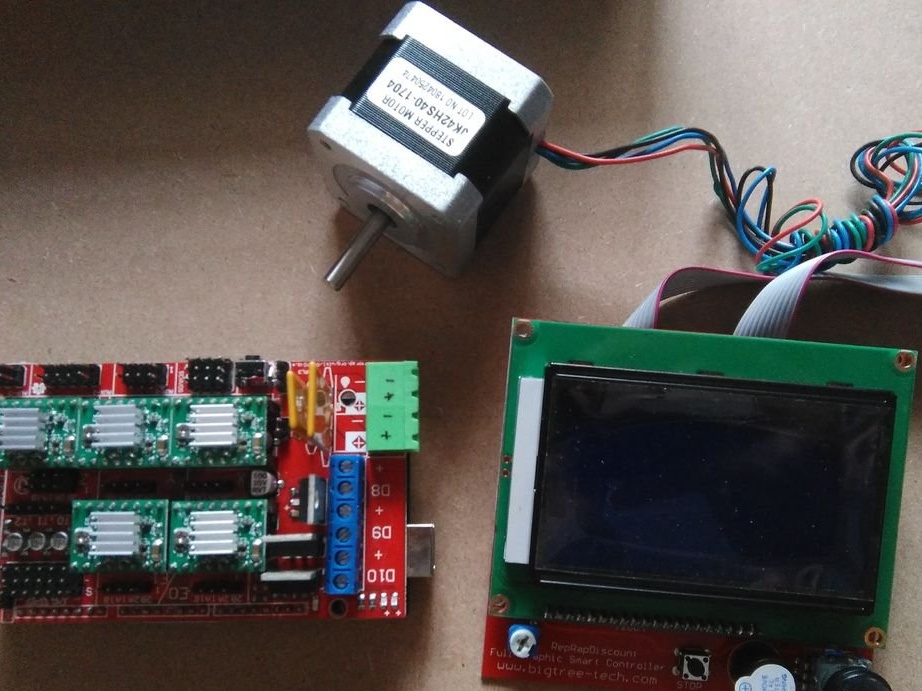
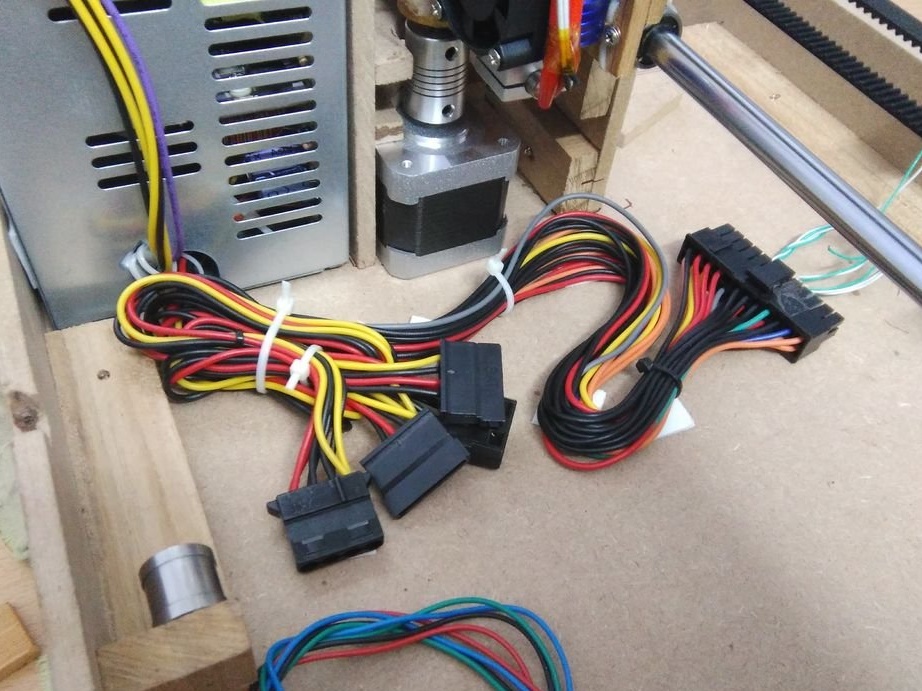
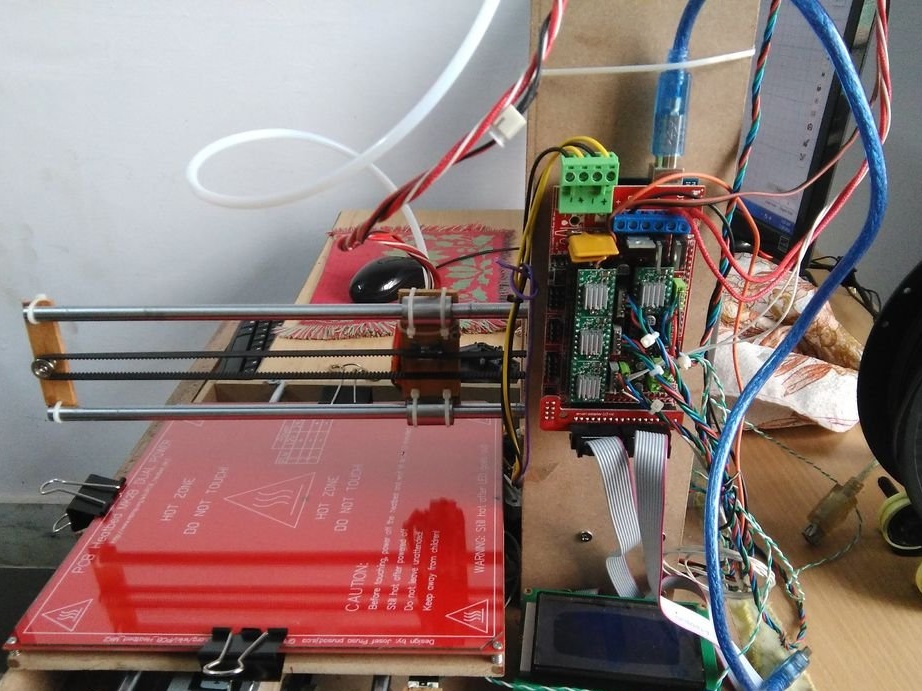
Step Six: electronics
Unfortunately, the master did not upload the connection diagram and code (only a photo), referring to the availability of information on the Internet.

After assembly, it is necessary to test and calibrate the device.
According to the master, the product was excellent. Printing speed 120 mm / min, good quality. It took the master two weeks and $ 180 to make a 3D printer.