Hello everyone, winter is in full swing, on the ice you can meet many fishermen. For winter fishing, we need such a tool as an ice drill or ice pick. The first option is more suitable for thick ice, since breaking ice with a thickness of 15 centimeters is not so simple. As for the cases when fishing occurs on the first ice, thawed ice or in places where the thickness of the ice is small, then such a thing as an ice pick is simply necessary. Using it, you can easily and quickly make holes in the ice, and it weighs less than a drill. Even on foot you can fight off enemies, as well as "probe" the ice for hardness. In this instruction we will look at how to make an ice pick. do it yourself!
Materials and tools used by the author:
Material List:
- steel pipe;
- sturdy wood handle (shovel handle or the like);
- old jeans;
- epoxy adhesive;
- self-tapping screws;
- a chisel;
- strong synthetic rope.
Tool List:
- drill;
- grinder;
- welding machine;
- gas-burner;
- vernier caliper.
The process of making the ice pick:
Step one. We make a tip
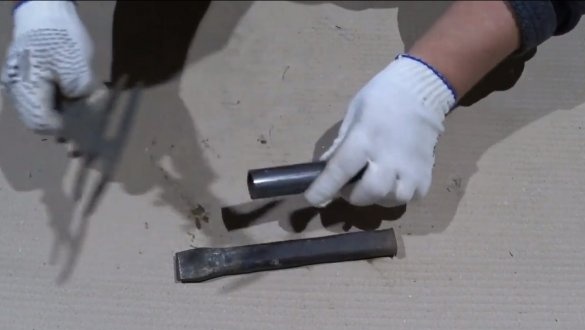
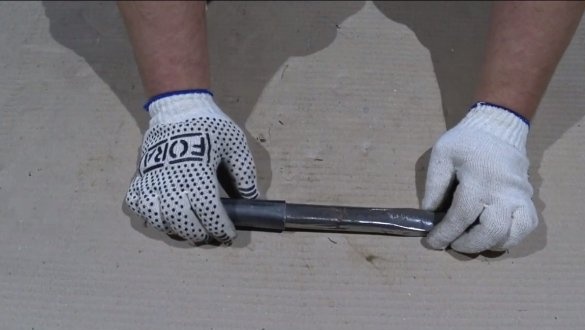
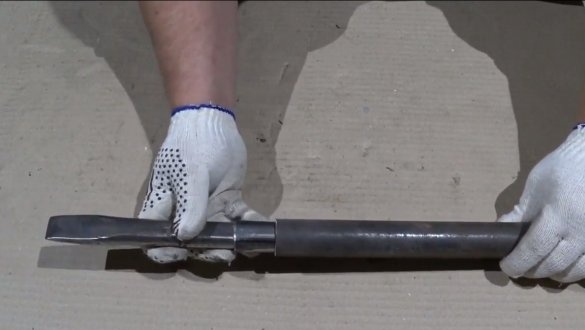
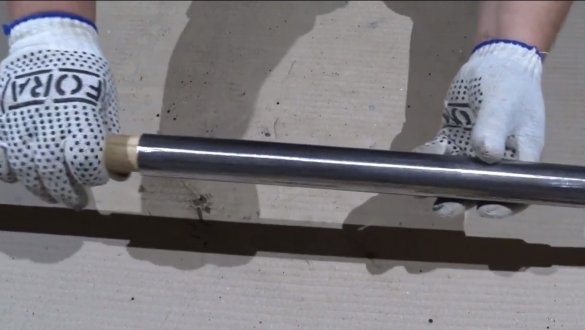
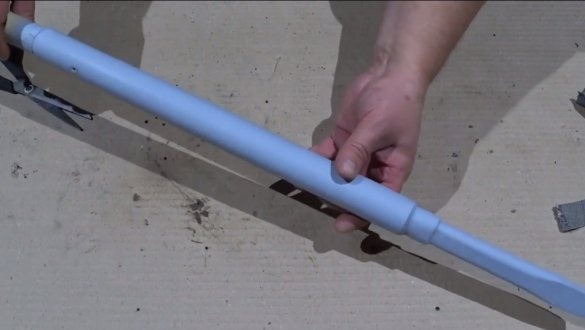
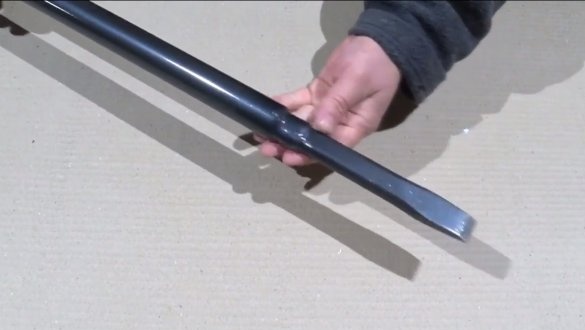
Let's start with the most important thing - with the tip. It is advisable to use strong metal here if you want to knock not only ice, but also something stronger. The author made a tip from a chisel, for a start we will find a piece of steel pipe of such a diameter so that it enters the chisel as densely as possible. This will be a kind of adapter, through which we will install a chisel into a pipe of a larger diameter. In general, in this way, you can finally get the desired diameter of the pipe under the handle.
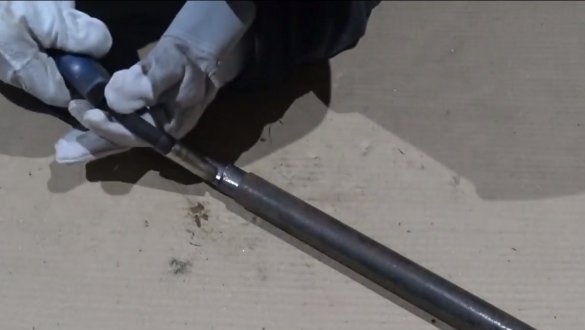
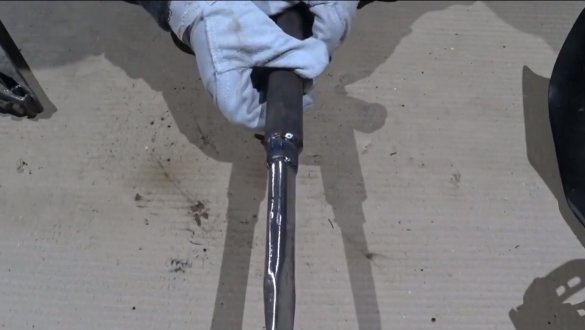
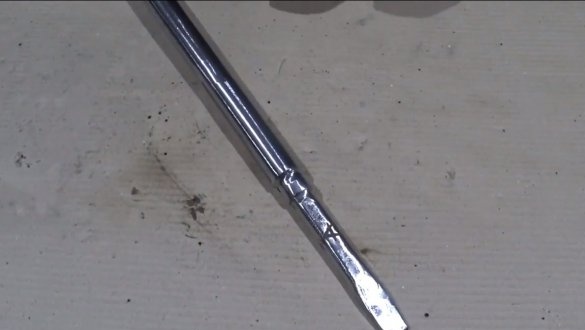
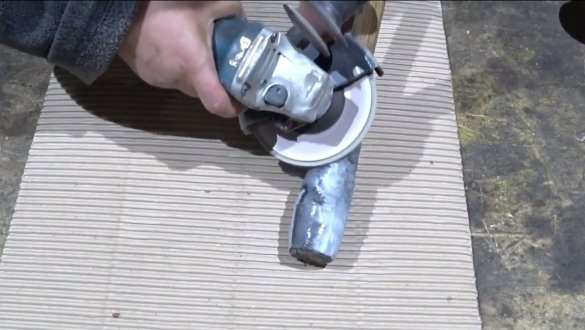
We weld all parts together as tight as possible. At the end, we grind everything so that the design looks homogeneous. Here you can work as a grinder with a petal nozzle.
Step Two Fasten the handle
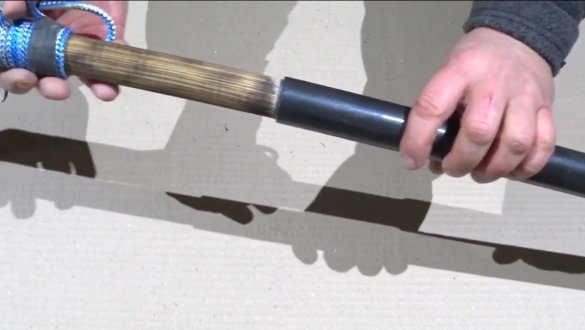
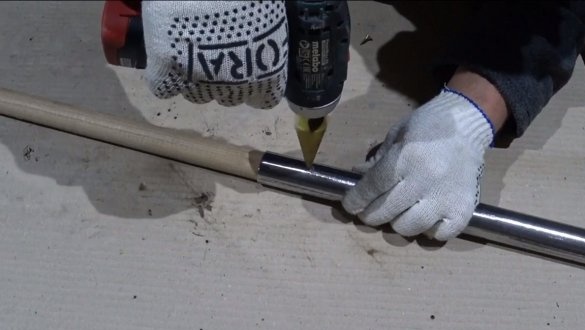
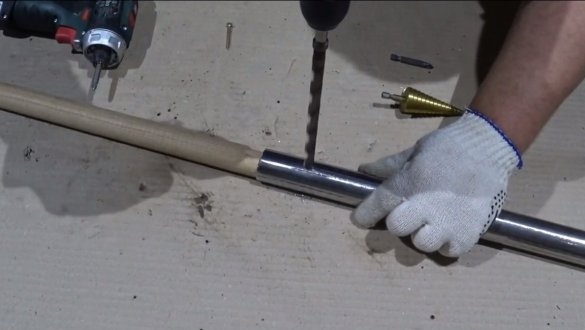
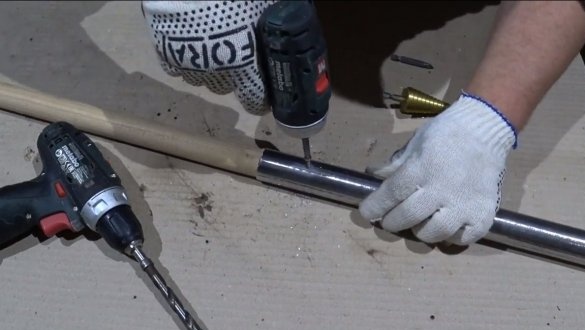
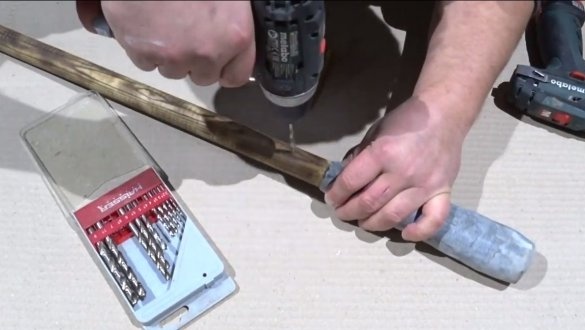
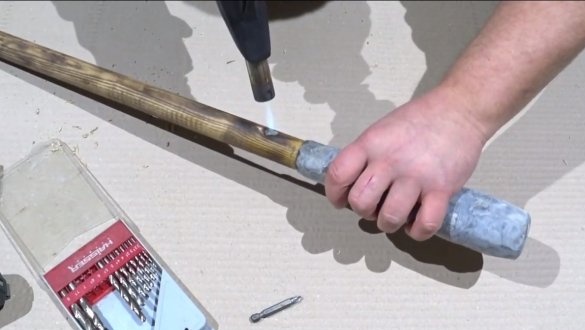
We fix the handle, for this we insert it into the pipe and drill a hole for a self-tapping screw. It is better to use two screws to fix everything stronger, otherwise the tip may fly away under the ice.
After that, you can cover the tip with a primer for metal.
Step Three A pen
Let’s make a good handle for the ice pick, as the ice pick will try to escape from the hand by inertia when breaking ice.And if the handle still freezes and is slippery, it will be very unpleasant to work.
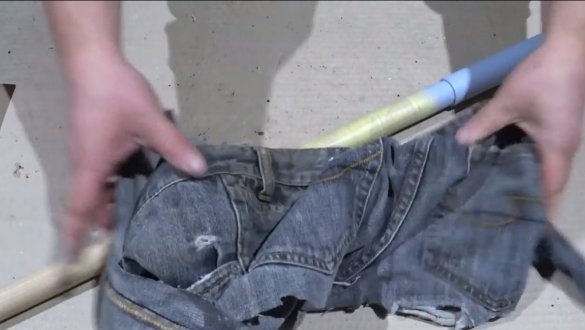
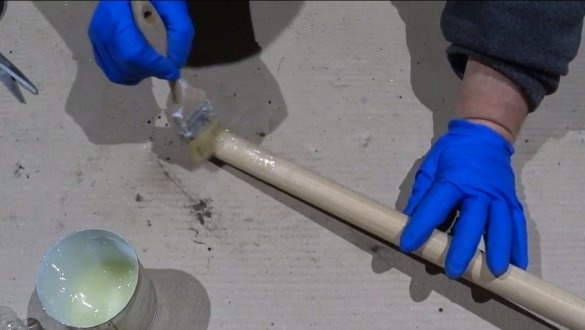
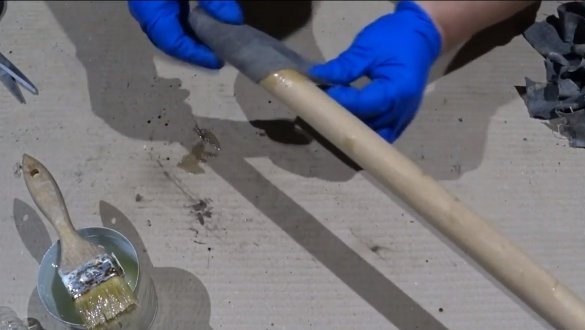
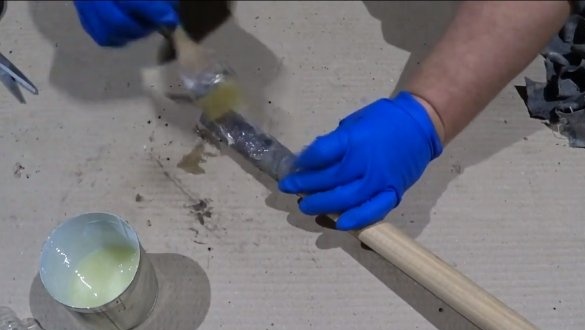
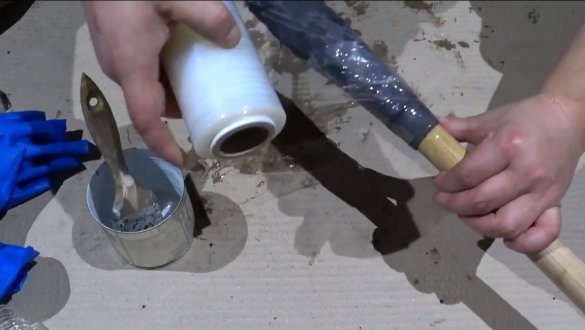
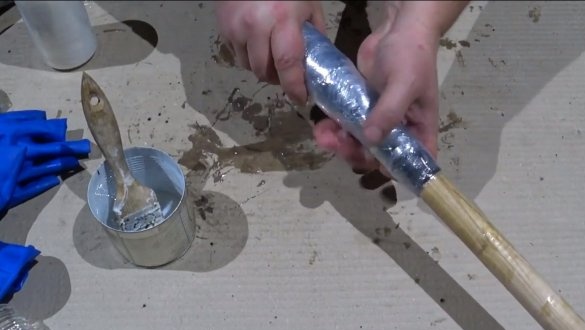
The author makes a pen from epoxy glue and fabric from jeans. We cut the rags, and then wrap them with glue on the end of the handle. We carefully coat each new layer with glue. The handle should expand towards the end. At the end, we wrap everything with a film and let the glue dry.
Step Four Finish the handle
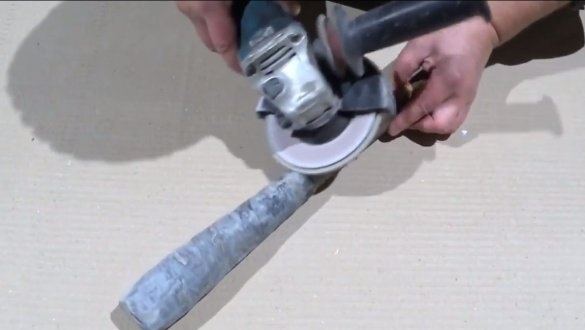
When the glue dries, we treat the handle with a petal nozzle, as a result, it will become rough and will hold well in the hand. Such a handle will also be quite warm, which is important in winter.
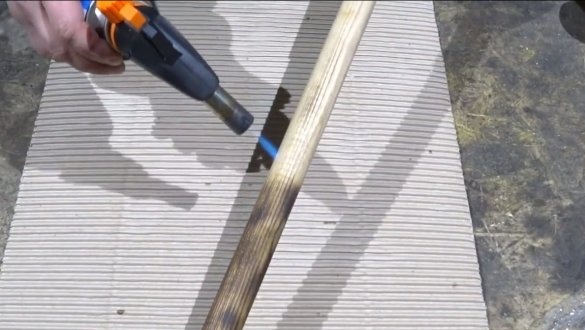
The author himself burns the stalk with a gas burner, and the tip paints with metal paint.
Step Five Rope
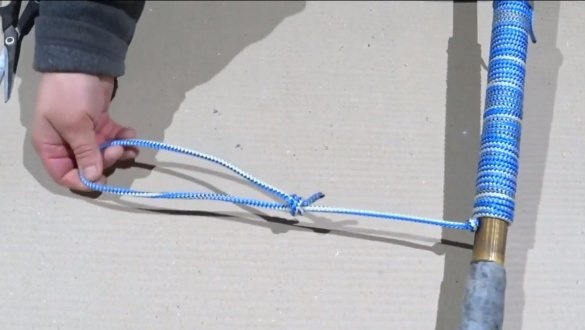
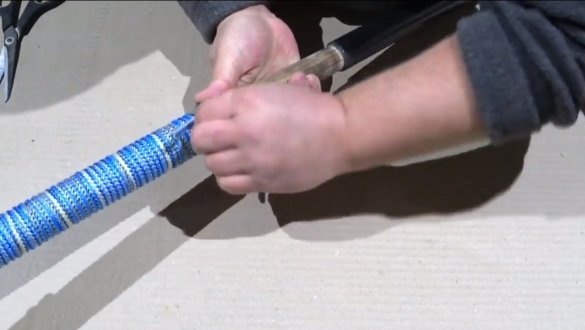
The pick must be equipped with a rope, without it there are high chances to miss the pick under the ice. The author installed a rope with a margin, you never know what can happen on fishing. We drill a hole in the handle, thread the rope and wrap it around the handle, put on an elastic band as a fixation. At the other end we make a protracted loop for the hand.
As a result, we got another warm handle, for which the ice pick can be moved.
That's all, homemade ready, everything turned out pretty good. I hope you enjoyed the project and found useful ideas for yourself. Good luck, creative inspiration and big catches!

