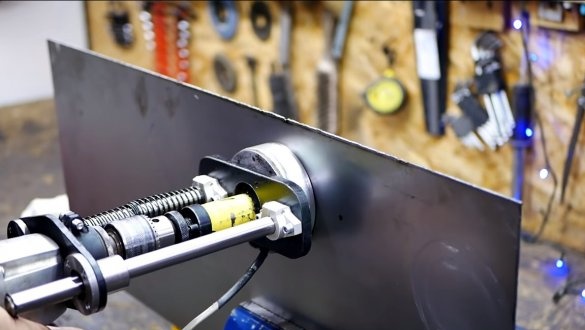
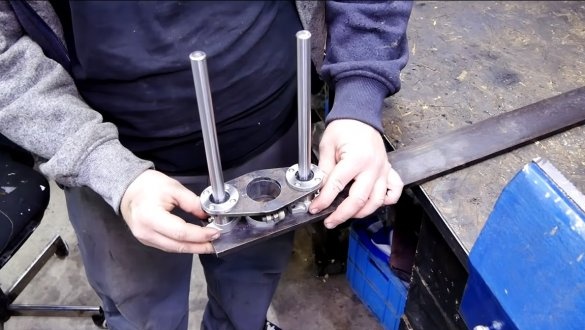
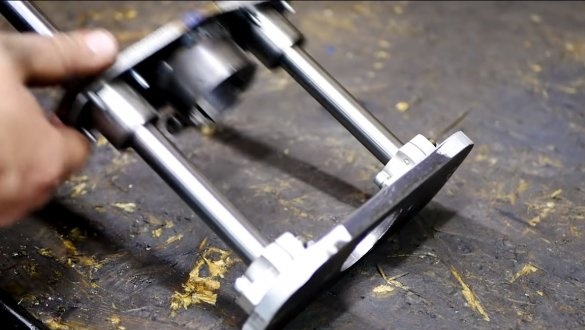
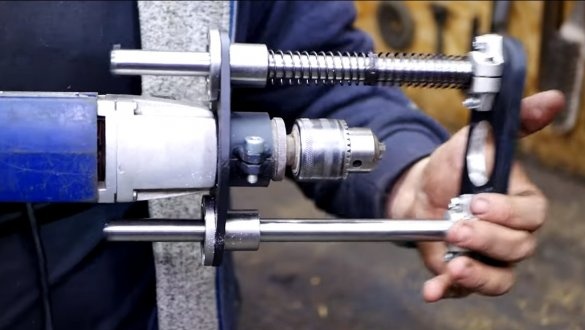
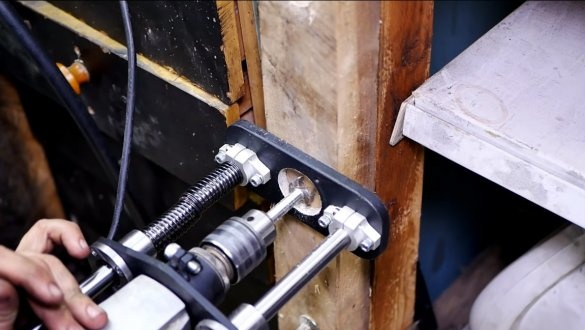
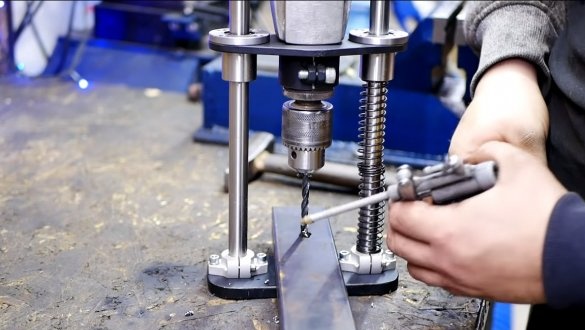
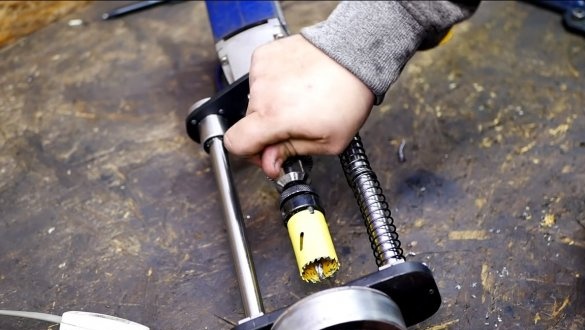
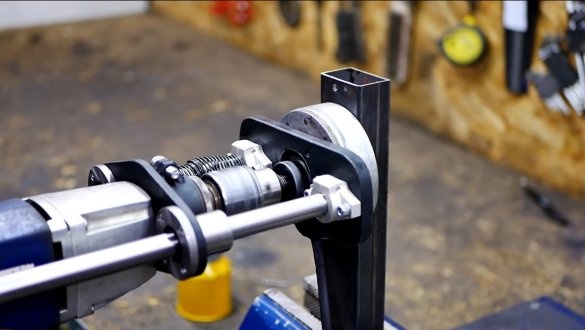
I propose to study the adjunction, which can significantly expand the functionality of a conventional drill. It will be a guide that will allow you to work with a drill as a mobile drilling machine. With it, you can drill holes in the material clearly perpendicularly, now you do not need to aim and have a sharp eye to drill a hole at a right angle. Also, thanks to such a nozzle, a drill can work as a small stationary drilling machine, placing the product on a platform inside homemade.
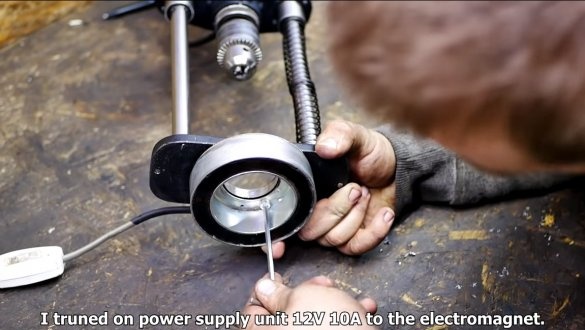
But this is not all, the rail is equipped with an electromagnet, which allows you to very firmly fix the rail on steel, simply by pressing a button. If you are interested in the project, I propose to study it in more detail.
Materials and tools used by the author:
Material List:
- steel pipes or rods;
- ;
- ;
- Sheet steel;
- screws and nuts;
- a piece of a round steel pipe (for a collar);
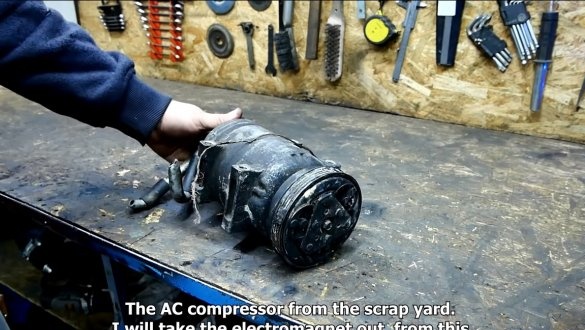
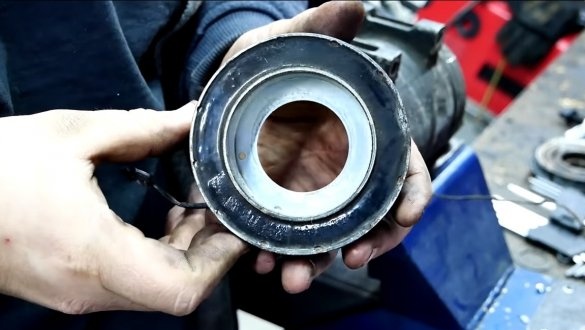
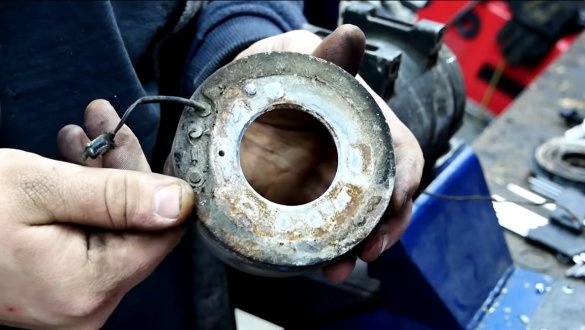
- an electromagnet from an AC compressor;
- two springs.
Tool List:
- grinder;
- drilling machine;
- taps for threading;
- drawing tool;
- belt sander;
- vise;
- welding machine;
- tape cutting machine.
Homemade manufacturing process:
Step one. We prepare guides
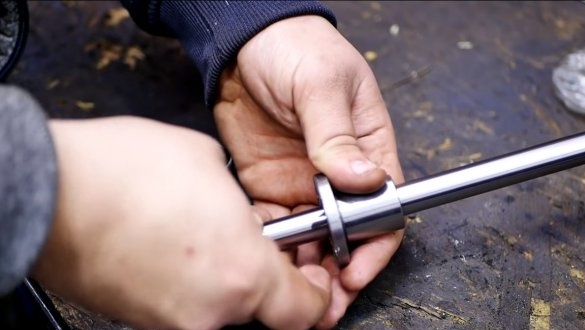
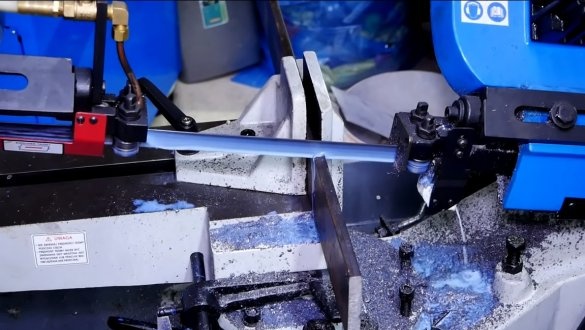
First, we cut out two guides, steel pipes are the best fit for them, since the rods weigh quite a lot, but the author used the rods. It is best that the guides are stainless steel, however, they can be lubricated.
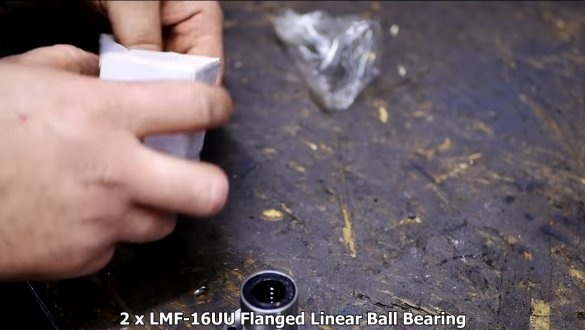
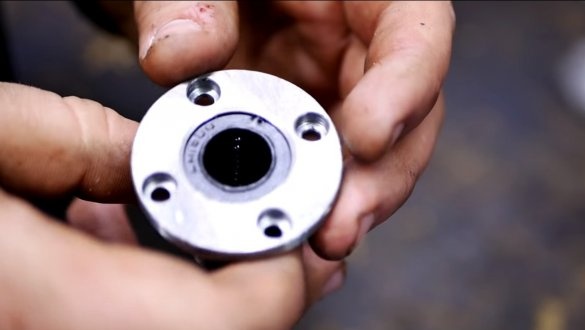
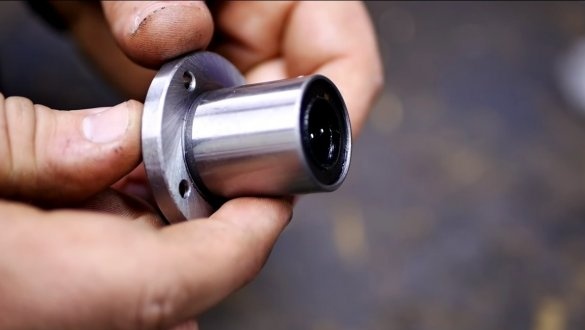
The diameter of the guides is selected depending on the linear bearings, in our case bearings are used for an axis of 16 mm.
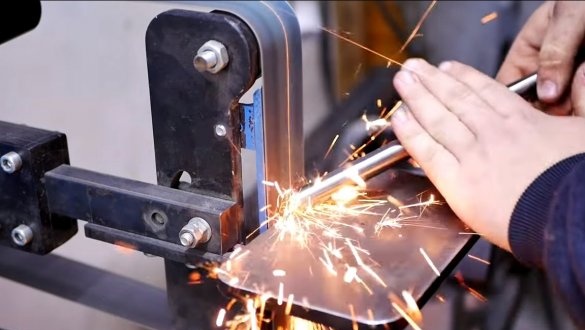
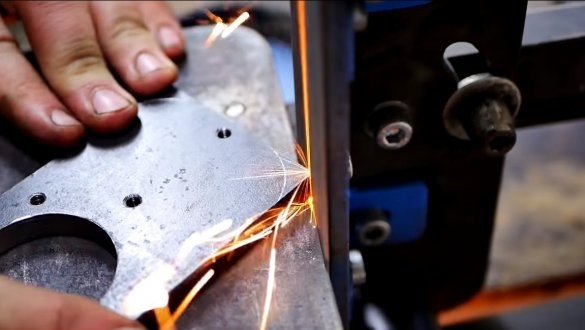
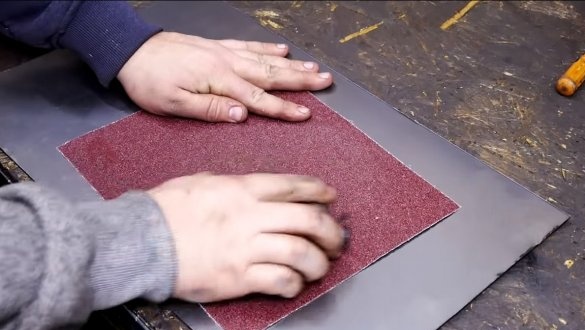
The author processed the ends of the rods after cutting on a belt grinder.
Step Two Bearing platform
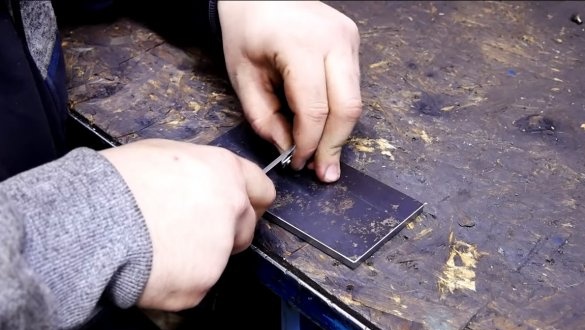
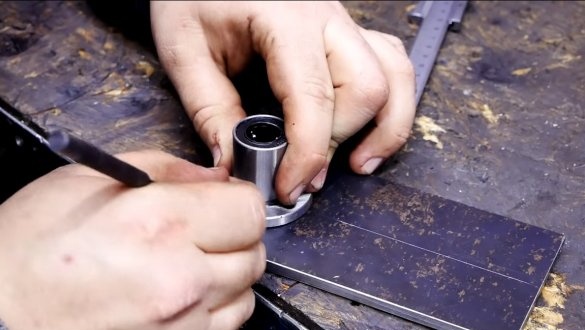
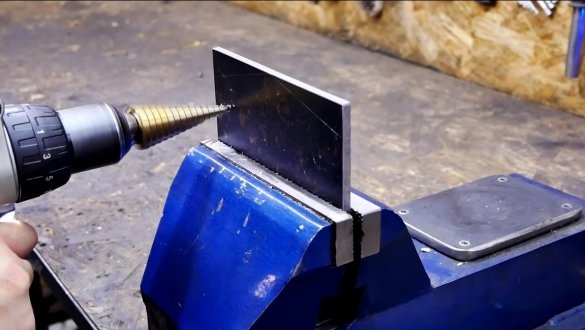
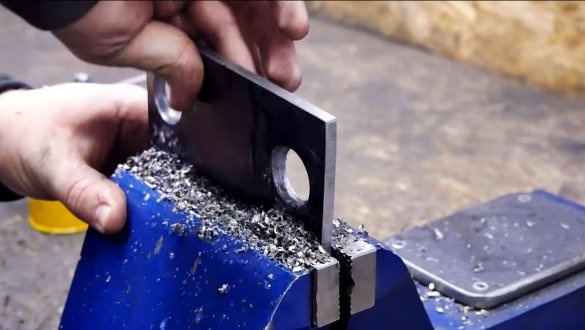
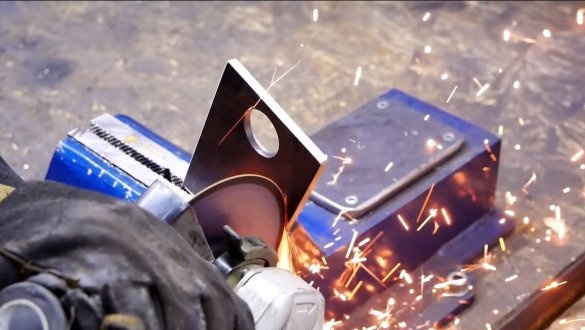
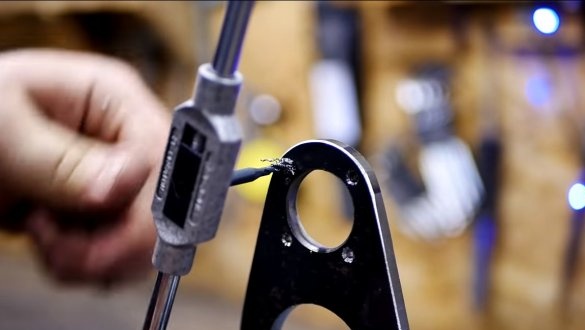
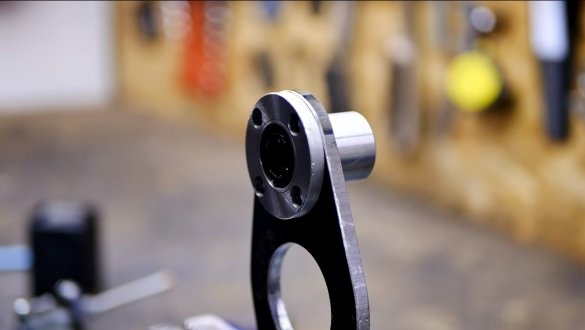
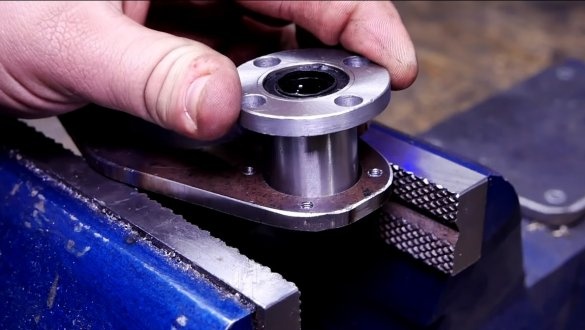
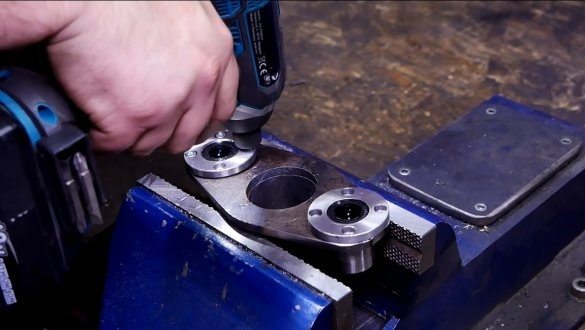
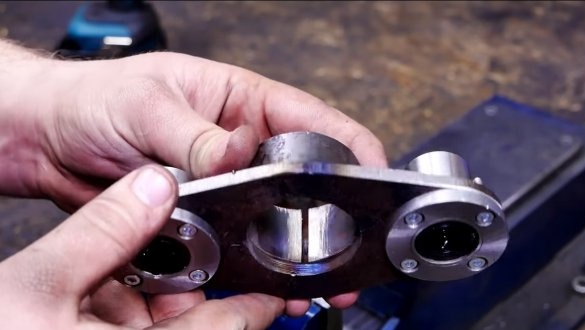
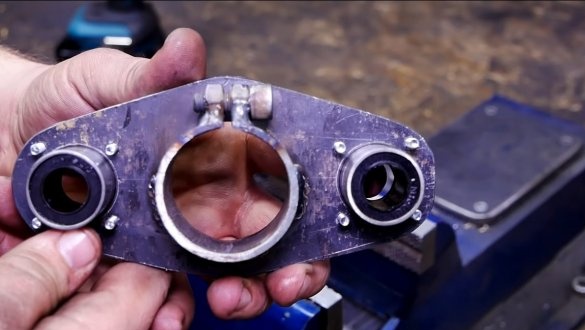
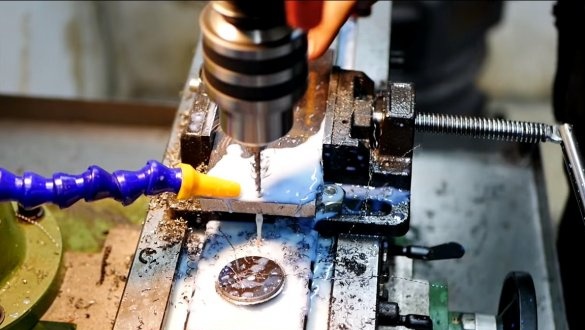
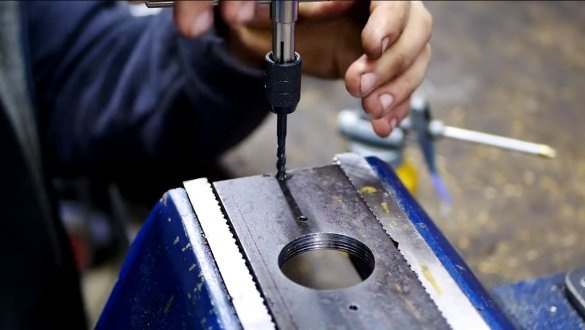
For the bearings, we will make a frame, that is, a platform on which they can be installed. Here you need thick sheet steel. Having pre-marked everything, the author drills holes in the workpiece with a step drill.Having cut off the excess, we also drill holes and cut the threads for the screws with which we screw the linear bearings.
Step Three Clamp
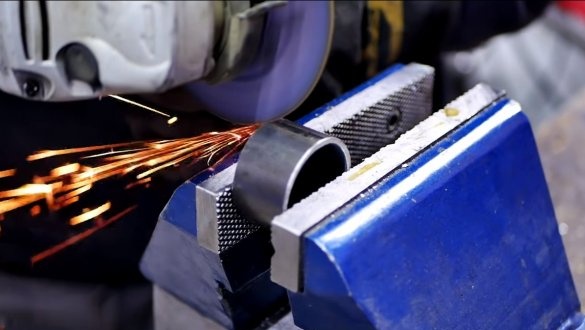
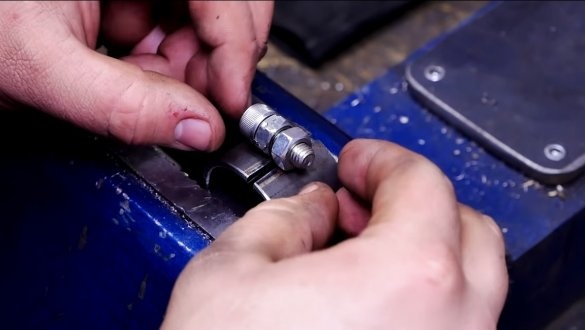
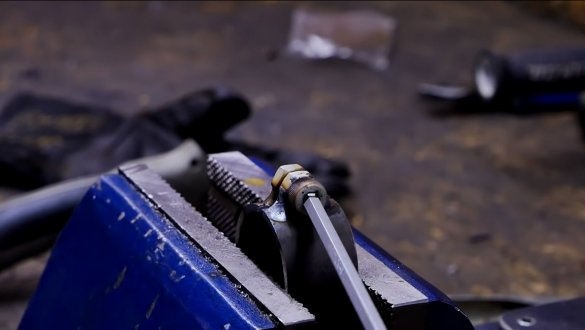
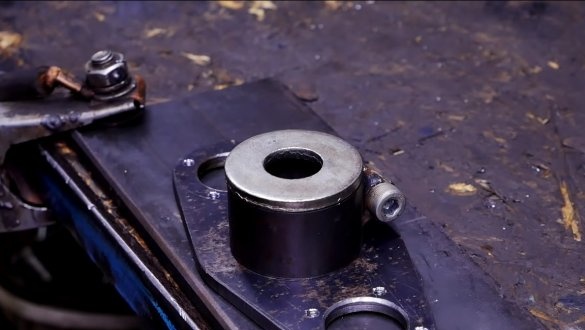
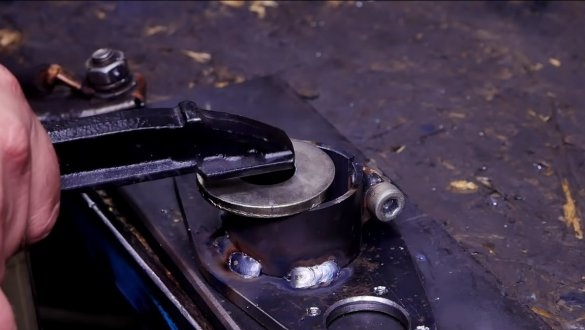
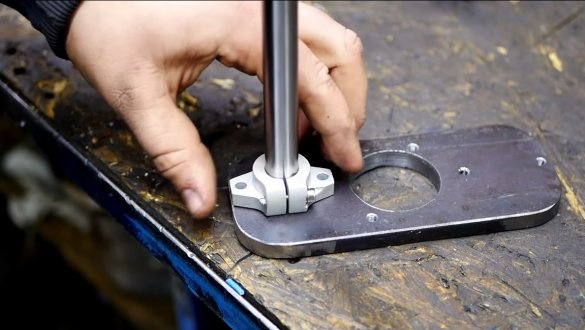
We will make a clamp, with it we will fasten the nozzle to the drill in the place where the additional handle is installed. We make a collar from a round pipe of suitable diameter. We cut it and weld a nut in the place of the cut so that the clamp can be pulled together with a screw. The clamp itself is welded to the previously made base. You can also fasten bearings using screws.
Step Four We fix the guides and assemble the structure
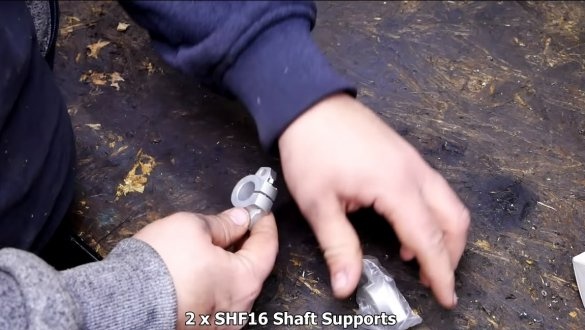
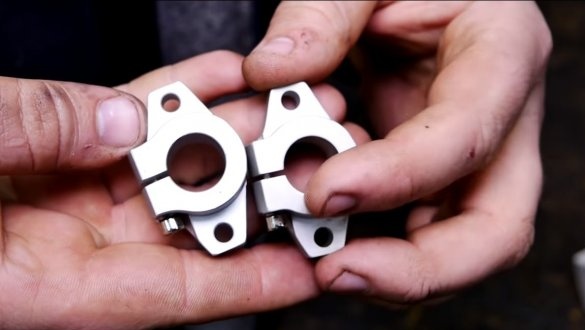
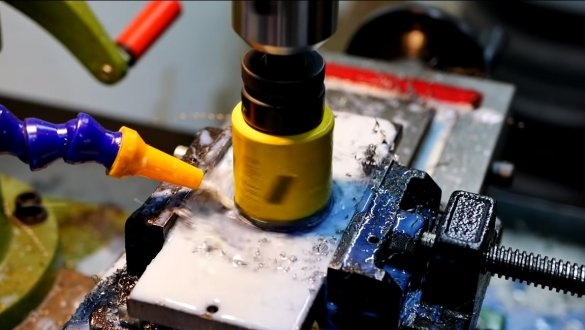
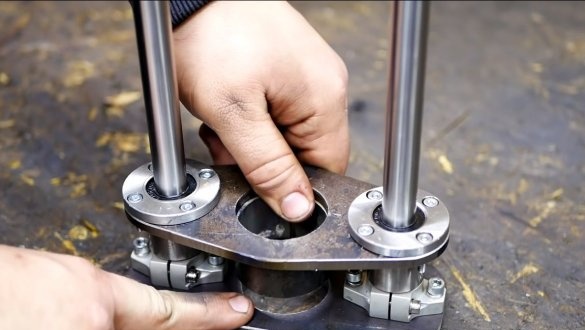
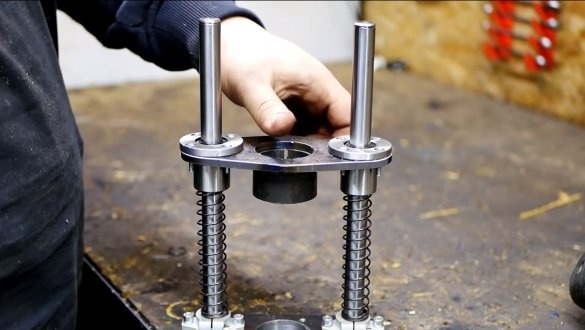
Now you need to securely fasten the two guides on the base, as a basis we cut a blank of thick sheet steel. To fix the rods, the author decided to use two bearings for the SHF-16 shaft. At the base, do not forget to drill a hole for drills, crowns and other nozzles of a suitable diameter.
We install on the guide springs, as well as a part with linear motion bearings. At the ends of the rods, we install snap rings in grooves that can be cut with a grinder or on a lathe.
Step Five Electromagnet
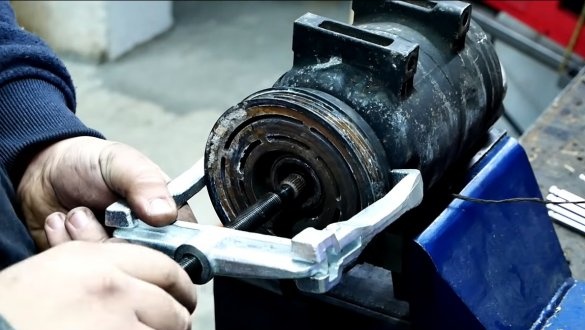
The author decided to equip his device with an electromagnet so that it would be convenient to work with steel, because a magnet will be attracted to it, and drilling such material is most difficult. The author took a magnet from an old AC compressor found in the trash. We unscrew the magnet, clean it, it will be screwed to the homemade screws. Such a magnet works from a voltage of 12V; select a switch for it designed for a current of at least 10A.
Step Six Homemade testing
As a first experiment, the author decided to drill a large diameter hole in a tree, it turned out quickly, accurately and safely.
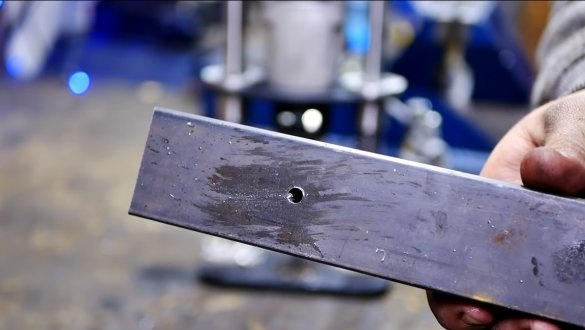
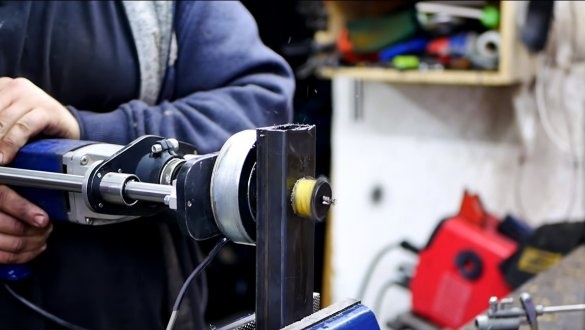
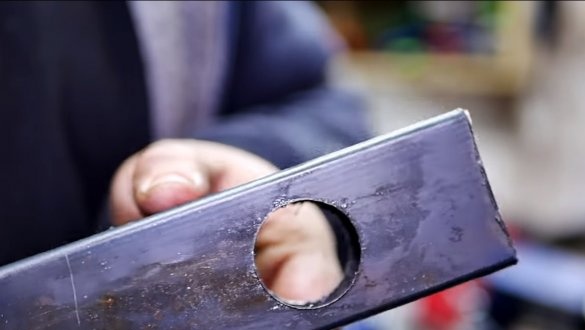
Then it was decided to work with metal, the author placed a profile pipe inside the device and easily drilled it through, working as a stationary drilling machine.
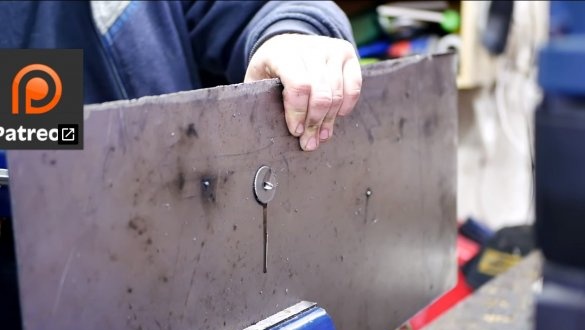
At the end, an electromagnet was installed on the homemade product, with it the author drilled a profile pipe, as well as sheet steel, everything turns out easily, quickly and safely, the magnet tightly adheres to the material.
That's all, the homemade product is ready, I hope you liked the project. Good luck and creative inspiration, if you decide to repeat this. Do not forget to share your ideas and homemade things with us!

