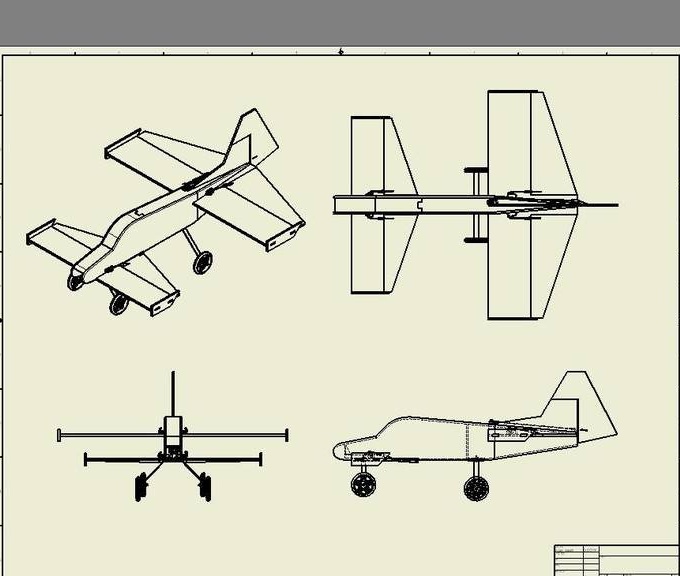
Dear friends, I want to show you one very interesting 3D aircraft model.
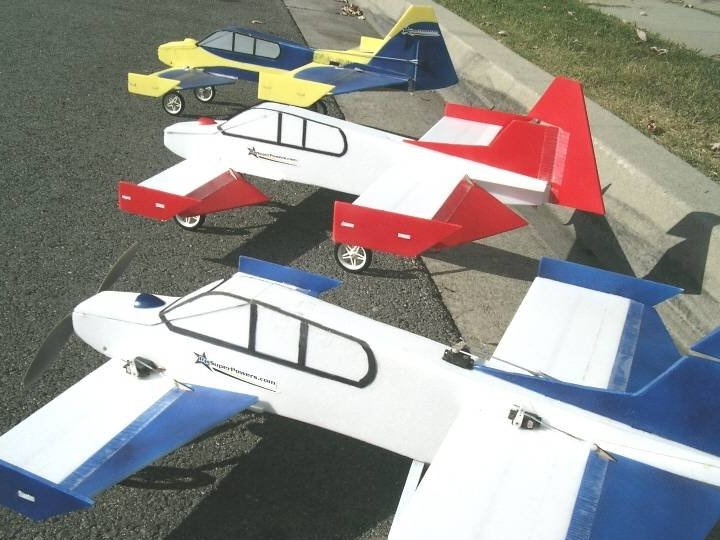
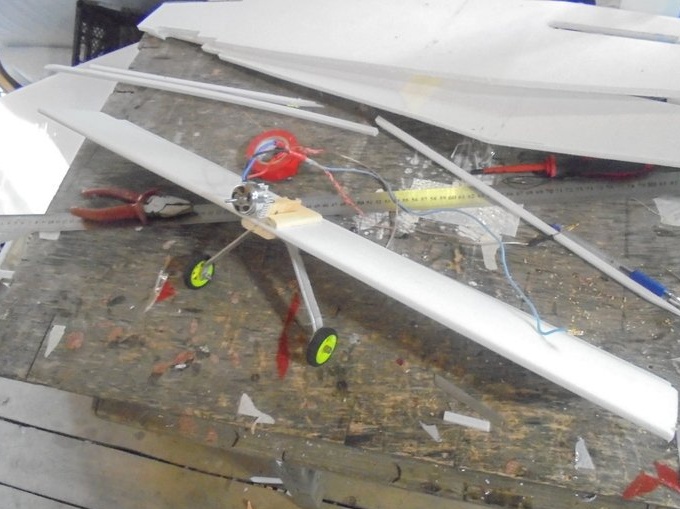
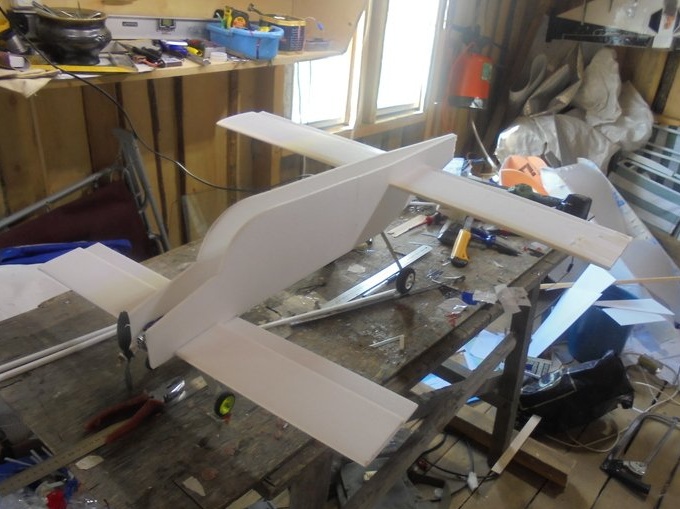
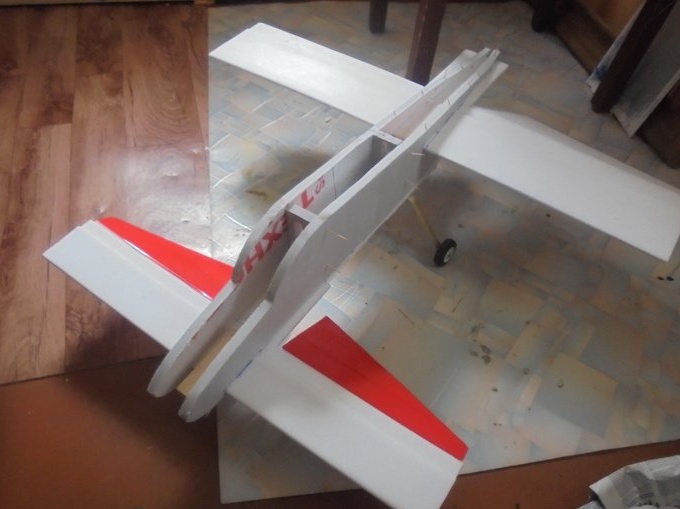
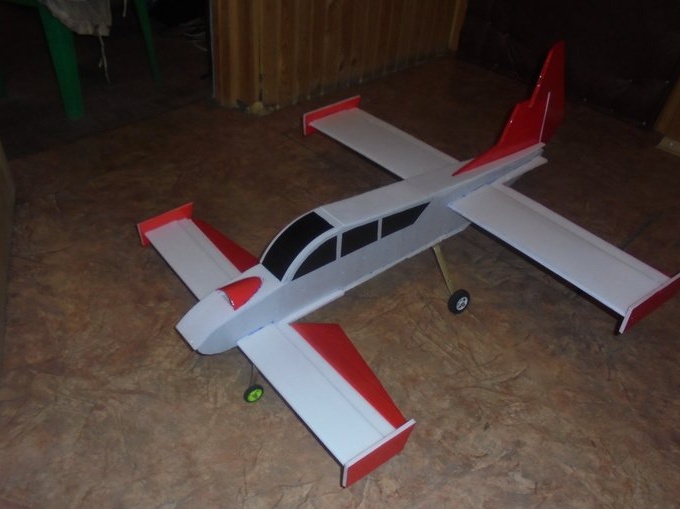
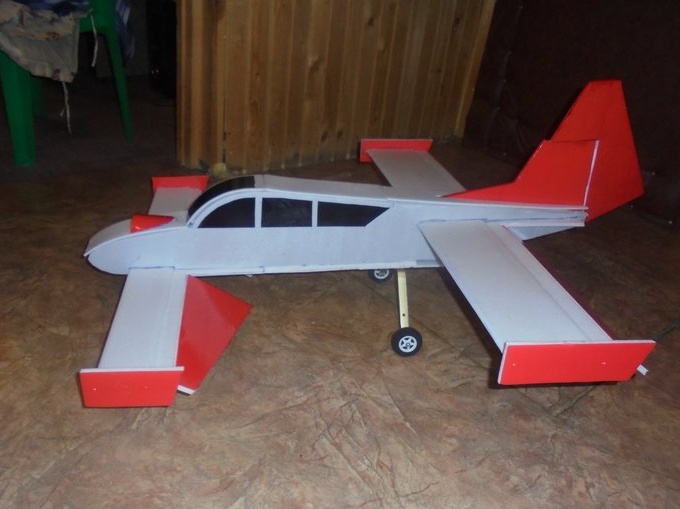
I used to build tandem aircraft models, but this model attracted my attention primarily by the simplicity of the design. There are no profile, complex wings, and the fuselage is an ordinary box with a cabin mounted on it. Wings, tail and wingslet are made of two layers of the ceiling. Light wheels were bought, and the struts for the chassis are made of a strip of aluminum with a section of 2 x 1.5 mm. Wheels are fixed on racks by long bolts with nuts.
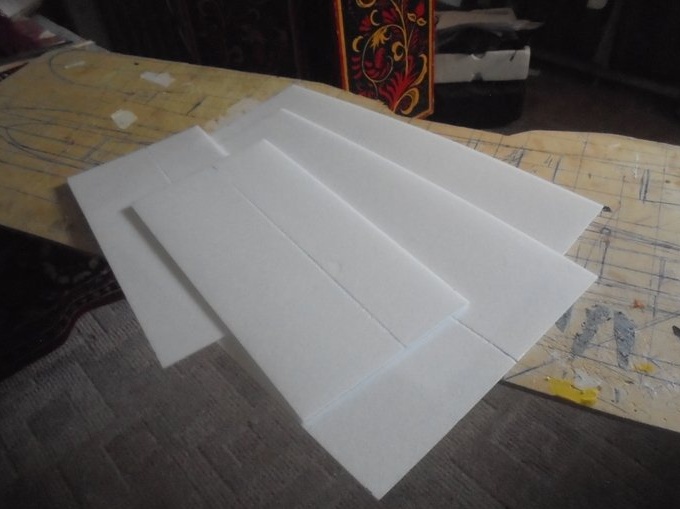
Materials used.
Ceiling tile (ceiling) - 4 mm.
Heater "Penopleks." Foamed into plates with a thickness of 15 mm.
Wooden slats with a section of 1.5 x 4 mm.
Moisture-proof universal glue - "Titan".
Color and double-sided tape.
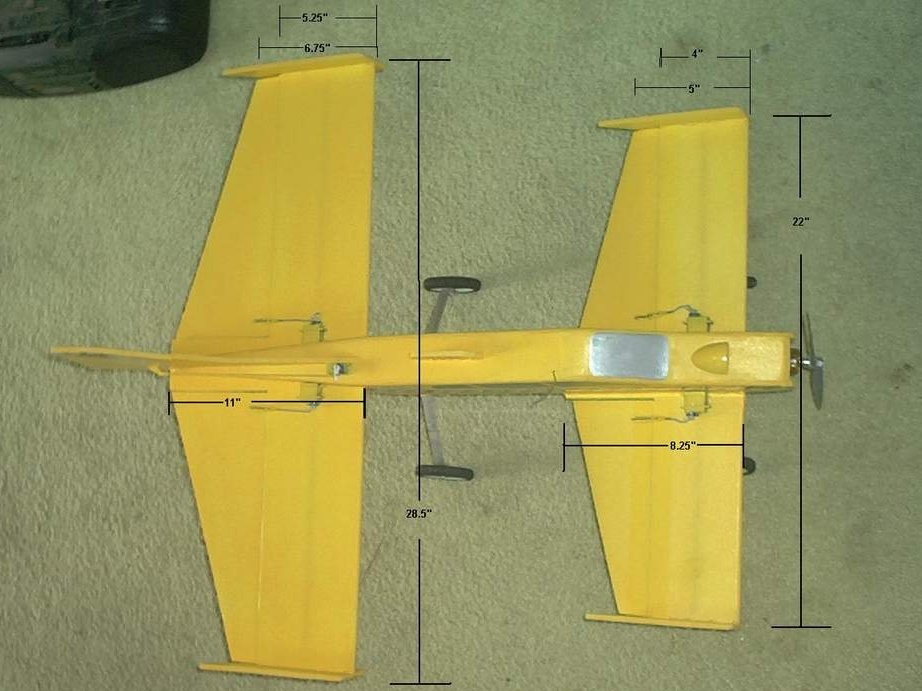
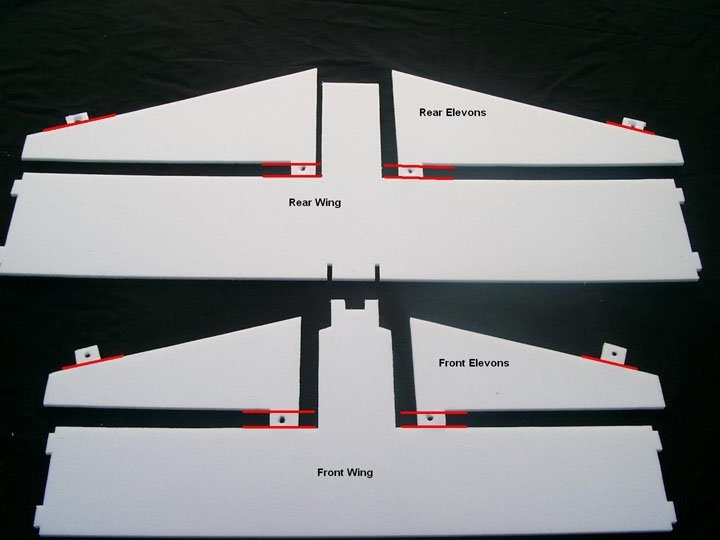
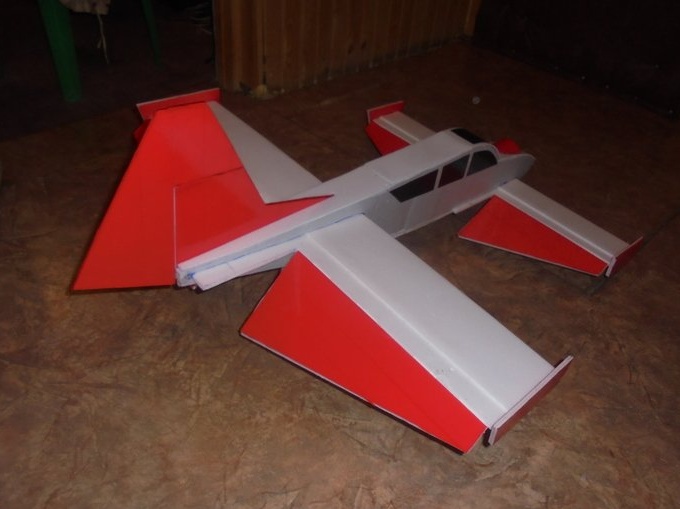
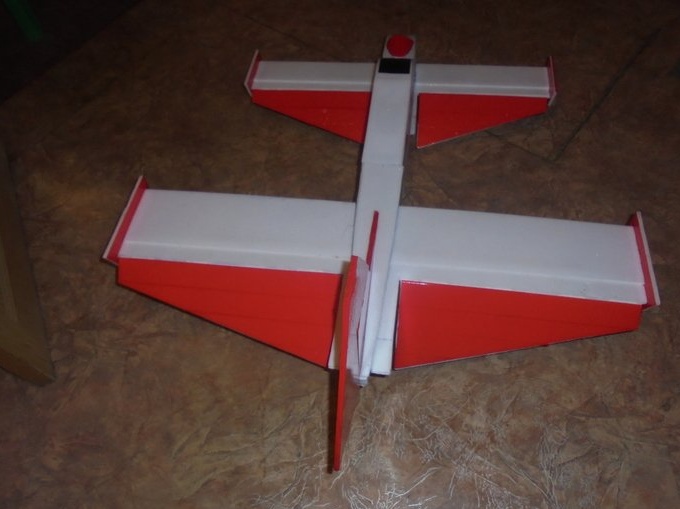
The span of the front wing is 740 mm.
The rear wing span is 960 mm.
I will build two models at once based on these figures.
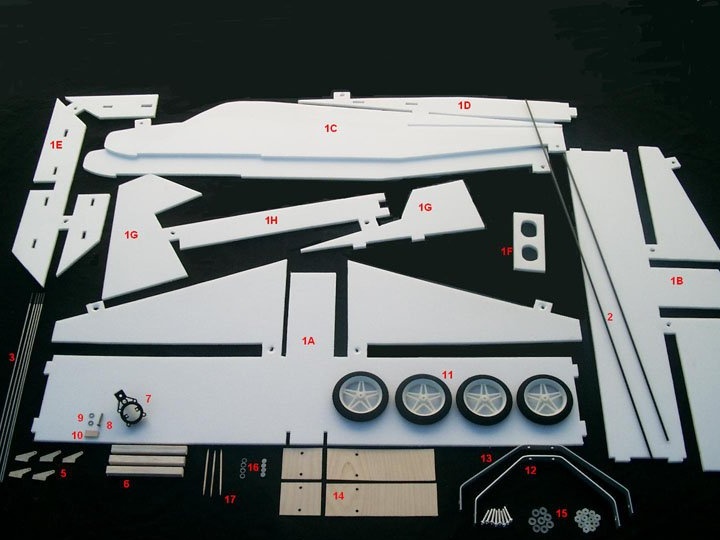
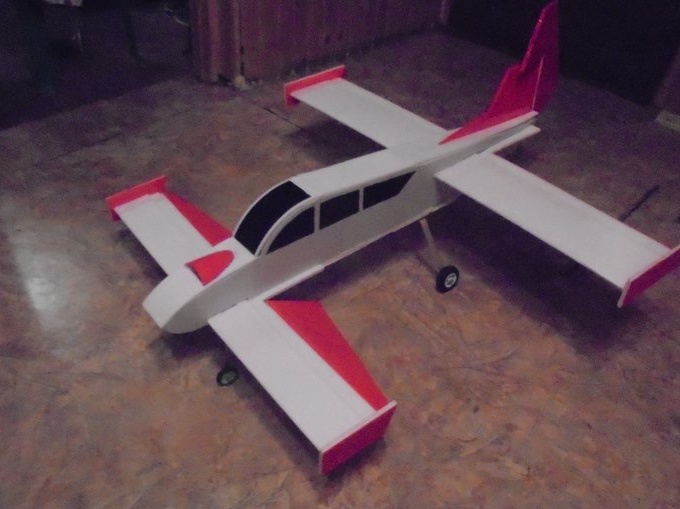
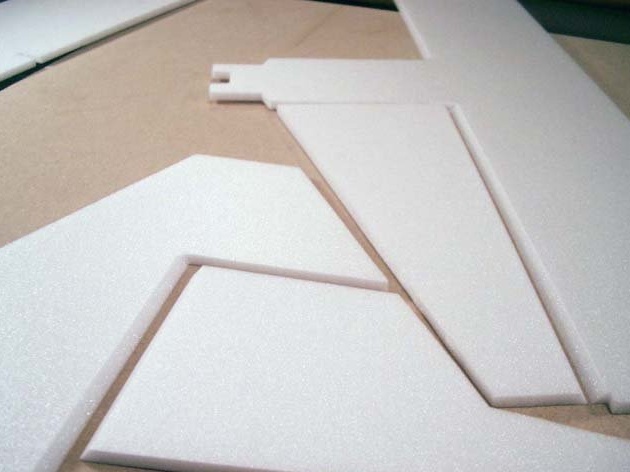
The first model is made entirely from the ceiling.
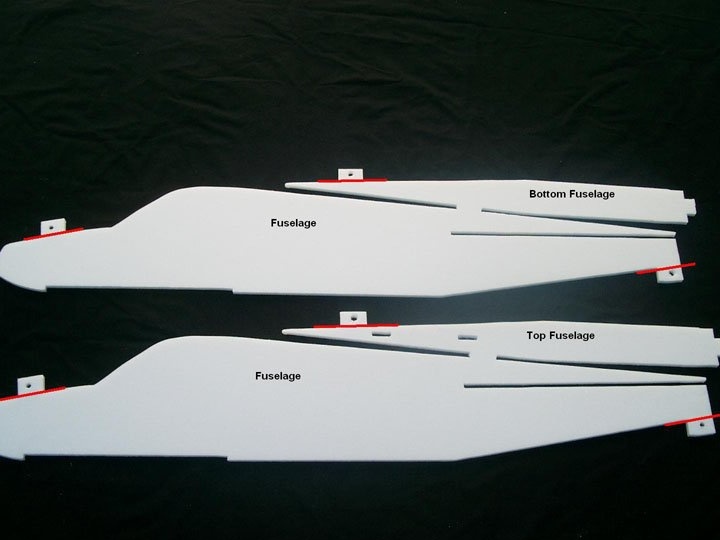
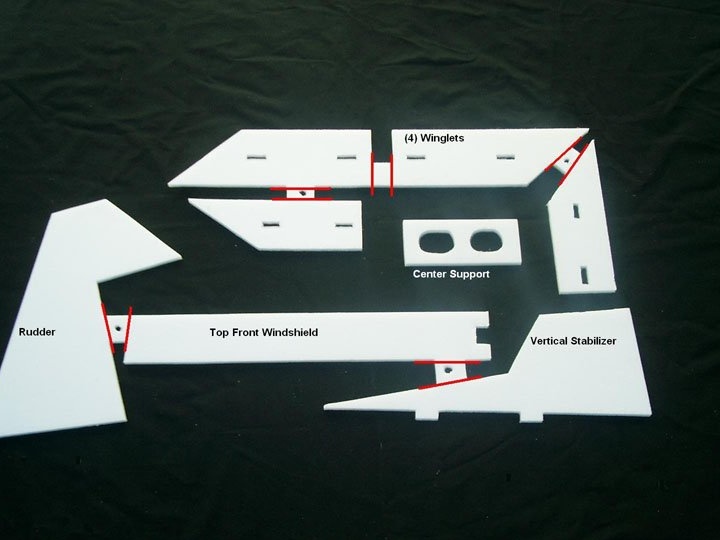
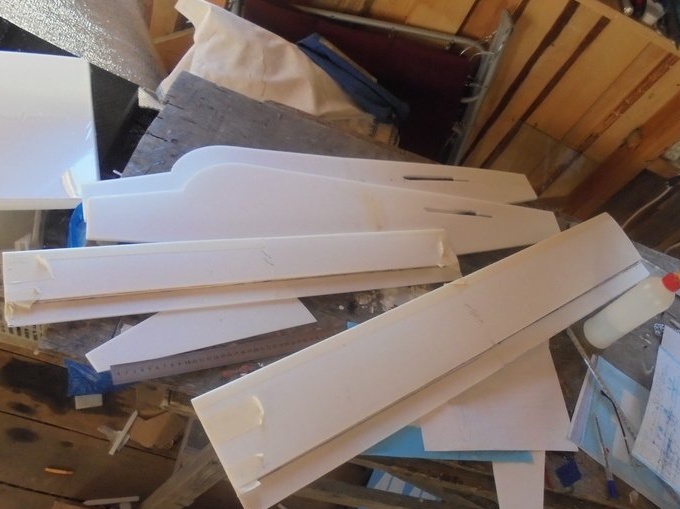
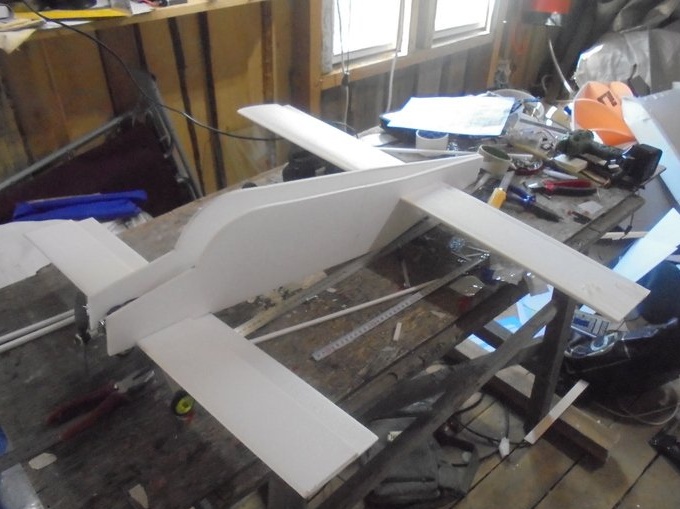
In the beginning, all blanks for wings, fuselage, keel and hinged rudders are made.
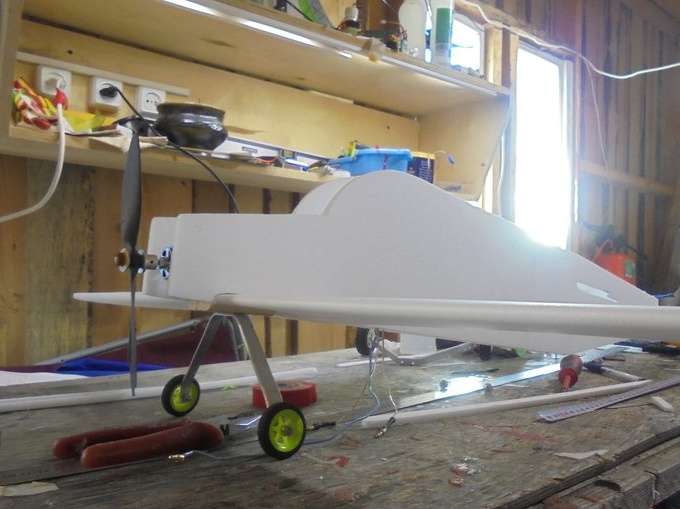
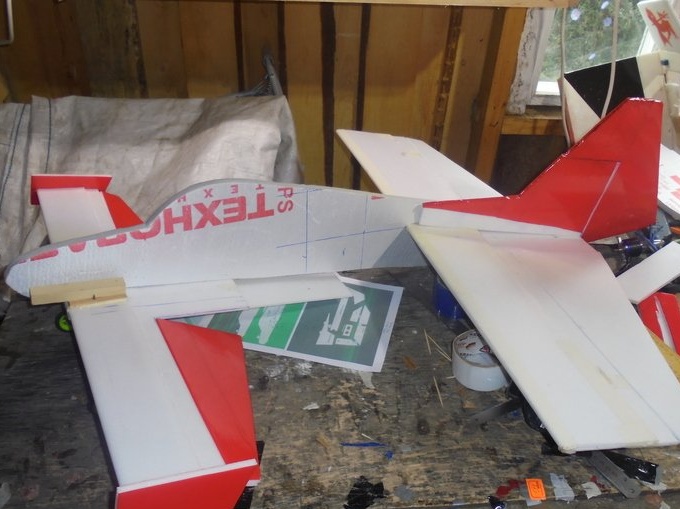
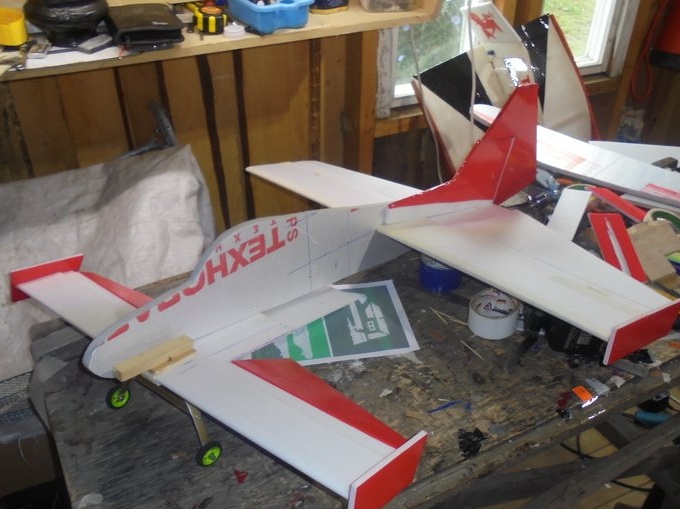
This model was built for a friend, fitted with tape and installed electronics he will be himself.
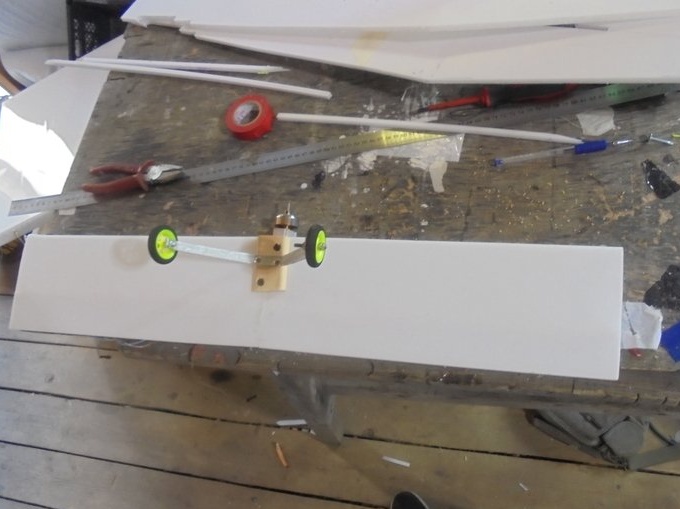
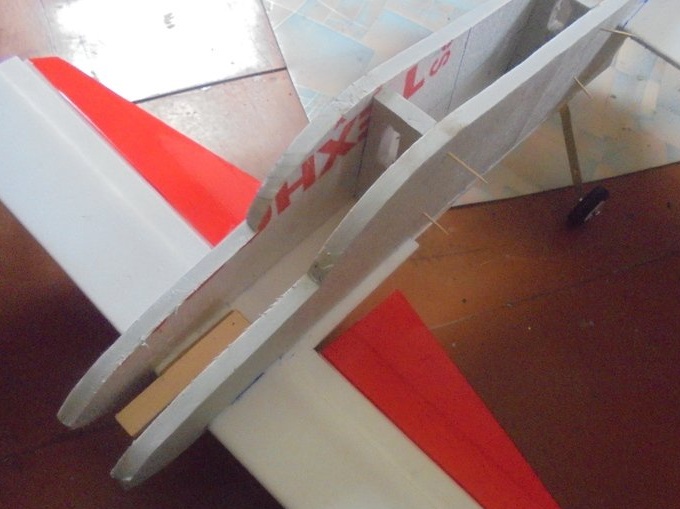
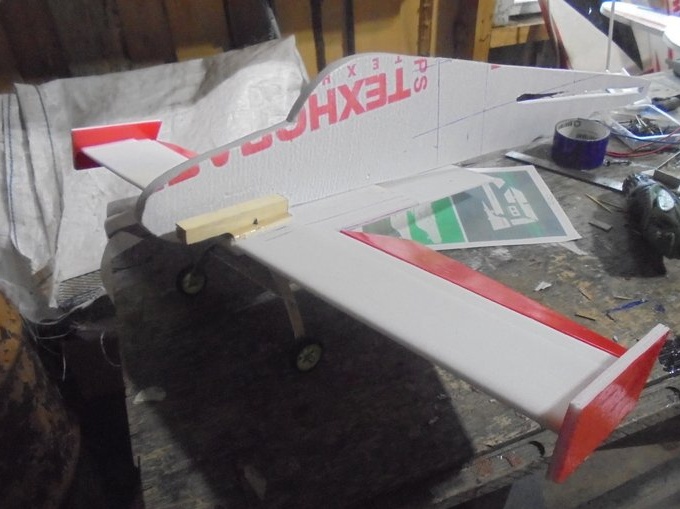
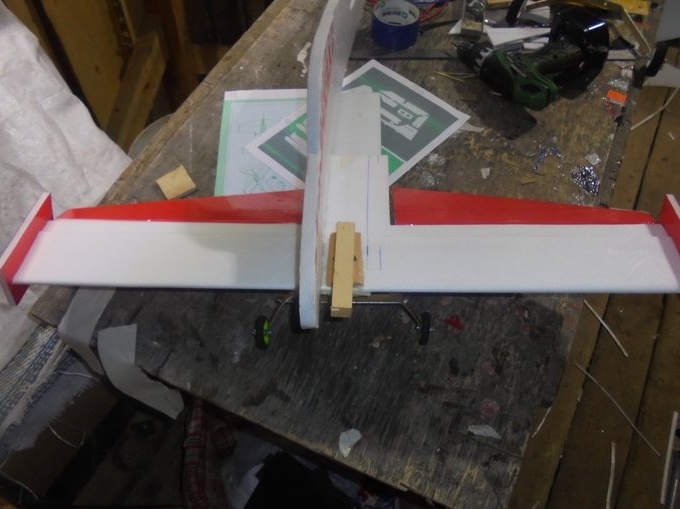
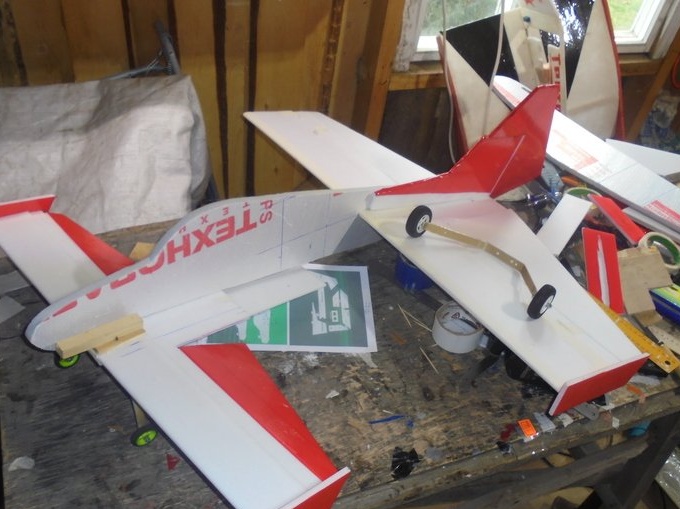
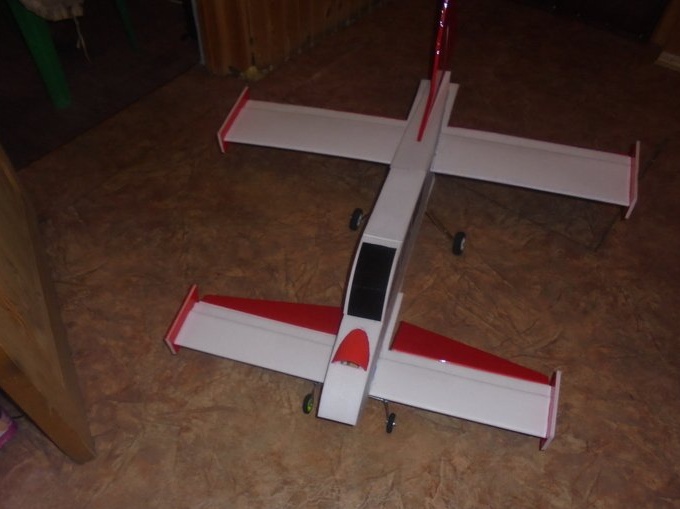
In the middle of the front wing, I paste two wooden plates from a rail with a cross section of 5 x 50 mm. , to secure the front landing gear. The same plates are glued on the lower fuselage skin under the rear wing, for the rear landing gear.
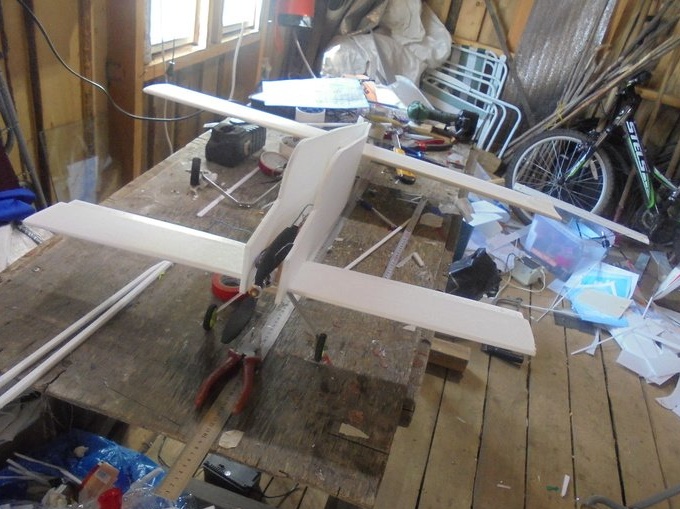
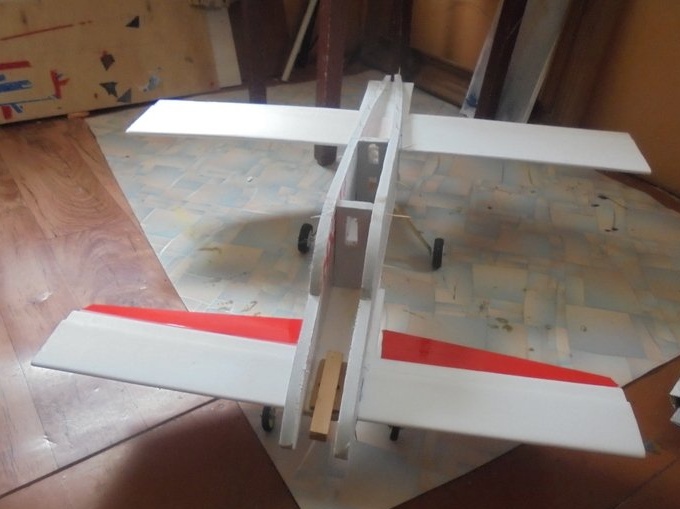
I attach the upper sides of the fuselage over the wing. I fix with wooden toothpicks until the glue polymerizes completely. Toothpicks are then removed.
This is how the front chassis looks.
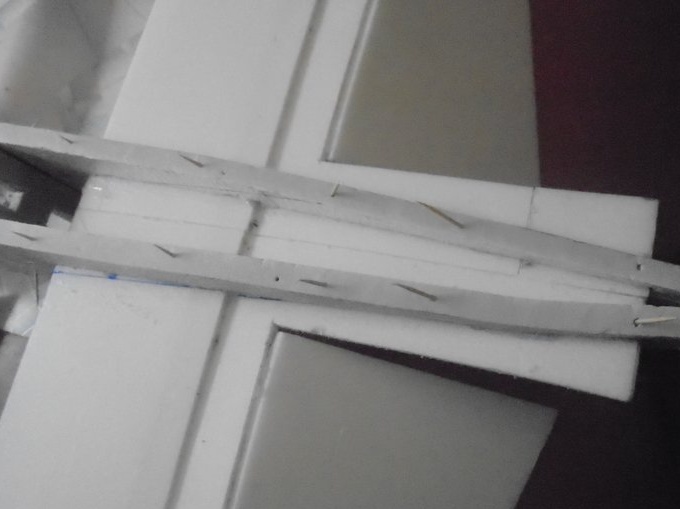
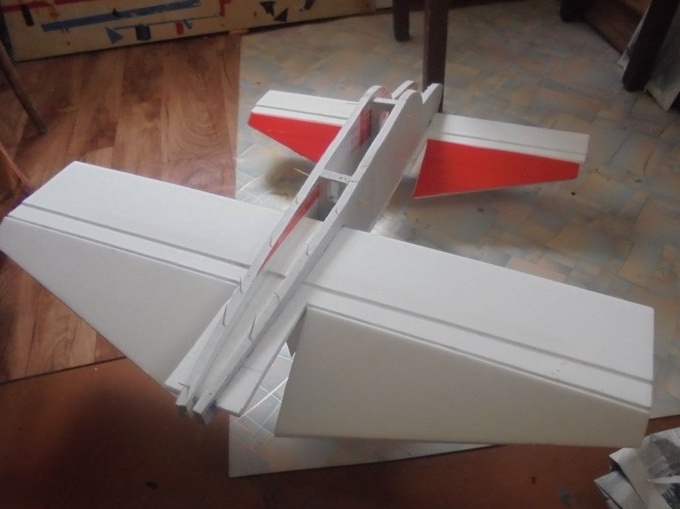
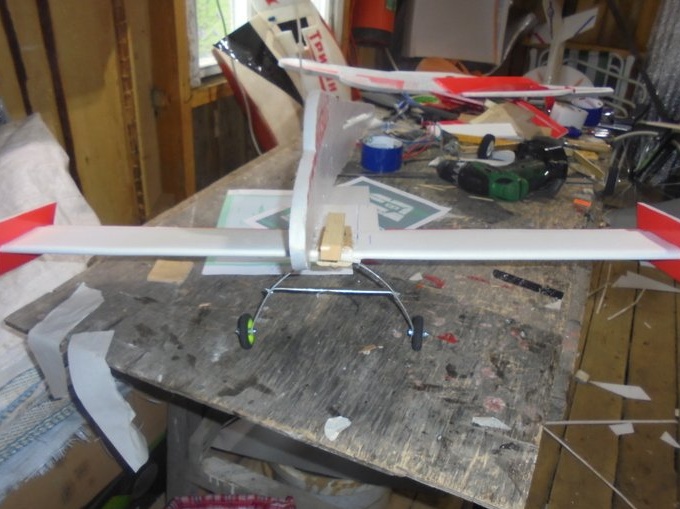
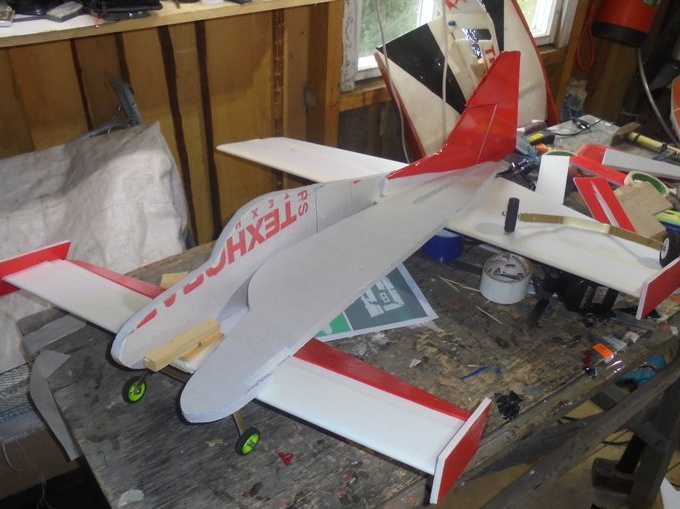
Ready wings set on the fuselage. The wing blanks are bent and a wooden rail is glued between them along the entire length of the wing. This is done both on the front and rear wings.
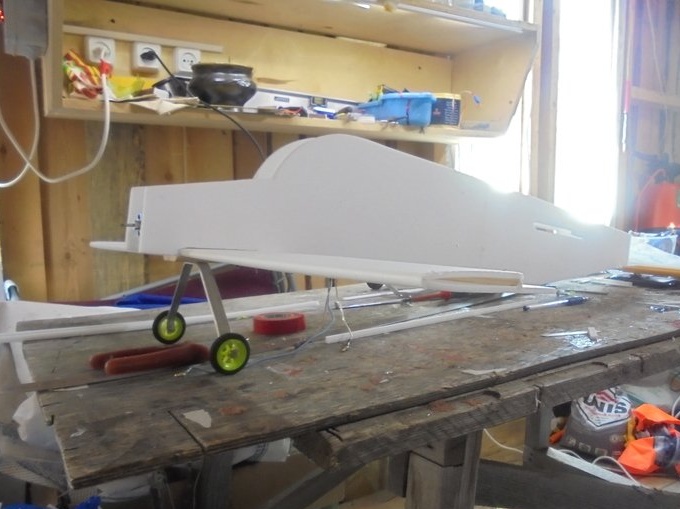
In the bow of the fuselage I make a mount for the motor - the mount. I put the motor.
At this stage of construction, my mission is completed.
He built this model for a friend, to finish the construction, to fit it with tape and install electronics, he will do it himself.
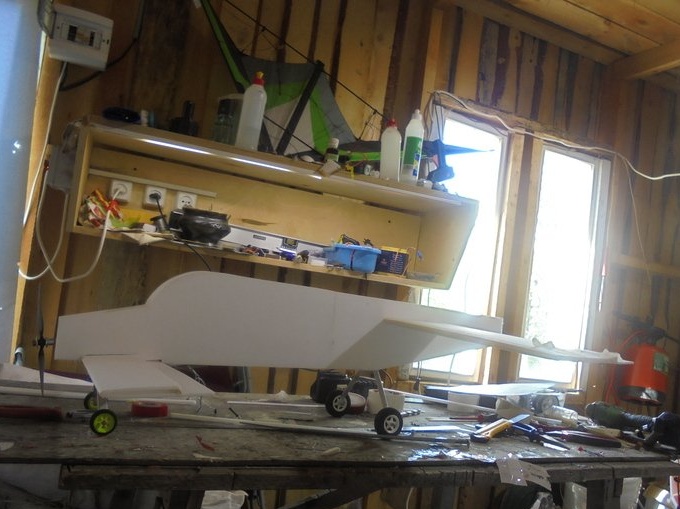
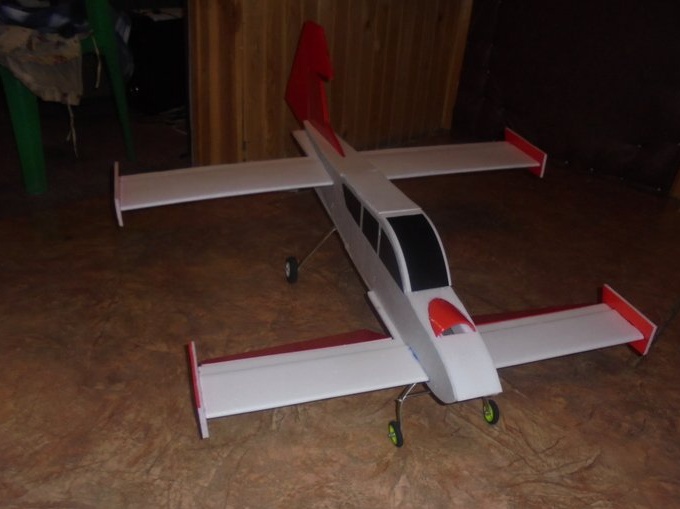
Now I turn to the second model. I repeat all the operations, as in the first model, with the only difference being that I make the sides of the fuselage from the Penoplex insulation.
The result is such a model.
It remains to trim the fuselage in the bow, install the motor. And also mount the servos, connect the rods.
No electronics, I'm waiting for the package.