
Hi the inhabitants of our site! Everyone who even makes a little assembly of homemade products, there is a need for such a tool as a “grinder”, but if you are not a welder, you don’t have a welding machine. That surely you do not have a great need for a professional tool. So in this article we will look at how to make your grinder from small improvised and easily accessible means for small housework and the garage (workshop). Everyone can repeat this homemade product, and not only because it is easy to manufacture, but also because you can get components on any radio market and hardware store. In general, the homemade product is very interesting, so let's not pull with a long introduction, let's go!
Links to the main components are left at the end.
For this homemade product we need:
- Collector motor 775 class. (such usually put on professional RU models).
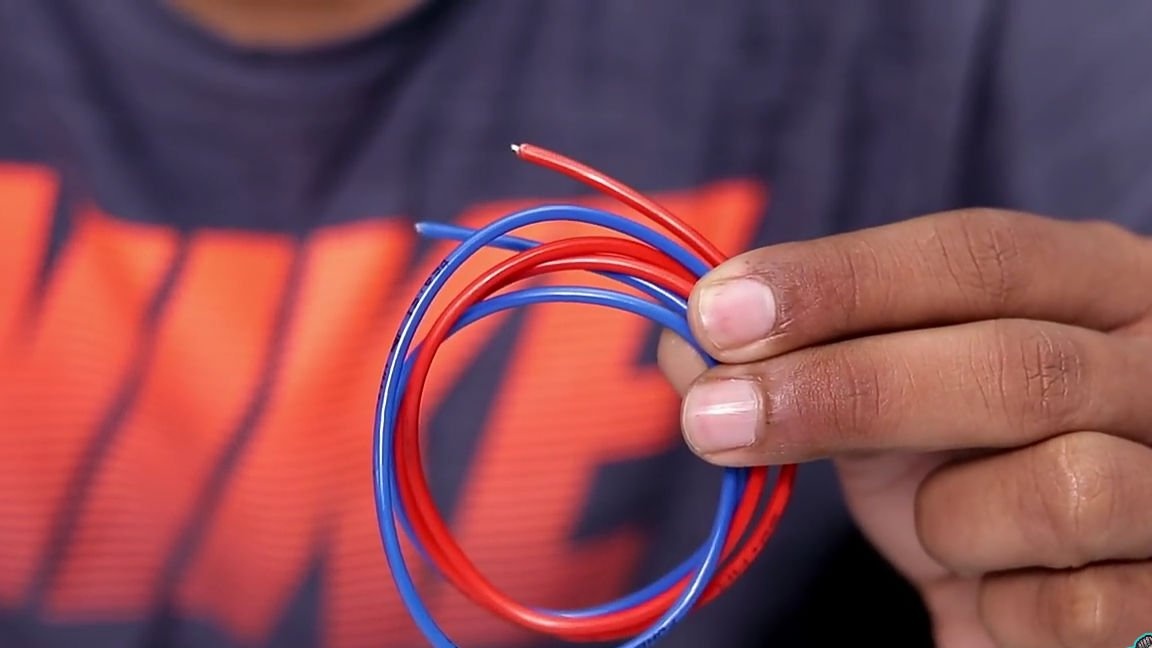
- wires
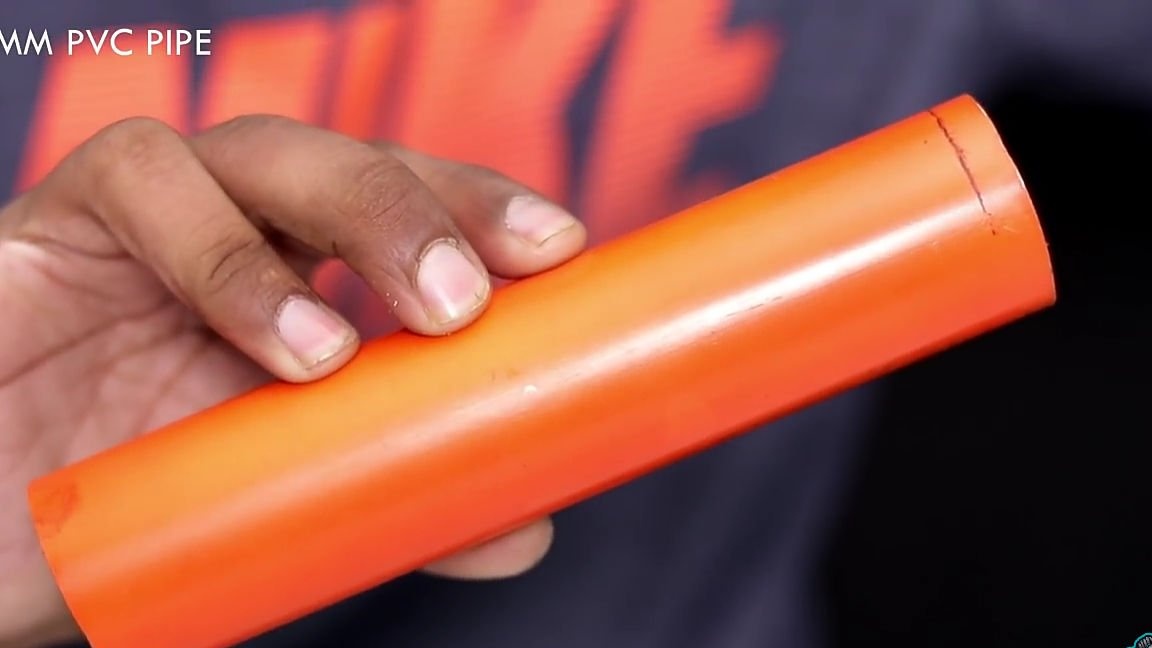
- PVC pipe with an inner diameter as close as possible to the outer diameter of the taken electric motor
- Corner for PVC pipe
- Plug for the same PVC pipe
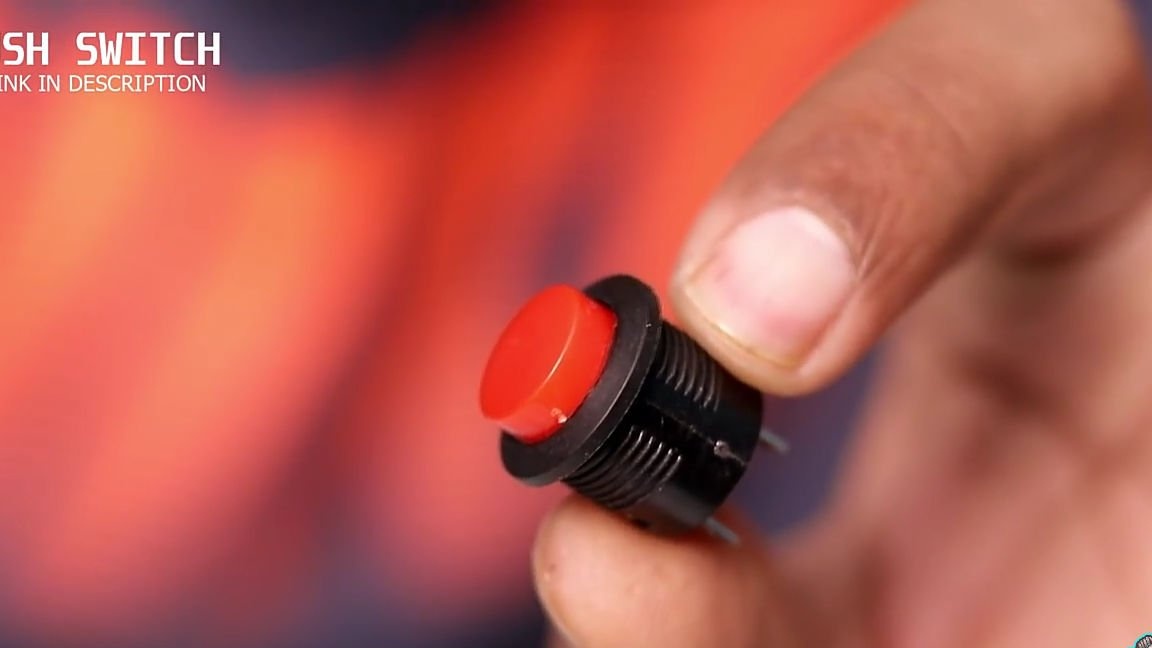
- switch
- Standard round power connector
- 110mm plug for PVC pipes
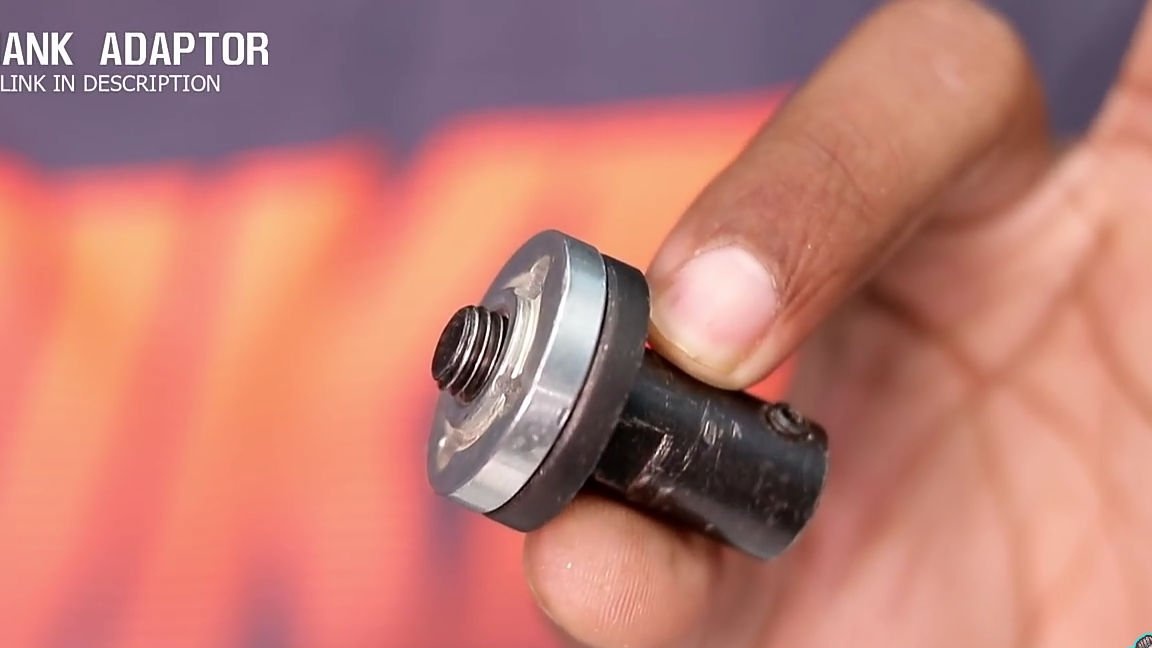
- Adapter for cutting blade
- cutting disc
- Power supply for 24V and 2A.
Of the tools we will also need:
- soldering iron
- solder
- marker
- Compass
- Ruler
- Hacksaw
- cogs
- Drill with the usual set of drills
- Step drill
- screwdriver
- scissors
- Super glue.
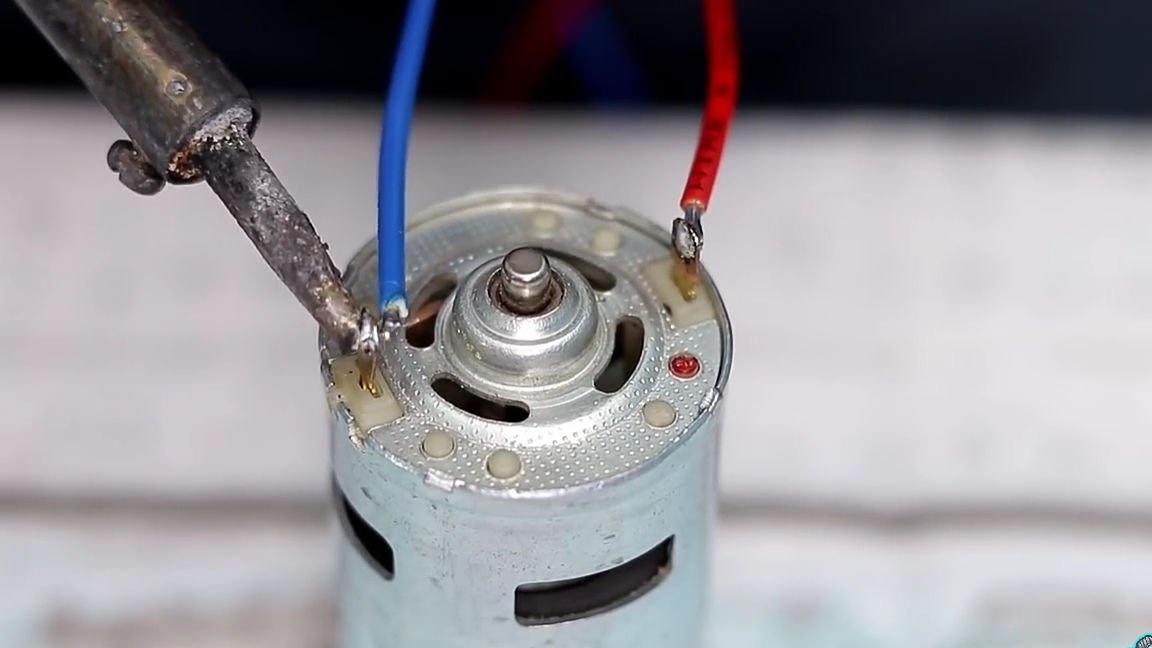
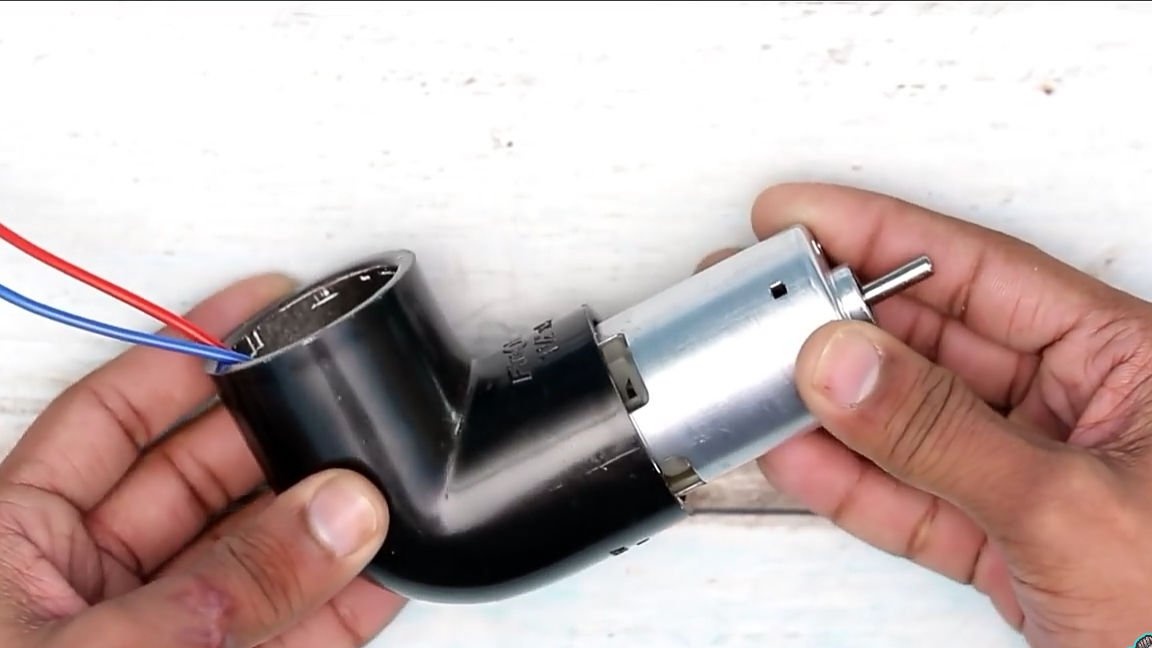
Well then, let's proceed to the assembly. But before you start assembling this homemade product, you should pay attention to the choice of an electric motor. Namely, so that in the end we get a good and durable tool, you should not save on the engine. Namely, the engine should be of class 775, its shaft should be mounted on two bearings and at a voltage of 25V should rotate at least 13,000 rpm. A link to the appropriate option is listed at the end of the article. Having decided on the choice of an electric motor, first we solder a couple of wires to it, the length of which should be no more than 15 cm.

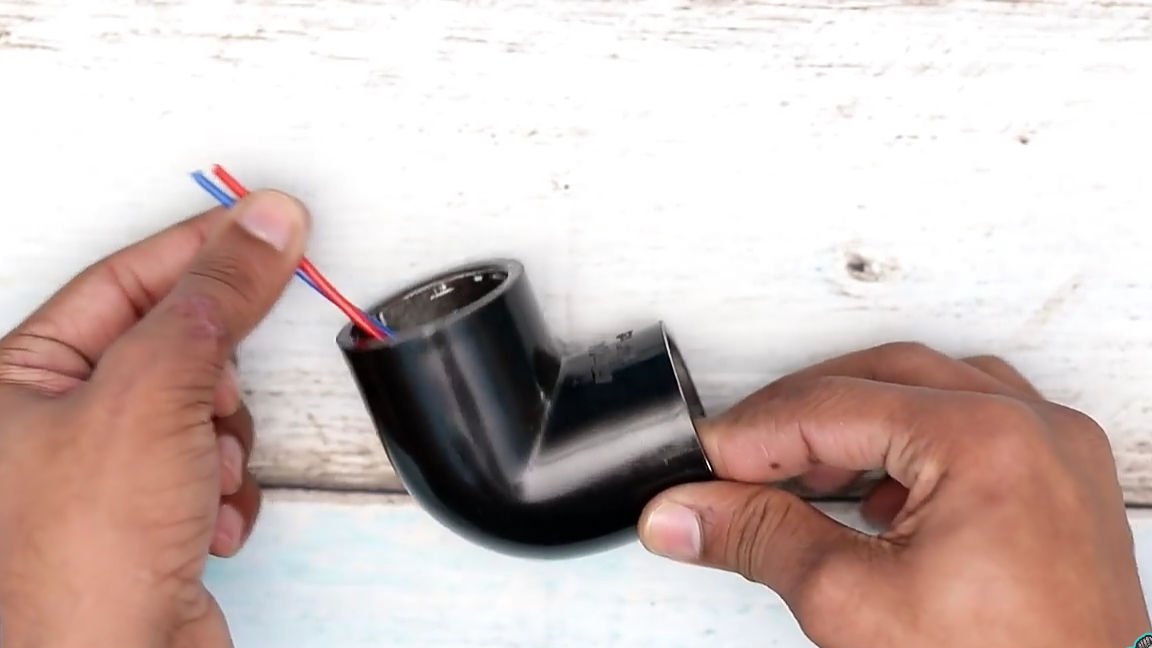
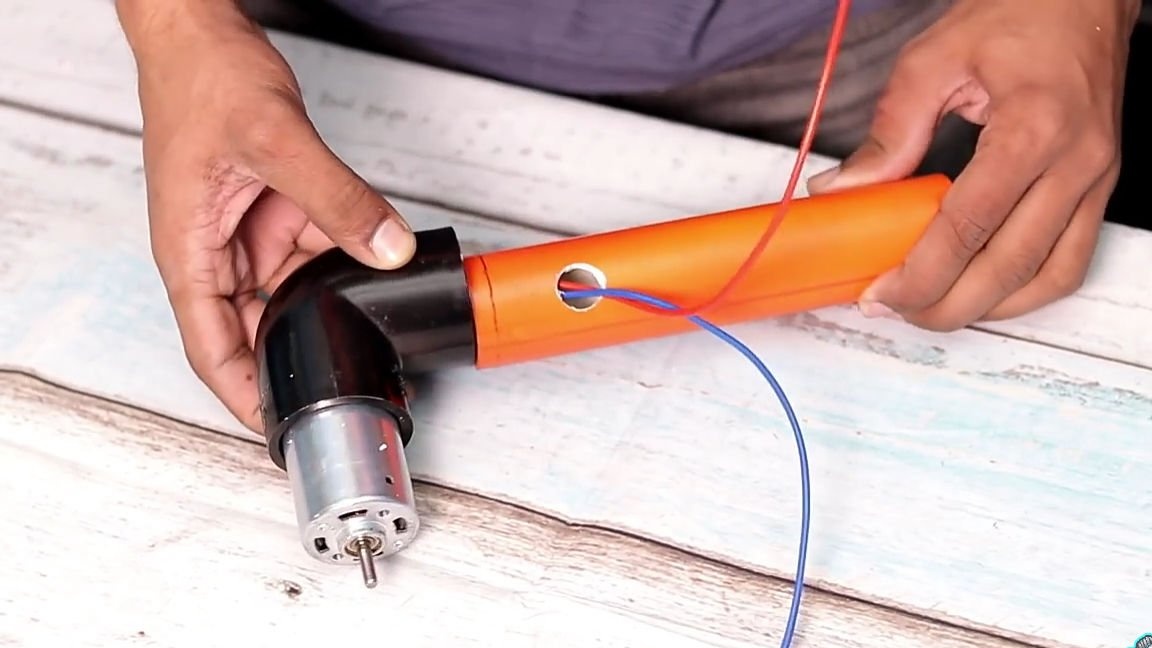
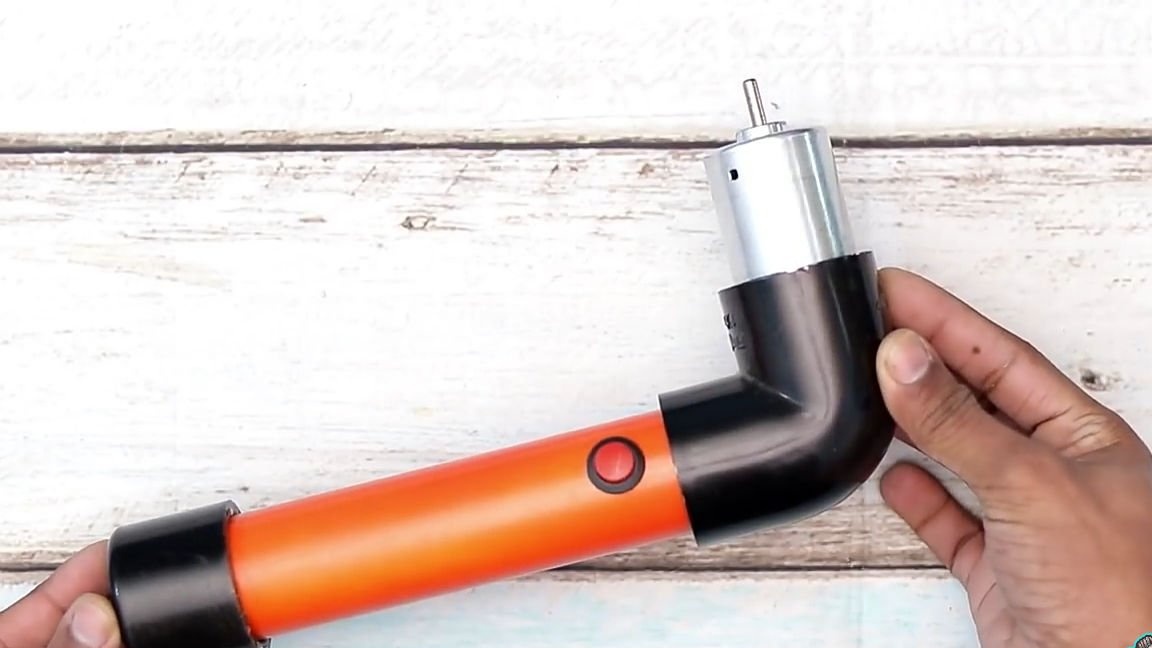
The next step is to take a corner and insert the wires just soldered through it, and install the electric motor itself. Since in our case he sits very tightly and tightly enters, it is possible not to secure anything more than anything.But, while he sat down he freely moves in his own seat, then he needs additional fasteners, and the most reliable way to do this is to simply fill the space between the engine and the corner with epoxy resin.

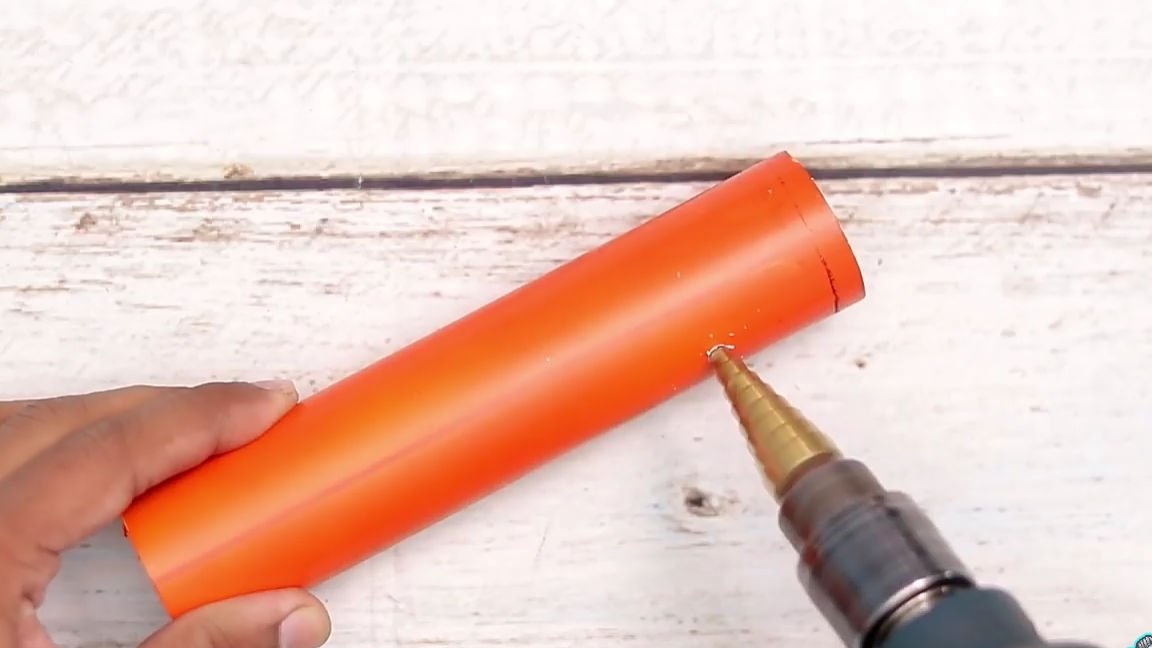
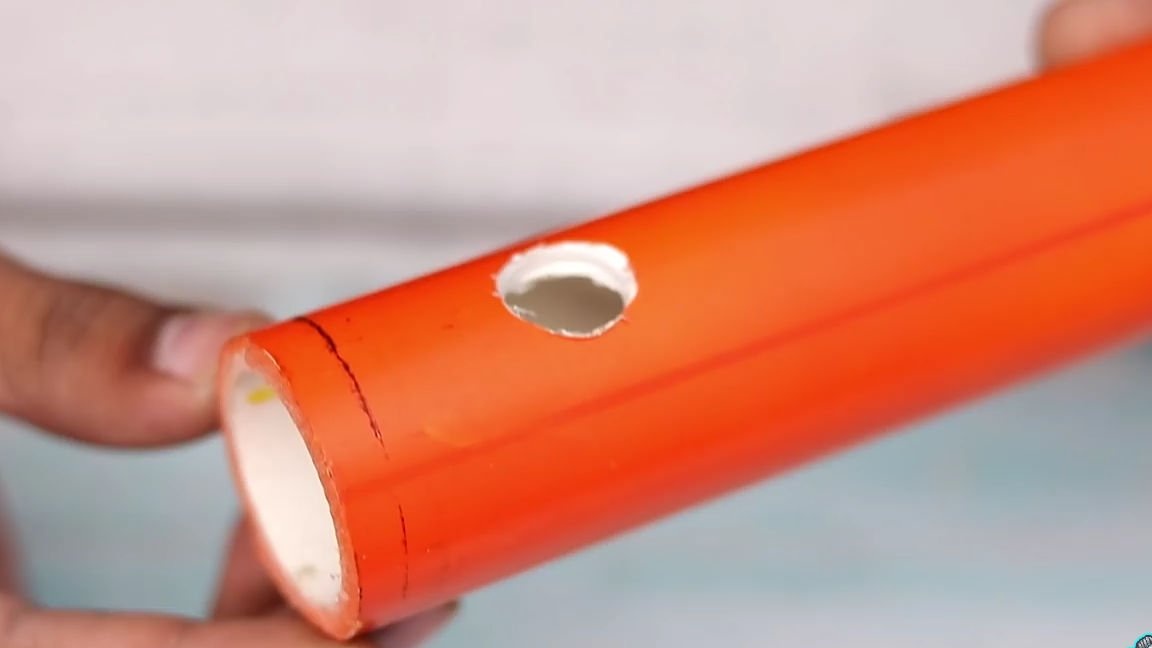
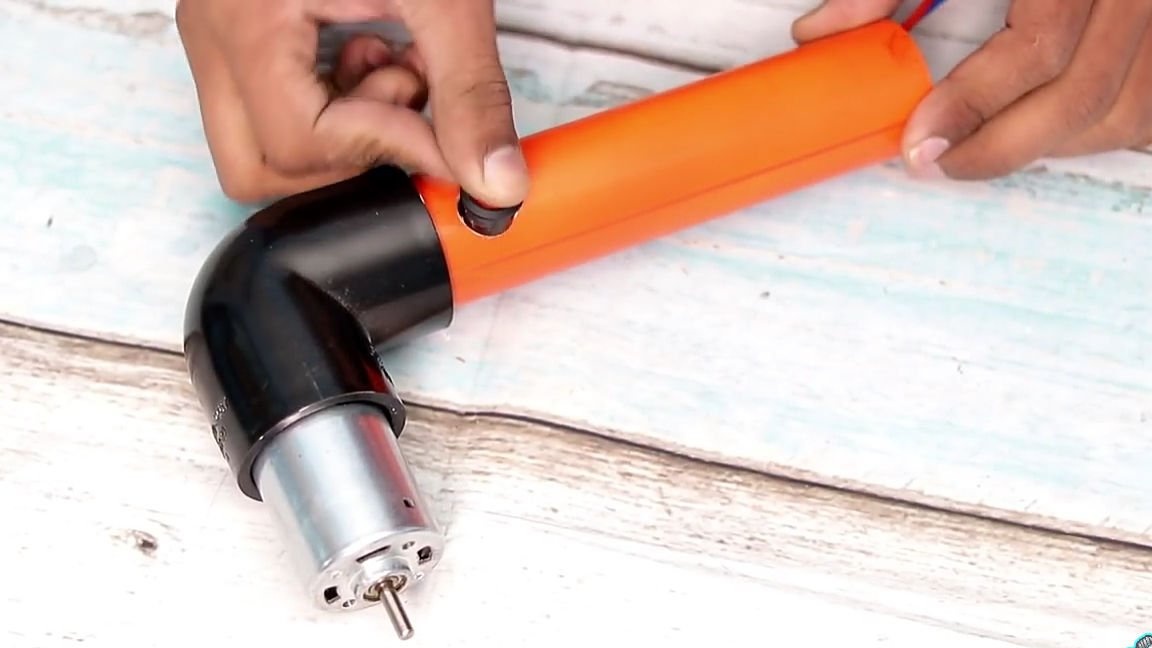
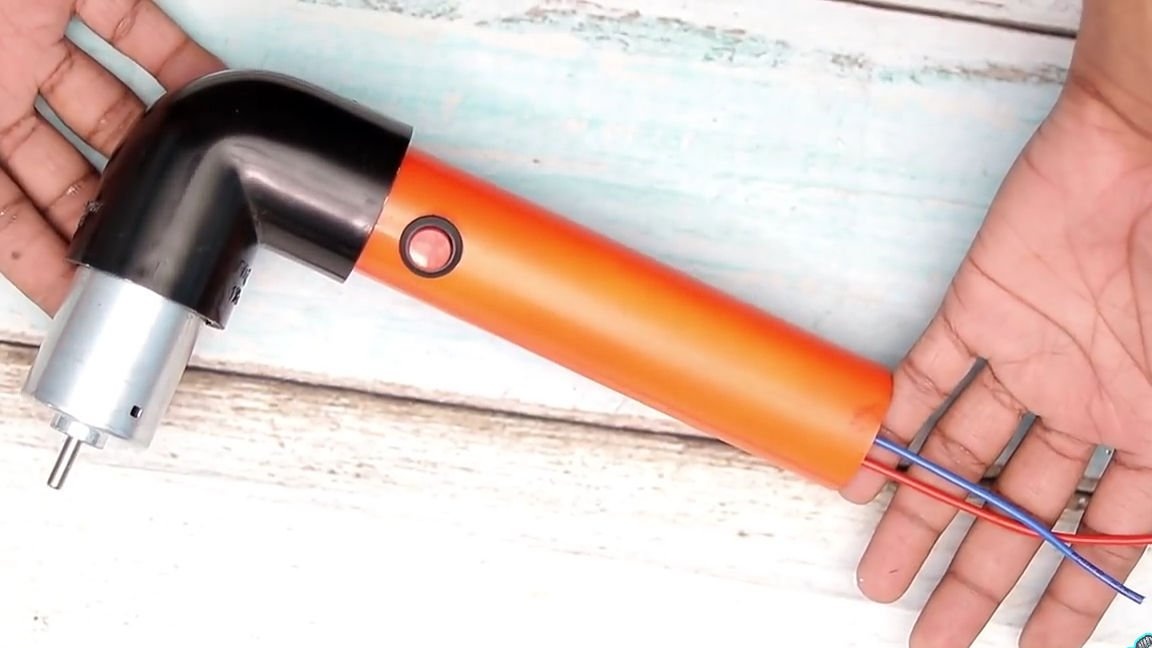
Then we take the PVC pipe itself. We need to make a handle from this pipe, which means that the length of this pipe is individual. That is, the length should be made such that you will later be comfortable working with it. In the PVC pipe you took, you should make a hole for the switch, or to be more precise, under the button. A hole of a suitable diameter will conveniently be made with a step drill. It should also be noted that the button should be installed in a place convenient for you so that you can comfortably work with the tool.
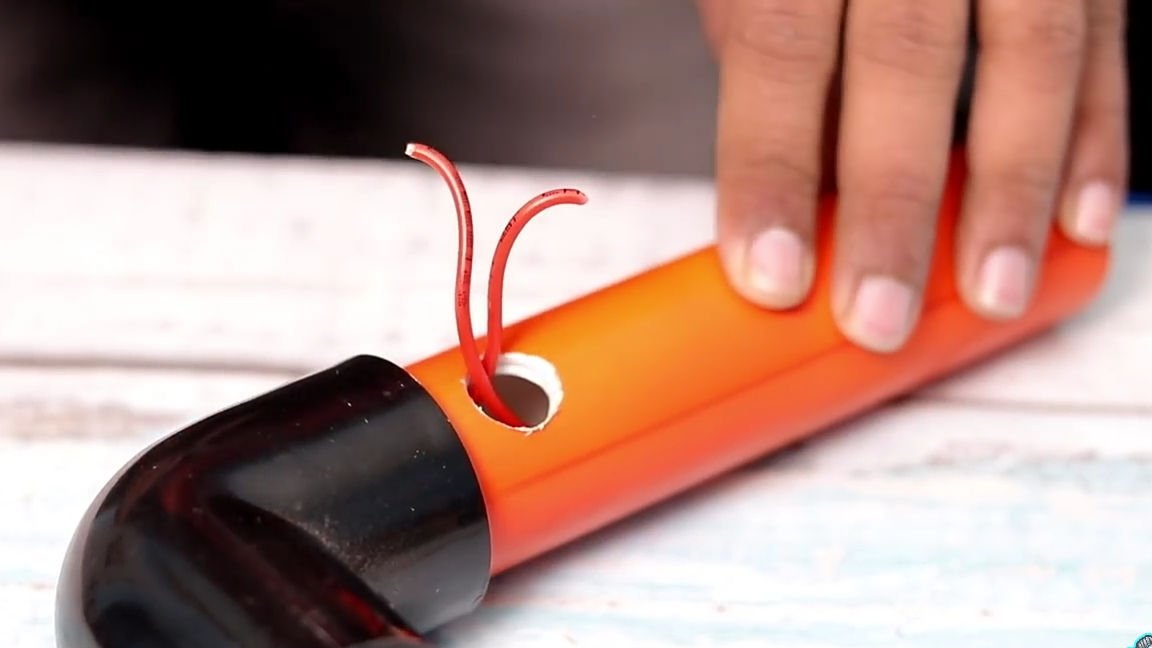
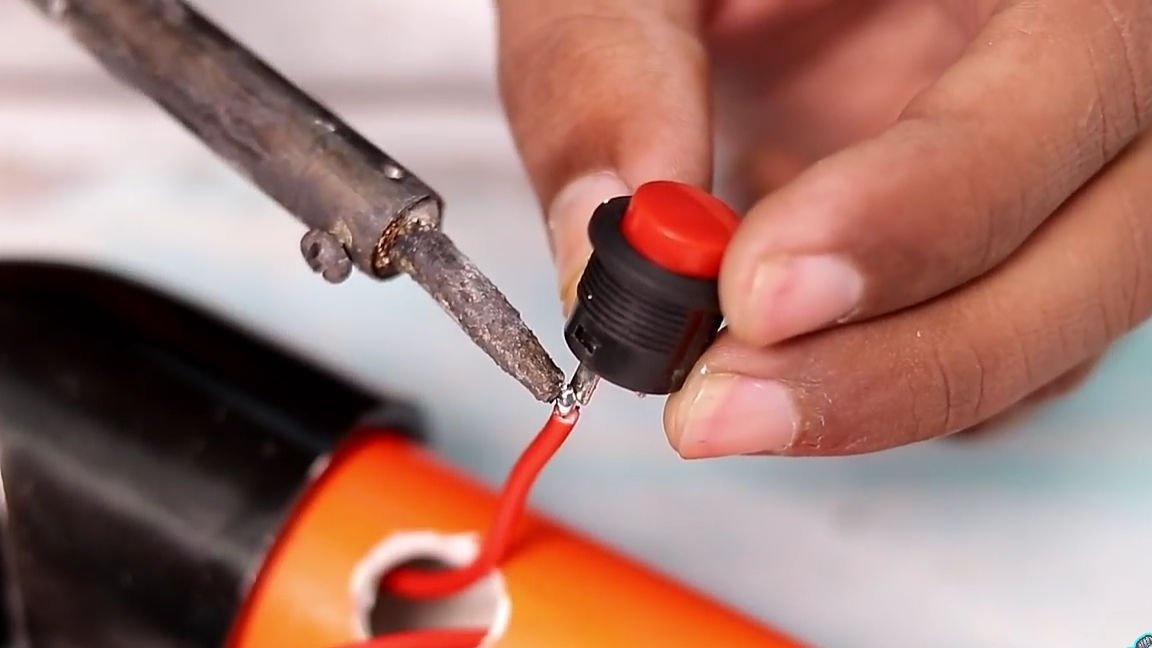
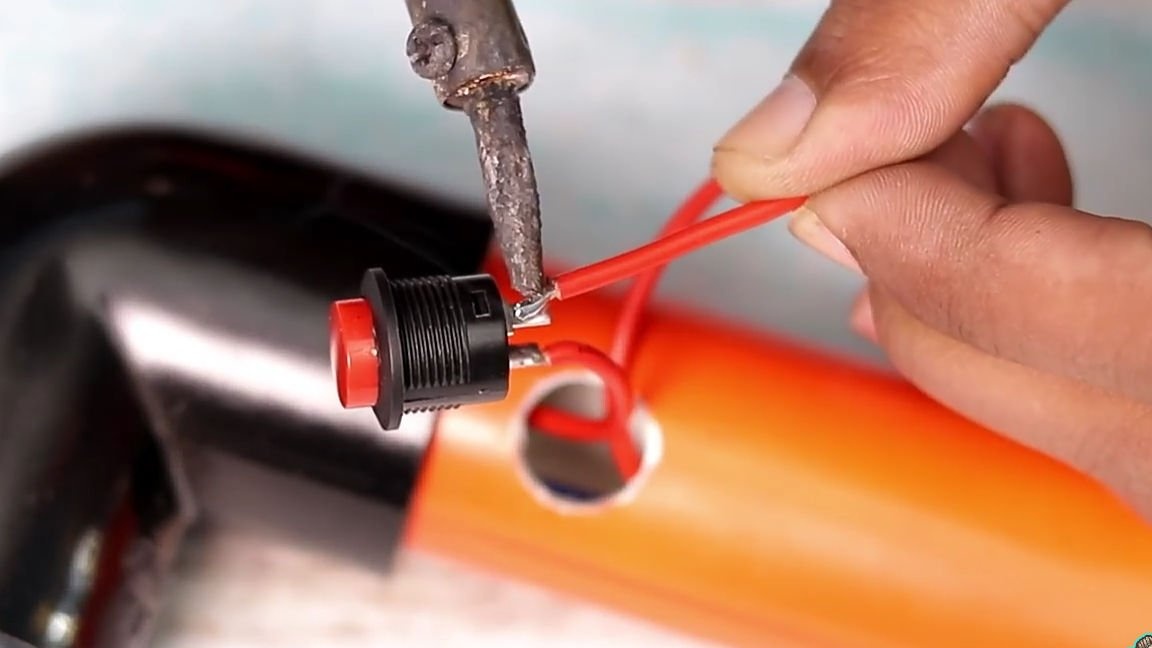
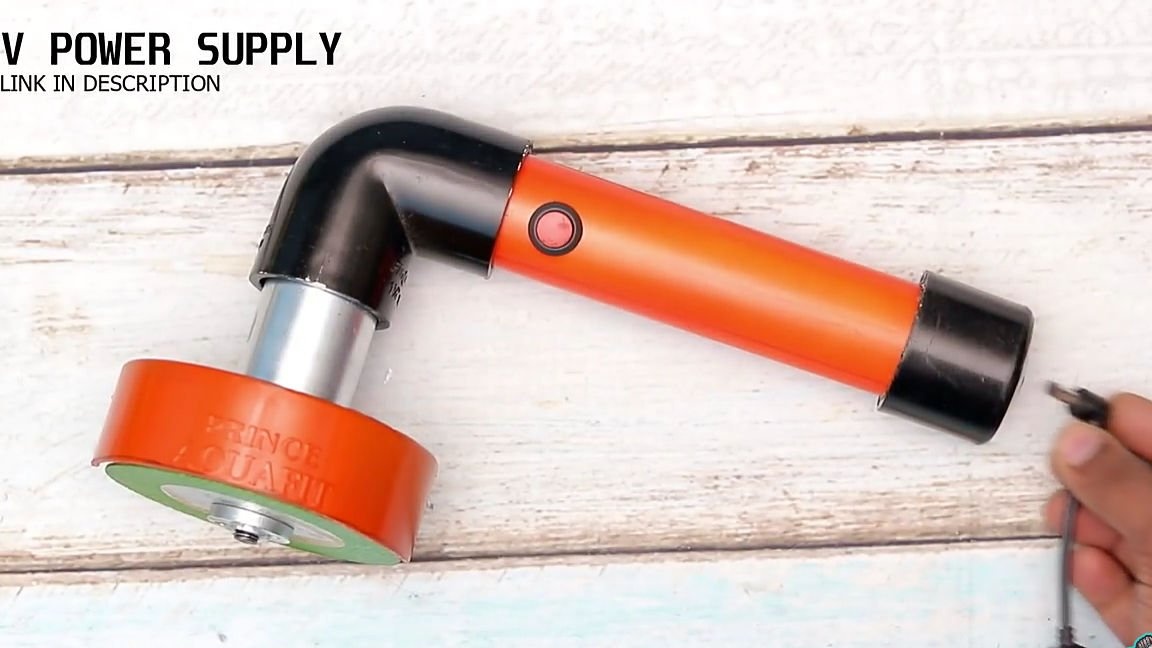
Next, the wires that are soldered to the electric motor are pushed through the hole just made. Then we connect the PVC pipe (handle) with the corner on which the electric motor itself is installed. We should connect the button to our electronic circuit, and for this we need only one of the wires. And this means that one wire is thrust in, and the second is thrust so that there is a loop that should be cut with scissors. And then take the button and solder it to the ends of the wires that stick out of the hole (polarity is not important). As a result, at this stage, we should get everything roughly as it is shown in the photo below.

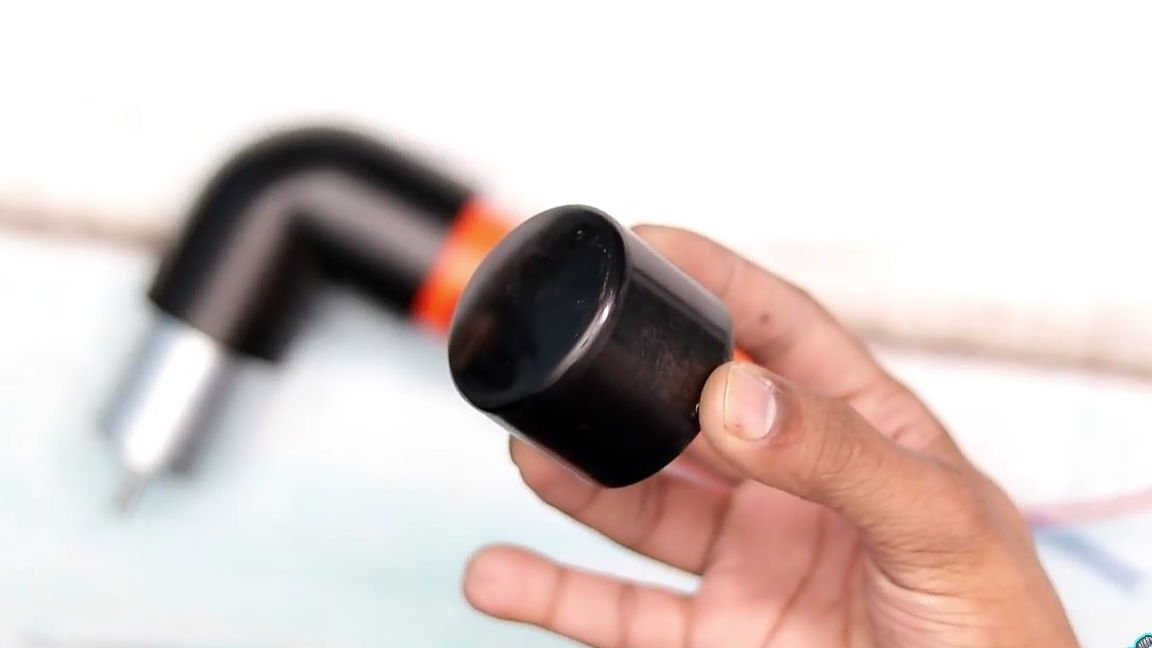
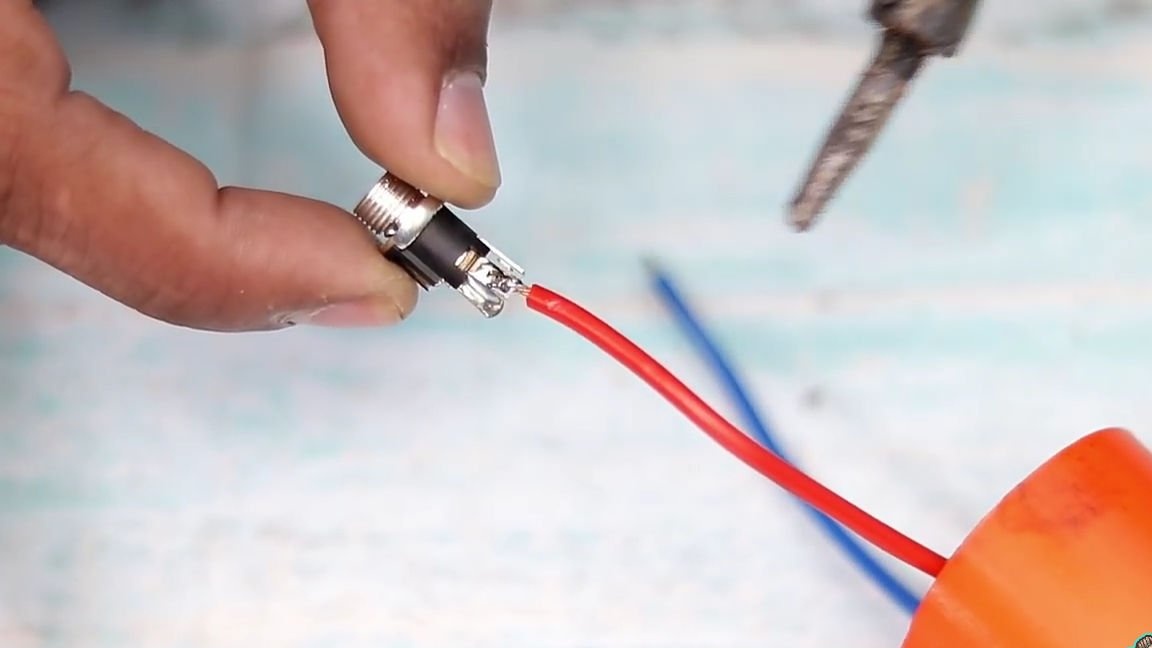
After that, take a plug for a PVC pipe suitable for us in diameter. In the center of the plug, we will make a through hole for installing the power connector. To do this, just take a drill with a stepped drill, and drill a hole of the desired diameter. Then we take the connector itself and solder the wires from the electric motor to it according to the polarity “+” to “+”, and “-” to “-”. Soldering the connector, insert it into your pre-prepared landing hole, fixing it with superglue. And install the cap on the back side of the corner (see photo).
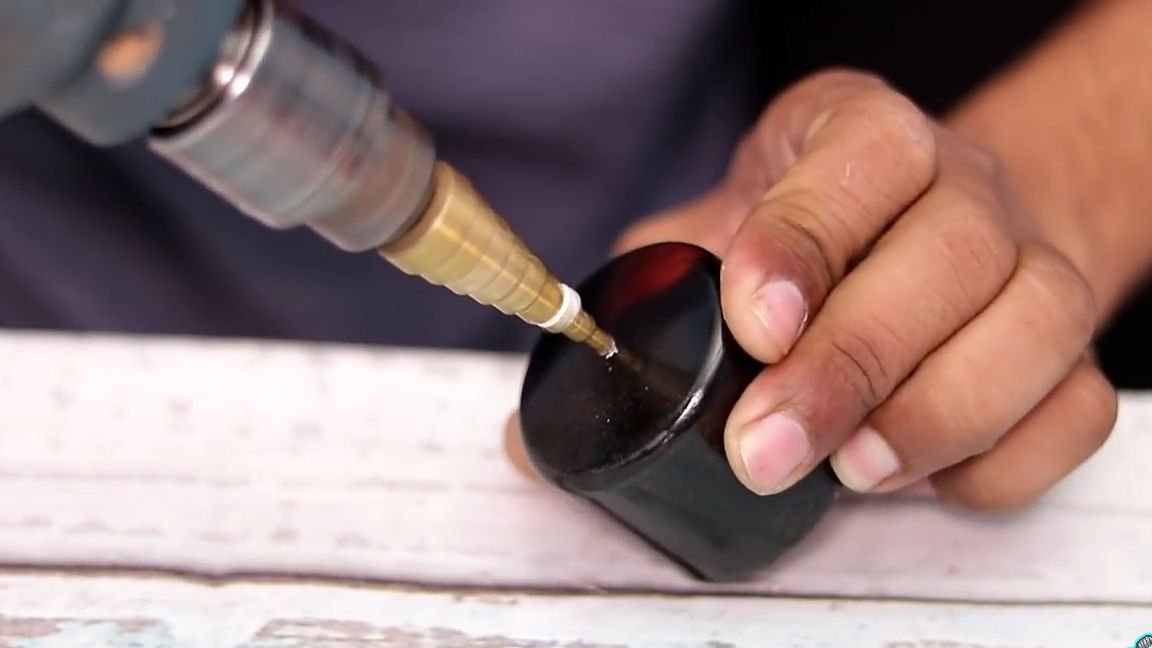


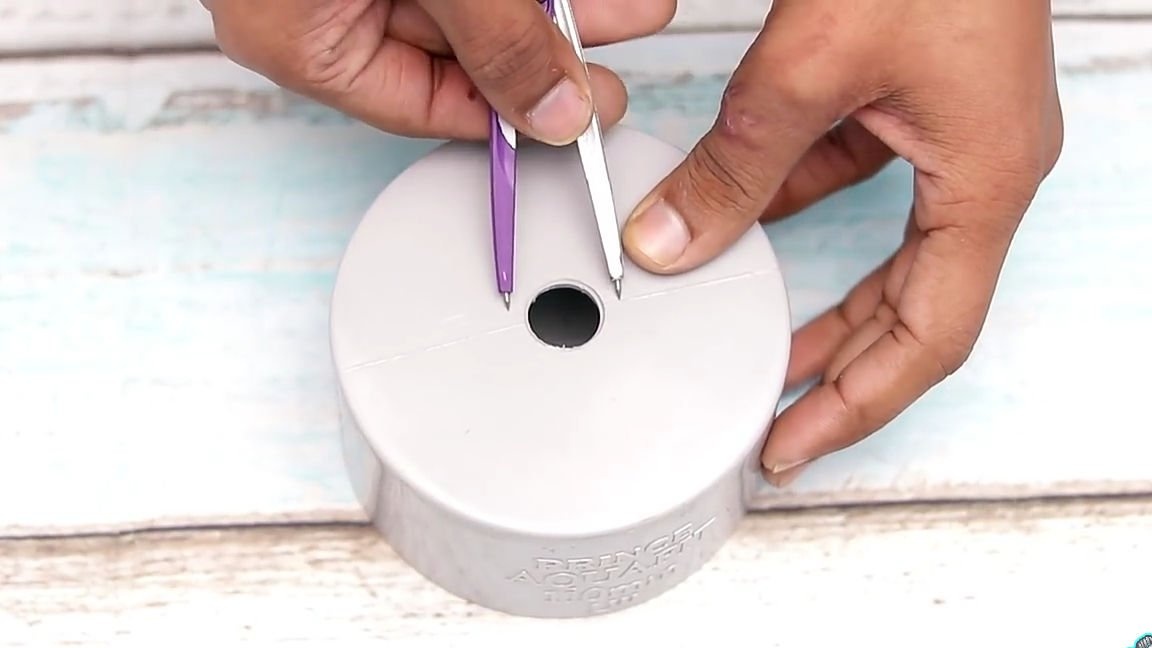
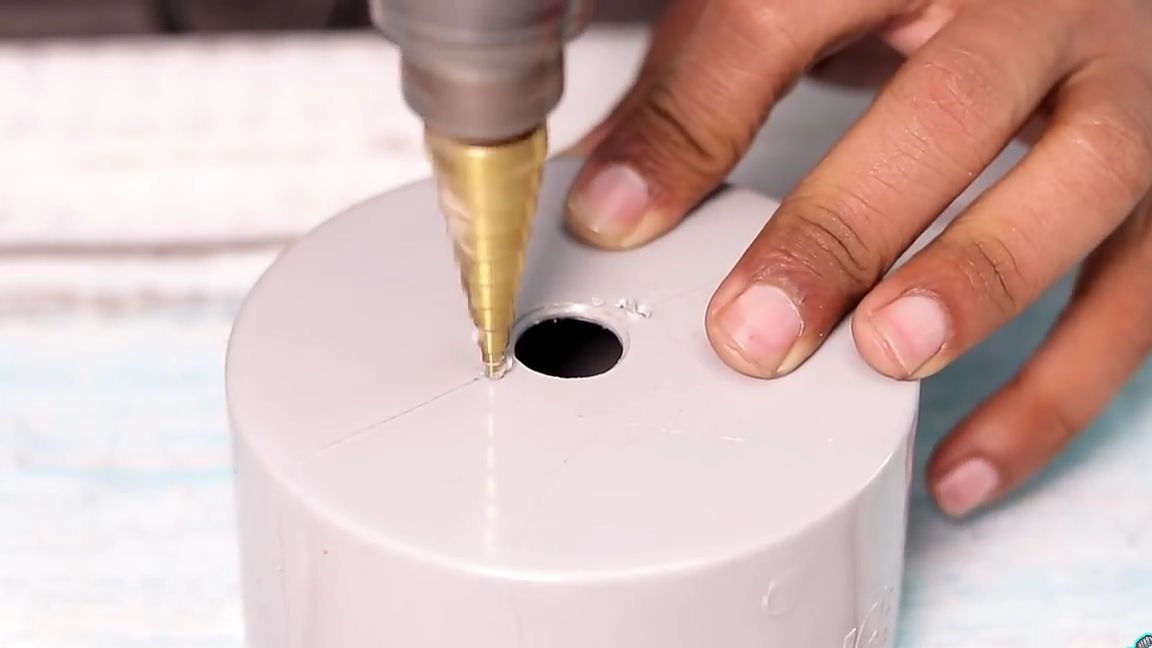
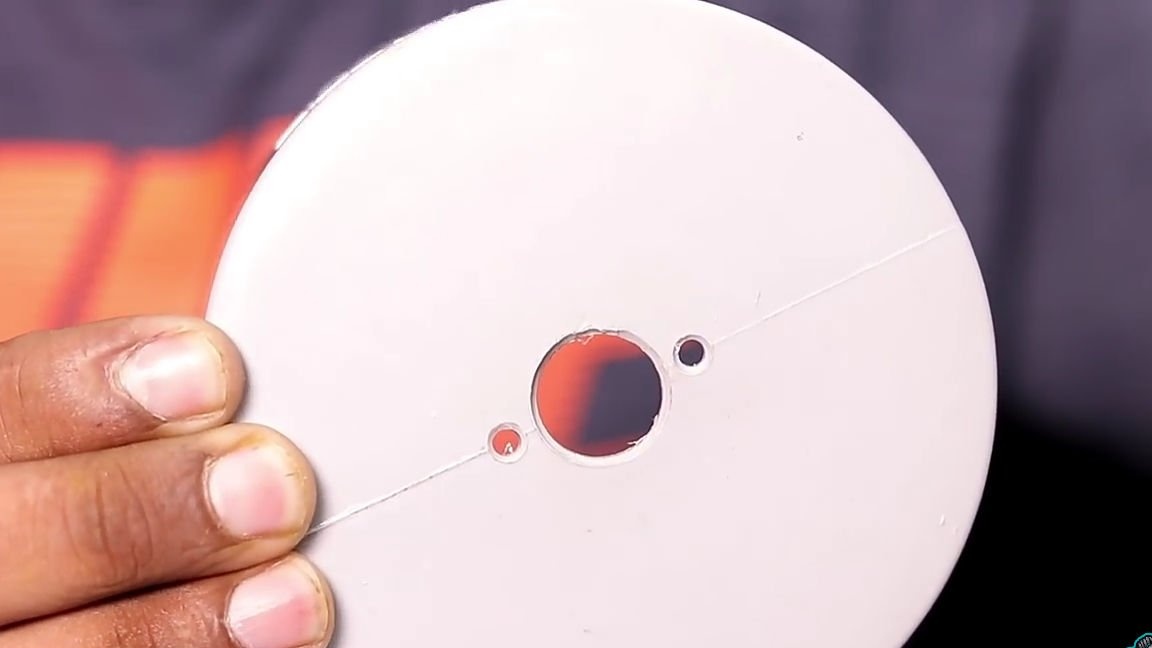
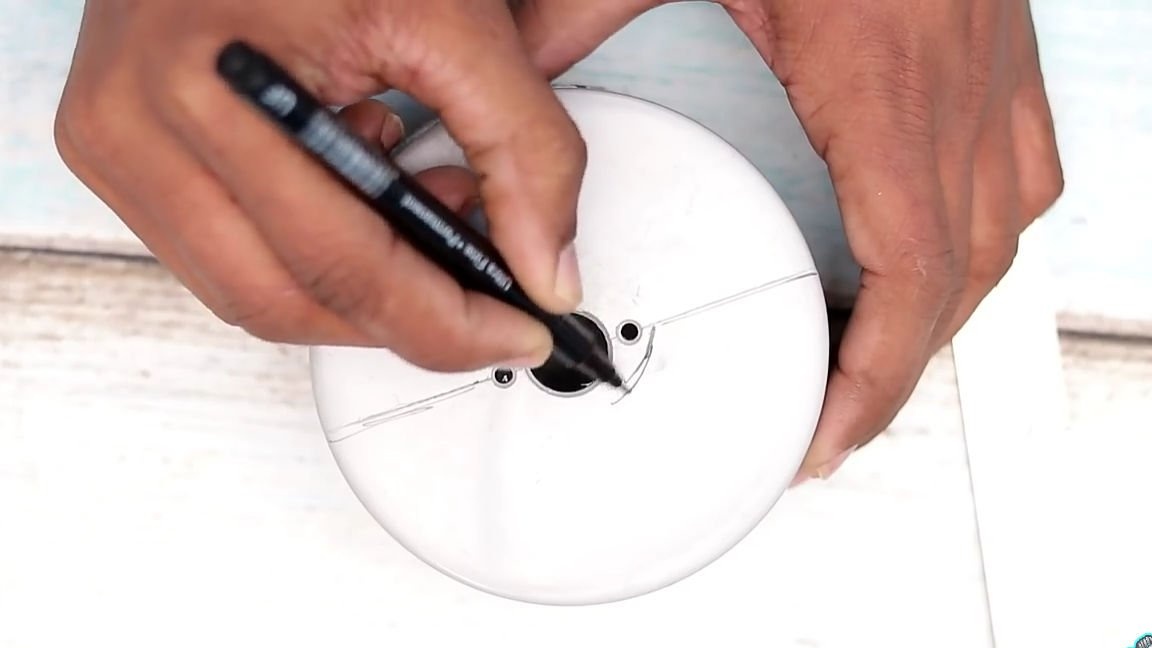
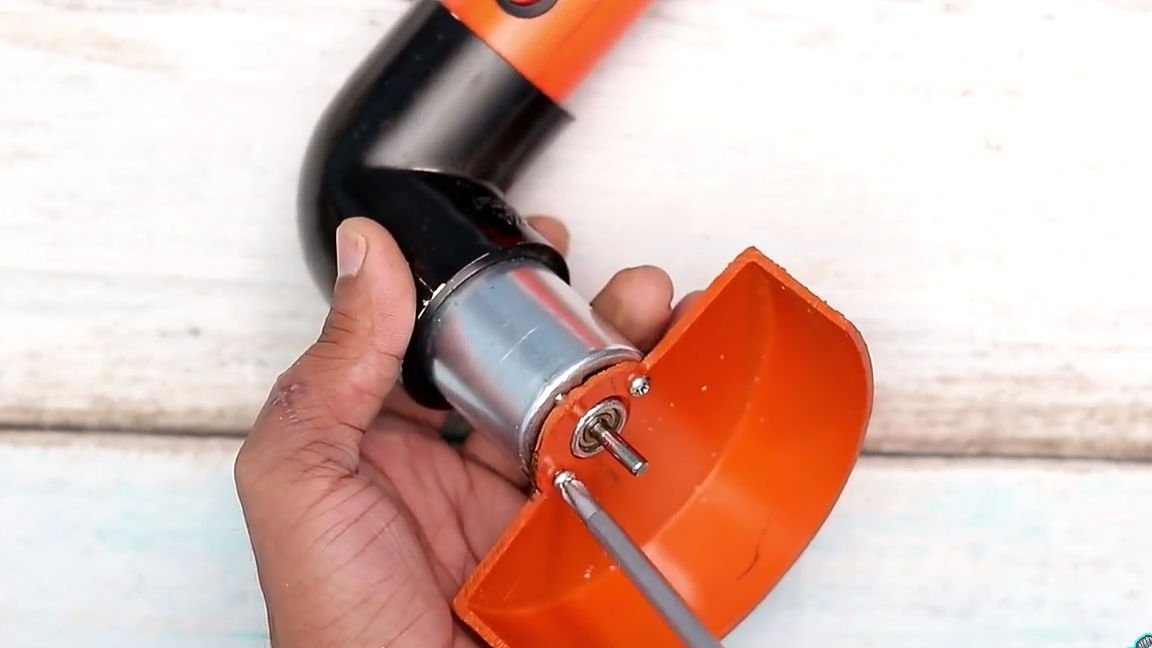
Then proceed to the manufacture of one of the most important element, namely protection, which in the event of a rebound of sparks and simply from the departure of the cutting disc itself will protect you and your eyes. For its manufacture, we need to take a plug for 110mm plastic pipes. In the center of this plug, a hole should be made for the motor shaft (so that the plug fits snugly against the motor). Next, with the help of a compass, we measure the distance of the mounting holes from each other, and transfer these sizes to the plug, as shown below. And according to the marks just left, we make two through holes, they will play the role of fixing holes.


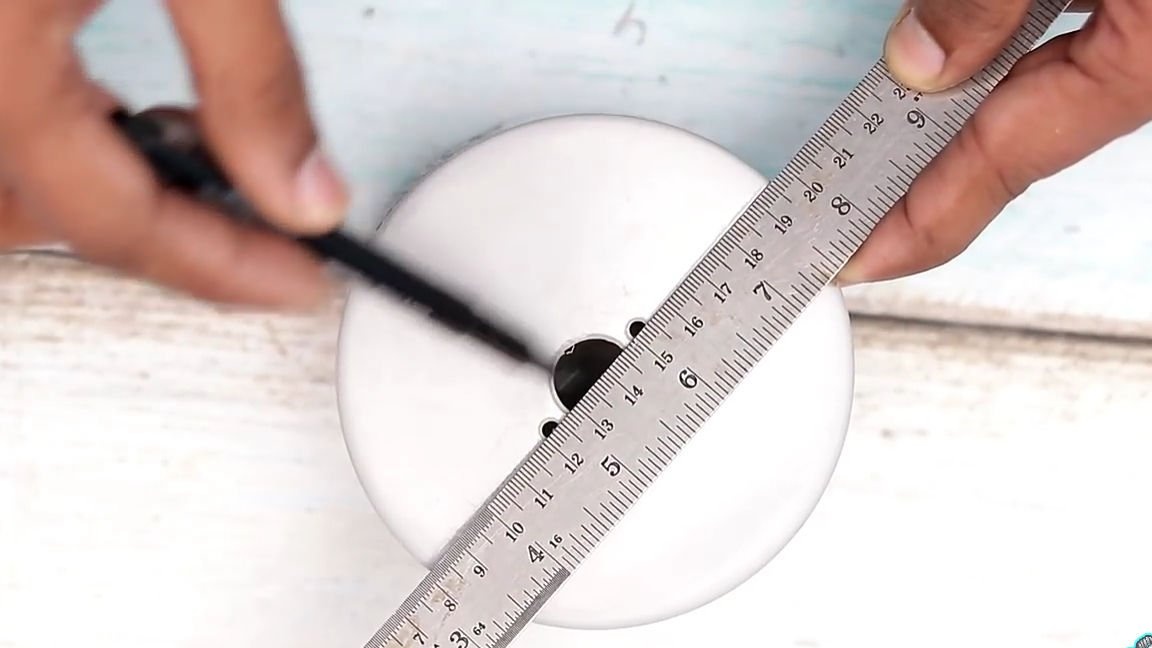
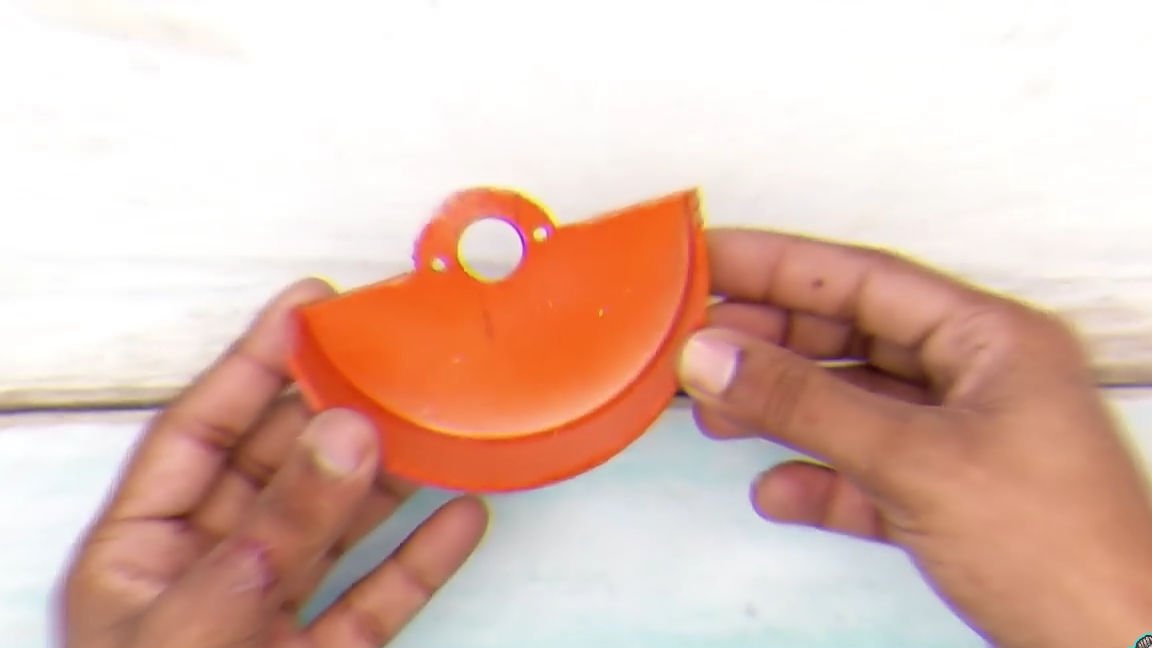
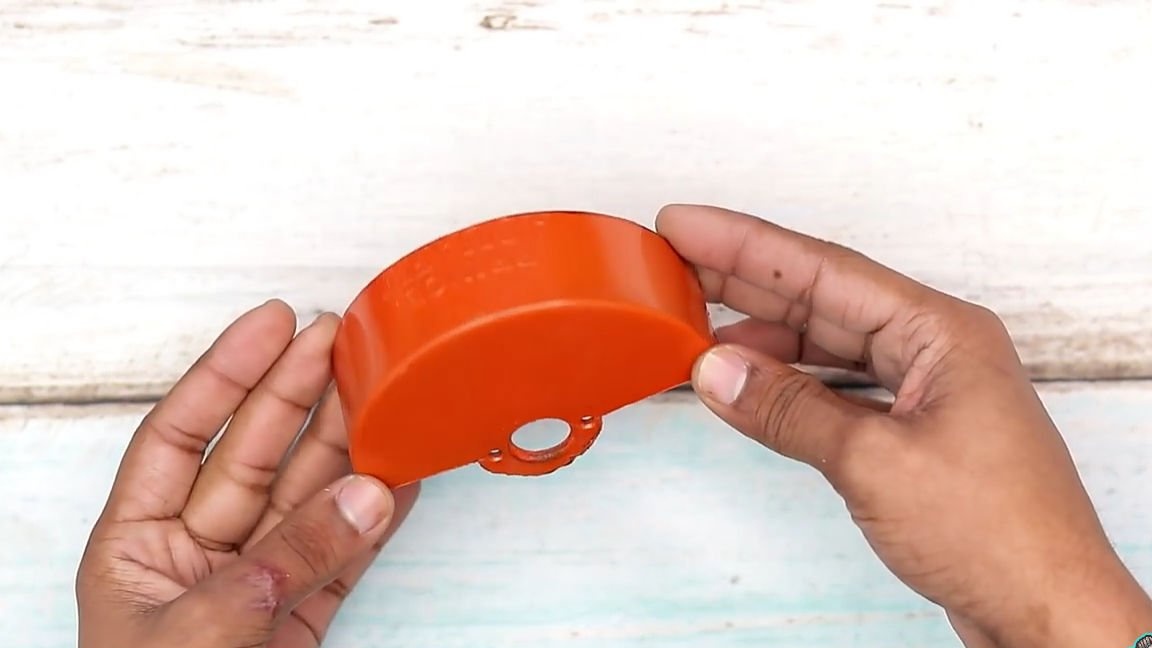
Then with the help of a ruler and marker we make a contour along which we should cut out the element we need. Just divide the plug in half and leave a circle in the area of the mounting holes (see photo). And then we just saw the element around the office with a hacksaw for metal.
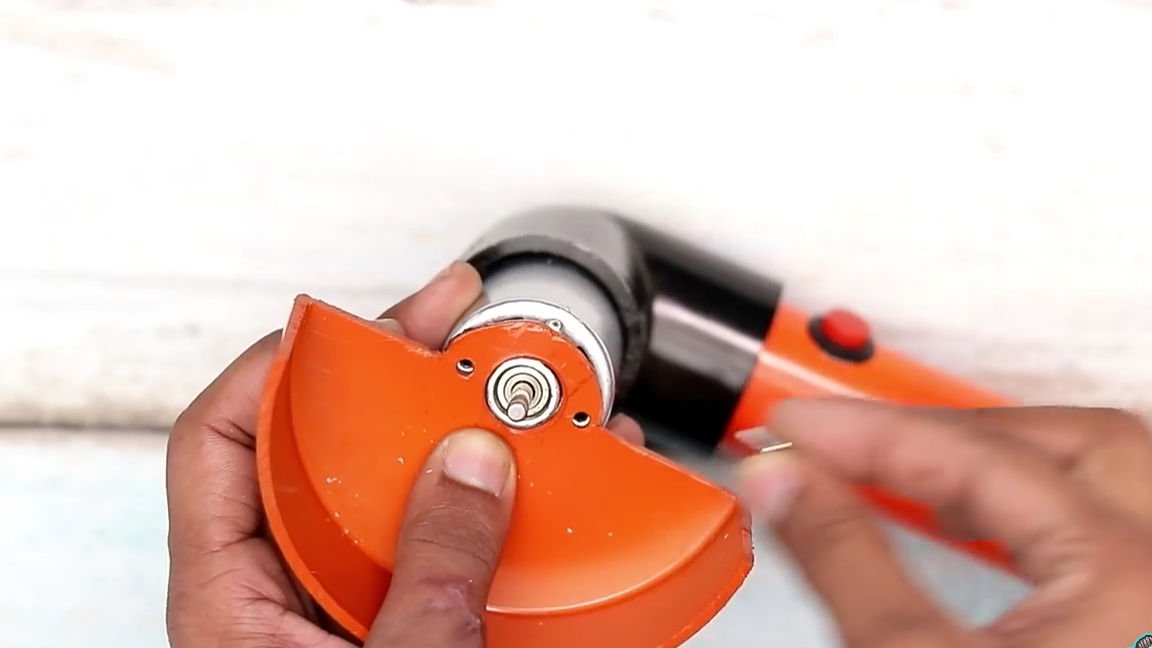
The newly made protection should be installed in its place, namely, fasten it to the electric motor with screws. Screwing the screws into the holes of the electric motor through the protection (see photo).
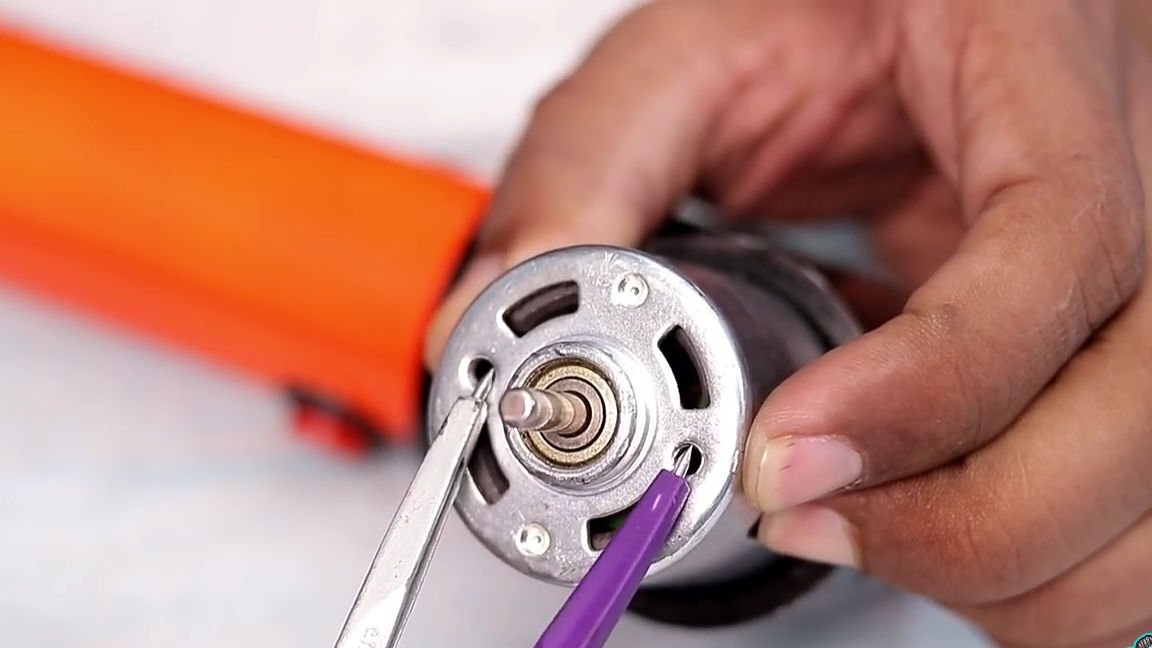
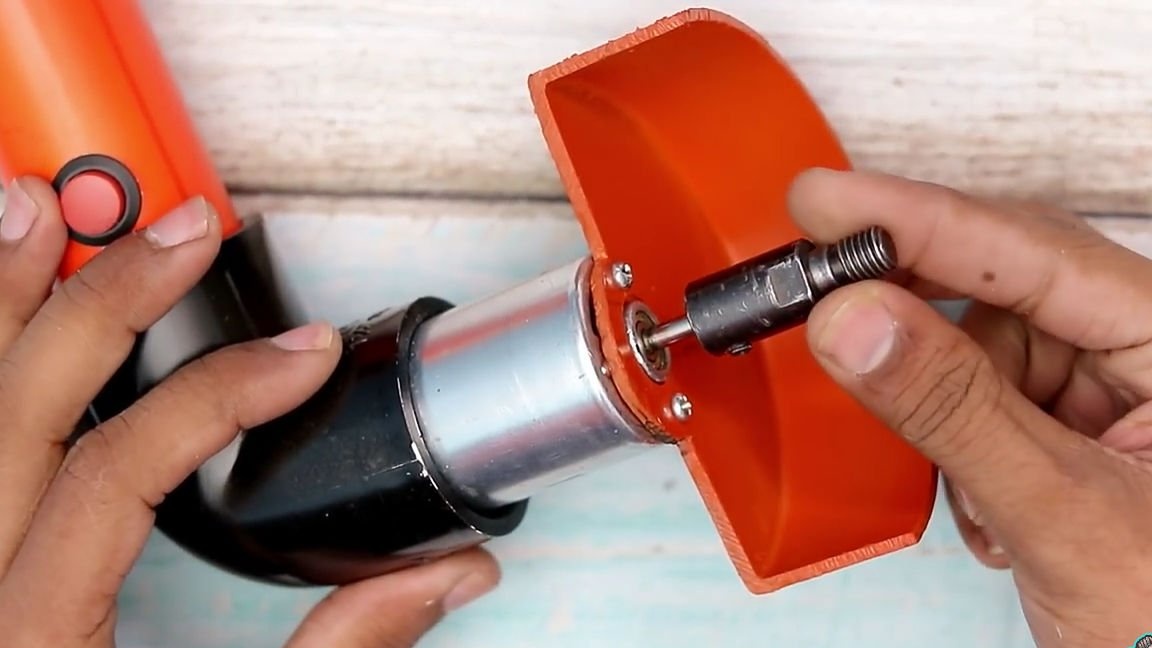
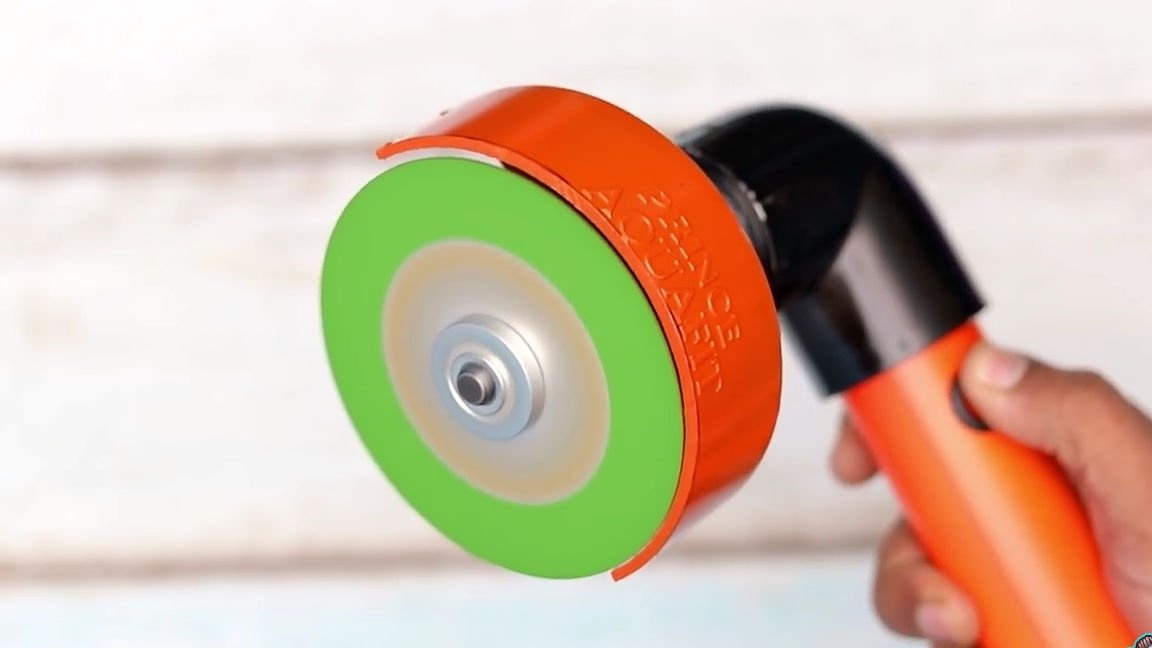
Well, for the last step, we need an adapter for the cutting disc. Install the adapter on the shaft of our electric motor. It should be added that the adapter is installed using a screw connection and it is advisable to fix it with a thread lock, otherwise, with vibration, there is a great risk of the adapter unscrewing from the motor shaft, right during its operation. And then just install the right and right sized cutting disc.
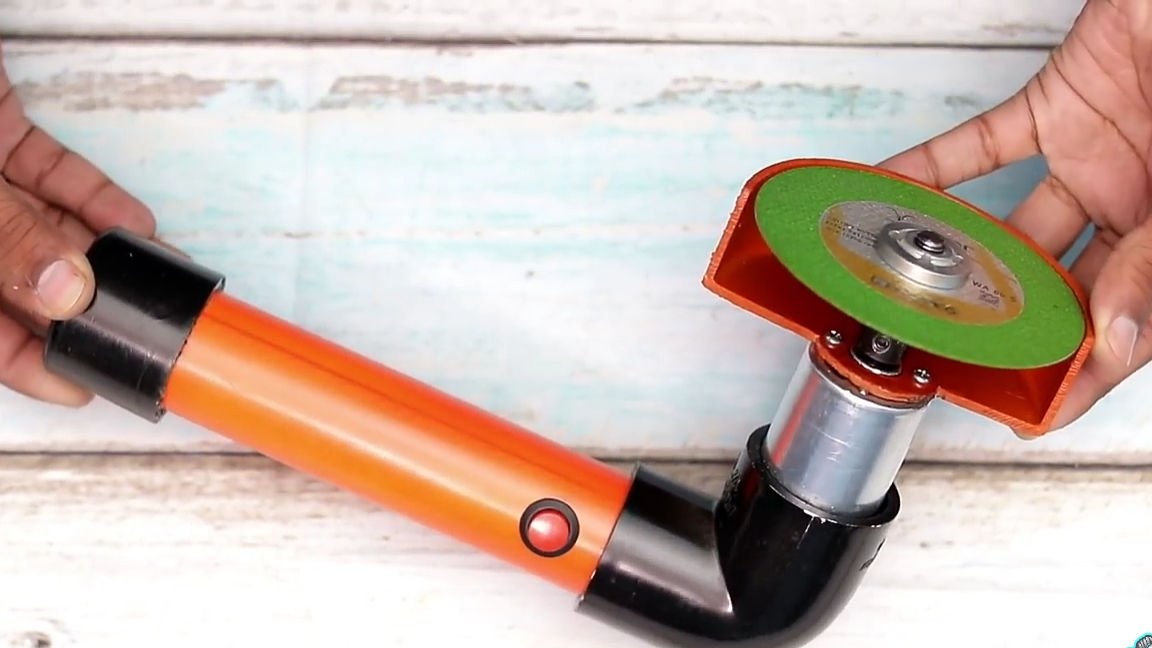
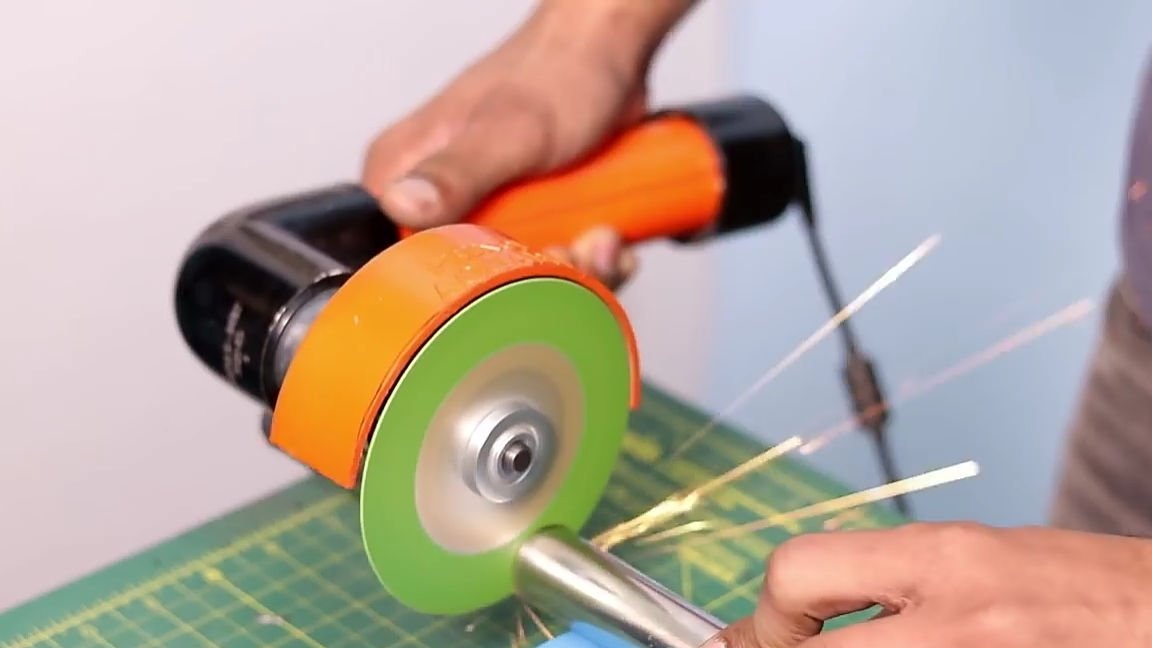
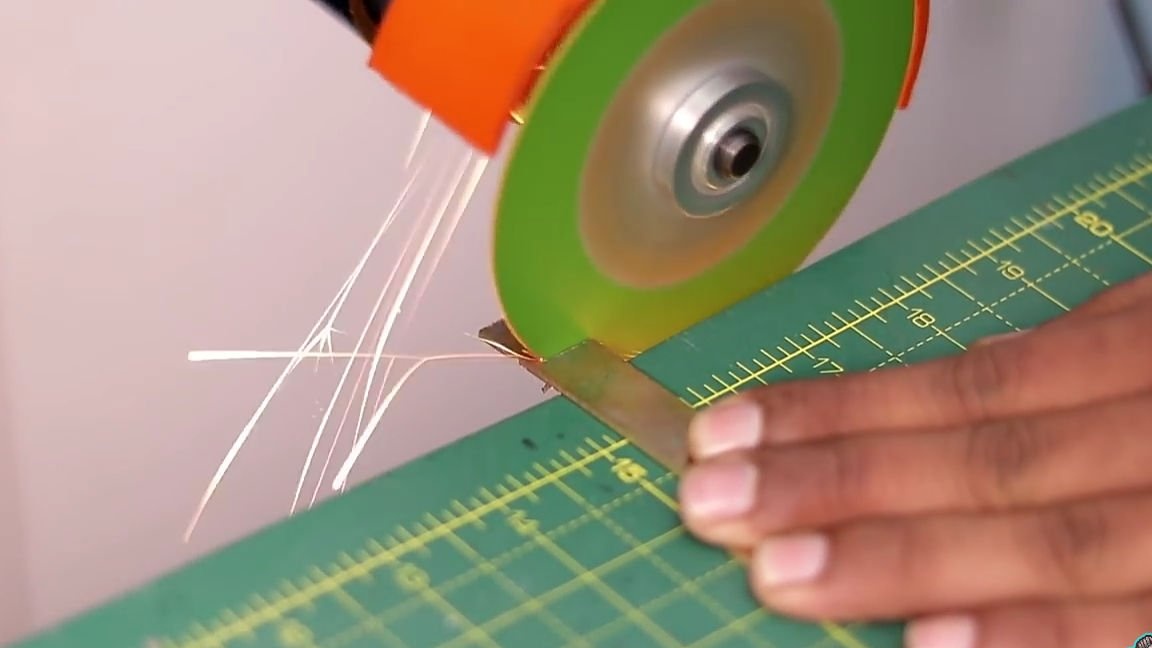
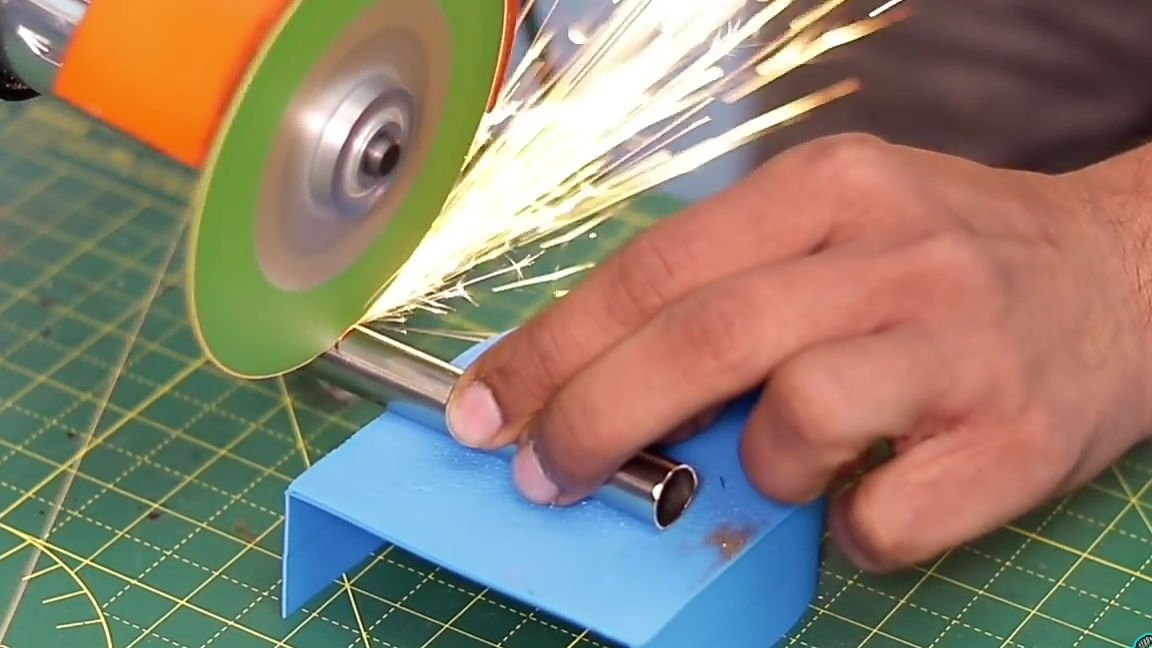
All is ready! As a result, we got a very useful homemade product, which certainly will come in handy more than once. You can observe the test of this homemade tool according to the images below.I would also like to add not unimportant information that this homemade product should be used wearing safety glasses and gloves, otherwise it can end very sadly (this applies to most professional tools)
You can purchase accessories that can be useful for assembling this homemade product here:
.
.
.
.
.
.
Here is a video from the author with a detailed assembly and testing of this homemade product:
By the way, who is interested in my video about assembling the Spider-Man Web Shooter is easy do it yourself
Well, thank you all for your attention and good luck in future projects, friends!