
In this article, the author of YouTube channel "John Heisz - I Build It" will tell you how to make a marking flat compass. It is simply an indispensable and convenient tool for the workshop and home.
John already made such a compass from plywood several years ago. But now he wanted to repeat the same instrument from aluminum.
Materials
- Two-component epoxy resin
- Drawing pin
- M4 screw with press washer, wing nut
- Sandpaper
- Aluminum plate 4 mm thick.
Instruments, used by the author.
- Drilling machine
- Belt sander
- Forstner drills
- File, hacksaw
- Vise, clamps
- Screwdriver
- Orbital sander
- Pencil, tape measure, core.
Manufacturing process.
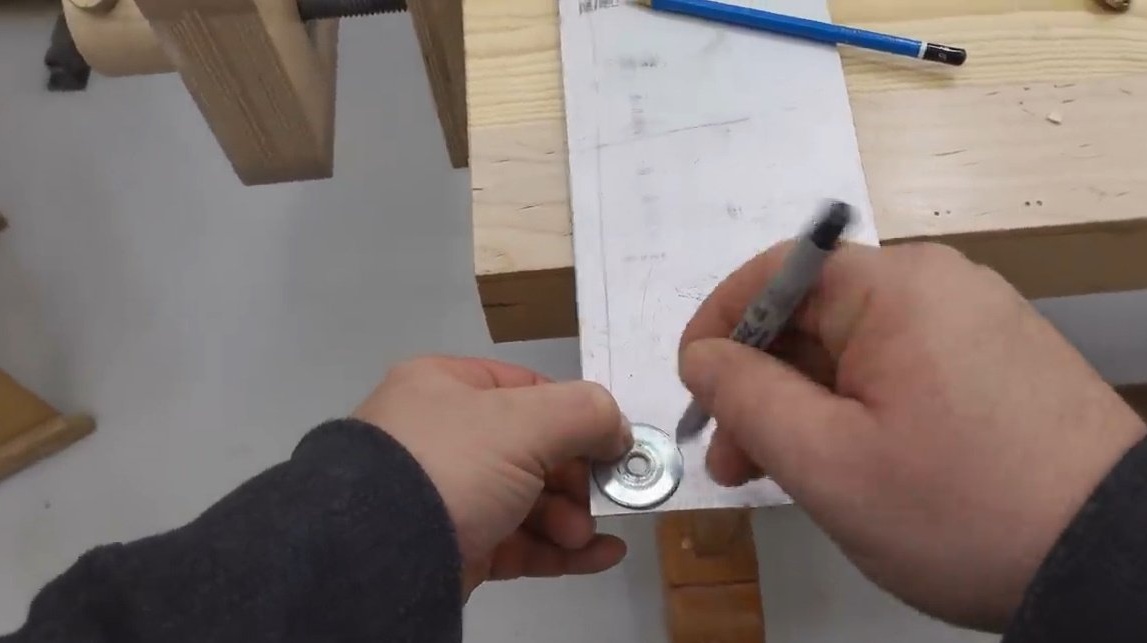
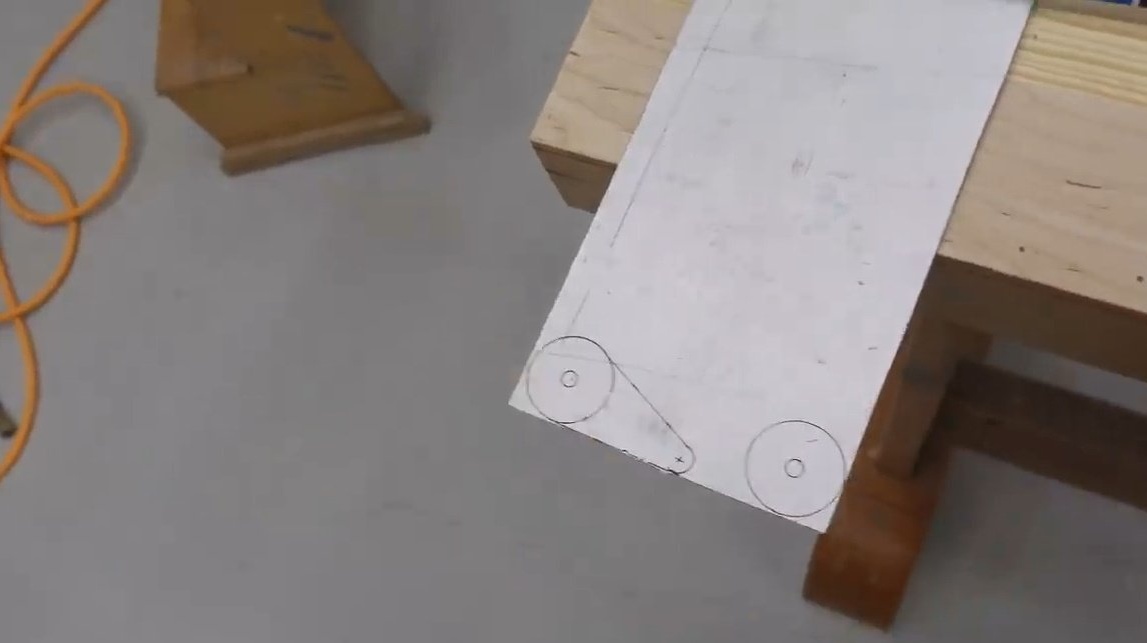
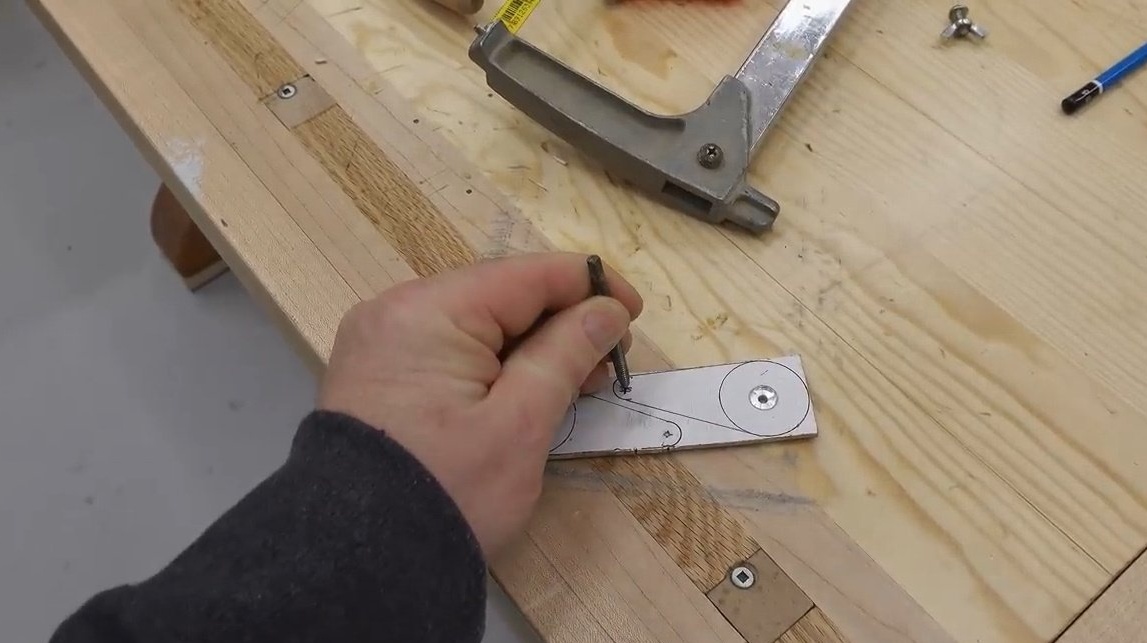
To begin with, John picked up a washer of suitable diameter for marking.

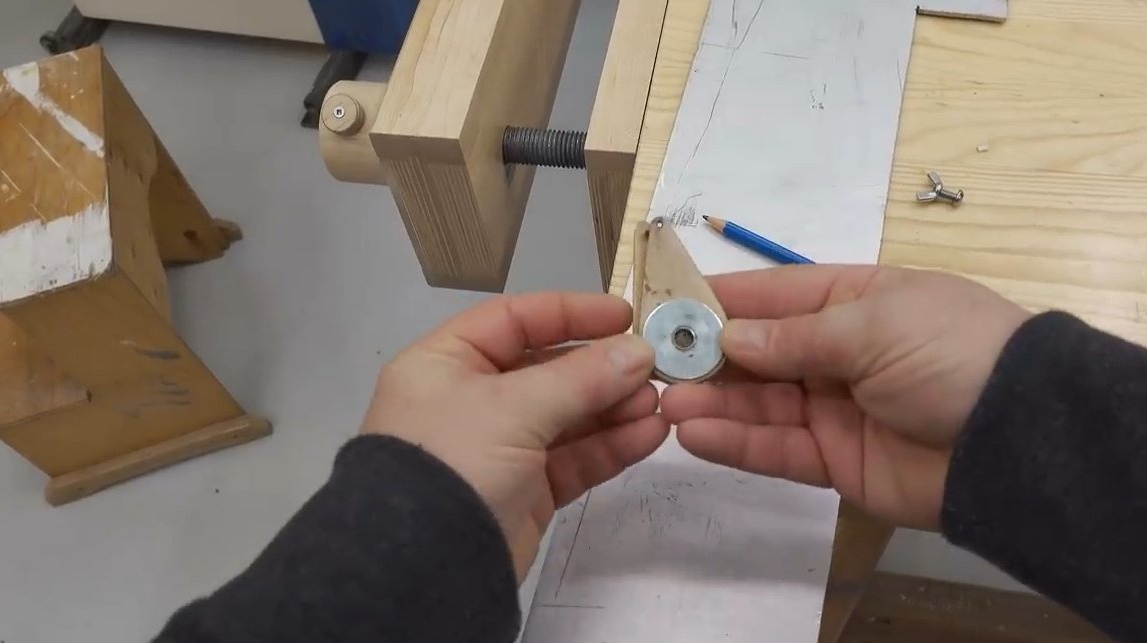
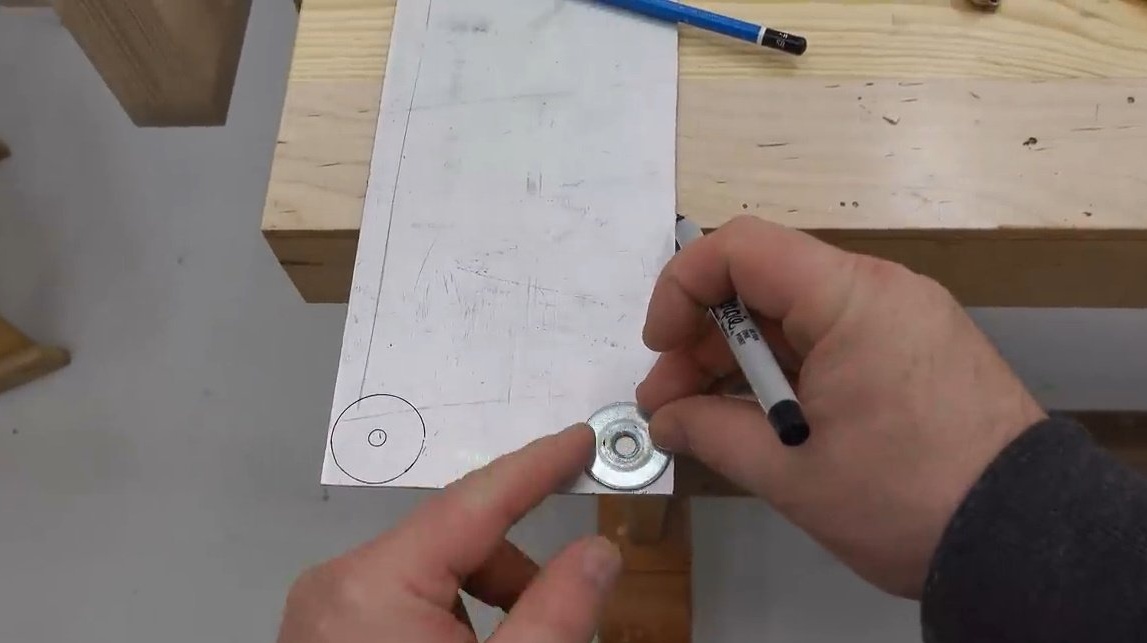
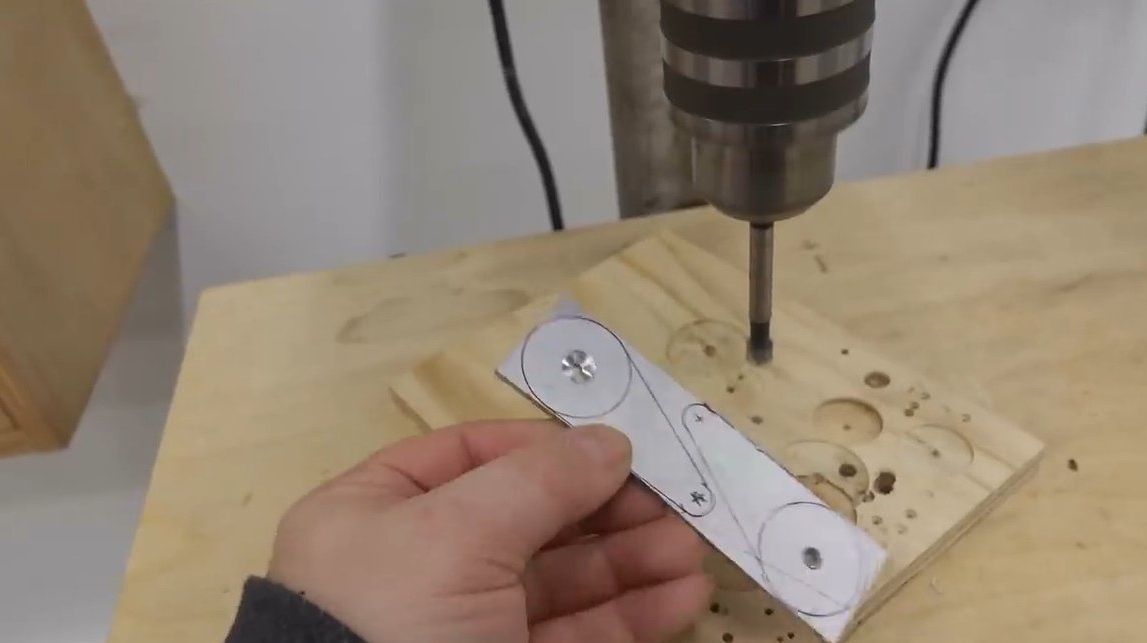
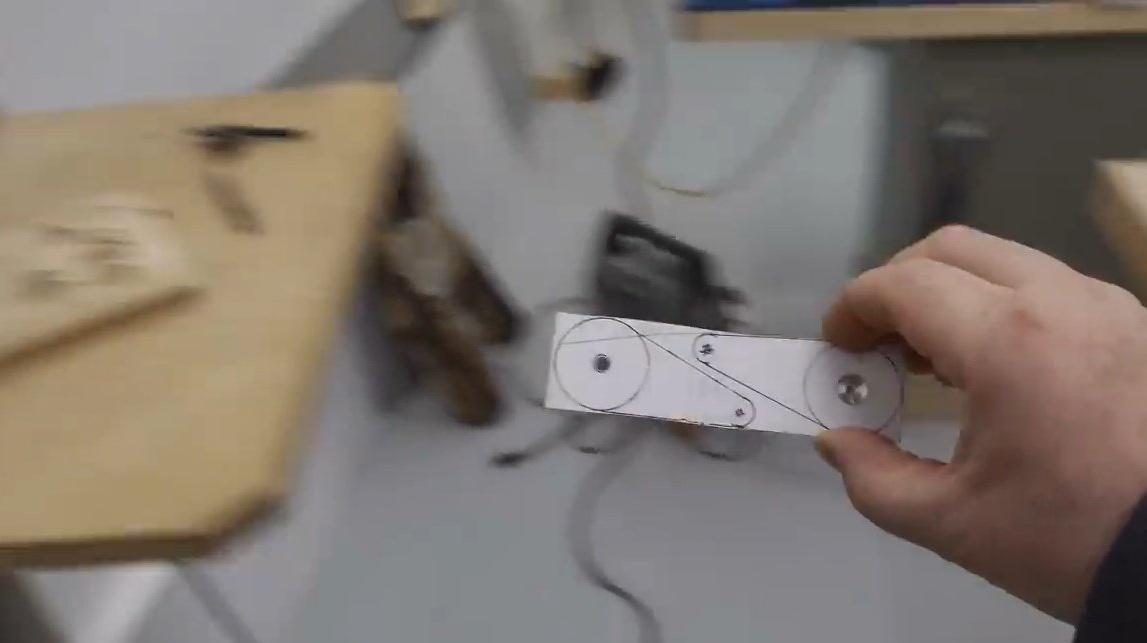
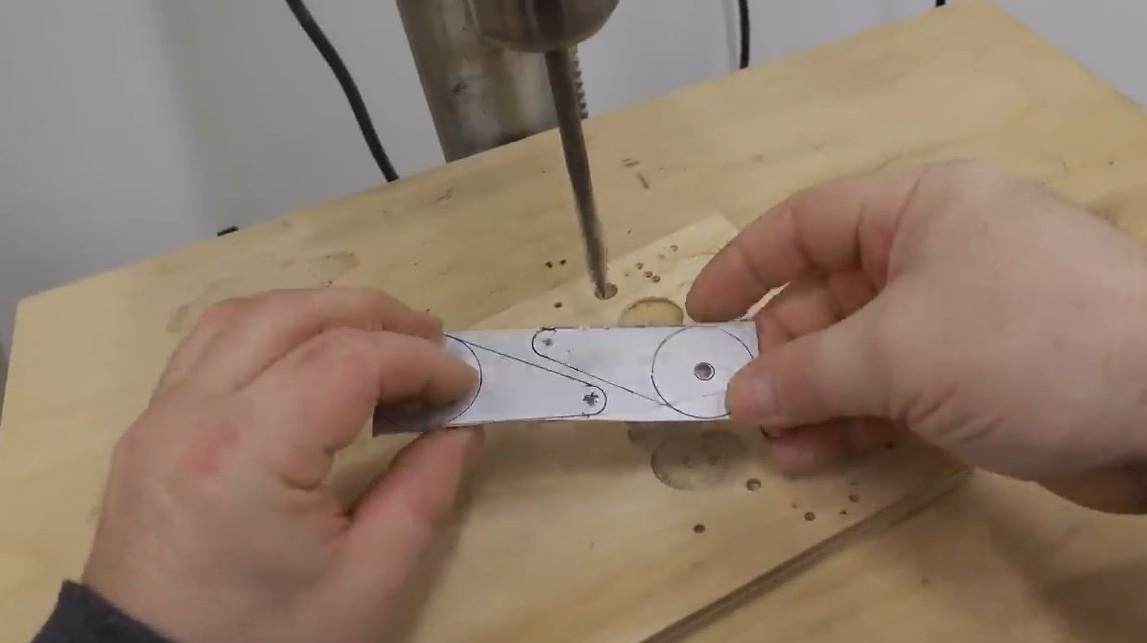
Then I marked the outer and inner contours of the washer on an aluminum sheet. I found their centers, and marked the center of the hole for the pencil.

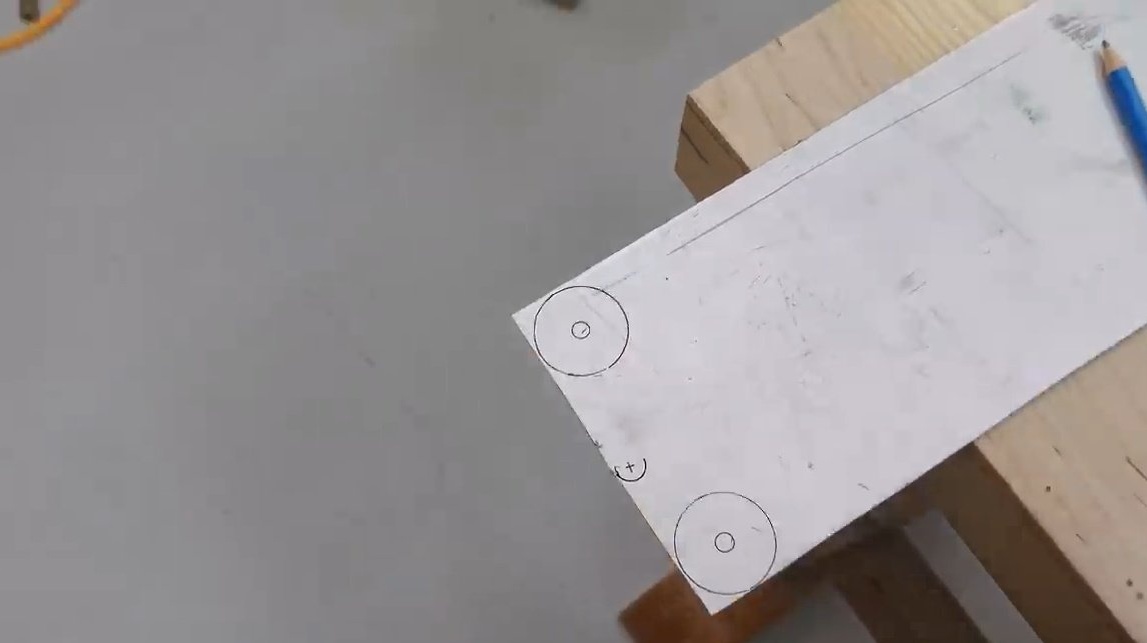
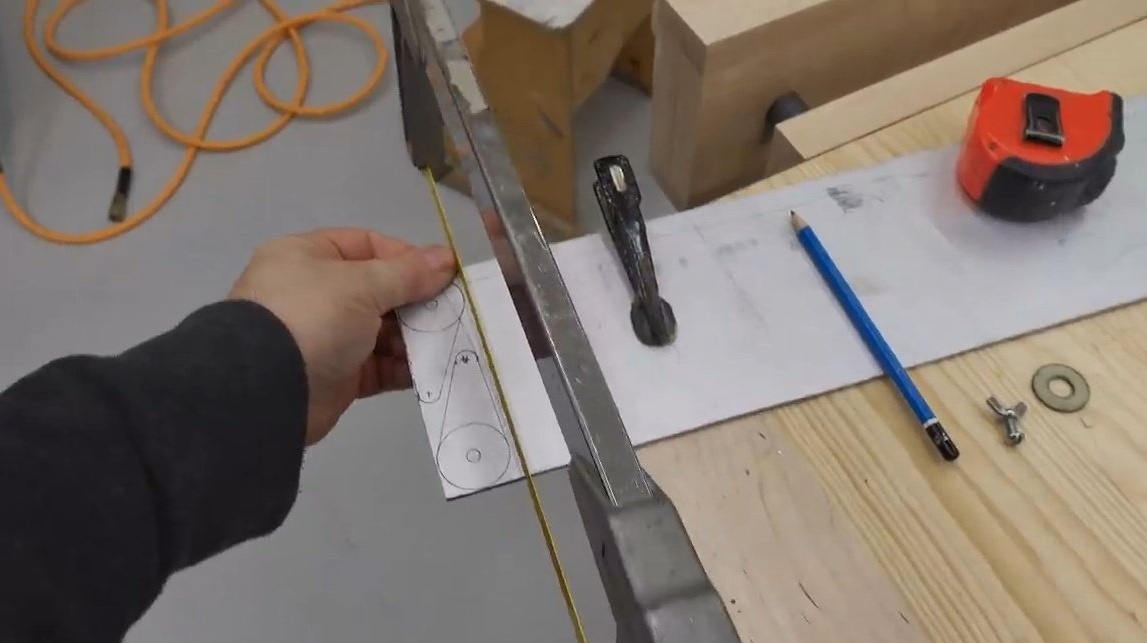
Having finally outlined the contours of the workpieces, he cut off the plate with a hacksaw.
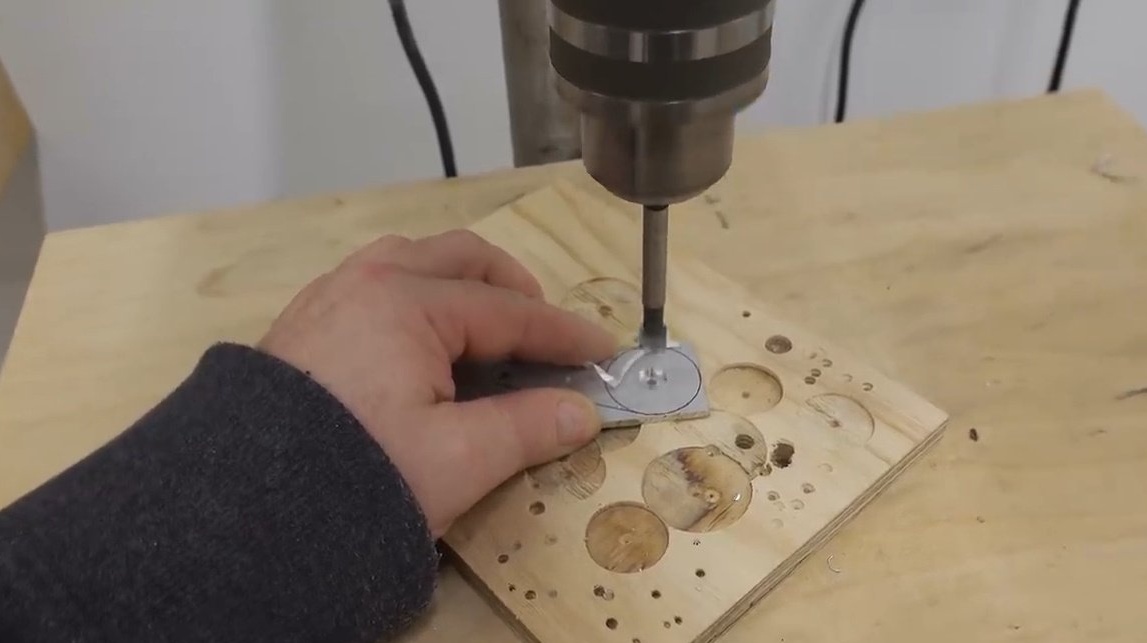
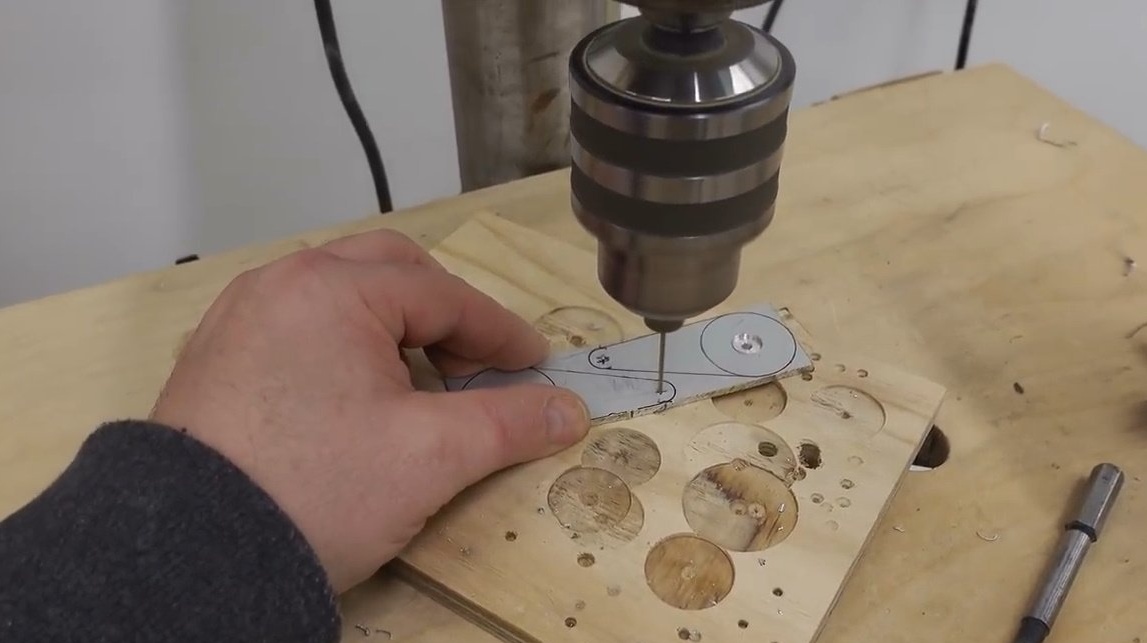
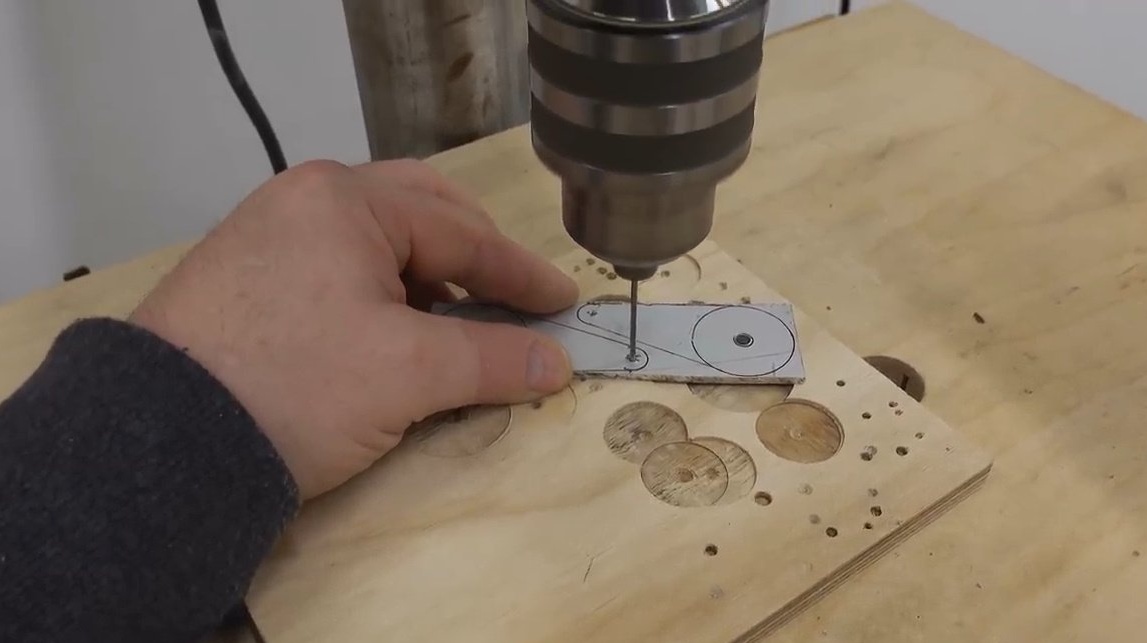
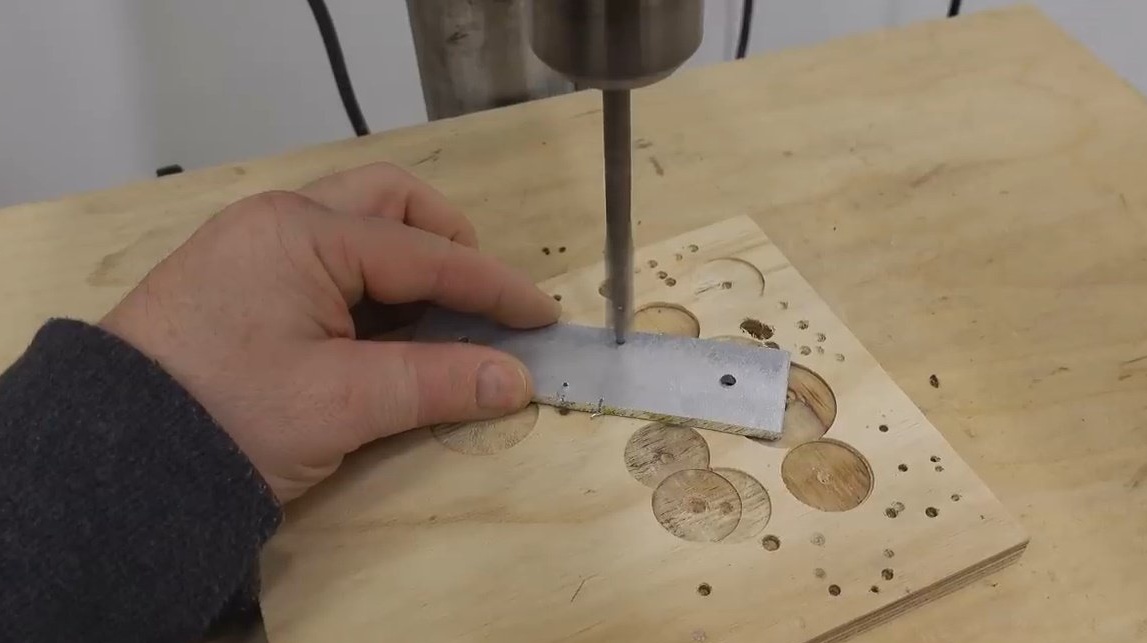
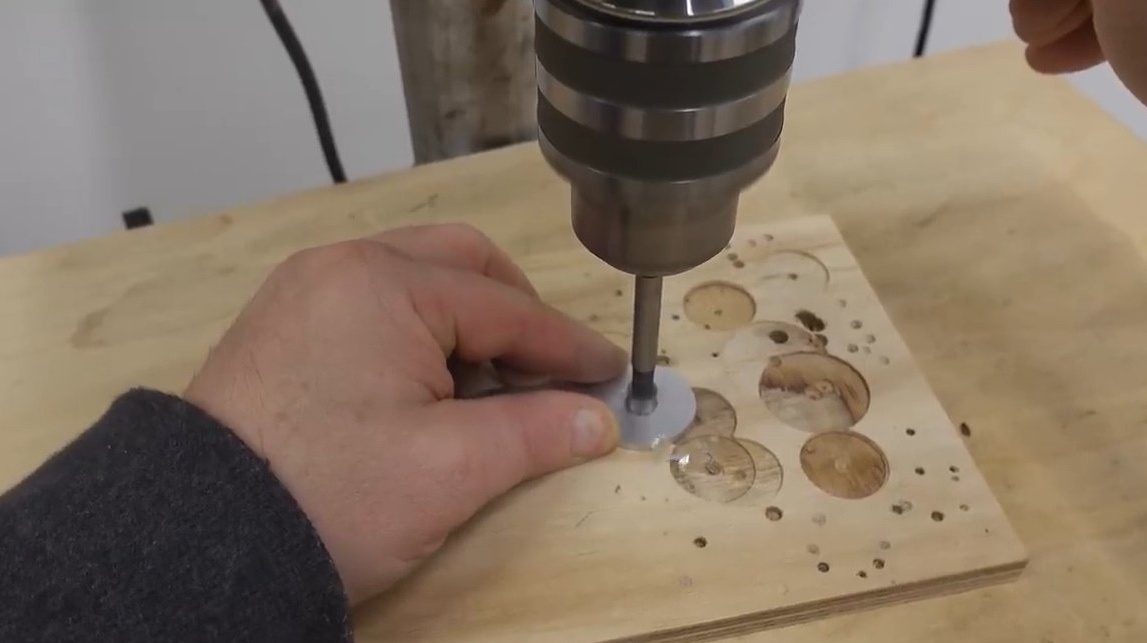
I drilled holes for the clamping screw, slightly countersinked one of them with a Forstner drill.
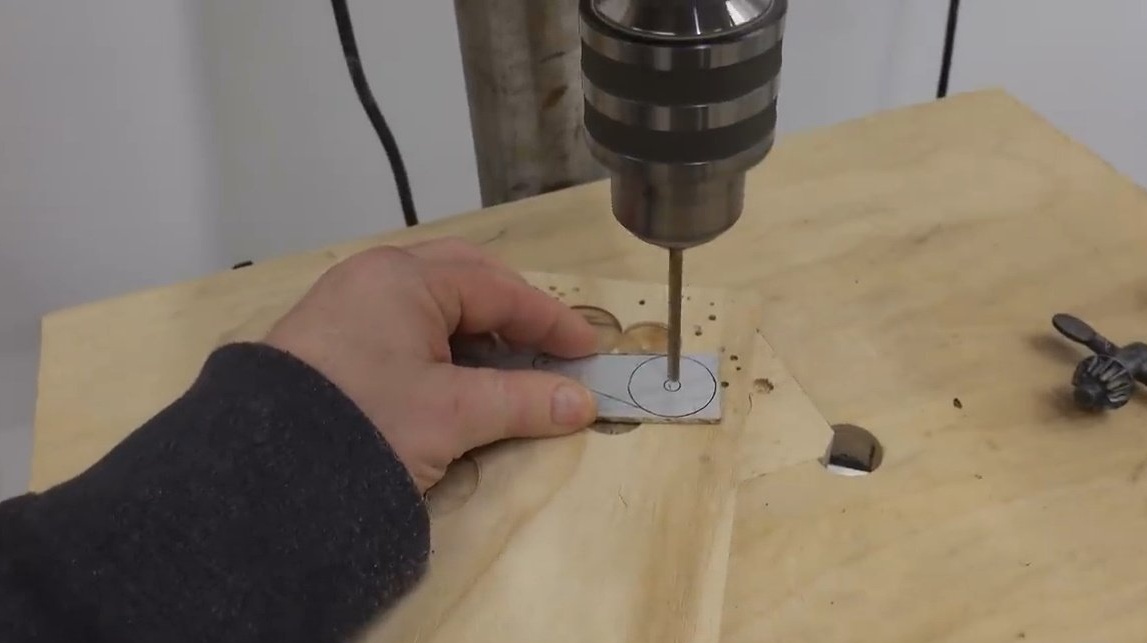
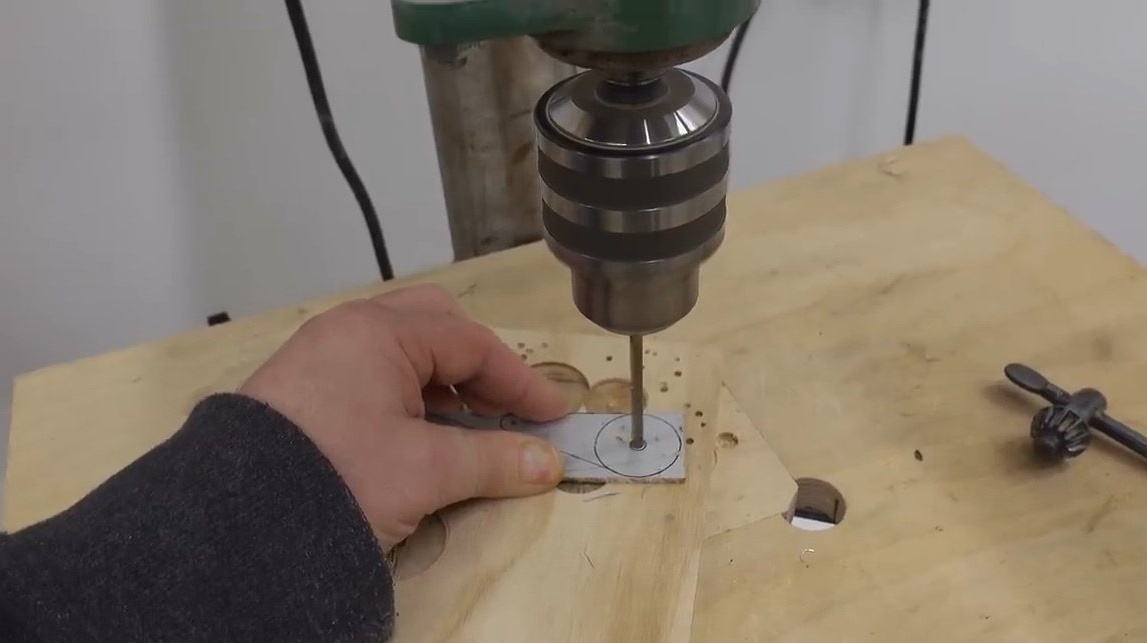
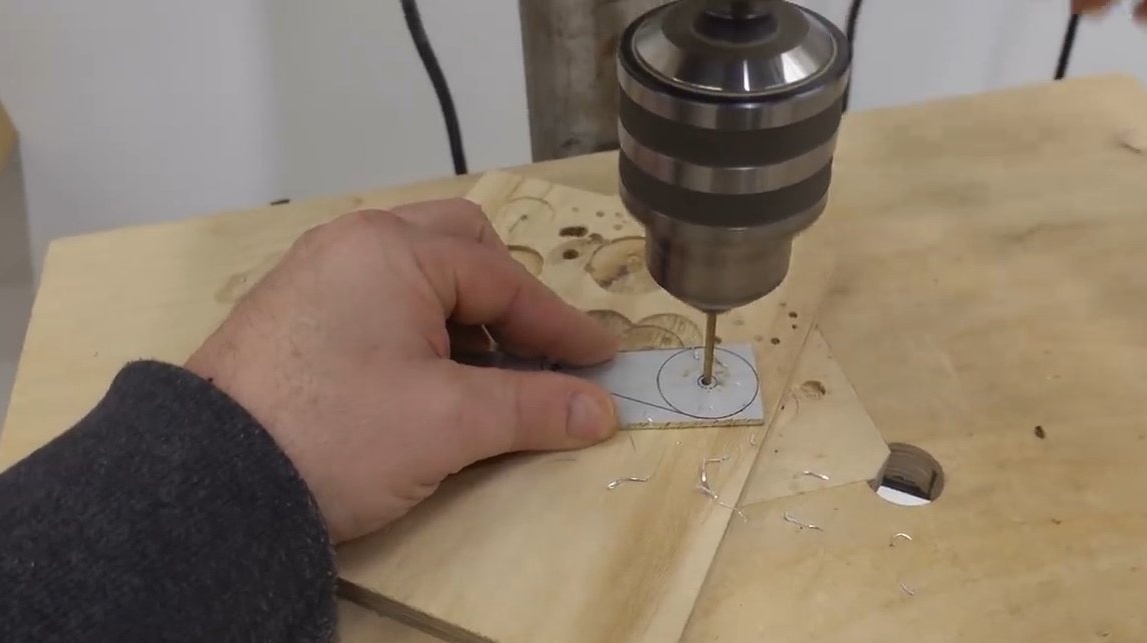

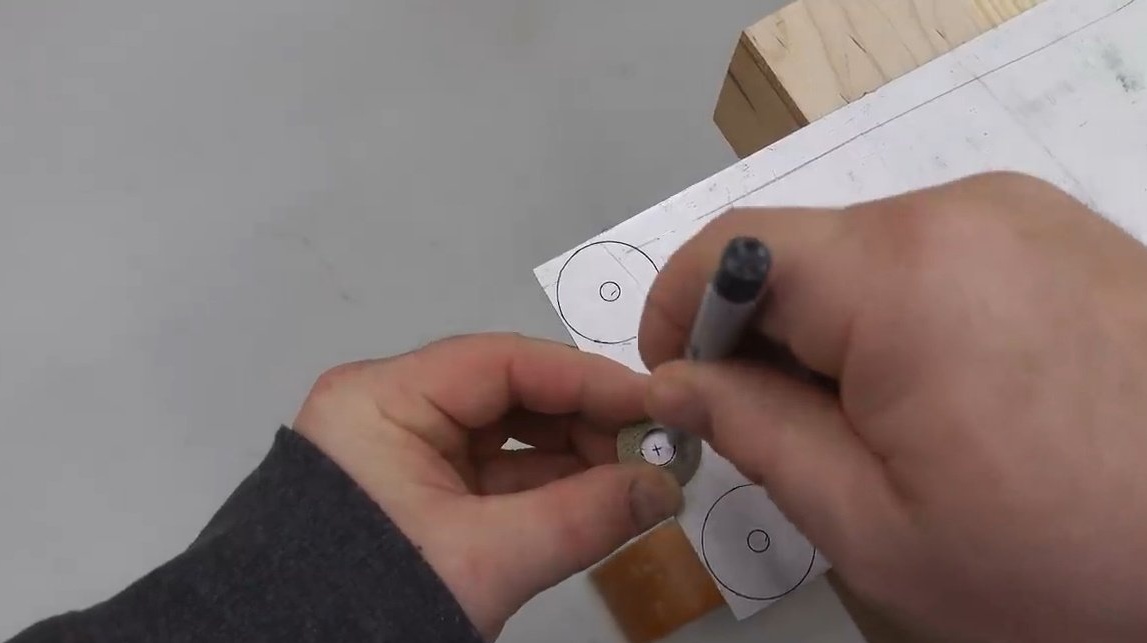
Now marked the core centers of the holes for the pencil and needle.
I drilled holes with a thin drill. For a pencil - a little more than for a needle. On both sides he chamfered.
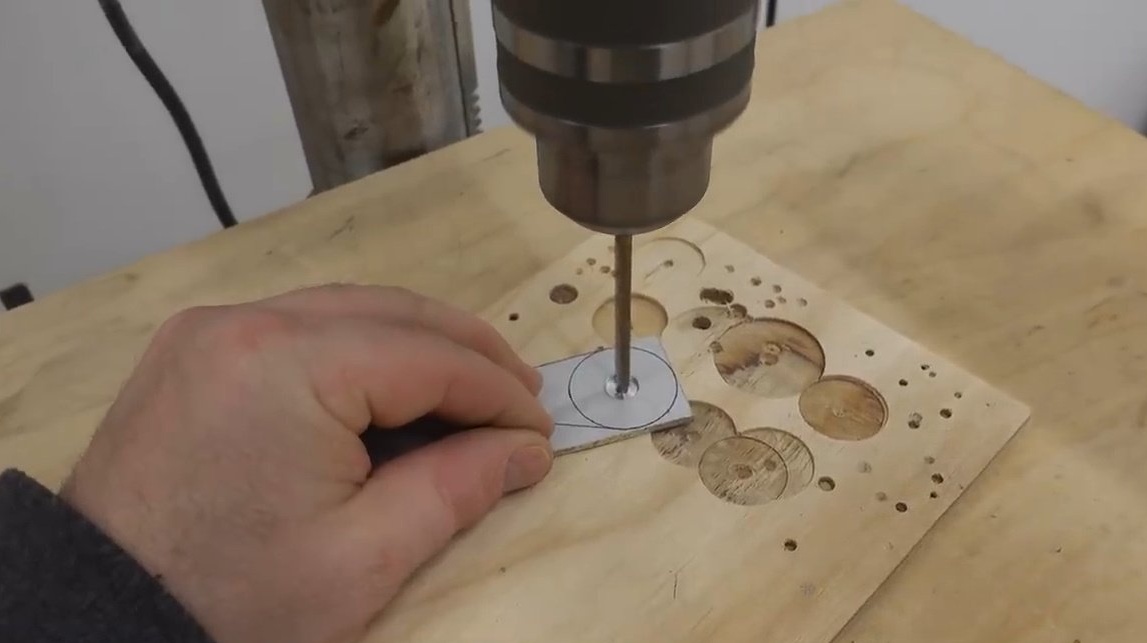
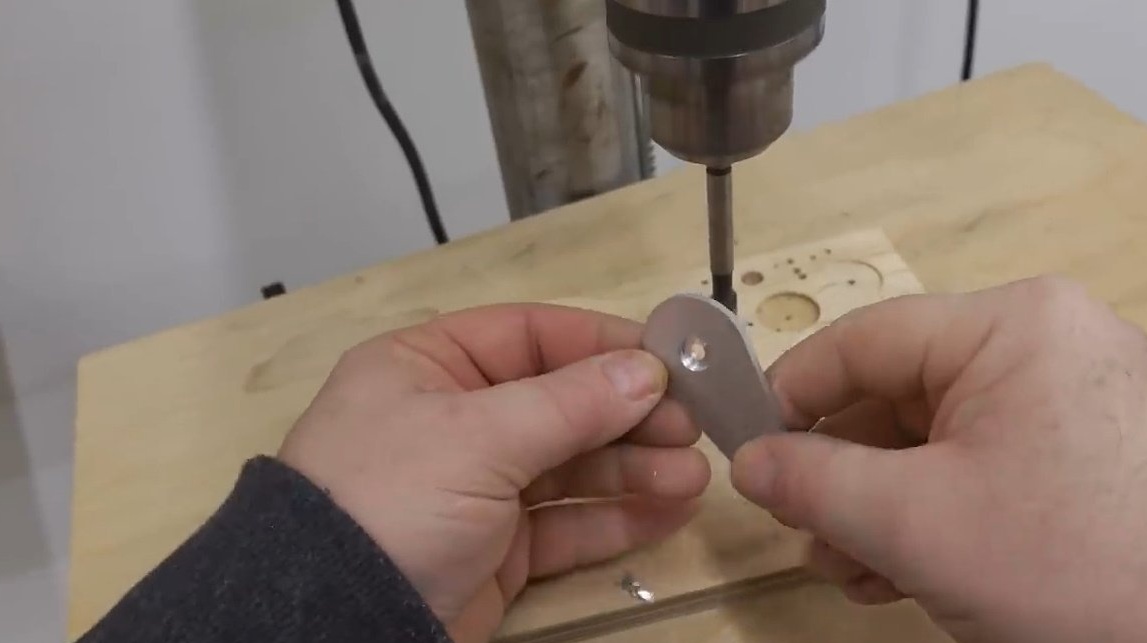
There was no suitable screw; he slightly increased the hole for him.
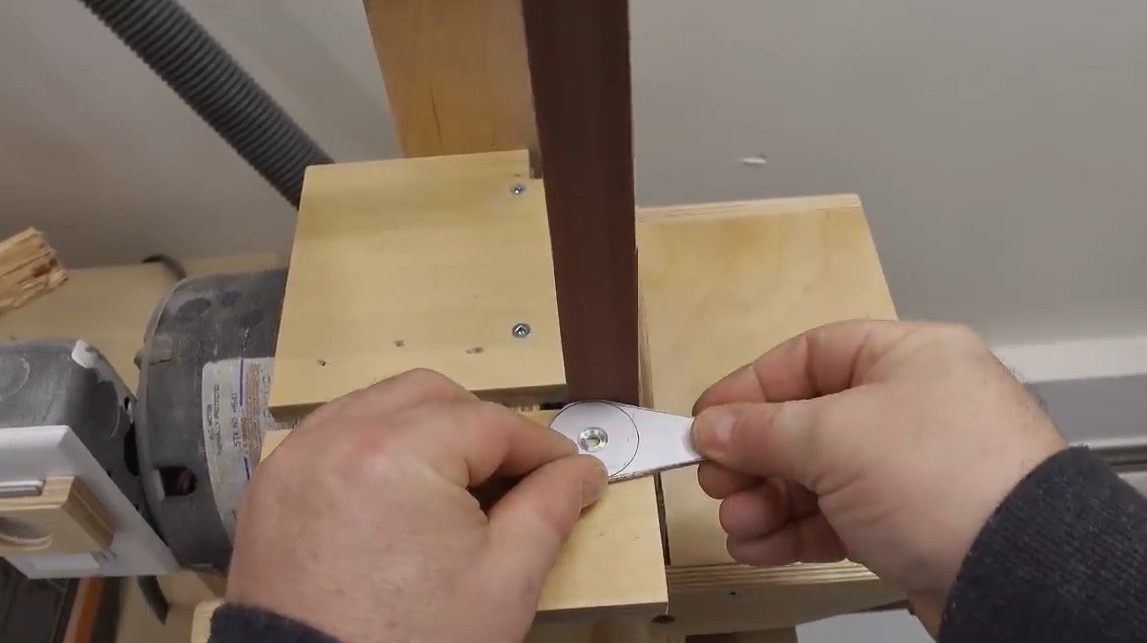
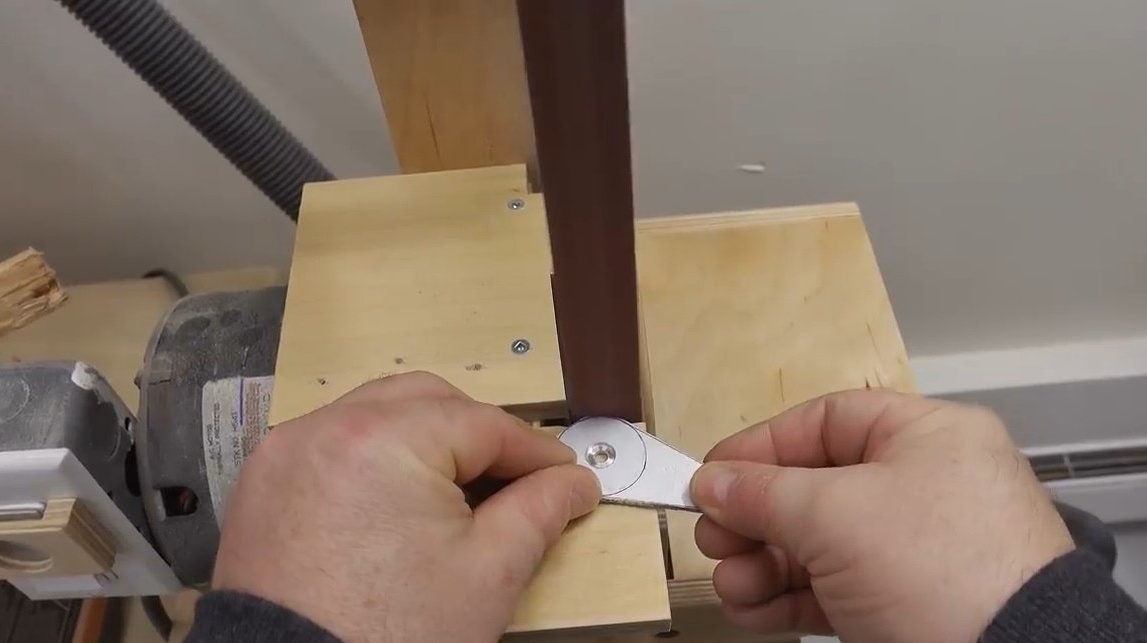
He divided the workpieces with a hacksaw, and removed the excess elements.
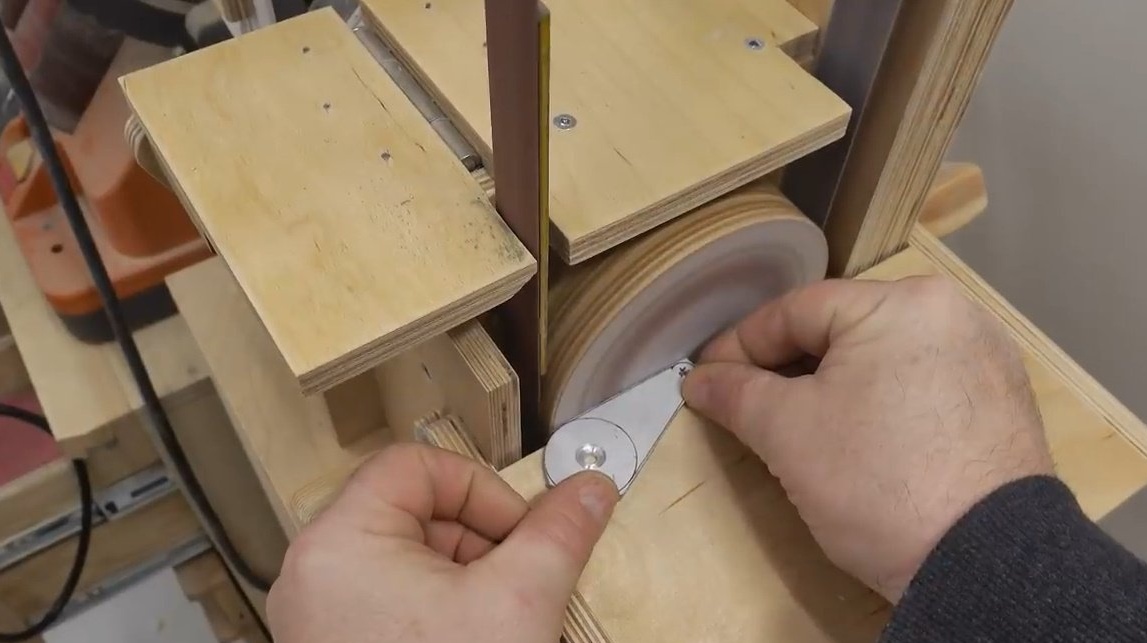
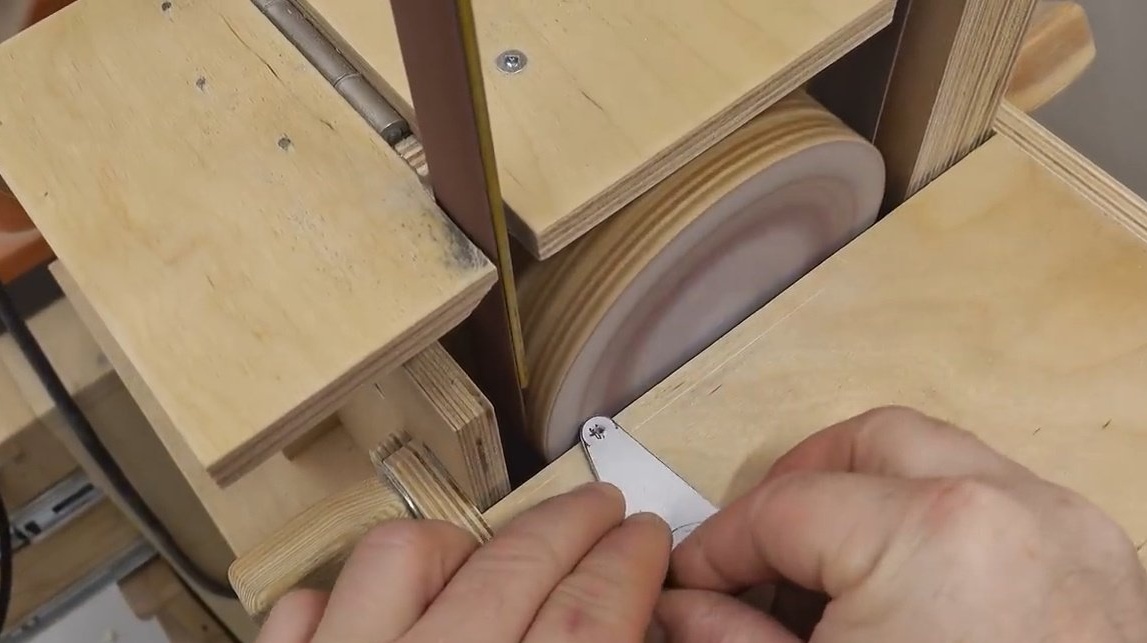
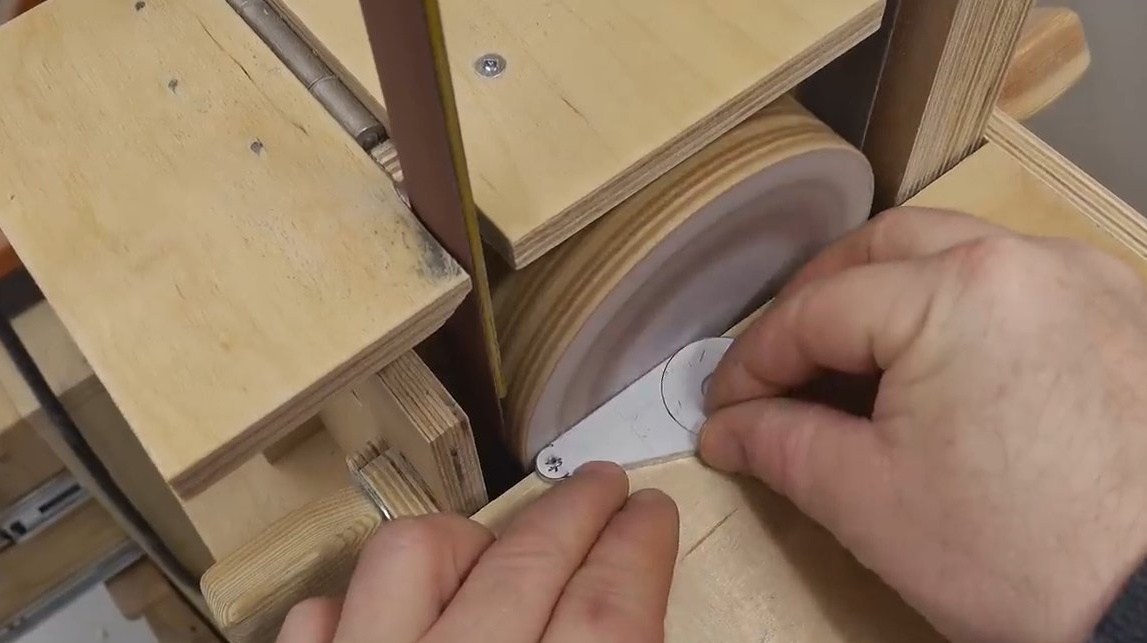
Roughly finished the edges on a belt sander.
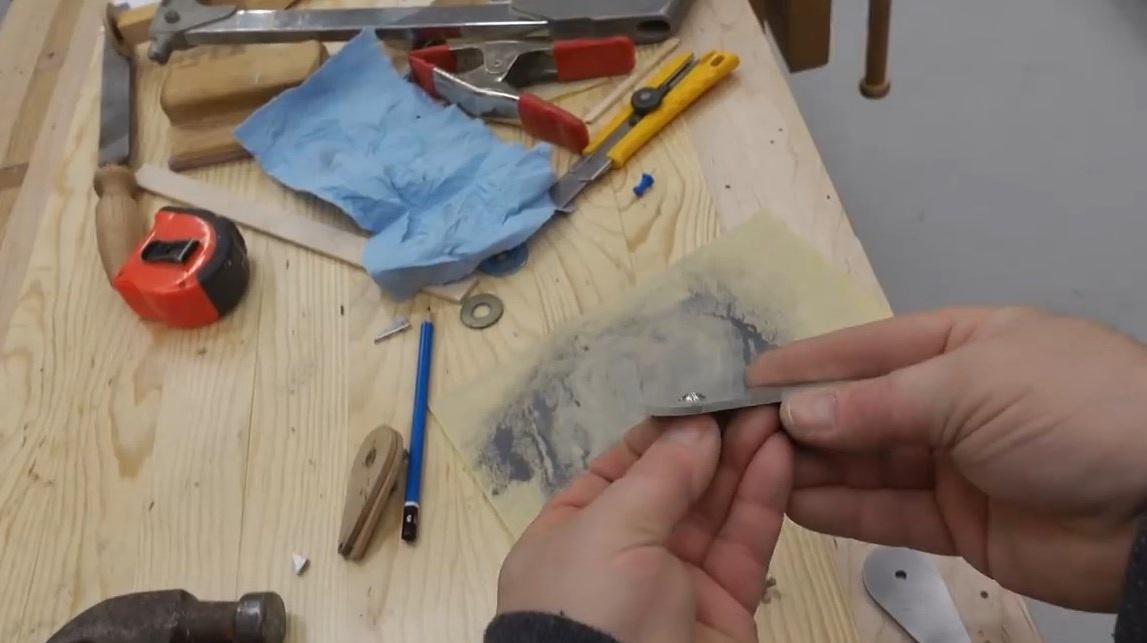
Now polished in orbital.
Then processed on a fine sandpaper plane.
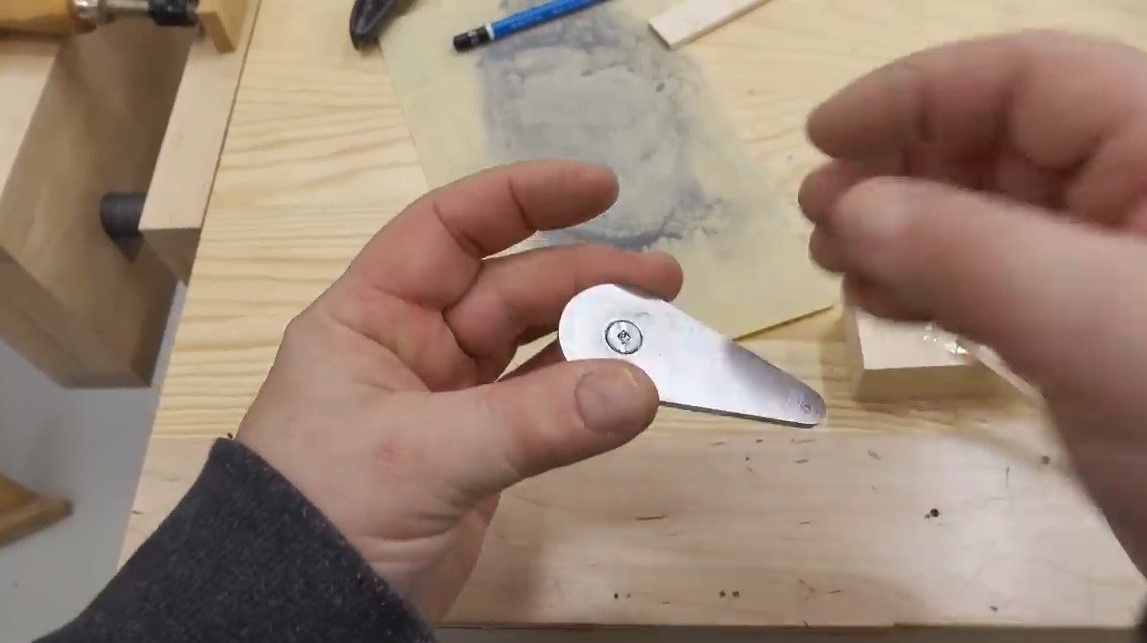
And maximally deepened the groove for the screw head, but it still does not fit in height there.
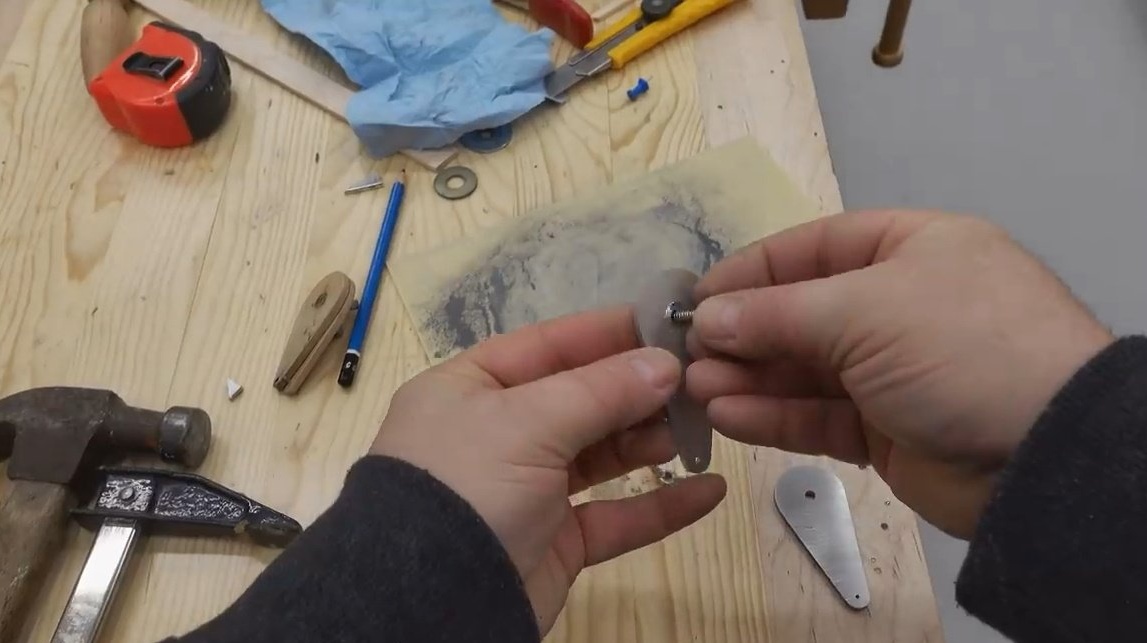
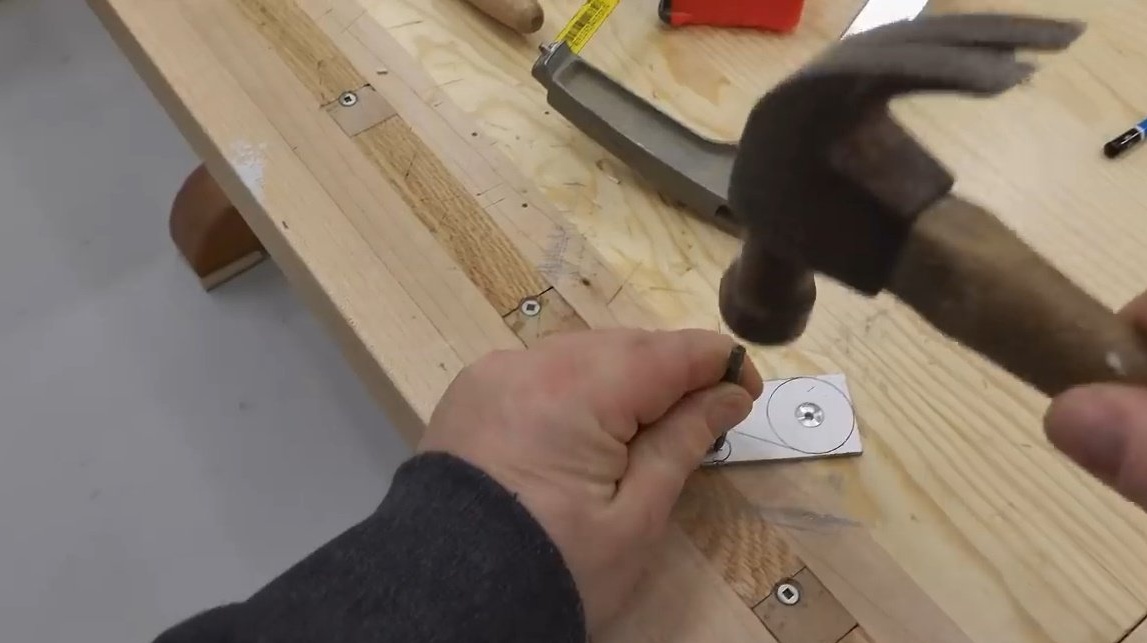
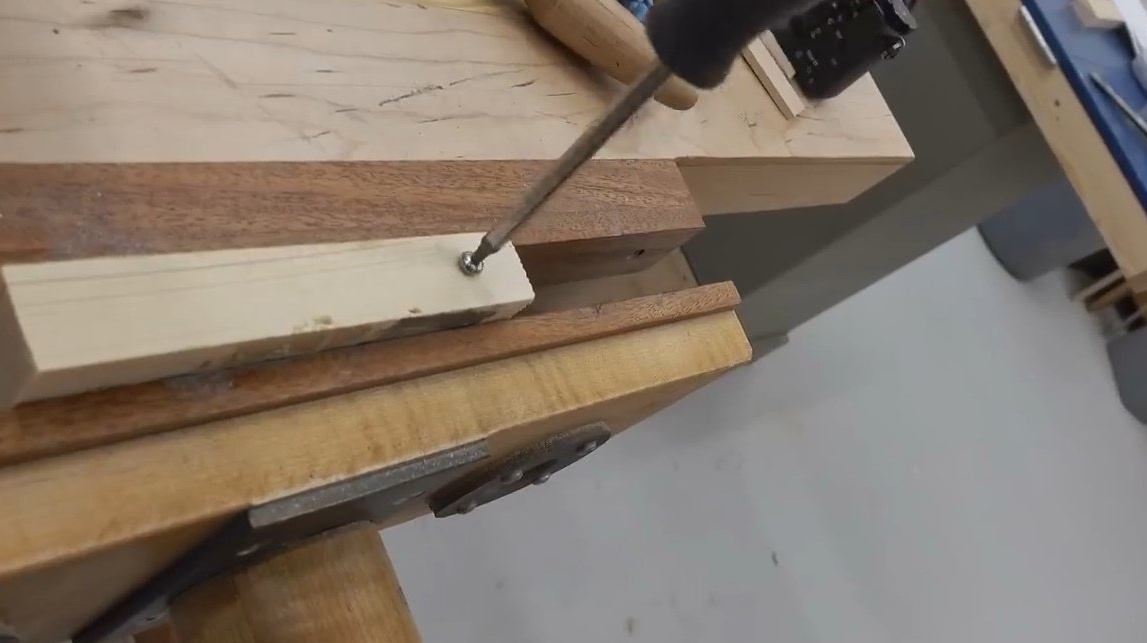
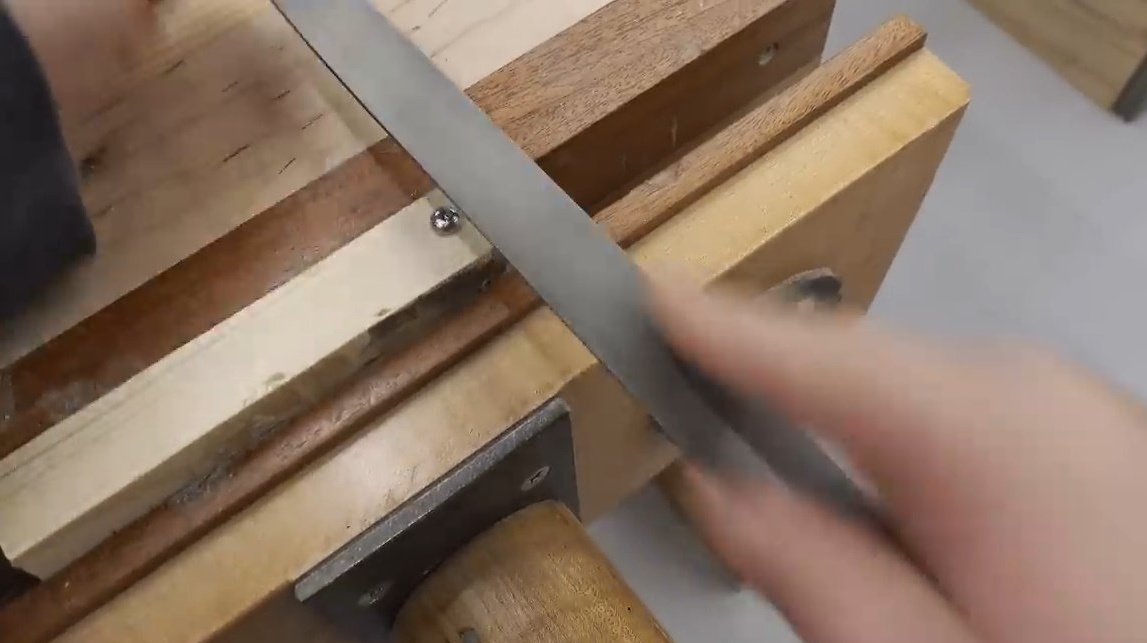
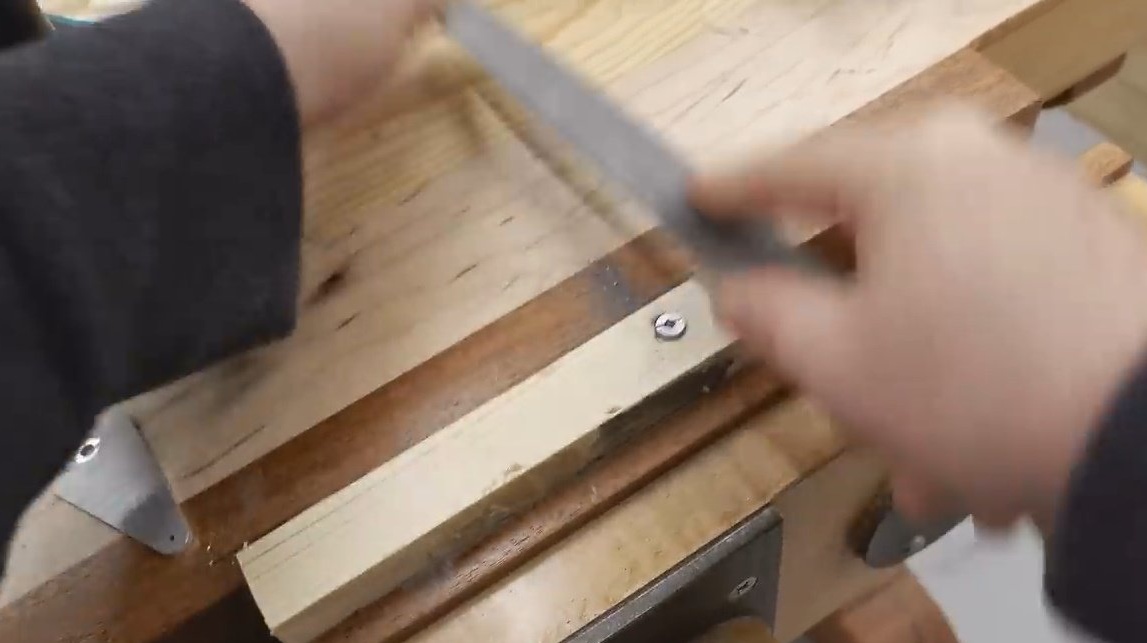
John solved this problem simply. He twisted the screw into the board, and sawed off the top of the cap with a file. Now the hat is hidden in the groove.
Using a two-component epoxy, I glued the cap of the bolt into the recess.

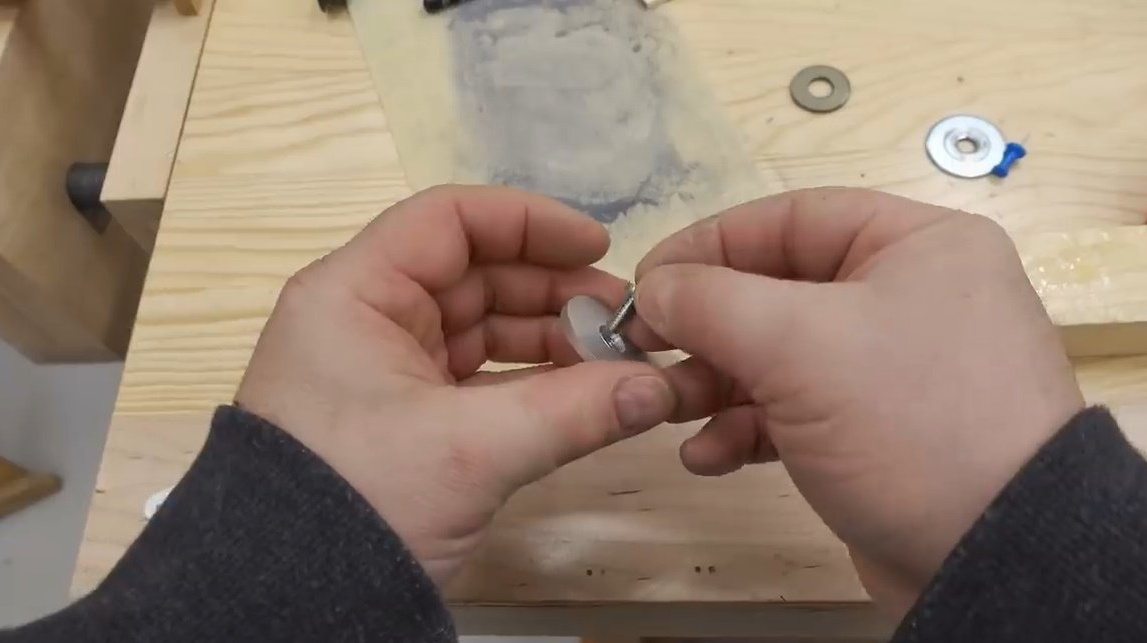
Then he tightened it with the wing nut and left it to harden the resin.
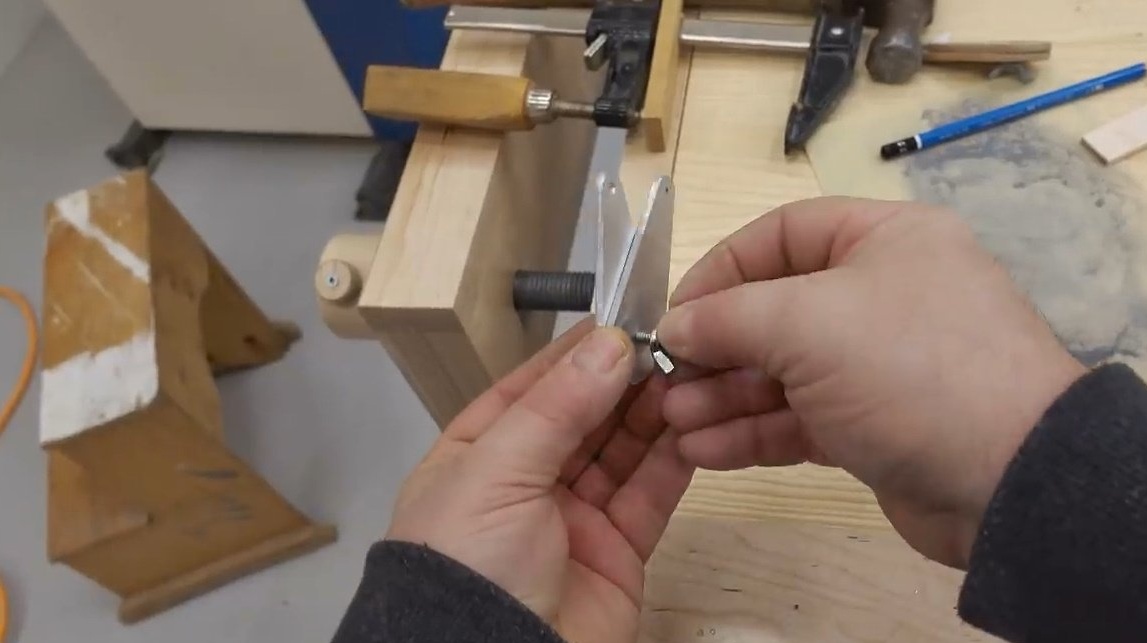
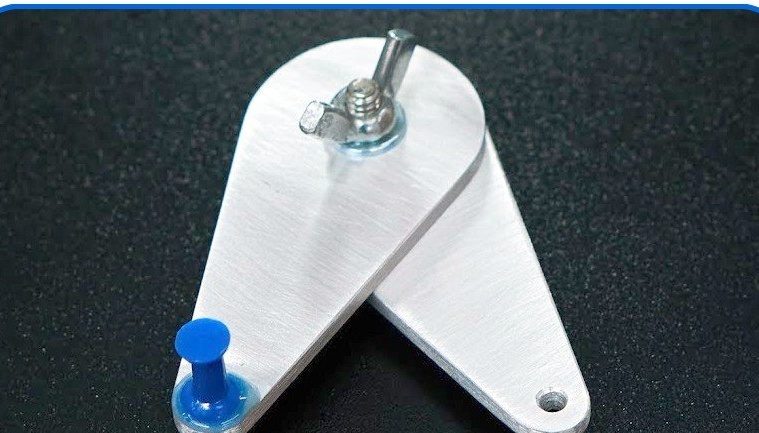
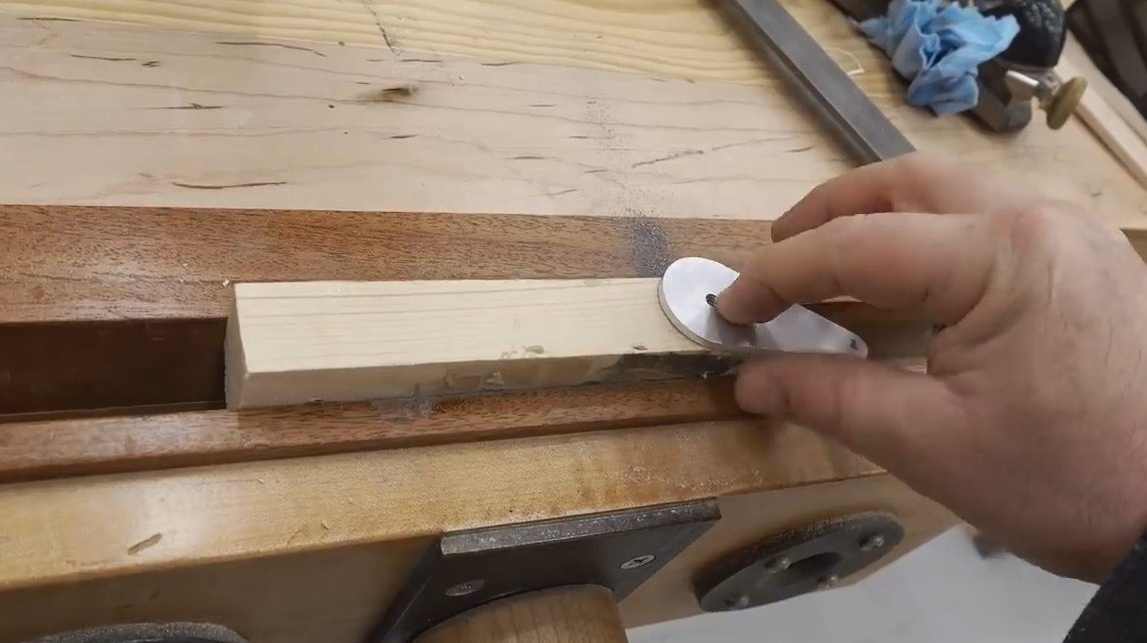
Now you can stick the support needle, the pushpin is suitable for this.
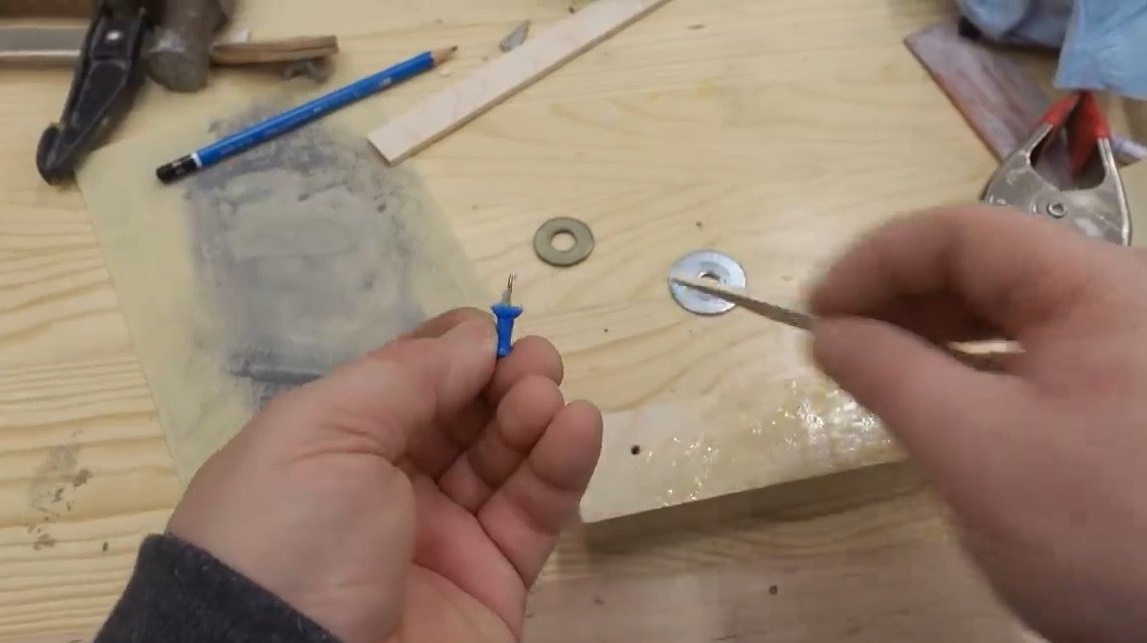
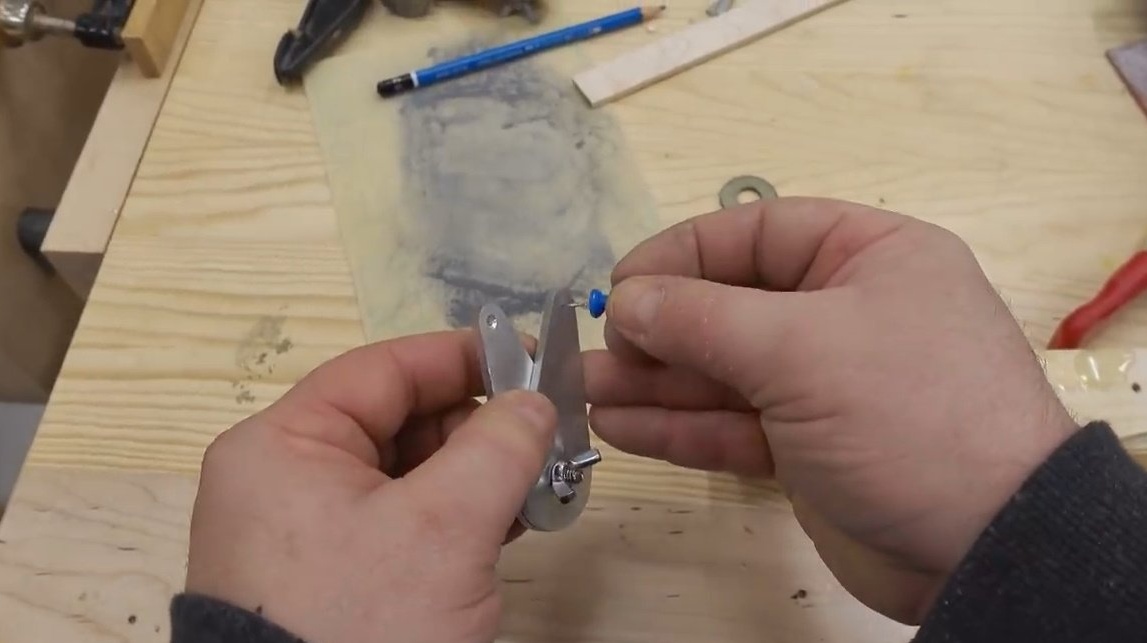

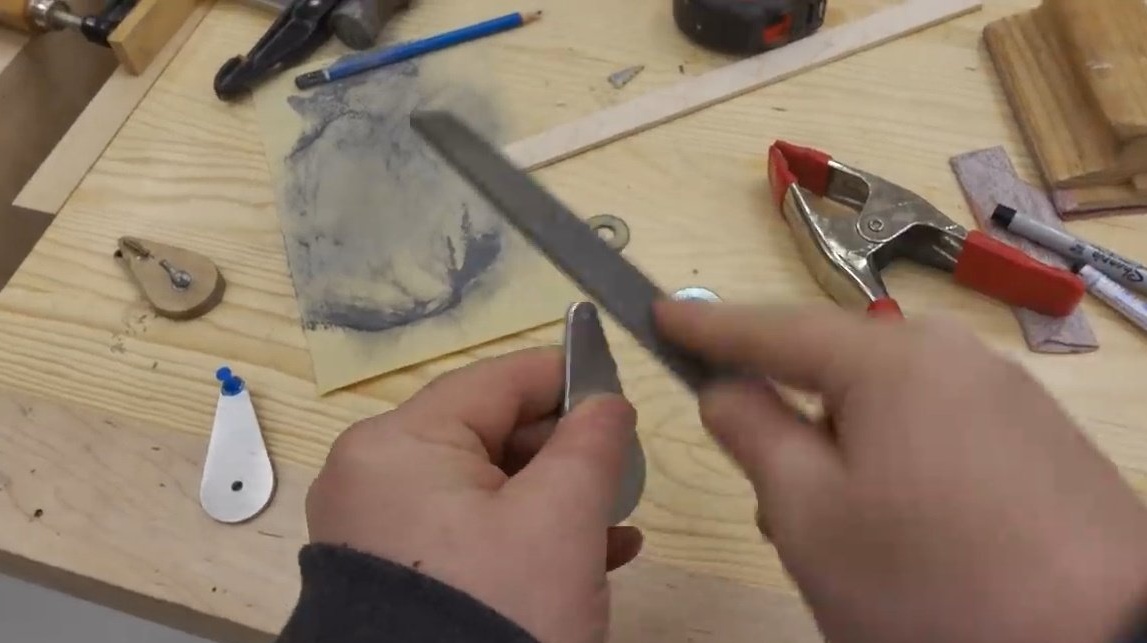
Finishing the ends with a file and sandpaper.

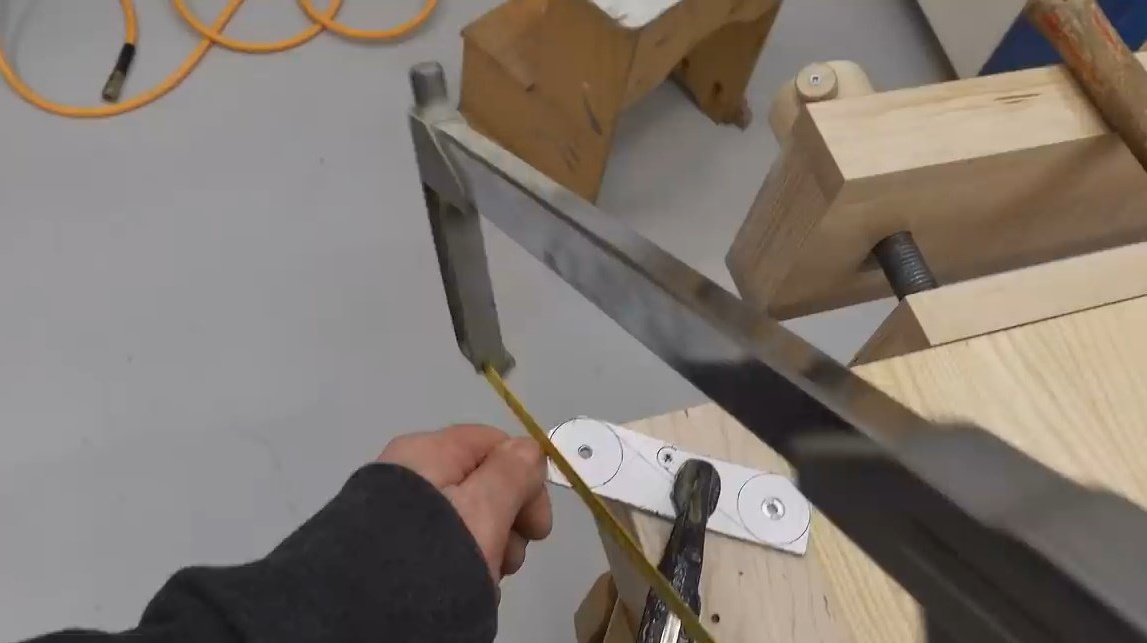
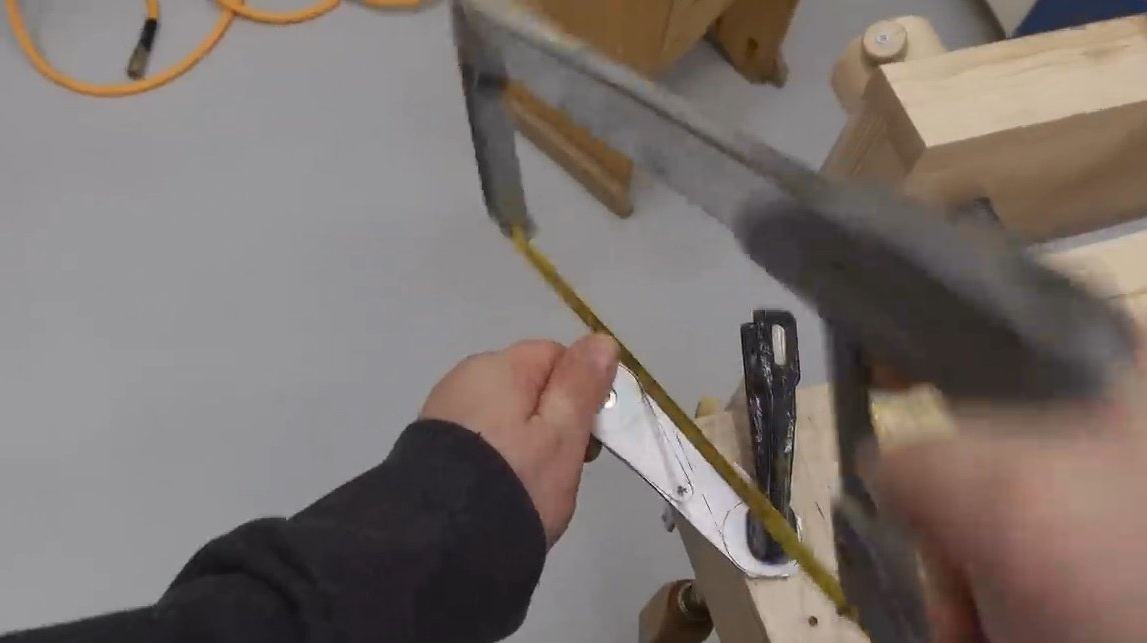
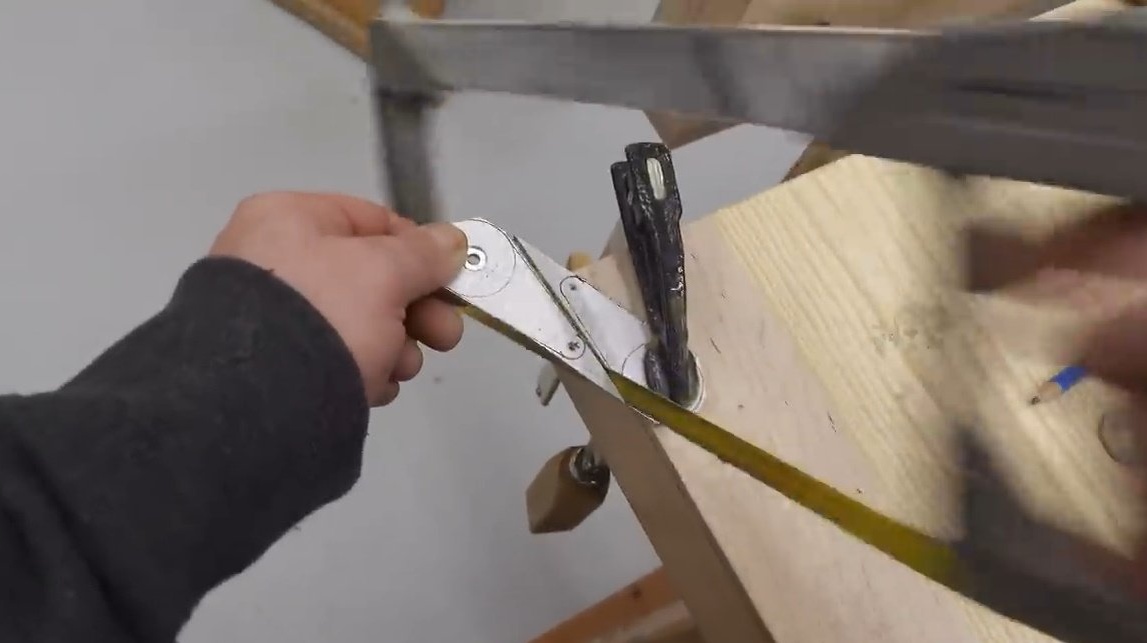
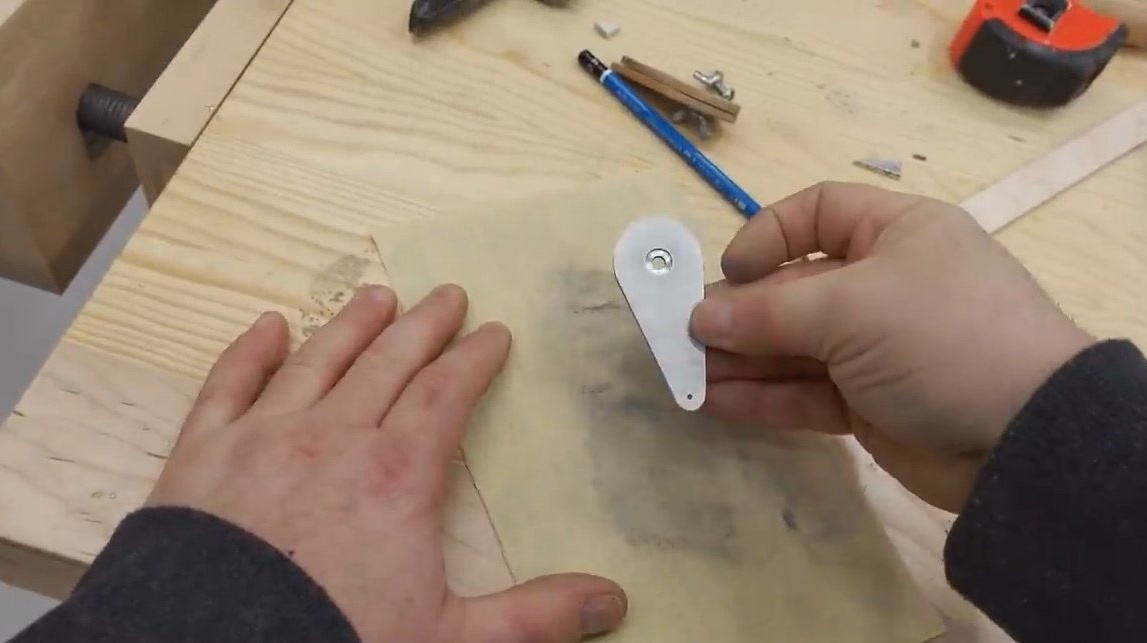
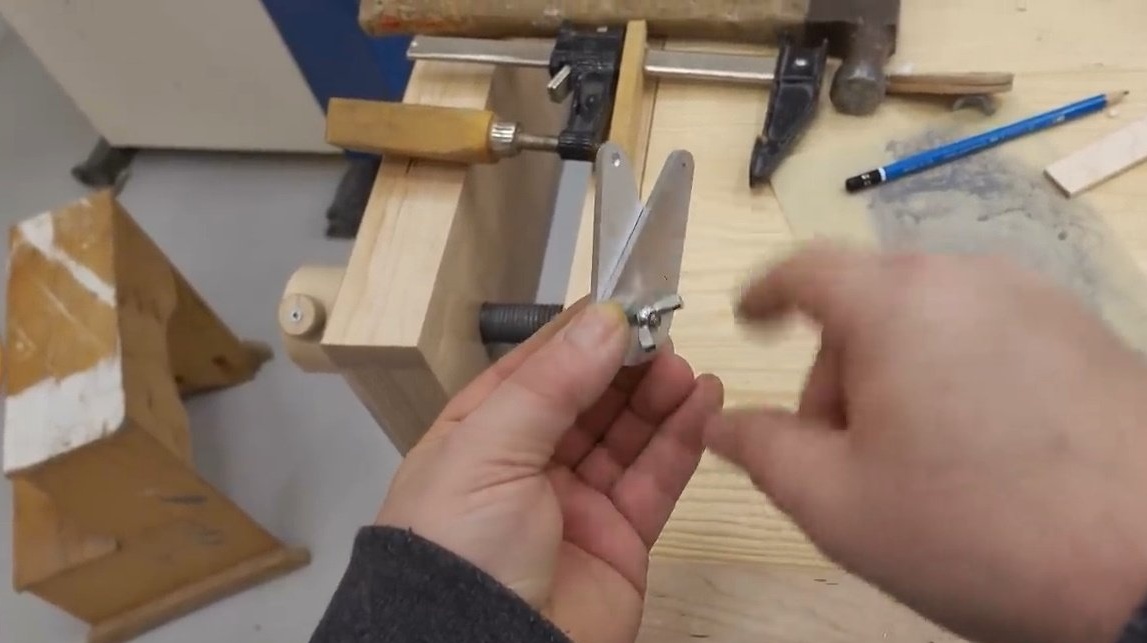
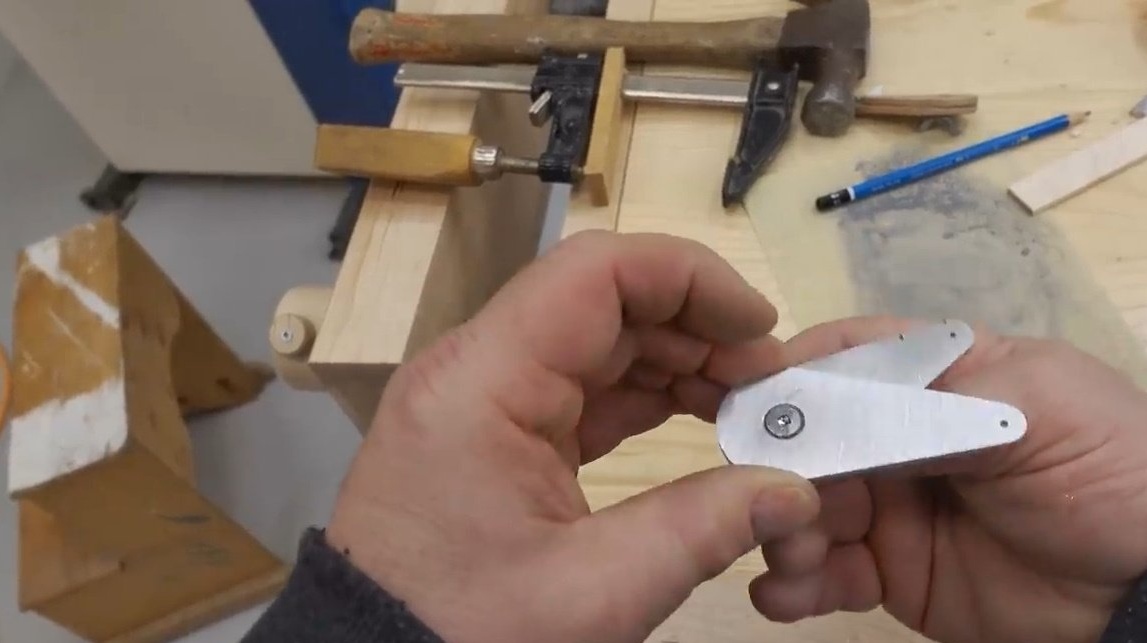
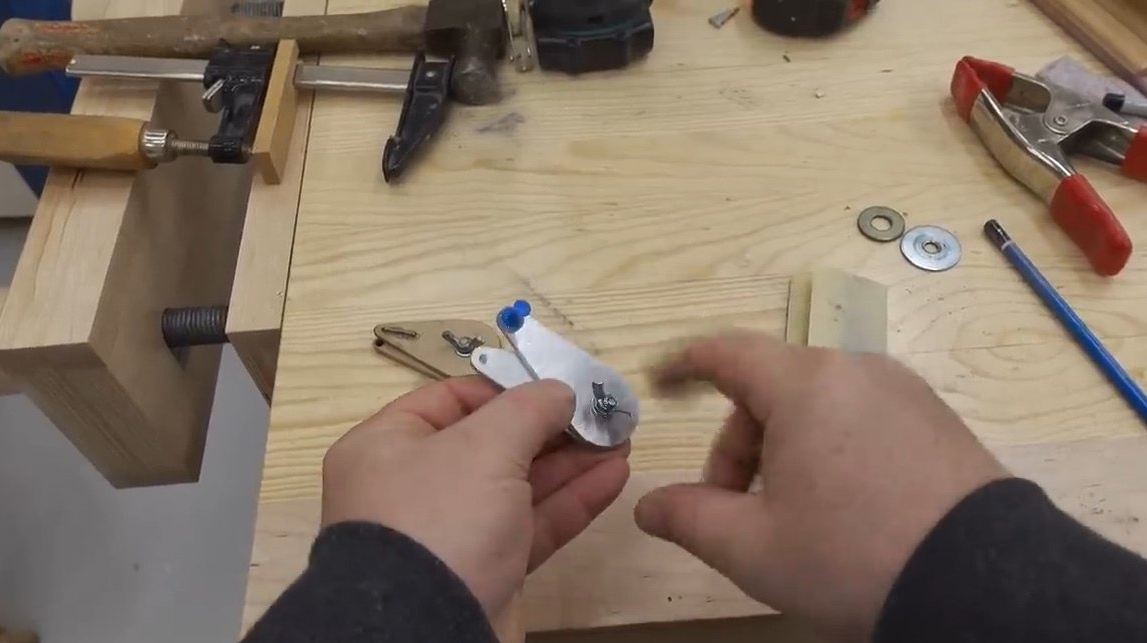
Everything is ready, you can collect compasses.

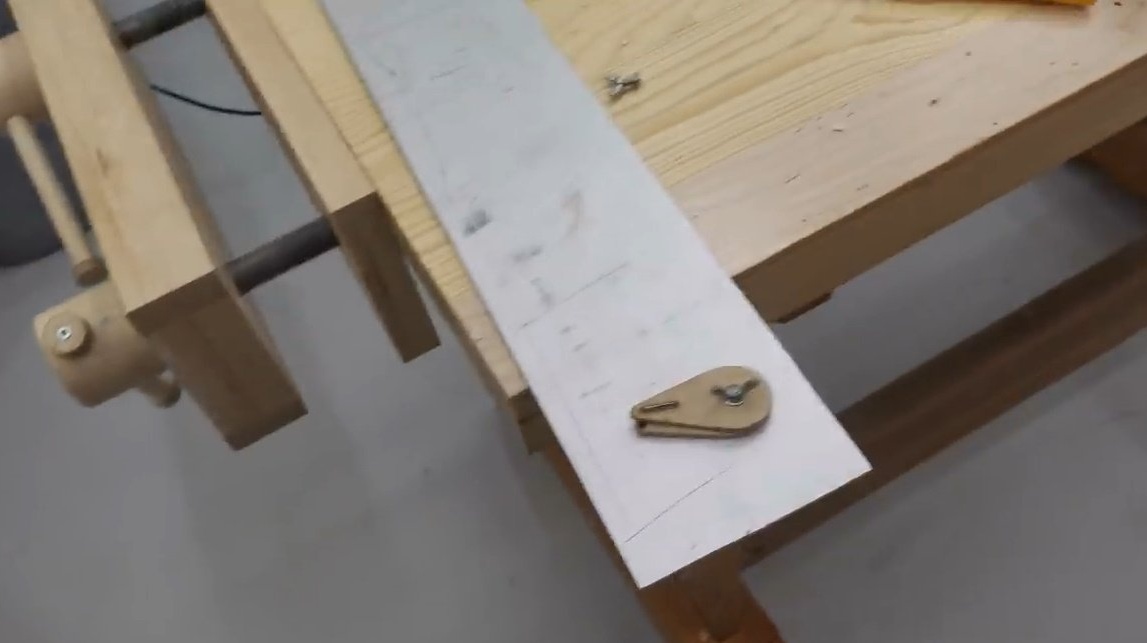
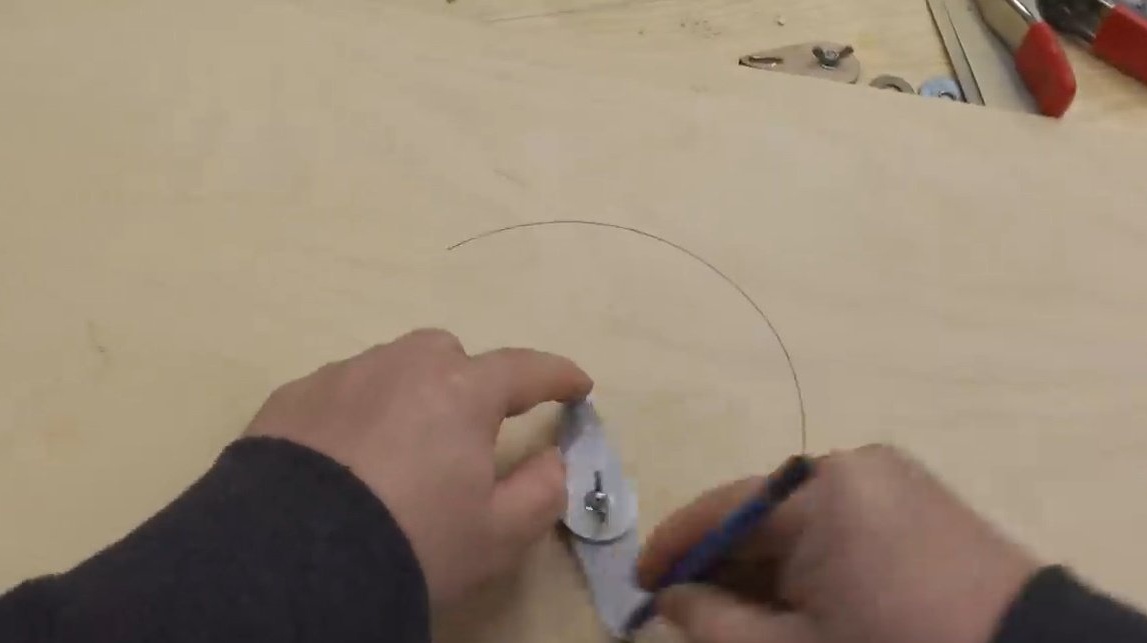
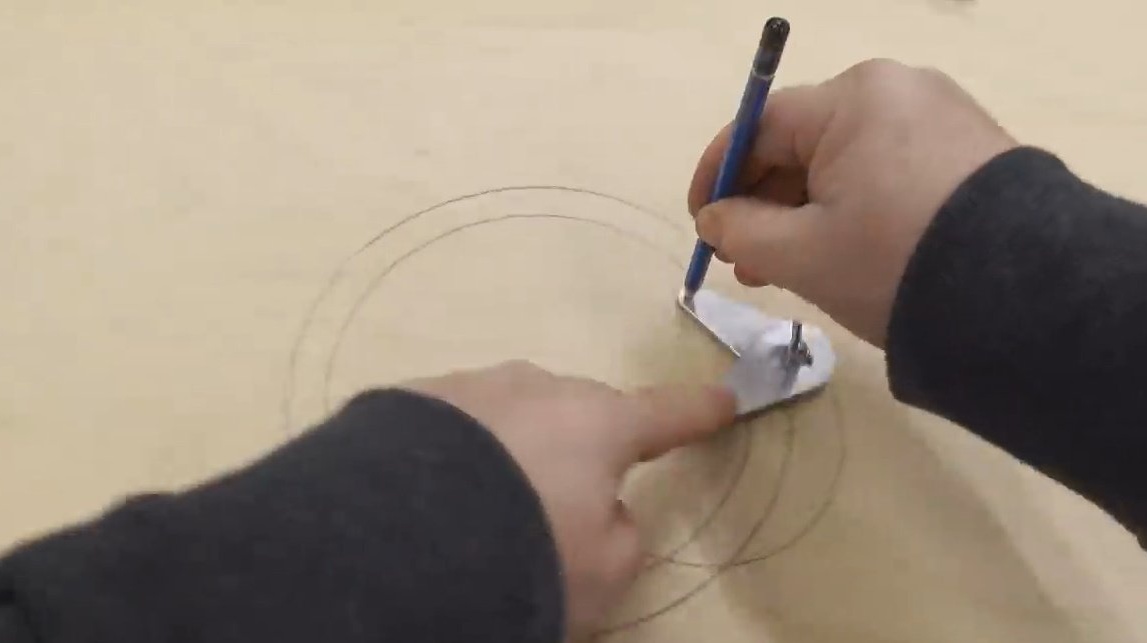
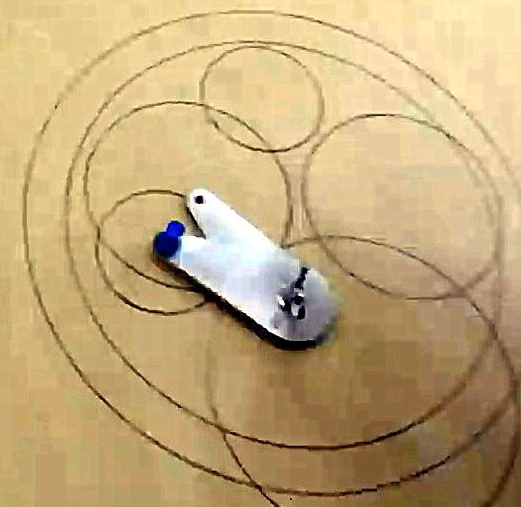
But such circles can be drawn very quickly, and with high accuracy. The main thing is to carefully press the needle and pencil.

Thanks to the author for the simple and useful layout. device for the workshop!
All good mood, good luck, and interesting ideas!