
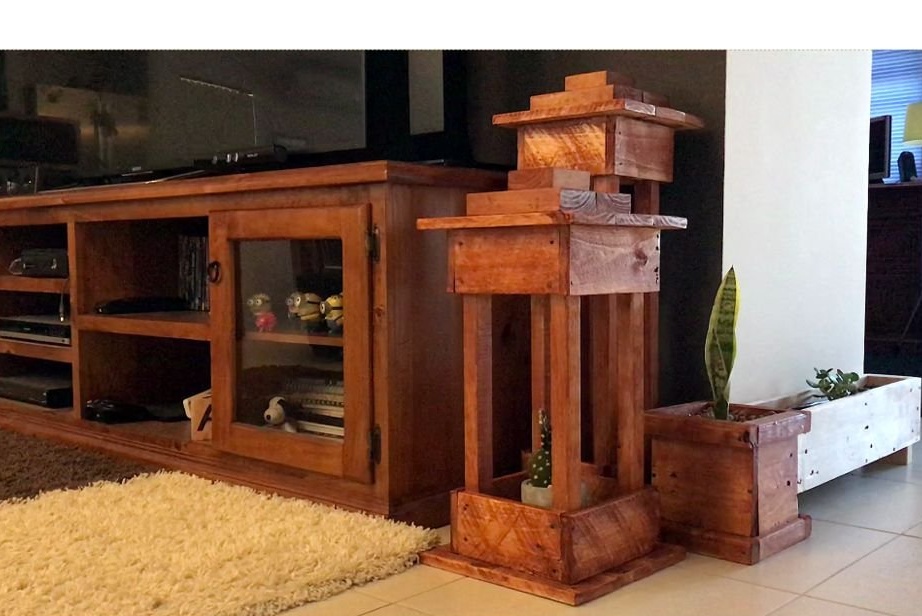
If you often work with wood, then you are probably always looking for simple recycling solutions.
This small project is a great waste management option. Waste production in this case is a pallet, it is a pallet. This homemade is a simple wooden lantern for the living room.
Step 1: Hardware Requirements
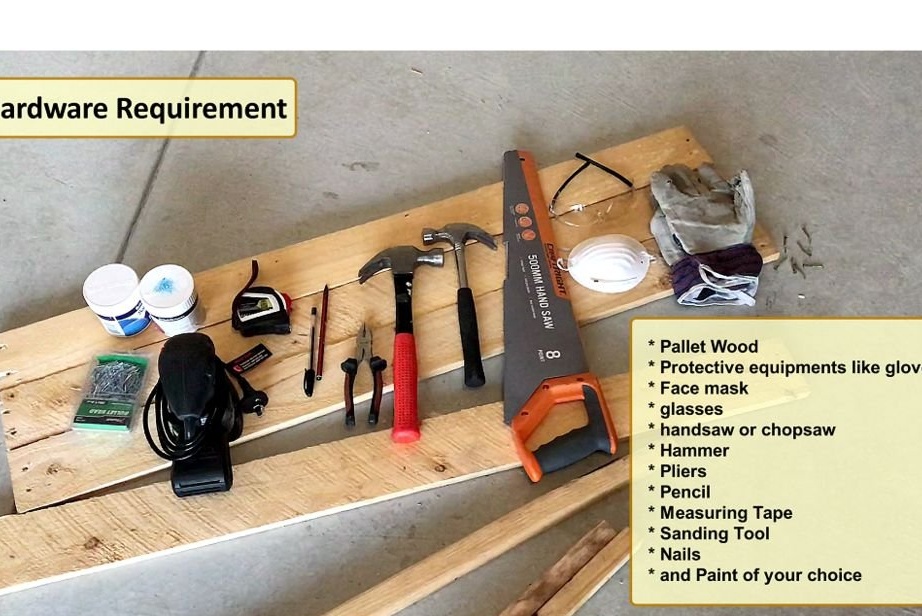
This project will require:
wooden pallet
Protective equipment: gloves, face mask, glasses
hacksaw
hammer
pliers
pencil
roulette
grinding tool
nails
paint, stain, wood primer
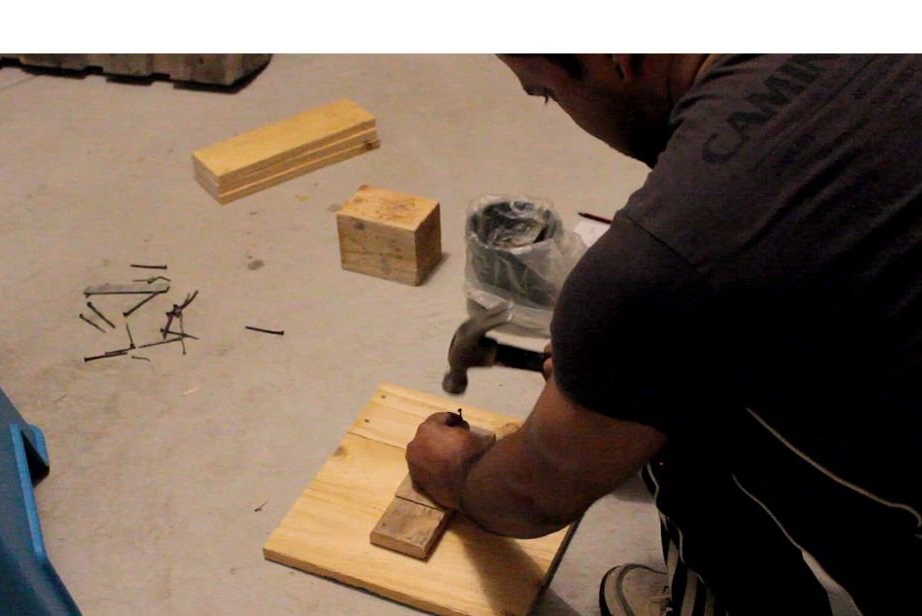
Step 2: Dismantling the pallet
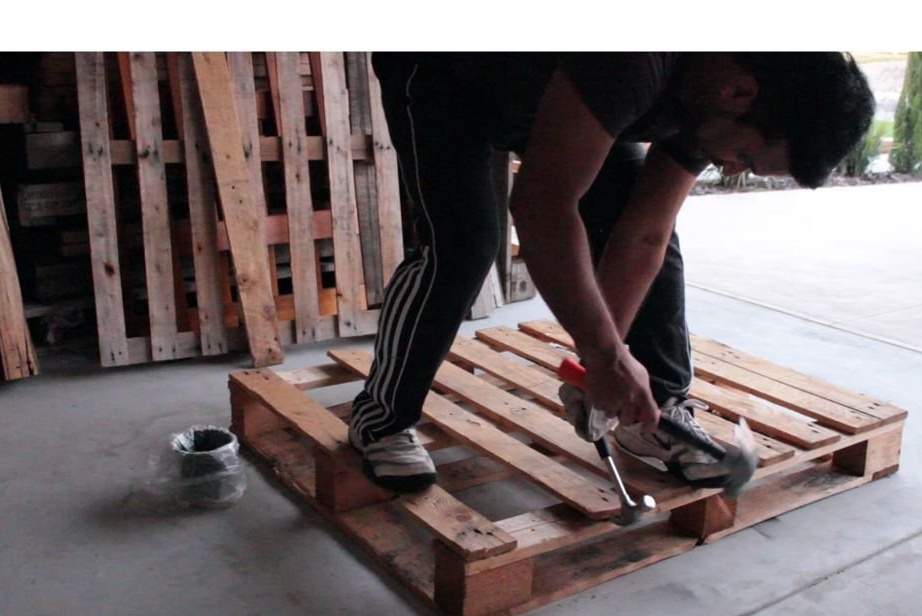
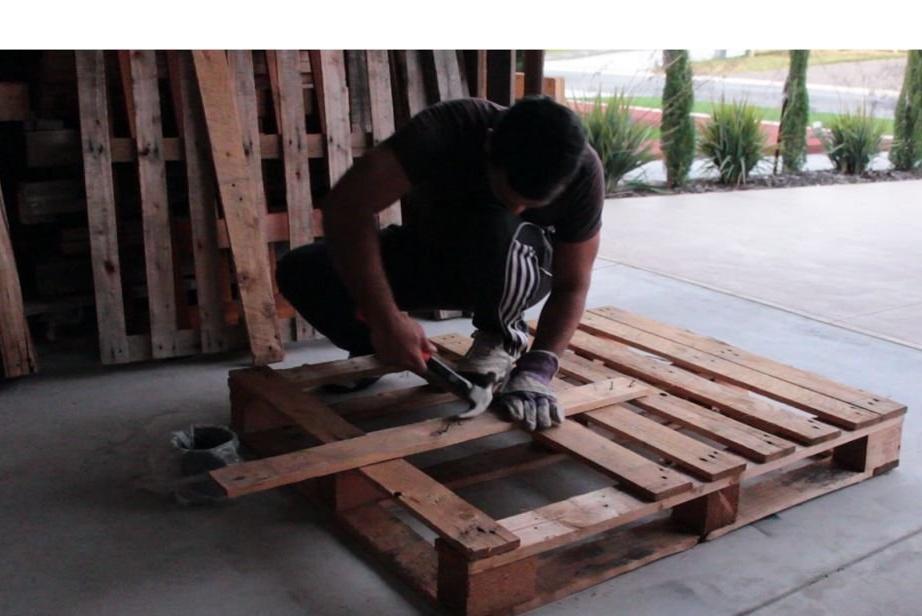
With the help of 2 hammers, the pallet is disassembled. Nails are stored for future use.
The word "lantern" is French, comes from the Latin "lanterna". Today, the English-speaking world uses the term “lantern” to describe many types of portable lighting, but lanterns have emerged as a protective fence for a light source, usually a candle or wick in oil, to facilitate carrying, as well as more reliable lanterns for the exterior and interior.
Step 3: sawing wood
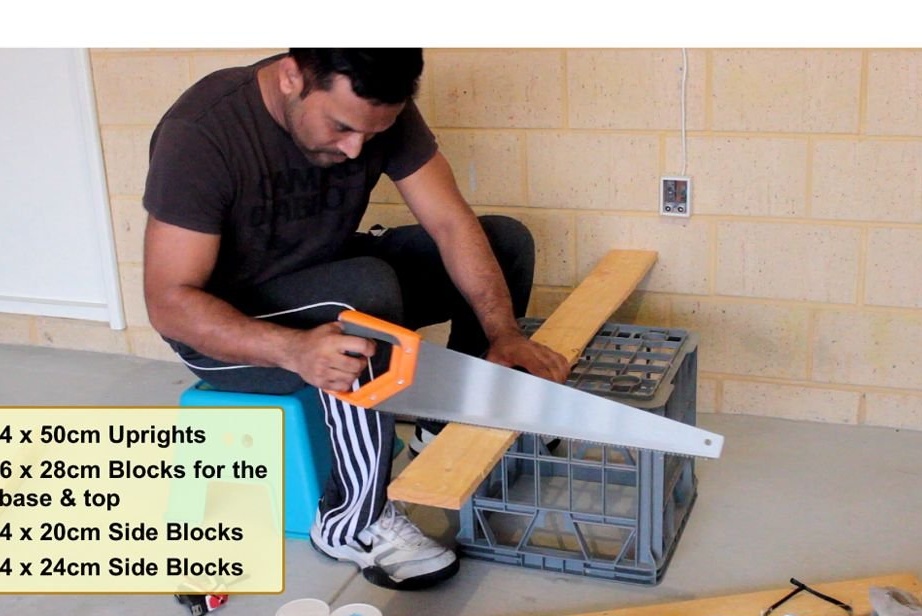
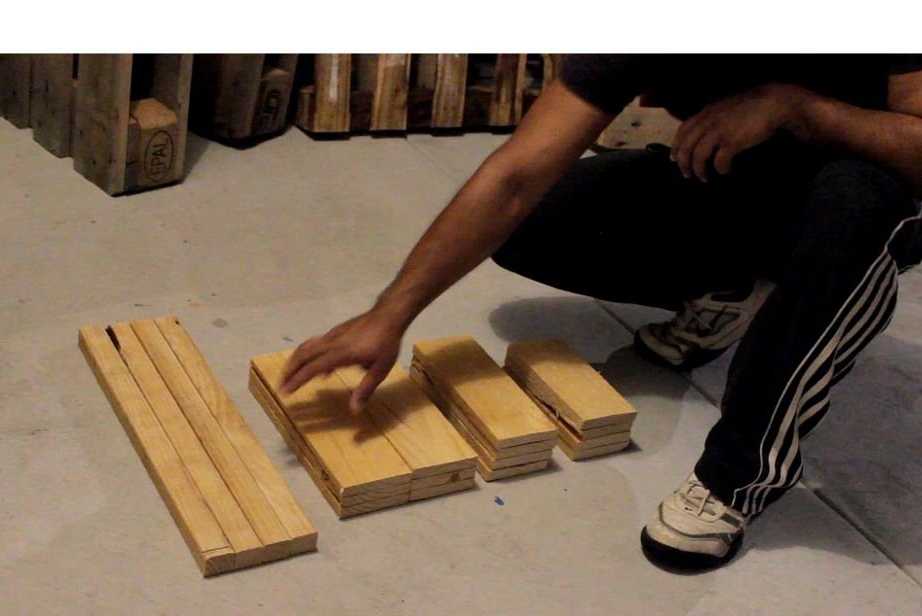
Production begins with sawing and preparing all the wooden parts needed for this project.
Material Required:
timber 4 x 50 cm
Boards for the base and top 6 x 28 cm
4 side boards of 20 cm, 2 on top and 2 on the bottom
4 side boards of 24 cm 2 on top and 2 on the bottom.
Step 4: Build
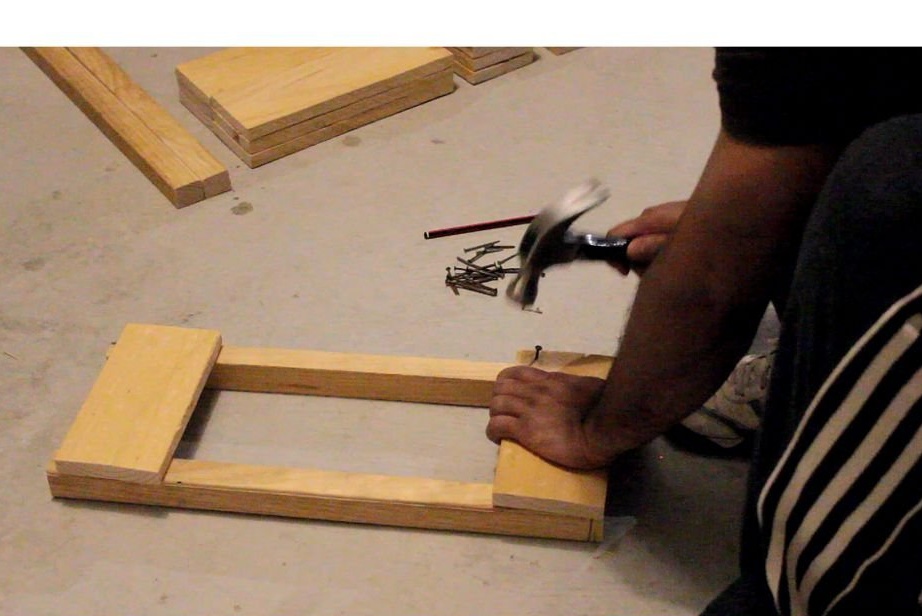
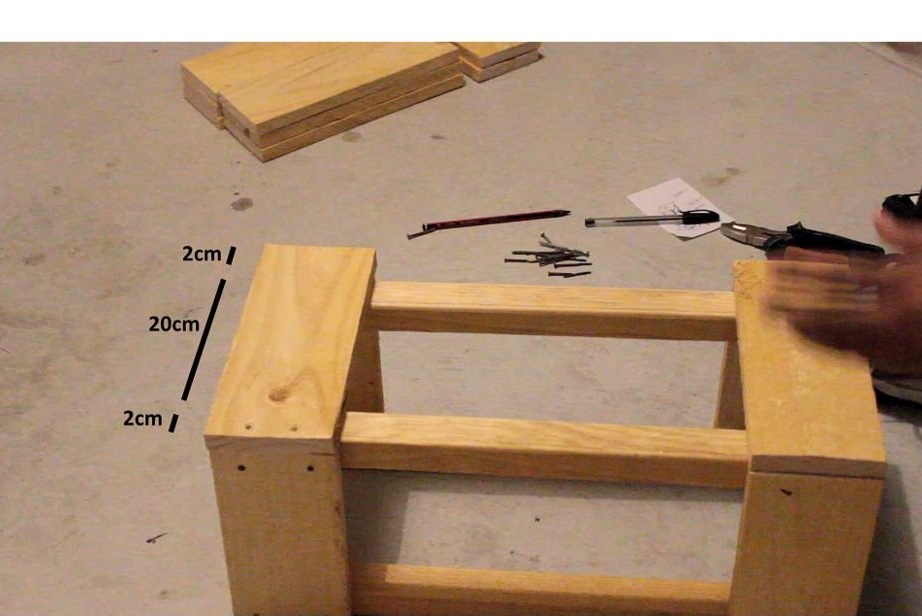
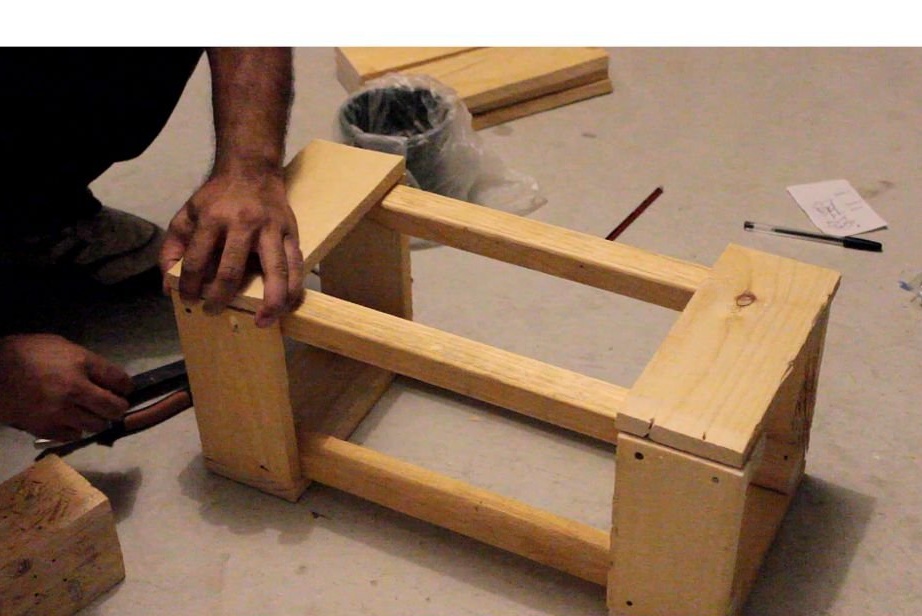
First of all, it is necessary to connect 4 beams, which act as racks. We knock down 2 racks with two boards 20 cm long. We assemble the second, same design.
Then with the help of 4 boards, 24 cm long, these structures are joined together. The boards in the pallet have a thickness of 2 cm, so an additional 4 cm is added for 4 boards to overlap the sides. When the frame is ready, you need to collect the top and bottom of the structure.
The lantern is mainly used to prevent the extinguishing of a burning candle or wick from wind and rain. Another equally important function is to reduce the risk of fire.
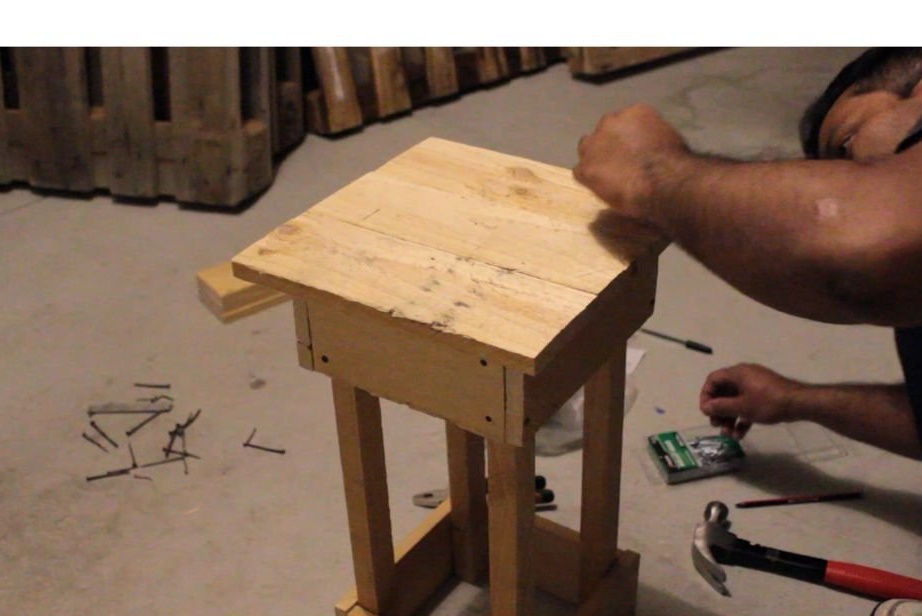
Step 5: Model appearance
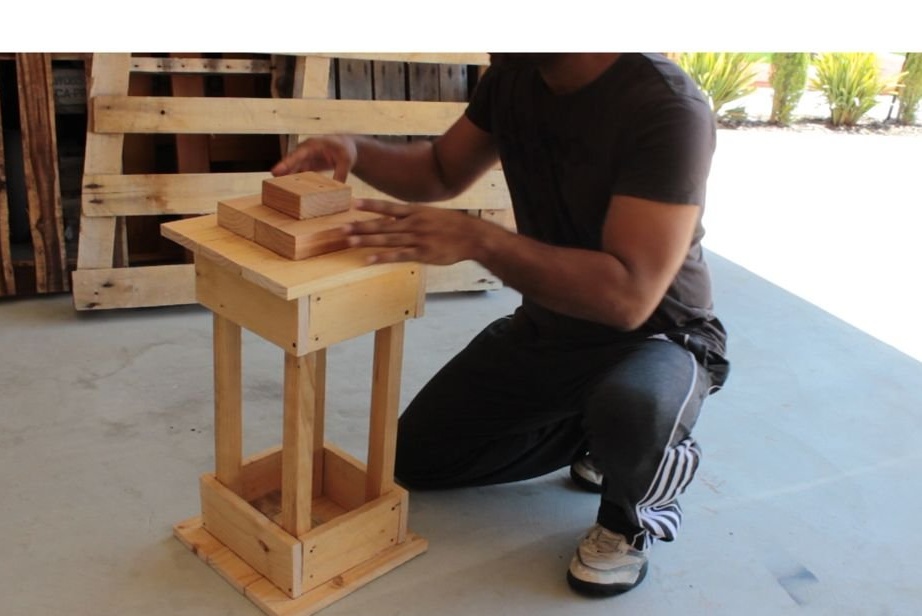
A pyramidal cover will be placed on top to give the project a more pleasant look.
Step 6: Sanding and Painting
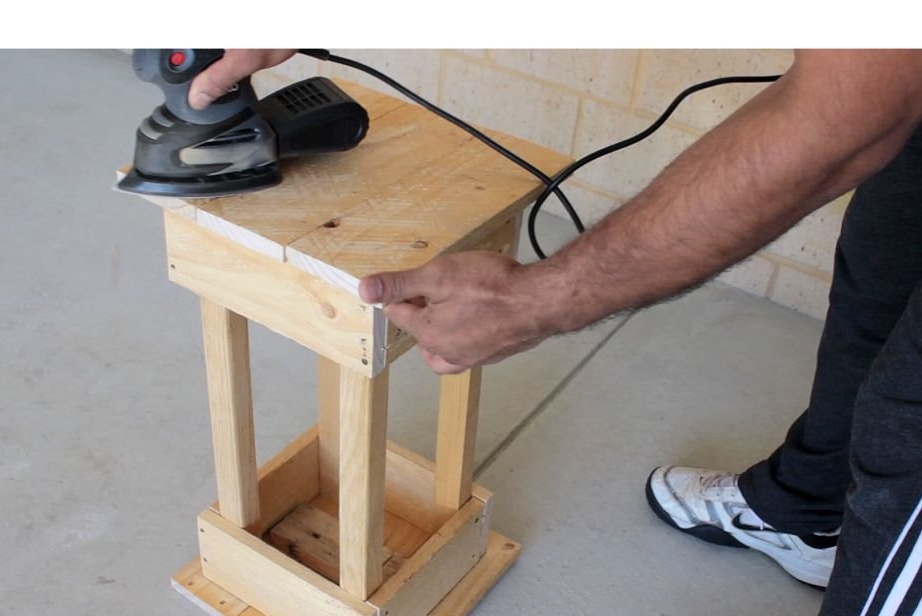
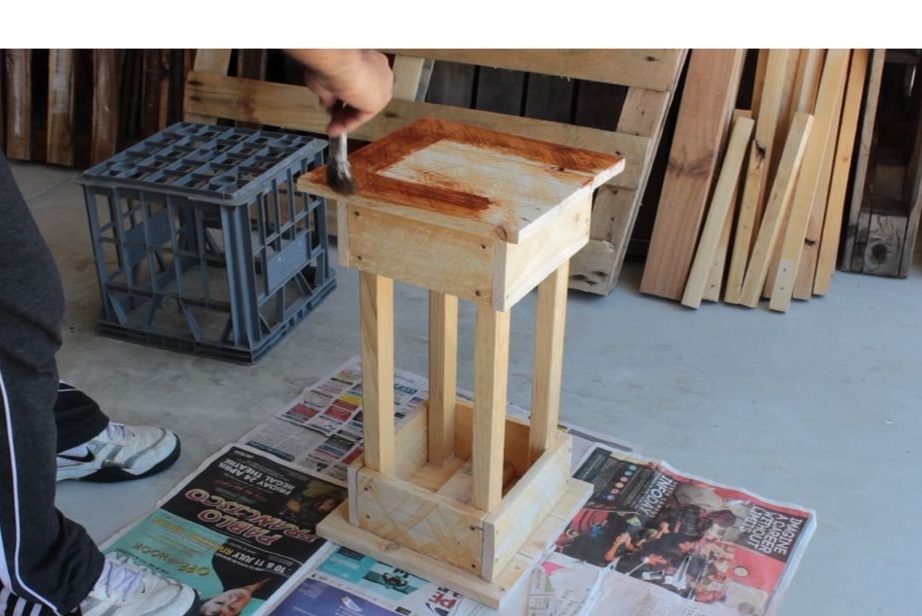
Before painting, it is necessary to grind this product to give it a pleasant and smooth look. After this stage, the structure is coated with a primer on wood or wood stain.
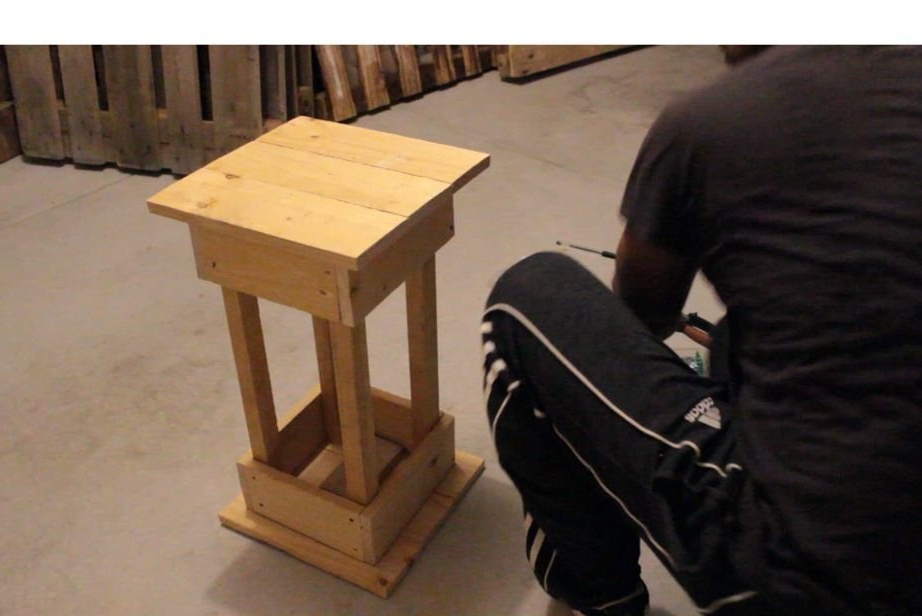
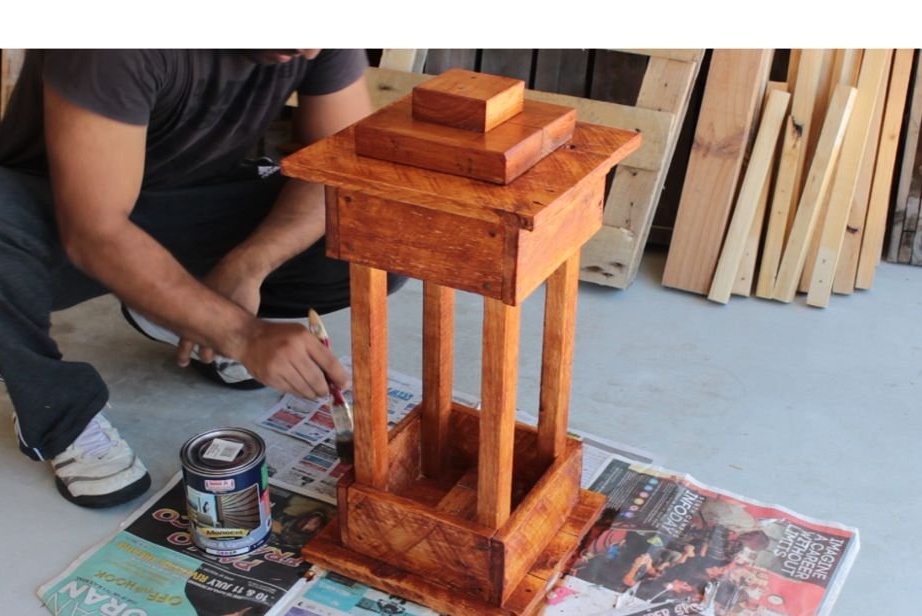
Step 7: Finishing up
It turned out another beautiful creation from the pallet, which can decorate the interior.