

The press is a tool that is not very often used in the home the garagebut when you need him, you can’t do without him.
The master needed to straighten the curved bicycle axle. This required a press. Since the requirements are minimal, the size of the press should be medium in size, between the height of the bench and the floor level.
He also wanted the hydraulic jack to be removed in case he needed it elsewhere.
Step One: Safety First
A small amount of welding will be required on the upper and lower arms of the jack jack, as well as on the legs of the stabilizer.
With this in mind, all welding precautions apply: long sleeves, suitable welding gloves and an arc welding helmet. Keep in mind that you can get UV burns in the neck area that is not covered by the bottom of the helmet, especially when welding objects on the floor. Proper shoes (safety shoes or at least leather shoes) are also required during welding. It’s hard to get neat welds dancing with hot drops of molten metal on the toes.
Due to the fumes, it is recommended to weld in the open air.
There is also a lot of cutting and grinding metal
Given this, eye and hearing protection is a must. An angle grinder with a cutting disc without proper protection causes ringing in the ears, and it also sprays a huge stream of sparks. Beware of the hot spark reflecting off the wall. Wear glasses.
A pair of work gloves reduces vibration transmitted to the hands.
Step Two: Tools and Materials
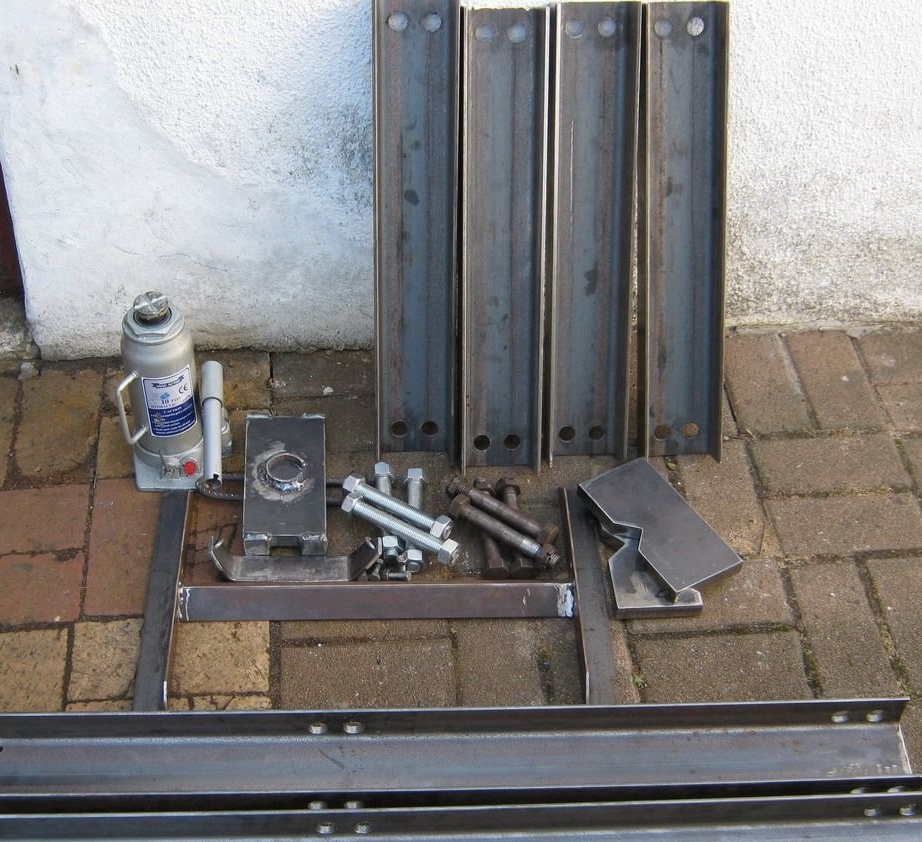

Instruments:
- welding machine;
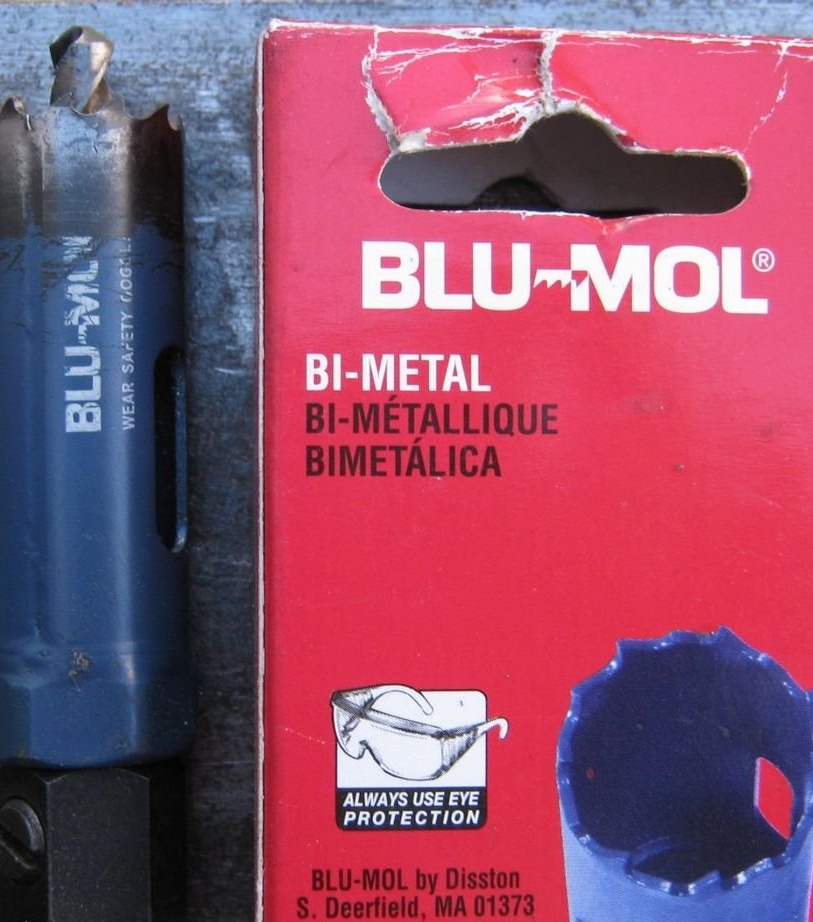
- a drilling machine with a 20-mm bimetallic crown "Blu-Mol", the recommended drilling speed of 440 rpm.
- Angle grinder with a diameter of a disk of 115 mm + detachable and grinding disks;
Materials:
- Meter side racks 2 pcs.;
- Channel 100x50 mm, length 560 mm. for crossbars 4 pcs.;
- Corner 30 mm. and a length of 1.2 m. as a support;
- Crosspiece 460mm;
- A bolt of 20 mm for cross-pieces, 8 pieces;
- M8 bolt for support, 4 pcs.;
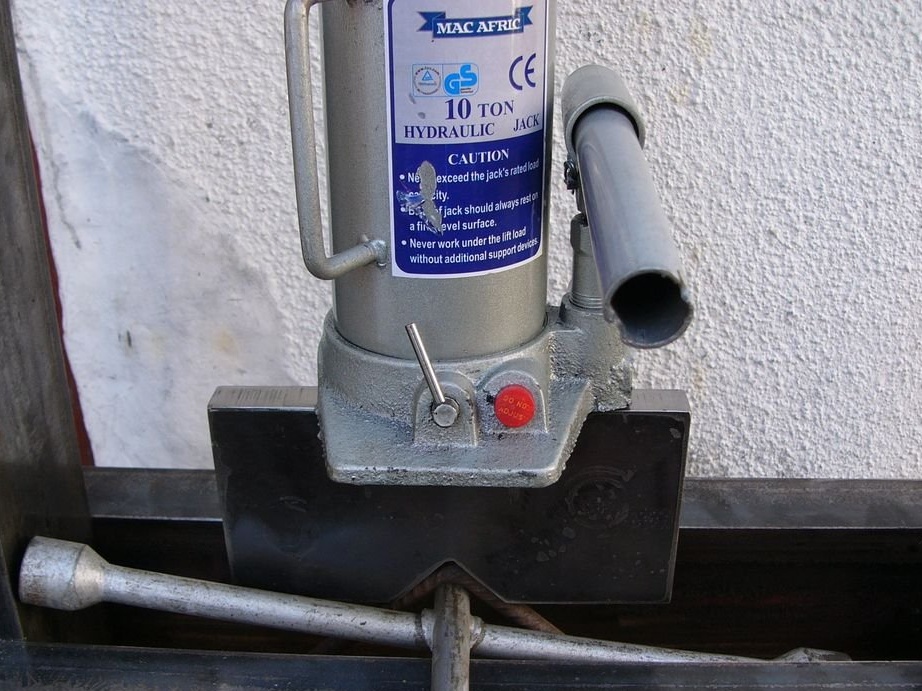
- 10 ton hydraulic jack
- A metal plate for the upper bracket of the jack 200 mmx 100 mm x 20 mm 1 pc.;
- Mild steel metal plate for bottom bracket
300mmx3mm 1 pc.;
- fittings for mounting the brackets of the return spring of the upper bracket 300 mm x 10 mm 1 pc .;
- V-shaped blocks 200mm x 100mm x 20mm 2 pcs.;
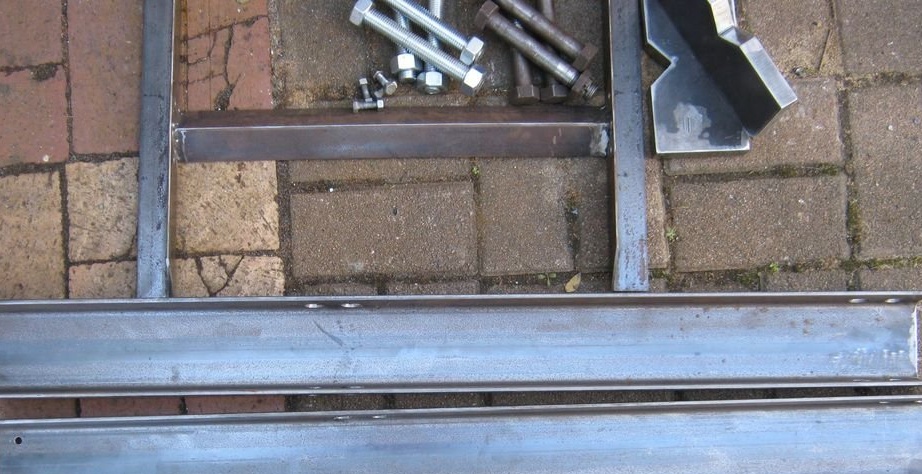
Step Three: Assembling the Lower Support

At the very beginning, the master decided to cut and weld the transverse bracket from the corner for the lower support. To know the size of this corner, it was first necessary to decide how long the cross members from the channel should be. Since the material is scarce, I had to calculate on the basis of the existing one. Thus, the length of the cross members turned out to be 560 mm, respectively, the length of the transverse bracket for the lower support is 460 mm.
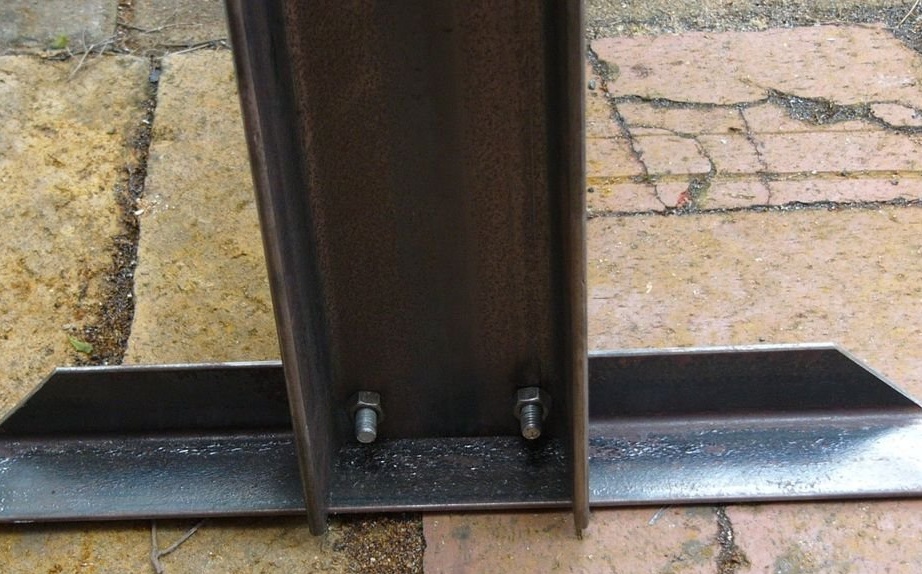
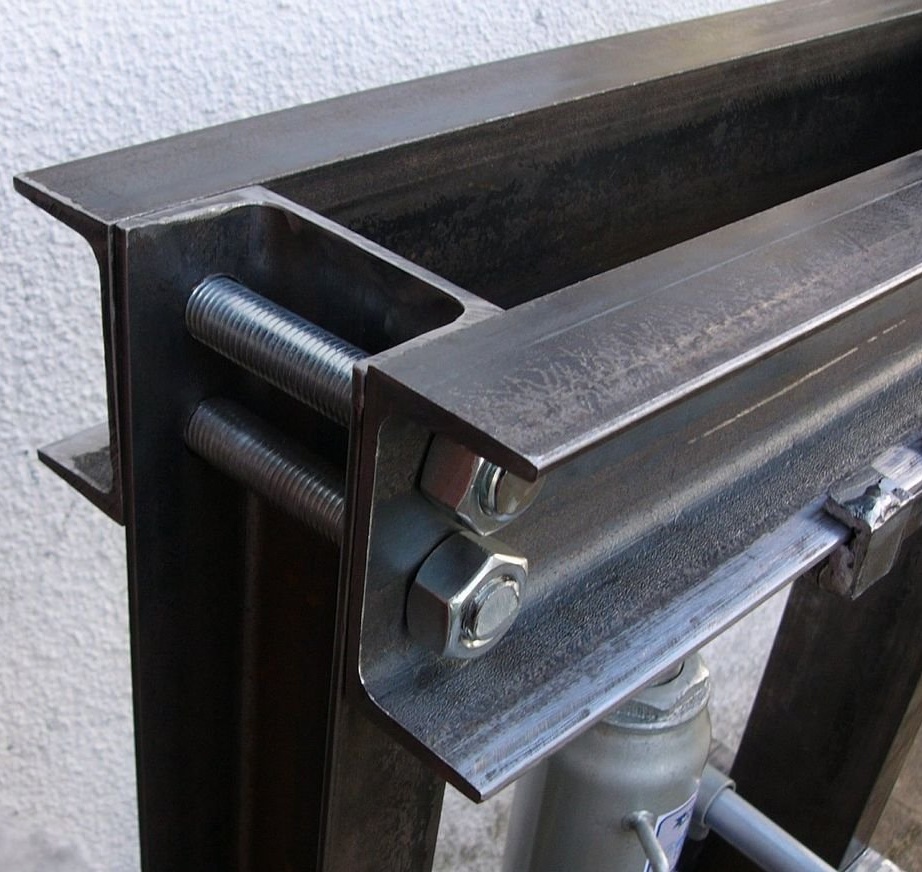
Before welding the cross member of the lower support, it is necessary to mark and drill holes for fastening the side posts, which are made of a channel. After welding the cross member of the lower support, the vertical posts are bolted.
Step Four: Frame Assembly


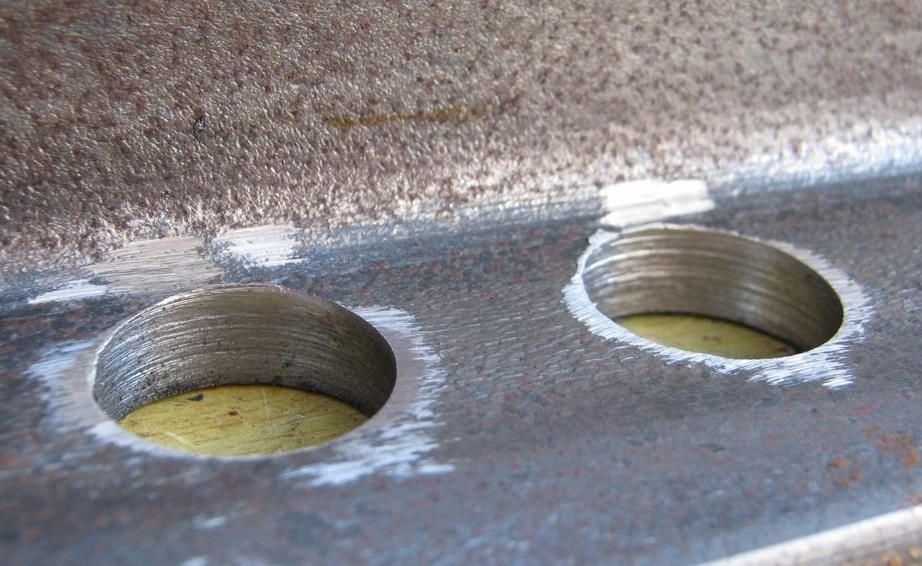
The Blu-Mol bimetallic crown easily passed through 8 mm steel and remained sharp even after 32 holes. On the opposite side of the metal, sharp edges remain after drilling. These metal shavings must be sanded with angle grinders before painting.
The holes on the transverse elements are drilled at a distance of 30 mm from the edges. The master drilled the holes so that the centers of the holes were at a distance of 40 mm from each other (width 100 mm minus 60 mm should be 40 mm). In fact, it would be better if he made them at a distance of 39 mm from each other. So it would be more convenient to tighten the nuts.
Attachments:
2D CAD file with basic measurements
Step Five: Hydraulic Jack Holders

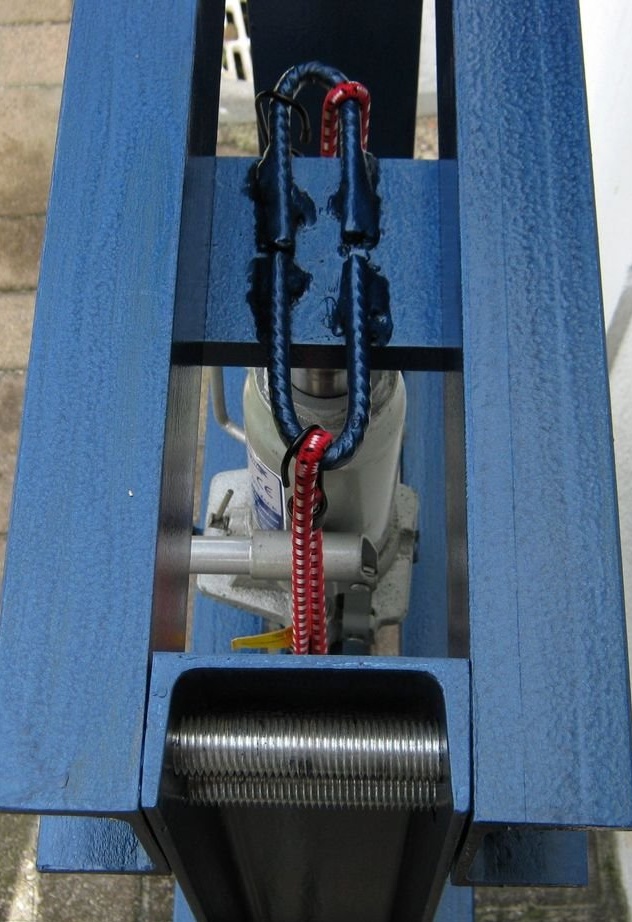
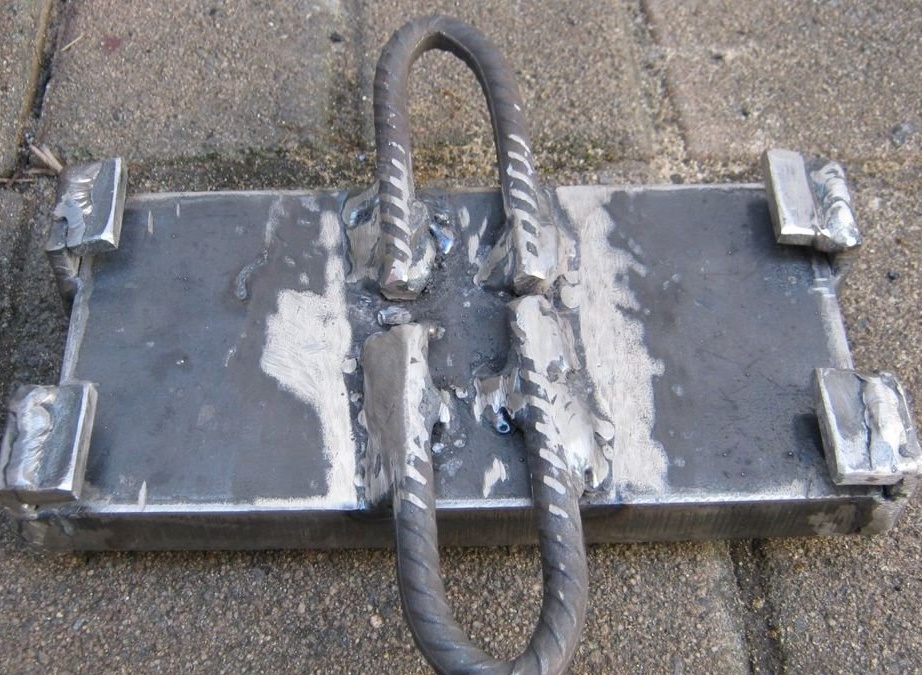
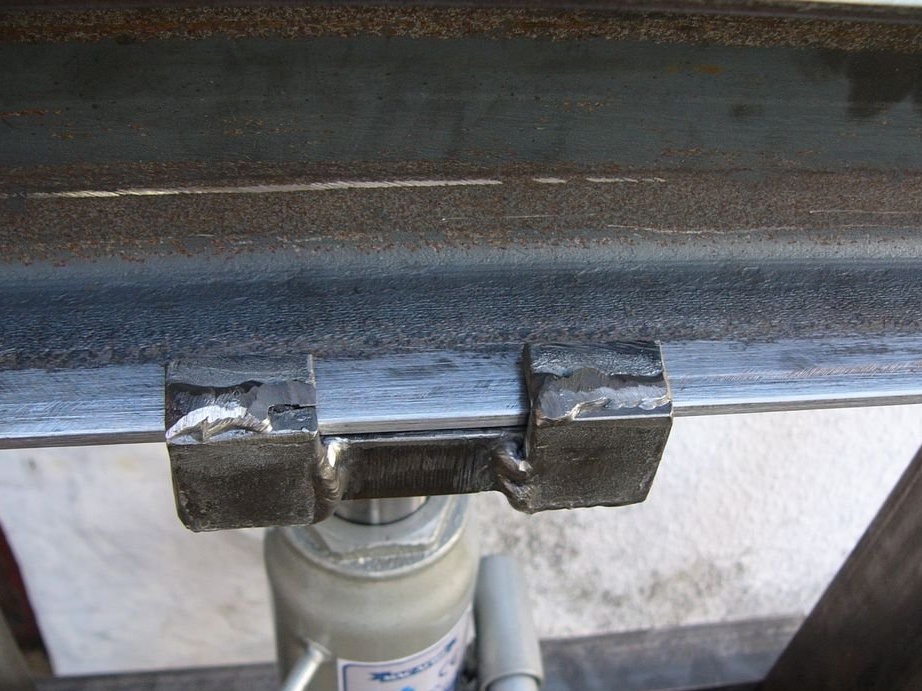

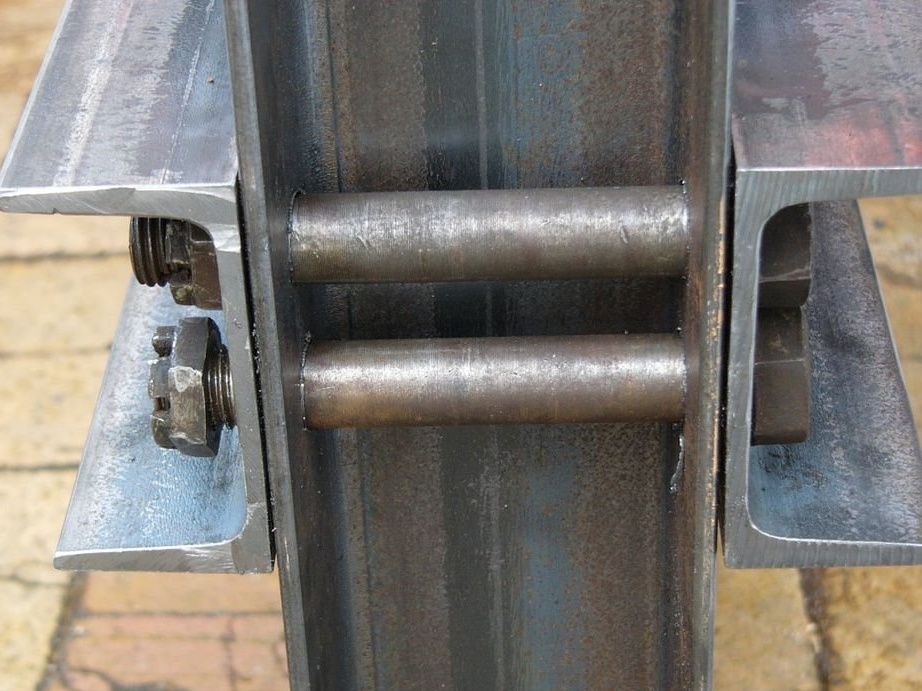
The master welded a piece of pipe to the upper sliding bracket. The upper part of the hydraulic jack will abut against this segment. Then he welded the fittings, having previously bent it, to fasten the return springs, which he still had not been able to pick up. Currently, as temporary huts, instead of the springs, rubber tows are installed, which so far cope quite tolerably.
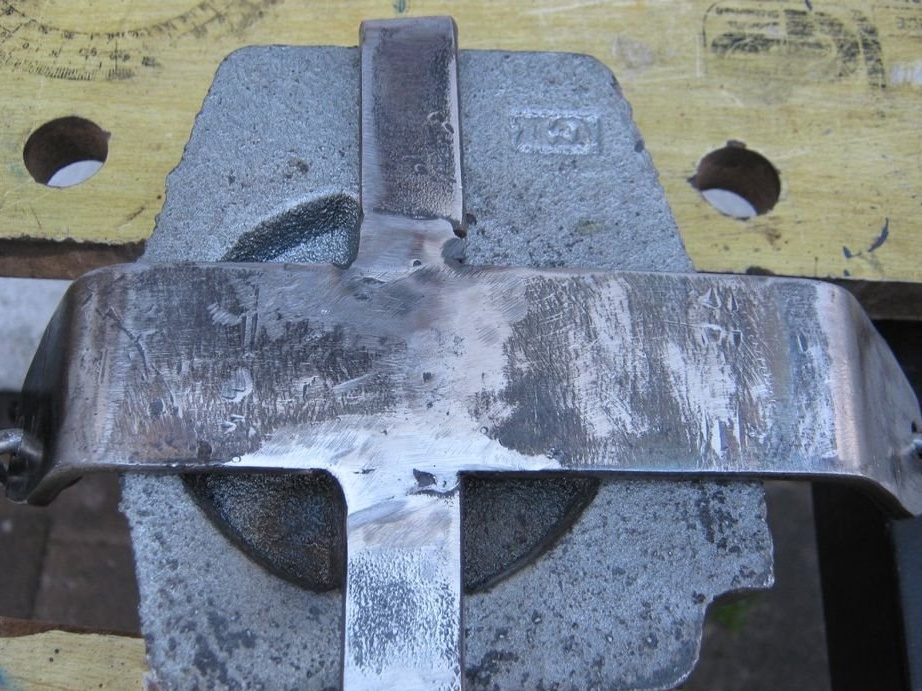
Also, small corners were welded along all four corners of the bracket. They serve for engagement with the upper channels (cross members). This is how the upper bracket turns out to be sliding.
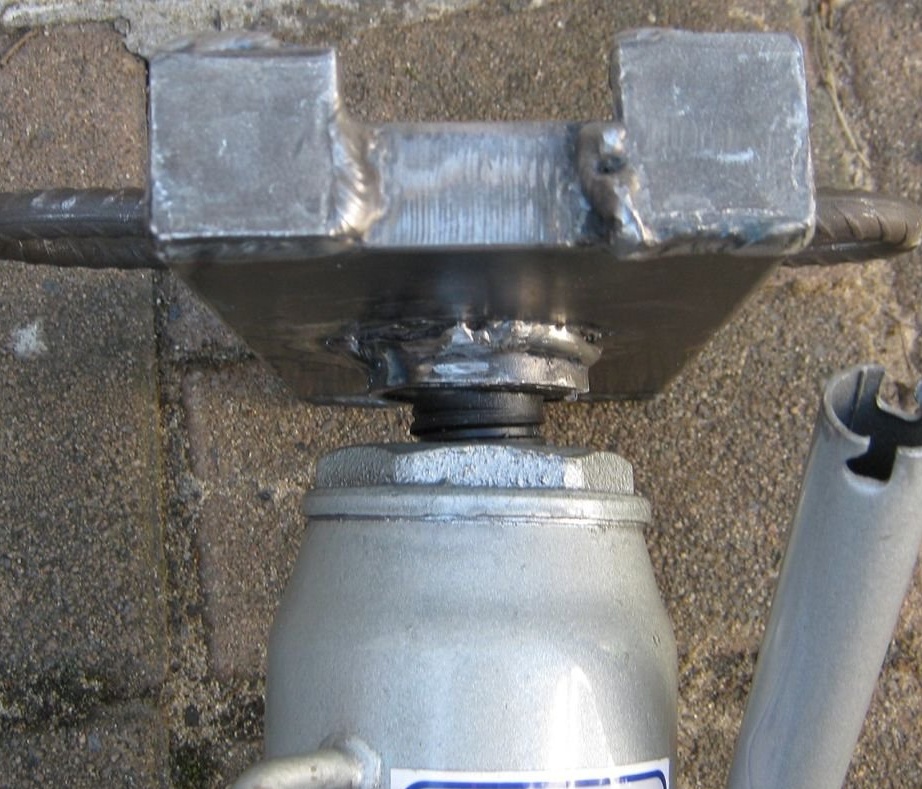
The bottom bracket is two metal plates that are welded and bent to hold the base of the jack. In the bent parts of the plates, holes are drilled into which chain links are inserted and welded. Return links are inserted into these links, now temporarily rubber tows.
Step Six: Testing
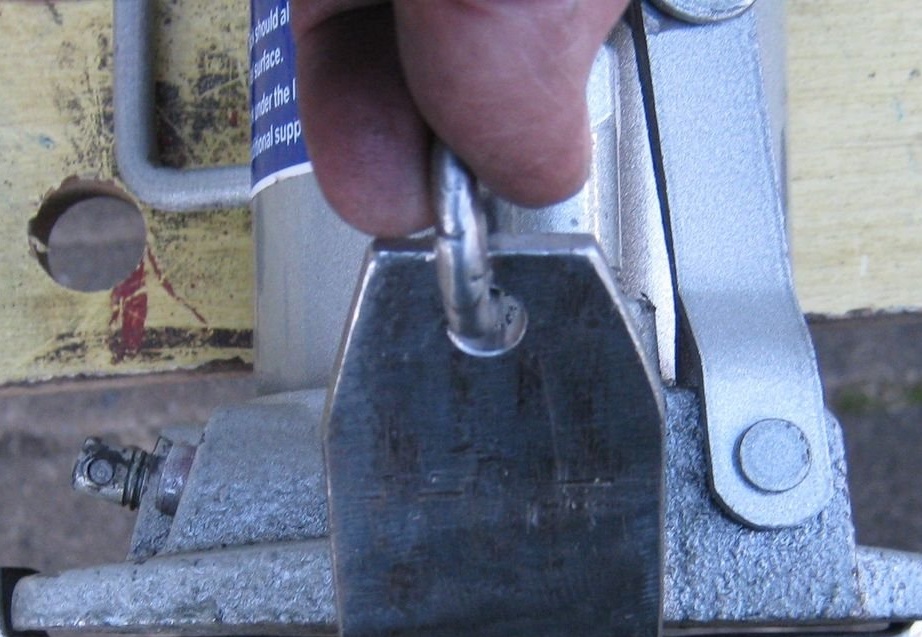
Finalization of the jack.
I had to slightly upgrade the hydraulic jack - replace the original pin on the valve and insert a much longer one to make it easier to use with your fingers.
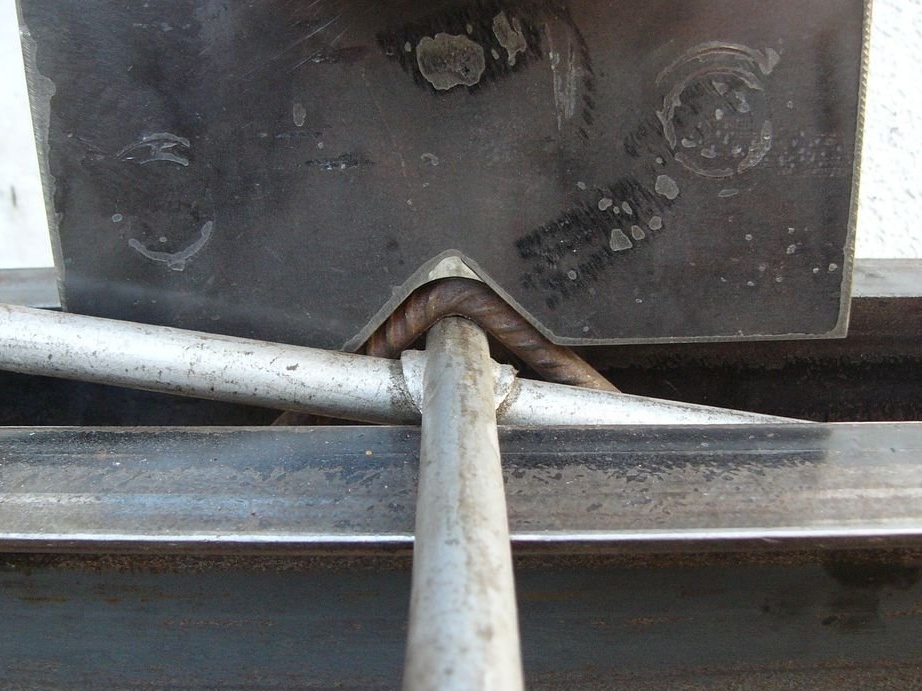
This press easily bends 10 mm rebar on a car spray, but only up to 90 degrees.
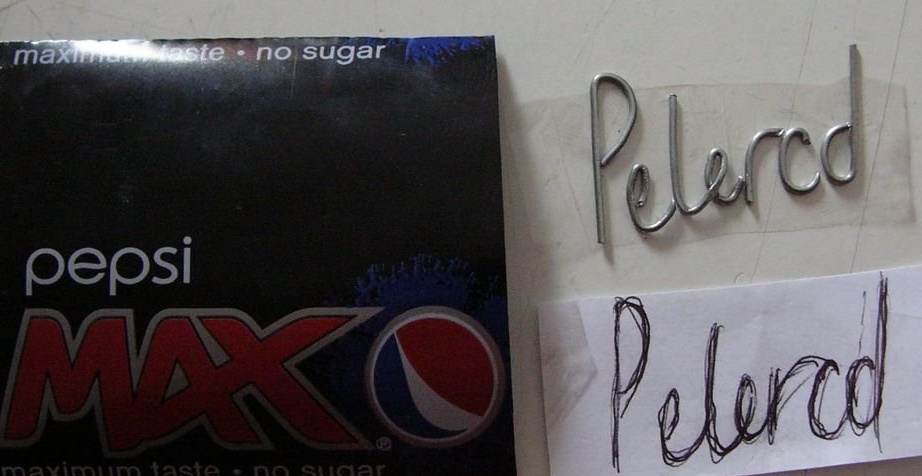
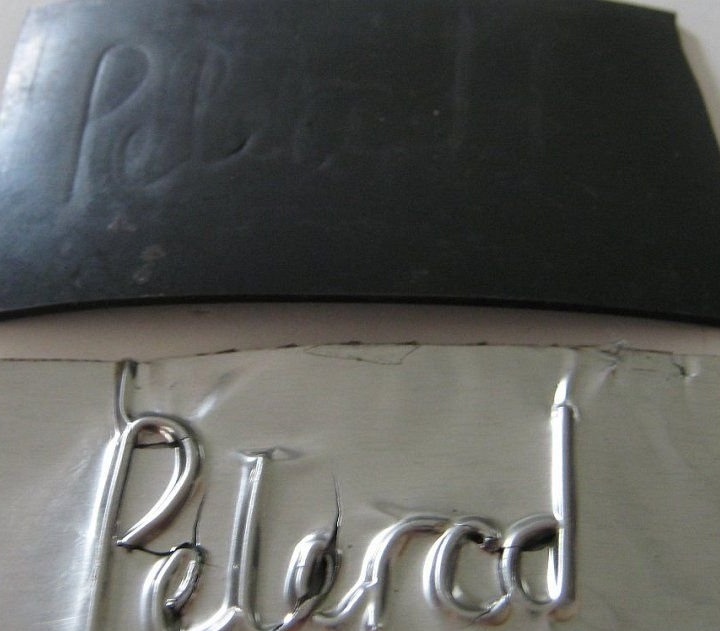
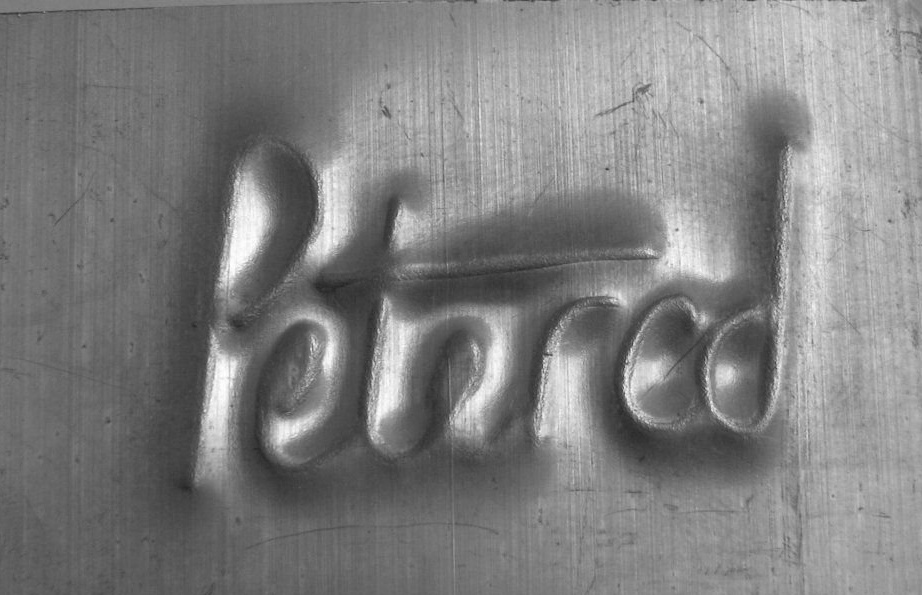
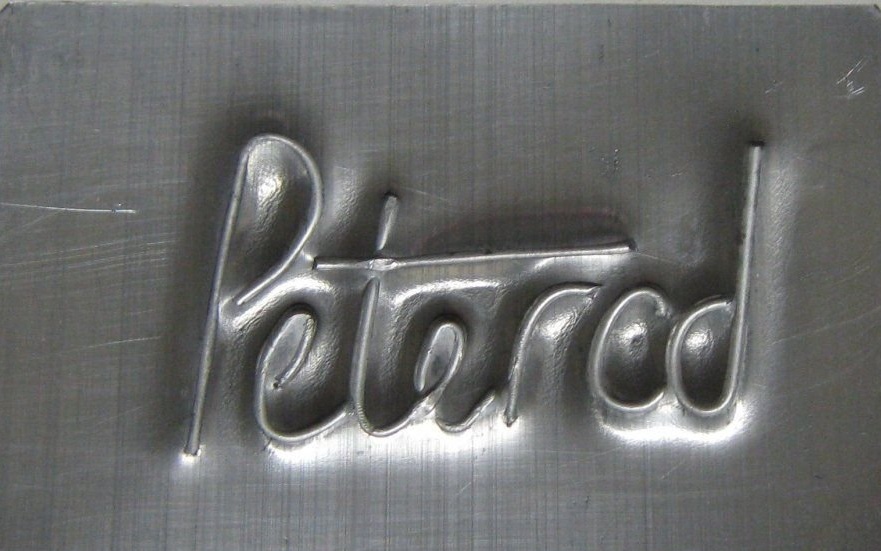
Also with this press was tested the option of manufacturing stamping from an aluminum sheet of can Pepsi. This aluminum sheet has a thickness of 1 mm. As a form, a galvanized wire with a diameter of 1.23 mm and a rubber sheet with a thickness of 1.6 mm were tested as a substrate.
But the thin aluminum sheet from Pepsi wants to tear at the seams. Maybe you should try with thicker metal, maybe it will work. Or, as an option, try using a thinner wire, thinner than 1.23 mm.