
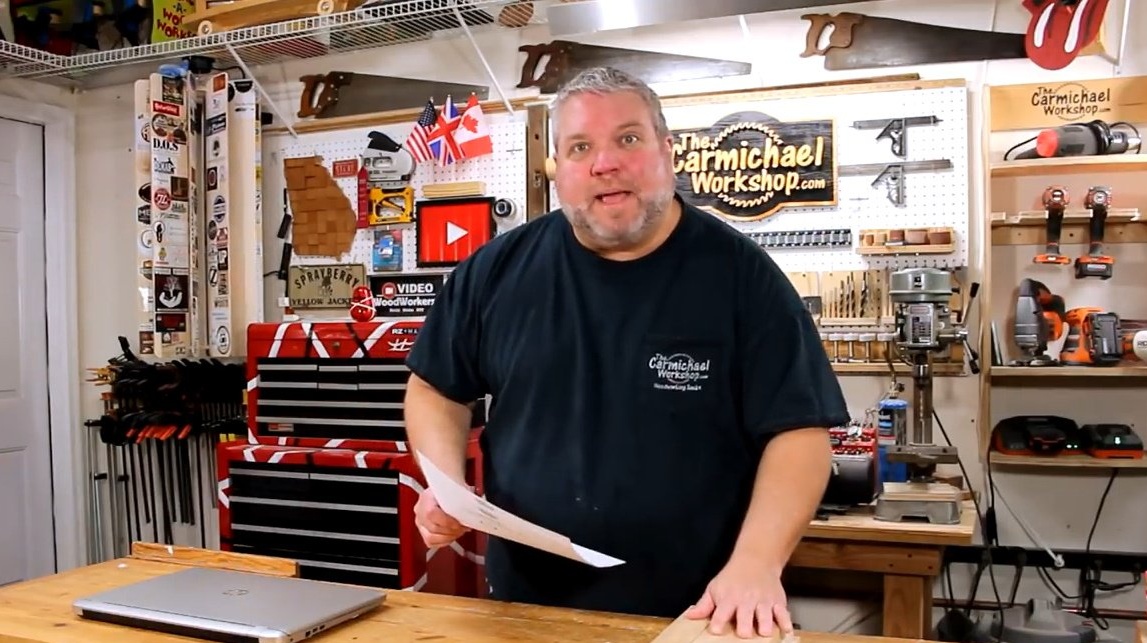
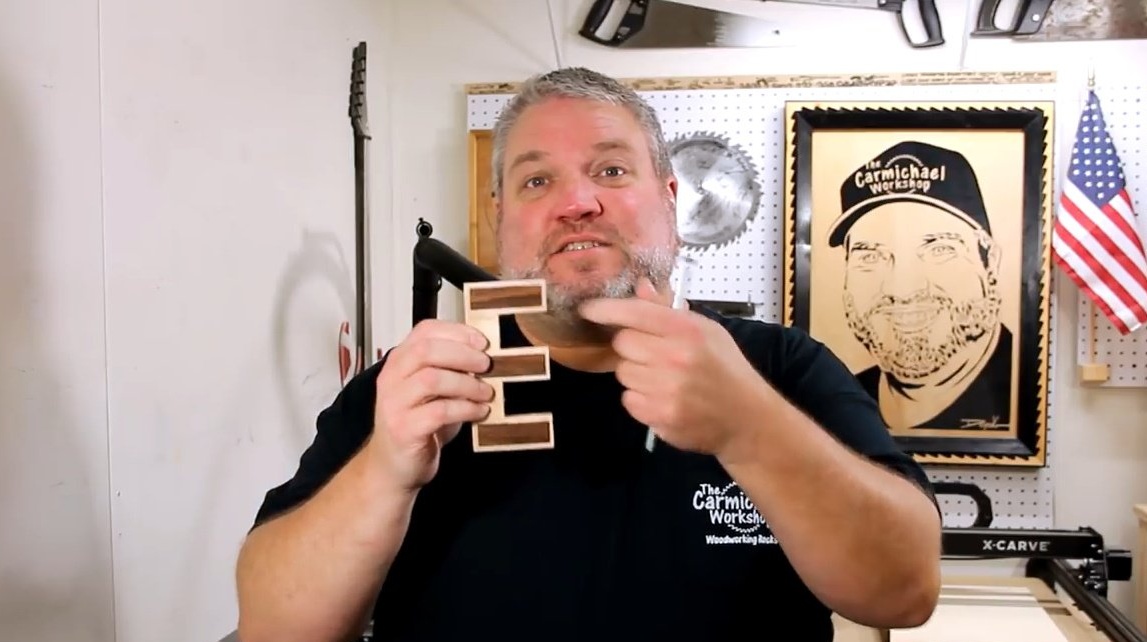
Steve, author of YouTube channel "Steve Carmichael" will tell you how to make working with a laptop more comfortable.

In this article, Steve will give a description of how to make a hinged wall mount for your laptop. The project will be implemented from maple wood.
Materials
- Maple boards
- Mahogany, or hazel
- sheet plywood
- Aerosol varnish
- PVA glue
- Wood screws
- Bolts, nuts, washers, wing nut.
Instruments, used by the author.
- Screwdriver
- Drilling machine
- Neiler
- Band-saw
- Drum sander.
Manufacturing process.
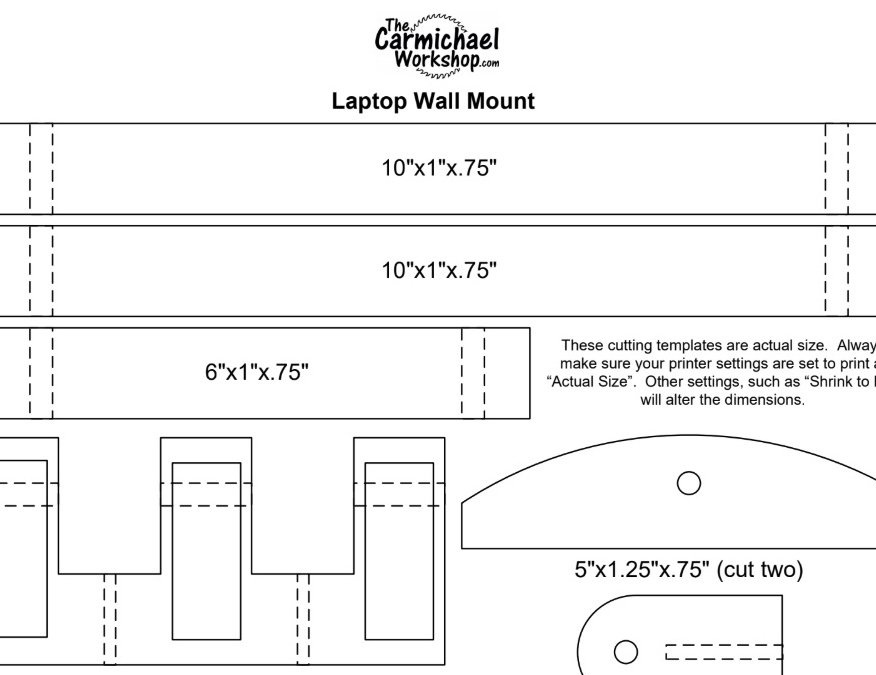
Here is a drawing made in the Microsoft Vision program, designed for a 17-inch laptop. This is a wall mount diagram. Here is an E-shaped part that attaches directly to the wall, connected to two 10-inch parts made of maple and one 6-inch part. All these elements will be connected to each other using 1/4 inch bolts and under each bolt there will be a washer for more free rotation and rotation of all hinge segments.
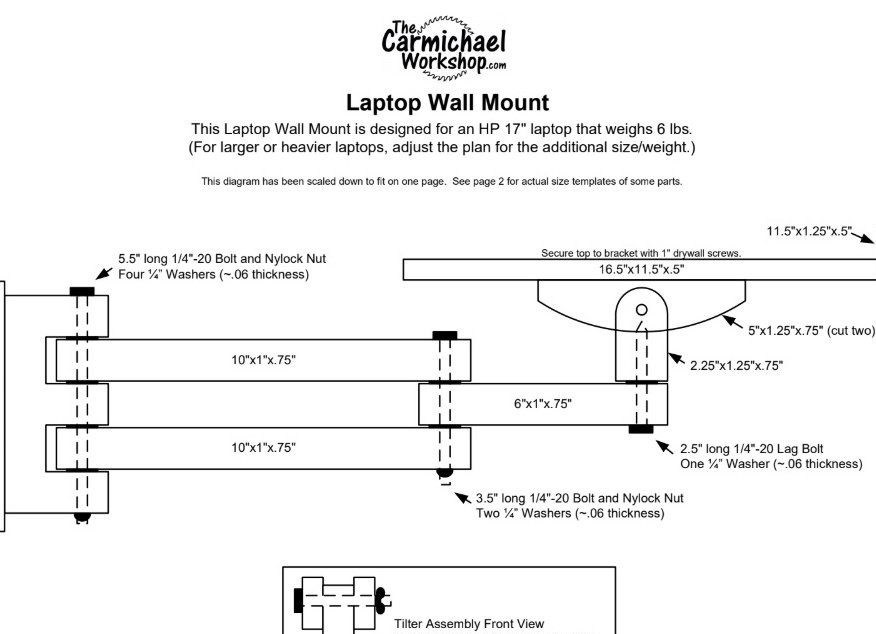
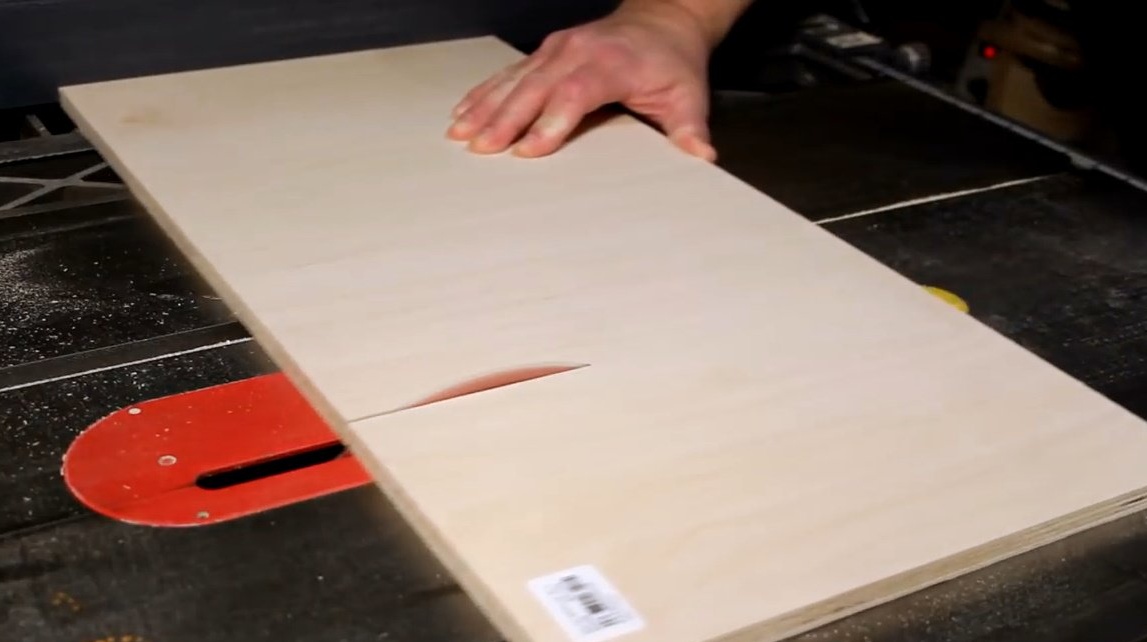
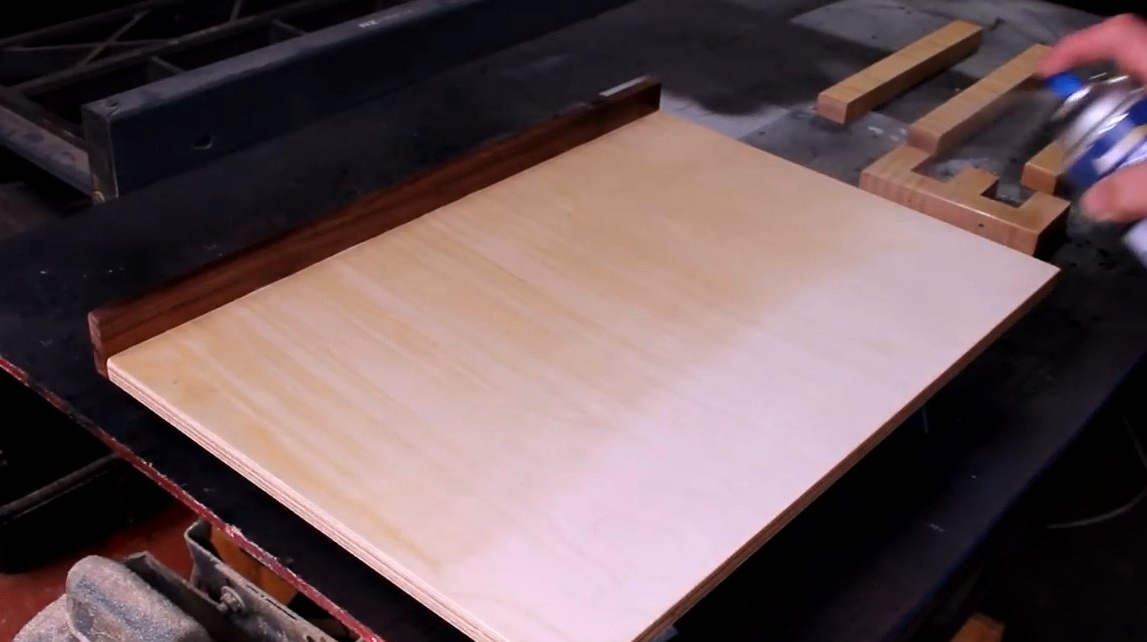
From a piece of plywood, the author will cut out a laptop stand with a small side in front of it so that the device does not slip. The side makes of mahogany boards.
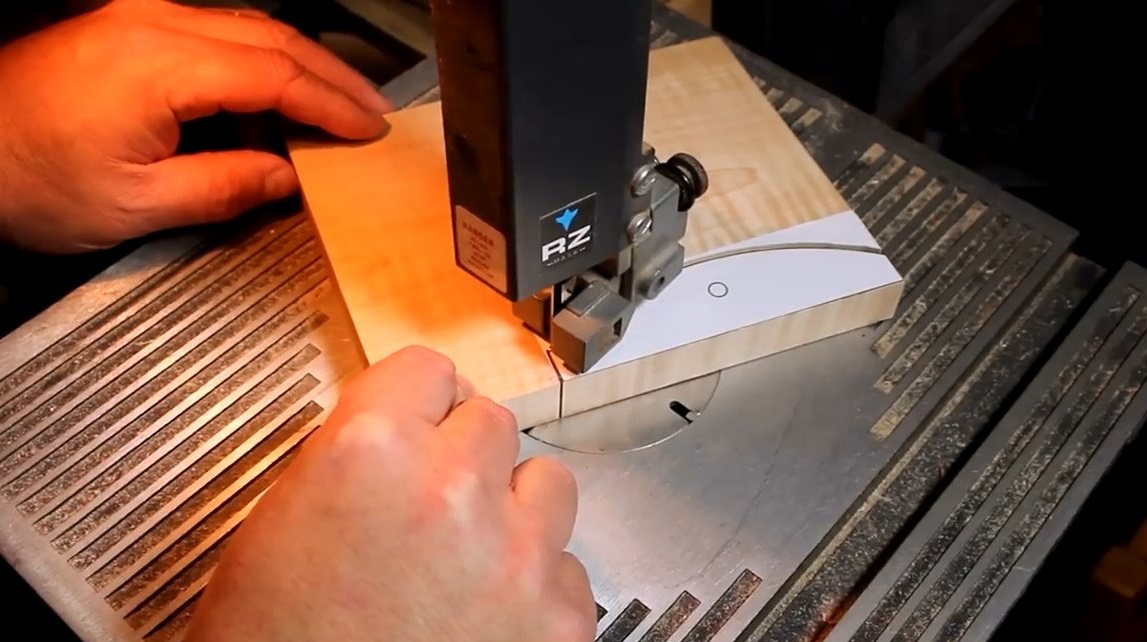
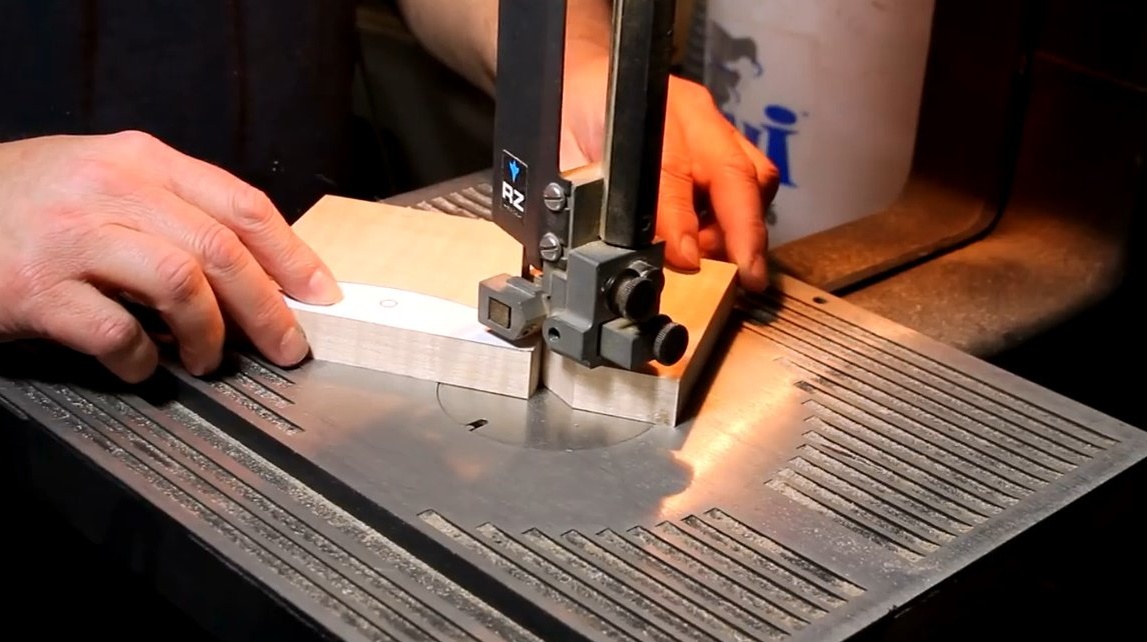
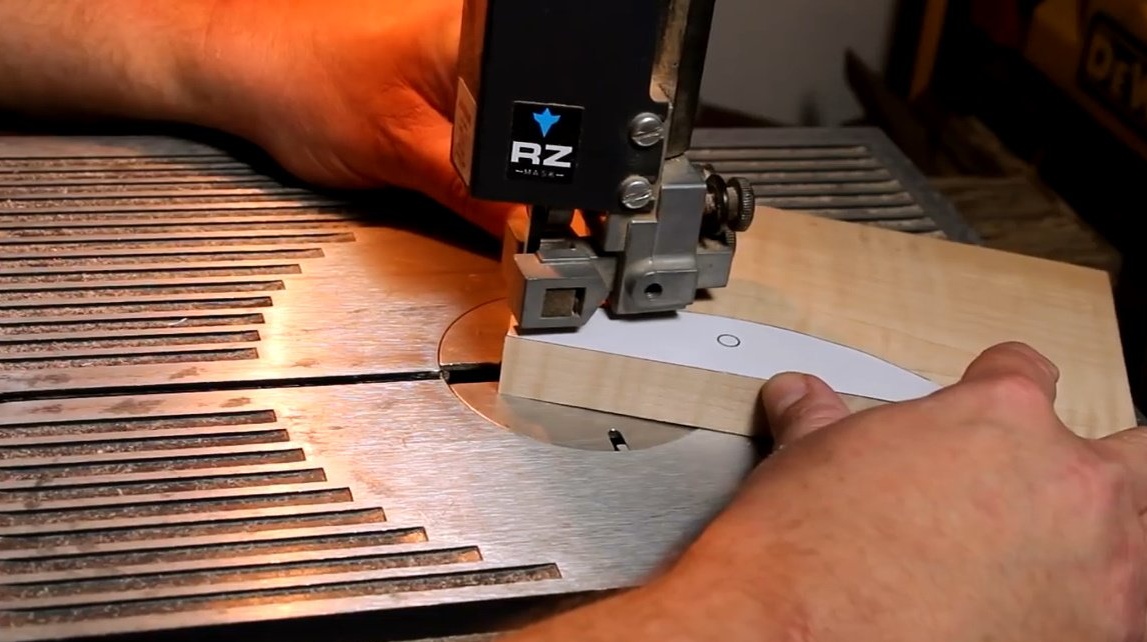
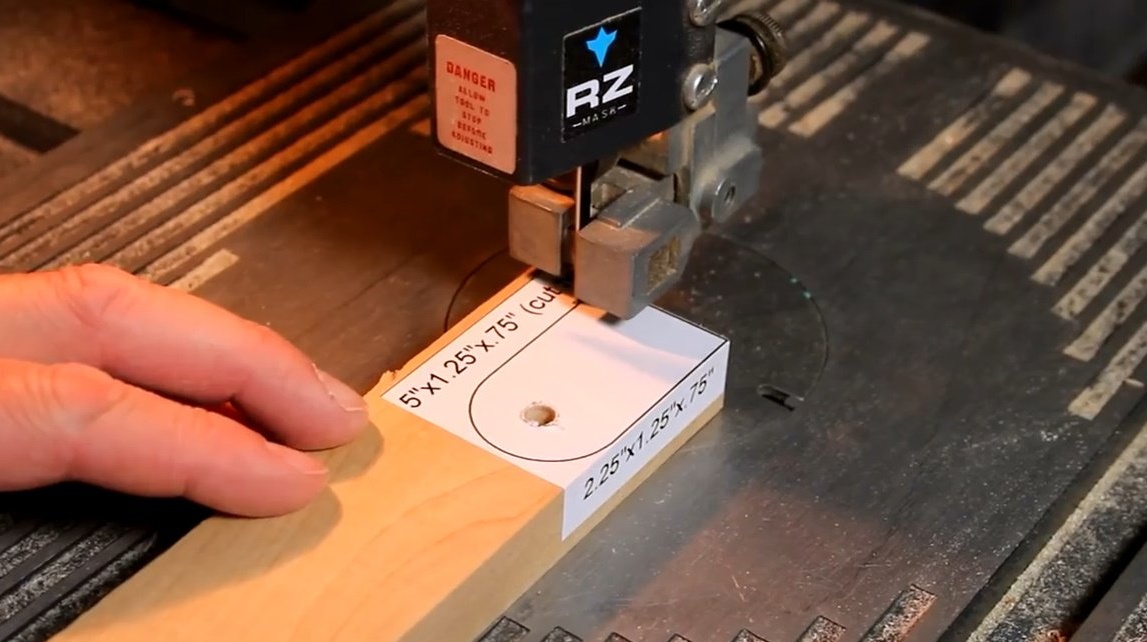
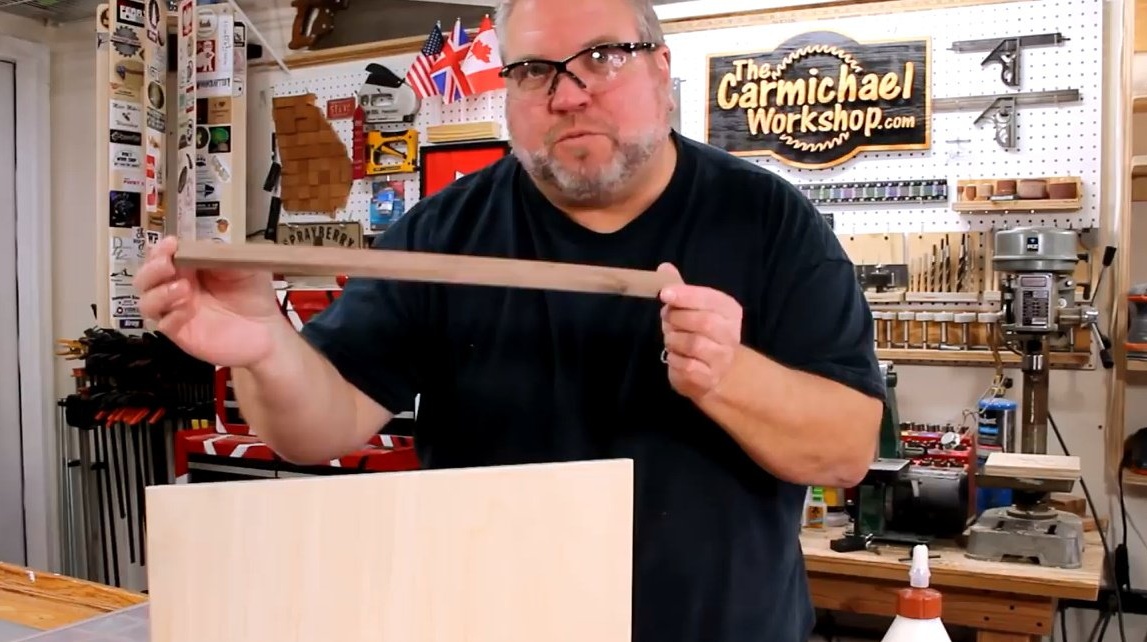
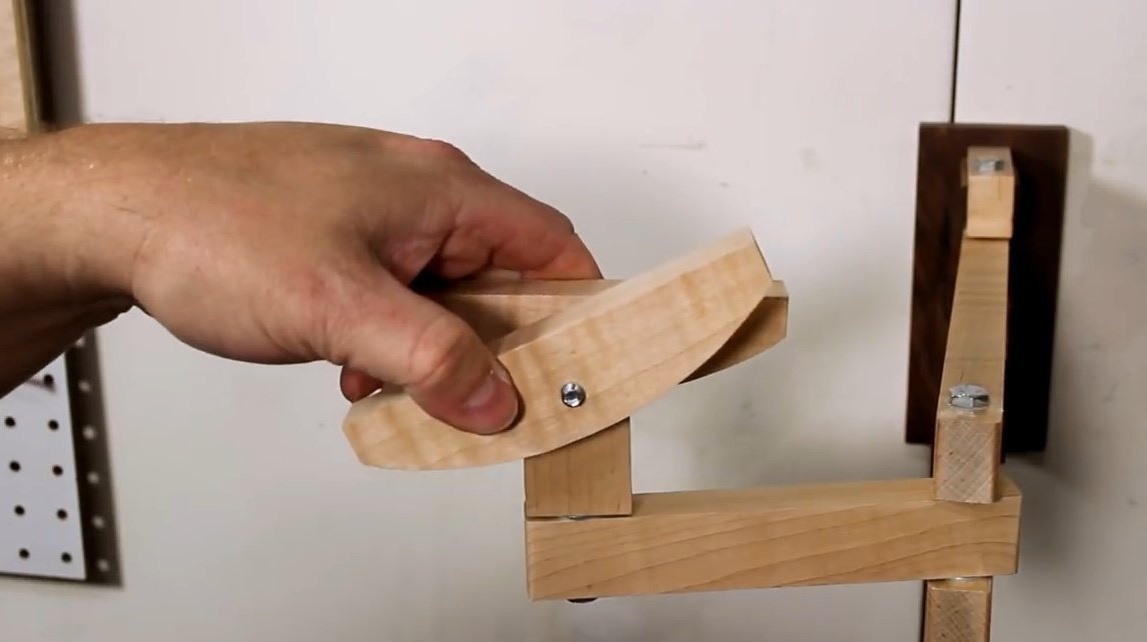
Then he plans to cut out two such curved structural elements that will connect the sleeve to the stand and allow the laptop to be tilted back and forth.
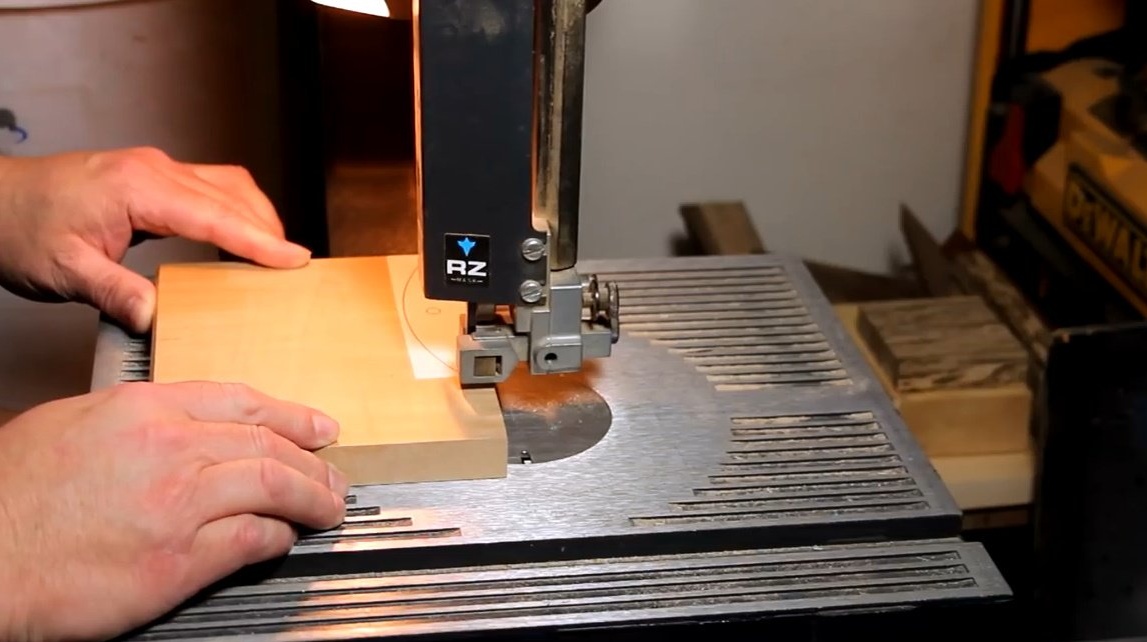
The second sheet presents ready-made templates of all the necessary details. These drawings are available on the website where you can download them in pdf format from this one. Do not forget, the calculation was made for a 17-inch laptop or a smaller machine. For a larger stand, you have to recalculate the parameters.
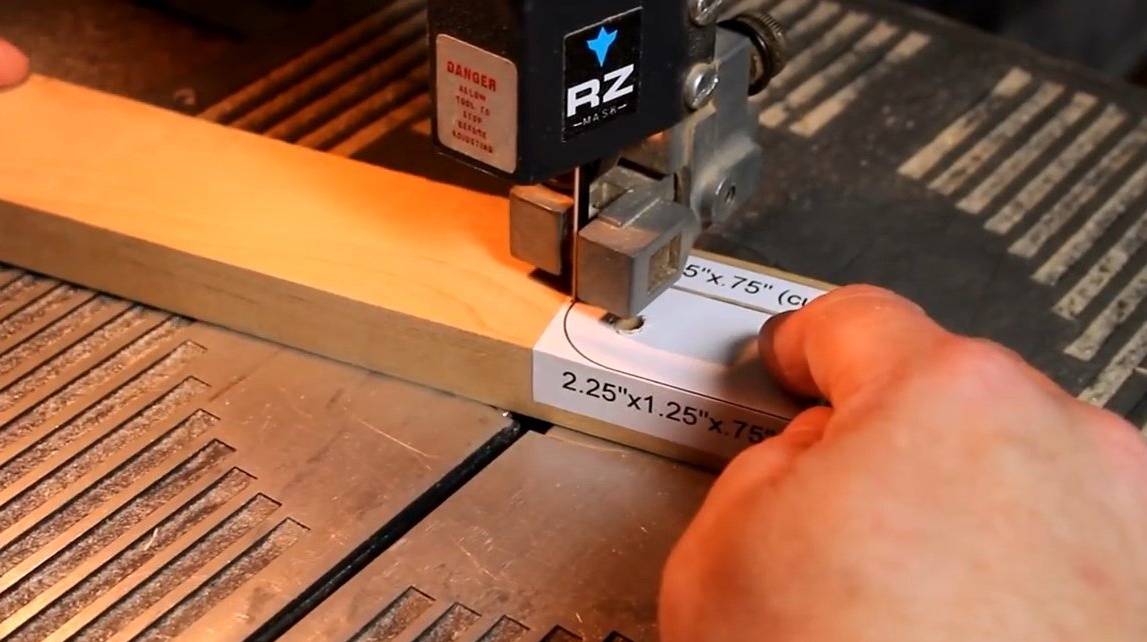
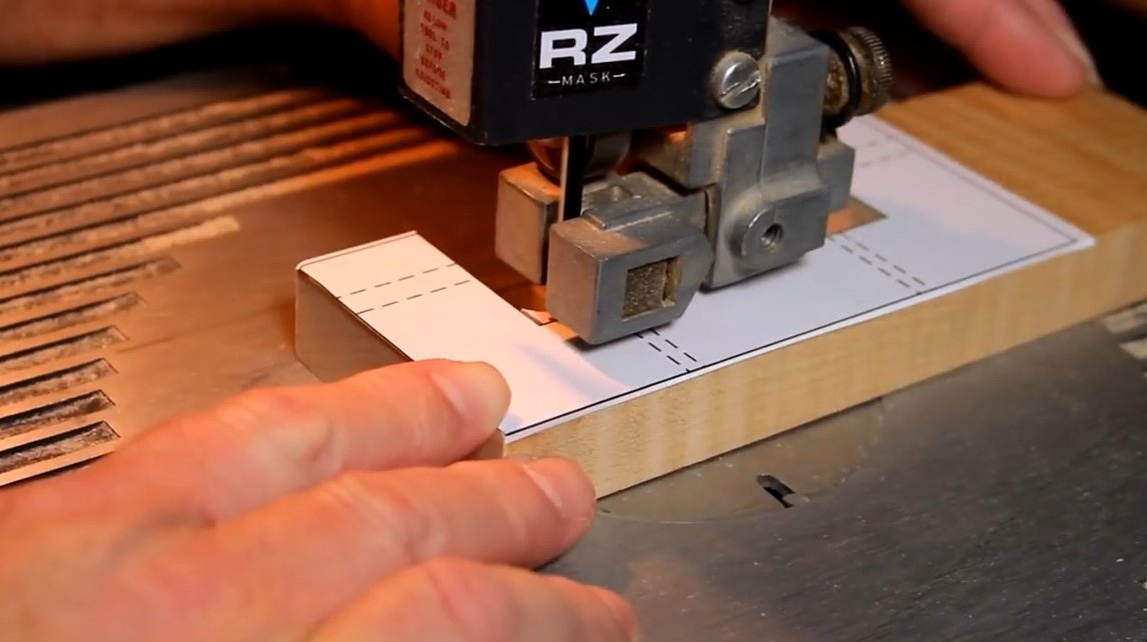
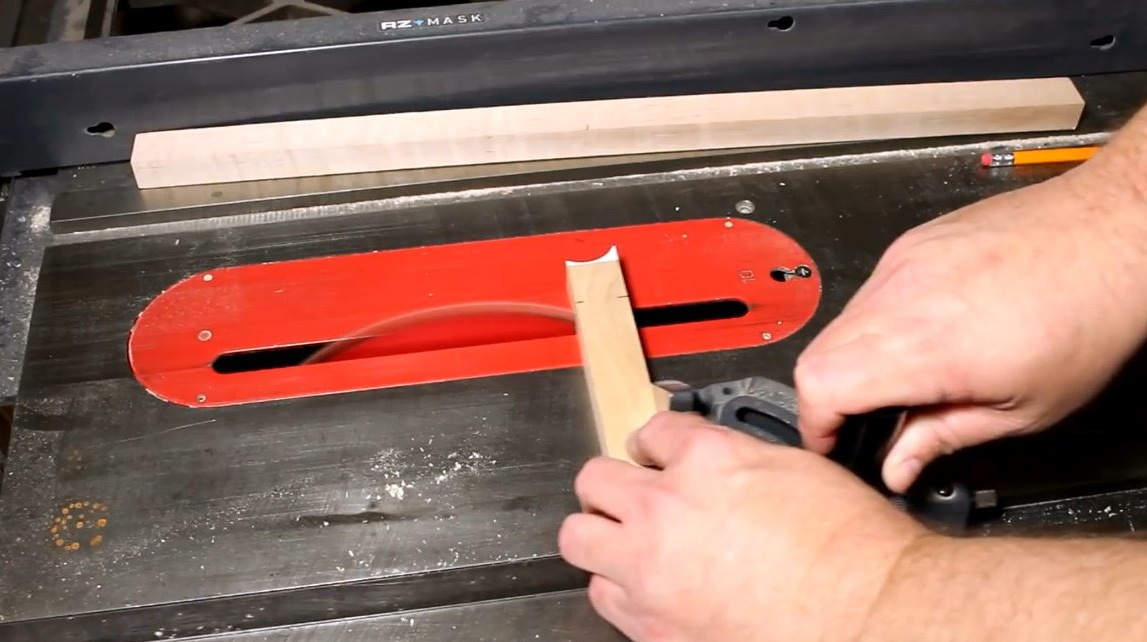
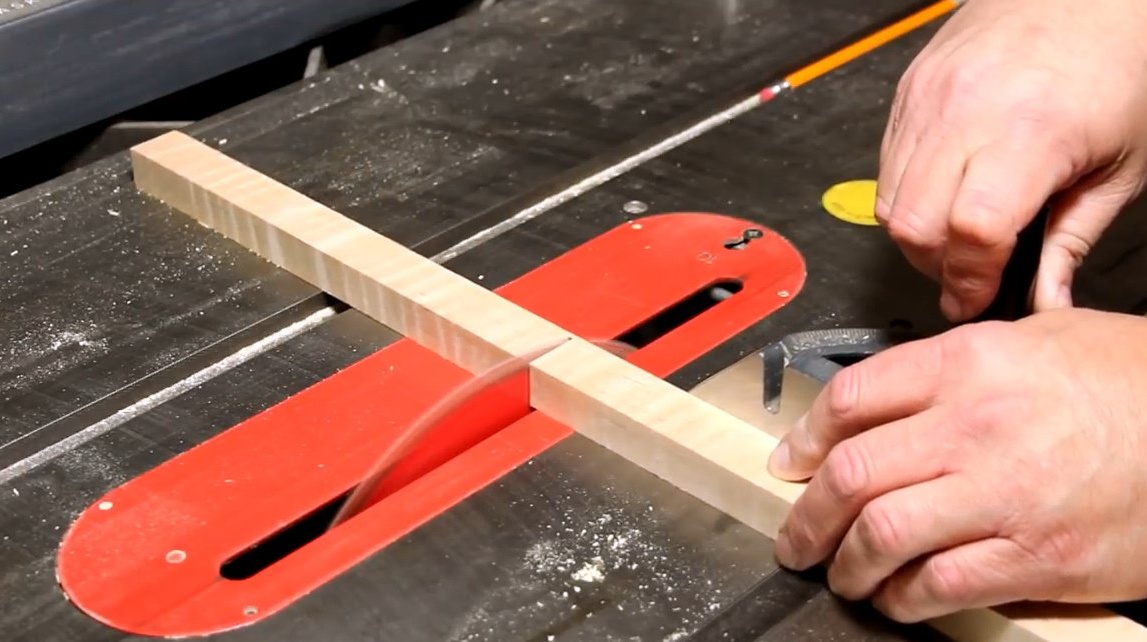
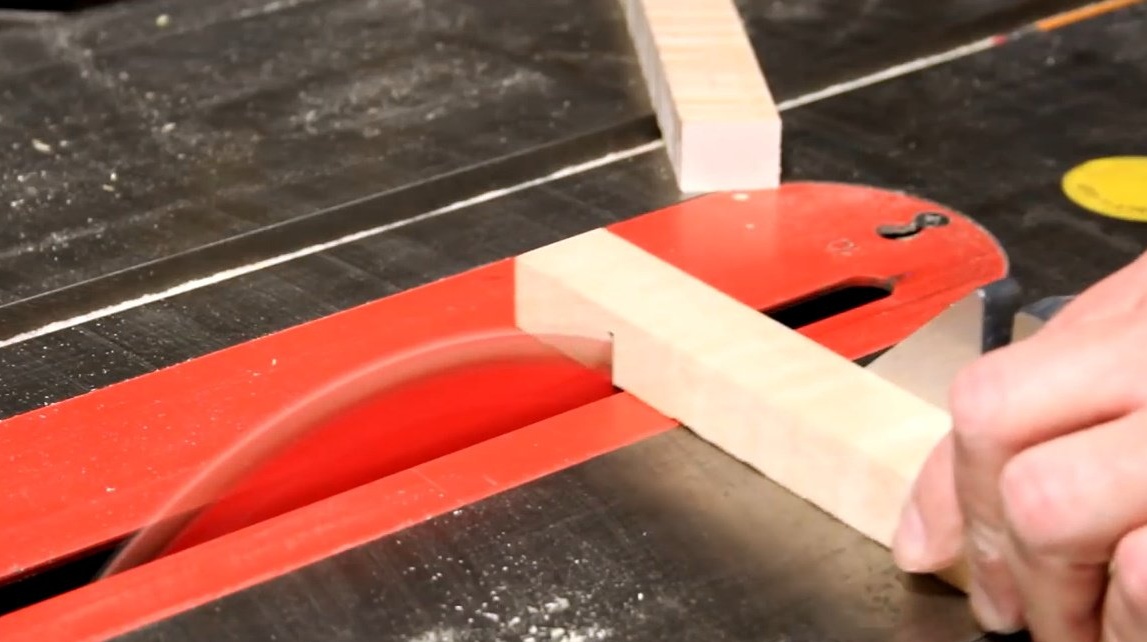
The whole project is carried out using a circular and band saw, a drilling machine. However, the author observes, it can equally well be performed with an electric jigsaw, an ordinary saw and a drill.
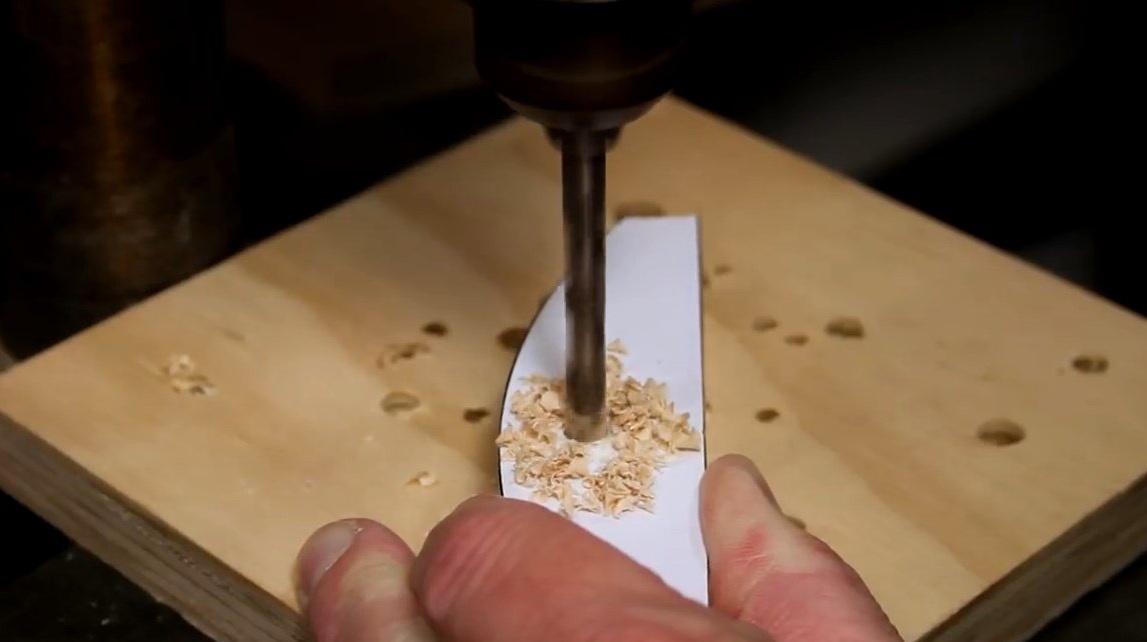
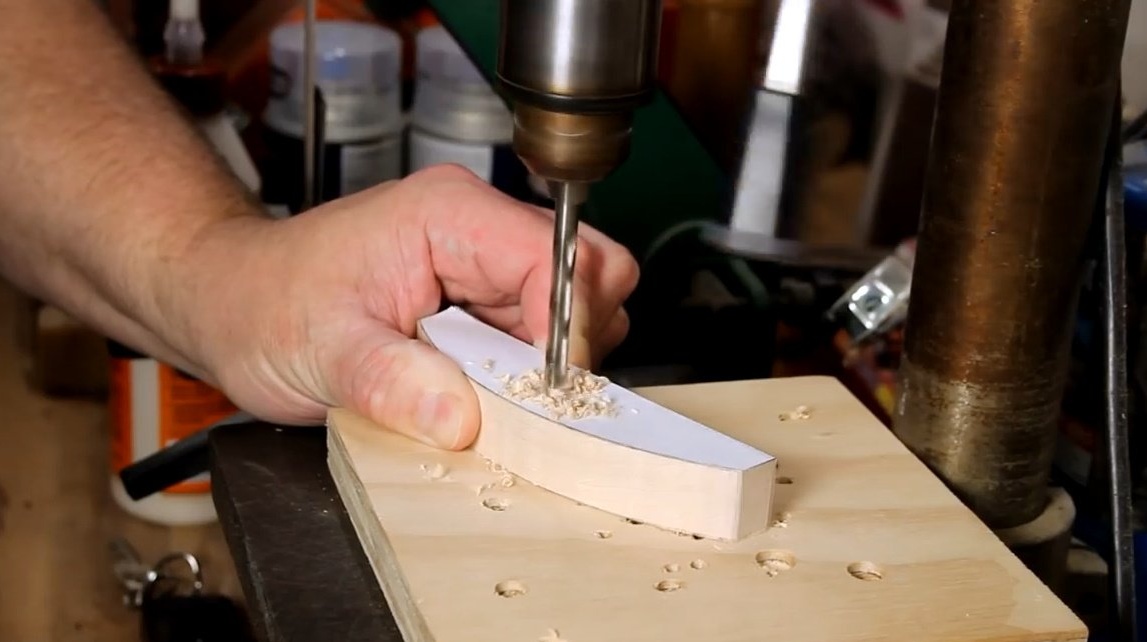
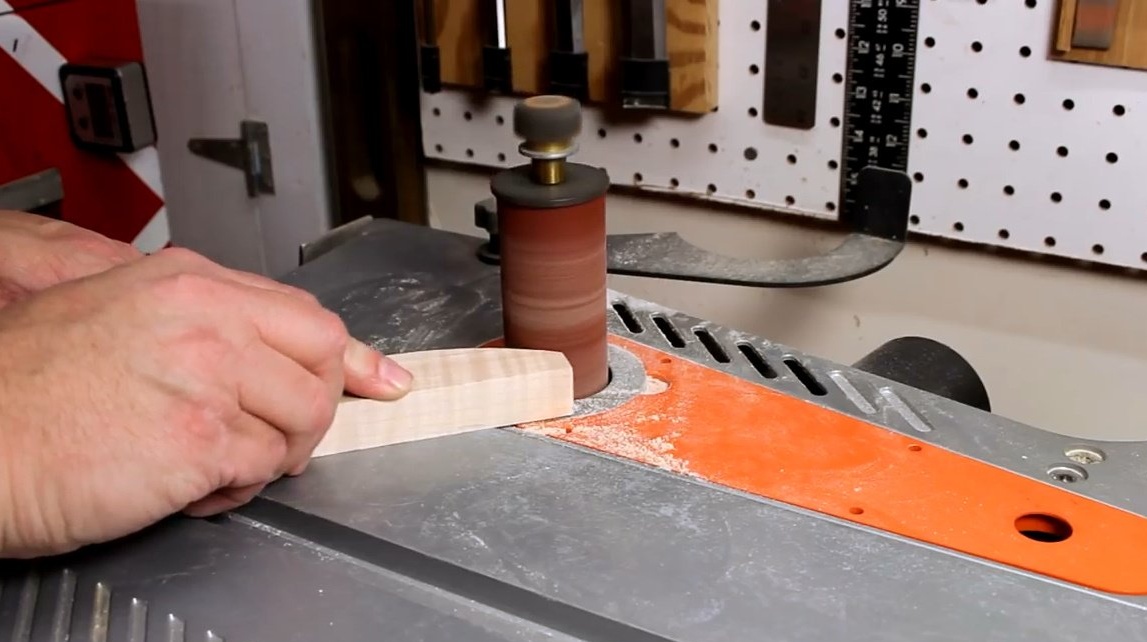
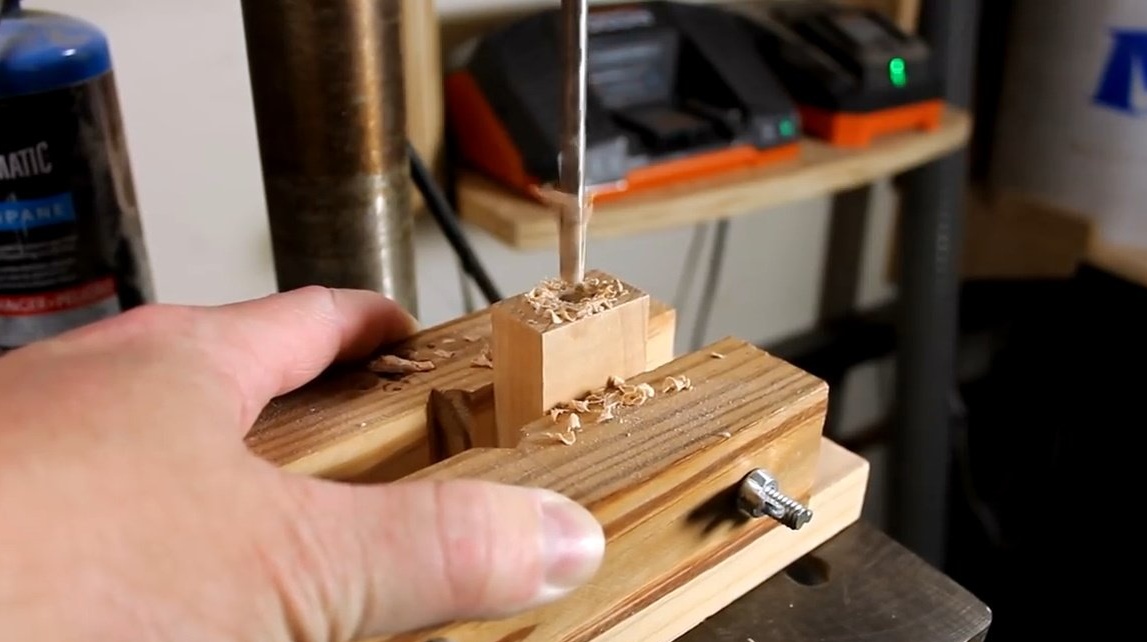
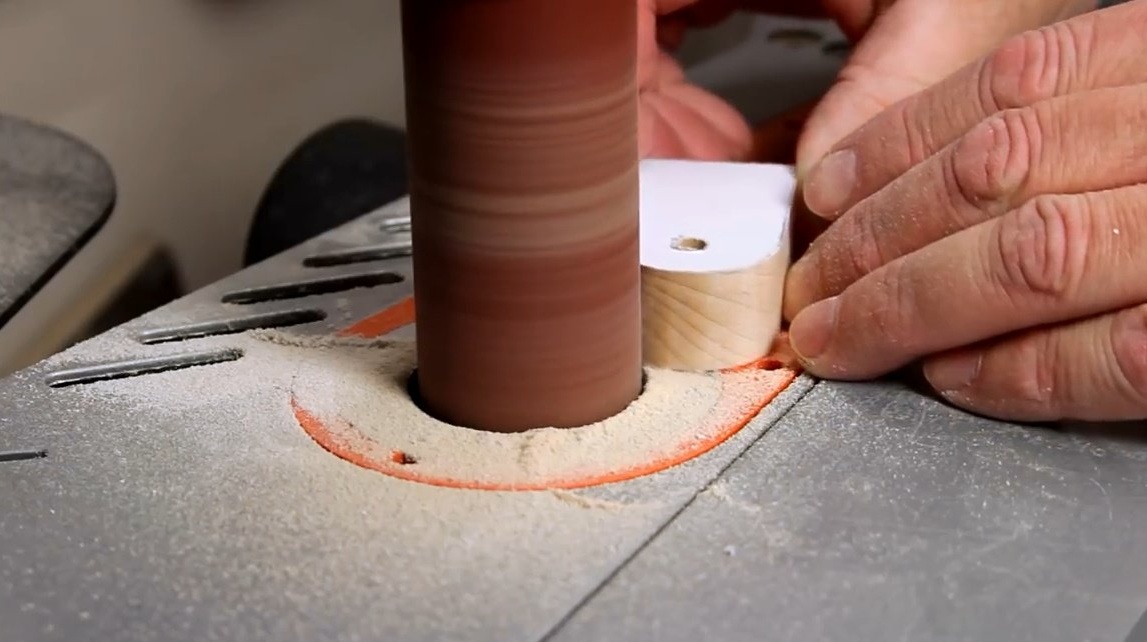
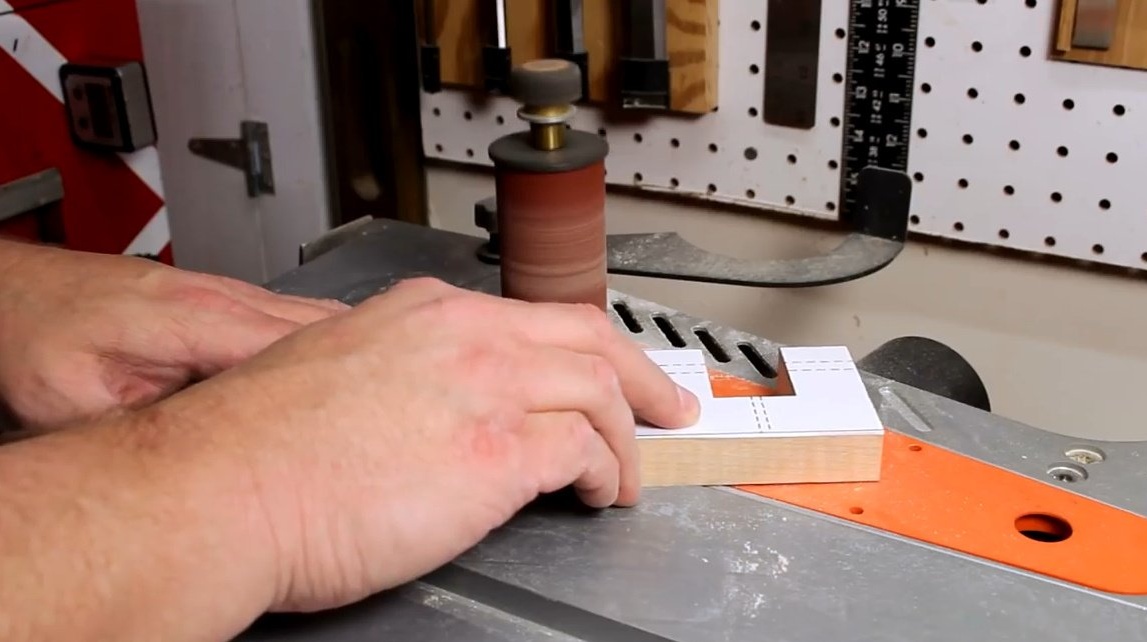
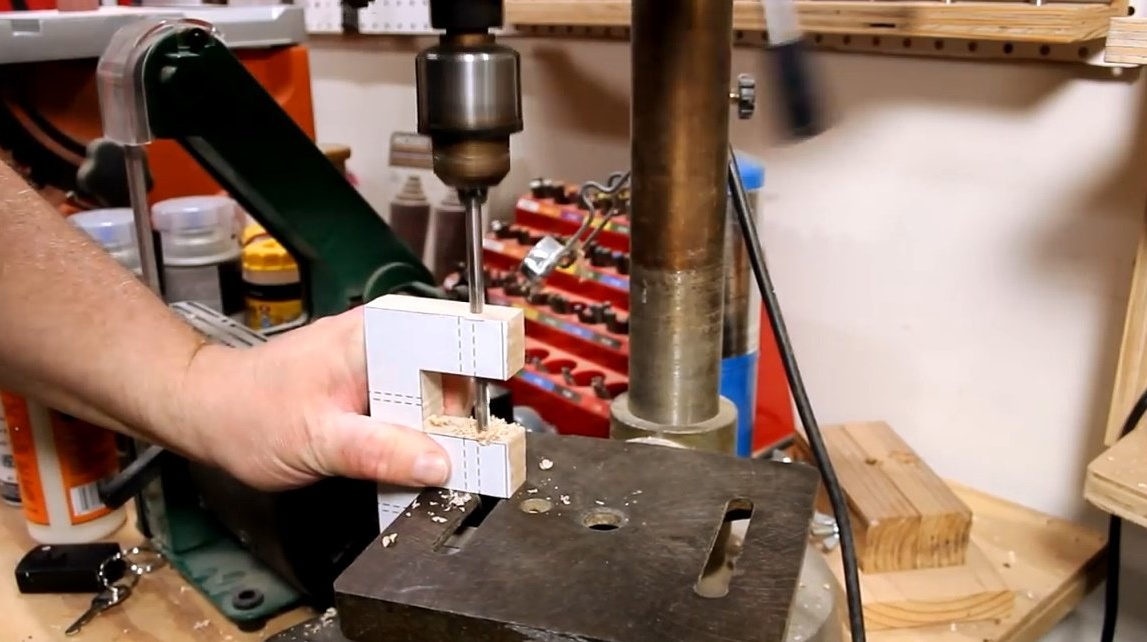
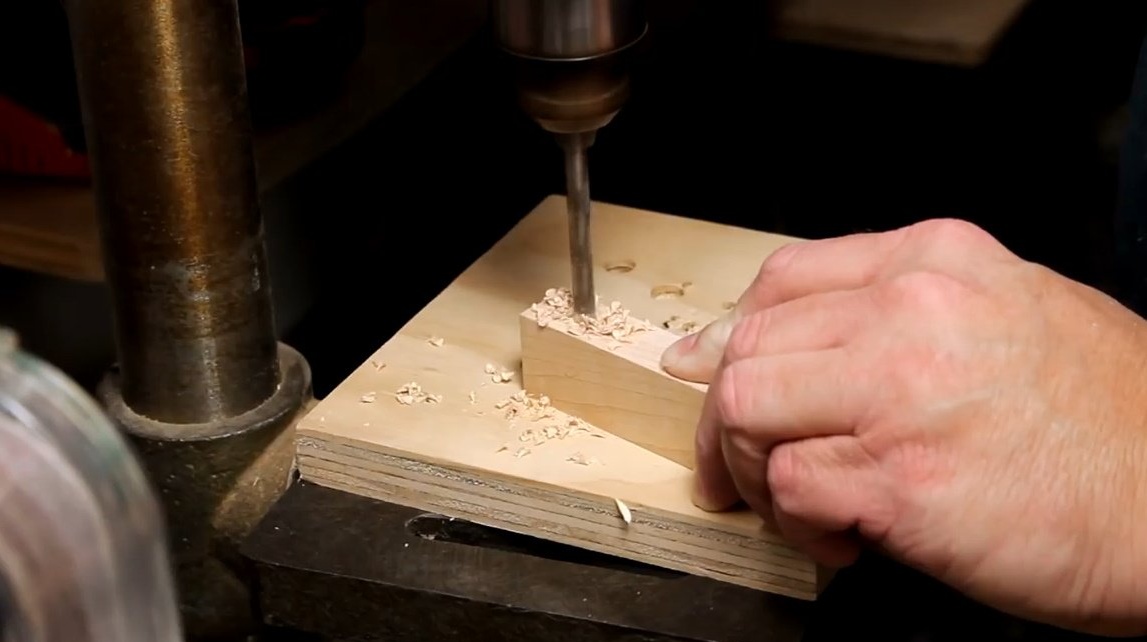
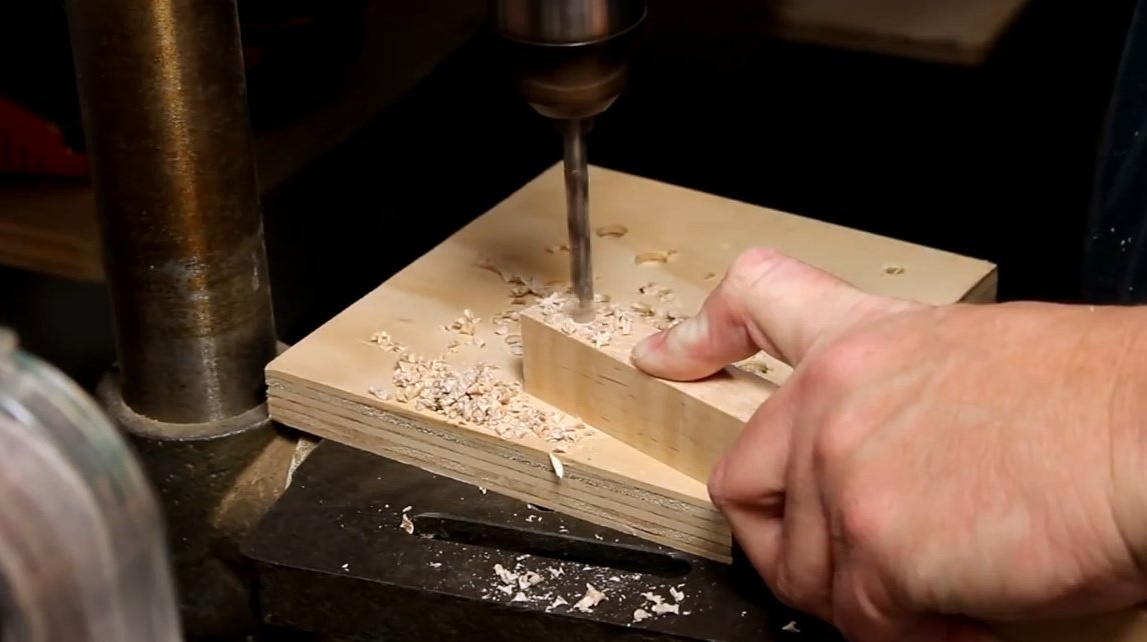
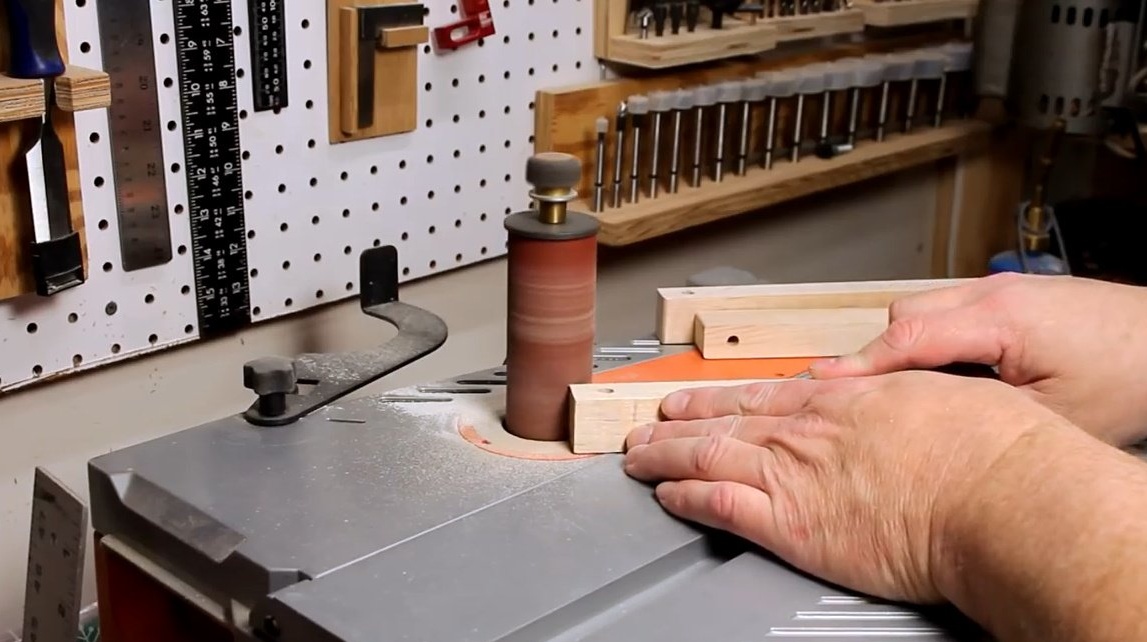
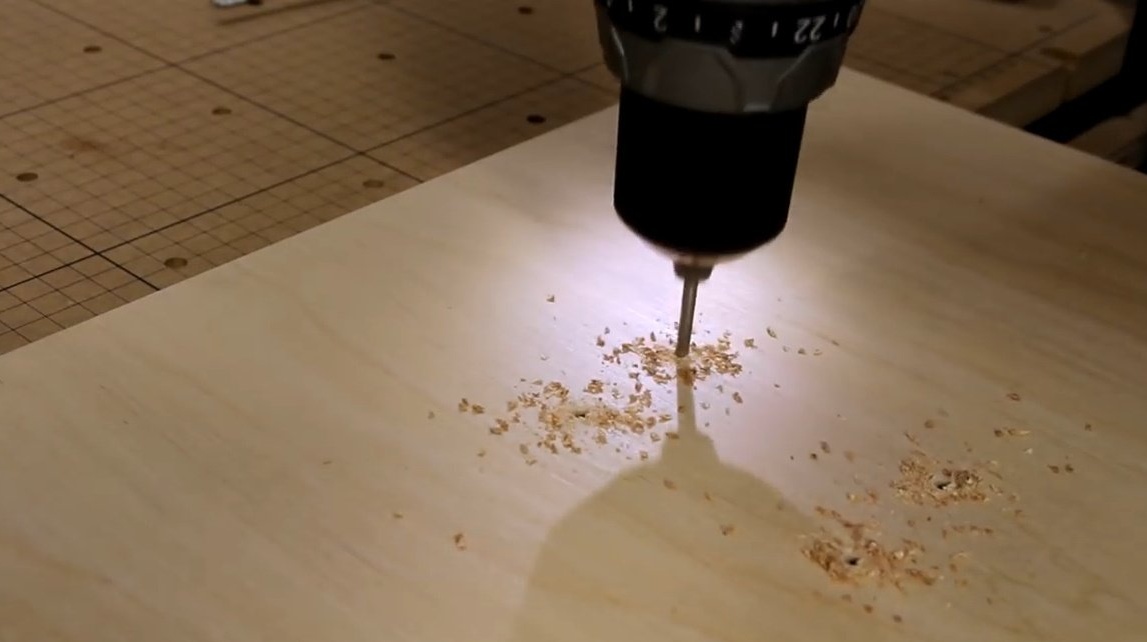
Finishes the manufacture of arc supports, drills holes, and grinds on a drum machine.
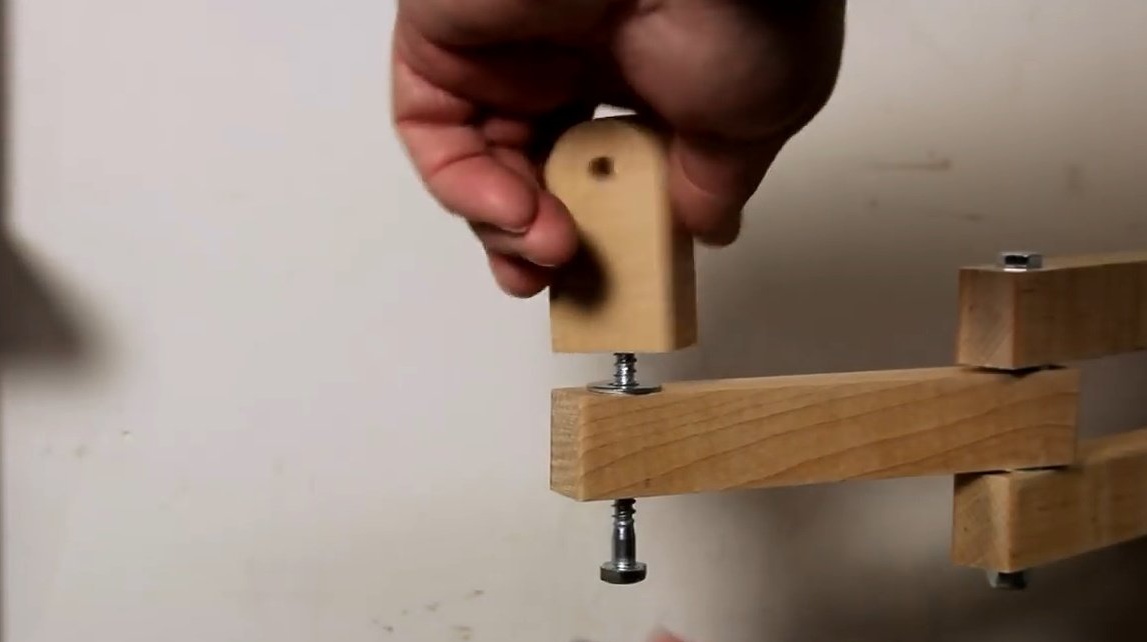
The next element is the support post.
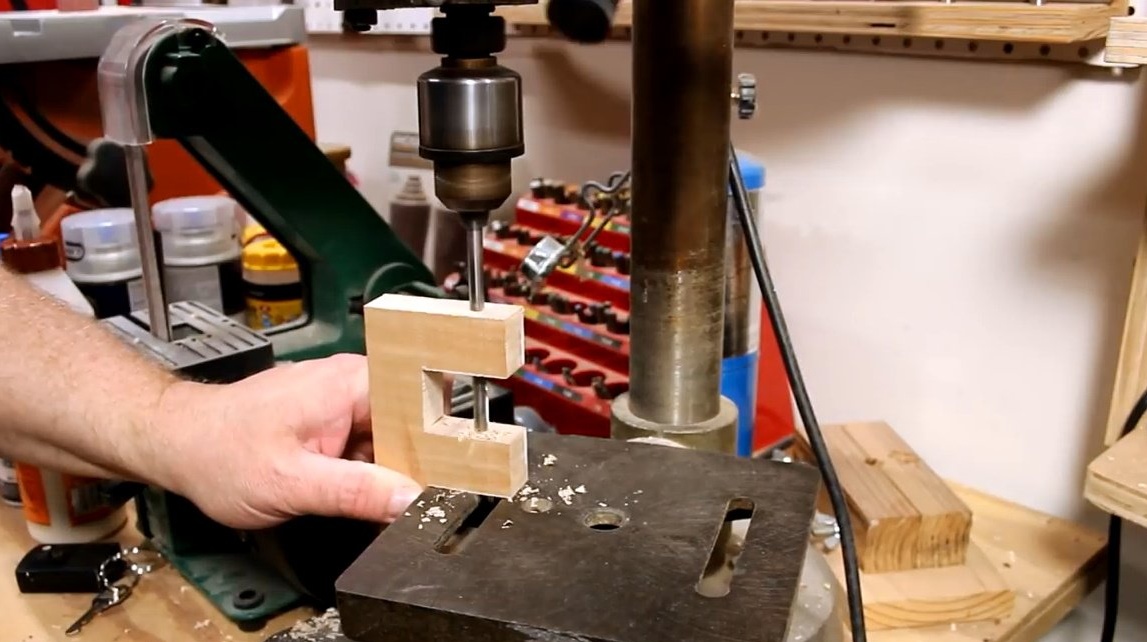
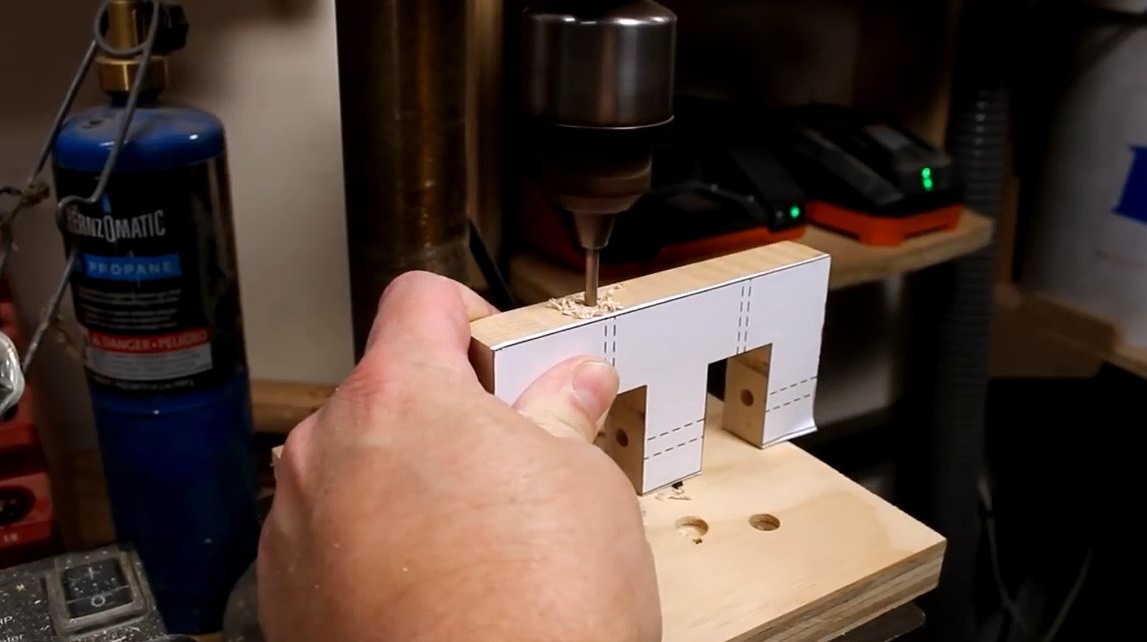
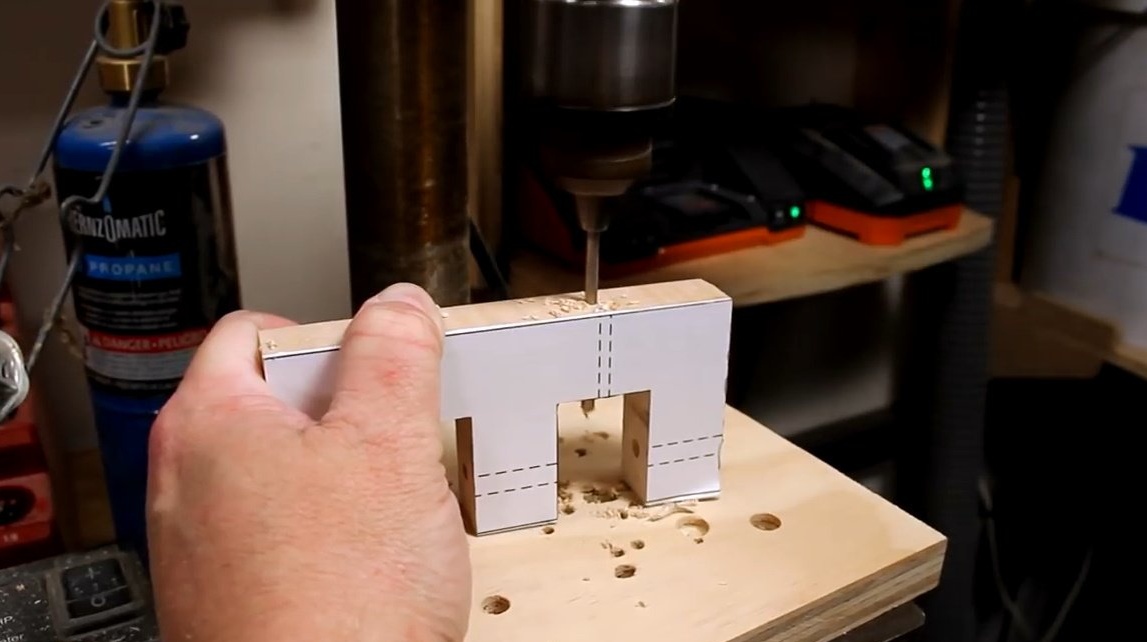
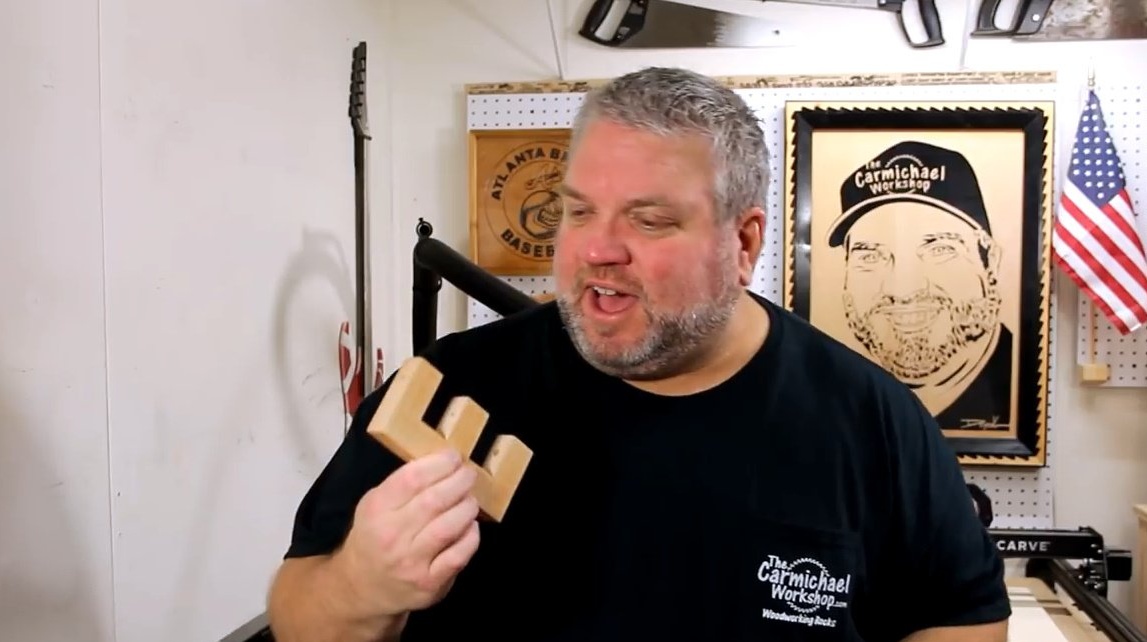
Now cuts the E-shaped shoulder mount, drills holes according to the template, grinds.
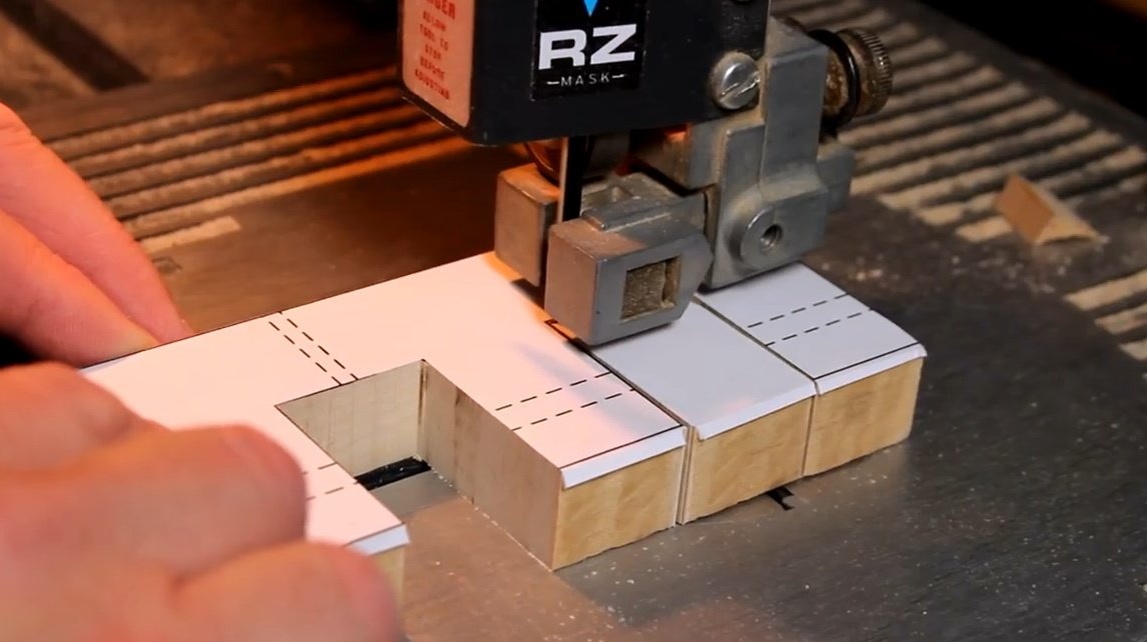
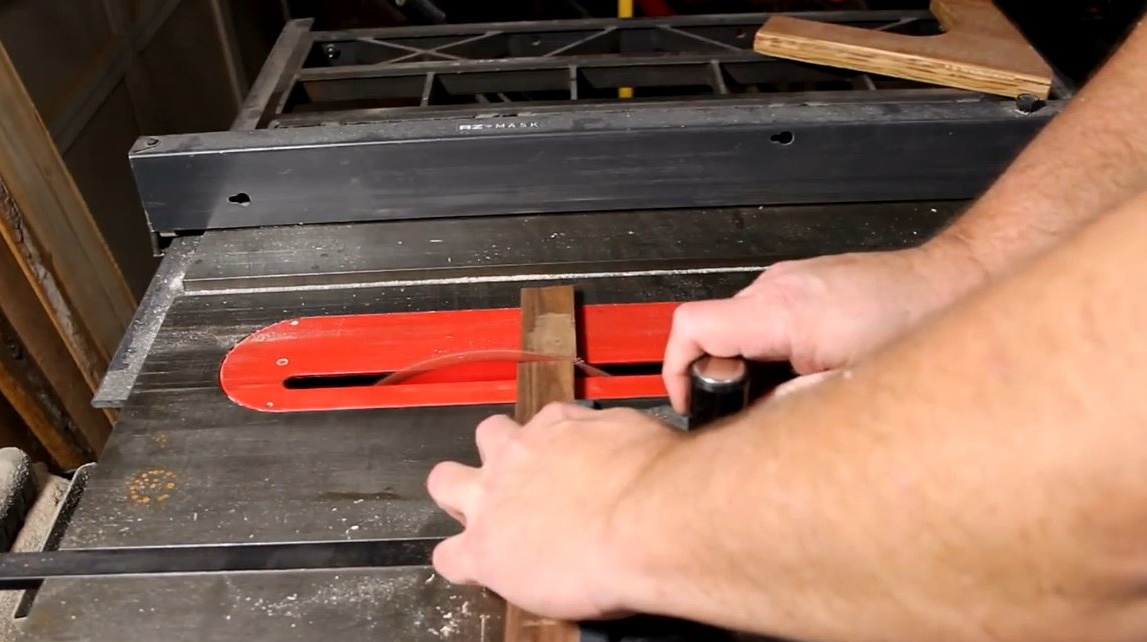
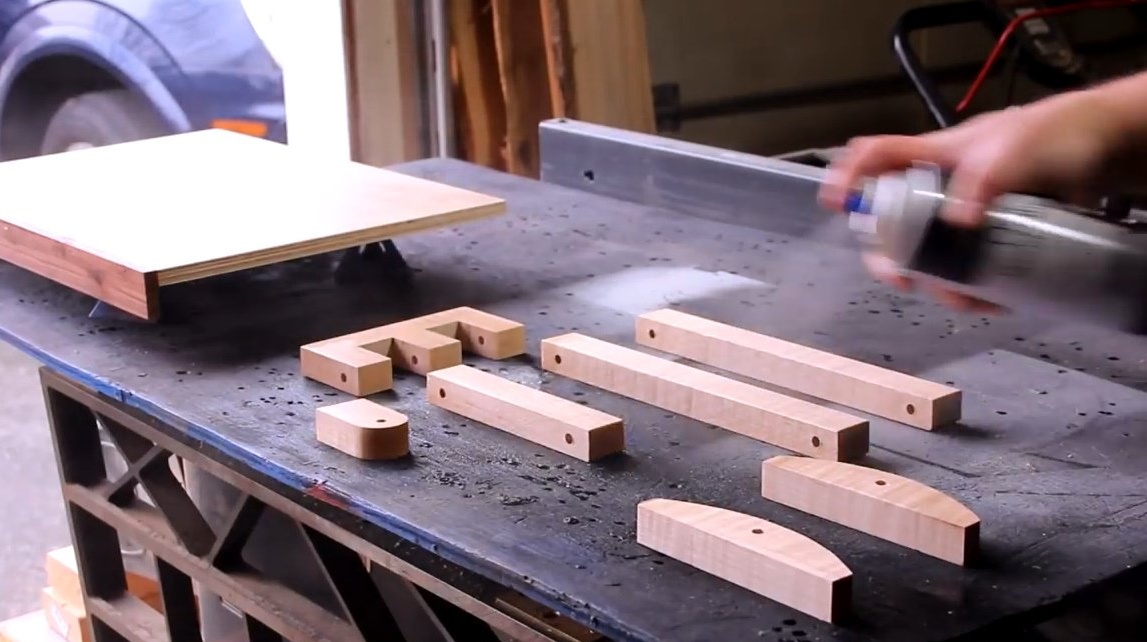
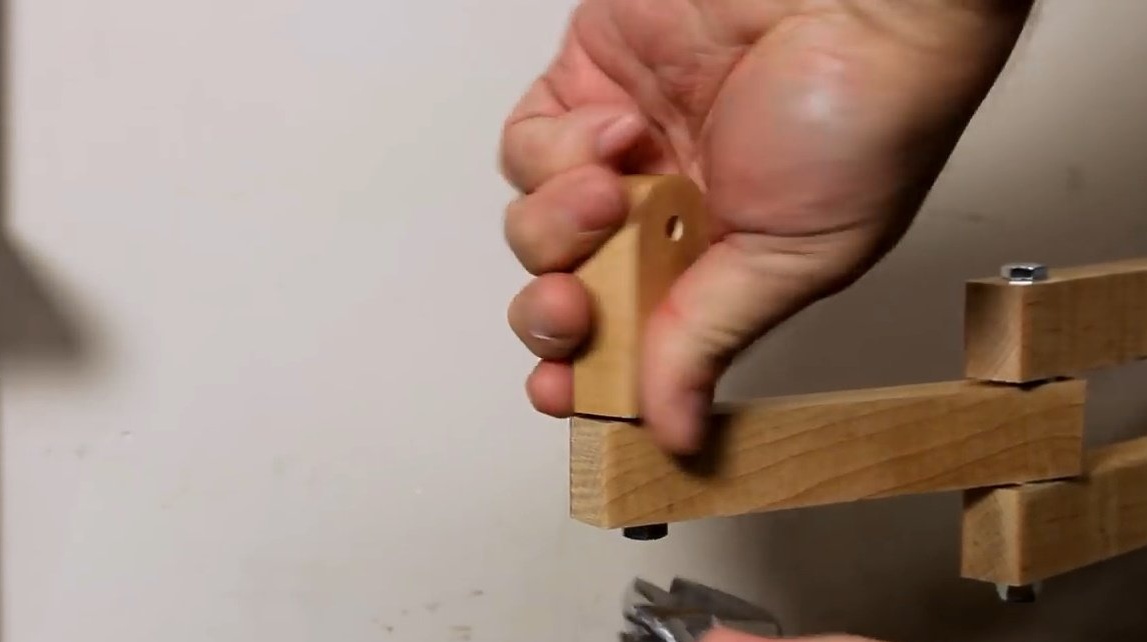
Then he makes three boards, which will be the skeleton of the hinge.
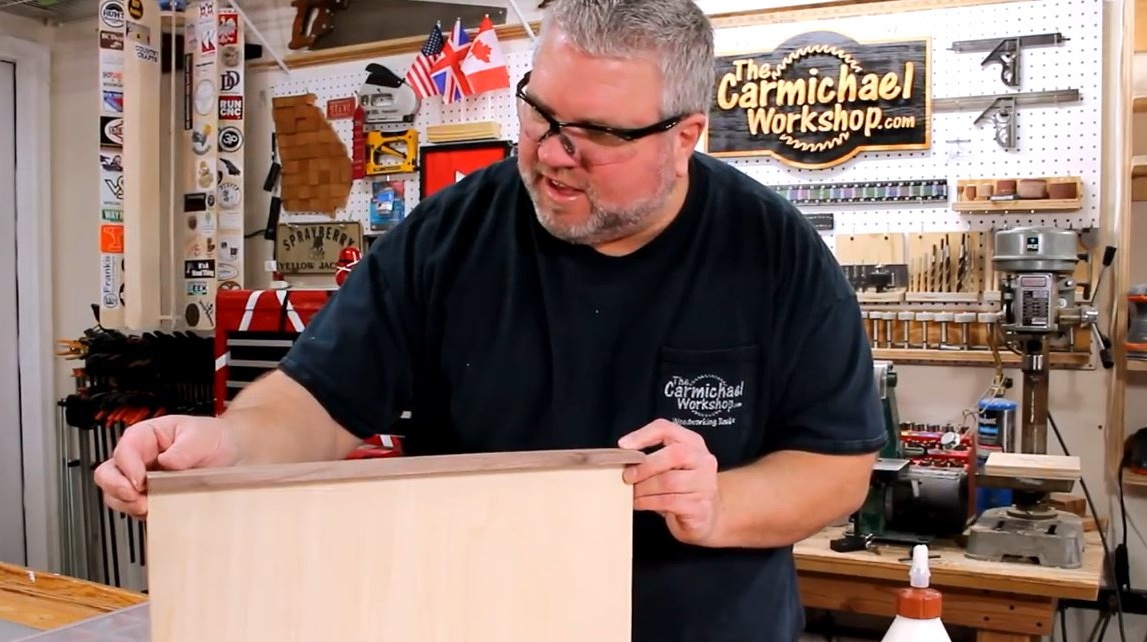
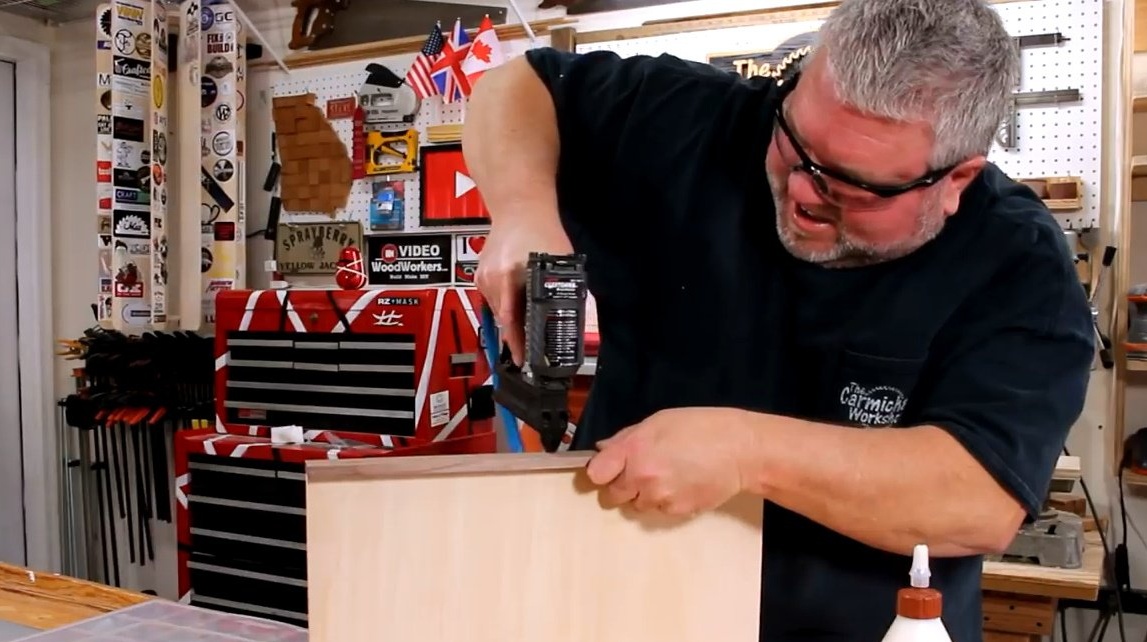
To slightly border the board, the master glues a side to the front of the plywood. Additionally fixes it with a neiler.
And now all the details of the construction are cut. It is important to open all parts with varnish.
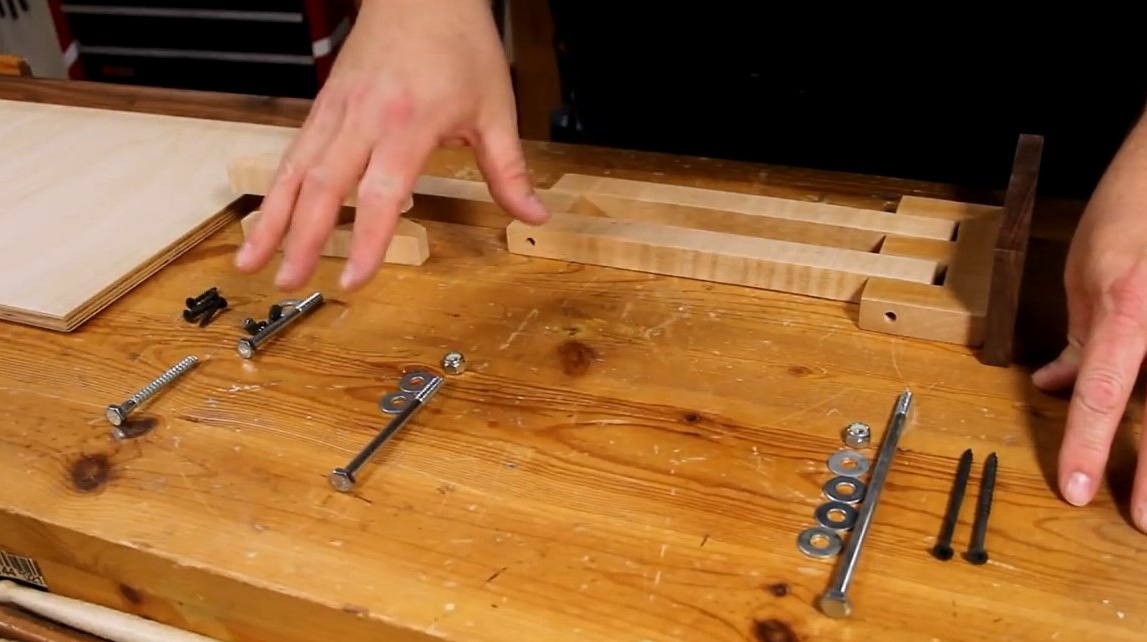
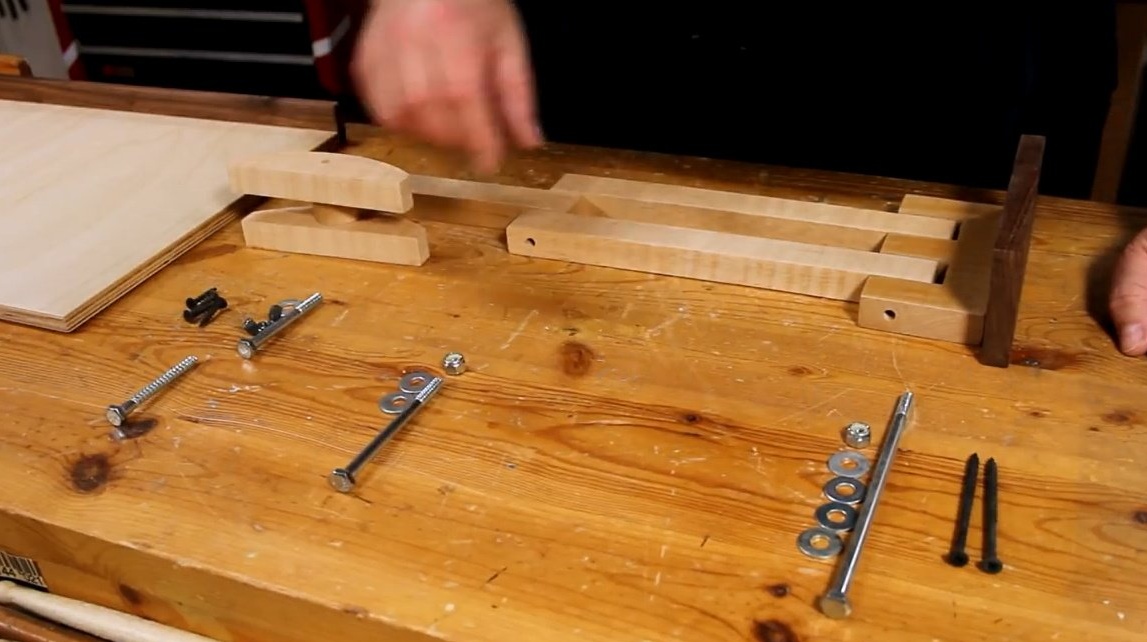
The next step is assembly. On the desktop, the author lays out in the necessary sequence all the necessary structural elements. A list of these hardware is also provided in the PDF drawings.
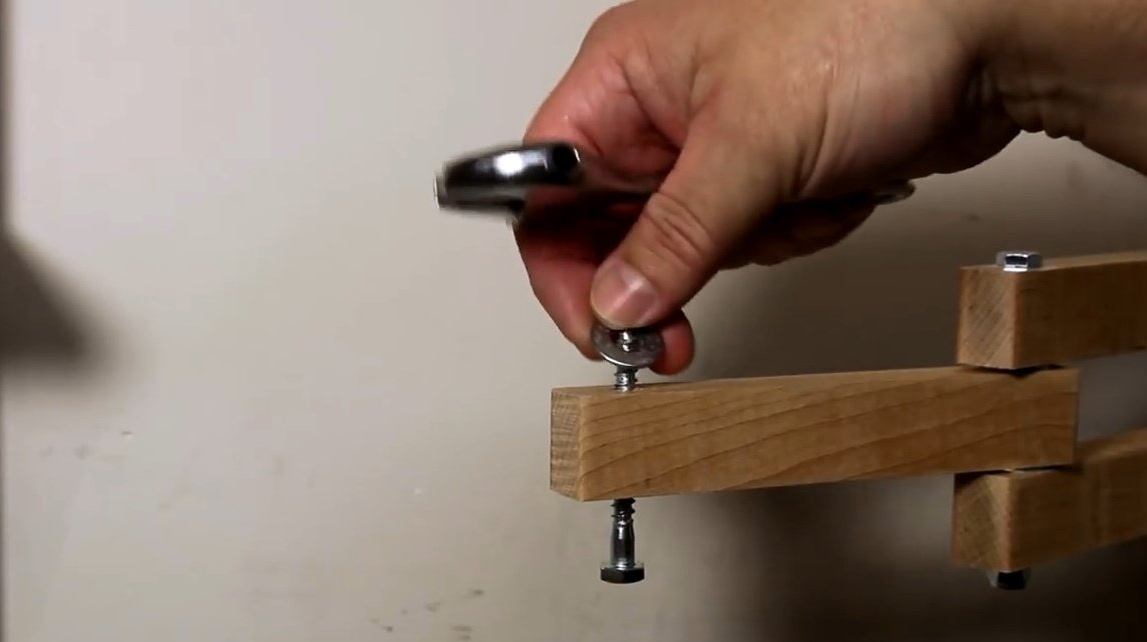
In general, two long drywall anchors will be needed. For this connection, you will need a hex bolt, four washers and a nylon nut. For this connection / fastening, a locking bolt will be used to go into this part from below, and to fix these two elements that will be attached to the top of the structure, to the stand, you will need another hex bolt, a washer and a wing nut. The stand itself will be fastened with four short inch drywall screws.

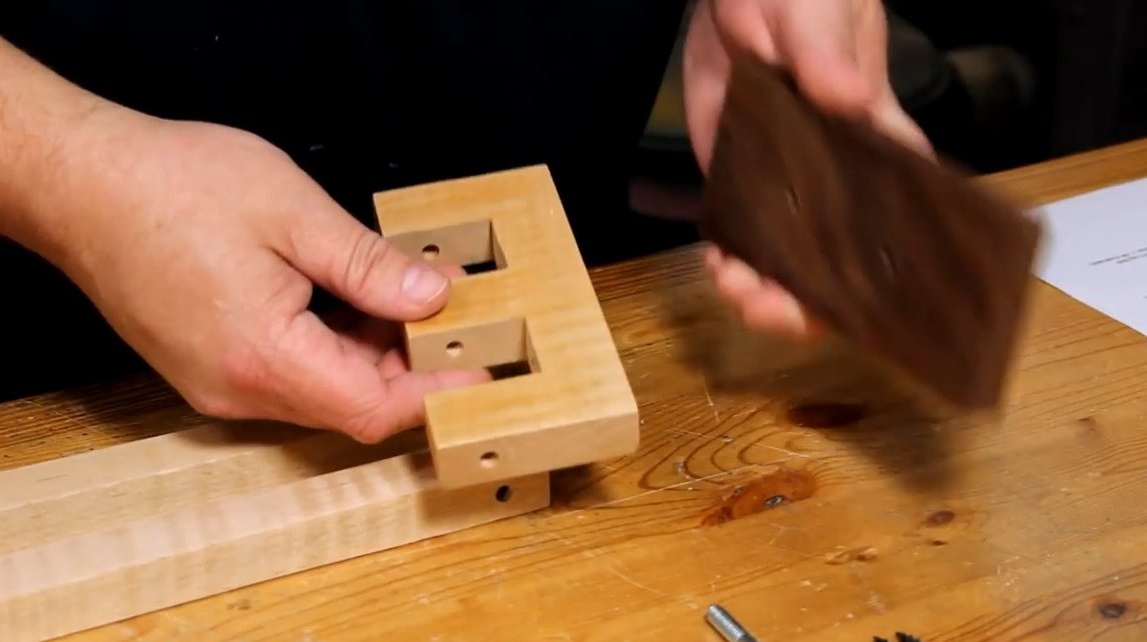
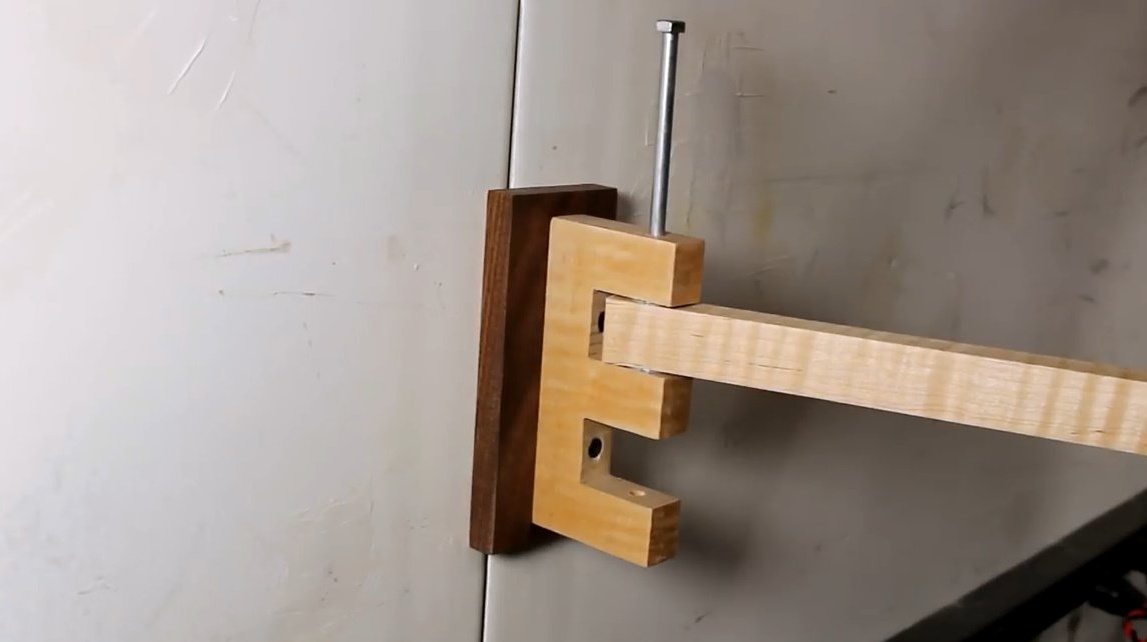
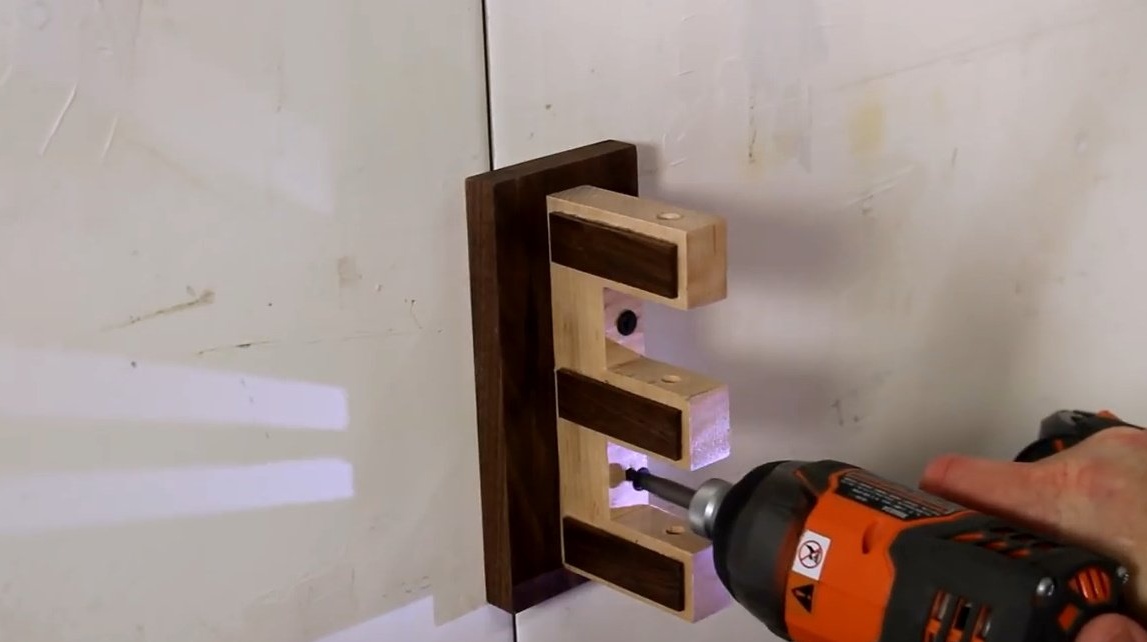
Instead of mounting this E-shaped part directly to the wall, the author considered it appropriate to use a more massive wooden board in order to better distribute the force. The master applies a proven combination of two types of wood - maple and hazel.
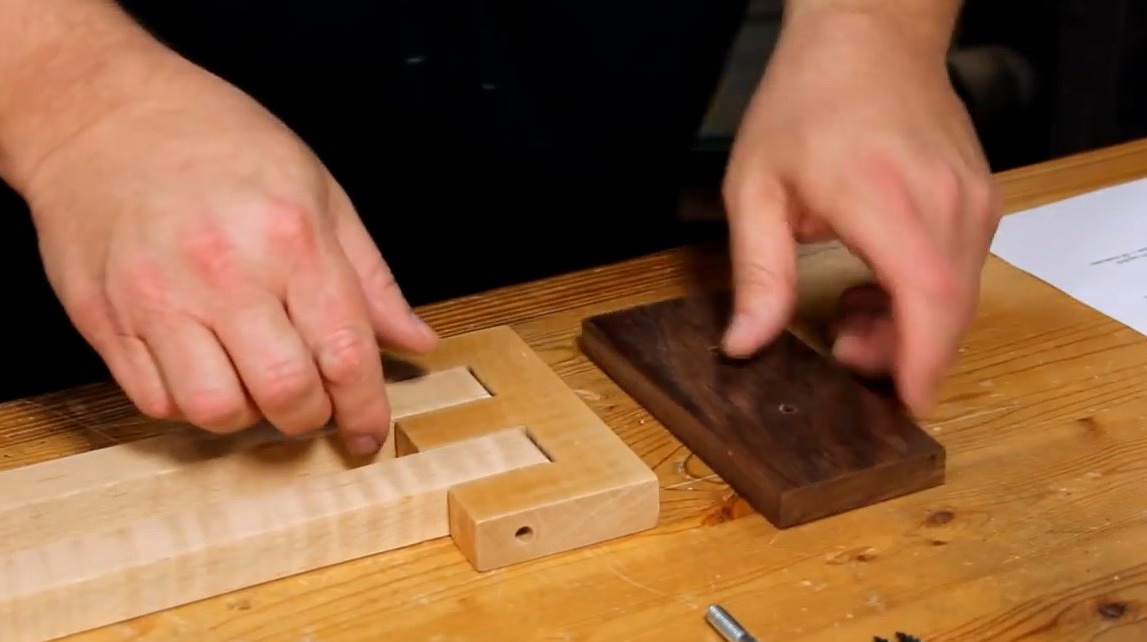

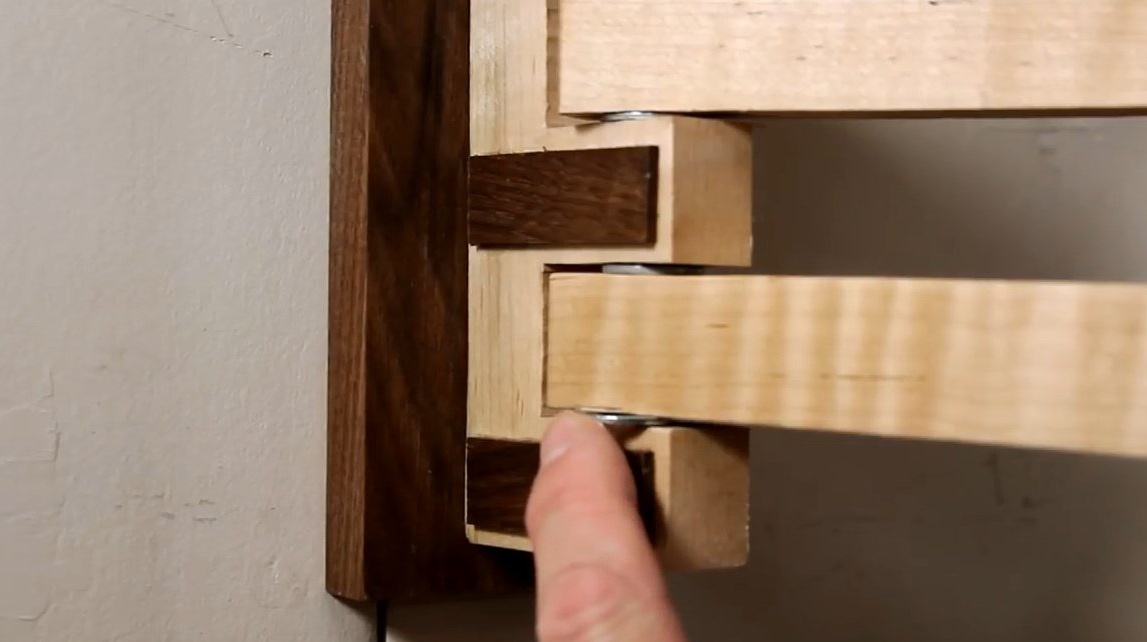
In the E-shaped part, the author narrowed the hole somewhat, and it was quite difficult to push through the bolt. When he tried to hammer the bolt with a hammer, the middle ledge cracked. The master was aware that this is a weak point in the part, because the fibers pass just in the longitudinal direction. Each of the teeth could break. But Steve decided that if the design is designed to withstand almost a three-kilogram computer, then it will certainly stand against the hammer. But no!

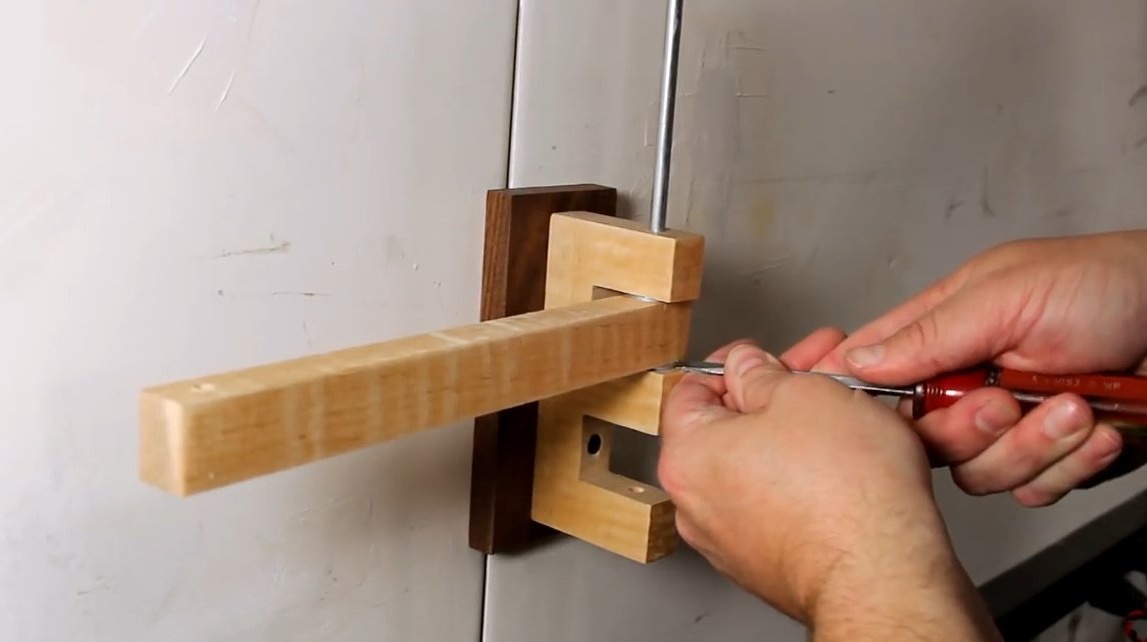
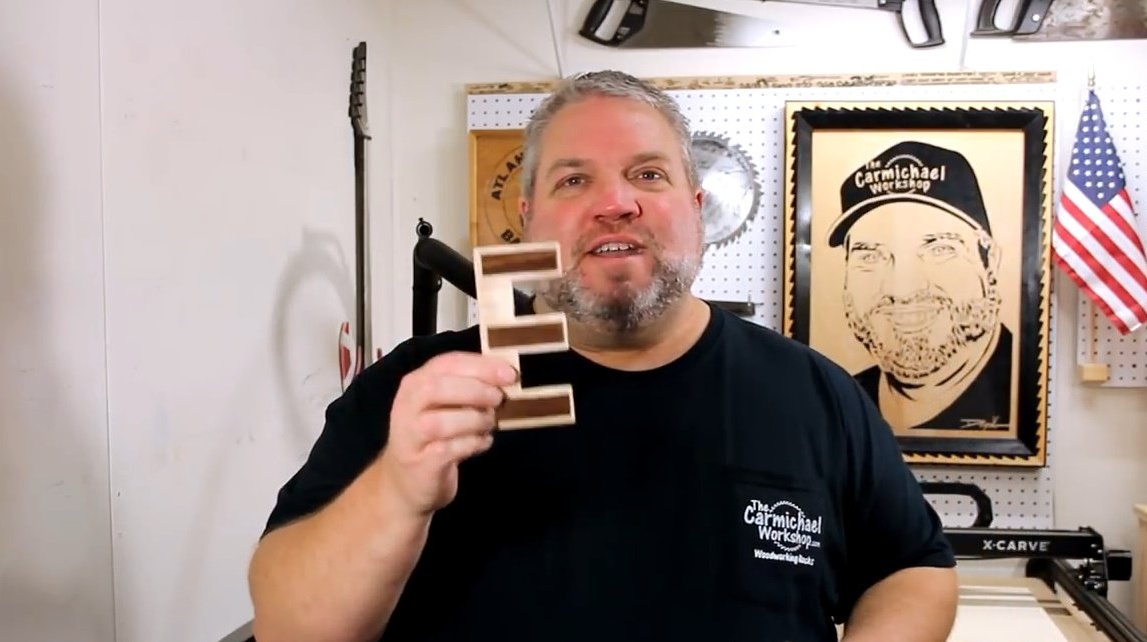
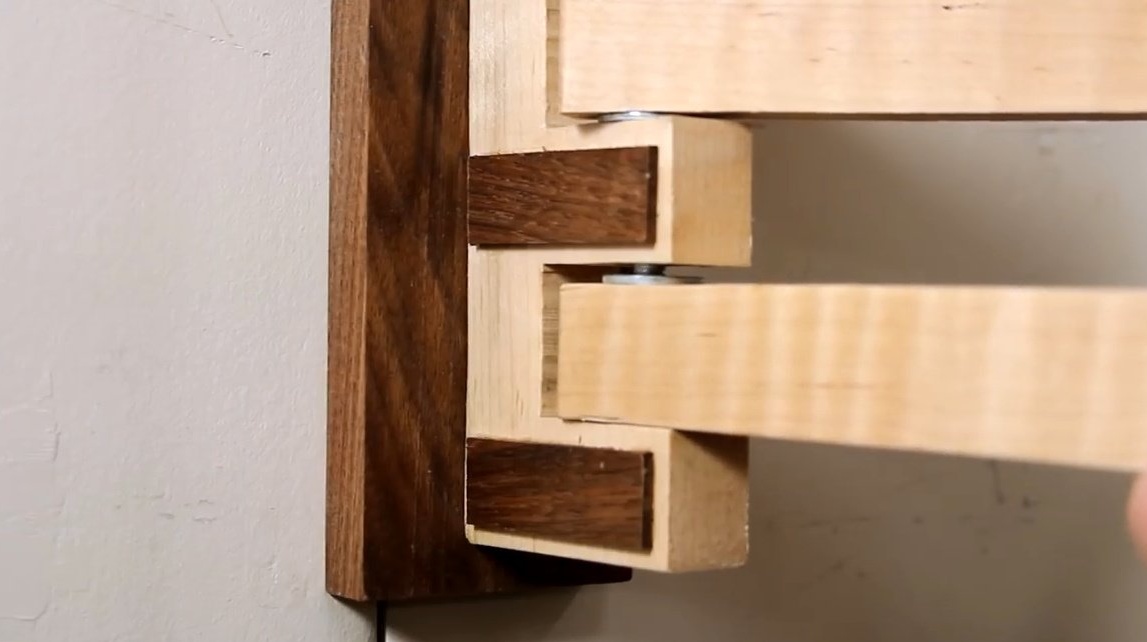
The author repeatedly cuts the part and reinforces it with hazel plates, in which the wood fibers are located in the direction perpendicular to the direction of the fibers of the part itself.
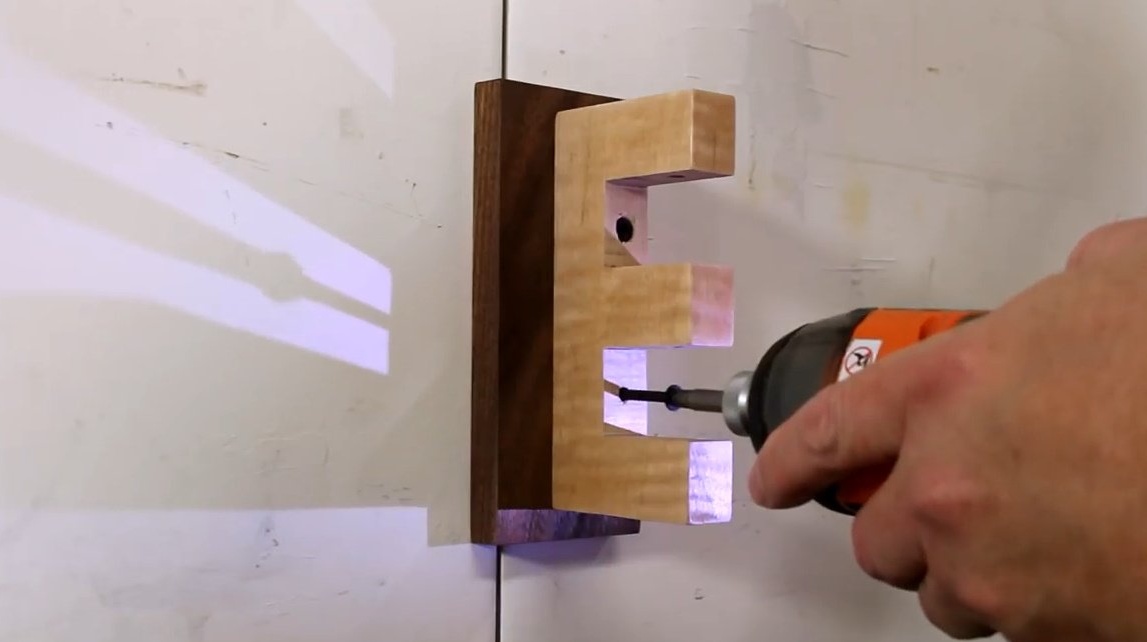
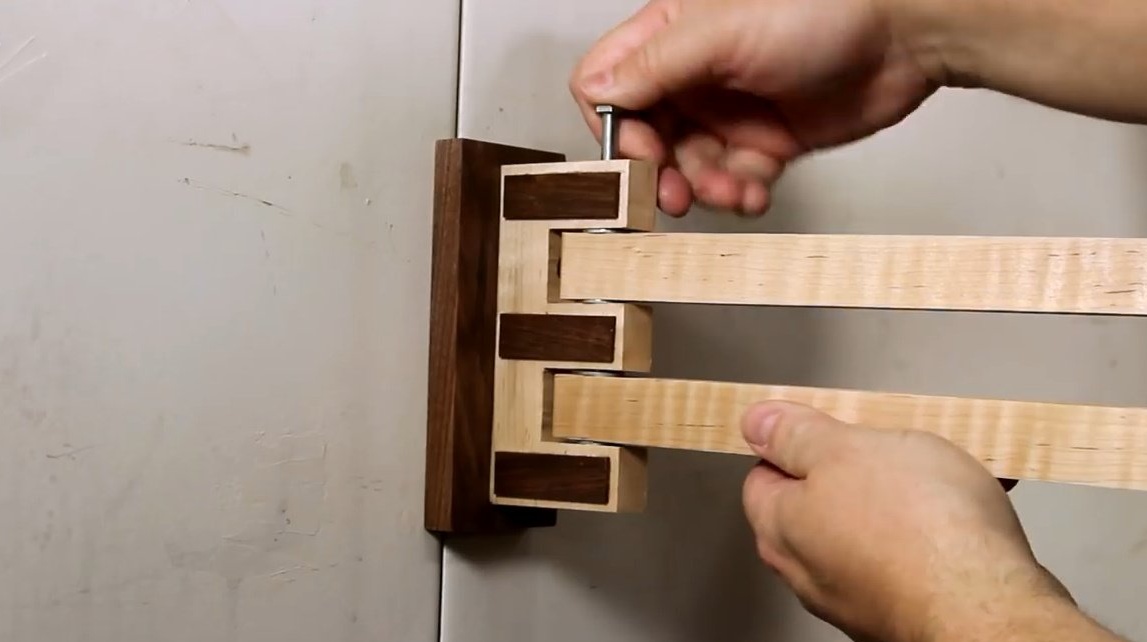
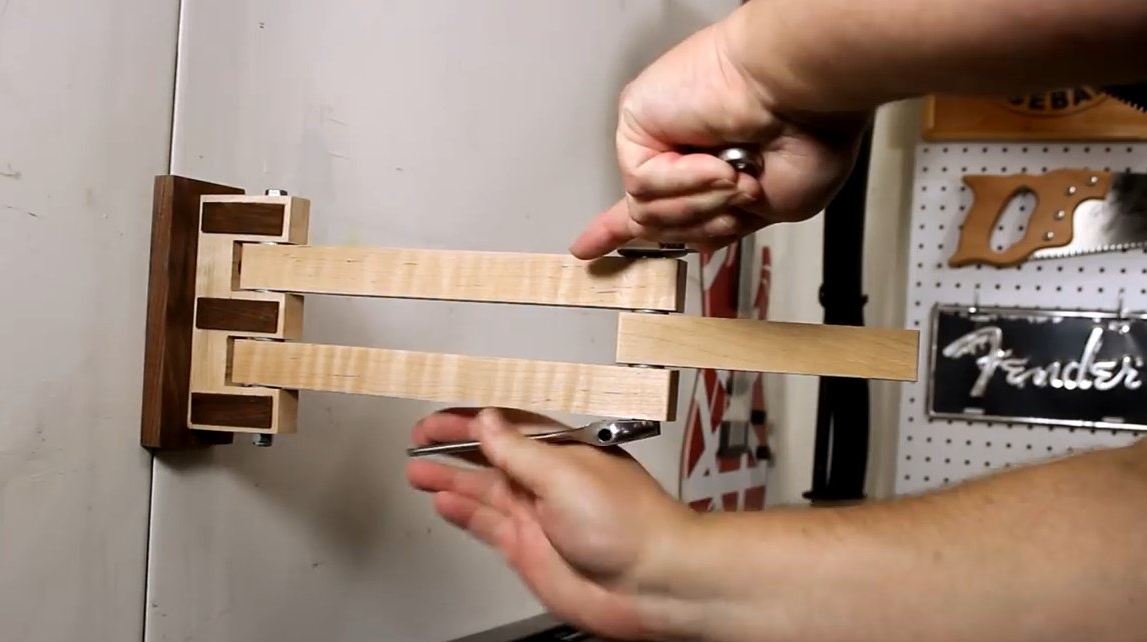
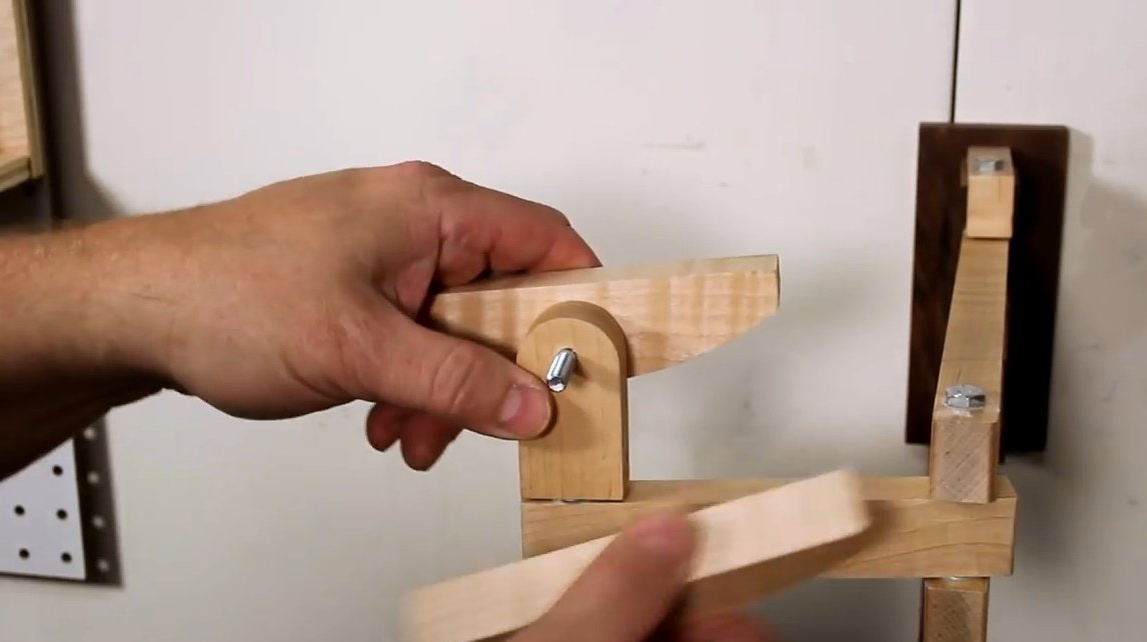
Having attached the support to the wall, it collects the first part of the hinge, laying the washers.
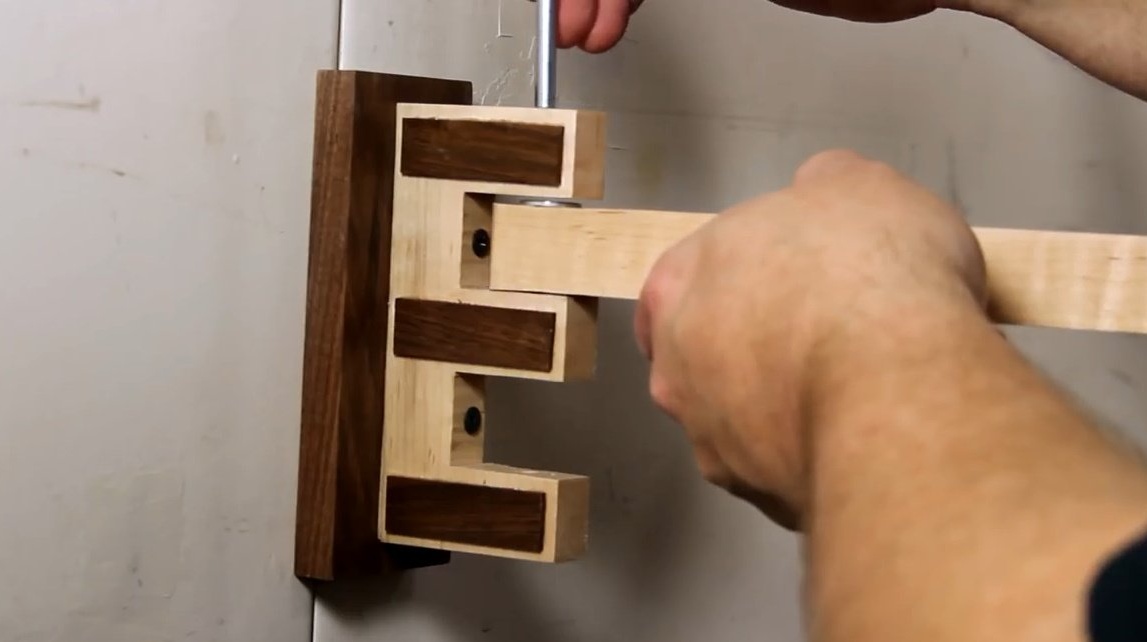
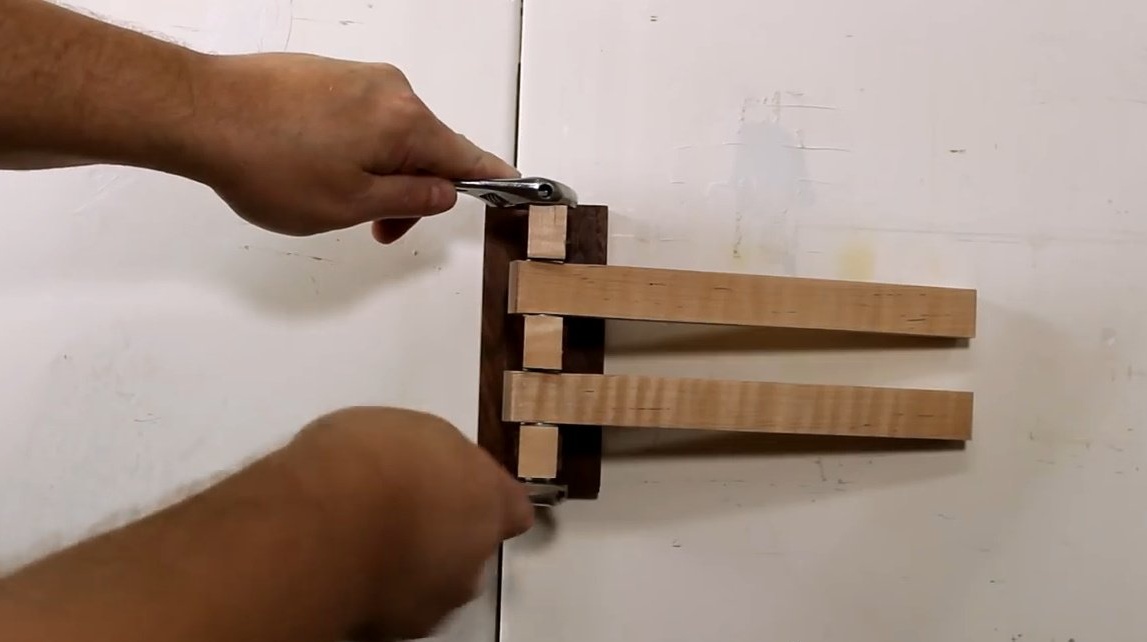
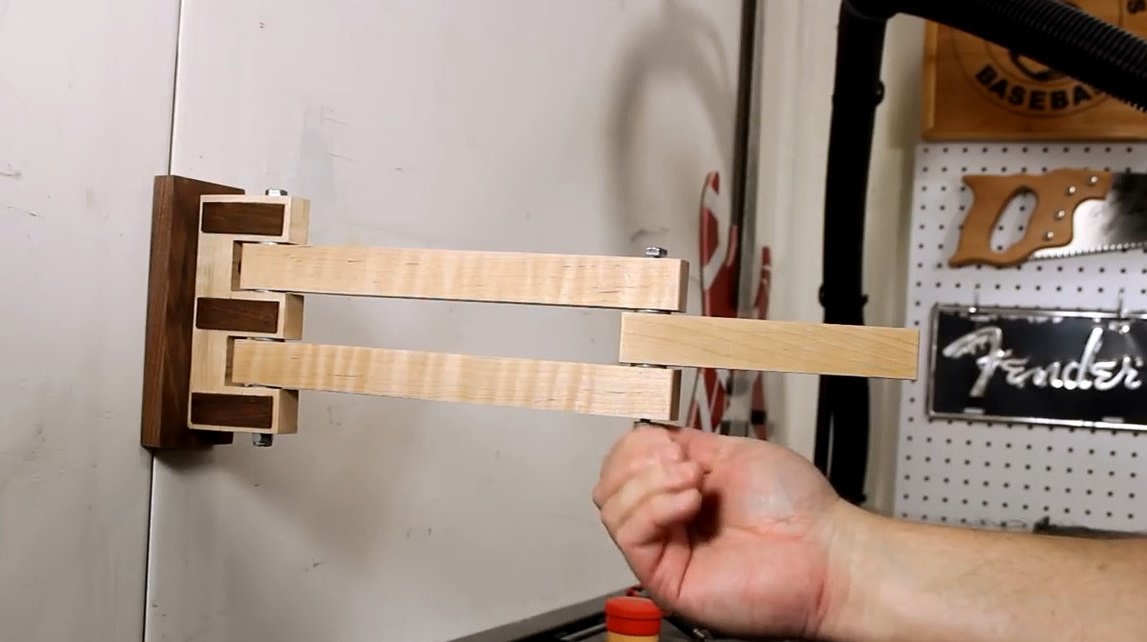
Finishes assembling the entire structure.
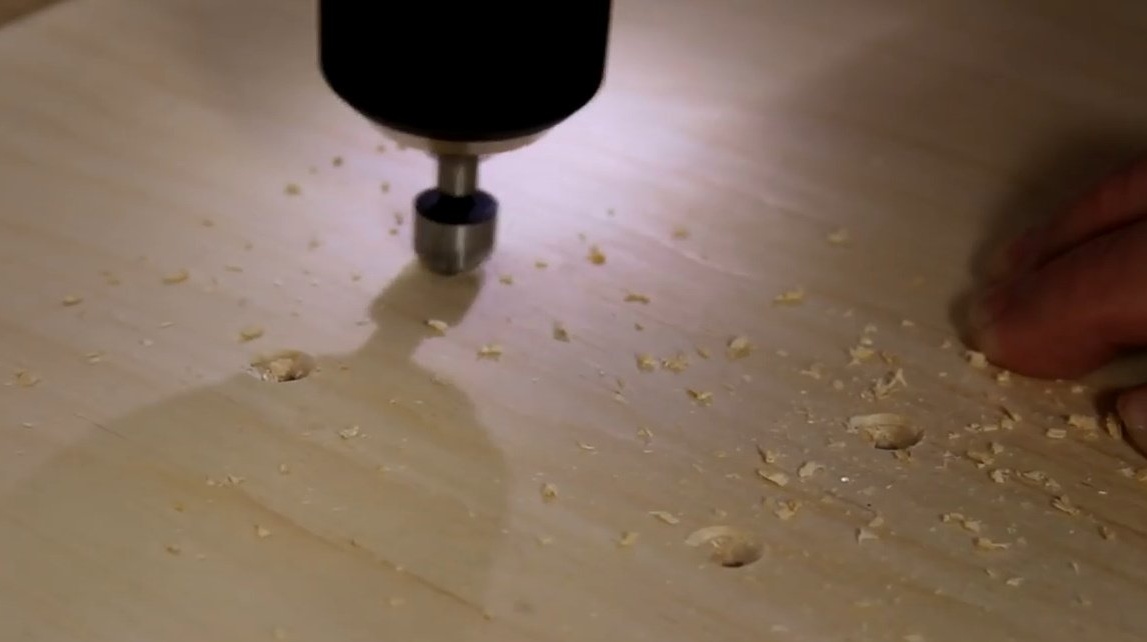
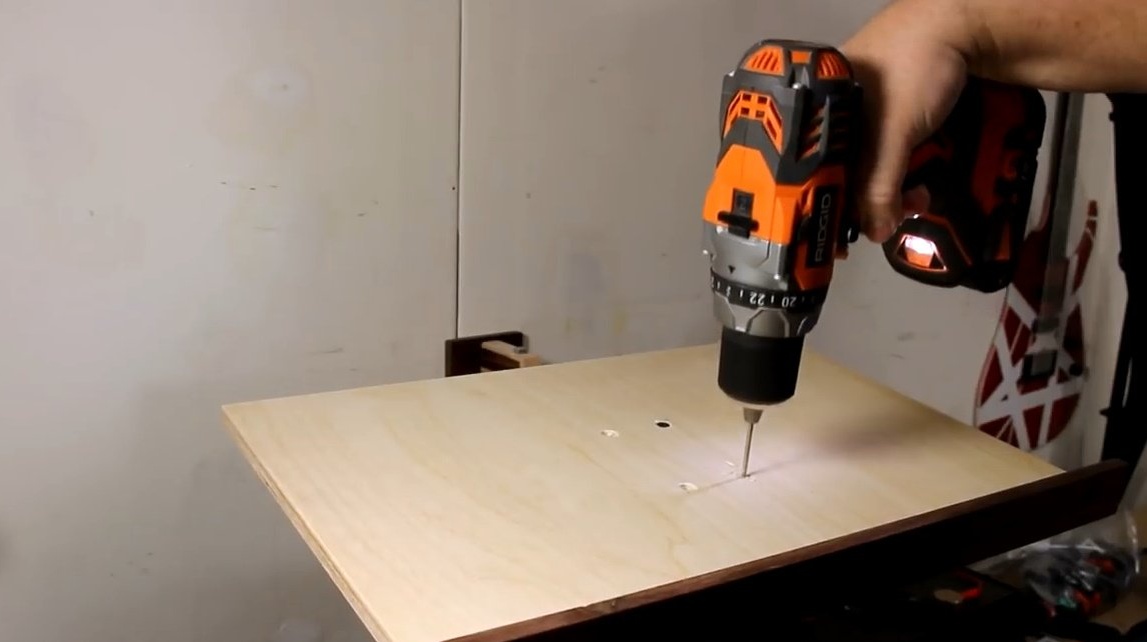
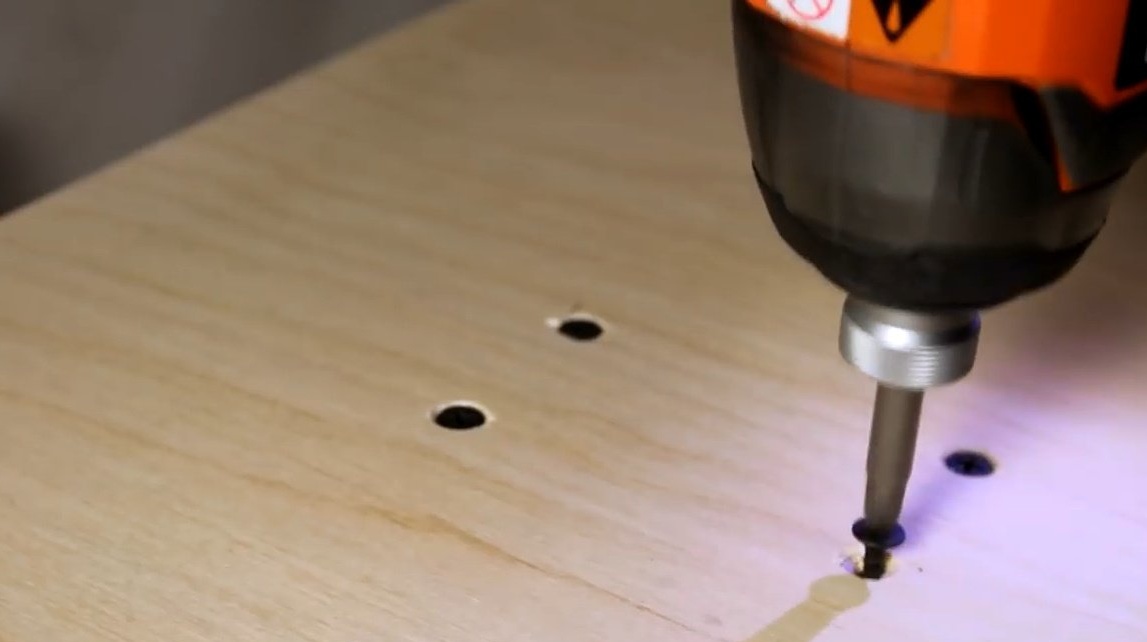
In the plywood panel, drills four holes for self-tapping screws, countersinks them. Then screw the panel to the hinge.
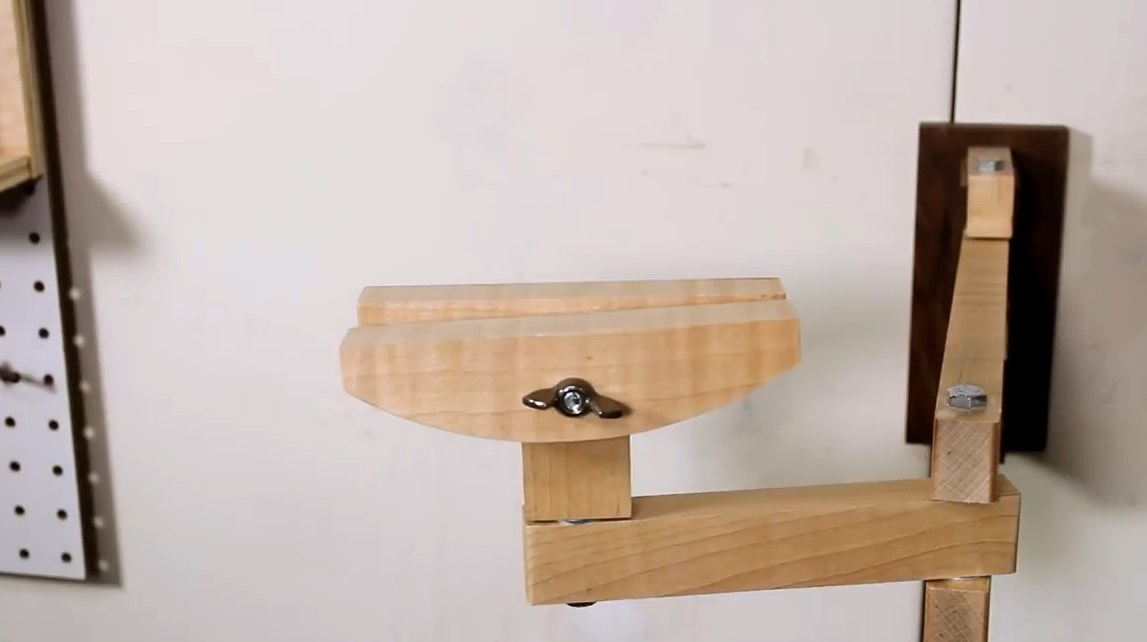
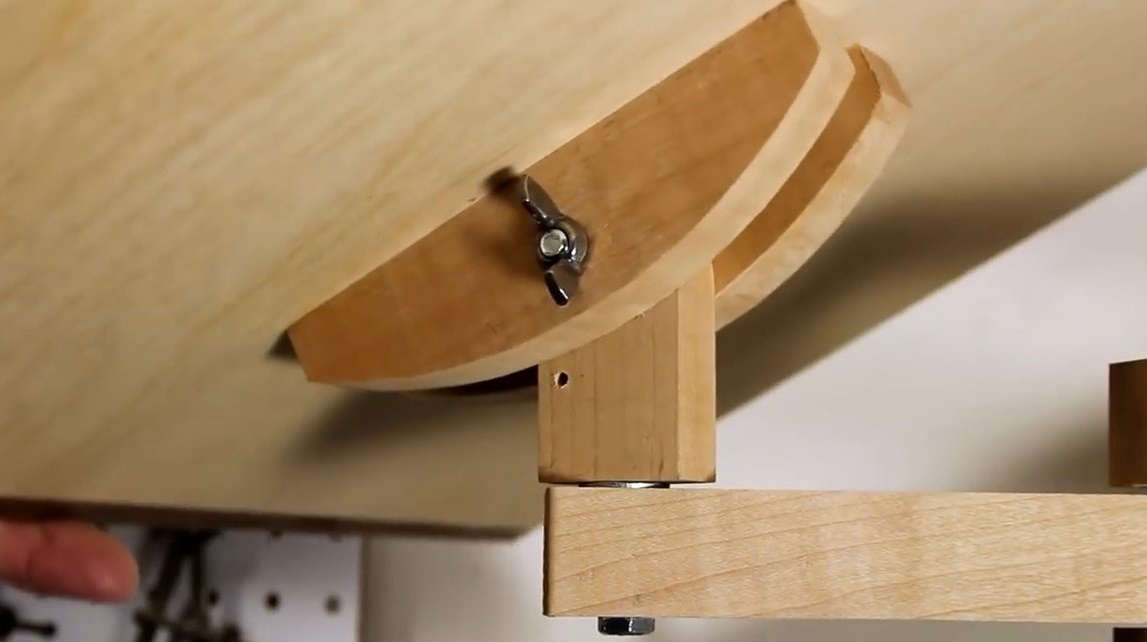
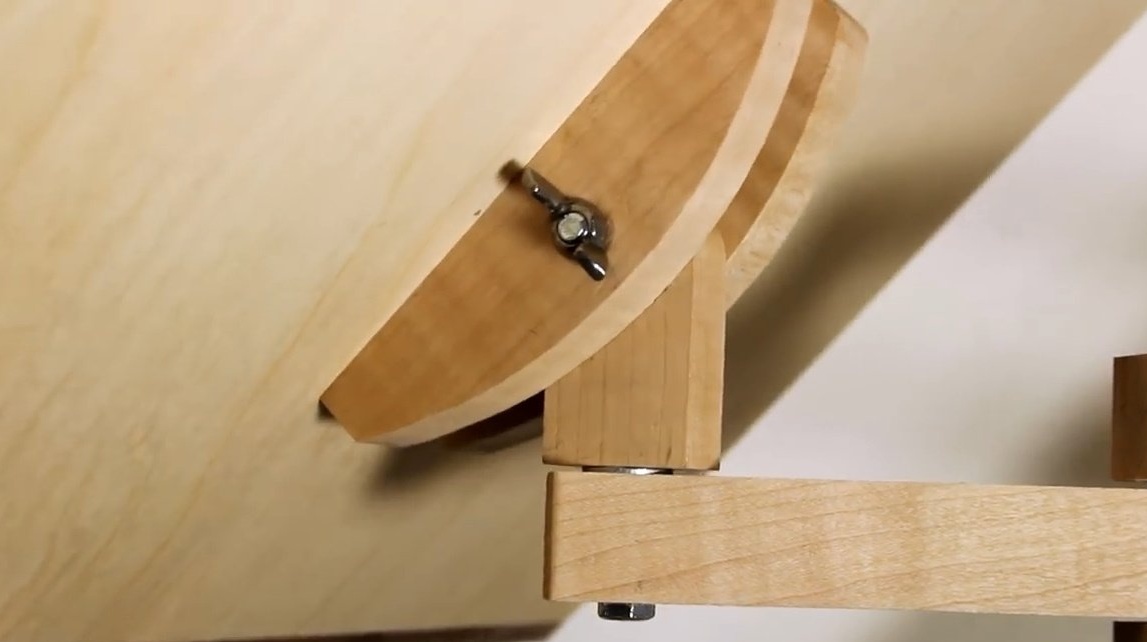
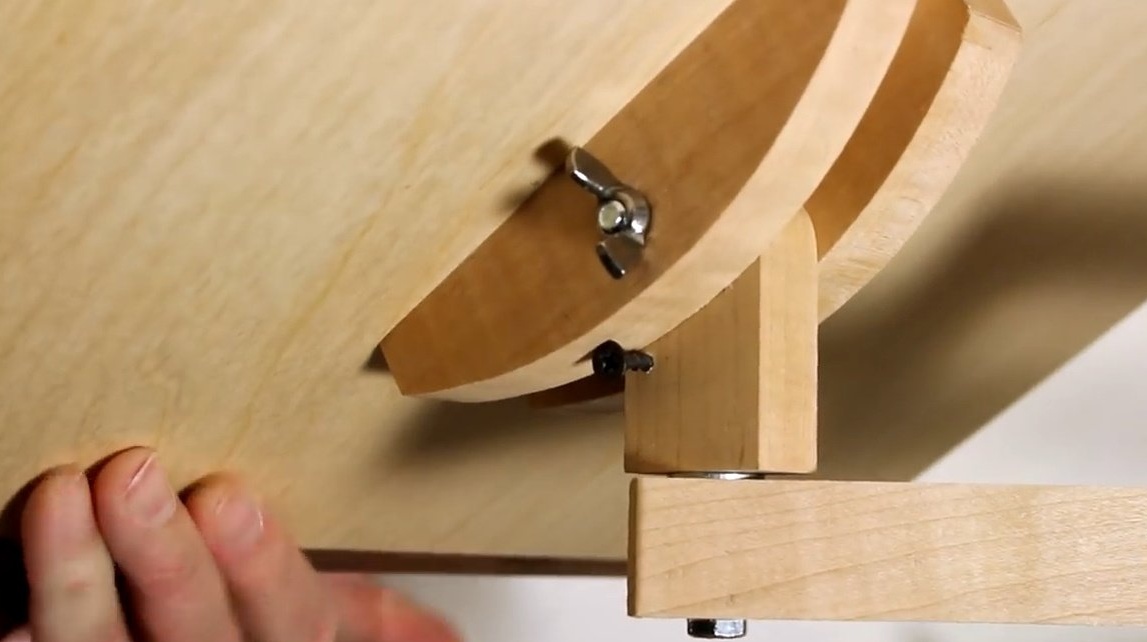
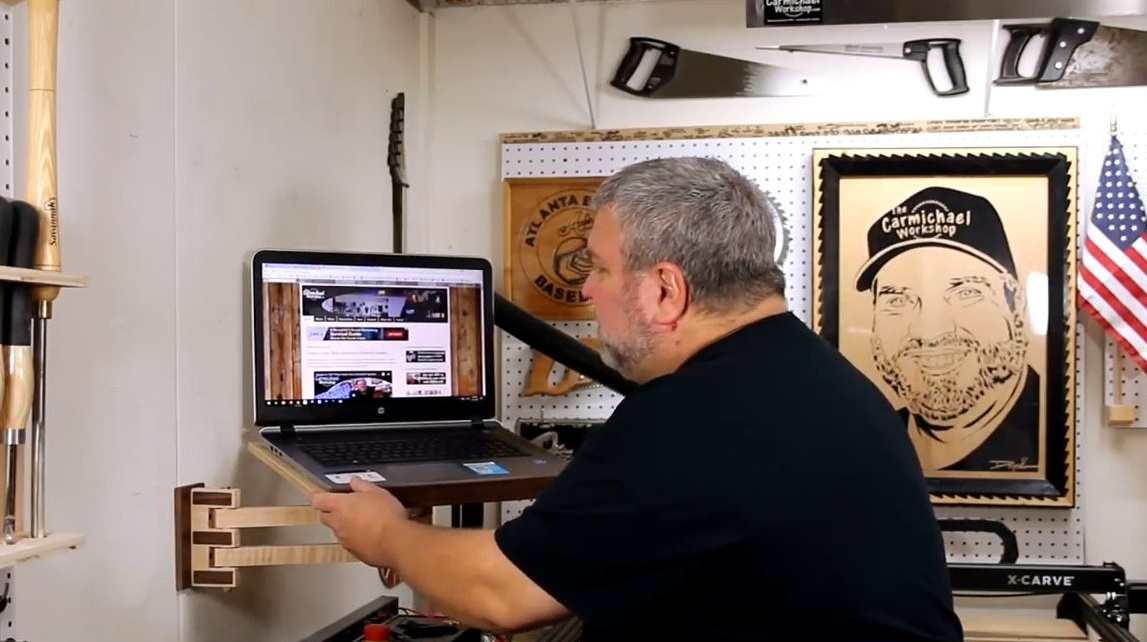
Here at such an angle the panel can tilt. It is convenient to fix the position with the wing nut.
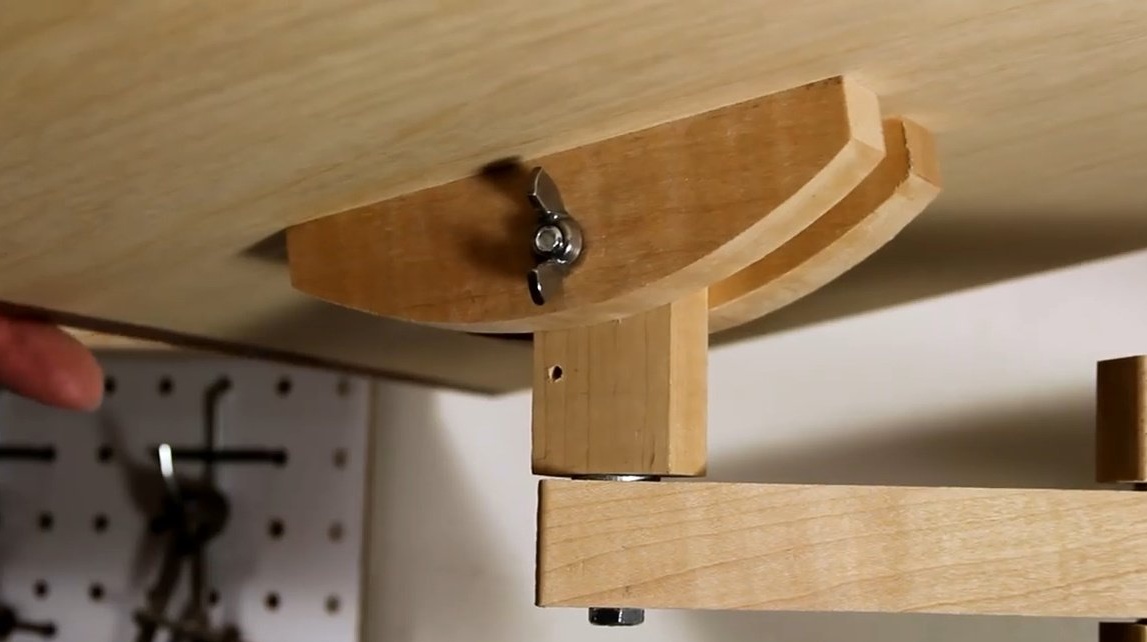
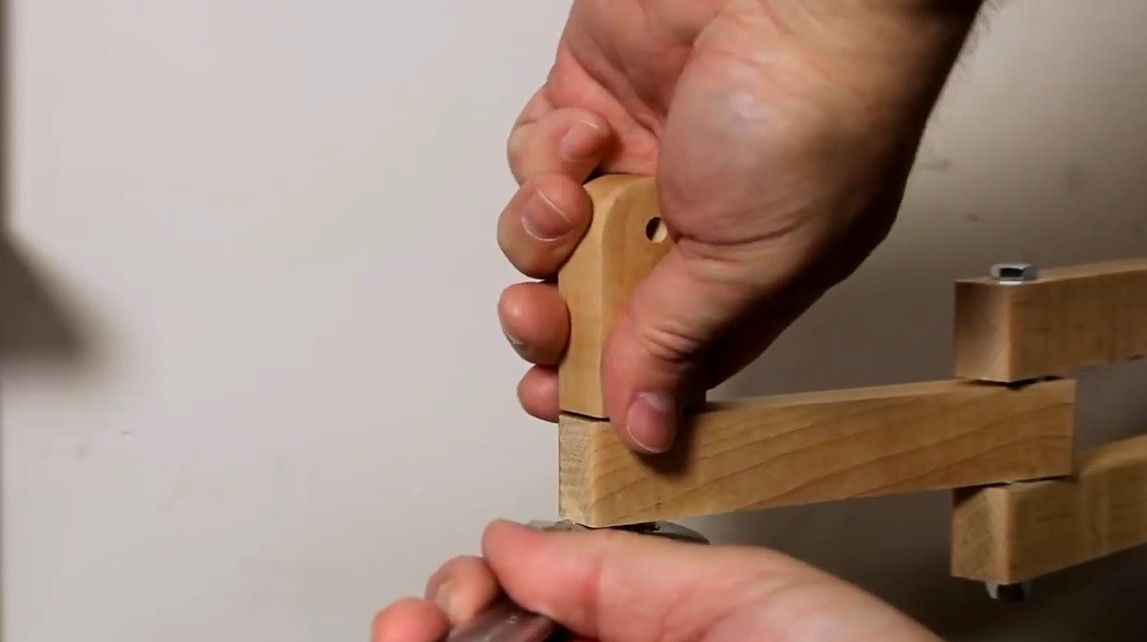
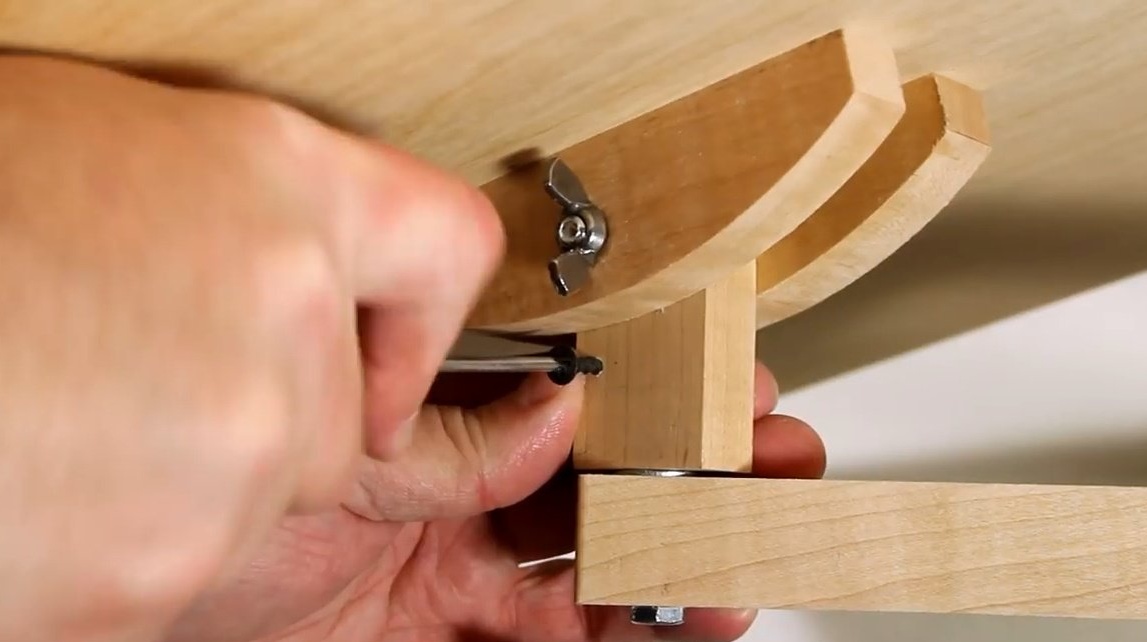
To avoid unnecessarily tilting the stand, Steve drilled a hole in advance, into which he then screwed the support screw.
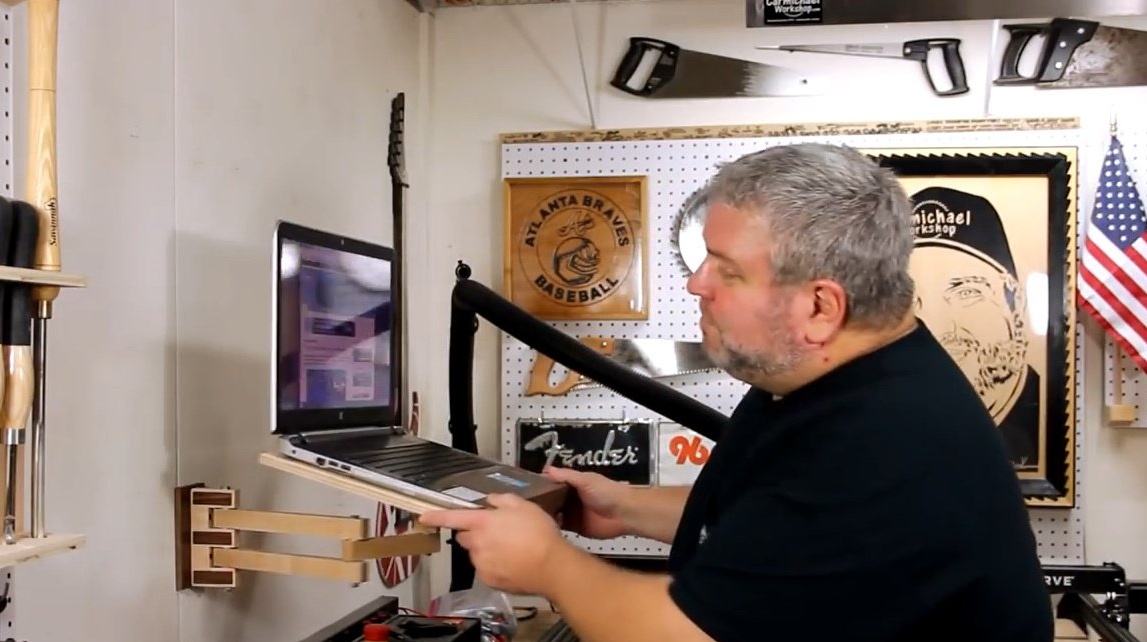
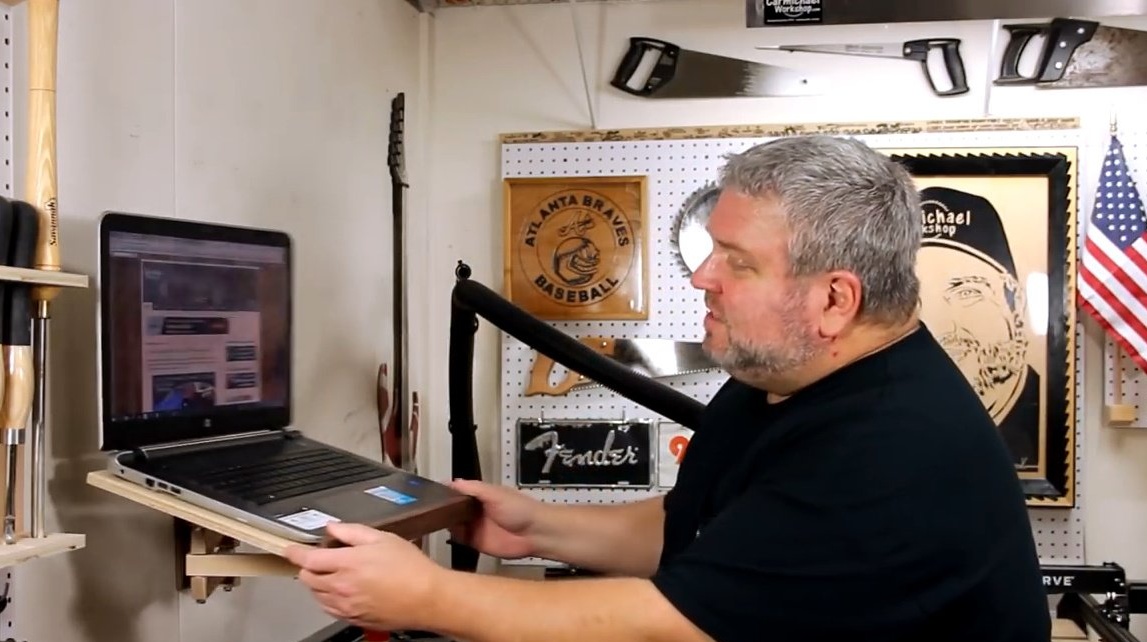
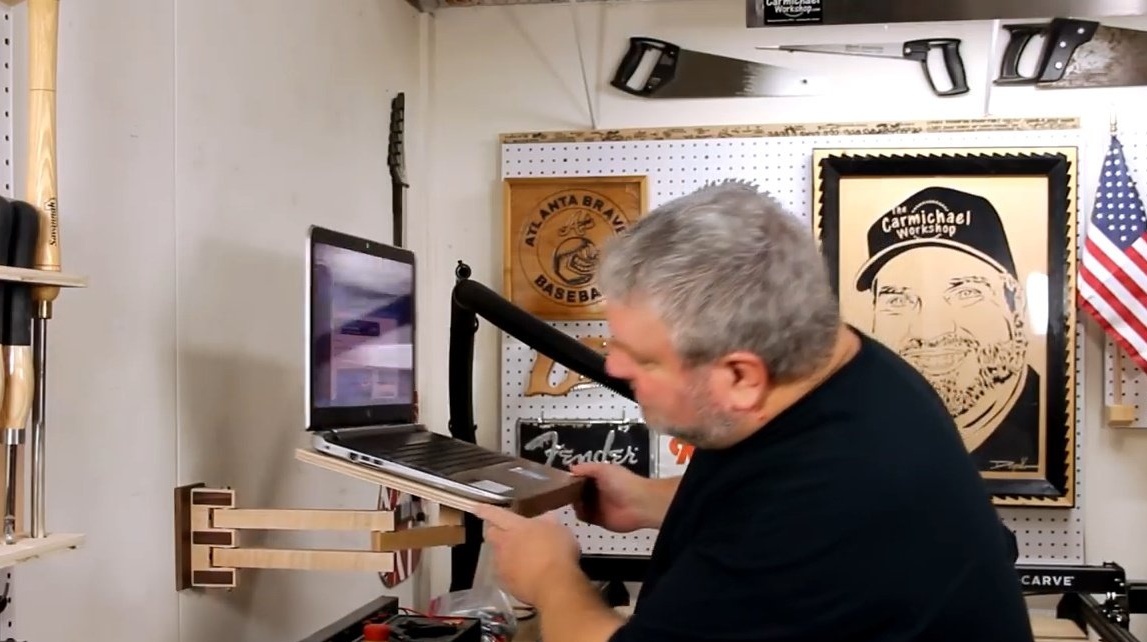
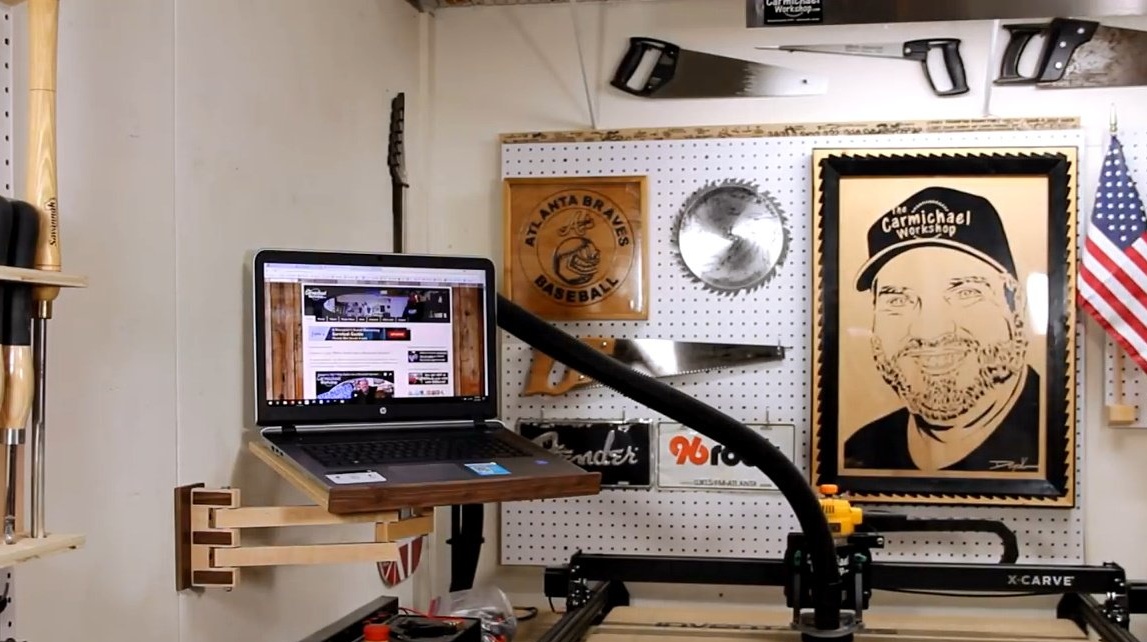
And now the complete assembly is complete! It turned out a nice and reliable place for a laptop. And if the master will have to take his mind off working with the CNC or just want to watch the video in the workshop, not really looking up from the process, his favorite laptop is always at hand! Here at such angles you can rotate the stand.

Thanks to the author for the simple but useful device for workshop or home!
All good mood, good luck, and interesting ideas!