Reason is given to man in order to make physical labor easier or to completely get rid of it. This article is about a splitter you can do. do it yourself from available materials. Such a wood splitter will cost you much cheaper than the purchased one. A machine based on the engine from the washing machine was assembled, and the required power for splitting firewood into homemade accumulates the flywheel from the GAZ-53.
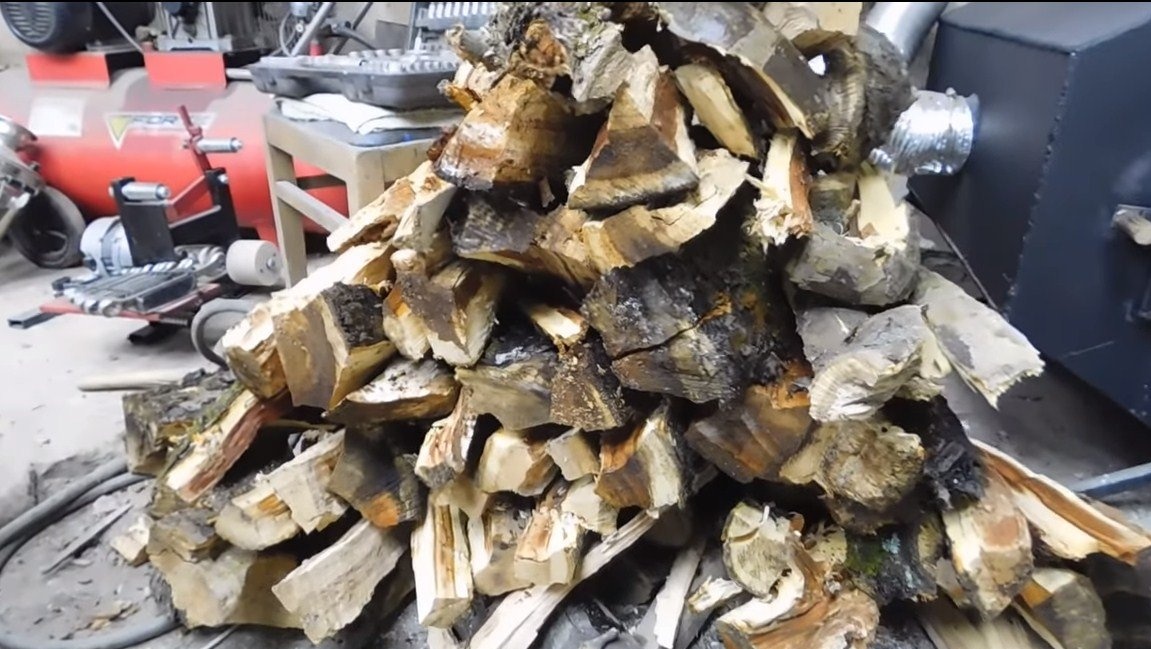
The splitter is very simple and convenient to use, it can easily cope with the splitting of even knotty hemp, and if you put the engine more powerful, or just two engines from washing machines, it will chop almost any hemp. If the home-made you are interested in, I propose to study the project in more detail.
Materials and tools used by the author:
Material List:
- sheet steel, round timber (to make a working shaft);
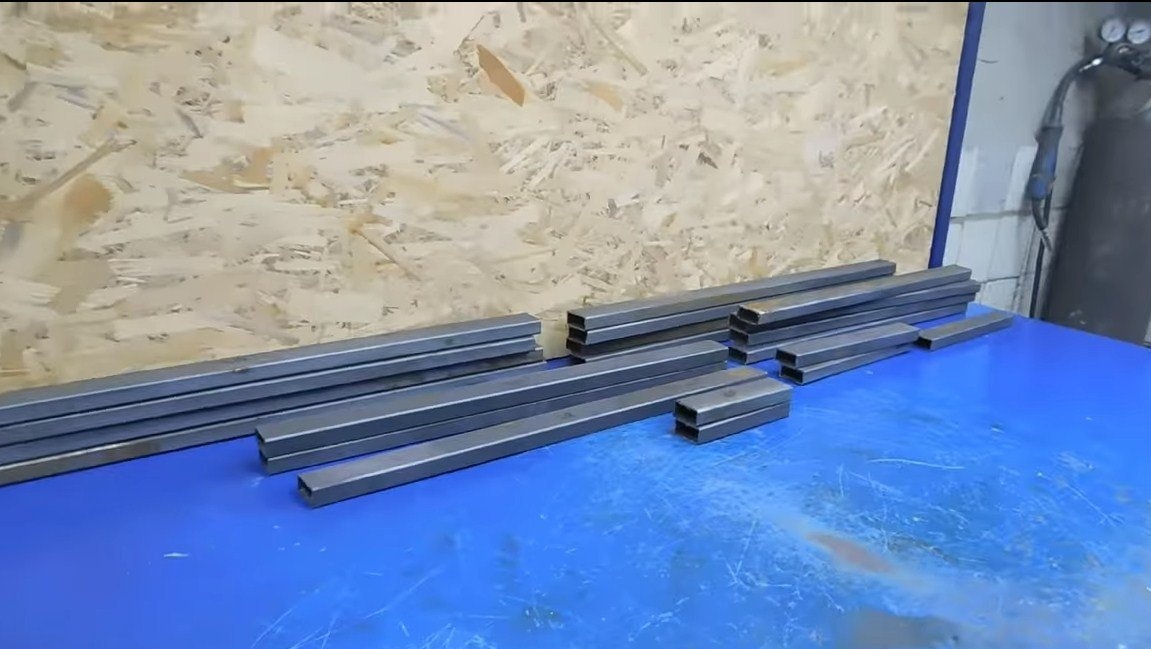
- profile pipes and sheet steel (for the frame);
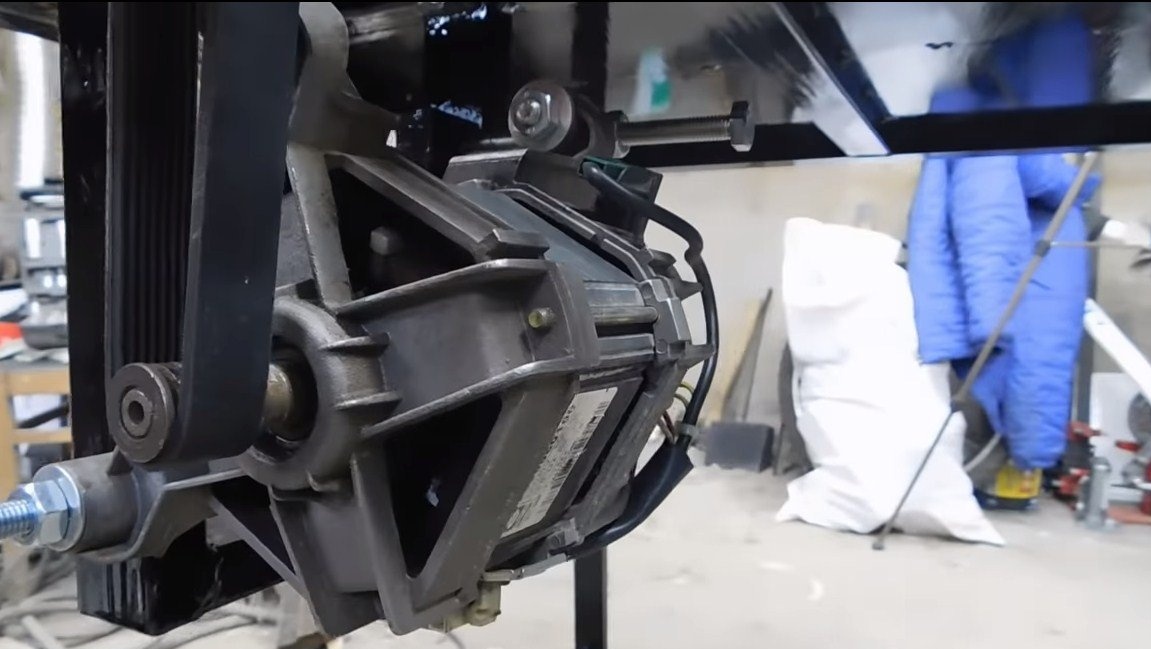
- the engine from the washing machine;
- flywheel from GAZ-53 or similar;
- Belting;
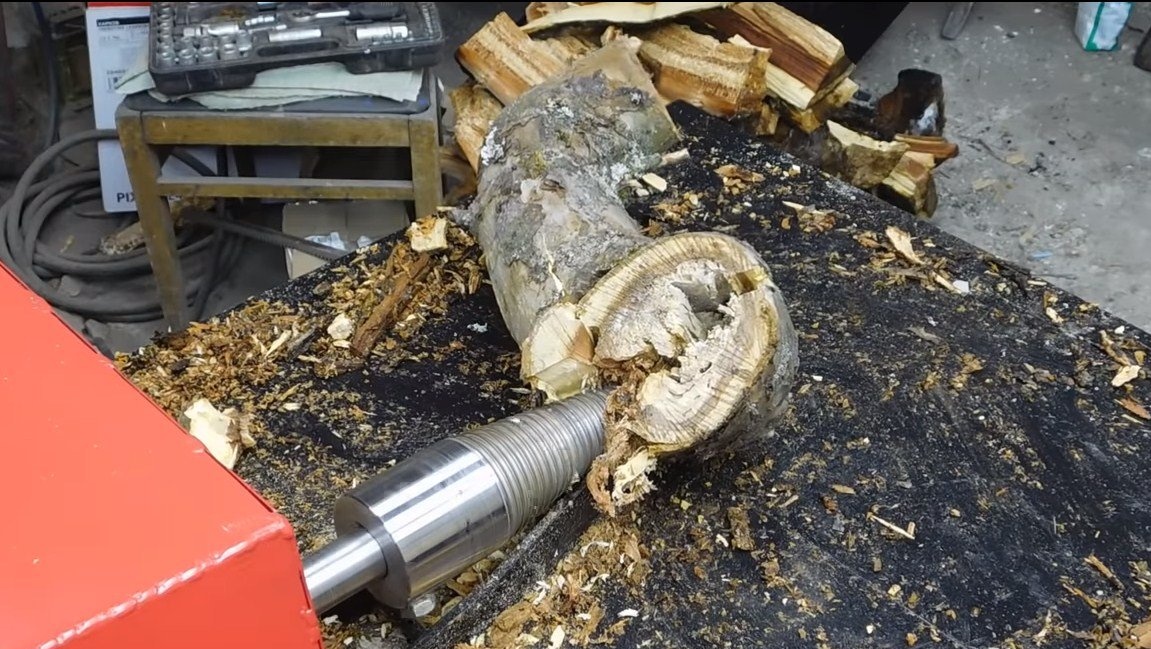
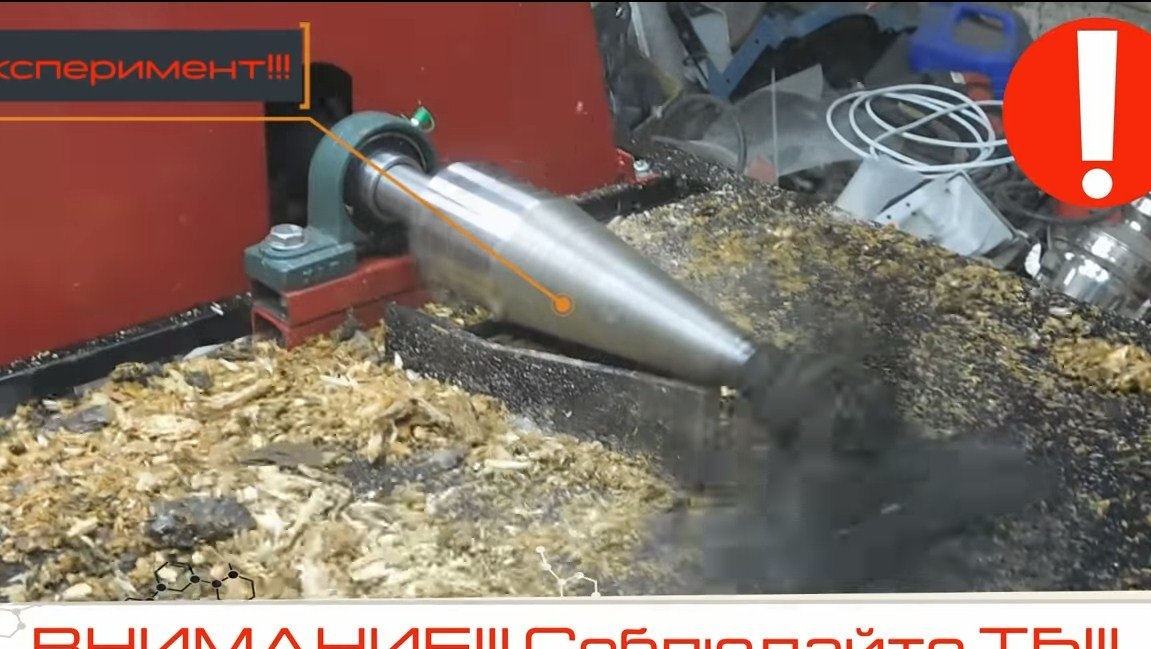
- "carrot" for the splitter;
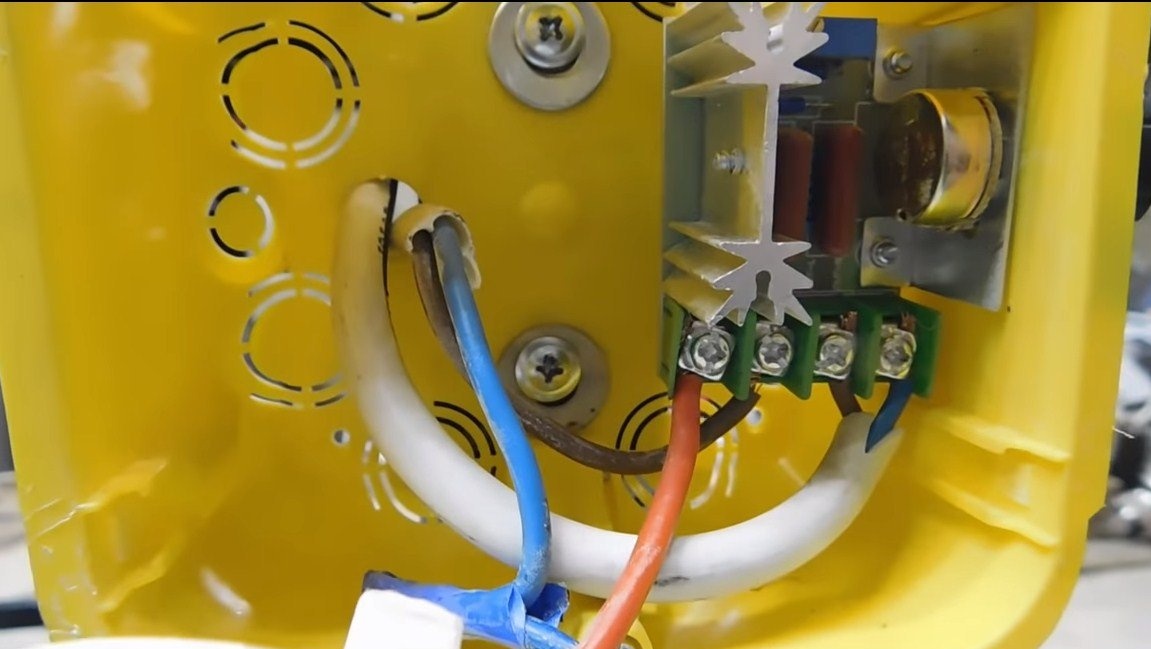
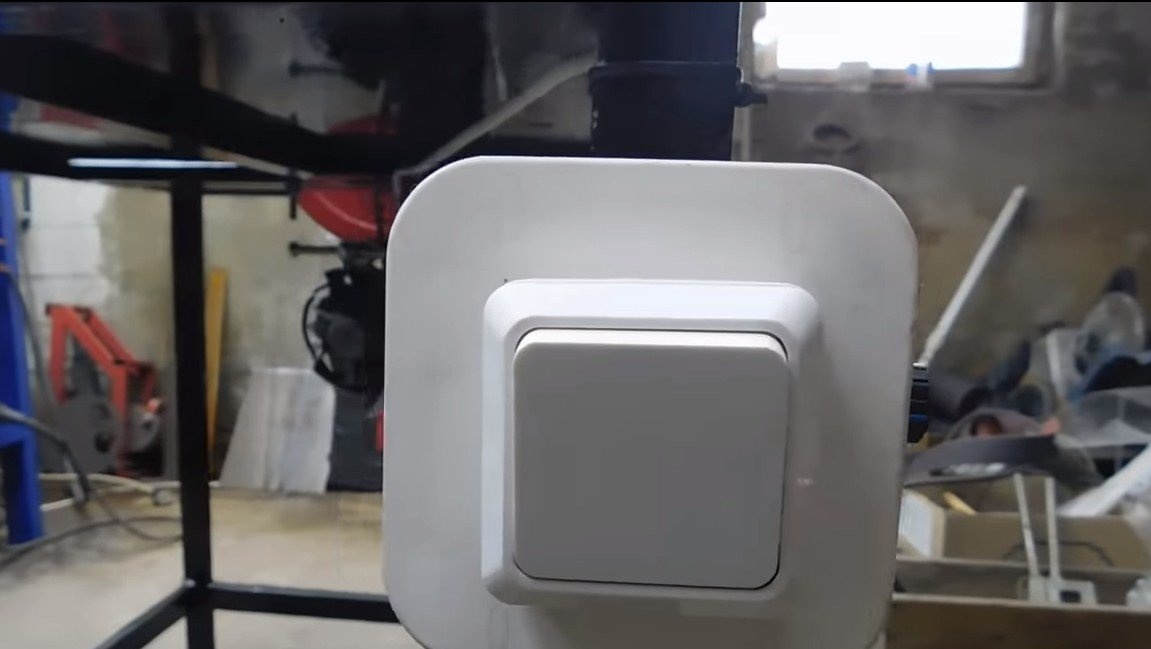
-, switch, wiring;
- bearings with brackets;
- bolts, nuts, washers, etc.
Tool List:
- turner services;
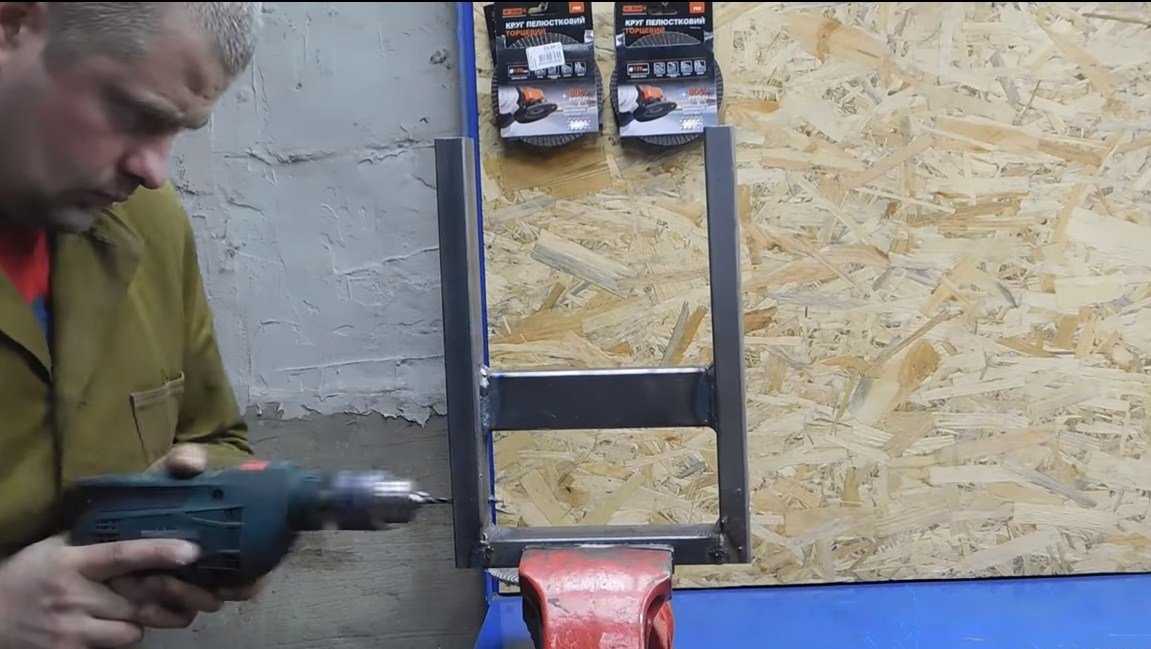
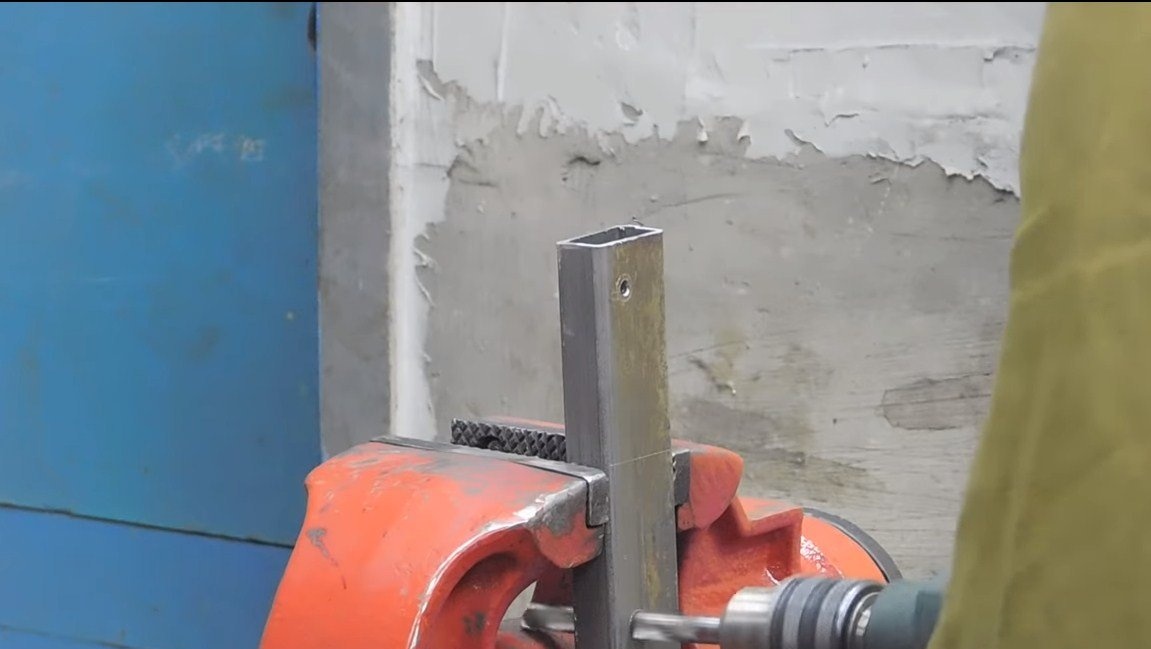
- drill;
- grinder;
- plasma cutter;
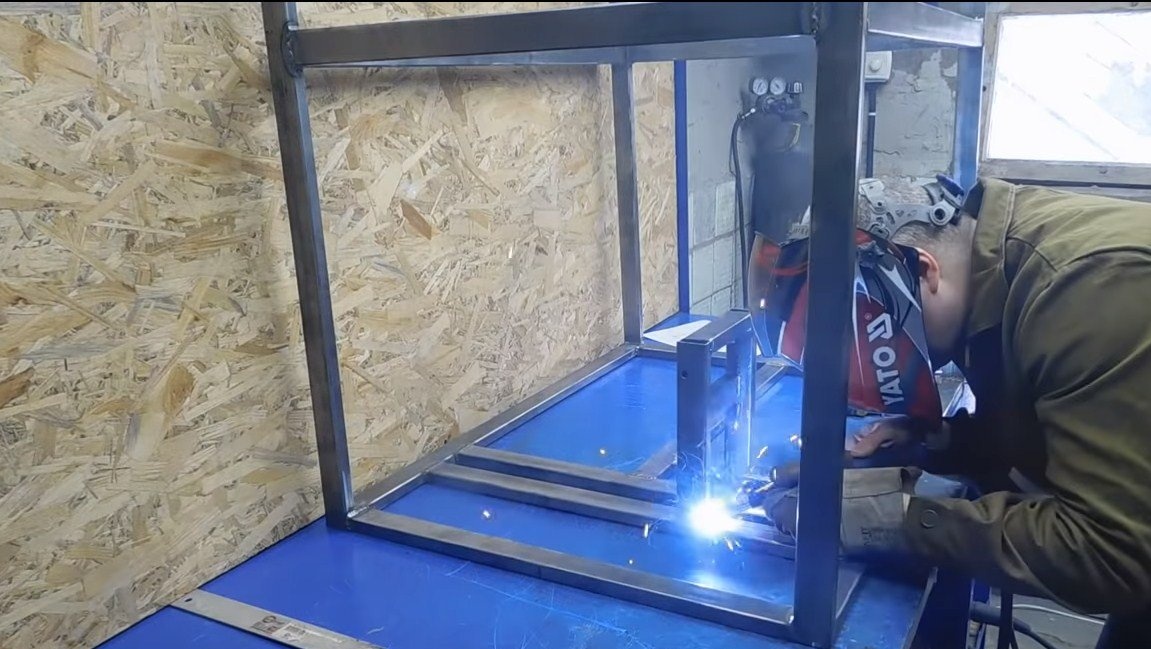
- welding machine;
- wrenches, marking tools, etc.
The process of making wood splitter:
Step one. Working axis
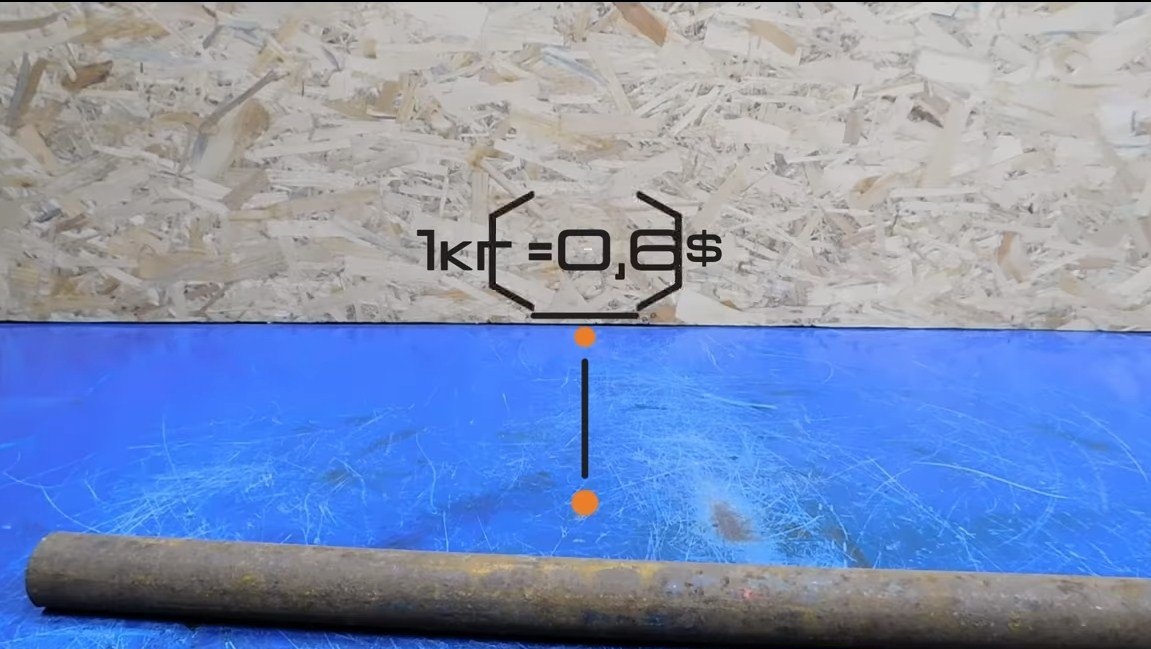
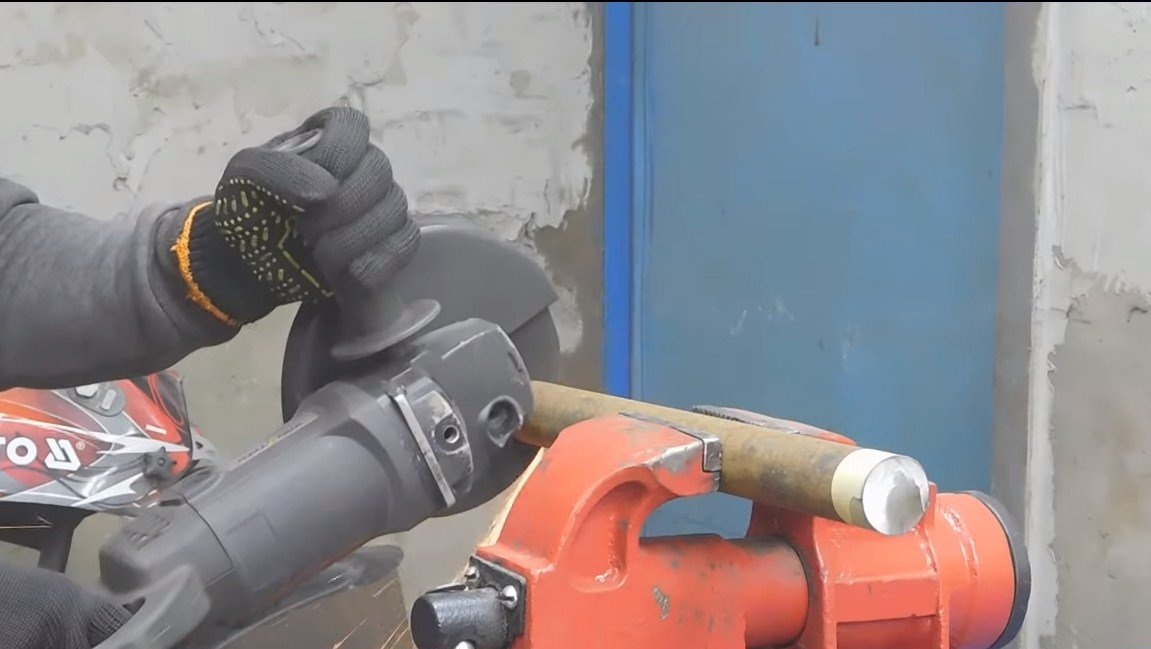
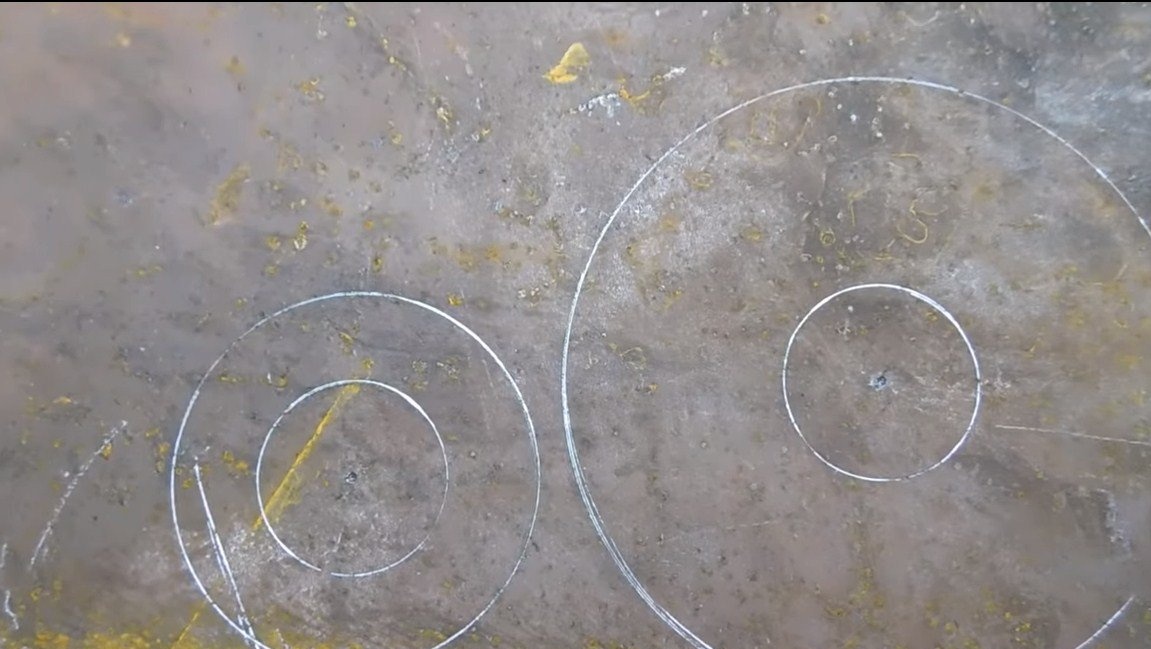
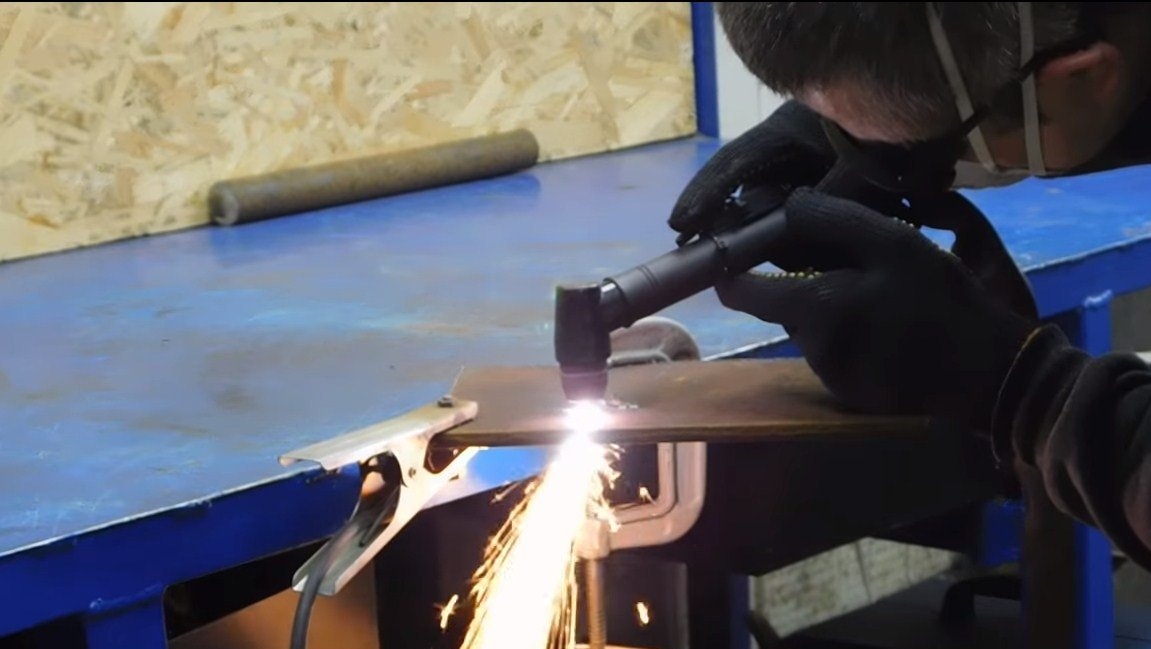
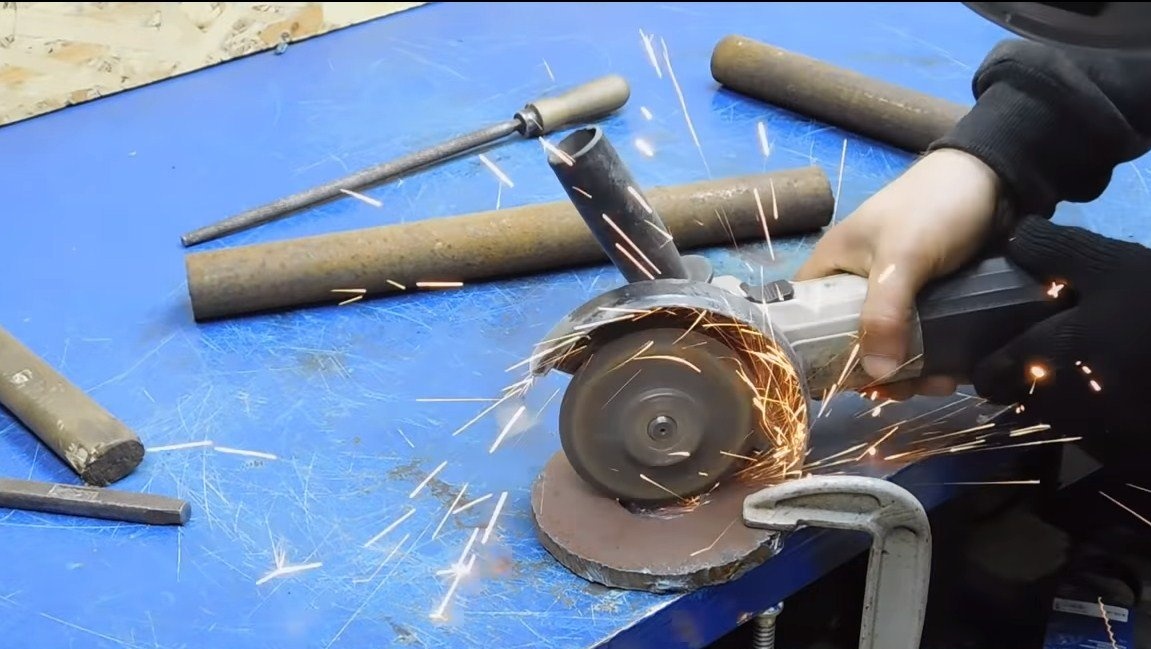
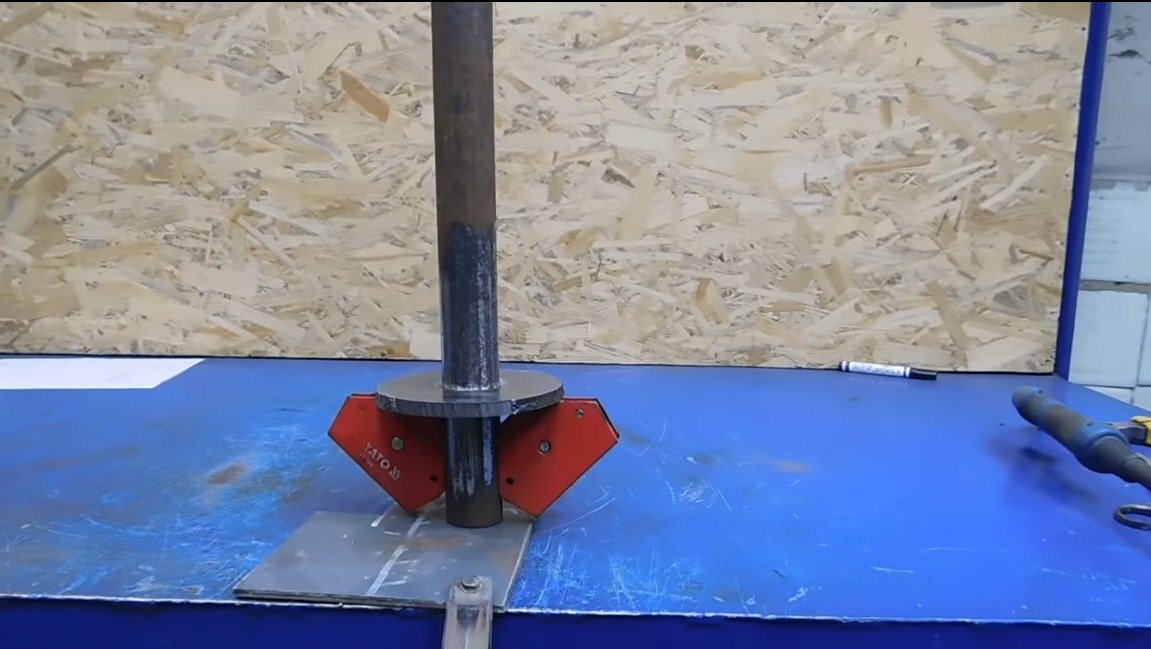
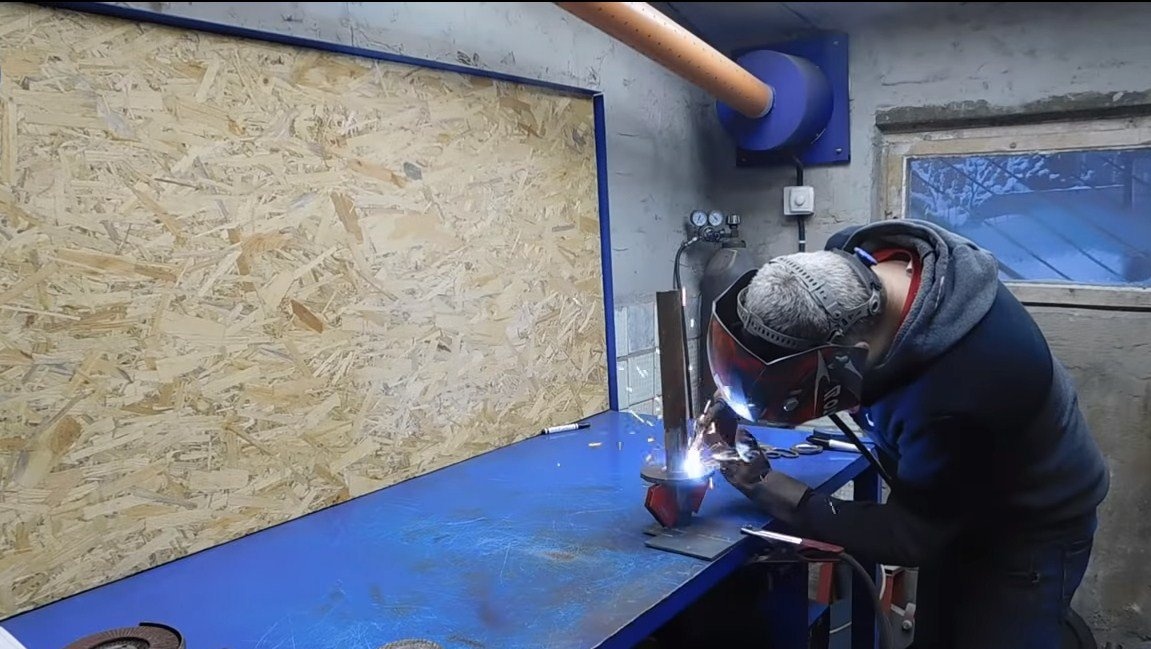
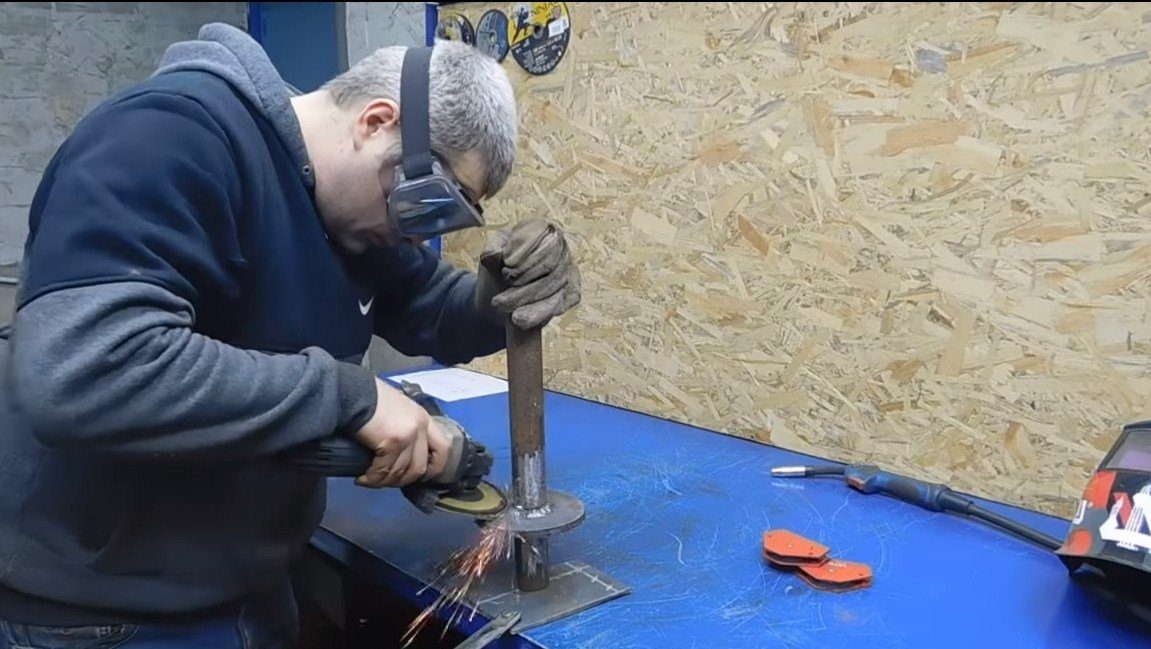
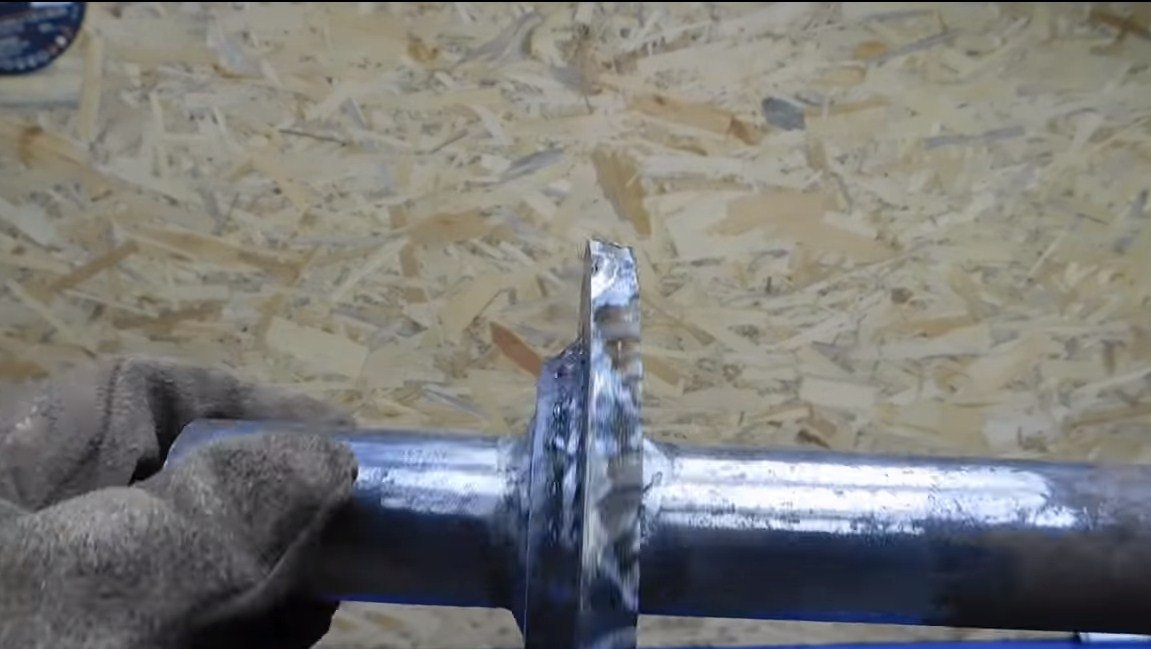
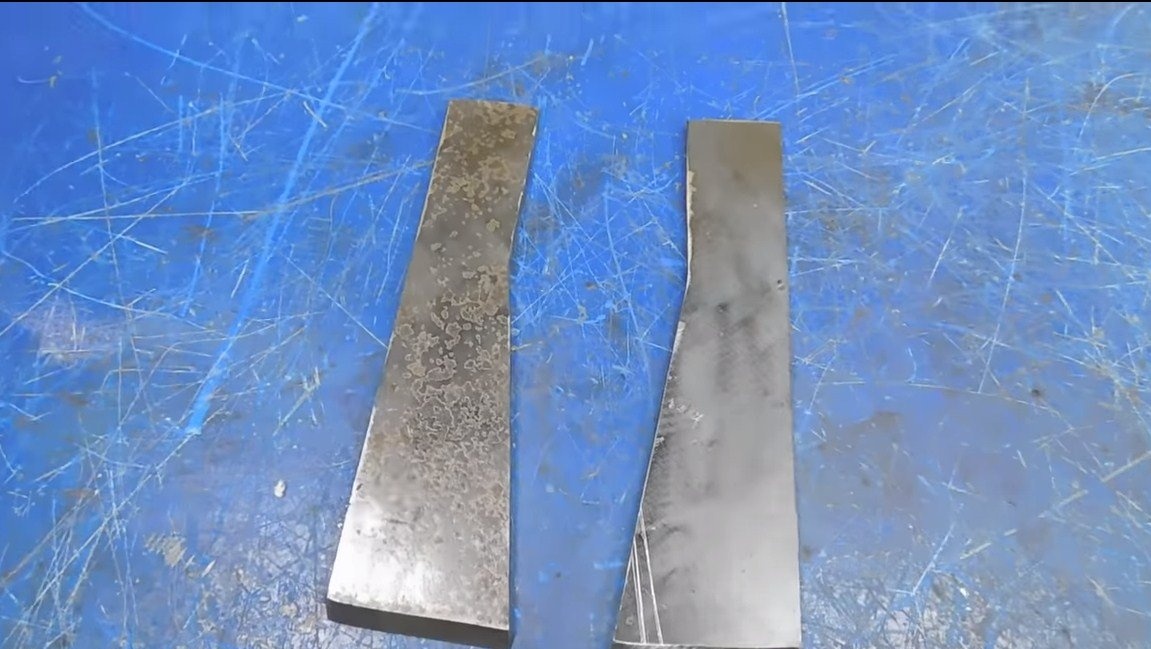
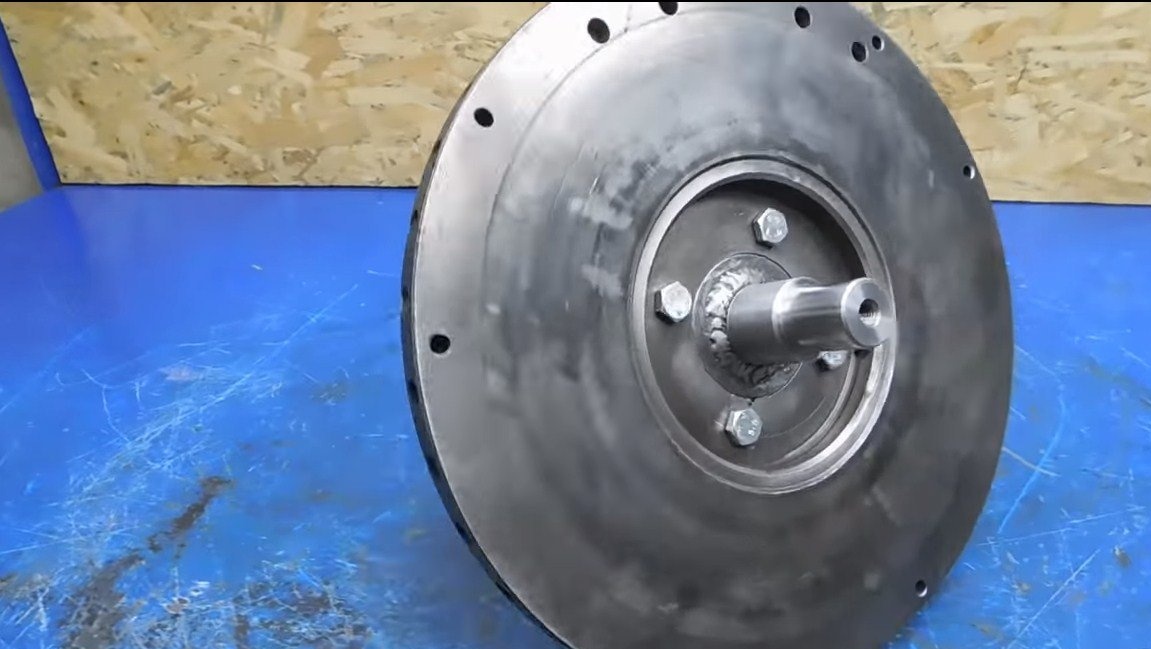
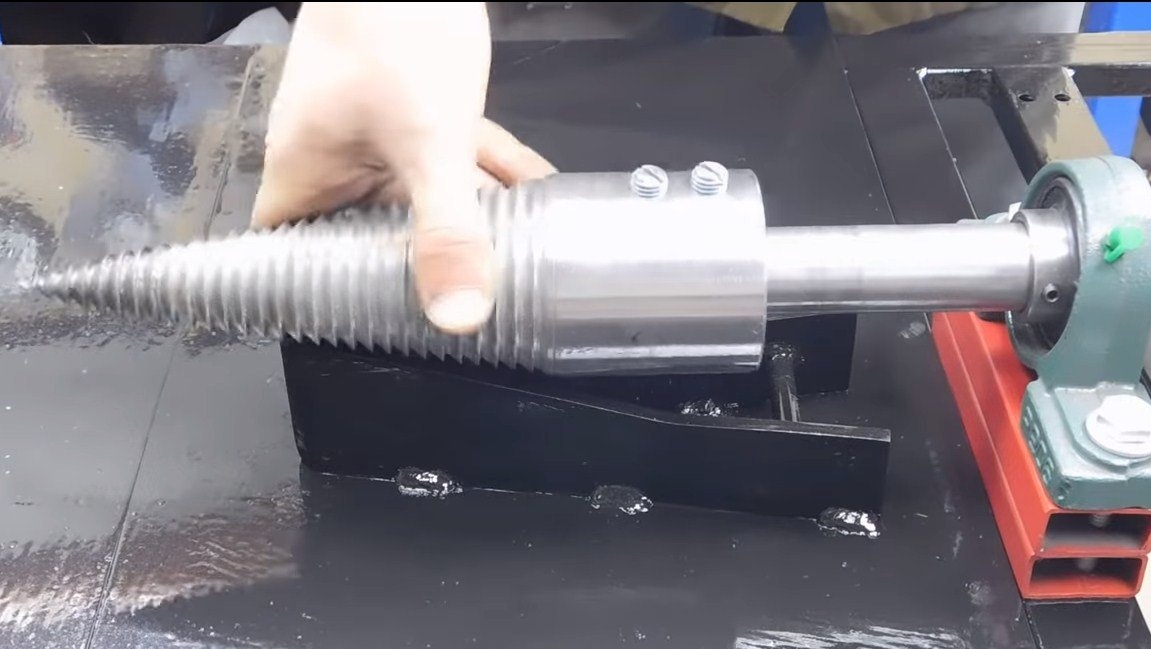
First of all, we will produce a working axis, more precisely a workpiece for it. It is made of round timber, to which two steel plates are welded. Cutting a round log is not a problem; the most difficult thing is to cut these two “washers” from thick sheet steel. Their author cut with a plasma cutter, and then brought to mind with files and a grinder.
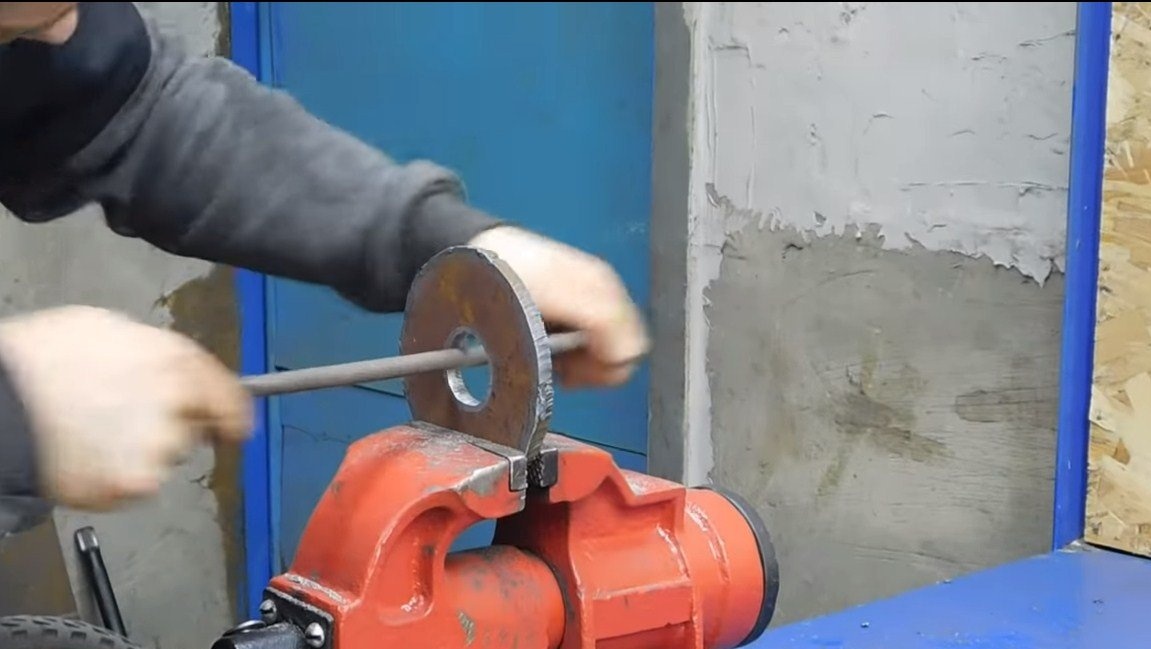
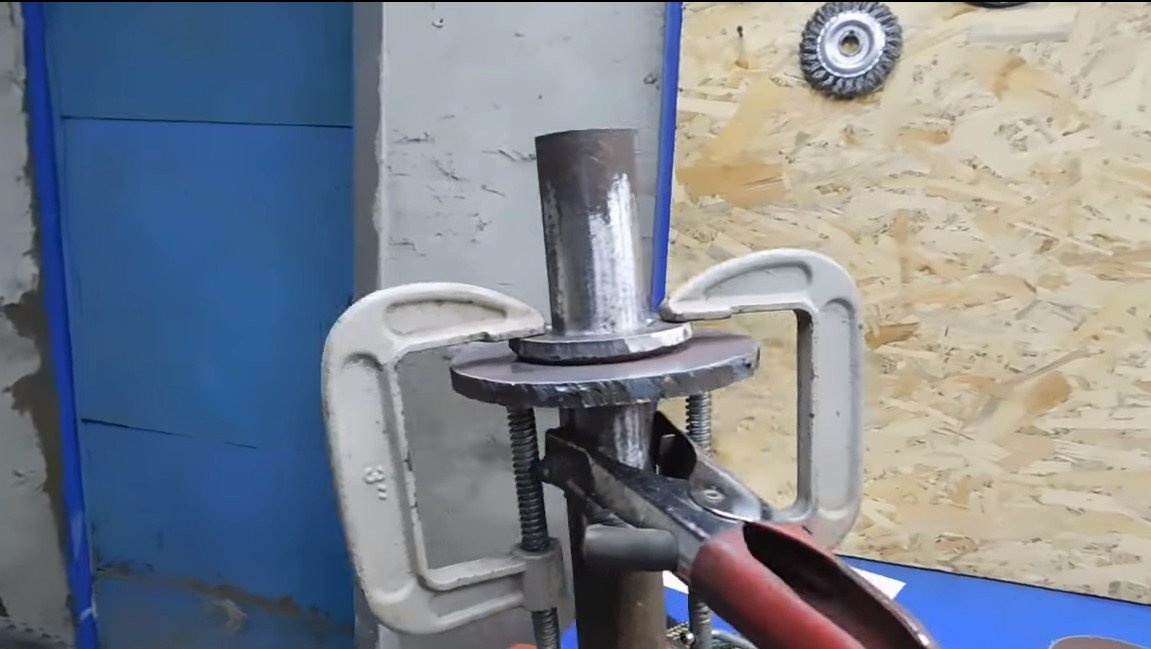
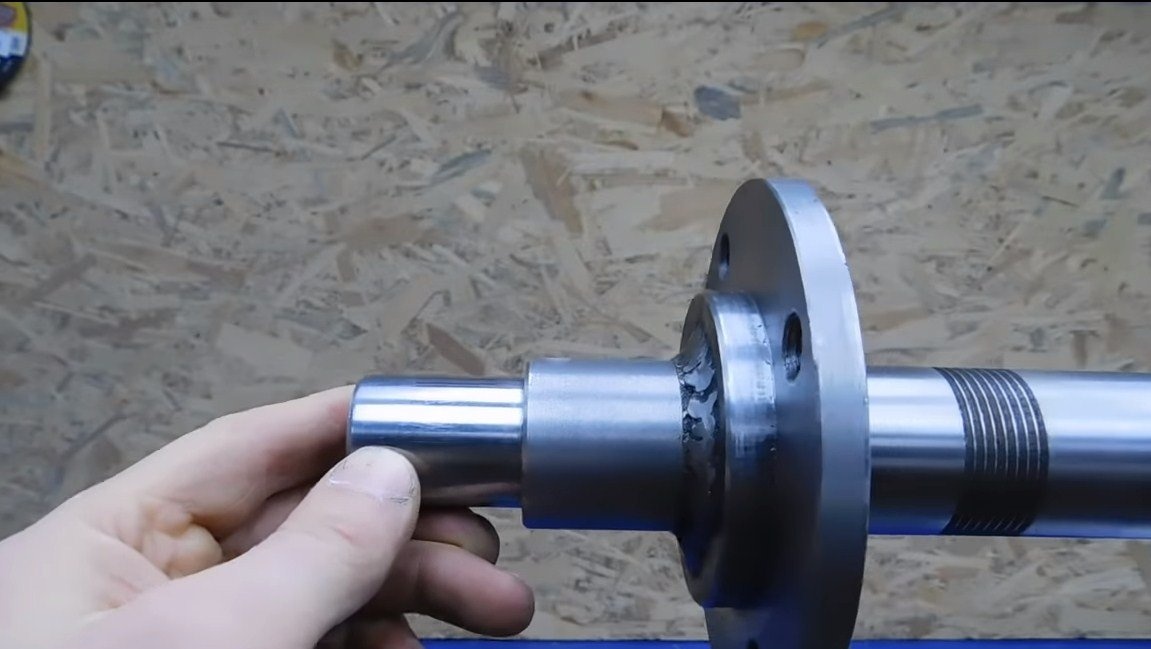
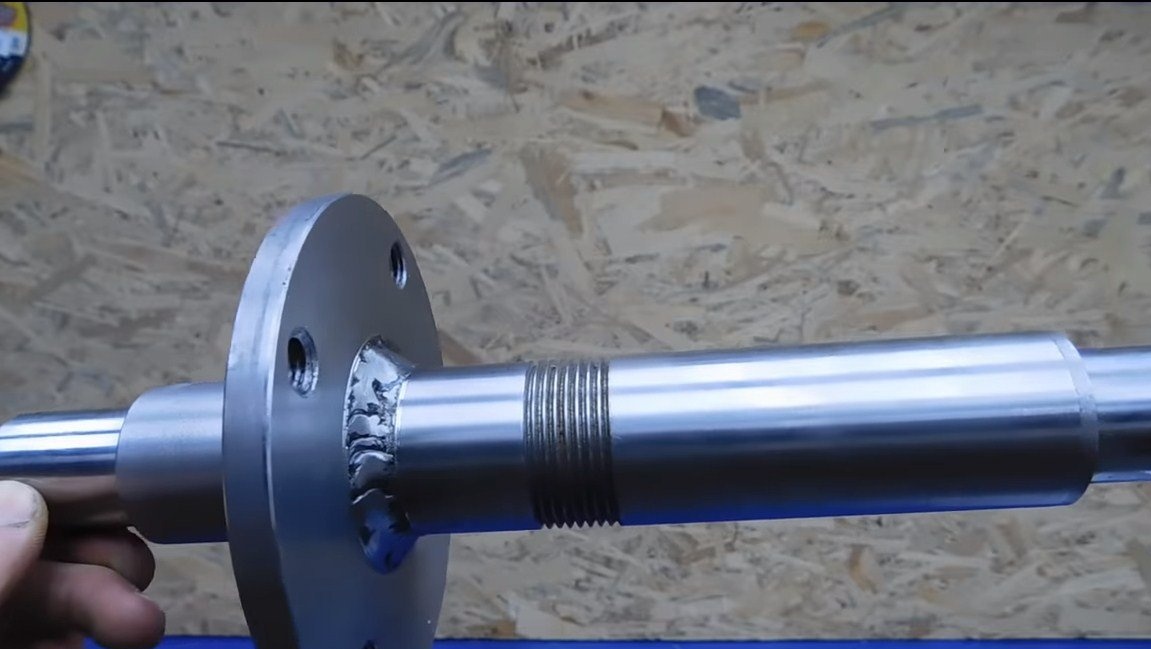
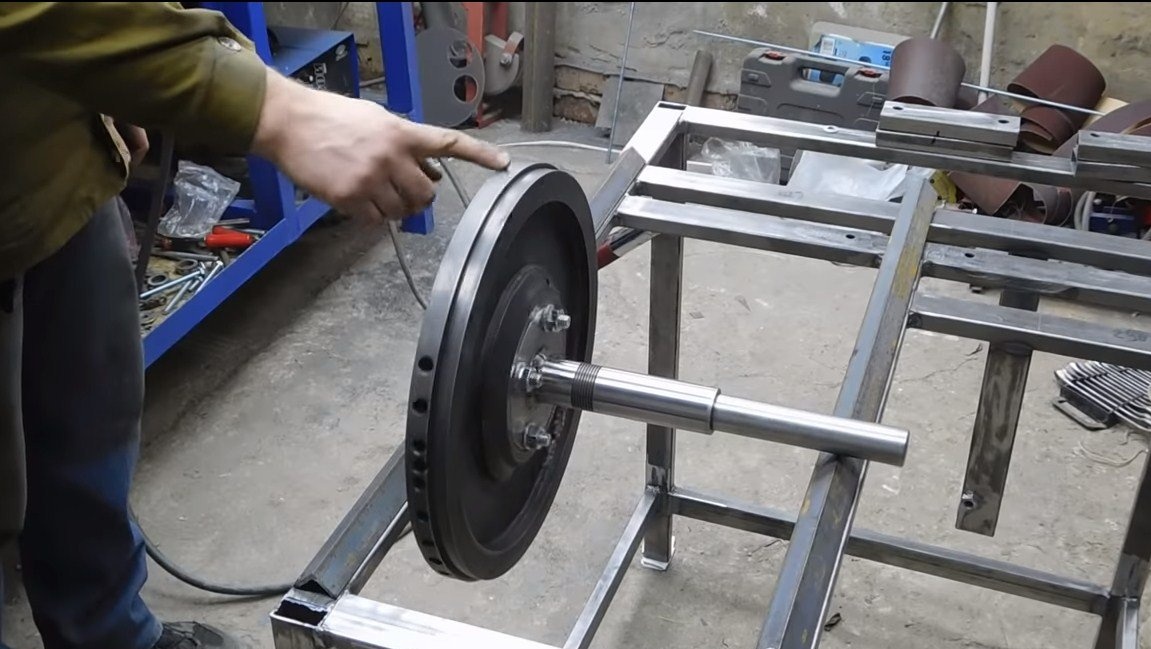
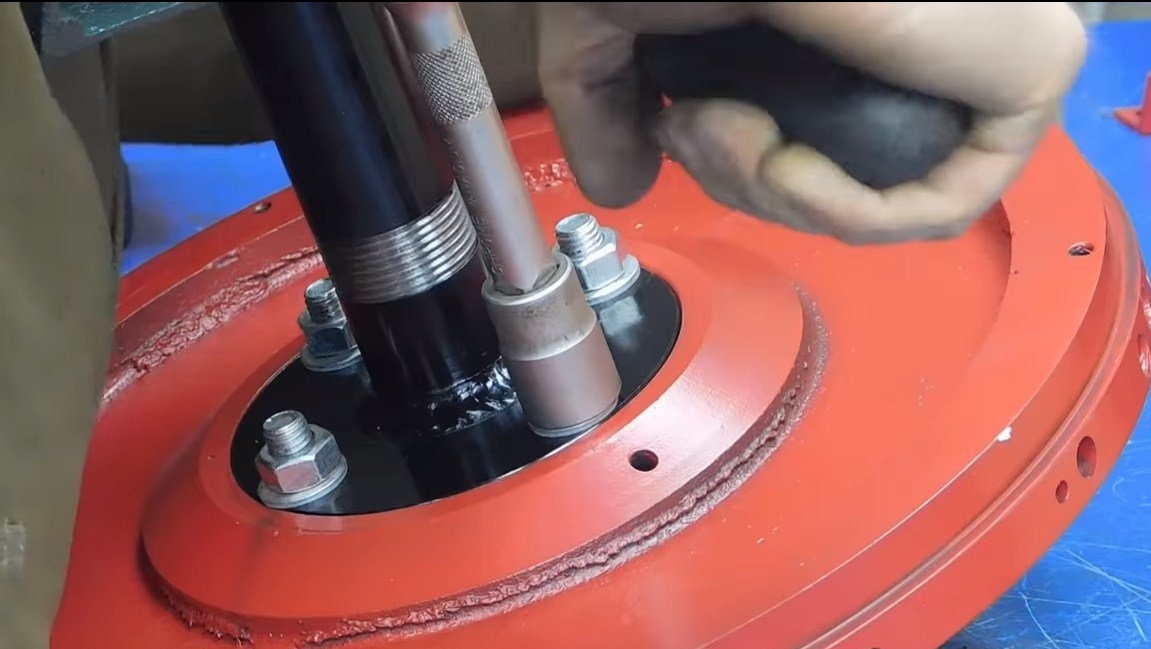
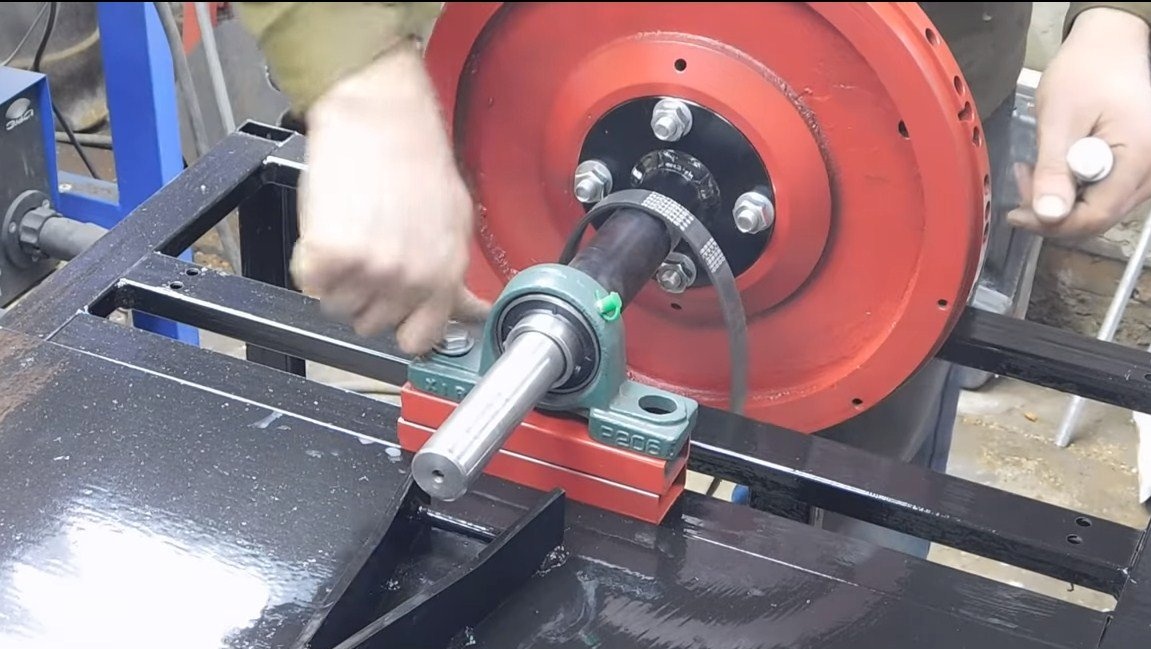
As a result, the workpiece was sent to a turner, and the author received a masterpiece. There is a flange on the shaft for mounting the flywheel, and there is also a hole for installing the drive belt from the engine.

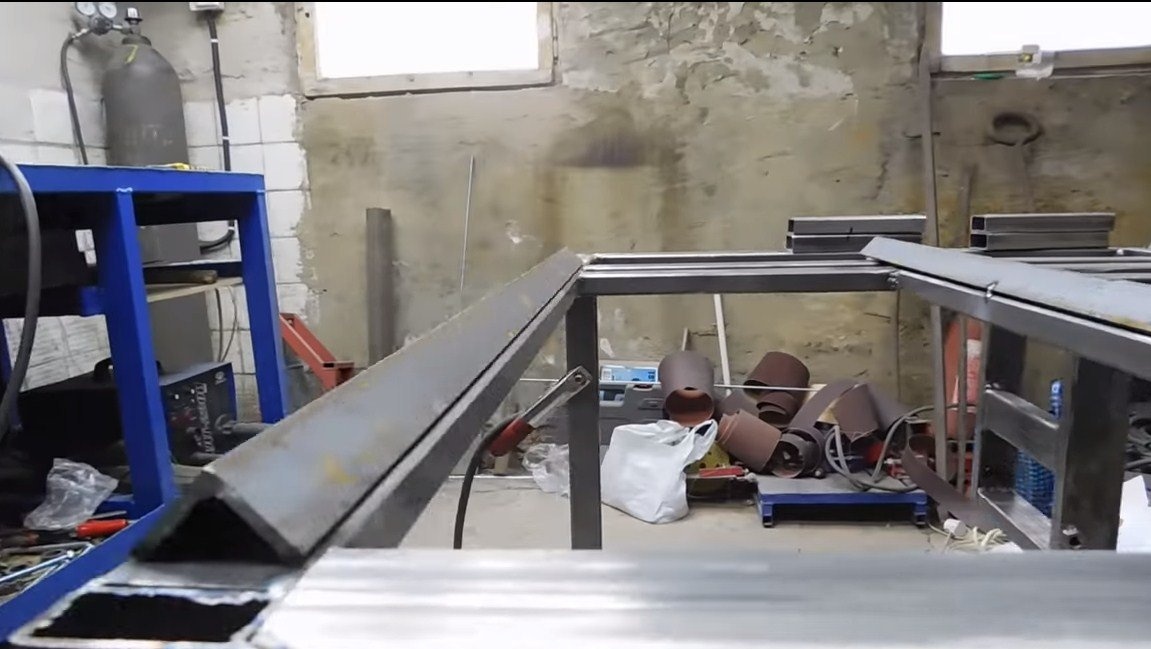
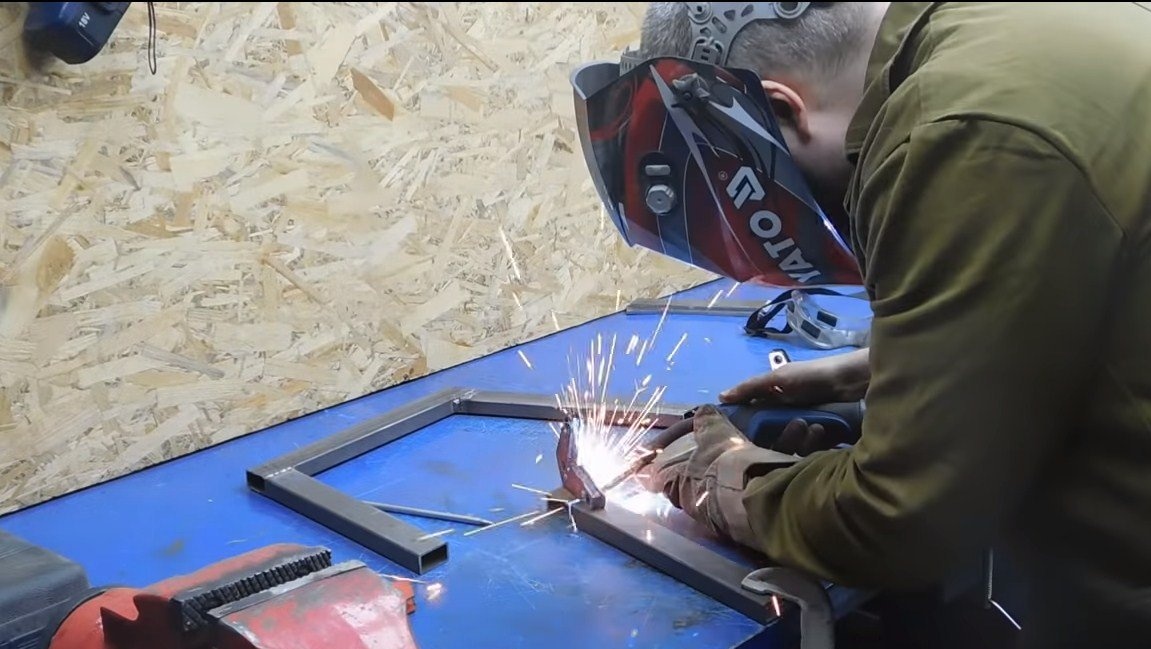
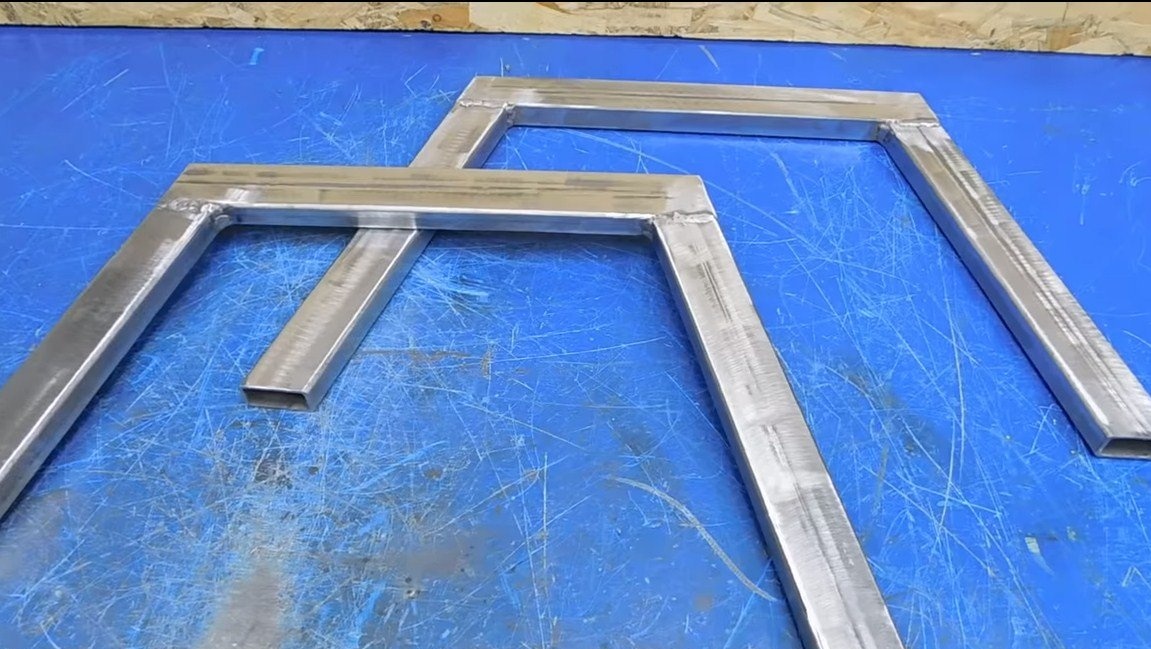
Step Two Frame
The author welded the frame from profile pipes, there is nothing complicated here, you just need to show some effort and patience. In addition, two parts must be cut out of strong steel, from which a wedge will then be welded.

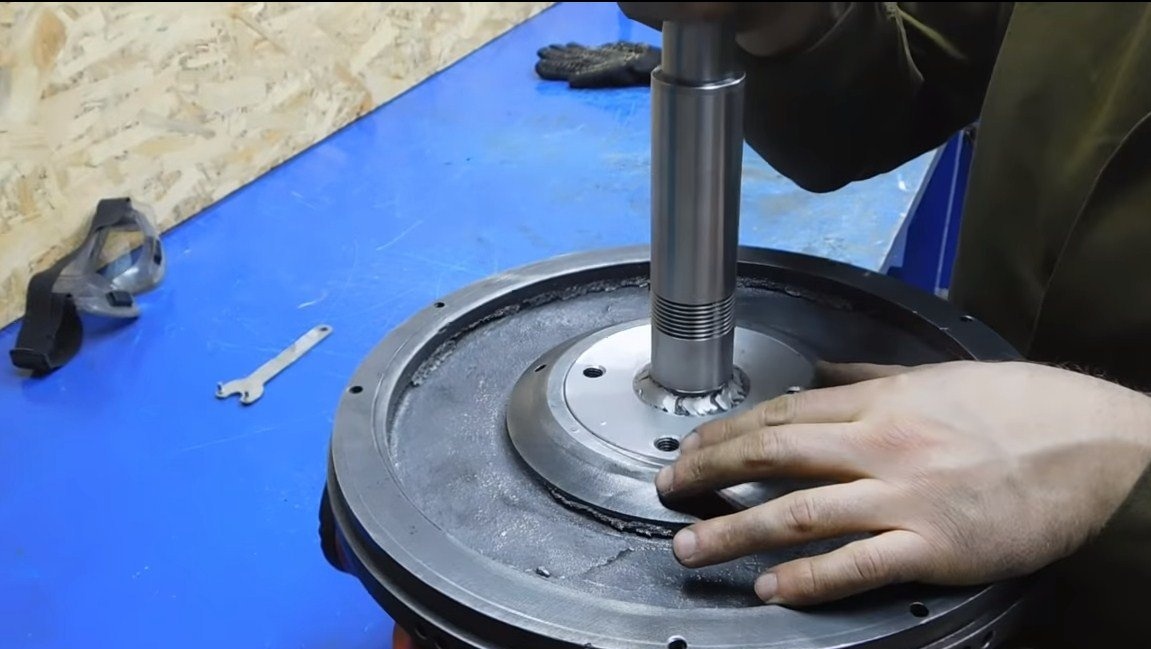
Step Three Flywheel
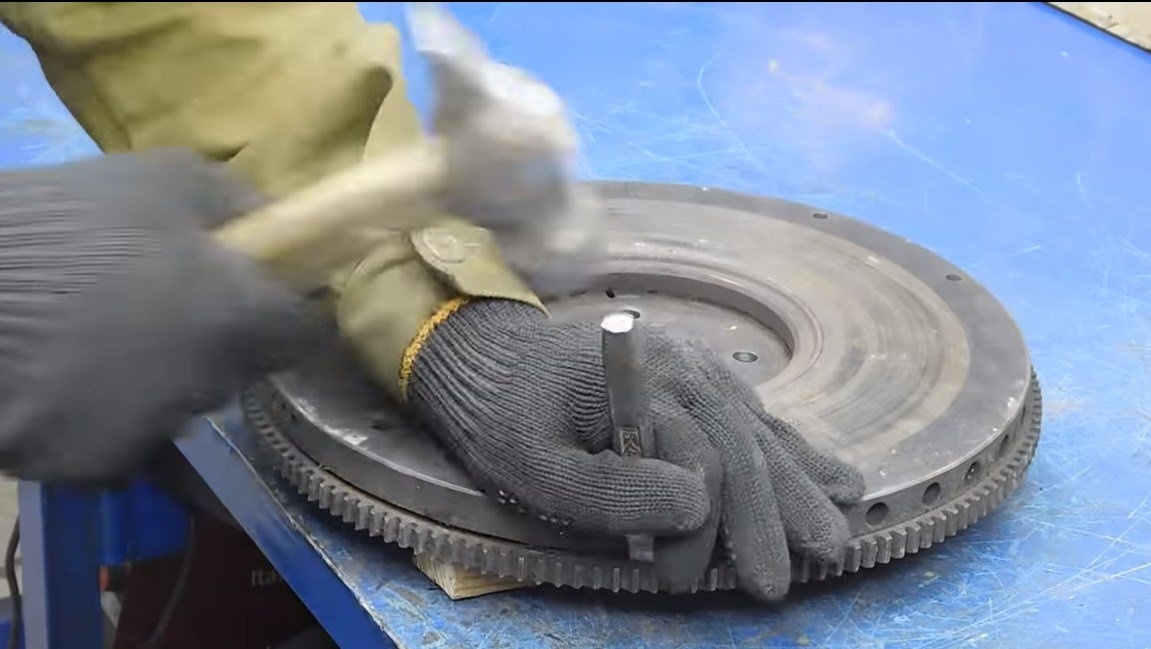
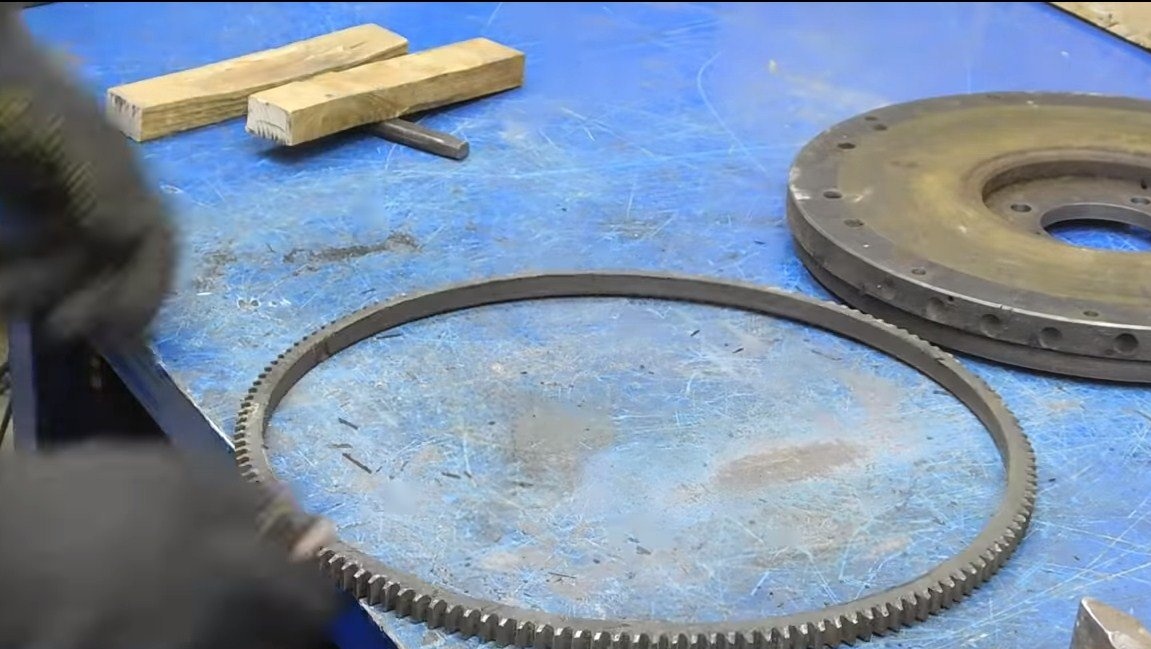
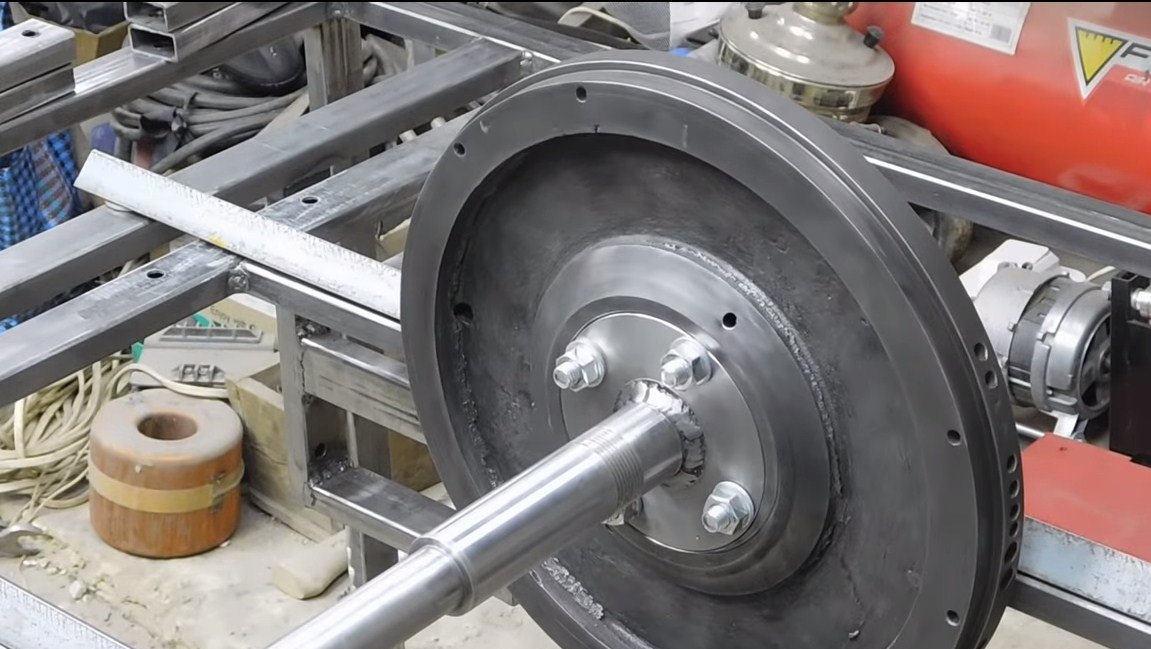
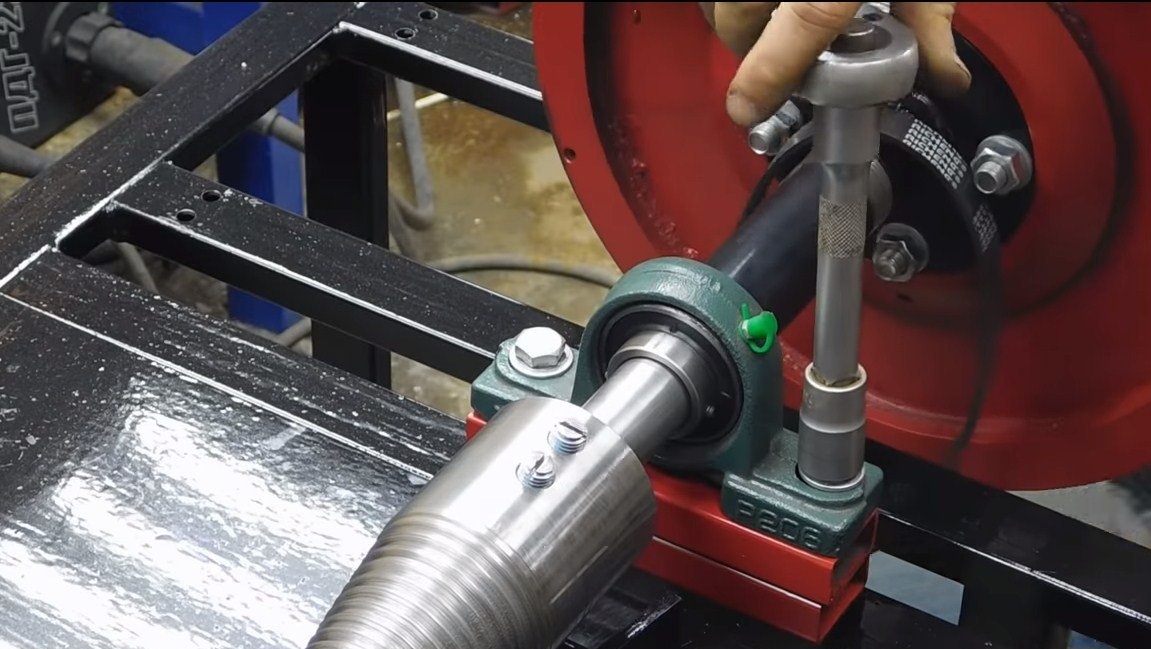
A homemade flywheel is needed for it, it will spin up to high revs, and then hemp will be chopped due to these revolutions and mass. Flywheel author bought a second-hand from the GAZ-53. To begin with, remove the ring gear from it, it will not be needed, and also clean the part well from dirt and rust. Well, then install the flywheel on the previously made axis.


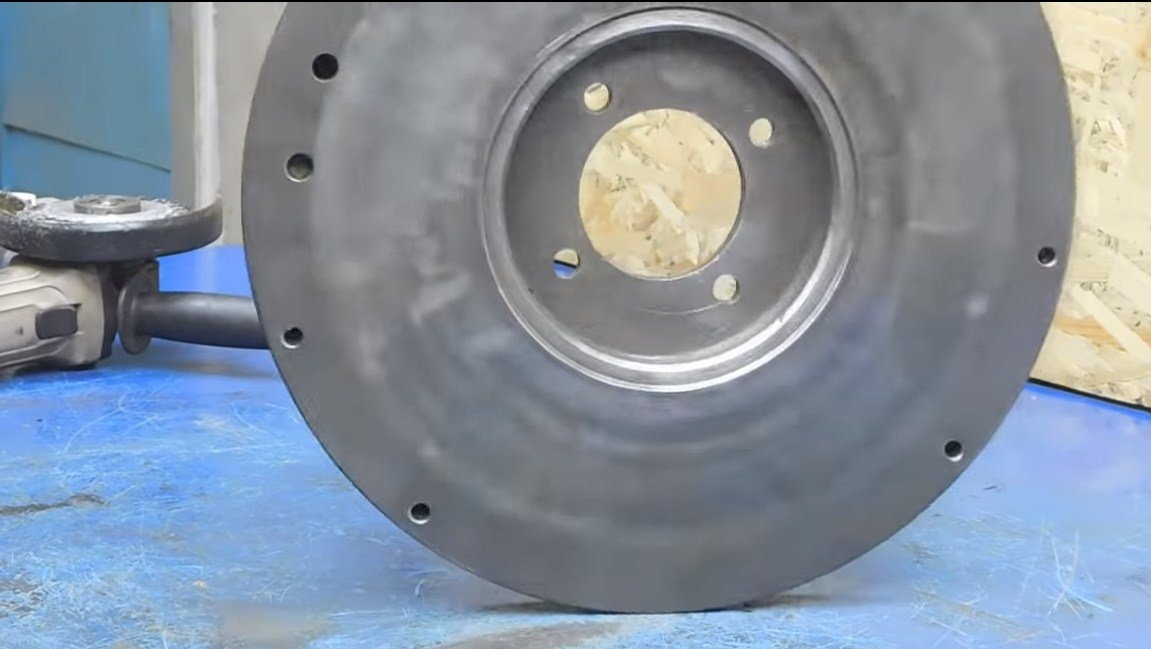
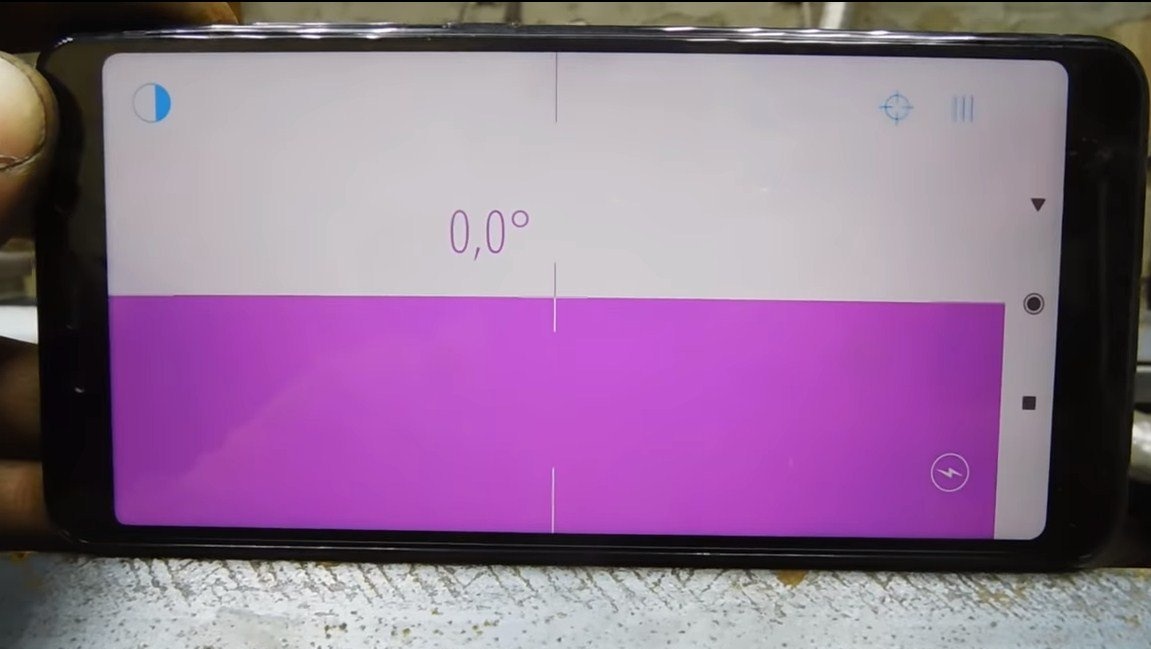
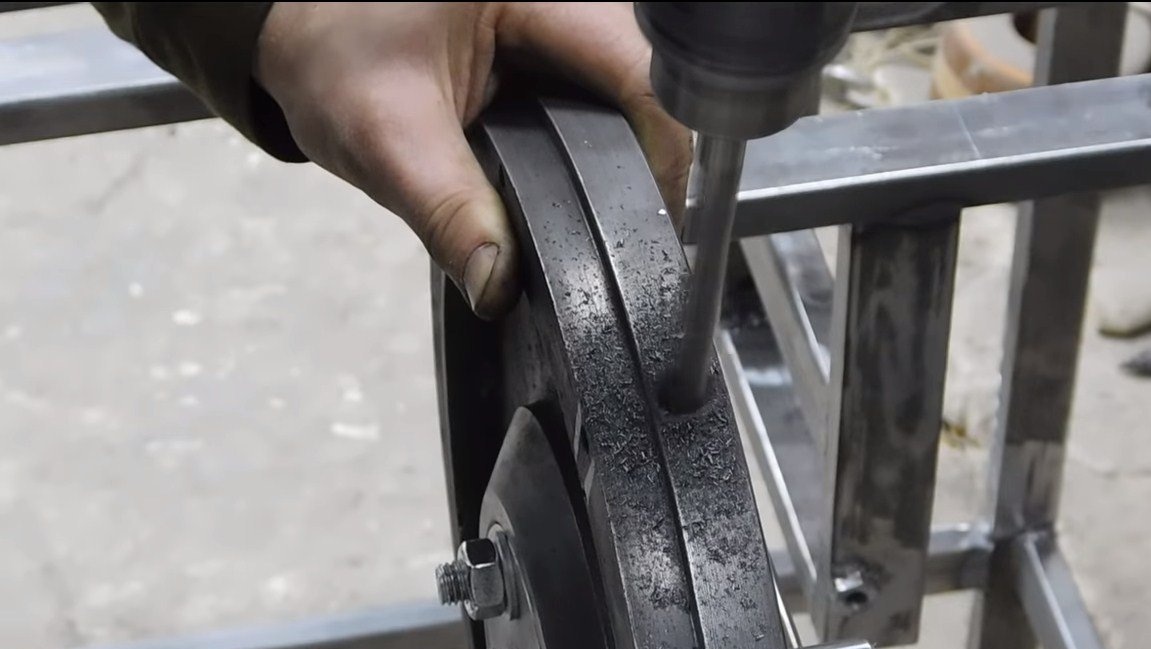
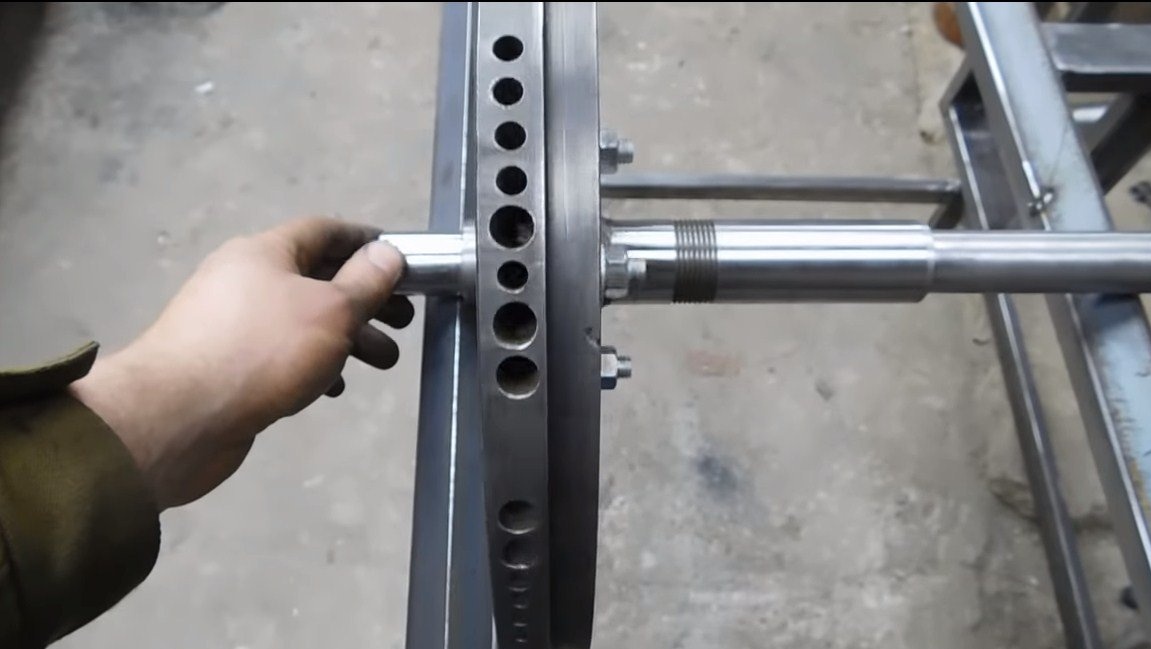
Then the most tedious begins - the flywheel needs to be balanced, otherwise there will be strong vibrations. For balancing, the author clearly welds two corners upside down with an edge up and puts a flywheel on them, resting on the axis. Rolling the flywheel and letting go, you can see in which position it stops, there will always be the hardest point below. To facilitate the flywheel in the right place, you need to drill metal to drill. A little zeal, and the author coped with this task, the flywheel turned out to be perfectly balanced.
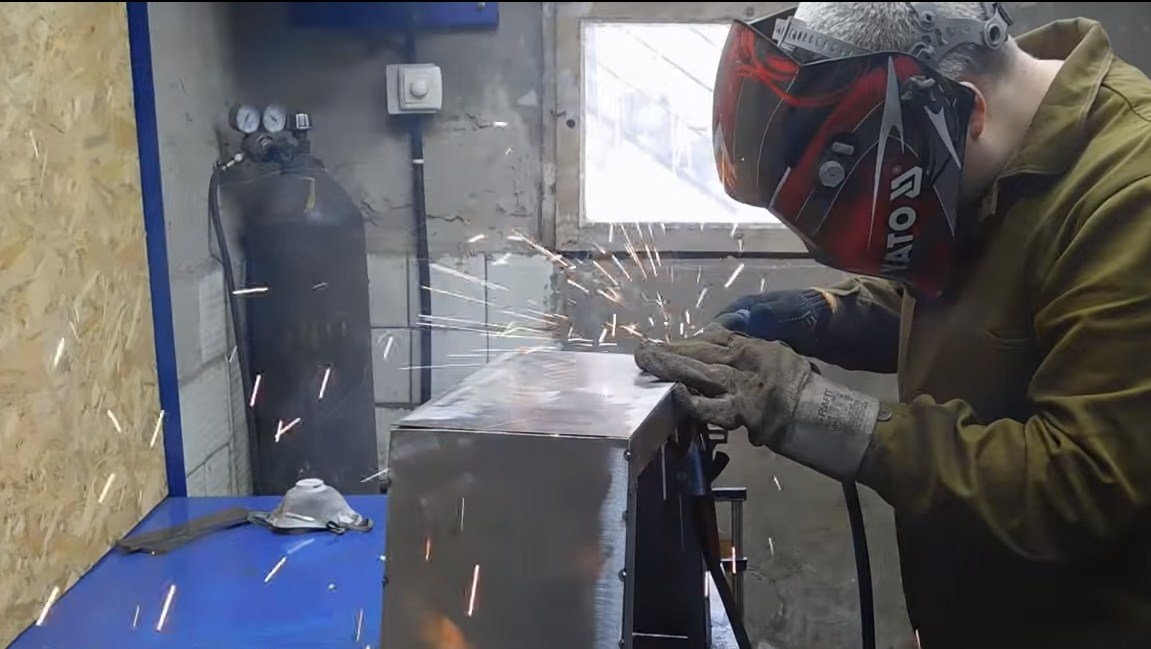
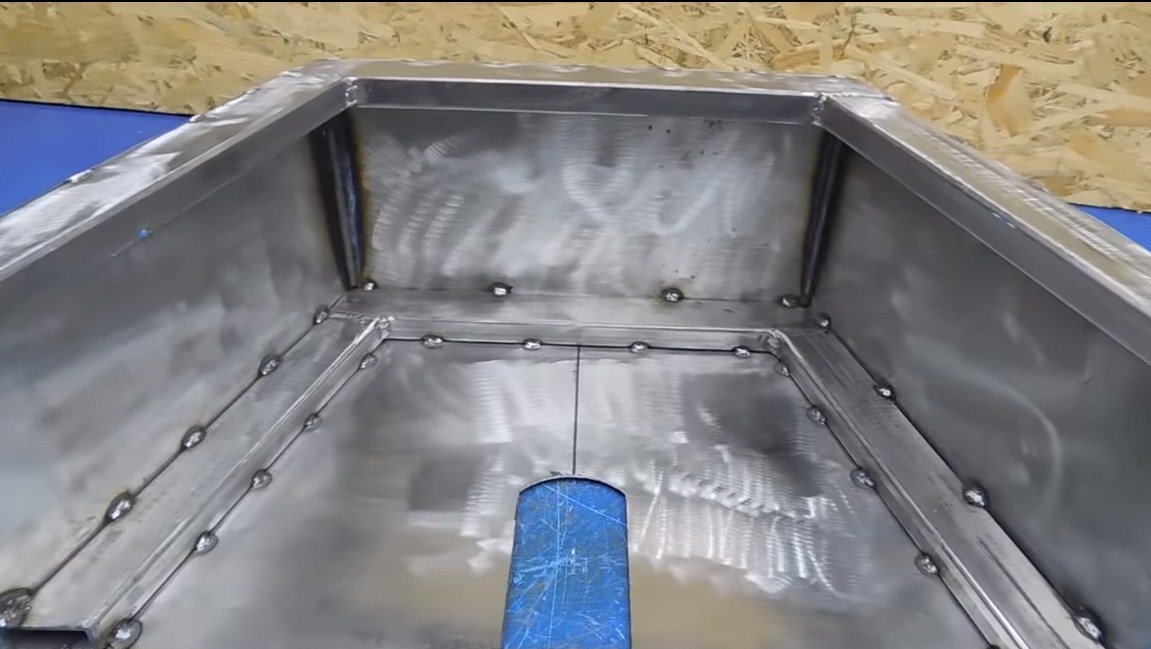
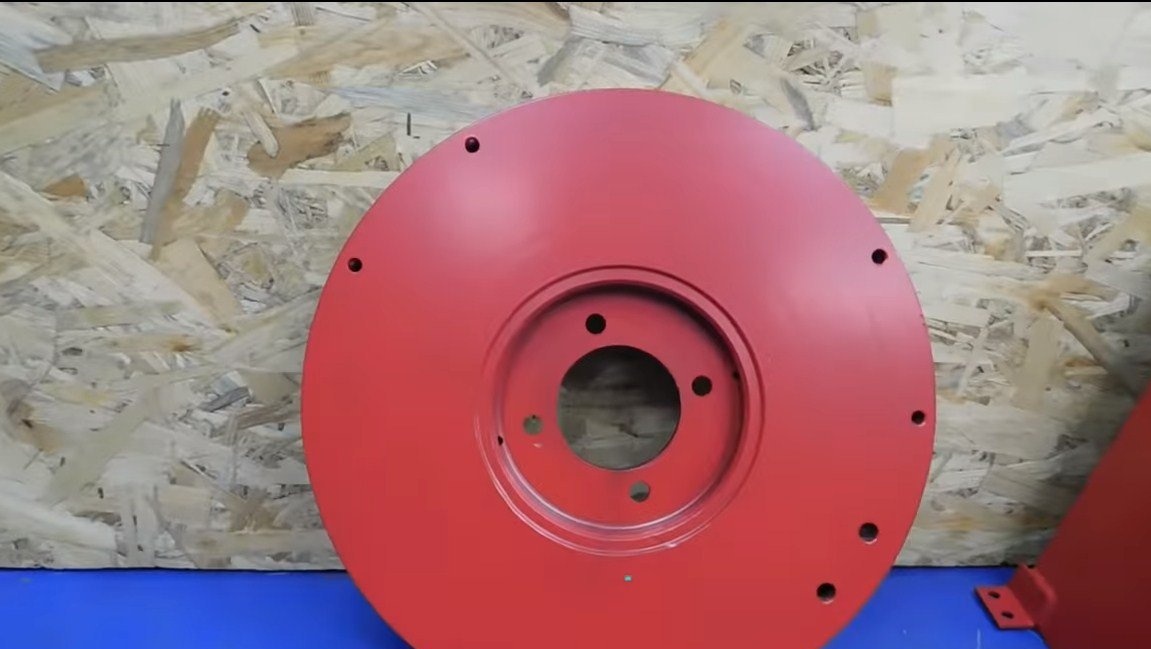
Step Four Protective cover
During operation, the flywheel accelerates to very high speeds, if something happens, you will not even have time to think about anything. Be sure to make a protective casing, weld the frame from profile pipes and weld it with thick sheet steel. If there is no thick steel, you can weld the partitions on the frame to strengthen the structure.
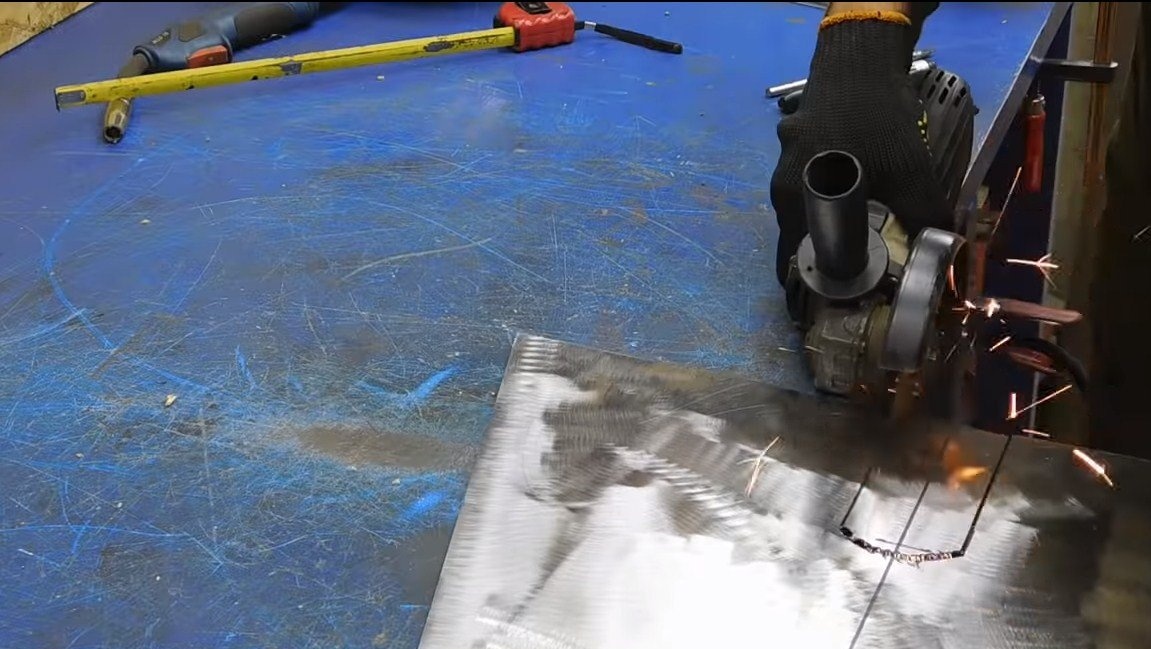
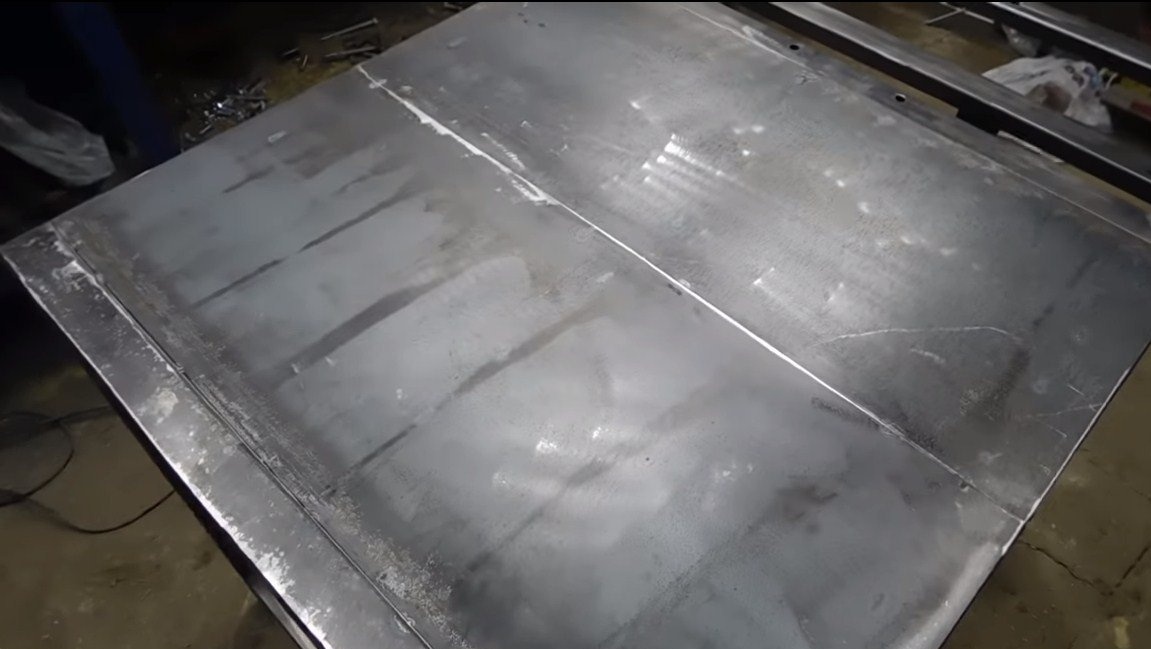
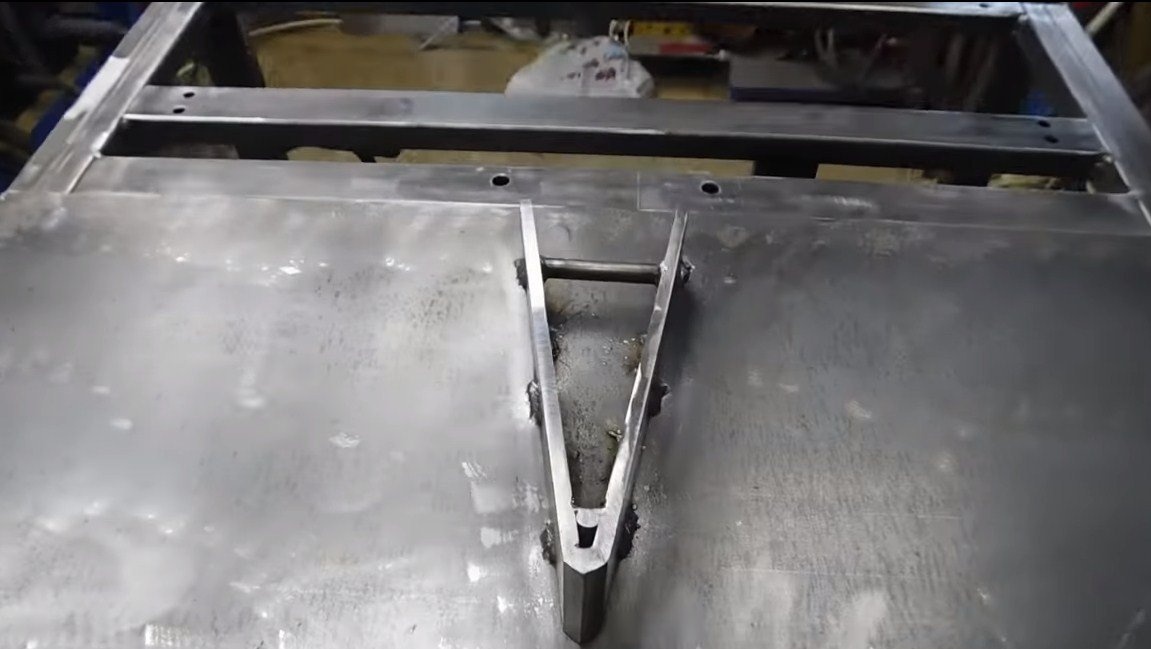
Step Five Finishing touches and assembly
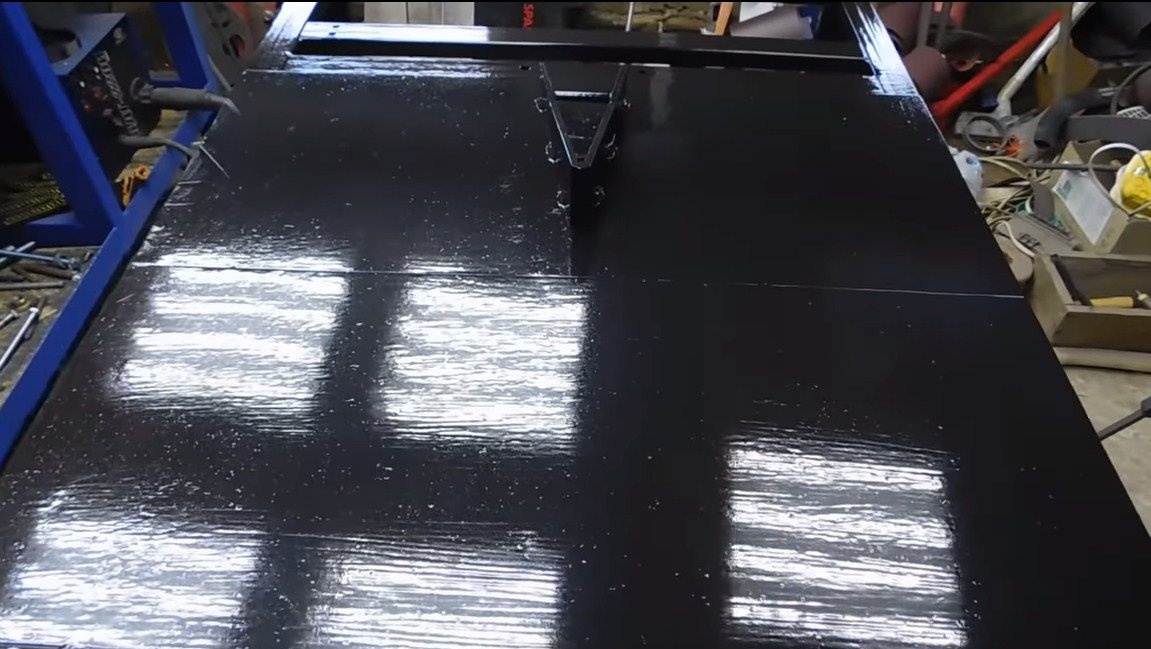
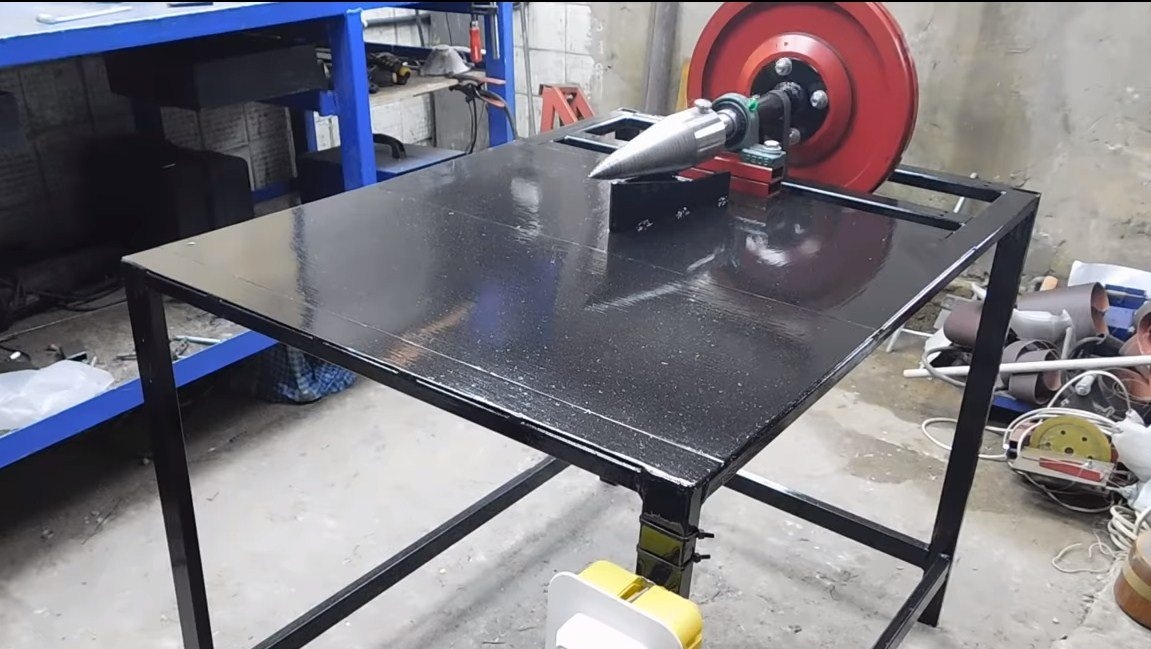
Let's make a tabletop for the machine, here we need sheet steel. We install a wedge from thick plates on the countertop, which will split the stumps. In a wedge, the author welded a partition just in case.
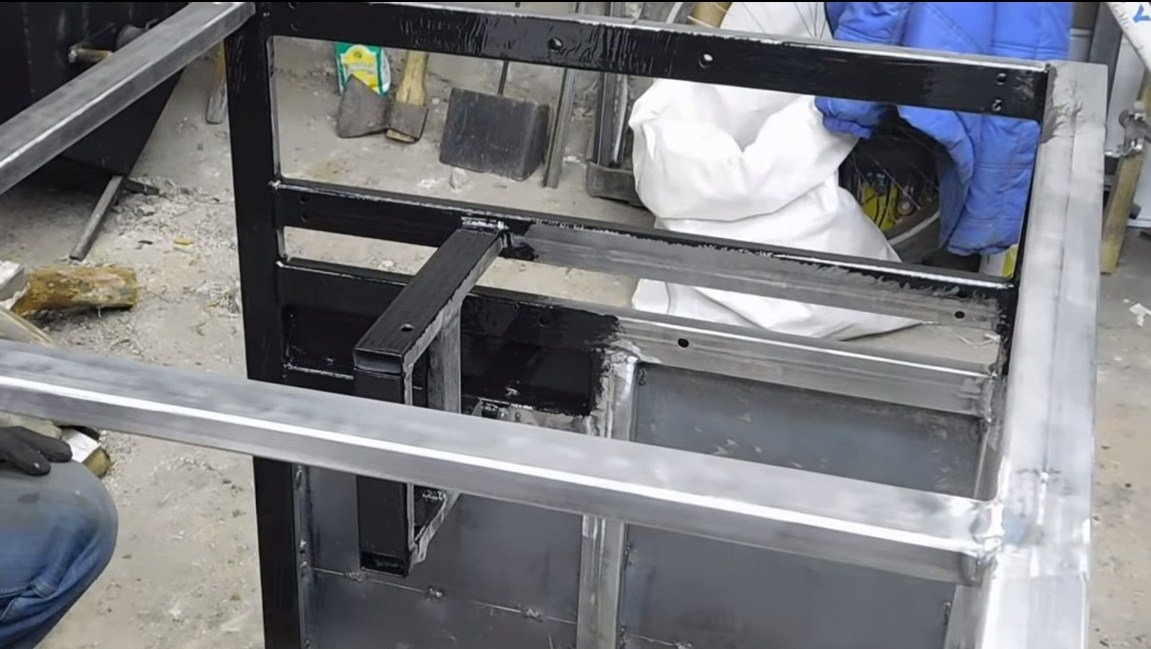
That's all, now the machine has to be painted and assembled. After painting, it looks great and will not rust now. The machine is ready for testing.

Step Six Test
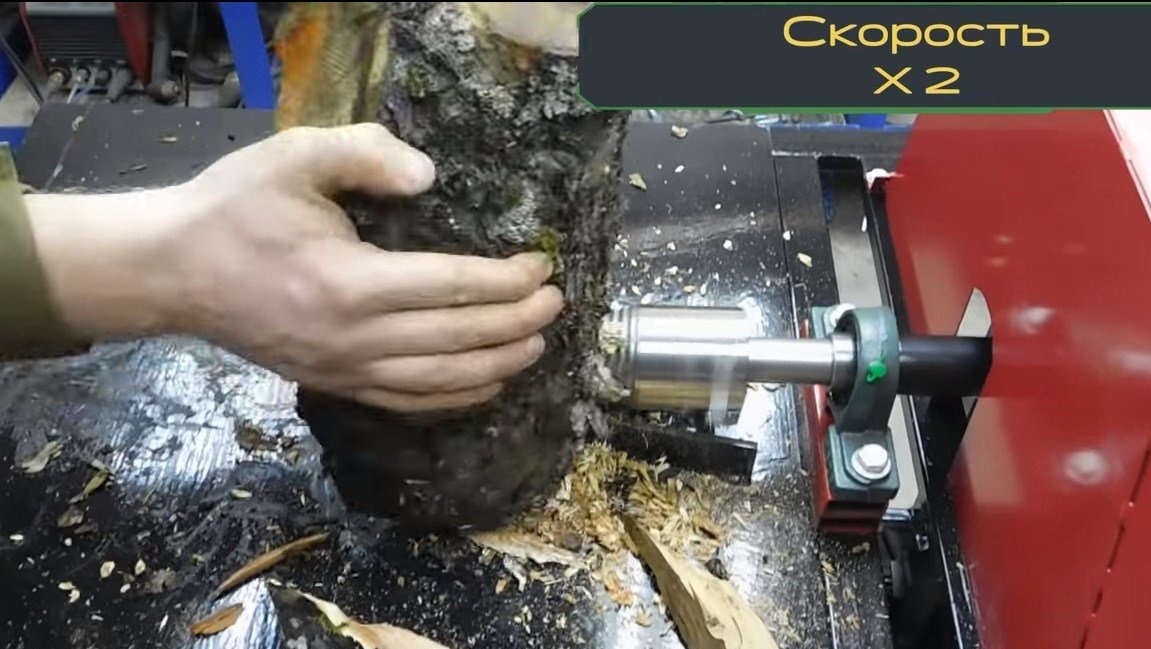
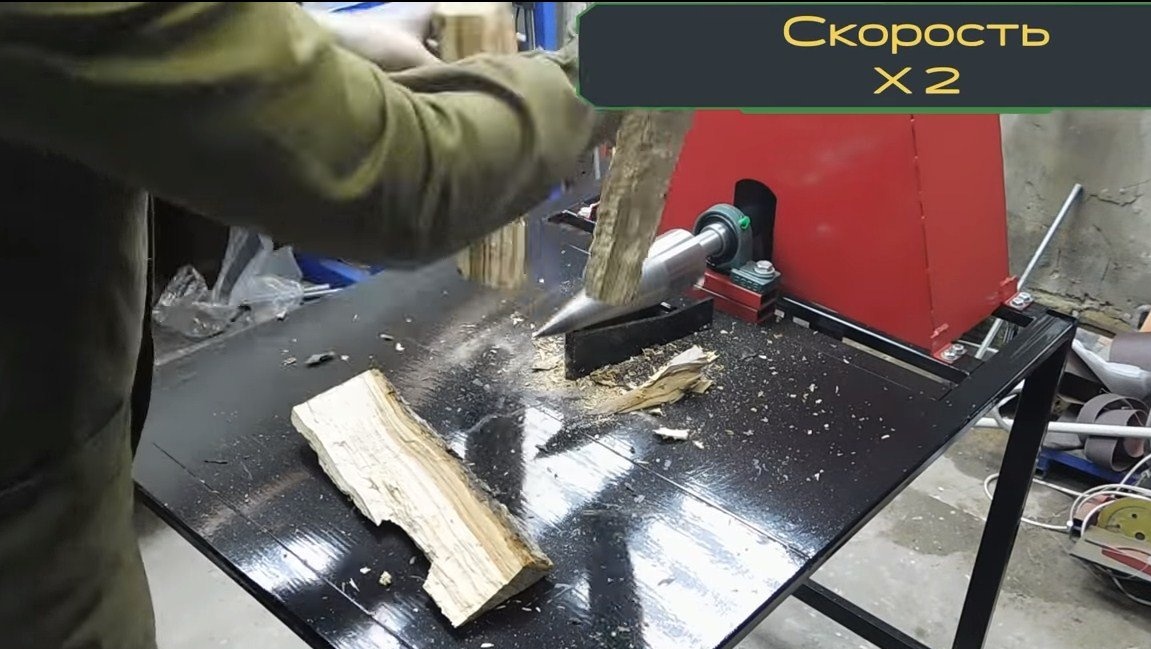
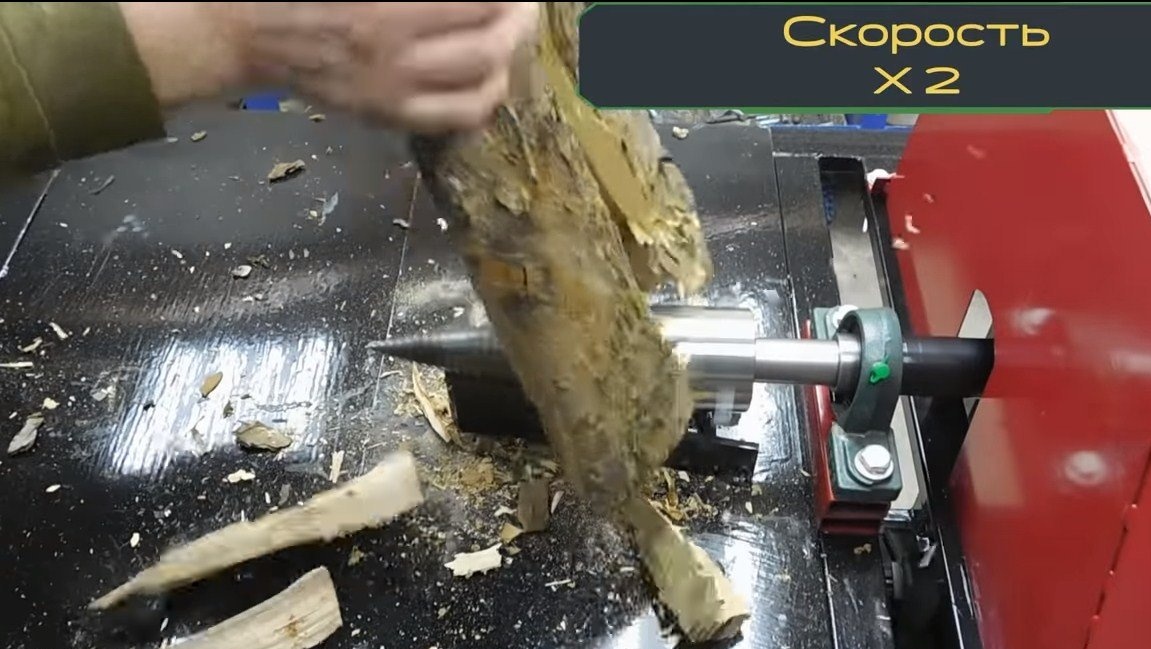
We start the machine, first we set small revolutions, it is very important that the flywheel spins gradually. If this rule is not followed, the belt will slip and will quickly fail. Then the author came in handy. When the flywheel is brought to operating speed, you can begin to split, everything works fine.
It is important to adhere to safety rules when working, categorically you can not use gloves and long-sleeve clothes! Otherwise, the fabric easily wraps around the carrot, and your hand will go with it.
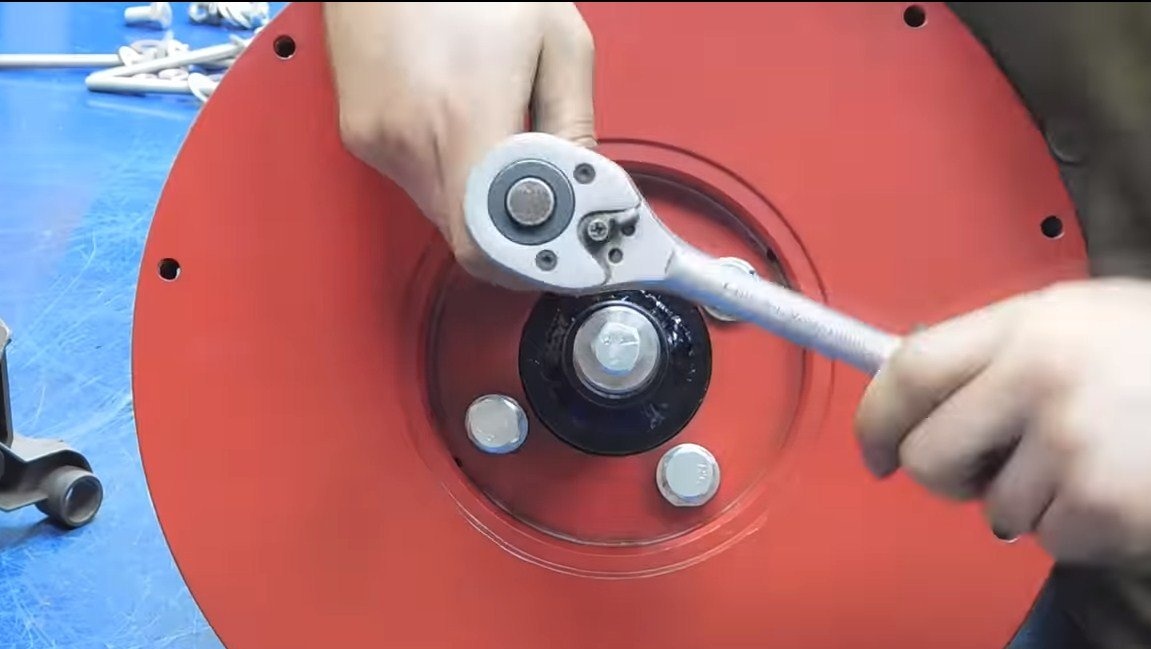
In the case of a machine wedge, on the other side of the axis there is a bolt head, for which you can turn the carrots out of the stump with a wrench and continue working.
This is the end of the project, I hope you enjoyed making it yourself, good luck and creative inspiration, if you decide to repeat it. Do not forget to share with us your ideas and homemade products.