If you do not like that in rainy weather it becomes dirty under the hood of the car, this article is for you. Let's talk a little about the current as dirt enters the engine compartment, the generator’s belt is to blame, water from the front right wheel flies with dirt to the belt, which, when rotated, scatters it in all directions. In this article, we will consider a way to eliminate this drawback using the example of a VAZ 2109 car.
The author claims that when using the design to protect the alternator belt from moisture and dirt, you will not encounter the following difficulties.
He will not rattle, and make extraneous sounds.
Interfere with checking belt tension.
To adjust the tension will not need to remove the protective cover.
The design is not heavy. Simple and intuitive installation process.
Optional homemade can be modified at your discretion.
Instructions for the manufacture of a protective cover
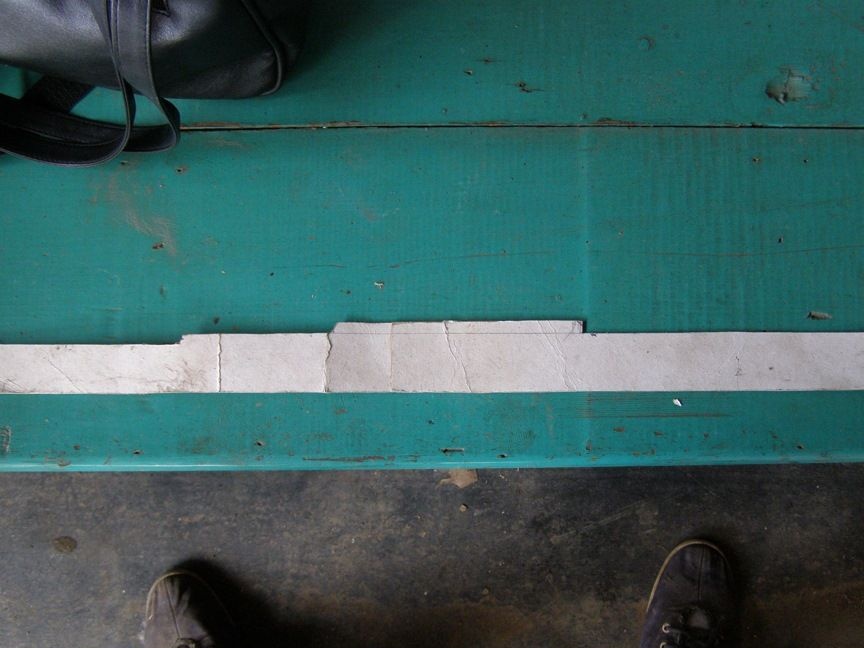
In order to make it more pleasant to work, it is advisable to wash the engine compartment, then take measurements at the place where the casing will be installed.

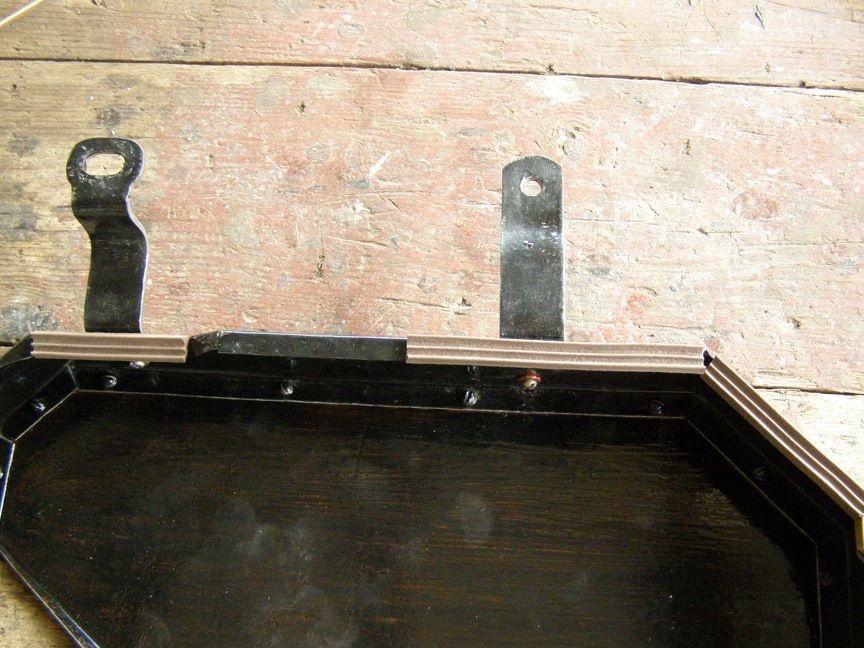
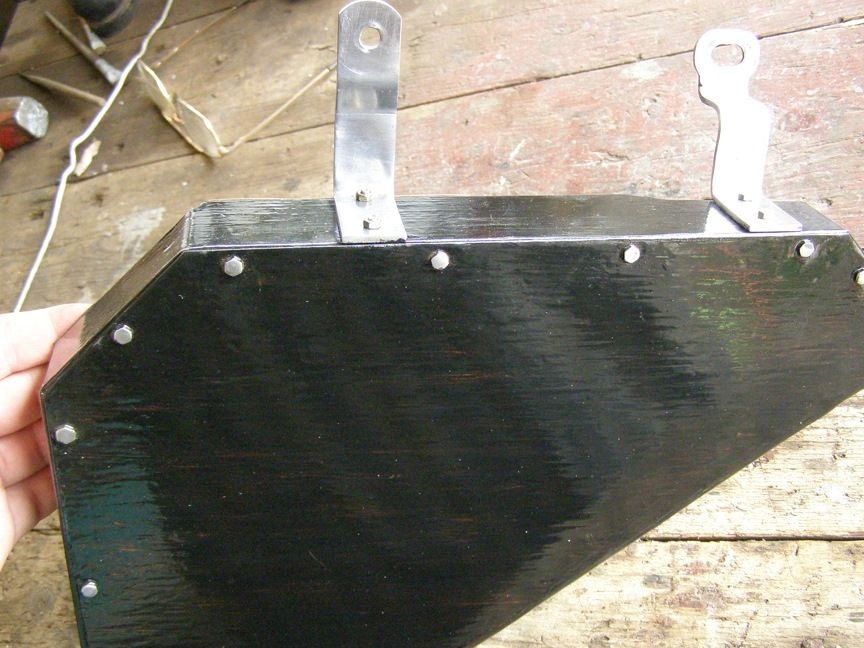
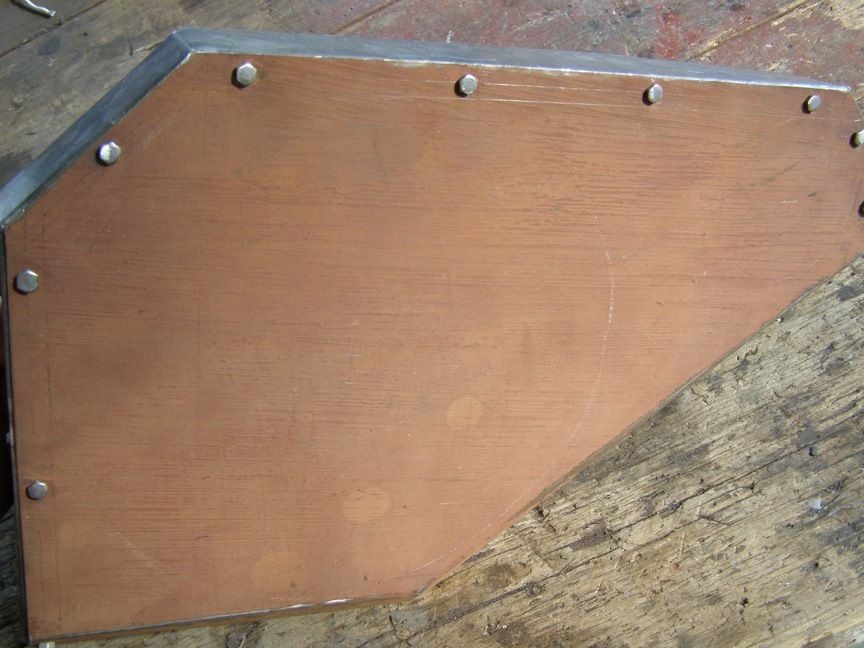
The author recommends using cardboard for making the layout, then the resulting layout elements are transferred to the material from which the belt protector will be made, it is recommended that the side parts be made of thin metal, as it bends well and will allow you to bend the desired shape, and the back wall is made of plywood 0.8 thick mm, and on top, if desired, put tin. The part has a simple construction, so the author published a photo of the finished part.
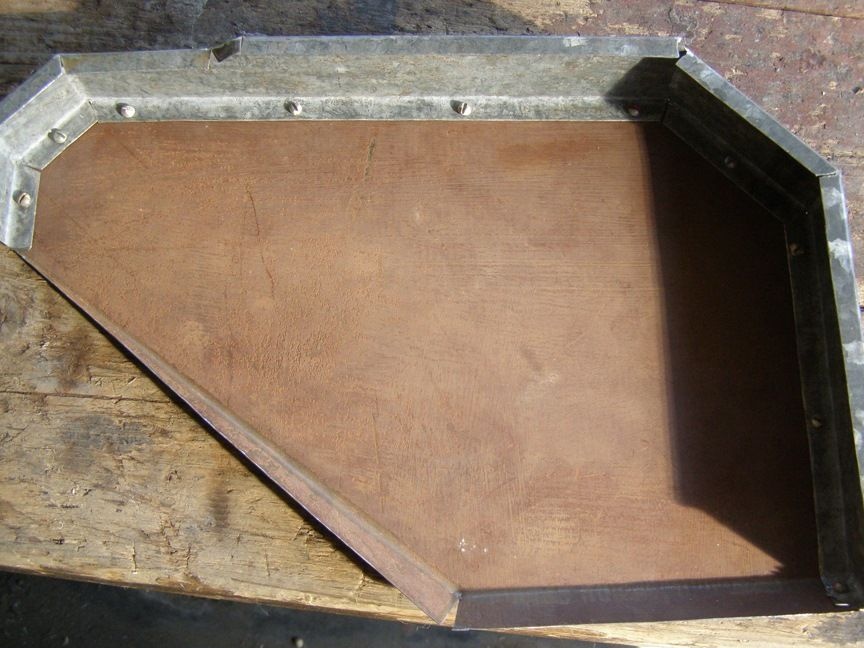
This photo shows the inside of the part, the cut in the corner turned out to be wrong, and was subsequently corrected by a triangular brass insert.
In the process of measuring the part at the installation site, the author came to the conclusion that it is necessary to make a cutout for the generator pulley in place, for this, a circle with a diameter of 65 mm was cut from cardboard, which should be applied to the marked location to outline the contour and cut using a grinder.
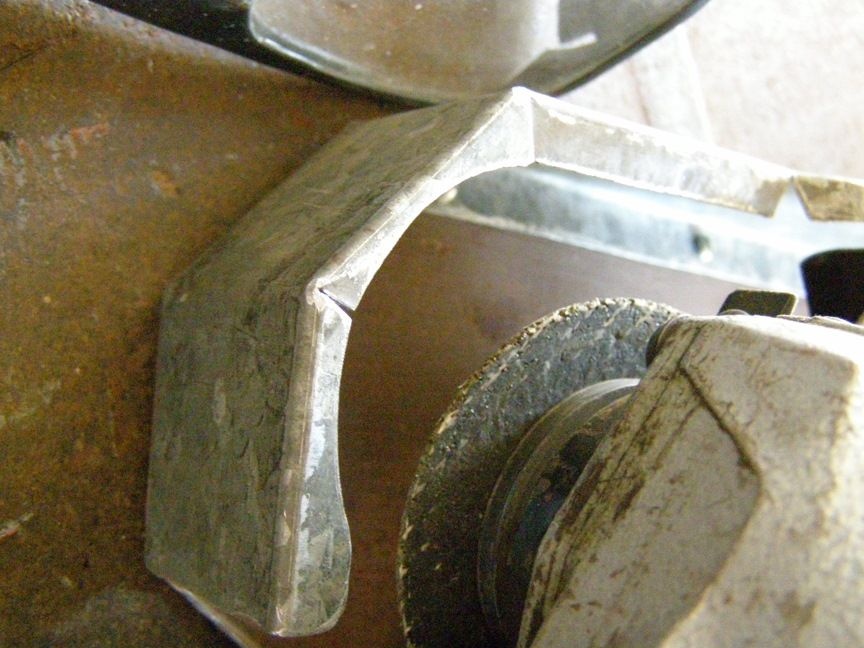
Then, a bracket was simulated from cardboard, which was made of metal 2.5 mm thick.In order for the gaps between the casing and the generator belt to be the same, you need to lay a wooden block with a thickness of 10 millimeters. By the same principle, a second bracket should be made.
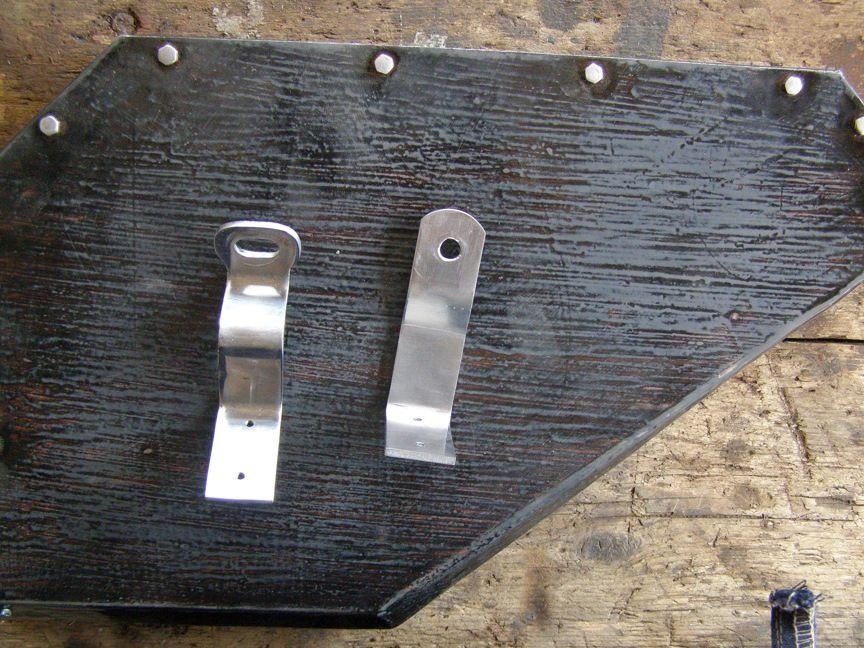
After everything is ready, the external honor of the part must be painted, and the brackets polished or also painted. The paint should be applied in two three layers and after the paint has completely dried with the M3 bolts and self-locking nuts, the brackets are screwed to the casing body.
Important: The thread must be outside and cut flush with the nuts.
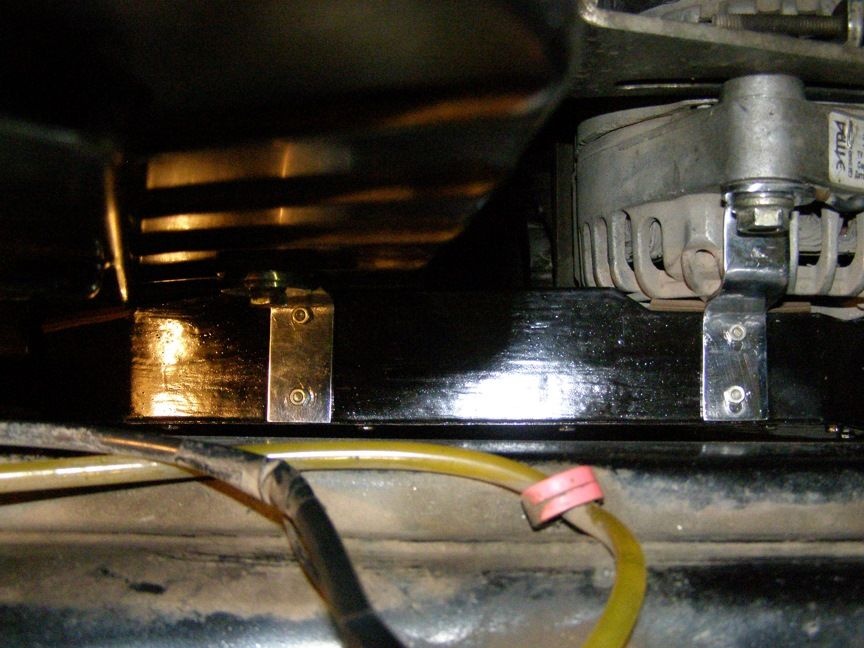
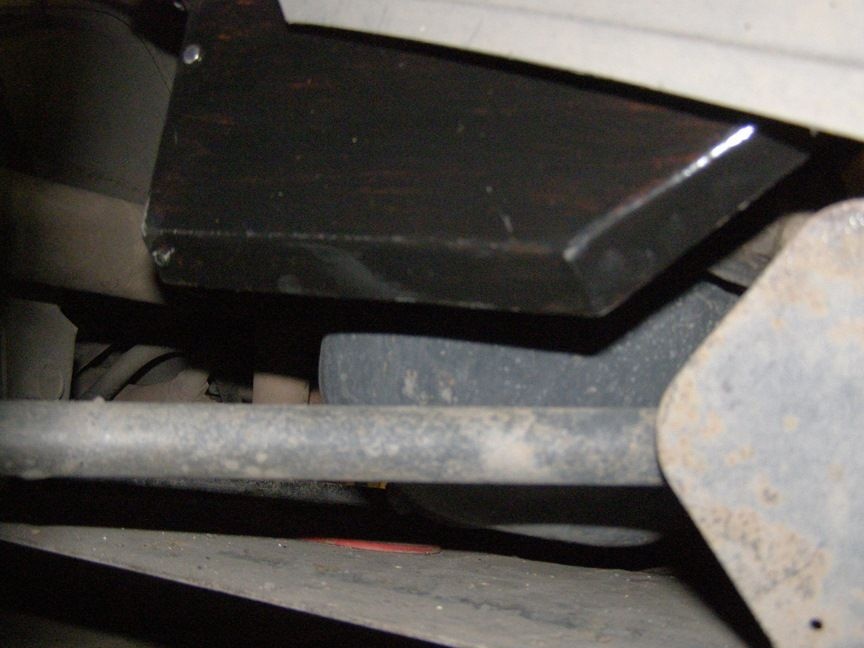
It is advisable to stick a rubber sealant on the ends, and then install the finished part on car, as you can see in the photo, the manufactured protection not only prevents the belt from spreading dirt around the engine compartment, but also does not allow moisture to get to the spraying place.