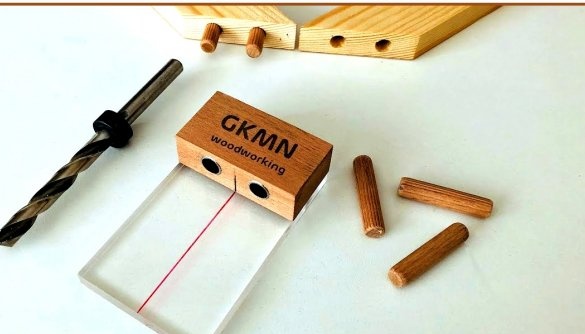
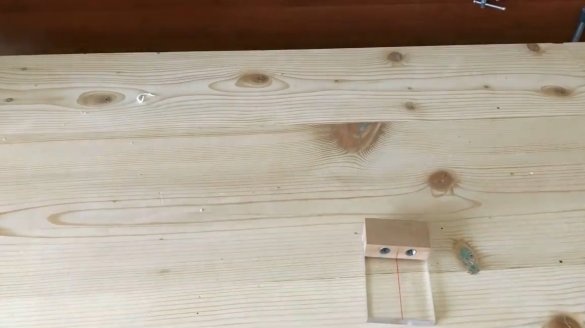
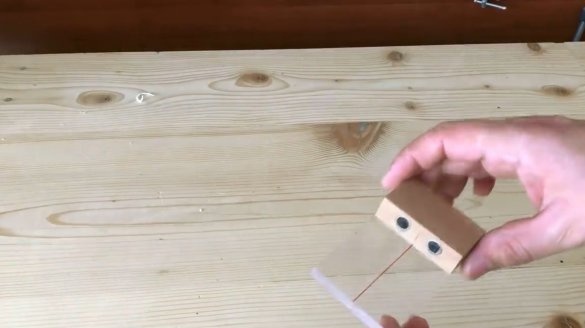
In this article, the author of the YouTube channel "Gökmen ALTUNTA расск" will tell you how to make the simplest tool for precise marking and drilling grooves for dowel connection.
This tool will be useful to all craftsmen who prefer this classic type of hidden carpentry joints.
Materials
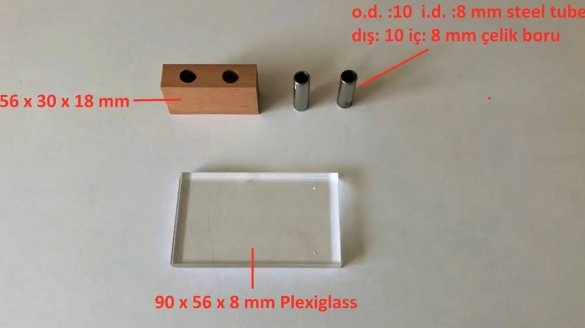
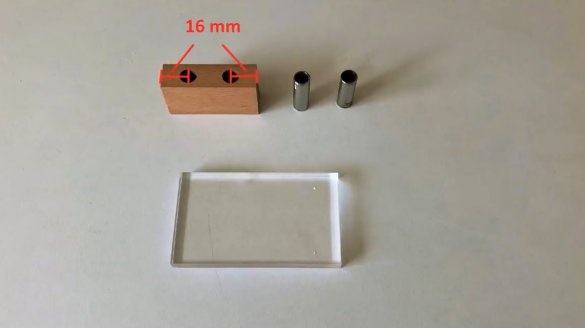
- Plexiglas, or Plexiglass 8 mm thick
- Walnut board 18 mm thick
- PVA glue, dowels
- Steel tube with a wall thickness of 1 mm and an outer diameter of 10 mm
- Wood screws.
Instruments, used by the author.
- A circular saw
- Square, pencil, marker
- Drilling machine
- Screwdriver, drill bits 1, 8 and 10 mm
- Countersink nozzle
- Hammer, vise, mallet
- clamps
- Bulgarian, cutting disc.
Manufacturing process.
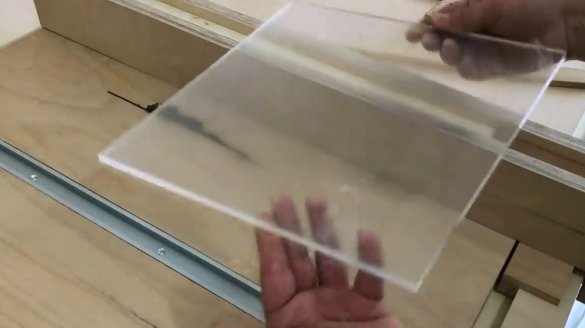
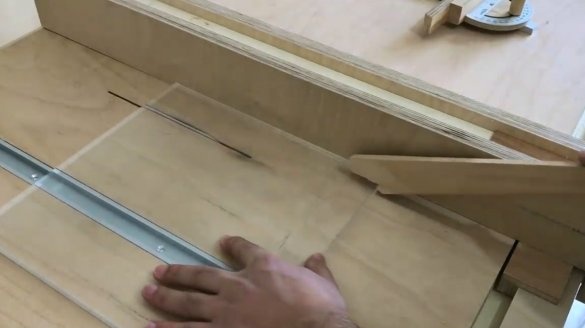
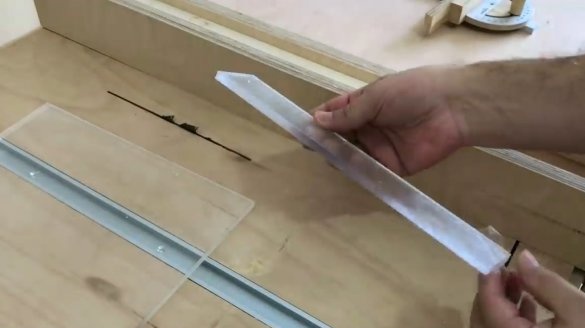
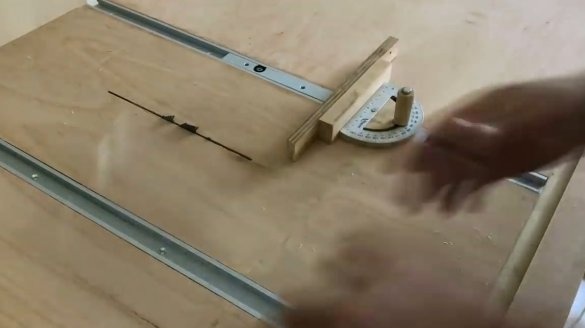
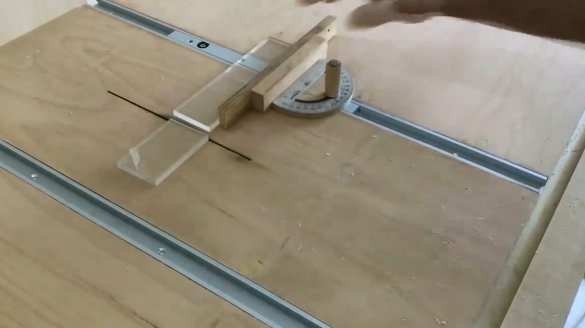
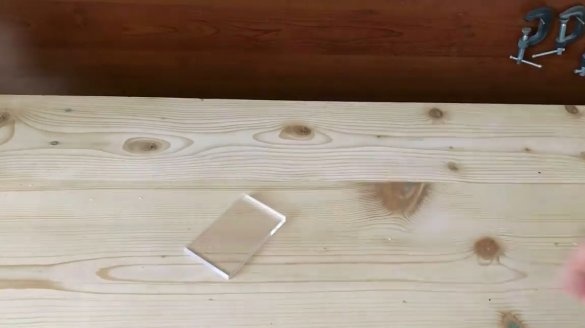
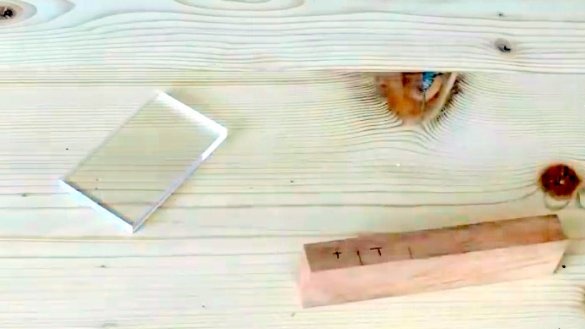
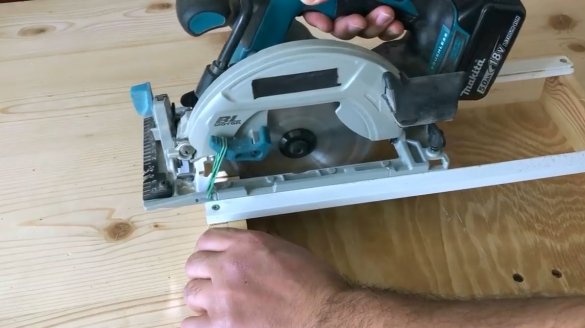
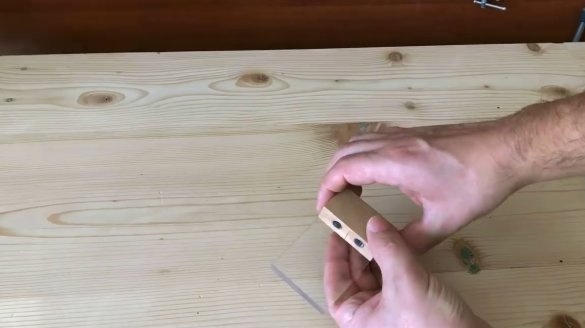
To get started, the master cuts a rectangle from plexiglass using a circular saw.
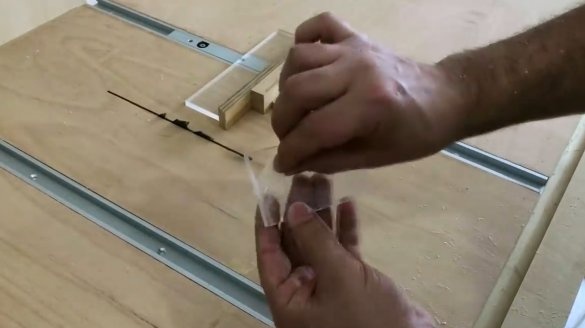
Then removes the protective film from the workpiece.
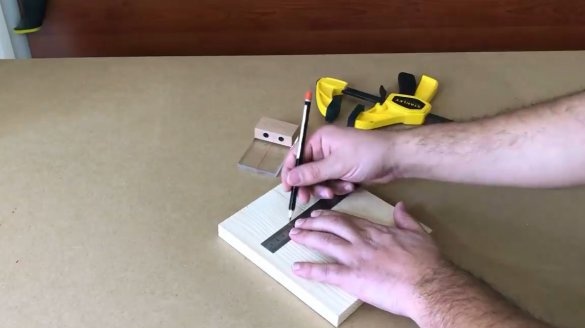
Then marks the central holes on the hazel block.
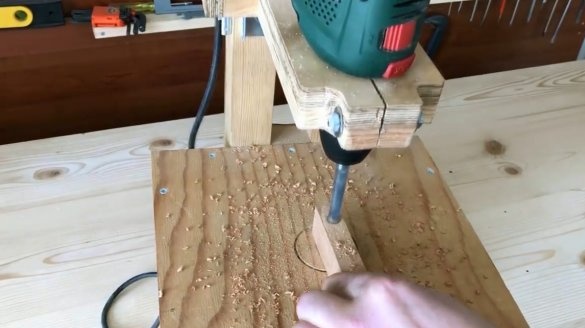
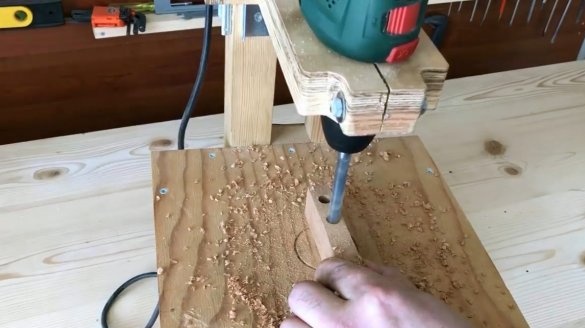
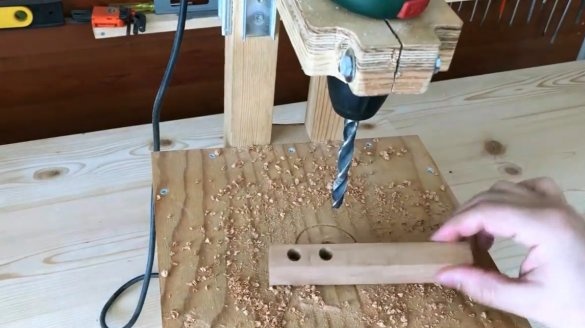
Drills holes with a diameter of 10 mm.
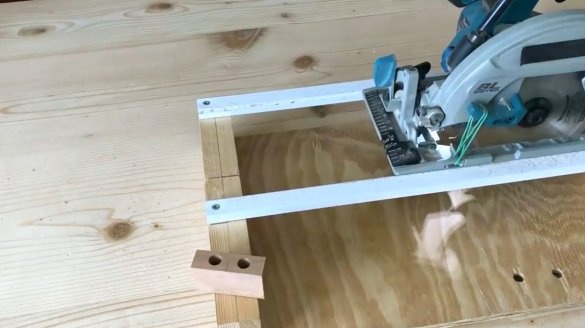
Cuts the workpiece with a hand circular saw.
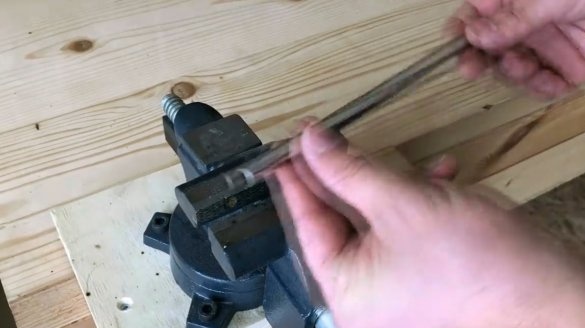
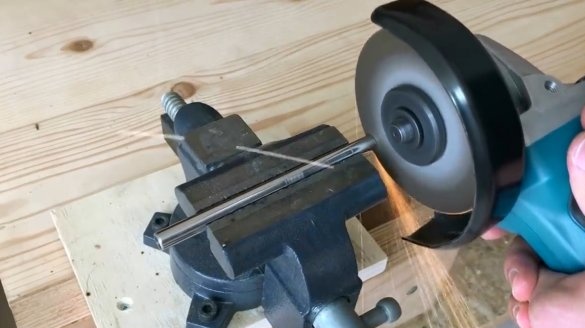
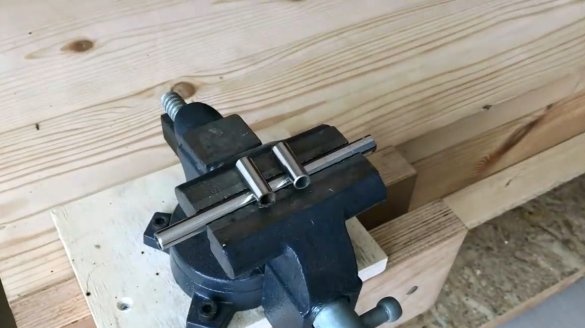
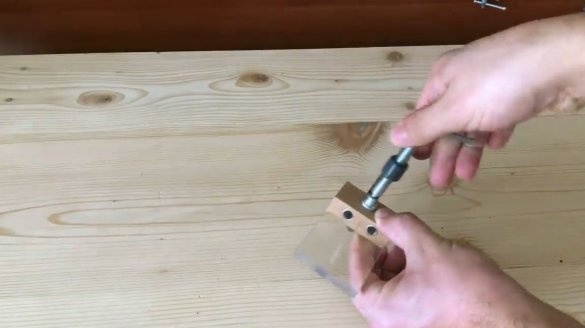
Clamps a steel tube in a vice, and cuts a pair of blanks along the length of the block.
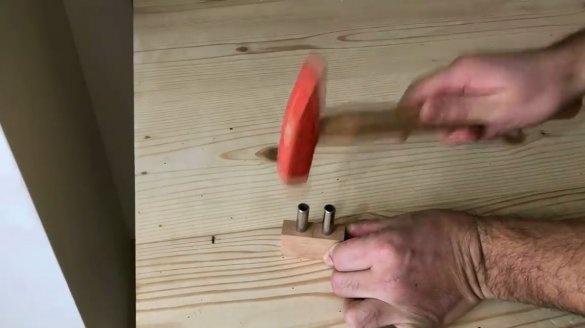
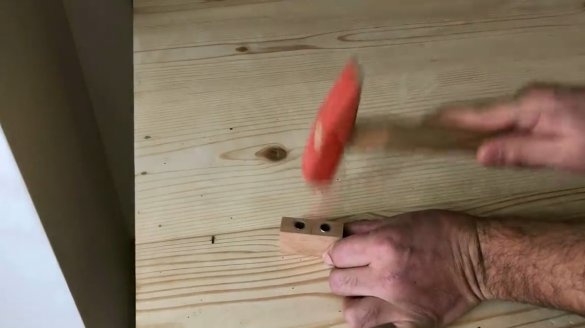
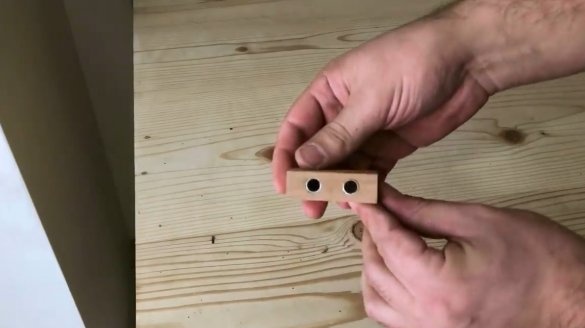
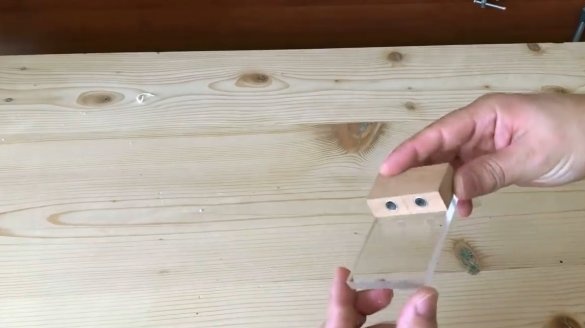
Clogs the tube into a bar. This will be the guides for the drill.
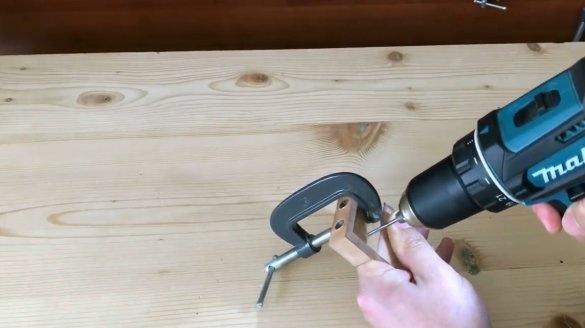
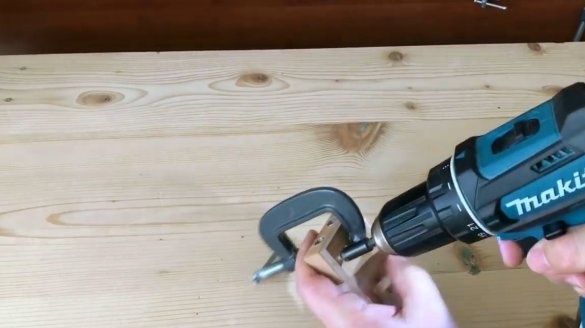
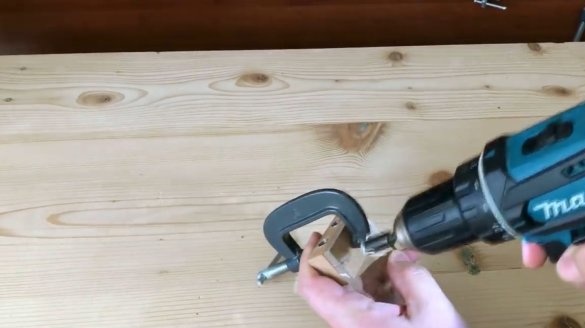
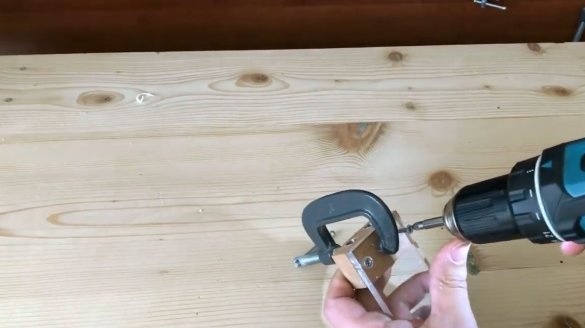
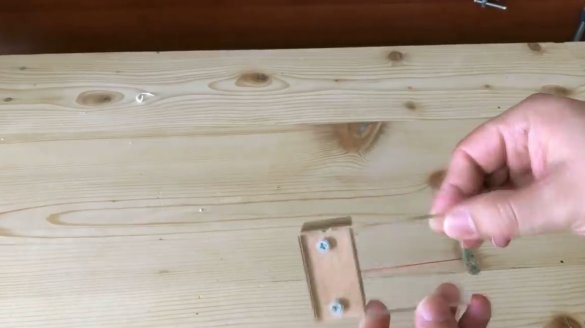
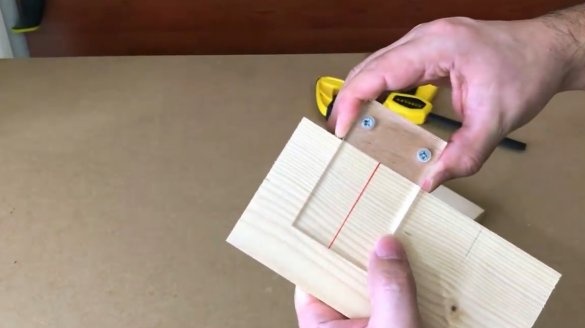
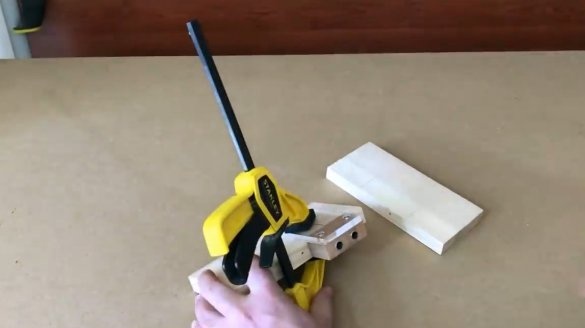
It pulls together the workpieces with a clamp, then drills holes for screws. He countersinks holes for self-tapping screws, screw them in.
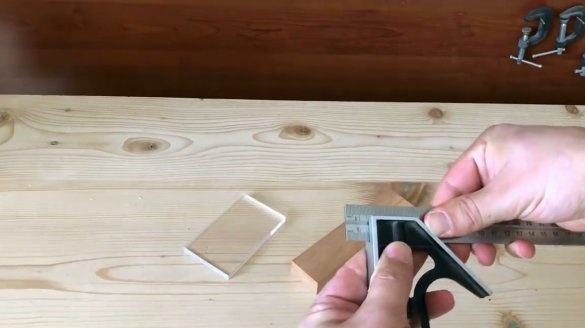
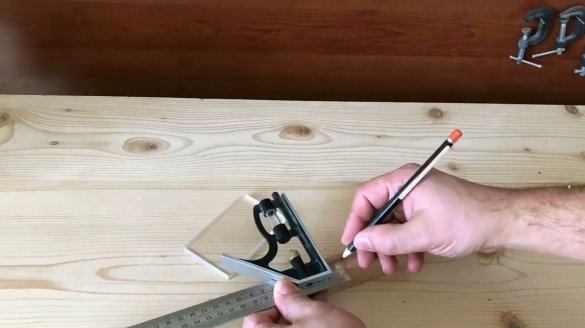
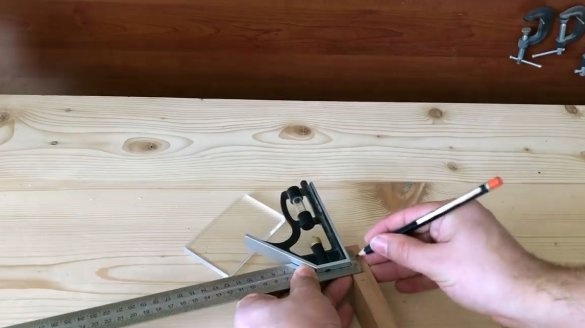
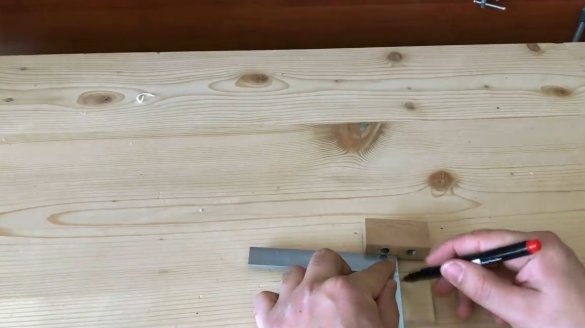
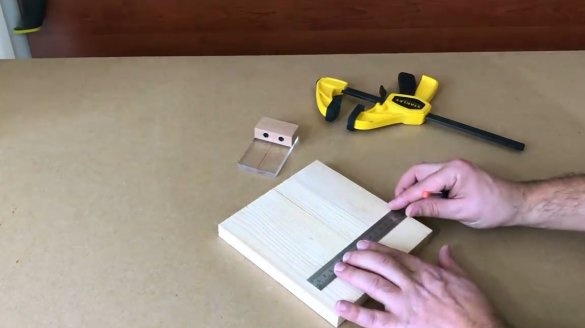
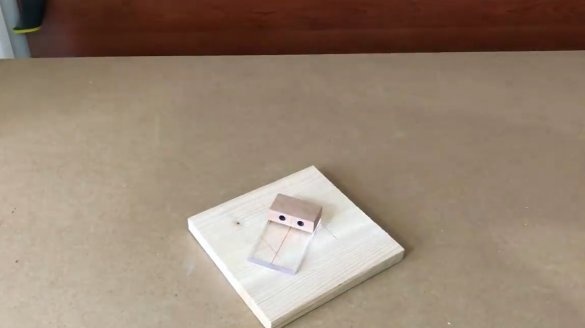
Using a square, draws a central mark with a marker. It is advisable to make a shallow incision here, so that the mark is not erased.
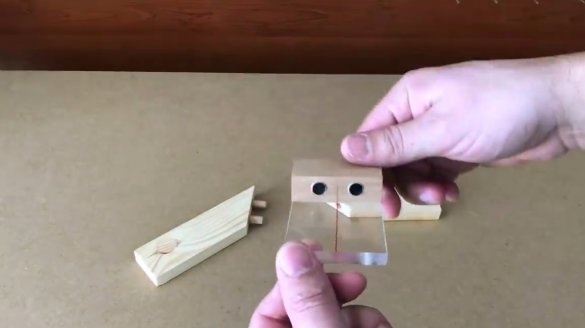
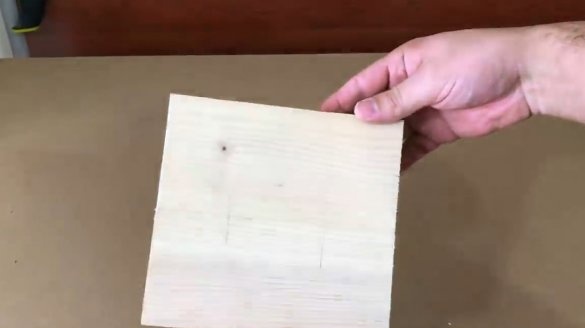
So, the device is ready to go. The master combines the two trim boards, marks the drilling points on them.
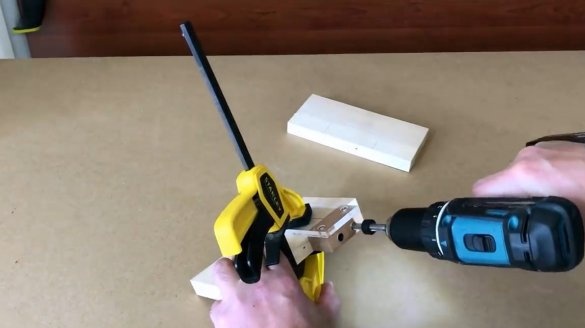
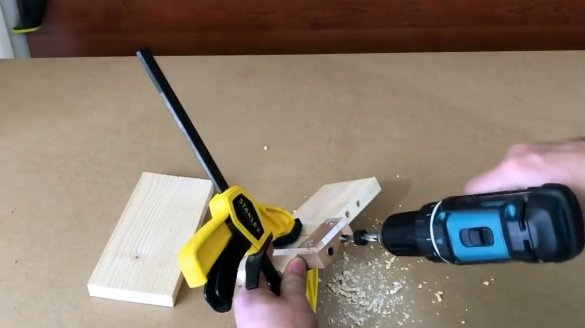
Aligning the conductor mark with the mark on the workpiece, drills the grooves for dowels.
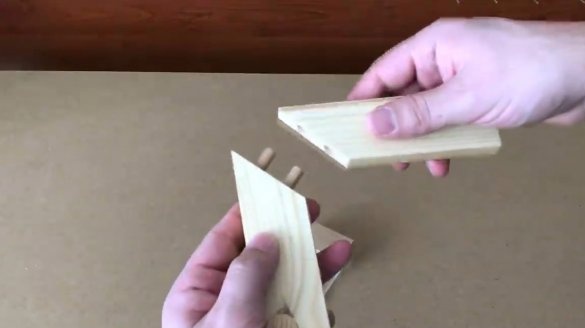
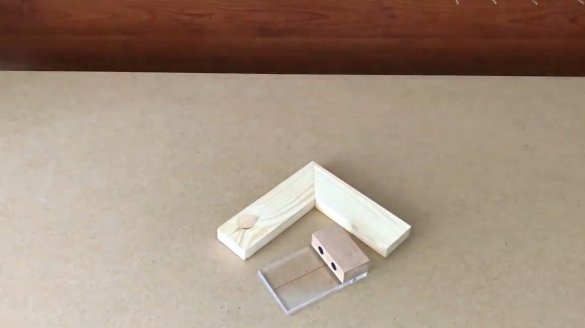
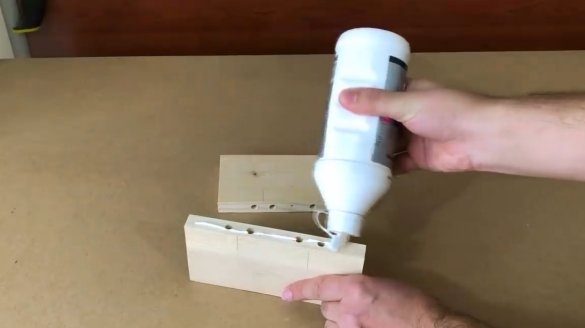
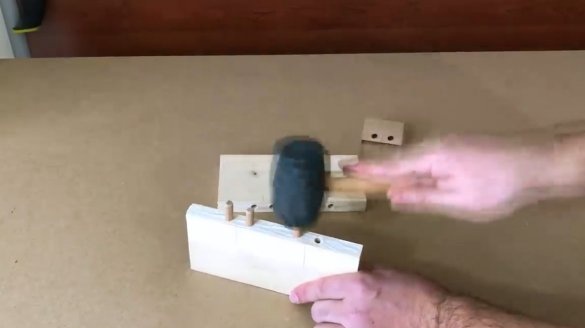
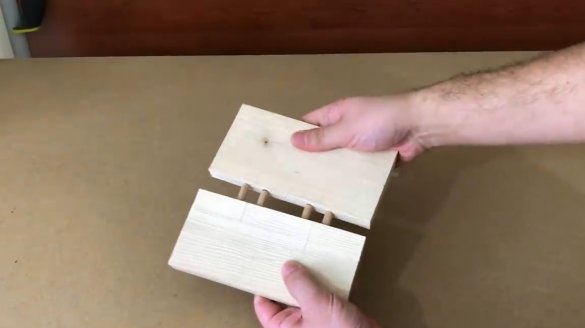
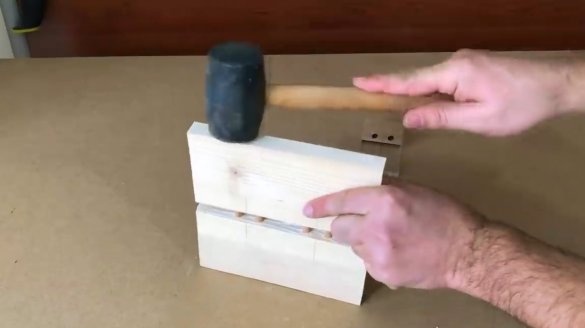
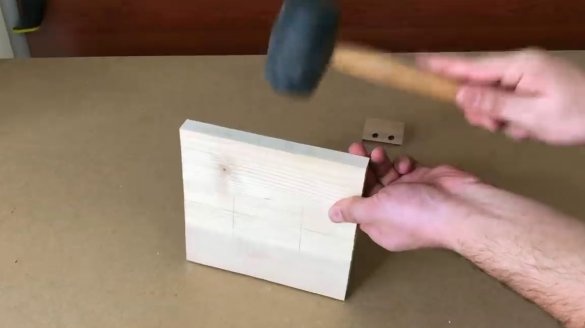
Applies glue to the joint and into the grooves, clogs dowels, and connects the workpieces.
Everything is accurate and beautiful.
Thanks to the author for the simple but useful device for the workshop!
All good mood, good luck, and interesting ideas!

