
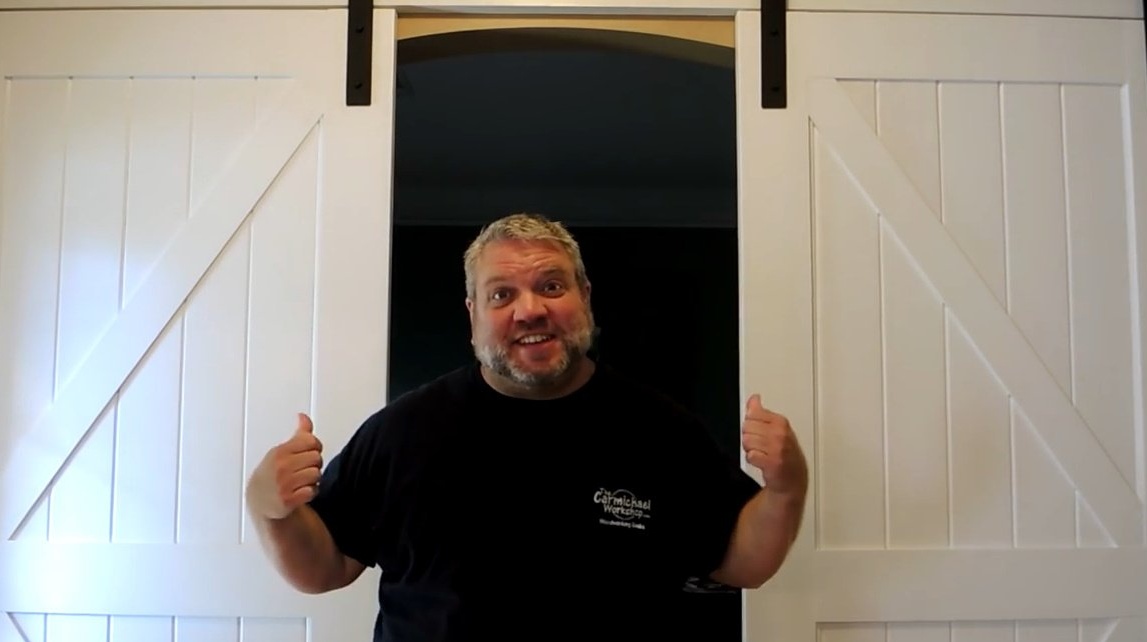
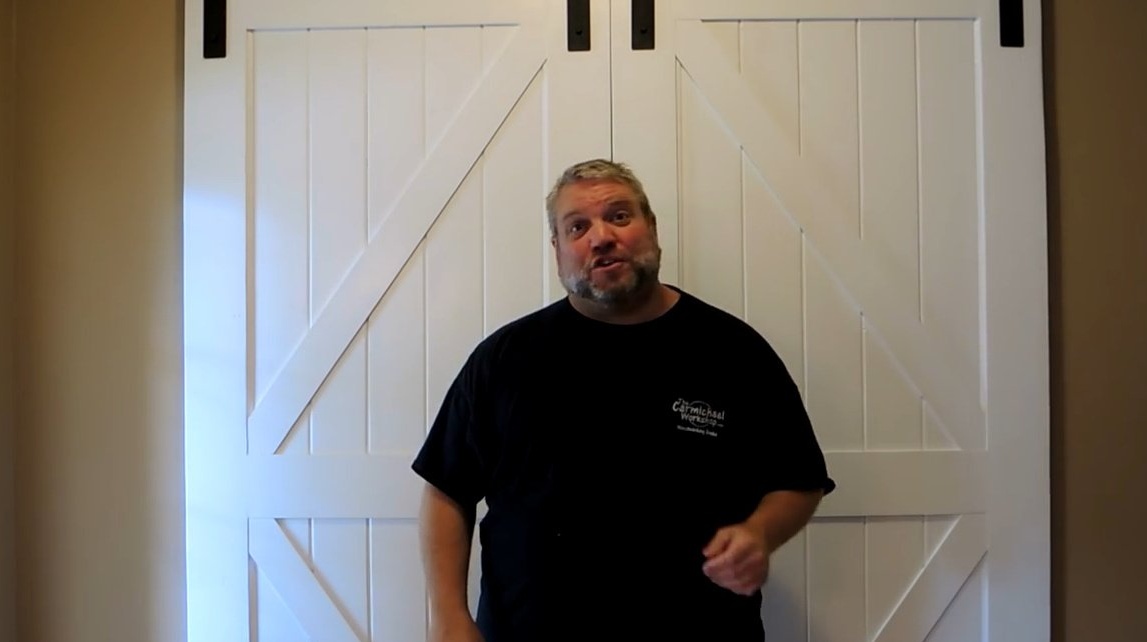
In this article, Steve, the author of YouTube channel "Steve Carmichael", will tell you how he made sliding doors for his workshop.
Many of us now prefer to work at home. They set up their workshop in the barn, the garage or office in the apartment. Often it becomes a living room, for example, part of the living room or hall, less often a separate room (a kind of luxury!). As you know, there is always little space in a house, and in most cases there is a constant war between households for every extra square meter of free space. Under such circumstances, sliding doors are just what you need! They will save space and create a quiet nook, protected from the prying eyes of an outsider.
Steve, the author of this project, will tell you how to make such doors. He faced a non-trivial task - to allocate a separate room inside the hall under the bedroom.
Materials
- Pine boards
- steel strip
- Wood screws.
Instruments, used by the author.
- A circular saw
- Orbital sander
- clamps
- Belt sander
- Reciprocating saw
- Drilling machine.
Manufacturing process.
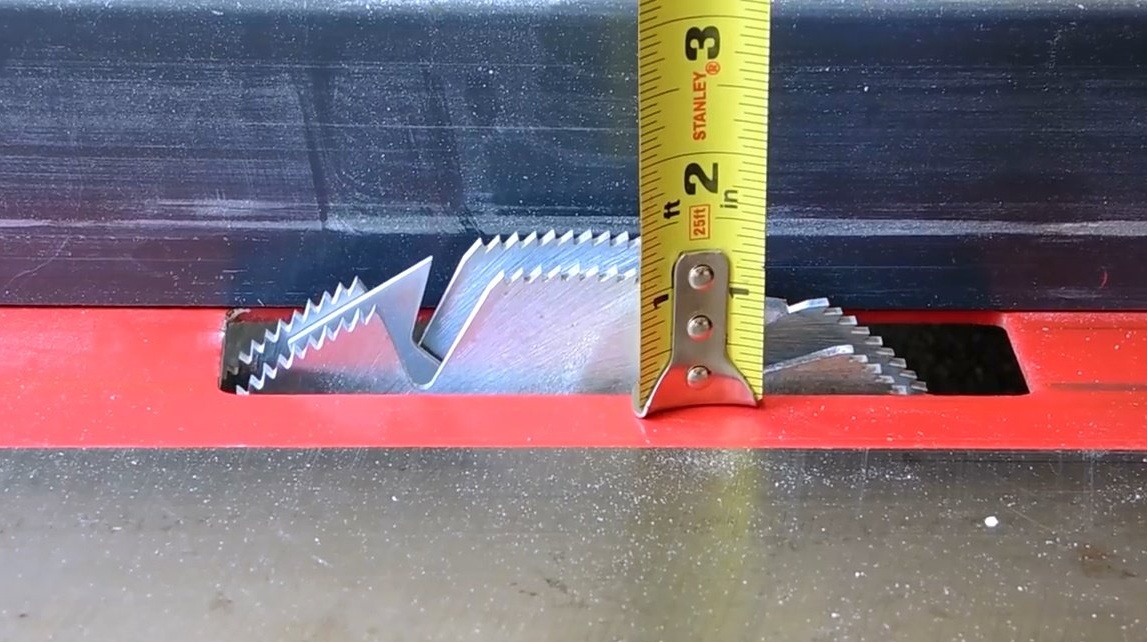
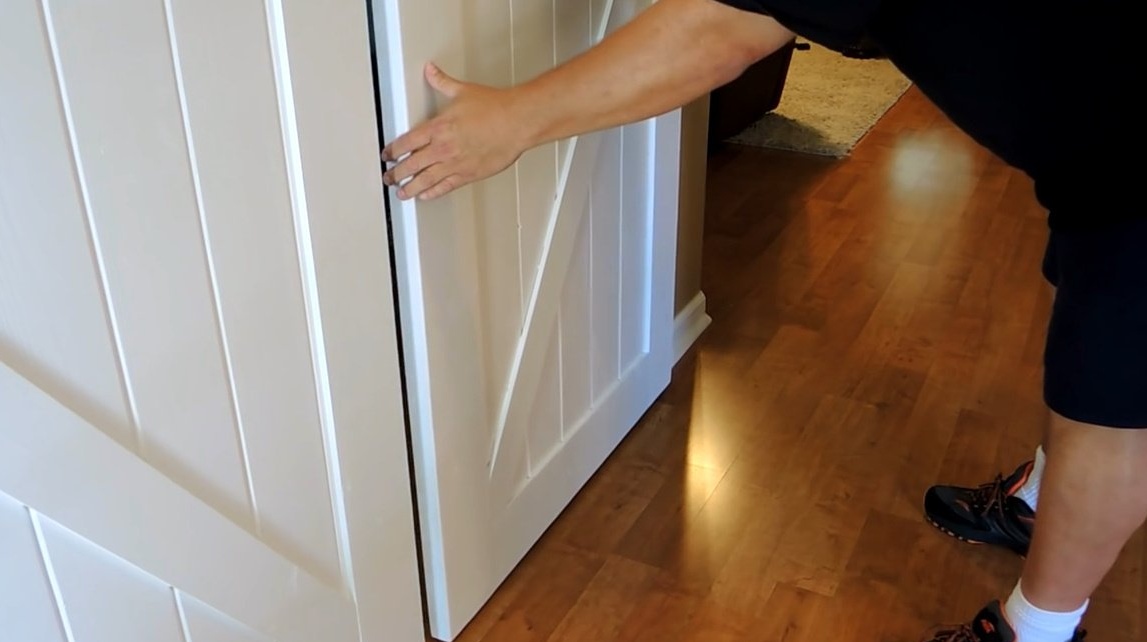
And he begins by measuring the opening in which the doors should stand. The author intends to install two doors from the outside of the wall so that they can slide freely along the upper guide rail along the wall. In addition, the rail will need to get around the baseboard or decorative baguette.
In order to prevent gaps in the sides of the opening when the doors are closed, the master throws a few more centimeters to the width of each of the doors, so that as a result they completely overlap the doorway.
If you try to order sliding doors of this size, the author warns, it will come out quite expensive. If you make them yourself, you can save a decent amount.
There are many guides and videos on the net illustrating the manufacturing process for such doors. The author offers several links to help: and second.
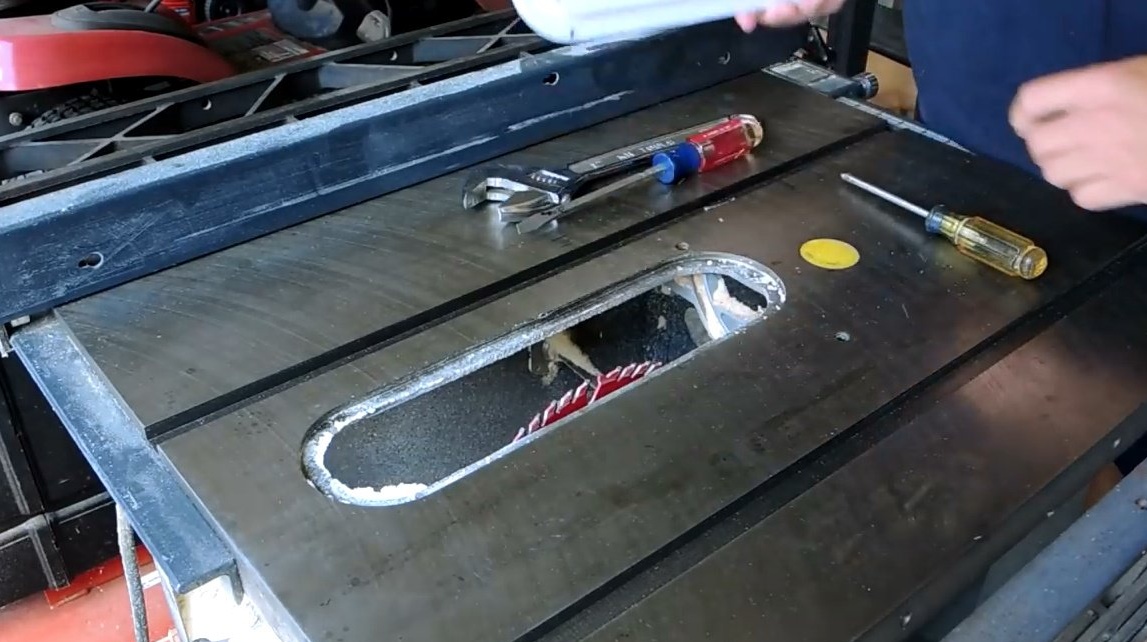
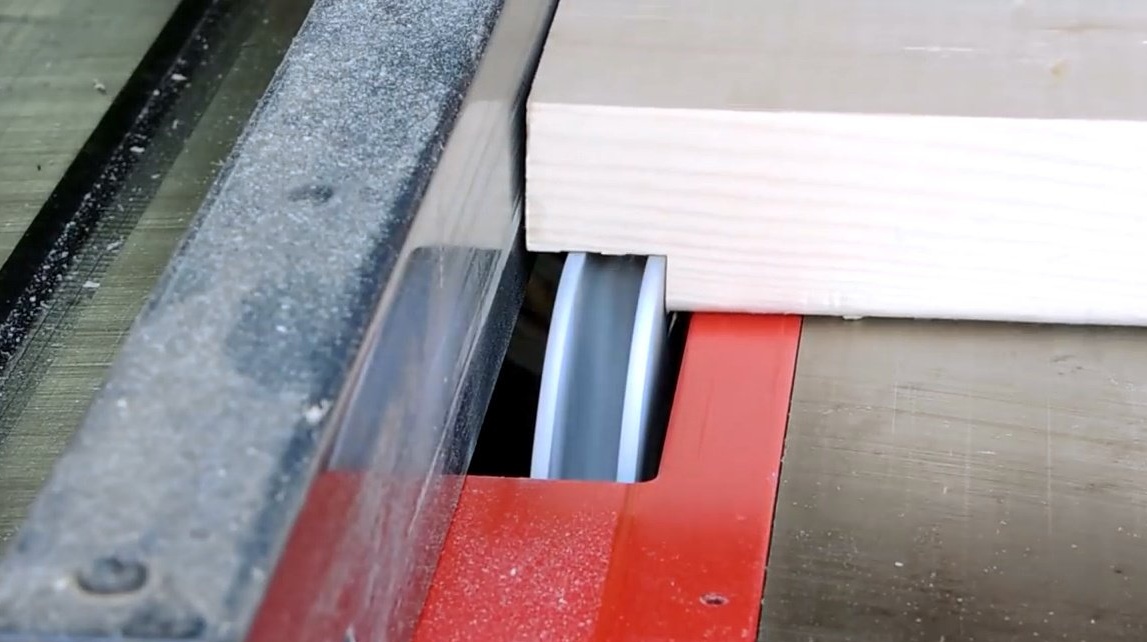
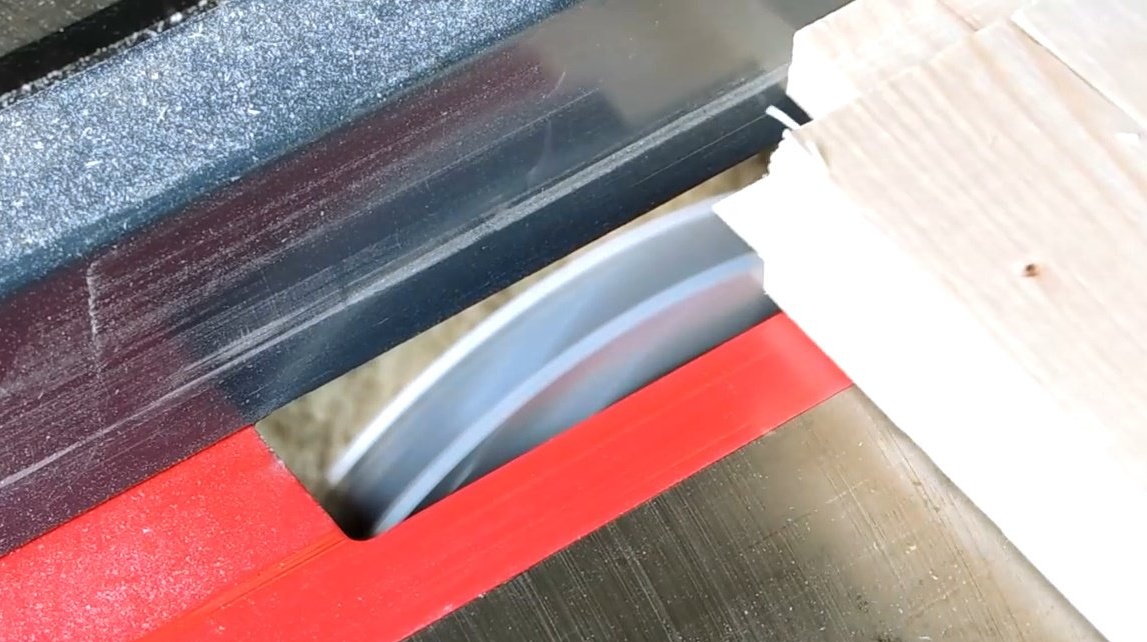
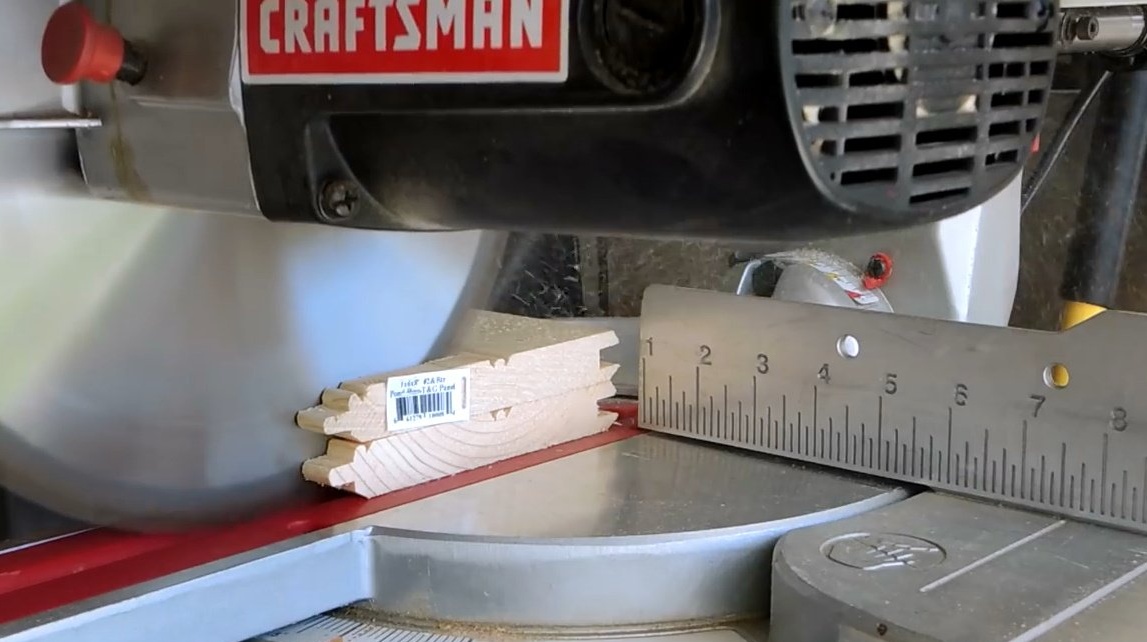
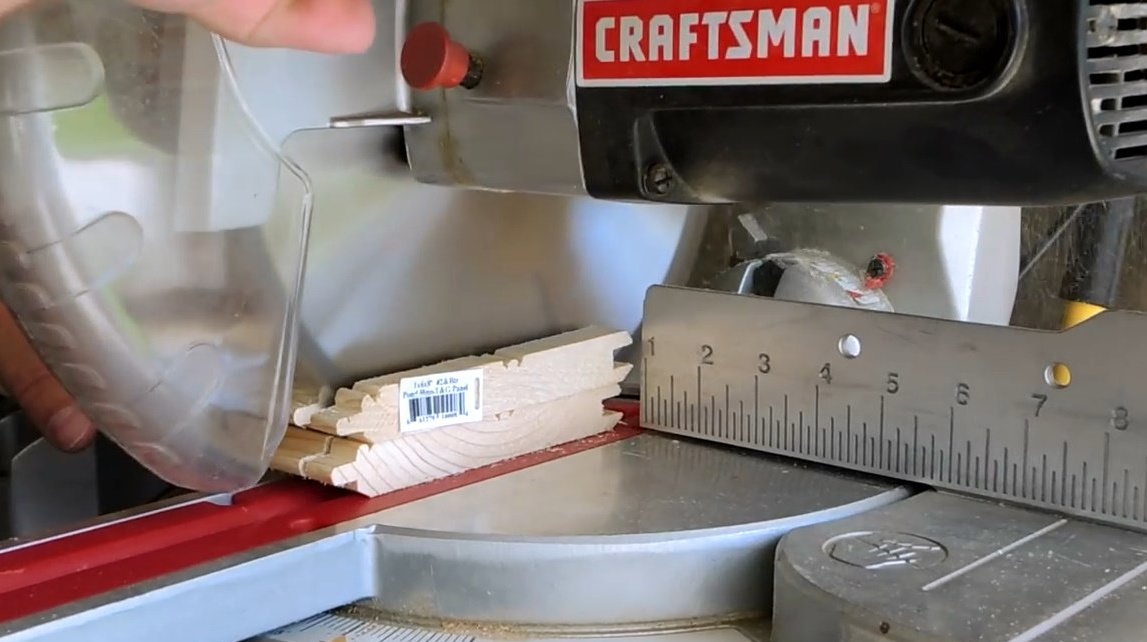
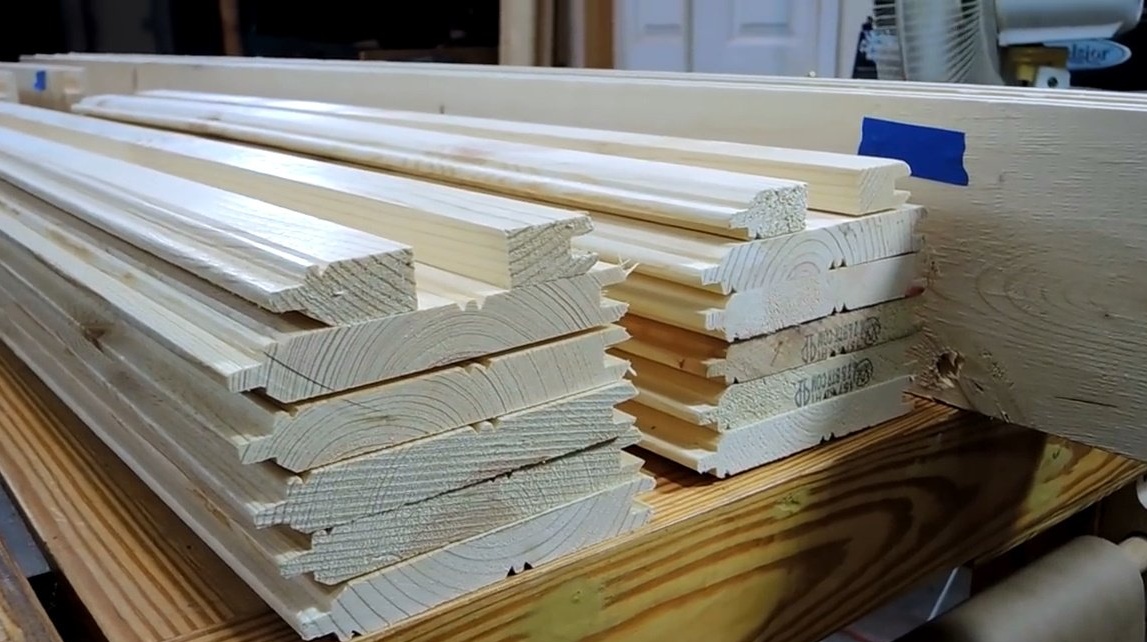
Steve uses the 18 mm wide Dado Disc to cut deep grooves on the sides of the boards.
Then he cuts the boards to their connection with the rail and bouts.
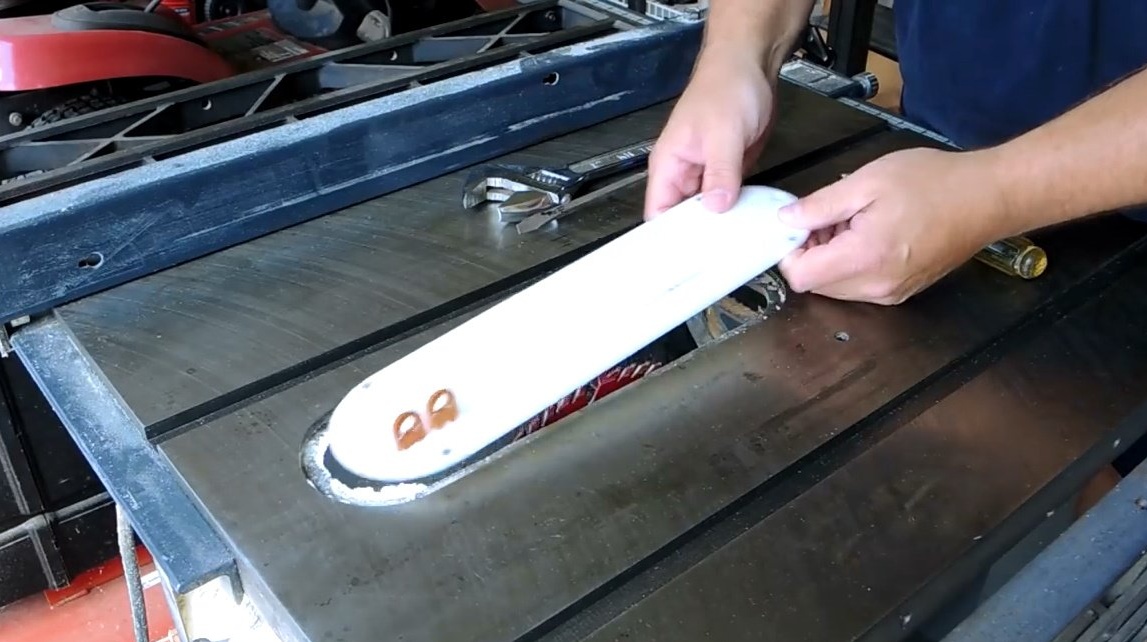
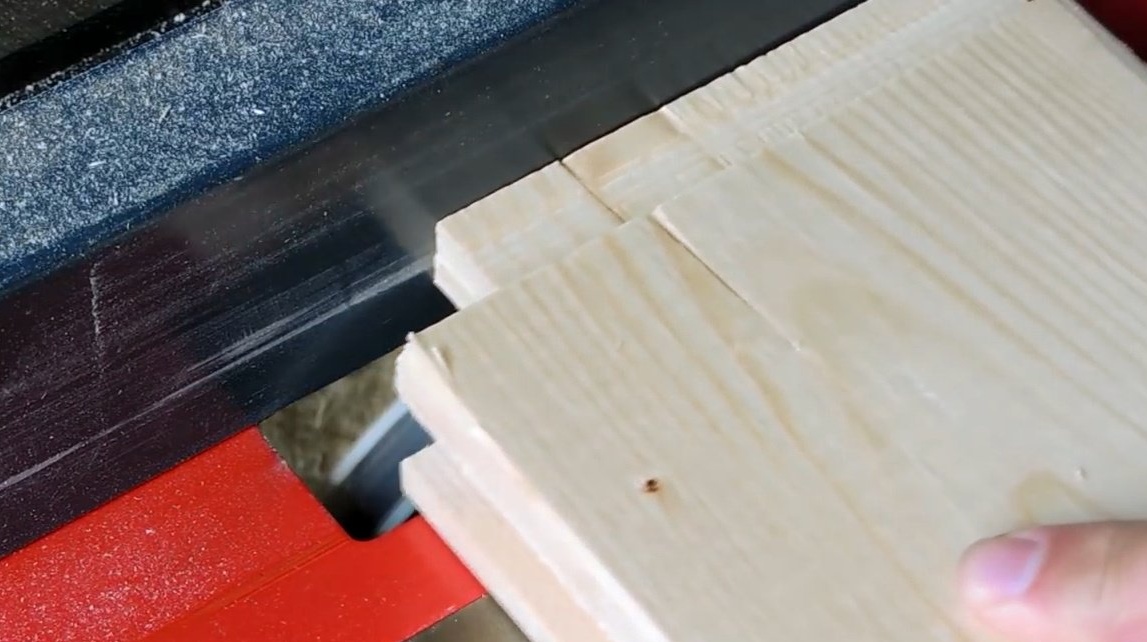
Steve then cuts the spike joints at the ends of the crossbars so that they fit into the grooves.It would be nice to practice a little on the test samples, the author notes, to make sure that all the elements fit together.

Steve cuts the dowel boards with a miter saw.
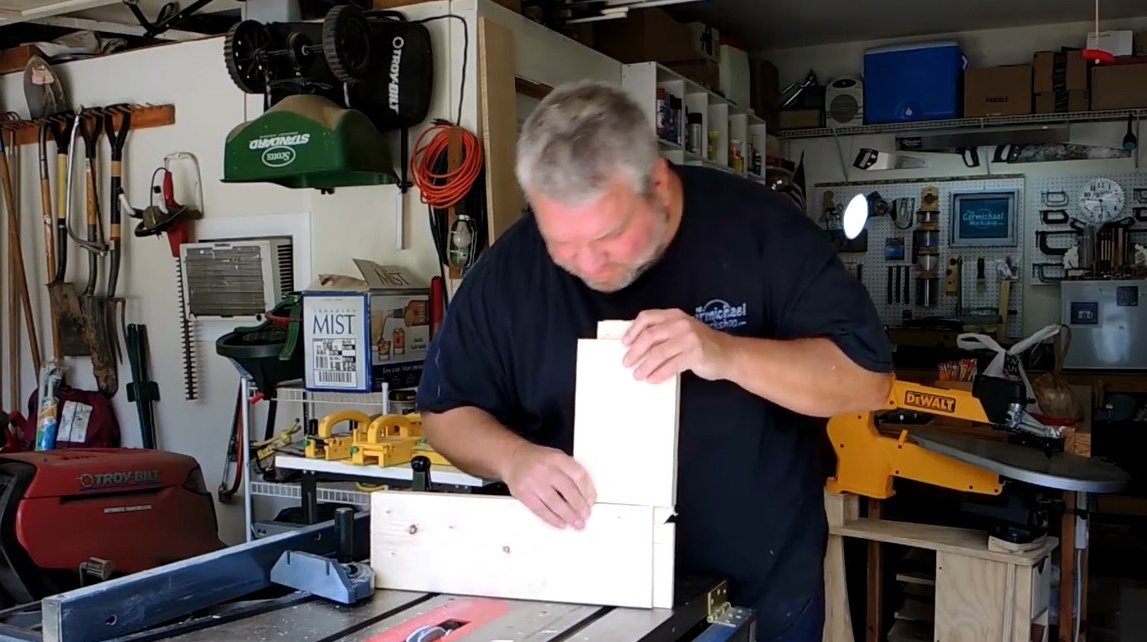
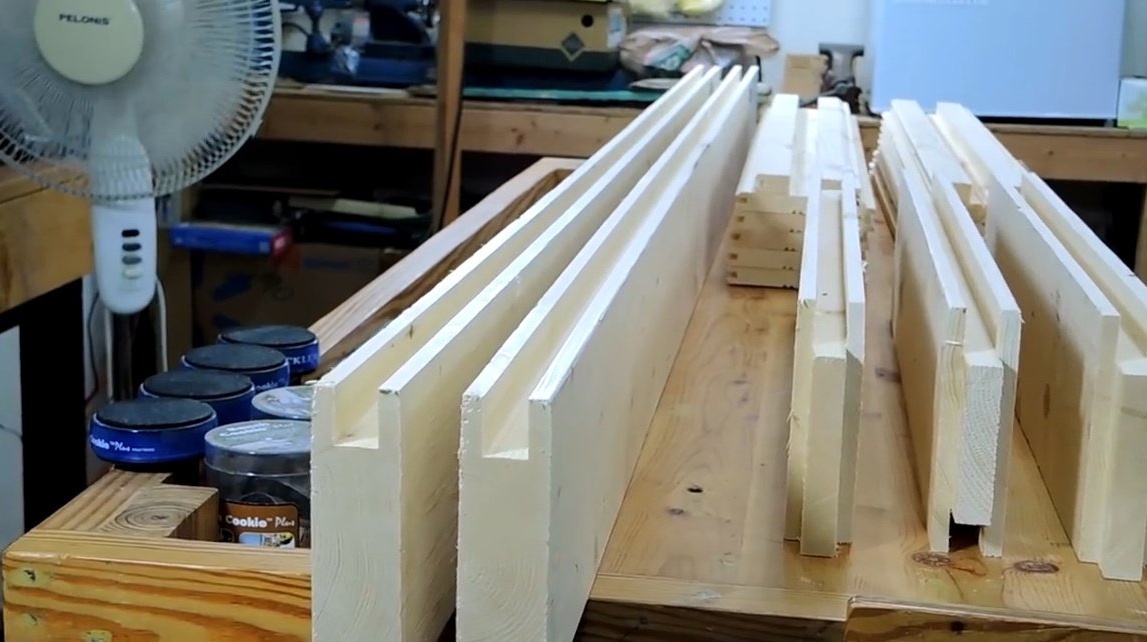
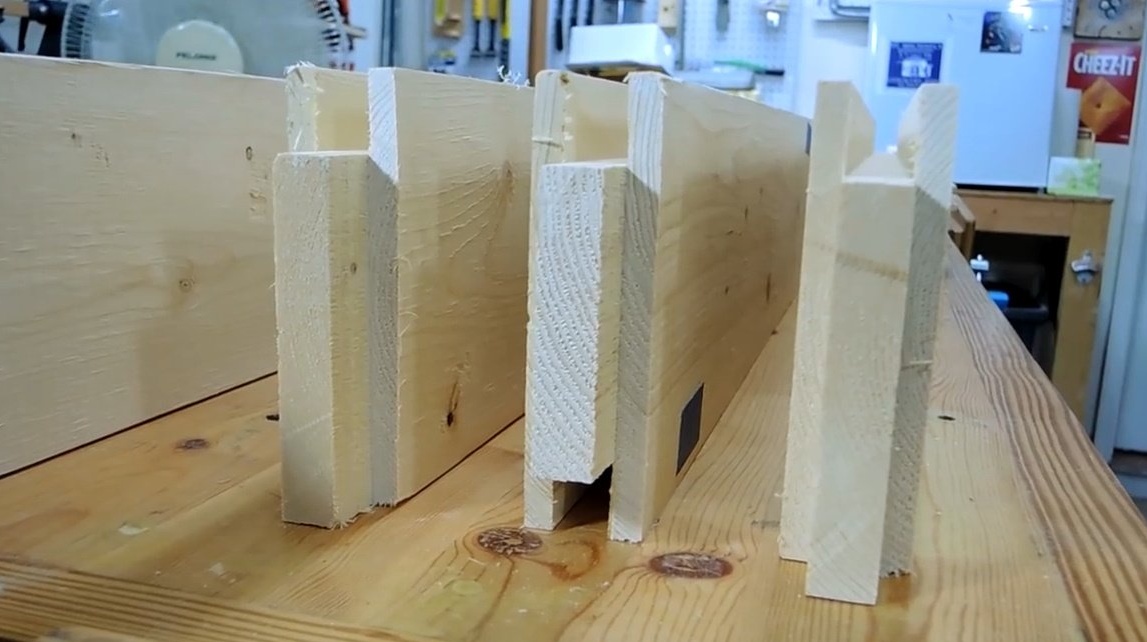
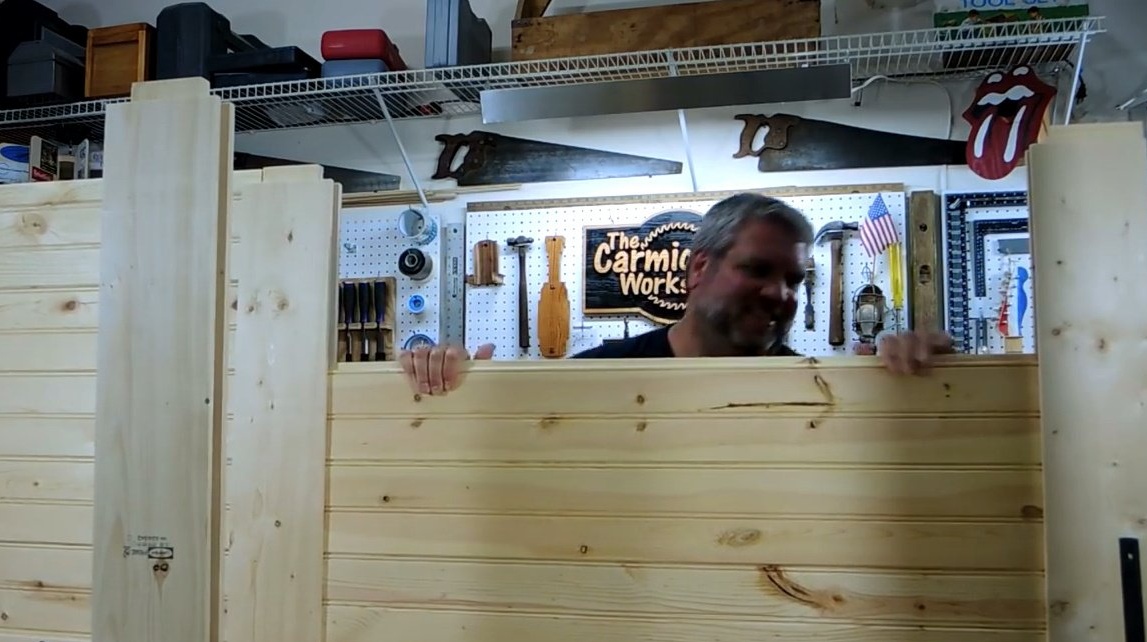
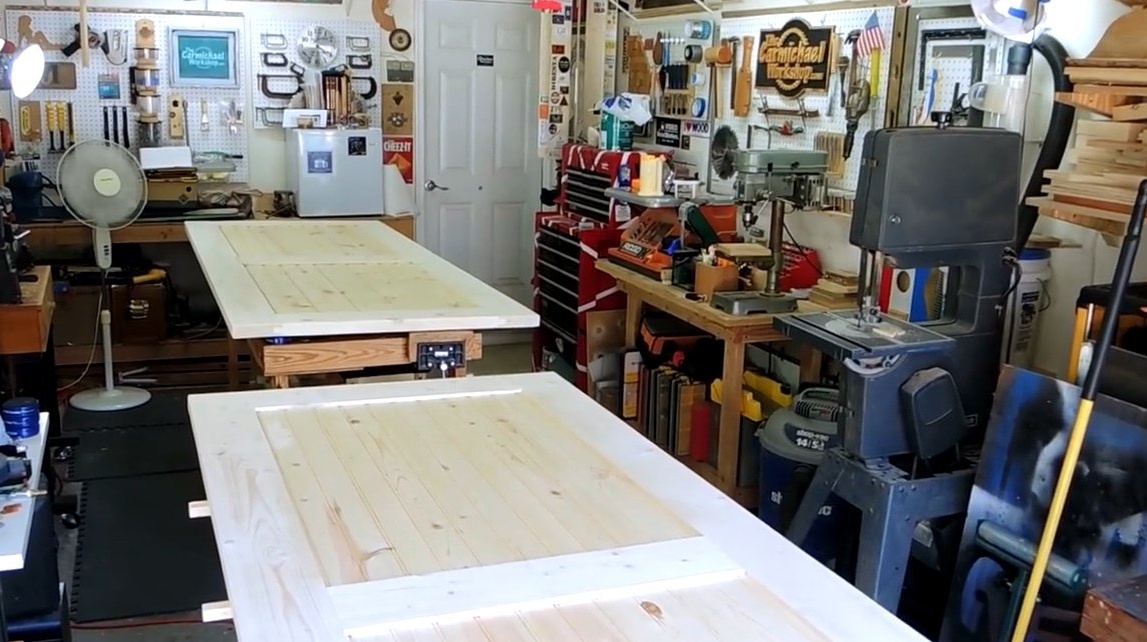
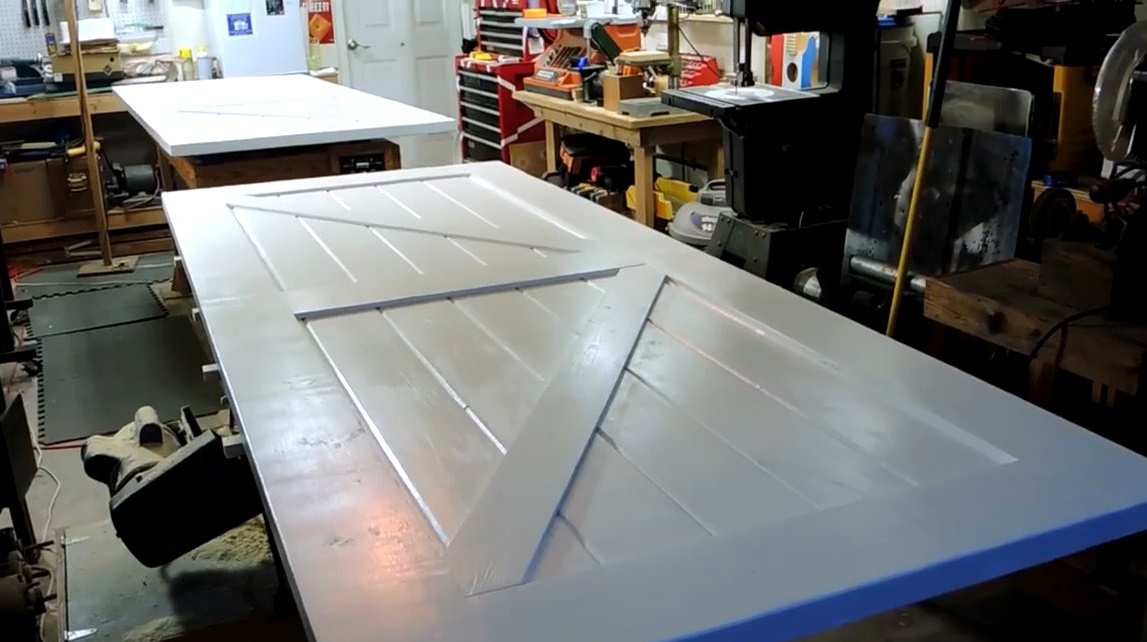
And here you have all the elements of the future door: two long panels for external cladding, three short crossbars and a number of cross bars.
The middle rung has a groove on both sides to connect the top and bottom panels. All door elements are glued together.
The author begins by gluing three crossbars into each of the two long supports.
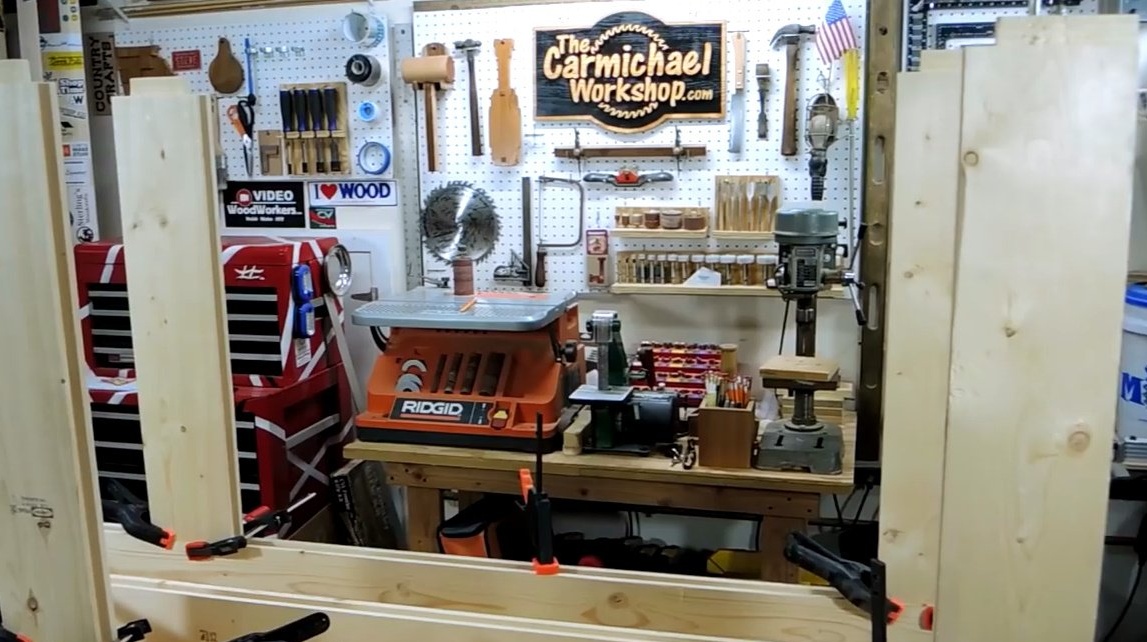
When the glue has dried, the author pushes the tongue-and-groove boards one after the other into the formed grooves and thus “gains” an array of doors.

The master uses a small hand planer to cut corners at the edges - it will be easier then to glue another long longitudinal bar.
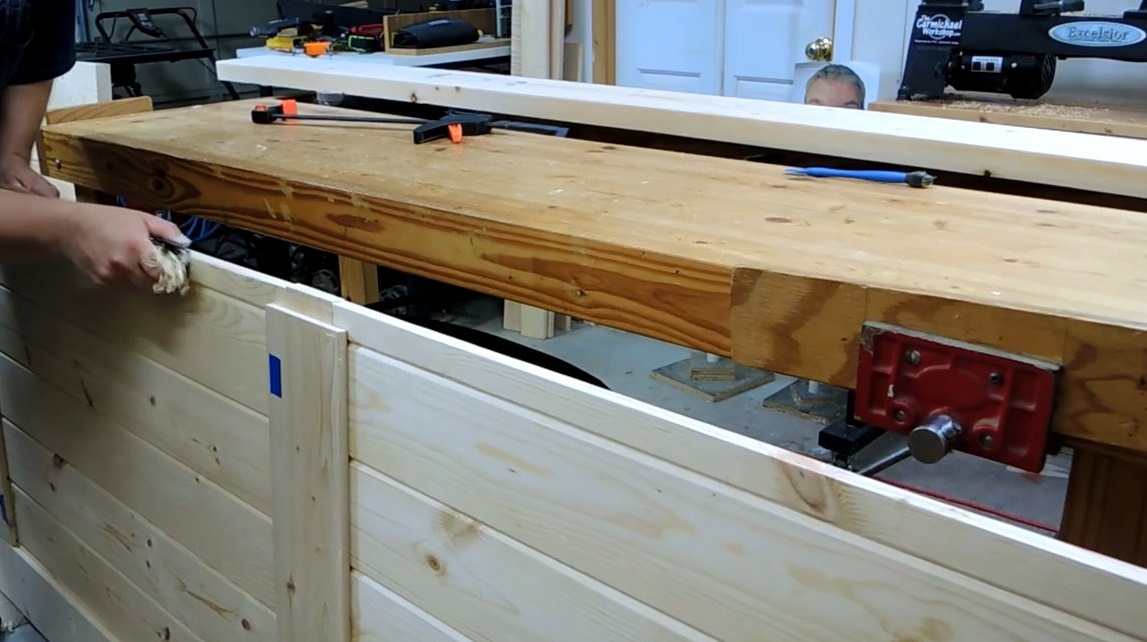
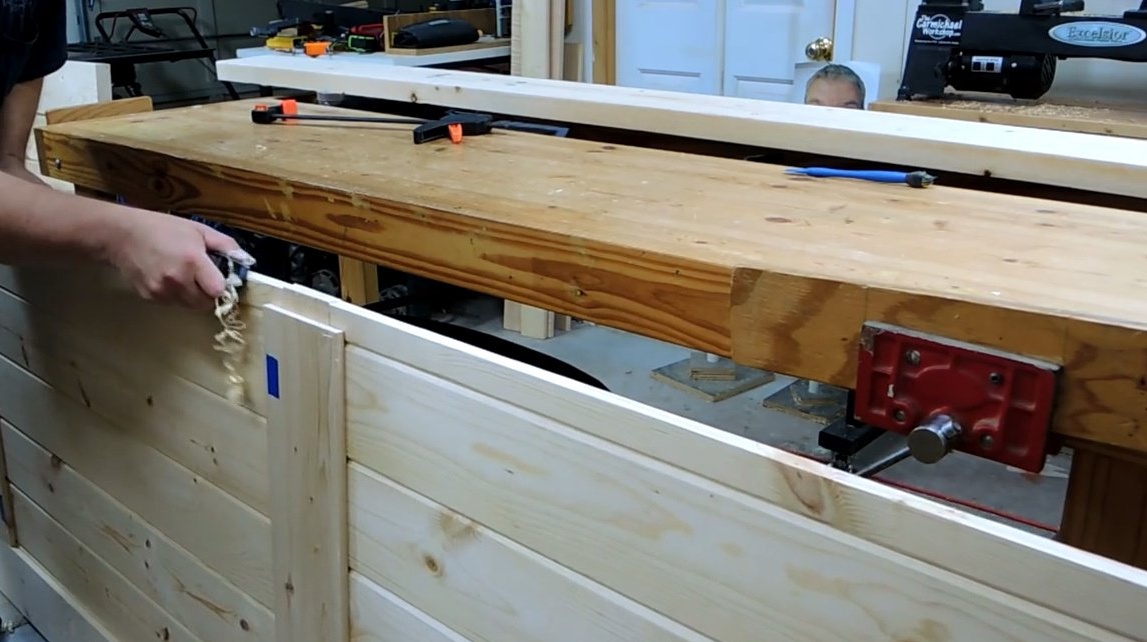
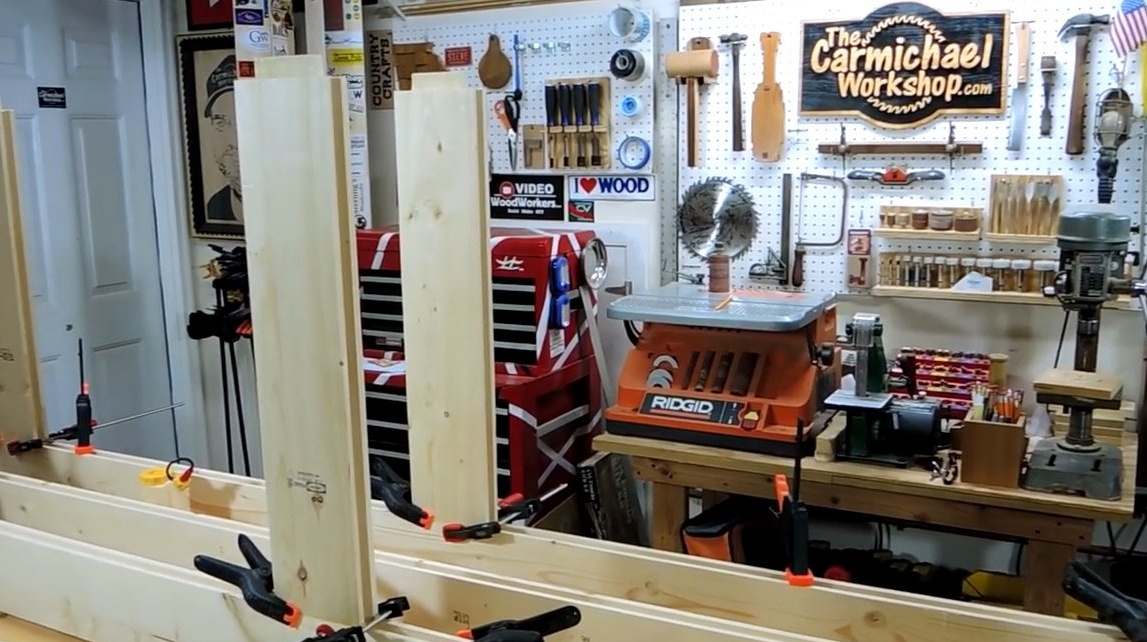
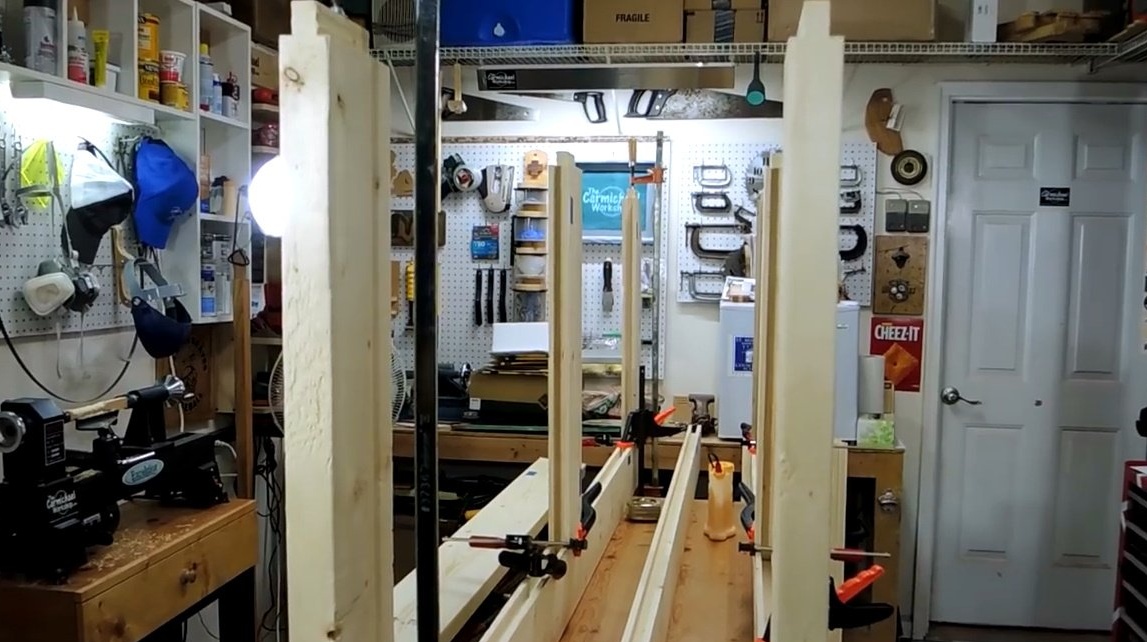
When the door is assembled, Steve pulls the outer slats with large clamps.
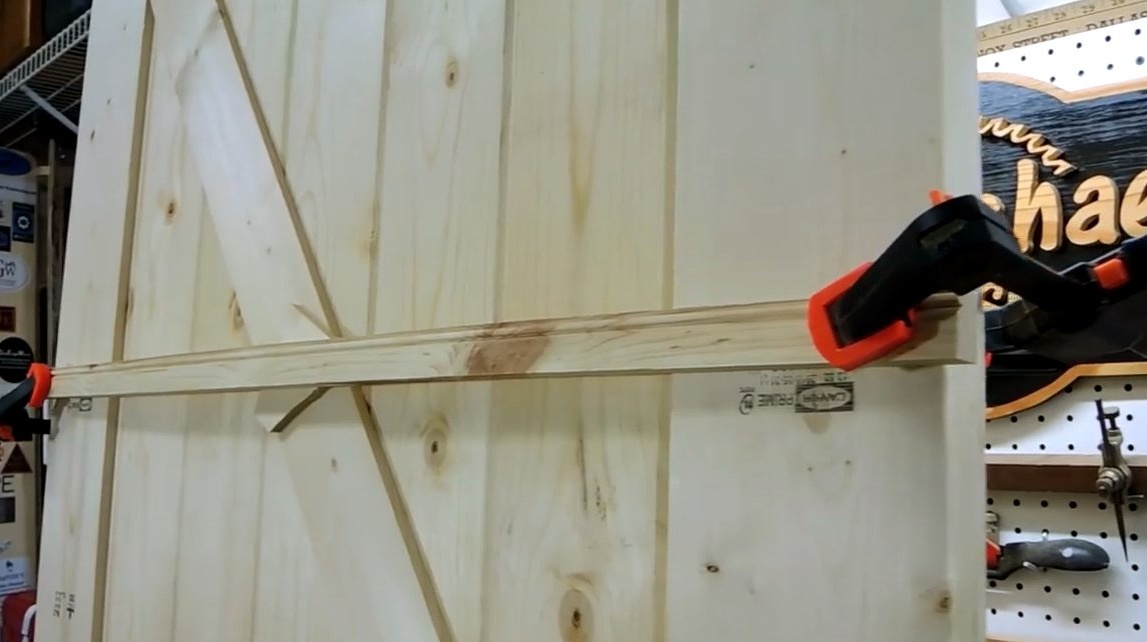
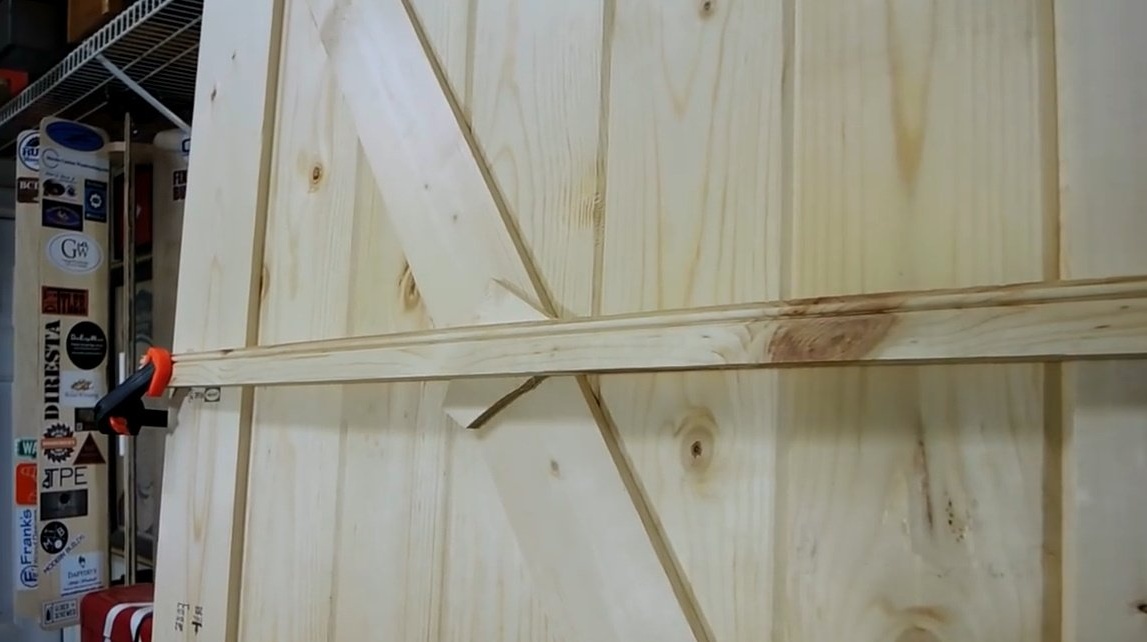
He decides to glue two more narrow diagonal slats to give the door more stiffness.
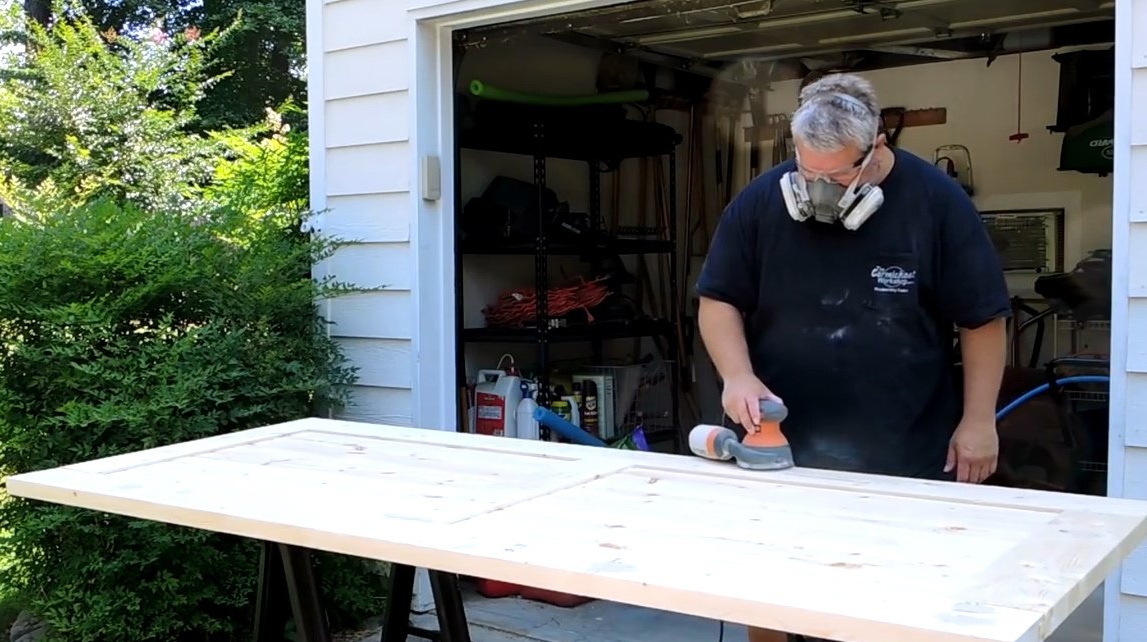
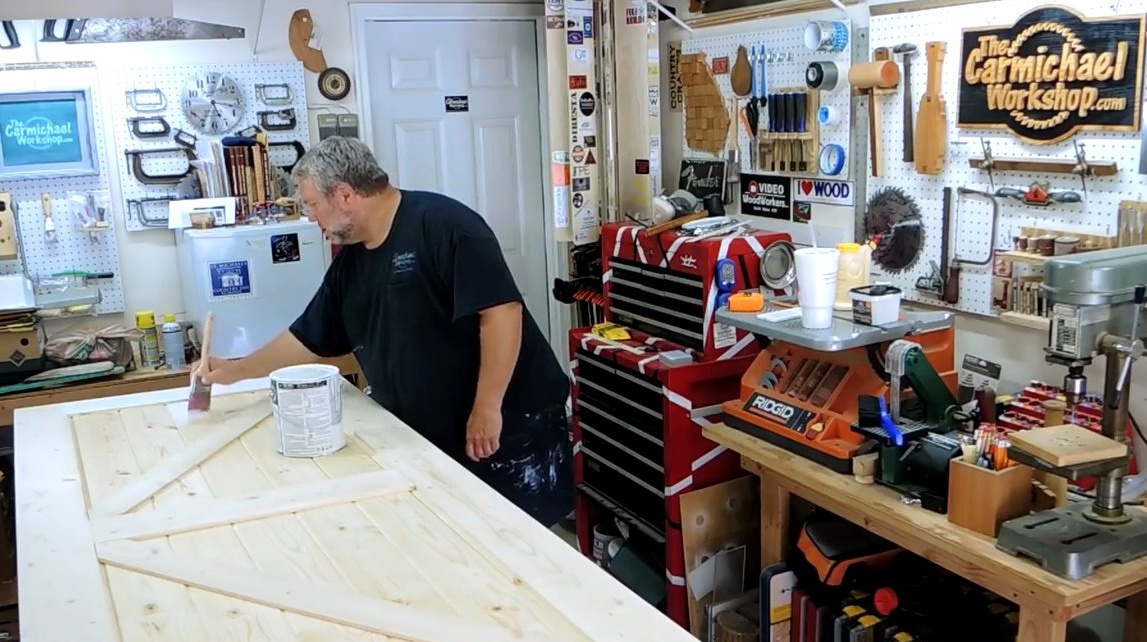
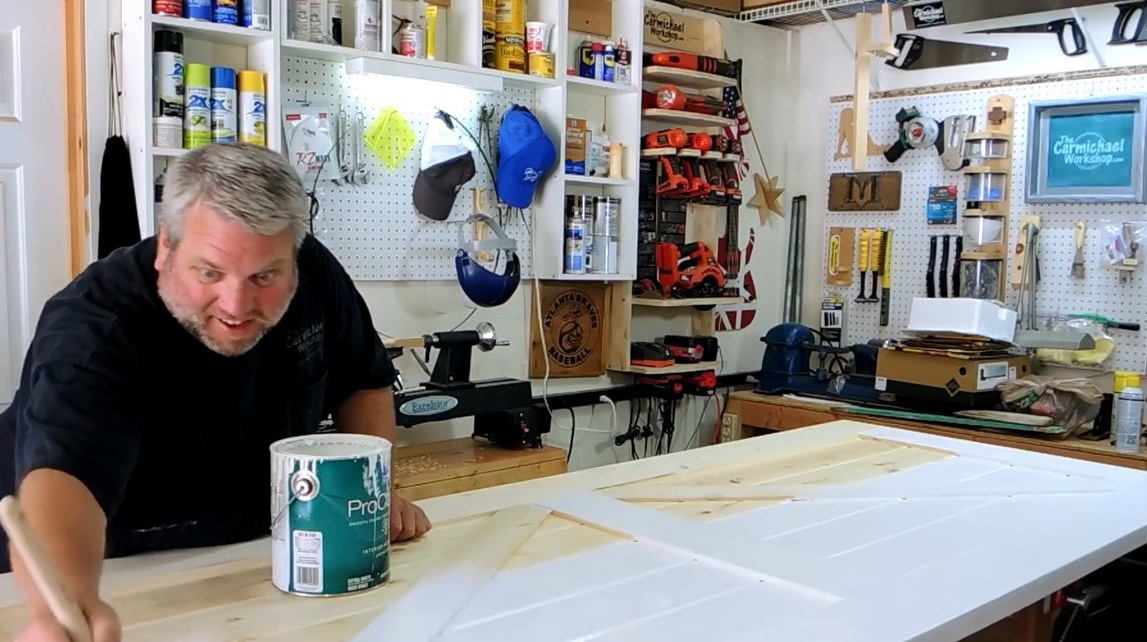
Then the master carefully polishes both doors and paints each door in two layers.
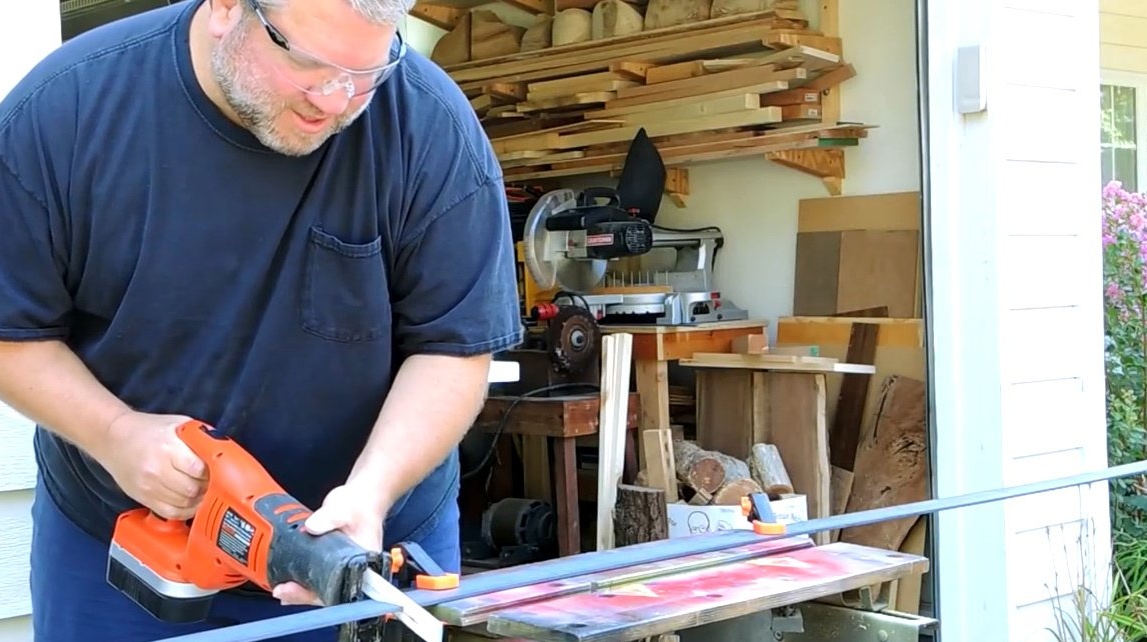
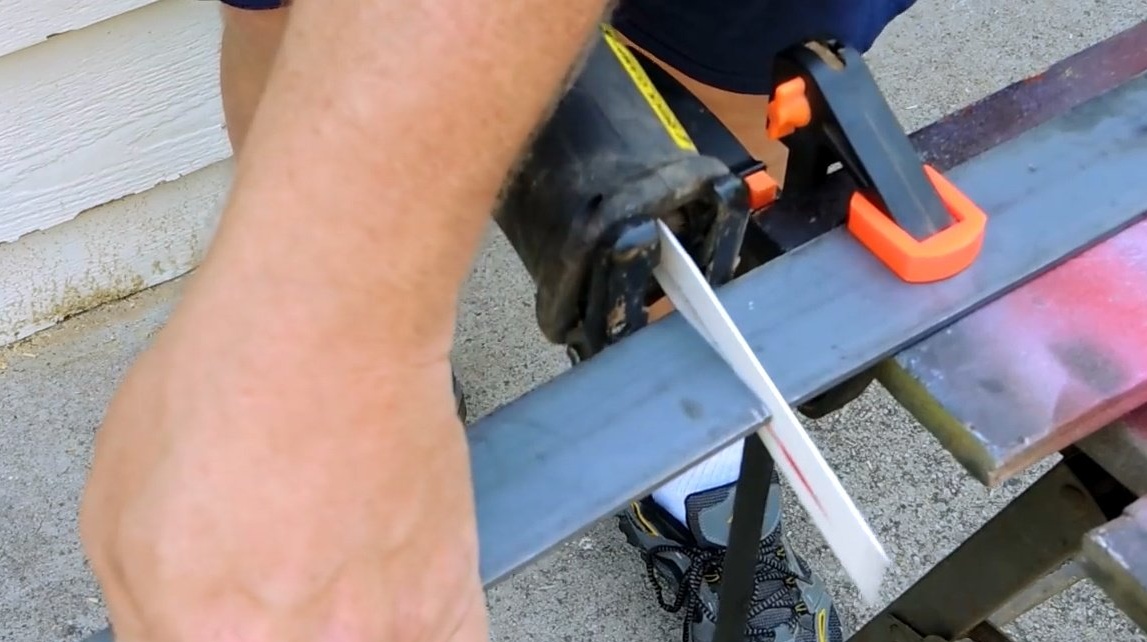
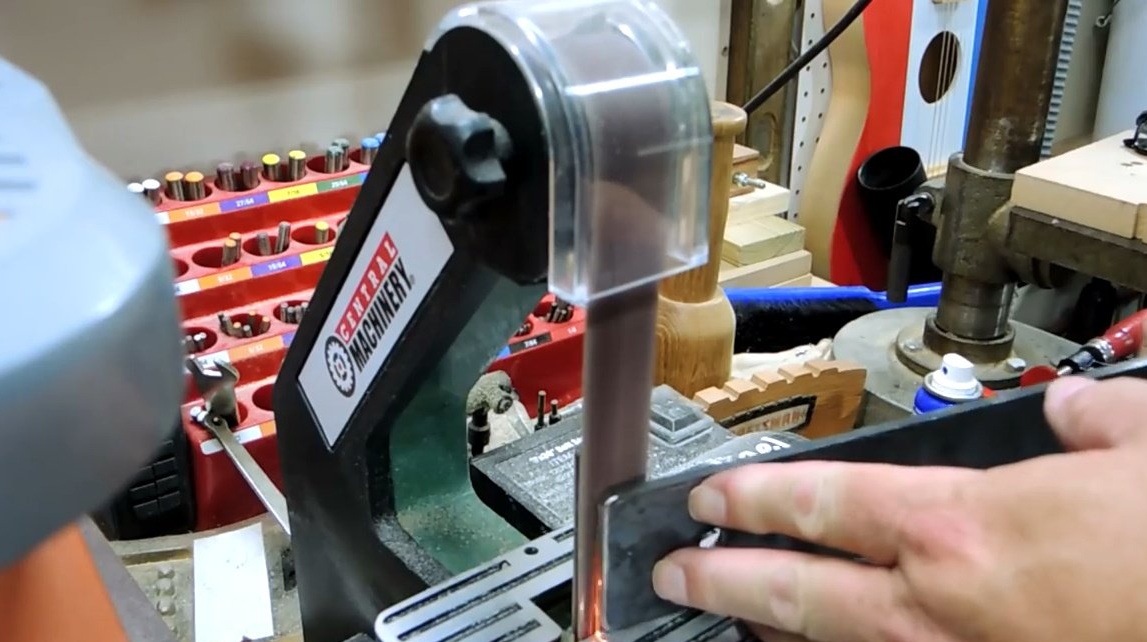
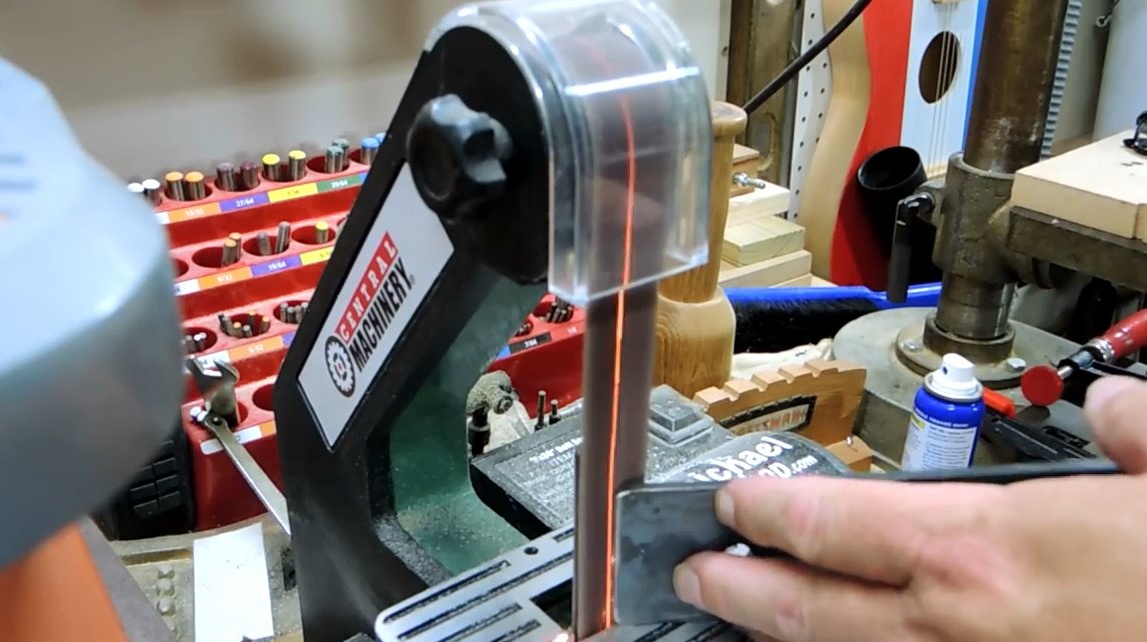
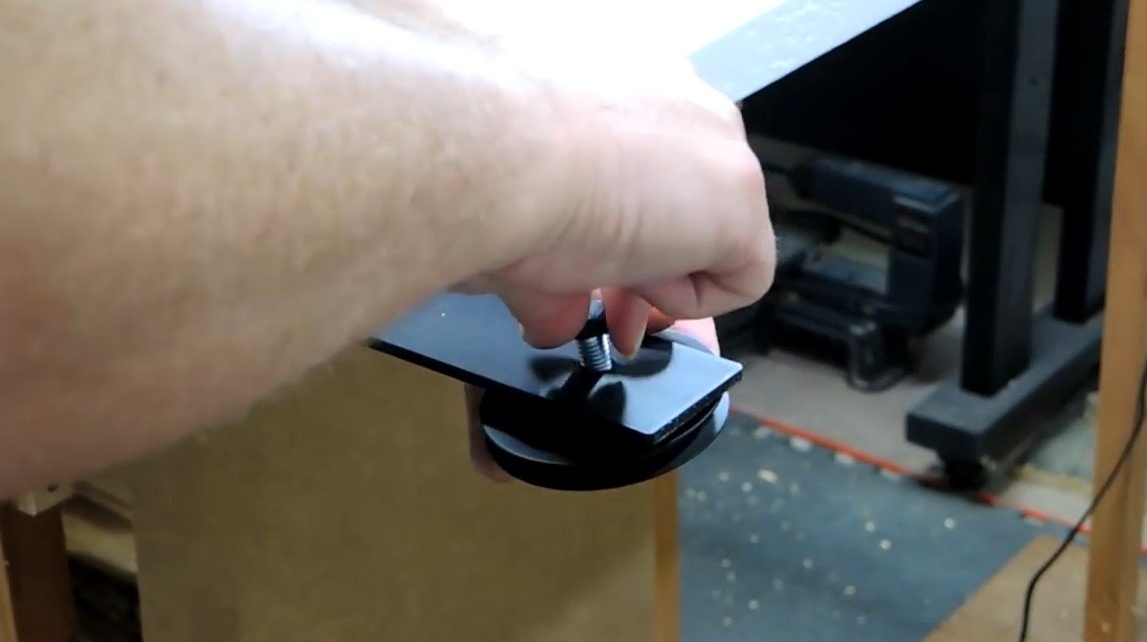
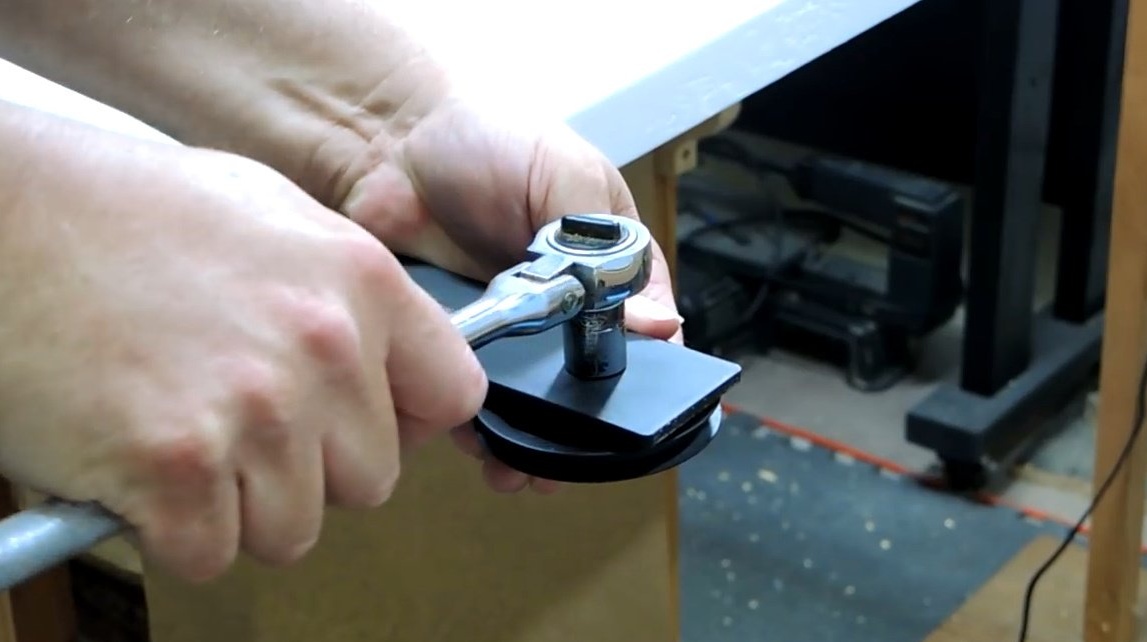
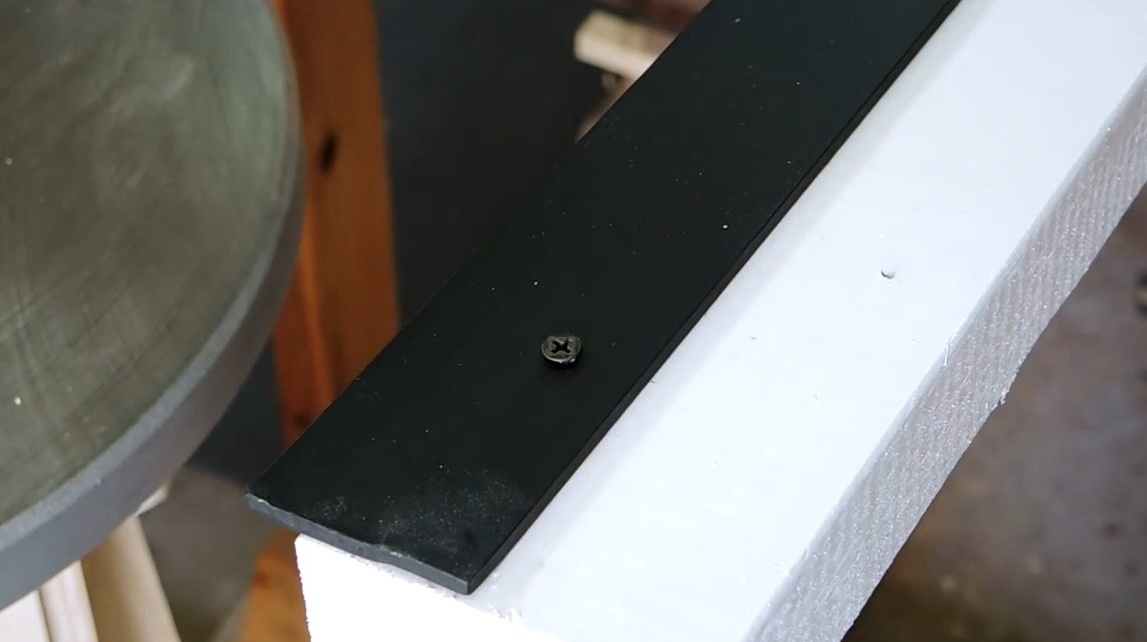
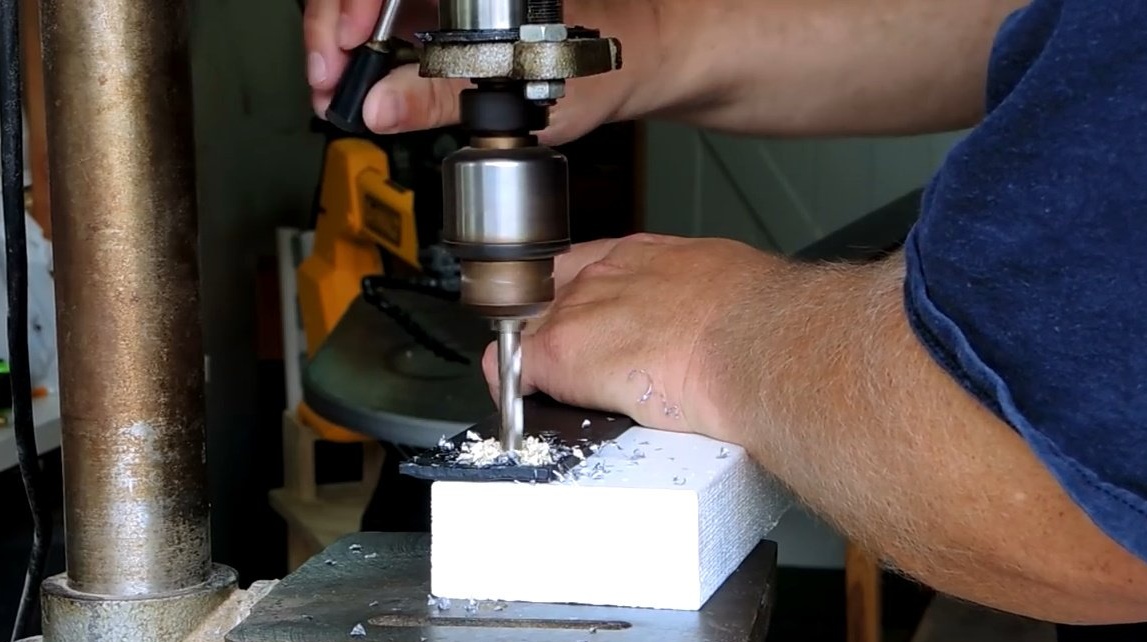
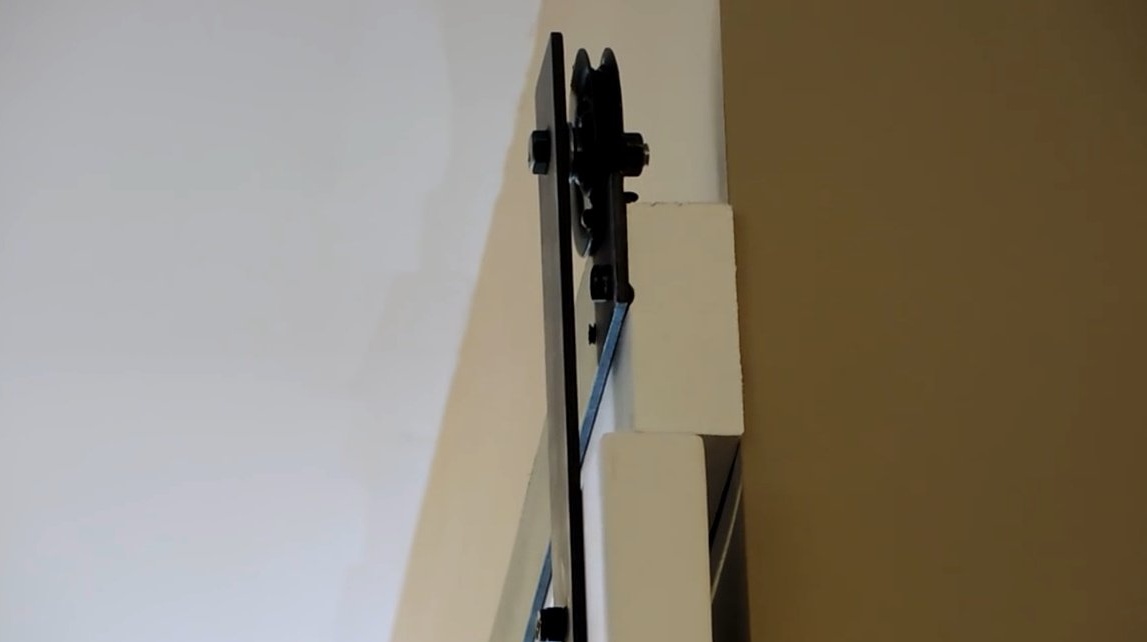
Now Steve switches to the door hardware. He cuts them out of a flat steel plate 50 mm wide and 4.5 mm thick.
In each of the four parts, he drills holes so that they can be attached to the wheels and doors.
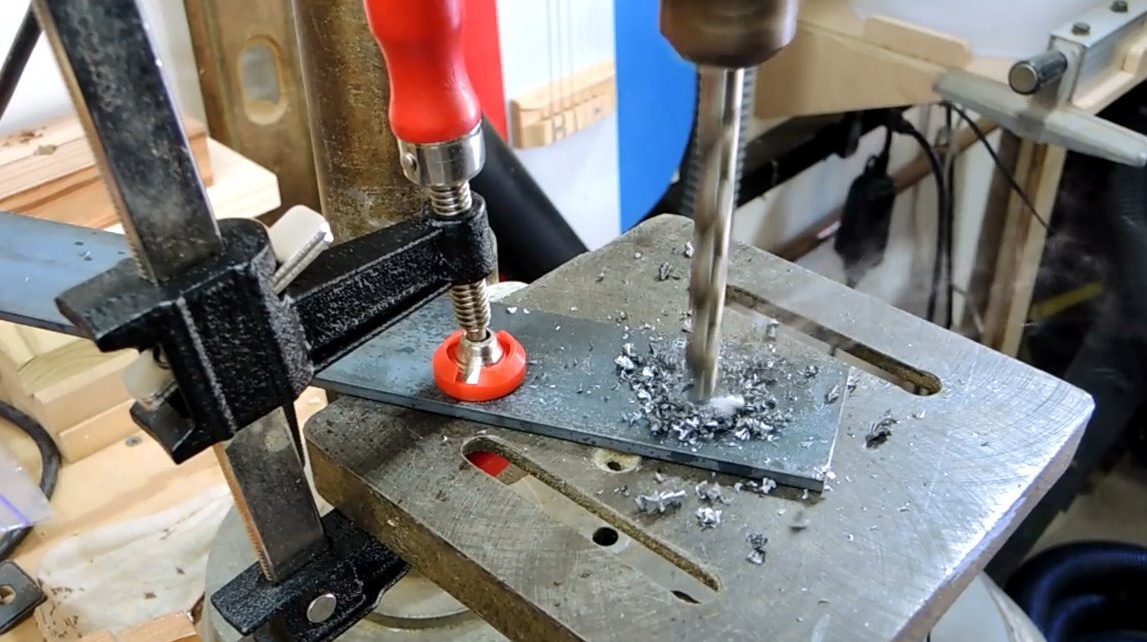
On a grinding machine, he removes all sharp corners.
All metal structural elements are coated with black spray paint.
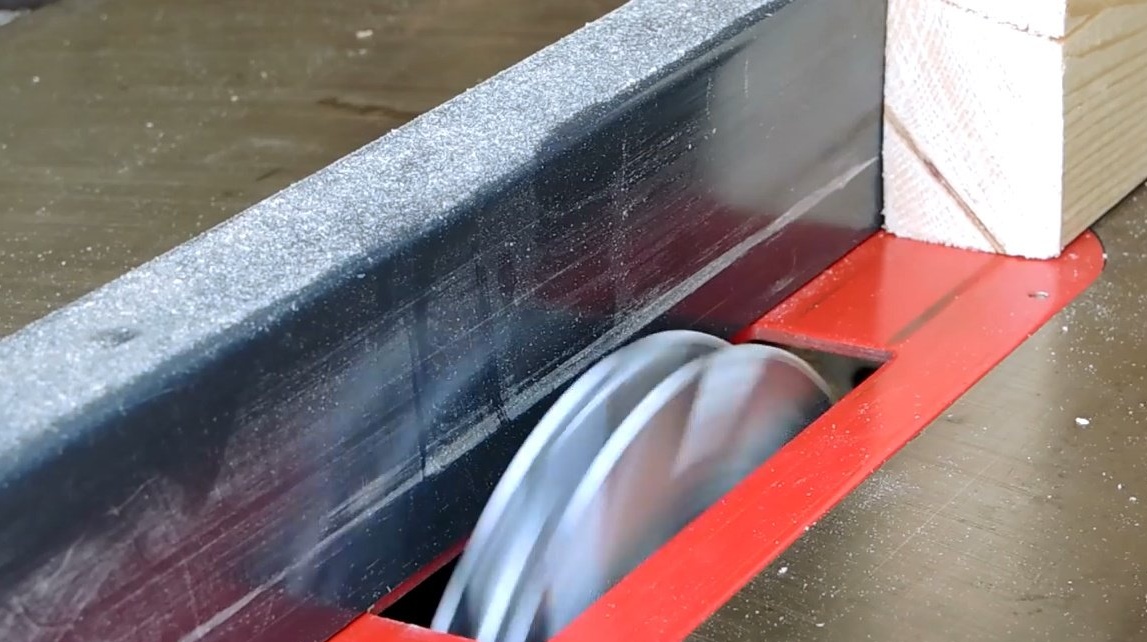
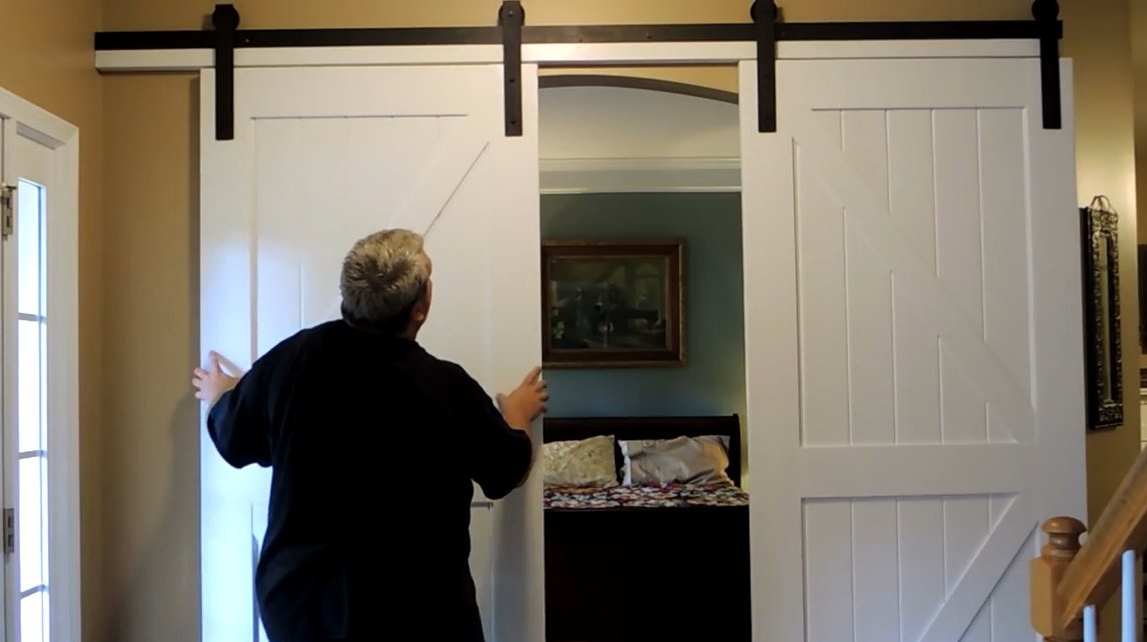
Then Steve attaches the rollers to the door and this is how the finished doors look like. It remains only to hang them.
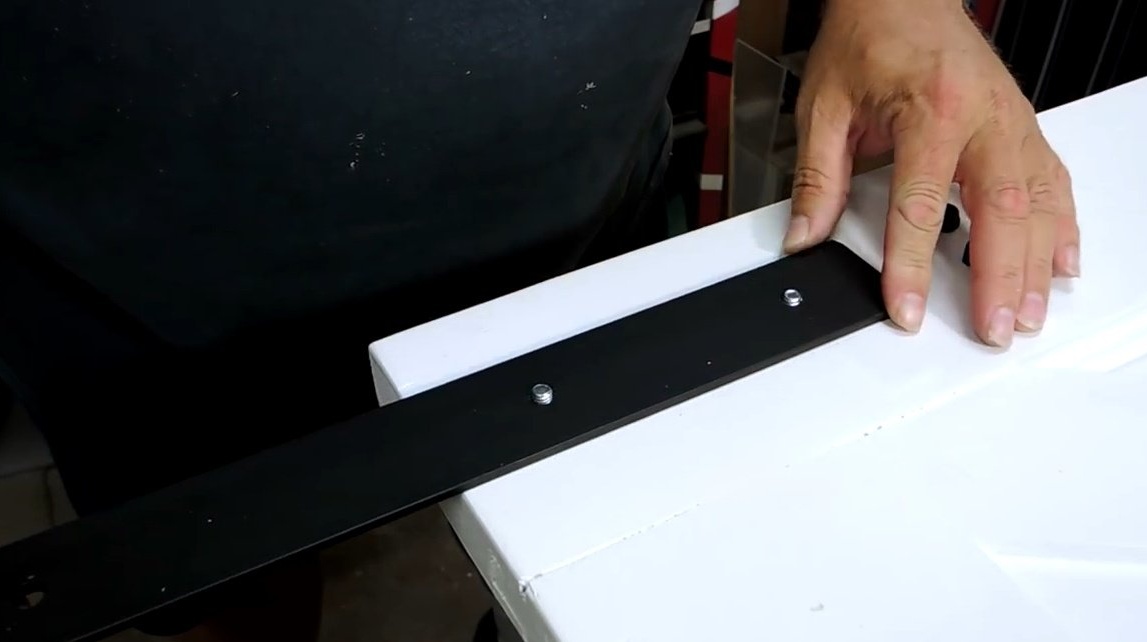
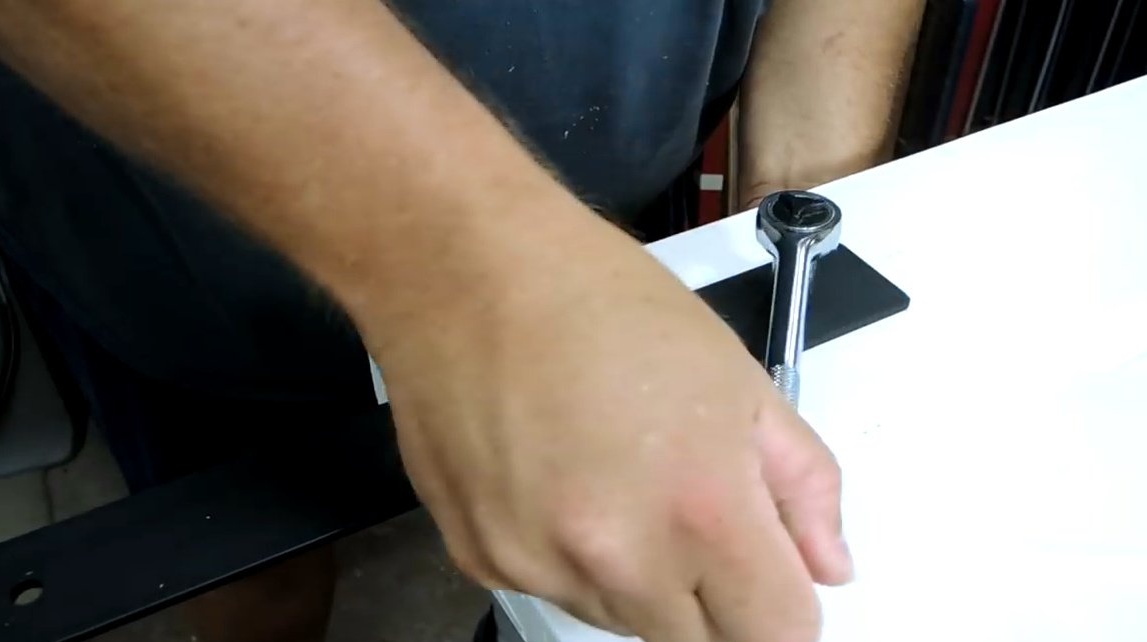
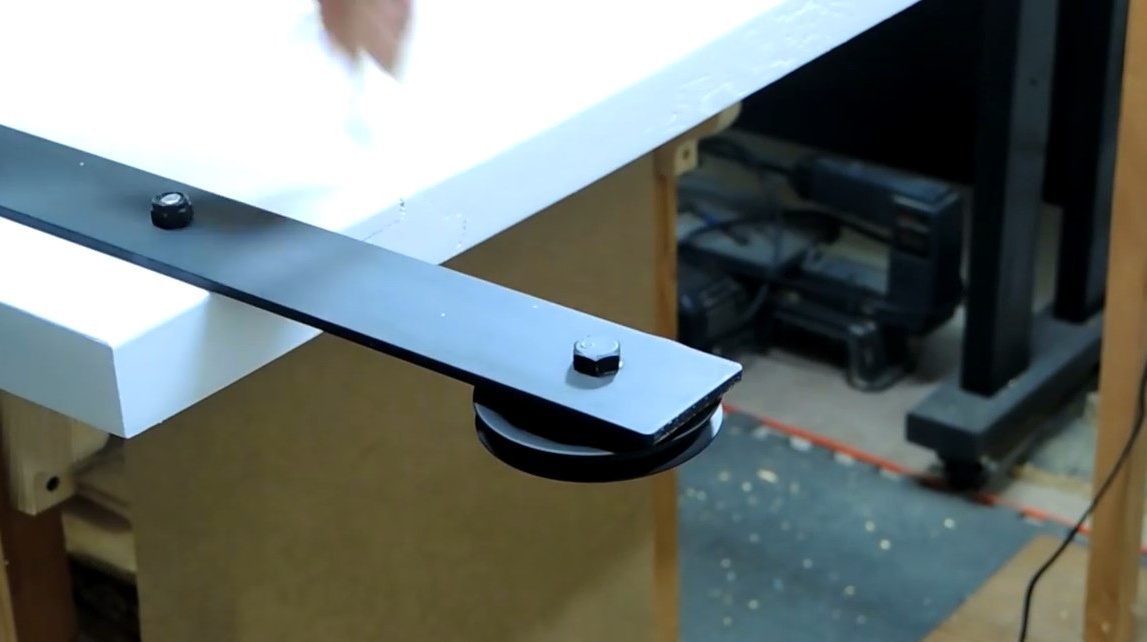

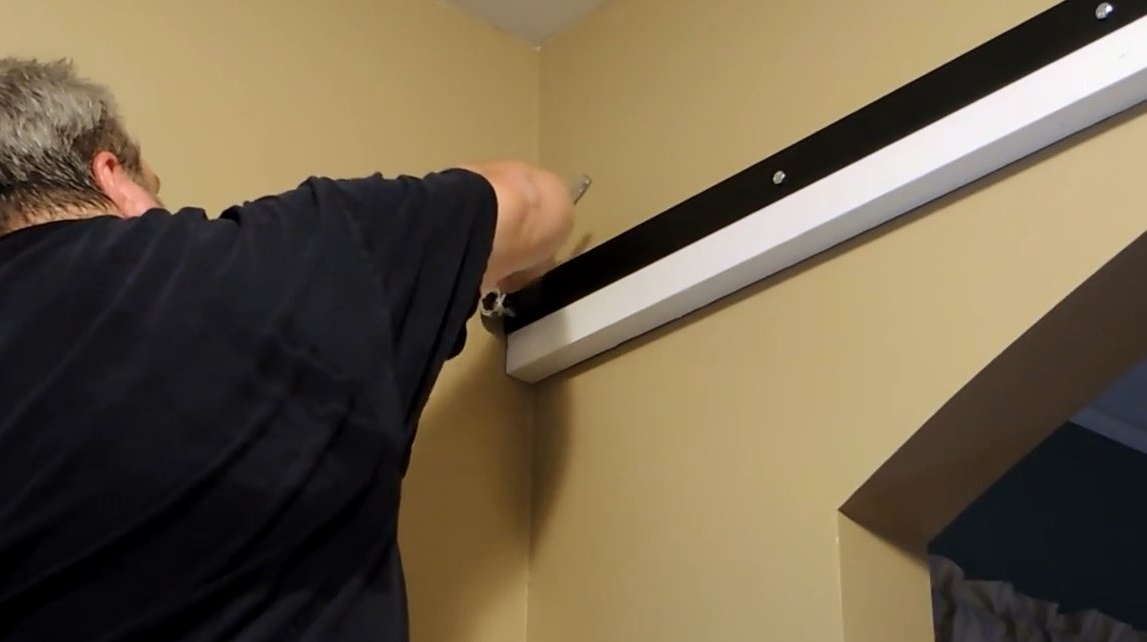
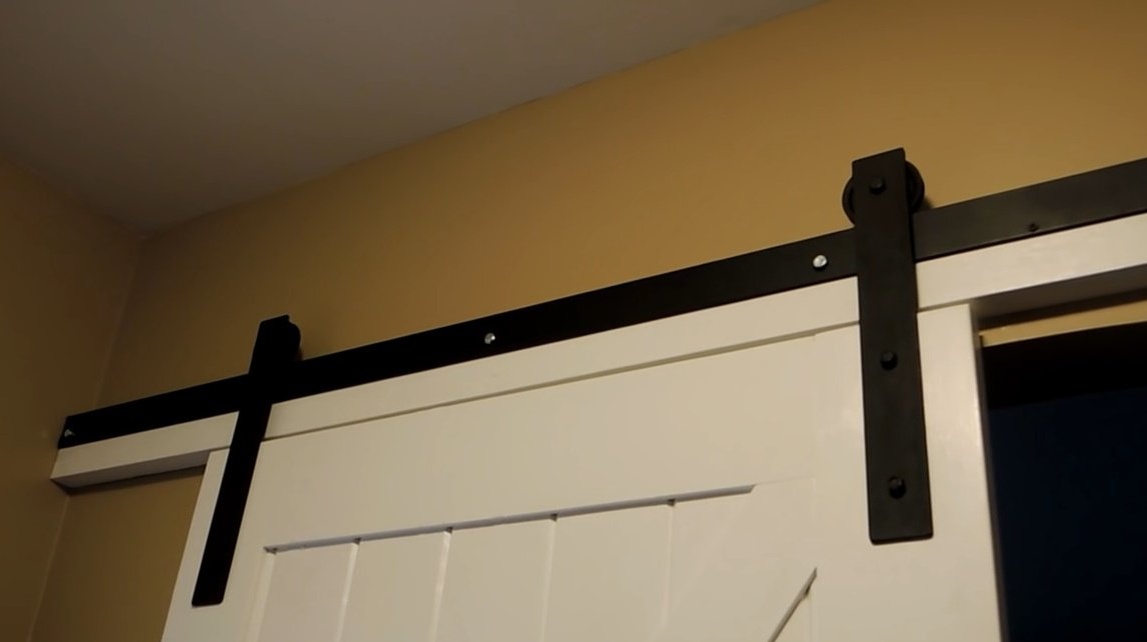
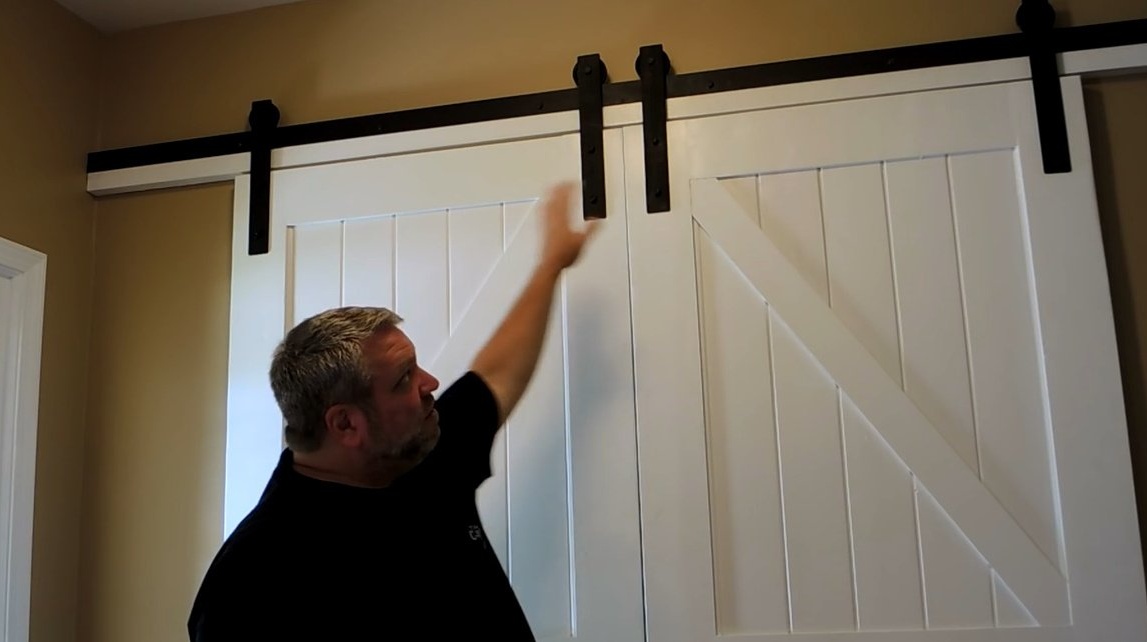
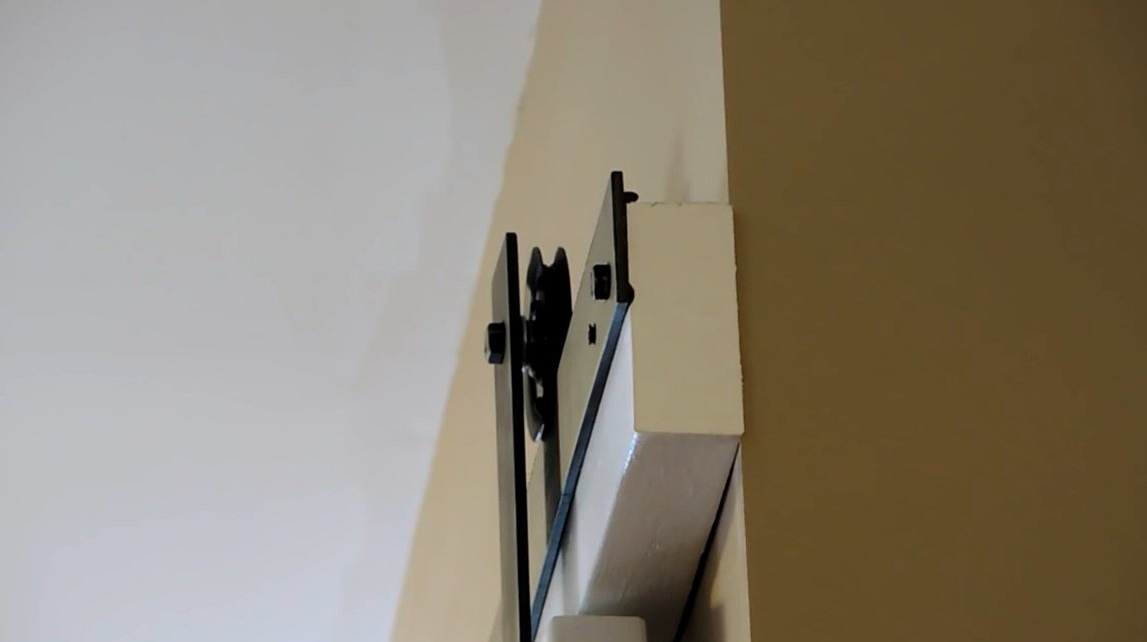
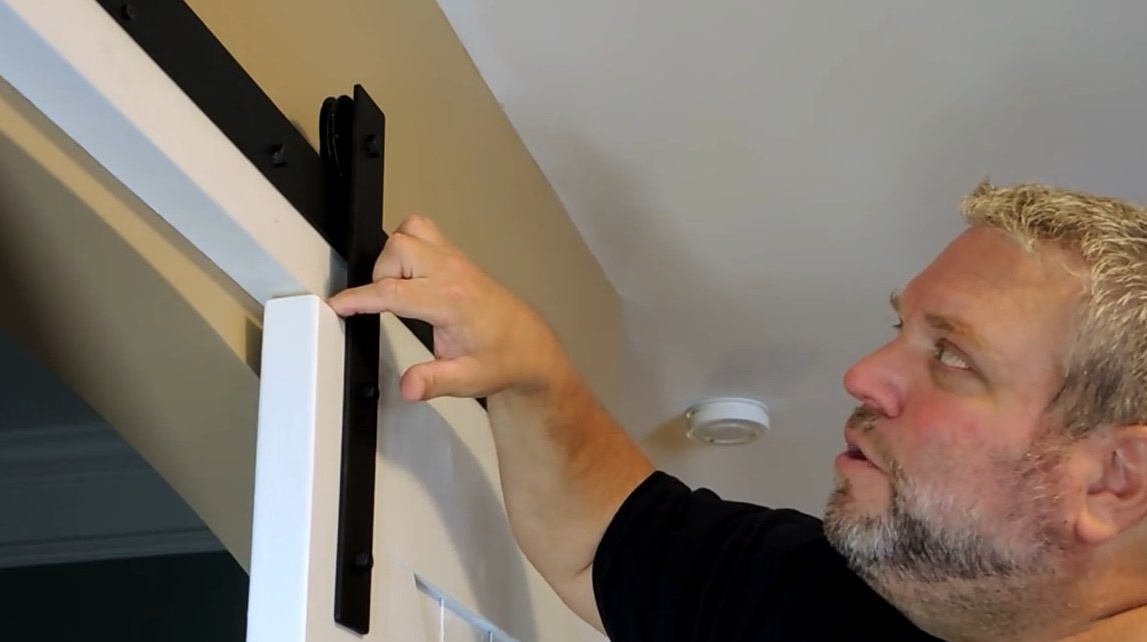
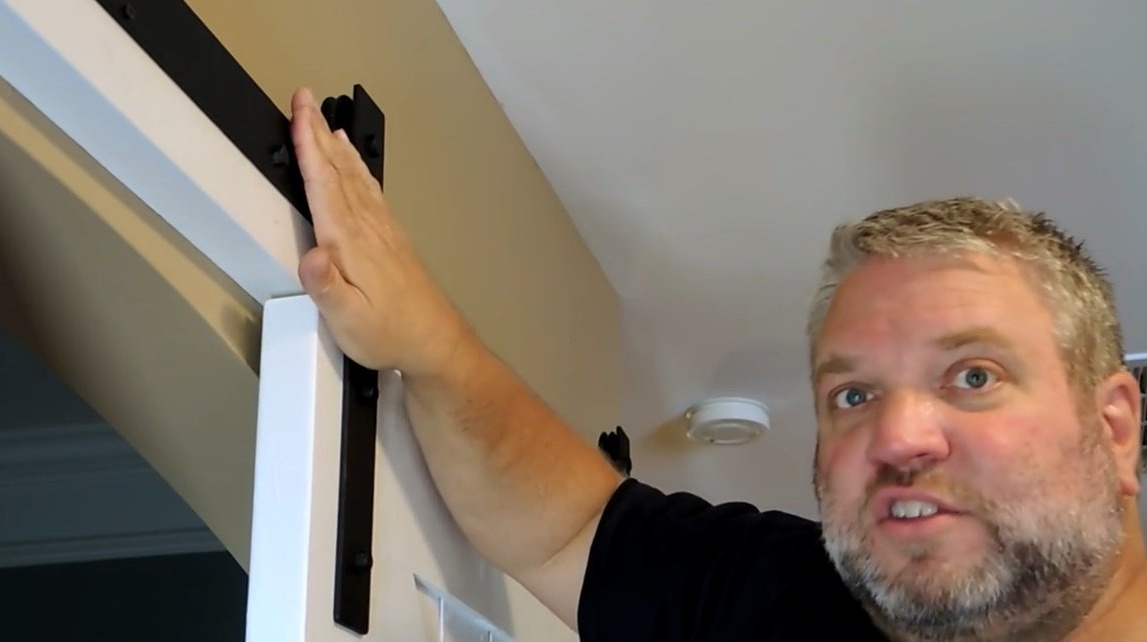
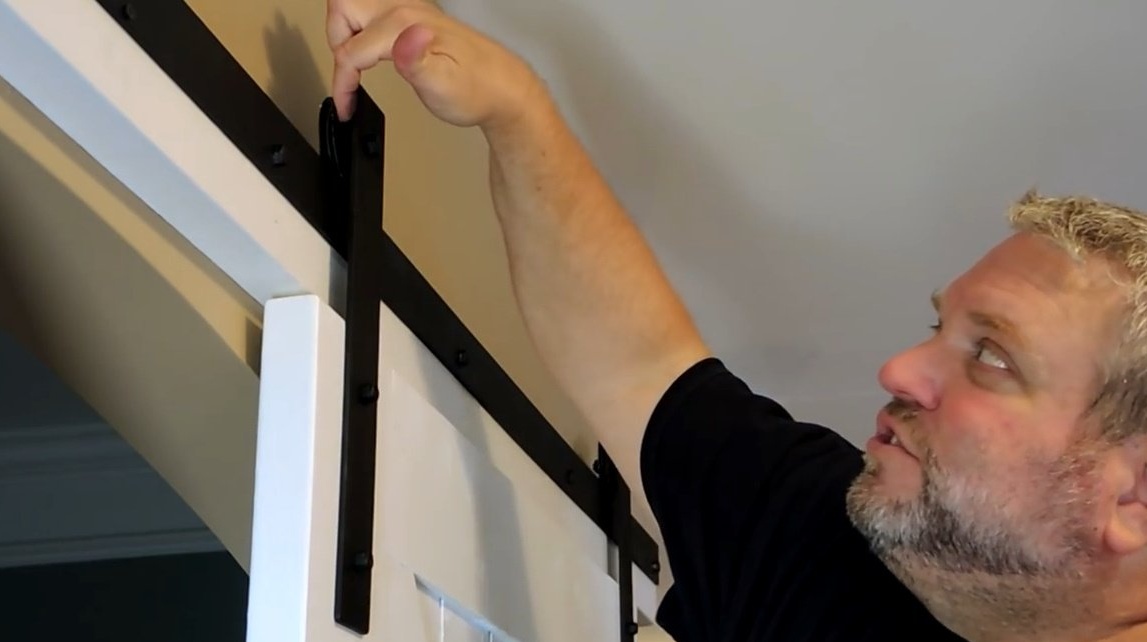
Now the author will mount the hanging plate. It is painted white and fastens the guide.
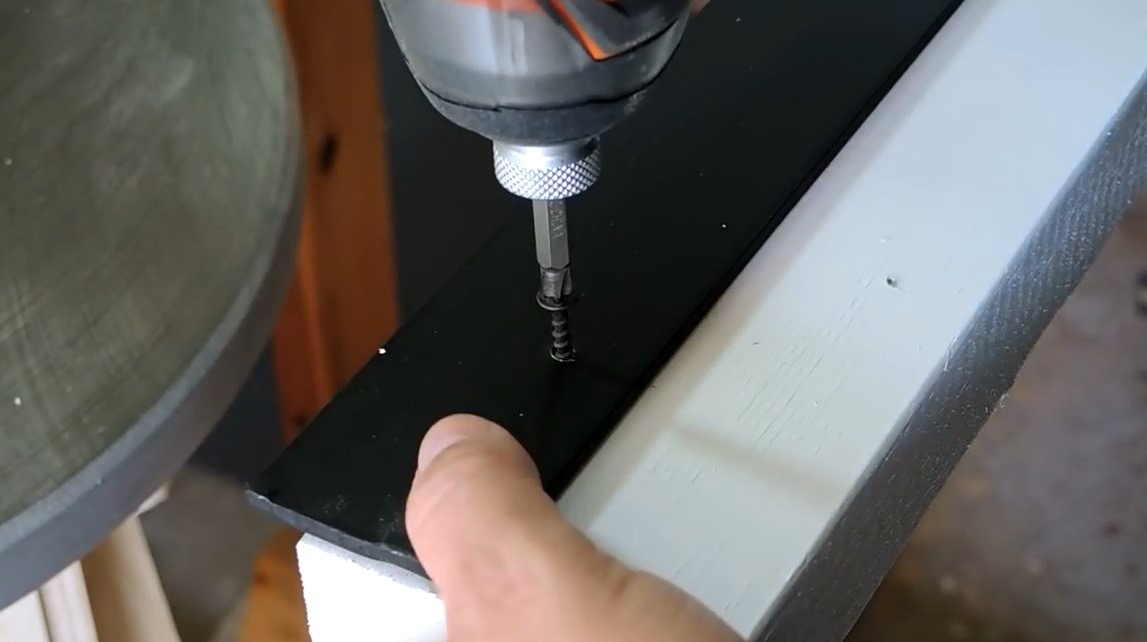

The wizard drills mounting holes 16 inches from the center. The guide rail is mounted to the wall using eight anchors.
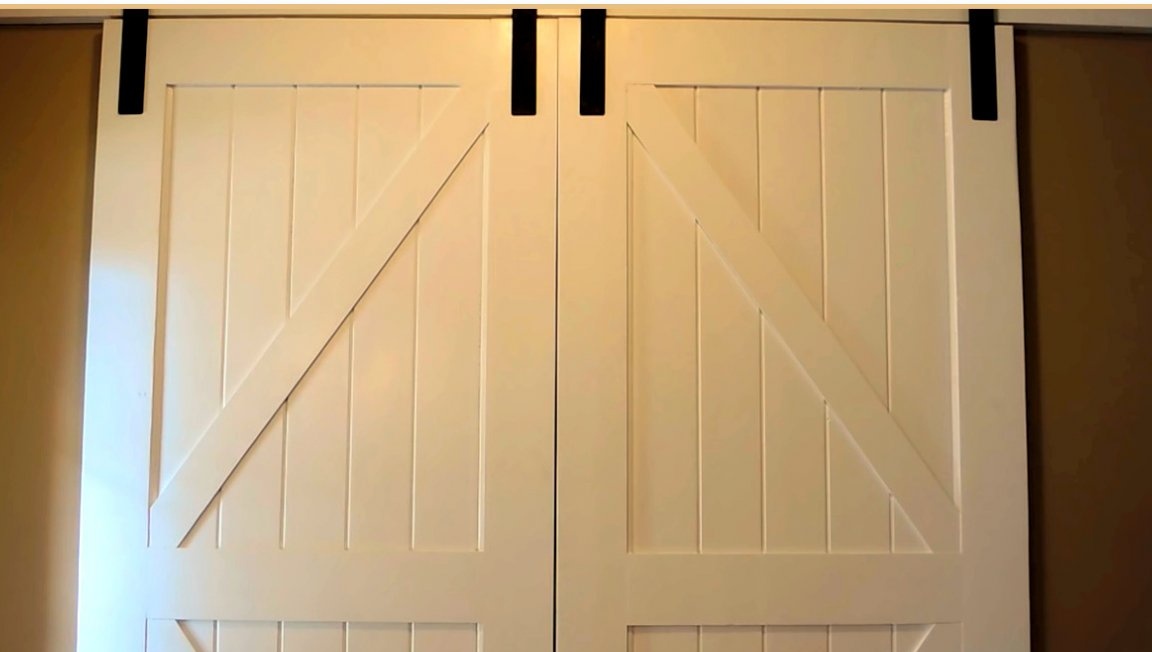
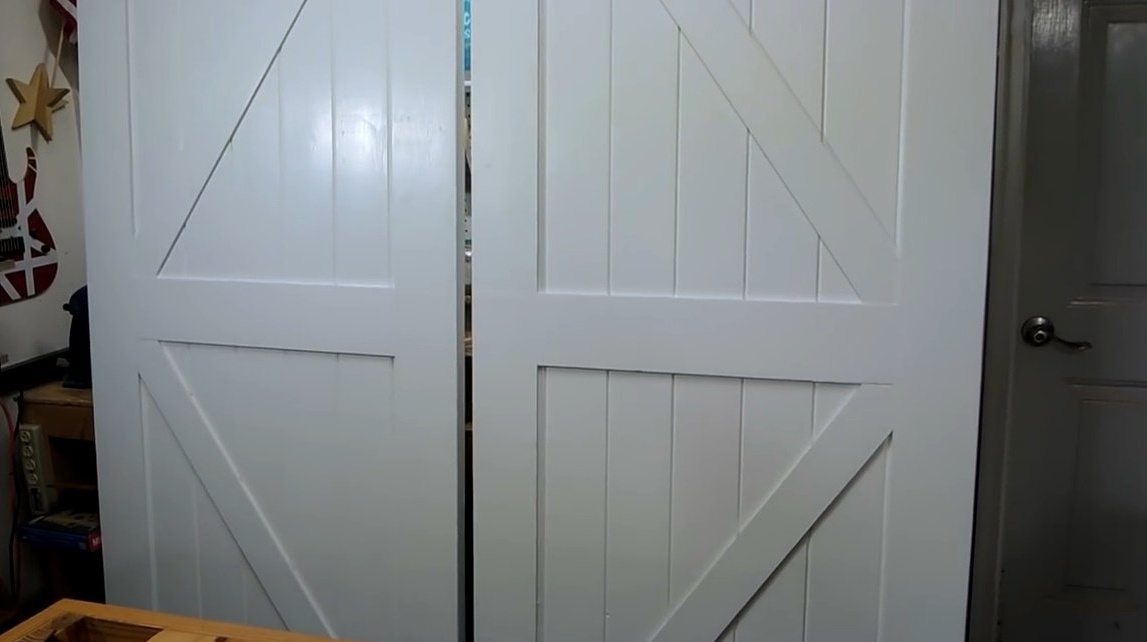
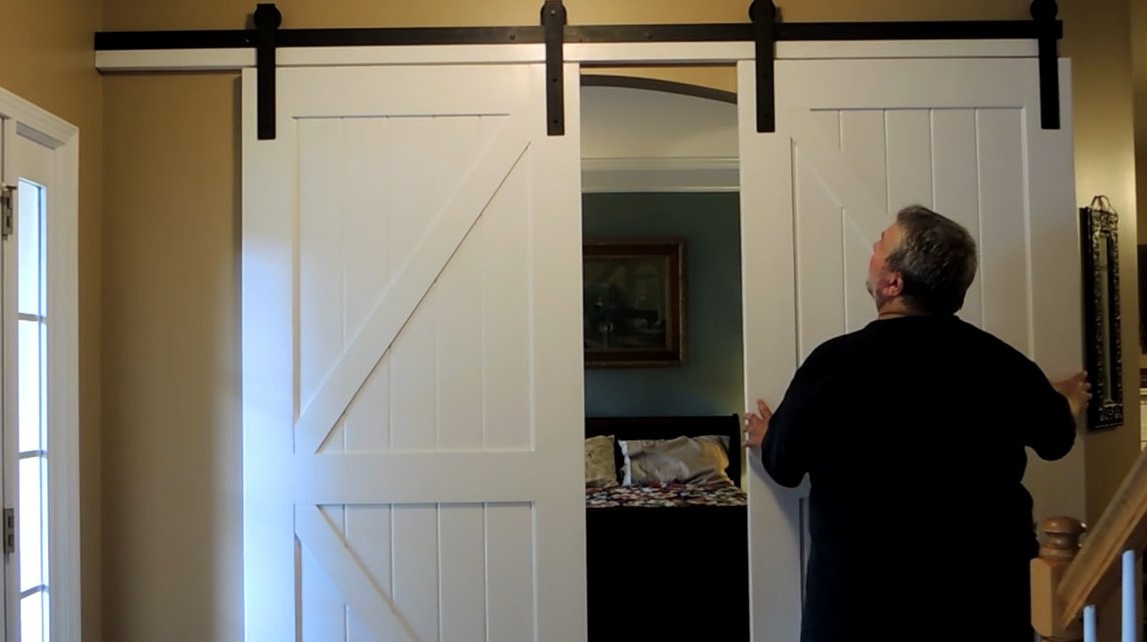
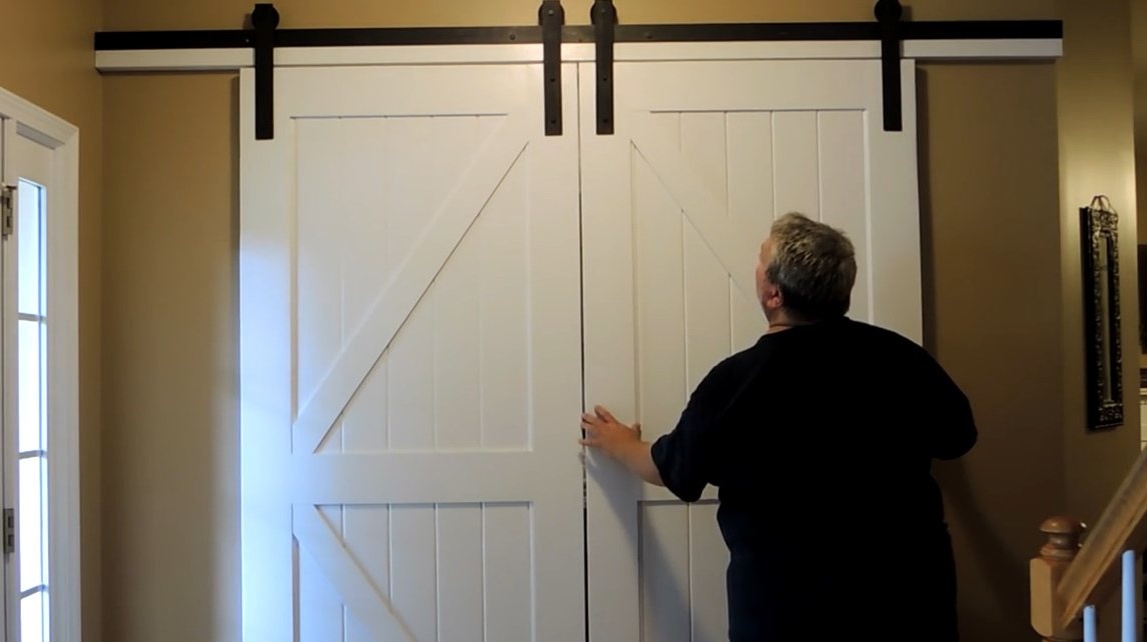
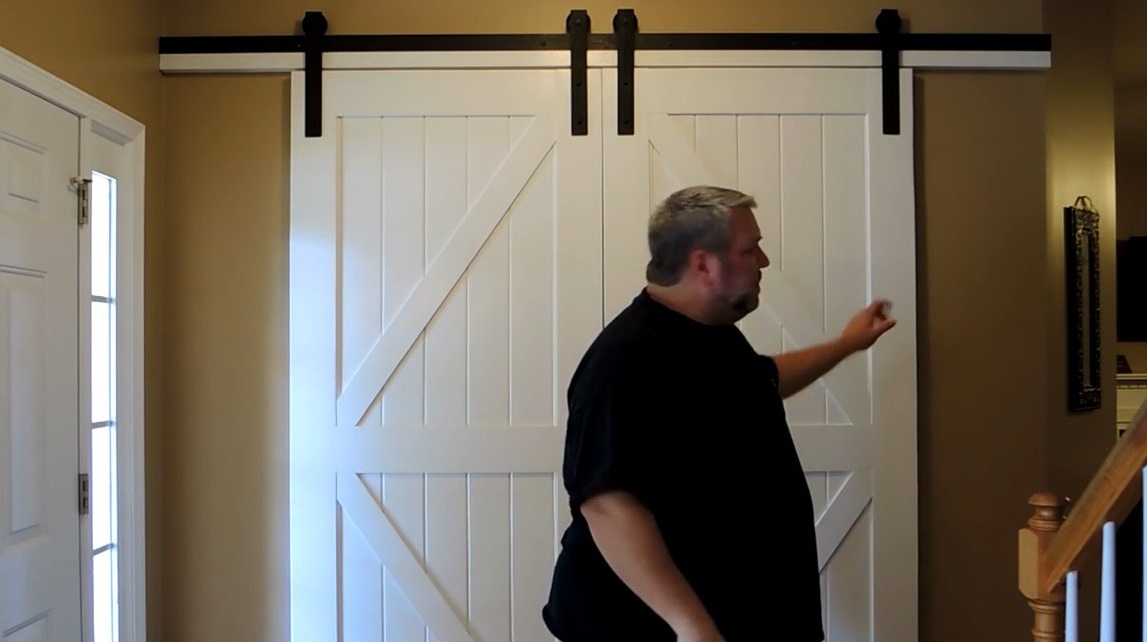
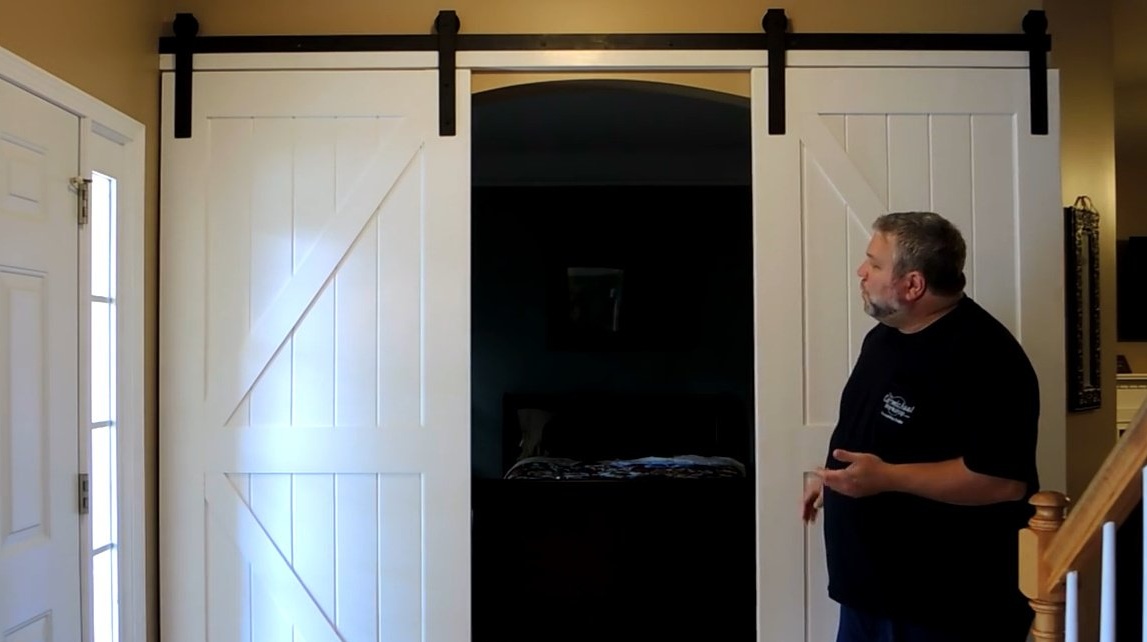
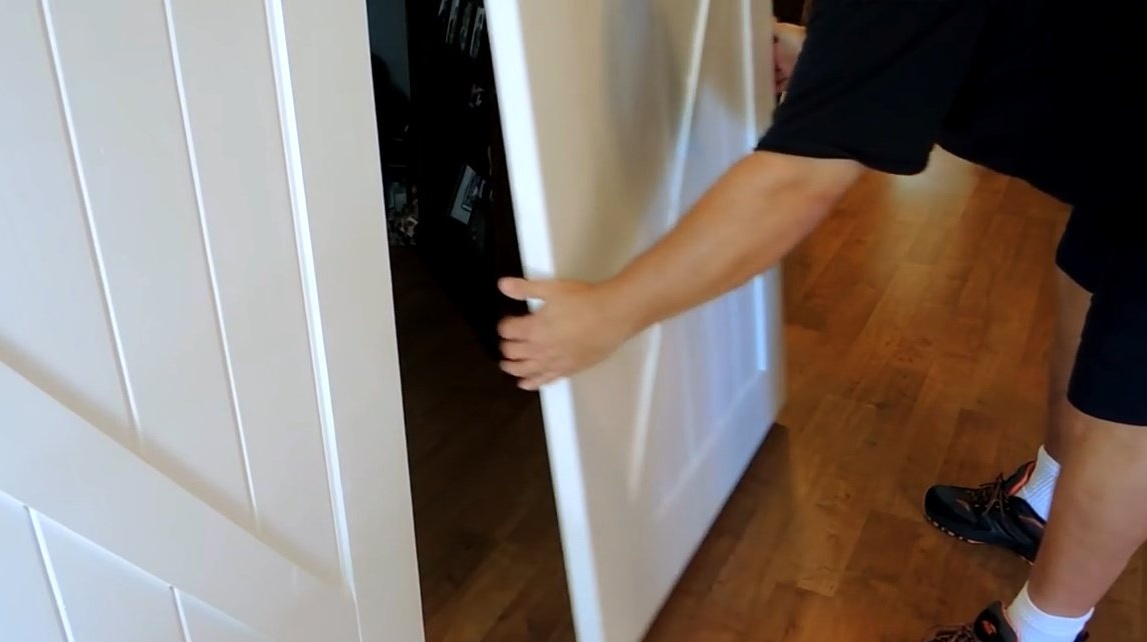
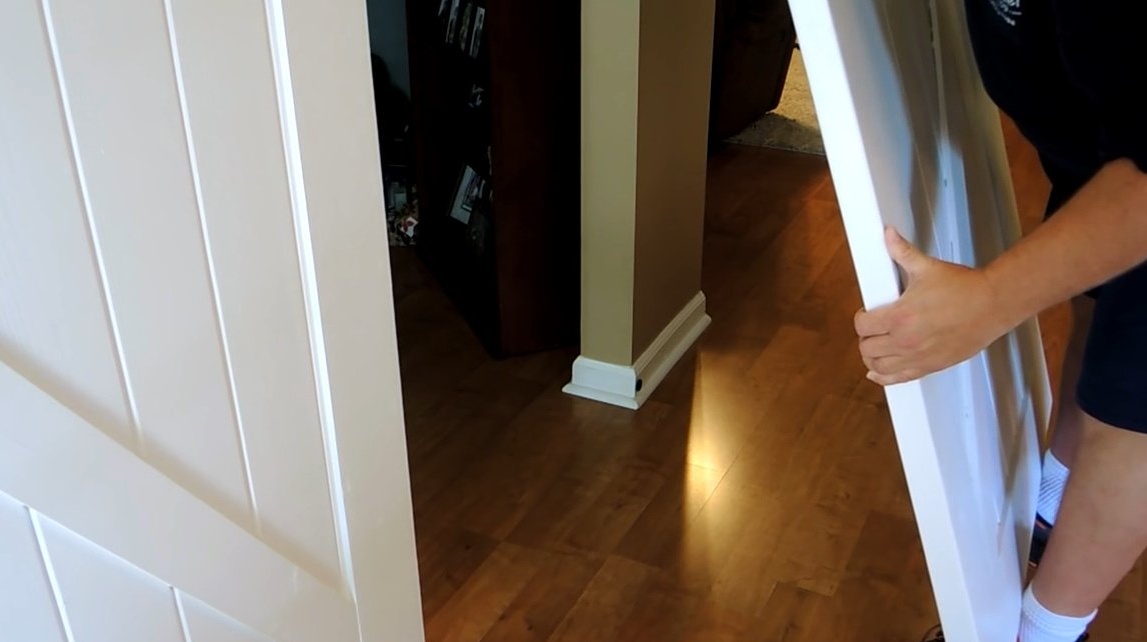
And now the doors are ready!
The author points out the fact that far from all doorways it is possible to install sliding doors. Ideally, there should be some additional space on the sides of the doorway into which the doors could “go” when they open.
It remains only to attach the door handles to make it easier to push the doors. You can buy ready-made, production pens, or you can do it yourself if you want to give the product some zest.
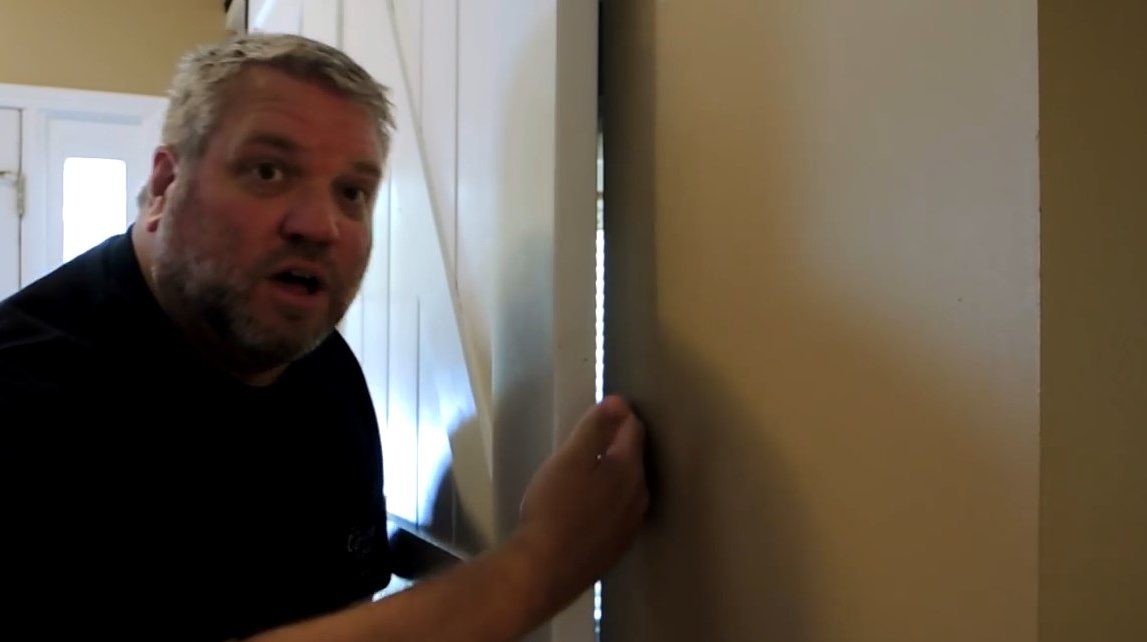
Do not forget to take into account the external decoration of the door - skirting boards, baguettes, etc. - which will tell you at what distance from the wall the doors should be hung.
At the end points of the bottom of the sash, Steve glued felt pads so that the doors could gently rest against them when opening.
These doors weigh 30 kg each! Therefore, it is important that the guide rail is attached to solid wood. In addition, on both sides of the support beam, it drives several studs / rods for reliability. Such doors can hardly be trusted with drywall anchors!
Stoppers should be placed at the ends of the guide rail — these may be L-shaped brackets or something made of wood. In our case, the roller rests against the head of the bolt.
These doors hang freely and can be easily tilted off the wall by 2.5 feet. But at the same time, it is quite difficult to remove them from the upper guide rail. Nevertheless, if there are children in the house, it is better to install brackets at the bottom of the door so that the door does not hang.
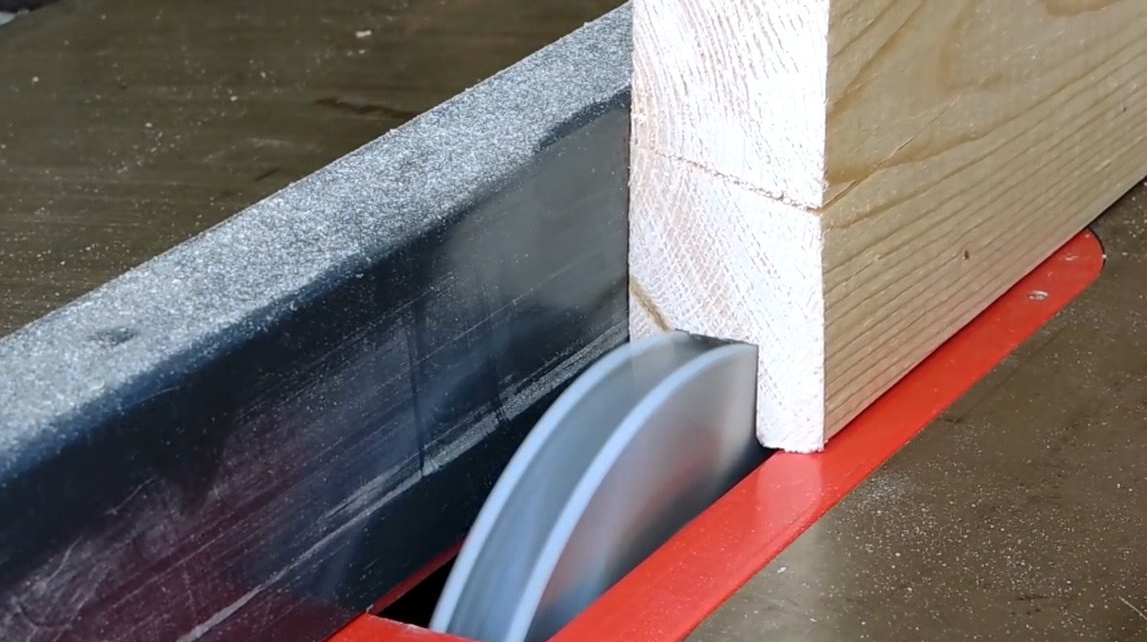
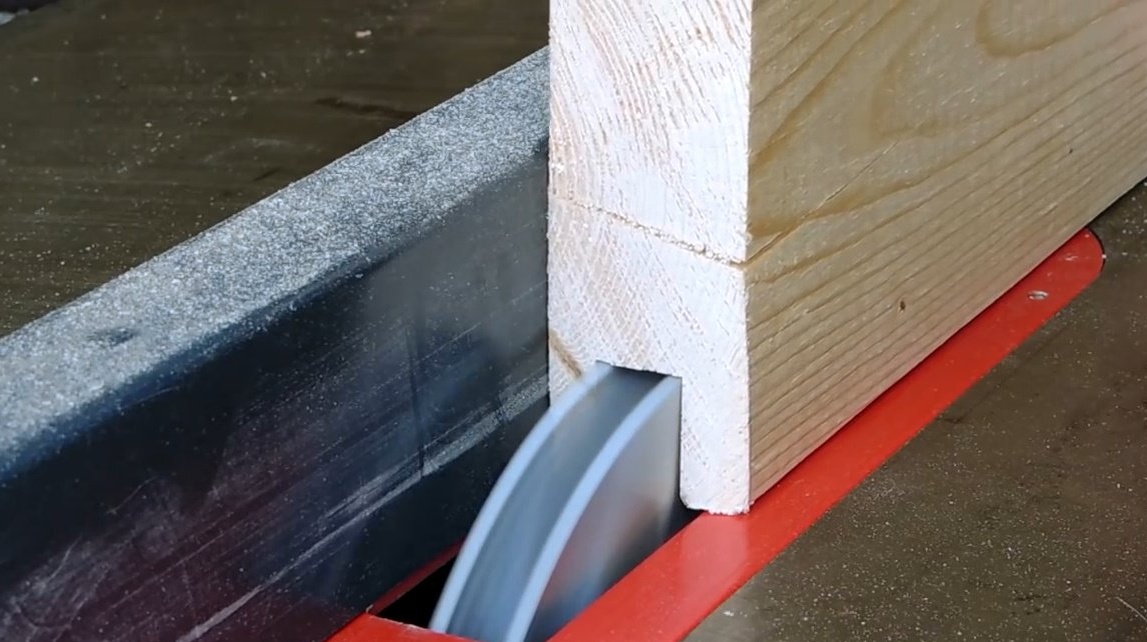
The dimensions of the support beam were ideal for the distance that the author wanted to retreat from the wall. It is also important to attach the rail so that it rises somewhat above the support beam, so that the rollers can "sit" in the formed groove.
The distance between the top of the door and the base on which the rollers "sit" must be wide enough so that the door can be hung on the guide rail.
Another thing that the author did later - he put several washers between the roller and the bracket so that this plate could freely pass over the screw head.

All the work of assembling, painting and mounting doors took the master 25 hours. Not so much considering the amount of work!
Thanks to the author for the interesting idea of optimizing the space in the house.
All good mood, good luck, and interesting ideas!