
Hello dear the inhabitants of our site and site visitors.
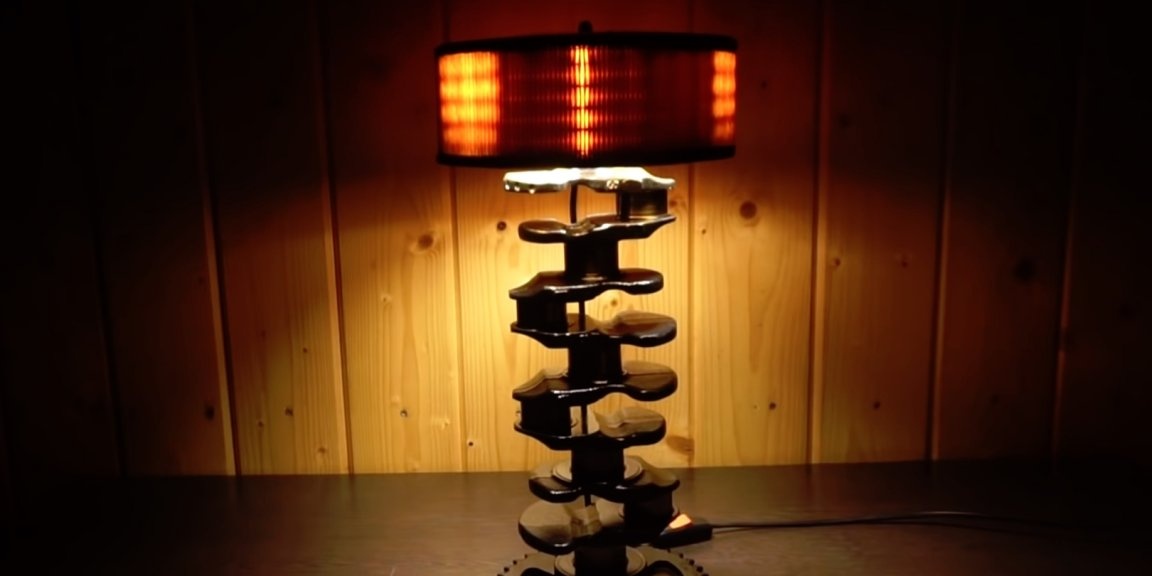
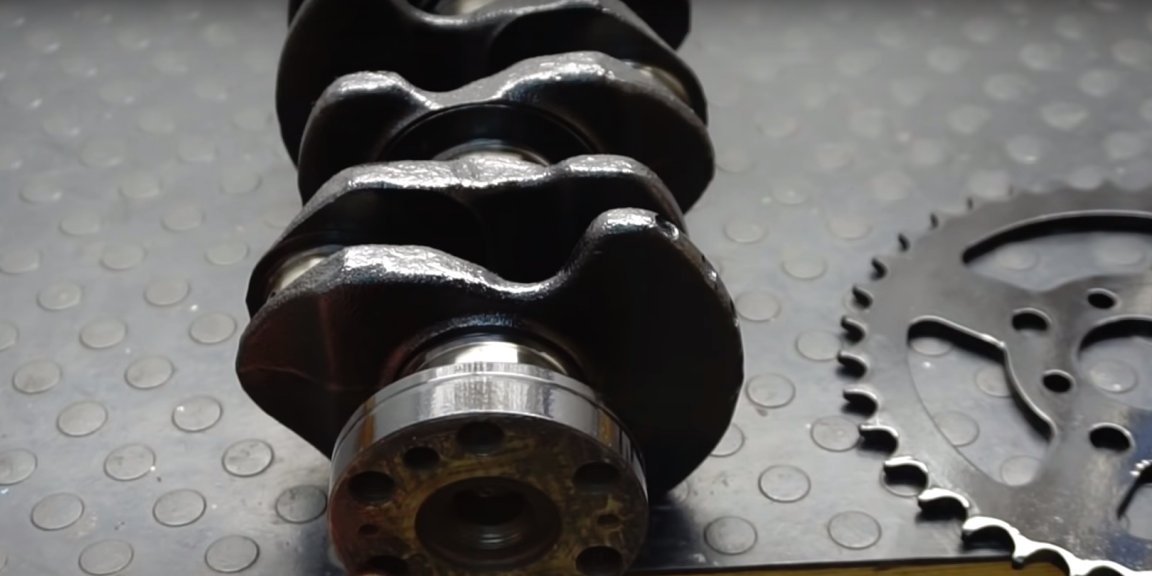
The idea of creating this homemade product came to the author when he procured an almost new crankshaft somewhere. The next homemade product has two functions at once. Firstly, it can work as a table lamp, lighting and decorating the room with its unusual design. Secondly, if necessary, with such a lamp you can easily go on the attack on thieves, if they suddenly dare to climb into your home or hold a circular defense during a zombie apocalypse

You can familiarize yourself with the manufacturing process by watching the video or reading this article. Let's get started.

Materials and tools used by the author.
Work process
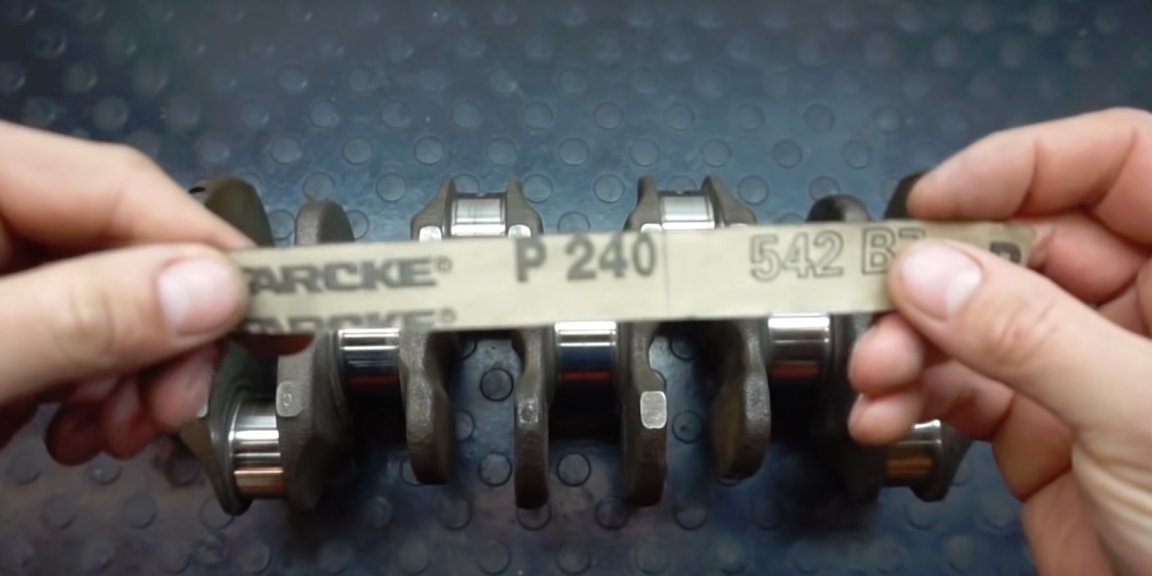
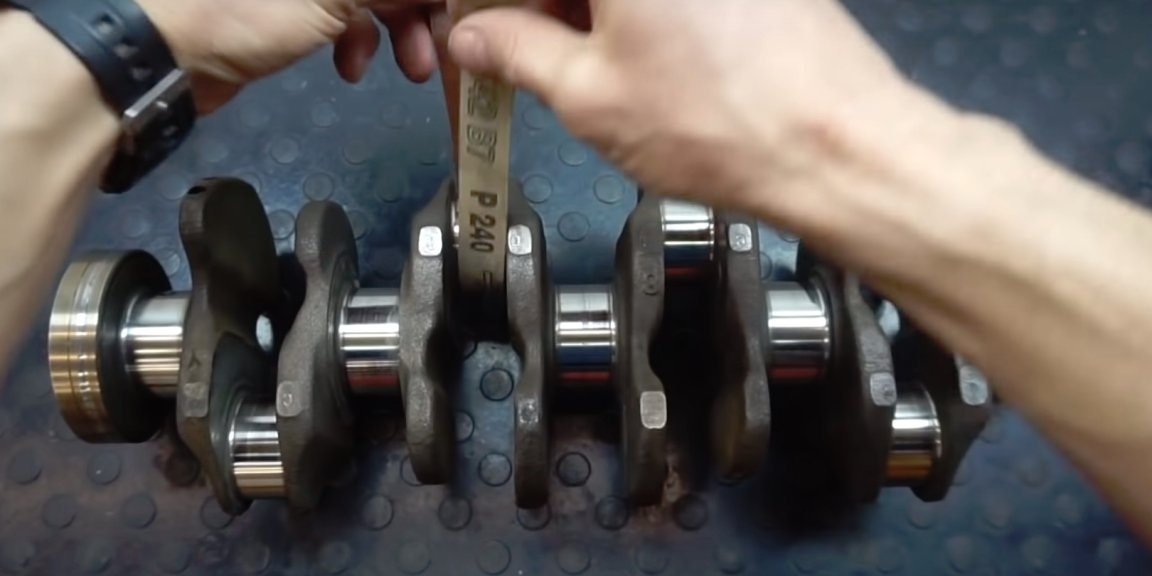
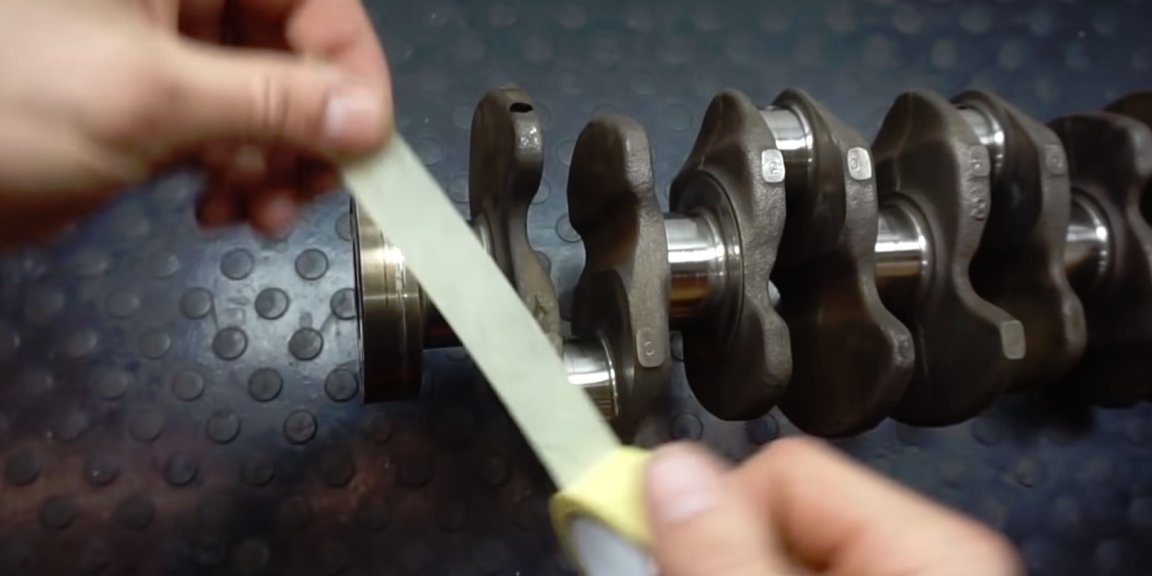
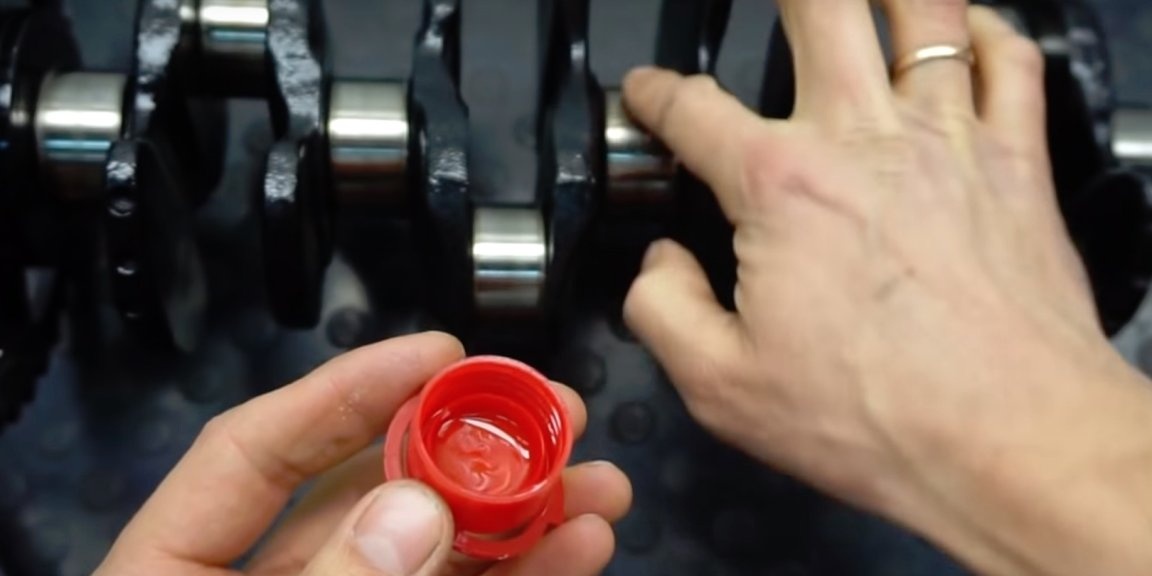
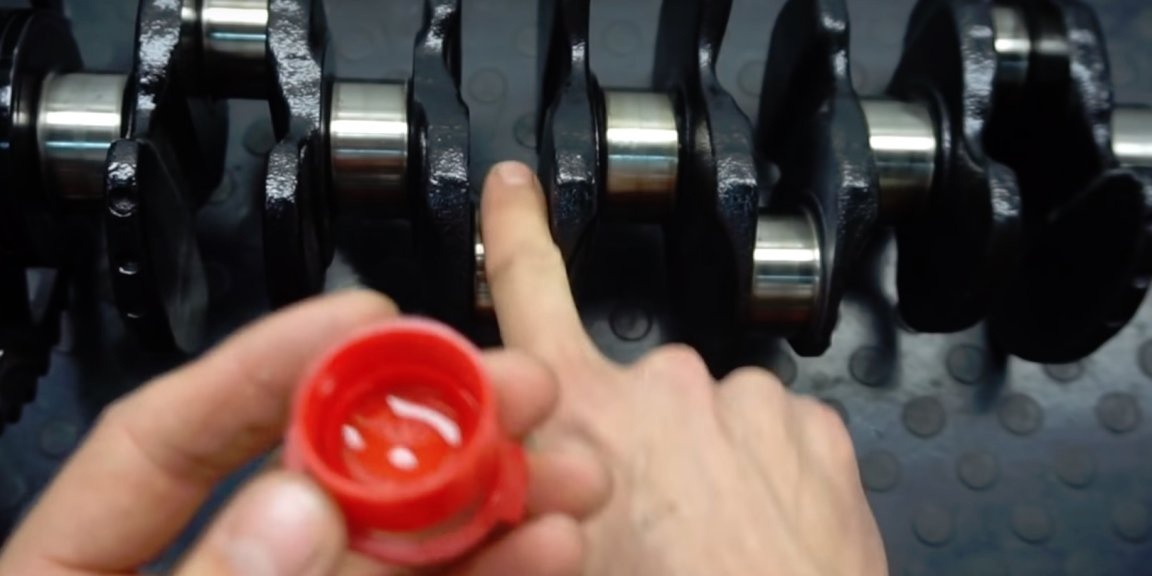
First of all, the master carefully checks the working surface of the crankshaft. Well, with such wear and tear, the idea of making a lamp may fail)))
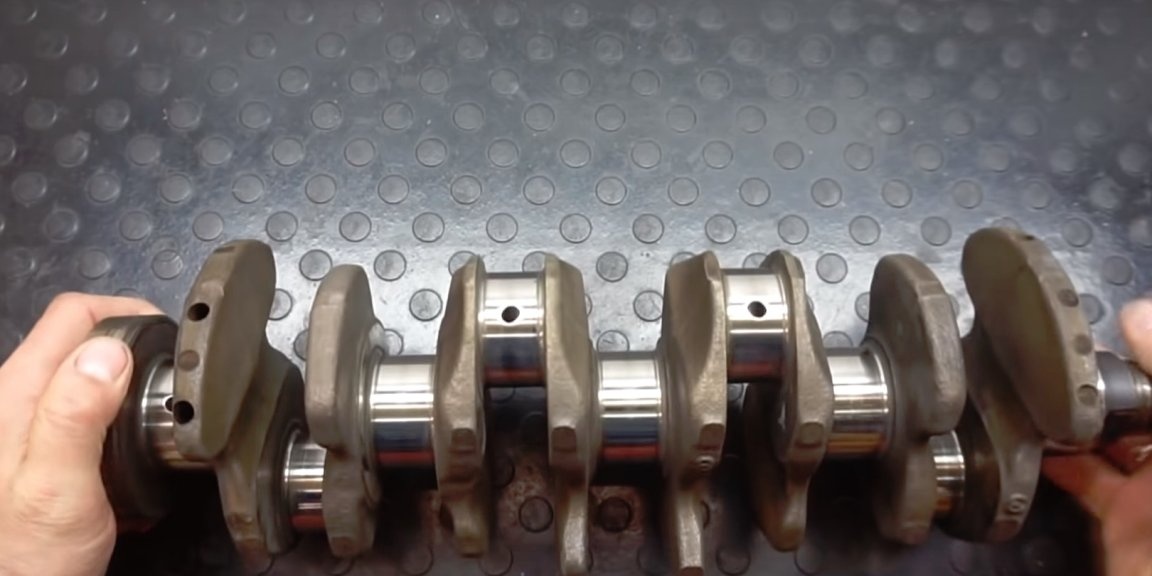
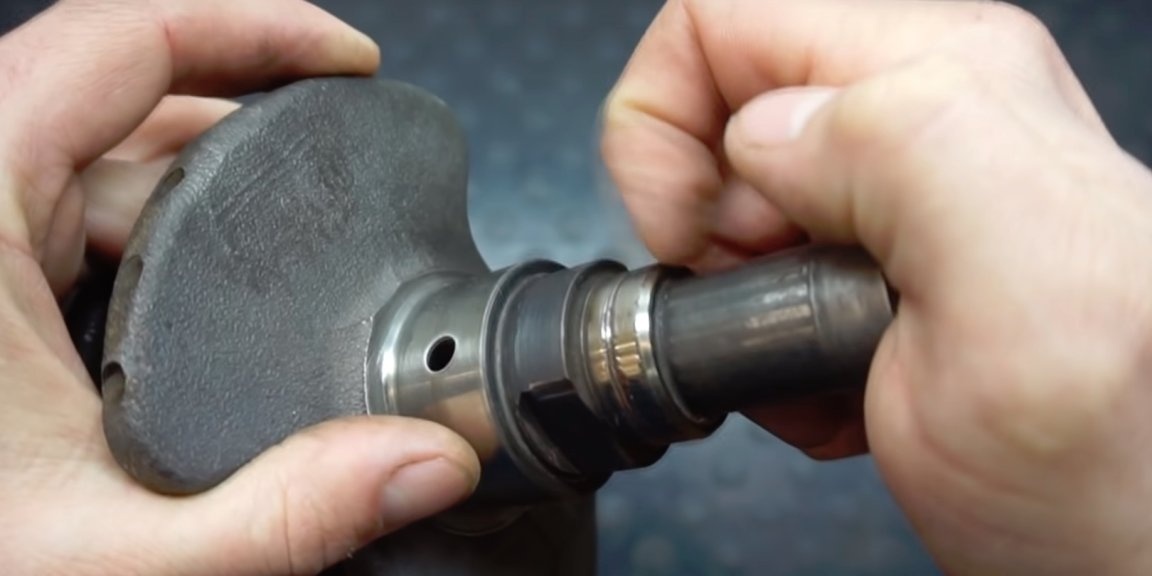
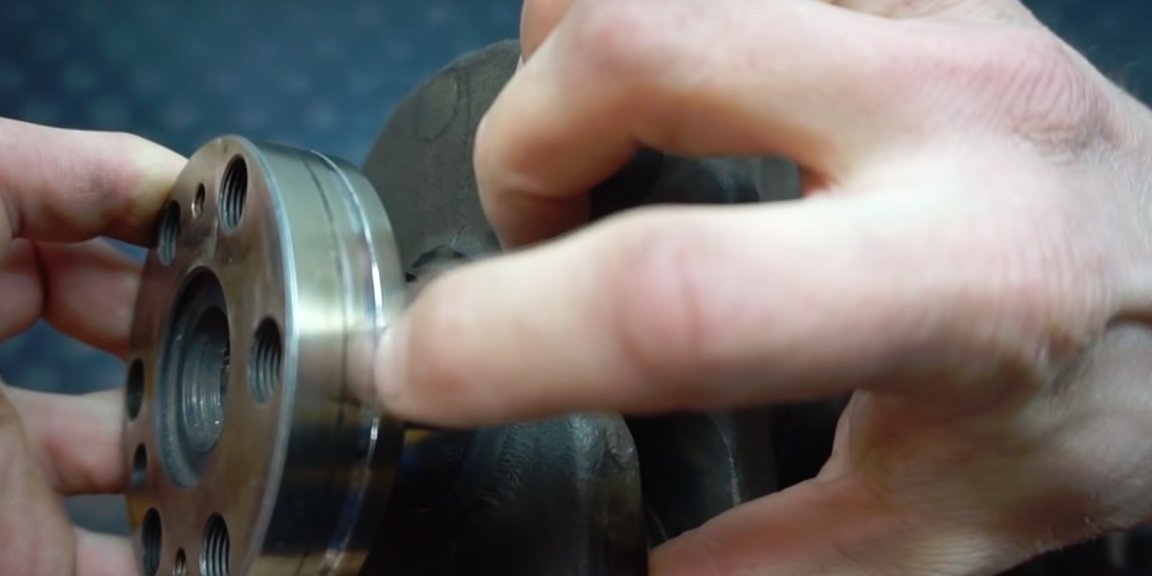
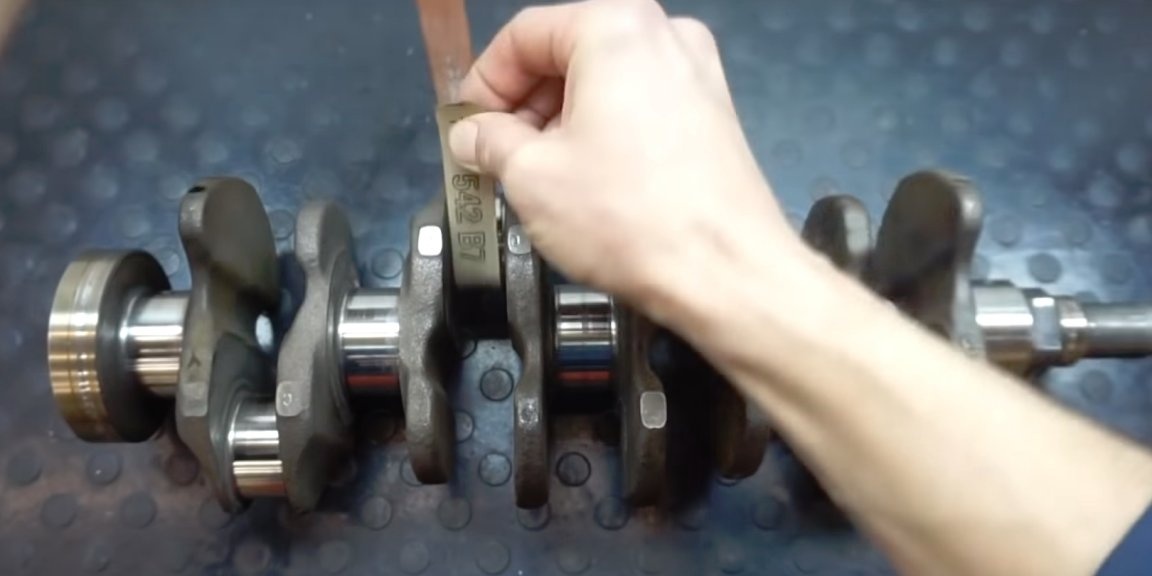
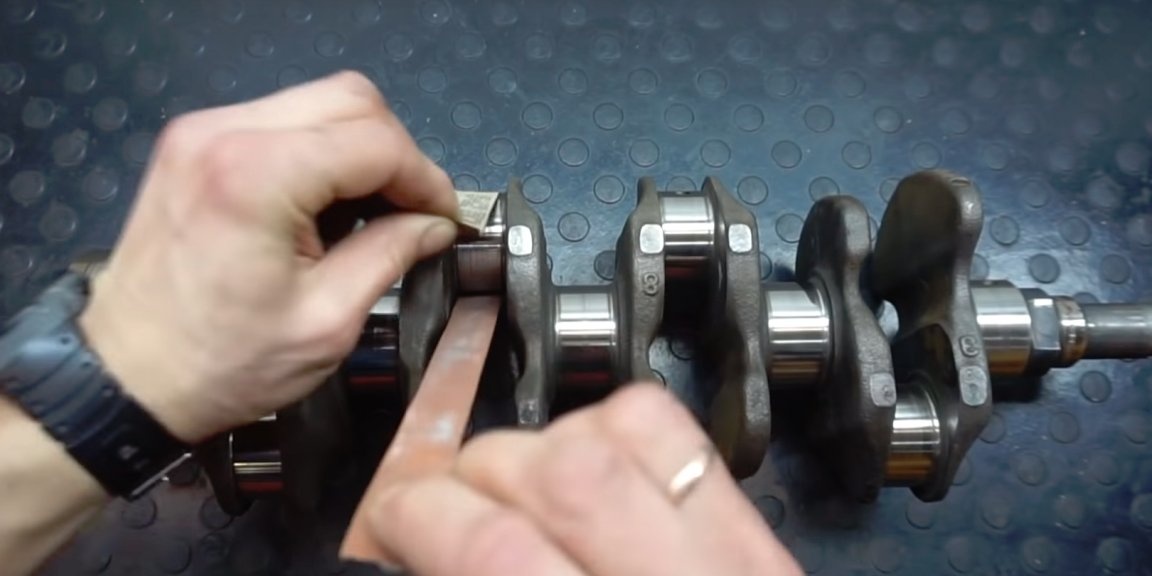
But the author doesn’t miss the guy and still decided to take a chance. However, I decided to polish the surface of the necks with sandpaper with a grain size of 240.
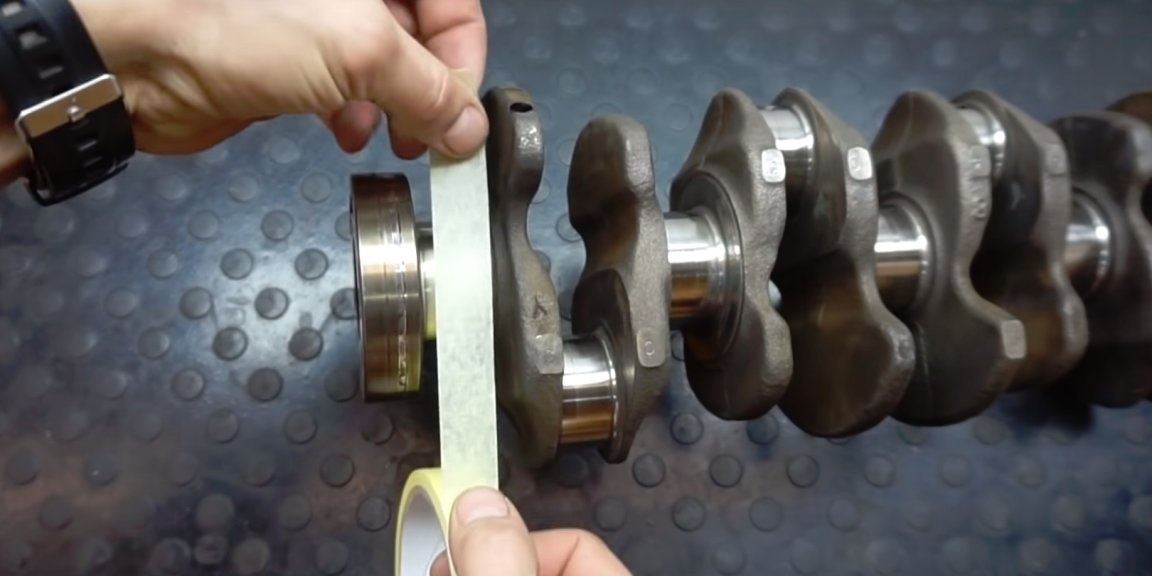
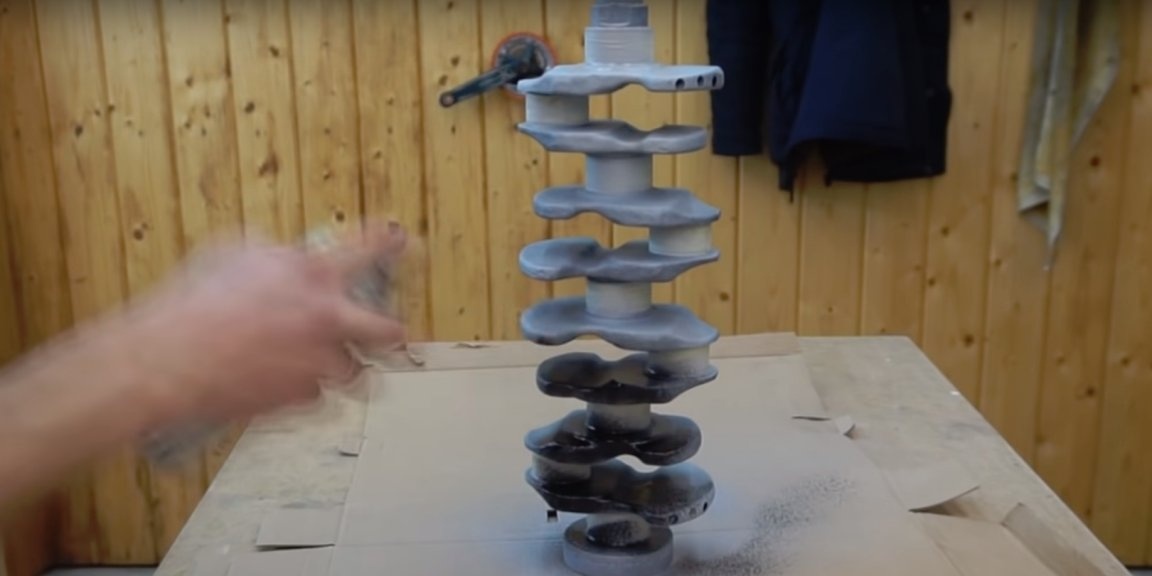
After polishing is finished, the author decided not to leave the surface of the product as it is, but was about to paint it. But before painting, you need to paste over all the shiny parts of the crankshaft, what was it in vain that it polished?
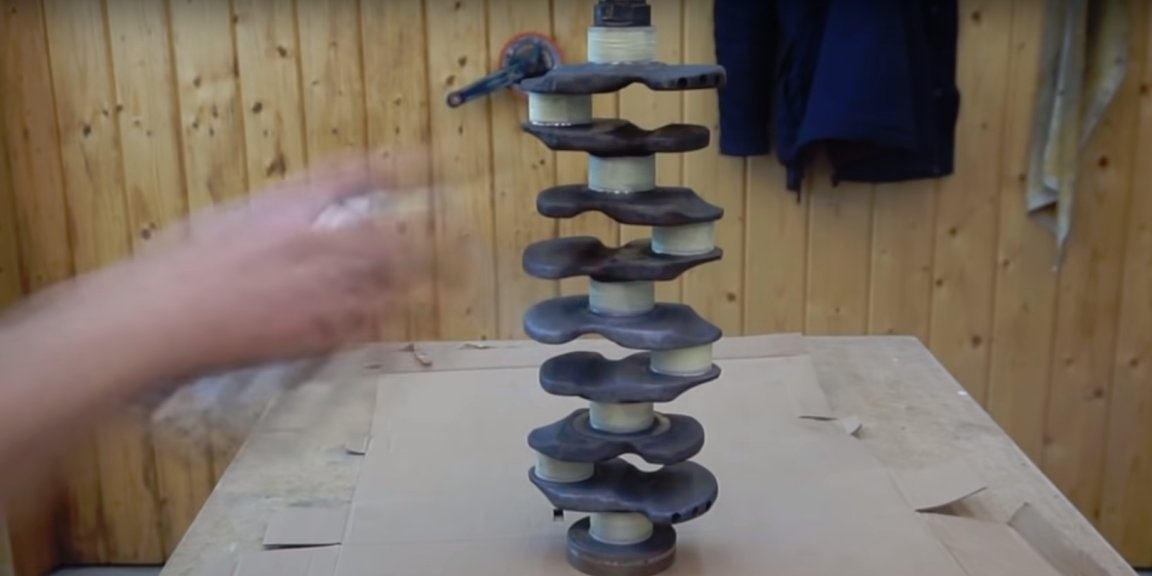
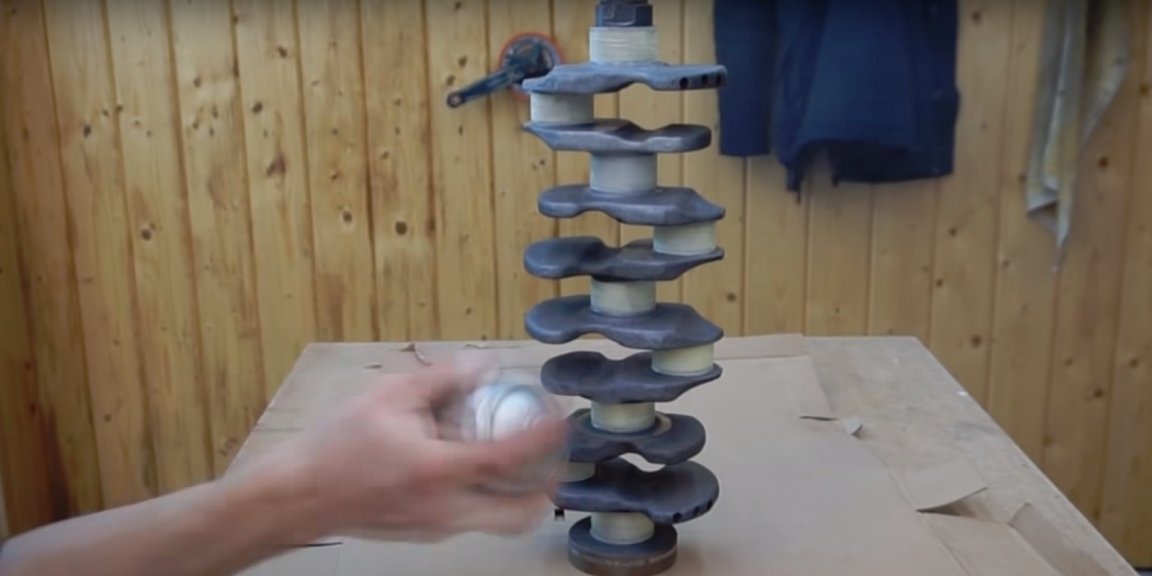
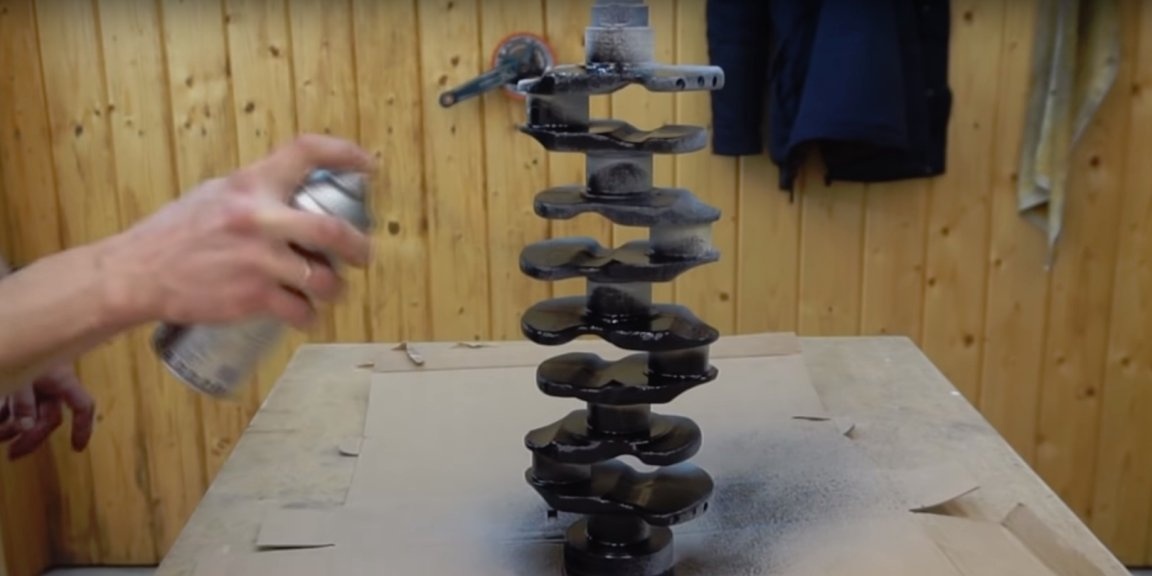
Next, the master applies a primer paint from a spray can and after hardening thereof, applies the finish layer with black paint.
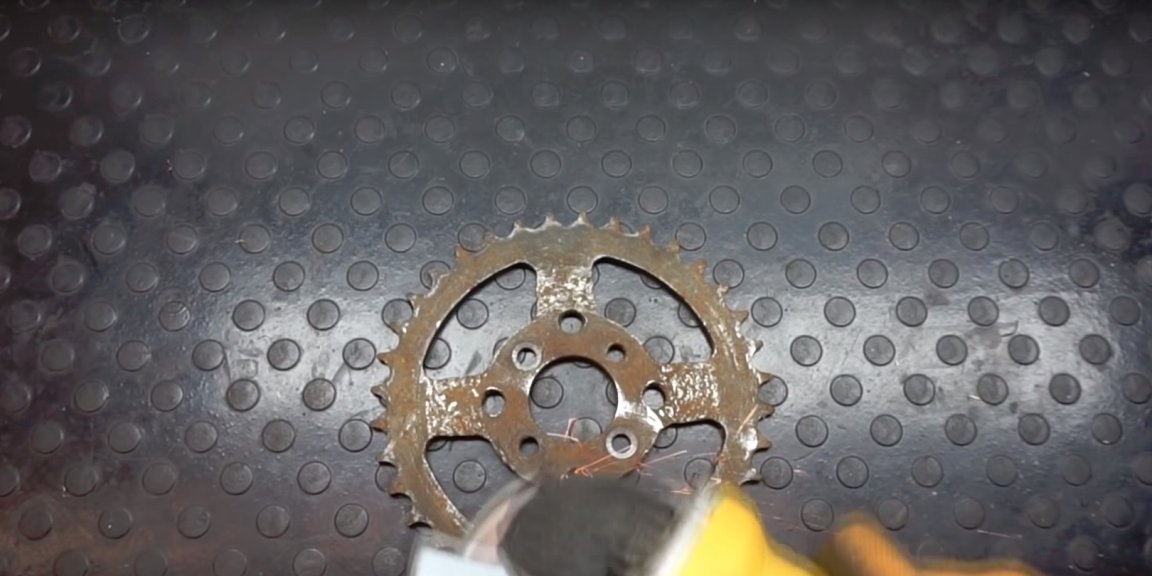
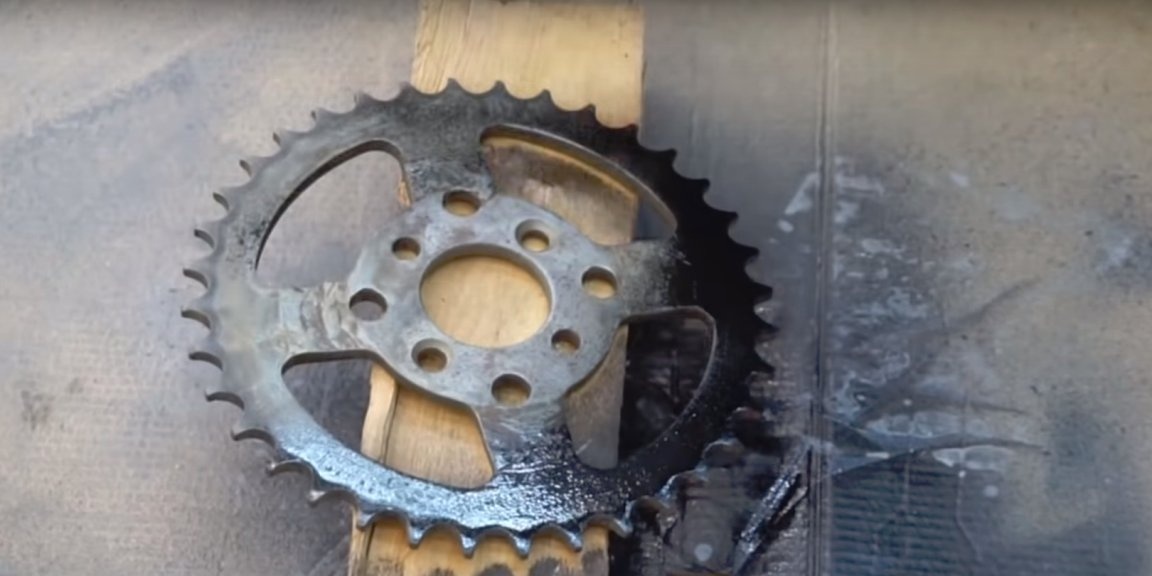
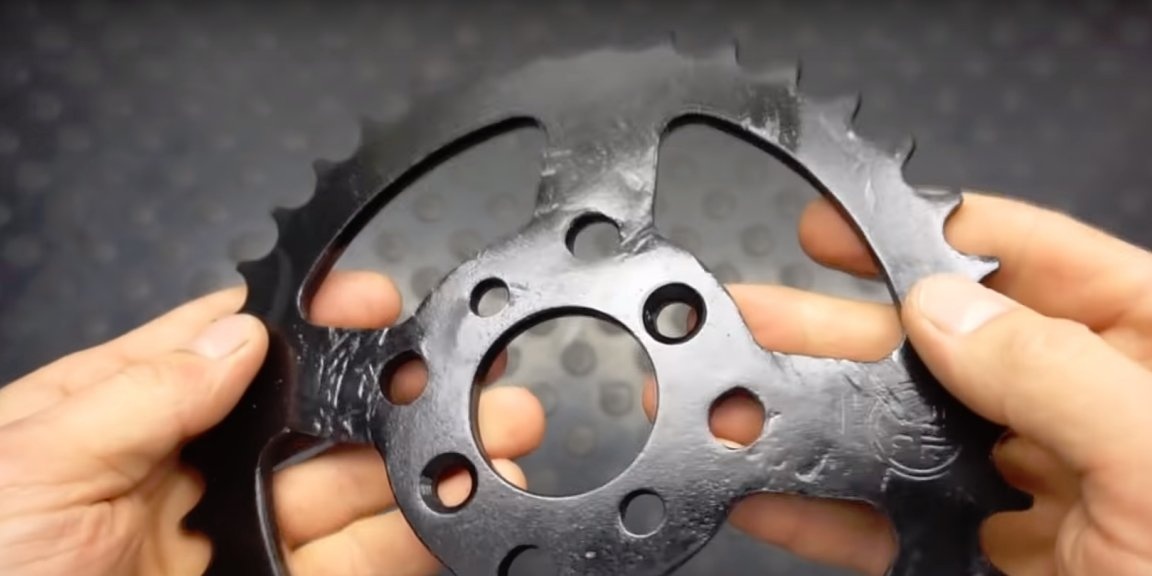
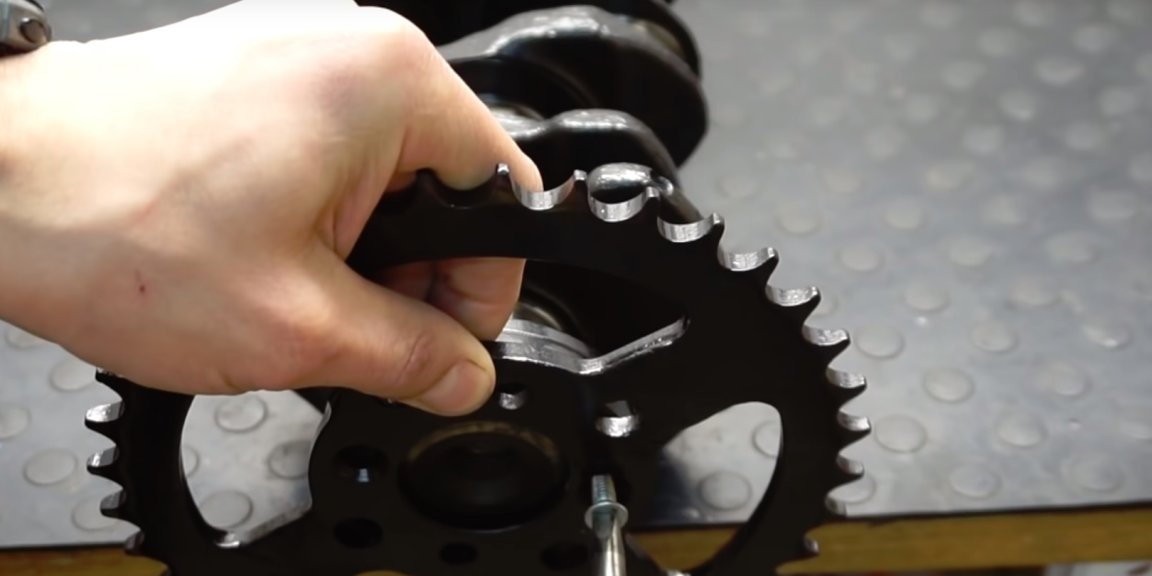
While the crankshaft dries, the master decided to prepare the base for the lamp. He will make it from a star from some (according to the author) ATV.
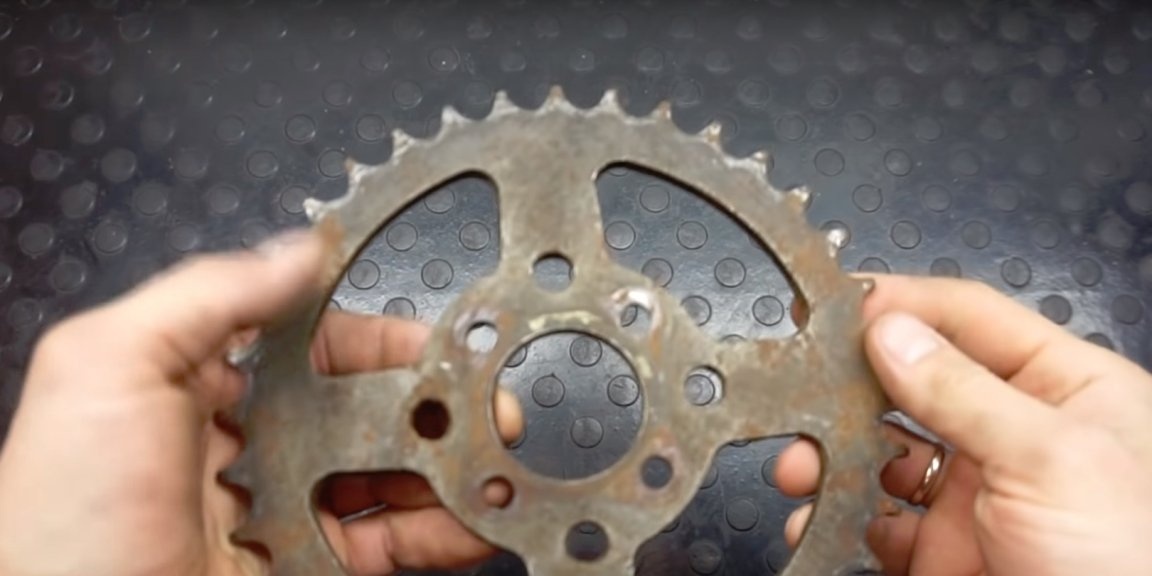
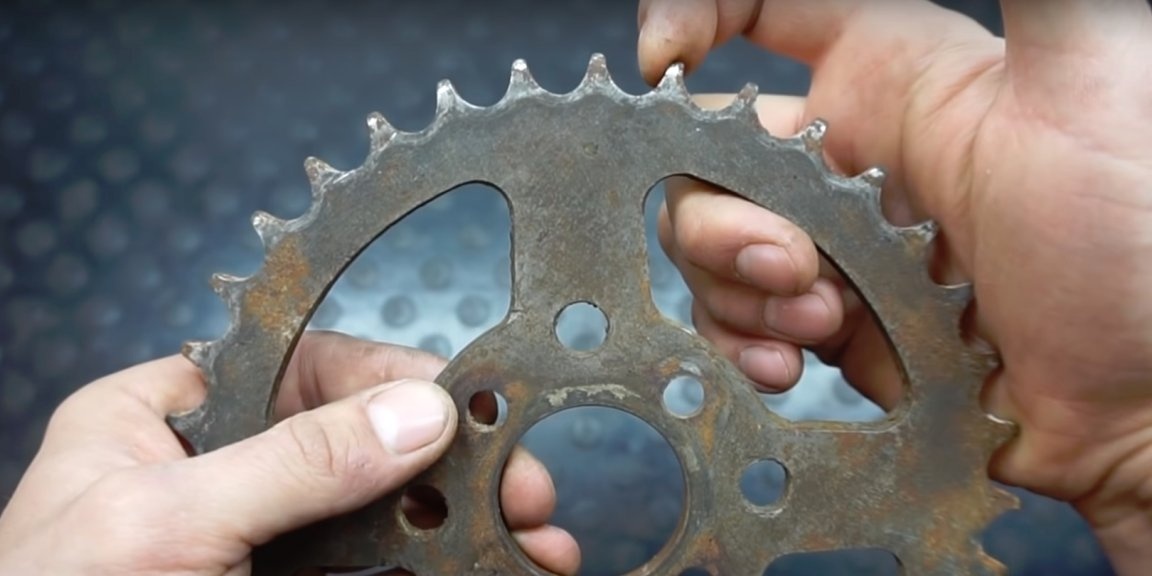
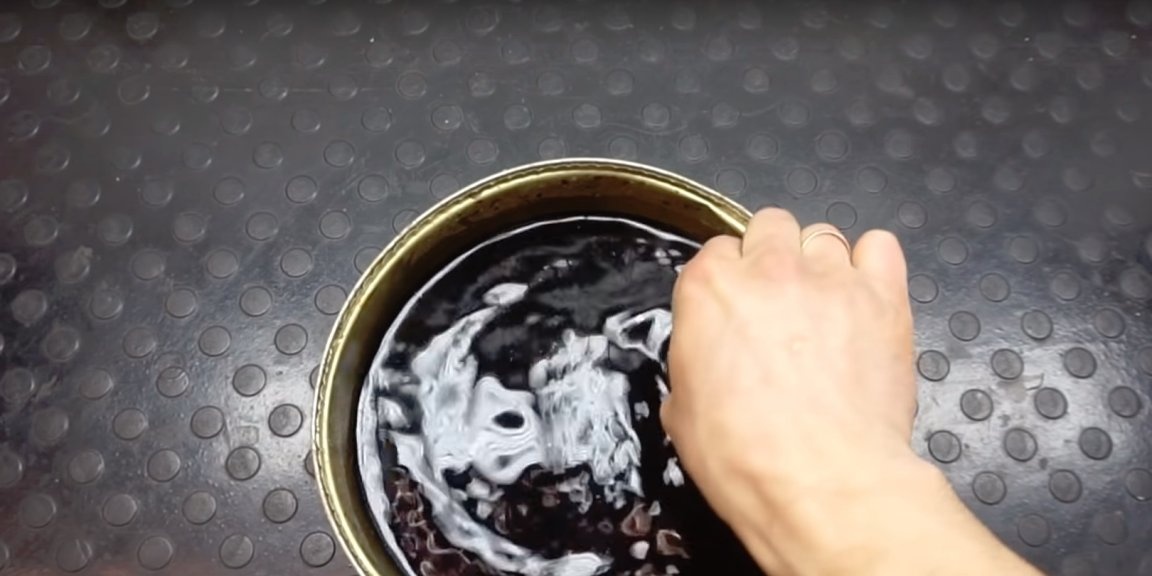
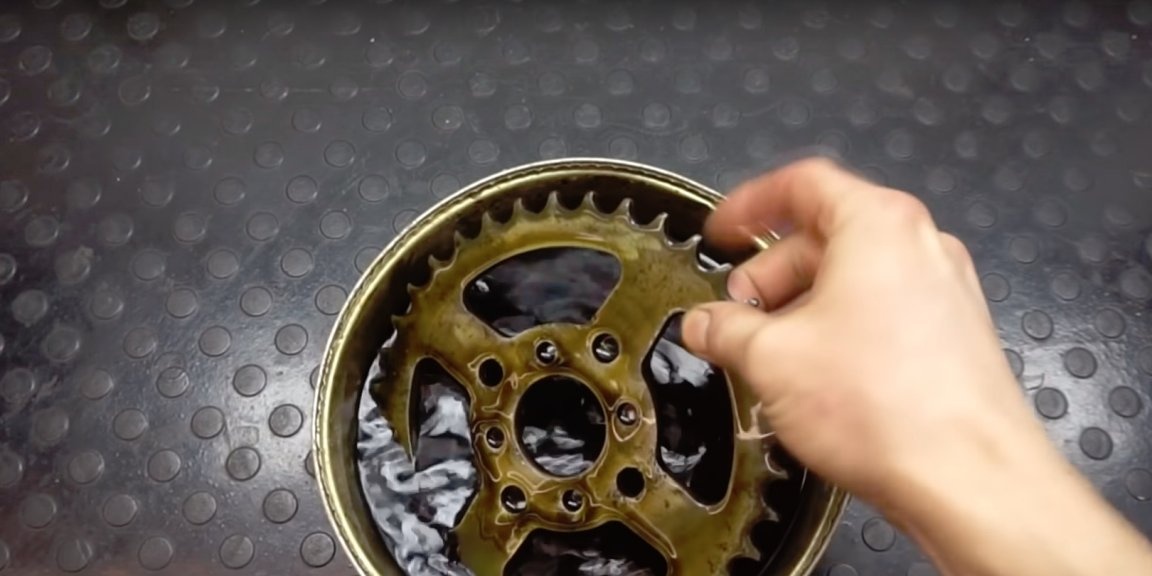
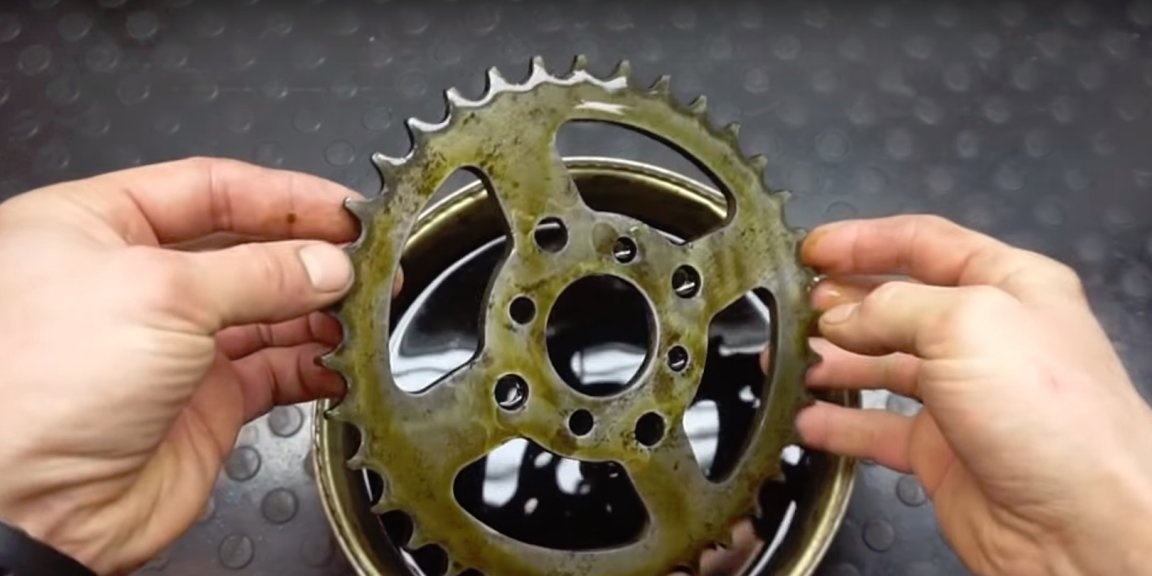
The star, of course, also needs to be put in order. Cleans the star from rust, grinder, flap wheel. Final cleaning of the sprocket was made using a solution of citric acid, soaking it there for a while.
The star, like the crankshaft, is painted with black paint.
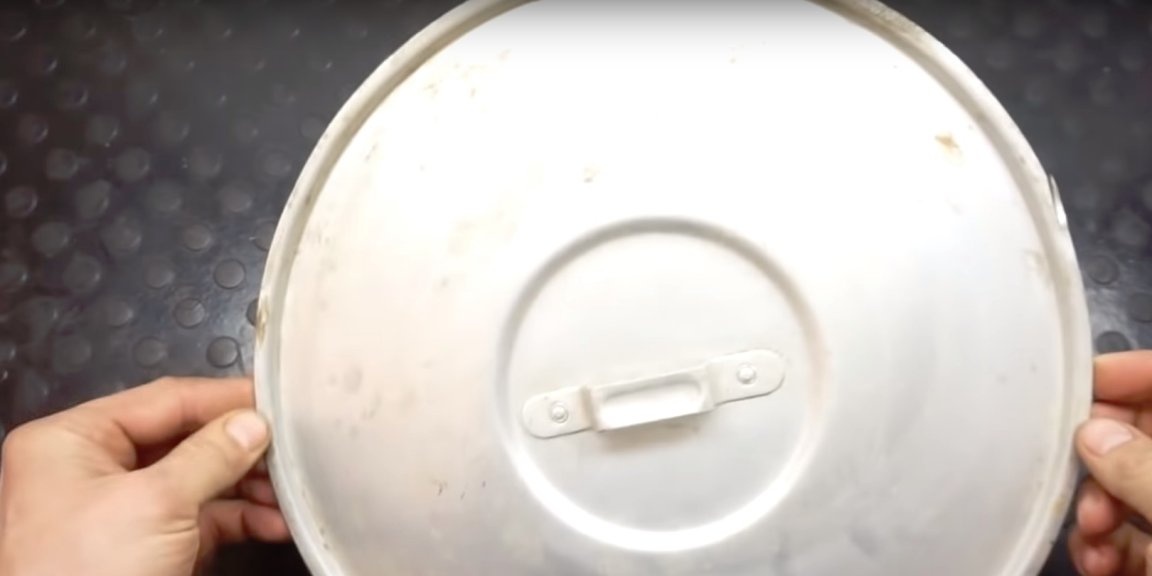
Now the author began to manufacture a lamp shade.
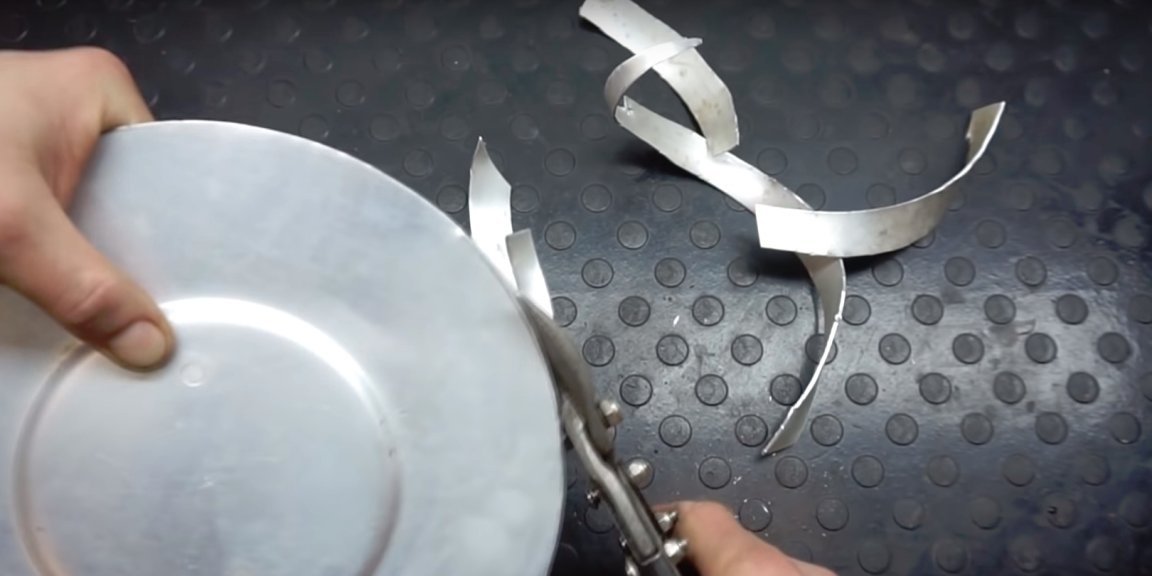
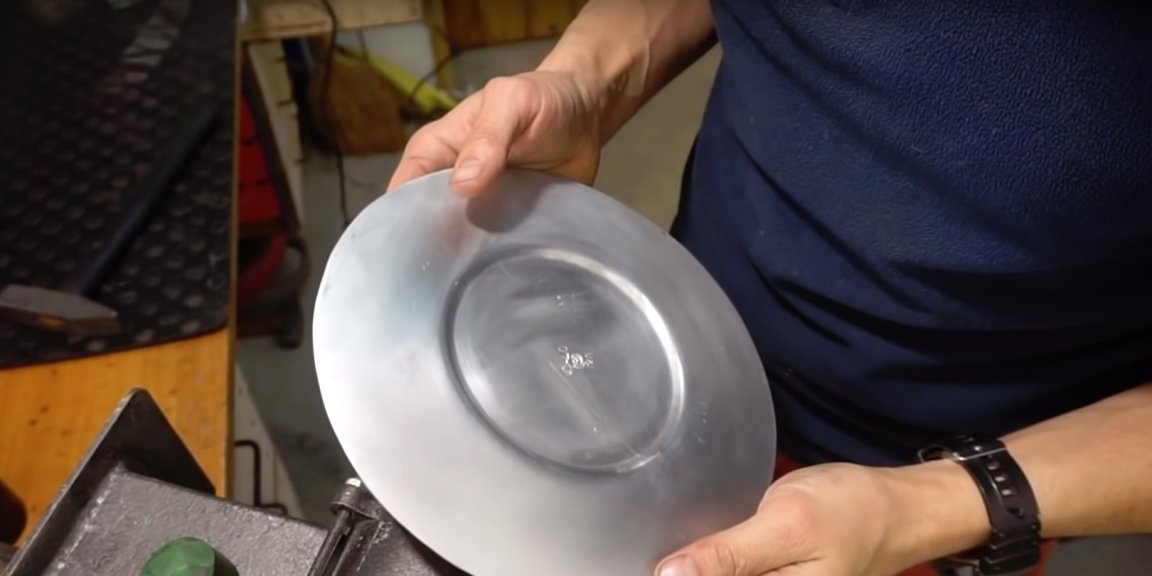
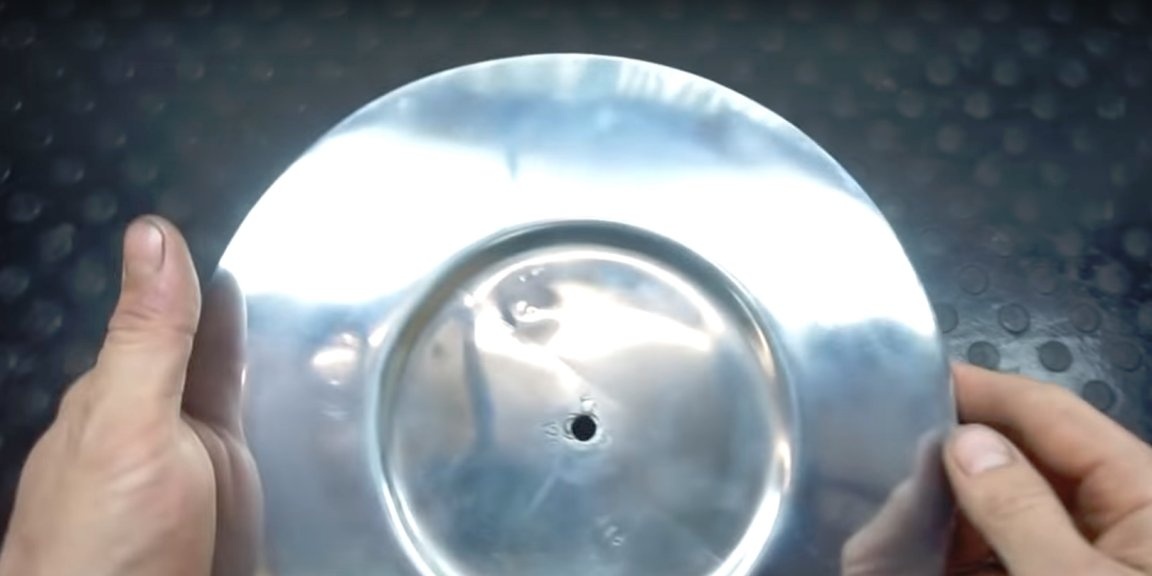
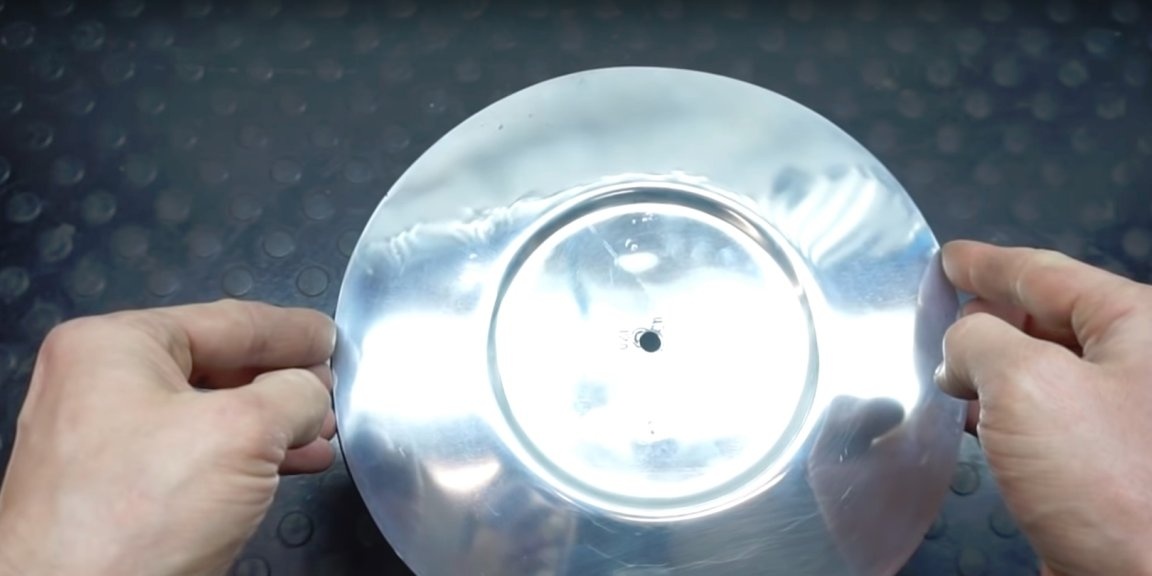
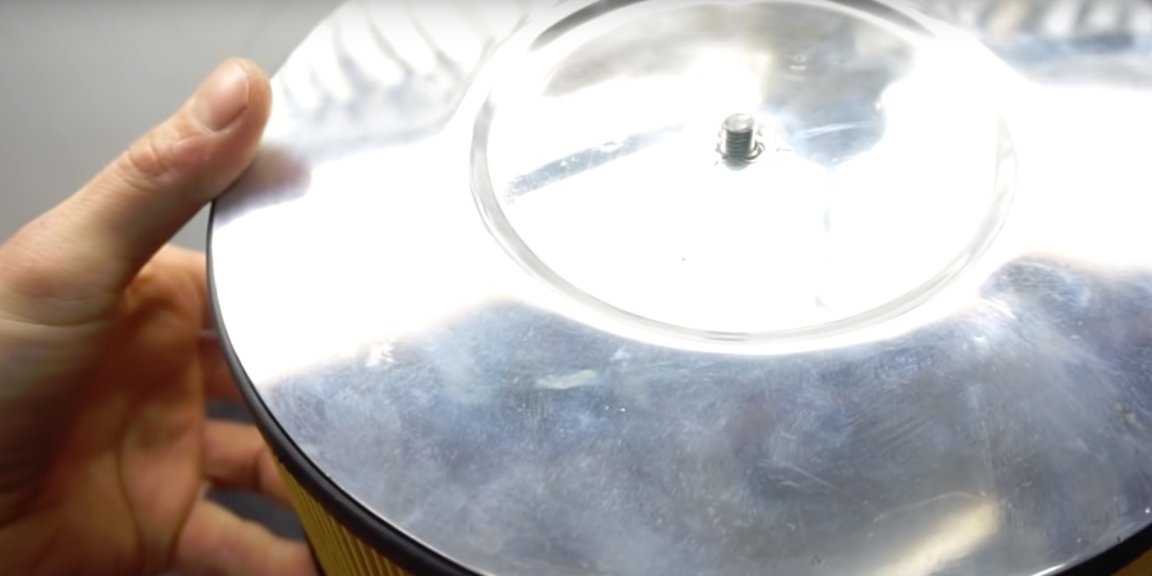
To do this, he borrowed an aluminum pan lid in a dining room. In my opinion, he will not return it)))
The master draws a circle on the surface of the lid.
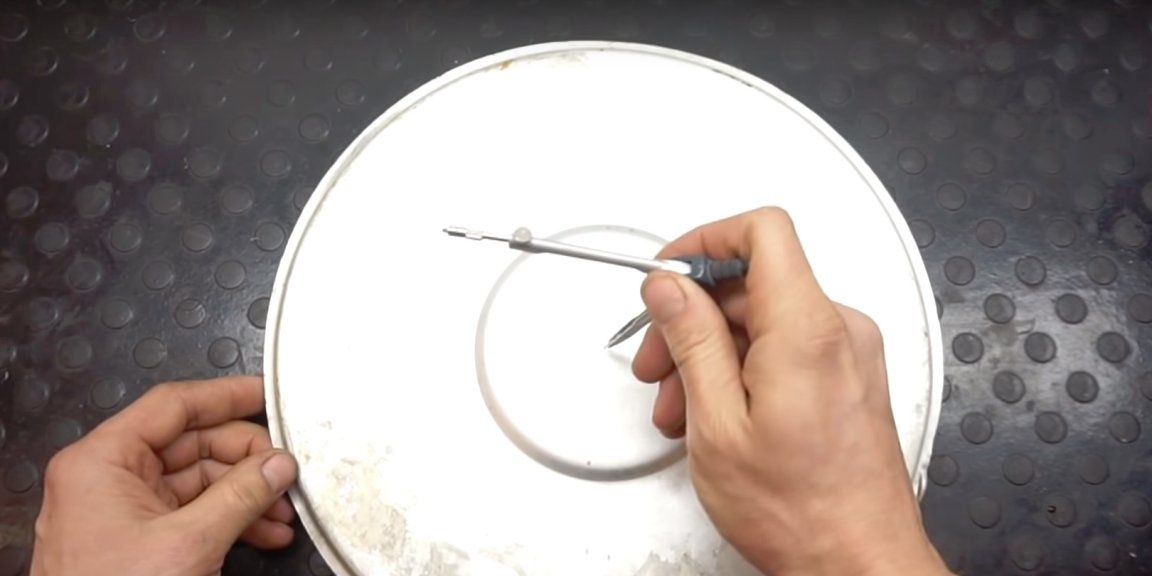
Shears off the excess with metal scissors.

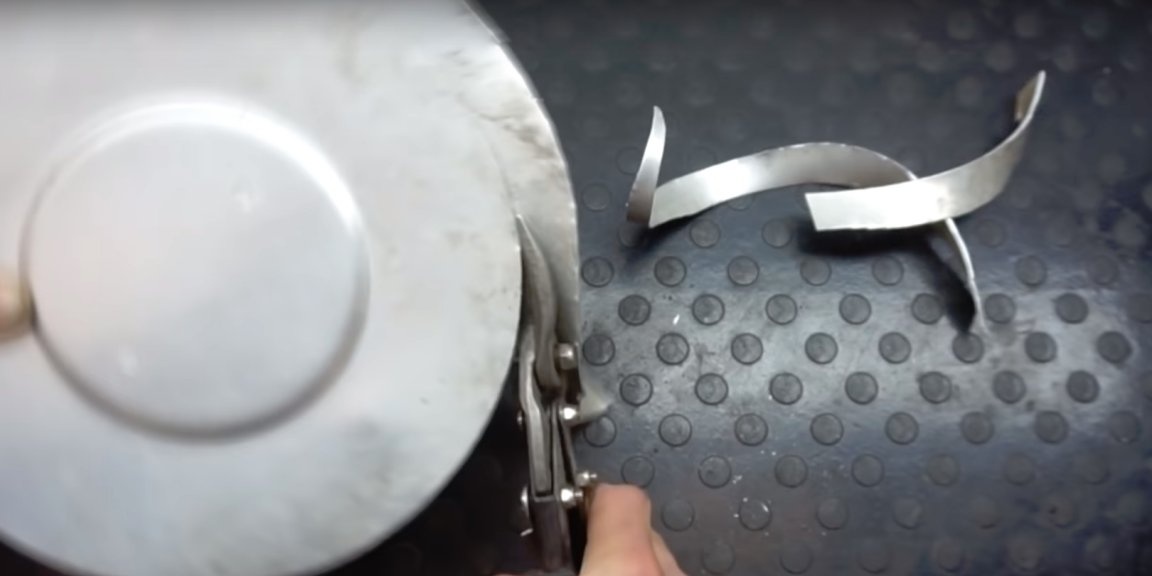
The lid surface is sandpaper (400 grit) with water added. By the way, the handle of the lid has already been broken off, there is a dining room without a lid.
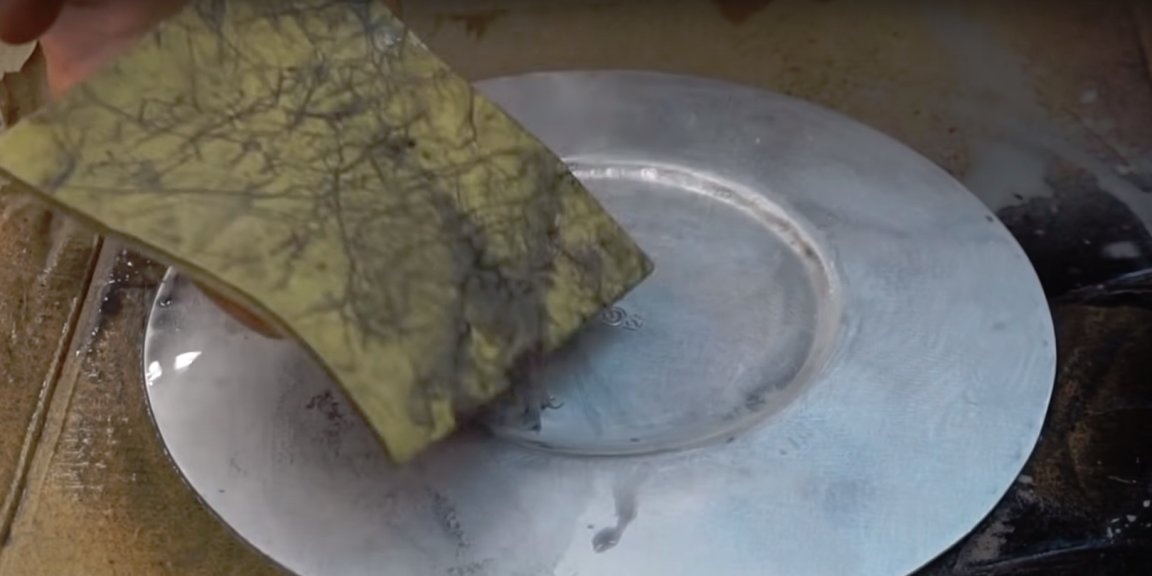
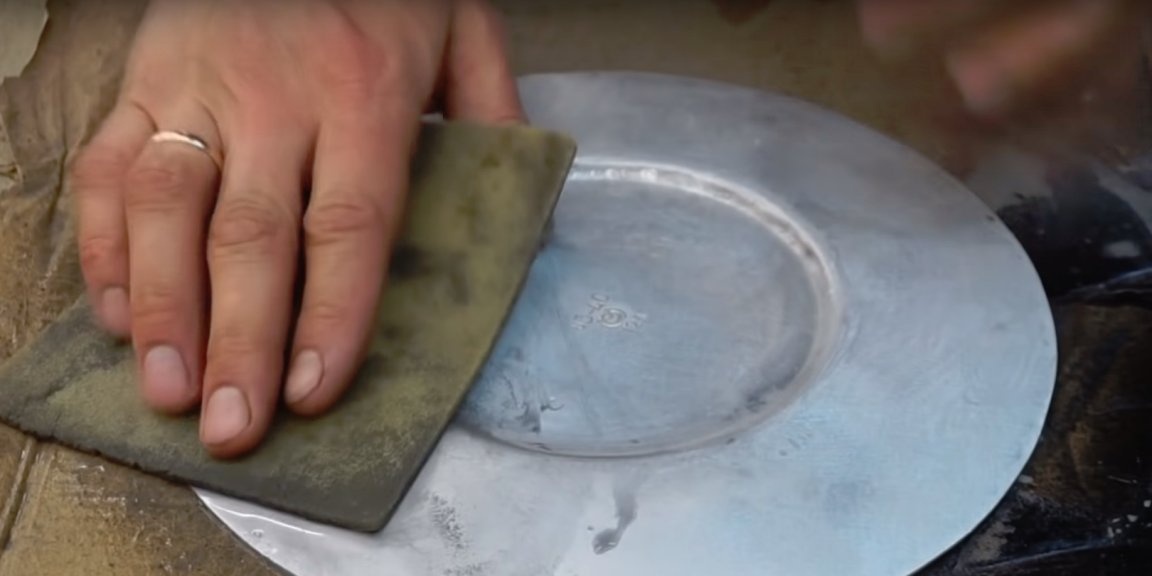
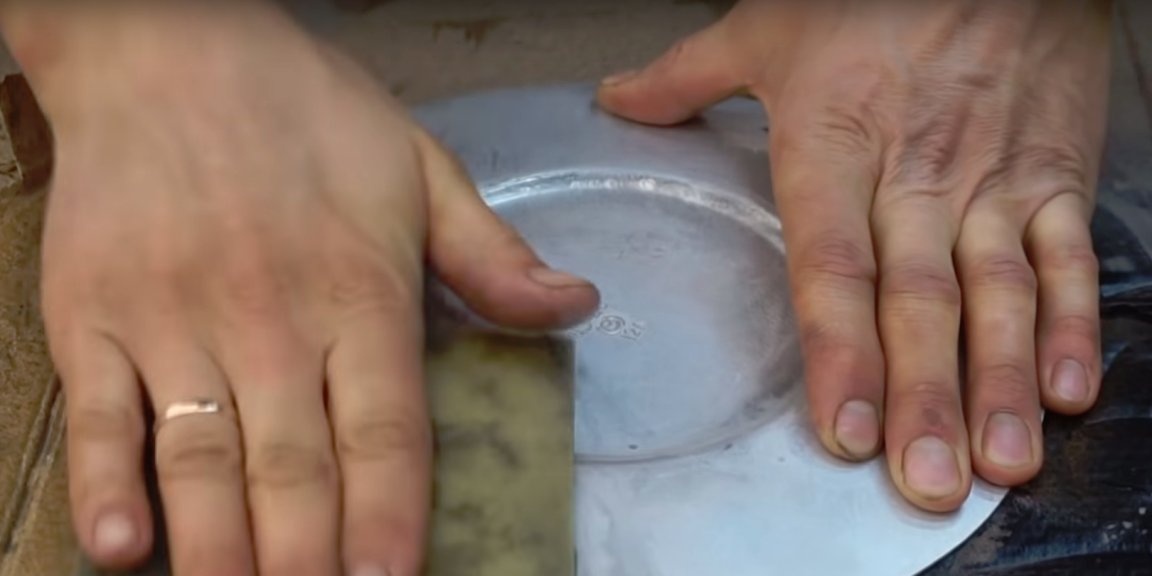
As a result, I did not like the result obtained from the work of sandpaper. The author decided to get confused and began the long and fascinating process of polishing the lid surface on emery, using a felt circle and GOI paste.
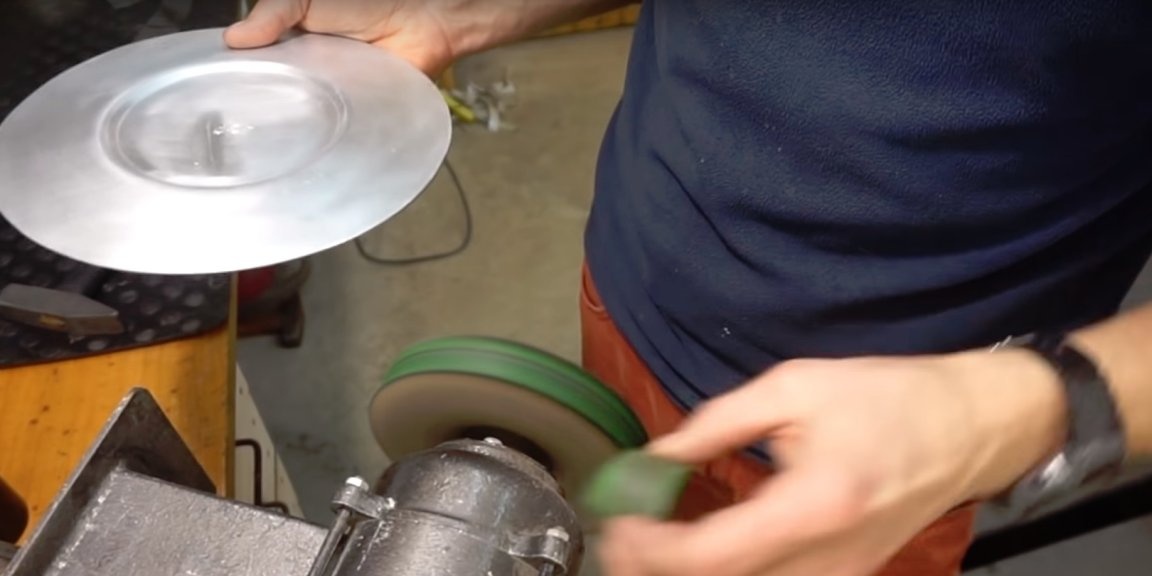
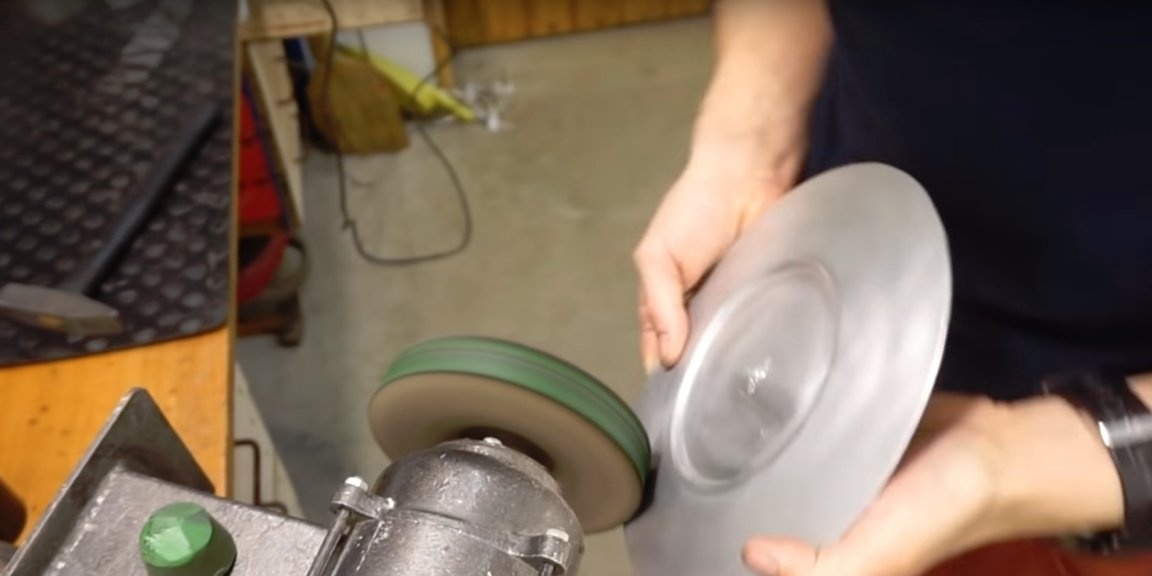
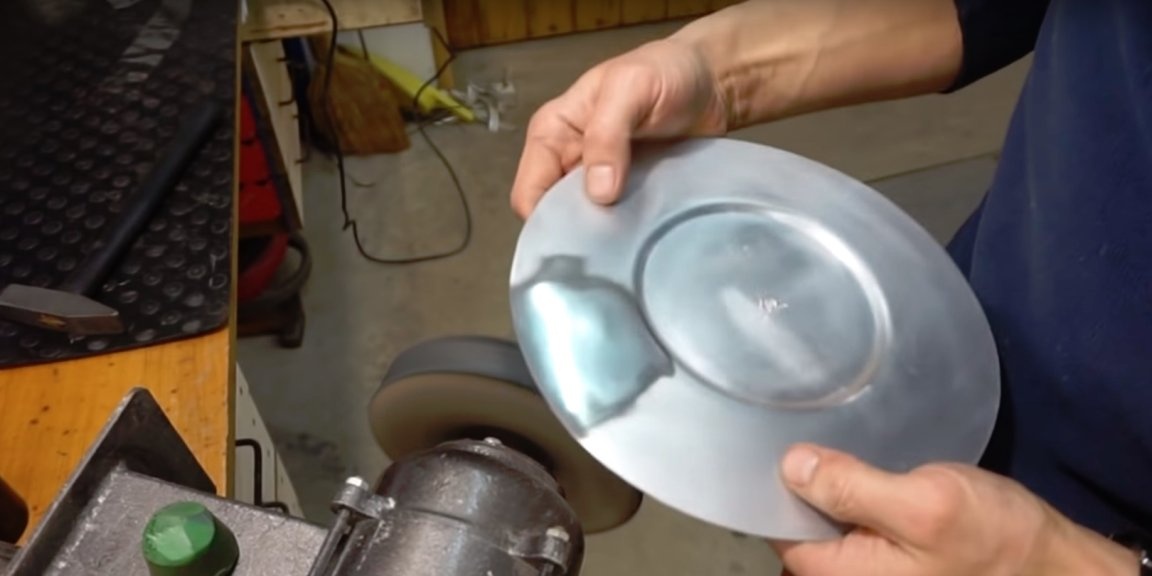
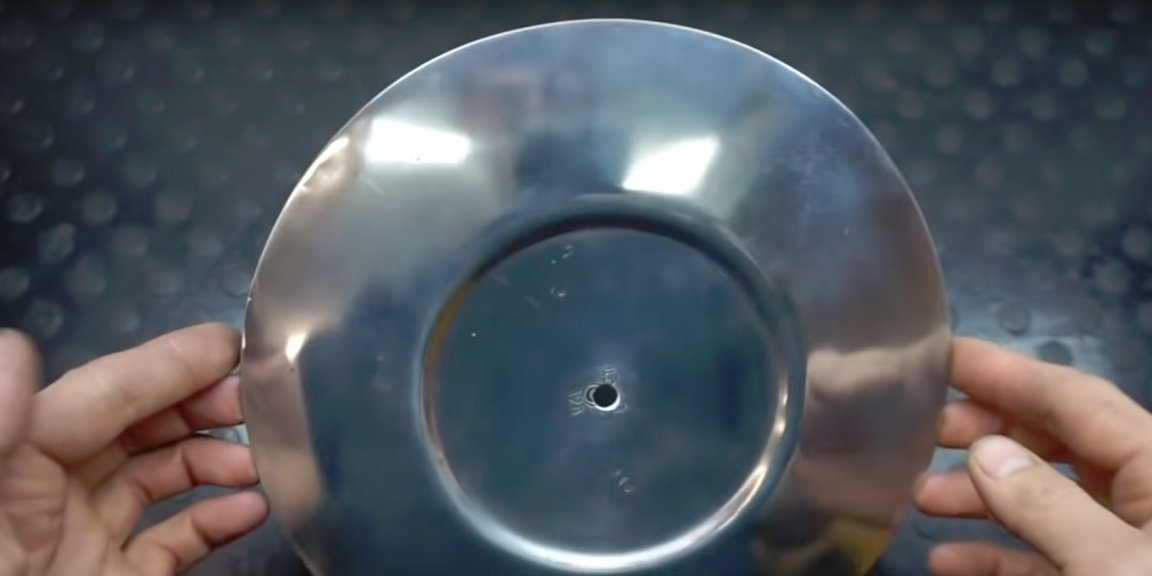
Now, this is another matter, after 30 minutes at the exit it’s quite an attractive thing.
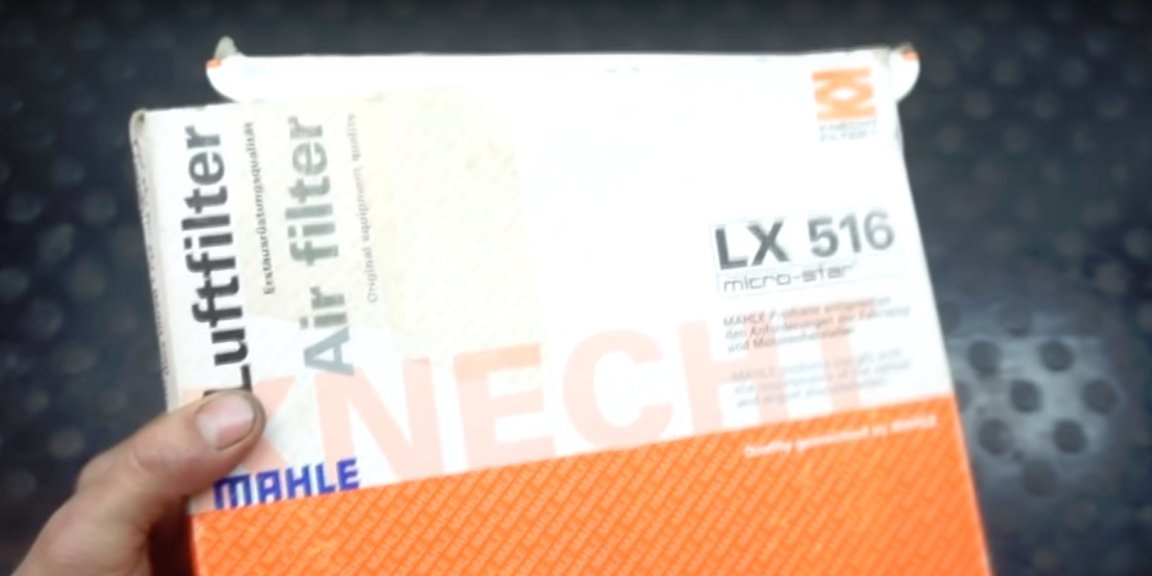
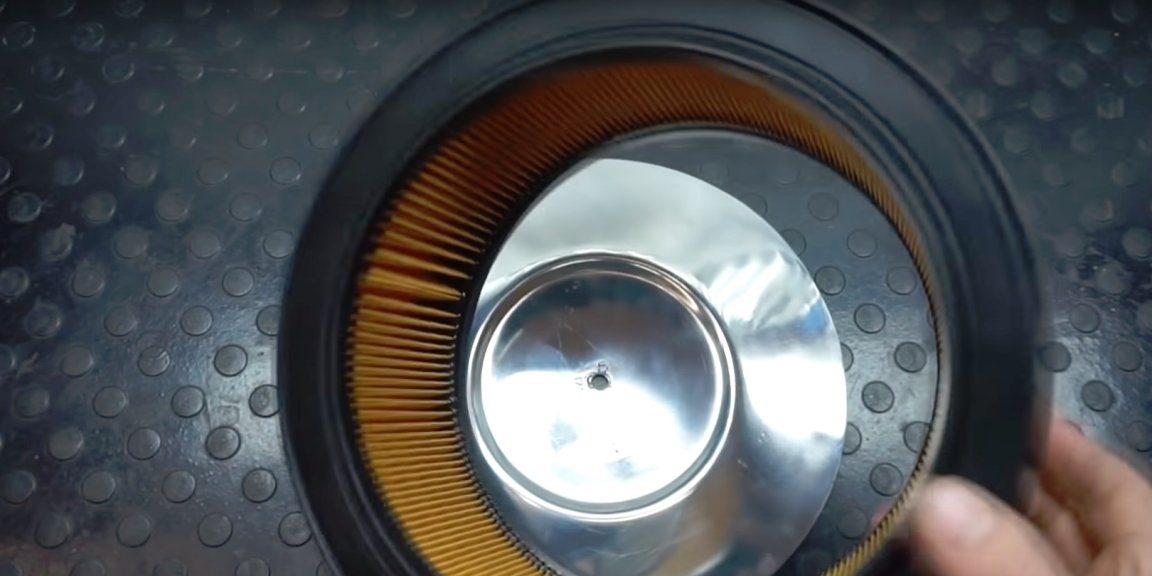
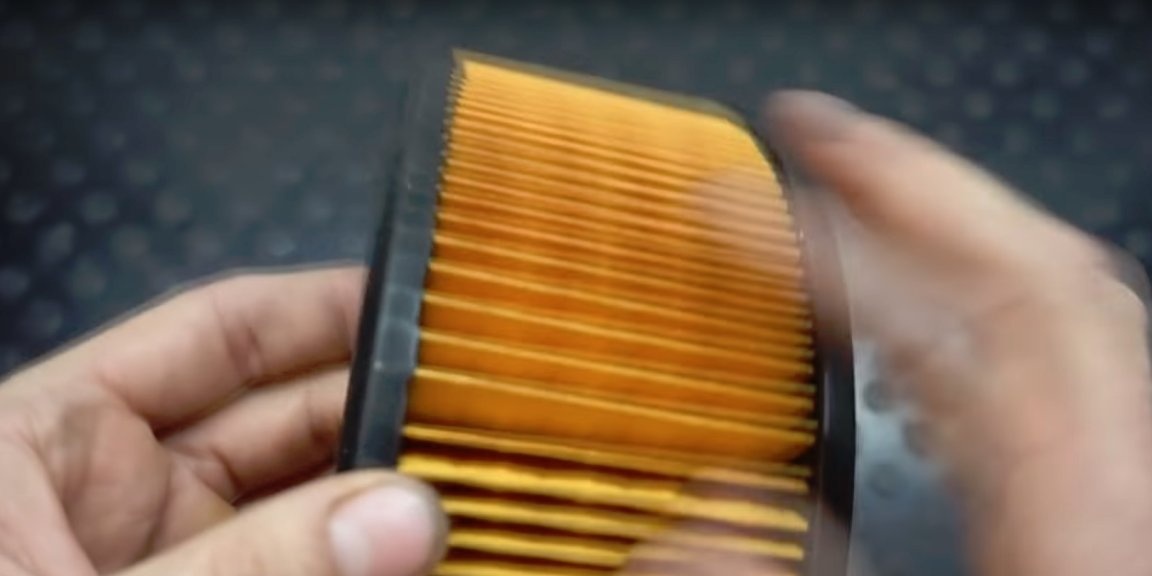
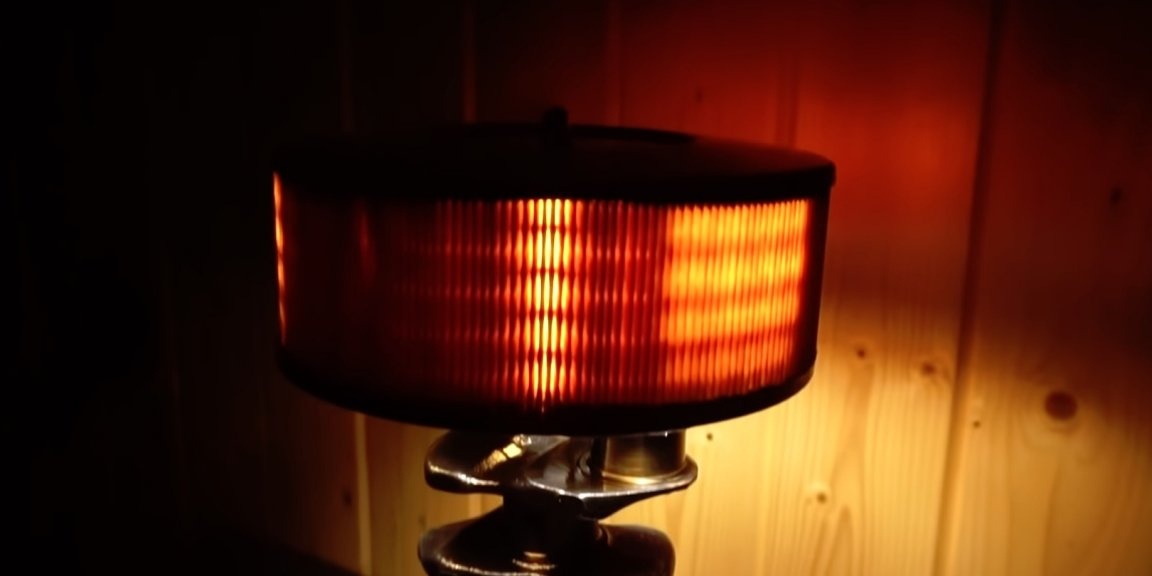
Now I got it, no, I bought it at an exorbitant price, a car air filter. According to one, one could buy much cheaper, but without black rims, and the paper in those filters would be white. And this one looks gorgeous, but I had to fork out. By the way, the filter from the car Ford transit 2.7 disel.
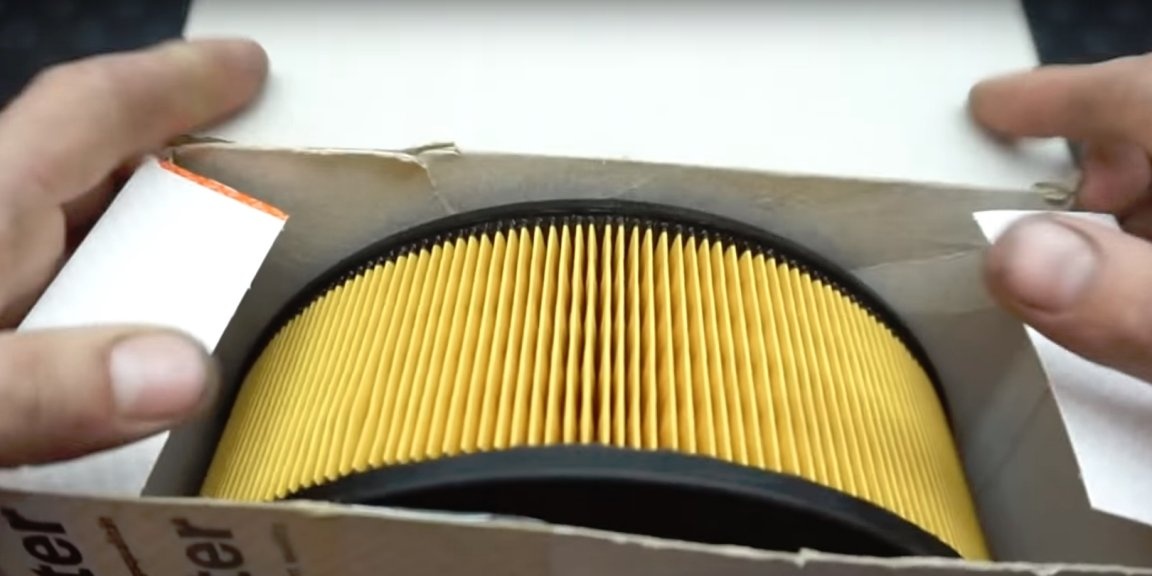
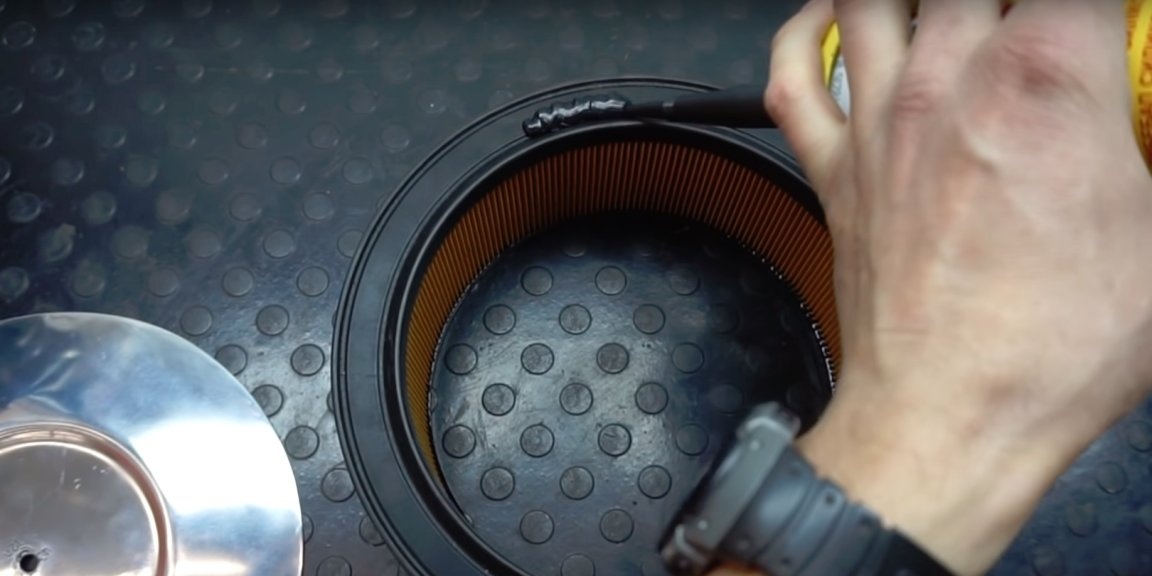
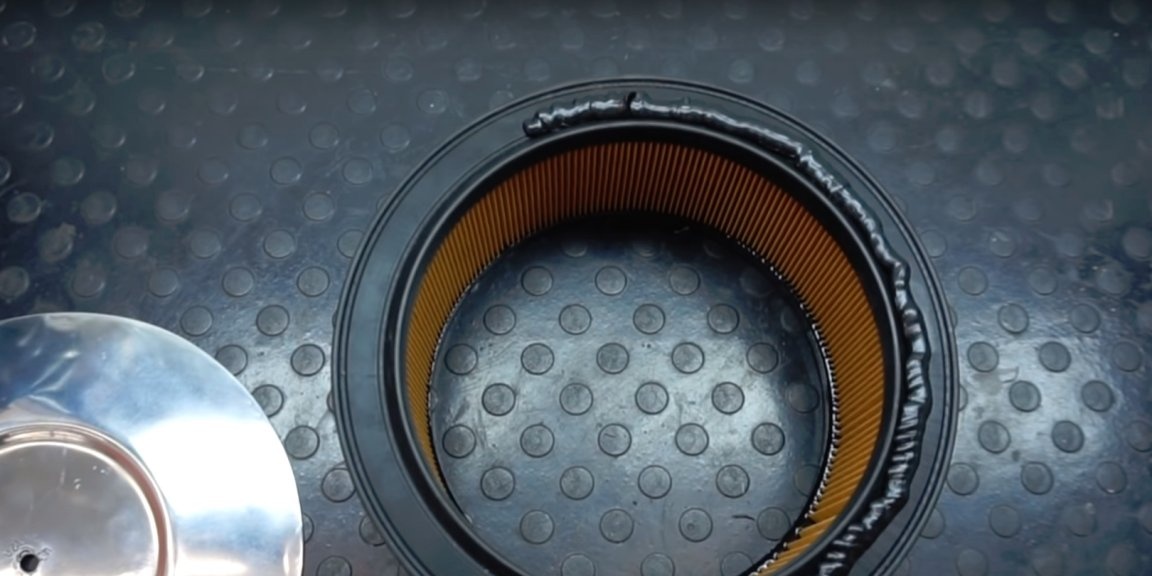
Next, you need to connect the lid to the filter, the author decided to do this simply by gluing them together, using black silicone. By the way, whoever is attentive should have noticed that a hole with a diameter of 6 mm has already been drilled in the lid.
Now the ceiling is drying, but the gear is already dry. Here the author shows that before painting, in two holes he made a pot.
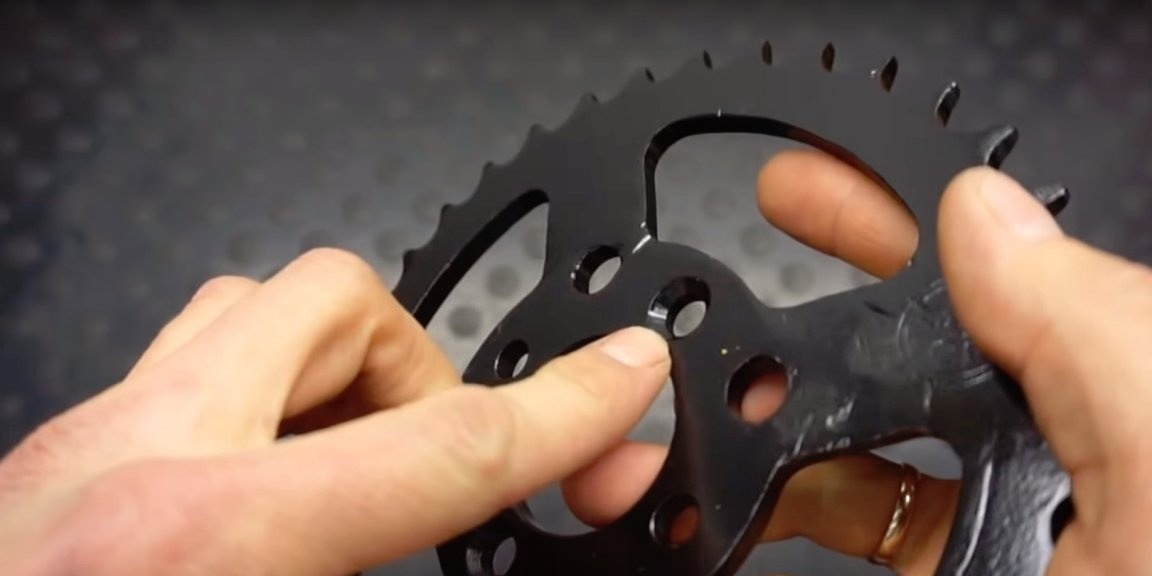
In the crankshaft, the master drilled two holes aligned with the holes in the sprocket. M6 thread is cut in the crankshaft holes.
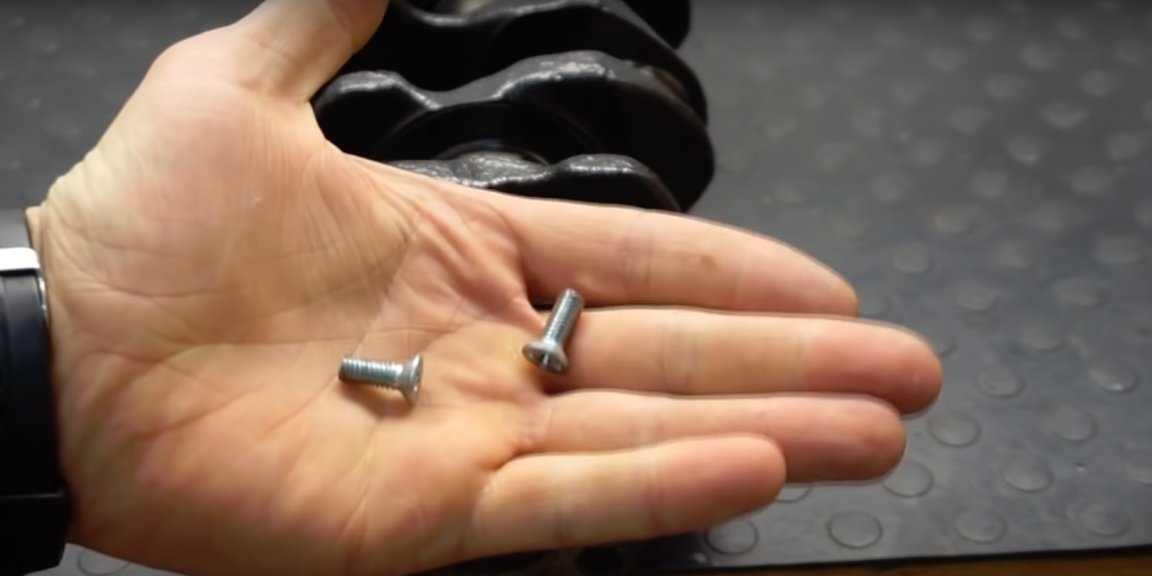
Fasten the parts between each other will be screws M6 under the pot.
The author applies a thin layer of engine oil to the crankshaft necks so that they do not subsequently rust.
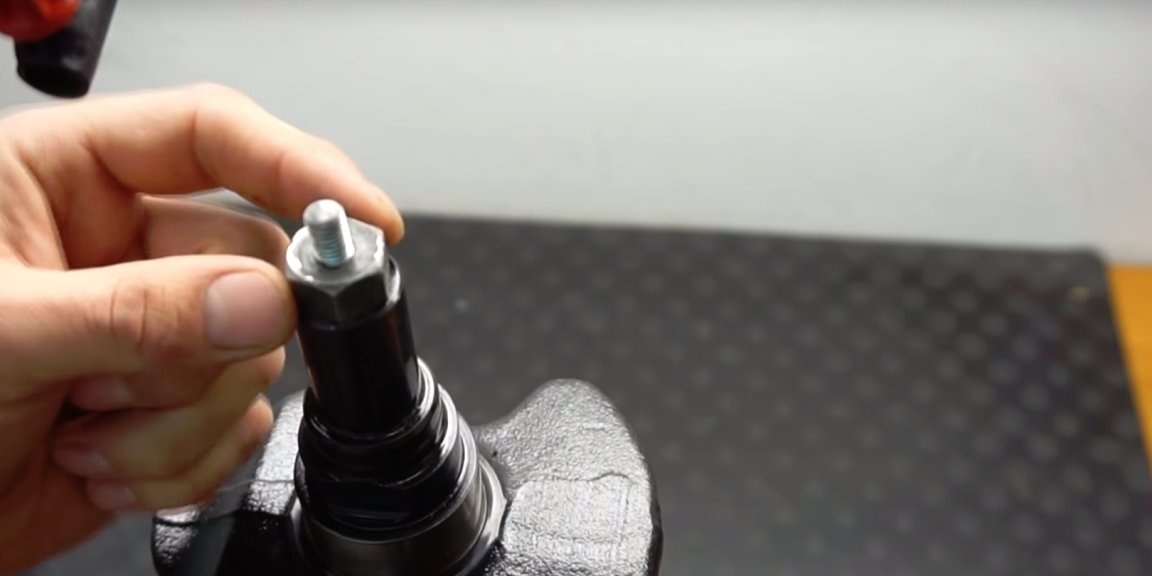
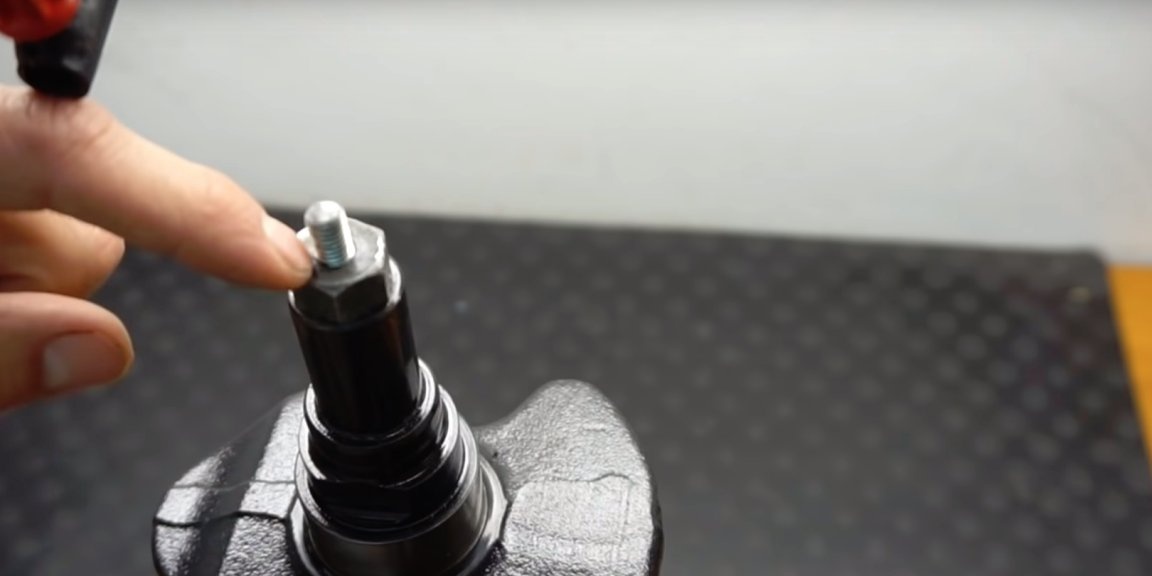
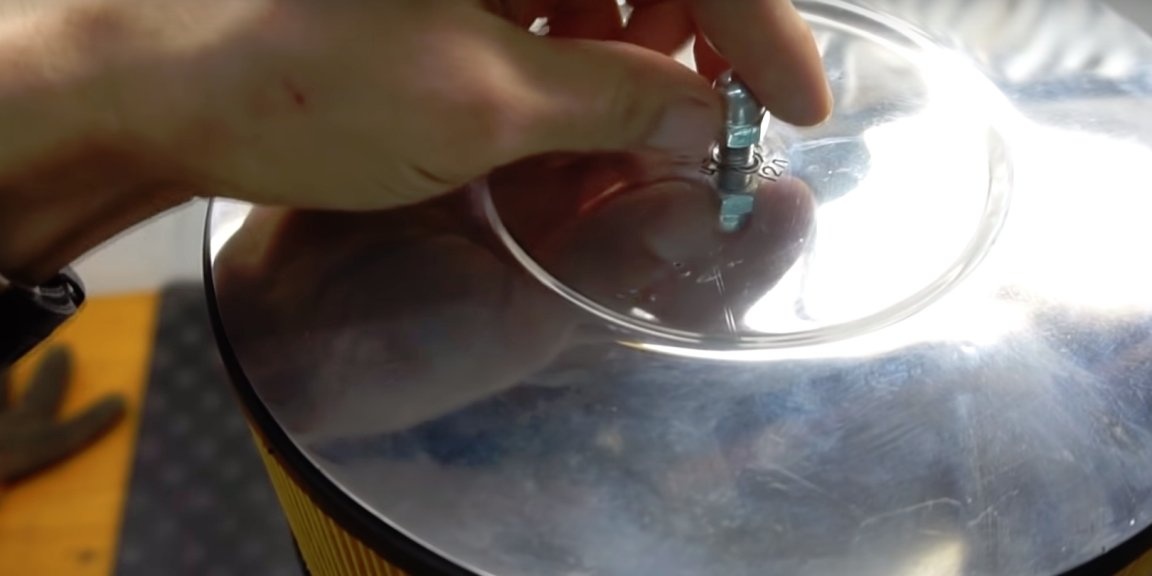
In the upper part of the crankshaft, the master screwed the bolt (unfortunately, he did not specify the size and thread of the bolt). In this bolt, I pre-drilled a hole and cut the M8 thread. Screwed a small segment of the M8 stud into the bolt. The lamp cover will be mounted on this stud.
Next, go to the electrical part.
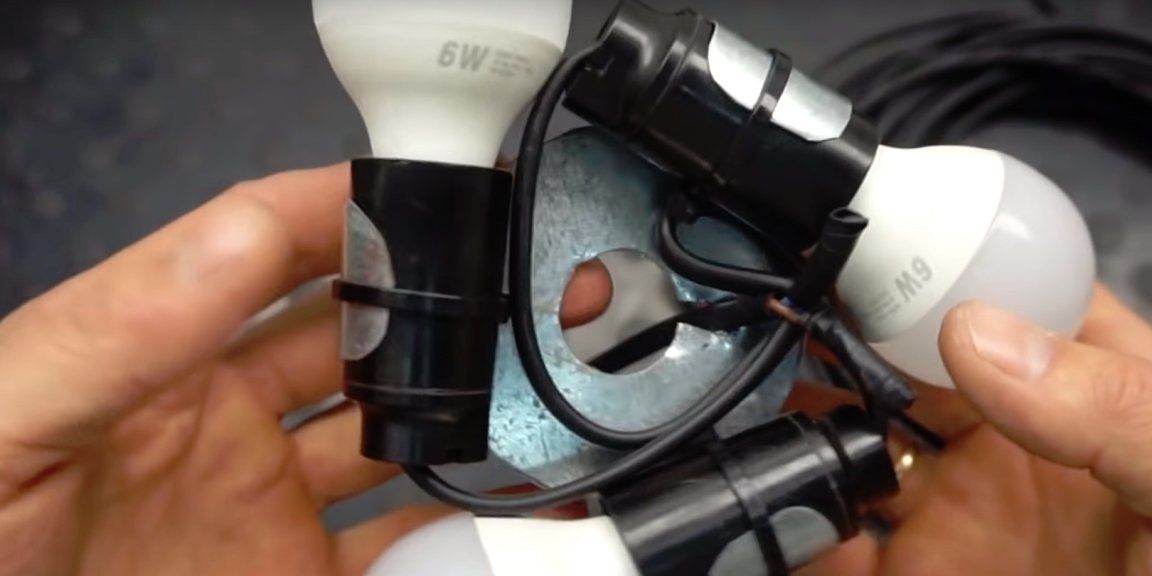
As light sources will use three led lamps E14, 6 watts each, under which he purchased cartridges. The master carved a simple structure out of tin, in the form of a circle with three petals, on which the lampholders will be mounted.
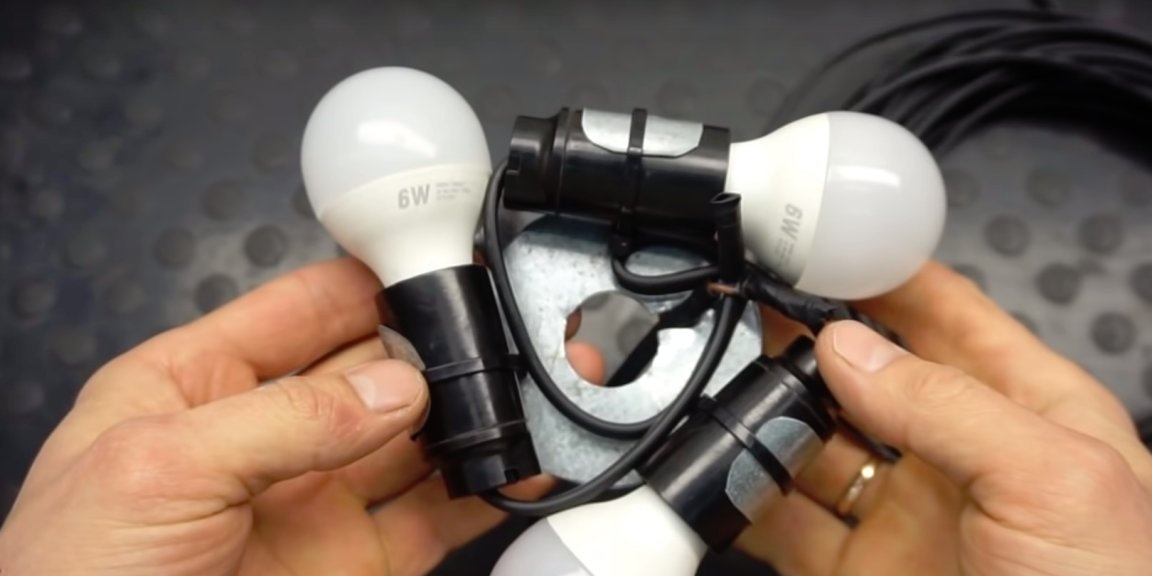
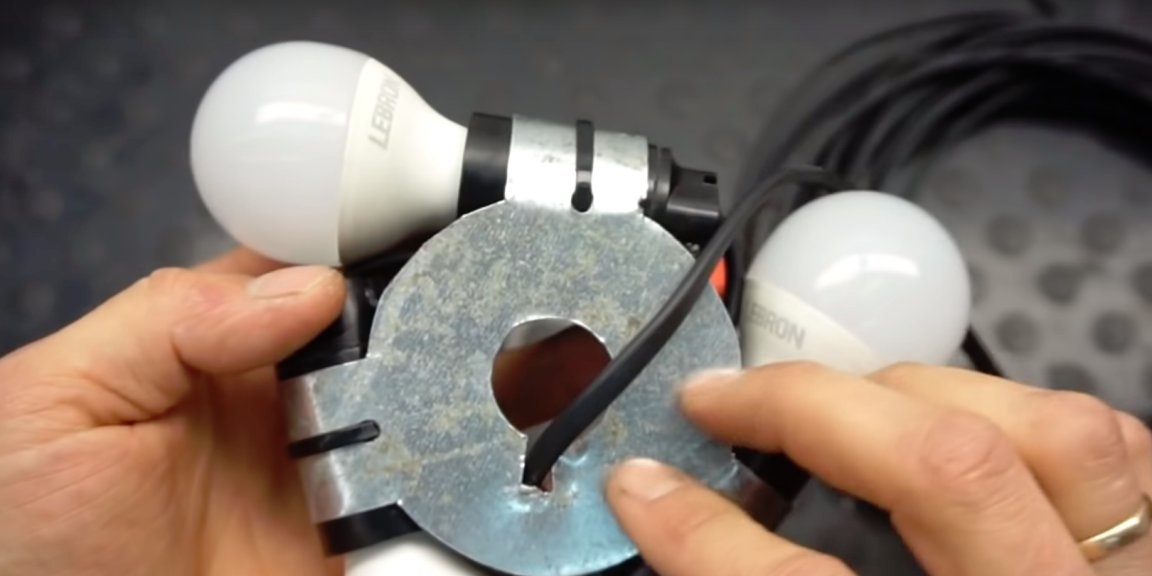
At the base of the petals, holes are drilled through which plastic ties pass, which actually fix the lampholders.
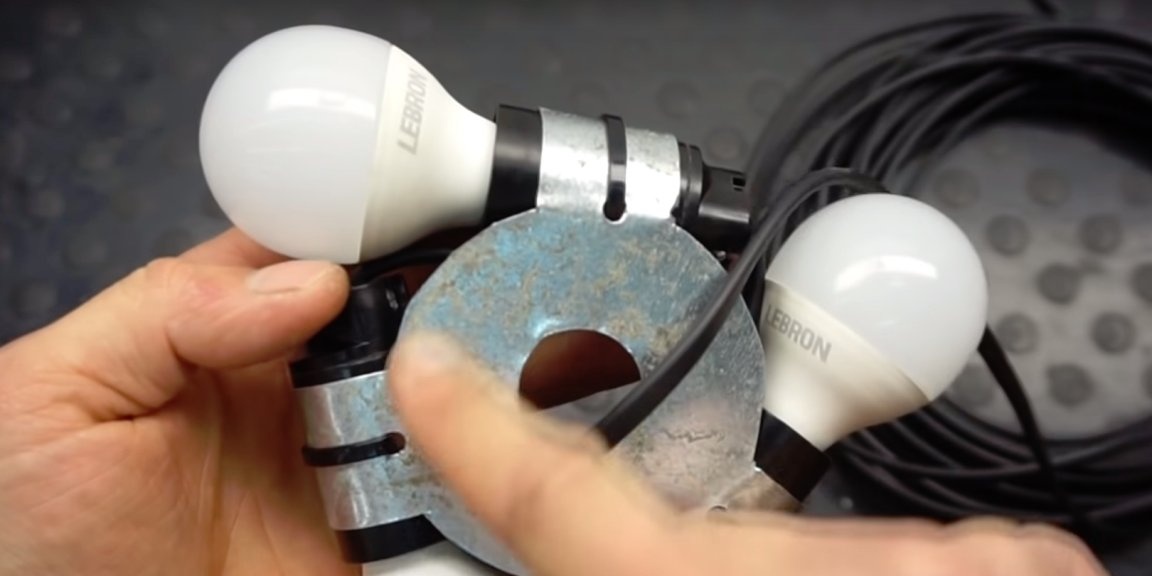
A hole is cut in the center of this product with a diameter equal to the diameter of the shank of the crankshaft. From the side of the hole, the master made a cutout for the network cable.
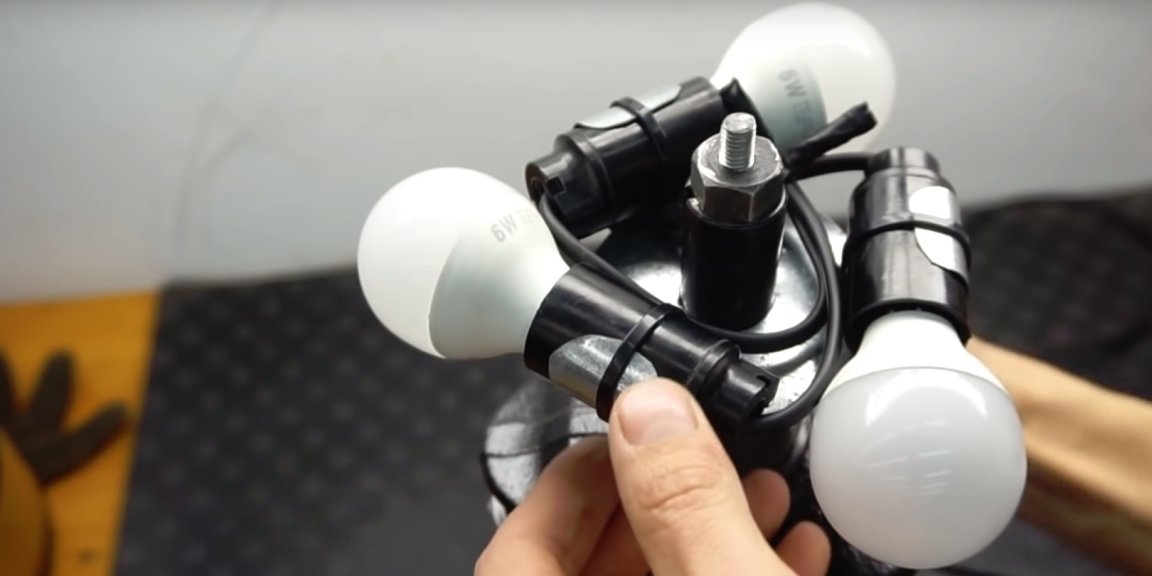
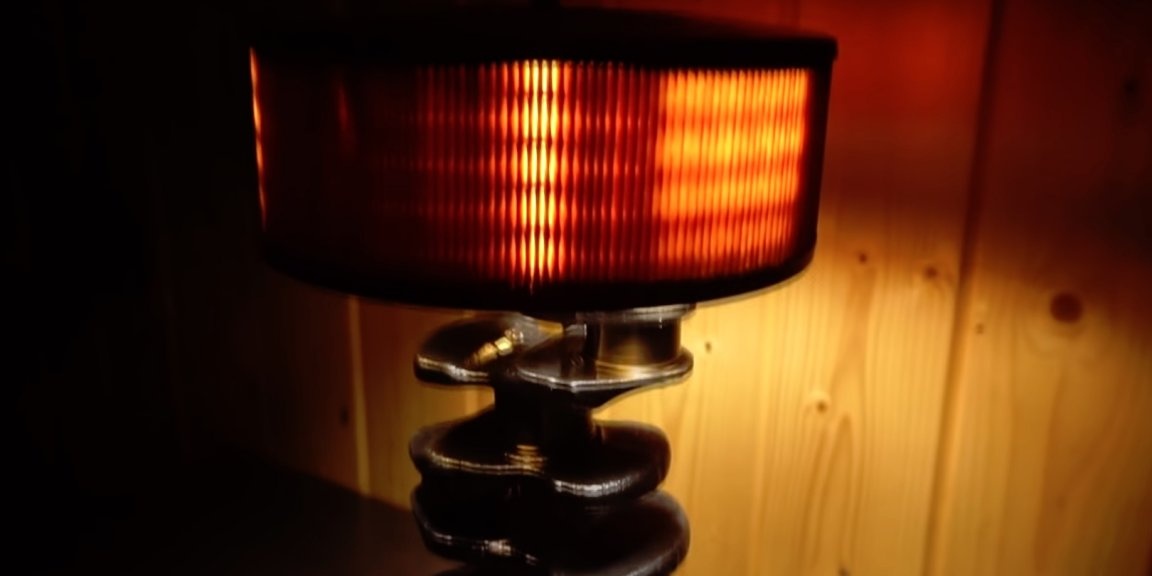
All cartridges are already connected to each other, I also already connected a network cable with a plug and a switch. You can put everything together. The author puts on a frame with lamps on a lamp column, puts on a ceiling from above. And fixes the lampshade with a cap nut M6.
Mustache, the work is completed, you can connect to the network and check.
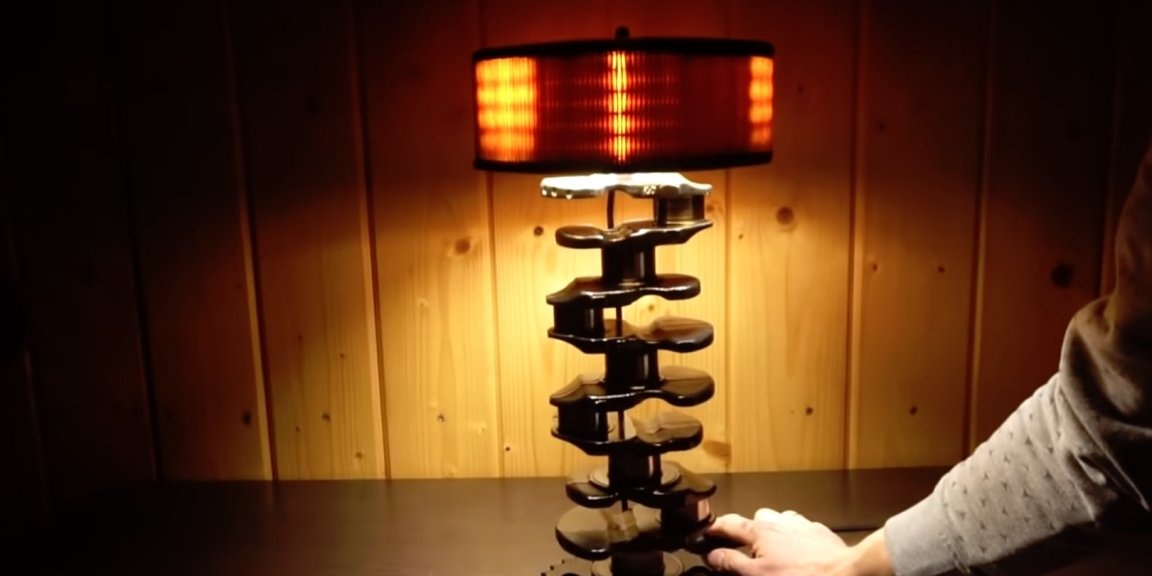
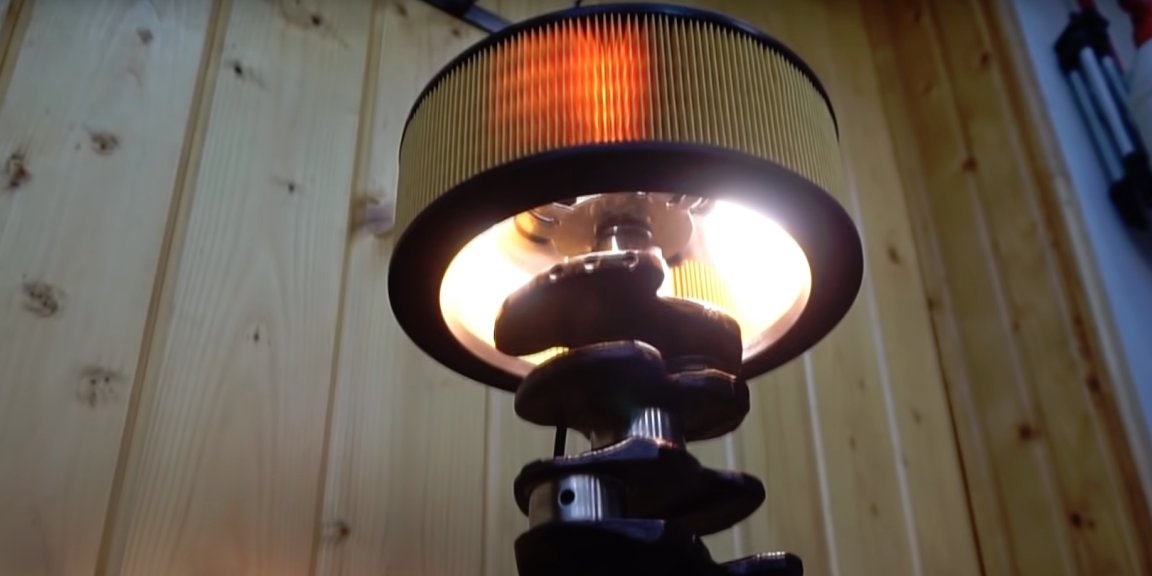
Wow, what a wonderful lamp it turned out, the main thing is not to forget to change the oil and filter according to the regulations)))
On this, I say goodbye to you, thanks for reading.
All good, good luck and always in a good mood !!!