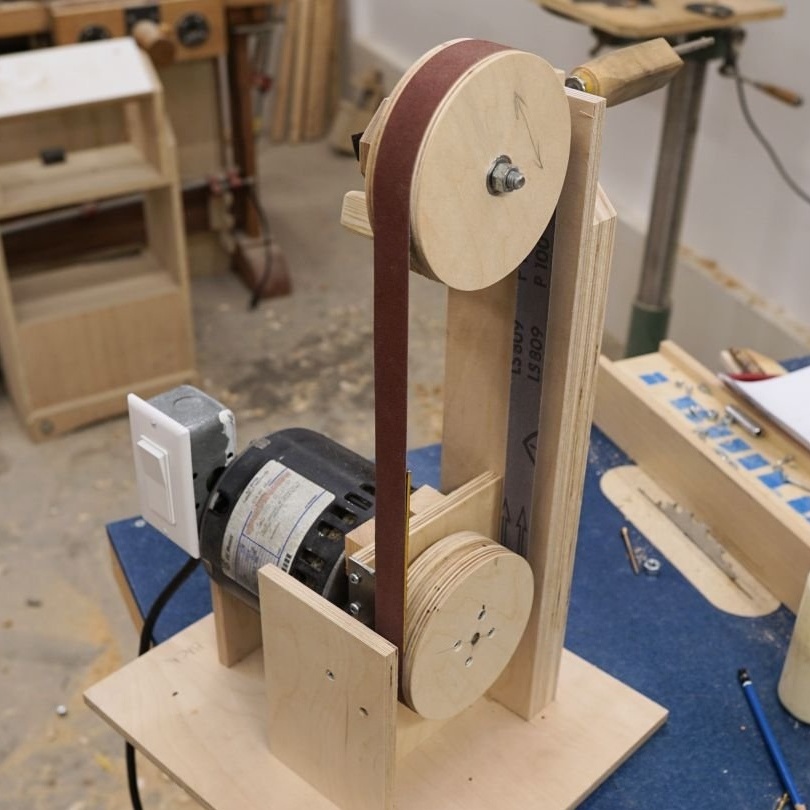
Hello everyone, in this instruction we will look at how to make a small belt sander. This machine will allow you to easily grind small items, it is a very useful machine for those involved needlework, modeling and so on. The machine has a small capacity, so it is assembled from plywood, this material has more than a sufficient margin of safety for such a machine. The author uses available materials, for example, the engine was used from a pump, it has a power of about 250 watts. If homemade Interested in you, I suggest studying the project in more detail!
Materials and tools used by the author:
Material List:
- plywood;
- furniture screws and nuts;
- / 1725 rpm;
- bearings;
- threaded rods;
- carpentry glue or epoxy;
- door hinges;
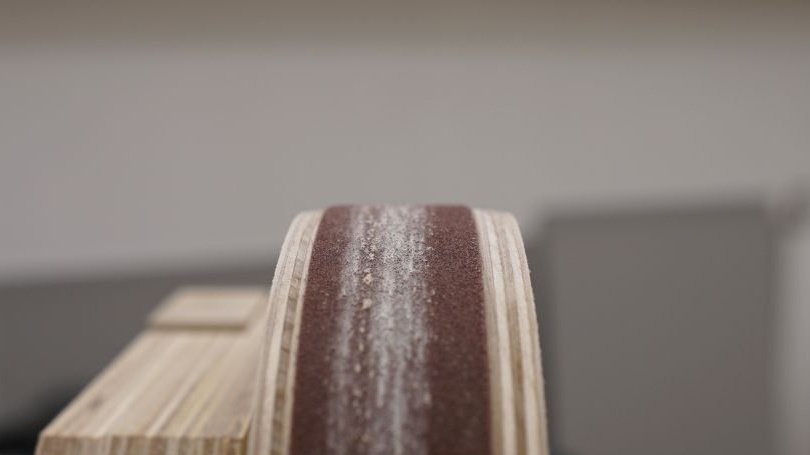
- sandpaper for the manufacture of a belt.
Tool List:
- a circular saw;
- drilling machine;
- milling cutter;
- jigsaw;
- clamps;
- pencil, ruler, etc.
Homemade manufacturing process:
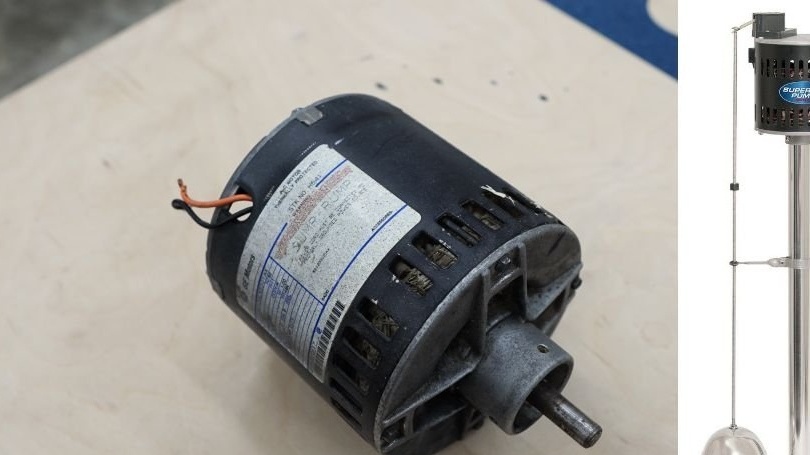
Step one. Engine
We will select a suitable engine for the machine, we have a small machine and a powerful engine is not needed here. The author used a pump engine for such purposes, its power is only 250 watts, and with regard to revolutions, the motor develops 1725 revolutions per minute. It is important to determine in advance in which direction the motor shaft rotates; for a motor selected by the author, the shaft rotates counterclockwise when viewed from the front.
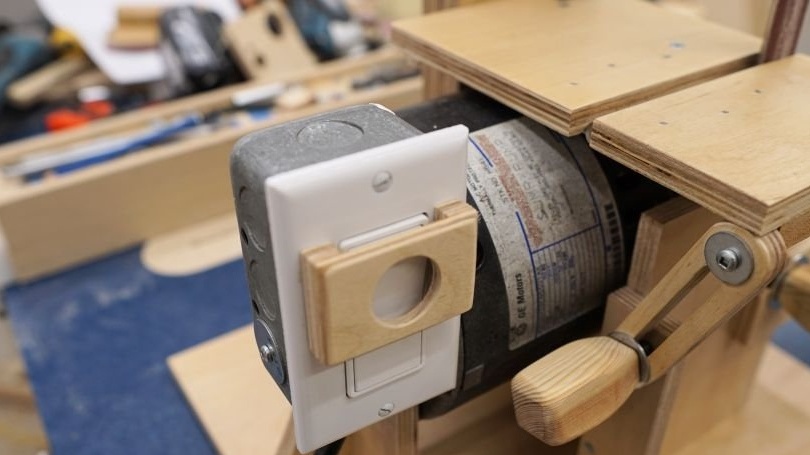
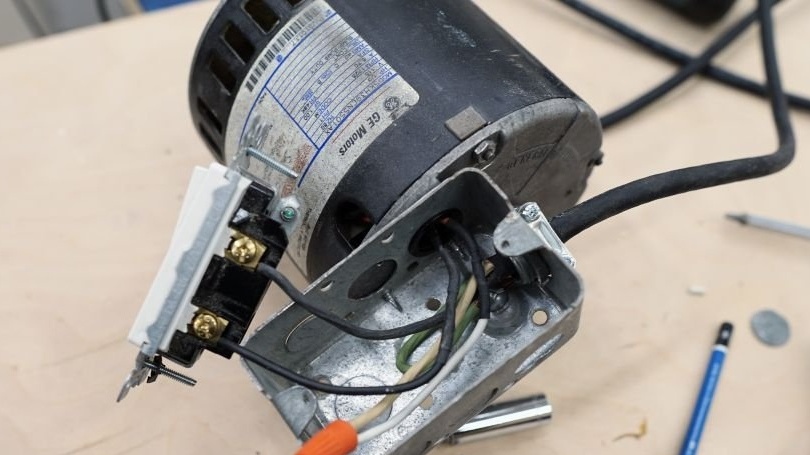
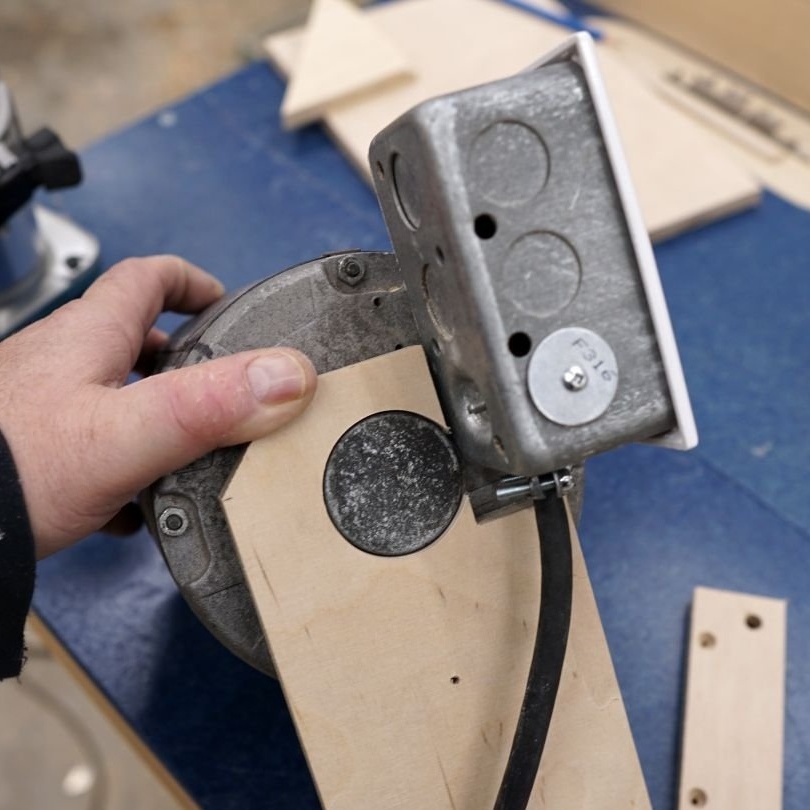
You can immediately extend the supply wires, the author had them very short, so he put the junction box on the motor.
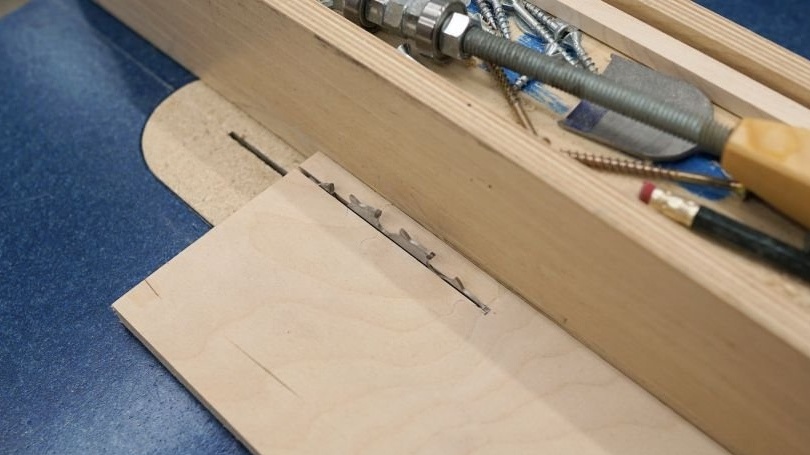
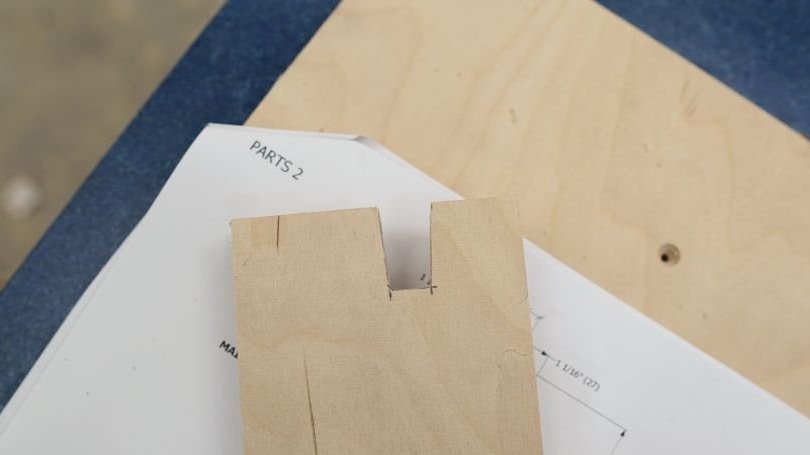
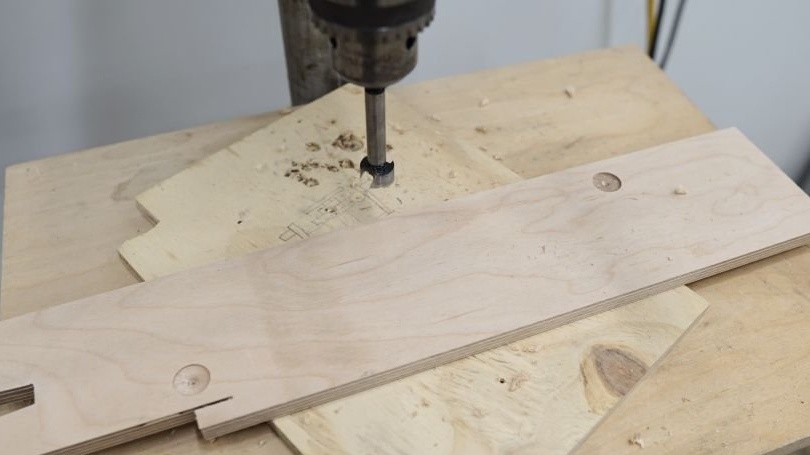
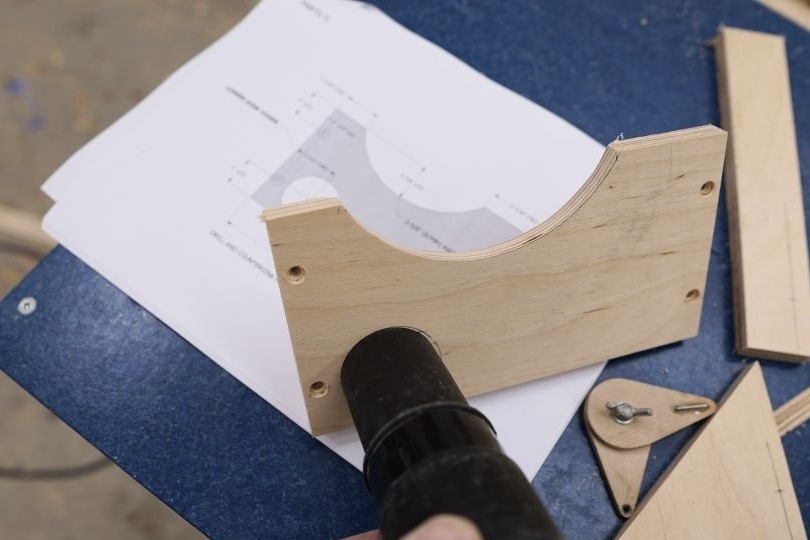
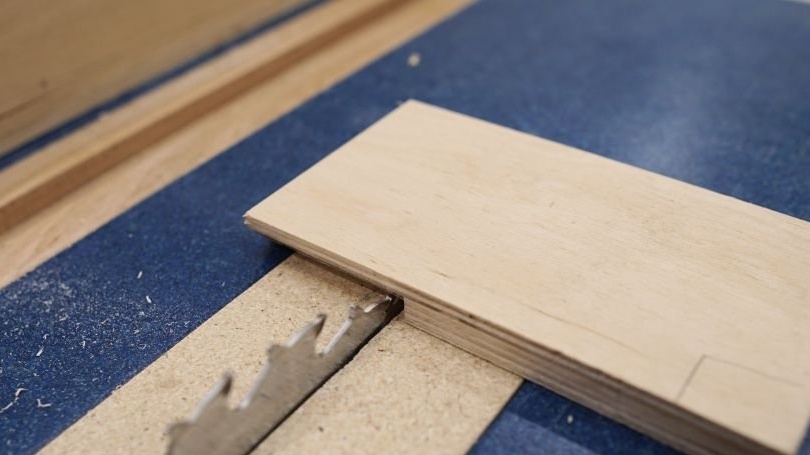
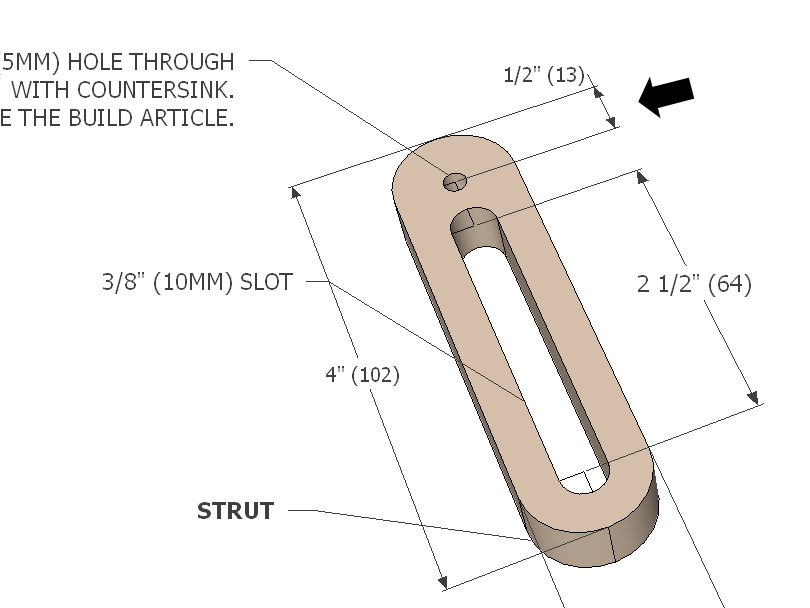
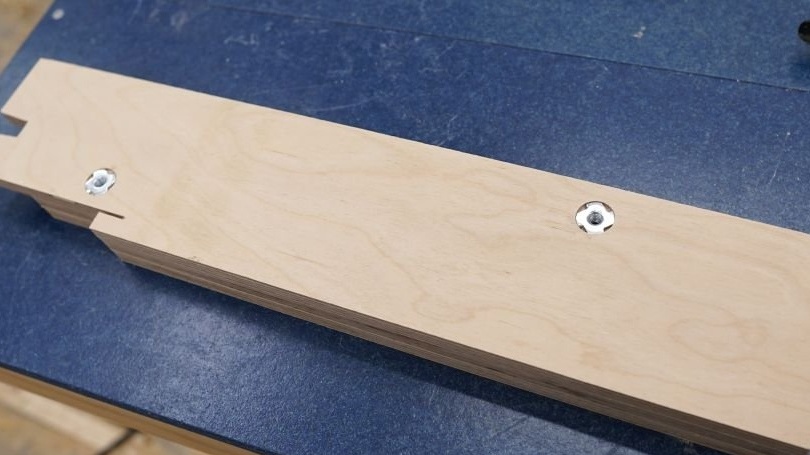
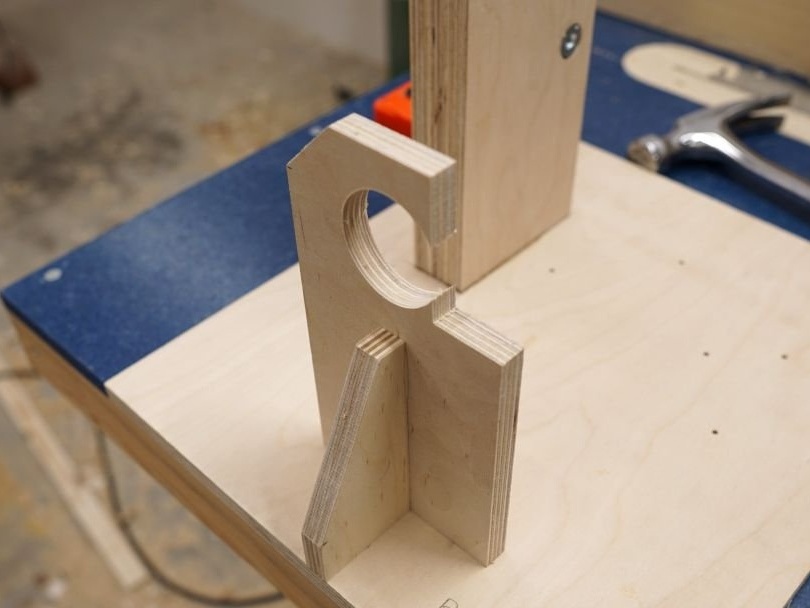
Step Two Cut the rack
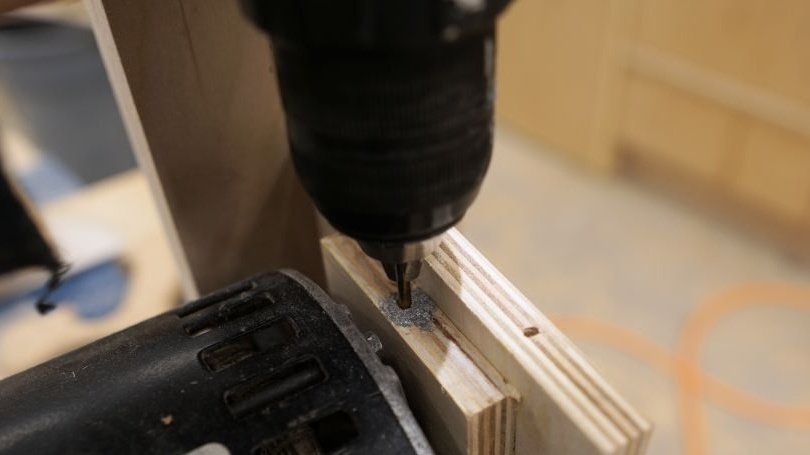
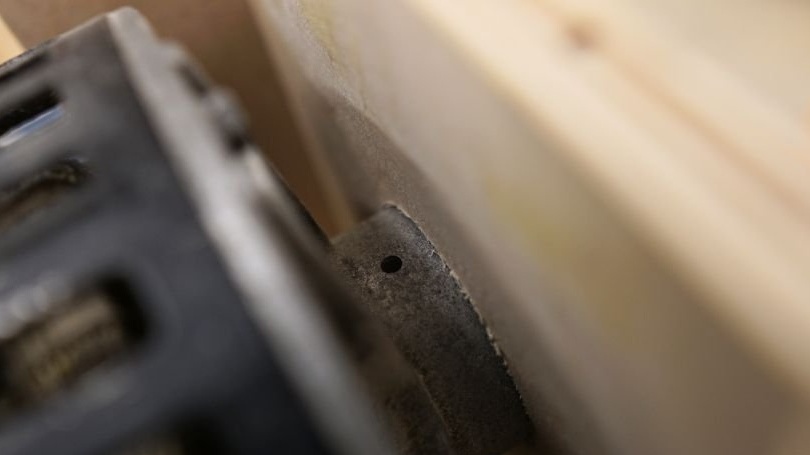
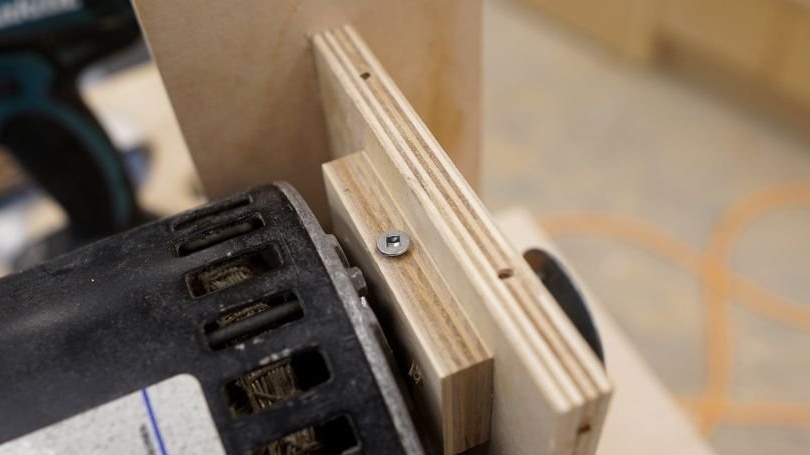
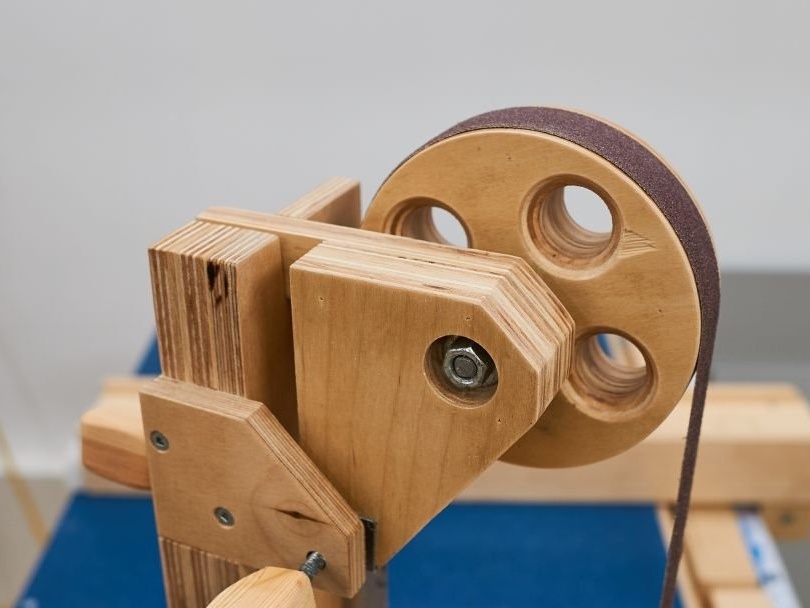
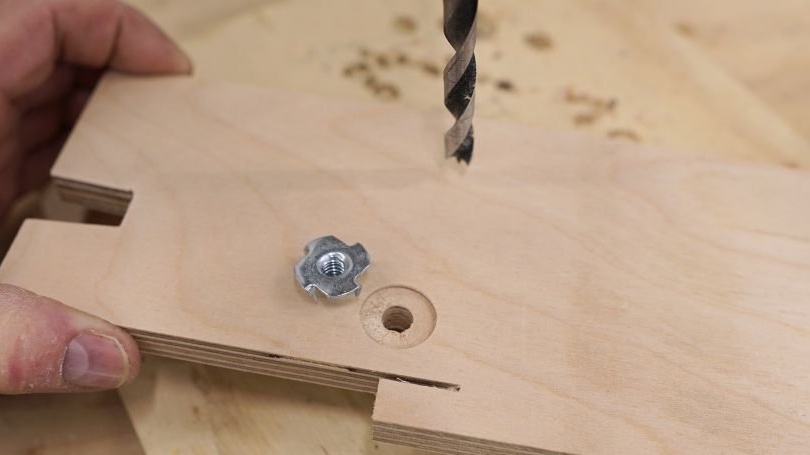
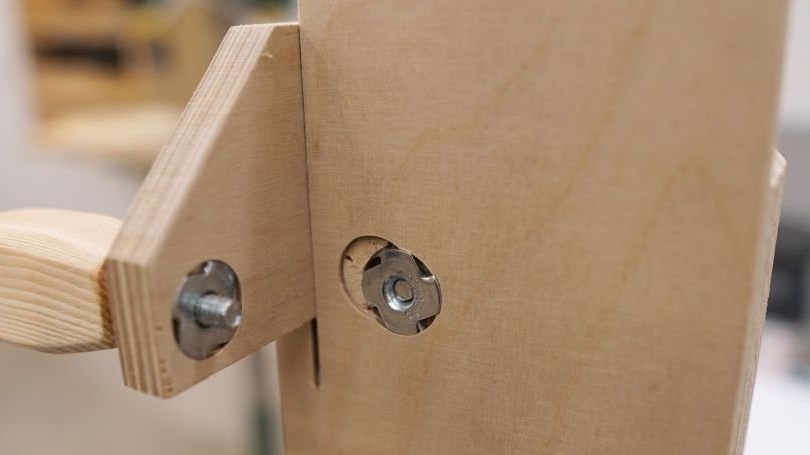
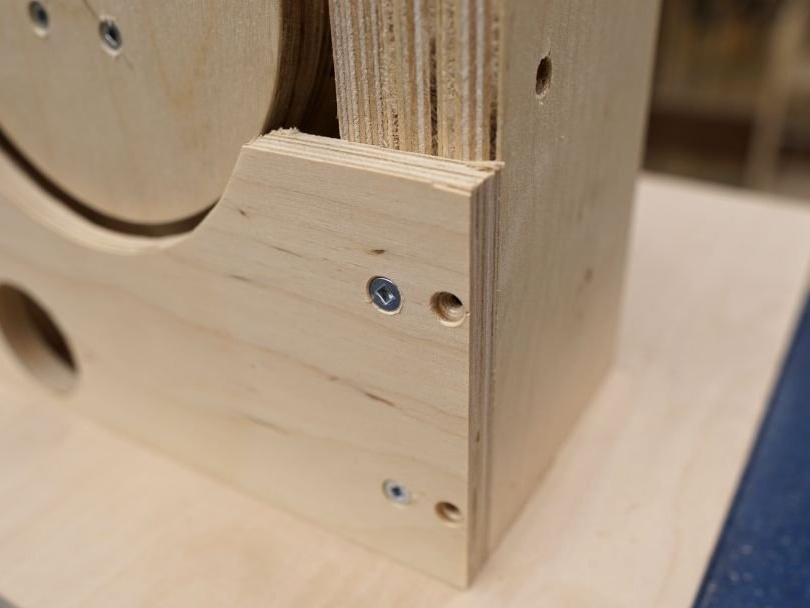
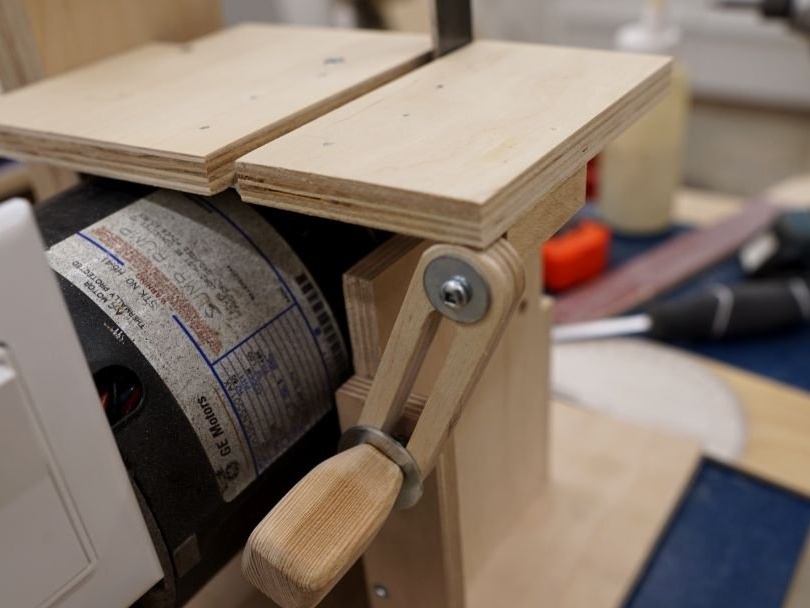
We cut the main stand of the machine, make the desired drawing and cut the part on a circular saw. There is a groove in the upper part of the rack; it is needed for the articulation of the upper bracket with the driven wheel. By changing the angle of the wheel, we can center the belt. We also drill holes in the rack and hammer furniture nuts.
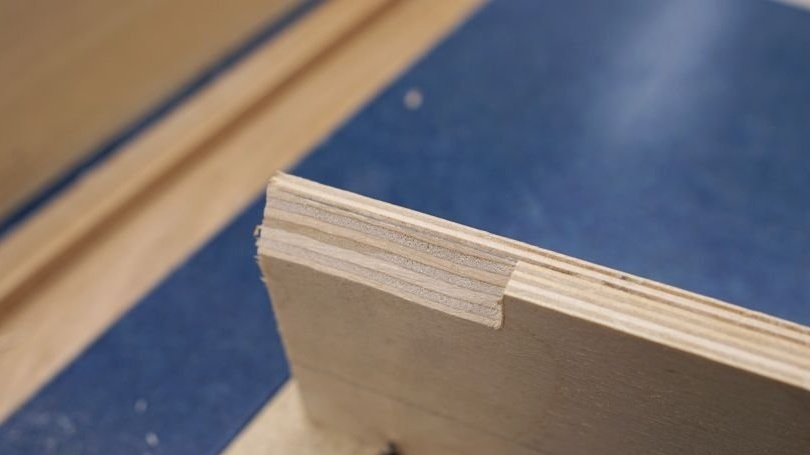
Of course, the stand and many other power parts are assembled from several layers of plywood, so several such parts need to be cut.
Step Three Engine bracket and bottom cover
We make an arm for the engine, cut it out of plywood. We drill a hole in it for the nose of the engine, but if the engine is different, you need to come up with a different mounting system.
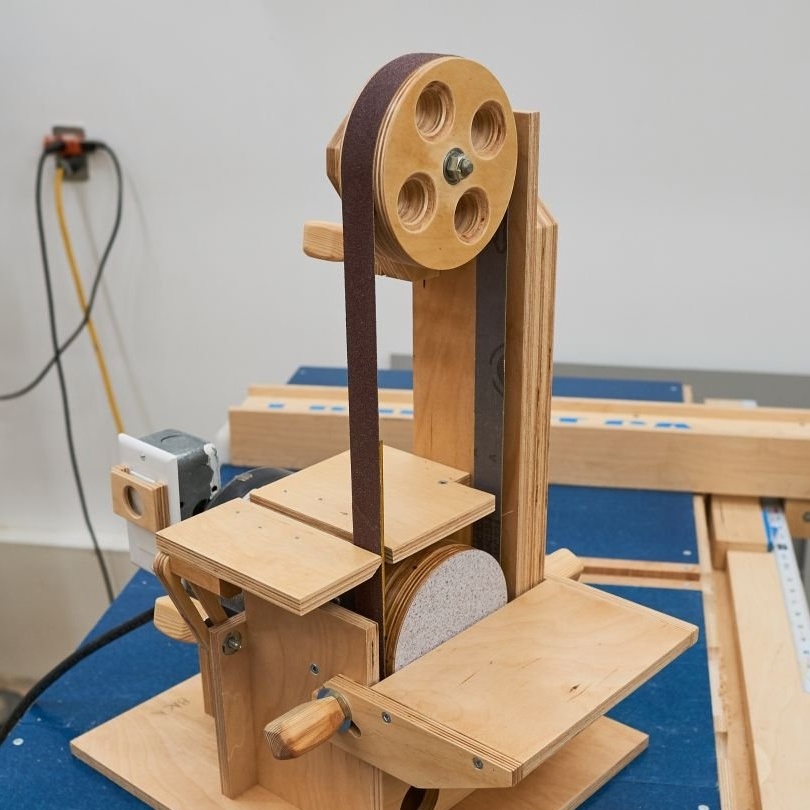
As for the lower cover of the machine, it forms a kind of dust collector in the lower part of the machine. We drill a hole for the nozzle in the lid, it will be possible to connect a vacuum cleaner to it to exhaust dust from the machine.
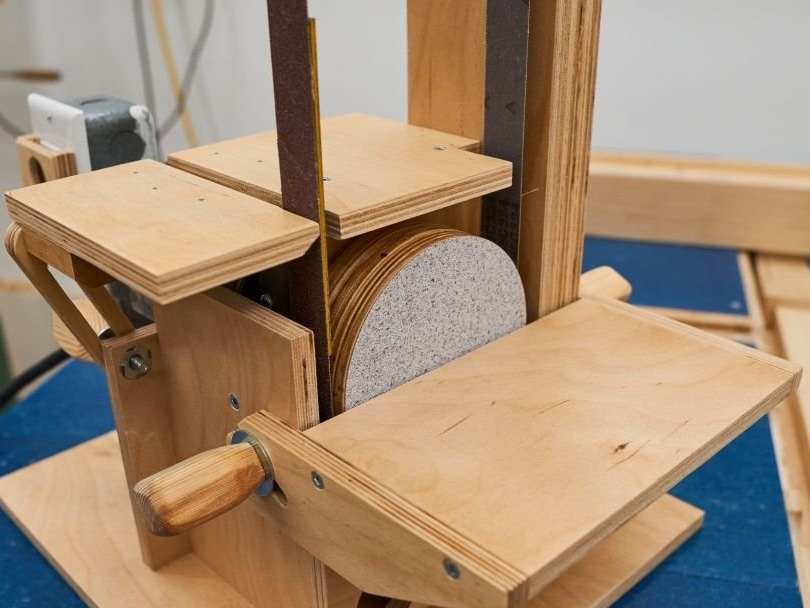
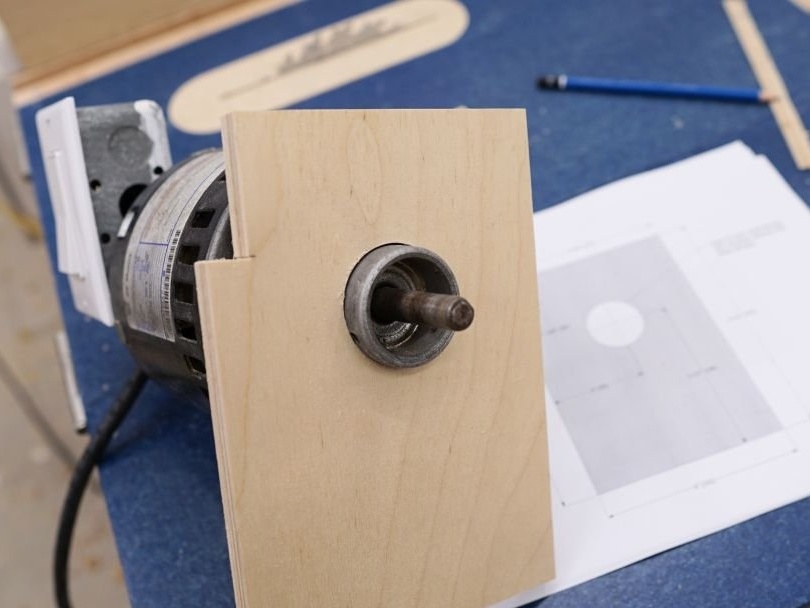
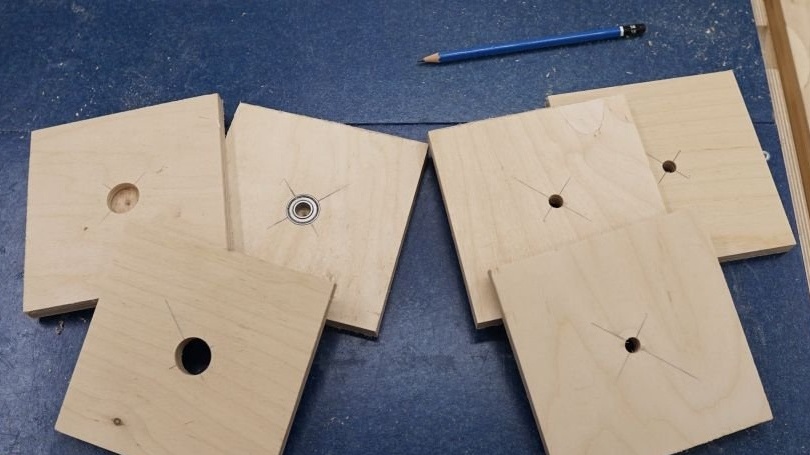
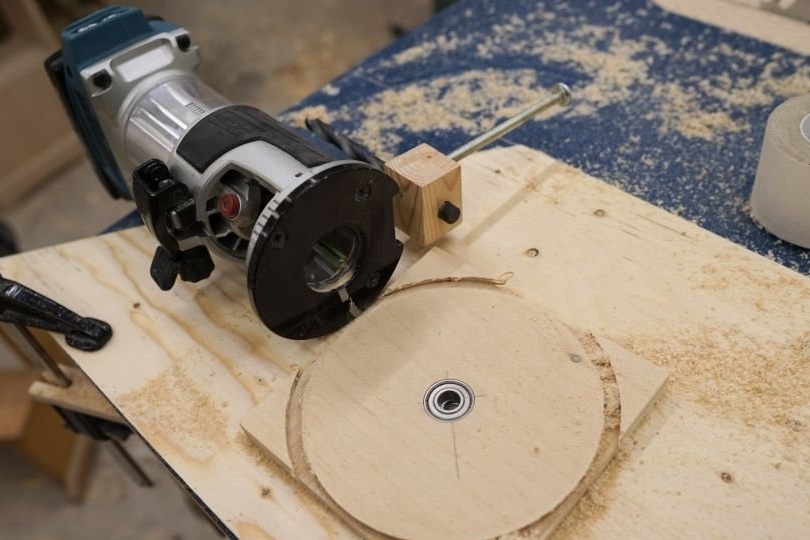
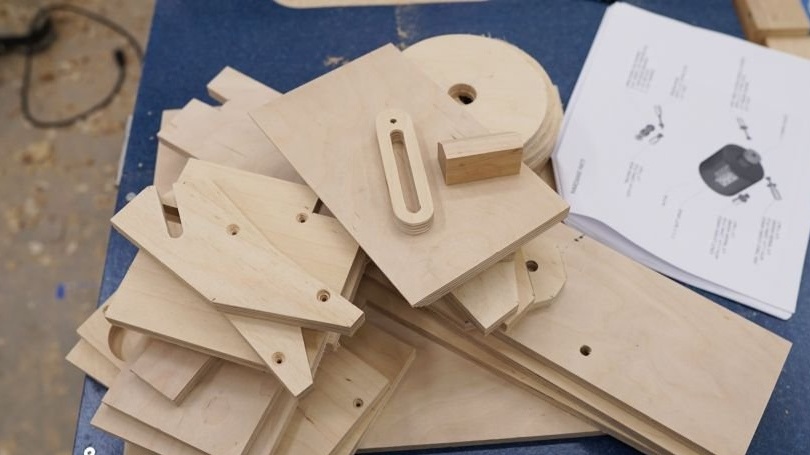
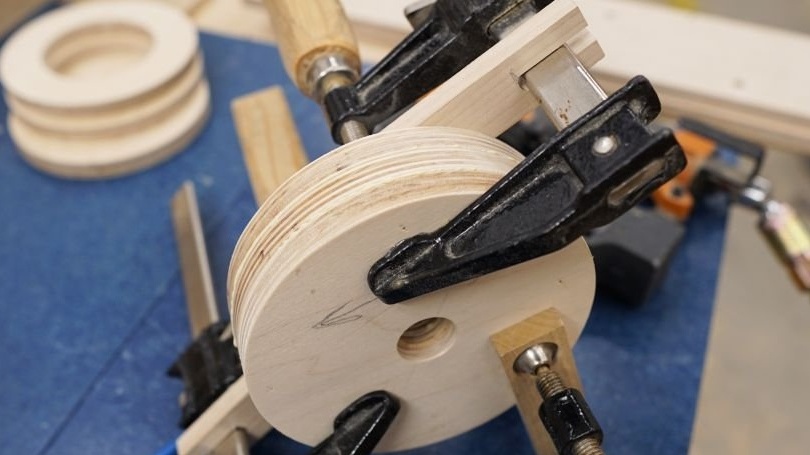
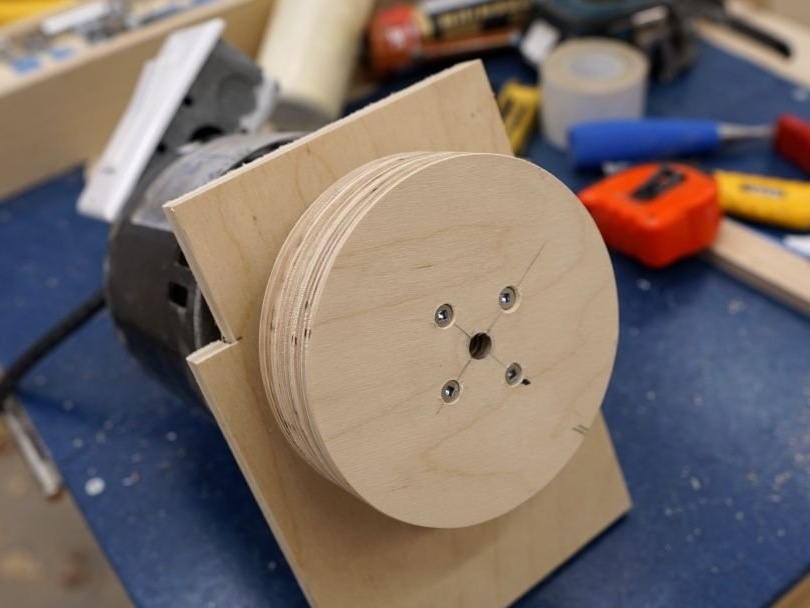
Step Four Wheel blanks
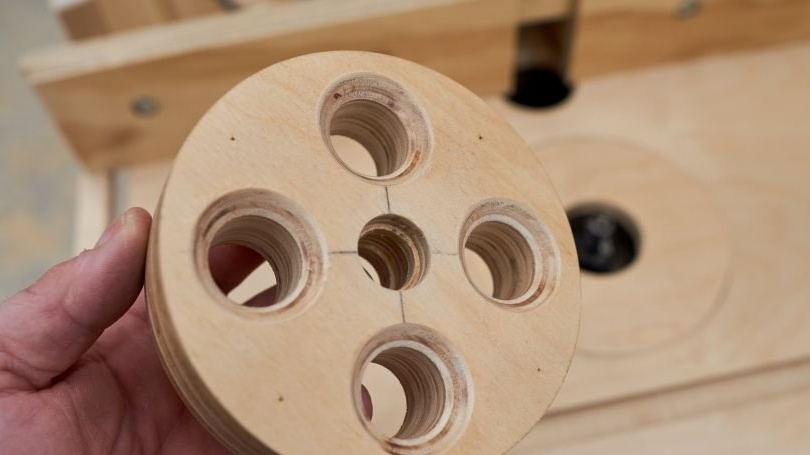
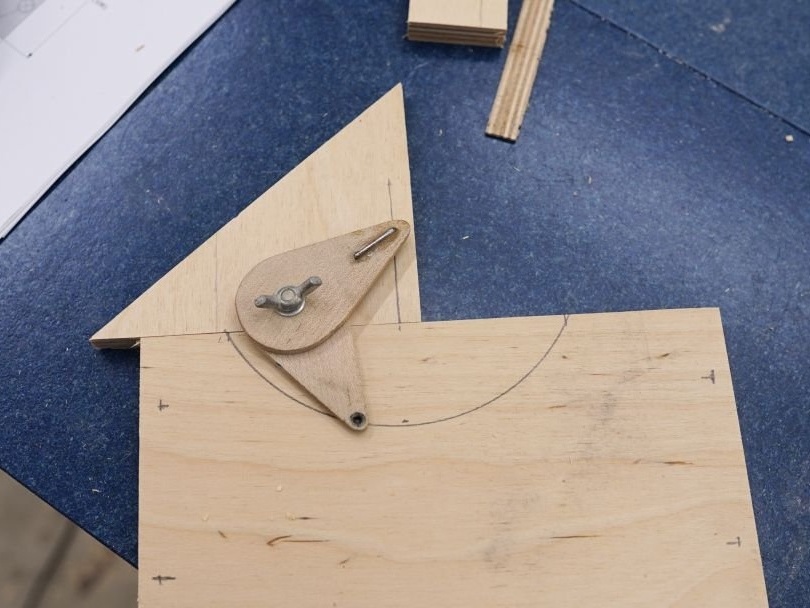
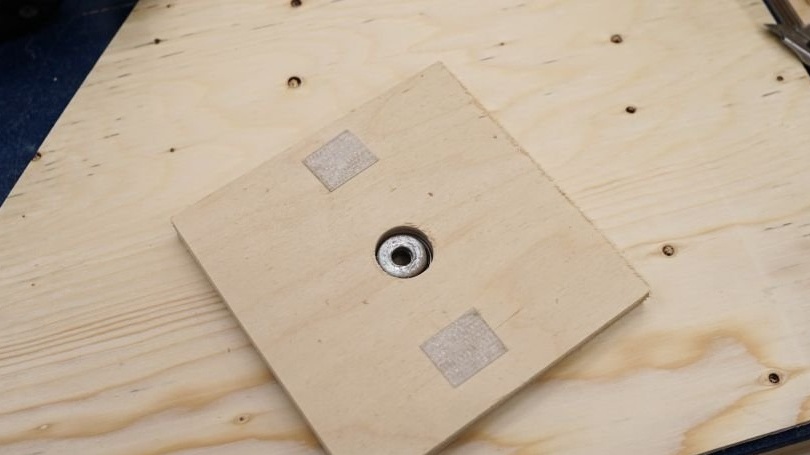
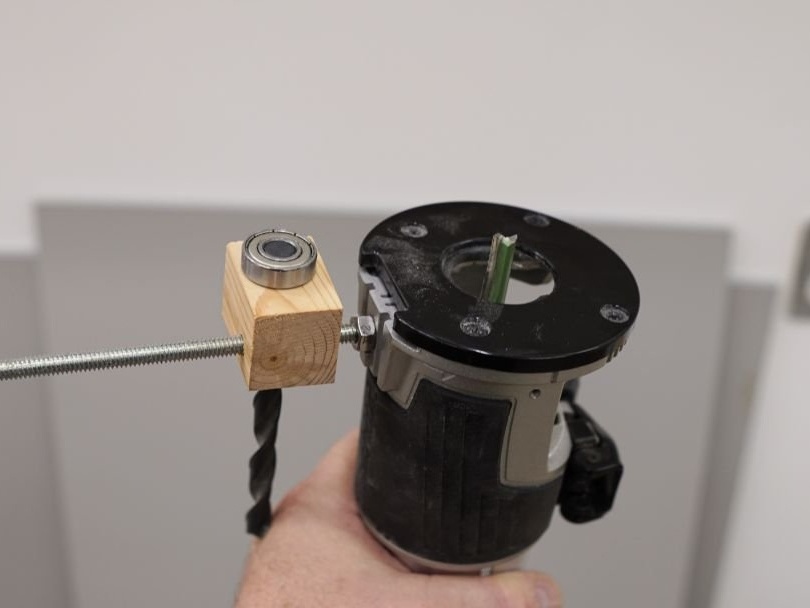
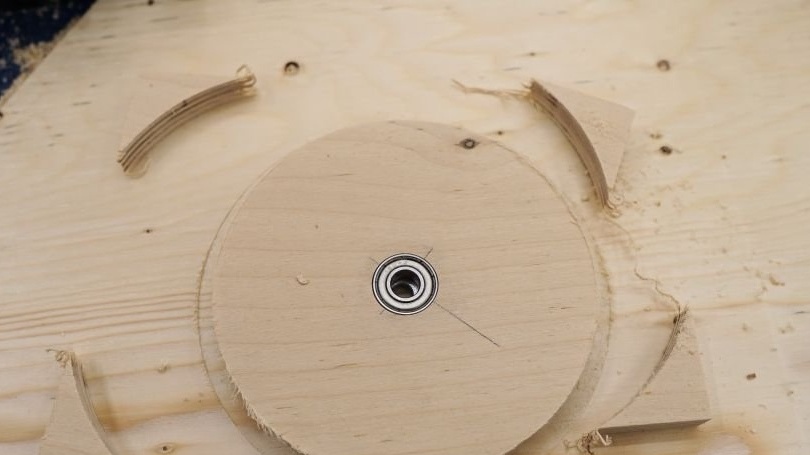
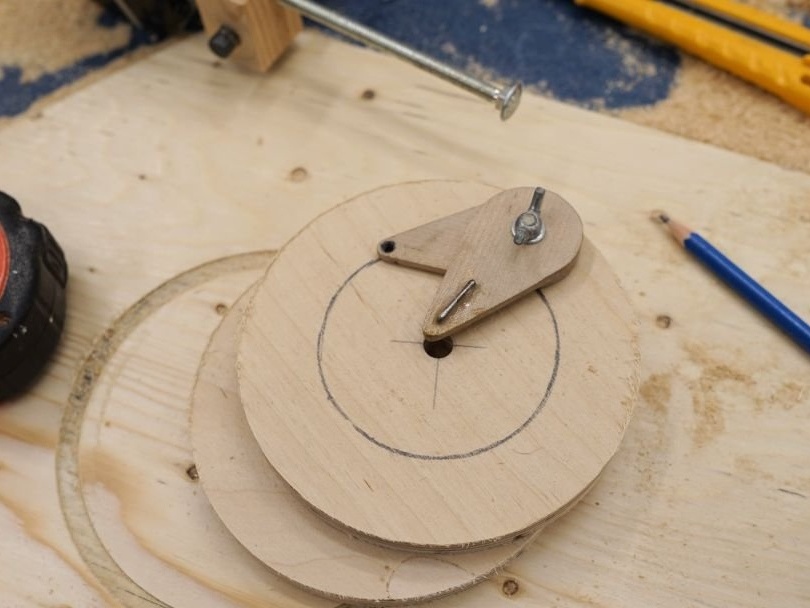
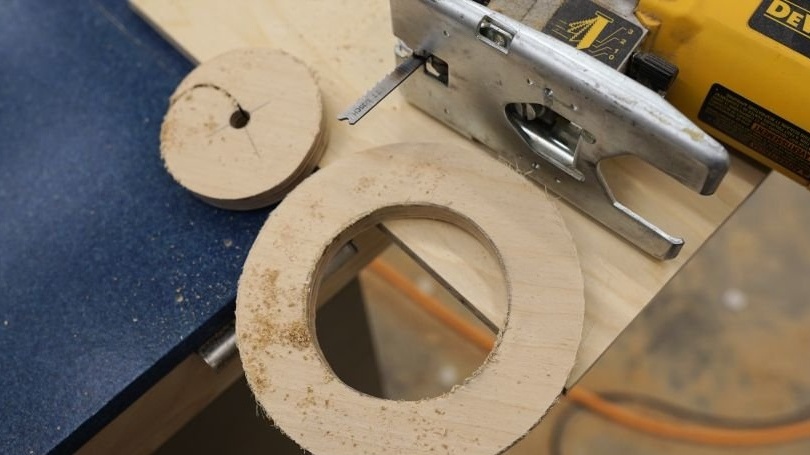
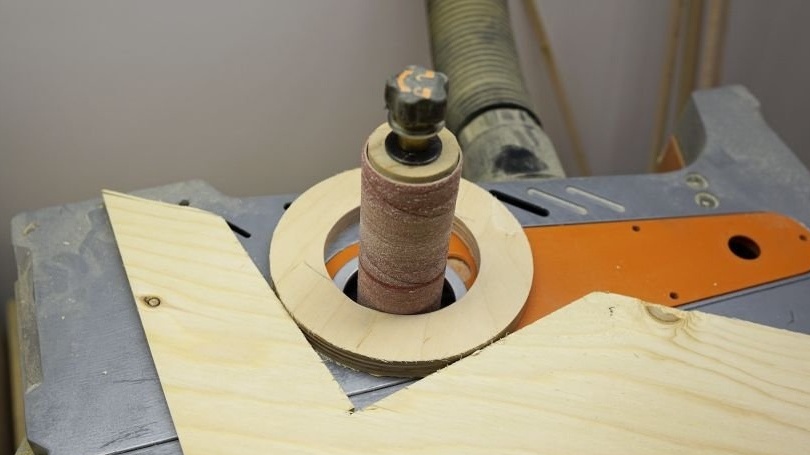
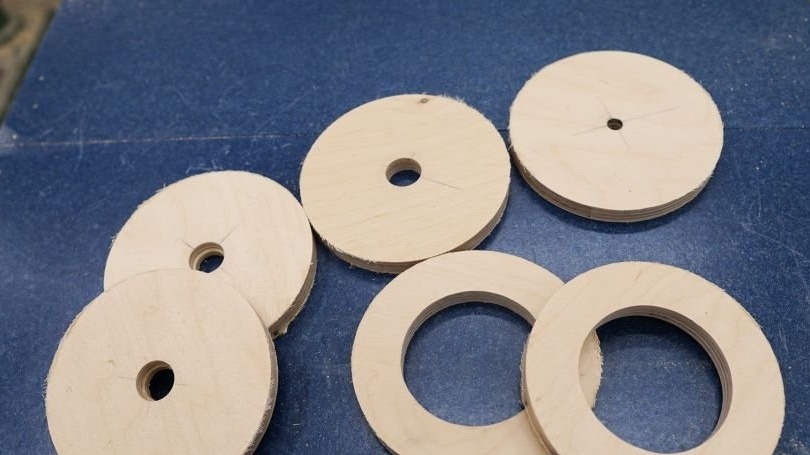
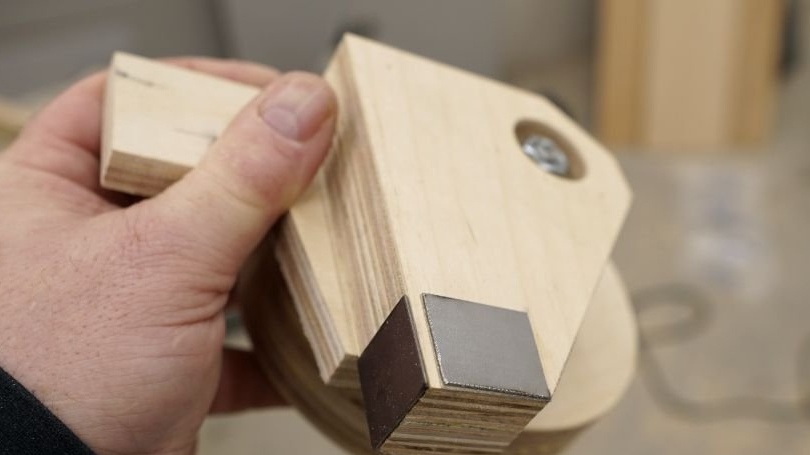
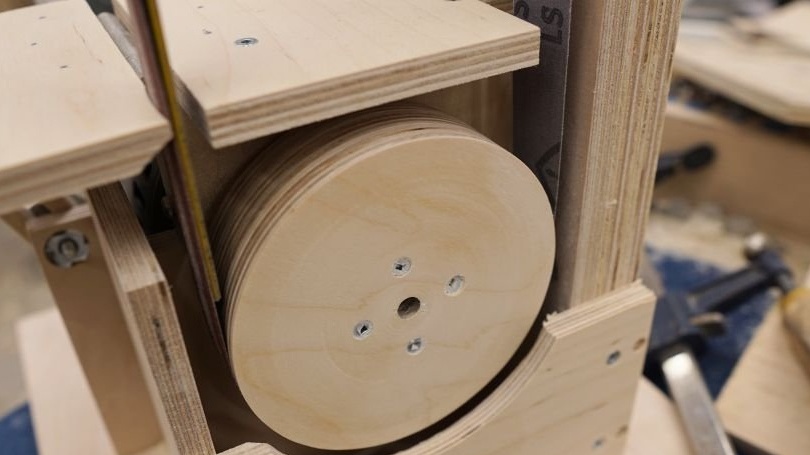
We make a driven and driving wheel for the machine, in the upper wheel there should be a bearing, well, and the lower one is mounted on the motor shaft. The wheels are made of three layers of plywood, first we cut out the squares, drill holes in the center. Well, then the milling cutter comes to the rescue, using a special nozzle, the author cuts wheels like a compass.
In some details, it will be necessary to cut out the internal parts, for this the author first uses an electric jigsaw, and then we refine the details on a spindle grinding machine.

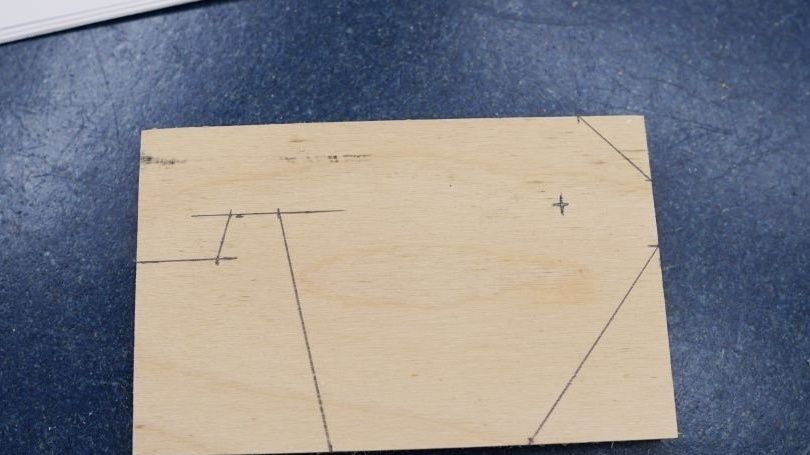
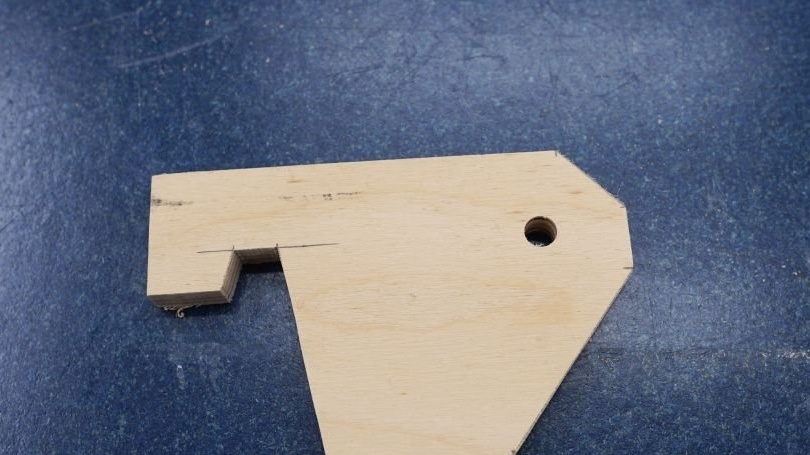
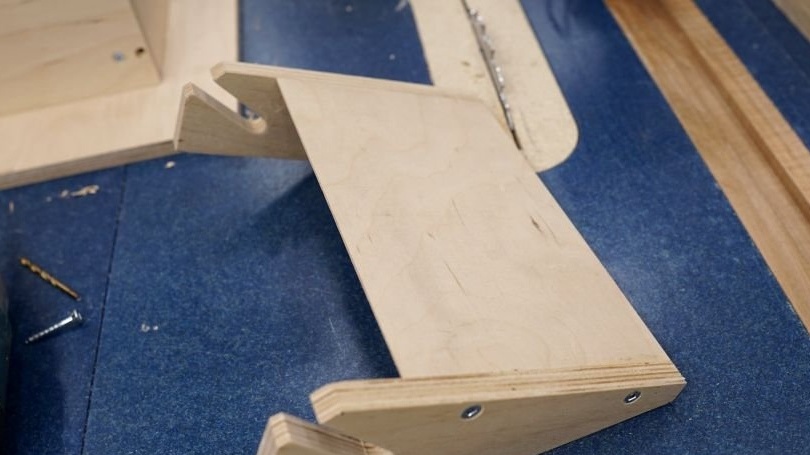
Step Five Top bracket and other parts
Similarly, we cut out the upper wheel bracket and other details from plywood. The author does not want to share the drawings for free, so they will have to be made manually or bought.
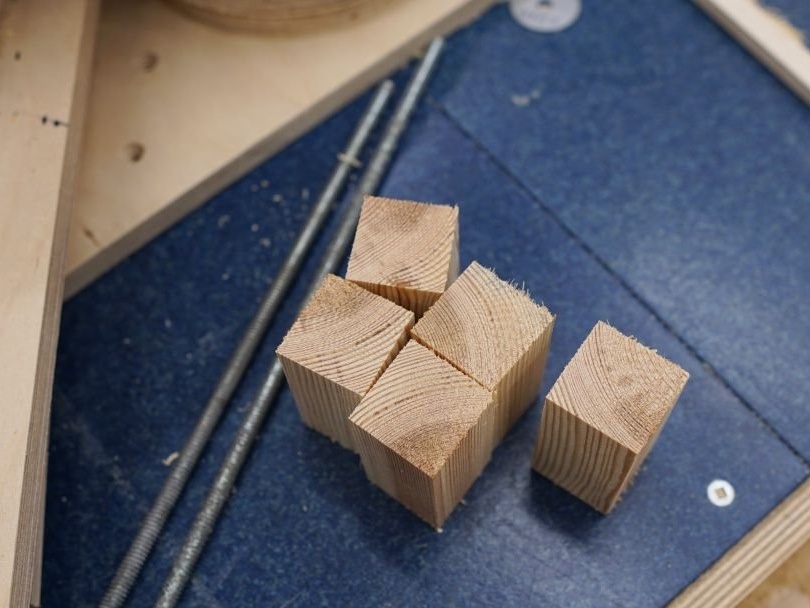
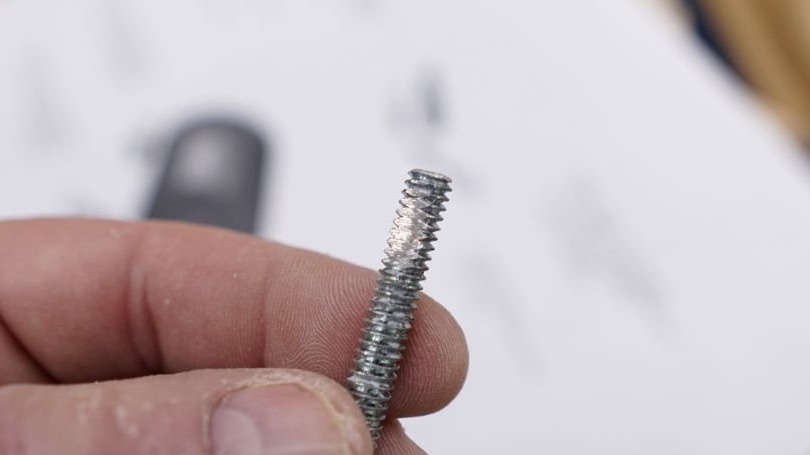
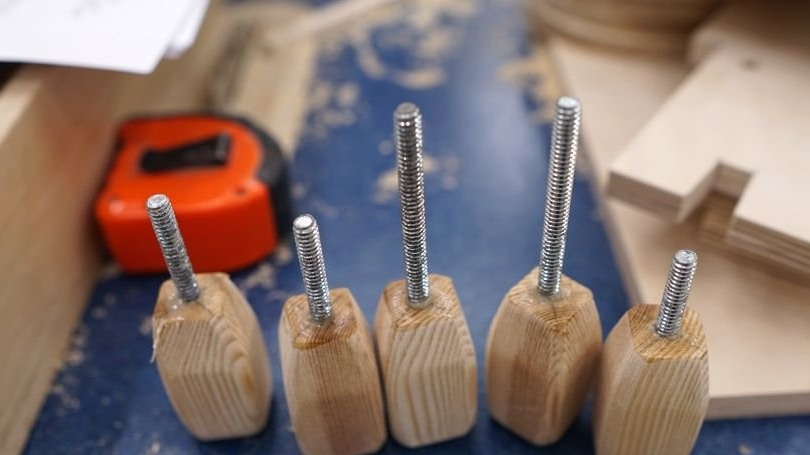
Step Six Pens
We make handles for adjusting the machine, here we need pine blocks, drill holes in them and glue threaded rods on good glue. Then it will remain to polish well, give them the desired shape and make them smooth.
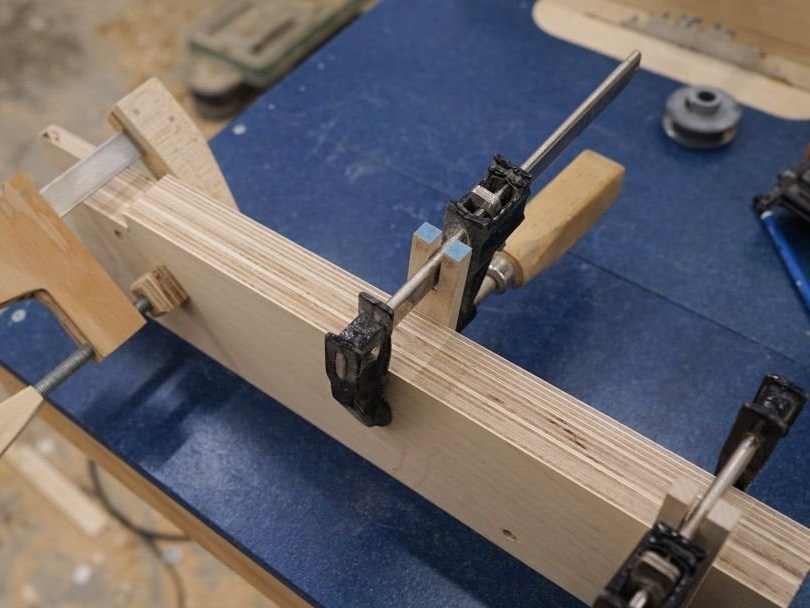
Seventh step. Gluing
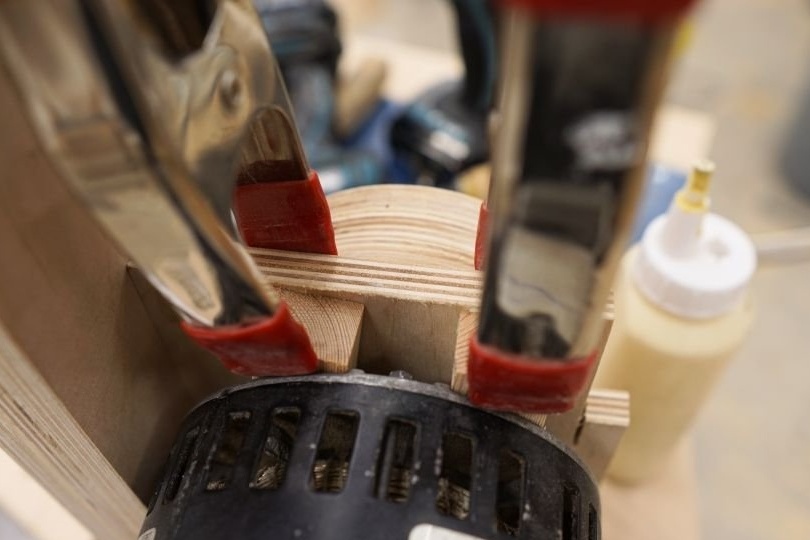
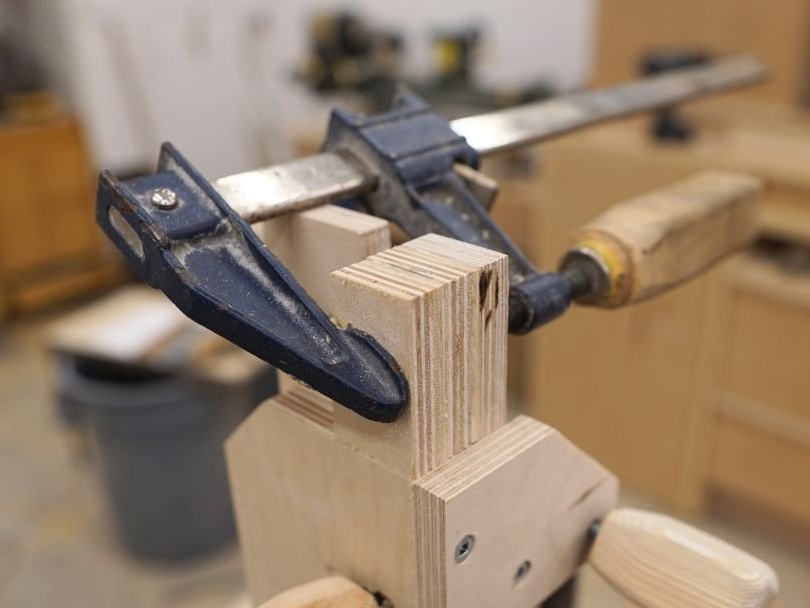
We glue the wheels, the rack, as well as the bracket. All these parts are made of several layers of plywood. We carefully tighten it with clamps and let the glue dry. As an adhesive, you can use quick-drying epoxy, the connection will be strong, and everything will dry much faster.

Step Eight. Wheel mounting on the motor shaft
To fix the plywood wheel to the motor shaft, we need to make a special connecting piece. To do this, you will need an aluminum pulley, which can be mounted on the shaft motor. The author made iron fasteners, but such material is more difficult to process. Having fastened the motor, the author gives the pulley the desired shape, working as on a lathe. Next, we drill holes in the part and cut the threads for screws in the amount of 4 pieces.
The wheel can be screwed on, keep in mind that the runout should be minimal, the wheel should be fixed clearly in the center. If there is a runout, the wheel can be sanded by turning on the engine.
Step Nine. Machine assembly
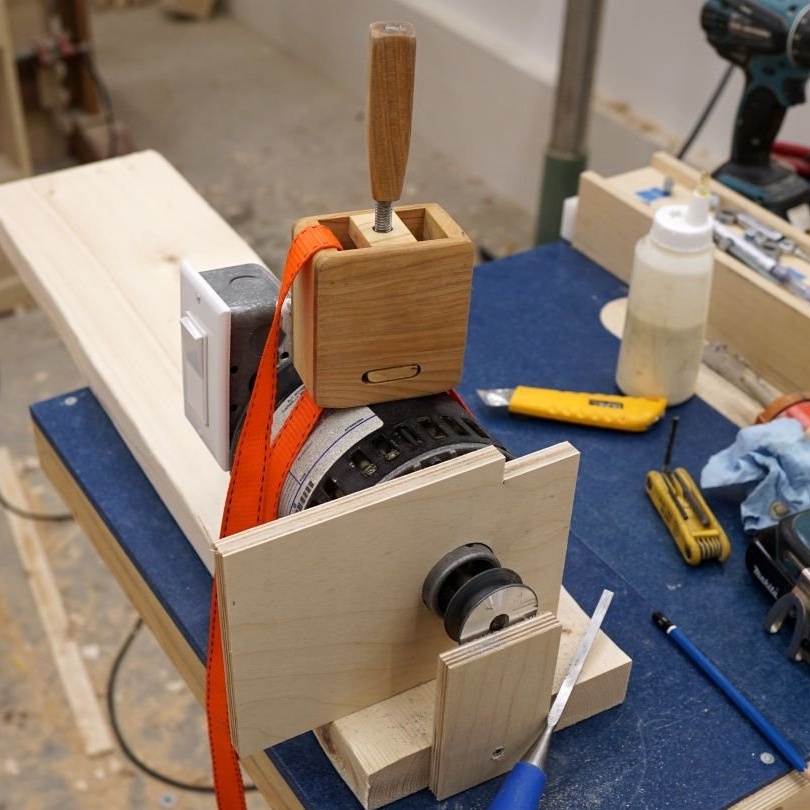
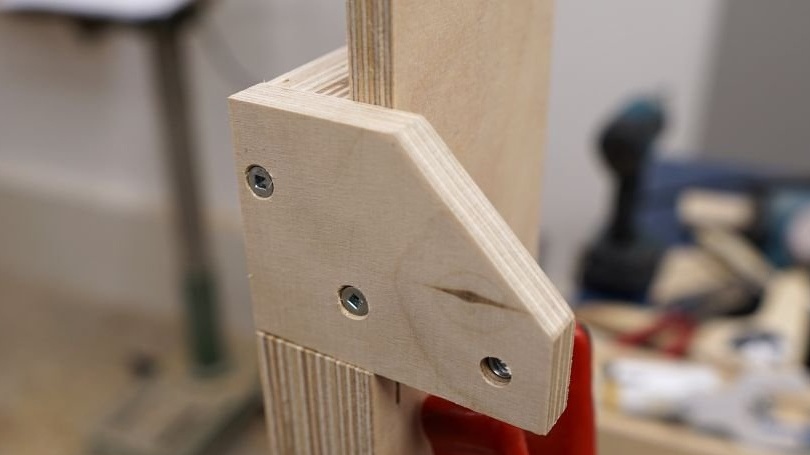
The machine can be assembled, all joints must be well twisted with self-tapping screws or furniture screws. We joint the joined parts well with glue, epoxy or joiner's glue will do.
The engine hangs on two brackets, front and rear. Additionally, the engine is screwed to the brackets with screws. Of course, the method of mounting the motor depends on the shape of its body, so for each case you need to look for your own solutions.


It is also necessary to install a thrust plate, on which we will abut the product during operation. For its manufacture, you can use sheet metal, cut out the part with a grinder.
We fix the upper wheel to the bracket with a bolt and nut and make a grinding belt. Just glue the tape of the desired length from sandpaper.
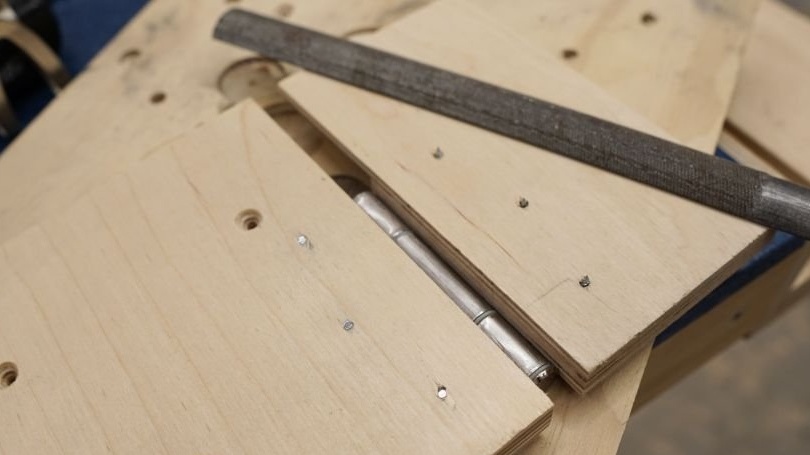
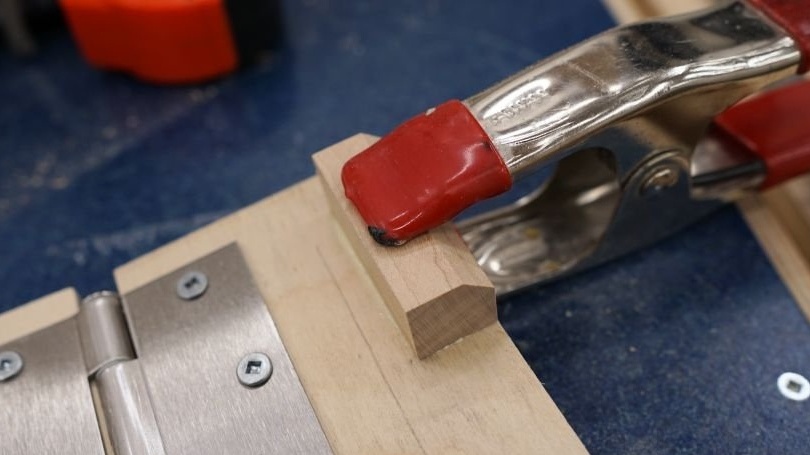
Be sure to make a table for the machine, it must be adjustable in angle. To solve the problem, the author has fixed the table on the door hinge, and is supported by a special regulating device from below.
The machine turns on with a keyboard type switch, and so that the machine does not turn on by accidental pressing, the author made special protection from plywood above the button. The machine is ready, you can begin to test how everything works, you can see on the video. The machine works perfectly, there is enough power, the machine is safe and relatively quiet. I hope you enjoyed the project and found useful thoughts for yourself. Good luck and Tver inspiration, if you decide to repeat this. Do not forget to share your ideas and homemade things with us!